
This build started at the end of January 2017 and it's currently my main copter for flights indoors and outside in the garden.
Initially I was worried about the receiver I'm using. I have an old modified transmitter with an FrSky DHT module, so I can only use D8-mode FrSky-compatible receivers. For another copter I've tried the RX-F802 but it had some problems with signal loss and improper failsafe behavior. But the micro receiver I'm using now, linked below, is working flawlessly. It would be perfect if it also had telemetry available, that way I could skip the OSD.
Most builds with this frame kit are using the 1104 7000kv motors that provide significantly more thrust than the 1103 8000kv I'm using. I may change over in the future, but currently I'm very happy with the available power.
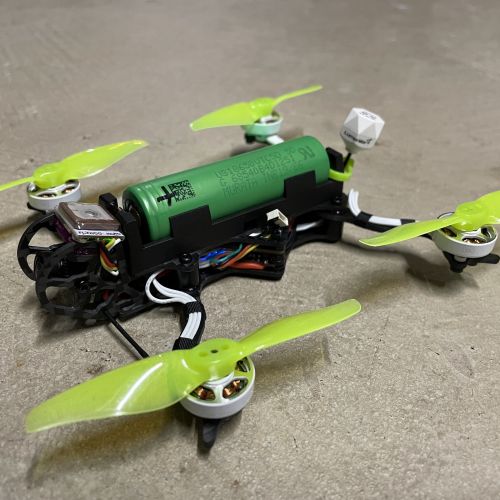
I've tried a bunch of different batteries. The Turnigy nano-tech 2S 450mAh 25/40C listed below is definitely the best in terms of flight characteristics. For other batteries, make sure that the C-Rating is high enough. I had big problems with the StefansLipoShop X-Cube 2S 450mAh 30/60C as well as the Rhino 2S 610mAh 20C. The Turnigy nano-tech 2S 850mAh 25/40C and the Zippy Compact 2S 850mAh 35C both work well but are a bit too heavy for fast flying.
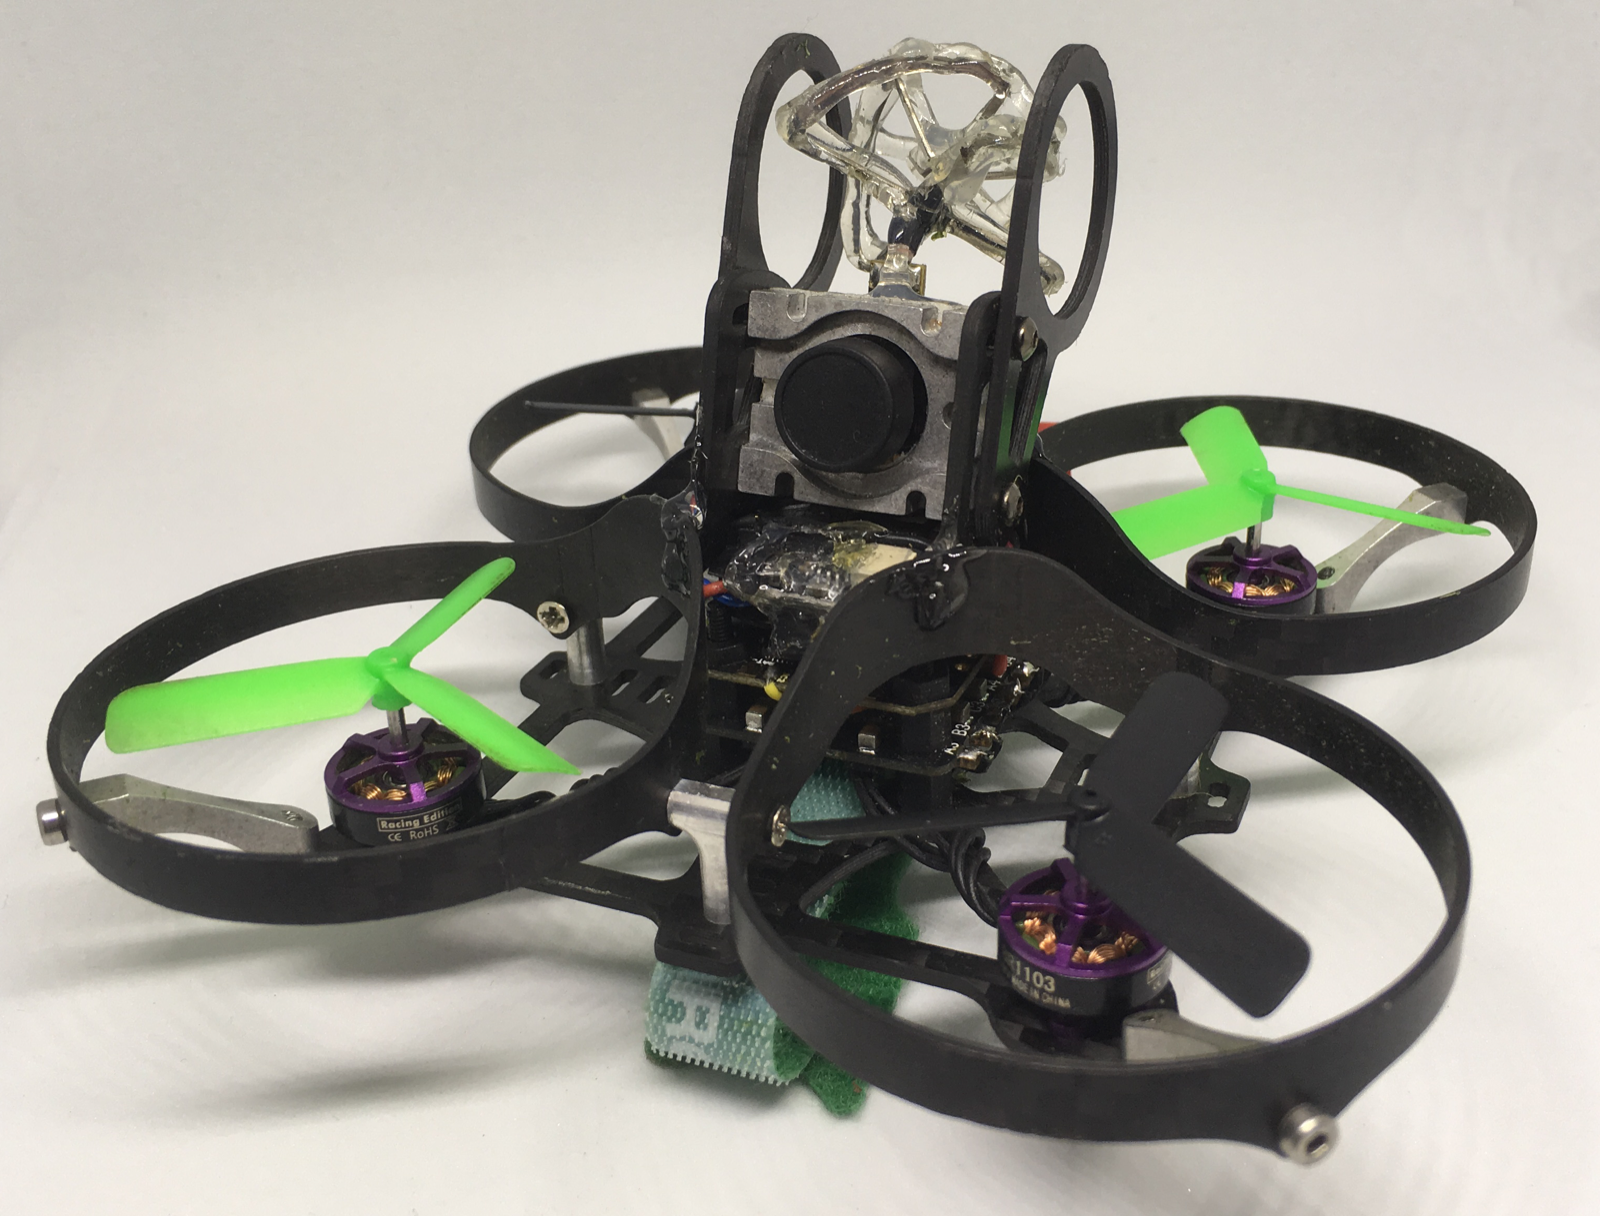
Fitting the PCBs all on a stack under the camera and adding the OSD proved to be difficult. I had to completely insulate it with shrink wrap and fix it on top of the FC with a drop of hot-glue. The receiver, also shrink-wrapped, is placed on top of the OSD, using hot-glue, too. There is just enough room to leave the FPV equipment with connectors to allow easy removal of the propeller-guards and camera.
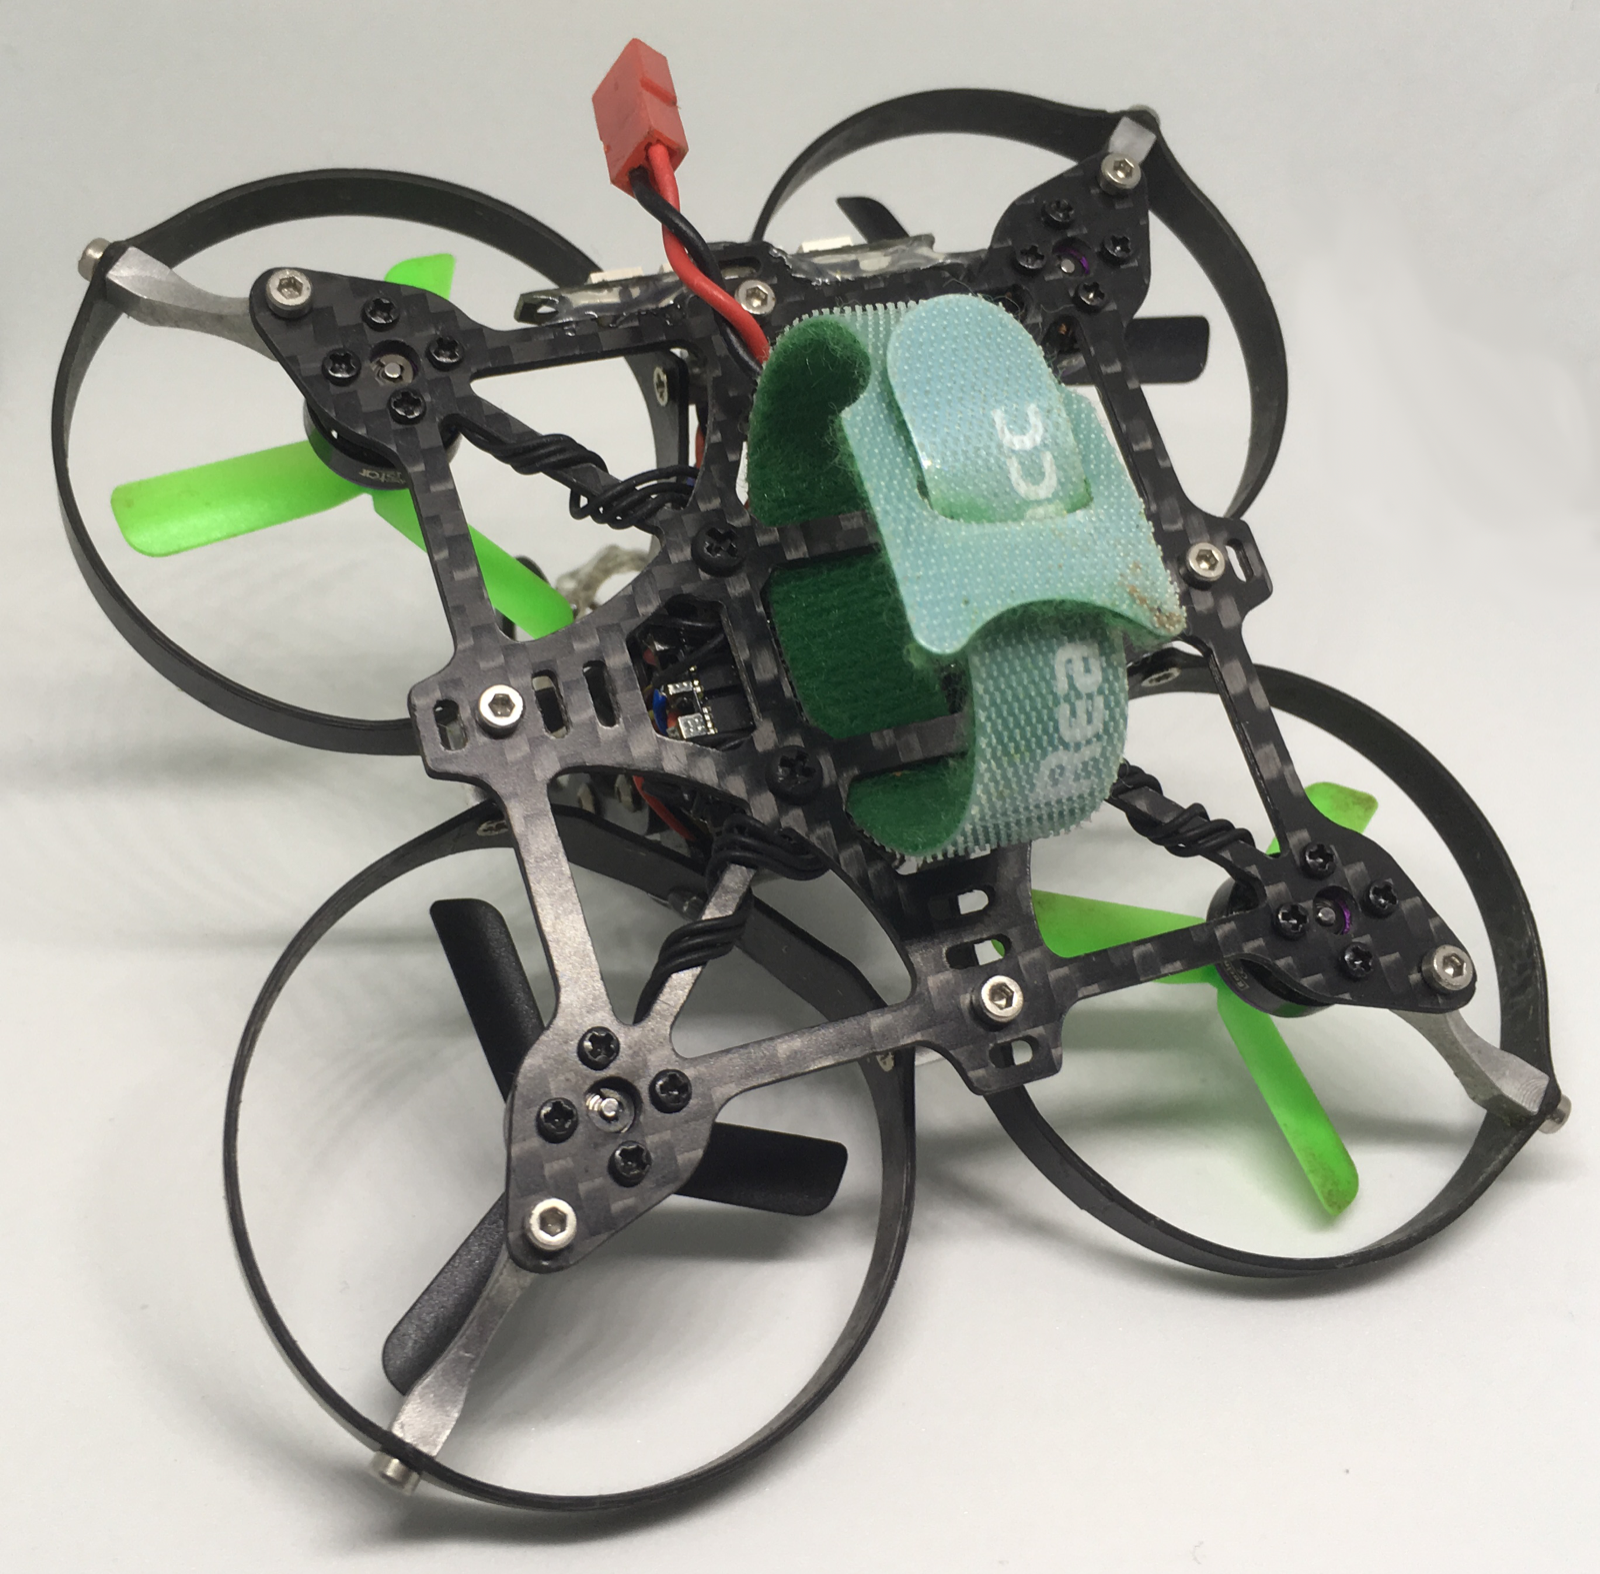
I've designed and 3D-printed my own battery clips, based on a design already available on Thingiverse.
Adding an OSD to the Camera + VTX combo is easy. Multiple pin headers connect the two PCBs together, one of them a 3-pin header. On there is GND, Video and a supply voltage line. The GND line can easily be identified by checking for connectivity to the negative battery connector pole with a multimeter. I've then used a scope to find the video signal on the outermost pin. My dremel could not fit into the gap to only cut the video connection, so I've simply cut the whole 3-pin header and soldered the GND and VCC lines back together, adding two cables and a small connector for the OSD to the two video pins.
Because of some bad experiences with the antenna of my last Cam + VTX combo I've decided to cover the whole clover-leaf antenna in some hot-glue. This has proved to greatly reduce crash damages in my brushed micro copter build. But considering the good frame design, the antenna should be well protected even without this.
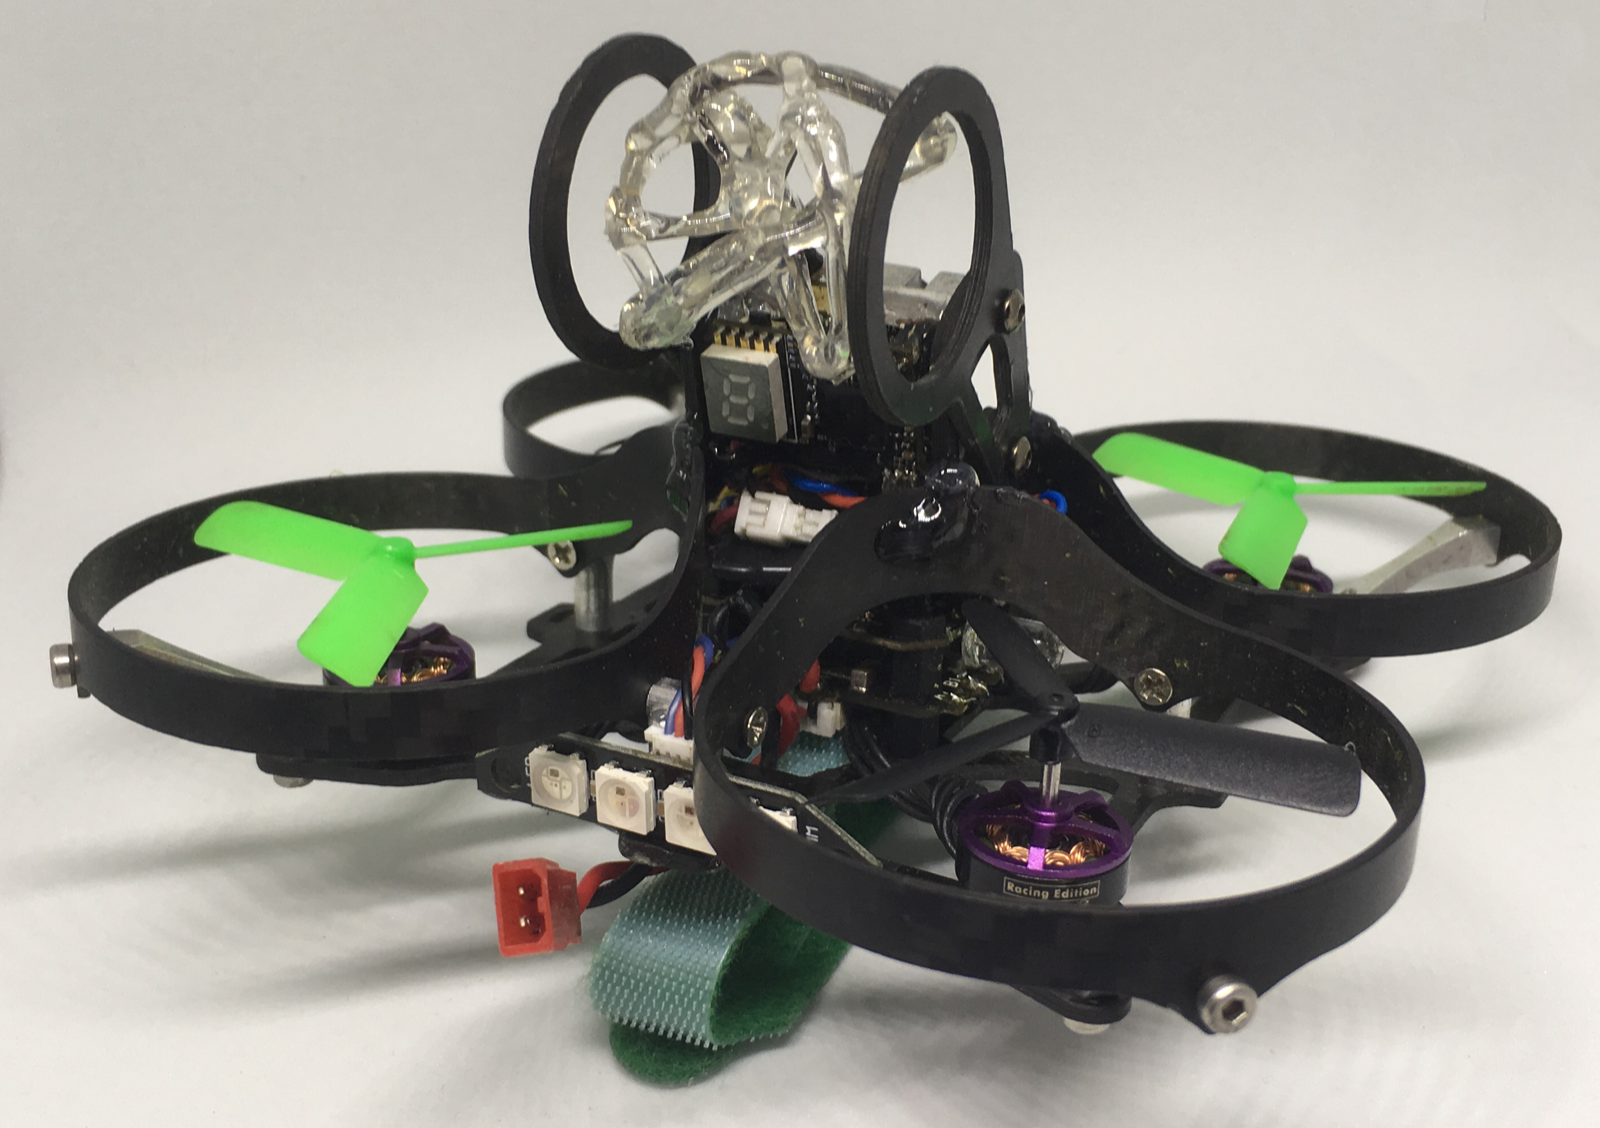
The original Aurora 90 build also has an LED strip added to the back, so I bought the same one (available as a replacement part). Looking at pictures of other owners online, it can be seen that the original Aurora 90 frame has two nubs in the back to hold the LED strip that are missing on my frame. So again I had to position the LED strip at the back using a generous amount of hot-glue to protect it from impact damage.
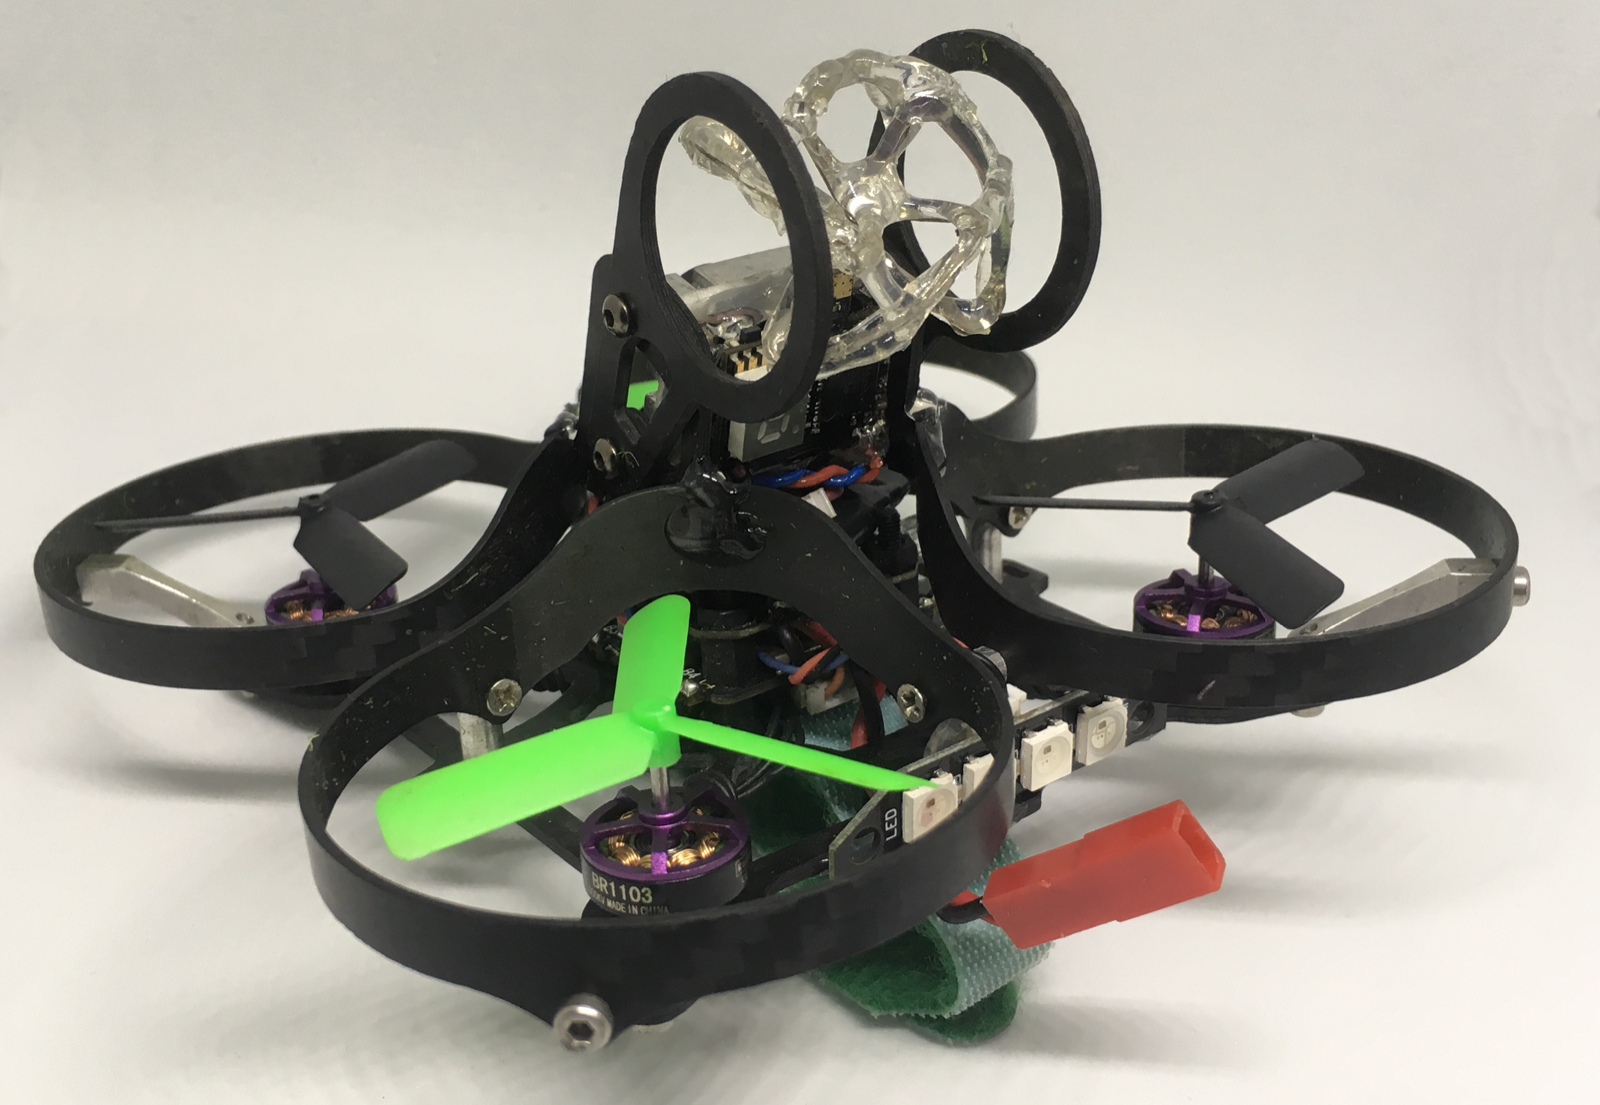
All-in-all I'm very happy with the copter. A minor point is the JST battery connector that is sometimes very hard to disconnect and probably is already maxed out in terms of amperage. Also, I don't like the way the camera assembly is just 'clipped' into the propeller guards. I'm thinking of saving weight in the future by removing the guards and using a 3D-printed assembly to mount the camera on top of the PCB stack.
I should also mention that I got the TX03 cam on discount over Christmas, so for a future build I may choose another. The VTX get's very hot very fast, and the whole camera draws 1A on the 200mW setting. The picture quality is okay but not great.
Photos

Part List
Show stores (3)Guides & Reviews

AirbladeUAV has done it again and this time they've brought long range to the 5" class! Based on the popular Transformer Mini, the new Transformer 5" Ultralight adopts a lot of the same design philosophies with larger props and more payload capacity. It can fly upwards of 20 minutes on a 4 cell Li-Ion battery pack and in ideal conditions it's got a range of over 4 to 5 miles. In this guide I'll walk..
Read more
With the release of the DJI FPV Drone cinematic FPV has become a lot more accessible, but you certainly don't want to crash a $750 drone! The QAV-CINE Freybott is a compact, lightweight cinematic FPV drone that can take a hit and keep going. It's a lot safer to fly indoors and around people. With a naked GoPro or the SMO 4k you can capture some great stabilized footage. In this guide I'll show you..
Read more

What happened when you were using the batteries where the C rating was too low?
It simply didn't have enough power to fly properly, but there were no glitches or permanent damage or anything like that.
Ah okay. I tried out some Yuki Model 450mah 2s and they had the same problem. The Nano-Techs just feel way punchier.