Pico X AIO
 By mekinizem@gmail.com on Jan 29, 2017
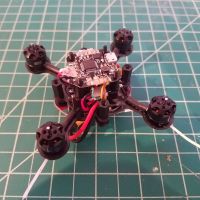
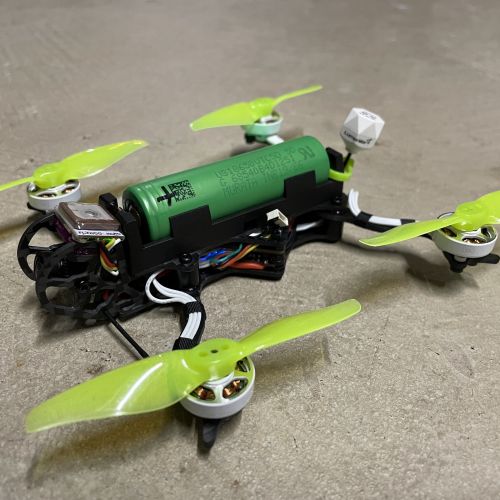
I built this lil' guy to be a fun, badass indoor flyer that I can crash the heck out of. Boy oh boy, is it awesome. It's fast and punches like nothing you've ever seen indoor. Here's how to build it. Look to the attached pictures below
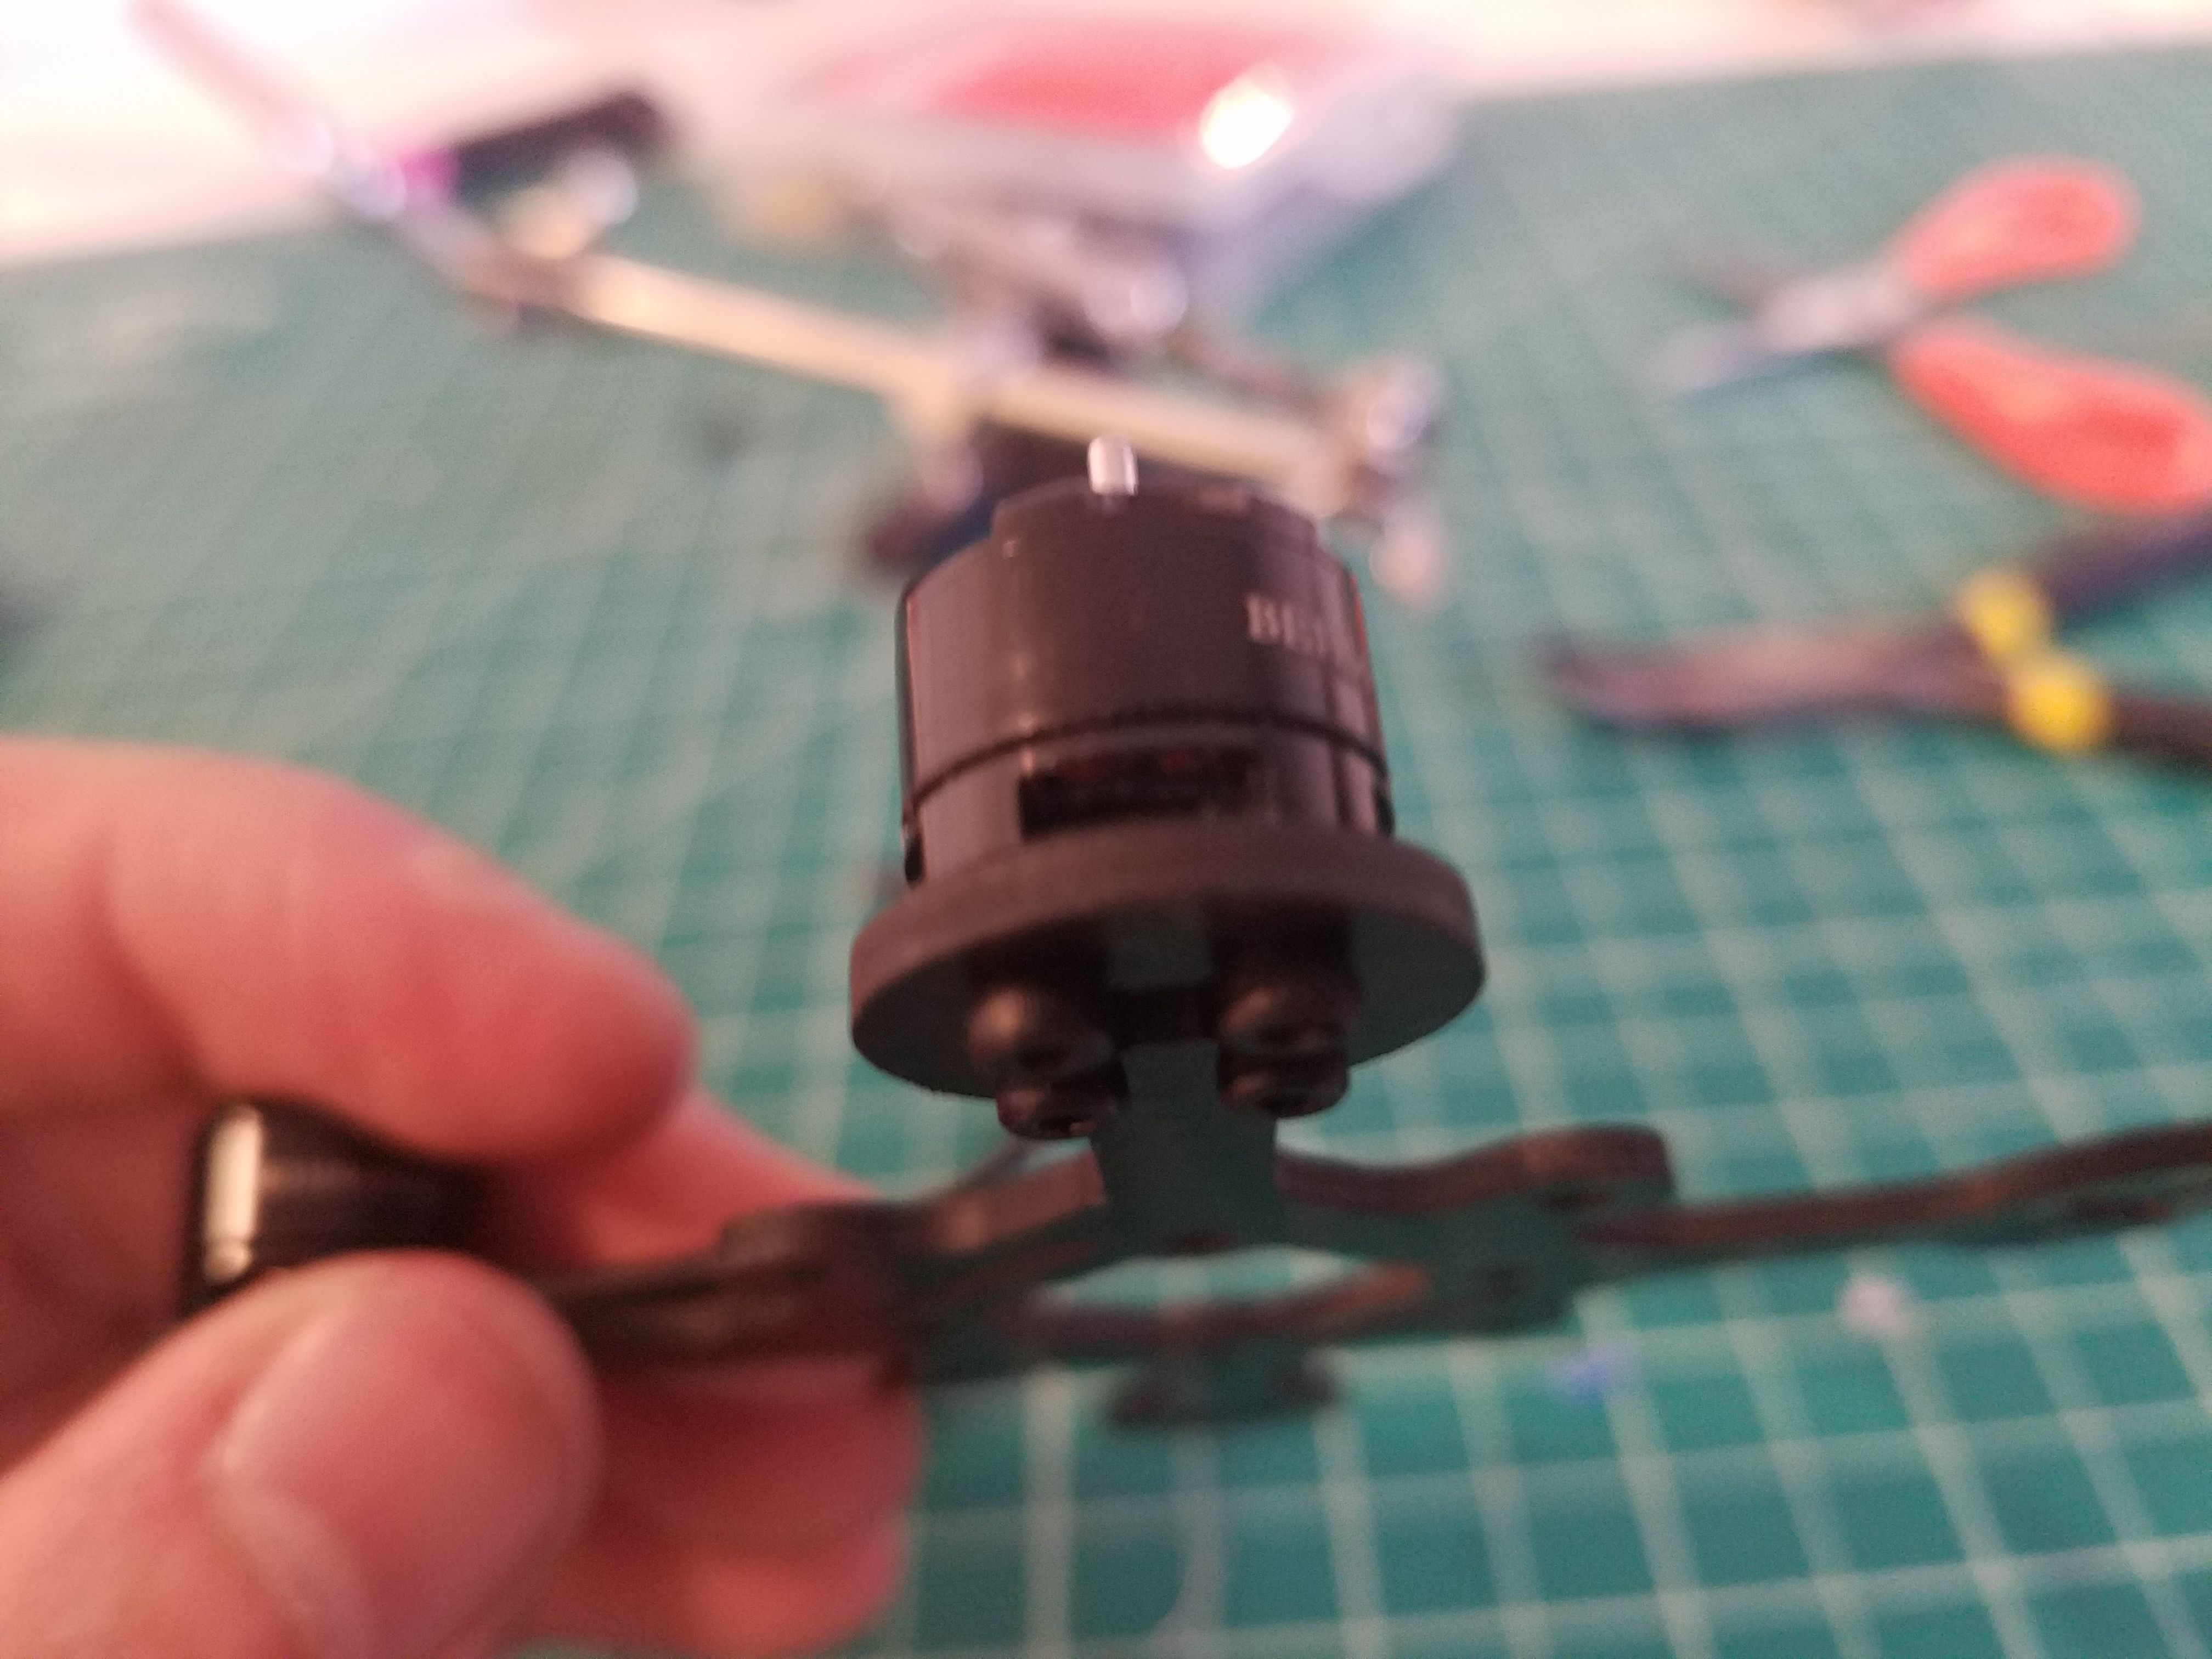
The wires on the motors come very long, so they will have to be cut down to size before being mounted. 45mm is a good length to start with, in case part of the wire breaks off. Remove the black coating on the wires coming from each of the motors. A pair of wire strippers are the best in this scenario, but if you do not have a set that gets as small, fingernails will suffice.
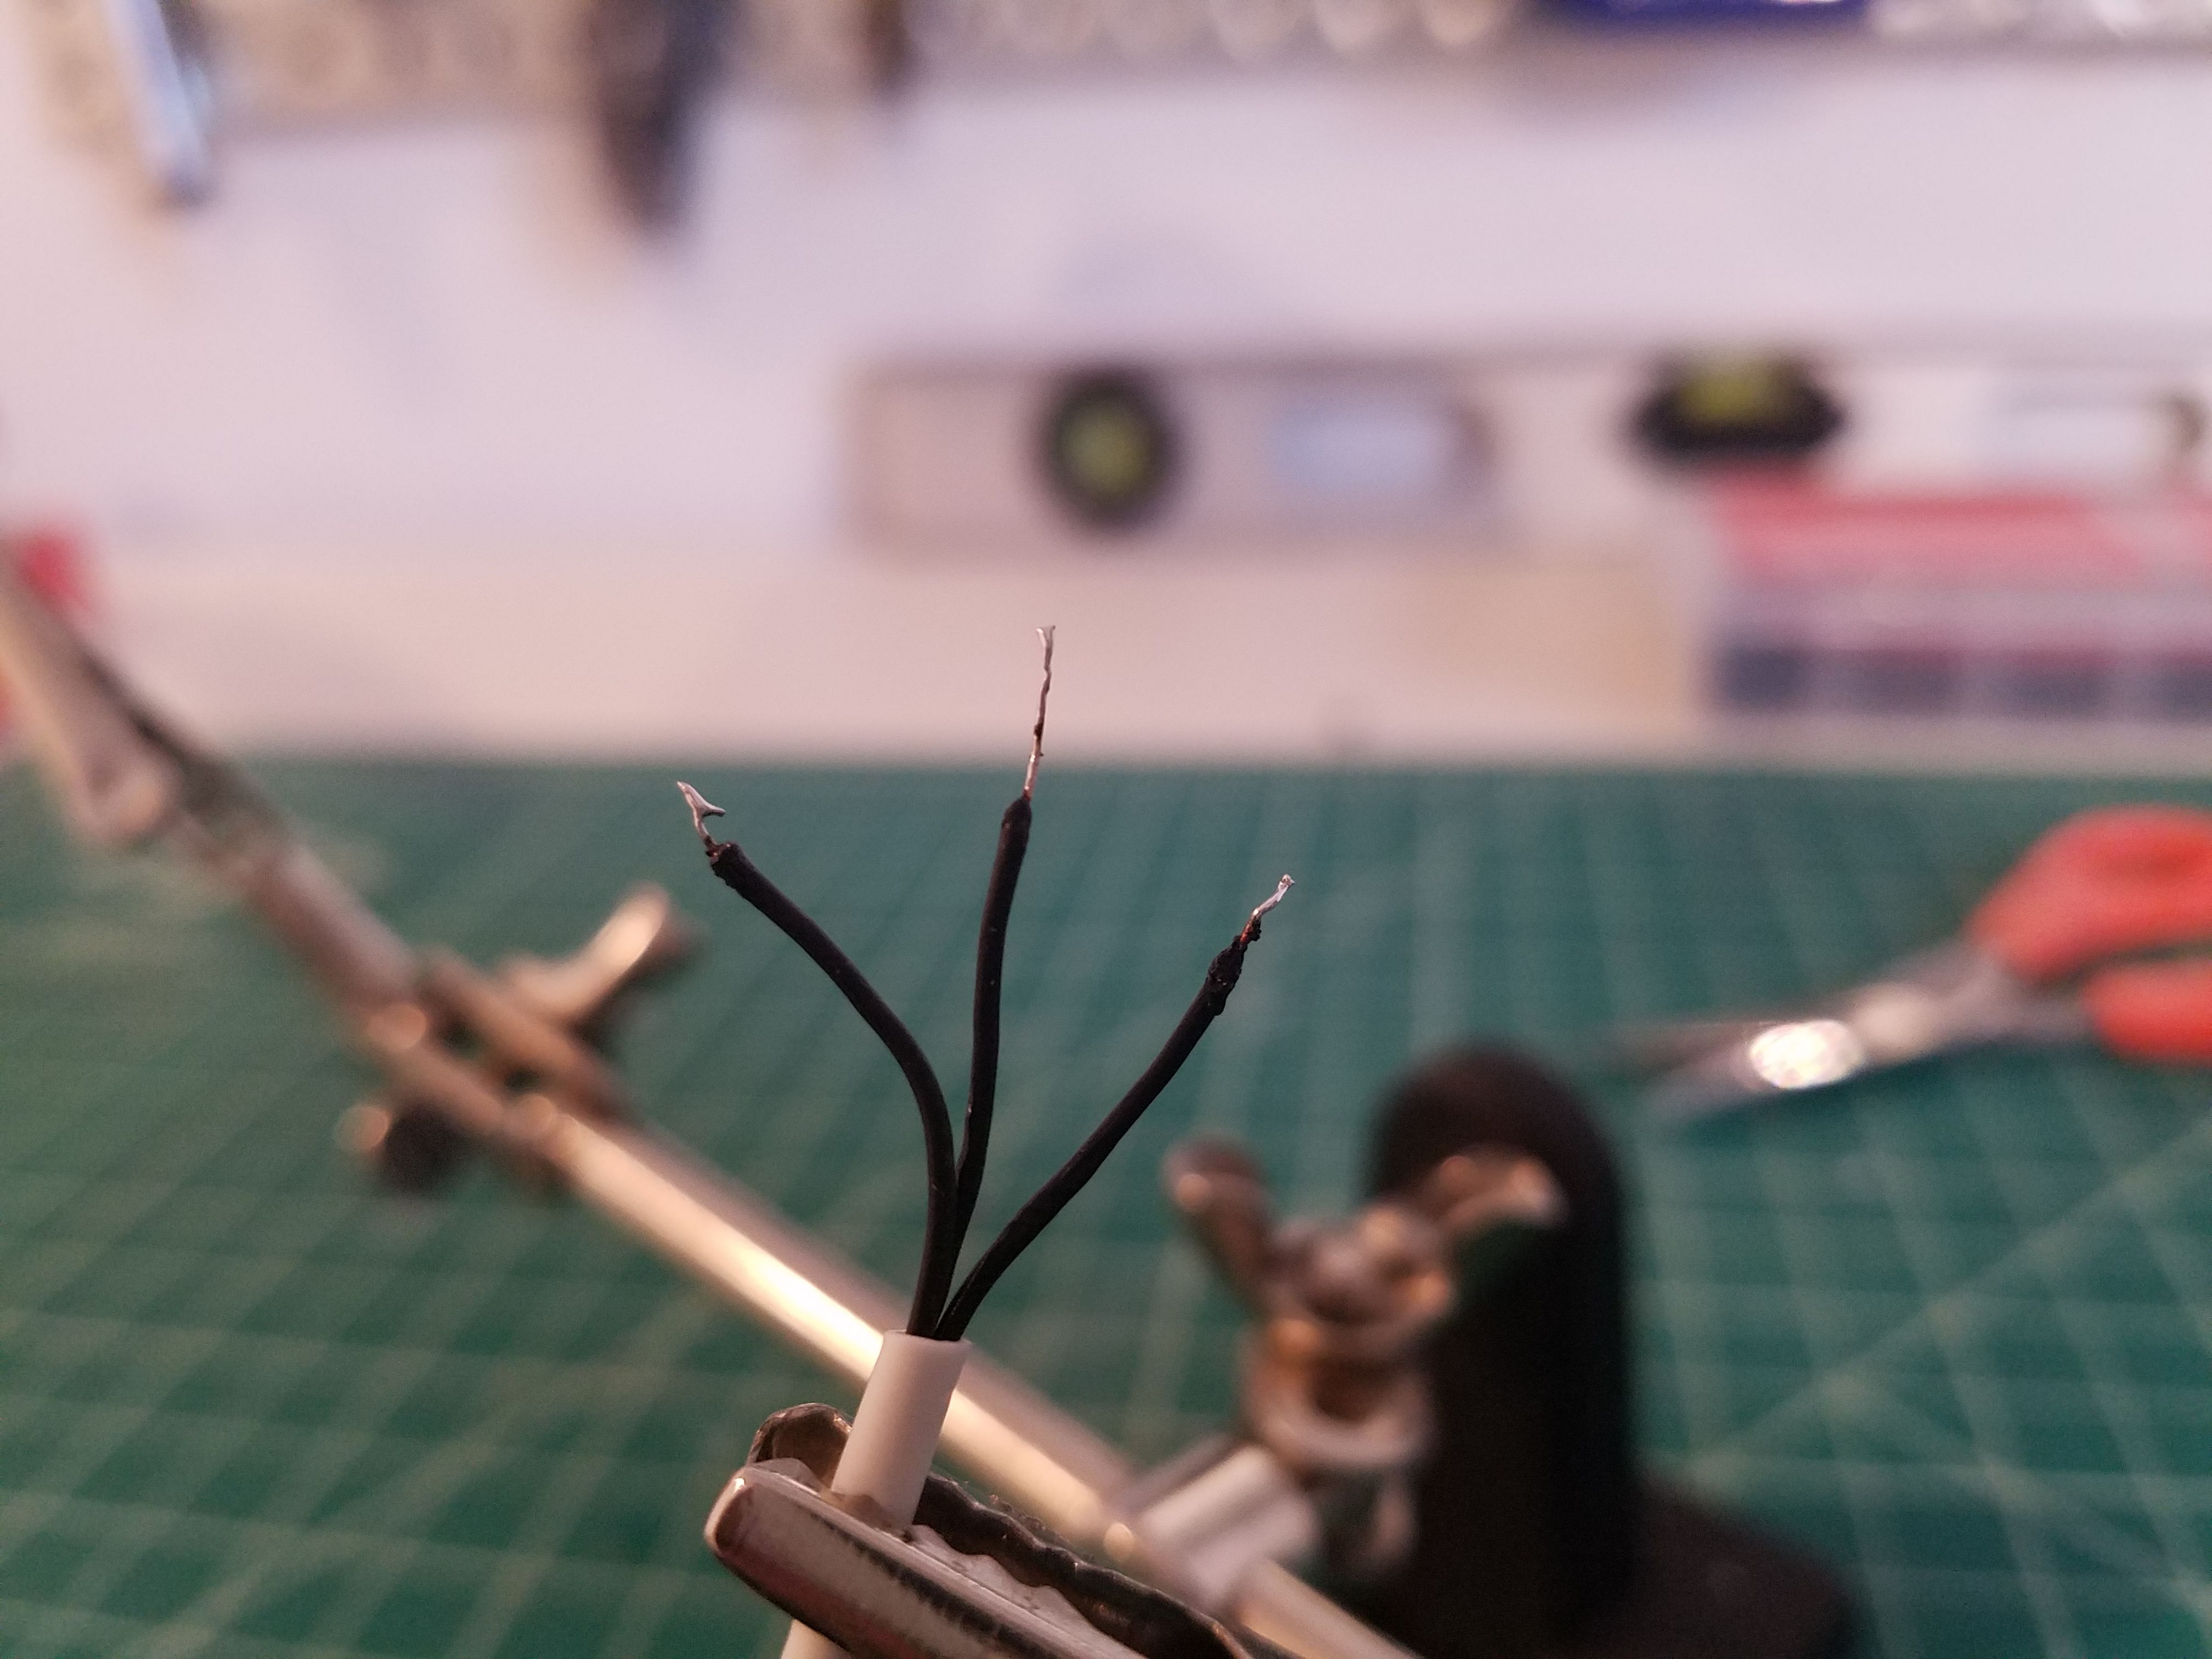
The wires come directly from the stator, so they are still enameled. In order to solder this to our 4-in-1 ESC, this coating must be removed. If possible, turn up the temp to the max on your soldering station, and tin the tip. Get a blob of solder on the tip of the iron and drag it along the exposed portion of the wire, from front to back. The leads are fairly fragile, so be gentle. This may take a few minutes but is crucial to assuring that the motor wires make a good connection to the speed controllers. The end product will look like this (Picture 1)
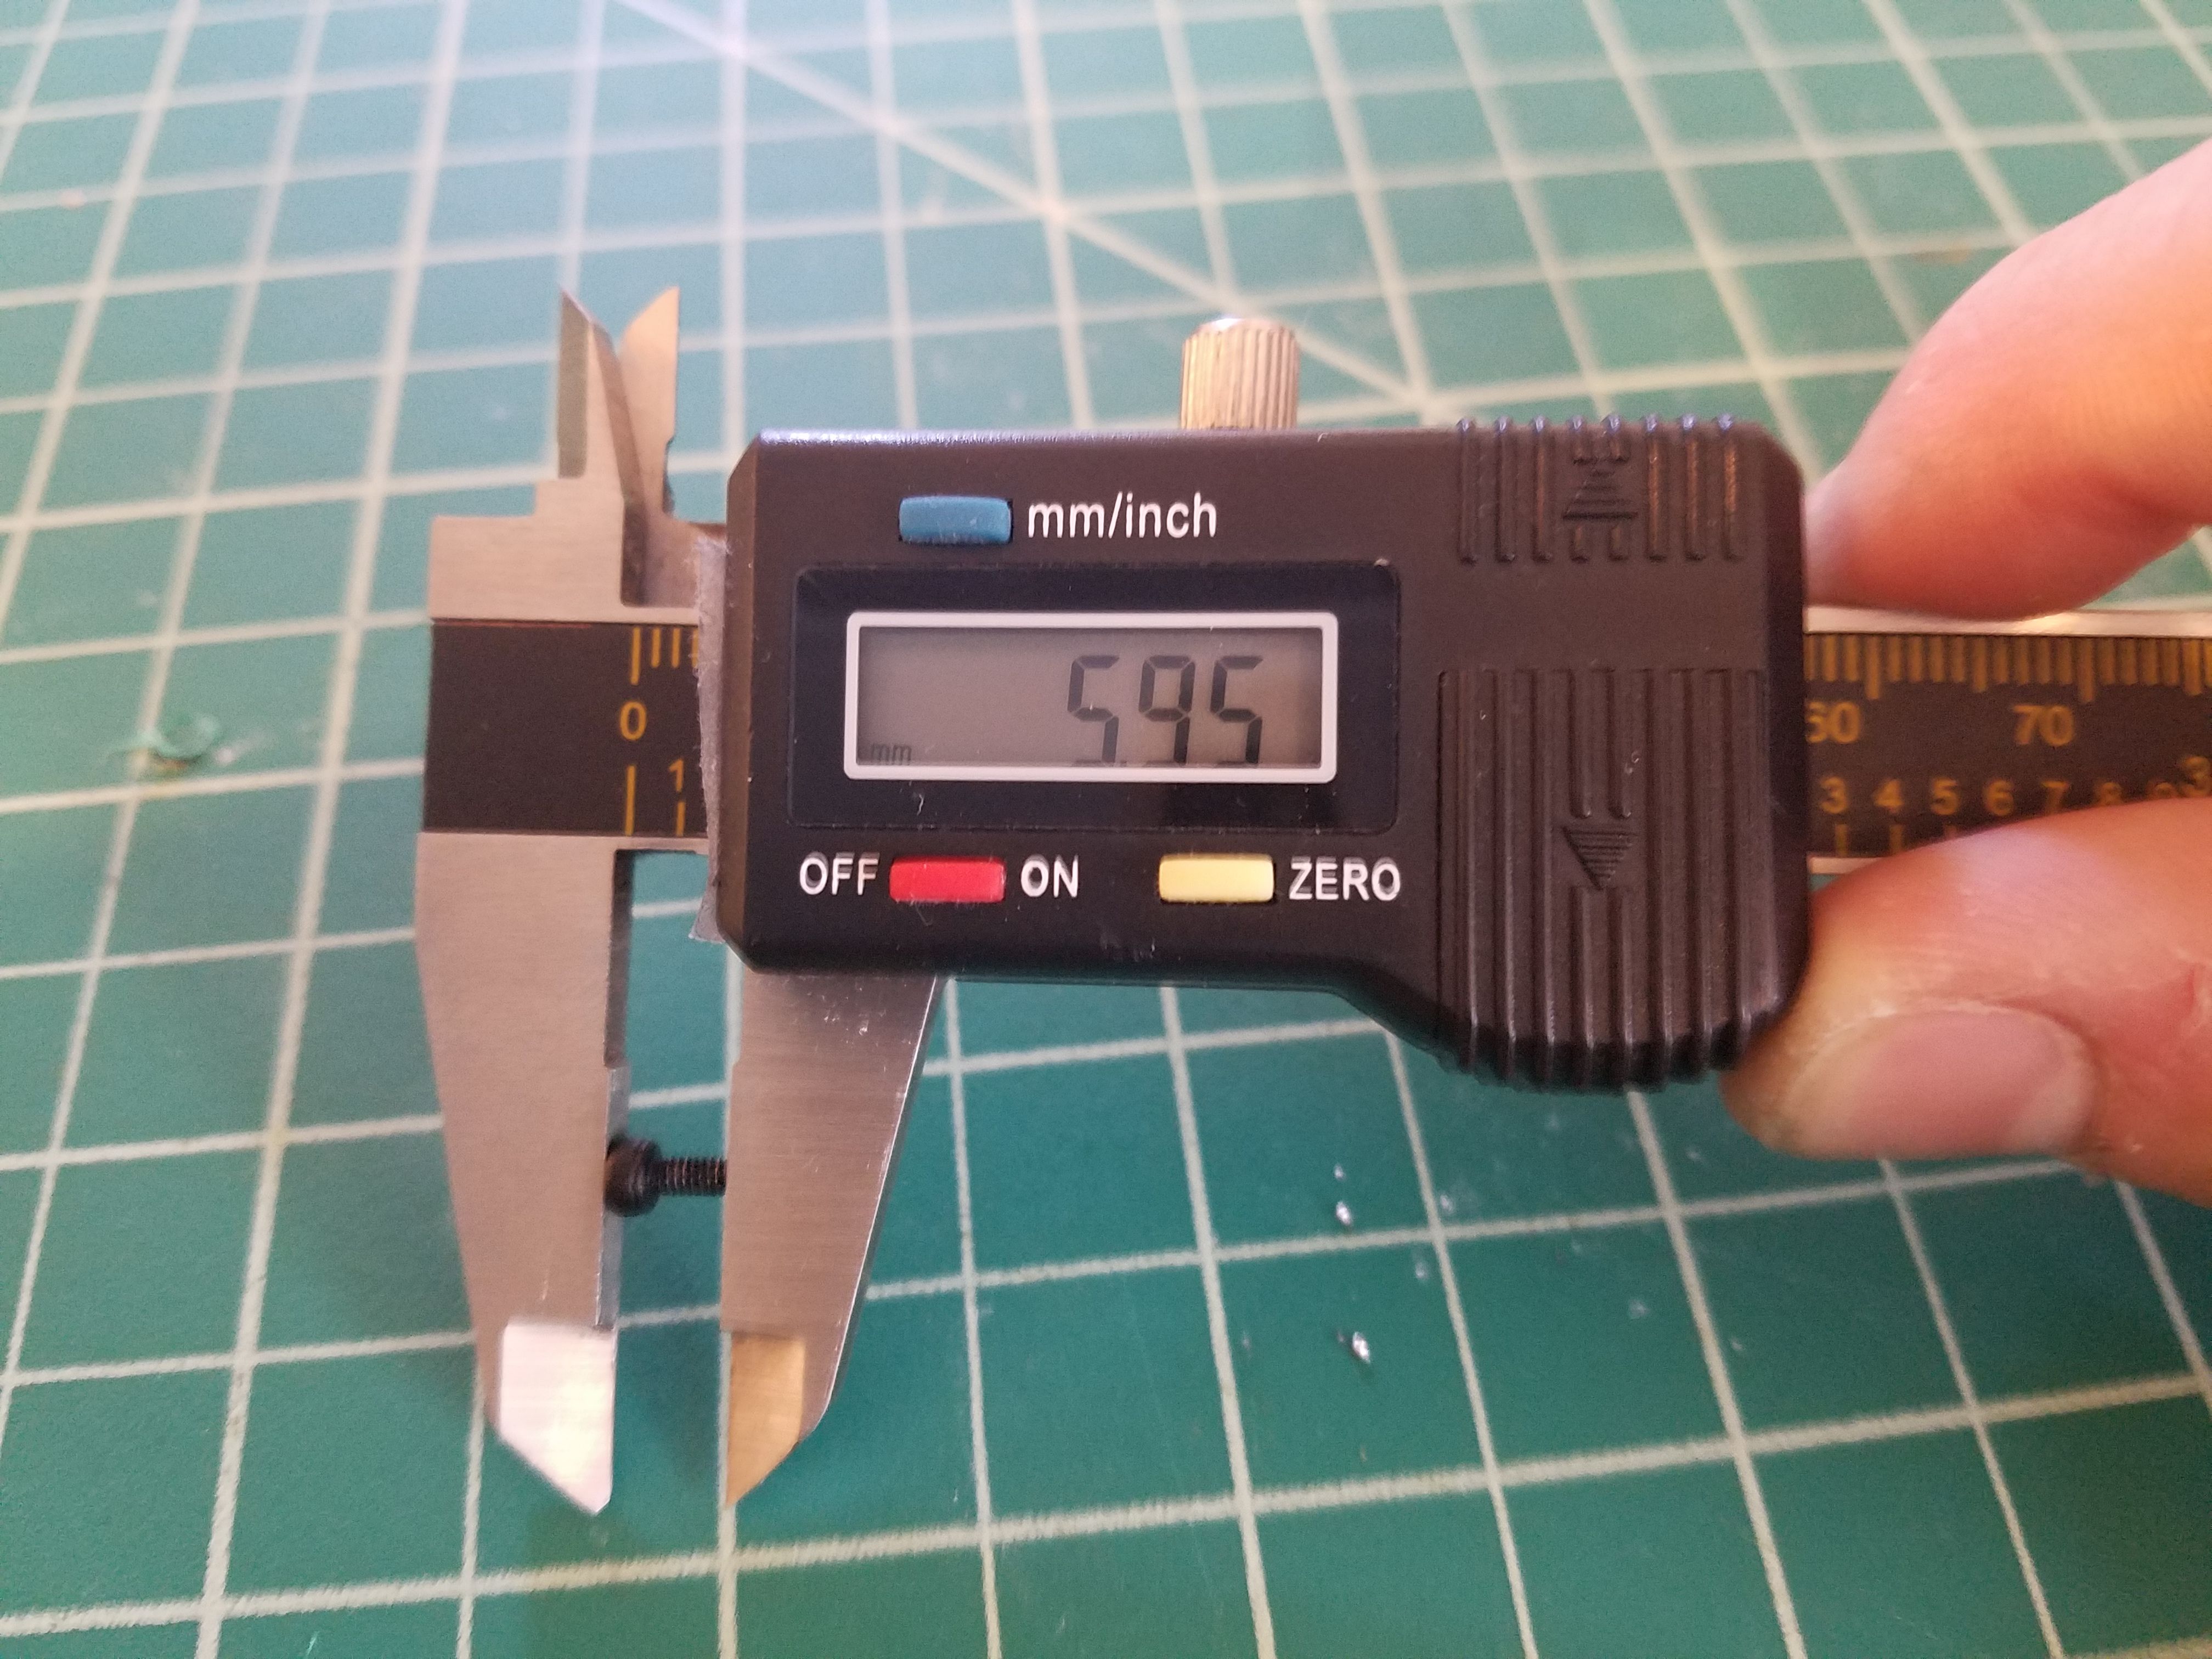
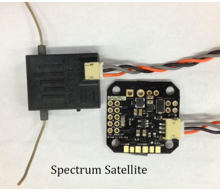
The next step is to start mounting motors to the frame. This will require an M2 driver. This part is easy to screw up (Pun intended) Assure the screws are the ones shown in the picture. If you do not have calipers, they are the shortest screws in the included bag. (Picture 2)
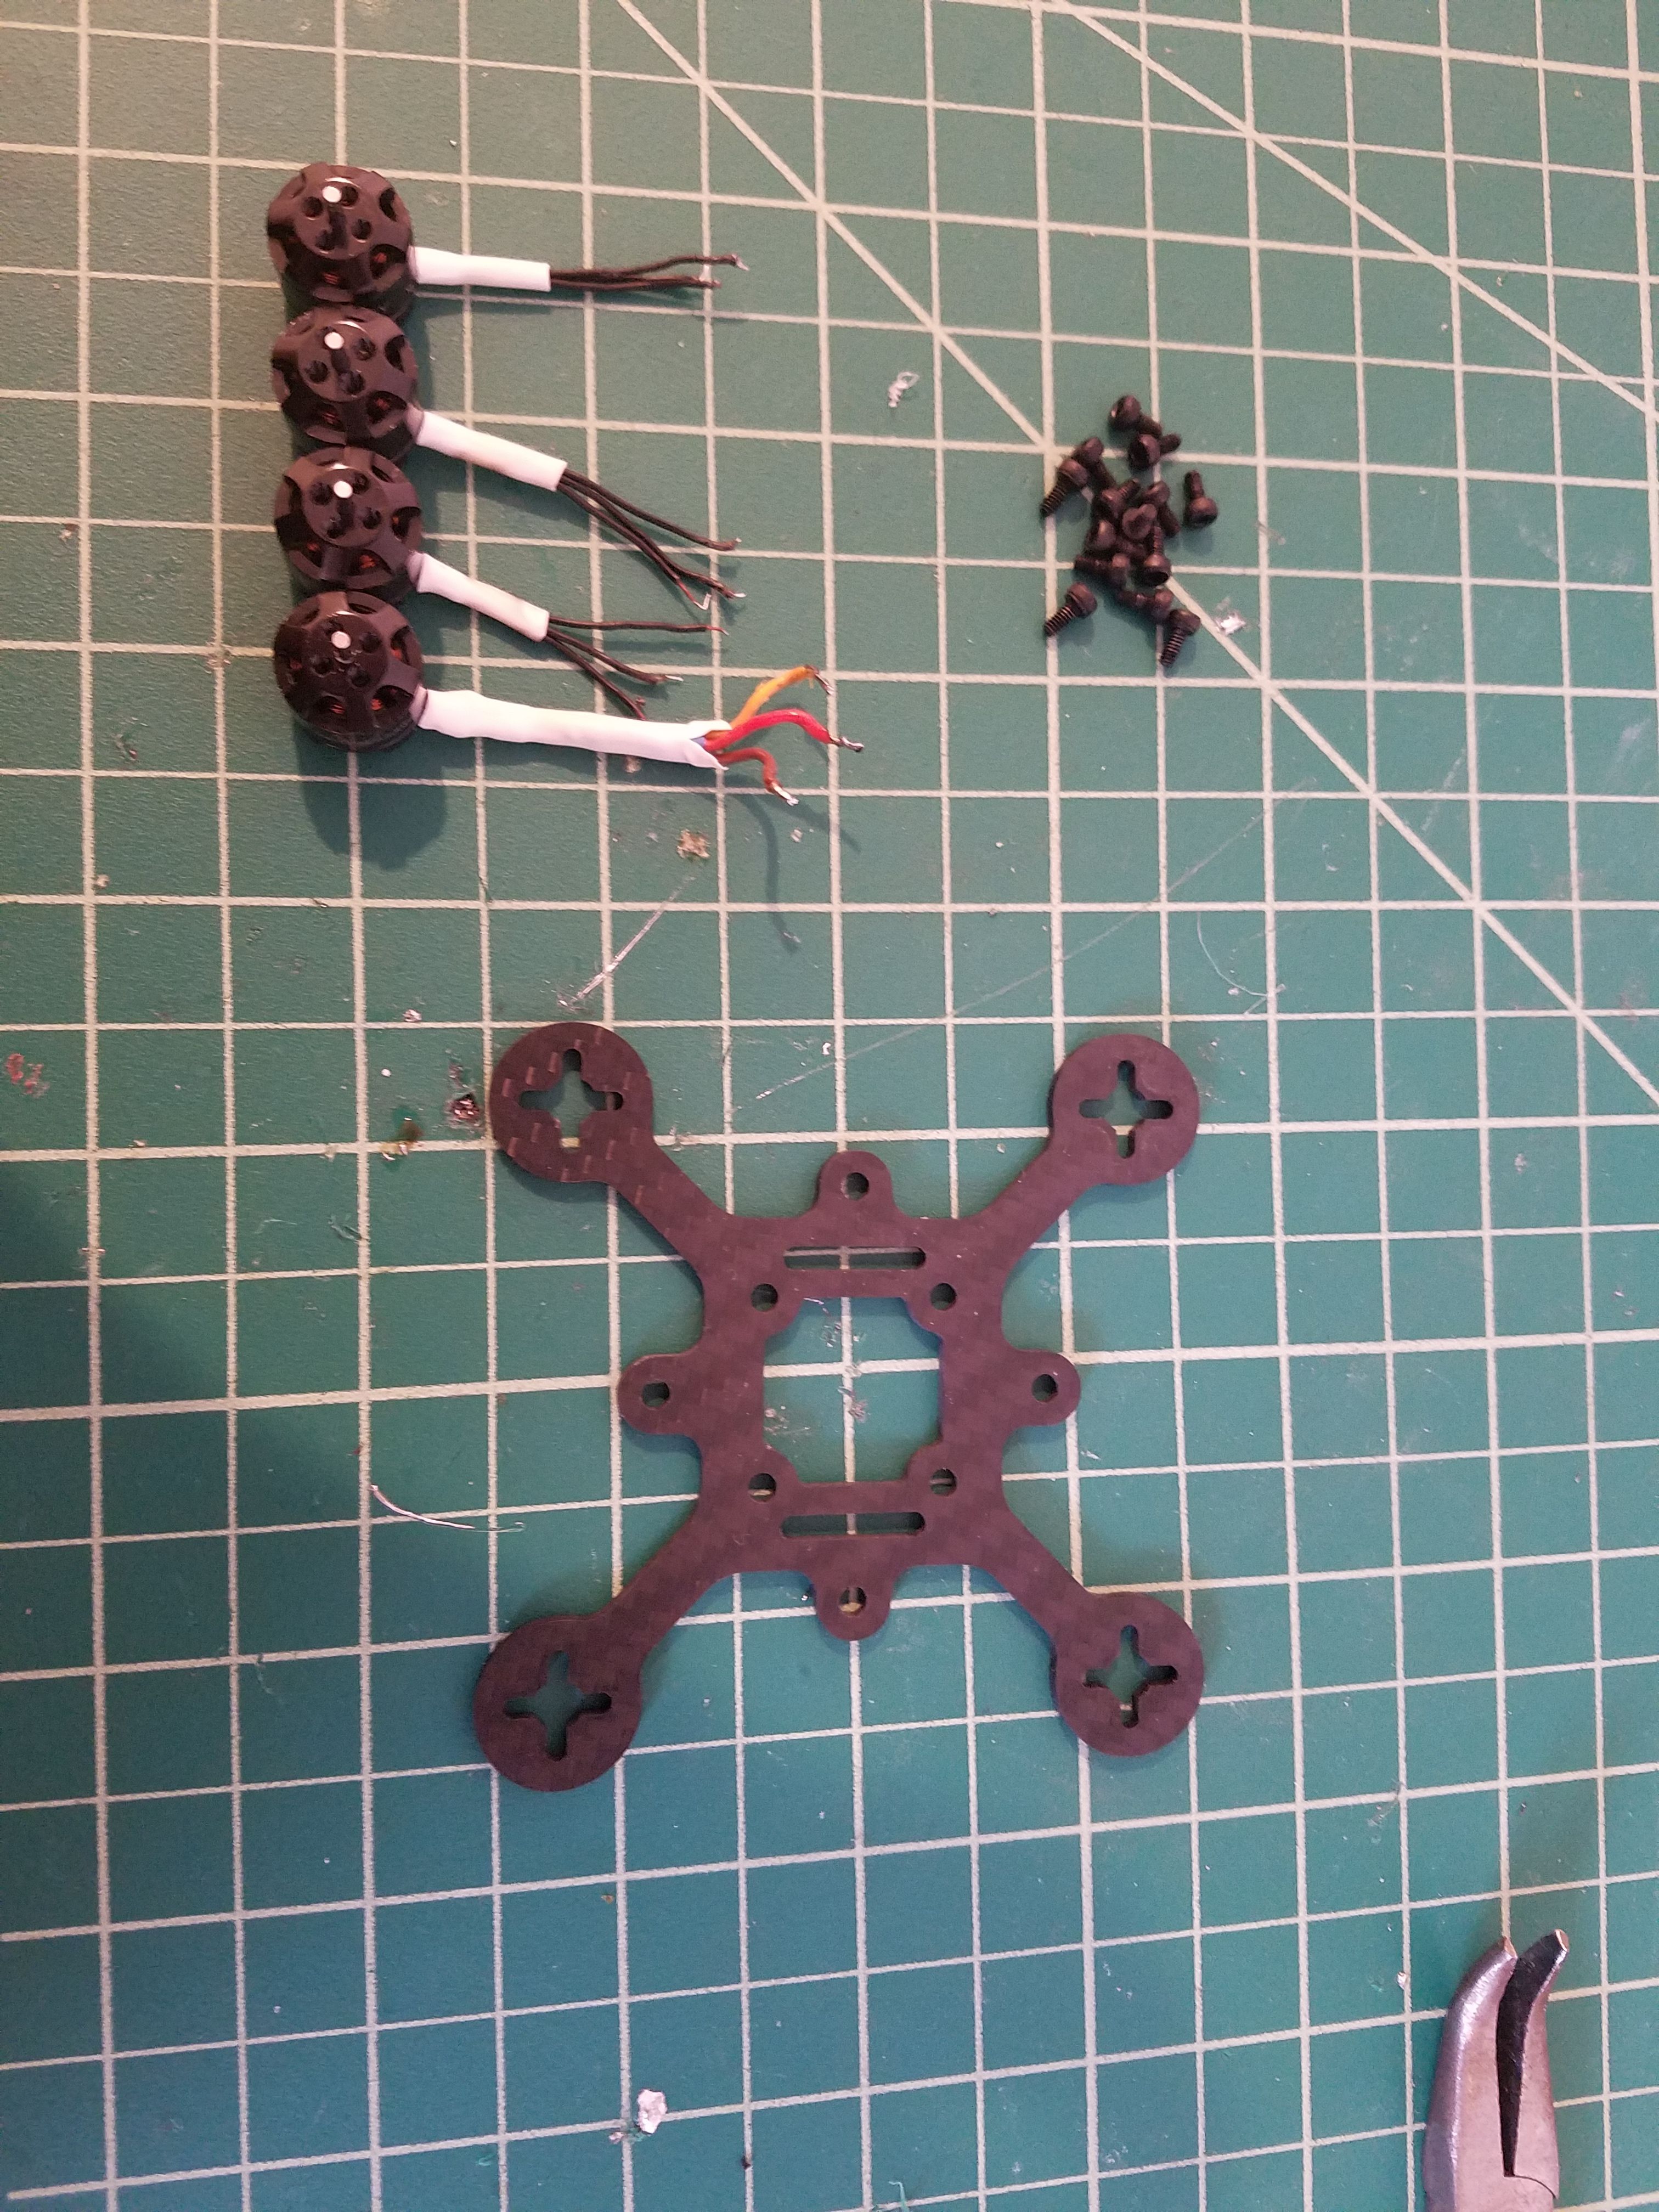
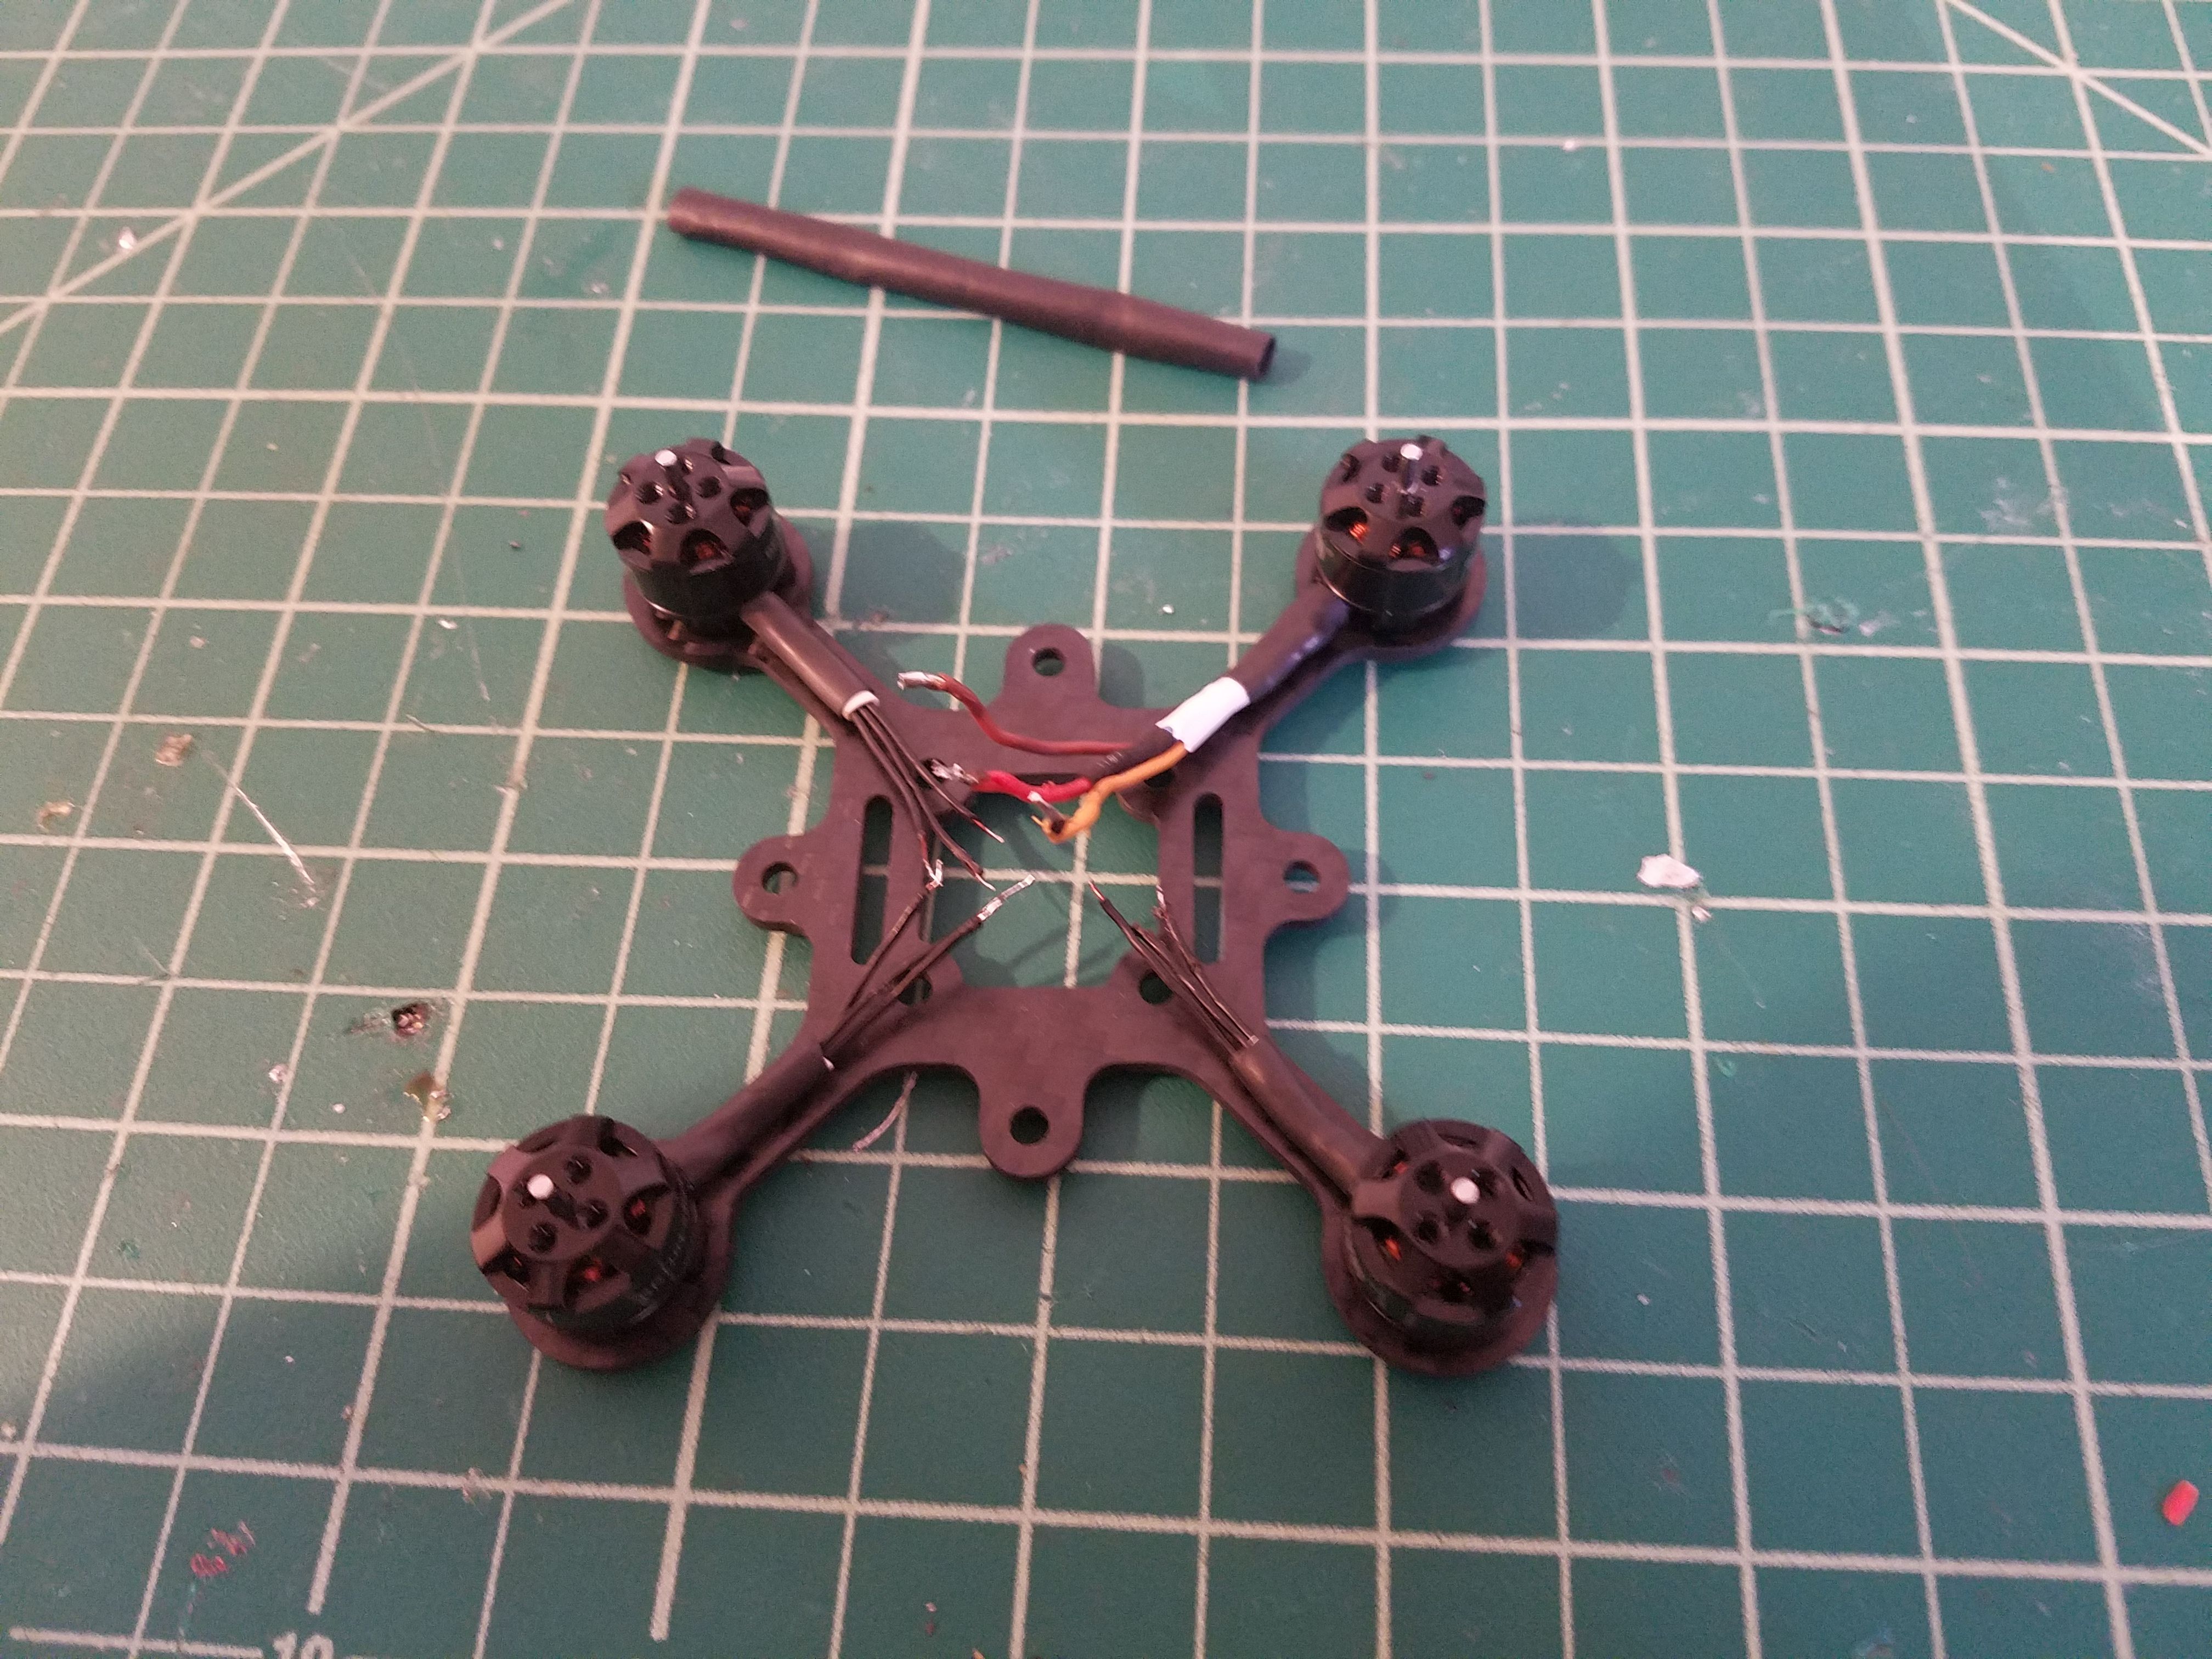
I chose to wrap the wires in heat shrink to tidy the build, and one of mine had a broken stator wire, so I repaired it myself (Picture 3)
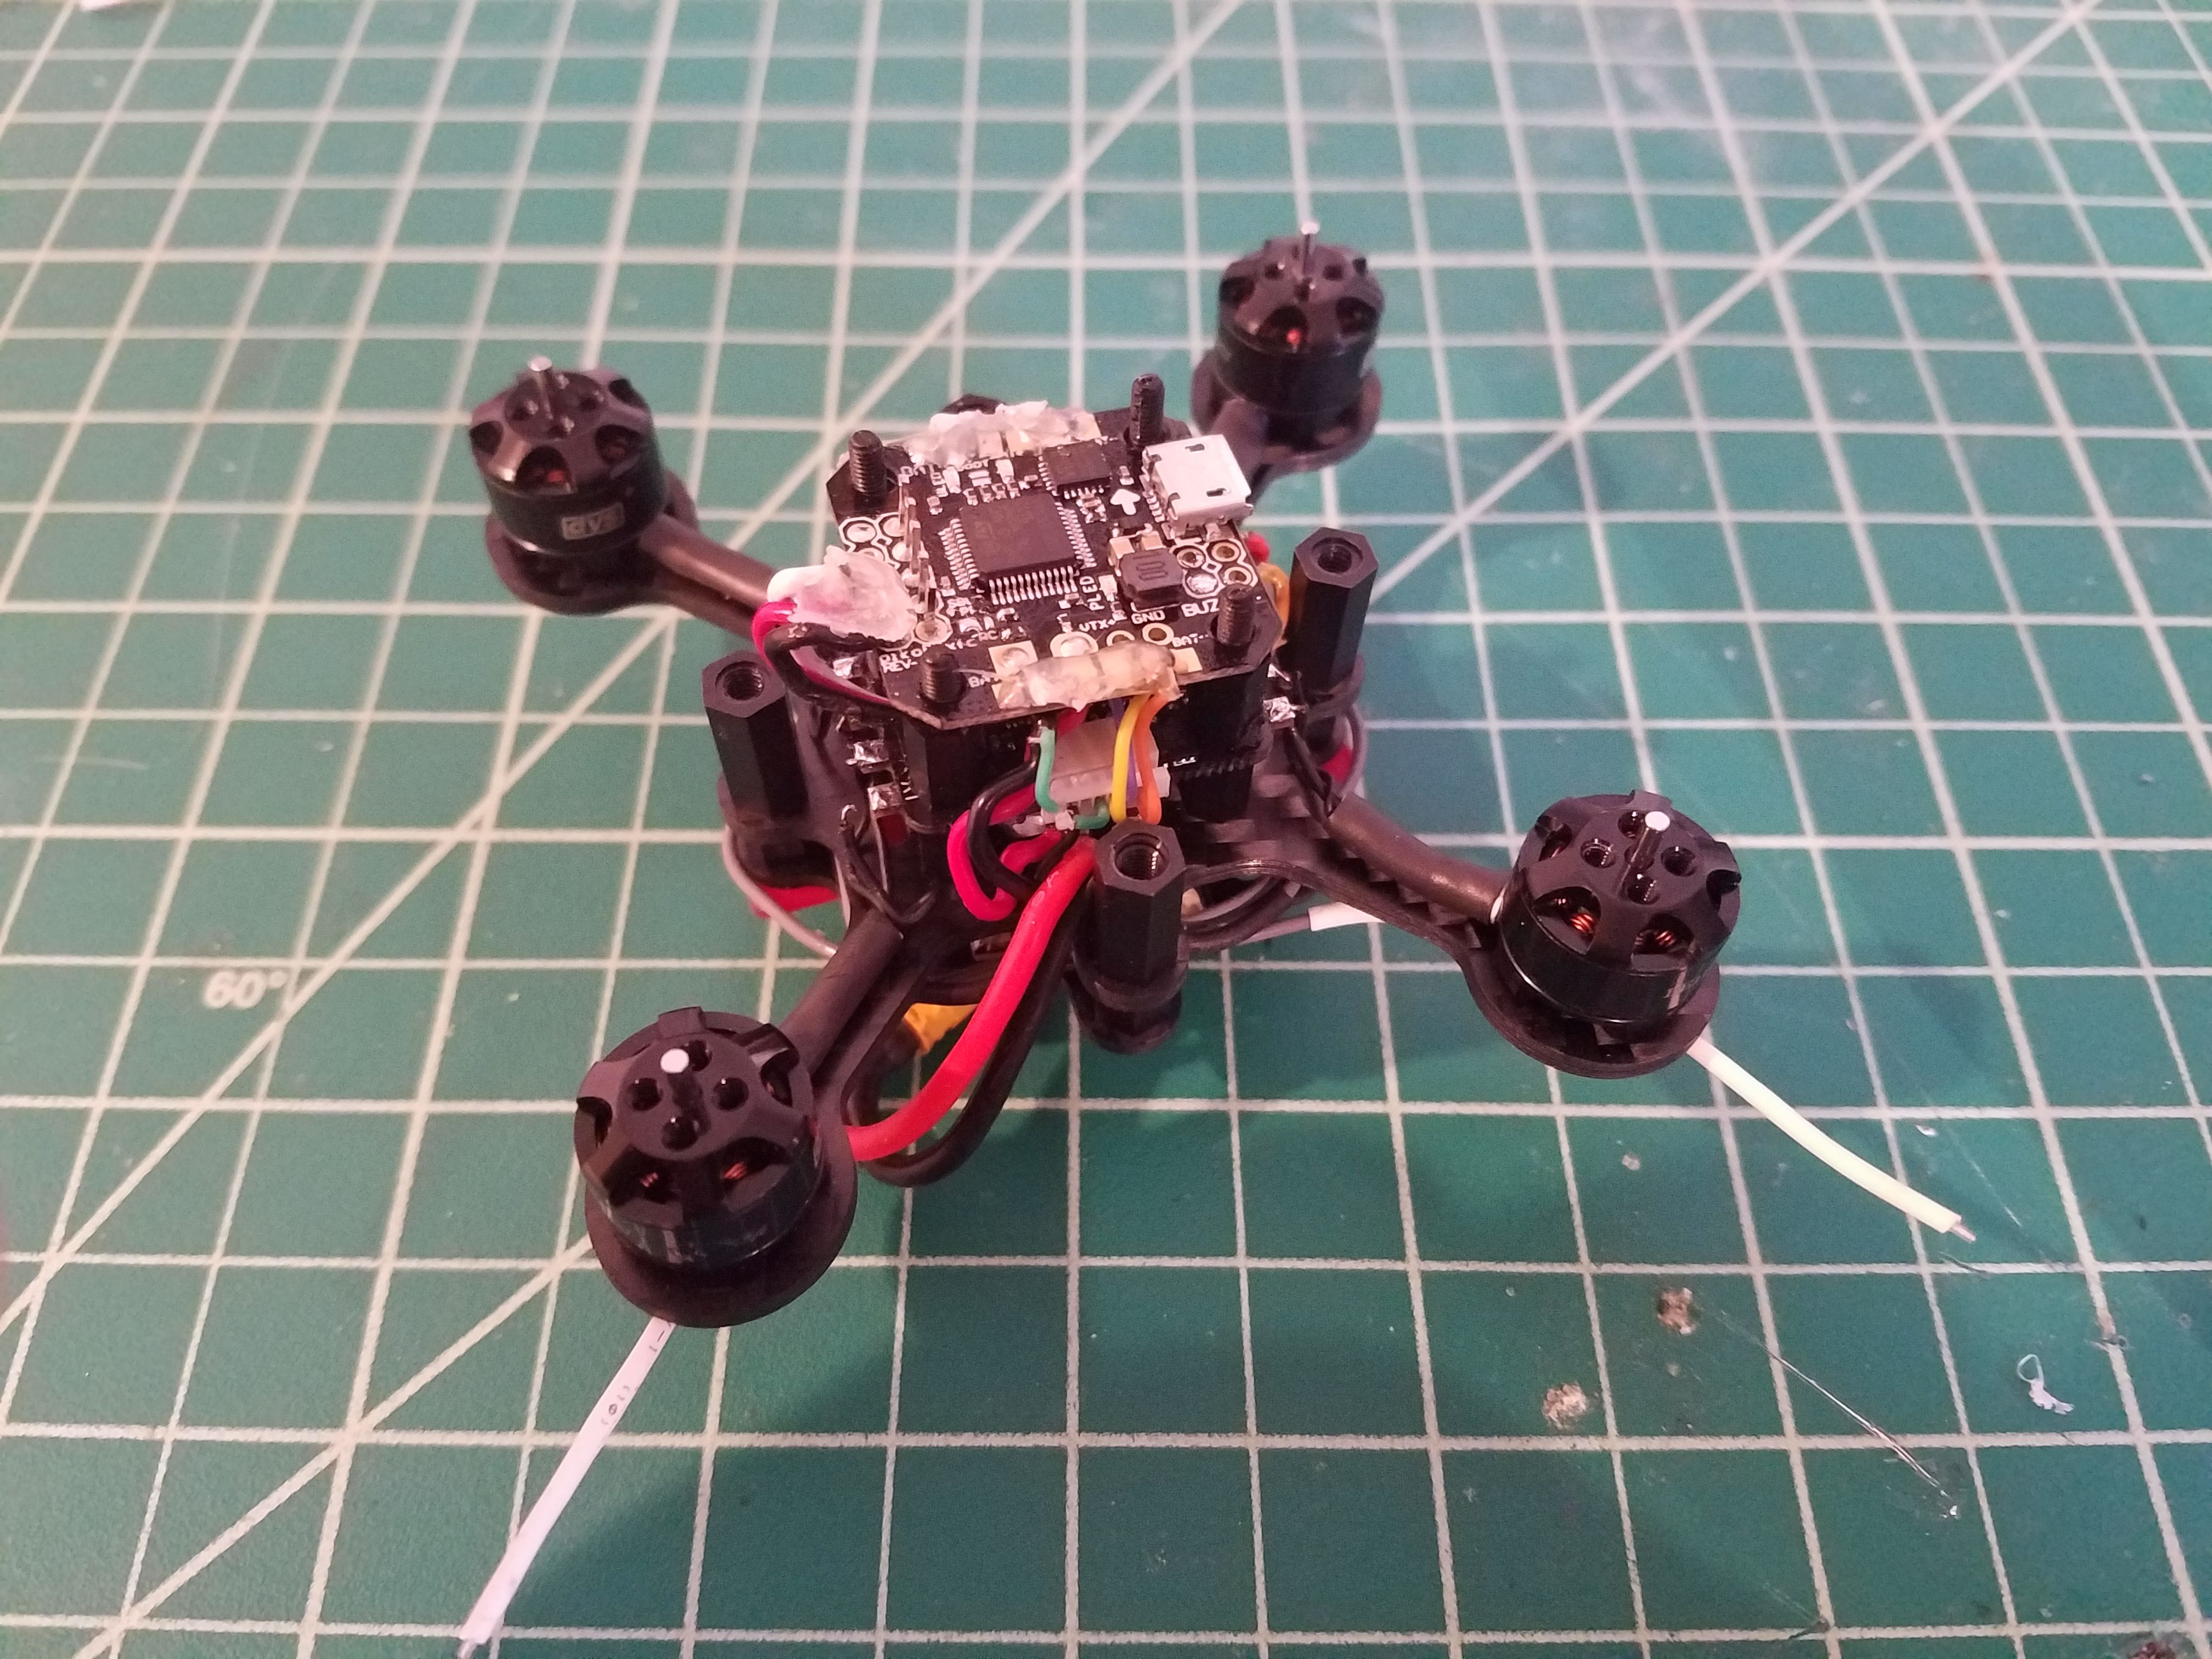
Mount the motors so the wires face the center, with all 4 screws of course. The use of Loctite is highly recommended since high-frequency vibrations from the motors are very likely to loosen the screws. Soft mounting motors is optional. (Pictures 4 and 5)
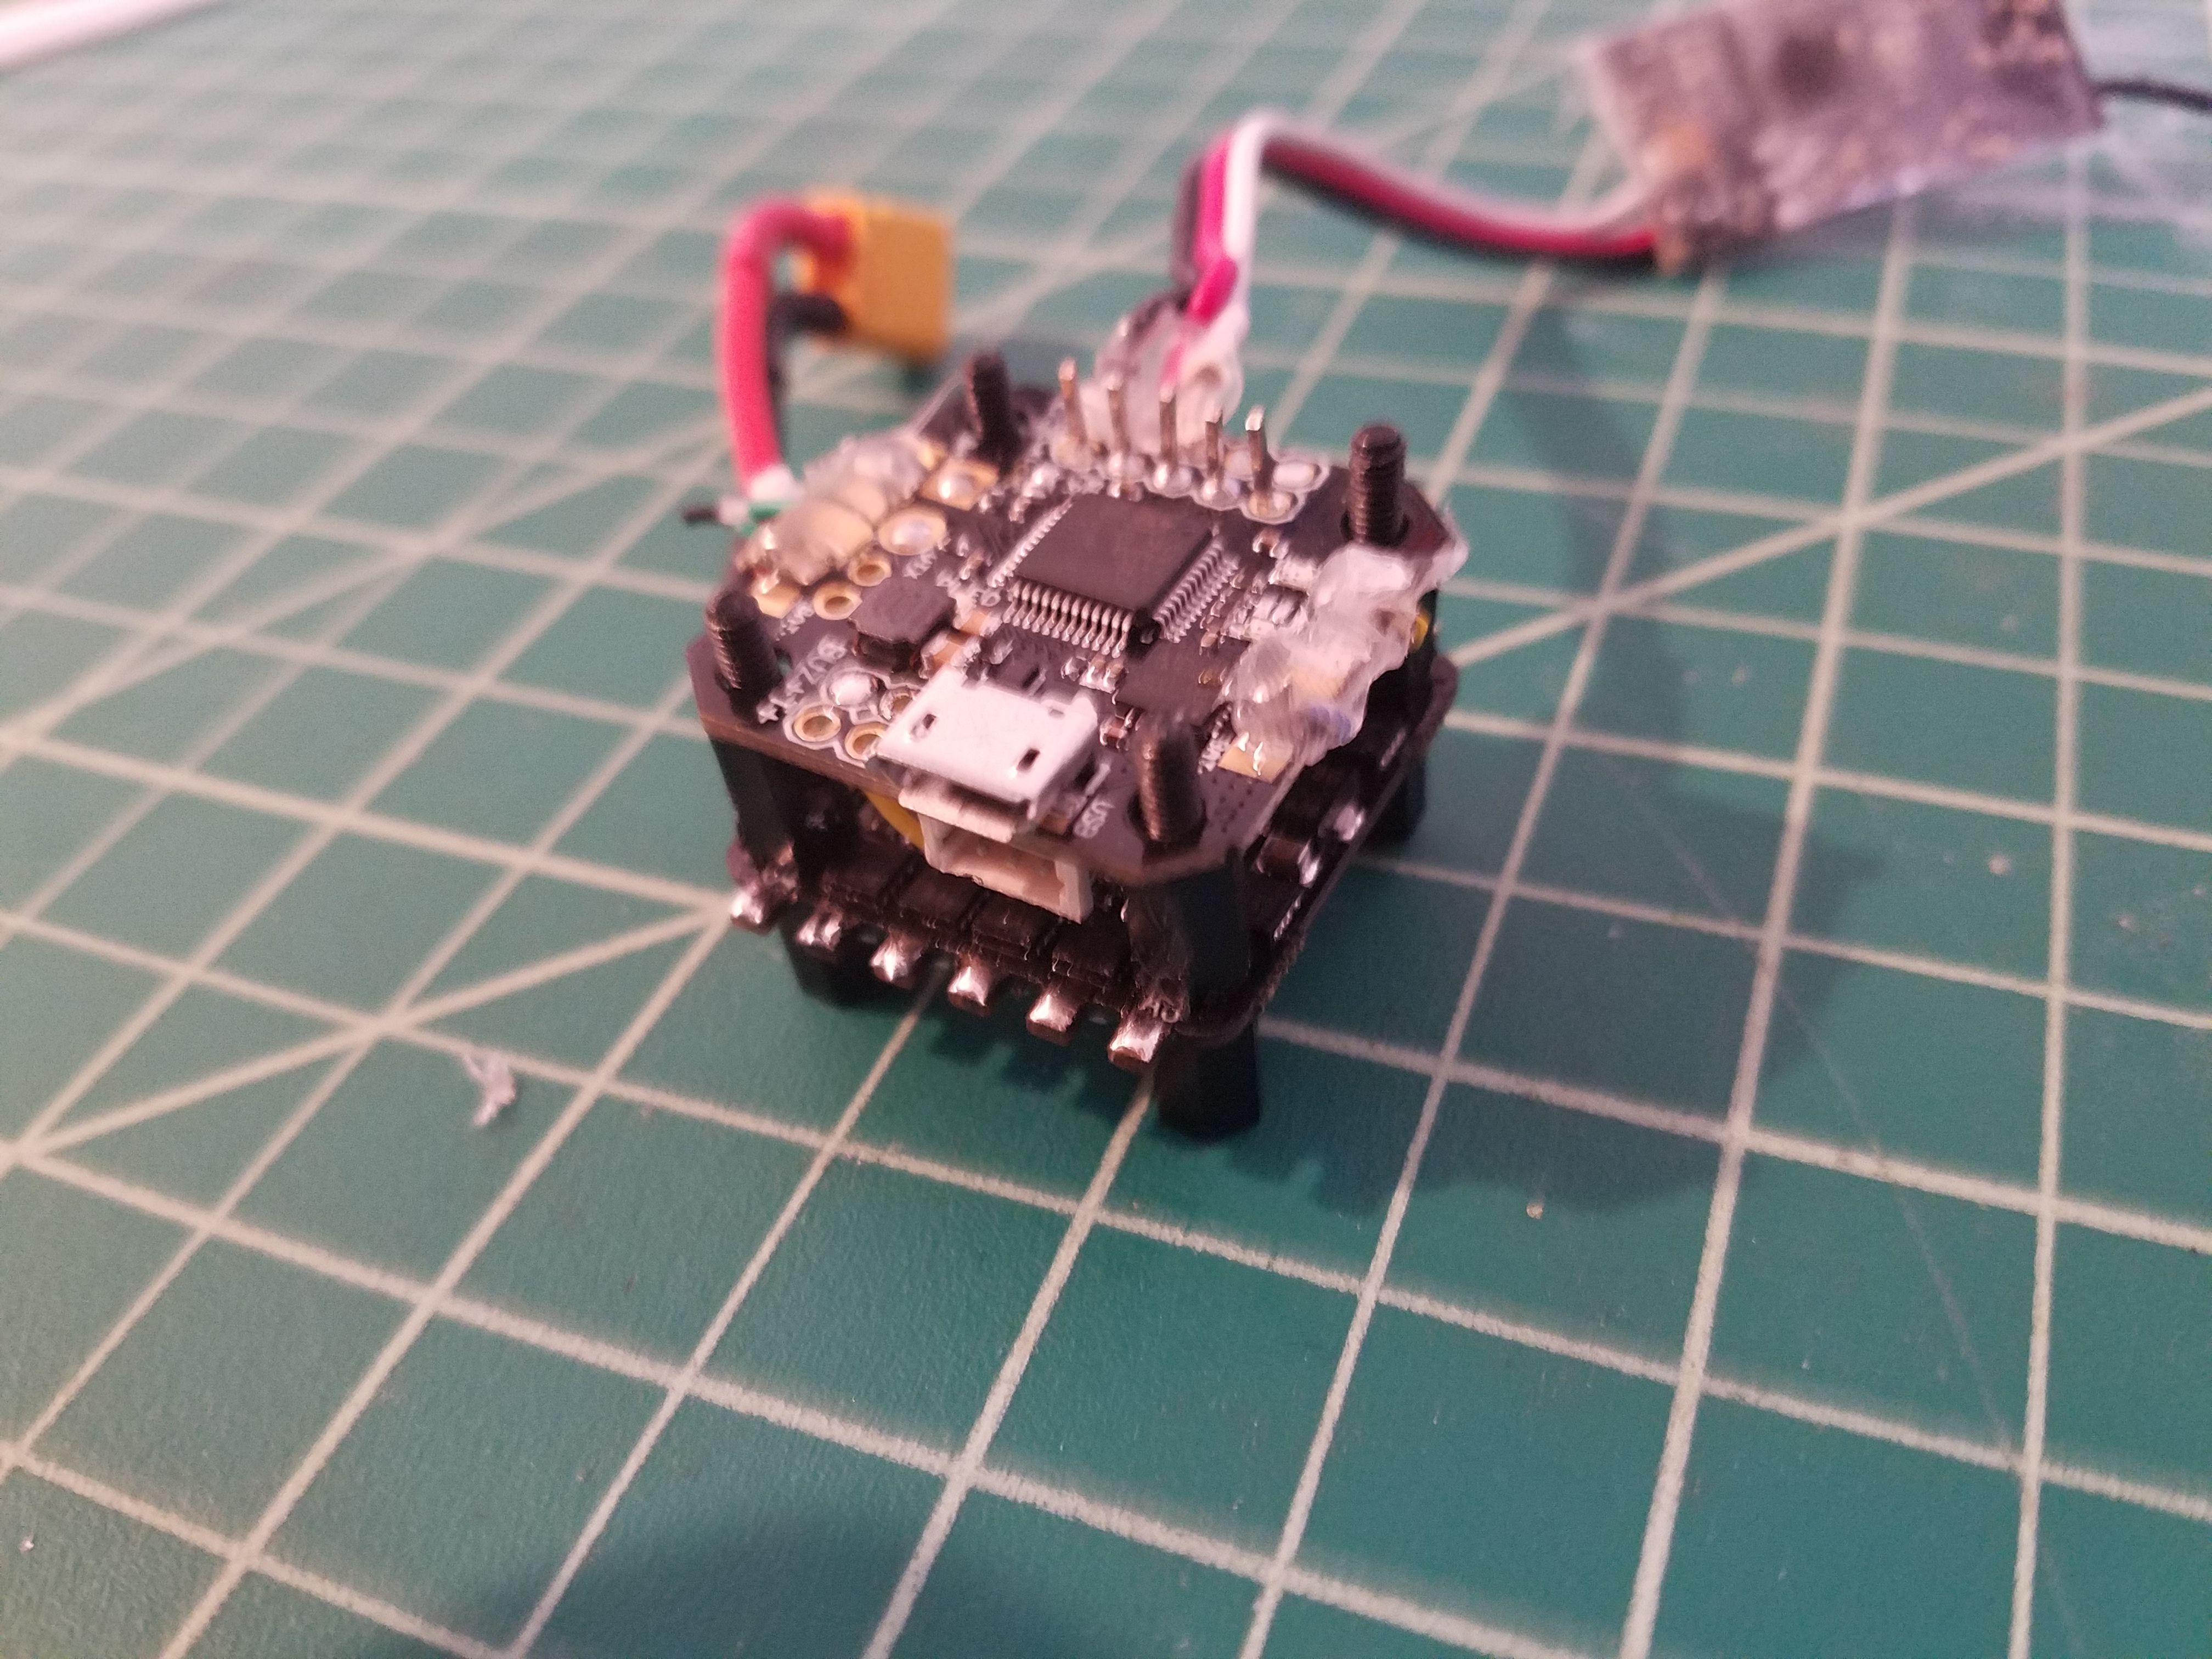
If you haven’t assembled your Pico Core yet, you can follow that guide here
https://flexrc.com/2016/12/03/how-to-assemble-flexrc-pico-core-diy-kit/
(Picture 6)
From here, we’re going to mount the pico core to the existing frame. This uses the button head nylon screws included with the set. They are the most narrow of all of the screw included. Screw the core into place using the 4 holes that correspond to the 20x20mm spacing on the Pico Core. It helps to bend the wires coming from the motors out of the way. (Picture 7)
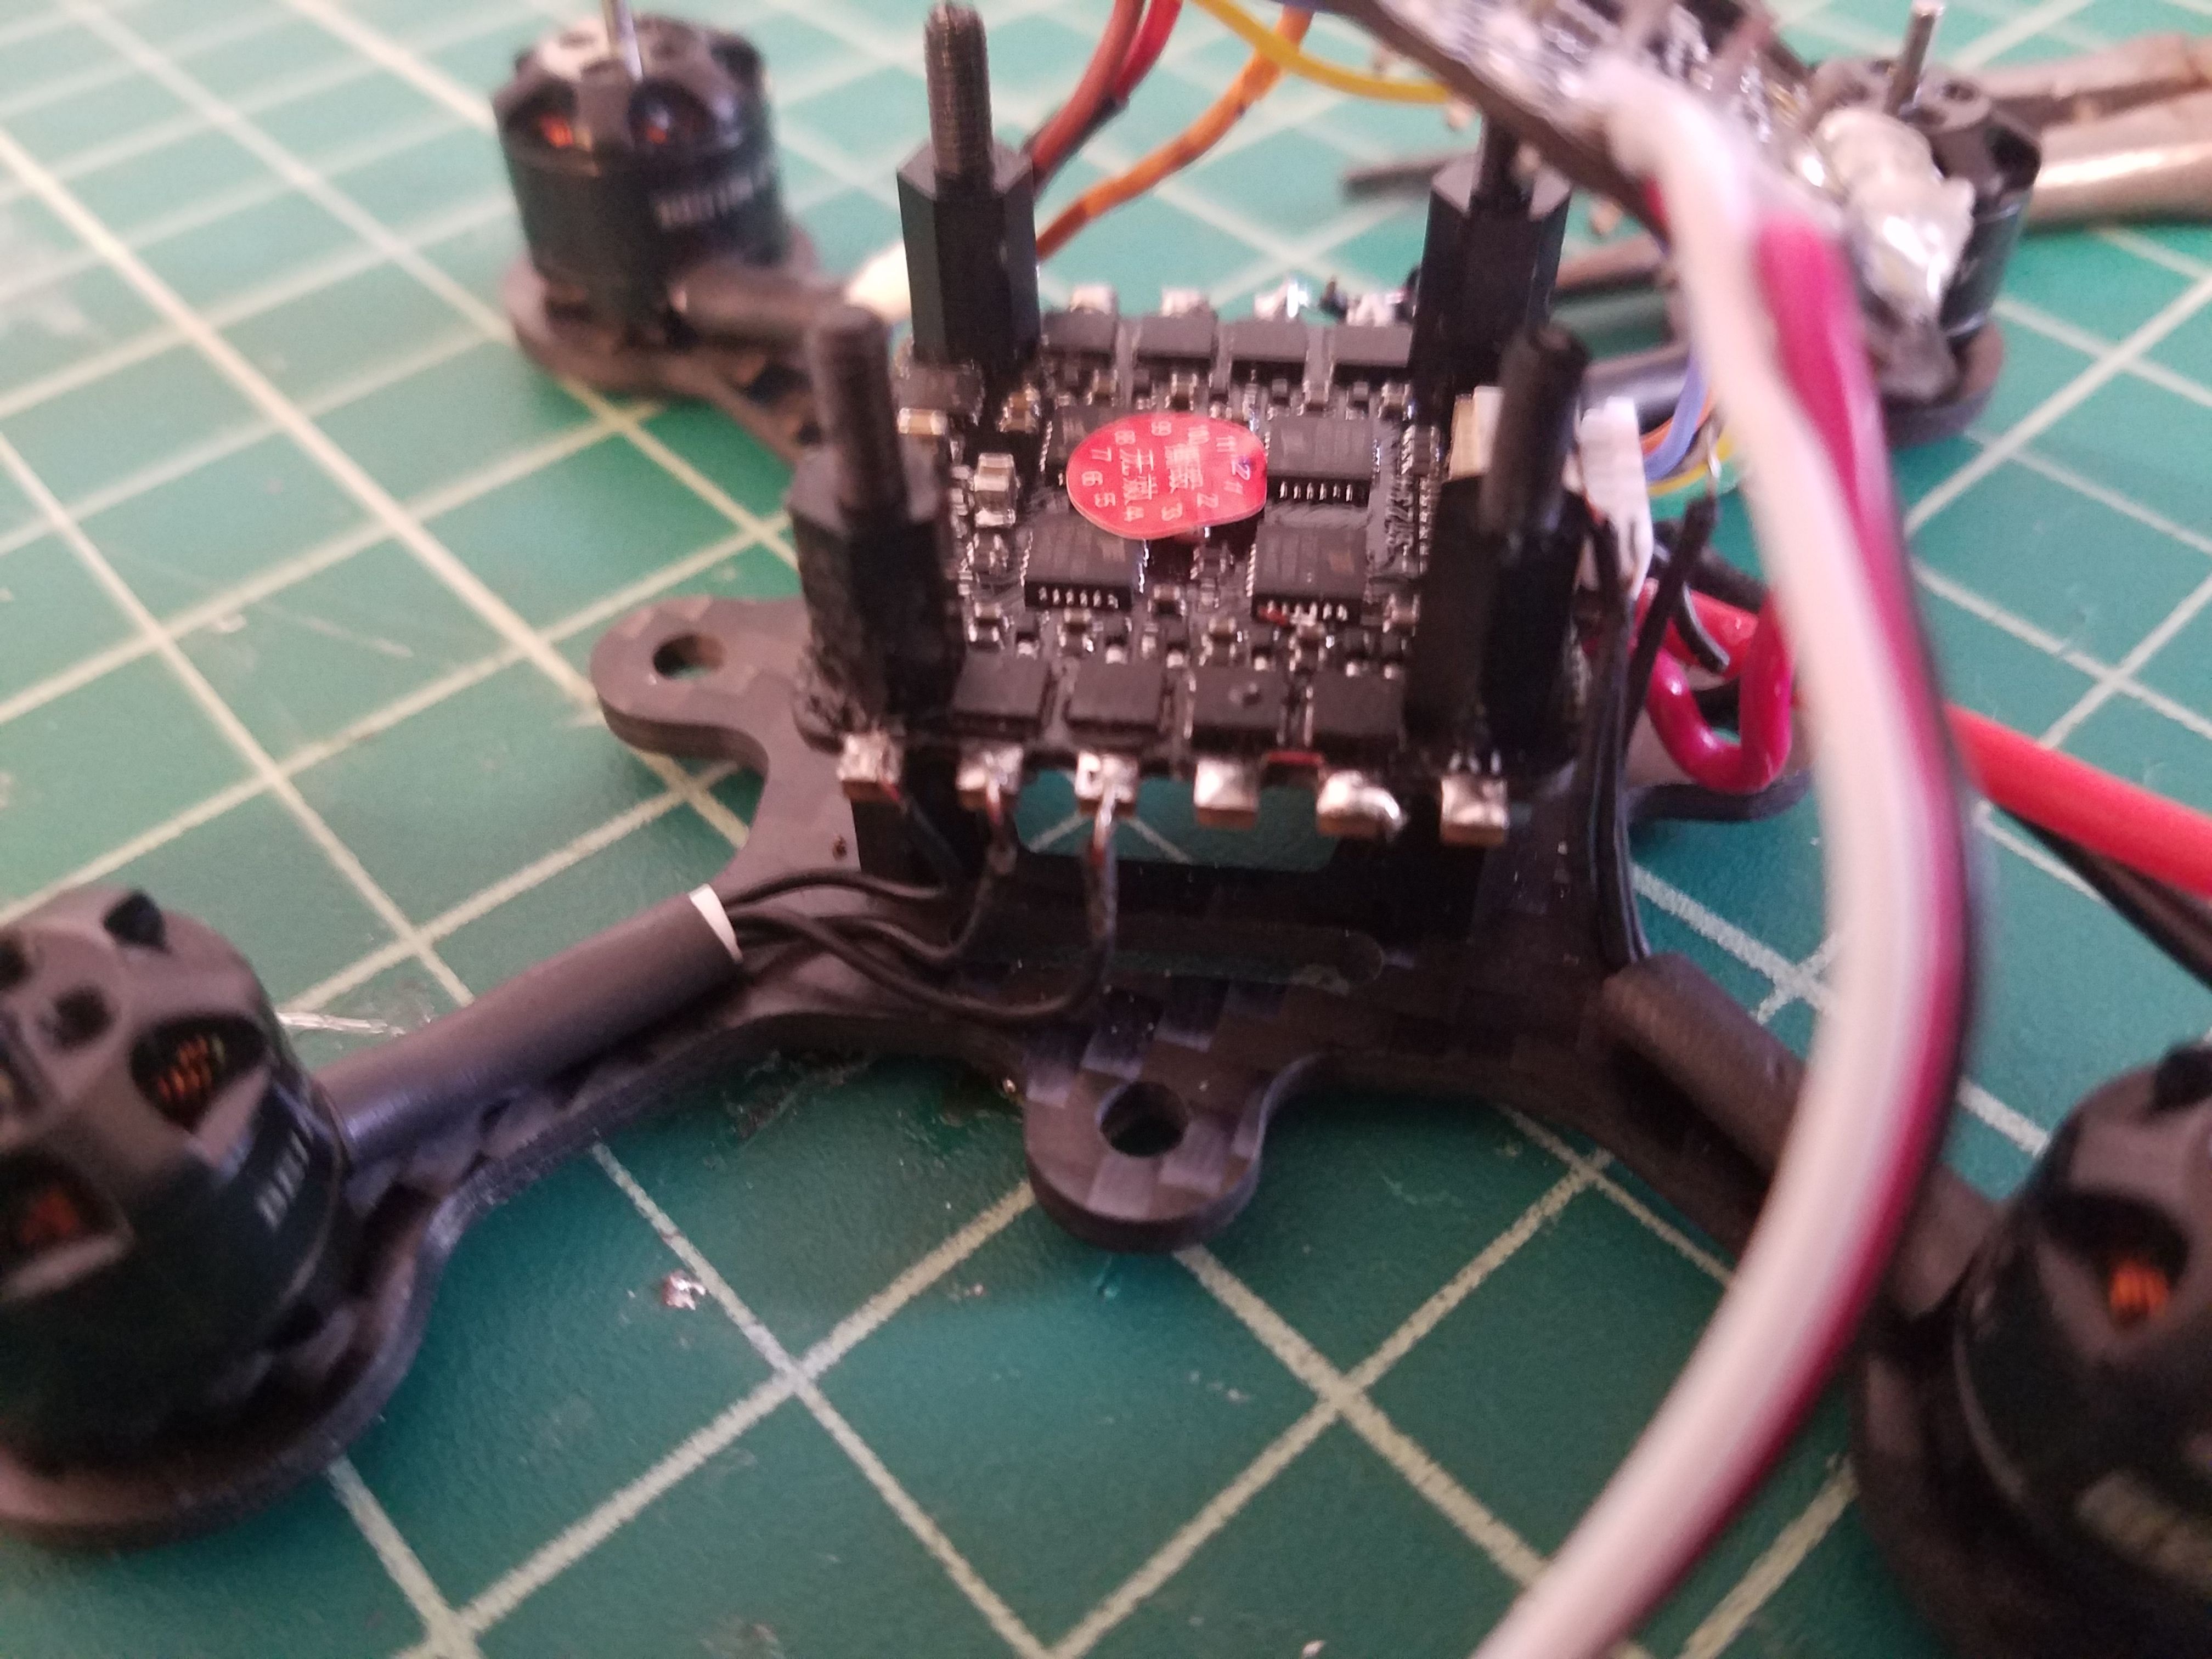
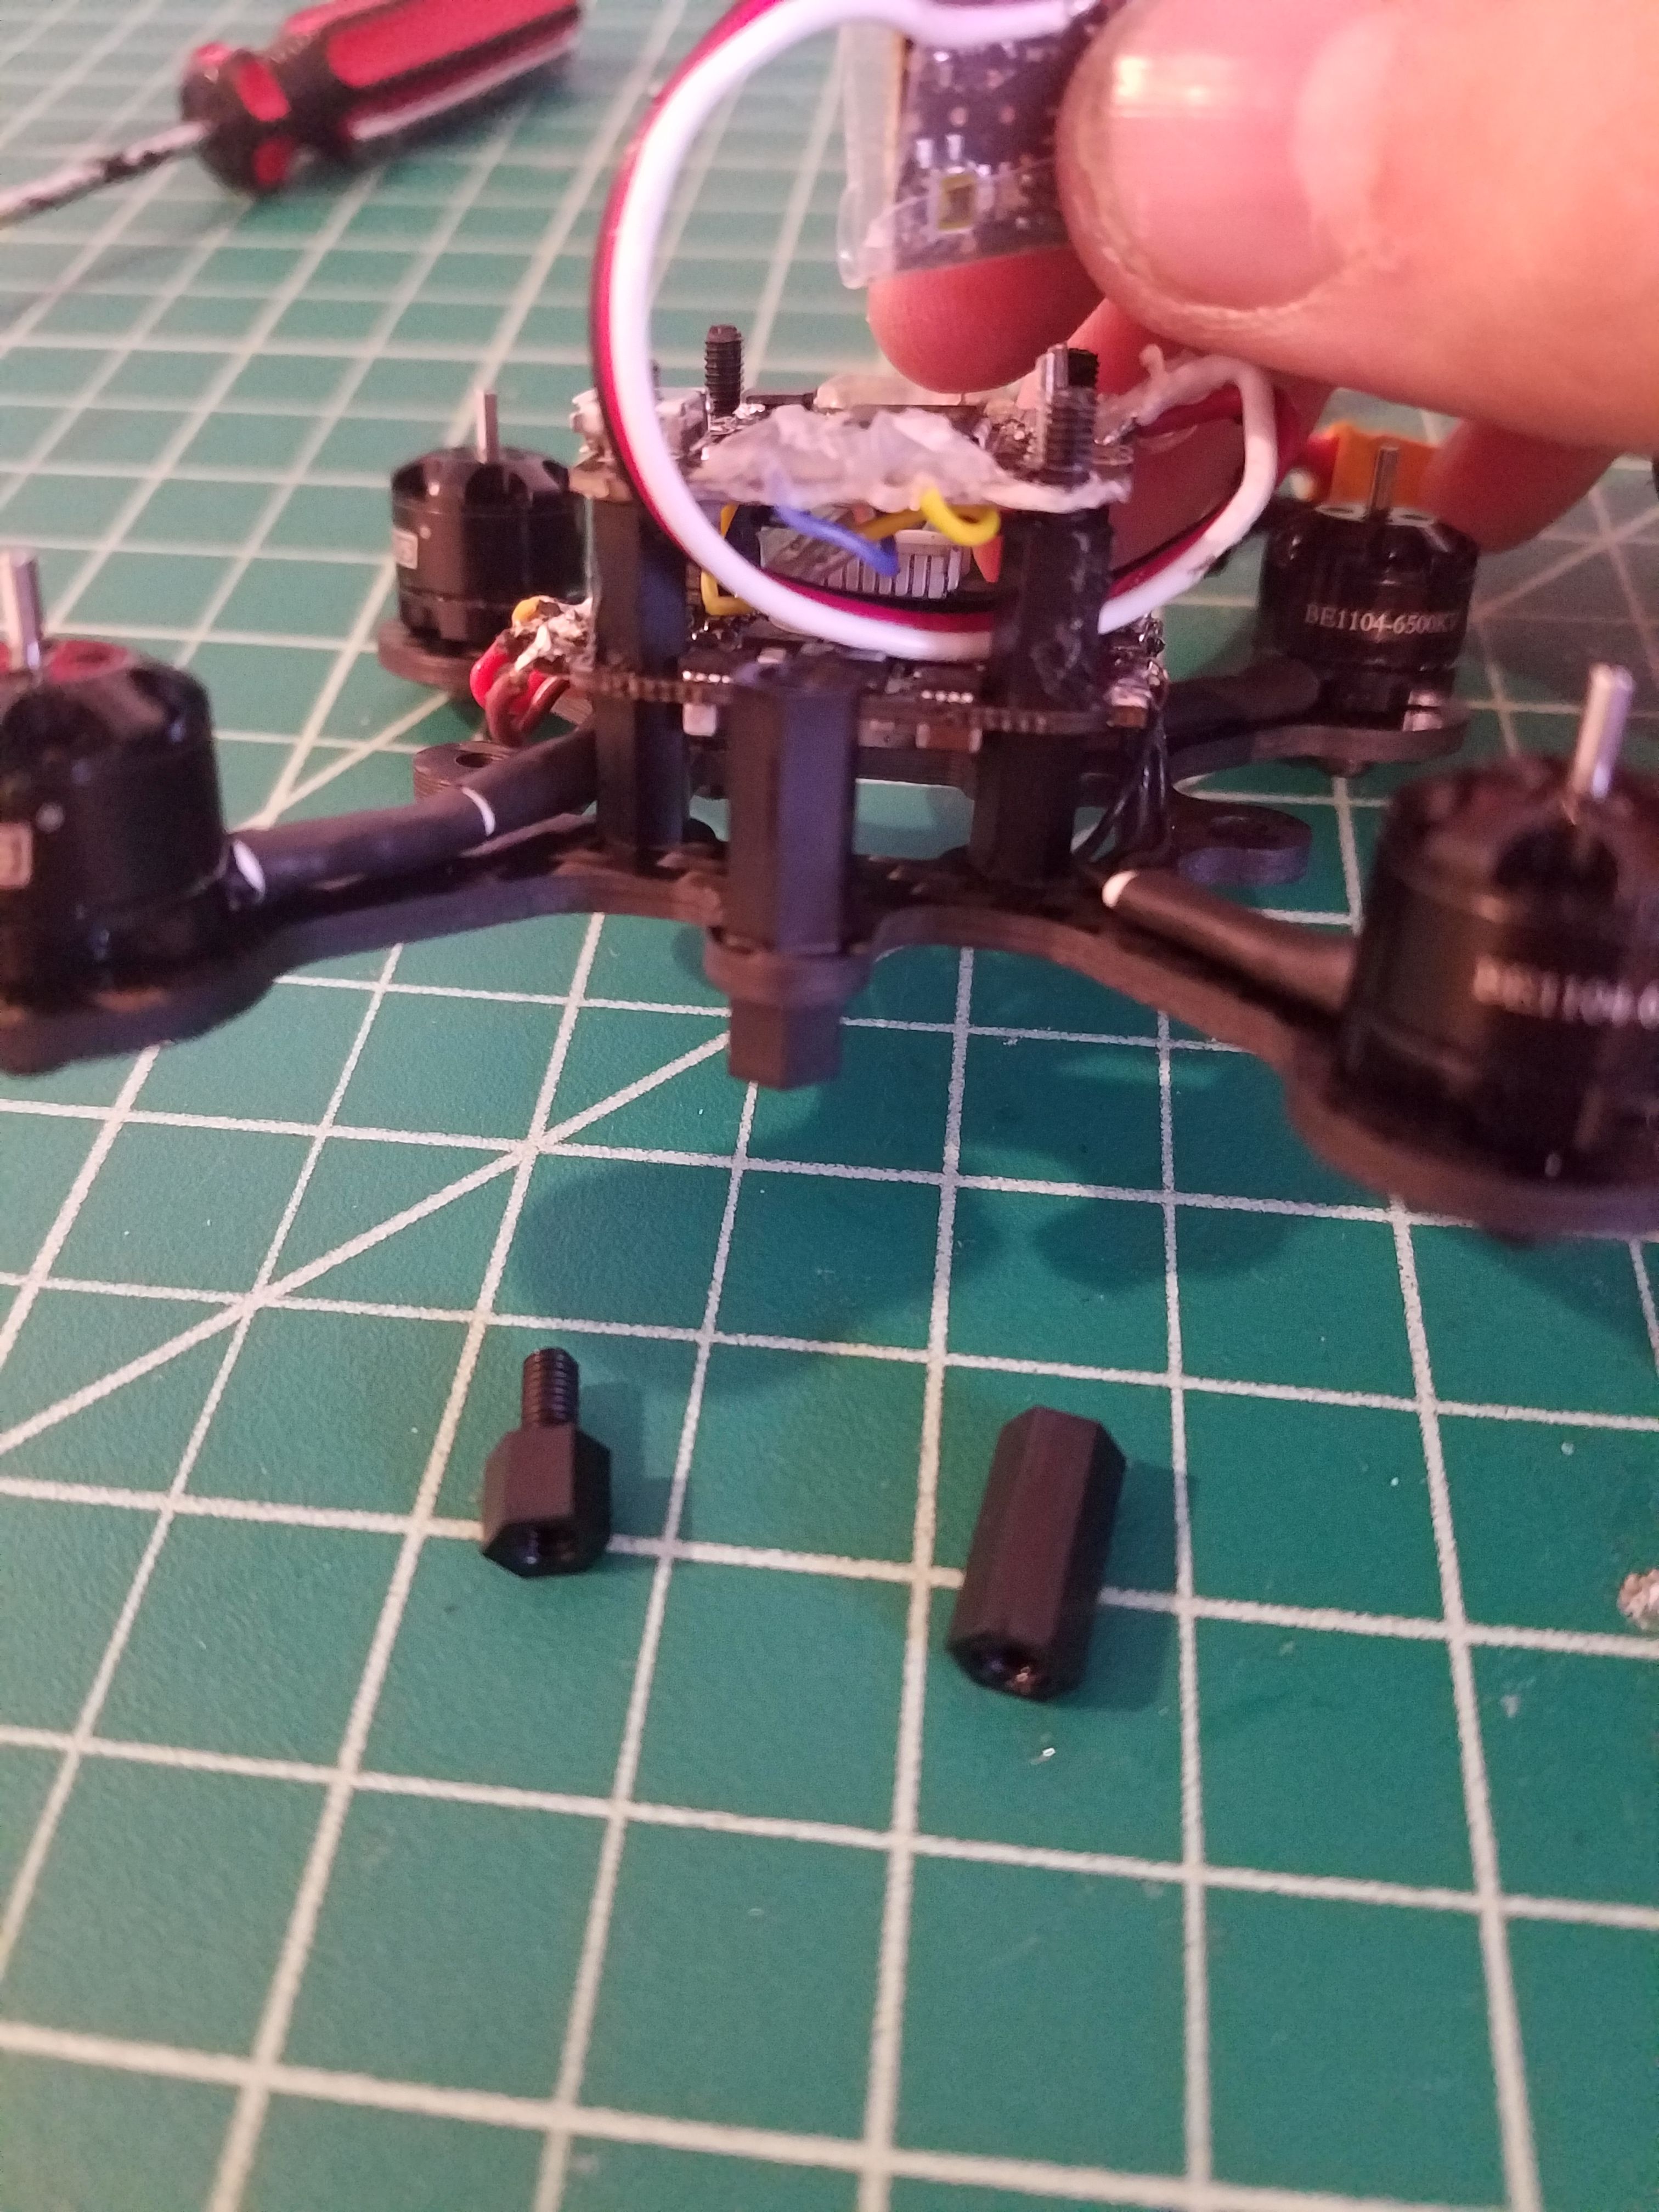
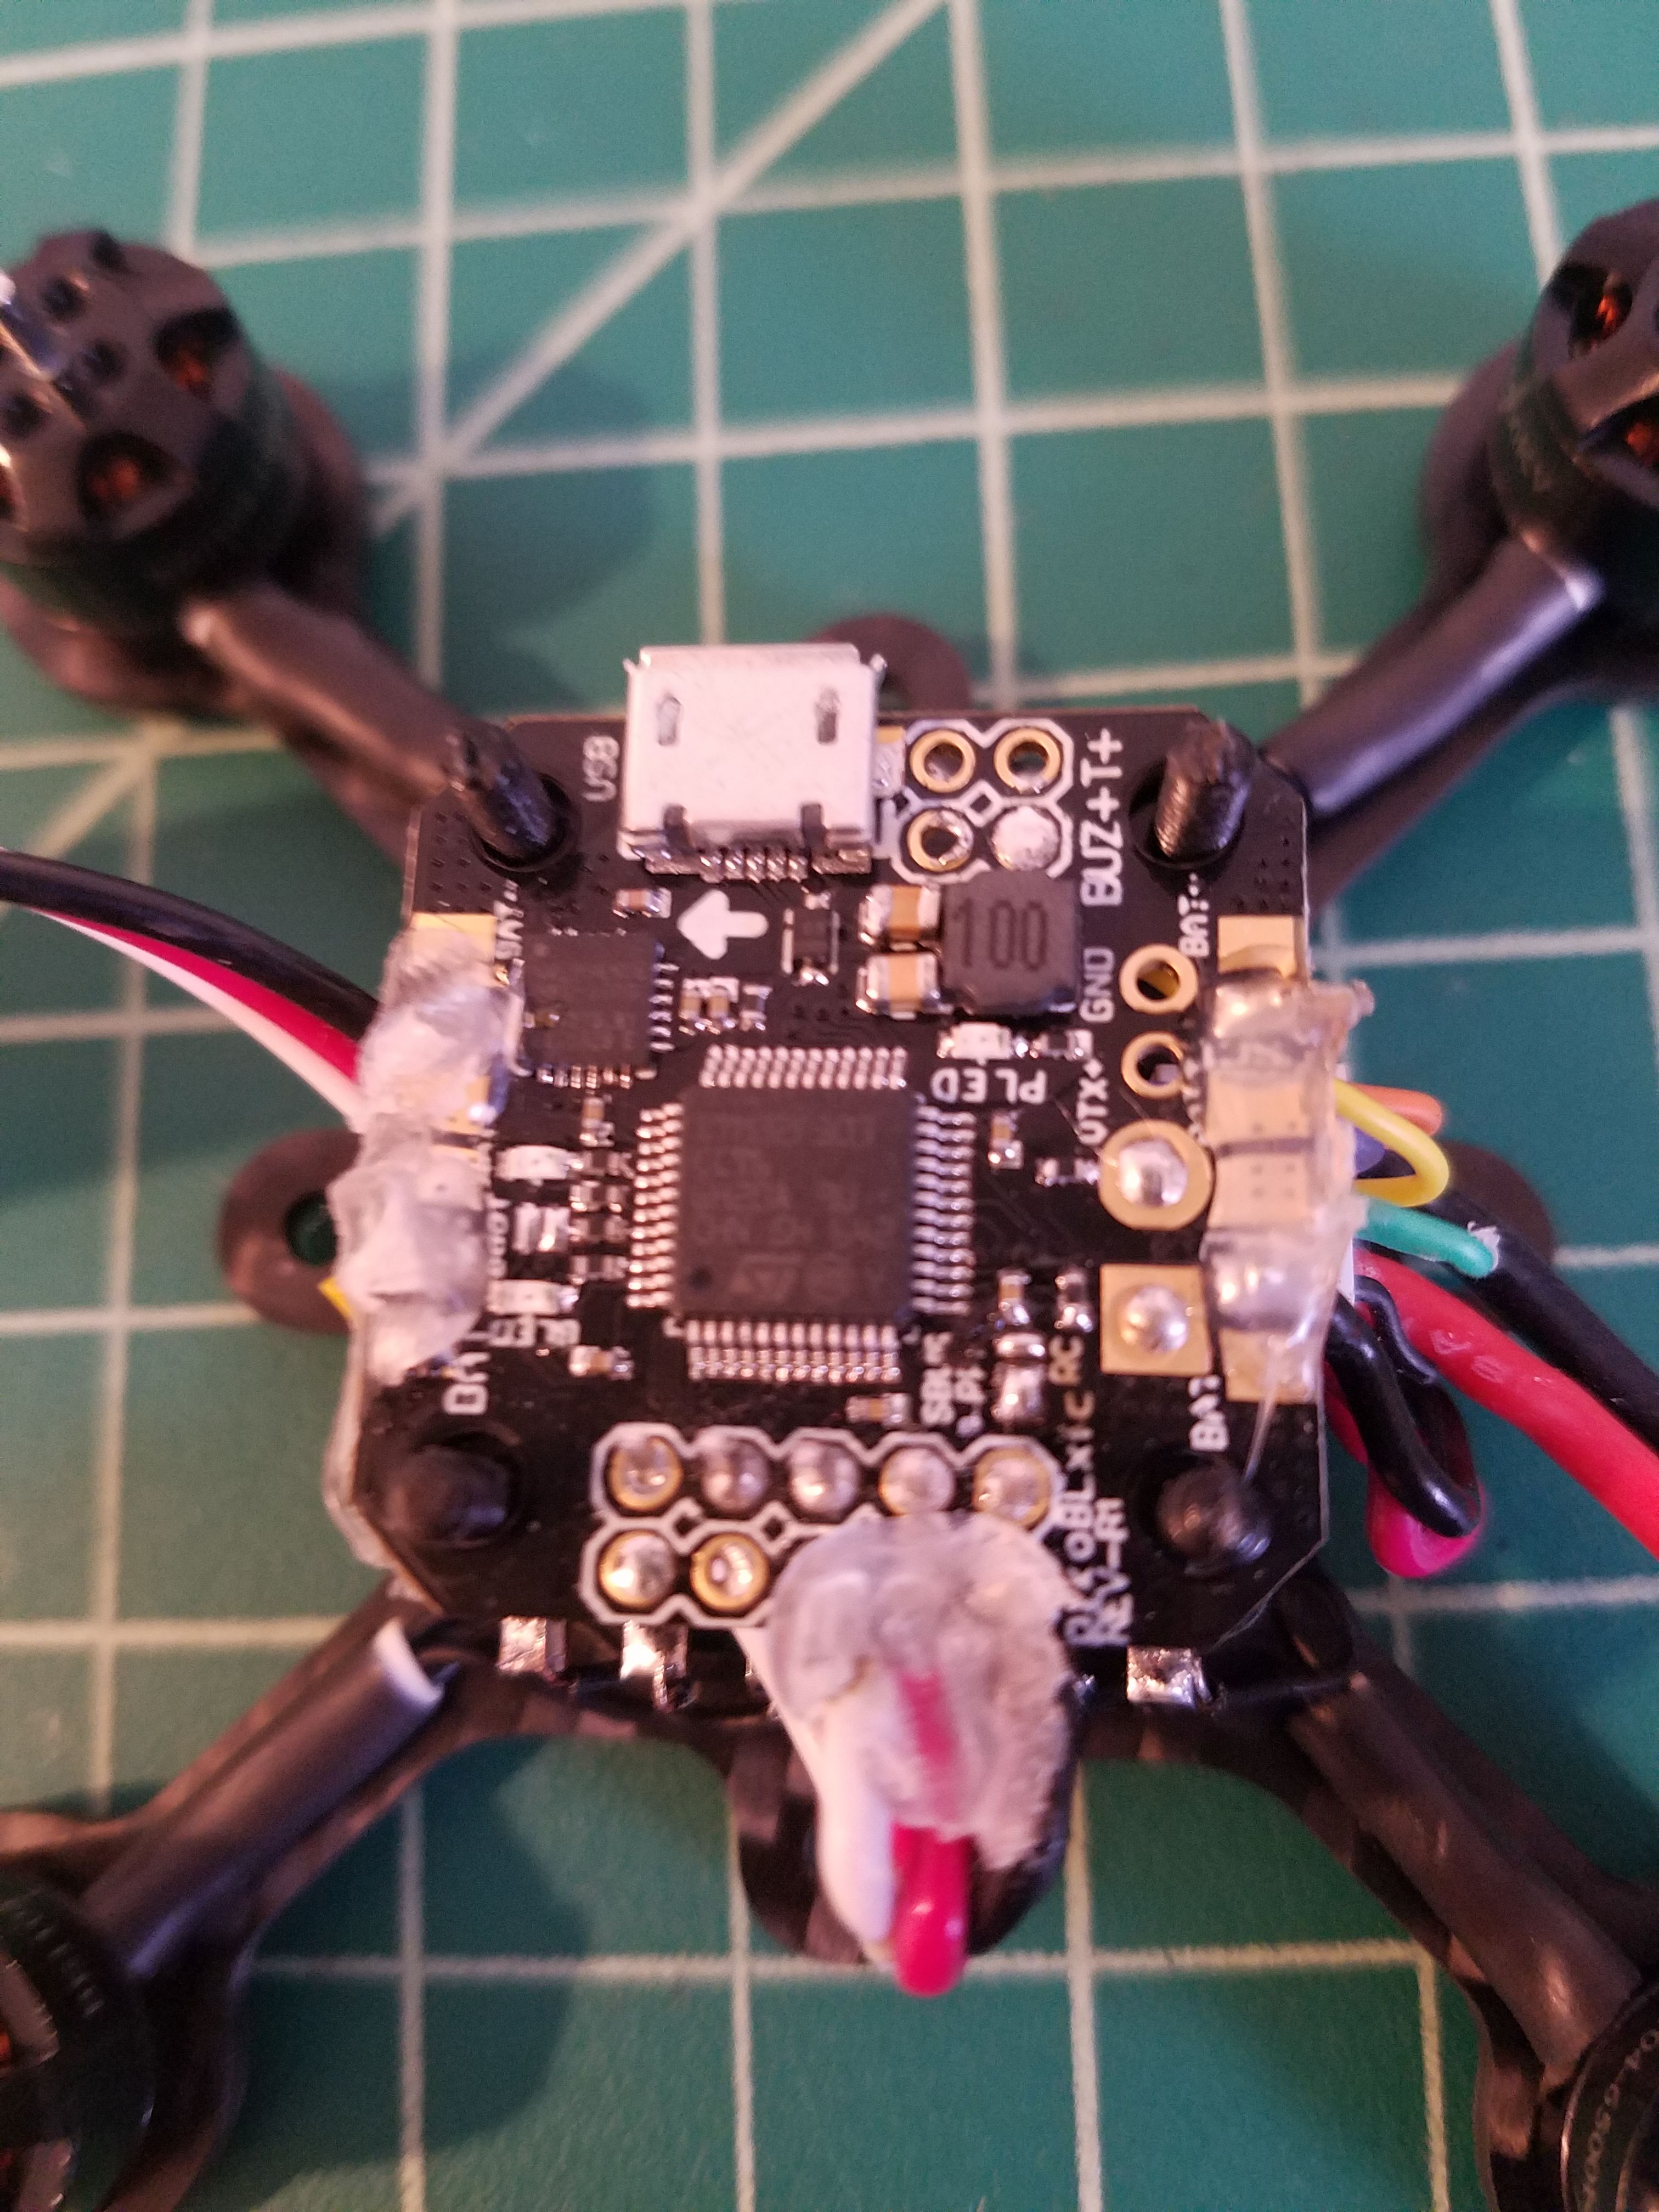
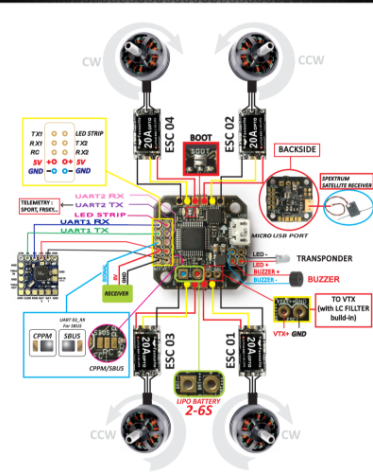
From here, we start the wiring process. First, remove the FC from the top, making it easier to solder to the ESC. The wiring for motors 2 and 4 (Top right and bottom left) is straight, the leads connect to the speed controller the same way they come out of the motors. The wiring for motors 1 and 3 (Top left and bottom right) has 2 wires moved. So instead of 1-2-3, the order would be 1,3,2 or 2,1,3. The order does not matter as long as 2 leads are flipped. This is important as this determines the direction of the motor. Solder all wires in place to the tabs on the speed controller. (Picture 8)
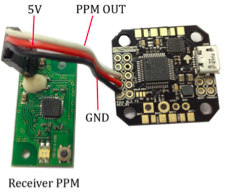
Now that the motor wiring is complete, now we can wire the receiver. This is a different process depending on what radio system you are using. Using Spektrum/PPM/S.Bus is highly recommended, as wiring PWM can get extremely cluttered. Be sure to leave enough wiring for the receiver to reach to the bottom of the frame.
The wiring for S.Bus and PPM is identical, just with a different solder bridge. Wire up your receiver as shown in the images below. The important part here is correctly bridging the solder gap depending on what receiver you have used. With the board pointing forward, bridge the center pad and the right pad, and for S.Bus, the left pad. (Picture 9
Spektrum is easier, as it is plug n’ play. Plug in the receiver and you’re good to go. (Picture 10)
The receiver can be placed between the boards if space allows, and it’s properly insulated, but there is a place allotted to the receiver alone. It is mounted underneath the X frame.
Prepare the bottom piece of carbon included. Use the M3 standoff and the M3 spacer included, and screw them together. The holes are located above, below, and to the right and left of the FC on the carbon X. Repeat this process on all 4 holes. place your wired up receiver in the area underneath the frame and cover with the carbon plate, and screw into the standoffs. If you purchased the battery holder, screw it in as well, like the others. (Picture 11)
From here on, I do not have pictures of the build, as my phone died during the build and I did not have a charger! Sorry! I'll add these pictures if requested later.
Assemble the carbon bumpers with the nylon hardware included, with the mounting spars underneath the carbon bumper. Be sure to use nylon hardware, as it will break away in a crash and preserve the carbon fiber bumper from breaking. Screw the bumper in place with the same screws used for the bumper.
Here’s where things split off. If you purchased an AIO FPV camera, solder the positive and negative leads to the power in on the flight controller. After this, place your AIO camera mount over the standoffs and tighten.
If you purchased the Innova FPV kit, start by preparing the pins for soldering, by placing the entire 5x1 male and female pins over the holes on the Innova VTX. Solder the pins to the board, and repeat with the other side on the inside set of pins on the Pico BLX. Screw the camera into the 4 holes on the TPU cover, with the silver M1 screws included. Run this wire through the gap provided on the cover, and install the antenna onto the UFL connector located at the top of the board. DO NOT FORGET THIS STEP. IF YOU DO, YOU WILL INSTANTLY KILL YOUR VTX UPON POWERING. Make sure to hot-glue the antenna in place, so it does not fall off in a crash and kill the VTX.
Congratulations! Your Pico X is complete! From here, set up with Betaflight, which I will outline in a future guide.
Photos

Part List
Frame |
Pico X - FPV Racing Drone Frame
(3 builds)
Flexrc.com
|
$9.00 |
Flight Controller |
FlexRC FPV Racing Drones | FPV Multicopter Store | Quadcopter Parts
(101 builds)
Flexrc.com
|
$52.50 |
ESCs |
FlexRC FPV Racing Drones | FPV Multicopter Store | Quadcopter Parts
(101 builds)
Flexrc.com
|
$52.50 |
Motors |
DYS BE1104 6500kv Brushless Motor / 4PCS
(10 builds)
Flexrc.com
|
$41.85 |
Propellers |
FuriousFPV 1935-4 Propellers – 4 blades (2CW & 2CCW)
(8 builds)
Flexrc.com
|
$3.45 |
FPV Camera |
DIATONE 600TVL Miniature Camera - Black
Flexrc.com
|
$8.00 |
FPV Transmitter |
INNOVA OSD-VTX Video Transmitter (Clone)
Flexrc.com
|
$28.00 |
Antenna |
Furious FPV Micro U.FL Antenna
(3 builds)
Flexrc.com
|
$12.95 |
Batteries |
Tattu 650mAh 2S1P 75C 7.4V Lipo Battery Pack with XT30 plug
(2 builds)
Flexrc.com
|
$7.89 |
Misc Parts |
PIKO Flight Controller / ESC stack mounting hardware
(3 builds)
Flexrc.com
|
$8.00 |
Misc Parts |
10pcs 8mm M3 Black Hex Nylon Standoff Spacer Nut
Flexrc.com
|
$2.00 |
Misc Parts |
Nail clipper propeller cutter
Flexrc.com
|
$15.00 |
Guides & Reviews

AirbladeUAV has done it again and this time they've brought long range to the 5" class! Based on the popular Transformer Mini, the new Transformer 5" Ultralight adopts a lot of the same design philosophies with larger props and more payload capacity. It can fly upwards of 20 minutes on a 4 cell Li-Ion battery pack and in ideal conditions it's got a range of over 4 to 5 miles. In this guide I'll walk..
Read more
With the release of the DJI FPV Drone cinematic FPV has become a lot more accessible, but you certainly don't want to crash a $750 drone! The QAV-CINE Freybott is a compact, lightweight cinematic FPV drone that can take a hit and keep going. It's a lot safer to fly indoors and around people. With a naked GoPro or the SMO 4k you can capture some great stabilized footage. In this guide I'll show you..
Read more

One last question for you :) Im sick of waiting for the hoverbot nano frame to be in stock so Im most likely going to just buy the pico x AIO. Not really sure why everyone is raving about the hoverbot and not the pico x when the pico is much cheaper, the same weight and almost the same thing minus the warranty.
How heavy are those Tattu 650mAh Lipo Batteries and what is your flight time? I was looking at either getting those or the Tattu 450mAh. What are your thoughts?
The 650s flight times when I fly with the 10000KV motors is about 4 minutes, but 6500kv sips a little more. I get 6-8 minutes a pack. I own both 650 and 450. The 650 can be more abused but the 450 is way lighter. Go with the Pico X. I bought 2 carbon frames because I thought I might break one, that is not the case. I can confidently say you will never break it. I use my second frame to hold my second set of motors now.
Thanks for the info. I think Im just going to get 4 of each battery and see which I prefer.
That's exactly what I did. They both have their values. Only problem of using both is the killer 3d printed battery holder doesent work for both of them. 650s are waaayyyy better for exploring the first time. You'll like them both.