
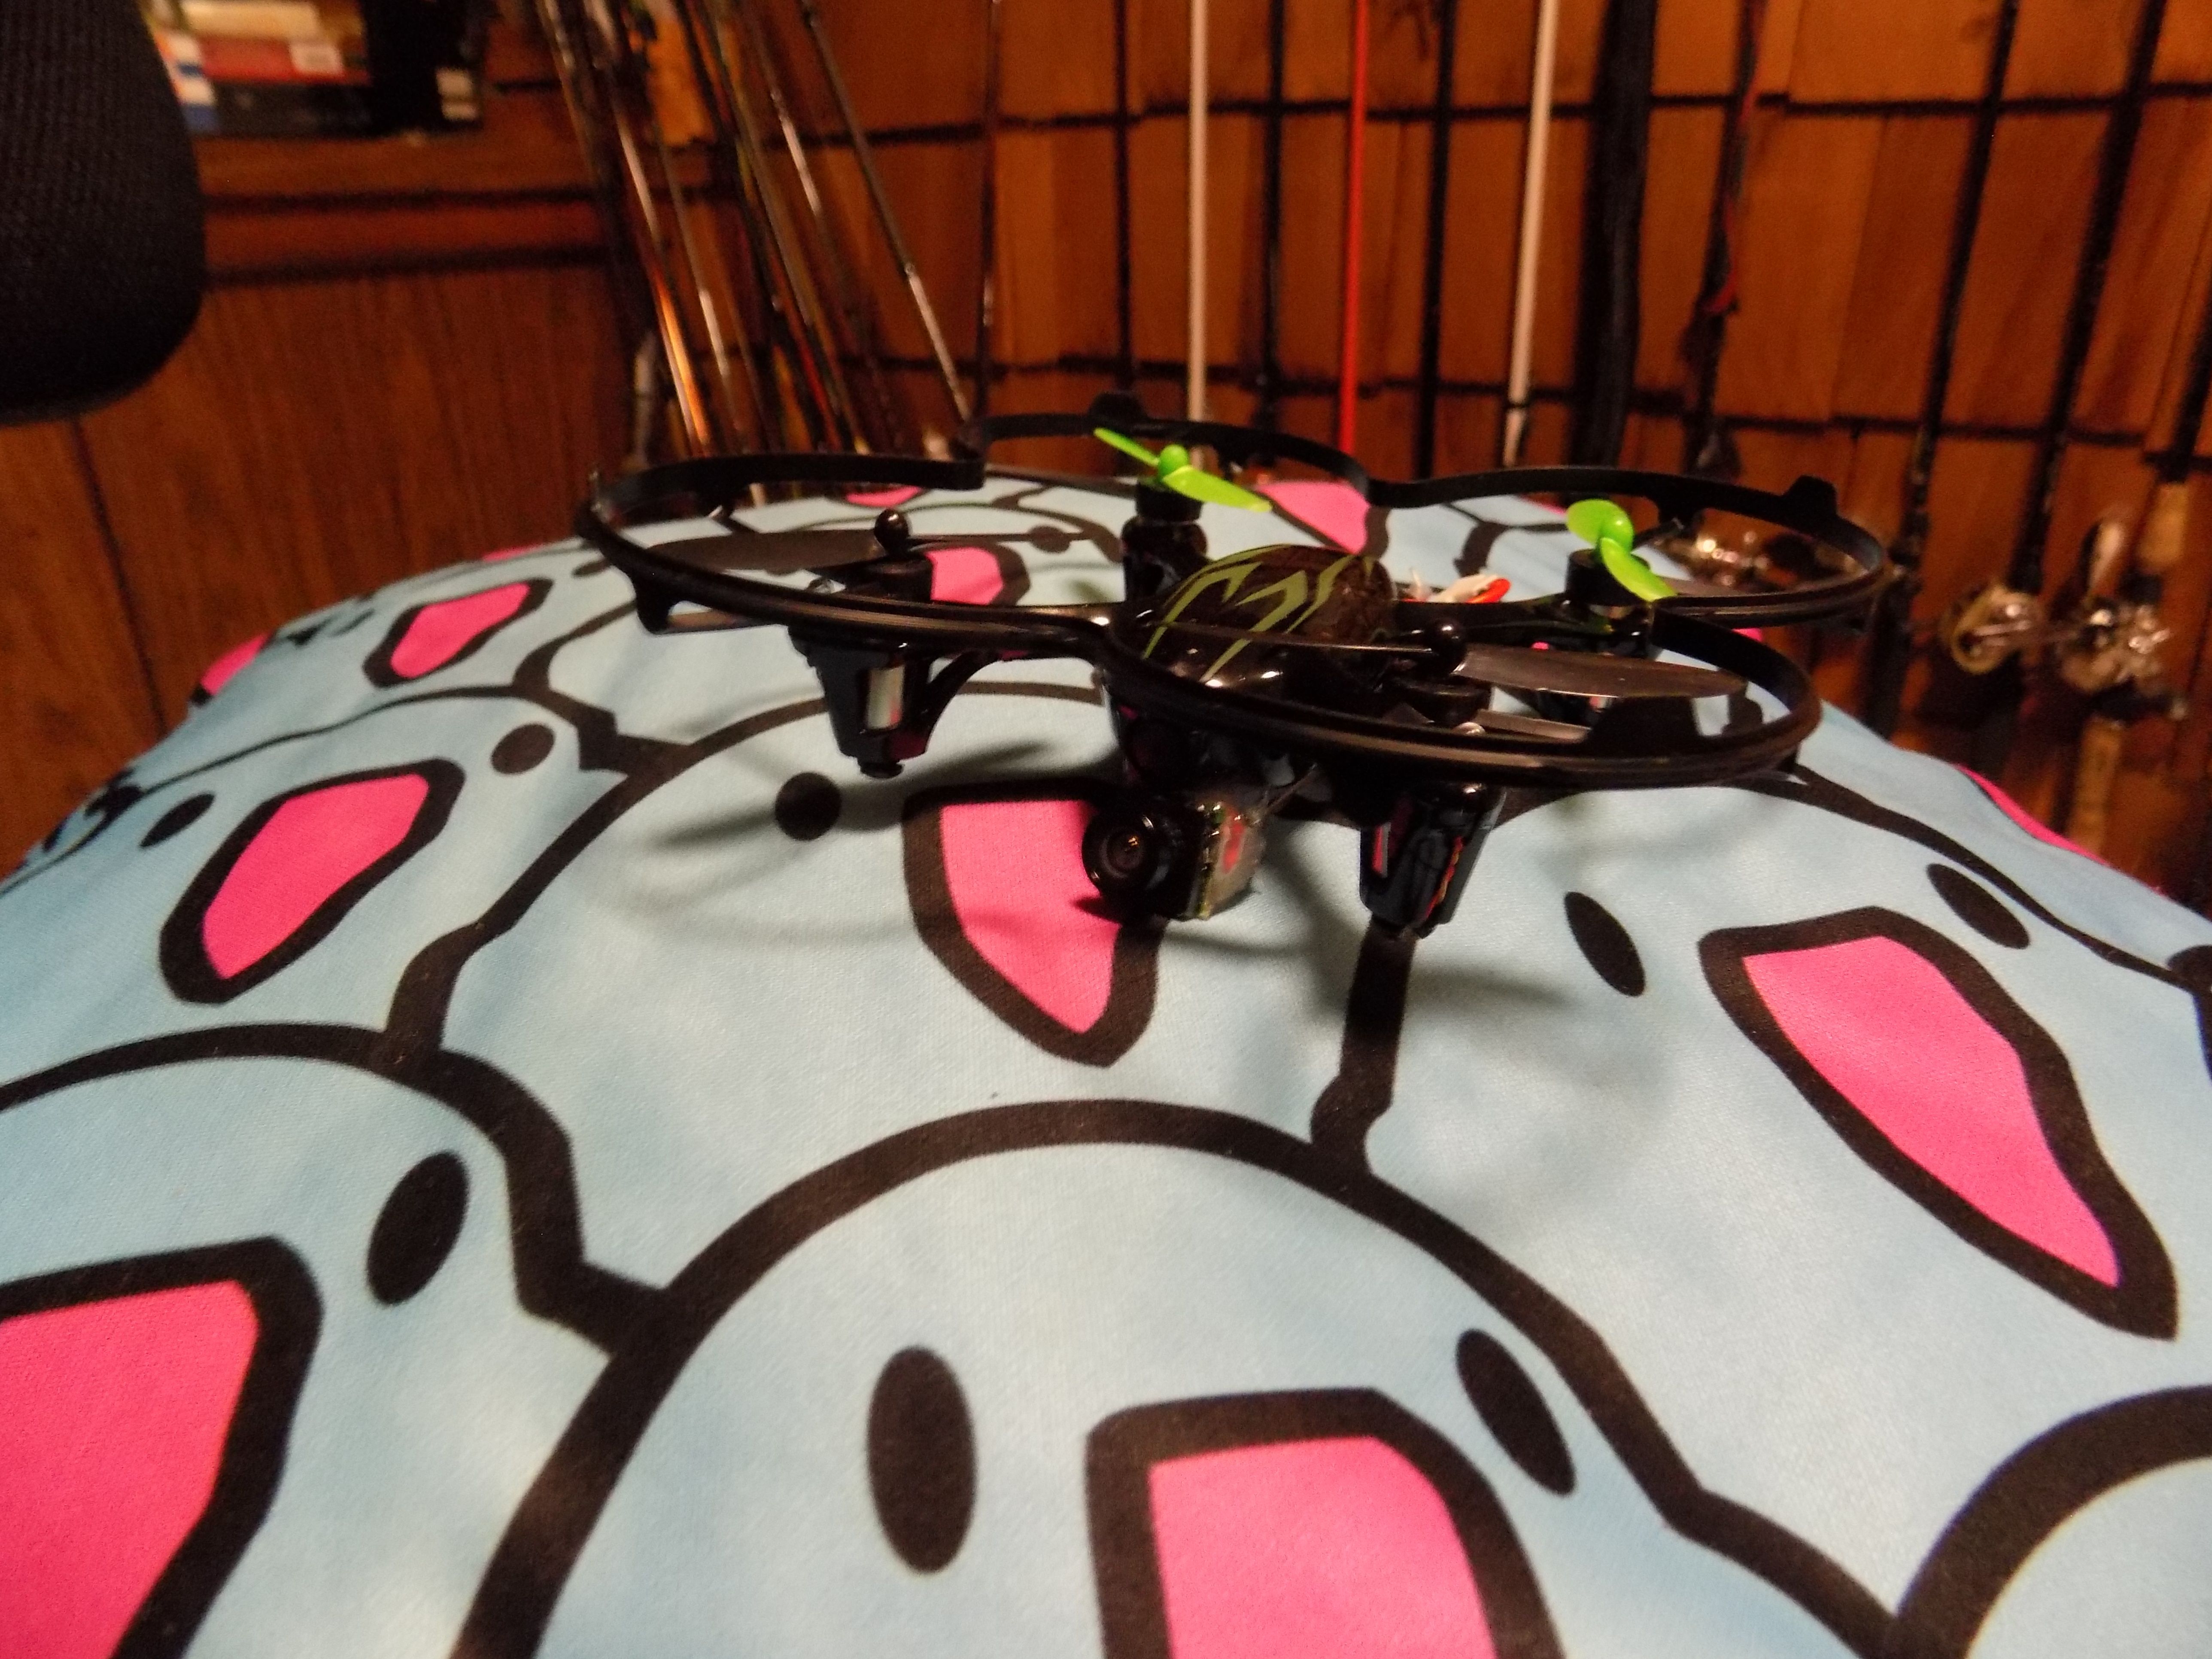
I added an FPV camera to my Hubsan to help my wife learn how to fly. It was kind of an experiment but turned out really well.
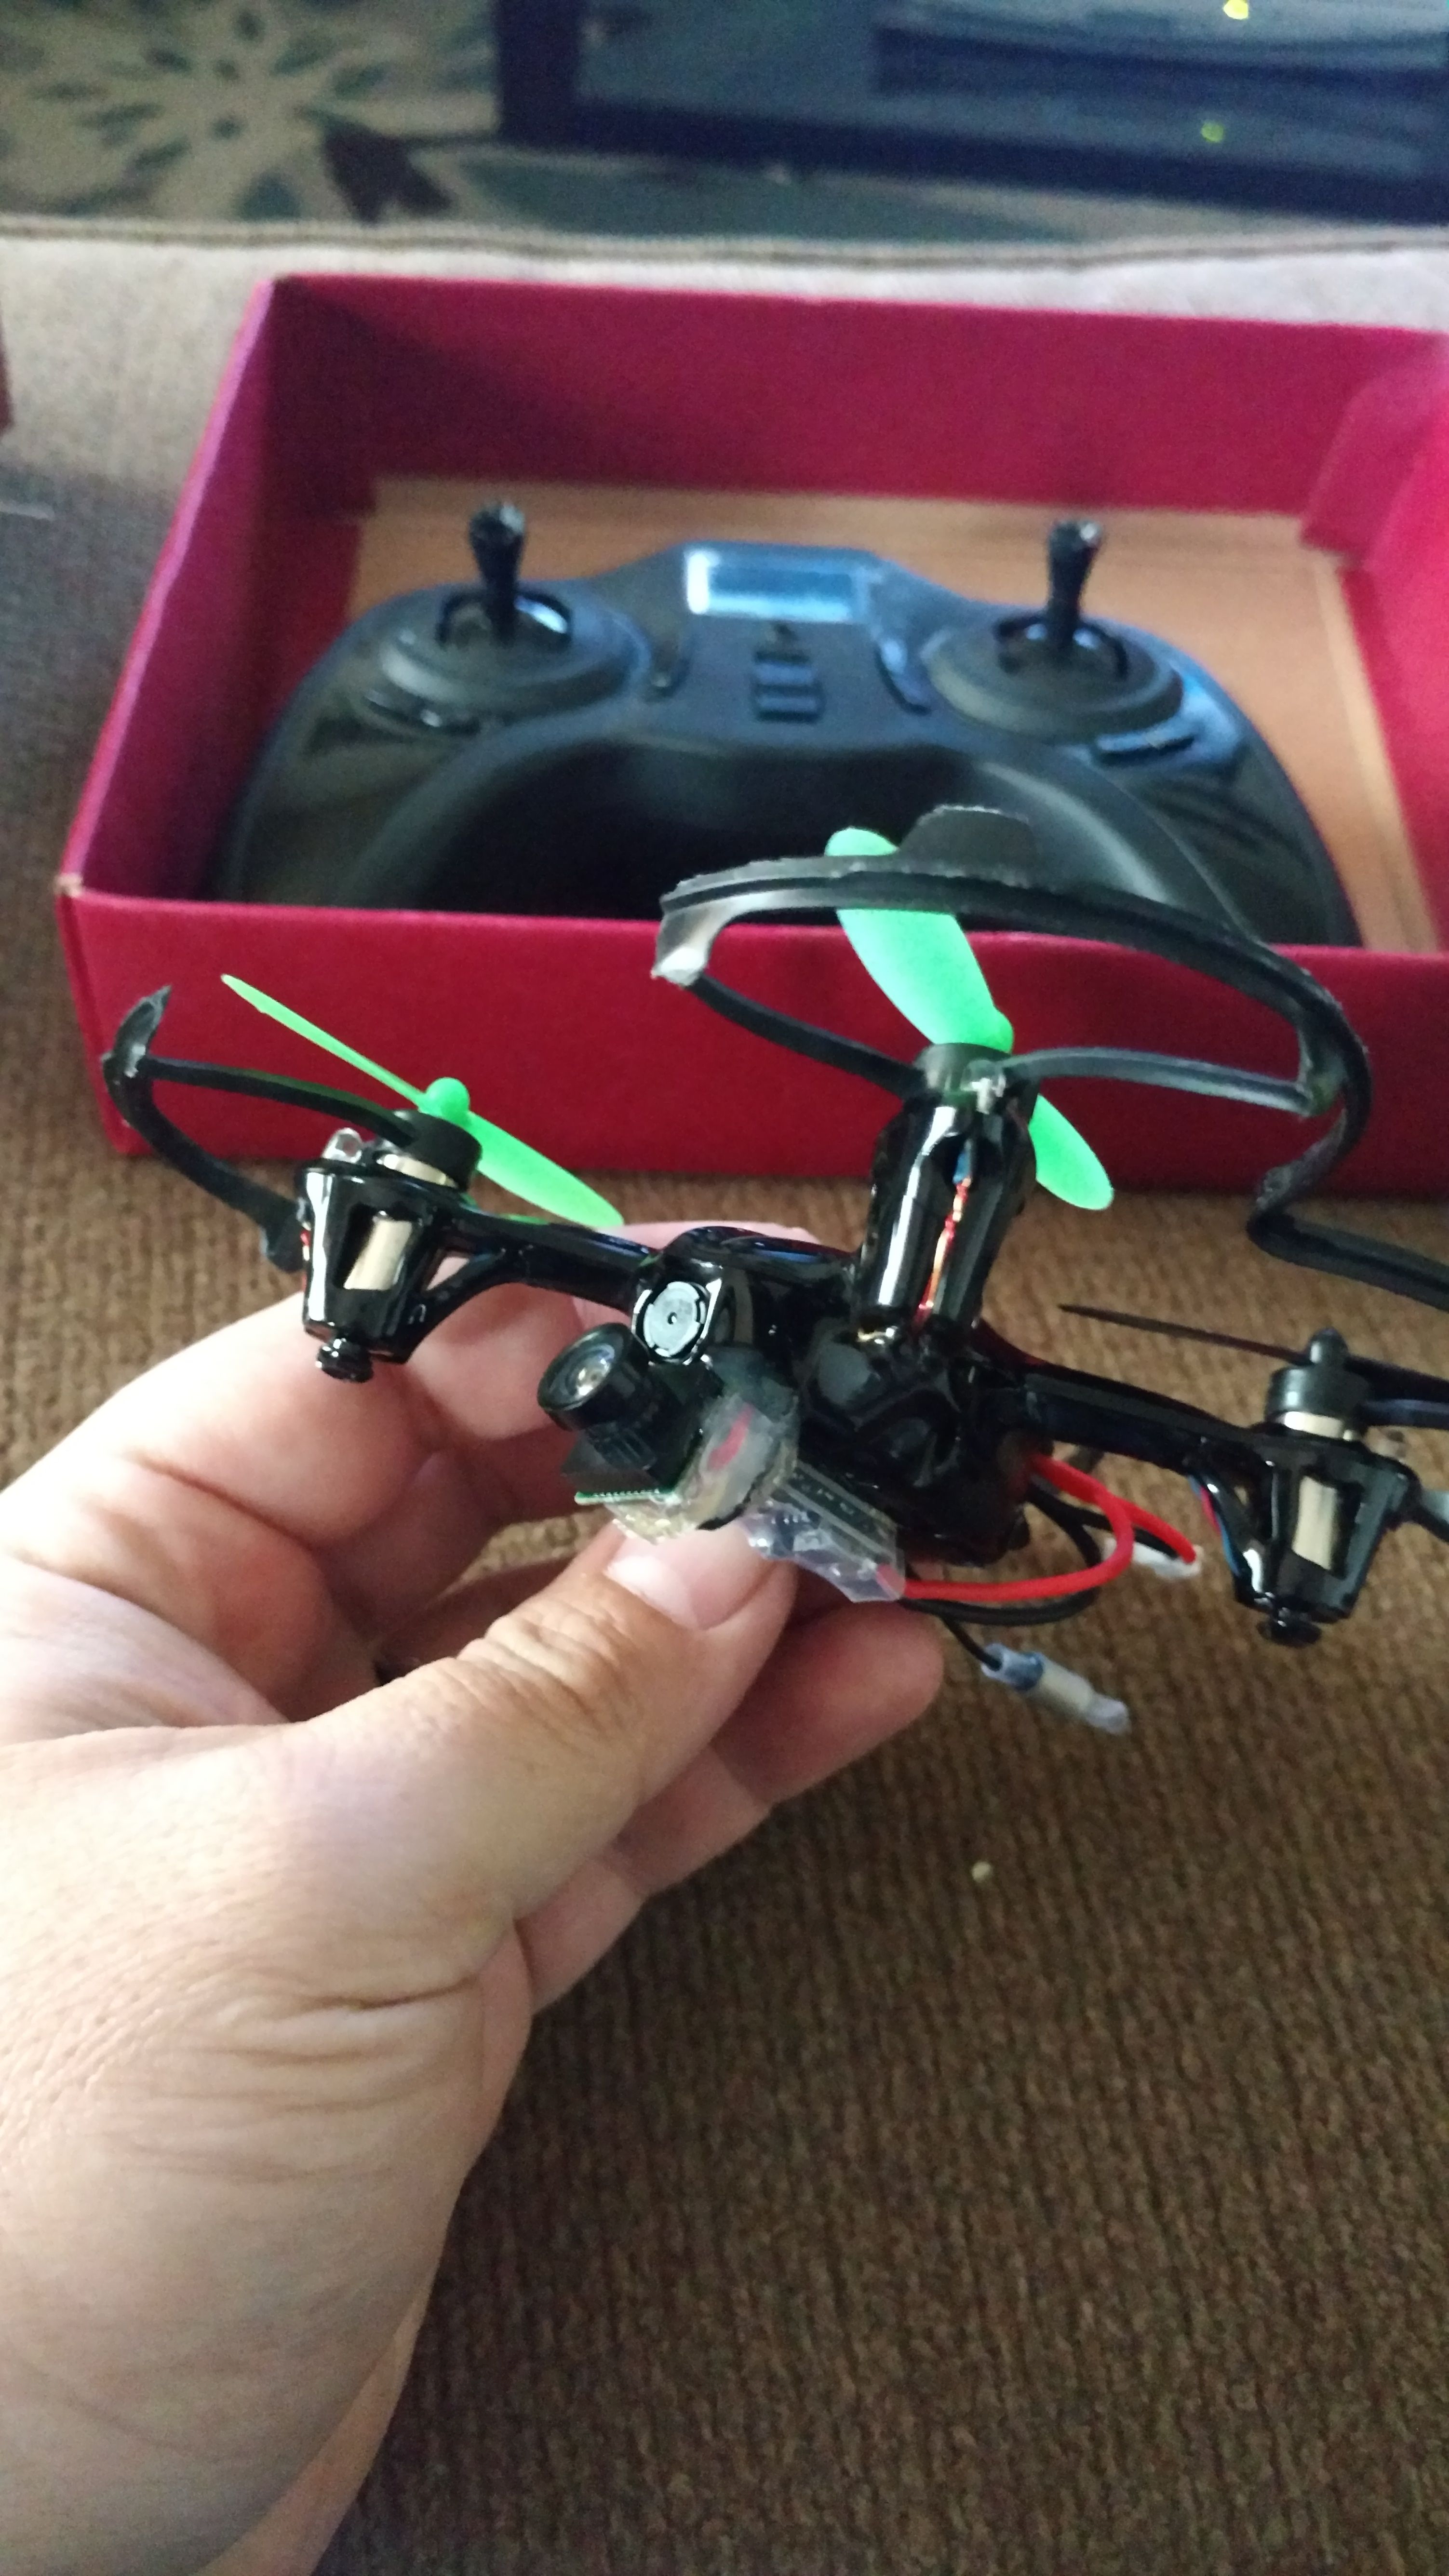
I went with the Hobbymate all in one VTX/Camera and used hot glue to fix the camera angle and VTX to the base of the fuselage. I wanted to keep my center of gravity low yet still have access to the VTX channel button. Unfortunately, there is no room inside the Hubsan casing to fit the VTX. I used a ton of hot glue on the camera to make sure it stayed in place and the wires were secured in a crash. This unfortunately added weight to the build. If you were attempting, I'd advise a lighter hand than mine. With this camera orientation I have a perfect view while FPV and the stock recording camera can still have a clear view as well. I cut the front prop guard so there was no black line through this viewing angle. I removed the rubber landing caps to save a bit of weight and tried to trim the VTX power wires as short as I could to save weight. They do need a bit of play to be able to get the battery in and out. Soldering to the flight controller Power In pads is very tight and going out the back seemed to be the best/only decision I could go with.
Flight time with stock batteries is fair to poor. I highly recommend an upgrade to at least a 500mah to get about 3-4 minutes of solid flight.
Photos
Part List
Frame |
Hubsan X4 H107C HD 2MP Camera 2.4G 4CH 6 Axis Gyro RC Quadcopter
Amazon.com
|
$37.33 |
FPV Camera |
HOBBYMATE Mini 5.8G 25MW 16CH VTX 600TVL CMOS 1/4 Micro FPV Camera for Micro Quadcopter
(5 builds)
Amazon.com
|
$25.90 |
Batteries |
5pcs 3.7V 500mAh Upgrade LiPo Battery For Hubsan X4 H107L H107C H107D H107P H108 - Extra Flight Time - (Walkera Super CP, V252,
Amazon.com
|
$16.97 |


How long are your flights with the added camera?
Not very long. Thus the name Strugglebus. 3-4 mins. I honestly used far too much glue thinking I needed to secure all the wires with it.