
Hello!
A few months back, when I decided to get into drones, I got this drone from Aliexpress for like $50 dollars, just to be completely disappointed with the product and flying it once or twice.
The thing is more like a toy drone than anything, has a range of about 100m (about 330ft), it has dual camera, one pointing forward and another pointing down, it is 4k, but in the end the recording happens in the app you have to install in order to connect to it, and the field of view is so narrow that you would run out of range before framing anything!
Very soon after that I got my first FPV beginner drone and fell in love with the hobby.
So I decided to turn that old toy drone into an FPV machine!
But before we begin, I just want to be clear that this is not a good idea at all, the pieces I've used worth more than the toy drone itself and I've found I could break them easily by doing stuff like this, so this is more of an experiment, an exercise to get me to learn soldering and messing with drones and whatnot.
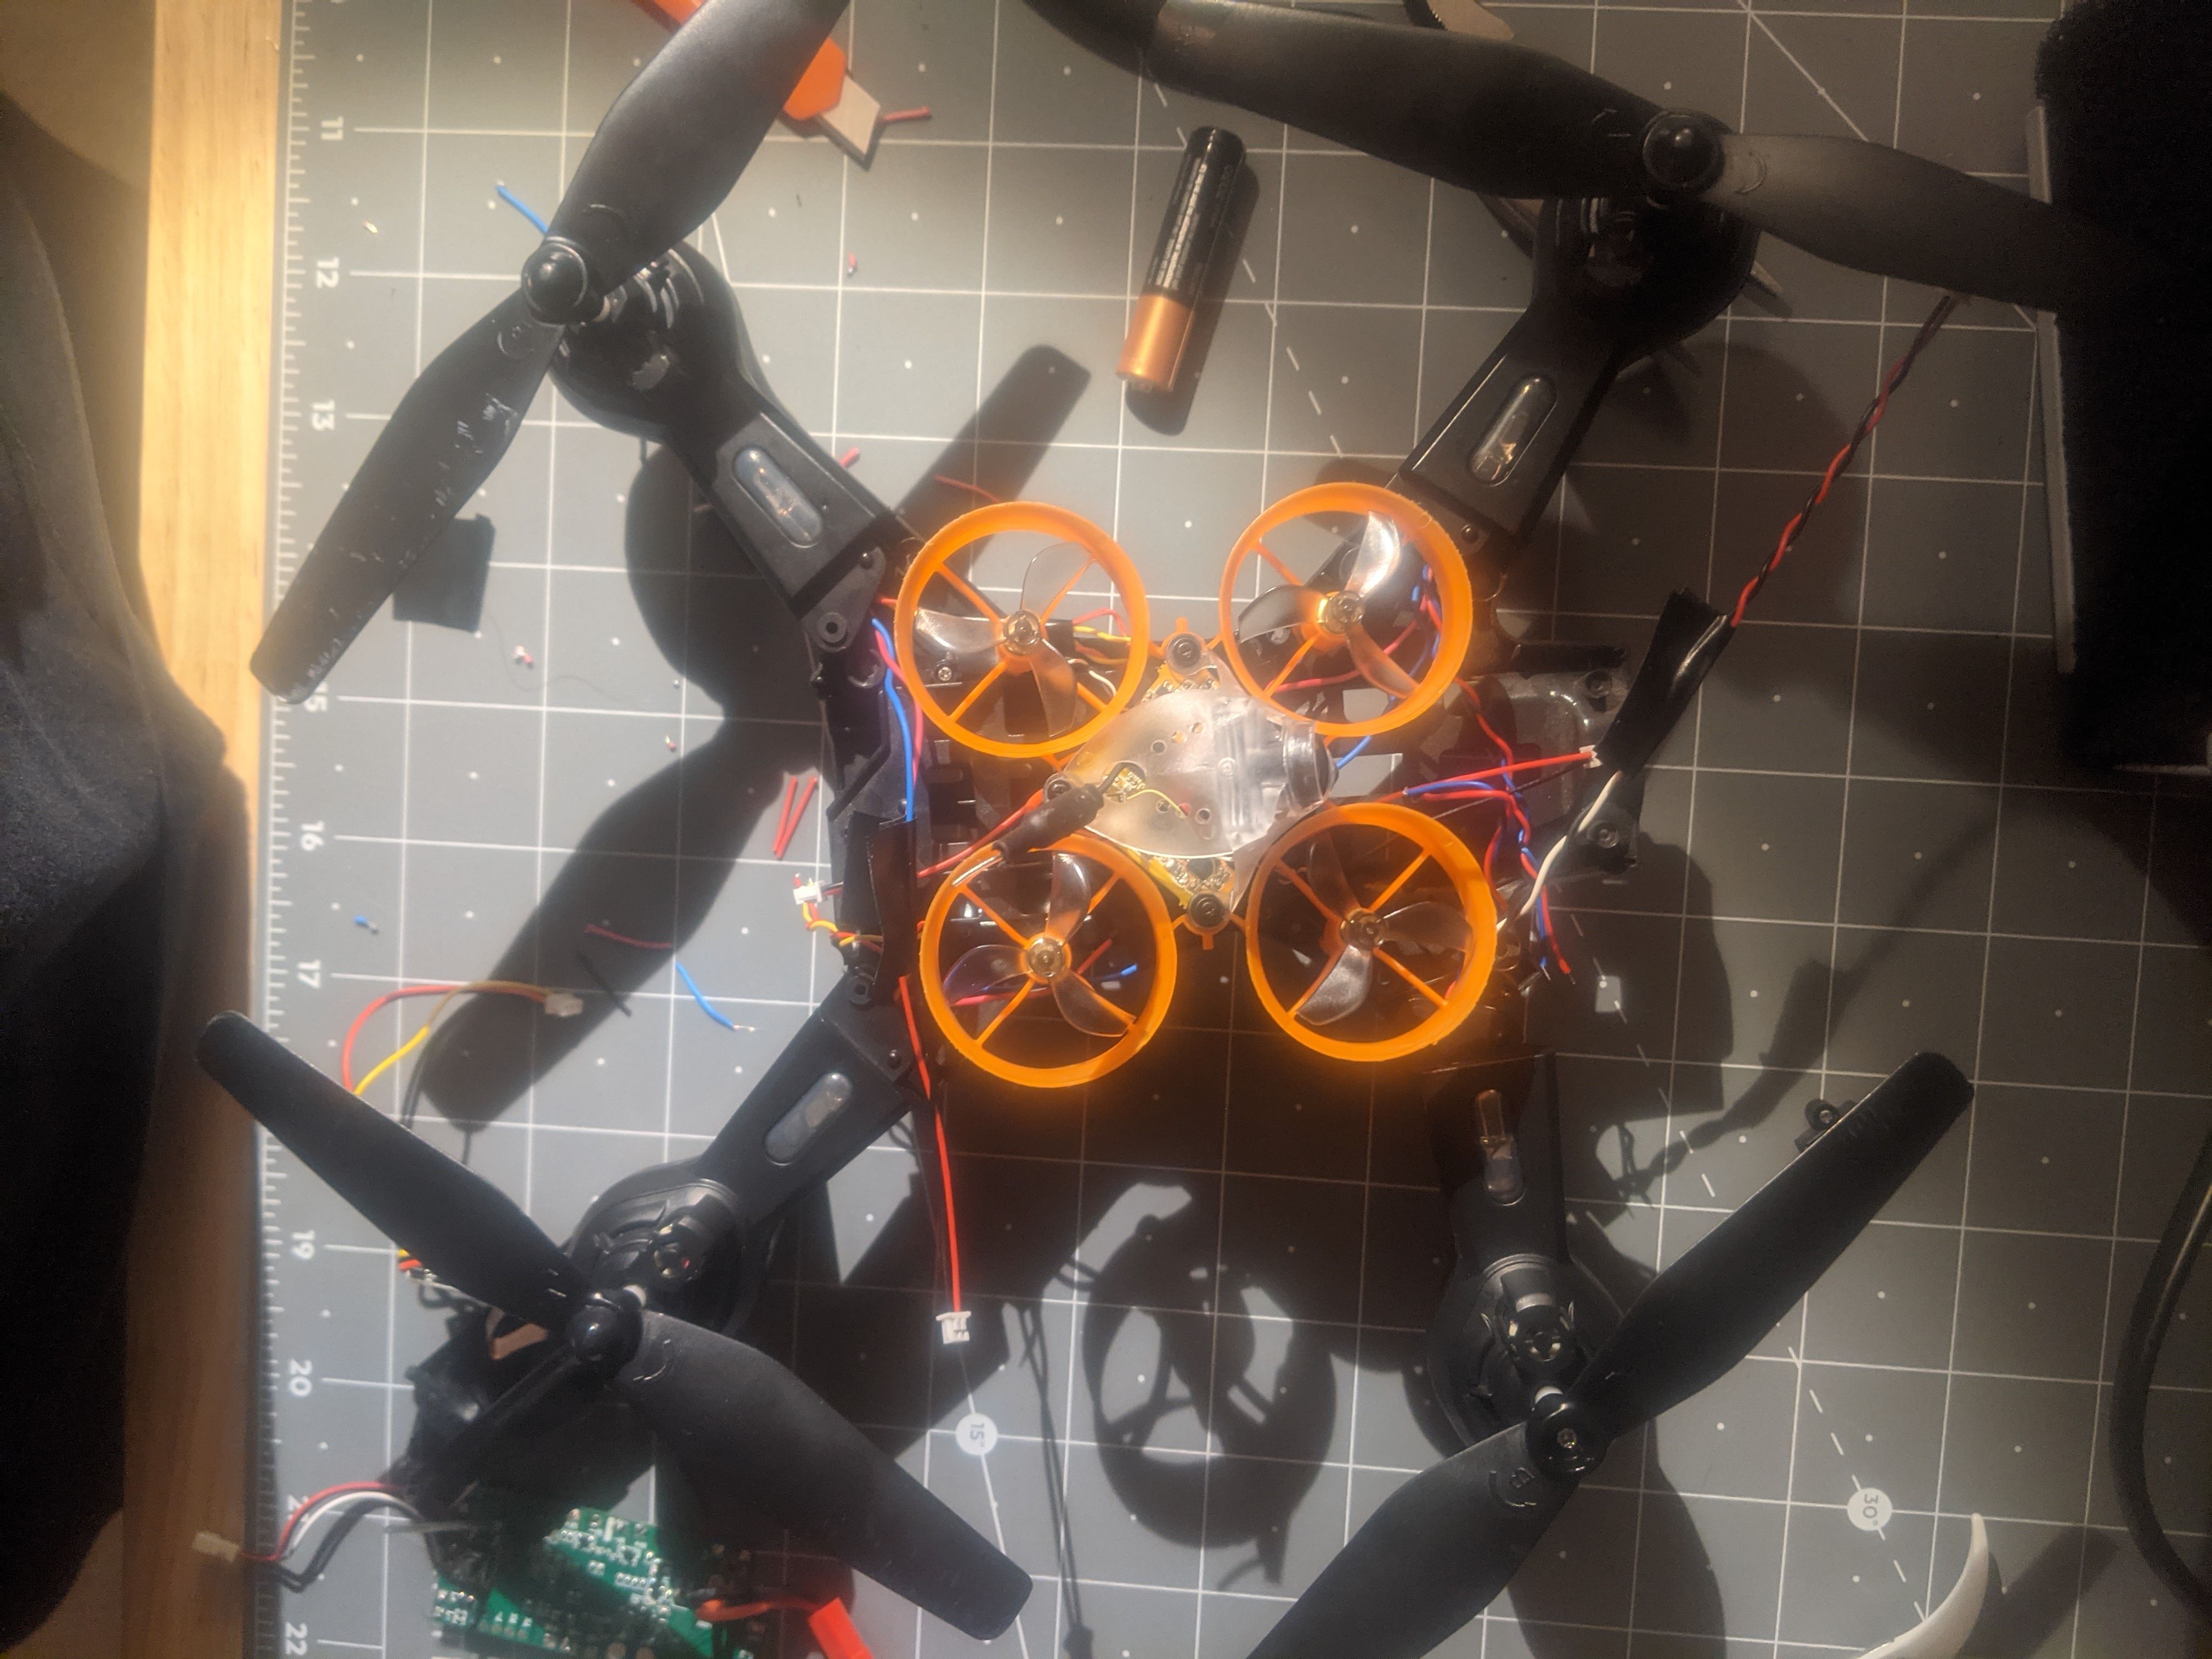
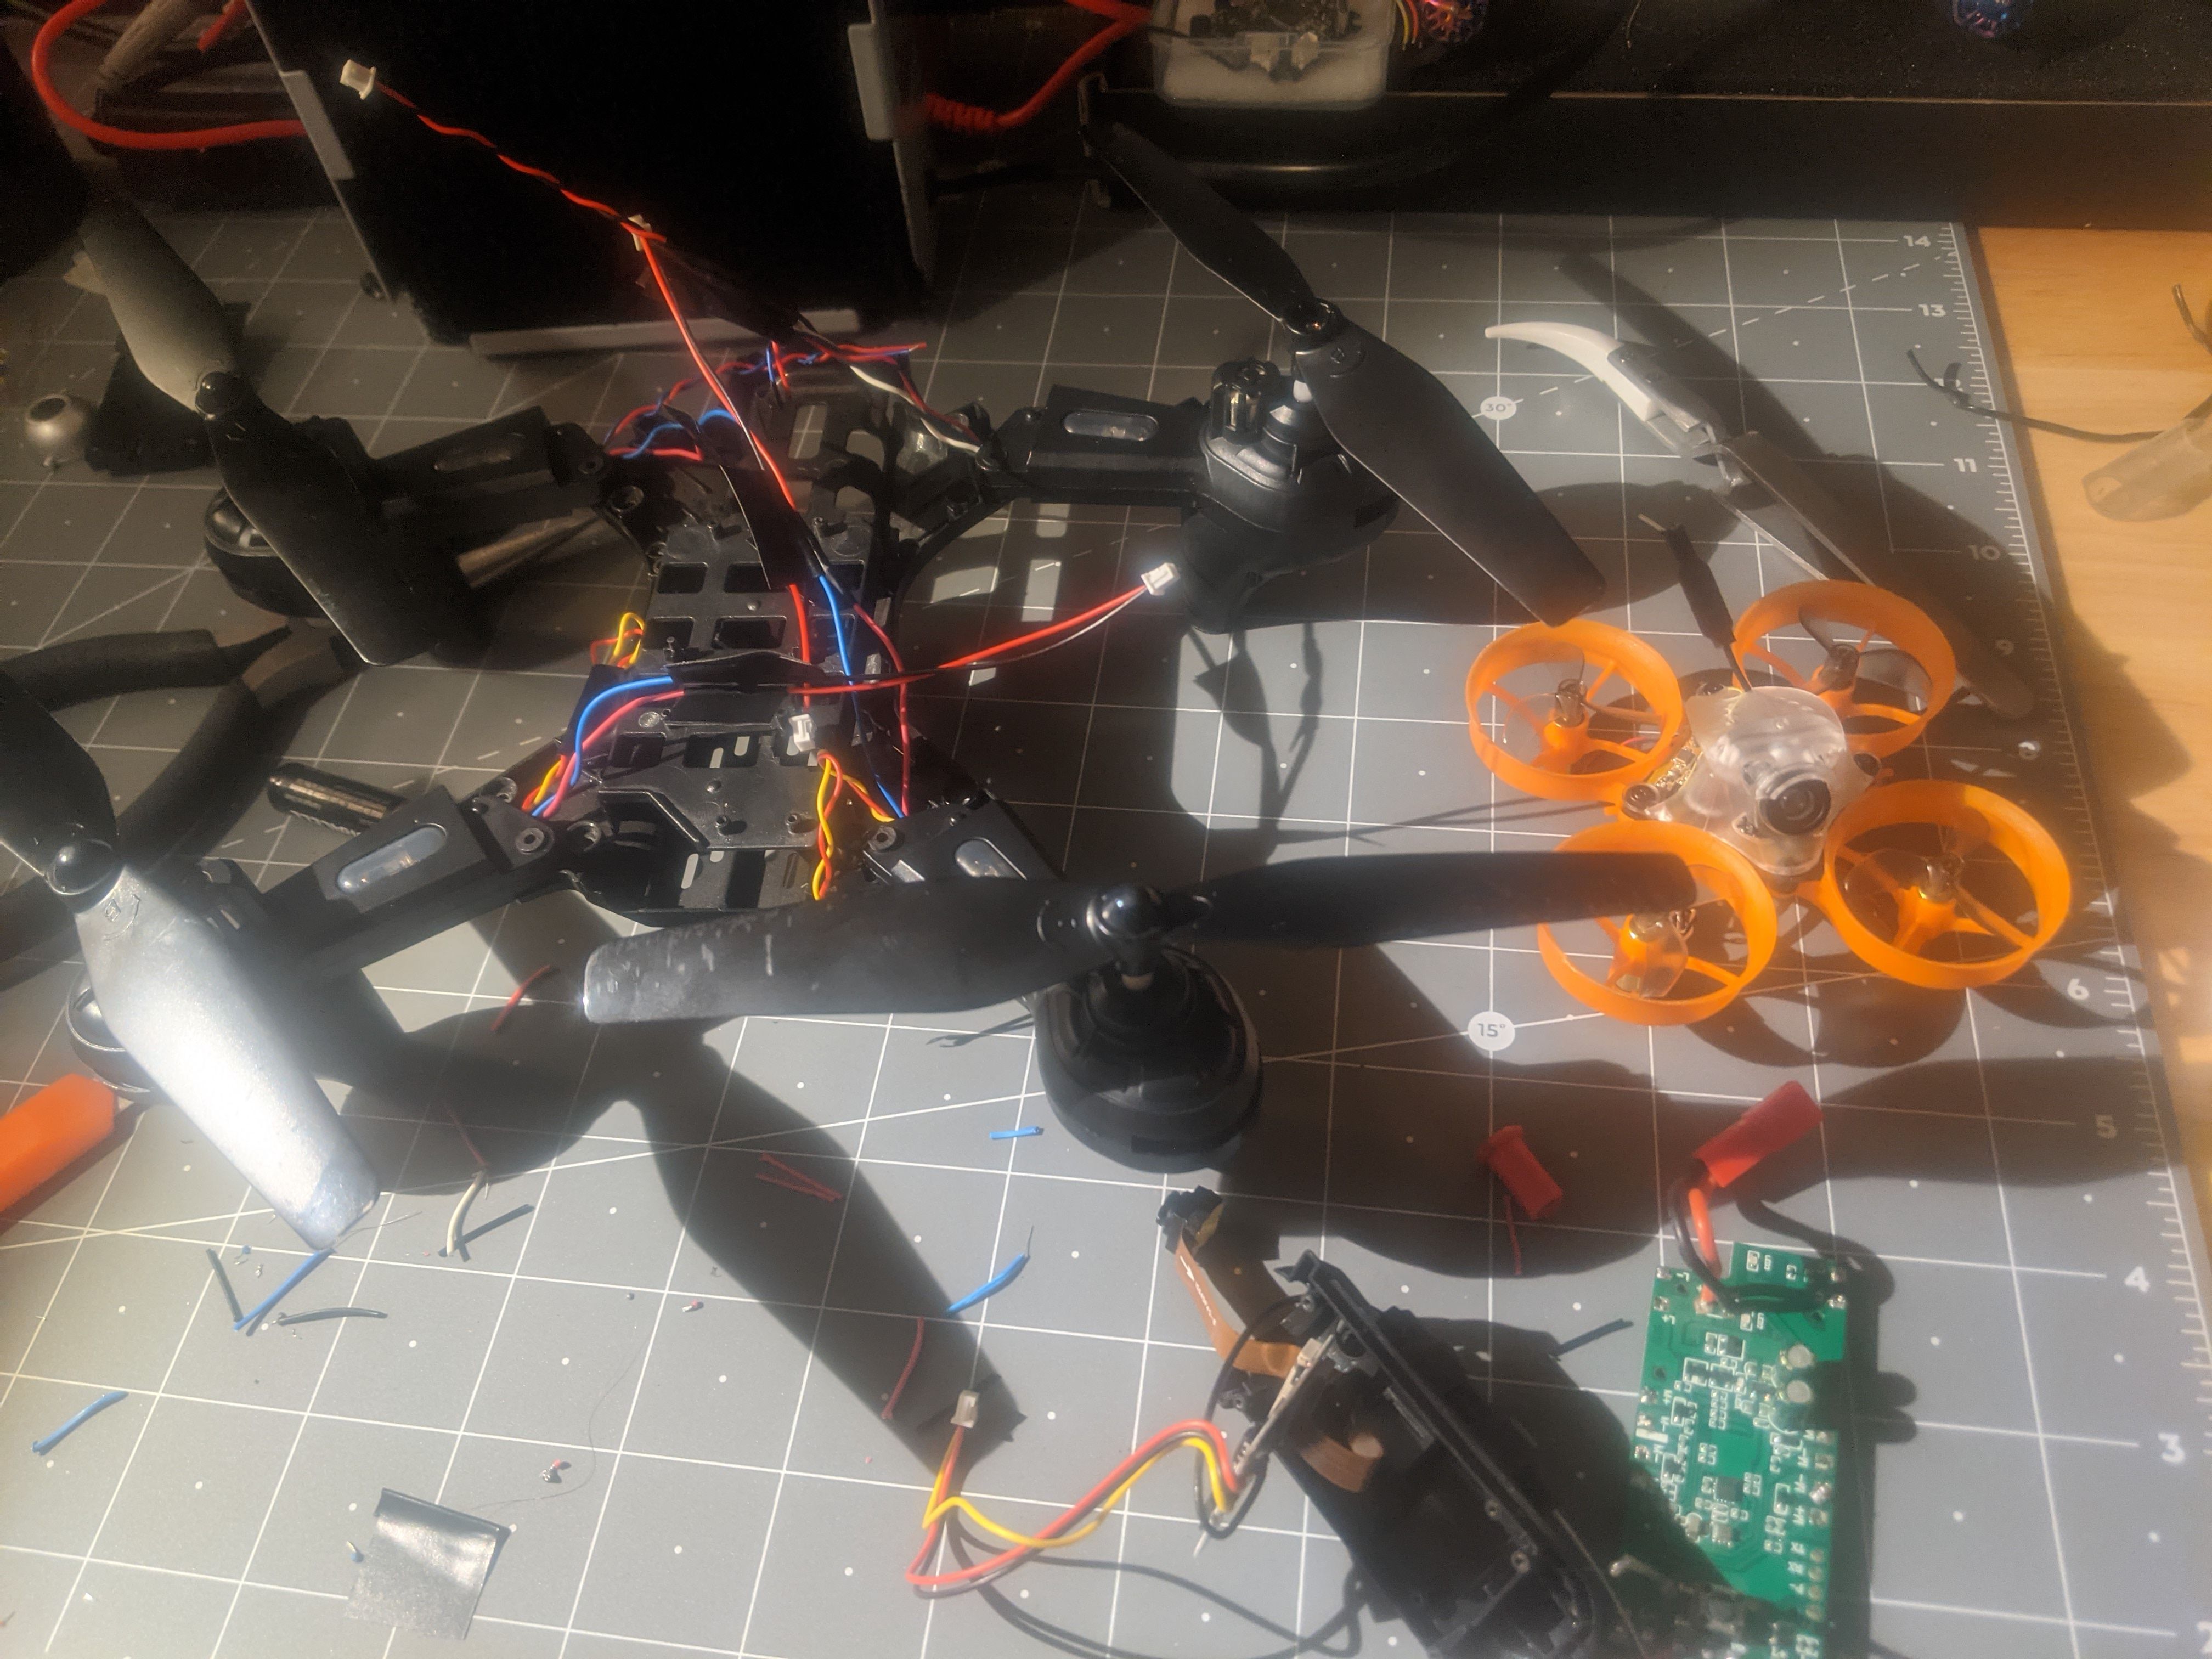
This is my little NewBeeDrone I've built with the BeeBrain Lite next to my toy drone, the idea is to take it's parts and build onto the big guy, since it runs on 8620 brushed motors, it supposed to work just fine.
Here's what was inside the toy drone, it's funny the dual cameras doesn't even have lenses, if you look straight to it you can almost see the CCD behind it. I had to install JST connector to the toy drone's motors, did it by splicing pre-grimped JST 2p cables to each motor.
First thing that I noticed is that it came with 3 CW motors and 1 CCW, and what they did was to revert the polarity on one of the CW motor for it to run in reverse, very clever but I've read that it reduces the overall life of the motors but it is not a big deal, so I did just the same by splicing the red/blue cables inverted.

Here's the first real challenge, to mount my whoop drone board inside the toy drone, good thing it had this internal rack where the original board was mounted, so I was able to cut part of it out and lay the BeeBrain onto it, with room for the JST connectors and the USB port.

I first placed the board on top of the rack and slit some lines with my exacto knife, then I just patiently sliced thru the rack, making adjustments as I went to make sure it was fitting well using the ports as a structure, but it wasn't enough to keep it in place.

Here's my solution to that, I've found some thick dual layer mounting tape, glued two layers of it and cut it in small triangles that would keep the board lifted and stuck in place. Still not the greatest solution, but it did act as something to remove vibrations in the board, but it's still just glued to it, so any major crash would send the board bouncing inside the drone. YES I need a 3d printer, but one hobby at the time!
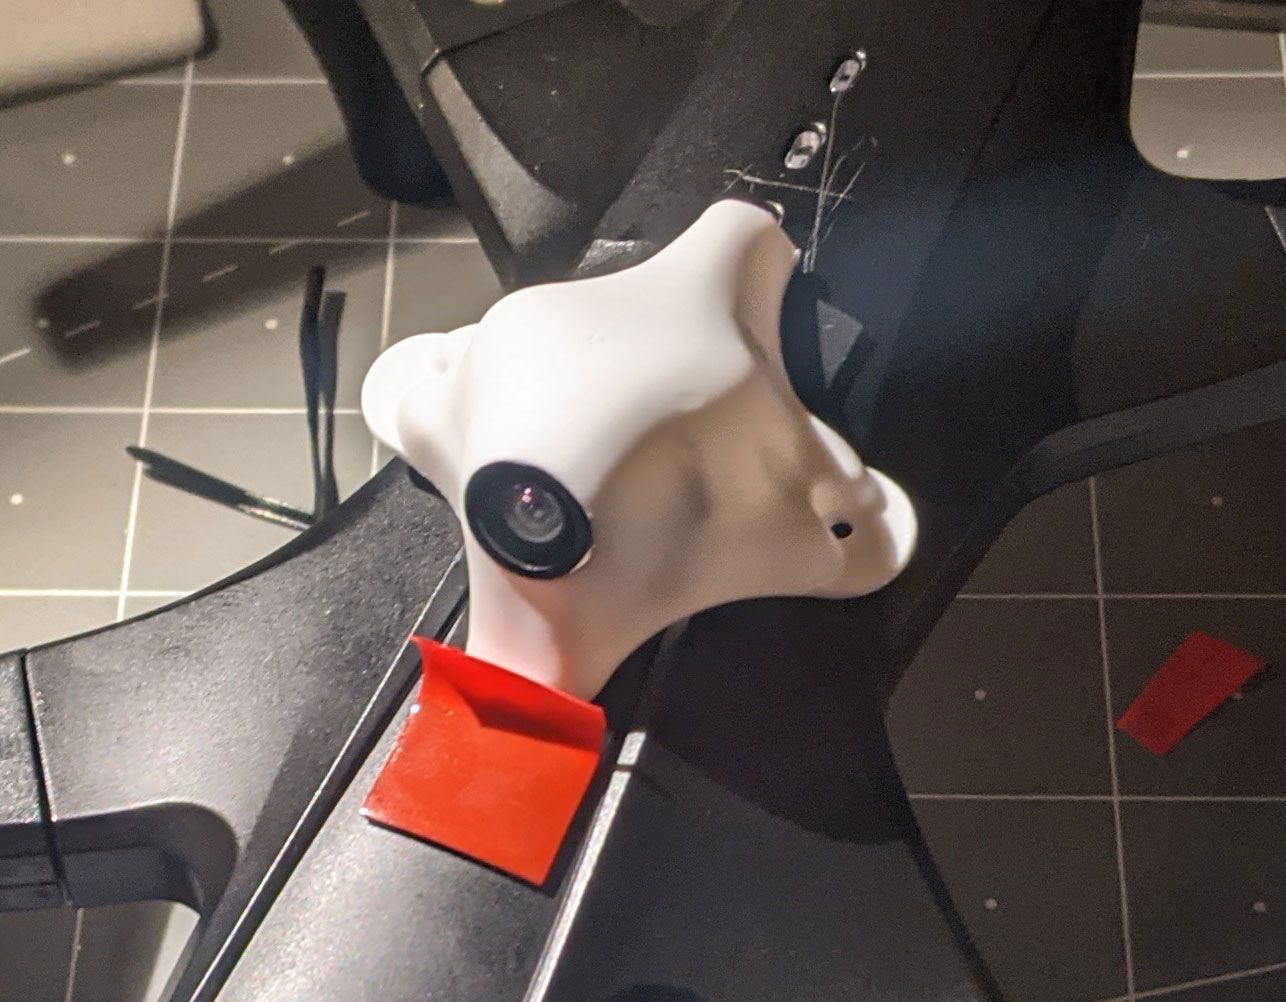
For the camera, I wanted to use my BetaFPV C01 Pro camera with Canopy, since it was around waiting for some other parts to arrive and I wanted to see it working! There was no easy way of mounting the camera on the drone, the part where the original camera was mounted was too loose and far away from the flight controler, so I've decided to mount it right on top of the drone passing the wires thru the hole where the power button was and then gluing it to the frame with some extreme double sided scotch mounting tape, it kept the thing in place very tight, but again, any major crash would send the camera and canopy flying away along with the FC, did I mentioned this is NOT a good idea?
And here's the result! I've plugged some 1S battery in it, specifically a 450maH which gave me about 4 minutes of flight time, but in the first minute or so I get a temperature warning on the OSD, not exactly sure why I get that warning, the day was cold, the drone ended up with less weight, maybe there is something to do with the mounting tapes I've used to mount the FC.
There is a lot of sagging, you can see in the video I get very low to the ground and almost crash a few times, tried a few tricks and it actually flies great!
Very satisfying to see this toy drone flying so well and I'm very happy with my first custom project!
Check it out!:
Photos

Part List
Frame |
LS TUT RC Drone with Camera 4k HD Dual Camera WiFi FPV Drone Folding Drone Headless Mode One Key Return RC Quadcopter for Adult
Aliexpress.com
|
$49.91 |
Flight Controller |
NewBeeDrone BeeBrain Lite AIO Brushed FC & Camera (FrSky)
(3 builds)
Getfpv.com
|
$80.99 |
FPV Camera |
C01 Pro FPV Micro Camera
(13 builds)
Betafpv.com
|
$17.99 |
Batteries |
2PCS GAONEN 450mAh 1S LiPo Battery 3.8V/4.35V 80C JST-PH 2.0 PowerWhoop mCPX Connector for EMAX Tinyhawk 2 EZ-Pilot E010 M80S Ti
(4 builds)
Amazon.com
|
$9.99 |
Misc Parts |
Scotch-Mount Extreme Double-Sided Mounting Tape 414H,1 in x 60 in
Amazon.com
|
$8.45 |
Misc Parts |
10 Pairs 1.25 mm JST 2 Pin Micro Electrical Male and Female Connector Plug with 80mm Wire Cables
Amazon.com
|
$5.99 |
Misc Parts |
3M Scotch 311DC Heavy Duty 1-Inch Mounting Squares, 48 Squares (2 Sets)
Amazon.com
|
$10.83 |
Guides & Reviews

AirbladeUAV has done it again and this time they've brought long range to the 5" class! Based on the popular Transformer Mini, the new Transformer 5" Ultralight adopts a lot of the same design philosophies with larger props and more payload capacity. It can fly upwards of 20 minutes on a 4 cell Li-Ion battery pack and in ideal conditions it's got a range of over 4 to 5 miles. In this guide I'll walk..
Read more
With the release of the DJI FPV Drone cinematic FPV has become a lot more accessible, but you certainly don't want to crash a $750 drone! The QAV-CINE Freybott is a compact, lightweight cinematic FPV drone that can take a hit and keep going. It's a lot safer to fly indoors and around people. With a naked GoPro or the SMO 4k you can capture some great stabilized footage. In this guide I'll show you..
Read more


nice, did you add much/any weight over the previous version?
No! matter of fact it actually lost some weight by removing the dual camera/original fc, the camera casing and the old battery was much heavier than the 1S I'm using
whats your AUW?
had to google what's AUW! also don't have a very accurate scale, so using my kitchen scale I got around 163g with all original parts + original battery and my build is coming at around 120g + 1s 450maH battery
I really feel like I need more power, if you check the video you can see it is sagging a lot when I need thrust, I think the original battery/FC had more power to the motors, I'm currently looking for a 2S brushed FC, actually found one that goes up to 5S, but still have a lot to learn and research before continuing