
Lessons learned
On my previous waterproof build, I used the heatshrink + epoxy techniques from FliteTest's video to waterproof the ESCs, RX, and VTX. These techniques worked, but didn't last -- I had a number of ESC failures when the heatshrink around the ESCs was damaged by prop strikes. I also used Corrosion-X on the flight controller, but found it greasy, sticky, and particularly troublesome when it ended up on my Taranis' gimbals.
This time, I wanted to use a combination of silicone conformal coating, epoxy, and Corrosion-X that would have better maintainability, no greasy mess, better durability, and still be just as effective.
I also wanted to correct a few mistakes from my last build. The cheap ZMR frame wasn't durable enough for low-visibility flying, and the dip switches on the VTX I used meant I couldn't switch channels. I also used arm-mounted ESCs, whose heatshrink was easily damaged, resulting in failures. Finally, I forgot to program my camera before I encased it completely in epoxy, heh.
Part Choices
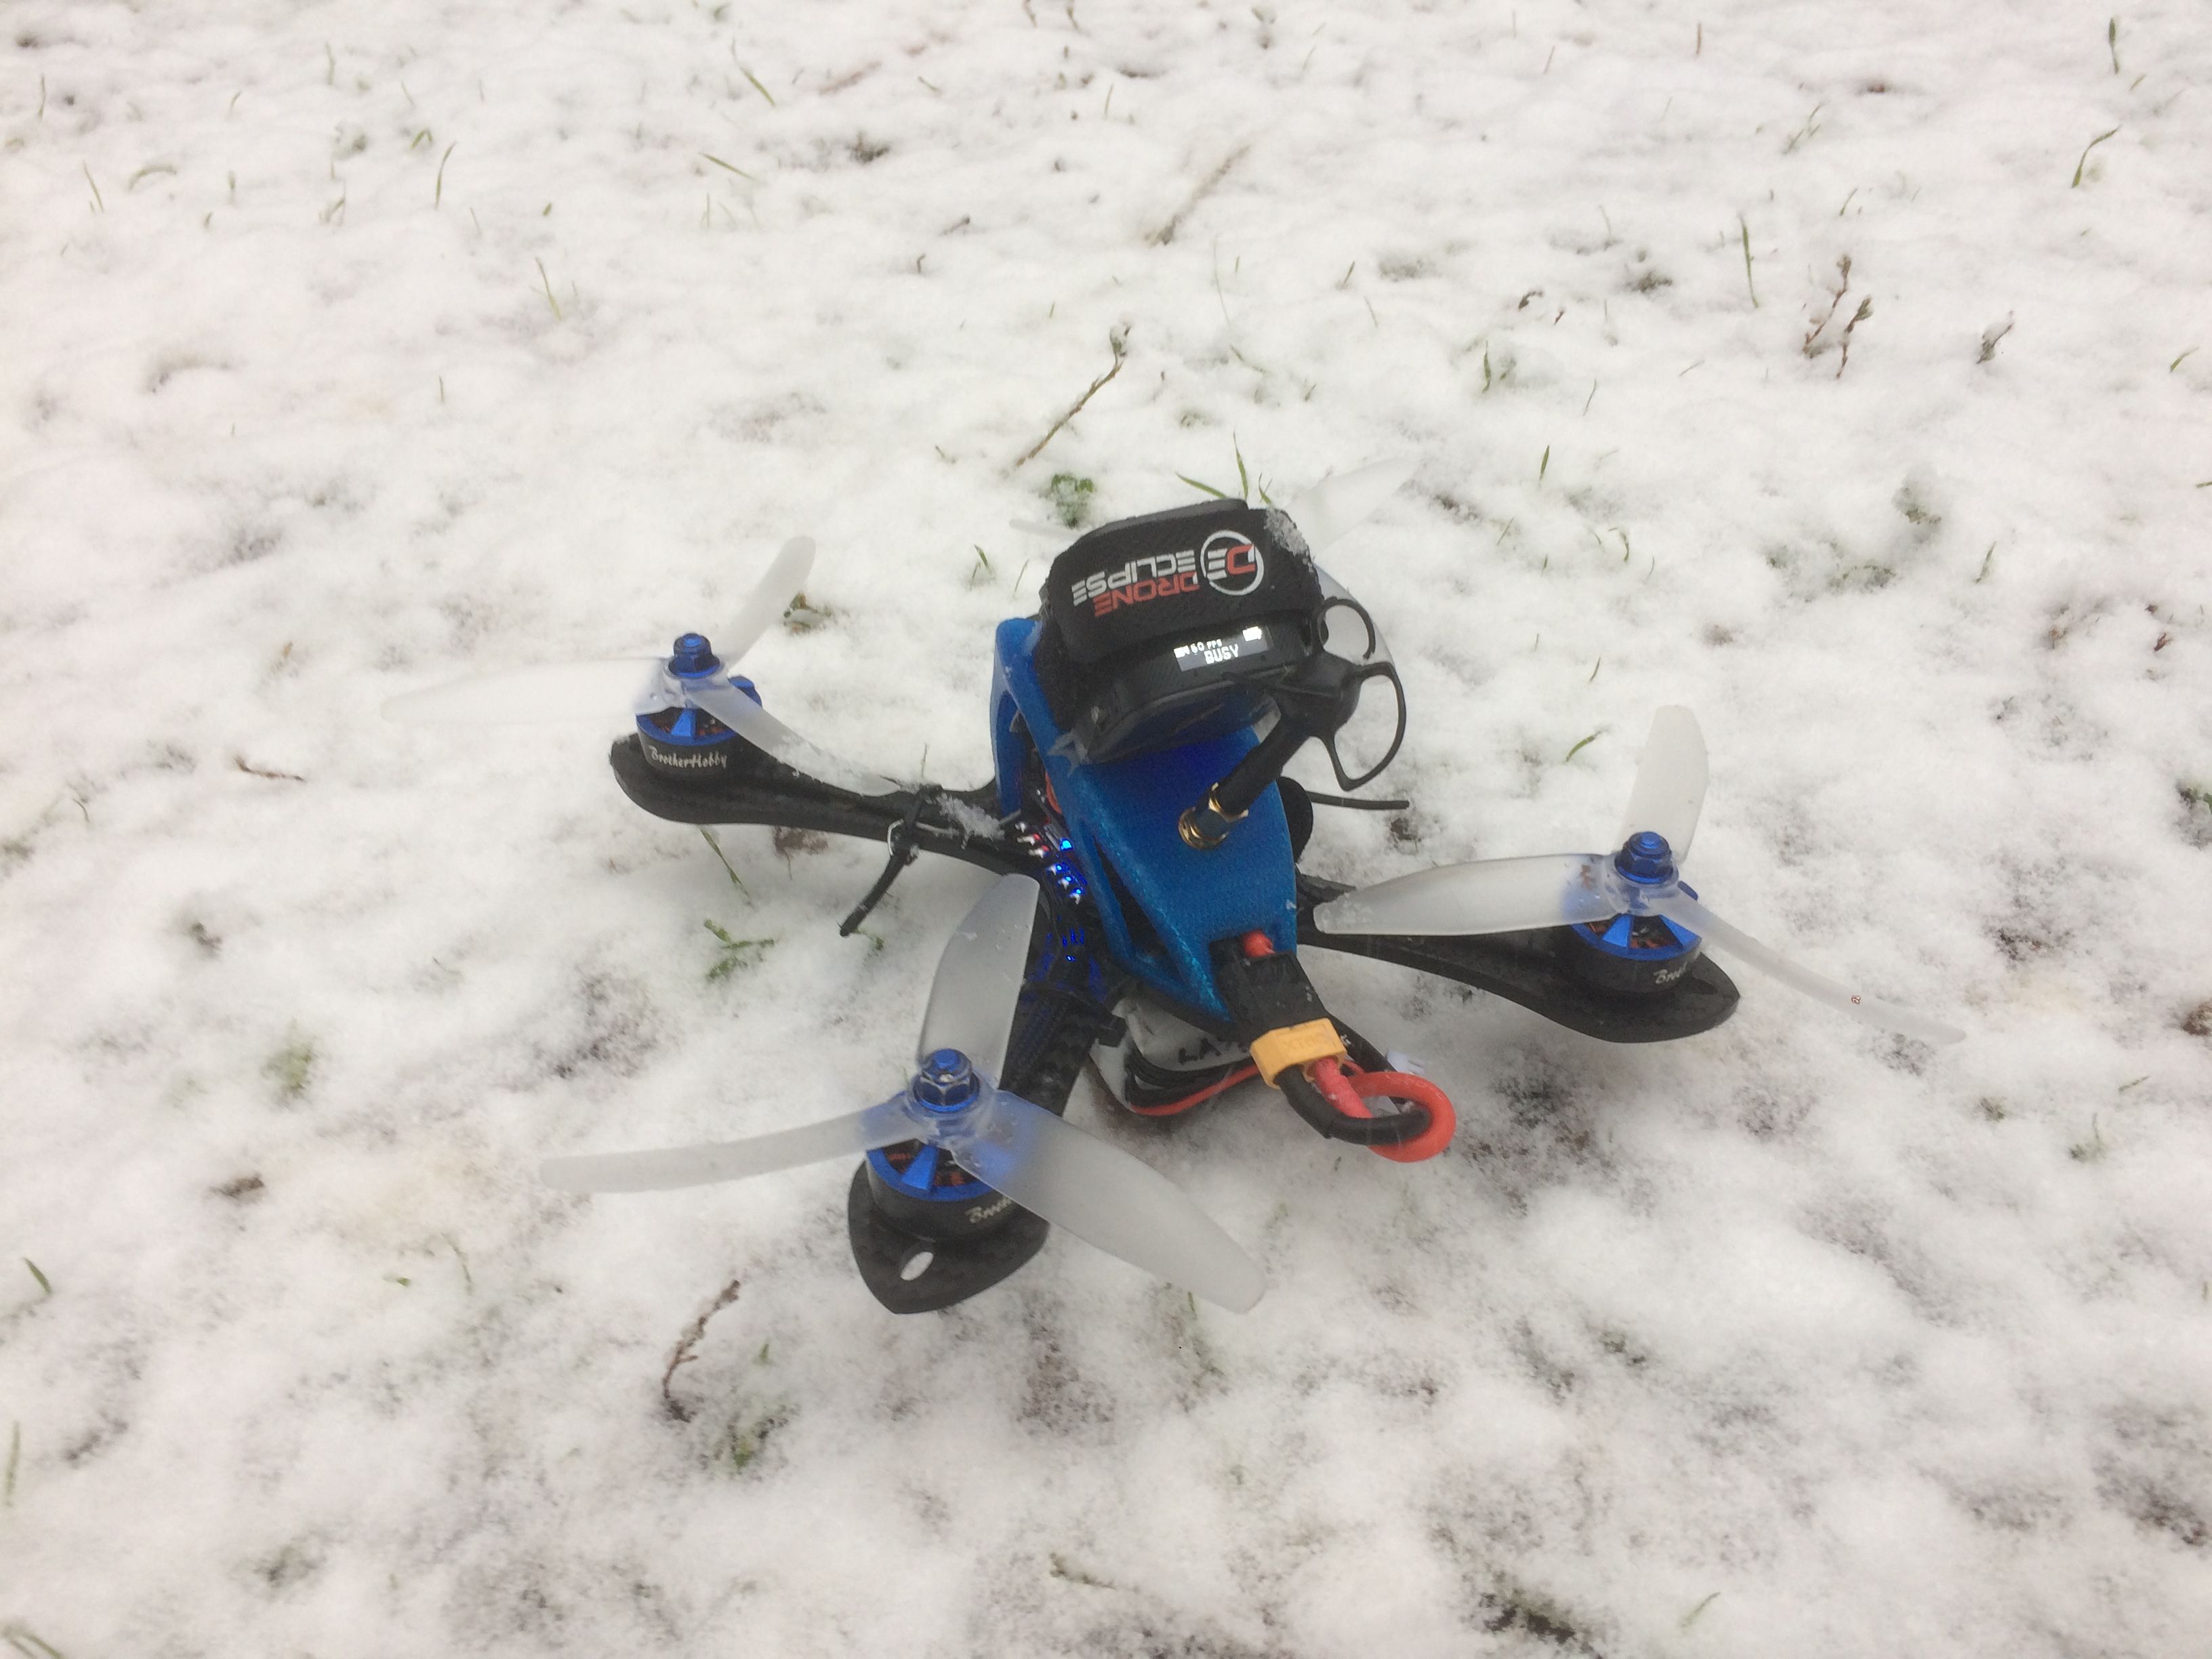
I chose the 4mm Garuda 200 mostly for its crazy durability -- I knew this was going to be a time-consuming build, and I wouldn't want to be rebuilding if the frame broke. Also, Garuda's canopy provides great component protection -- we don't want the waterproof coating to be damaged in crashes, and we don't want our camera getting smashed. The bright blue canopy would also make it easier to find in the snow.
I chose to use a 4in1 ESC for this build as the only reason I end up destroying ESCs these days is due to blunt force trauma, and a 4in1 is protected from impact inside of Garuda's canopy, so its waterproof coating will be safe.
I chose the FX799T with pigtail from FPVHQ as I needed a VTX that didn't use dip switches -- I have a feeling those aren't very waterproof. If you're trying to choose a VTX for your build, consider the SirinFPV all-in-one FC/VTX/OSD/Blackbox so you don't need to use a physical switch at all to change channels.
Hoping to avoid potential foggy leaks, I used a normal HS1177 with the plastic case this time instead of the HS1177M (which has heatshrink for a body).
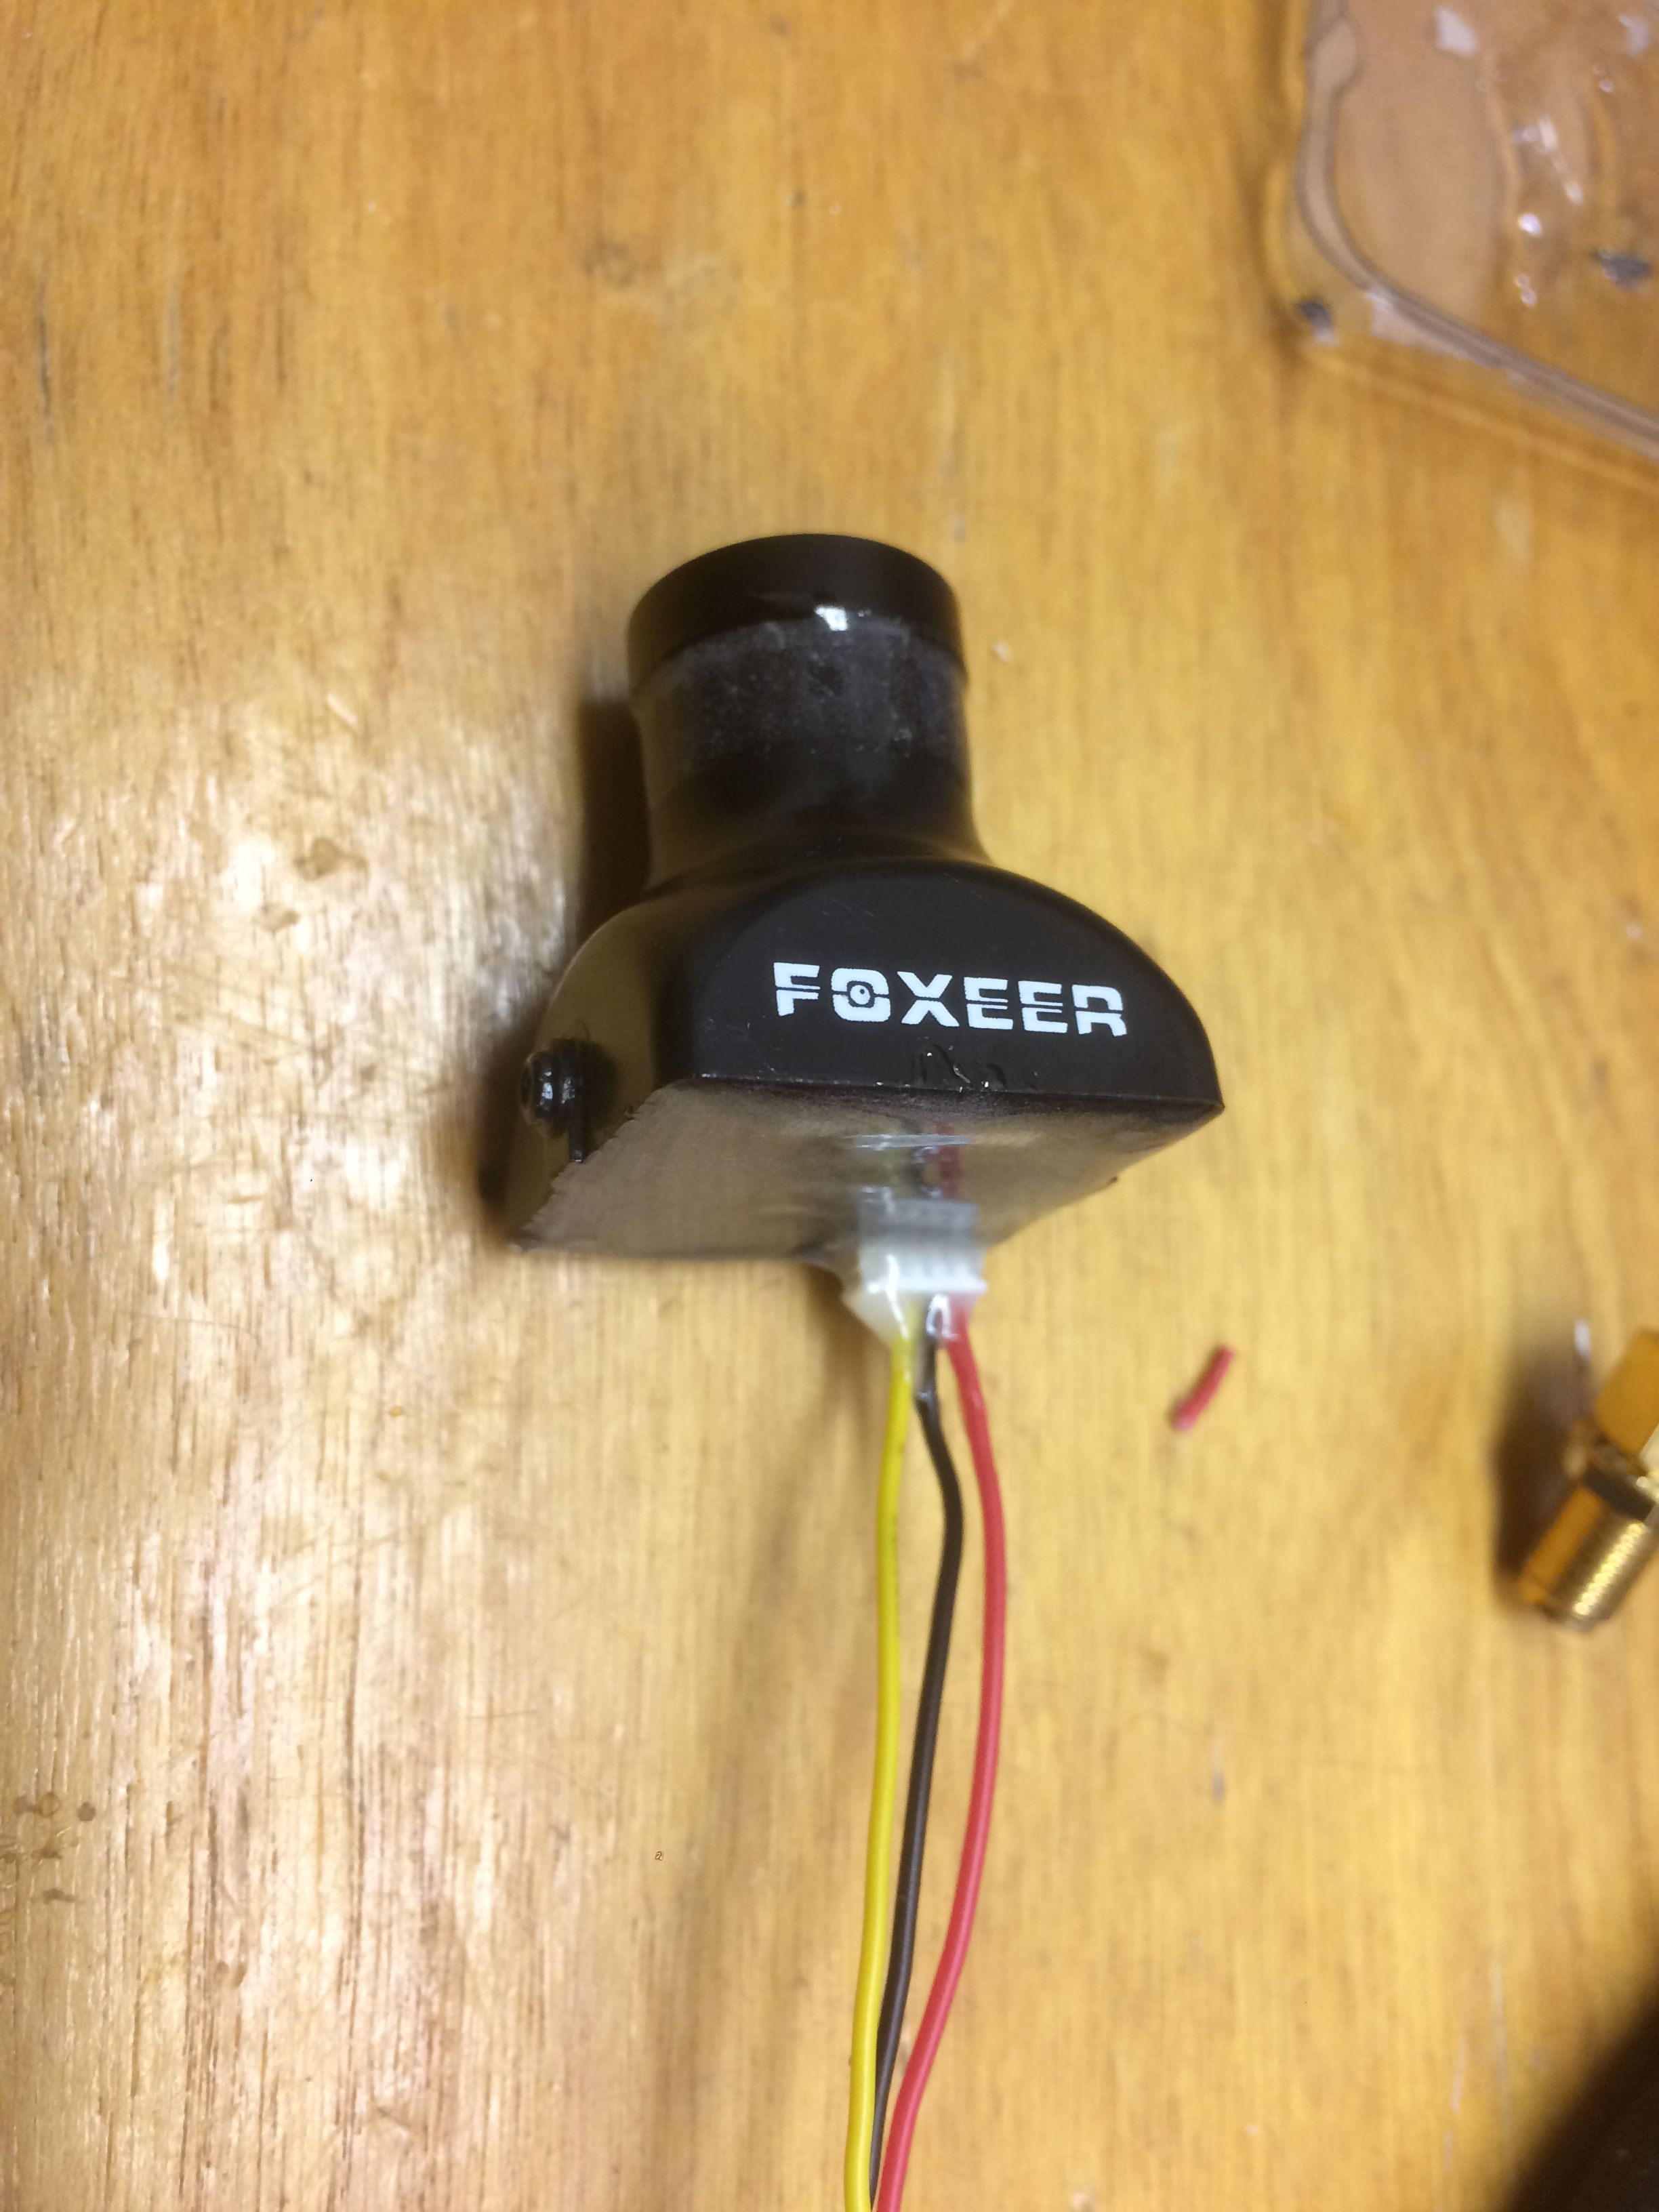
Waterproofing and reinforcing the camera
- First, focus your lens. We're going to lock the lens into the case to make sure no water can leak into the case.
- Next, program your camera with my tried and true Sony Super HAD camera settings. They work great in dark rain, bright snowy sunshine, and everything in between :)
- Remove the two screws from the back of the camera, then remove the PCB and the back plate.
- With the lens focused in place, add a gratuitous amount of epoxy around the threads of the lens, the rings, and all the way up to the case. The idea here is to prevent water from coming into the case through the threads, and to prevent water from leaking into the lens assembly itself through back of the metal ring at the tip the of lens.
- Add some epoxy into the screw holes on the sides of the camera. If your frame requires screws to mount the camera, this might be an issue.
- Insert your camera cable into the connector on the camera's PCB.
- On the front of the camera PCB, slather epoxy all over the electronics and around the sensor, but obviously not on the sensor's glass. You don't want this sensor falling off in crashes.
- Insert the PCB into the camera case and slather epoxy all over the rear of the PCB, effectively sealing it into the camera case.
- Install the rear cover on the camera using the two screws before the epoxy dries.
- Slather more epoxy all over the back of the camera, covering the area between the rear cover and the main case, the screws, and the connector. Be sure to bend your wires the direction you want them to go before epoxying them into place. This will help reduce stress on the wires once the build is put together.
Initial build
- Build your quad. Wire up all of the electronics, attach the motors to the ESCs, bind your transmitter, set motor directions, set your VTX channel (in case the switch stops working), and test everything.
- Do not VHB, zip tie, or glue anything. You'll need to take all of the parts off of the frame with exposed electronics (no heatshrink) for the next step.
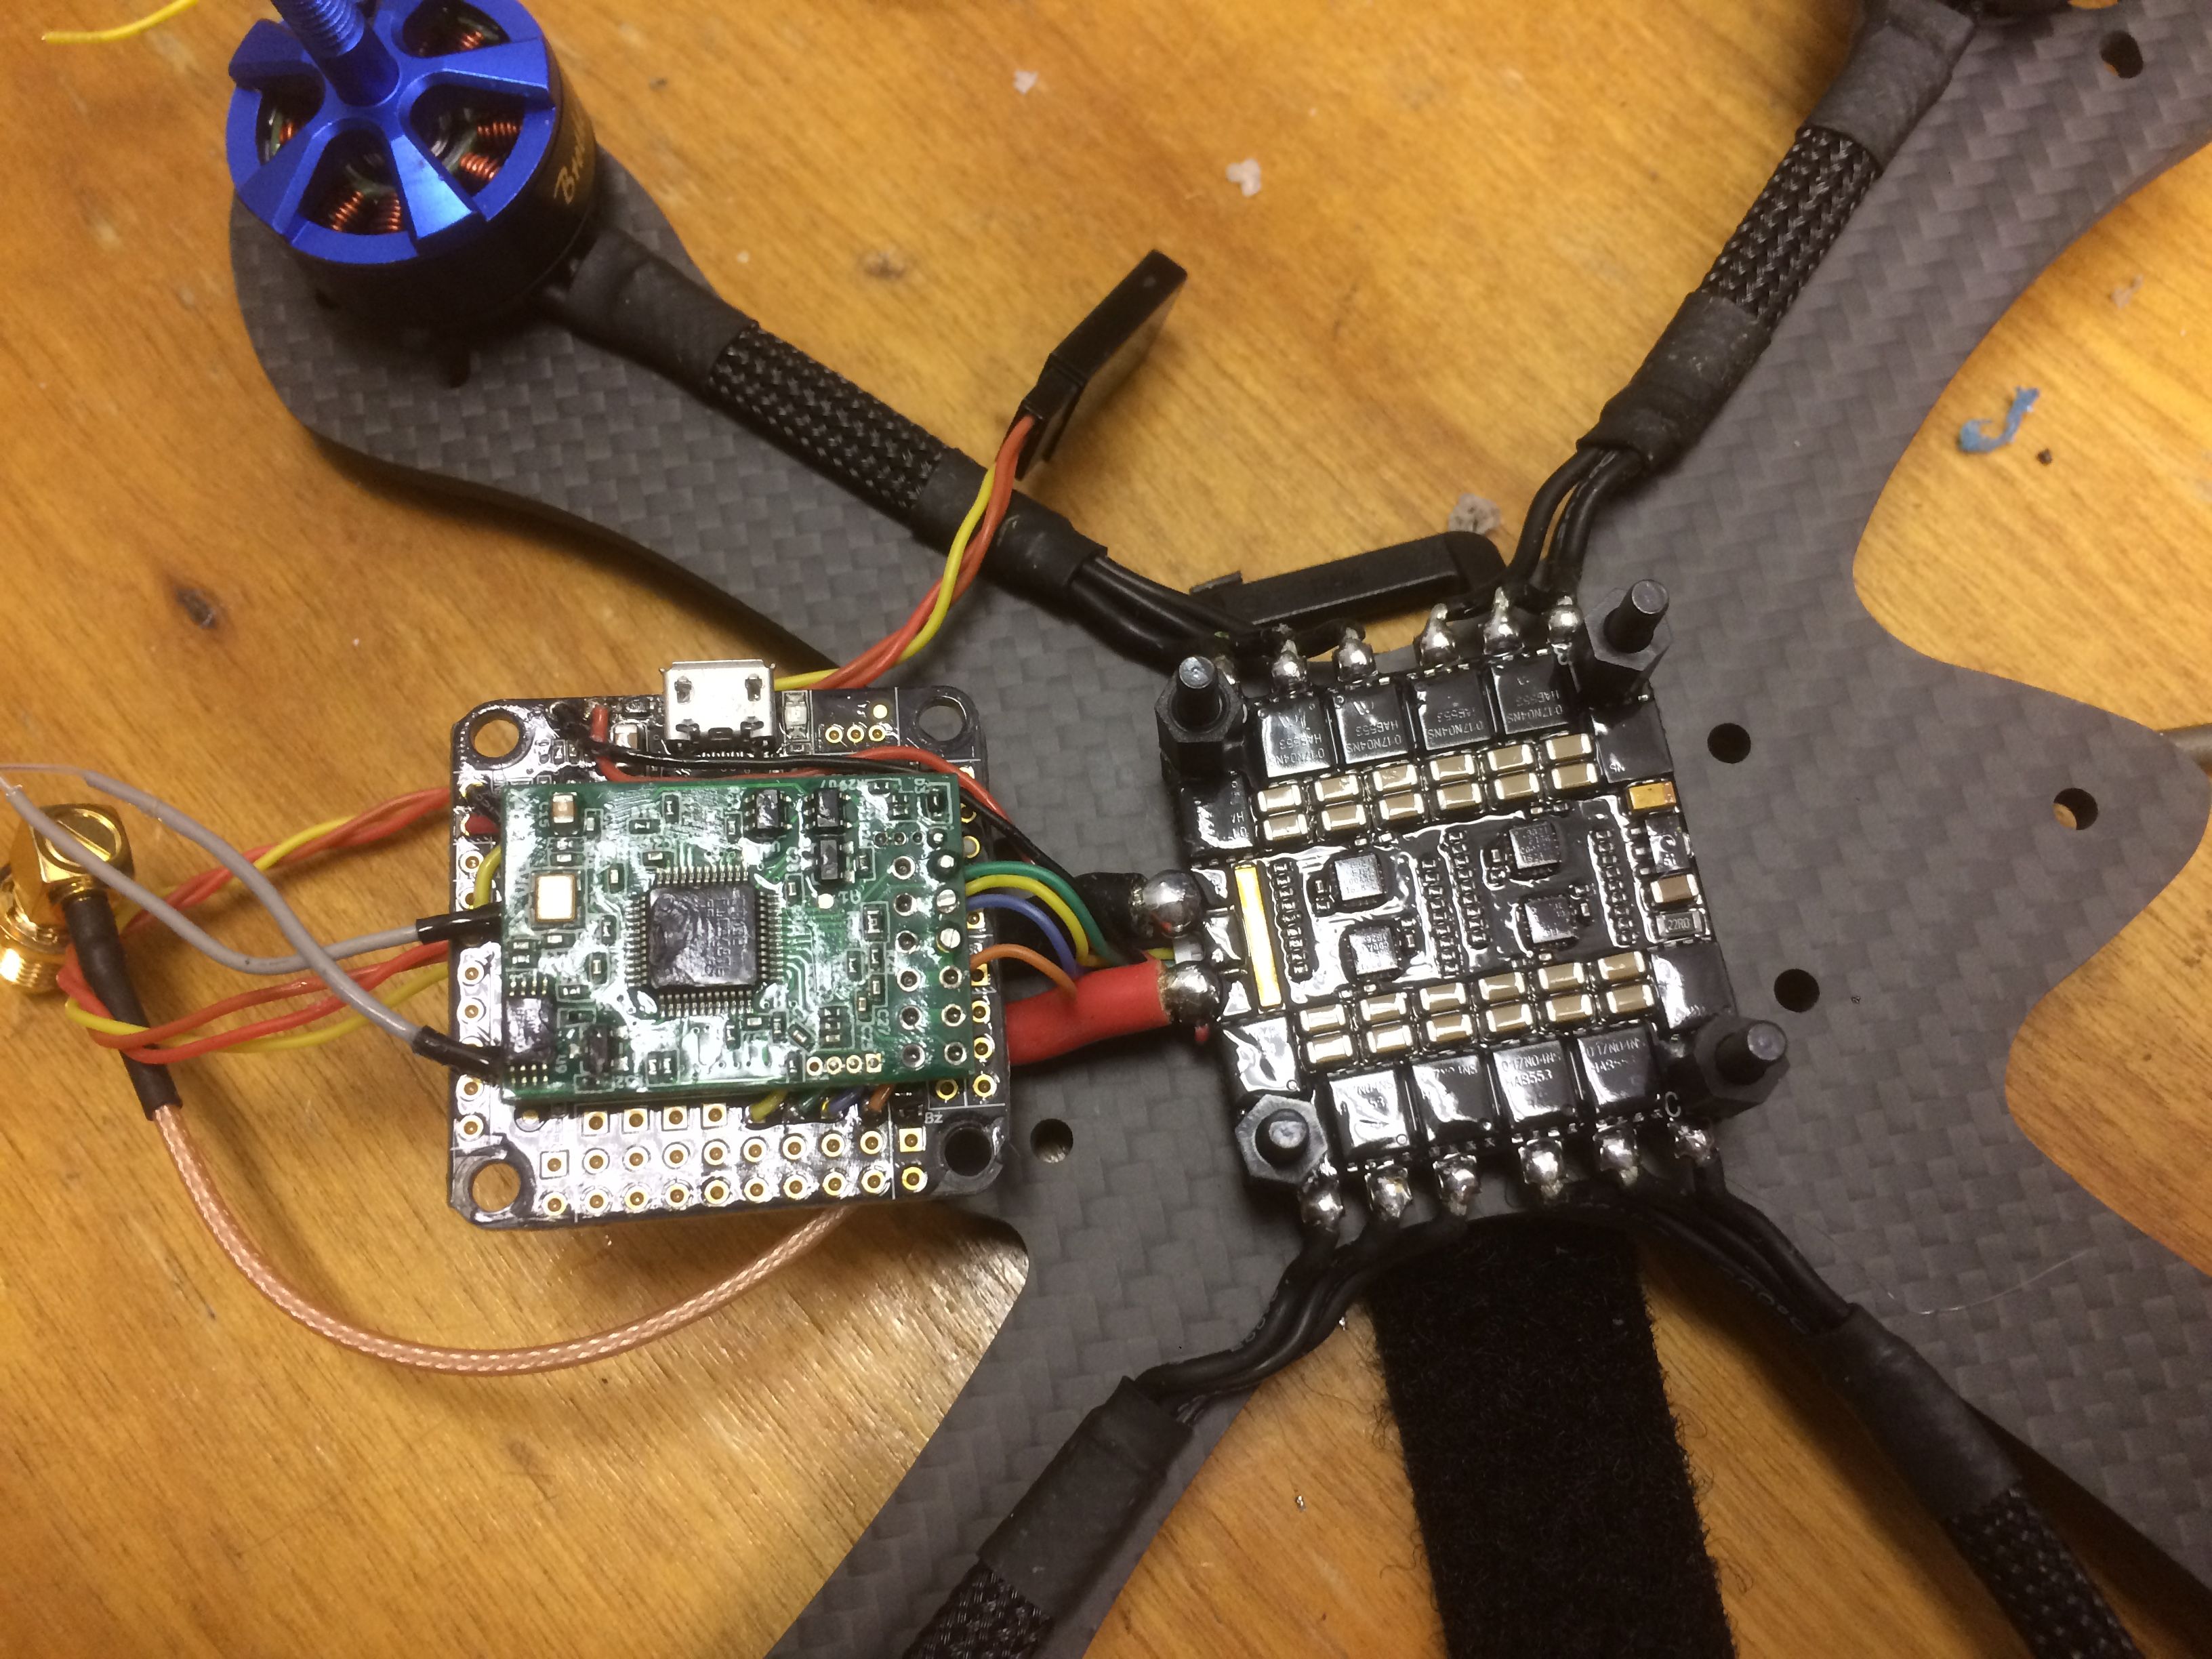
Waterproofing the electronics
- Remove all the components from the frame and set your hardware aside.
- Choose a warm, well-ventilated place away from any open flame to apply the conformal coating.
- Lay down some cardboard and put on some rubber gloves.
- Use helping hands to suspend your electronics. You don't want them touching the cardboard when they're drying.
- Plug an old USB cable into the FC, and make sure the rest of your connectors are plugged in. You don't want to conformal coat these at all, just the electronics.
- Wearing rubber gloves, brush the silicone conformal coating on one side of all of your electronics.
- Flip the electronics over, taking care not to touch the side you just brushed the conformal coating on.
- Brush the silicone conformal coating on the other side of all of your electronics.
- Let the conformal coating cure in a warm, well-ventilated place. 20 minutes should be enough time.
- After the first coat dries, you can optionally apply a second coat, especially to the ESCs.
- Unplug all of the connectors and put a drop (just a drop!) of Corrosion-X into each of them. Then, insert the connectors again. This will prevent corrosion and shorts between the pins due to water.
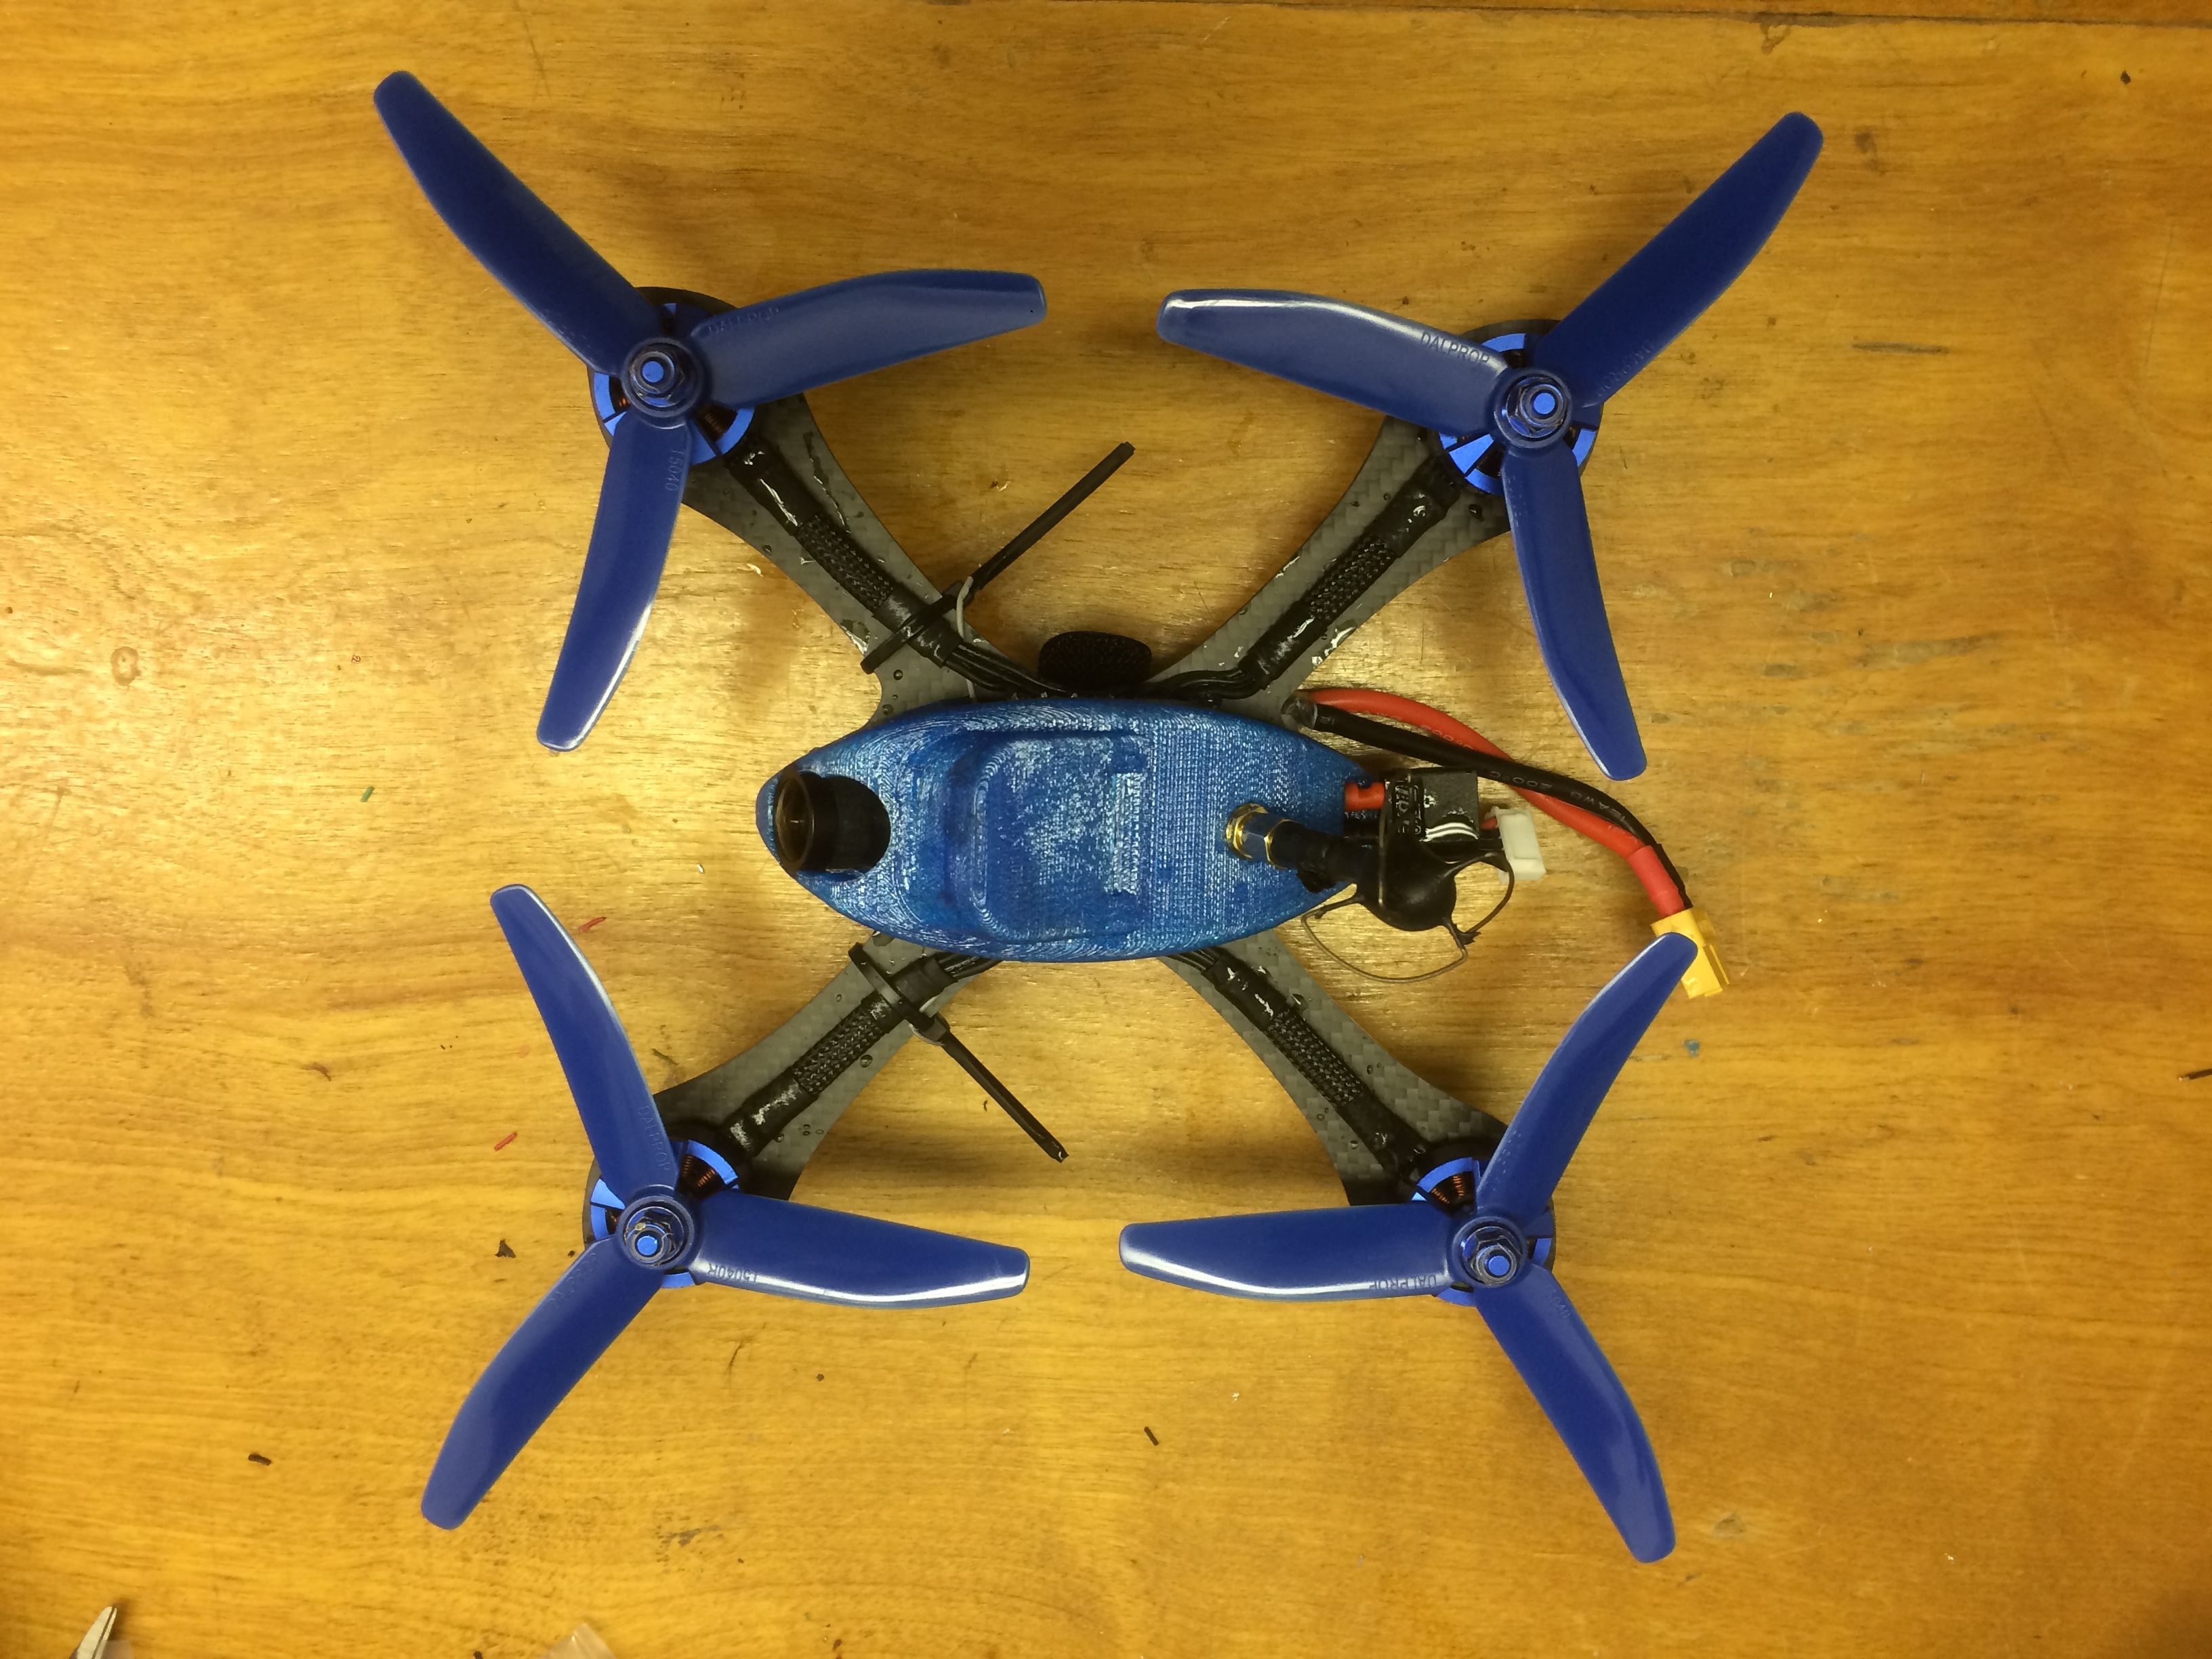
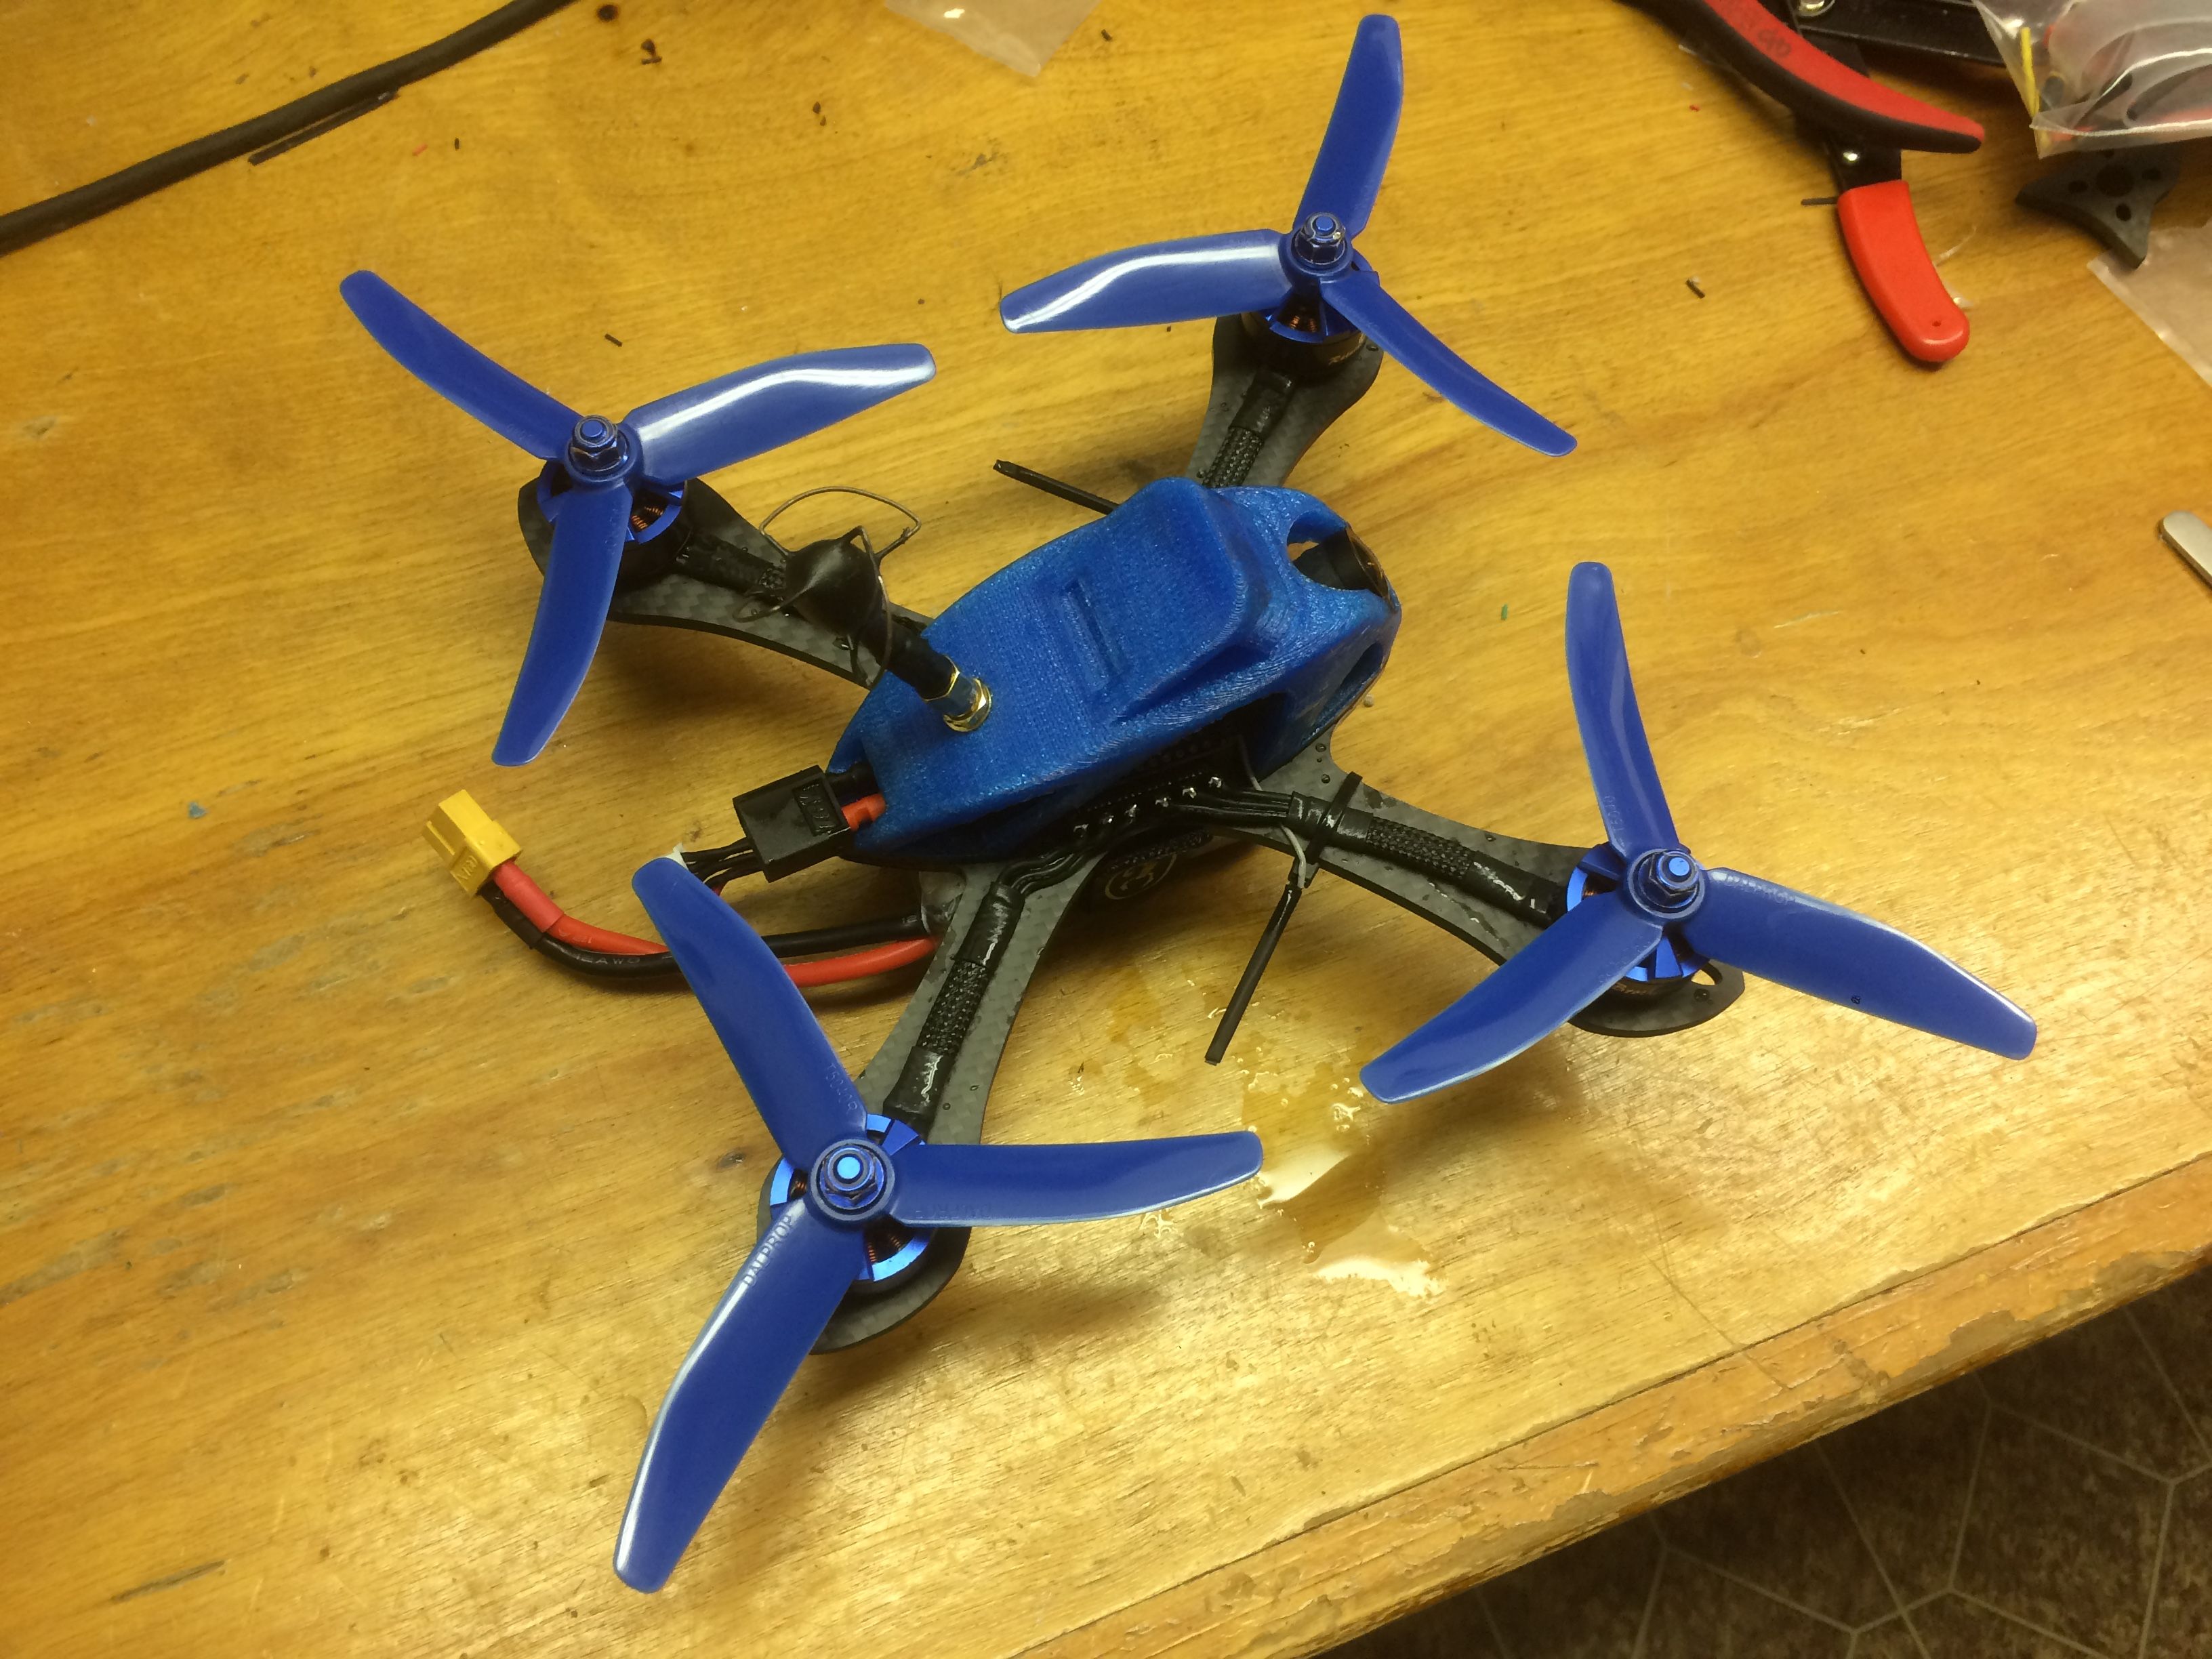
Final build
- Remember that there is no need to heatshrink your RX, VTX, or ESCs -- they're already coated with silicone. They won't short out against each other, and if they get dirty, you can just hose them off.
- VHB your RX and VTX into place. I used VHB to attached the RX under the FC and used VHB to attach the VTX to the top of the FC.
- Assemble the build as normal, taking care not to damage the conformal coating on any of the components. You may wish to use spacers or o-rings between standoffs and PCBs to avoid damaging the conformal coating (especially on 4in1s like the Cicada 30A where the pads for the FETs are too close to the standoffs.
- If you need to re-solder anything, just solder through the conformal coating and add another coat before continuing.
Lubricating the motors
- After flying in wet conditions, it's important to lubricate your motors properly as the water can strip away some of the oil. You can use Corrosion-X to lubricate the motors by simply spraying it into the bearings at the bottom of the motor.
- Be sure to re-apply lubrication regularly after flying in wet conditions.
Photos

Part List
Show stores (9)Guides & Reviews

AirbladeUAV has done it again and this time they've brought long range to the 5" class! Based on the popular Transformer Mini, the new Transformer 5" Ultralight adopts a lot of the same design philosophies with larger props and more payload capacity. It can fly upwards of 20 minutes on a 4 cell Li-Ion battery pack and in ideal conditions it's got a range of over 4 to 5 miles. In this guide I'll walk..
Read more
With the release of the DJI FPV Drone cinematic FPV has become a lot more accessible, but you certainly don't want to crash a $750 drone! The QAV-CINE Freybott is a compact, lightweight cinematic FPV drone that can take a hit and keep going. It's a lot safer to fly indoors and around people. With a naked GoPro or the SMO 4k you can capture some great stabilized footage. In this guide I'll show you..
Read more


Where are the antennas for your frsky receiver mounted? I'm about to build a garuda stretch and haven't decided where to put them yet!
Hey Michael! They're mounted on the front arms using a ziptie and heatshrink, you can see them in some of the photos.
Oh sweet! I thought where they were. Thanks!