

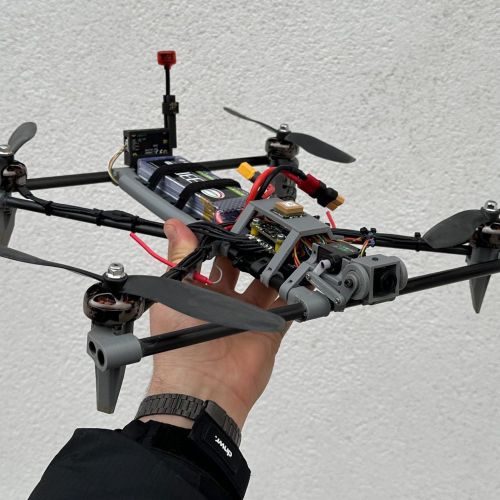
3 words to describe CineHobbit PRO: small, silent and efficient. Recently someone told me to add also indestructible
With immense joy and excitement I finally present the PRO version of my little CineHobbit!
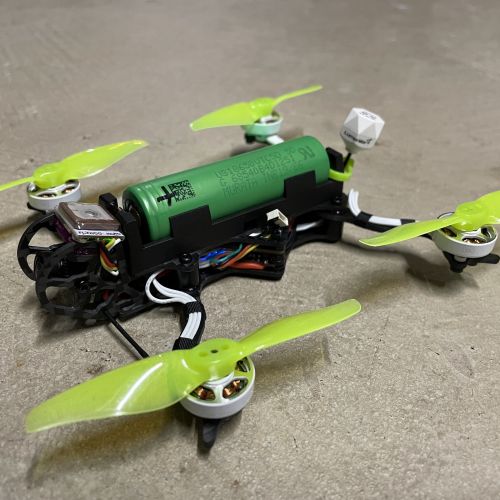
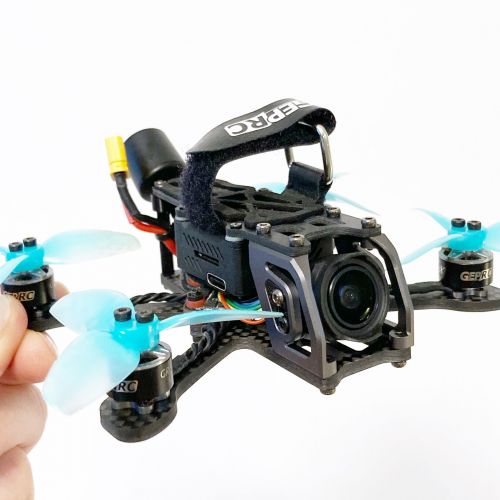
Ducts

Let’s start with the leading actor of this project. The ducts in general have 3 main tasks for a cinewhoop: 1 safety, 2 stability, 3 durability.
For its design I relied on an external engineering studio that analyzed the fluid dynamics of a dozen ducts designs for me and helped me to change the parameters till obtaining the best possible result.
There is established literature that describes the fundamental parameters to be evaluated in order to obtain the best possible results. If you put simple cylinders around your props, you are most probably just degradeting flight characteristics and efficiency by simply adding weight. Doesn’t matter how close your props tip are close to the internal walls of the ducts…
CineHobbit PRO ducts provide 46% more efficiency than the same setup without ducts. 6% more than the prototype version, thanks to the even more optimized profile.
Since it is a one piece duct, it naturally guarantees maximum protection during collisions with people and objects. It is also known that cinewhoops with full ducts have more stability when shooting footage because they hold altitude more firmly and drift less to the side.
The material used for this duct is truly special! It is stiff and at the same time slightly flexible to absorb shocks and not to crack. I found only one supplier in the world for this type of filament that males virtually indestructible frame for normal usage according to the purpose for which CineHobbit is designed for, even falling from the sky from several meters high. It’s more probably something else will break instead.
I show you here a video that speaks for itself:
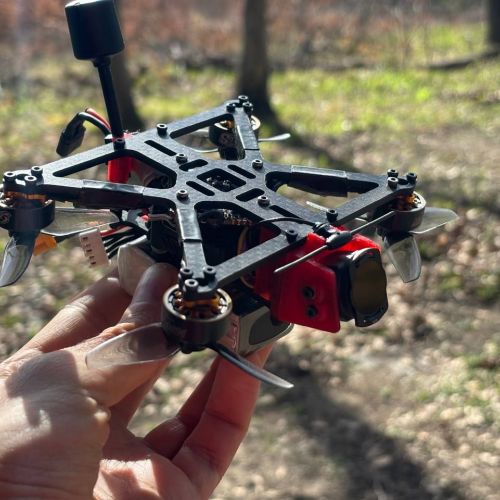
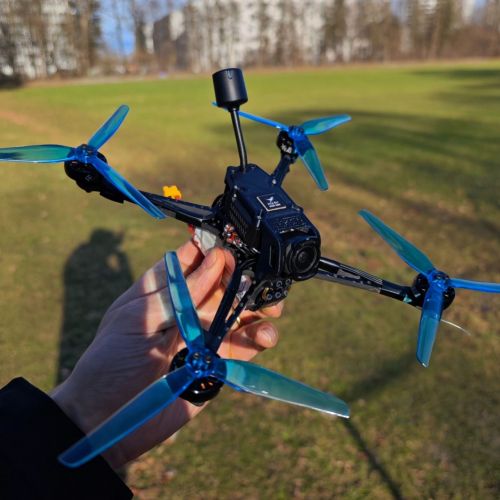
Carbon fibre frame
And here it come the supporting actor for the CineHobbit PRO. The carbon fibres frame is derived from the 3d printed prototype version, improving its efficiency by 4% thanks to the greater free passage for the flow of air, comparable to a pusher build.
The arms are thin but 3mm thick, which makes the frame particularly rigid and clean from obstructions. The stiffener bracket of the prototype that connects one engine to the other has also been eliminated, but the mounting hole that was previously on these brackets has been maintained thanks to an optimized layout.
Carbon is also lighter than the plastic version, at the same level of stiffness. All this optimisations translated into a considerable improvement in performance and durability.

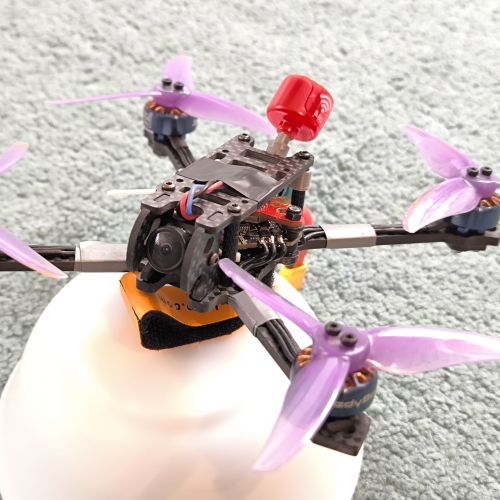
Motors
Many variants of the build have been made in the last few weeks and then intensively tested to find out the best combination of motors and prorps. Starting from 1106 to end with 1408. 1106 could fly, but you feel the lack of power and they get pretty warm. 1408 is definitely overkill for CineHobbit, with some high pitch props you can race and freestyle with no worries but they guarantee only 3-4 minutes of hard flying and it’s really not the very final purpose of this frame. But you know you can
The most balanced motors tested are the 1305 and 1404 motors. They give the best of efficiency and still have enough power to fly around with ease. The 1305 are slightly better if you prefer fast hovering and 1404 are the best for slow cinematic footage. Initially the frame was supposed to fly 4s only because I expected 3s not to be able to give enough power but I must admit that the reality is slightly different. On 3s CineHobbit, thanks to its efficiency and lightweight, has already the ability to fly up and down the building and jumping from one tree to another with a GoPro on top. And it’s extremely smooth. On 4s you get more power that is little wasted with low pitch but efficient props, so you swap out for higher pitch ones and the result is that you get a some more power that you’ll probably not exploit and some extra battery sag. The choice depends on the pilot preferences in the end.
Propellers
Of course I didn’t try all the propellers but I tried so many that I can’t name them all. I will limit my self by mentioning those that deserve your attention:
- Gemfam wind-dancer (cut): the most efficient ever! With 1100mah 3s and GoPro session 5, I was able to fly almost 10 min! They are also the most loud once, but still more silent than any 3inch cinewhoop out there.
- HQ 2.5×2.5×3: the best all rounder. Little less efficient than wind-dancer but much more silent and more grip in air. And you don’t have to cut any props! It fits perfectly in these ducts as it is.
- HQ 3.1x3x4: with these HQ you put silencer to your drone! I feel totally comfortable flying outside close to people. They just don’t care because of the low noice and of the ducts that make the drone to look just safe!
- Gemfan 65mm for ducts: these are the latest props tested on the CineHobbit because they were newly made from Gemfan and it seems they fit just perfectly in our frame. These are more silent then HQ 3.1x3x4! Almost no gap between tip of the blades and the ducts.
- Eventual other props that I’ll test and like will be added in this list.
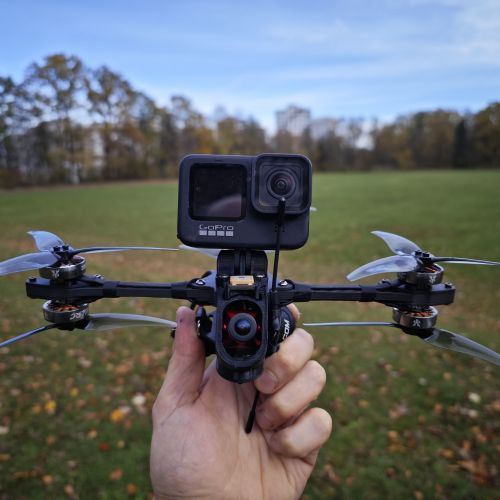
All the results and comments are based on builds with full GoPro on top. There was no point on testing it without a HD camera on top given the purpose the frame is designed for.
Building recommendations
The most important expect of all the build are the ducts. They must be concentric to your propellers. In order to obtain this feature, during the mounting process you should not tighten the 12 M2.3 Phillips self tapping screws untill all the components are correctly mounted.
The holes for these screws on the carbon fibre frame are buttonholes with 1mm displacement possibility. Tighten the self tapping screws as last step of the build. Before tightening them please pay extra care about the distance of the tip of the props from the ducts, it should be as equal as possible around the whole duct. If you are not happy of the distance you can stretch or compress slightly the ducts by shifting the M2.3 screws inside the buttonholes. Tighten them one by one once your are satisfied of the positioning.
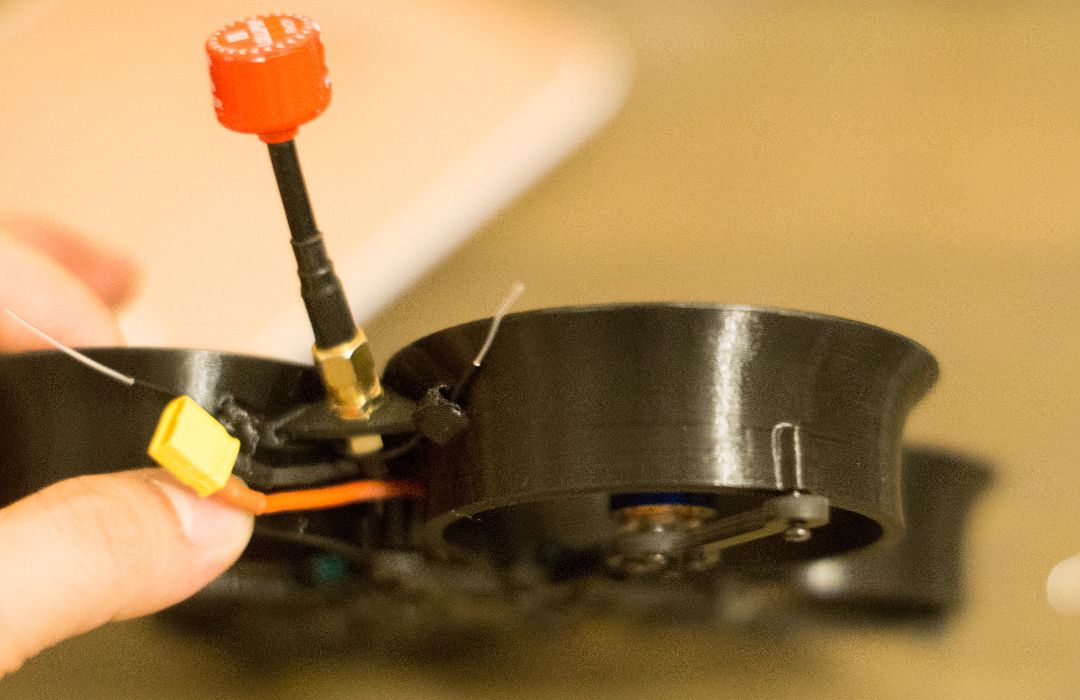
For your comfort it’s pretty conveniente to instal your SMA or RP-SMA connector on the frame first and later attach the other end on the VTX.

The camera mount offers a very safe placement because protected but the ducts all around. For this same reason the mounting steps are not as standard.
The easiest way to instal the camera is to insert partially the screws first.

You should leave more or less the space equal to the thickness of the protection walls for the camera and then simply slide it all the way down into the dedicated slot. And finally tighten the screws with a round head allen key because you will have to work slightly out of the axis of the screws.

It’s convenient to connect the camera to the VTX by means of a small JST connector. The required wire length is slightly longer then normal whoop builds because the camera is installed all the way in the front at the edge of the frame. If you install an HD camera, you will have no props and ducts in the view.
Cheers
Photos
Part List
Show stores (8)

Guides & Reviews

AirbladeUAV has done it again and this time they've brought long range to the 5" class! Based on the popular Transformer Mini, the new Transformer 5" Ultralight adopts a lot of the same design philosophies with larger props and more payload capacity. It can fly upwards of 20 minutes on a 4 cell Li-Ion battery pack and in ideal conditions it's got a range of over 4 to 5 miles. In this guide I'll walk..
Read more
With the release of the DJI FPV Drone cinematic FPV has become a lot more accessible, but you certainly don't want to crash a $750 drone! The QAV-CINE Freybott is a compact, lightweight cinematic FPV drone that can take a hit and keep going. It's a lot safer to fly indoors and around people. With a naked GoPro or the SMO 4k you can capture some great stabilized footage. In this guide I'll show you..
Read more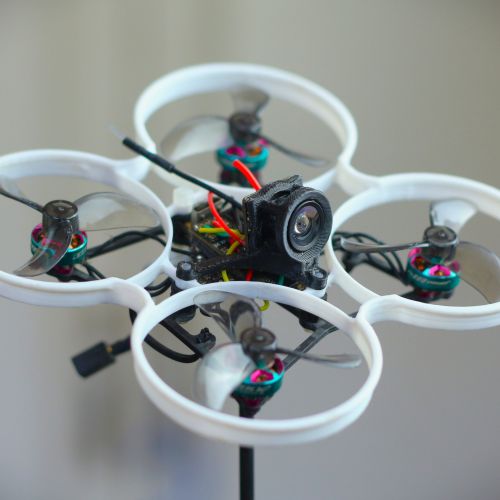
Bummer that none of the main parts seem to be available anymore.