
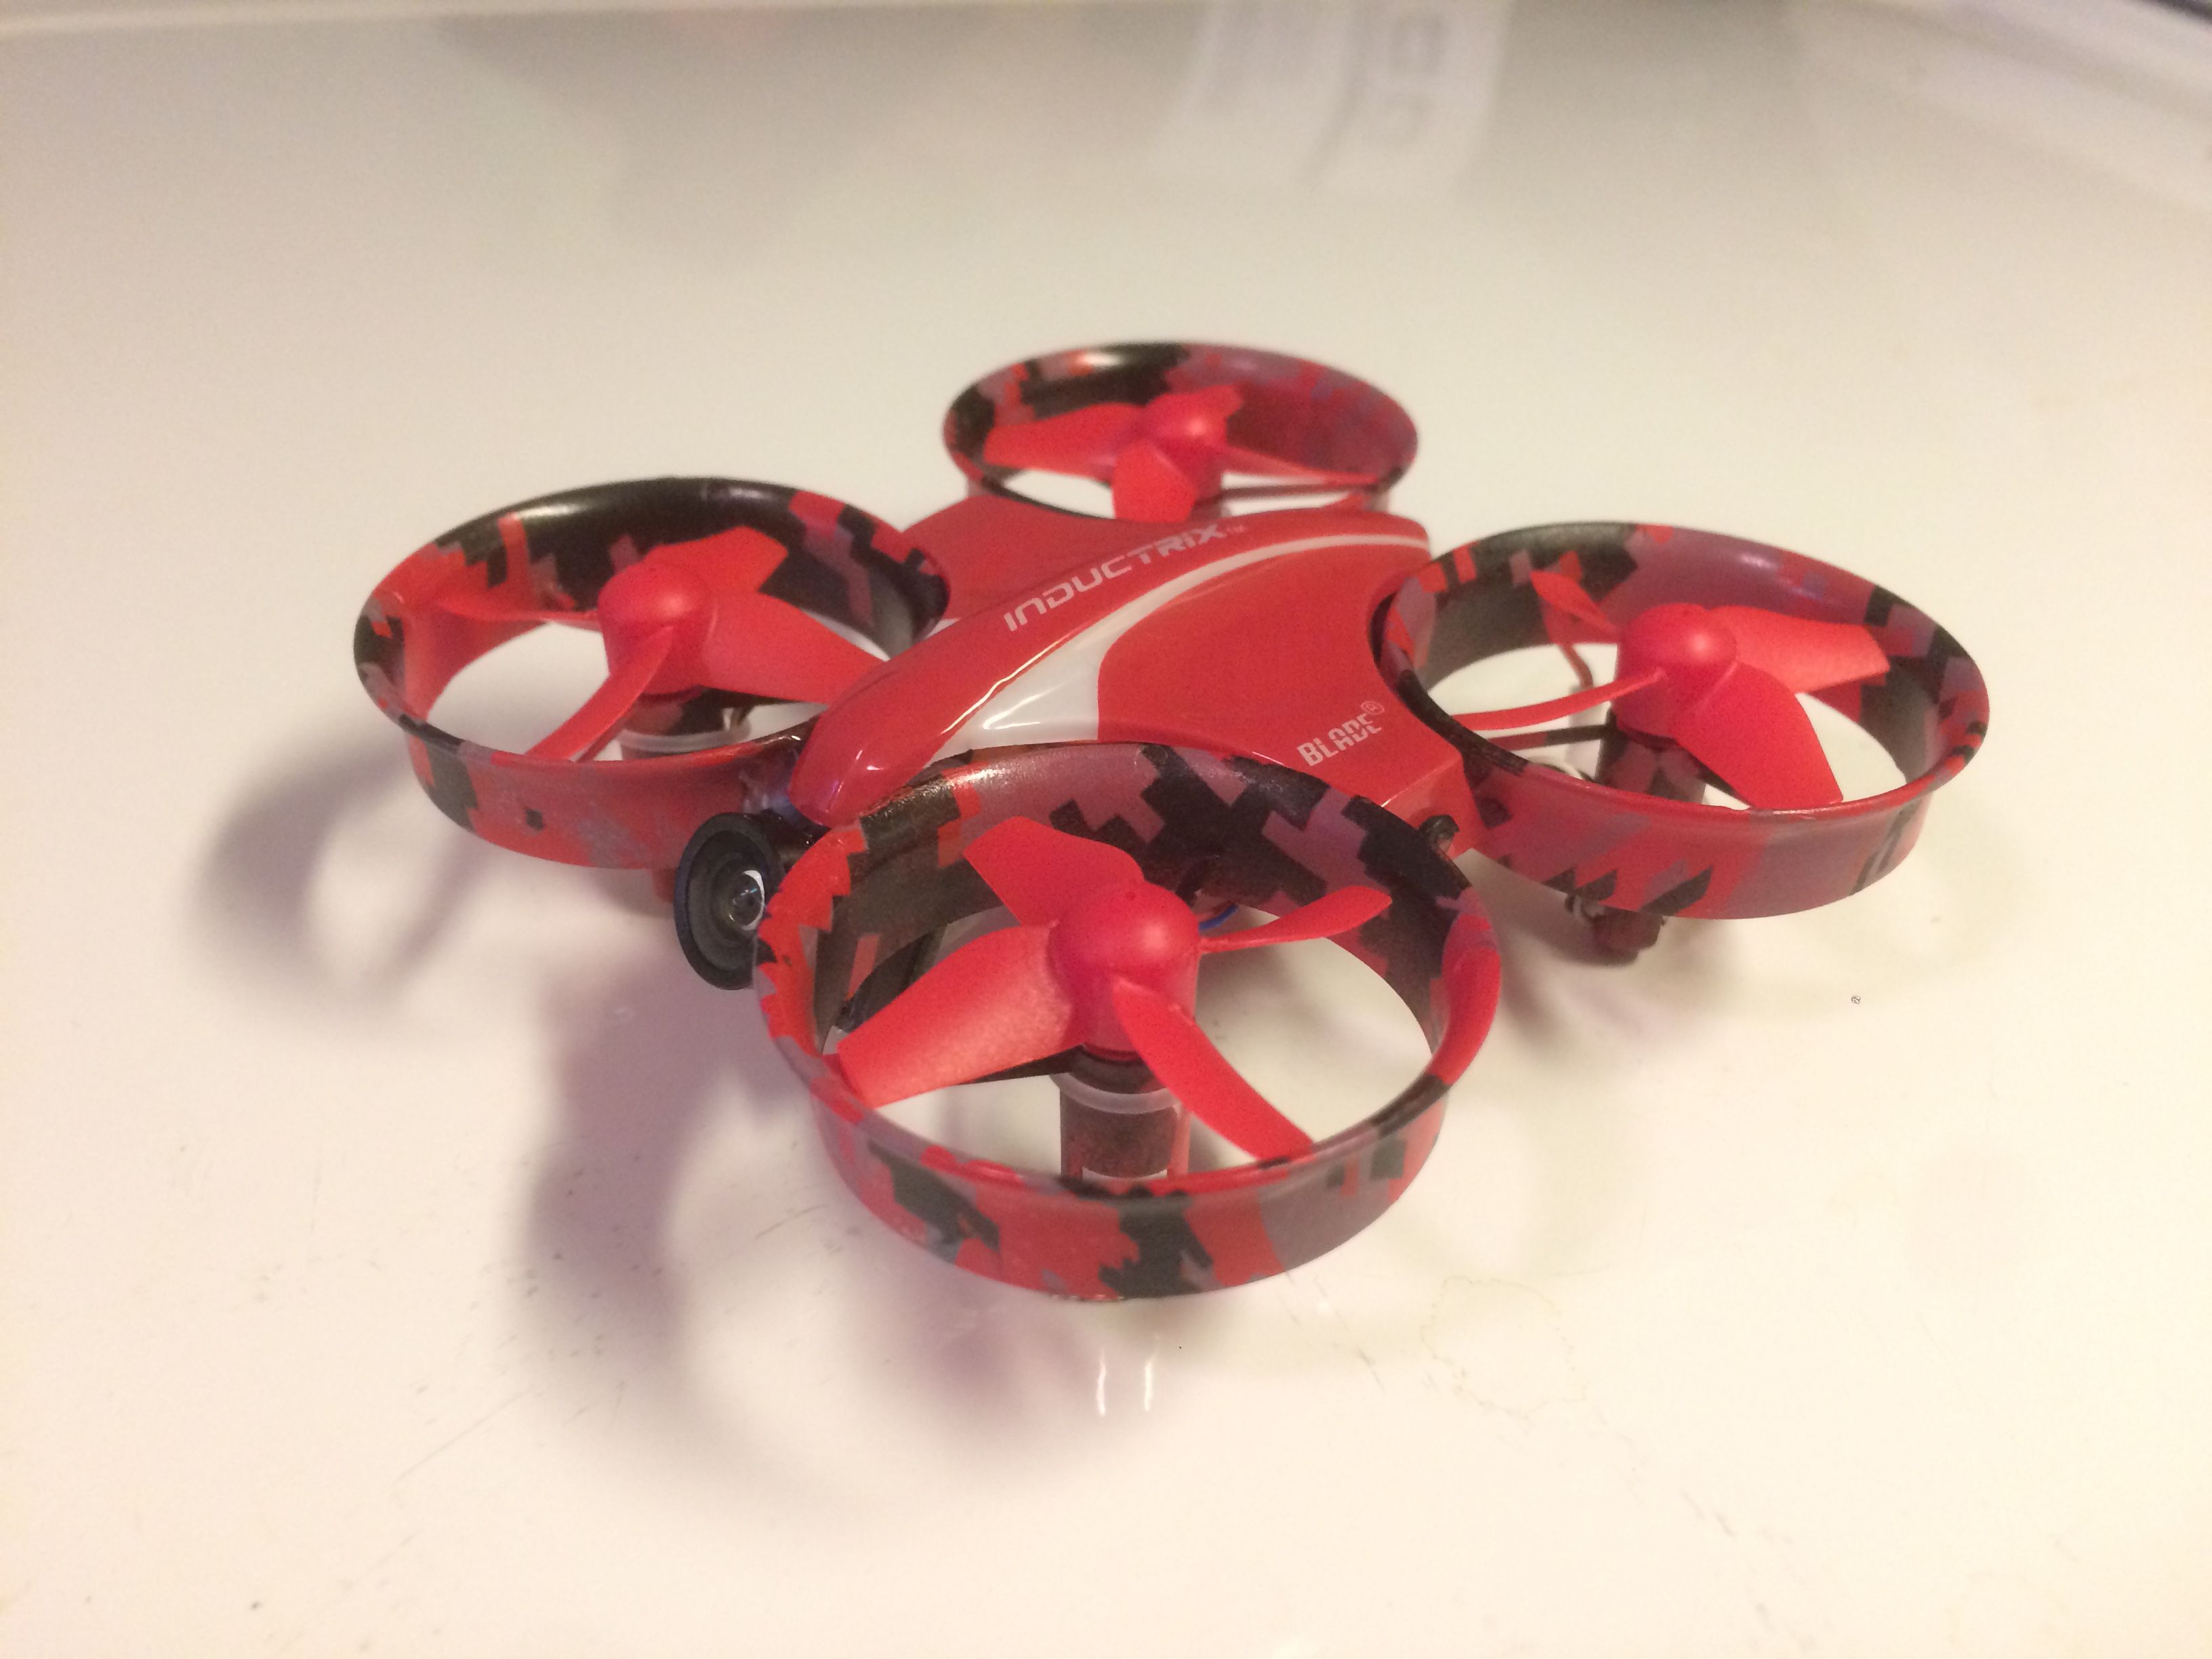
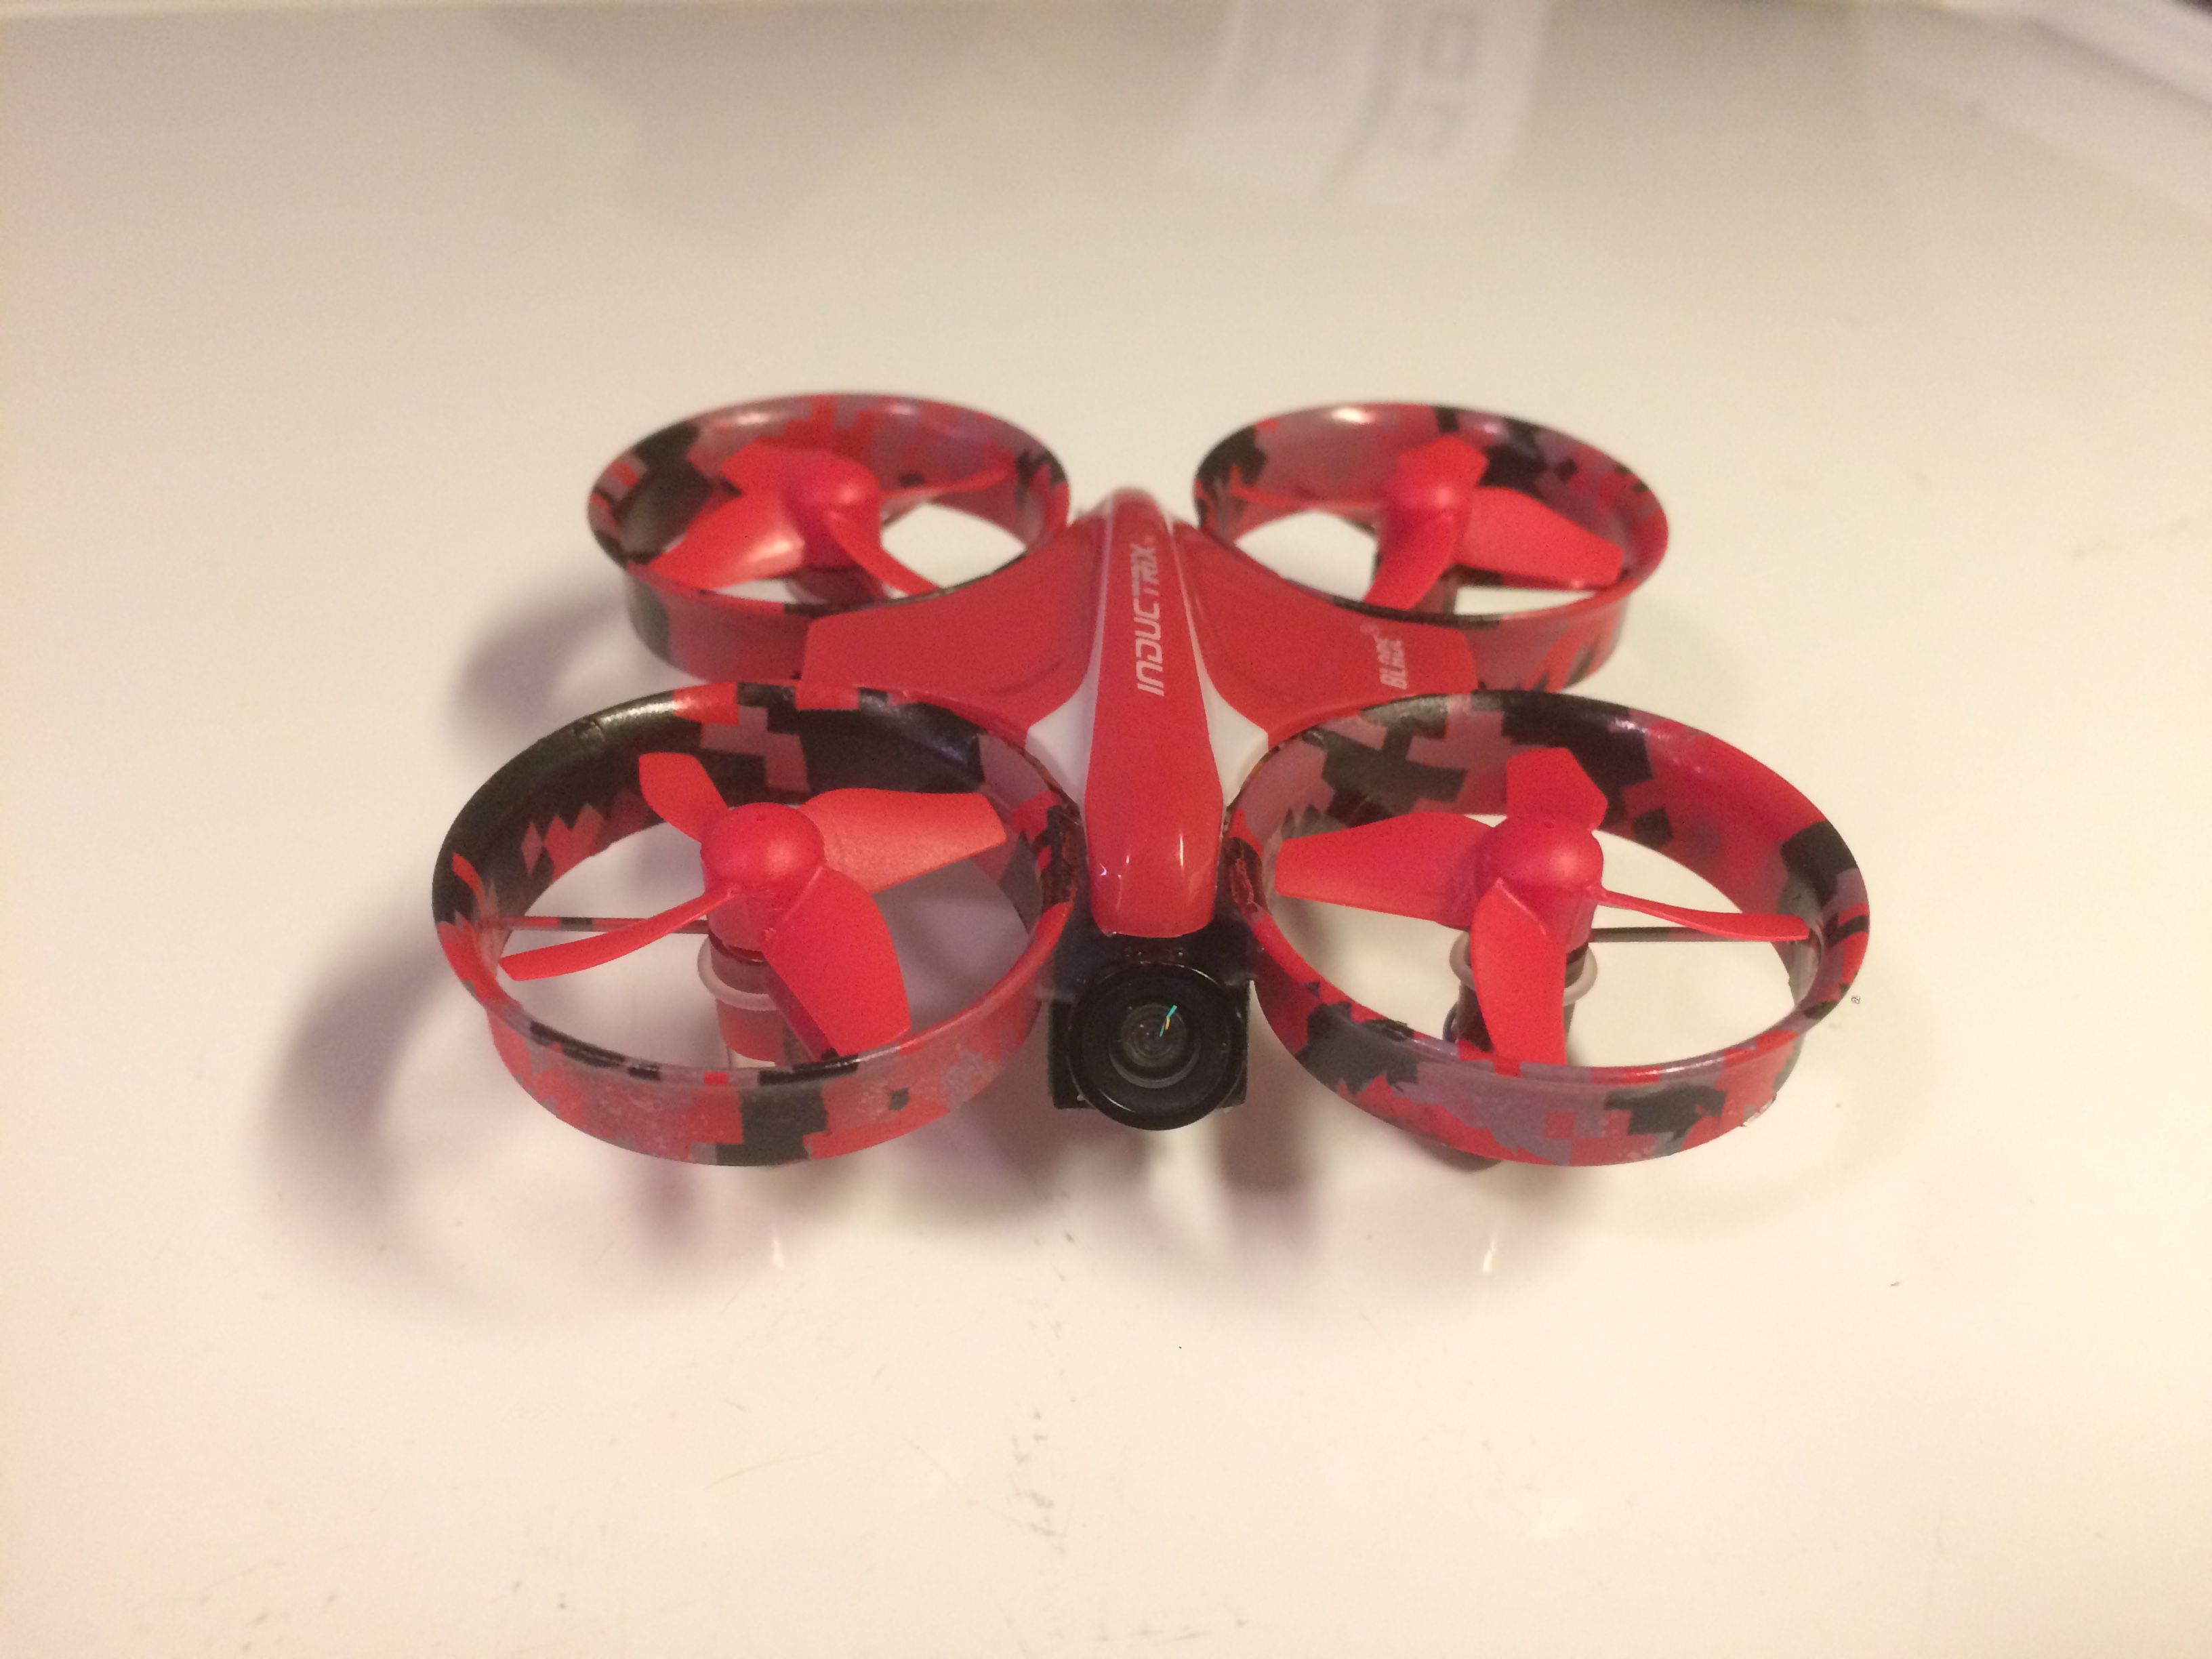
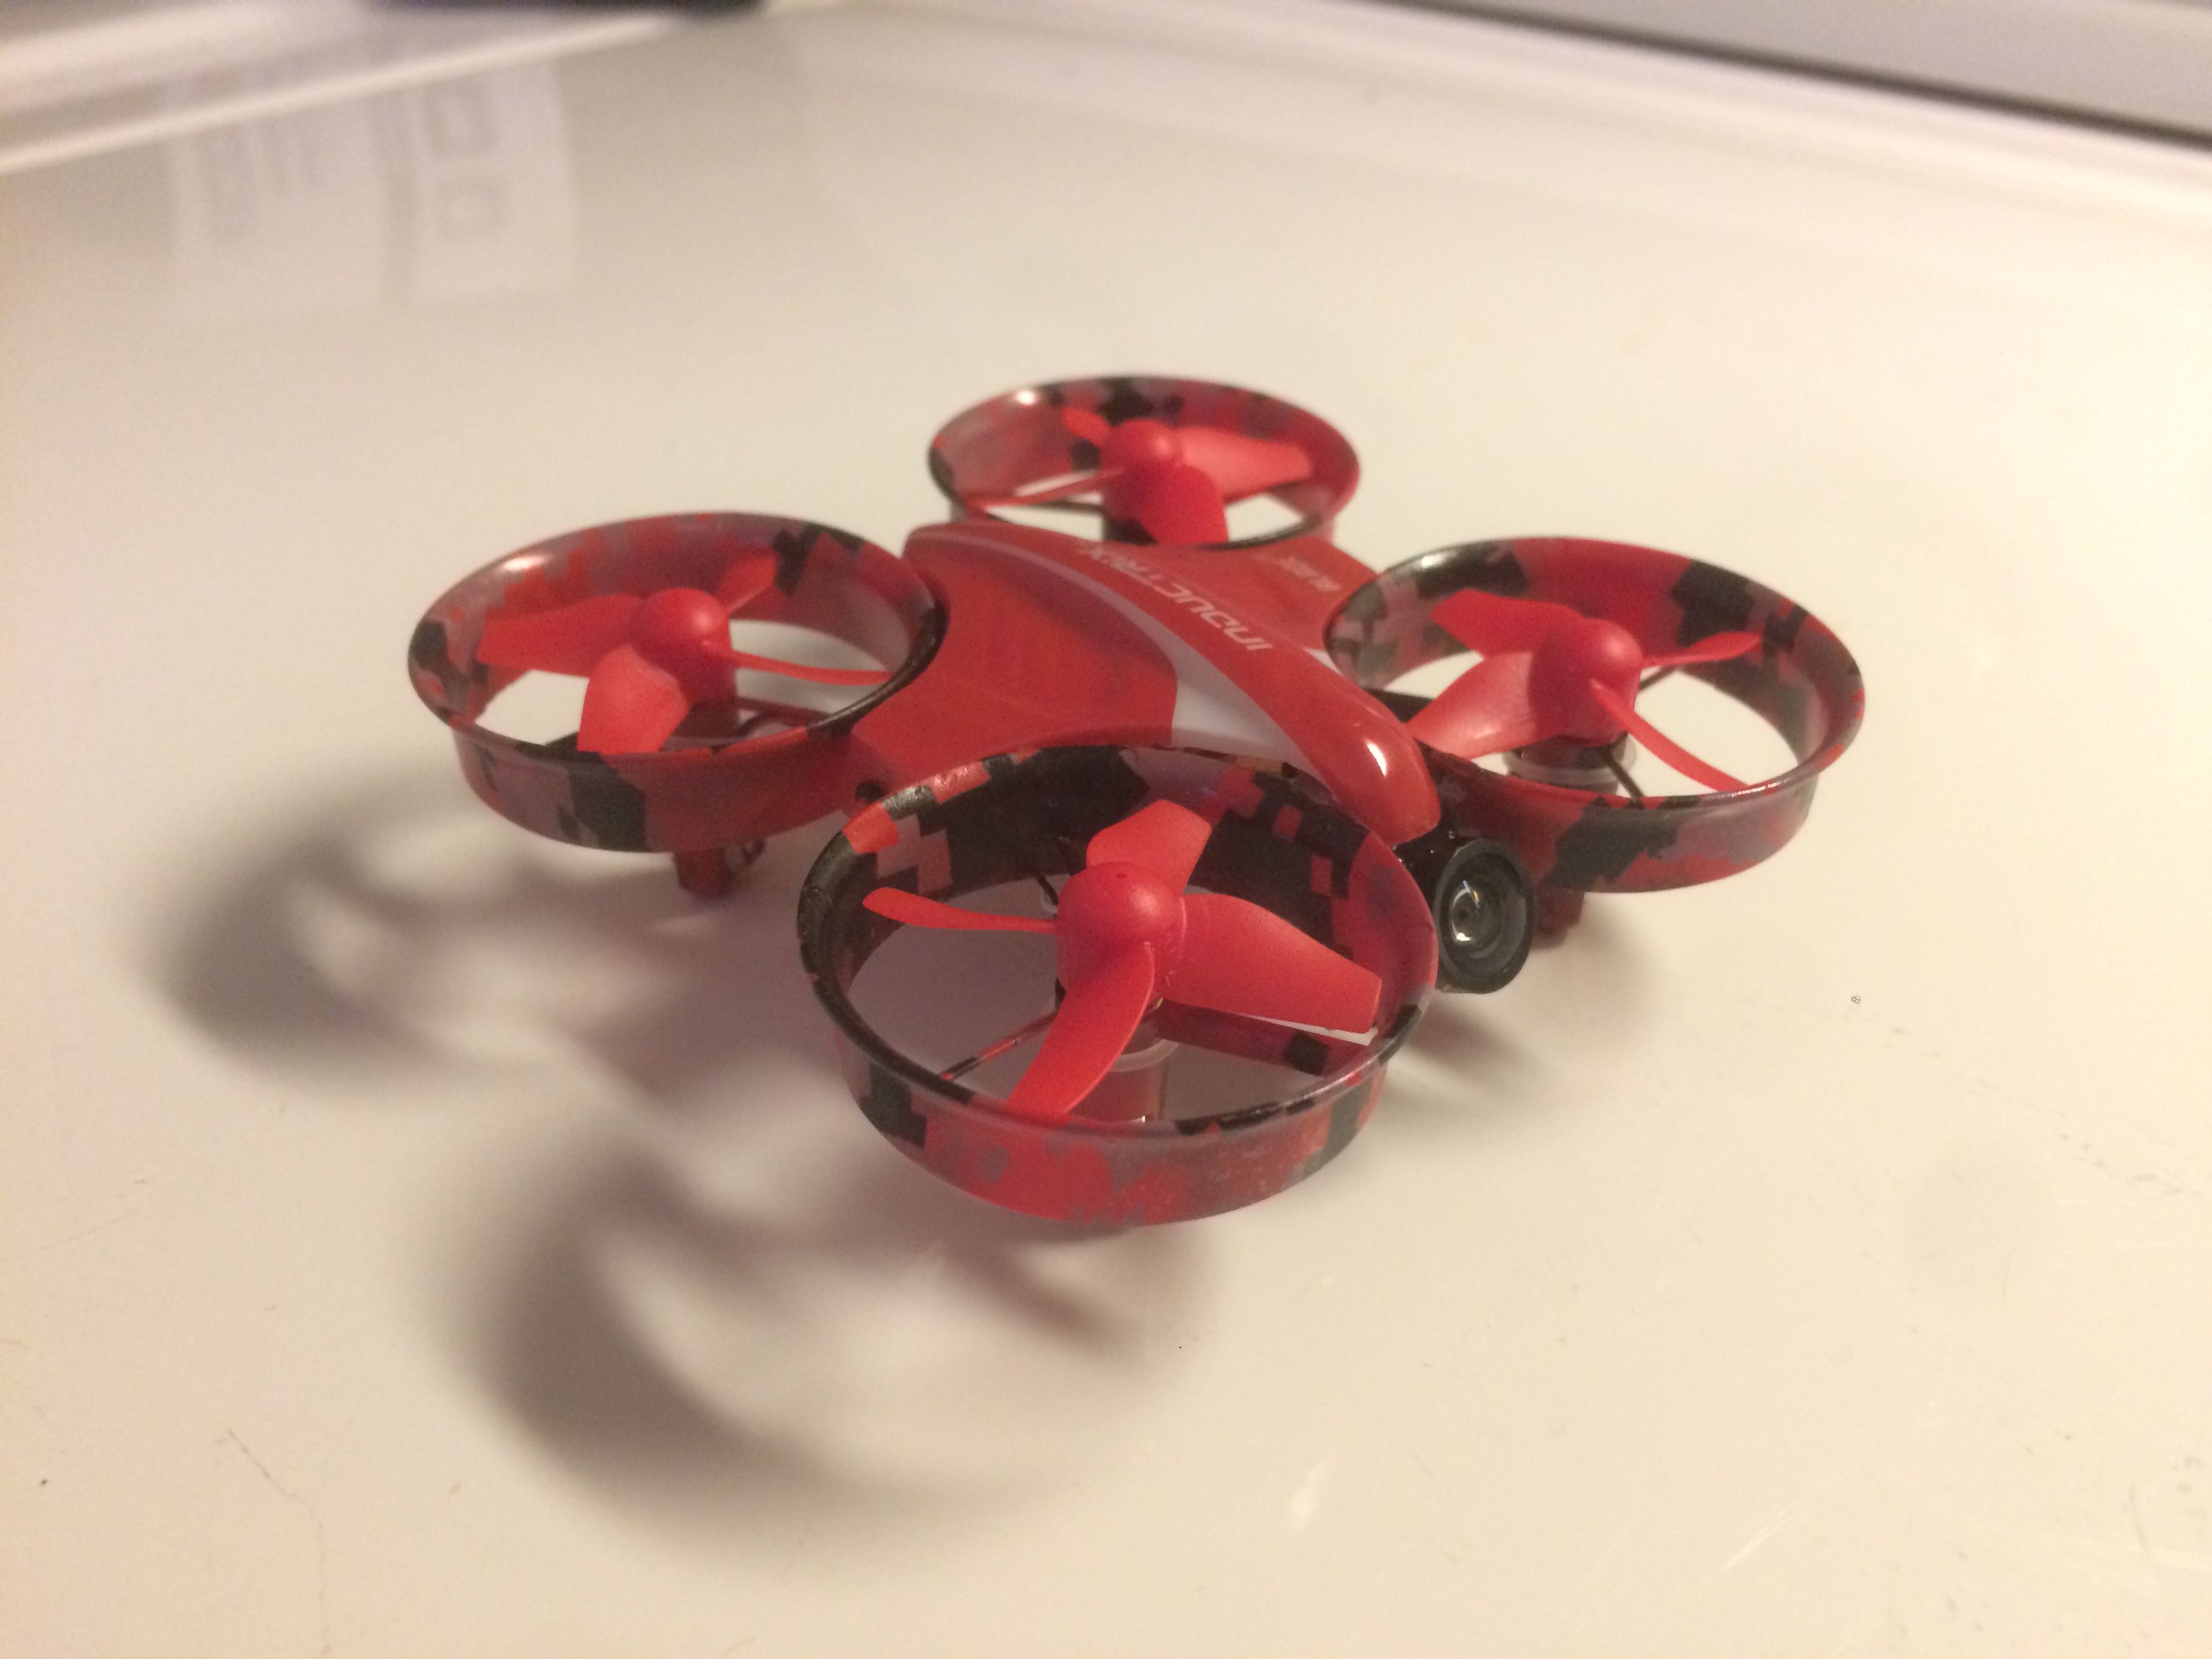
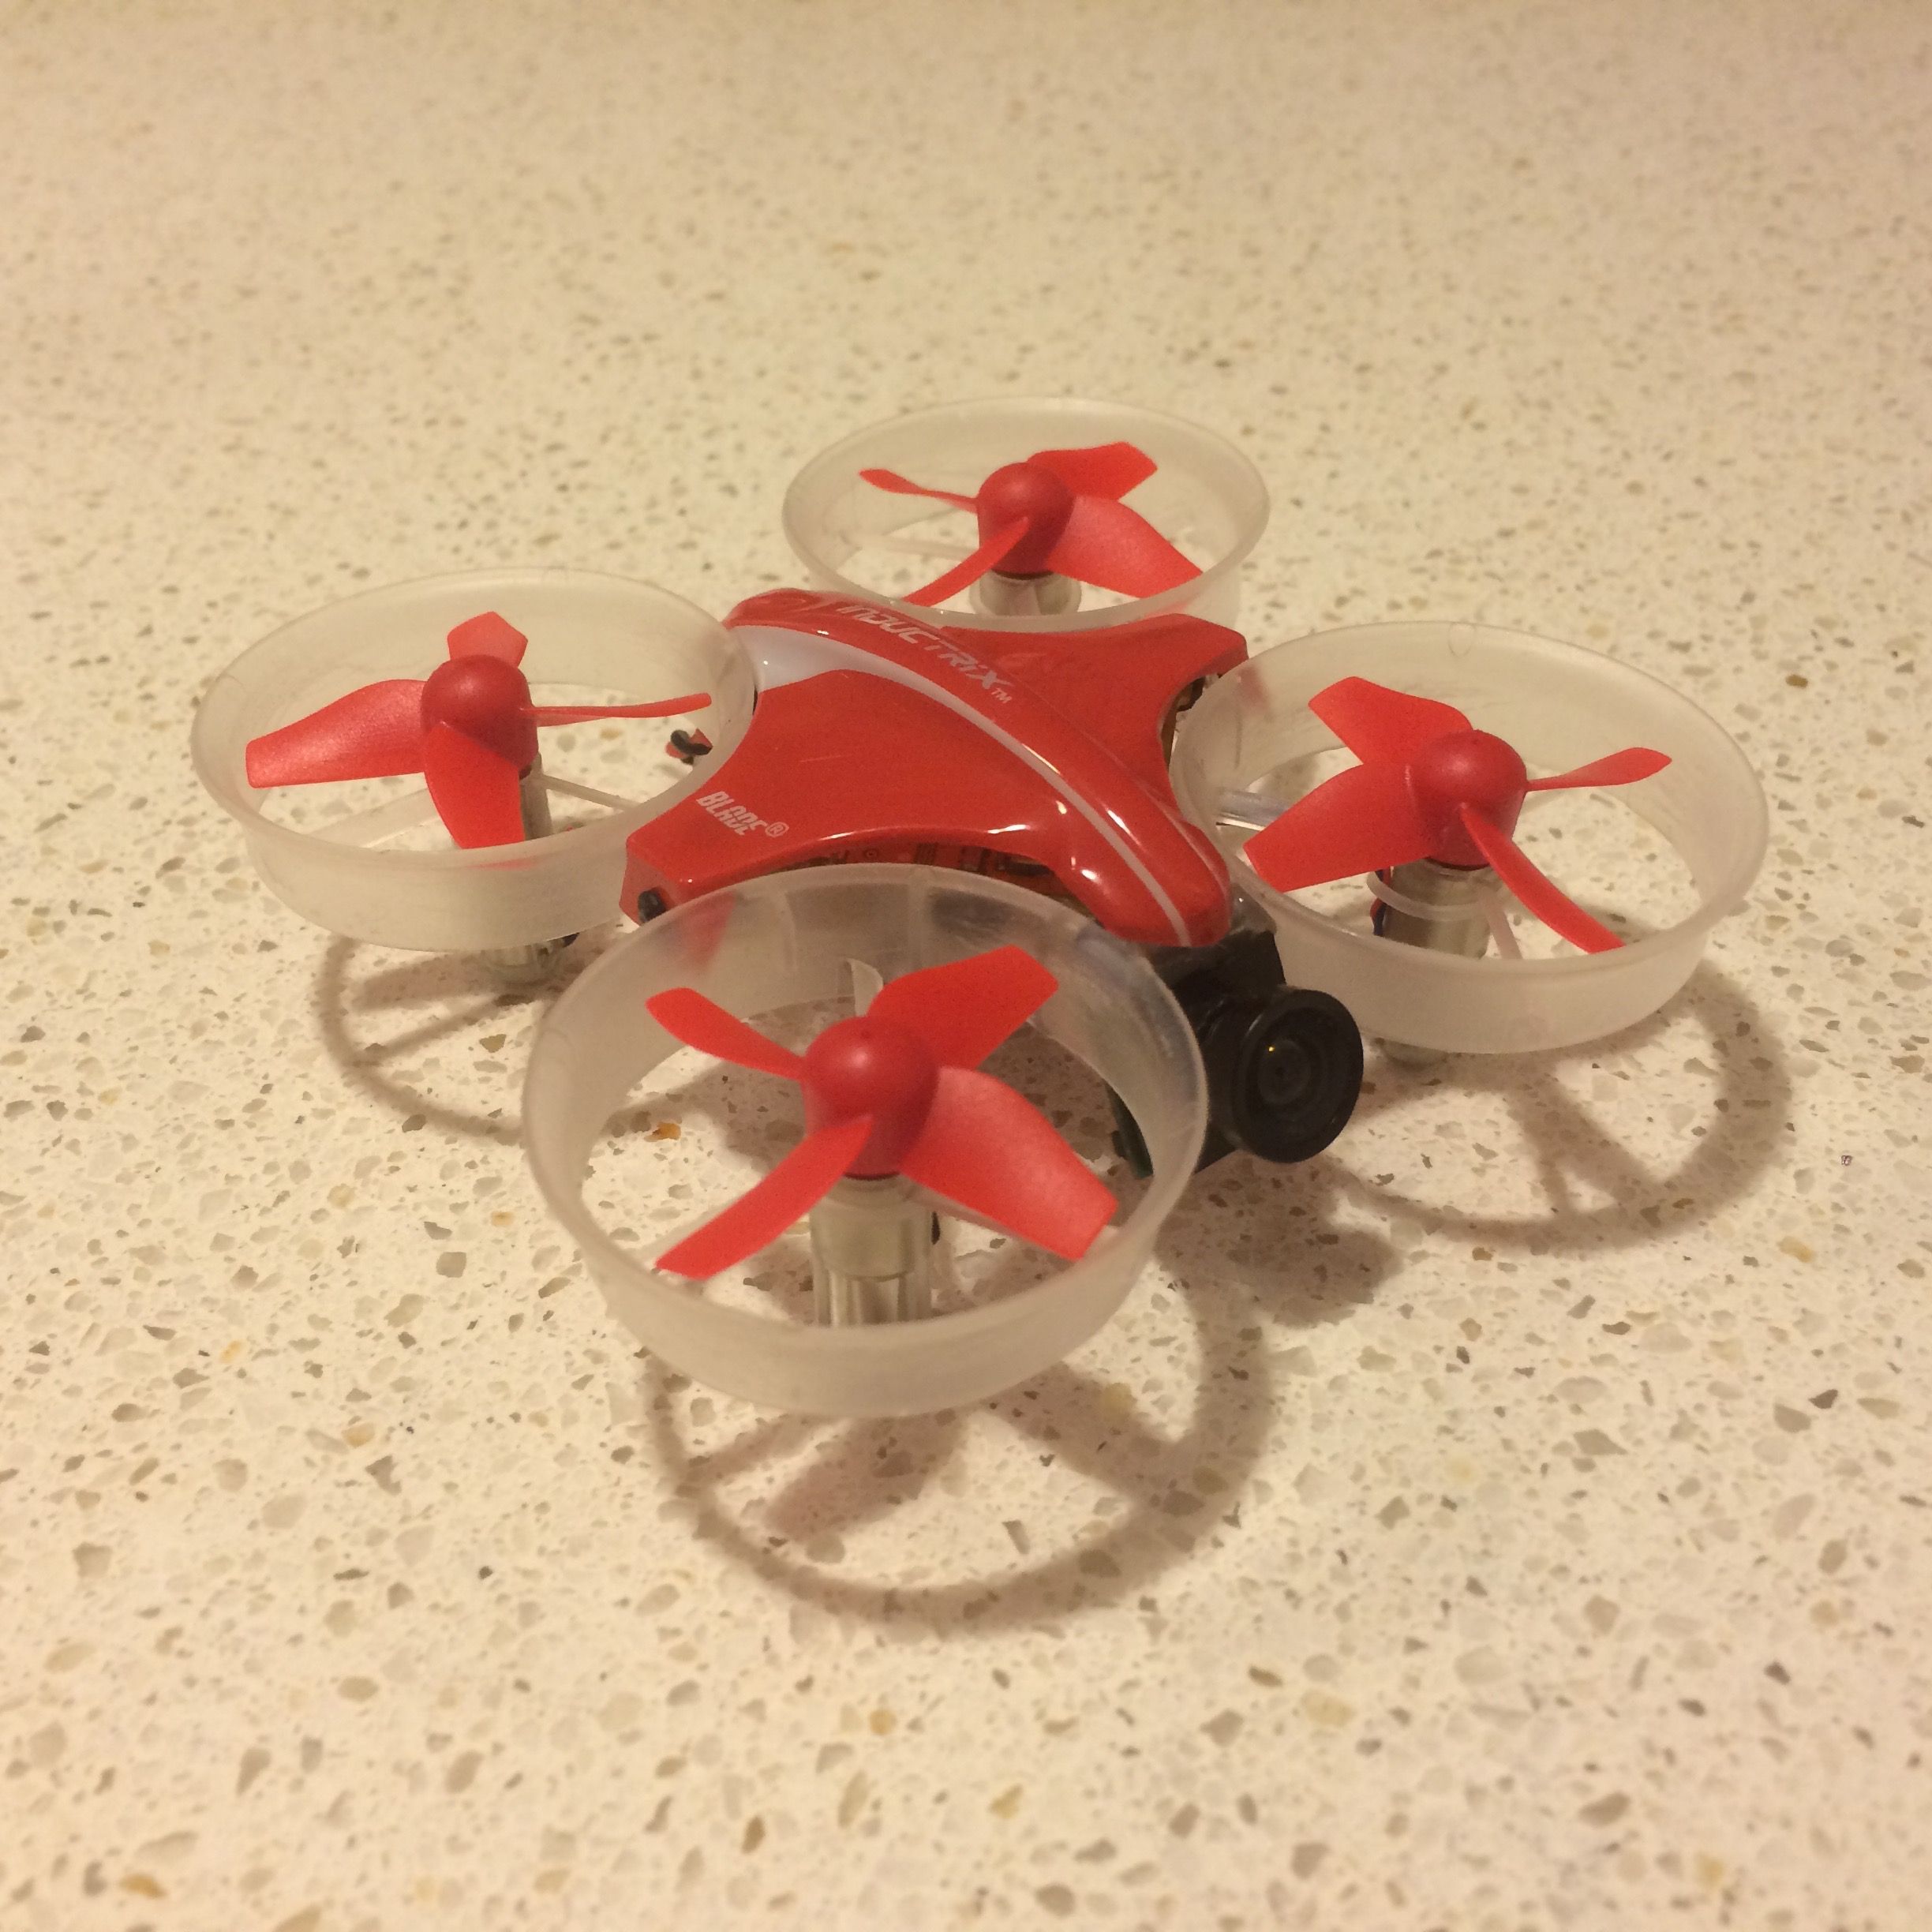
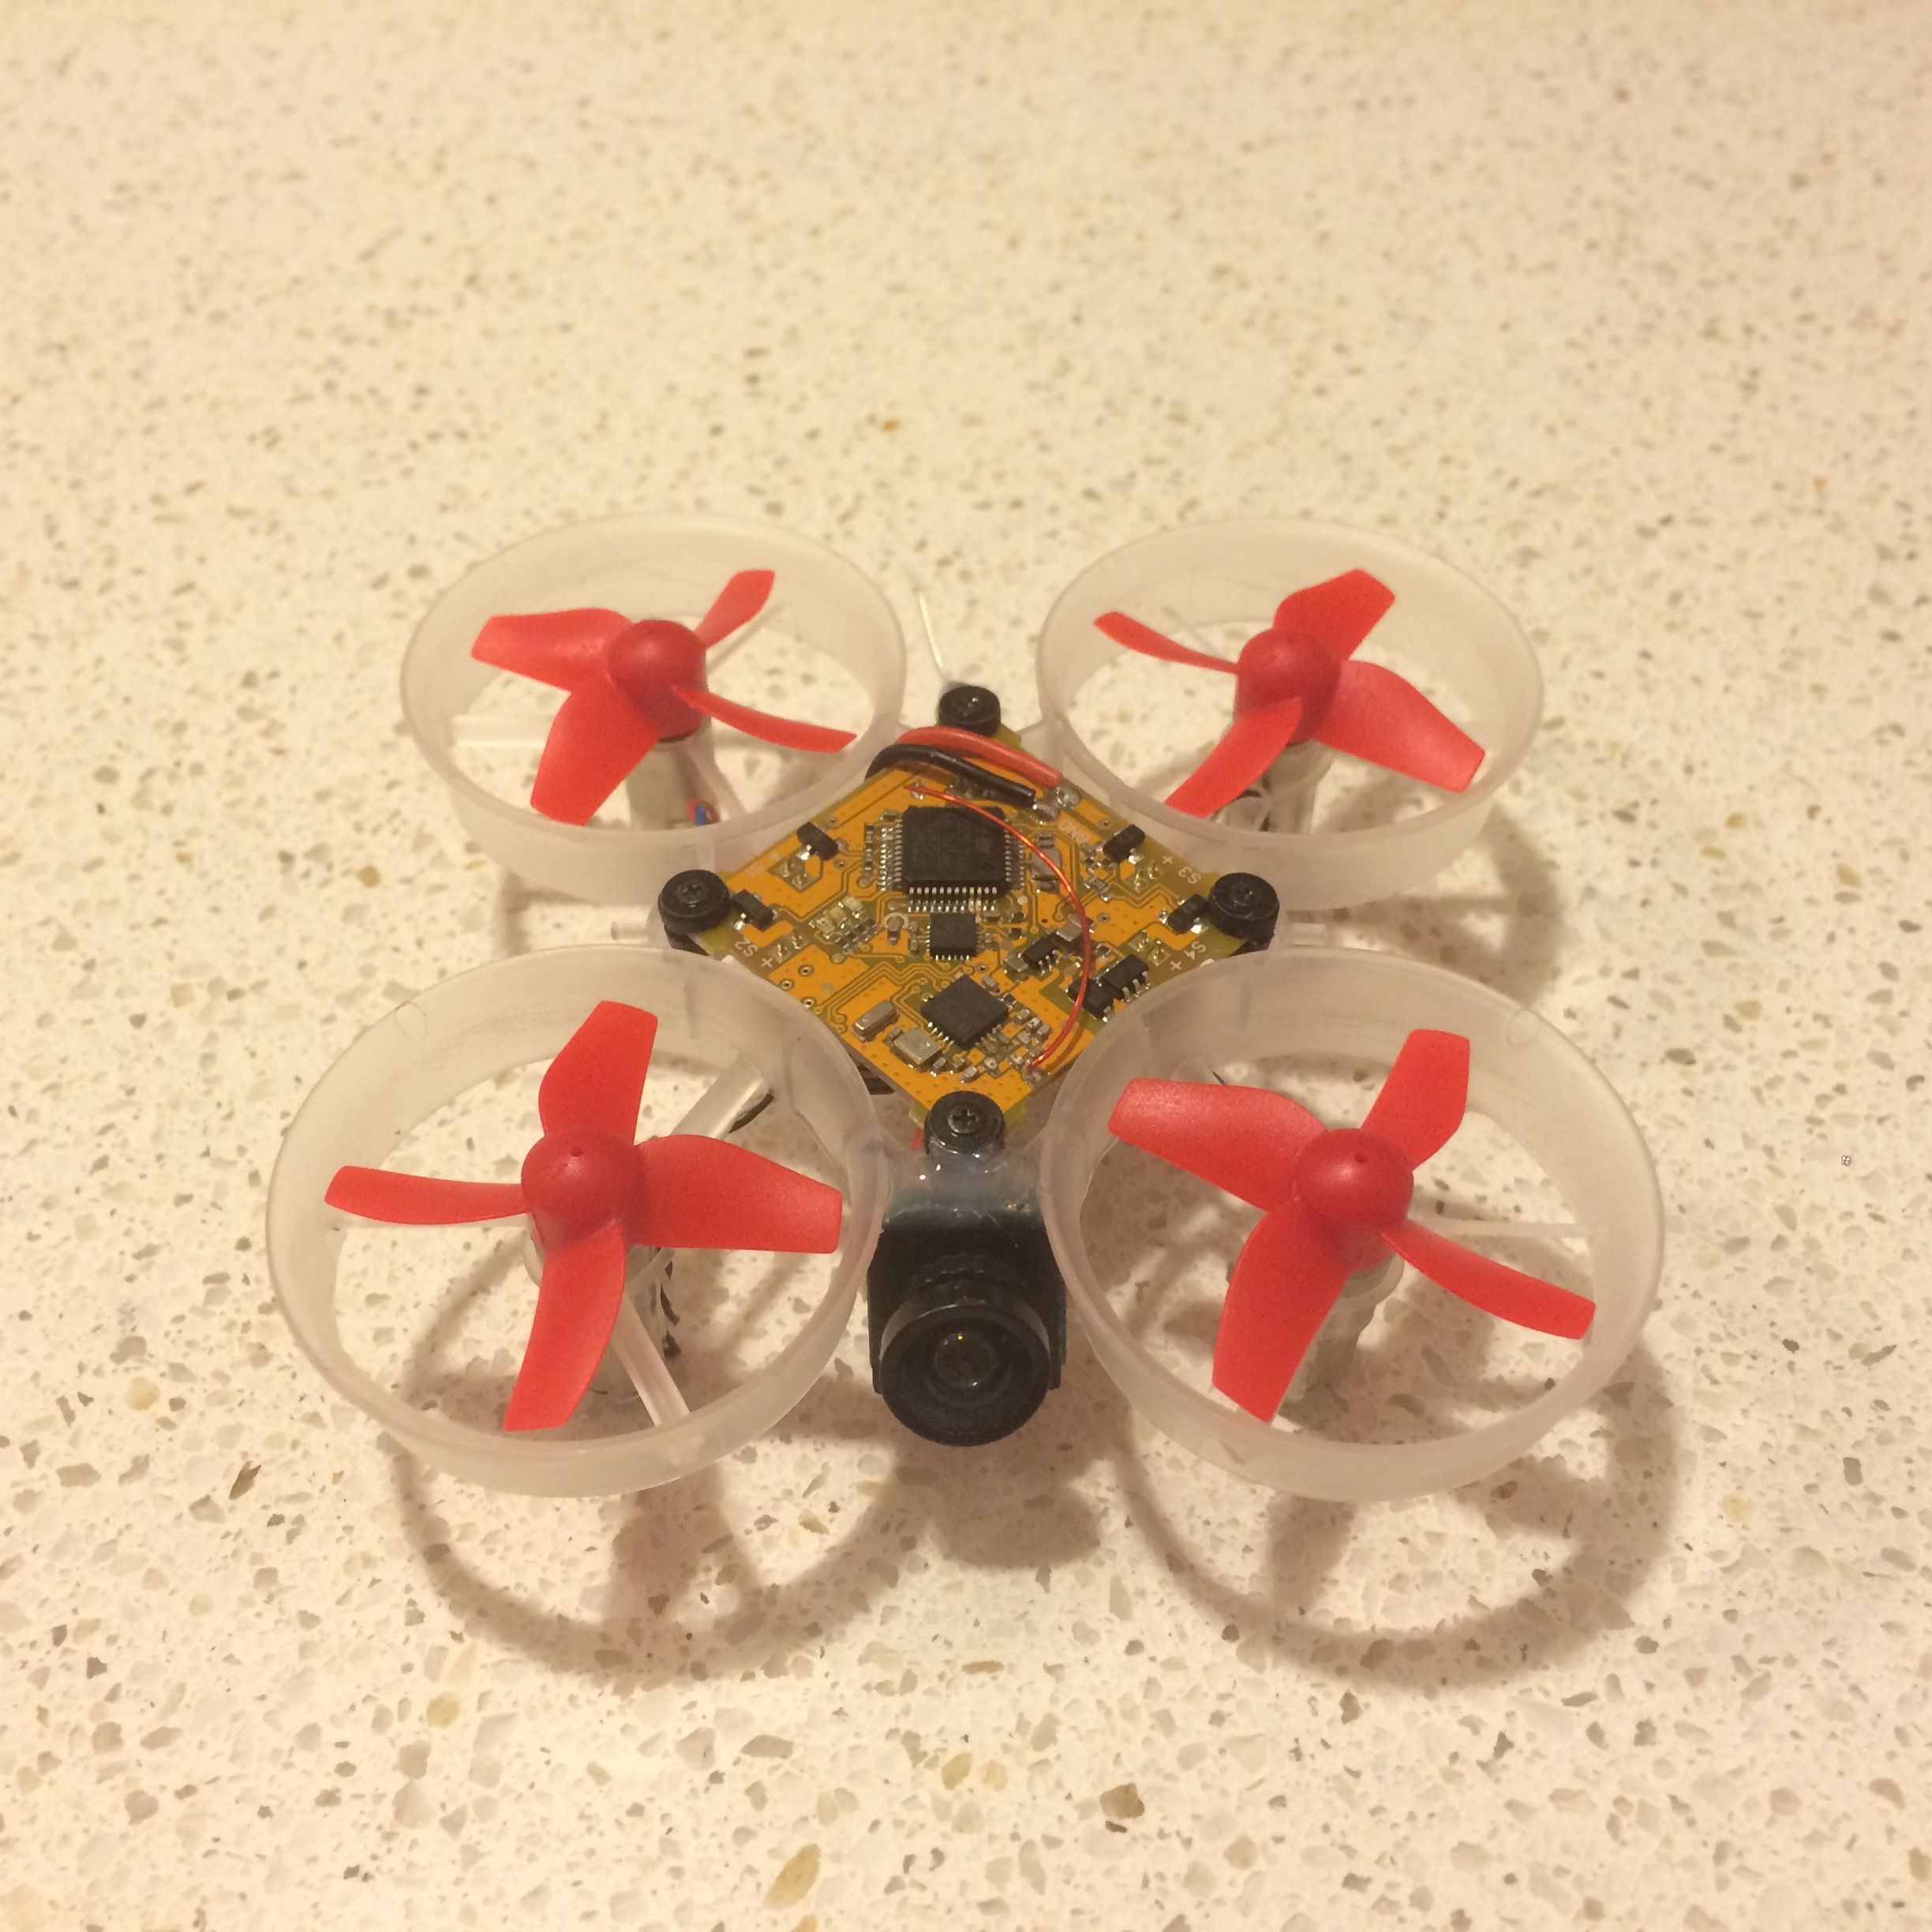
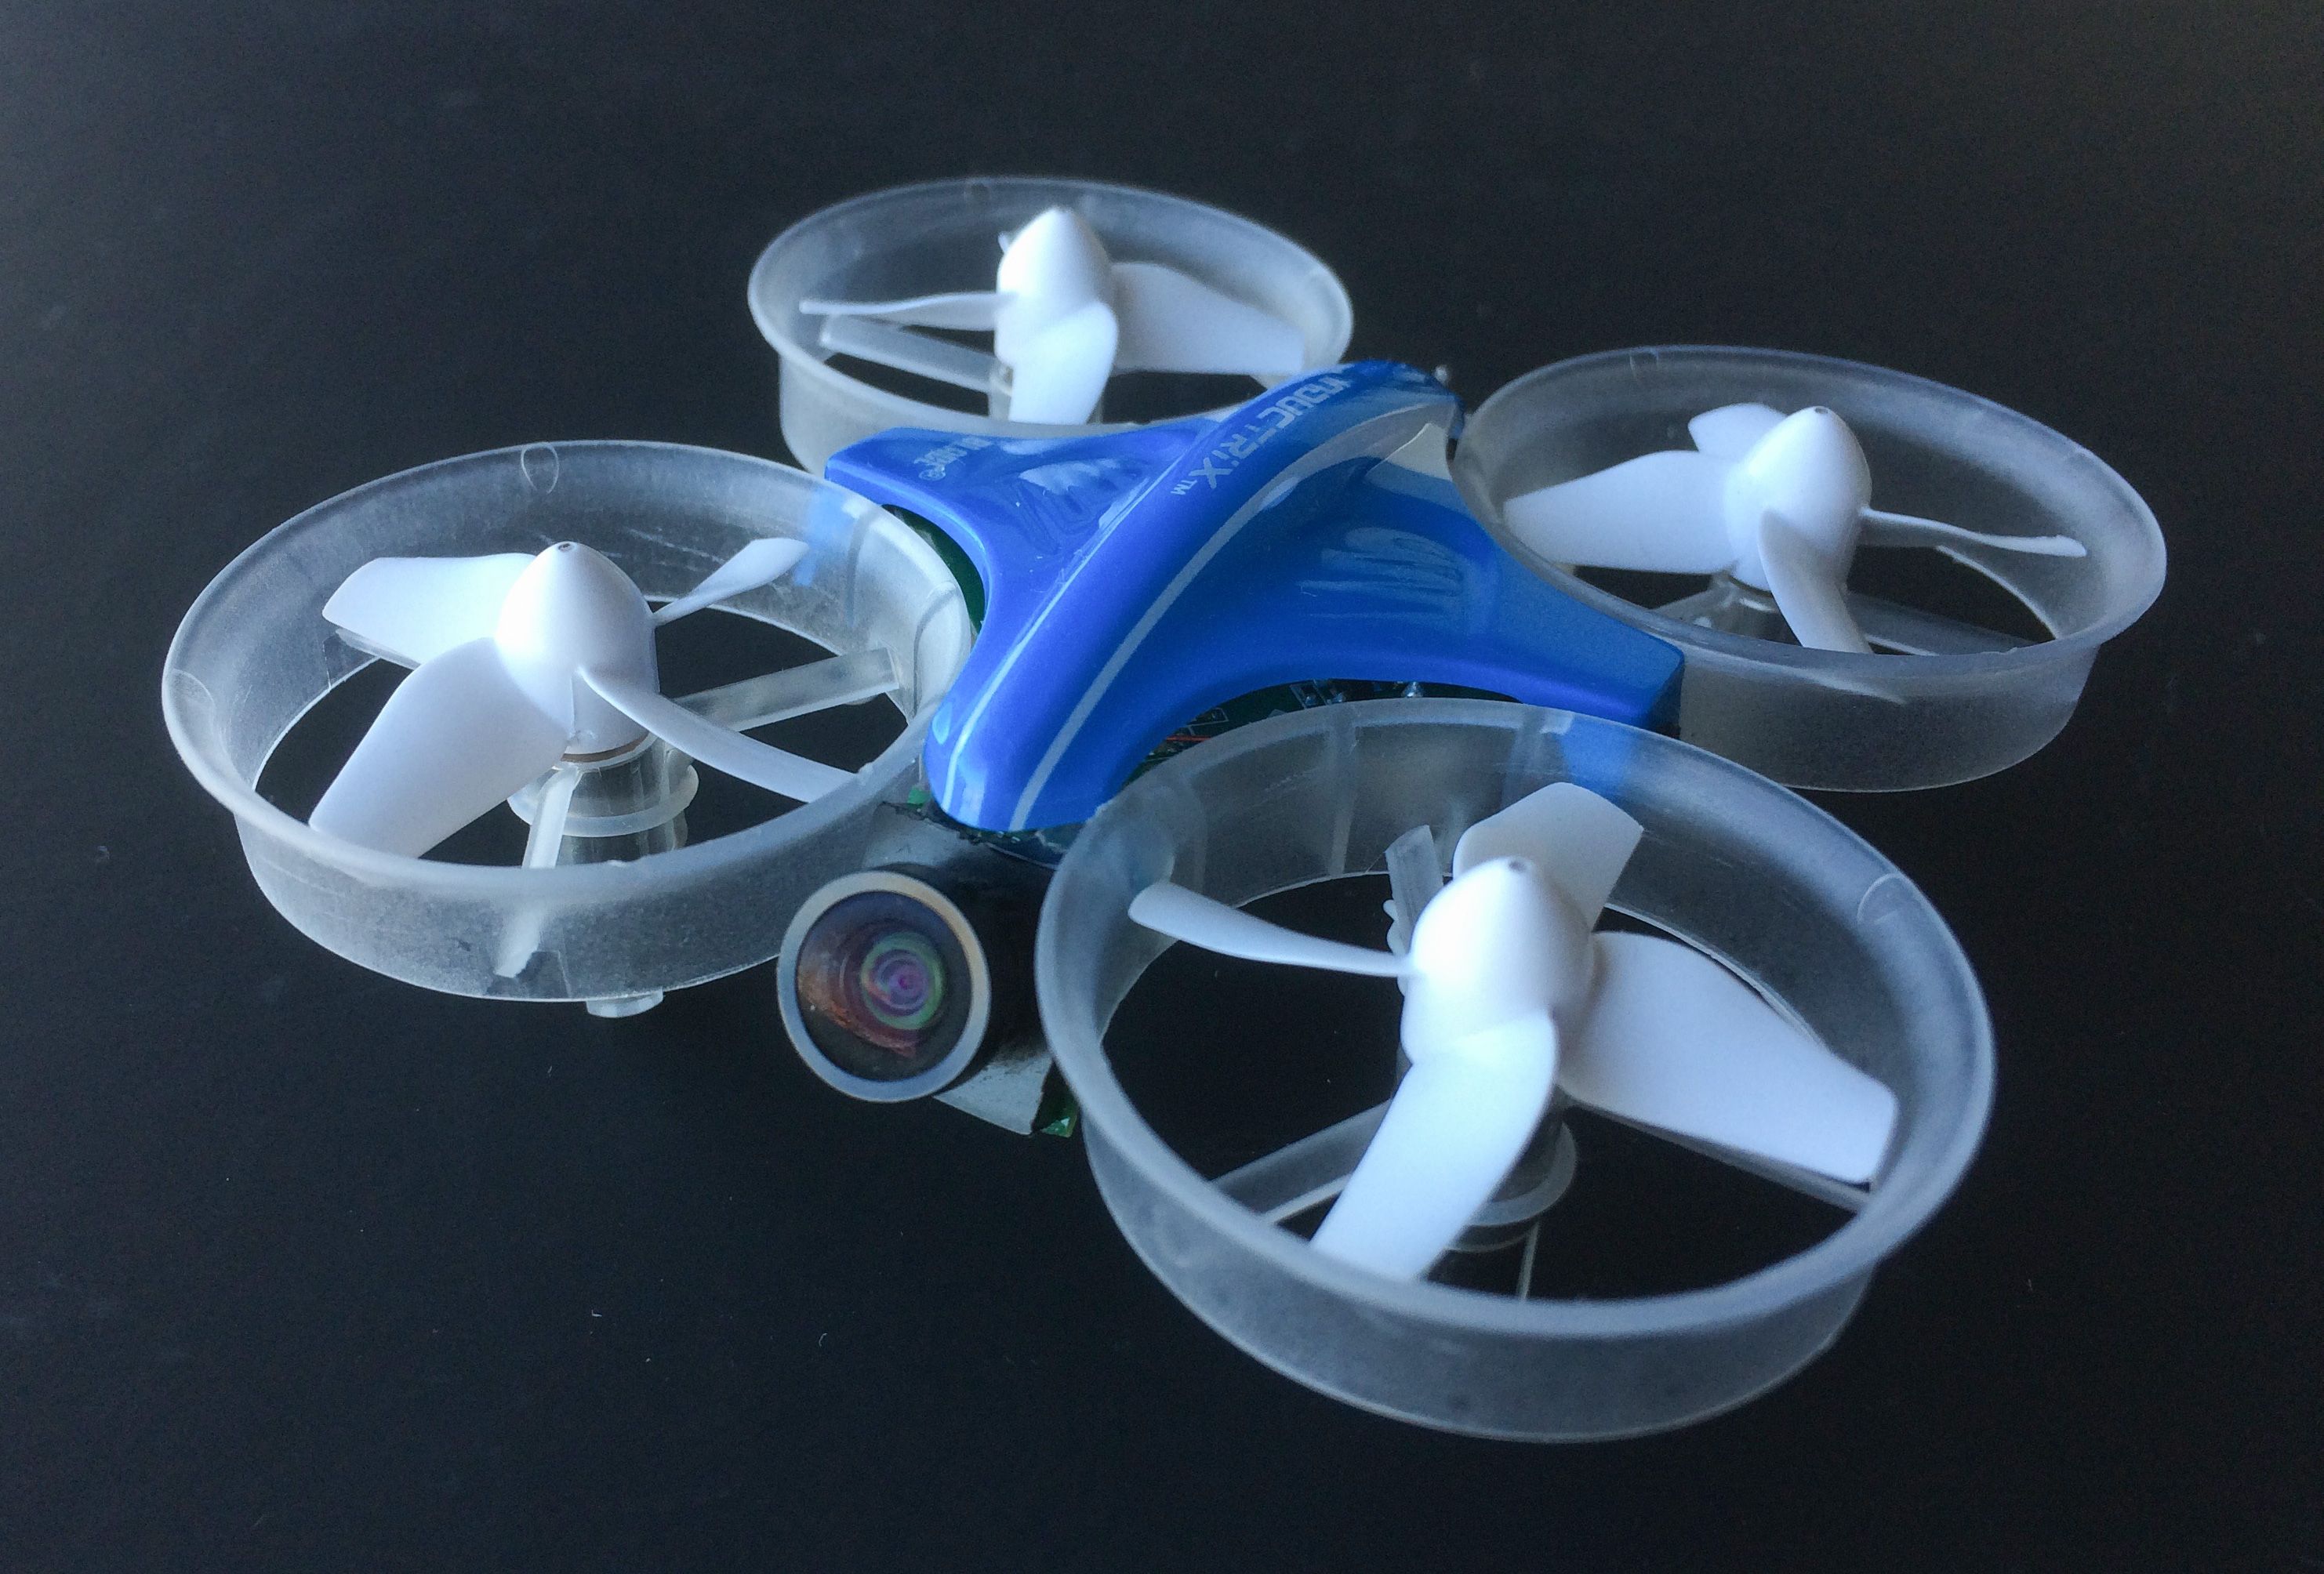
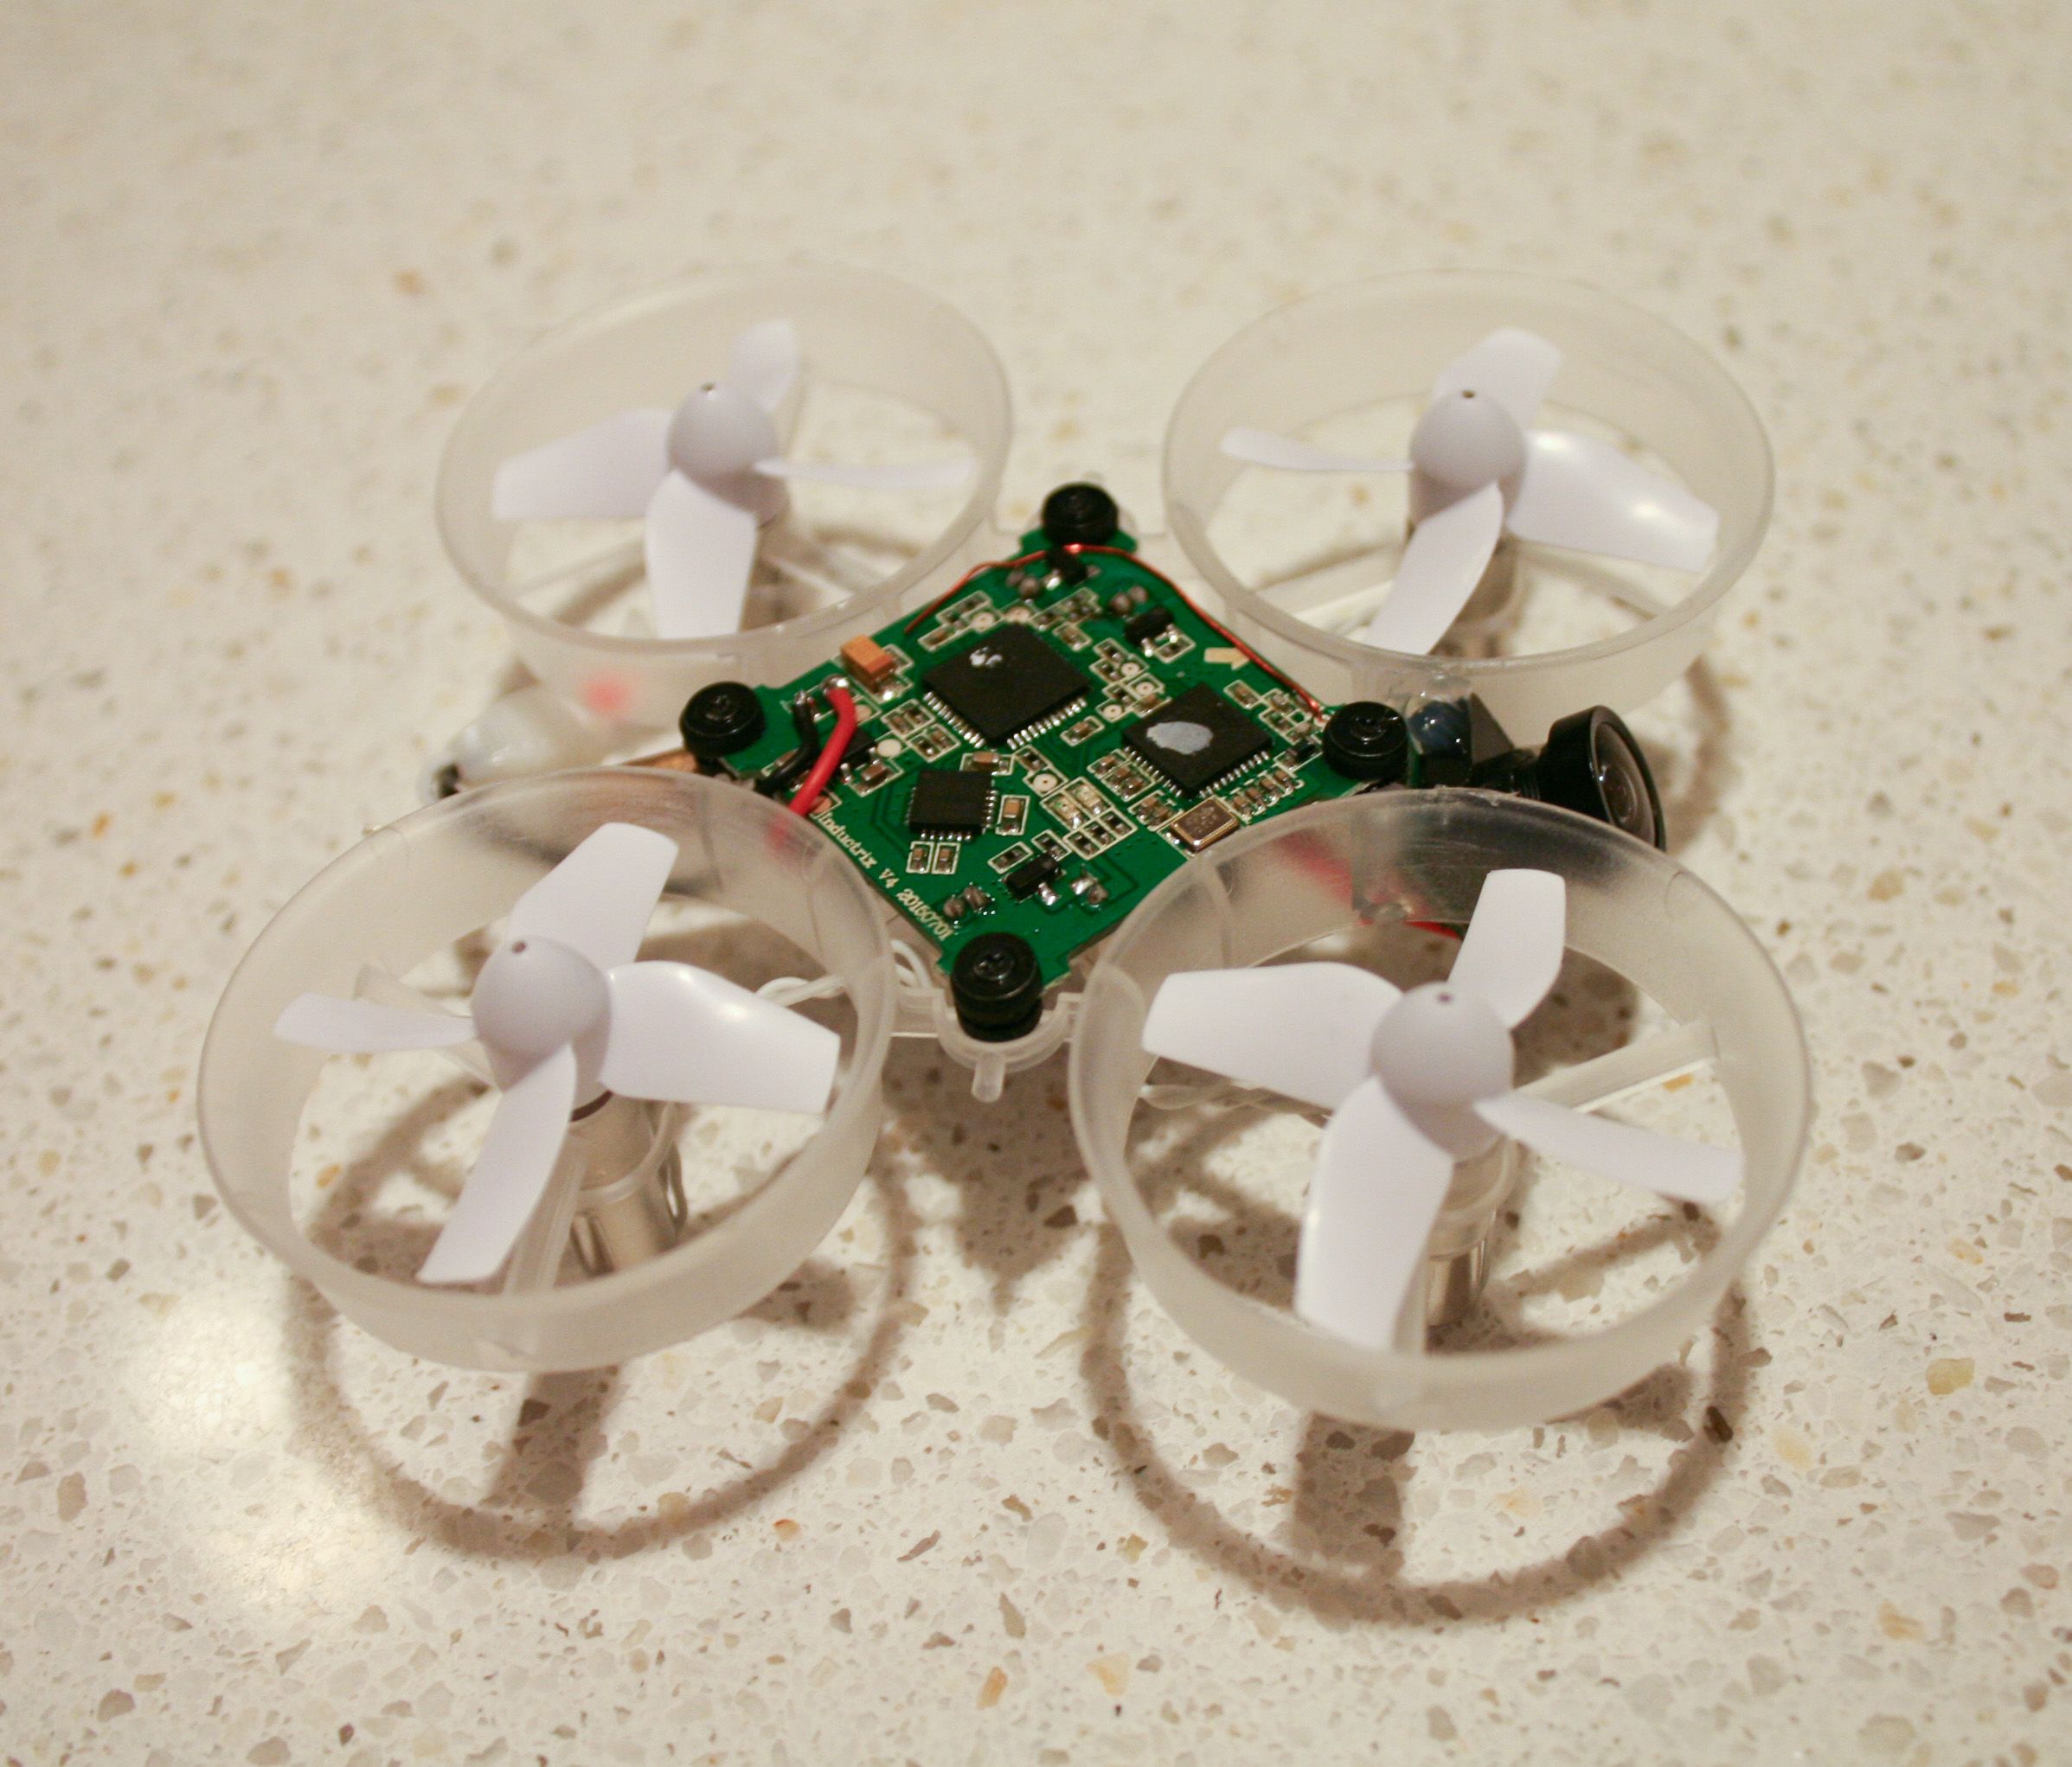
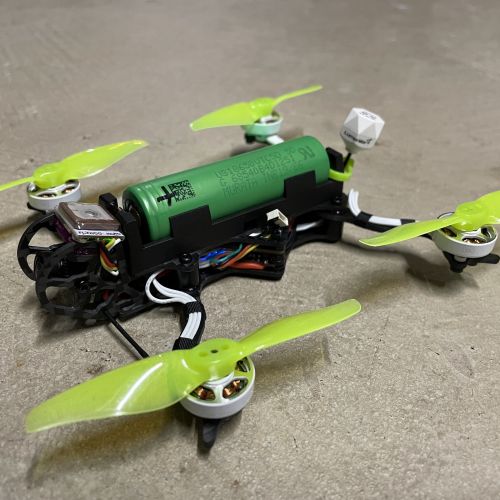
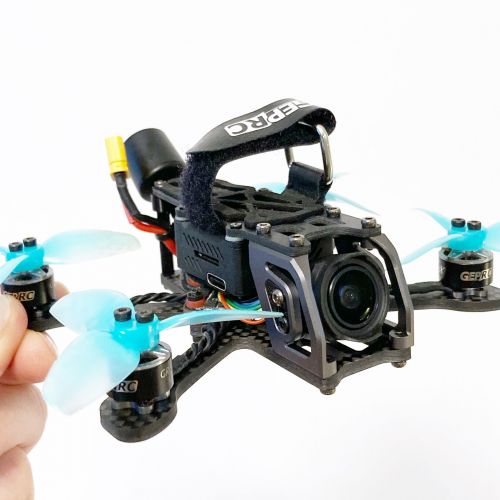
The first Inductrix to have the camera, VTX, and antenna completely integrated into the stock frame.
I never liked the way the Tiny Whoop builds all had a VTX haphazardly slapped on the top of the build with a rubber band and double-sided tape or a 3D printed mount. I wished there was a clean way to protect everything, so I set about investigating how the existing VTX could be installed cleanly and used with a different camera. The result is the Shiny Whoop, a stock-looking Inductrix that protects all of its parts, flies great, and ends up just as light as other Tiny Whoops.
The Eachine props and the hydrodip by SFPV Designs really bring the build together!
Build Instructions
Preparing the video transmitter
- Take your FX-798 and clip the pins going between the two boards
- Discard the camera portion of the FX-798
- Heat up the pins and remove them from the video transmitter portion of the FX-798
- Heat up and remove the antenna from the FX-798
Preparing the frame
- Unplug all the motors
- Remove the canopy and flight controller from the frame
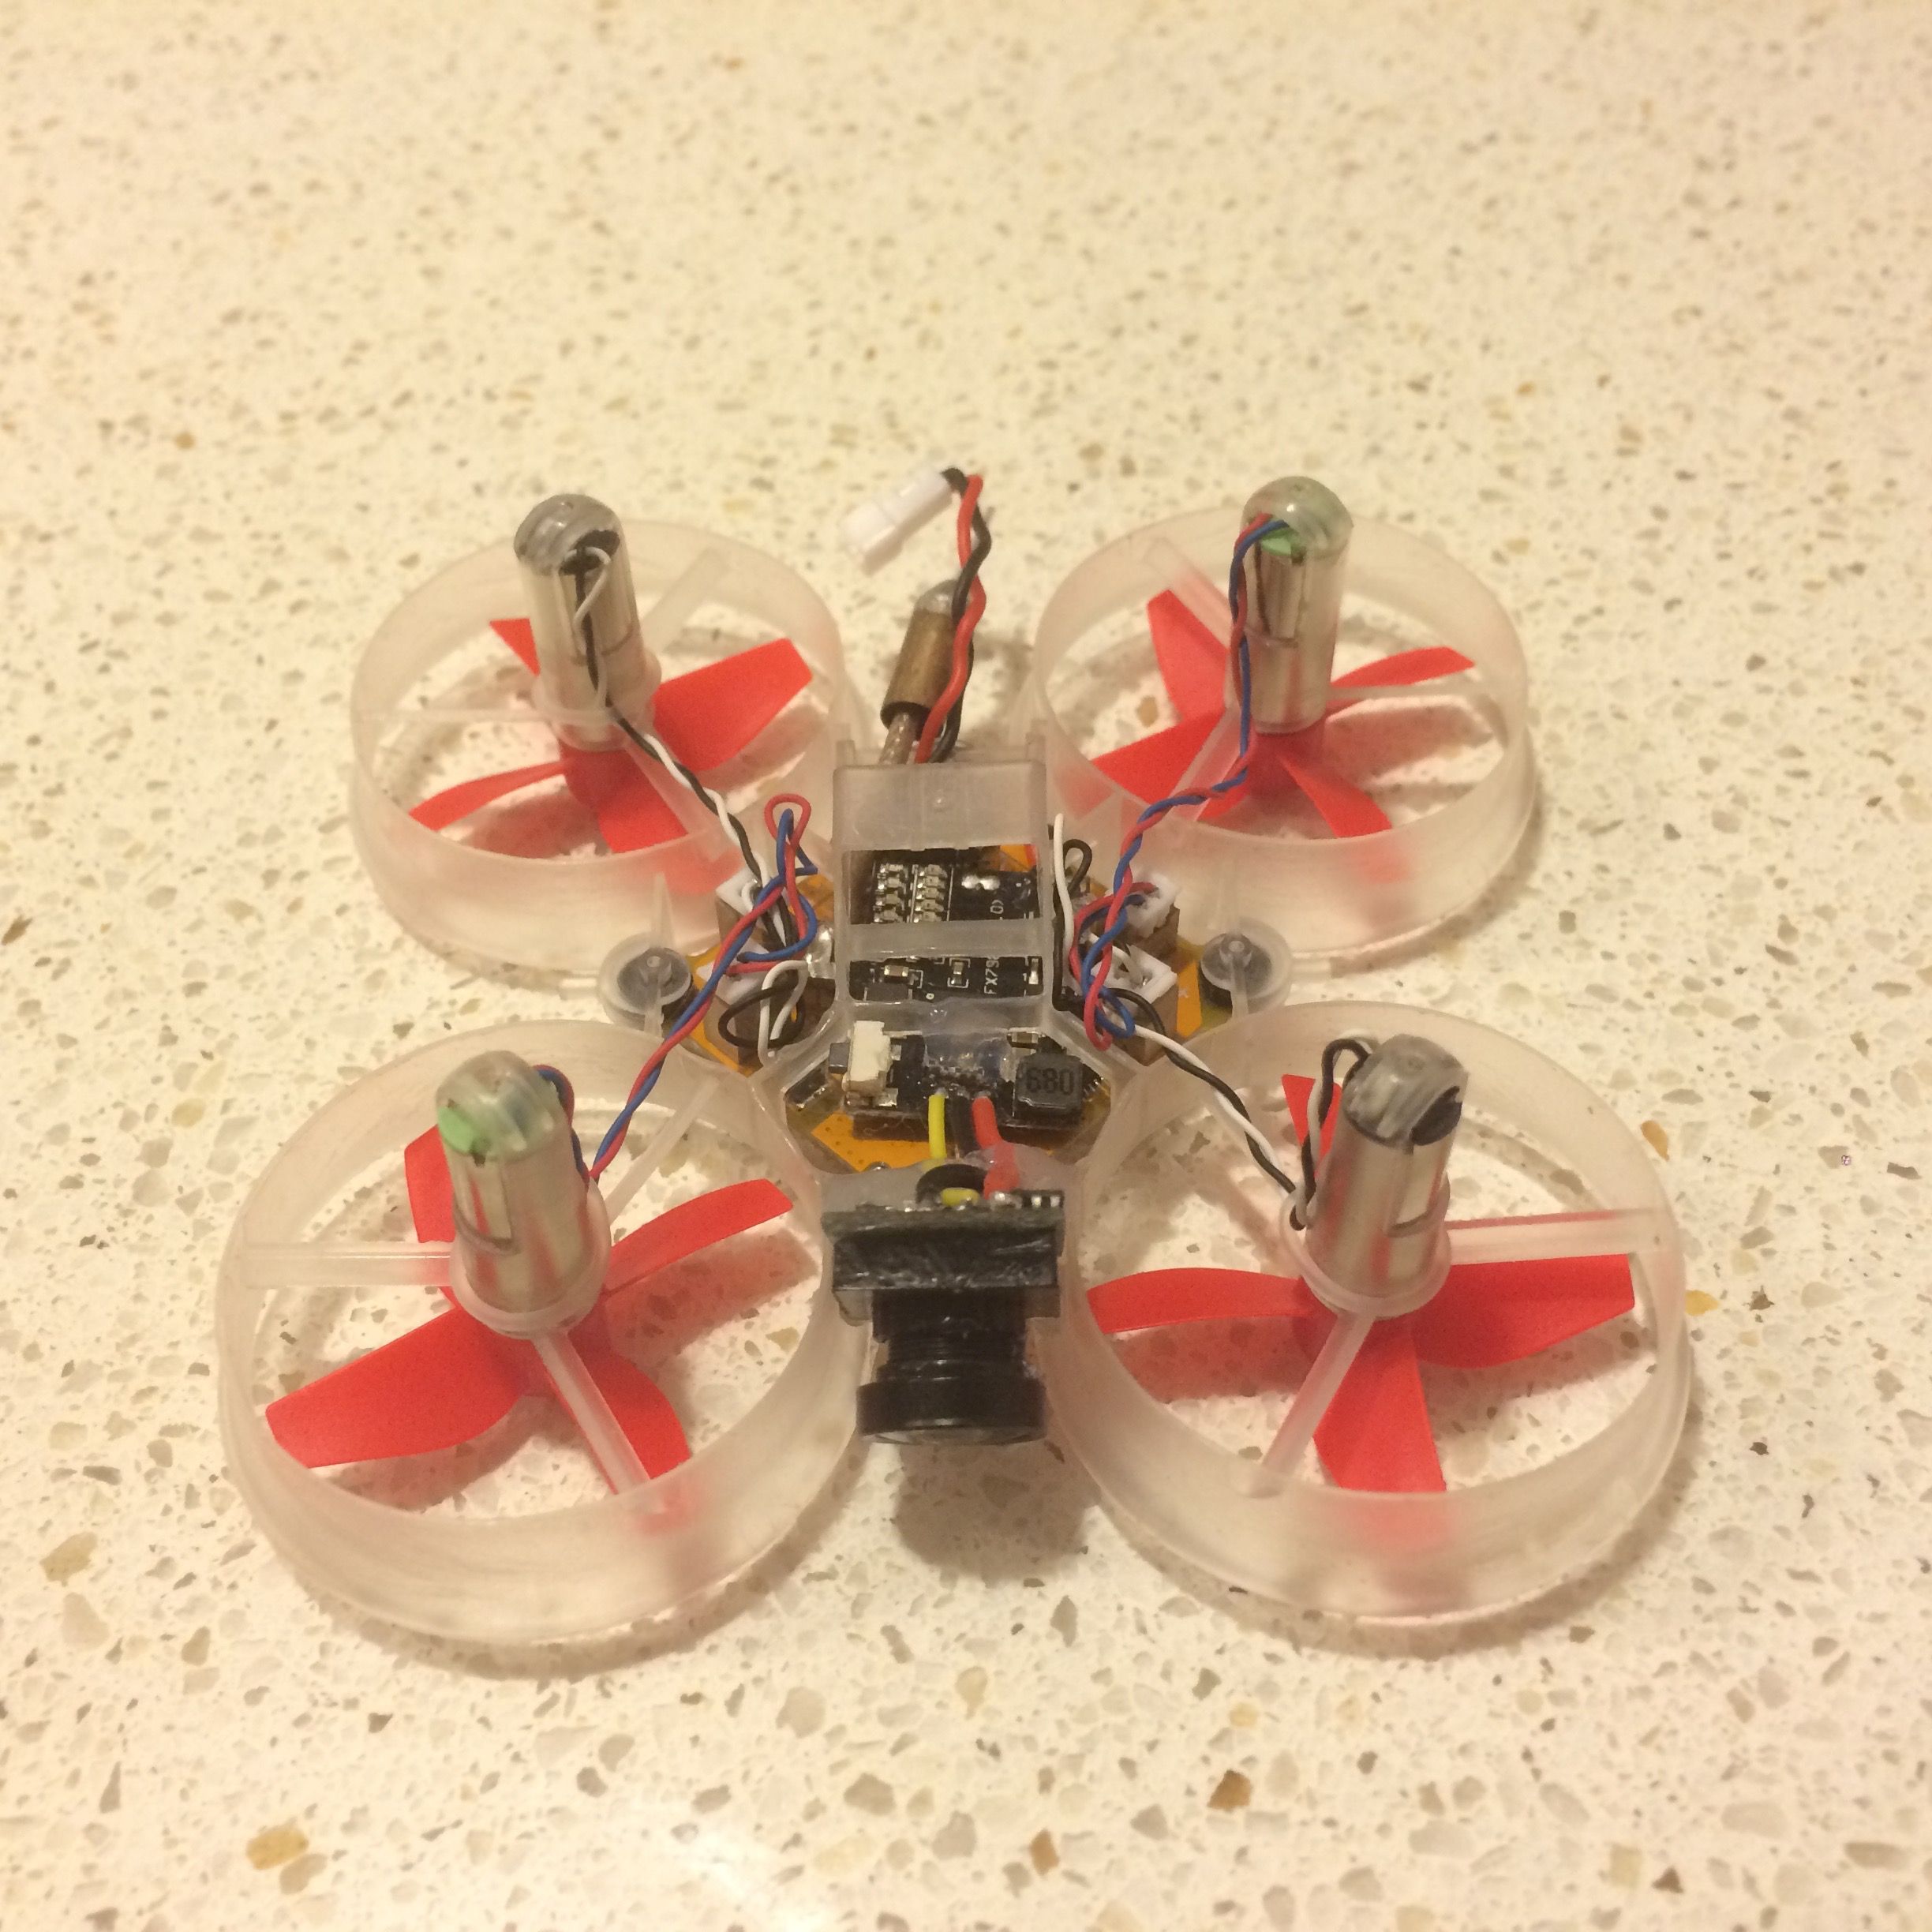
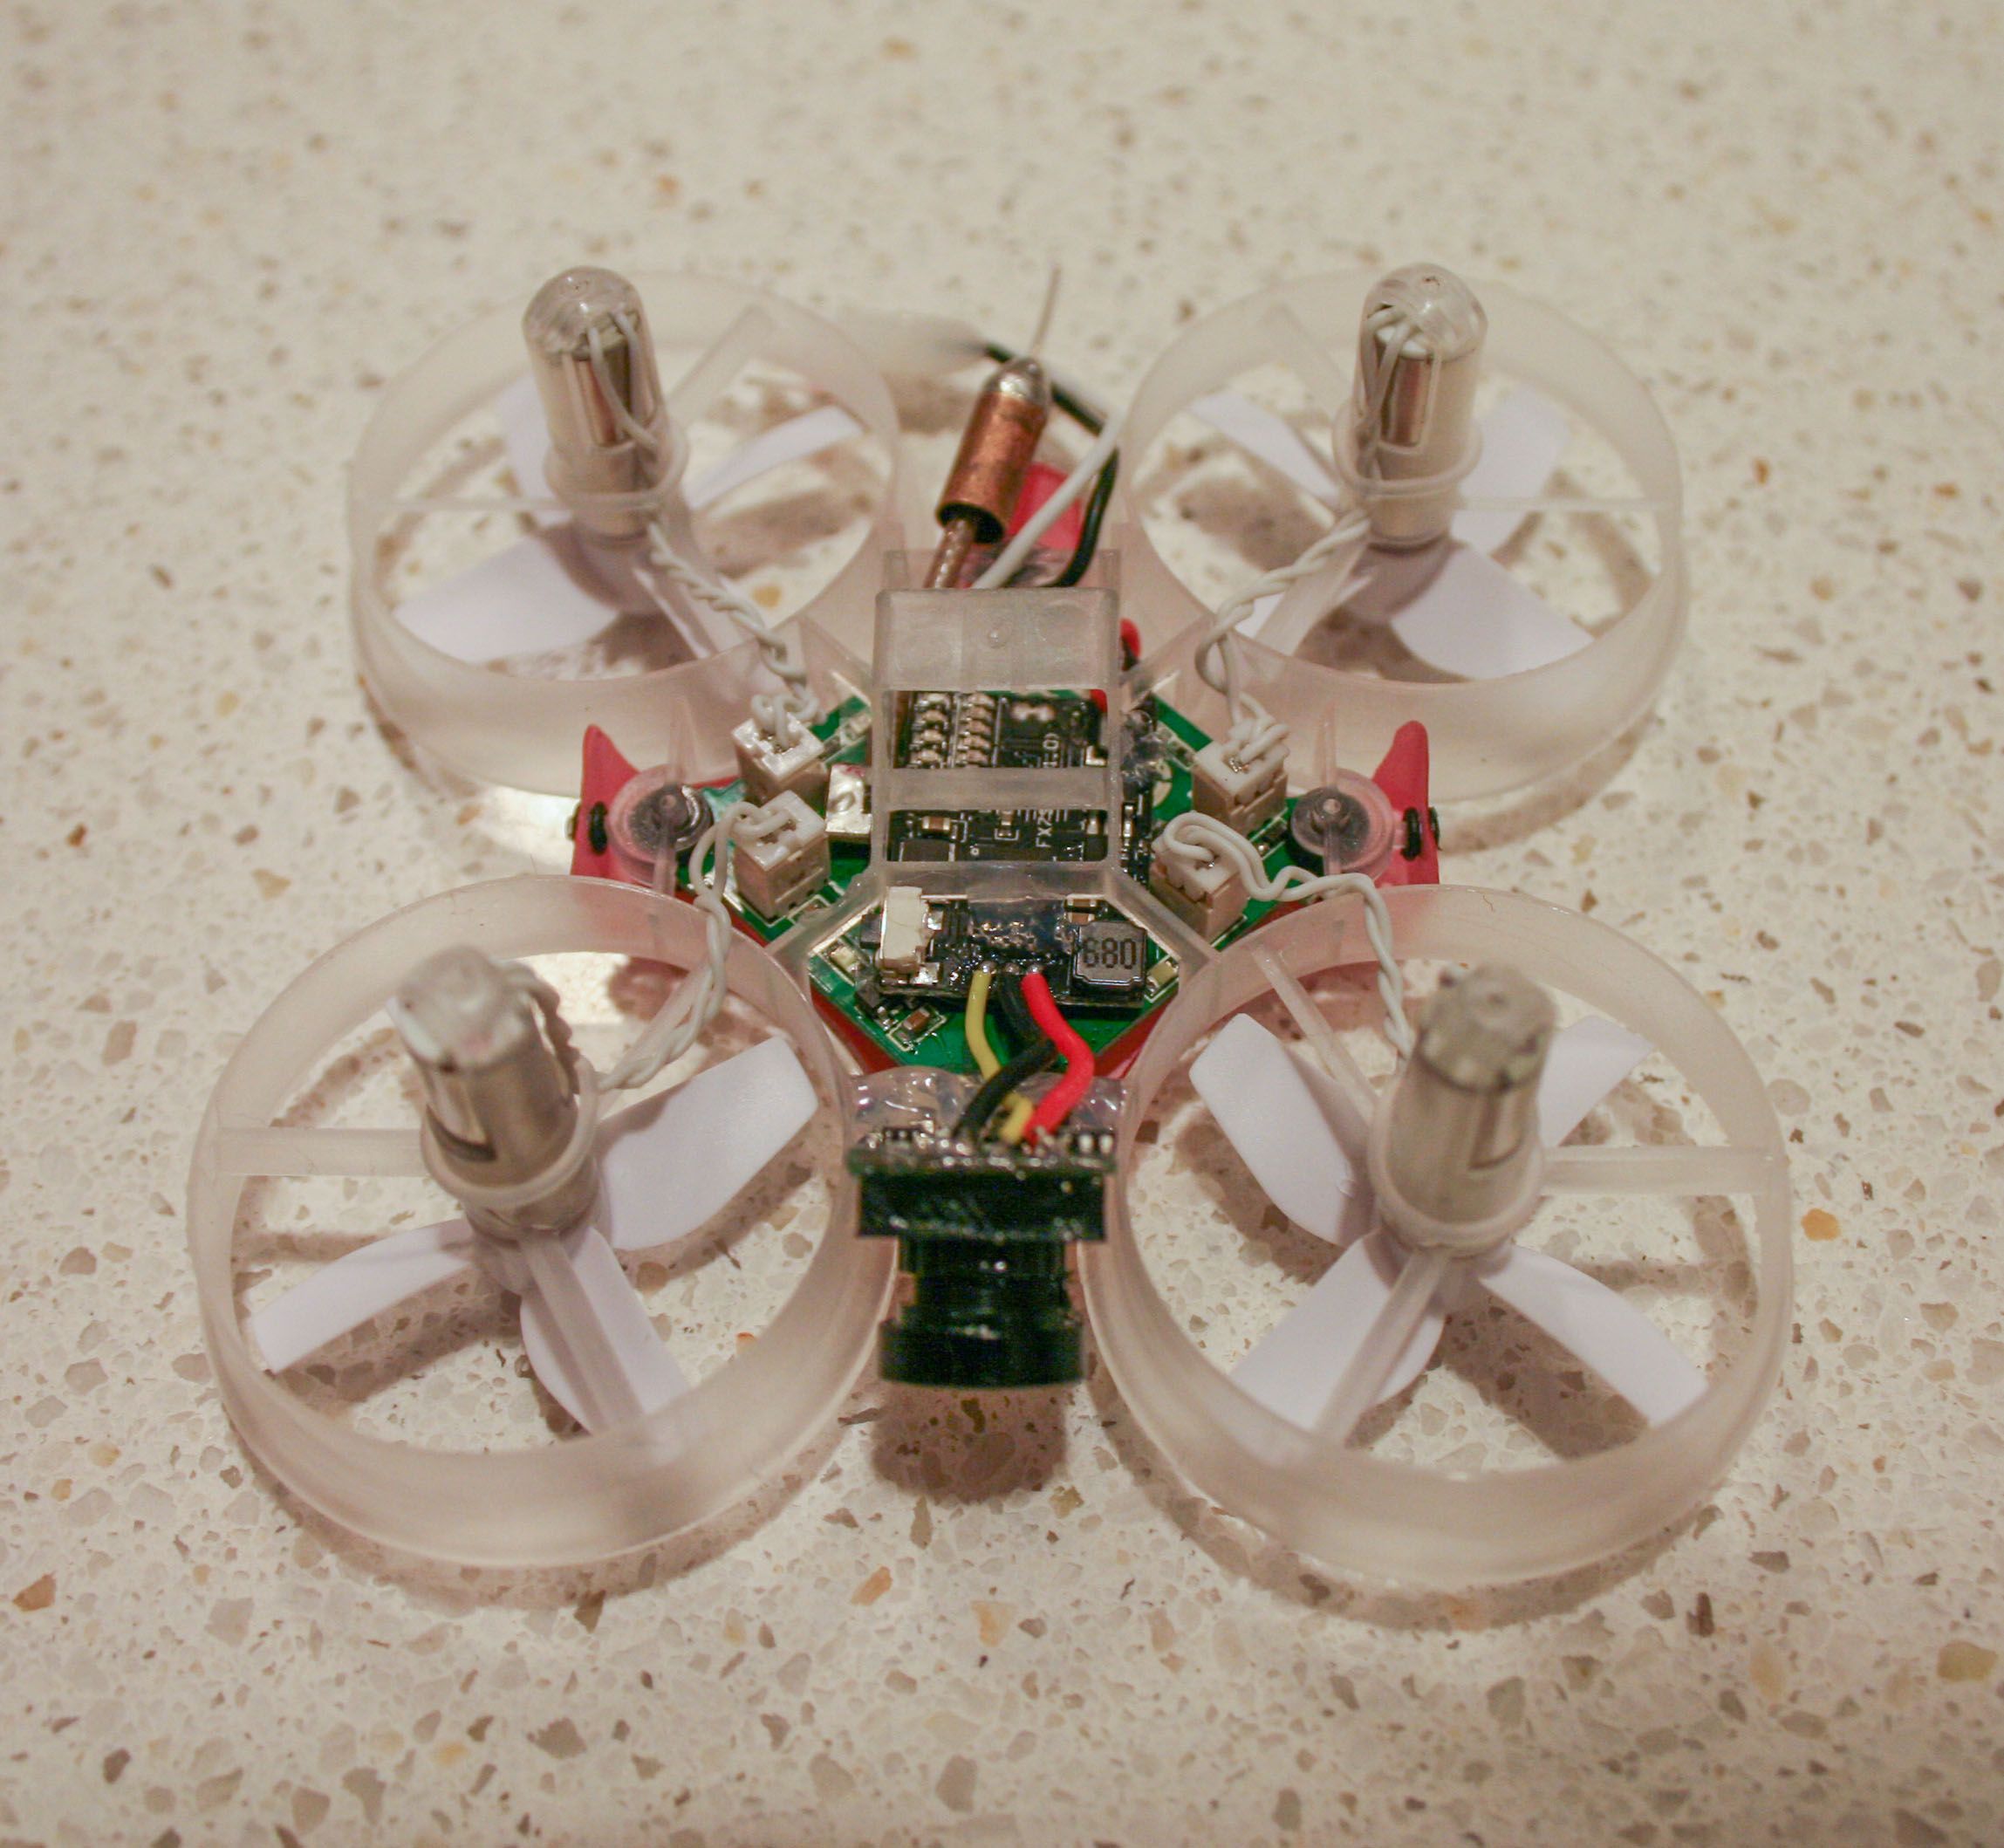
- Snip off the top and sides of the small plastic tab in the dead center on the frame (refer to build photos)
Preparing the flight controller
- If you're using the BeeBrain FC, you'll need to desolder the bind button to get the VTX to fit
Wiring and installing the VTX
- Solder your antenna of choice to the VTX, measuring to make sure the coax can clear the frame when the VTX is positioned in the frame
- Place the VTX on the bottom of the FC, with the LEDs pointing away from the board and the switch pointing towards the front of the board
- Measure, cut, and wire the VTX power to the battery pads
- Place a piece of packing tape between the JST motor connectors on the flight controller, covering any exposed pads
- Re-install the flight controller with the VTX attached, orienting the VTX so it fits. If you forgot to snip off the plastic tab, it won't fit
- Add a couple tiny dabs of hot glue around the sides of the VTX to hold it securely
Wiring and installing the camera
- Remove the microphone from the camera as it's useless
- Hot glue the camera in place at your desired angle (refer to build photos)
- Wire the signal, power, and ground accordingly. On the VTX, signal is closest to the switch, power is closest to the inductor, and ground is in the middle. (refer to build photos)
Photos
Part List
Show stores (5)
Now that's a clean build! How much does it weigh? Also, where did you get the antenna?

Guides & Reviews

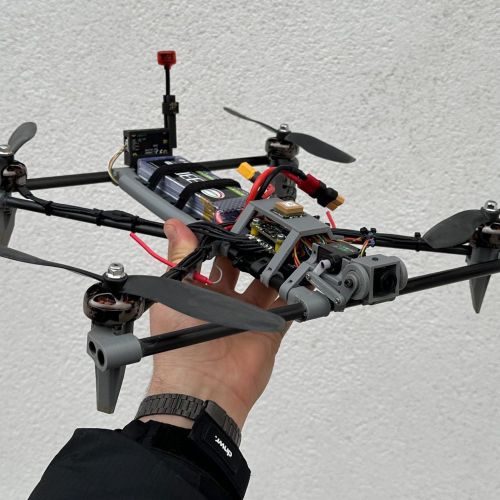
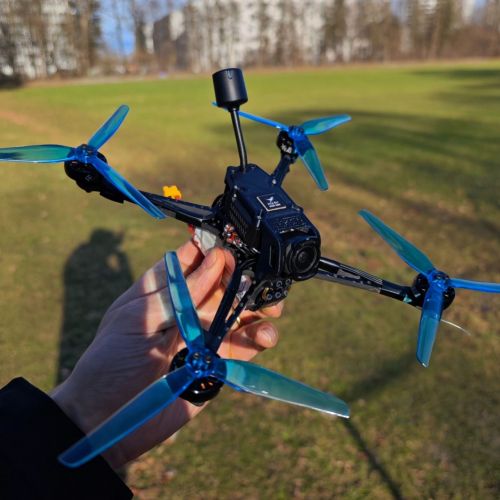
AirbladeUAV has done it again and this time they've brought long range to the 5" class! Based on the popular Transformer Mini, the new Transformer 5" Ultralight adopts a lot of the same design philosophies with larger props and more payload capacity. It can fly upwards of 20 minutes on a 4 cell Li-Ion battery pack and in ideal conditions it's got a range of over 4 to 5 miles. In this guide I'll walk..
Read more
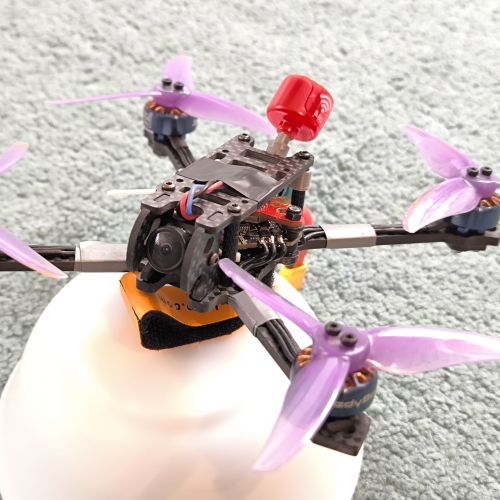
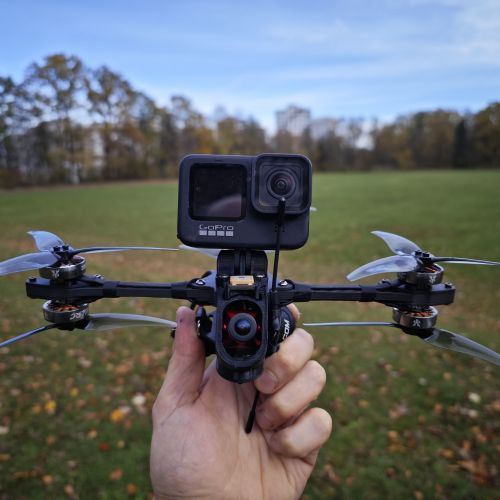
With the release of the DJI FPV Drone cinematic FPV has become a lot more accessible, but you certainly don't want to crash a $750 drone! The QAV-CINE Freybott is a compact, lightweight cinematic FPV drone that can take a hit and keep going. It's a lot safer to fly indoors and around people. With a naked GoPro or the SMO 4k you can capture some great stabilized footage. In this guide I'll show you..
Read more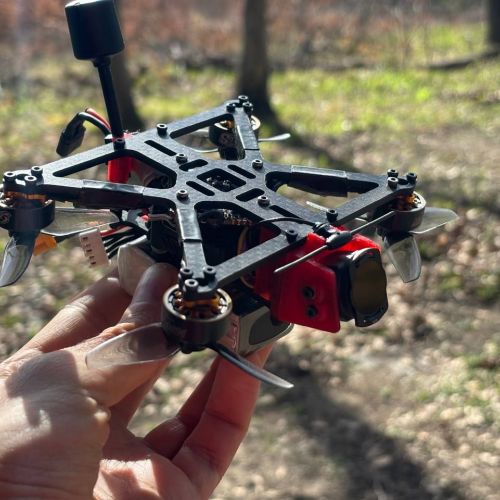

Did you remove the mic from the camera?
Yeah, sure did, those AIO VTXs don't have the ability to transmit audio.