
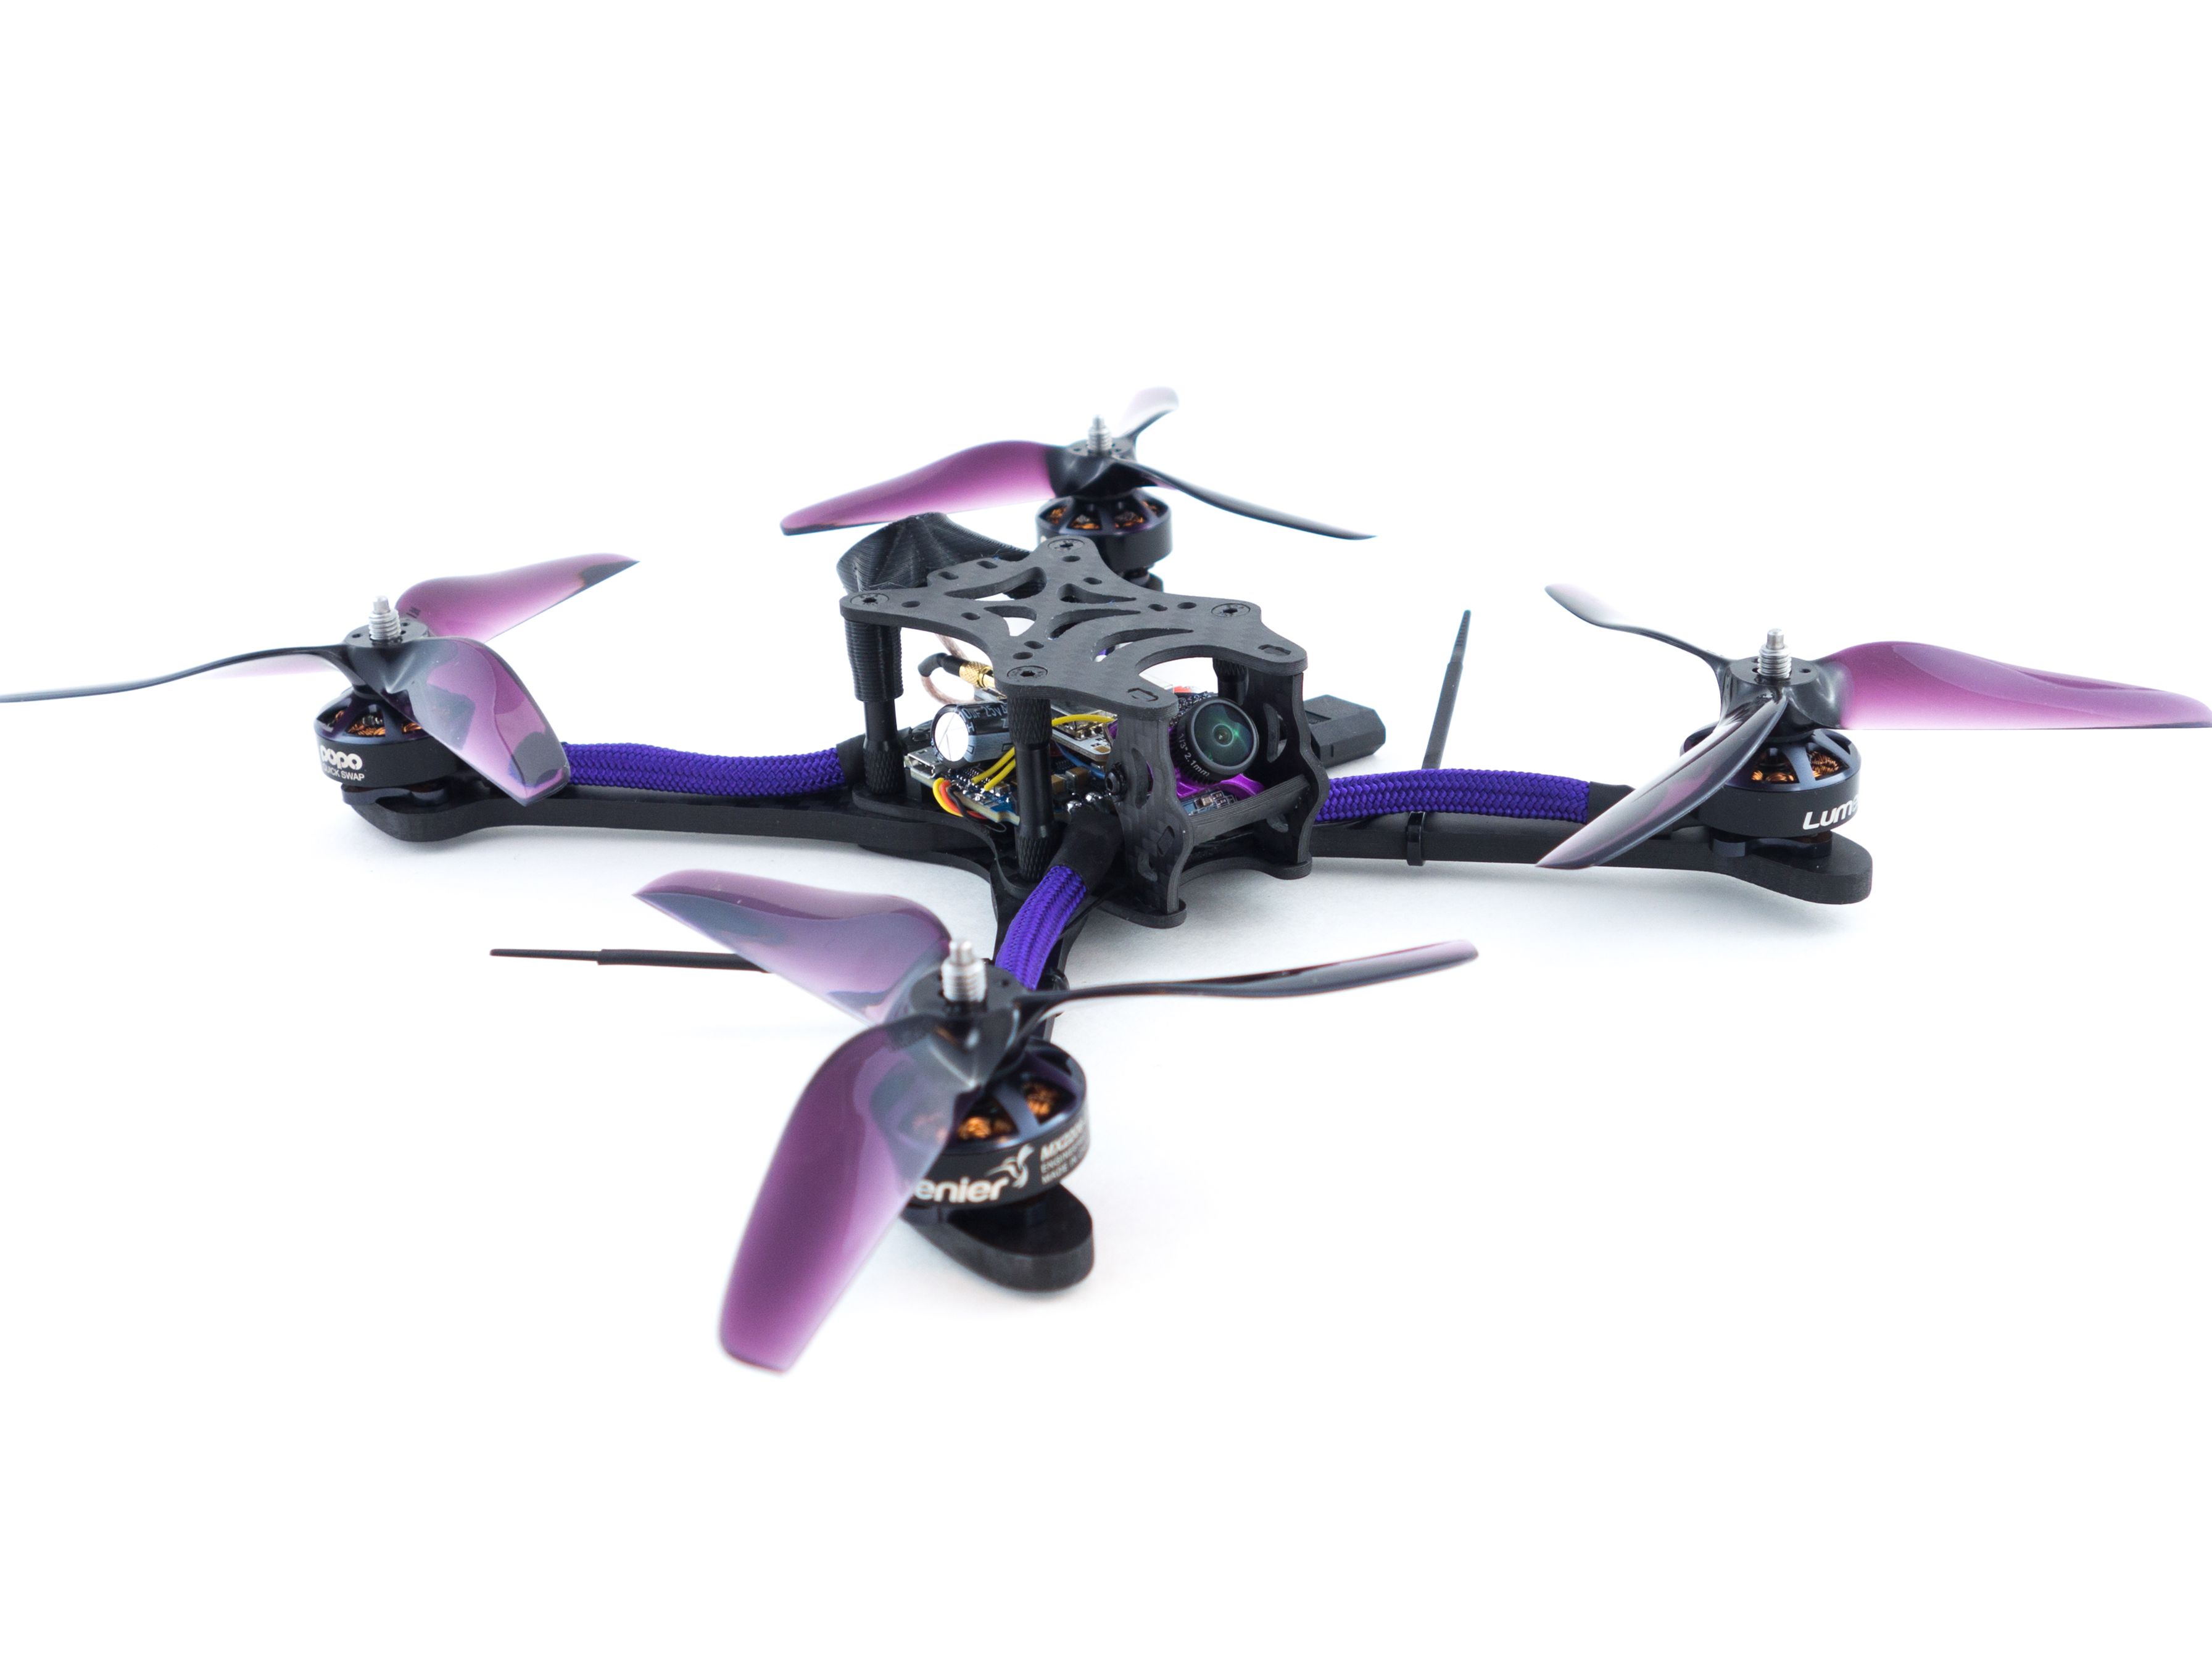
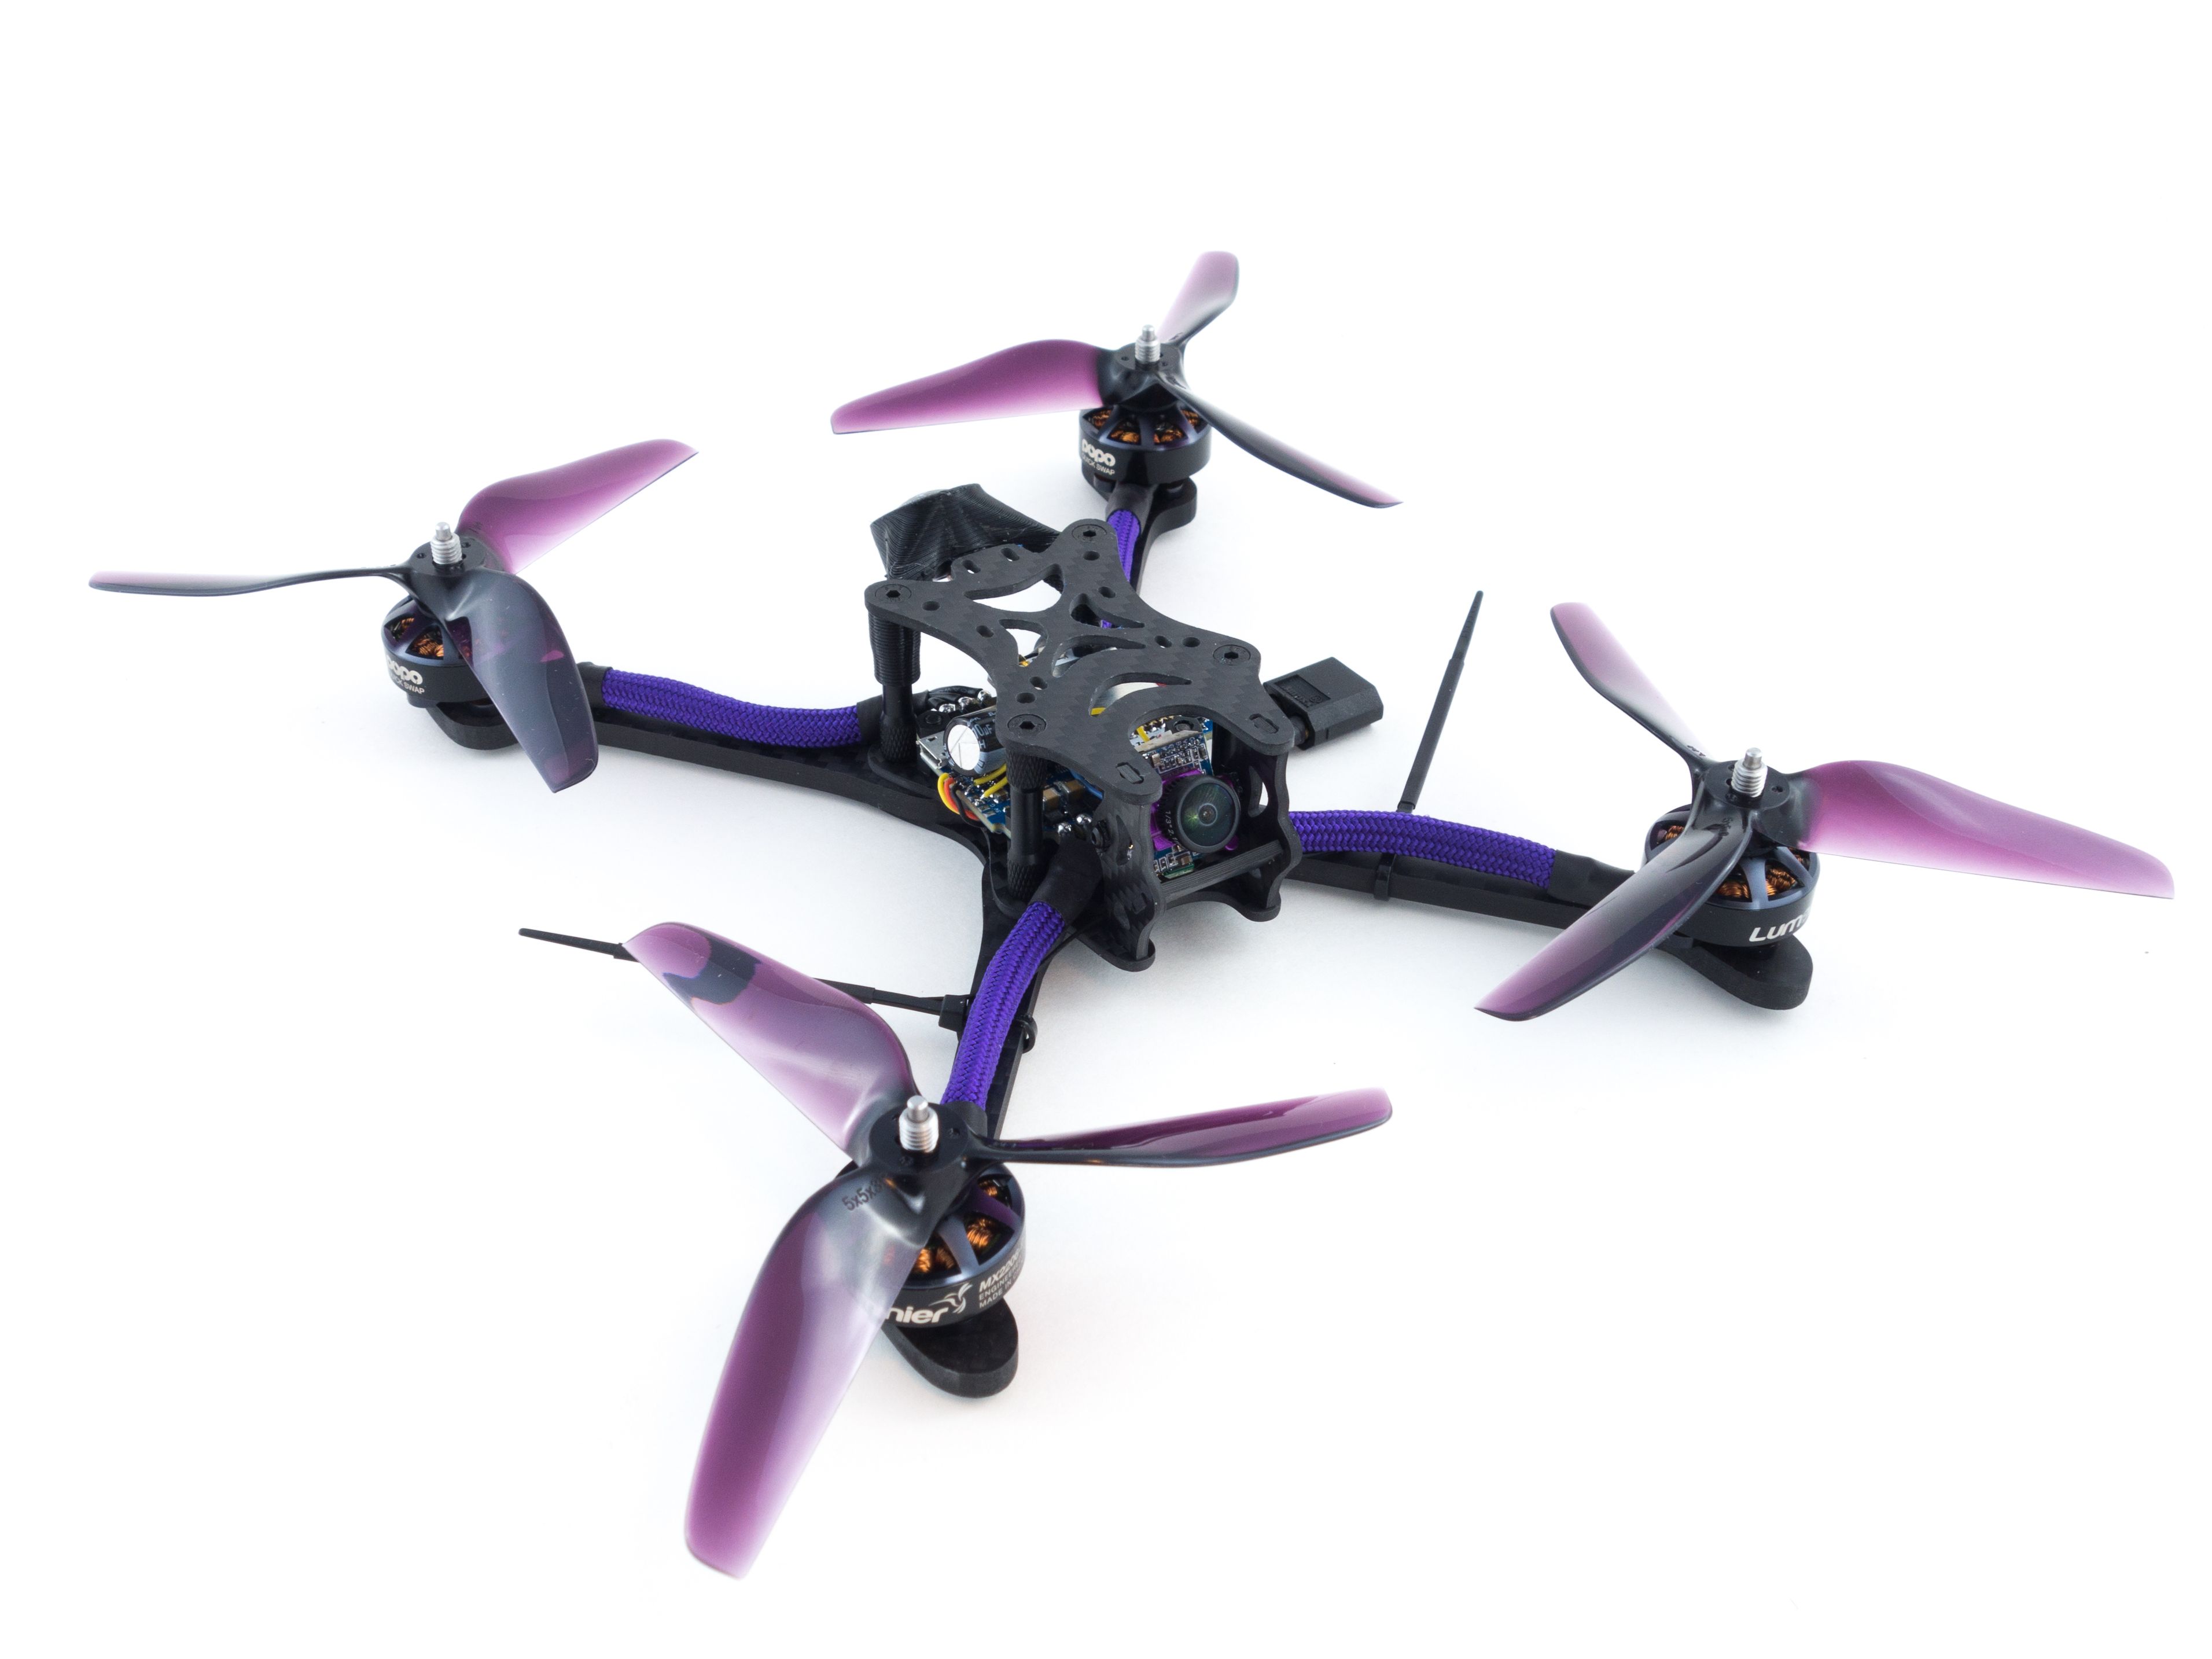
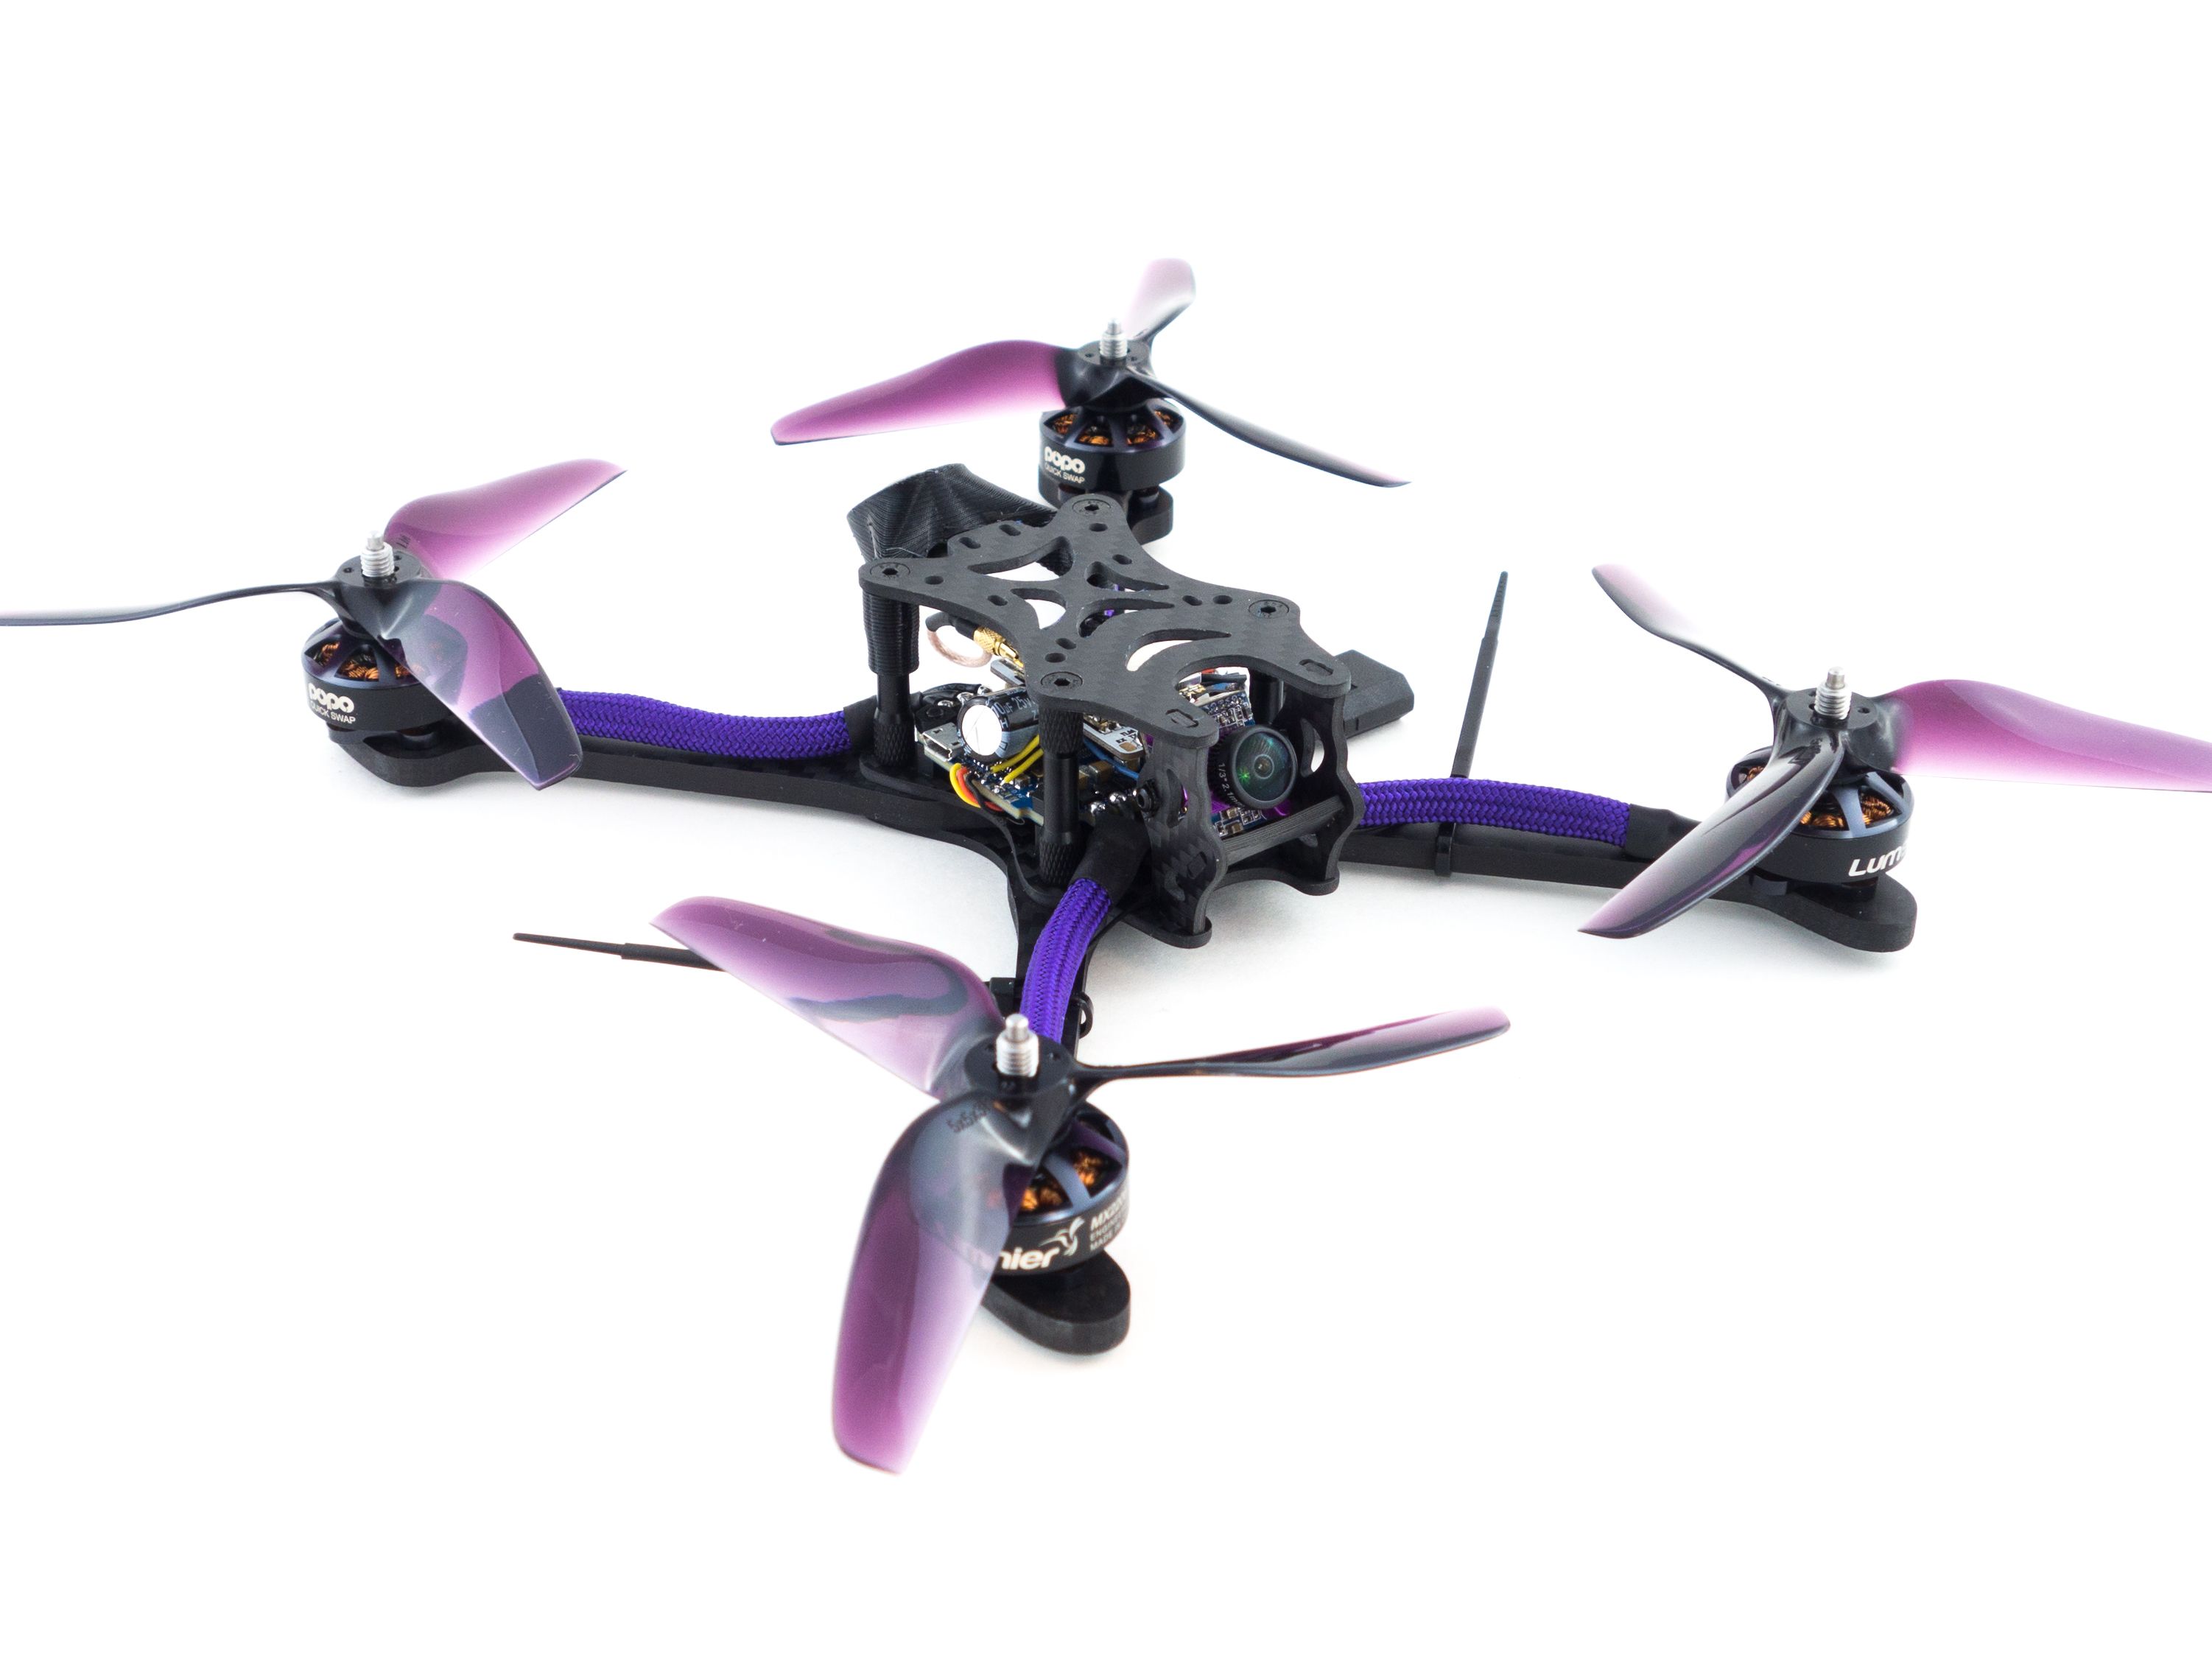
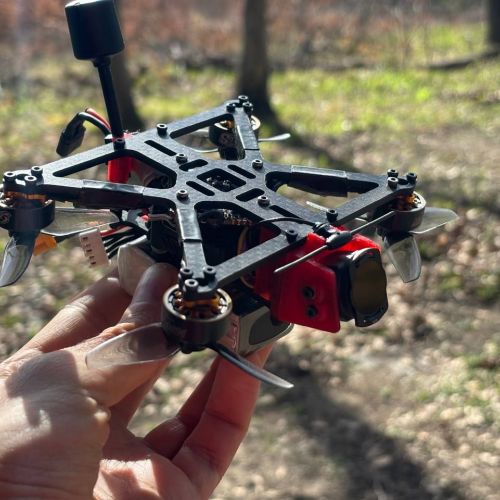
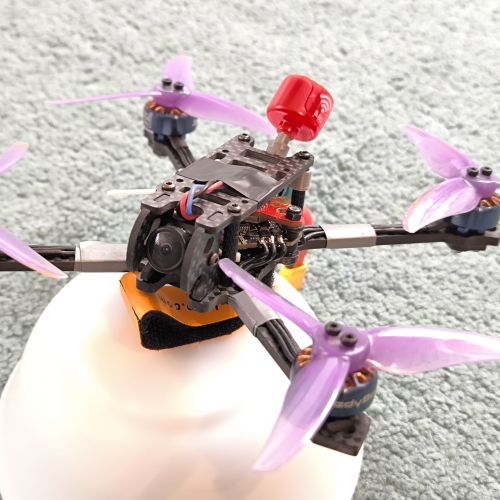
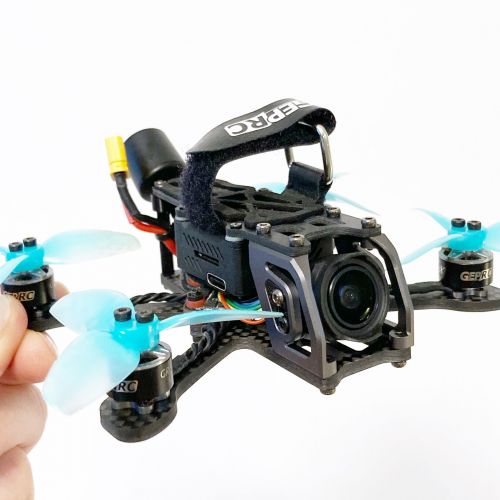
The Bannilite was a collaborative effort between Luke Bannister, AKA BanniUK and Falcon Multirotors. The Bannilite features ample camera protection, easy arm replacements and weighs in at only 72g. It even includes a spare arm and camera mount. It's an excellent choice for FPV racing and doesn't break the bank. The goal of this build was to feature a number of modern FPV luxuries including easy prop removal and OSD VTX control.
Features
- 5mm swappable arms
- Lumenier POPO® Quick Swap prop system
- F4 8k/8k flight controller
- OSD VTX control via Tramp protocol
- Adjustable 500mw video signal
- BLHeli_32 DSHOT1200 ESC protocol
- Custom startup music
- CMOS camera with WDR
Tools
While the primary components are listed below you'll need a number of tools and supplies to streamline the build process. It's generally a good idea to buy quality tools, so a nice bench iron like the Hakko FX-888D is an excellent choice. I use MIP hex drivers and a Vantage 24"x18" cutting mat. A ruler is handy as you'll be dealing with quite a variety of screw lengths.
- Soldering iron with broad and fine tips
- 1.5mm and 2.0mm hex drivers
- Industrial Tweezers
- Wire cutters
- Scissors
- Heat gun or lighter
- Ruler or cutting mat
- Multimeter
Additional Supplies
- A variety of heat shrink tube sizes
- Blue Loctite
- Zip ties
- Extra 28/30awg wire
- 14awg wire
- 63/37 leaded solder
- Liquid soldering flux pen
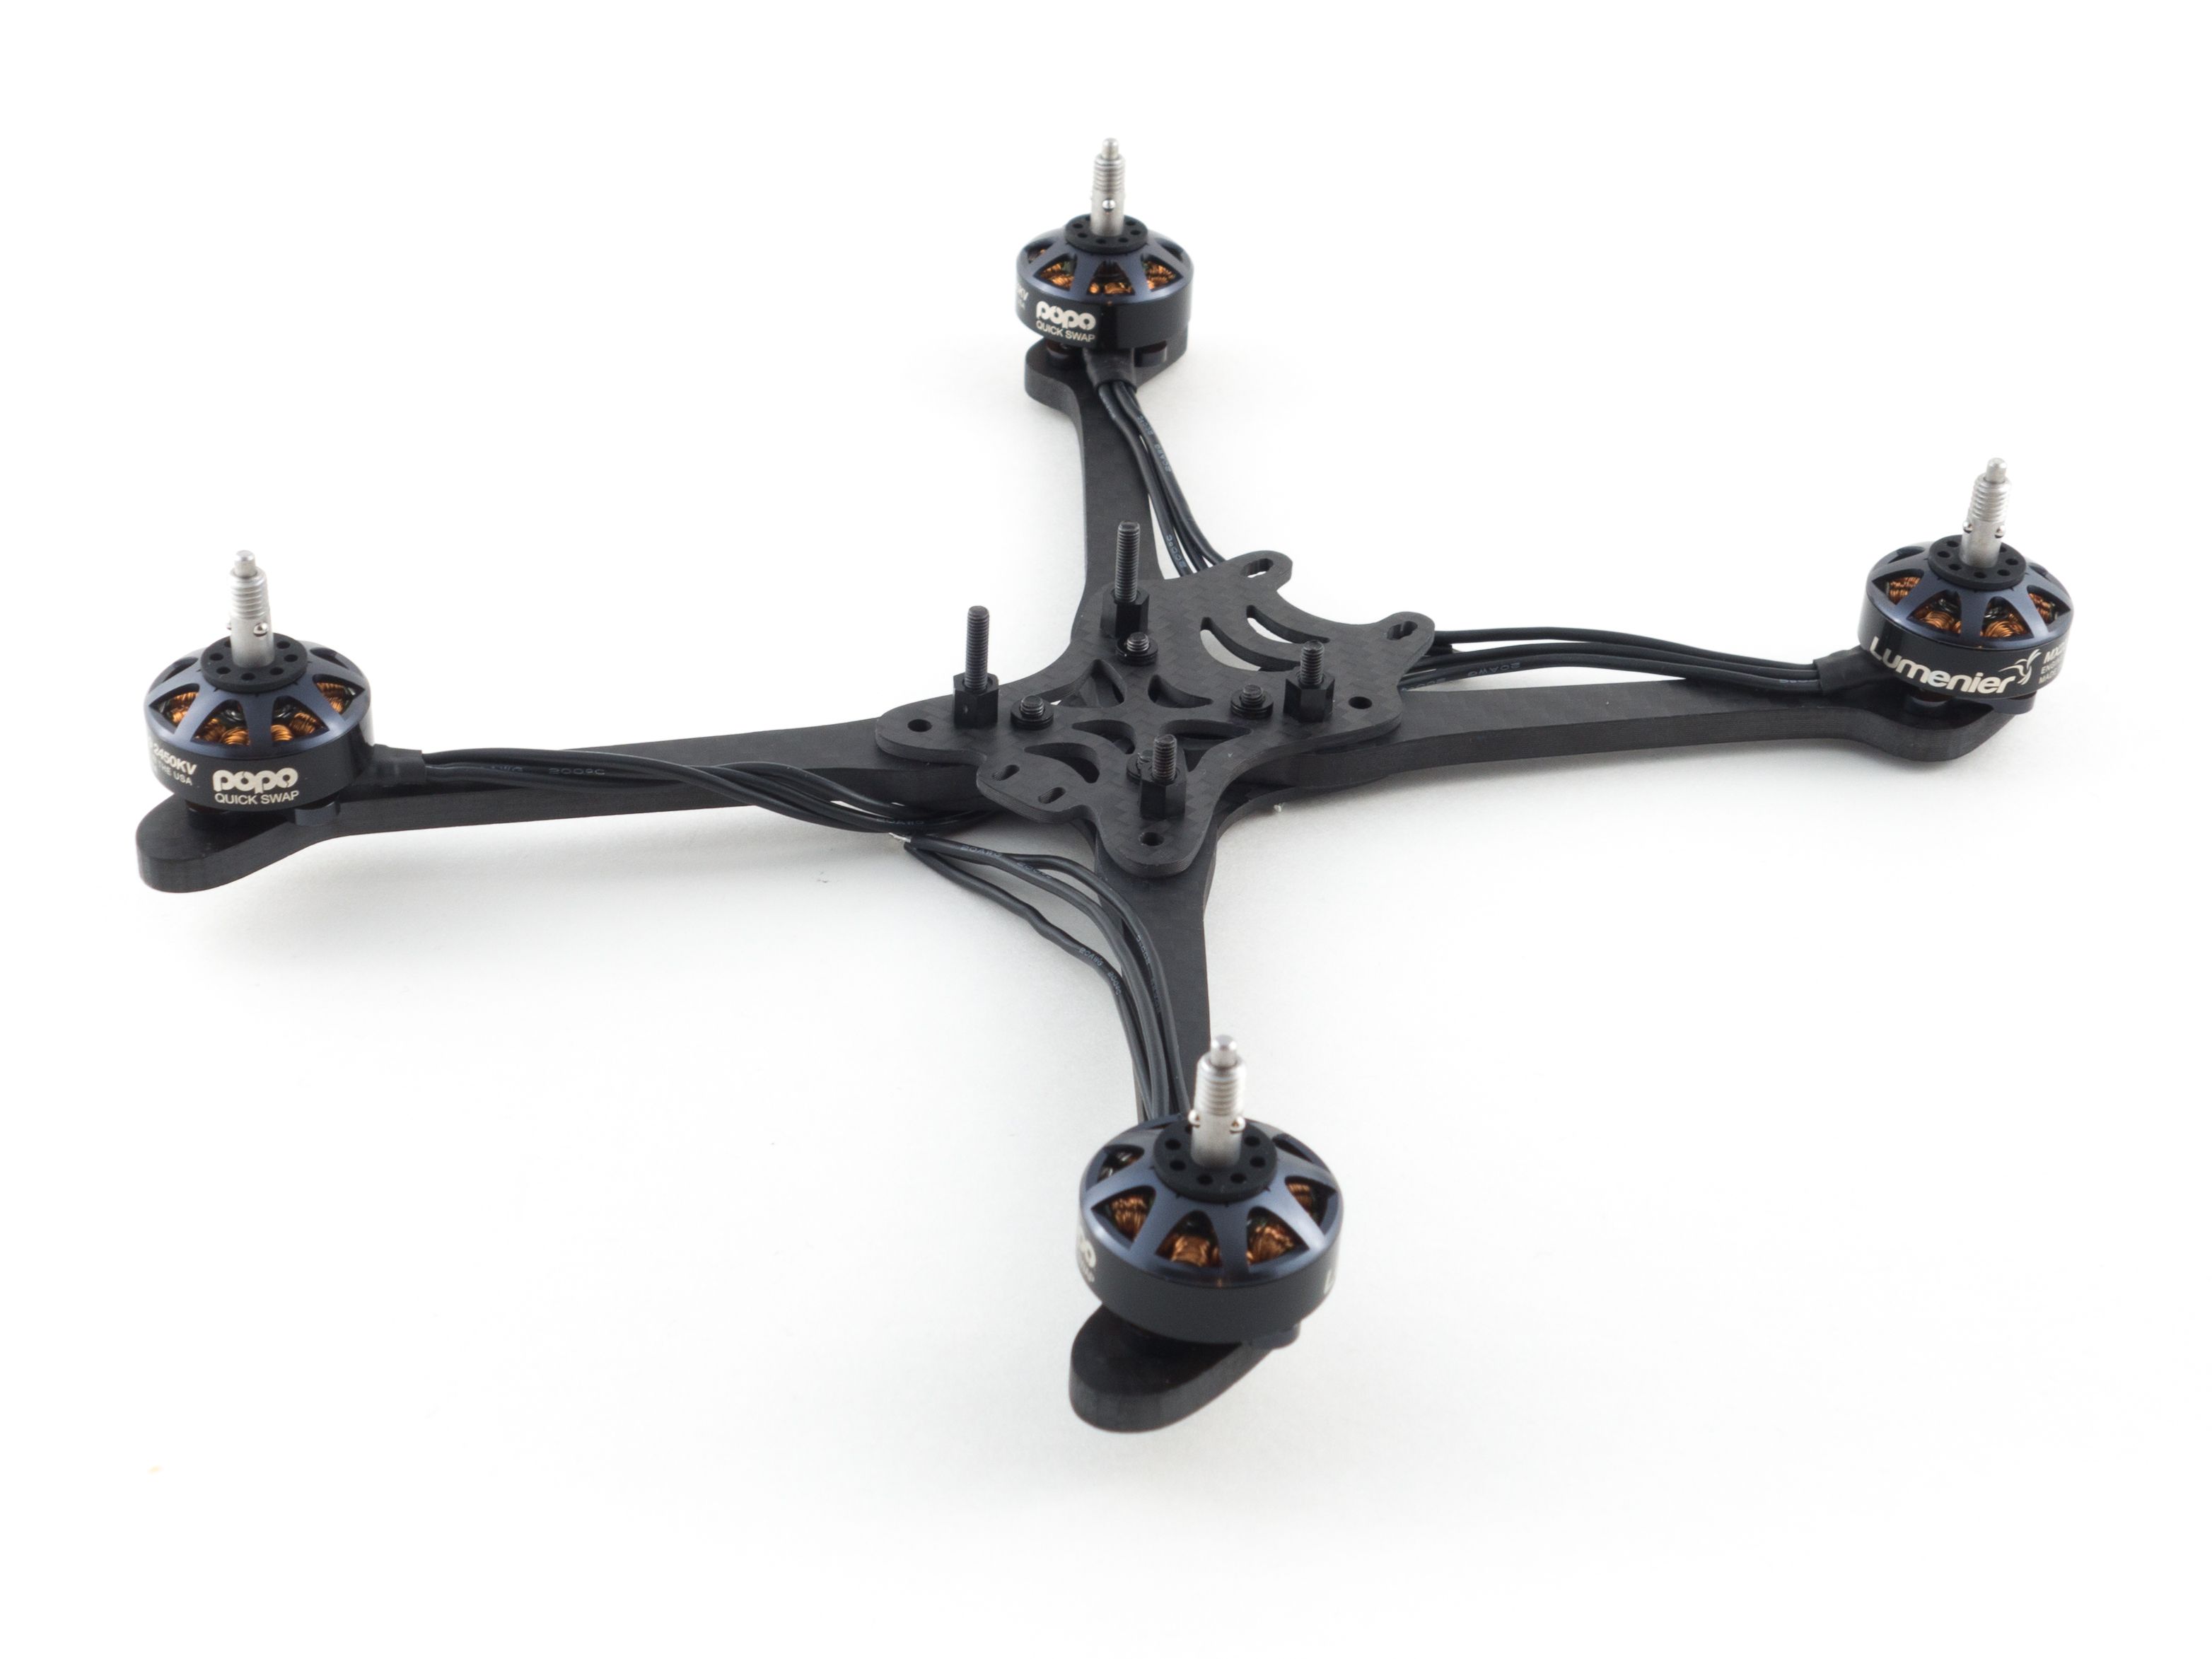
Frame Assembly
There are quite a number of bags and screws, so get your ruler ready. The frame is fairly simple to assemble, but choosing the right screws can be a challenge. Since these are countersunk screws you'll need to measure them in their entirety from the top of the head to the tip. They won't measure to the exact length and generally tend to be .5mm shorter than the indicated length.
- Start with both base plates, 4 arms and 4x12mm screws.
- Using the 12mm screws sandwich each arm between the two plates where the countersunk holes are on the bottom and the threaded inserts are on top.


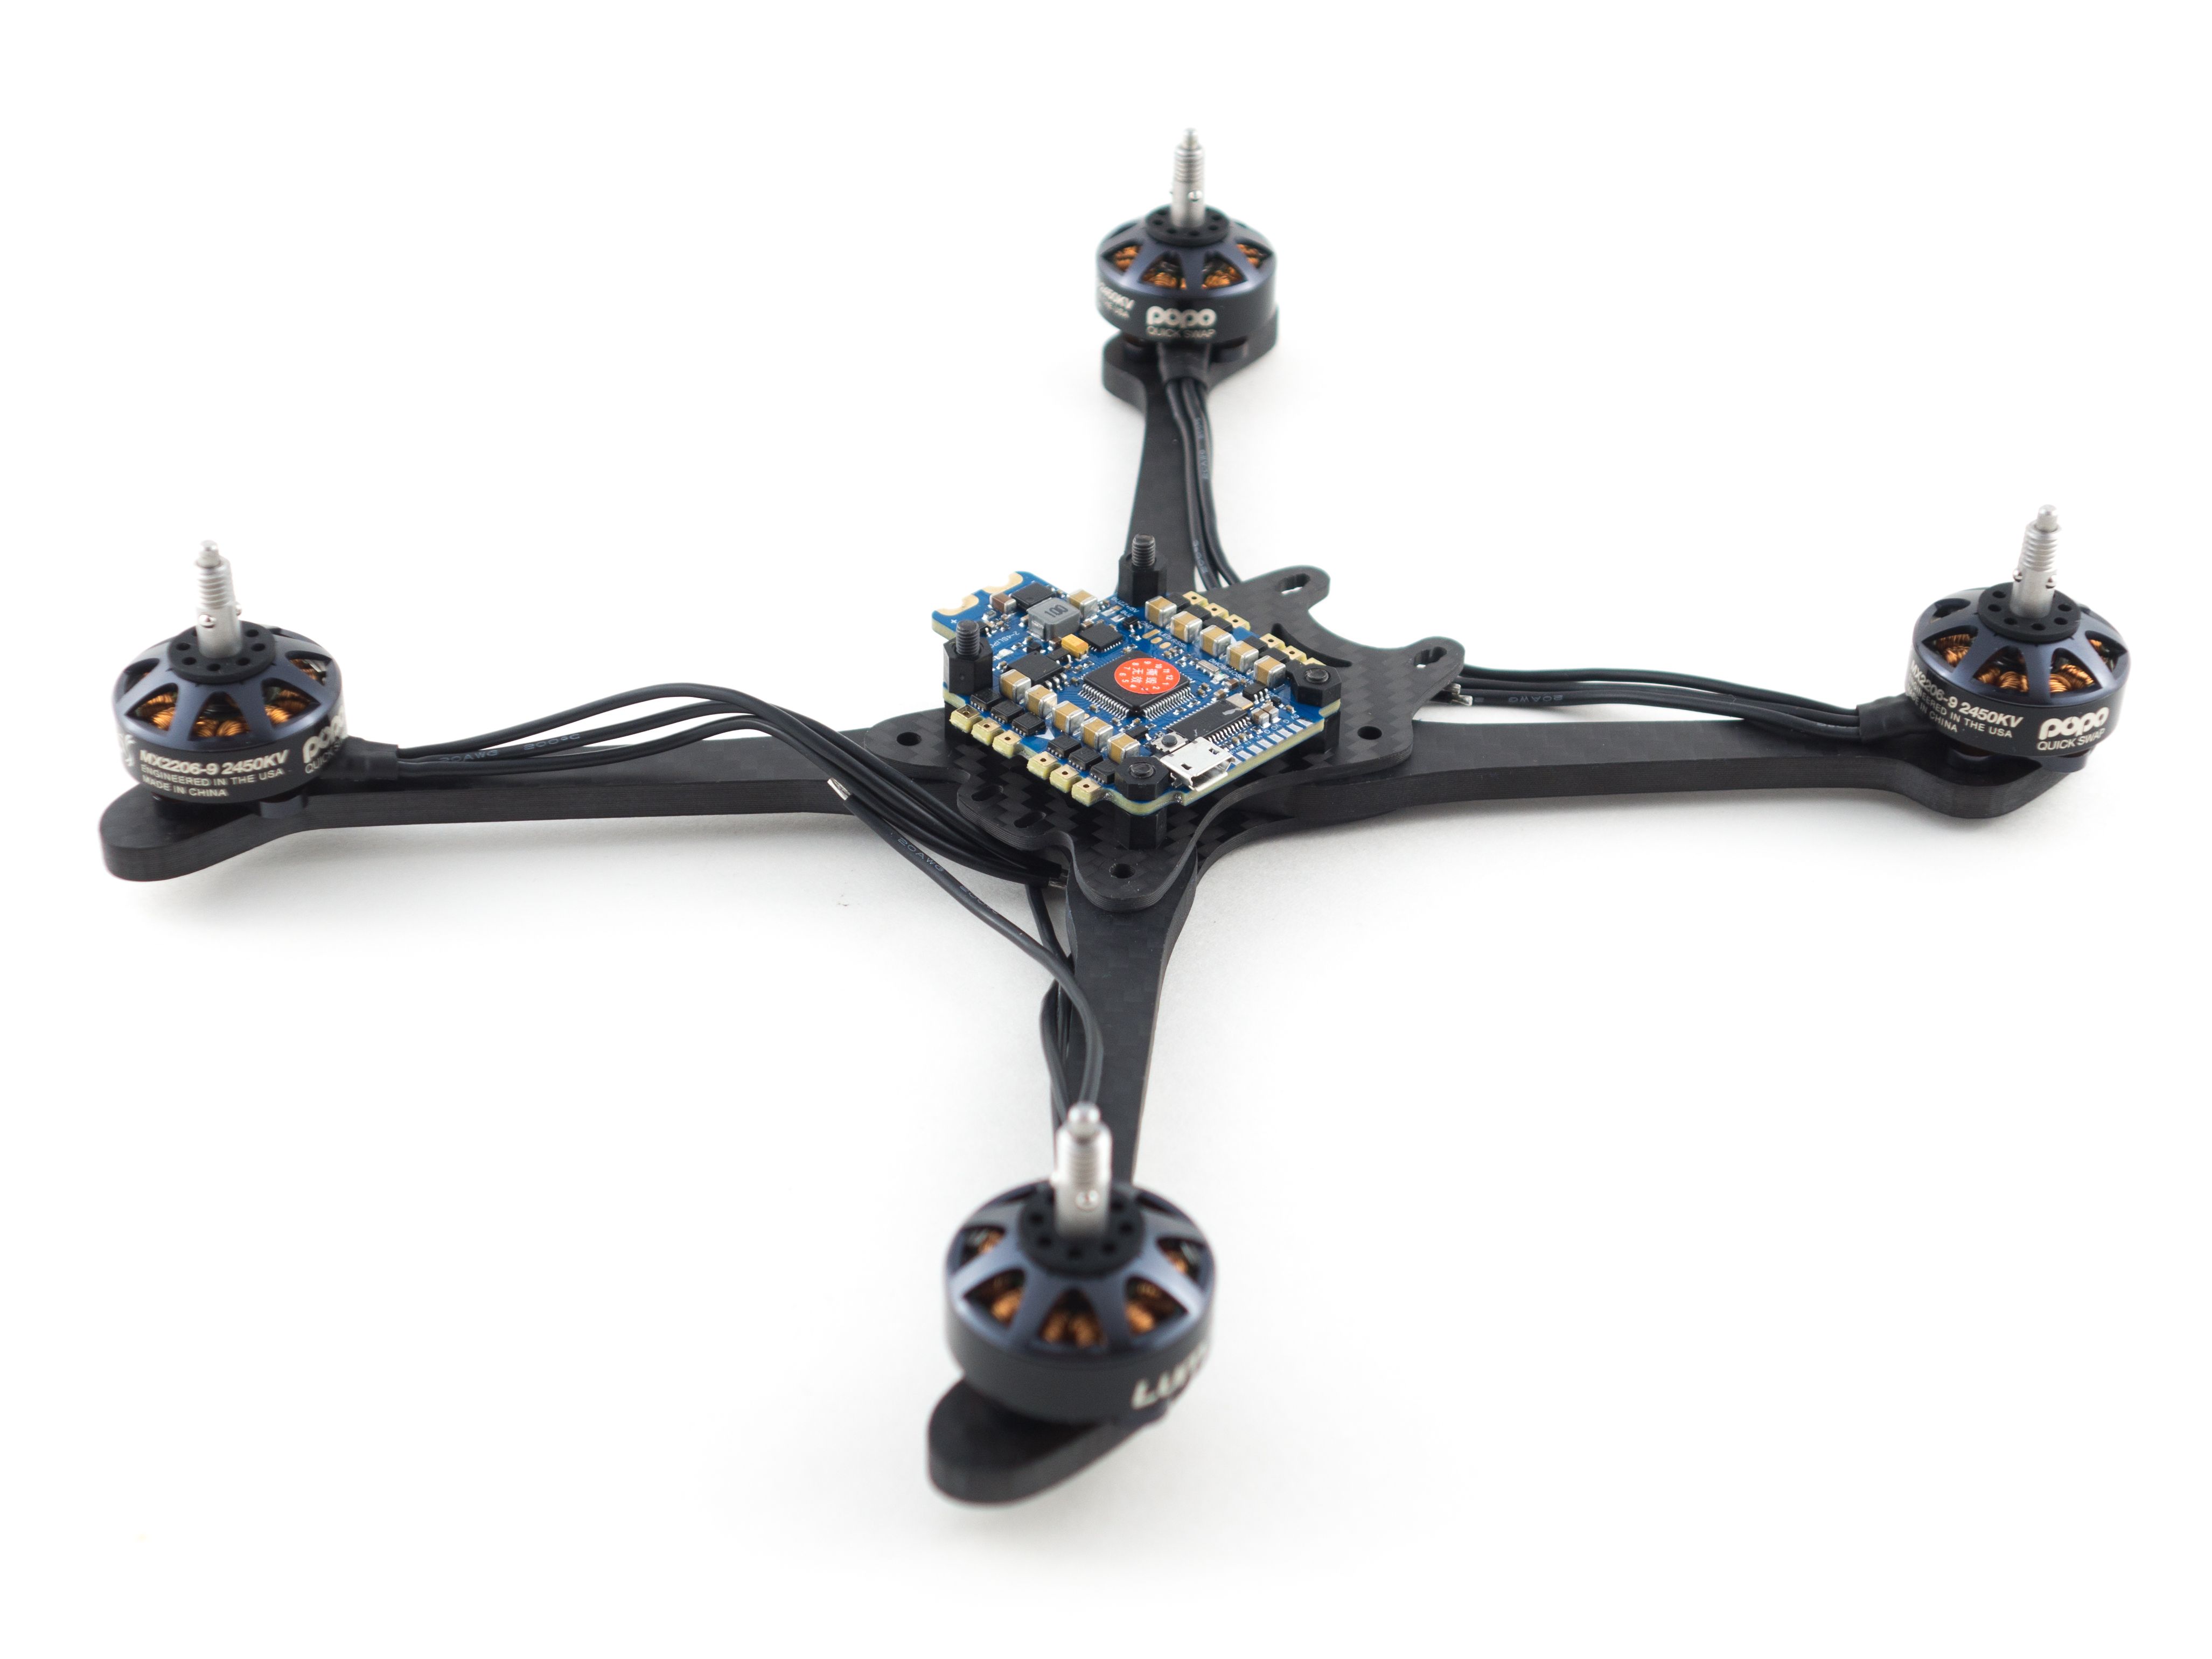
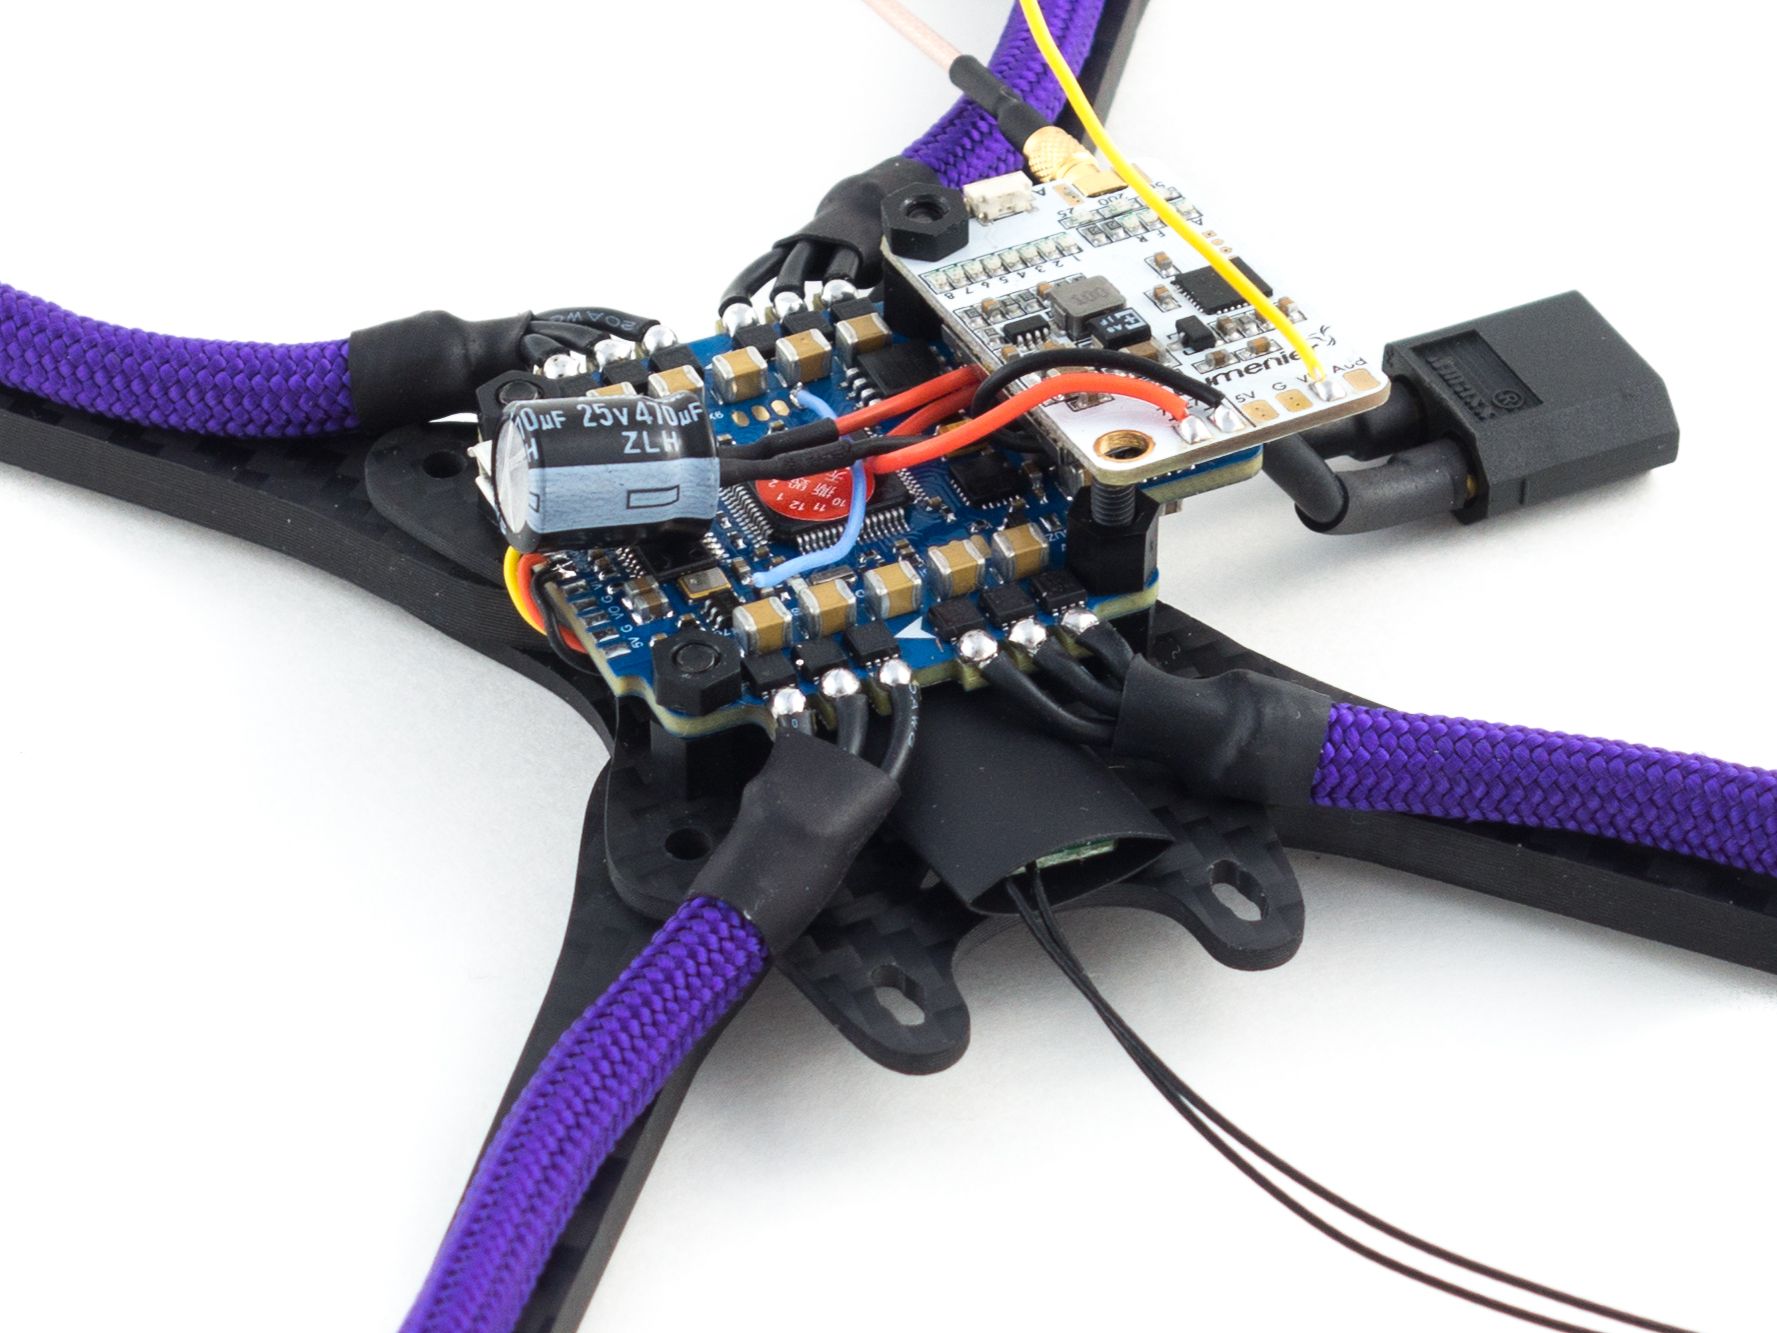
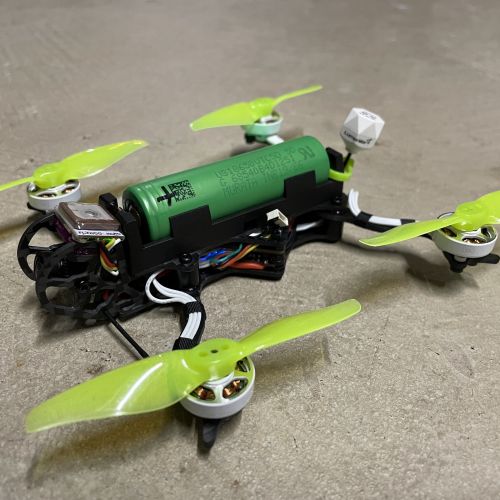
If you're using the VTX listed below you'll want to use taller standoffs on one side of the stack. I found that mounting it receiver-up allows for a shorter stack. It may also help keep the VTX cooler during flight. Since the flight controller (FC) USB is opposite the power tab you'll want to rotate it 90 degrees to maintain access to the USB port.
- To mount the FC insert 18mm screws on the taller side and 12mm screws on the shorter side. Hold them in place with 5mm nuts.
- This is just my personal preference, but I like to mount the FC where the USB port is on the right side.
- Slide the FC onto the standoffs and secure it with 5mm nuts on the taller end and 3mm nuts on the shorter end.
It's best to leave the 30mm aluminum standoffs off for now. It'll give you more space to work as you solder the motor wires.
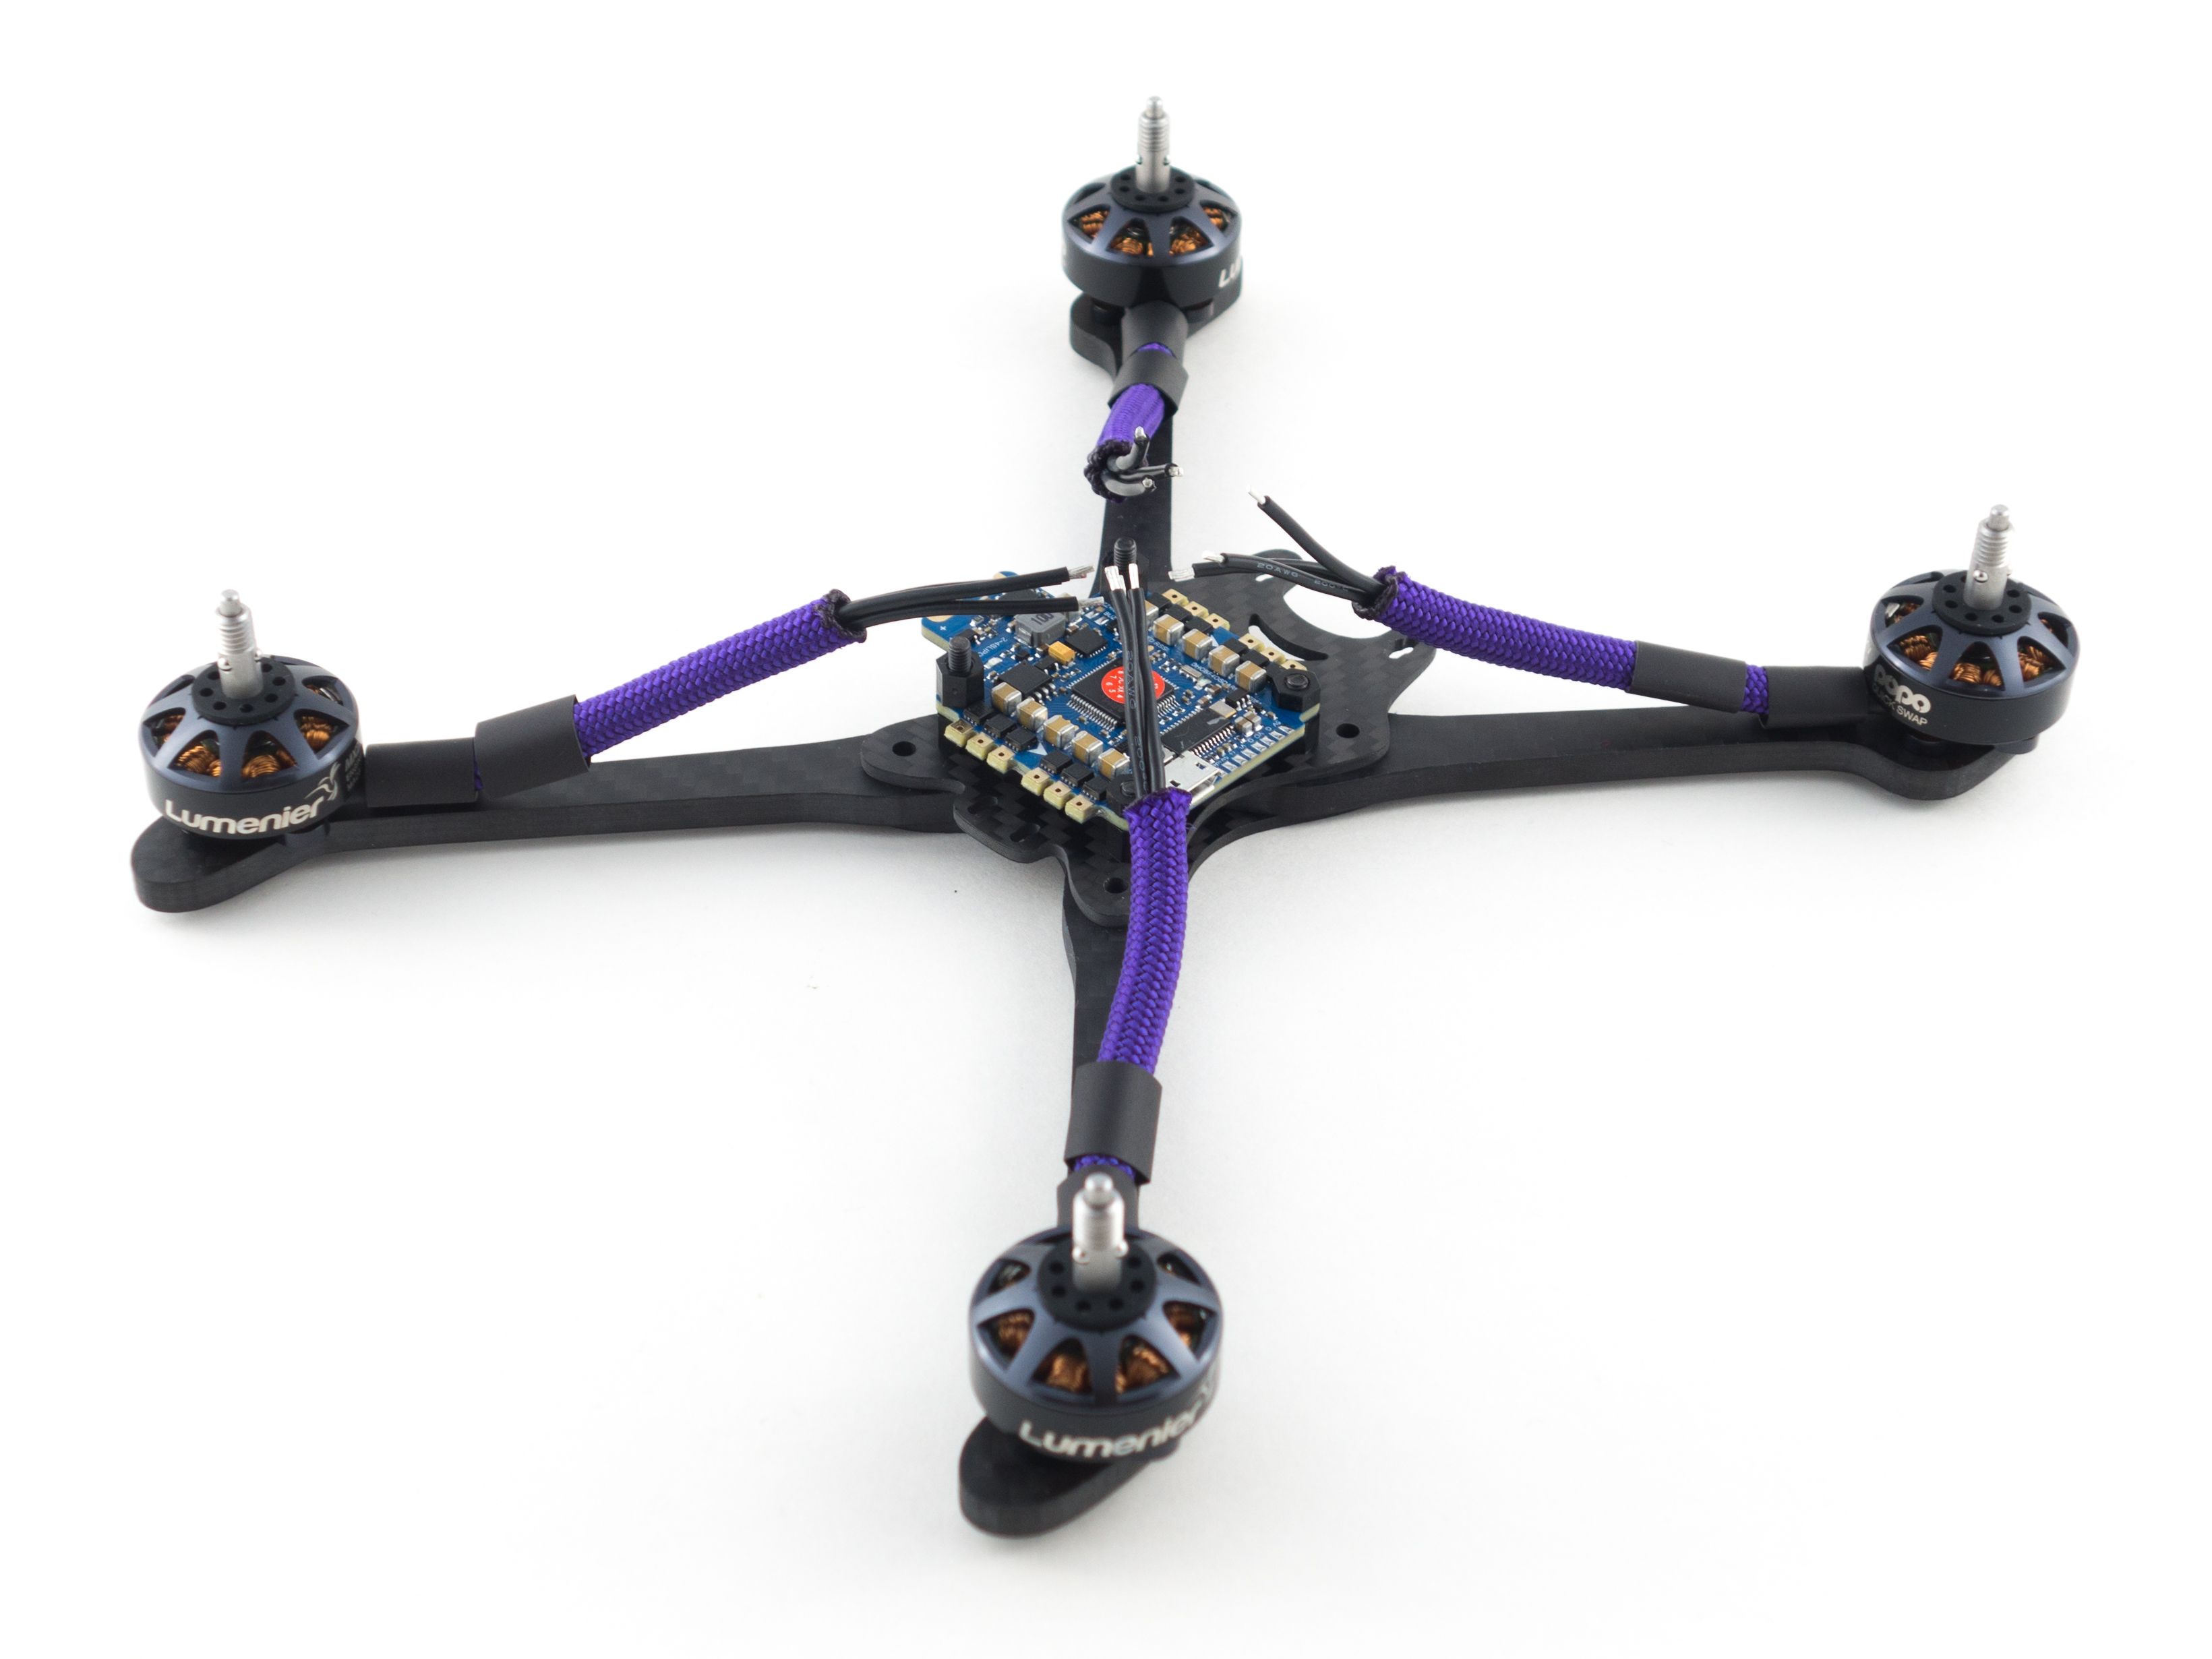
Motors
While it's entirely optional I like to sleeve my motor wires with Paracord for protection, but you'll need either a 7/32" cord like BattleCord or a 1/4" cord like Paracord Para-Max. I used Para-Max "Acid Purple" on this particular build.
- Screw your motors onto the arms using 8mm screws and blue Loctite. (Purchased separately as the included screws are too short)
- Cut 4 pieces of cord to 7 cm lengths, remove the inner core and, with a lighter, melt the ends to prevent frays.
- Sleeve the motor wires and cover the ends of the cord with two 1cm pieces of 12mm shrink tube. One for both ends.
- Flux and tin each motor pad ensuring each pad is completely coated.
- If you're right-handed start from the rightmost motor pad and solder all 6 wires from right to left.
- If you're left handed start from the left.
- This keeps the wires out of the way of the tweezers.
- Cut each wire to length as you go being sure to strip and tin each tip.
- Position the shrink tube over the ends of the cord and melt it to hold it in place.
- You can use a heat gun to make quick work of this, but don't hold it over your FC too long.
Receiver
Now you can add your receiver. It's always a good idea to get this out of the way early so you can bind and tuck it under your flight controller.
- First solder 3 wires to the receiver.
- I borrowed wire from the camera wire harness.
- Slide the receiver partially under the flight controller so the bind button and antennas are up front.
- Solder the wires to the flight controller by curling them up from under the board.
- Add shrink tube to the receiver to protect it from shorts.
- Leave enough space under the flight controller for a 15mm battery strap.


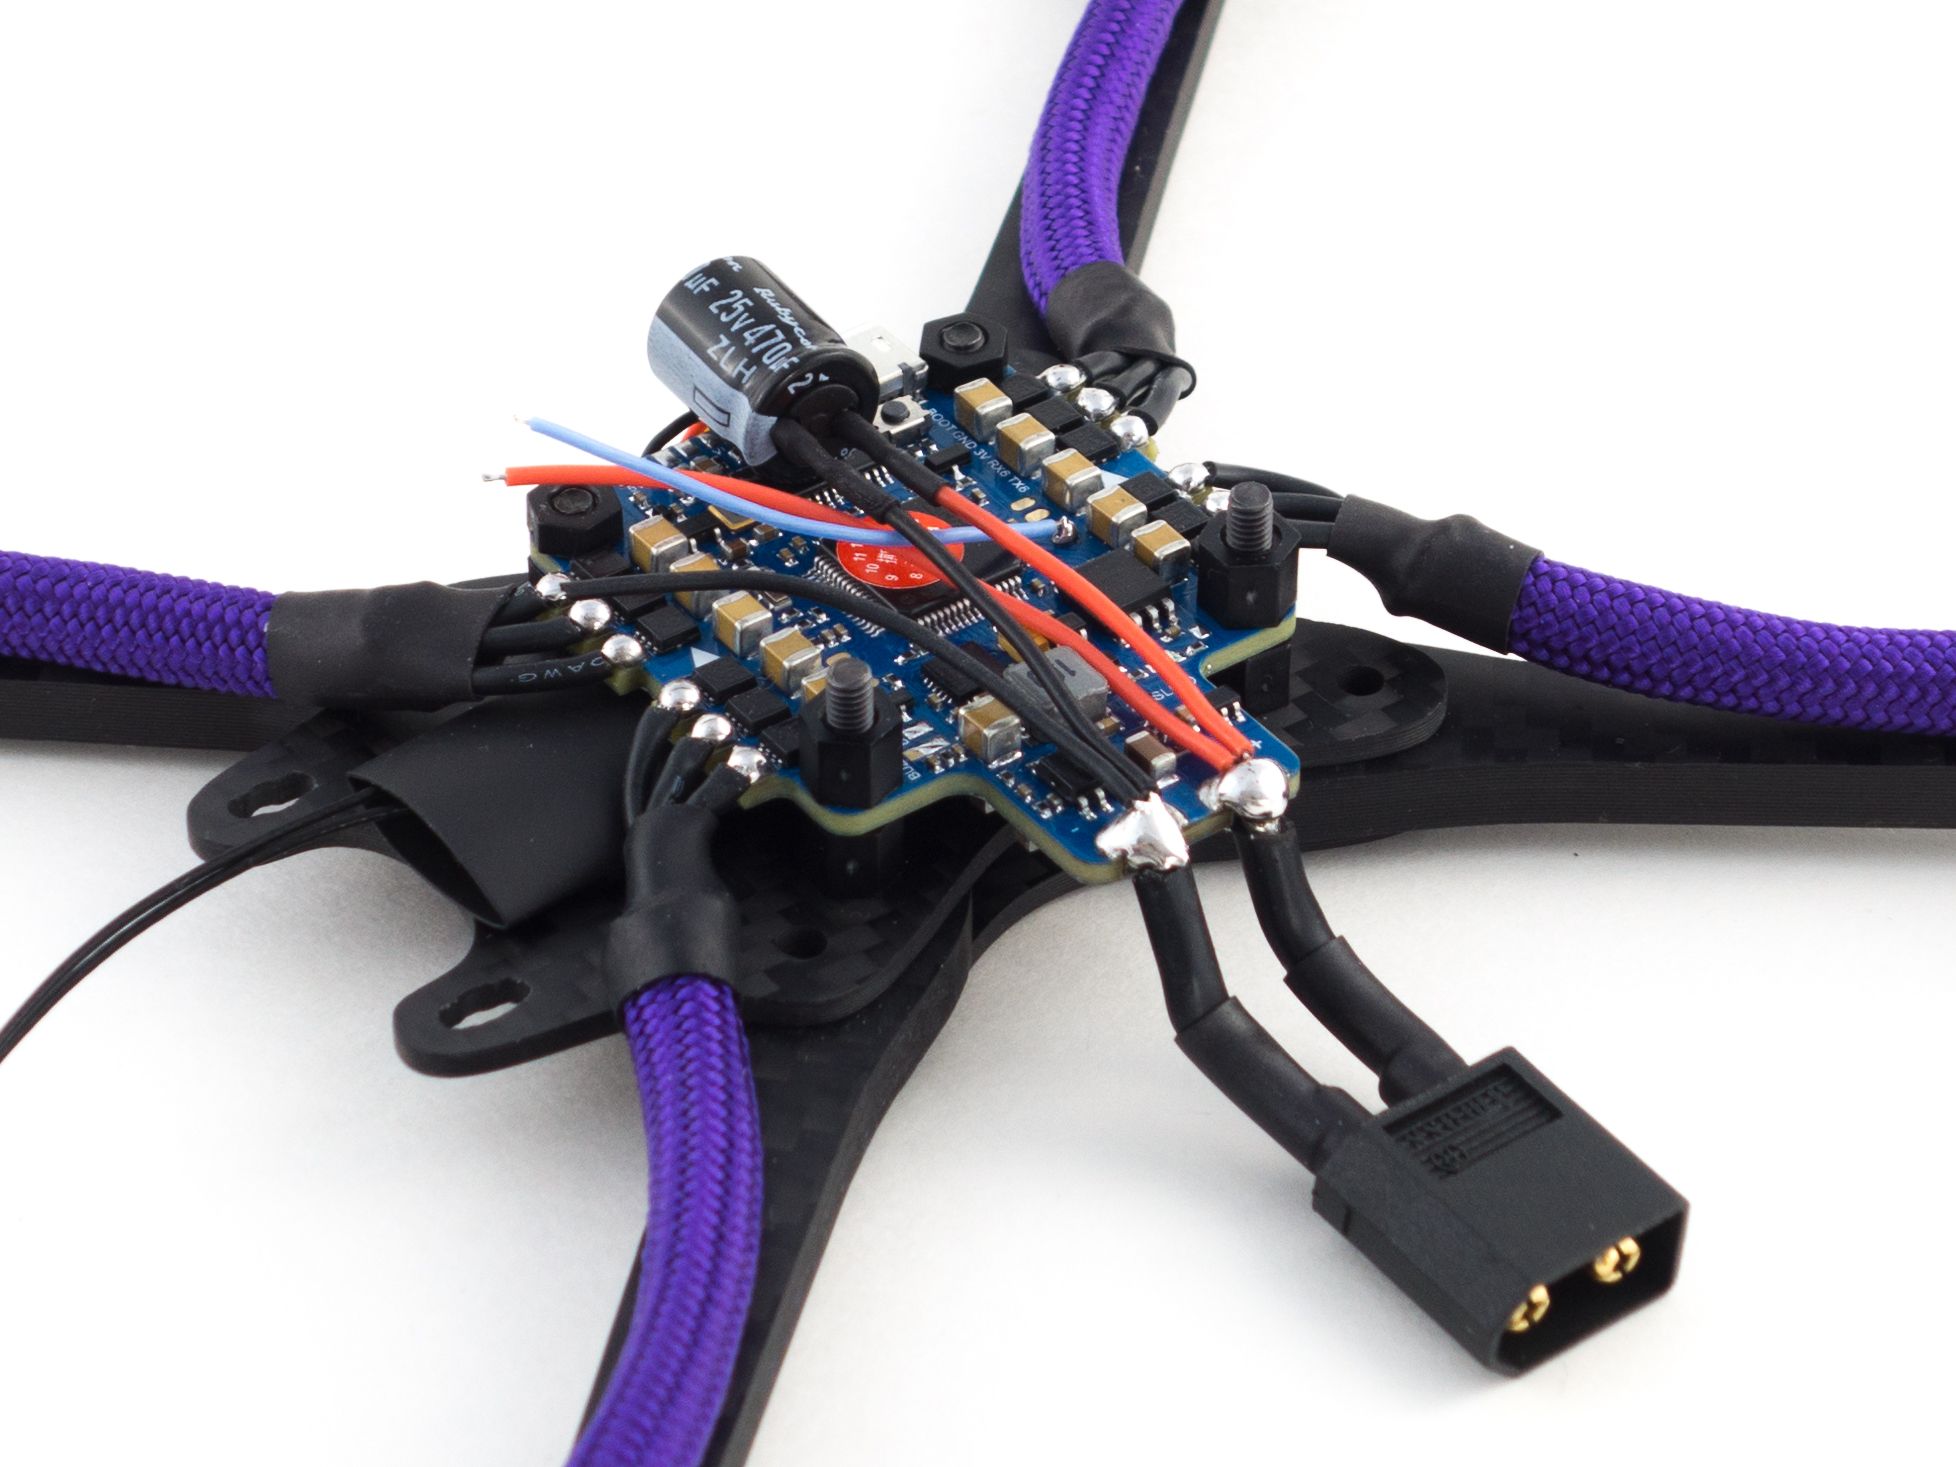
Power Connector
Before you can bind you need to power your board. The key here is to solder your wire to the XT60 connector before you solder it to the tab. It's a lot more challenging to add the XT60 after the wires are on the board. You should be able to get away with about 2.5cm of 14awg wire. The FC comes with 16awg wire, but 14awg is preferred. Optionally you can use a longer power lead and zip-tie it to the frame to reduce stress on the power tab in the event of a bettery ejection.
Be sure to test your main power leads for continuity with a multimeter before powering up for the first time. Now you can bind your receiver. A little trick is to hold the bind button with tweezers and a rubber band to maintain pressure. This frees up a hand to plug the battery in.

Capacitor
It's generally a good idea to add a capacitor. This helps filter electrical noise and helps eliminate any random twitches during flight. Just snip the capacitor legs down to about 5mm and solder a couple cm of 28awg wire to them covering the joints with your smallest shrink tube. The wires should be just long enough to ensure a good fit for your VTX. Make sure you've got the polarity correct! While you're at it you can also add wires to power and control your VTX. Solder a wire to the TX6 pad to grant your FC control over the VTX.
Video Transmitter
The pads differ on either side of the VTX, so you'll need to solder wires to both sides. Since we're mounting it upside down I'll refer to the top as the side with the RF shield.
- Temporarily mount the VTX with the underside facing up.
- Add solder to the 7-27v pads and the video input pad.
- Solder the wires we added to the main power lead to the 7-27v pads.
- Solder a wire to the Video pad.
- Gently flip the VTX into position taking care not to pinch the wires underneath.
- Secure the VTX with a pair of nylon nuts.
- Add solder to the TX, G and 5V pads on top.
- Solder the wire we added earlier joining TX6 to the TX pad.
- Solder the video wire to the video out pad on the FC.

FPV Camera
If you've got an external monitor you can adjust your camera settings first without wiring the camera to your build. You'll just have to get creative with the connector. Mainly all you need to do is disable the camera OSD. To access the OSD menu hold up on the control pad from the main menu. I prefer this method because it allows me to remove the ground and menu wires from the camera.
- Remove the purple wire from the wire harness as we won't need the OSD voltage reading.
- You can remove the ground and menu wires if you already changed the camera settings, or you can leave them and tuck the connector behind the camera for later use.
- Find the 3D printed cam strut inserts included with the frame and insert them into the camera bracket.
- With the brace inserted on one side screw the camera into the bracket using the longer M2 screws included with the frame.
- You may need to file the slots to get these pieces to fit.
- Plug the wire harness into the camera and mount the camera bracket onto the frame. Cut the wires to length.
- The video wire needs to reach to the side of the FC while the power and ground only need to reach the adjacent pads on the VTX.
- Remove the wire harness from the camera and remove the camera bracket from the frame.
- Solder the wires to the FC and VTX.


Finishing Up
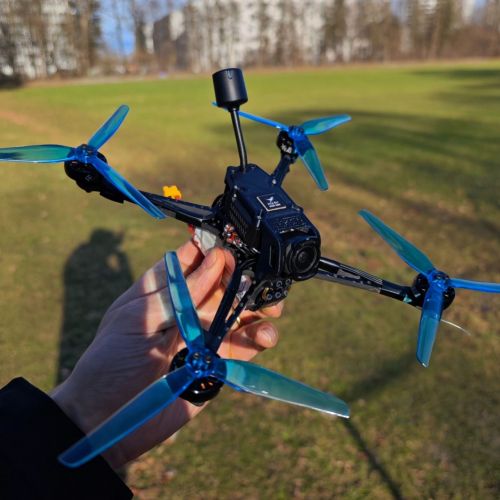
Now it's time to button it up! I 3D printed the Bannilite AXII mount in TPU, but if you don't have access to a printer you may be able to use the "AXII Antenna 3D Printed Mount" listed below. Worst case you can zip-tie the antenna to the top plate.
- Using 16mm screws attach the 30mm standoffs to the base plate.
- Slide the AXII mount over the rear standoffs and slide the antenna into the holder.
- Attach the camera mount and top plate and screw it in place with 8mm screws.
- Connect the camera connector to the camera.
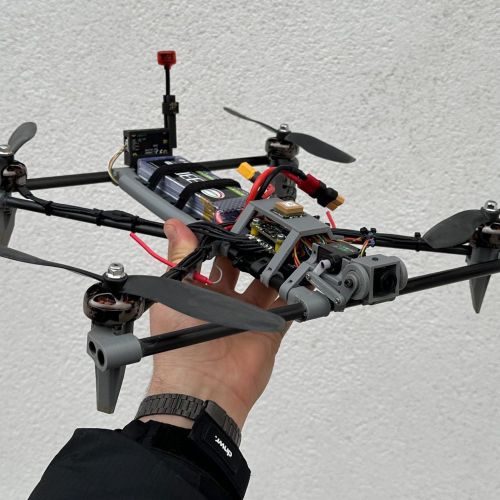
- Carefully slide a 15mm battery strap under the FC.
- I was a little concerned the battery strap might damage the underside of the FC so I taped a 17mm section of shrink tubing to the plate below the FC. It acts as a sleeve to easily insert a battery strap.
Betaflight Configuration
If you don't already have them, you'll need to download Betaflight Configurator [Download] and BLHeliSuite32 [Download]. Unfortunately BLHeliSuite32 is only available for Windows, so Mac users will need to download VirtualBox [Download] and run a Windows Virtual Machine from Microsoft [Download].
- First go to the Firmware Flasher and choose "LUXF4OSD" as well as the latest stable release of Betaflight.
- Click "Load Firmware [Online]" and then "Flash Firmware" to update your flight controller. Once complete, click "Connect"
- On the Ports tab
- On UART1 click Serial RX for your receiver.
- Set the UART6 Peripherals to "IRC Tramp".
- Click Save and Reboot
- On the Configuration tab
- Under ESC/Motor Features select DSHOT600 (DSHOT1200 isn't necessary on 8 kHz)
- If want to fly "props out" with reversed motors, select "Motor direction is reversed" below the illustration. (This is optional)
- Under Board and Sensor Alignment set Yaw Degrees to 90 to address the rotated flight controller.
- Under System configuration set PID loop frequency to 8 kHz.
- Under Receiver choose your receiver mode. For the XM+ choose "Serial-based receiver" and "SBUS"
- Under Arming set the Max arm angle to 180 (Only if you keep the accelerometer turned on)
- Under Other Features enable: Airmode, OSD, Anti Gravity and Dynamic Filter
- Under DSHOT Beacon Configuration enable the beacon
- Click Save and Reboot
- Go to the CLI tab and enter the following commands to place the motors in the proper positions:
resource MOTOR 1 B01
resource MOTOR 2 A02
resource MOTOR 3 B00
resource MOTOR 4 A03
save
To complete the remaining steps you'll need to apply lipo power to your build:
- On the Receiver tab ensure your pitch, roll, throttle and yaw are being applied correctly. Adjust your transmitter and Channel Map as needed.
- On the Modes tab
- Assign an Aux switch to arm and disarm your quad.
- Assign another Aux switch to enable Horizon or Angle mode if you need them.
- Assign the Beeper and "Flip over after crash" to a 3rd and/or 4th switch. I like to assign them both to a single 3 point toggle switch.
- On the Motors tab enable the motor test and apply a small amount power to check the rotation of each motor. Take note of any that need to be reversed.
- Disconnect from Betaflight Configurator and open BLHeliSuite32
- Flash all ESCs to the latest firmware release.
- Reverse the motor direction of any motors that need it.
- Set each motor PWM to 48khz for a smoother flight.
- If you want to change the startup music, check Rox Wolf's Channel for all sorts of tunes.
- Save and reconnect to Betaflight Configurator to test the motor direction.
- On the OSD tab
- Check all of the features you want and arrange your OSD as desired.
And that's it! The default Failsafe settings are generally fine, but make sure they work by arming your quad, applying a small amount of throttle and turning off your transmitter. It should shut down after 4 seconds.
Photos


Part List
Show stores (2)
Is the 3D printed bannlight AXII mount by falconmultirotors needed for the build or can it be made without it?

What would be the best FPV goggles to pair with this and what btteries should i buy for the best flight time and performance. thanks great guide by the way
So u mounted the Lipo under your Bottom Plate or on top? Don't get it. Sry for this question but I'm new to the hobby and still learning.
so you add a cap go get rid of noise and yaw twitches, but you places it on the fc? doesnt seem like the best idea, it will vibrate a ton on the fc :)


Guides & Reviews

AirbladeUAV has done it again and this time they've brought long range to the 5" class! Based on the popular Transformer Mini, the new Transformer 5" Ultralight adopts a lot of the same design philosophies with larger props and more payload capacity. It can fly upwards of 20 minutes on a 4 cell Li-Ion battery pack and in ideal conditions it's got a range of over 4 to 5 miles. In this guide I'll walk..
Read more
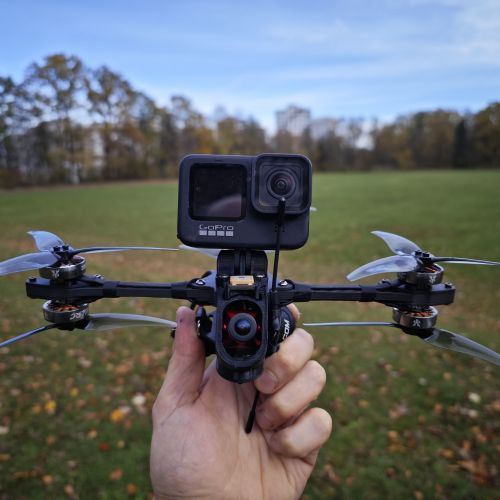
With the release of the DJI FPV Drone cinematic FPV has become a lot more accessible, but you certainly don't want to crash a $750 drone! The QAV-CINE Freybott is a compact, lightweight cinematic FPV drone that can take a hit and keep going. It's a lot safer to fly indoors and around people. With a naked GoPro or the SMO 4k you can capture some great stabilized footage. In this guide I'll show you..
Read more
Never seen this before, is it common to connect the VTX directly to the battery/XT60 connector?
10/10 build page :D
It depends on the VTX. Some can take a higher voltage than others.
It takes power straight from the battery though, wouldn't it effect the other parts being connected that way?
The main concern is power spikes from the ESCs making their way to the VTX, but a well designed VTX should be able to handle them.
Thanks for clearing that out, I got a lot more to learn in this hobby :D