
The Tiny Whoop is sweeping the drone scene. It's simple to build, fun to fly and performs great right out of the box!
Here you'll find everything you need to build your very own Tiny Whoop! This little dude is a blast to fly around the house and with the upgraded motors and batteries you're looking at between 3 and 4 minutes of whoopin action.
What you'll Need
We've got the key components and prices listed below, but if you're new to the FPV scene you'll need a couple things that aren't listed below.
You'll need a DSM2/DSMX transmitter (Any Spektrum transmitter) to bind to the BNF version (no controller included), but if you don't have such a transmitter you can buy the RTF Inductrix which does include a transmitter. If you own a Taranis, you'll need the OrangeRX DSM2/X Module, but it needs to be the latest v1.2 version. Or if you have access to an older model from 2010 or 2014 it may work. YMMV.
You'll also need an FPV display. The popular choice is the Fat Shark Dominator V3, but you can opt for something more inexpensive like the Eachine VR-007 or the Quanum V2 Pro (requires a video receiver).
Assembly Instructions
This is a very simple build, but it does require a soldering iron. It's also recommended that you have a hot glue gun, some pliers and some fine point tweezers. It's better to install the motors first because you'll lessen the chance of damaging your camera the later you install it. Depending on your experience this build process should take no longer than 45 minutes to 1 1/2 hours.
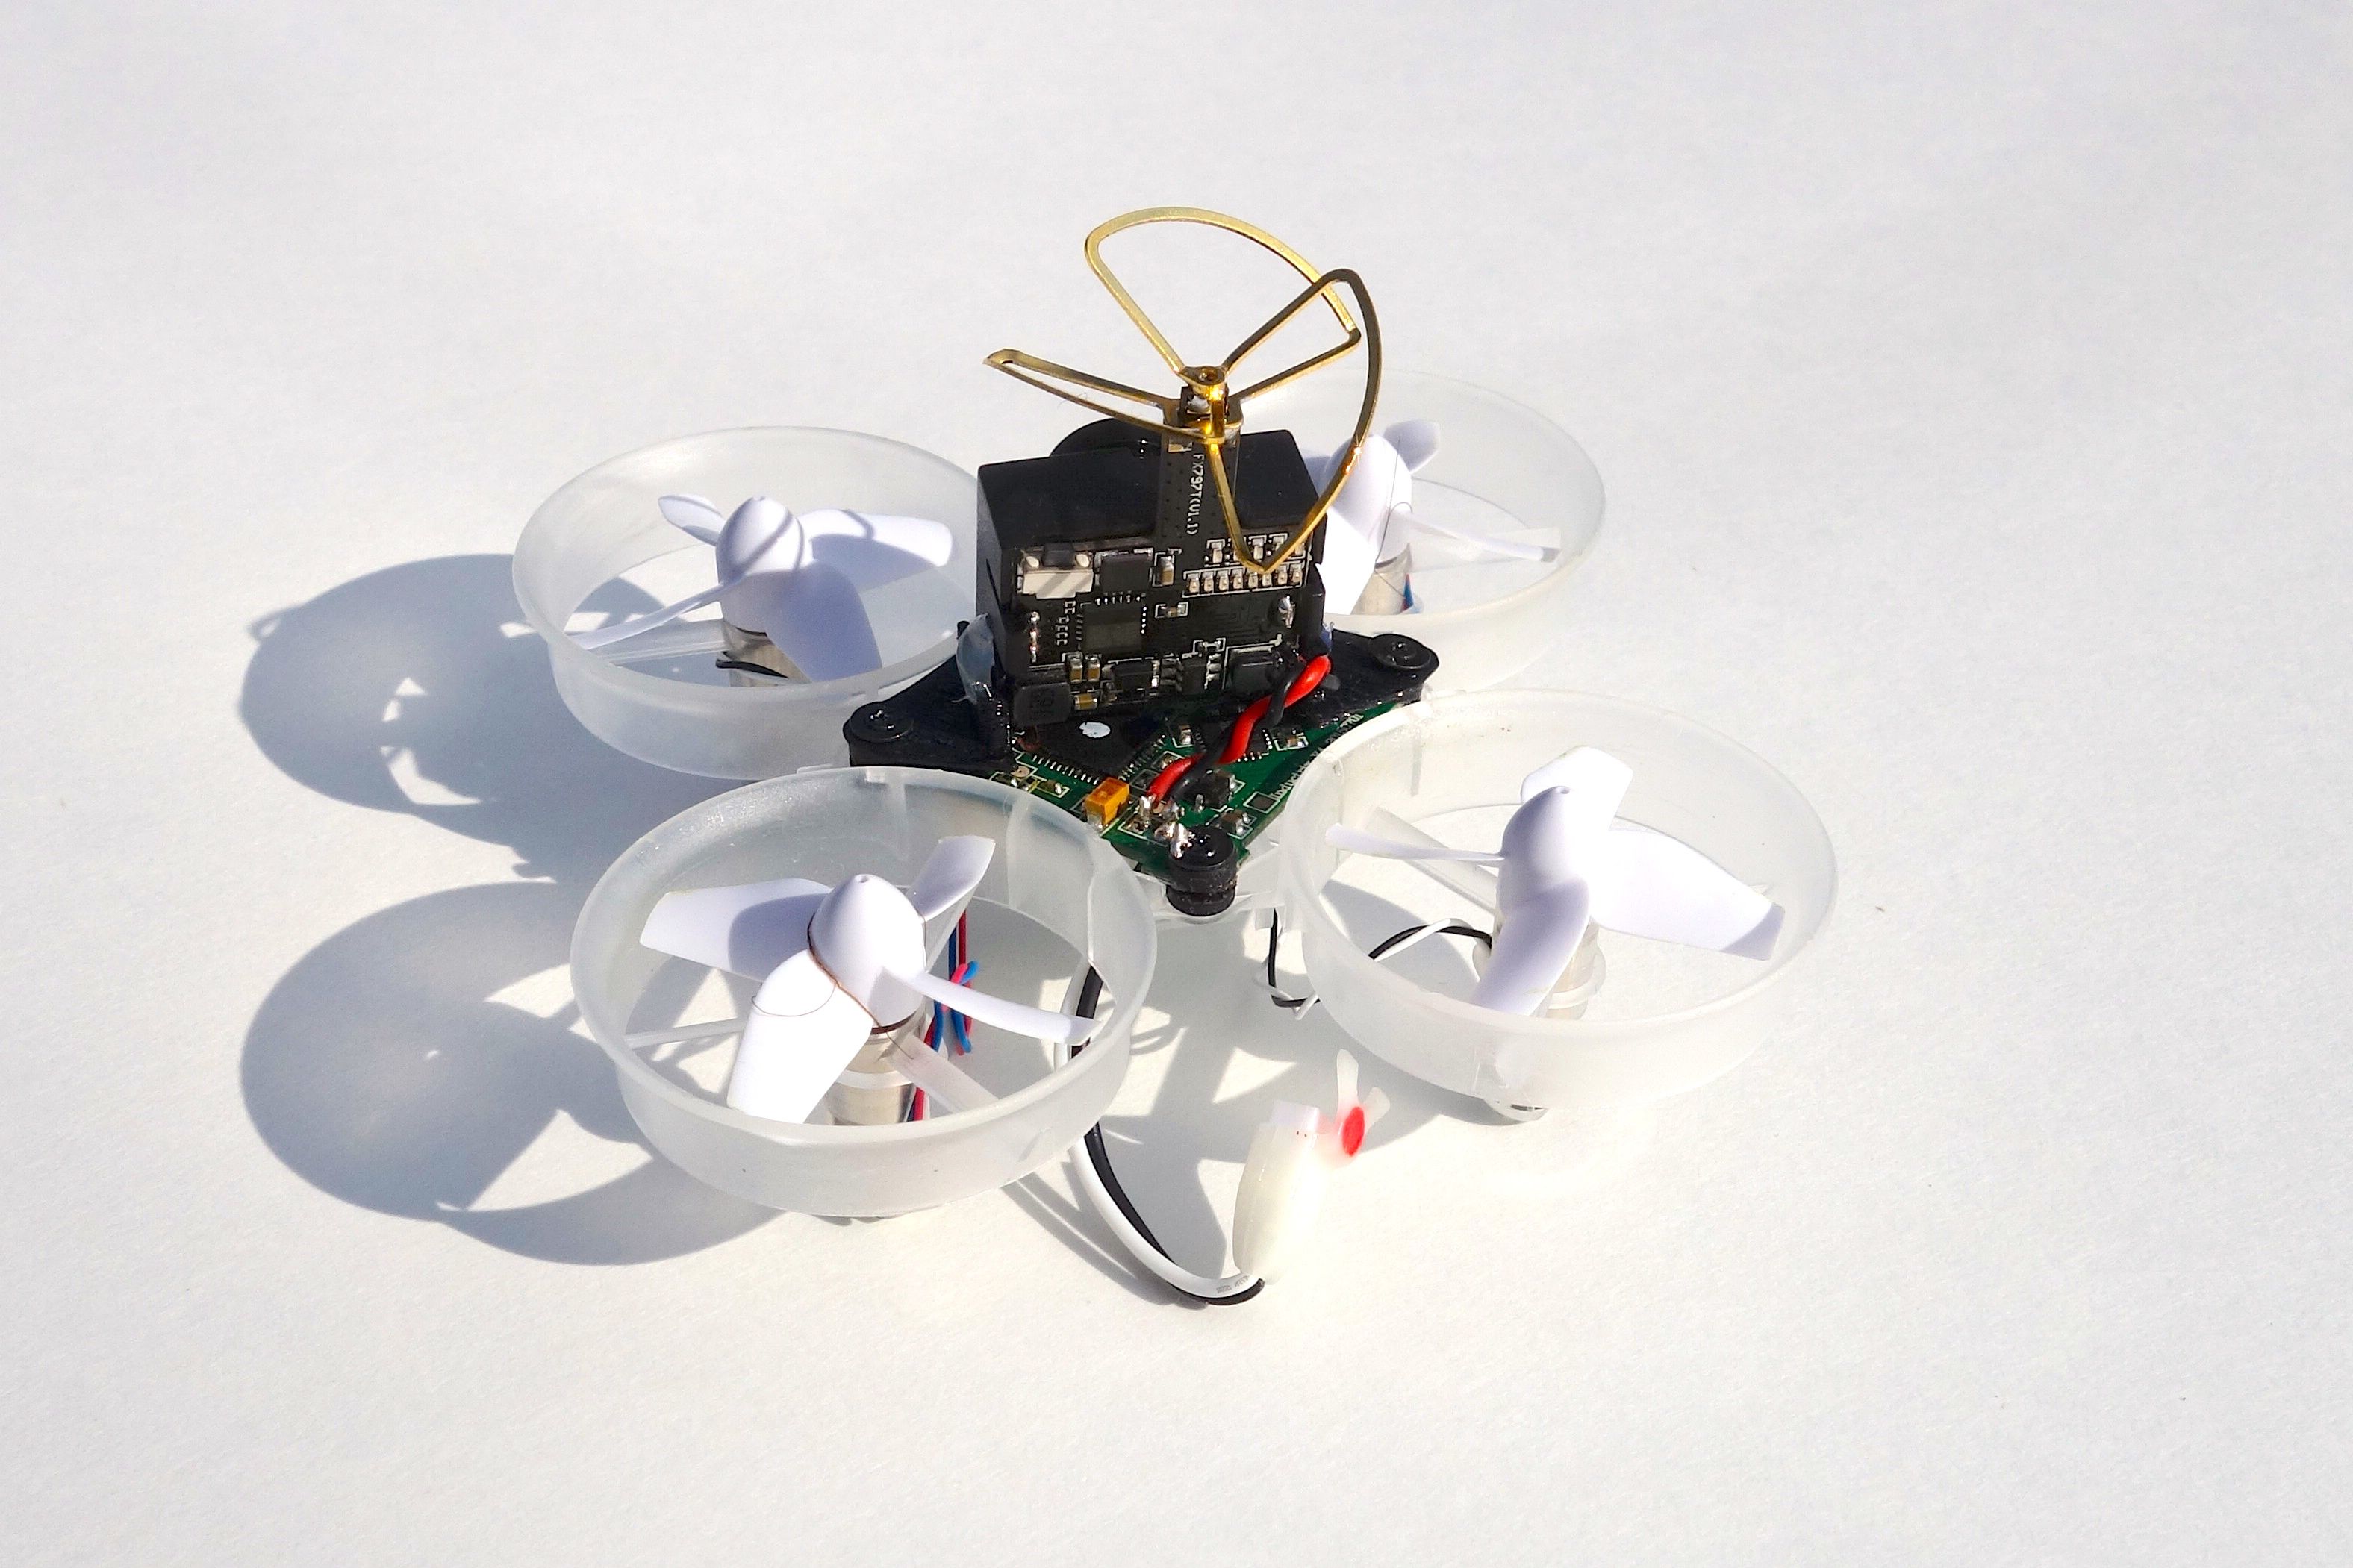
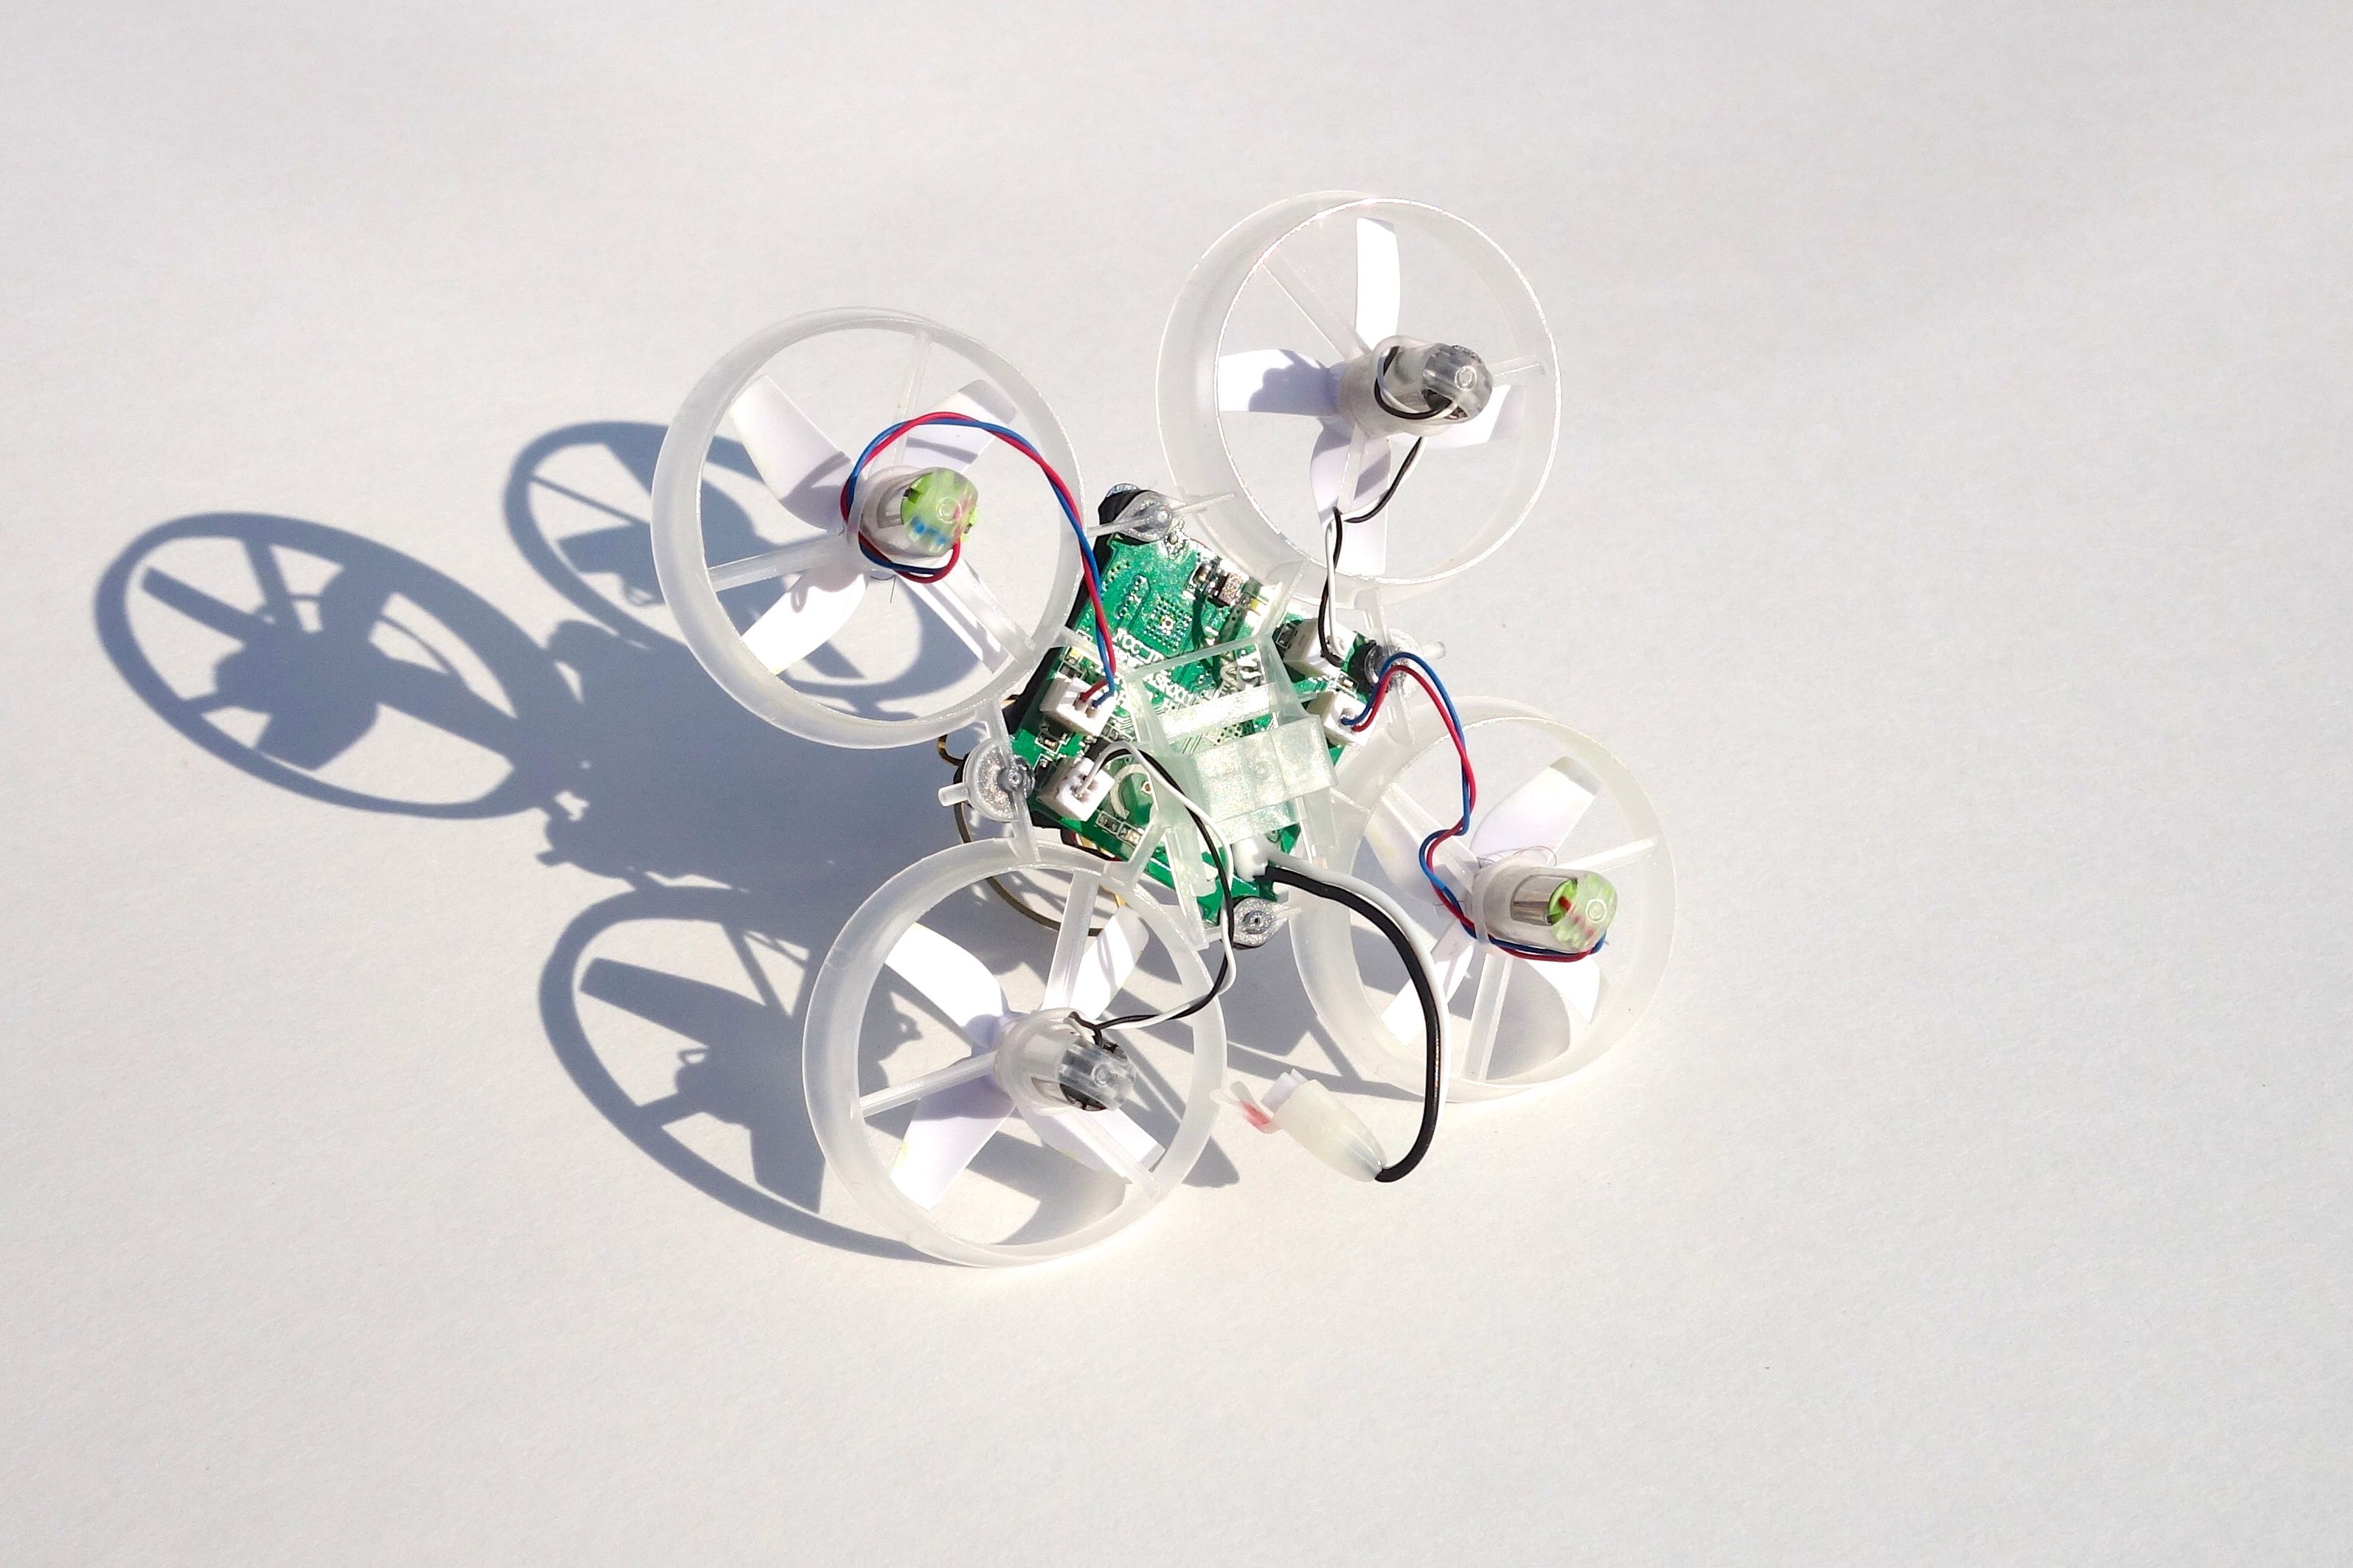
Installing the Motors
- Remove the red plastic cover by pulling the plastic tabs on both sides.
- With your fine point tweezers or a small flat head screwdriver pop each of the motor connectors off the board. Once you've got them loose you can lightly pull on the wires to unplug them.
- Now you need to slide each motor out, but this requires special care not to break the thin plastic struts holding each motor in place:
- With a very fine point tweezer or screwdriver push the head below the motor until it starts to slide up the cylinder.
- Slowly twist your tool to slide the motor out more. If your tool increases in width from the tip you can push your tool through this space sliding the motor out further.
- You should now be able to pull the props off with your fingers.
- Grab a pair of pliers and carefully twist the top of the motor (not the shaft, but the whole motor) until it starts to move. Hold the bottom of the plastic motor case and slowly twist the motor out. It should come right out!
- Once you've removed the motors you can install your upgraded motors:
- With your quad upright the red and blue wired motors belong on the front right and the rear left while the black and white wired motors go to the front left and rear right.
- Push the motor wires through the plastic casing and gently slide each motor in. I found it helpful to put pressure against the bottom of the plastic motor case while avoiding any stress to the struts.
- Twist each pair of motor wires to shorten them and plug them in.
- Install the props. Clockwise (CW) props go on the red and blue motors and counter-clockwise (CCW) go on the black and white motors. This is opposite what most of us are used to. If you're wondering how to identify CW and CCW props just look at the curvature of the blades. The curved underside pushes the air, so if the left side is curved it's CCW and if the right side is curved it's CW.
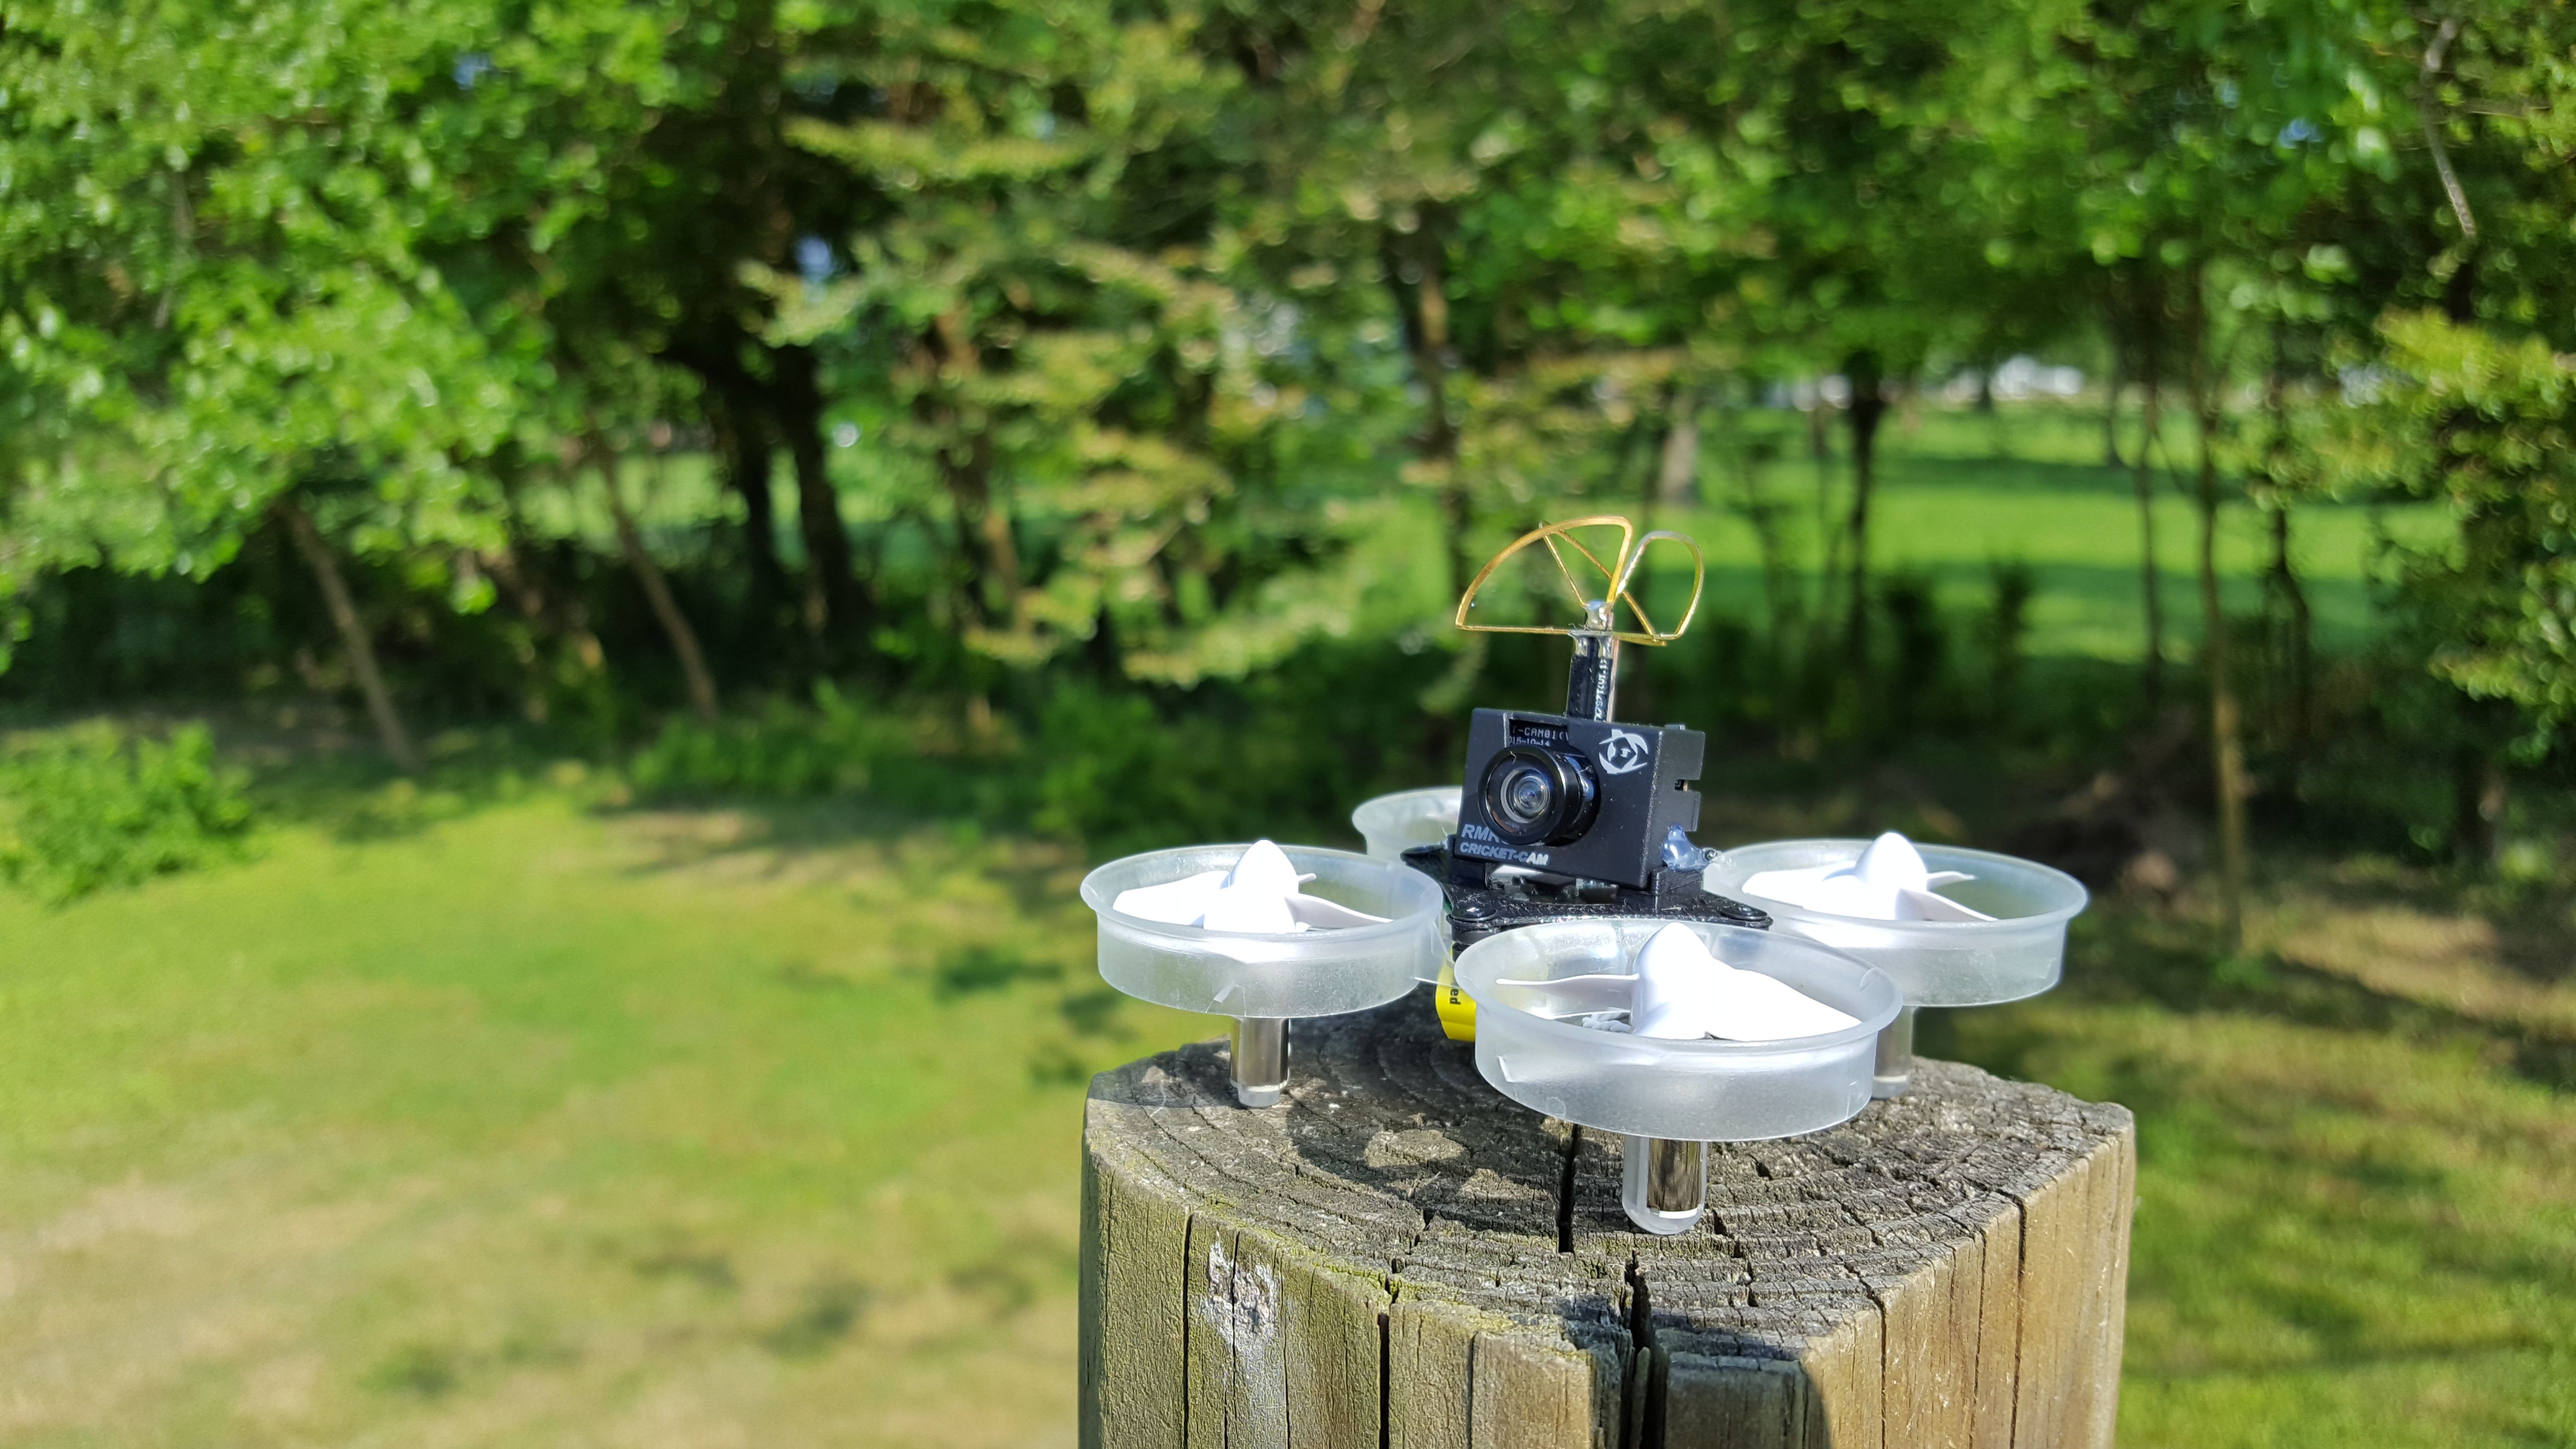
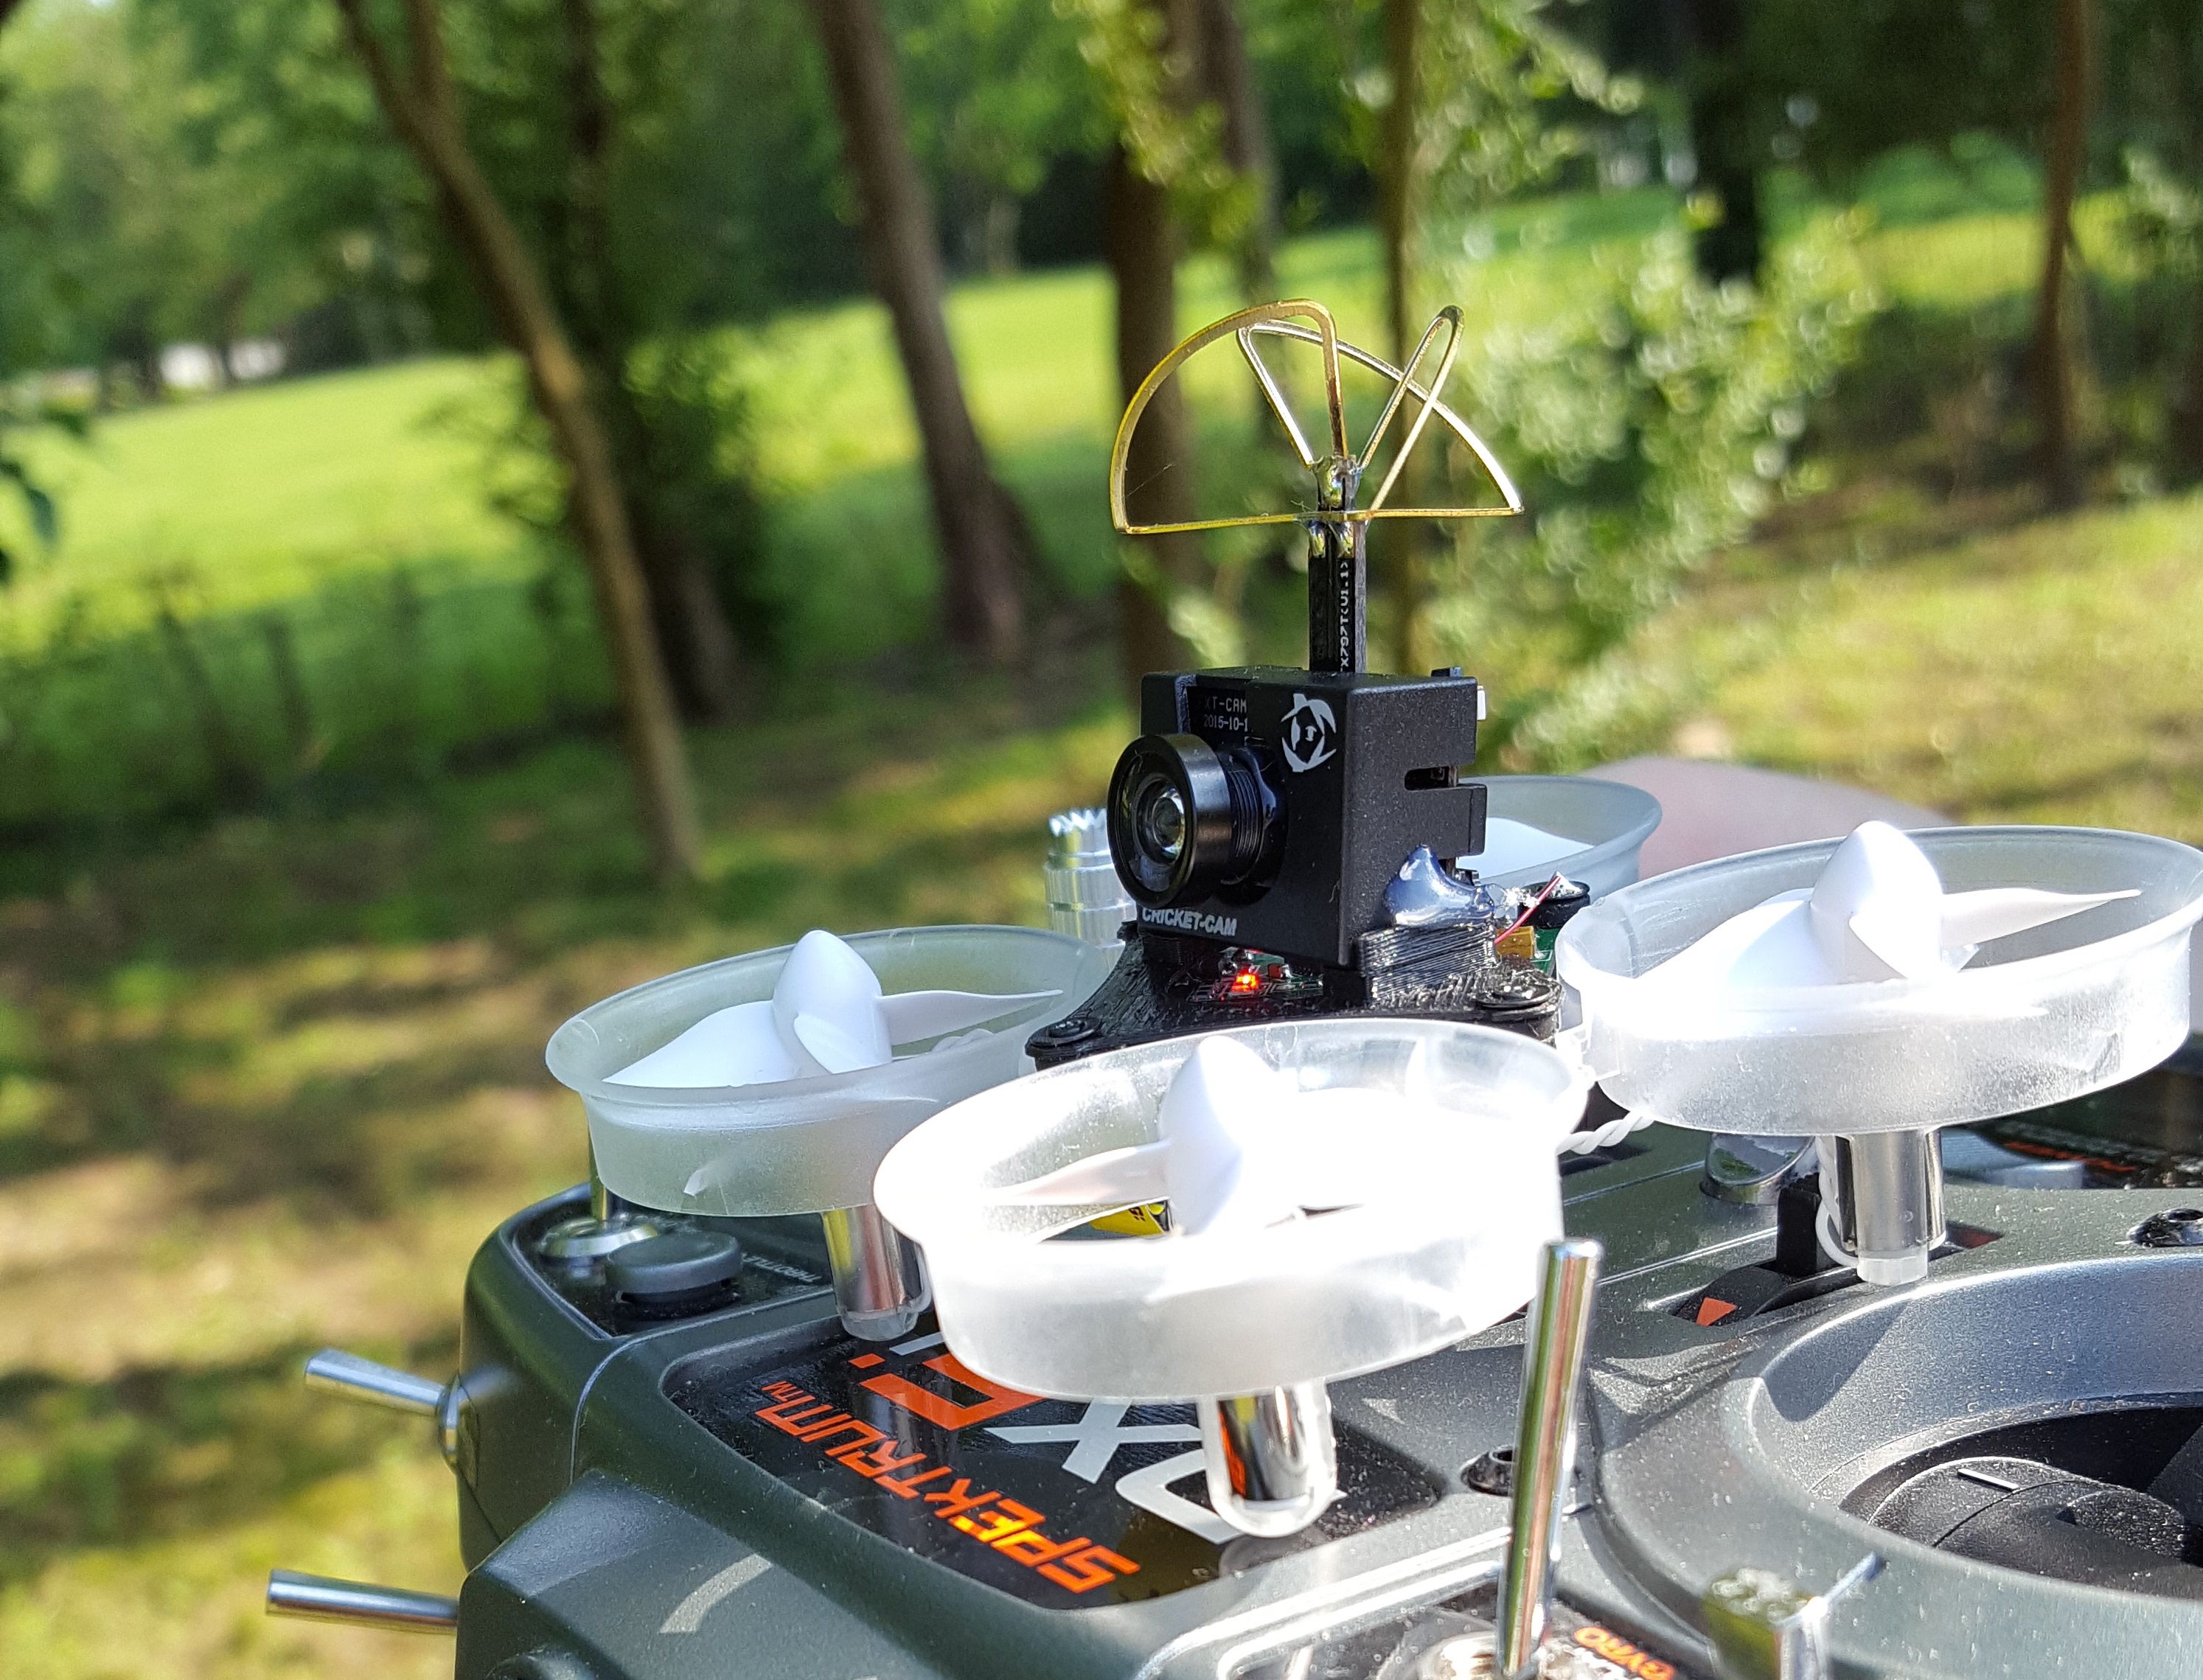
Installing the Camera
- Now you can flip your quad over and install the camera.
- Unscrew the 3 front-most screws holding the board down.
- Poke out the holes of the camera holder with a fine point tweezer to make room for the screws.
- Attach the camera holder being careful not to strip the tiny screws.
- Place the camera in the holder and hot glue both sides as you hold it in place.
- Locate the battery leads below the board and identify the solder points directly above. This is where you'll be soldering your camera leads.
- Snip the camera wire to length and solder black to black and red to white.
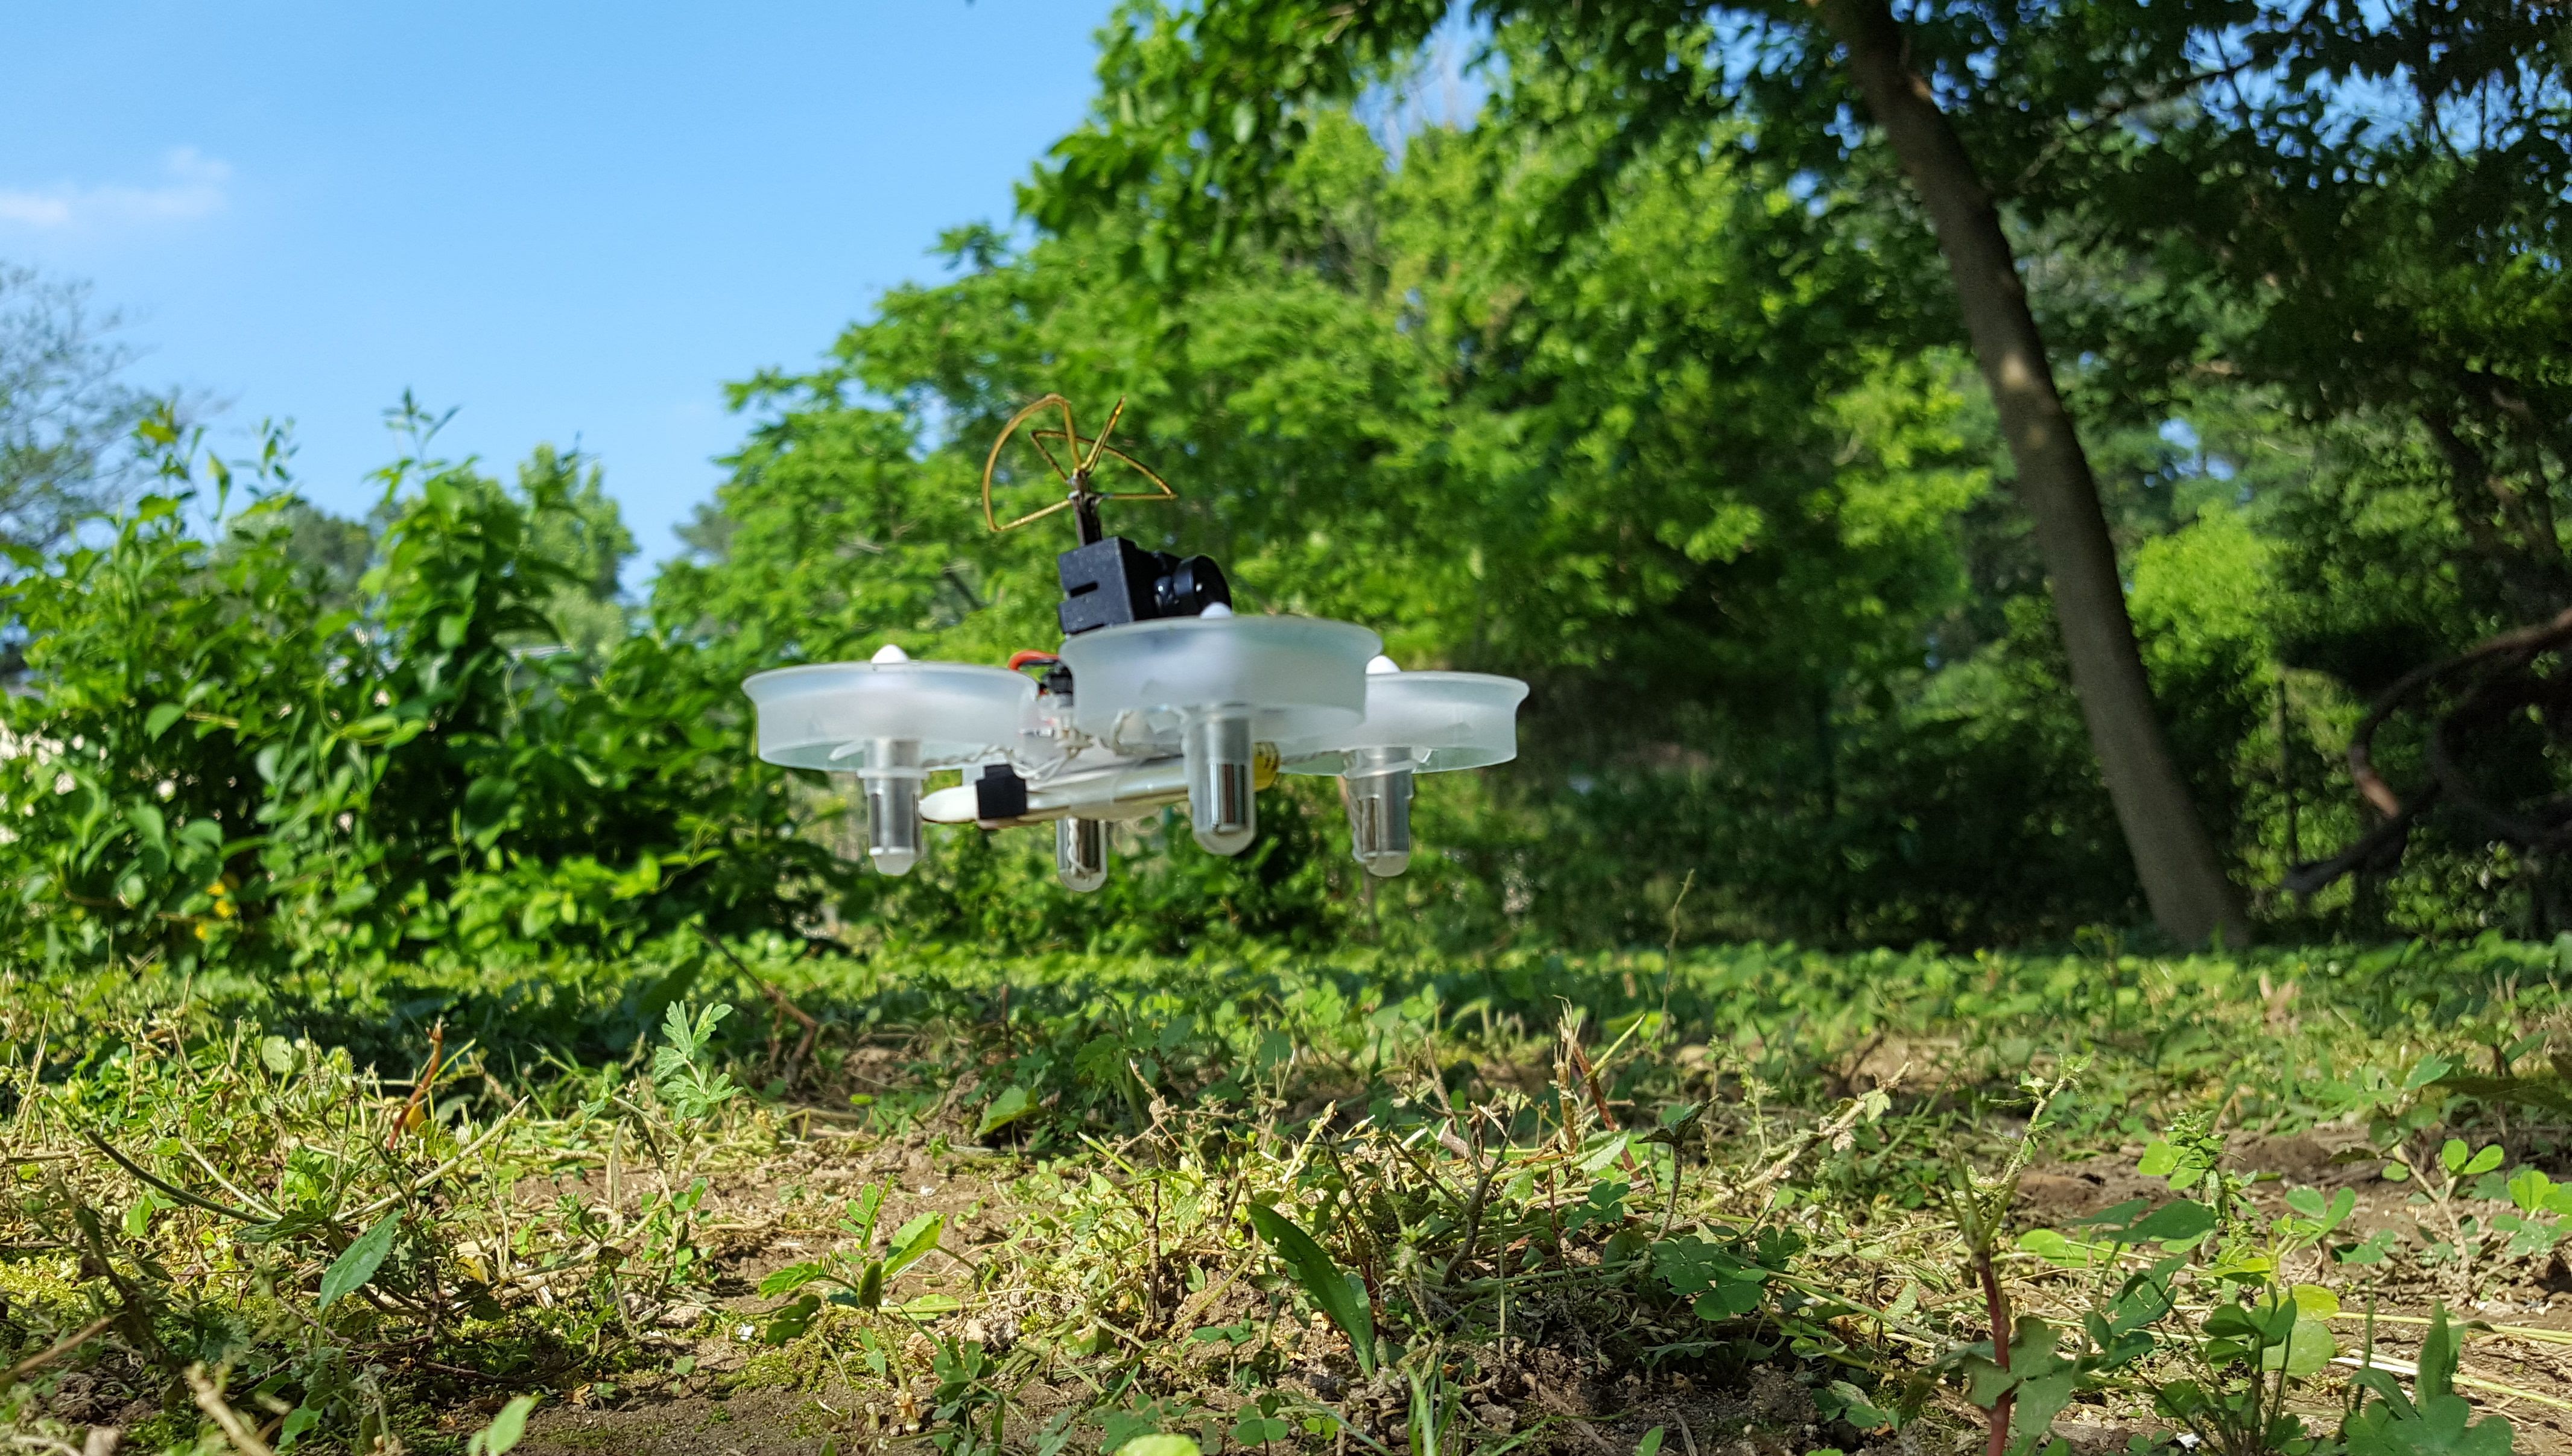
At this point you're ready to fly! Be sure to pair your VTX to your VRX by following the instructions included with the camera. Now get whoopin!
Special Thanks
A big shoutout to ReadyMadeRC and Micro Motor Warehouse for helping me put this little guy together!
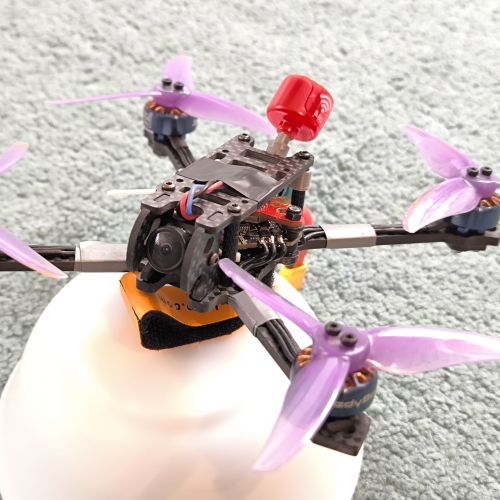
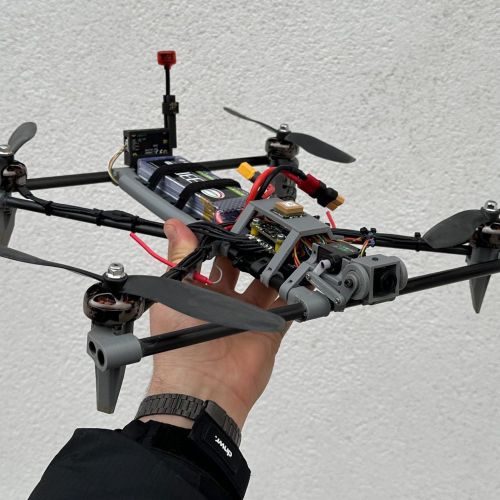
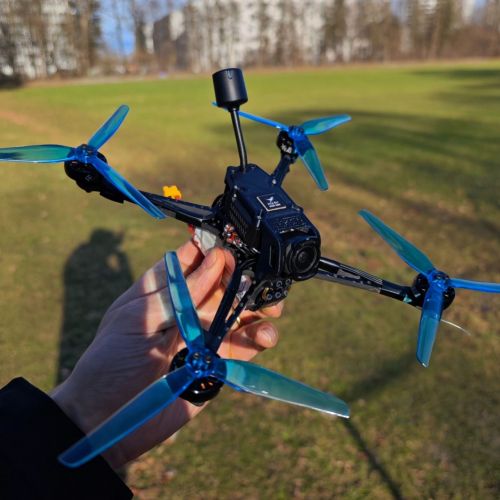
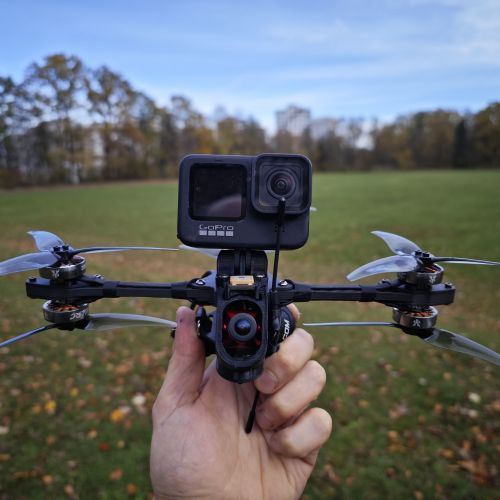
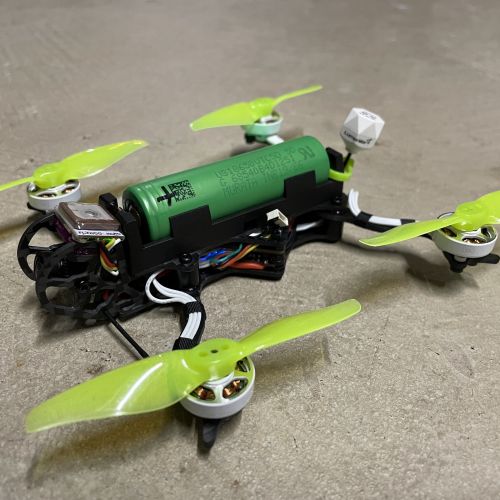
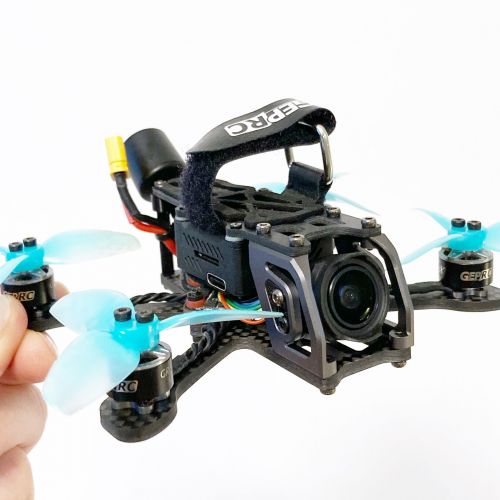
Photos

Part List
Frame |
Blade - Inductrix BNF BLH8780
Readymaderc.com
|
$39.99 |
Motors |
CL-0615-14 coreless motor (speed: fast)
(5 builds)
Micro-motor-warehouse.com
|
$23.00 |
FPV Camera |
RMRC Cricket Cam - 5.8 GHz Transmitter, Antenna, Camera
Readymaderc.com
|
$29.99 |
Batteries |
6 x mylipo 205mAh/25C 1S (6.0g)
(5 builds)
Micro-motor-warehouse.com
|
$36.00 |
Misc Parts |
Cricket Cam mount for the Blade Inductrix
Readymaderc.com
|
$1.99 |

how does it compare to the BLADE Nano QX? i was thinking about getting one from someone on FB for 100€ should i get the tiny woop instead?


Guides & Reviews

AirbladeUAV has done it again and this time they've brought long range to the 5" class! Based on the popular Transformer Mini, the new Transformer 5" Ultralight adopts a lot of the same design philosophies with larger props and more payload capacity. It can fly upwards of 20 minutes on a 4 cell Li-Ion battery pack and in ideal conditions it's got a range of over 4 to 5 miles. In this guide I'll walk..
Read more
With the release of the DJI FPV Drone cinematic FPV has become a lot more accessible, but you certainly don't want to crash a $750 drone! The QAV-CINE Freybott is a compact, lightweight cinematic FPV drone that can take a hit and keep going. It's a lot safer to fly indoors and around people. With a naked GoPro or the SMO 4k you can capture some great stabilized footage. In this guide I'll show you..
Read more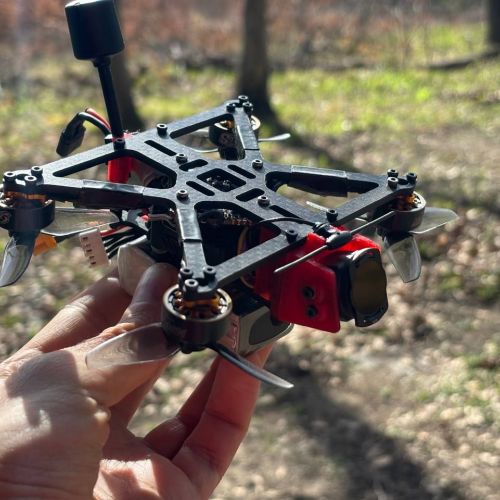

My antenna kept getting squished so I added a little protection. It fit into the little slots on the sides of the camera. No hot glue needed.
That's ingenious. And simple.
brilliant! I'm going to implement this tonight.
It does add a little weight, but it's fairly minimal. Of course after I added it I've yet to crash, so the jury is still out on whether or not its effective.
Hi, some questions from France :)
Shall i find this nice antenna protection on Thingiverse? or where?
What camera mount do you use for it receives the antenna in its "plastic box" ?
Thanks
Jakez
This was just a zip-tie wrapped over the antenna. It lasted about 3 packs before I lost it. Now I just fly with a little glob of hot glue at the top to hopefully keep it from bending too much.
Ok, Nice ! shall try it. Thanks a lot.