Build Priorities
This 6" Rooster is my first quad build. I initially planned a low cost quad sourced from Banggood, to get over the FPV learning curve. After gaining confidence on the sticks in FPV Freerider and watching too much FPV on YouTube, I realized I'd rather start with robust parts and support pilots like Le Drib and Mr. Steele. This freestyle build focuses on:
Frame durability
Electronics reliability
Clear video
Strong motors
Rooster Build Notes
Mounting the Receiver
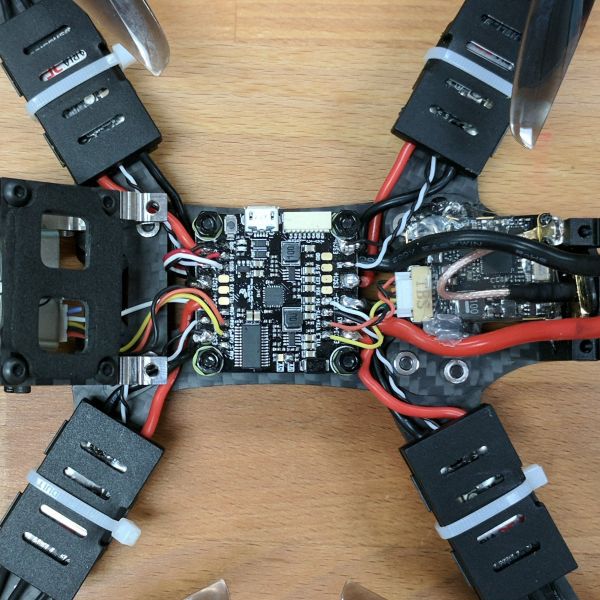
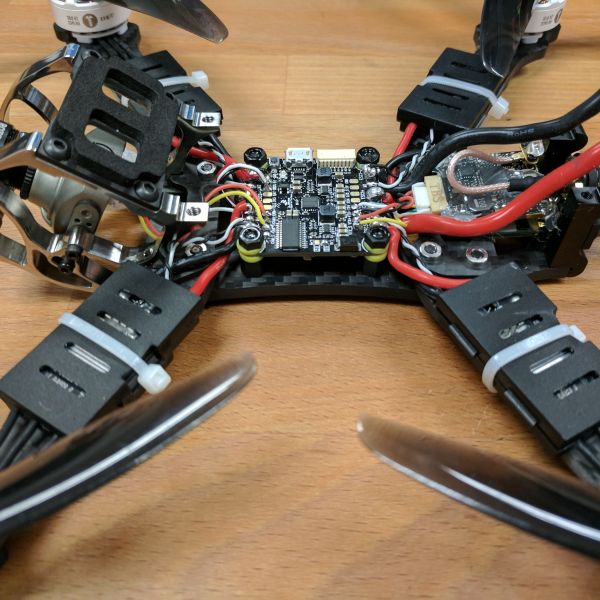
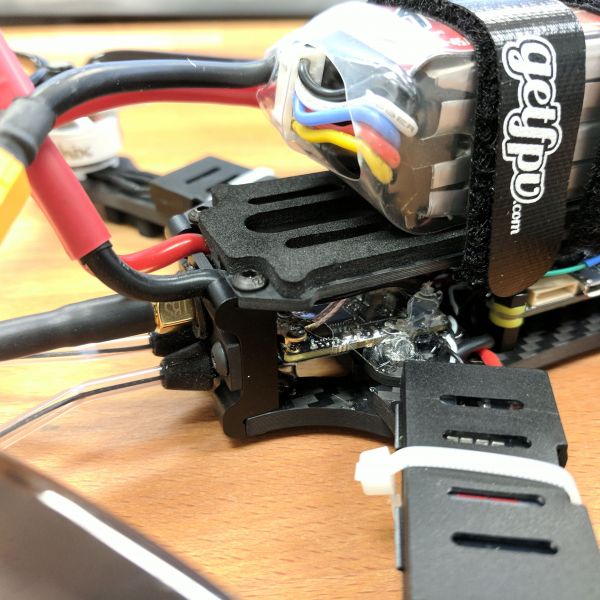
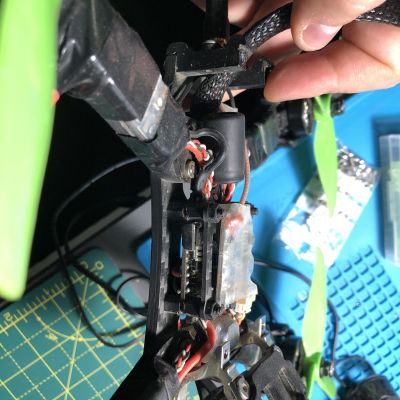
The XM+ is absolutely tiny. However, the Rooster seriously lacks space towards its rear. I could either mount the VTX, or the receiver comfortably, but not both. I considered attaching the XM+ beneath the battery plate, or near the camera, but antenna placement was optimal in the rear. I resorted to padding the receiver with a second piece of clear heatshrink, then halfway sandwiching it between two layers of carbon fiber, followed by hot glue.
In hindsight, the receiver might have fit more easily beneath the FC using zipties+heatshrink to position each antenna.
Mounting the Camera
Pay careful attention to which cameras fit your frame. I accidentally ordered a Foxeer Micro instead of Foxeer Mini, only to discover there is no straightforward way to mount a micro sized cam in the Rooster frame. The RunCam Rotor Riot Edition Swift 2 fits the Rooster without modification.
Mounting the Video Transmitter
Again, the Rooster is cramped near its VTX antenna exit, and there was no ideal mounting spot, especially since VTX's run hot and require plenty airflow. I rotated the camera connector 180 degrees and wedged the VTX between the flight controller and rear antenna plate, then secured with hot glue. Messy but functional.
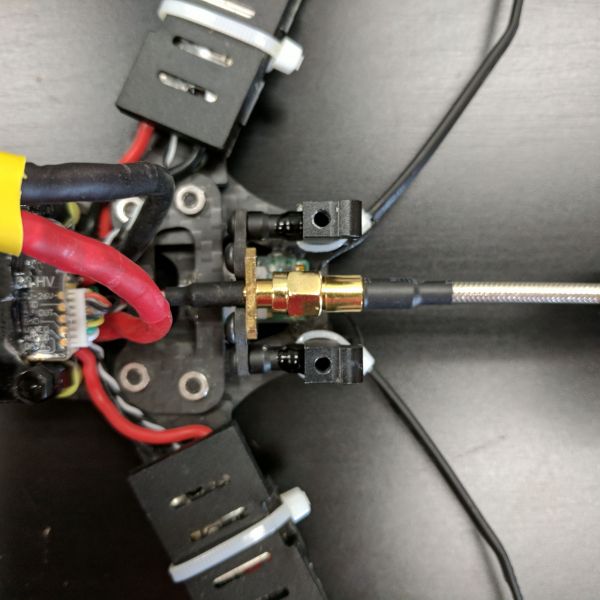
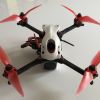
*Edit: After crashing and ruining two VTX antennae, I moved the VTX to the flight controller stack by mounting beneath a 37x37mm acrylic plate. The stock VTX antenna rear plate has been swapped with Armattan's Long "Long Range VTX" plate mounted inside the frame with M3 spacers. Receiver antennae are now mounted to the rear with zipties and heatshrink. See last picture.
The TBS Triumph antenna has been replaced with Pagoda 3's. Reception is just as good
VTX Wiring:
Based on feedback from other CL Racing F4S owners, and knowing I'll stick to 25mW VTX power for now, I wired the RunCam and VTX directly to the FC, configured for 9V:
Runcam Swift 2 connected to F4S at: CAM_C, CAM_S, CAM+, CAM-, Microphone signal to VTX "Audio"
TBS Unify Pro 5G8 HV connected to F4S at:VTX_S, VTX+, VTX-, "SmartAudio" to TX4
The microphone signal picks up audible 2.4GHz interference in my house, but is fine outside. Video is clean anyway.
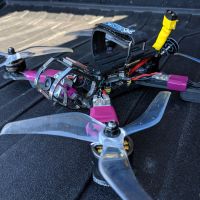
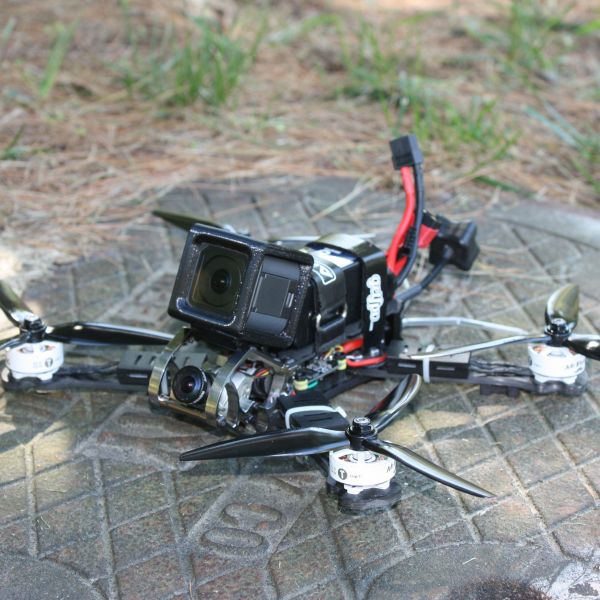
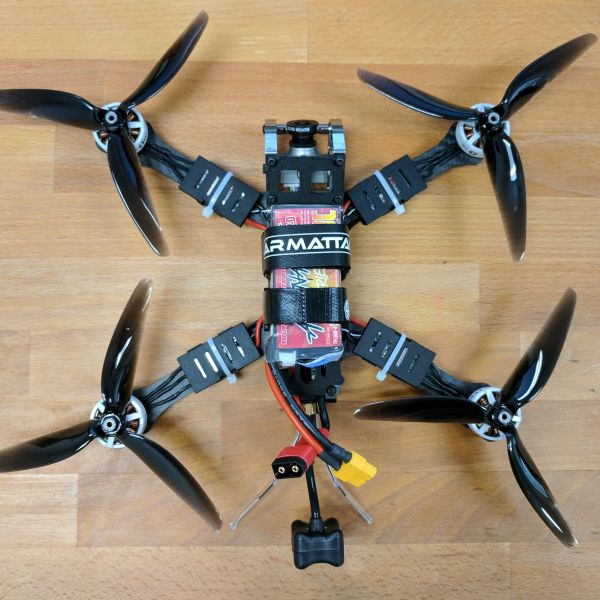
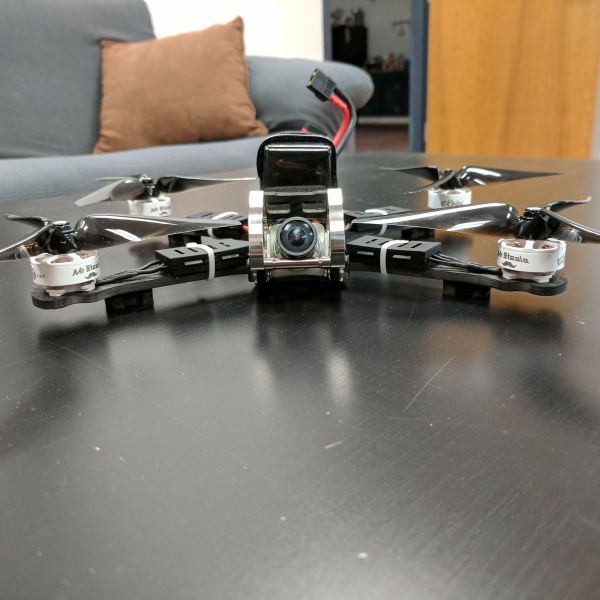
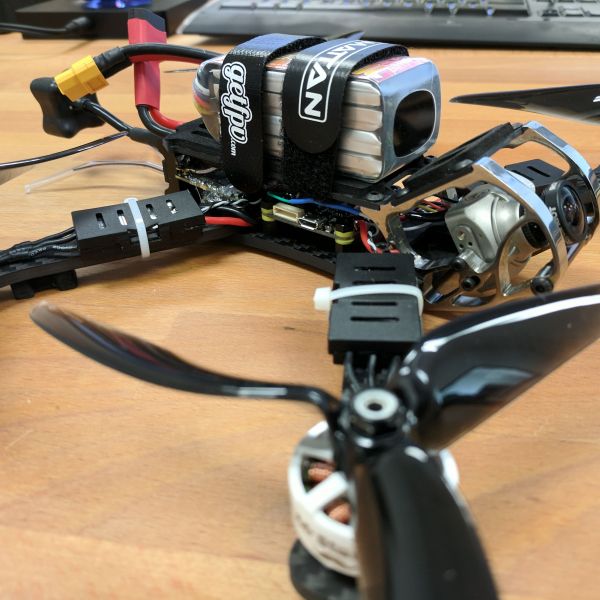
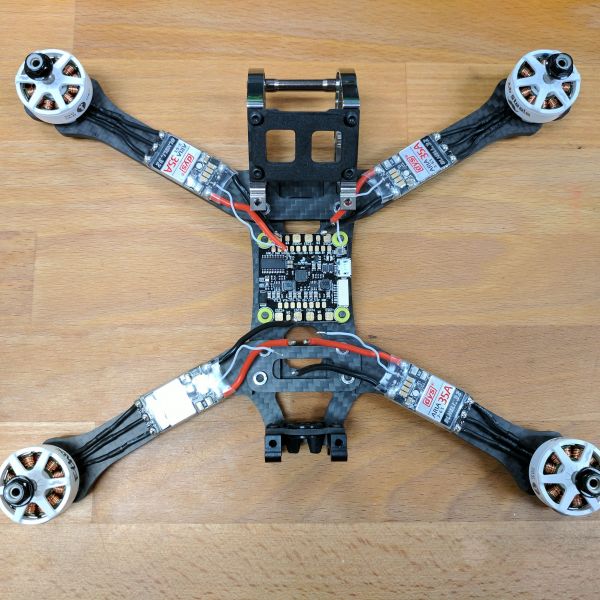
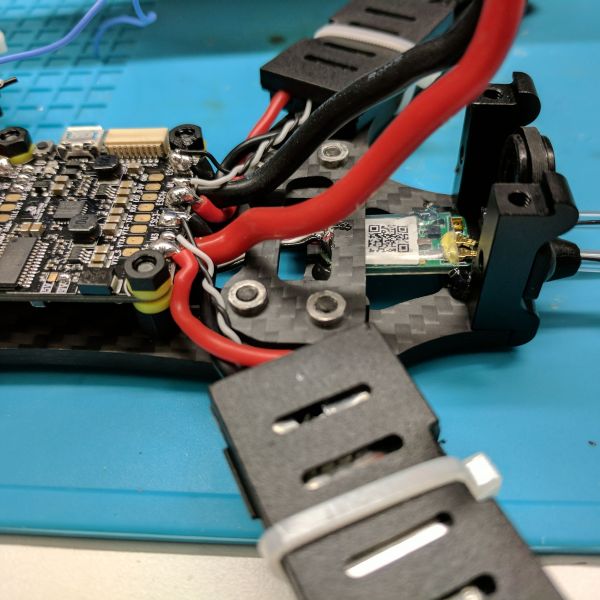
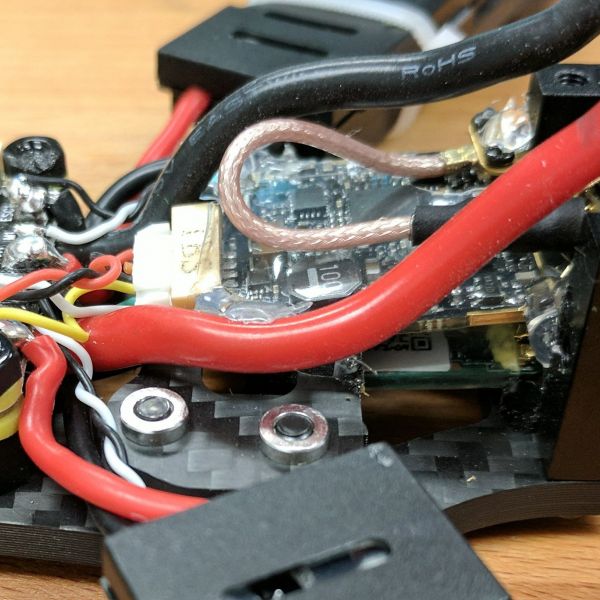


isnt 2450kv a little but too much kv for a 6 inch? the best ive been told is from 2150kv-1850kv
Yeah, probably! I didn't know what to expect with 6" props on these motors. Armattan supplied a set of 6x3x3 props, which is a lower pitch than I've found from the usual US suppliers (they only stock 6x4x3 and 6x5x3?). Thrust is insane with 6x5x3 props. Run time is just over 4 minutes.
I tried 5x4.3x3" props a couple days ago and enjoyed the relaxed throttle. Might keep using 5" props on the longer arms.
Cool! Ive never tried 5" on 6" arms
Sounds like a future experiment for me!