TBS Source One 6S - Caddx Vista - Holybro Kakute F7 & ESC - iFlight Xing Camo 1700kv - Crossfire
 By acolot on May 31, 2020
After training with great TBS Oblivion for a while, I decided to start custom build for freestyle with TBS Source One.
I'm living in Switzerland, but in May 2020 I overall had really hard time to find TBS Source One v3 frame. Out of stock everywhere including at TBS store in Hong Kong.
Decided to order in USA from Getfpv.com items that I could not find easily in Switzerland (Frame and Motors).
I prepared my components selection based on great and detailed build from rotorbuilds.com about making a 6S TBs Source one (https://rotorbuilds.com/build/19008) as well as on https://www.fpvknowitall.com where there is great selection of good products bases on your budget.
Placed all orders in couple different stores and while waiting for deliveries, i started to prepare everything including 3D print with my Prusa MK3S. I have been really surprised how many accessories available on Thingiverse.com regarding this specific frame.
I choose color theme based on motors colors and decided that it will be black-blue-purple, frame is black and decided to 3D print in black as well using PETG. I had to use a heat gun to installed those printed part easily around the carbon frame, otherwise it was too tight.
Started to receive first parts after few days :
1) The Caddx Vista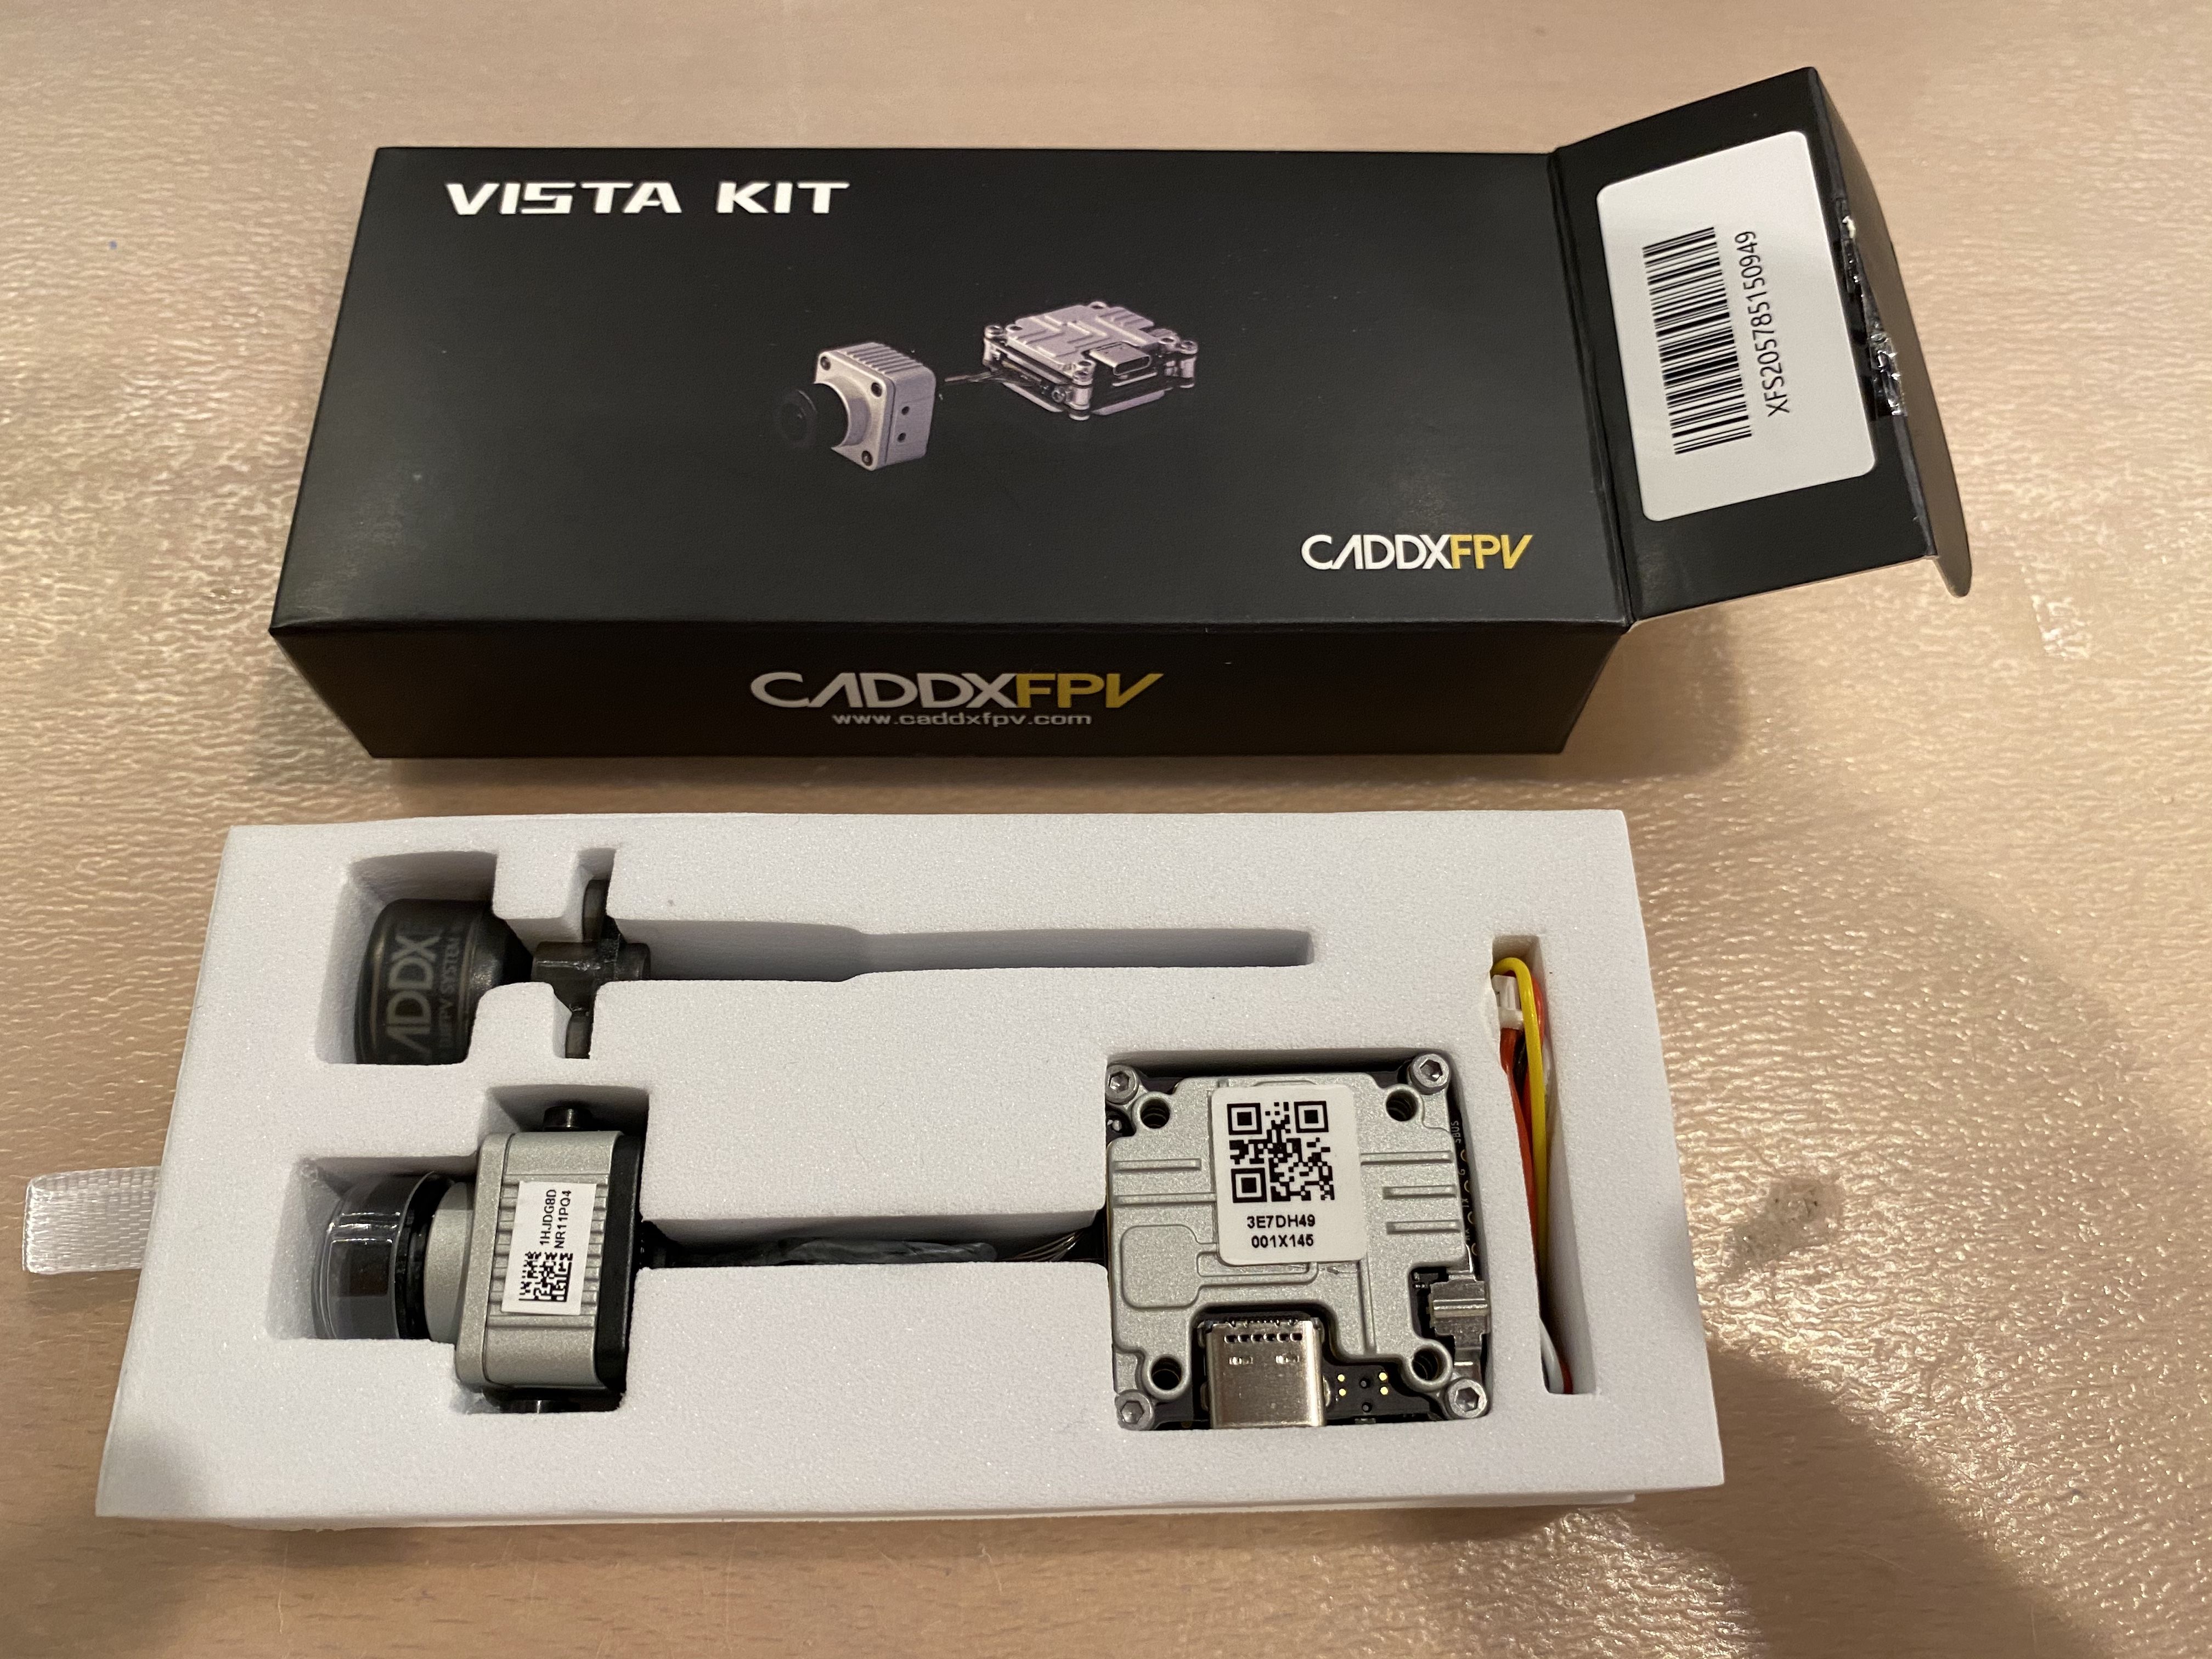
Started with activation of the Caddx Vista through DJI Assistant 2 (for FPV), be careful, the standard version won't work, you need to download the specific version for FPV. After activation, software requested a firmware update but of course in the middle of it my computer went on sleep and it failed. After that i tried everything possible but the DJI software wasn't recognizing the Caddx anymore. Decided to let it cool down (it is really hot while updating) and finally succeeded to restart the firmware update by pressing the small button available on the Caddx.
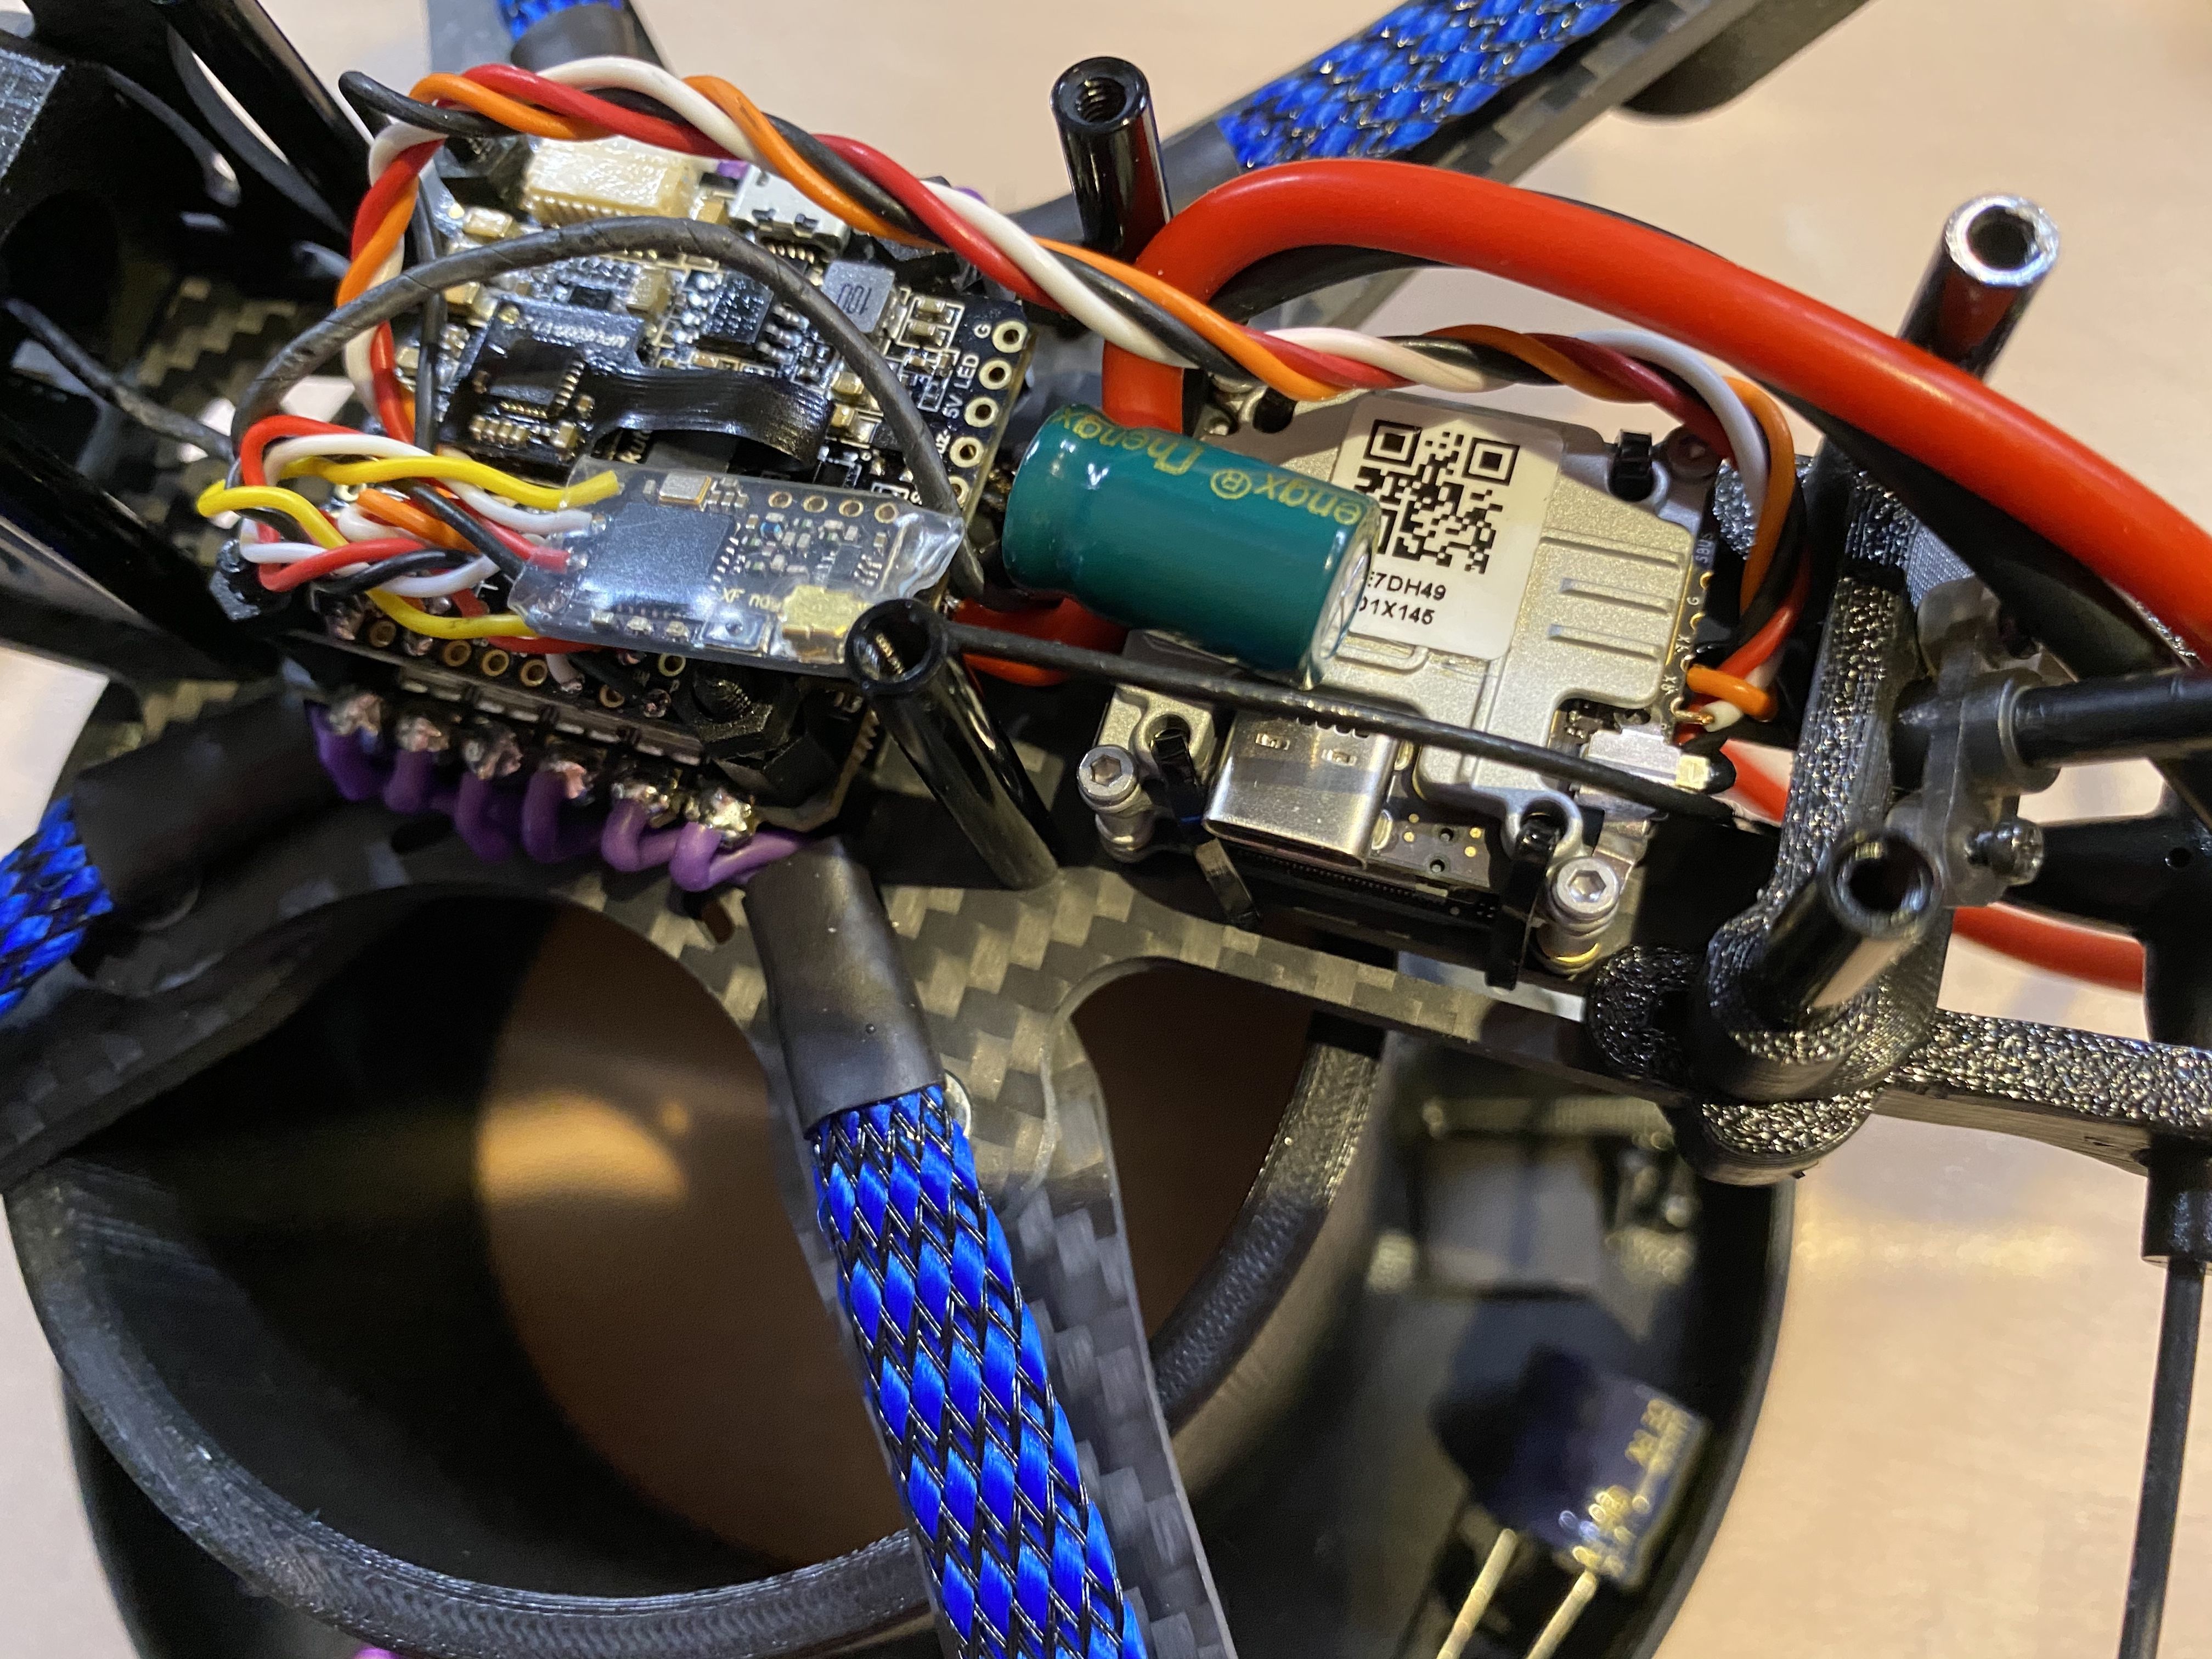
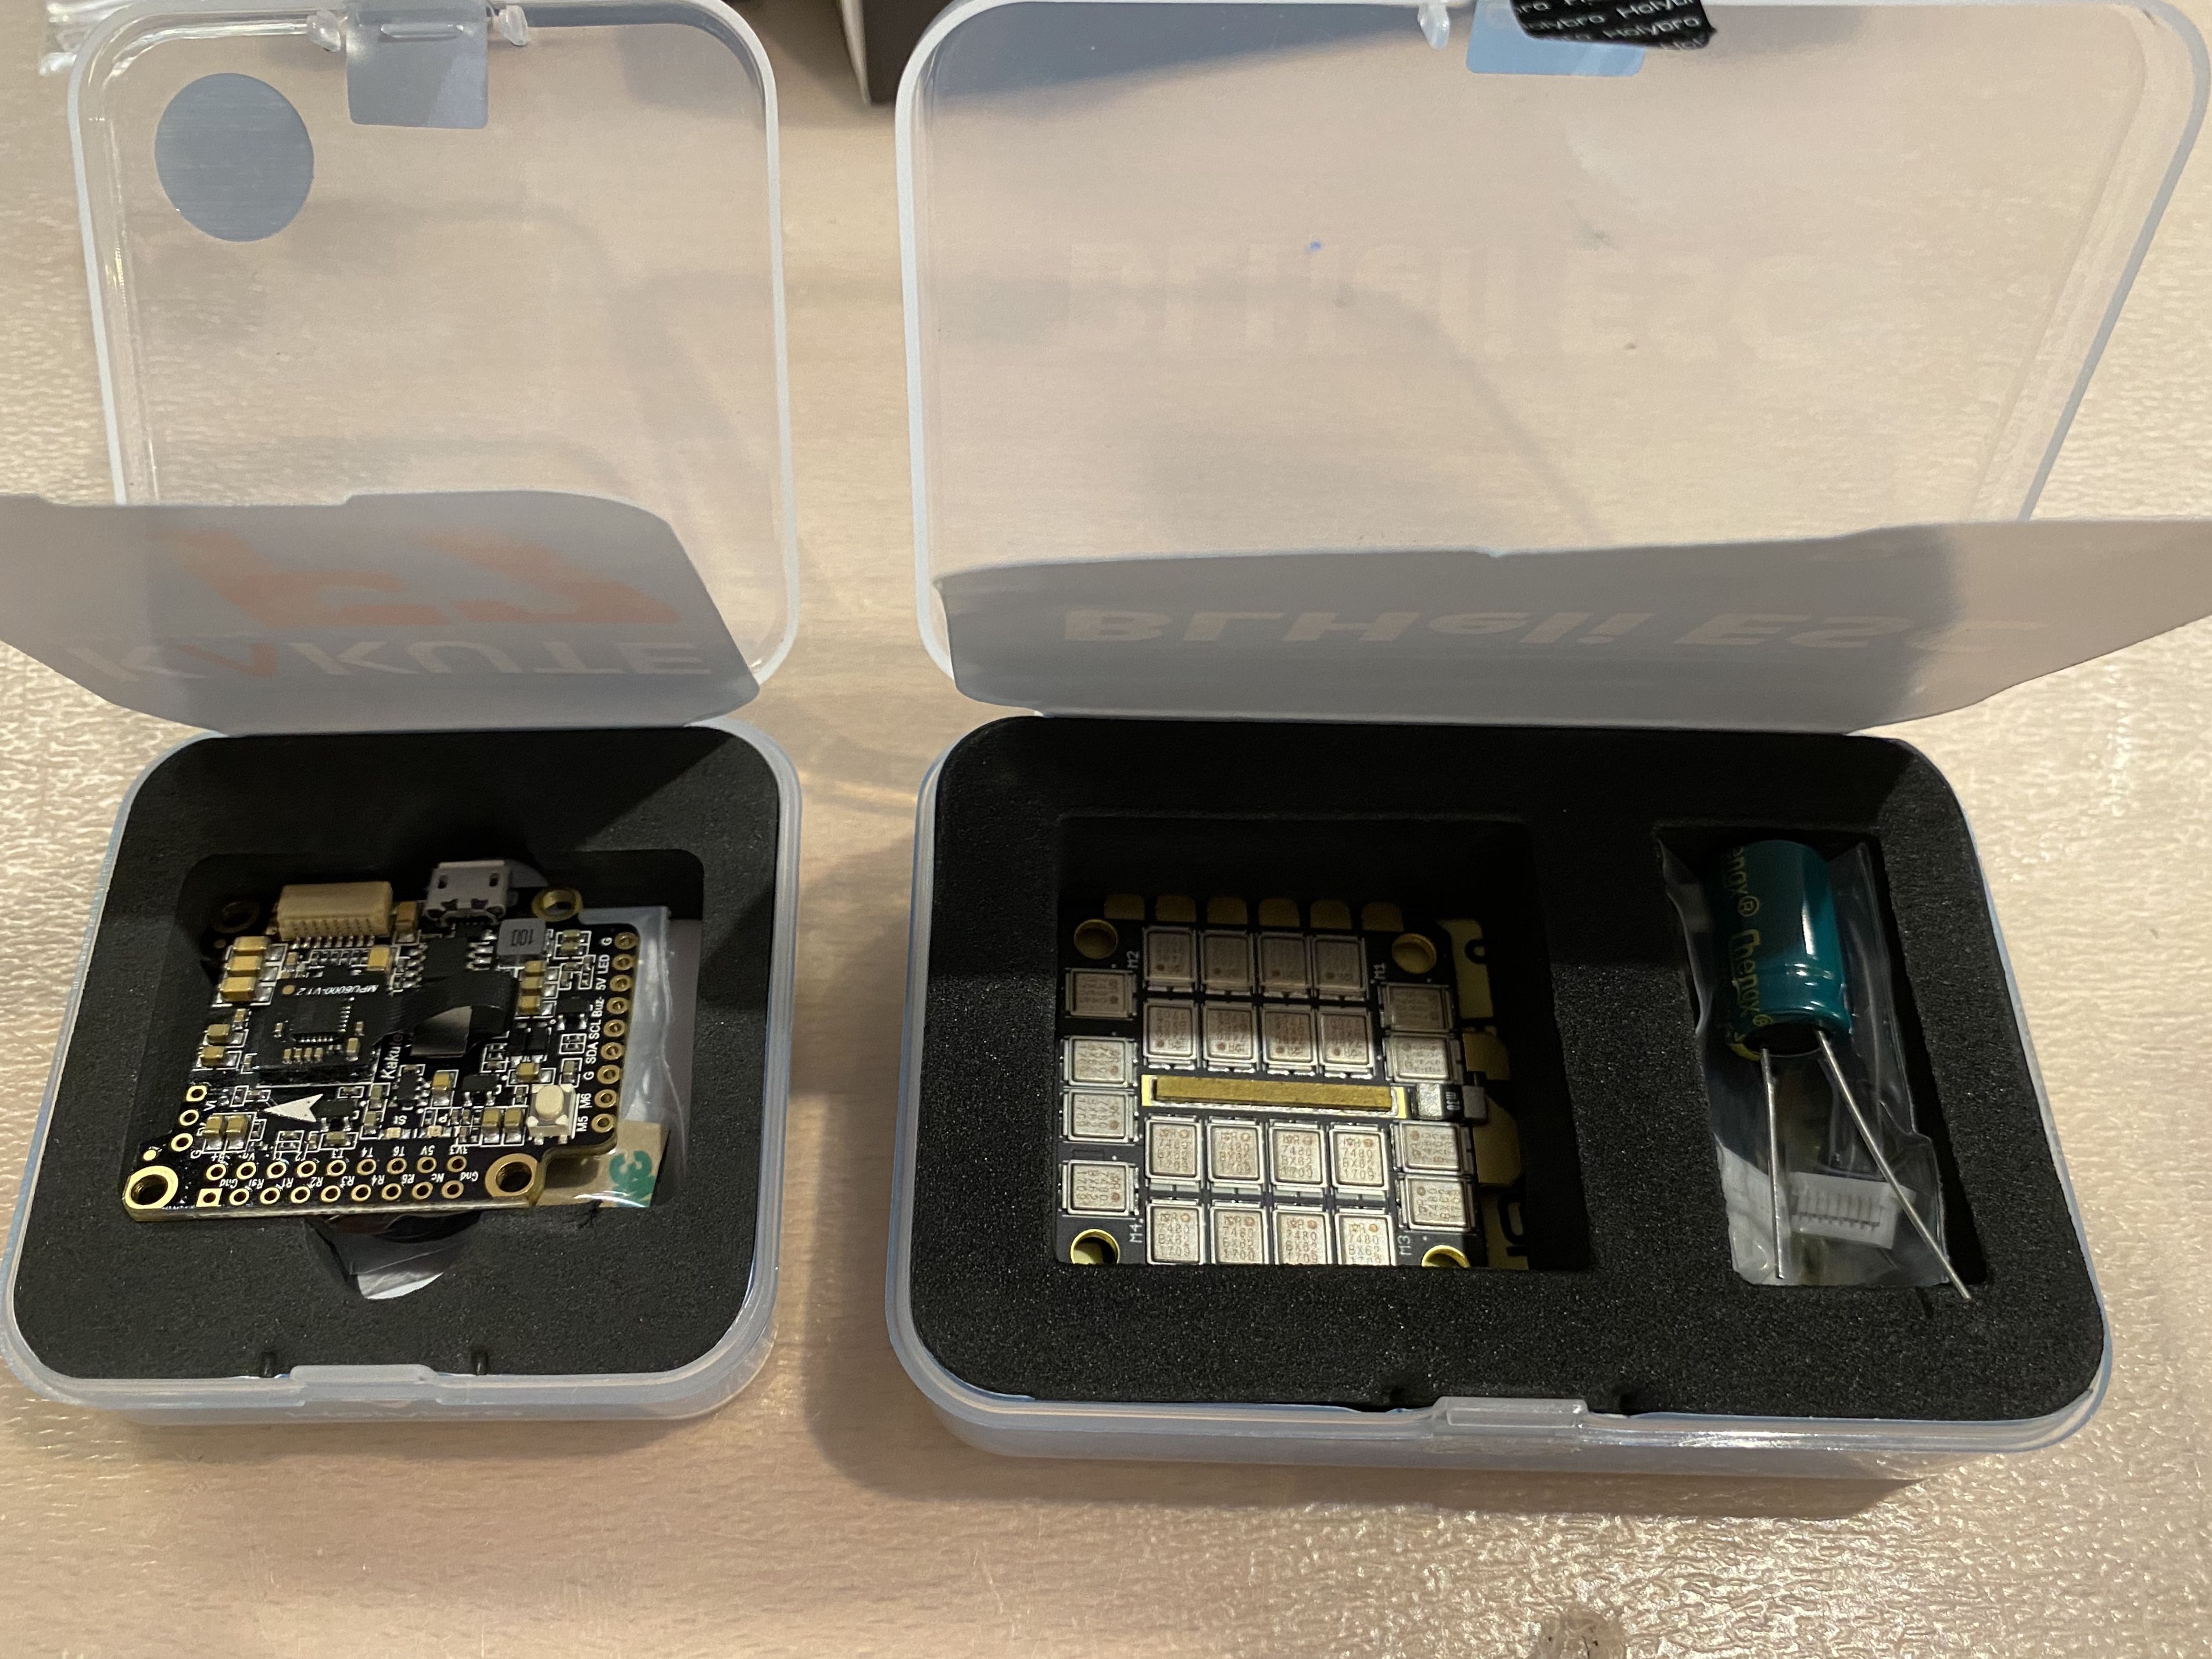
2) The Flight Controller and 4in1 ESC Board
3) The Frame
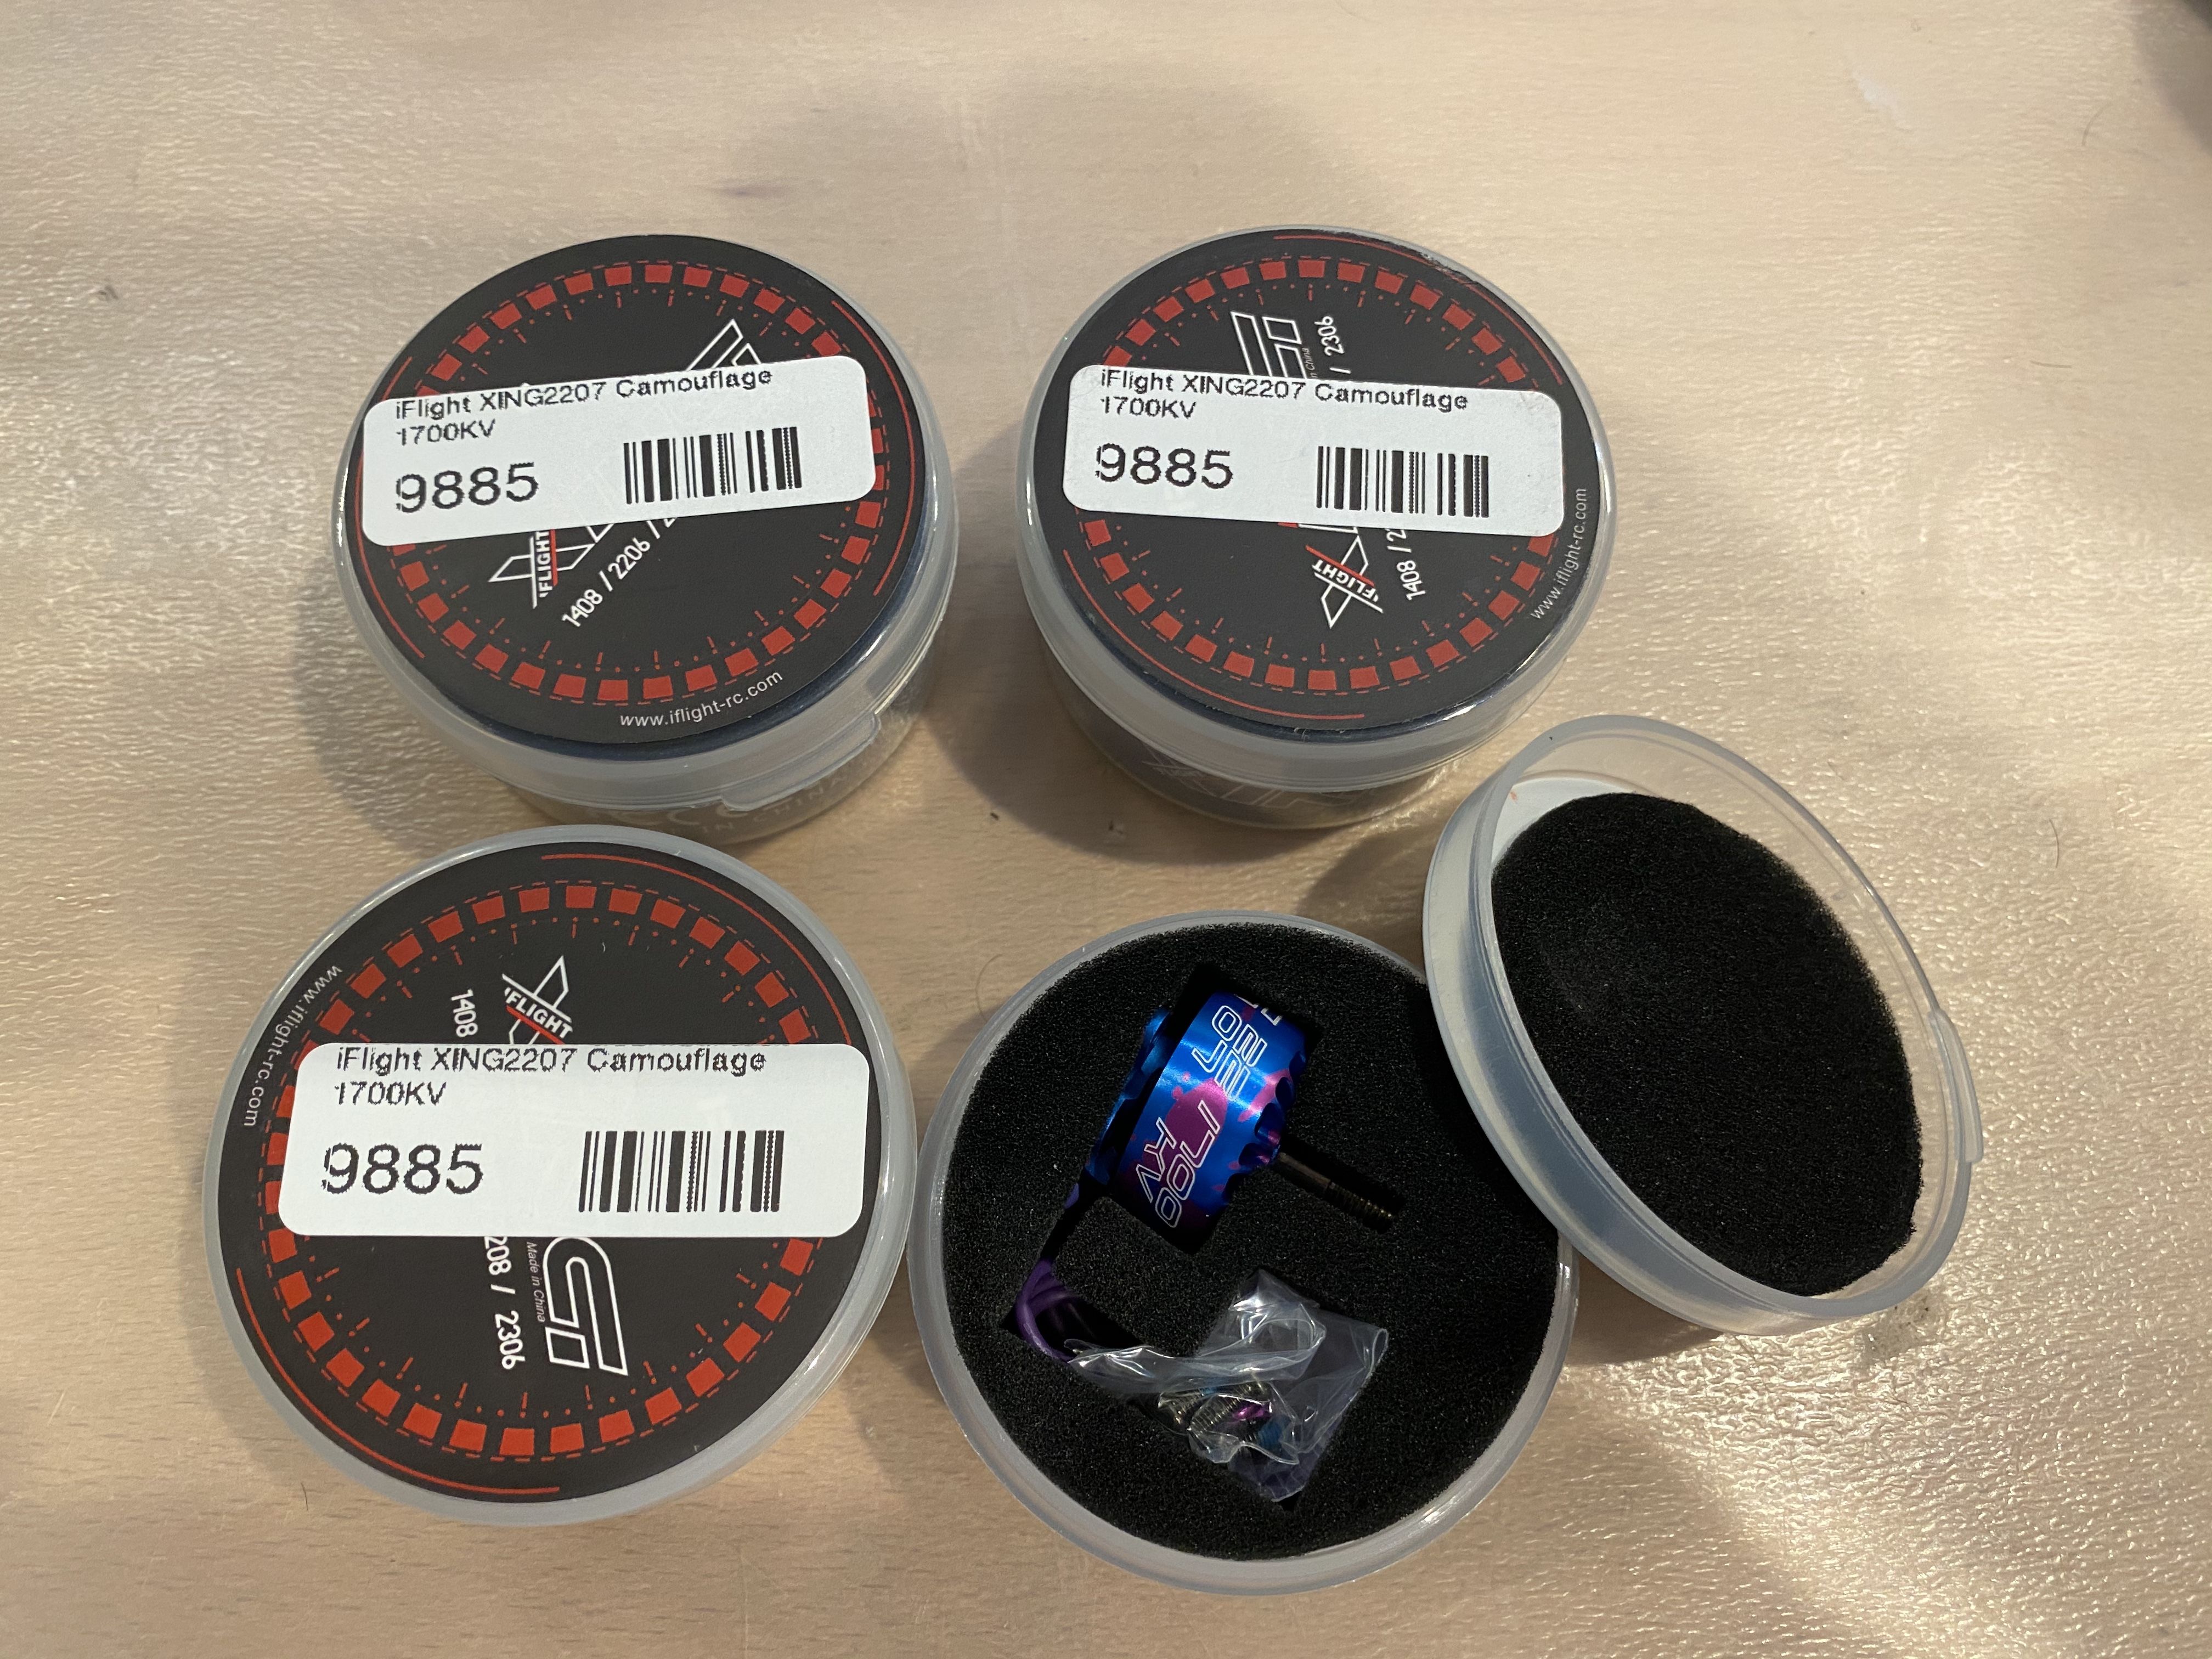
4) The Motors
5) The propellers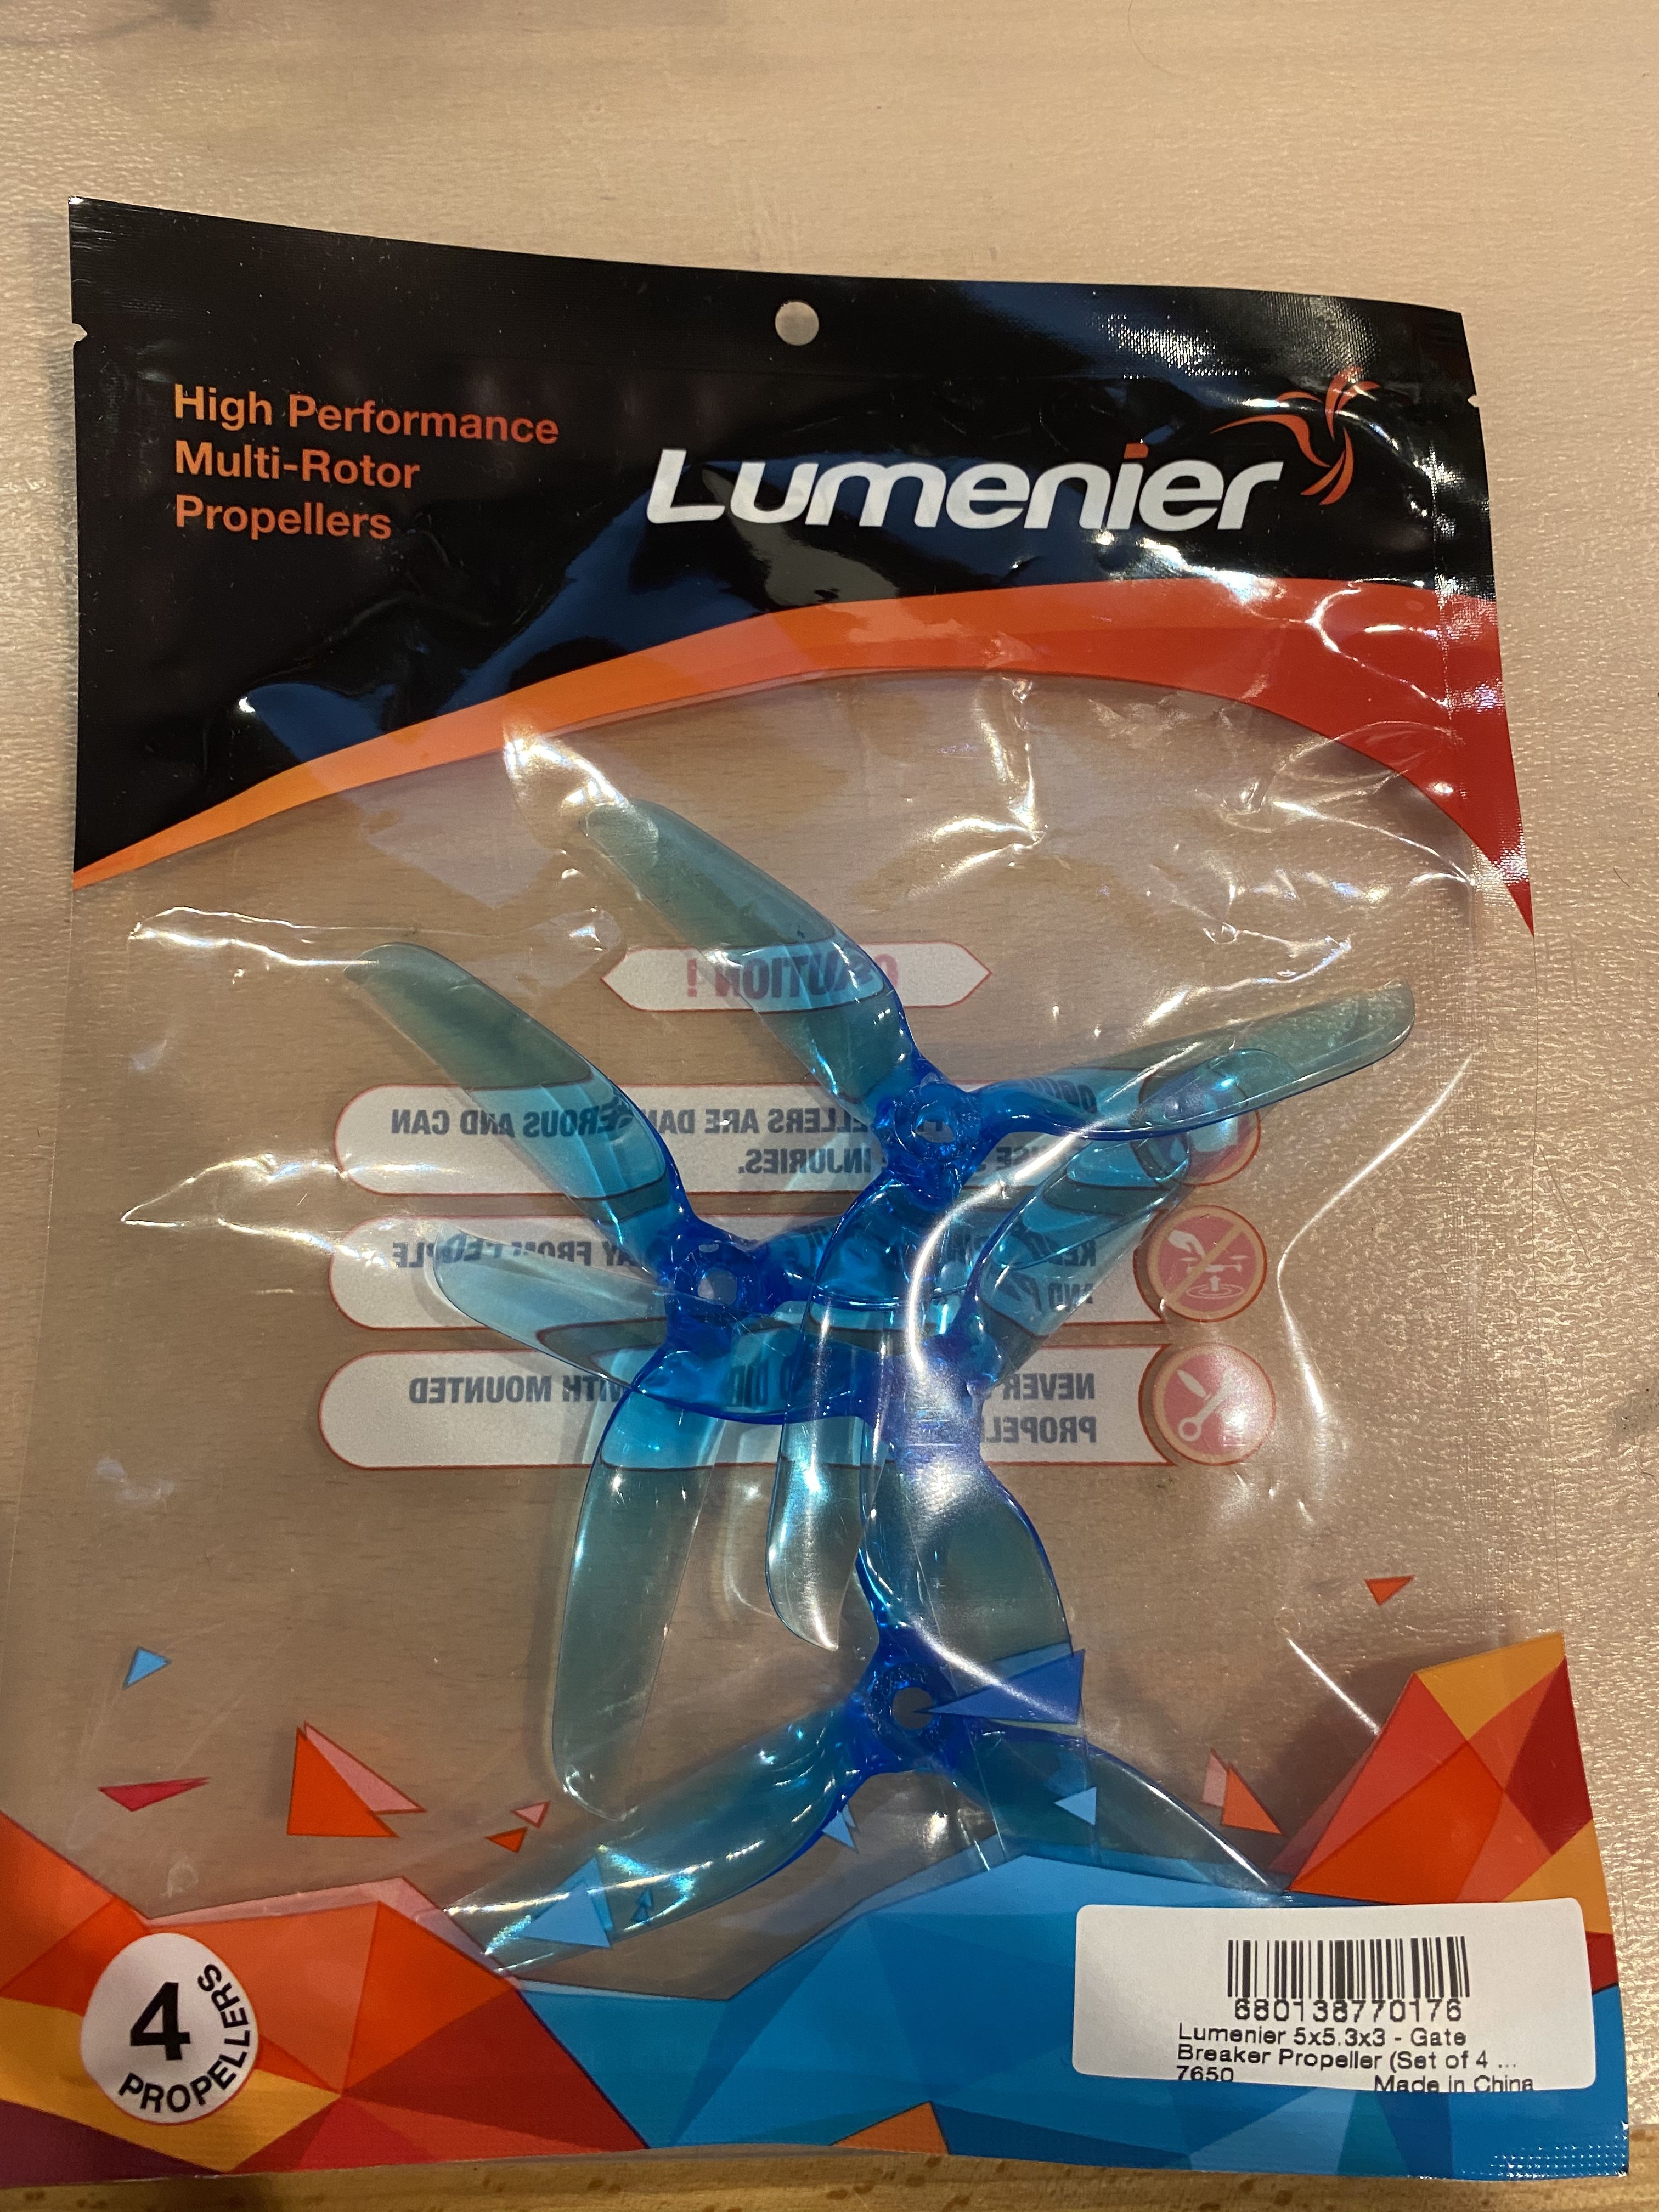
After receiving all components and accessories I started with building the fiber carbon frame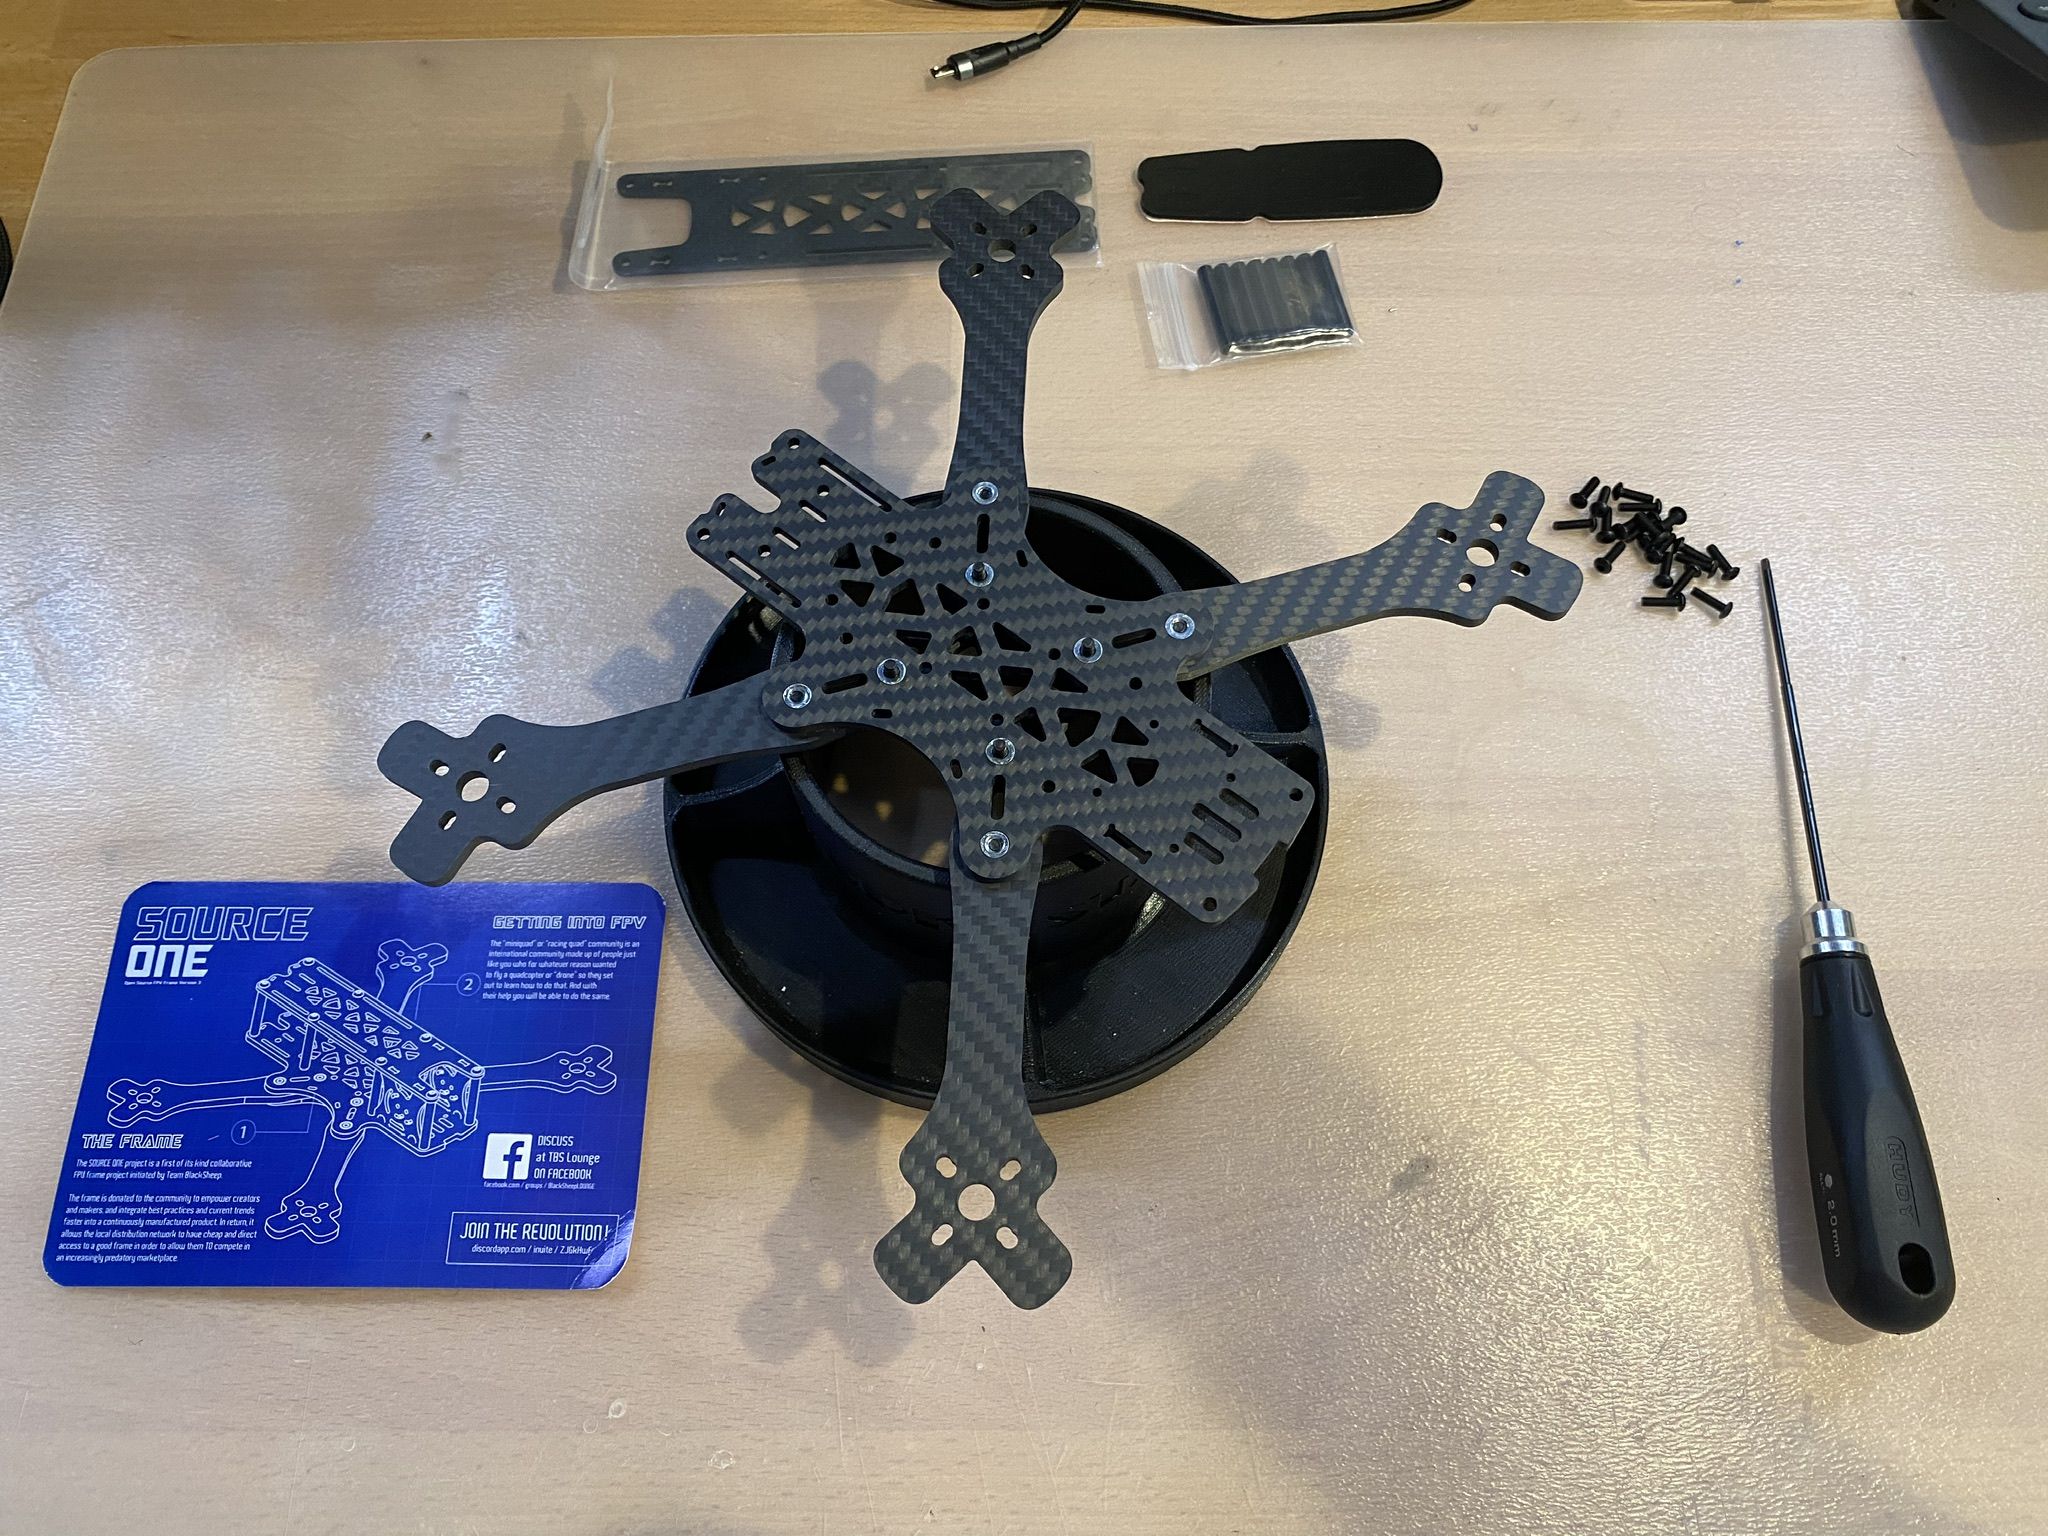
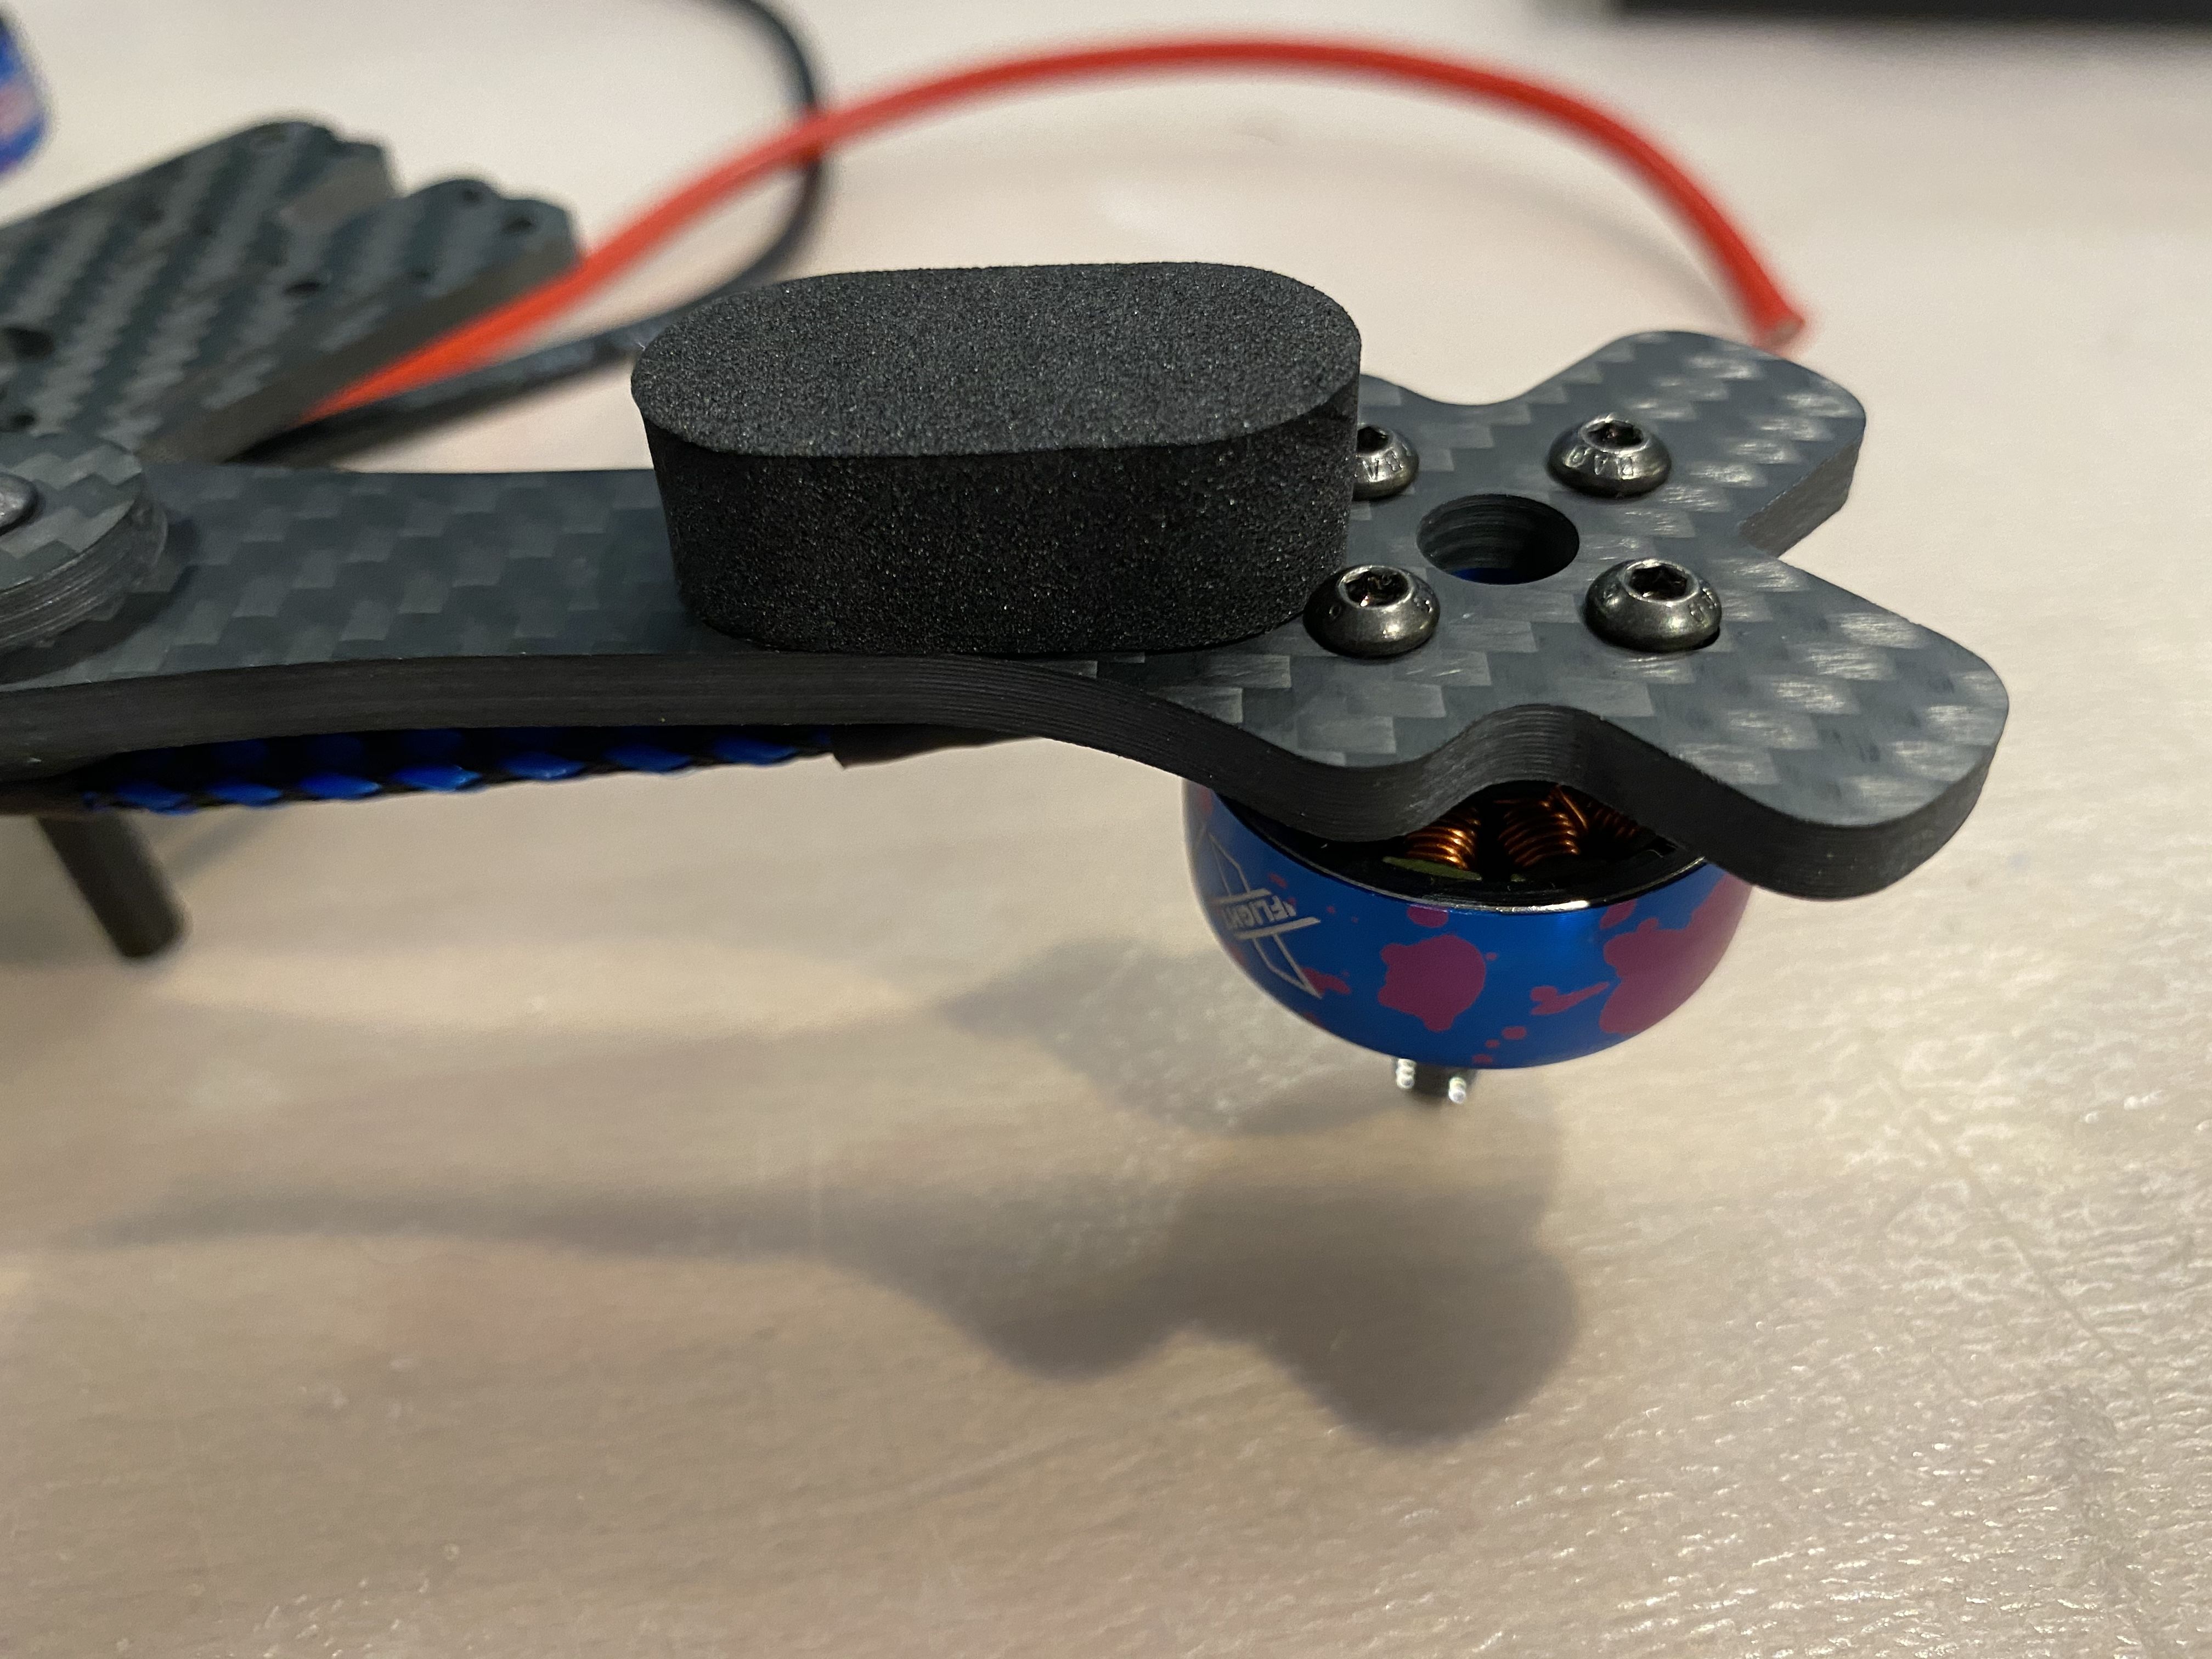
Then installed the motors
Placed th ESC (be careful with orientation ! I succeeded to do a mistake and had to redo motor cable soldering)
Protected the motors cables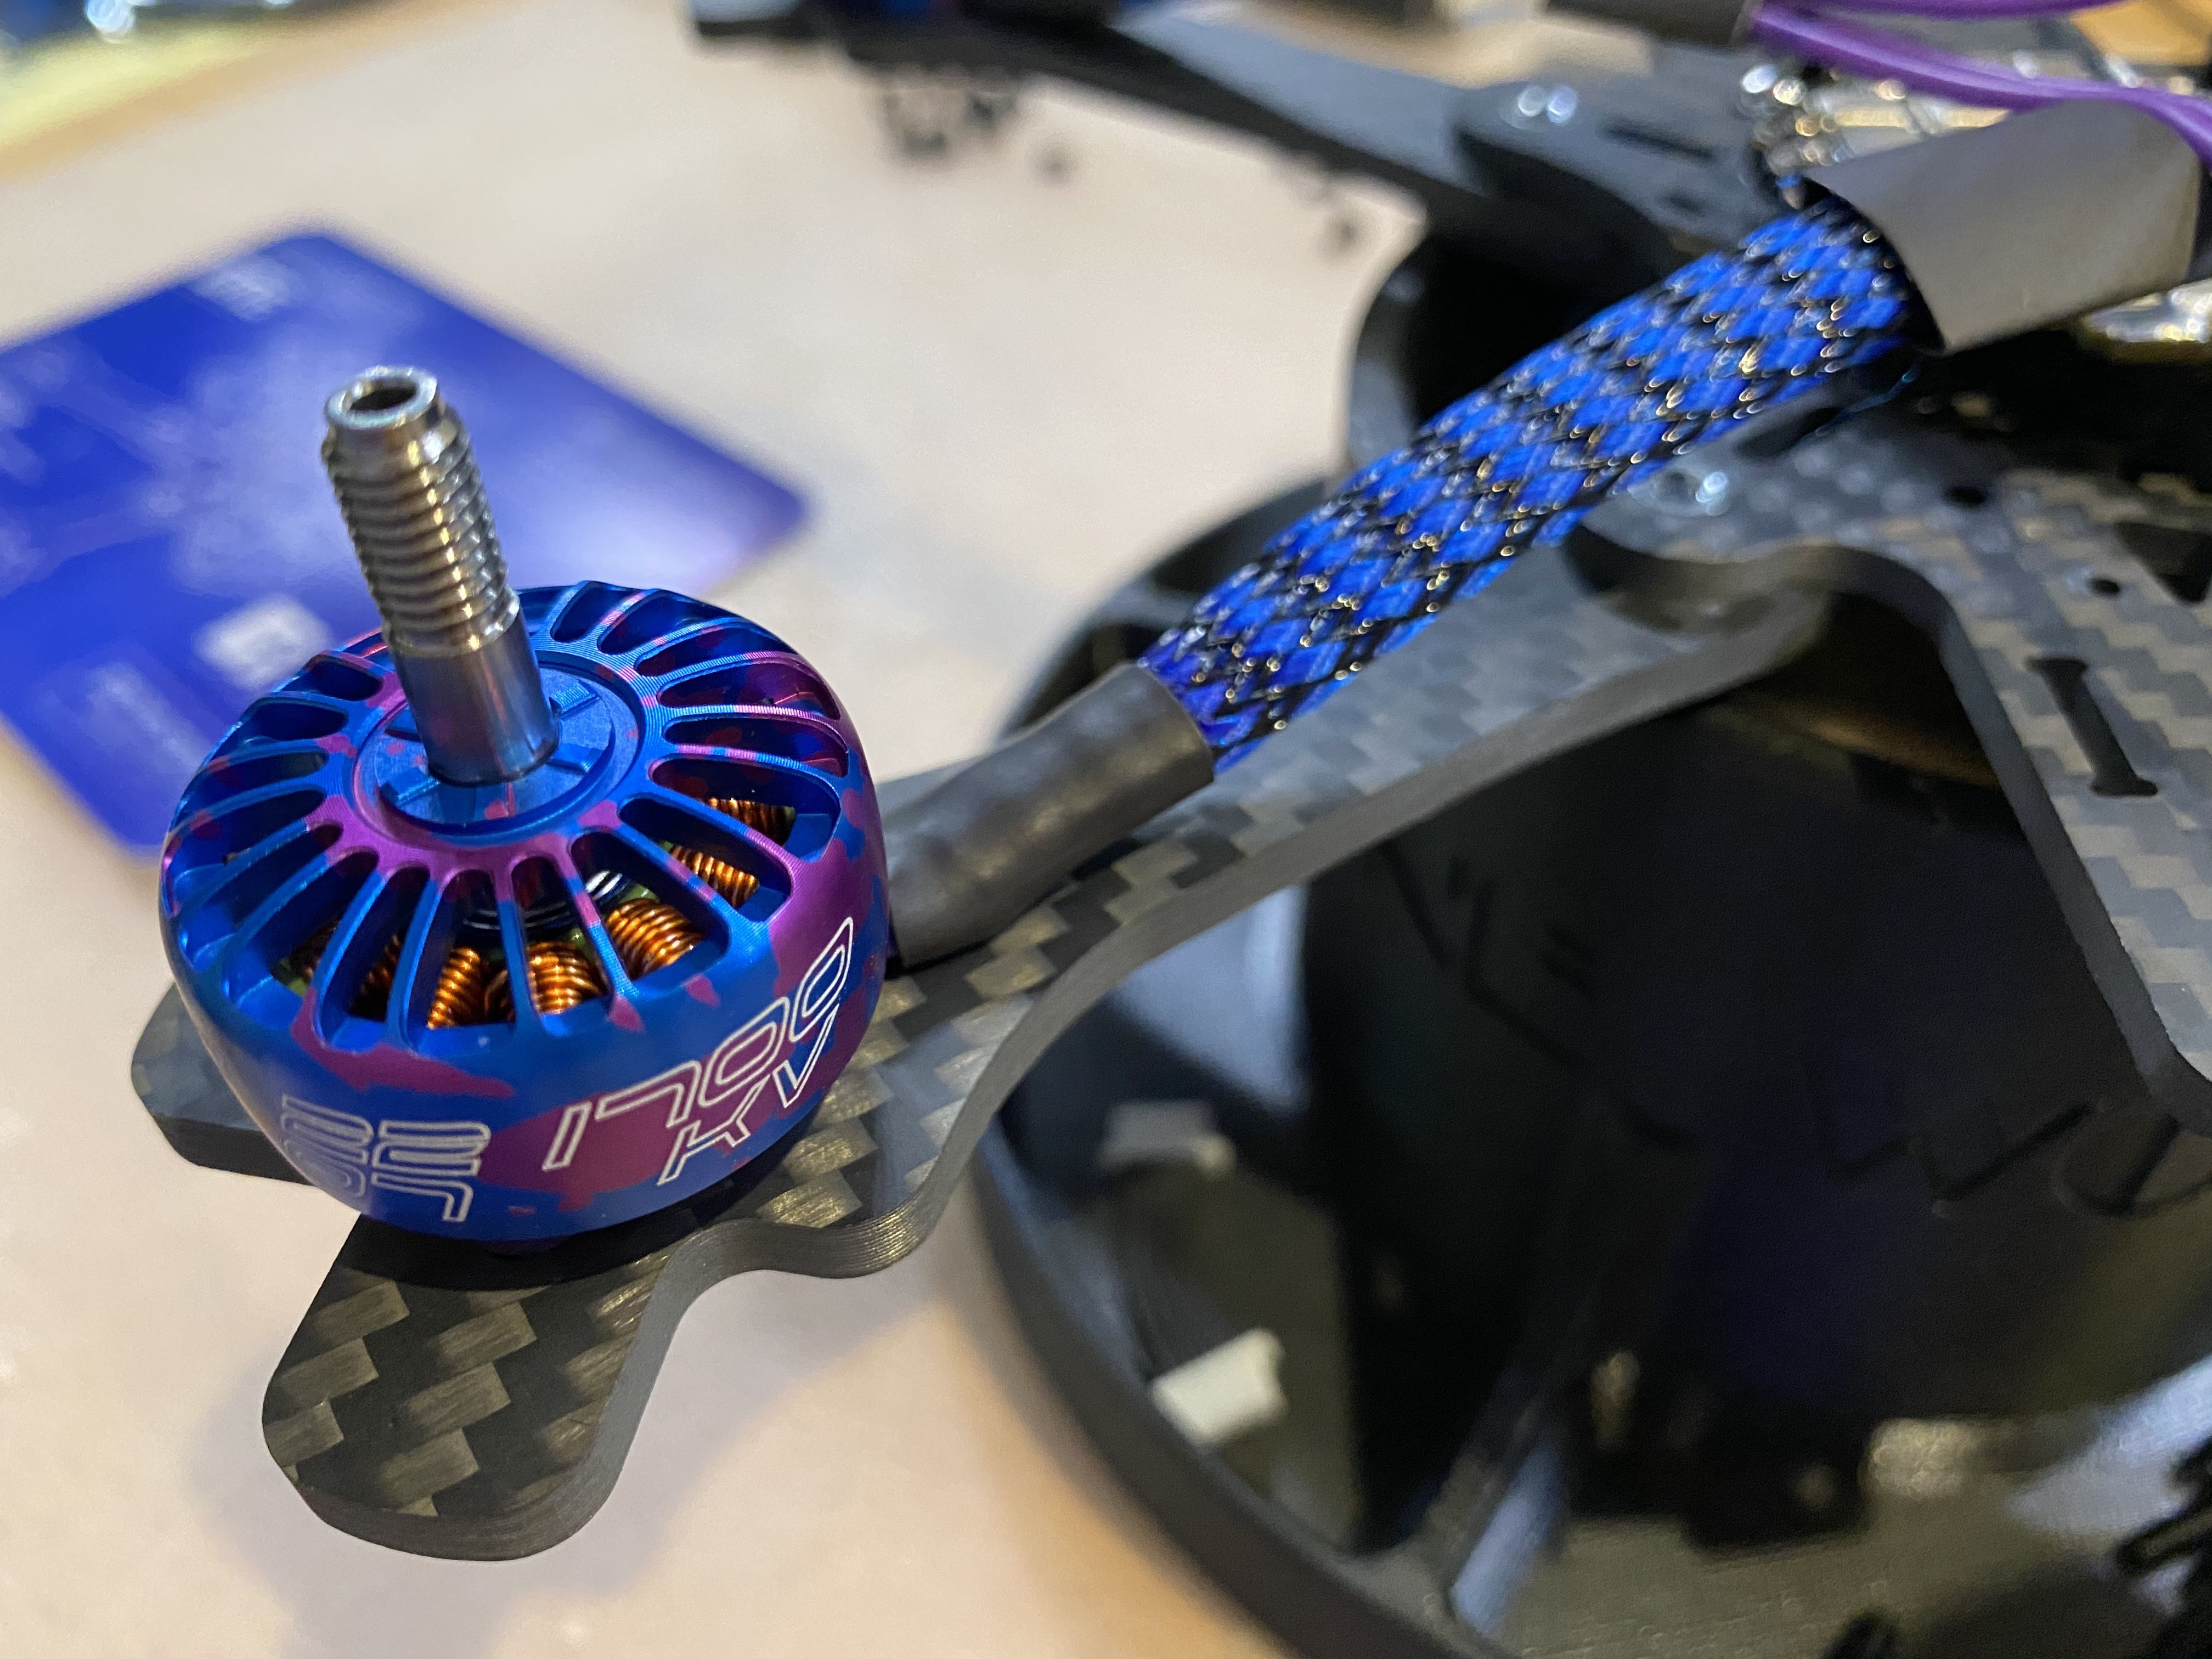
And then took care of the motor cables soldering to ESC
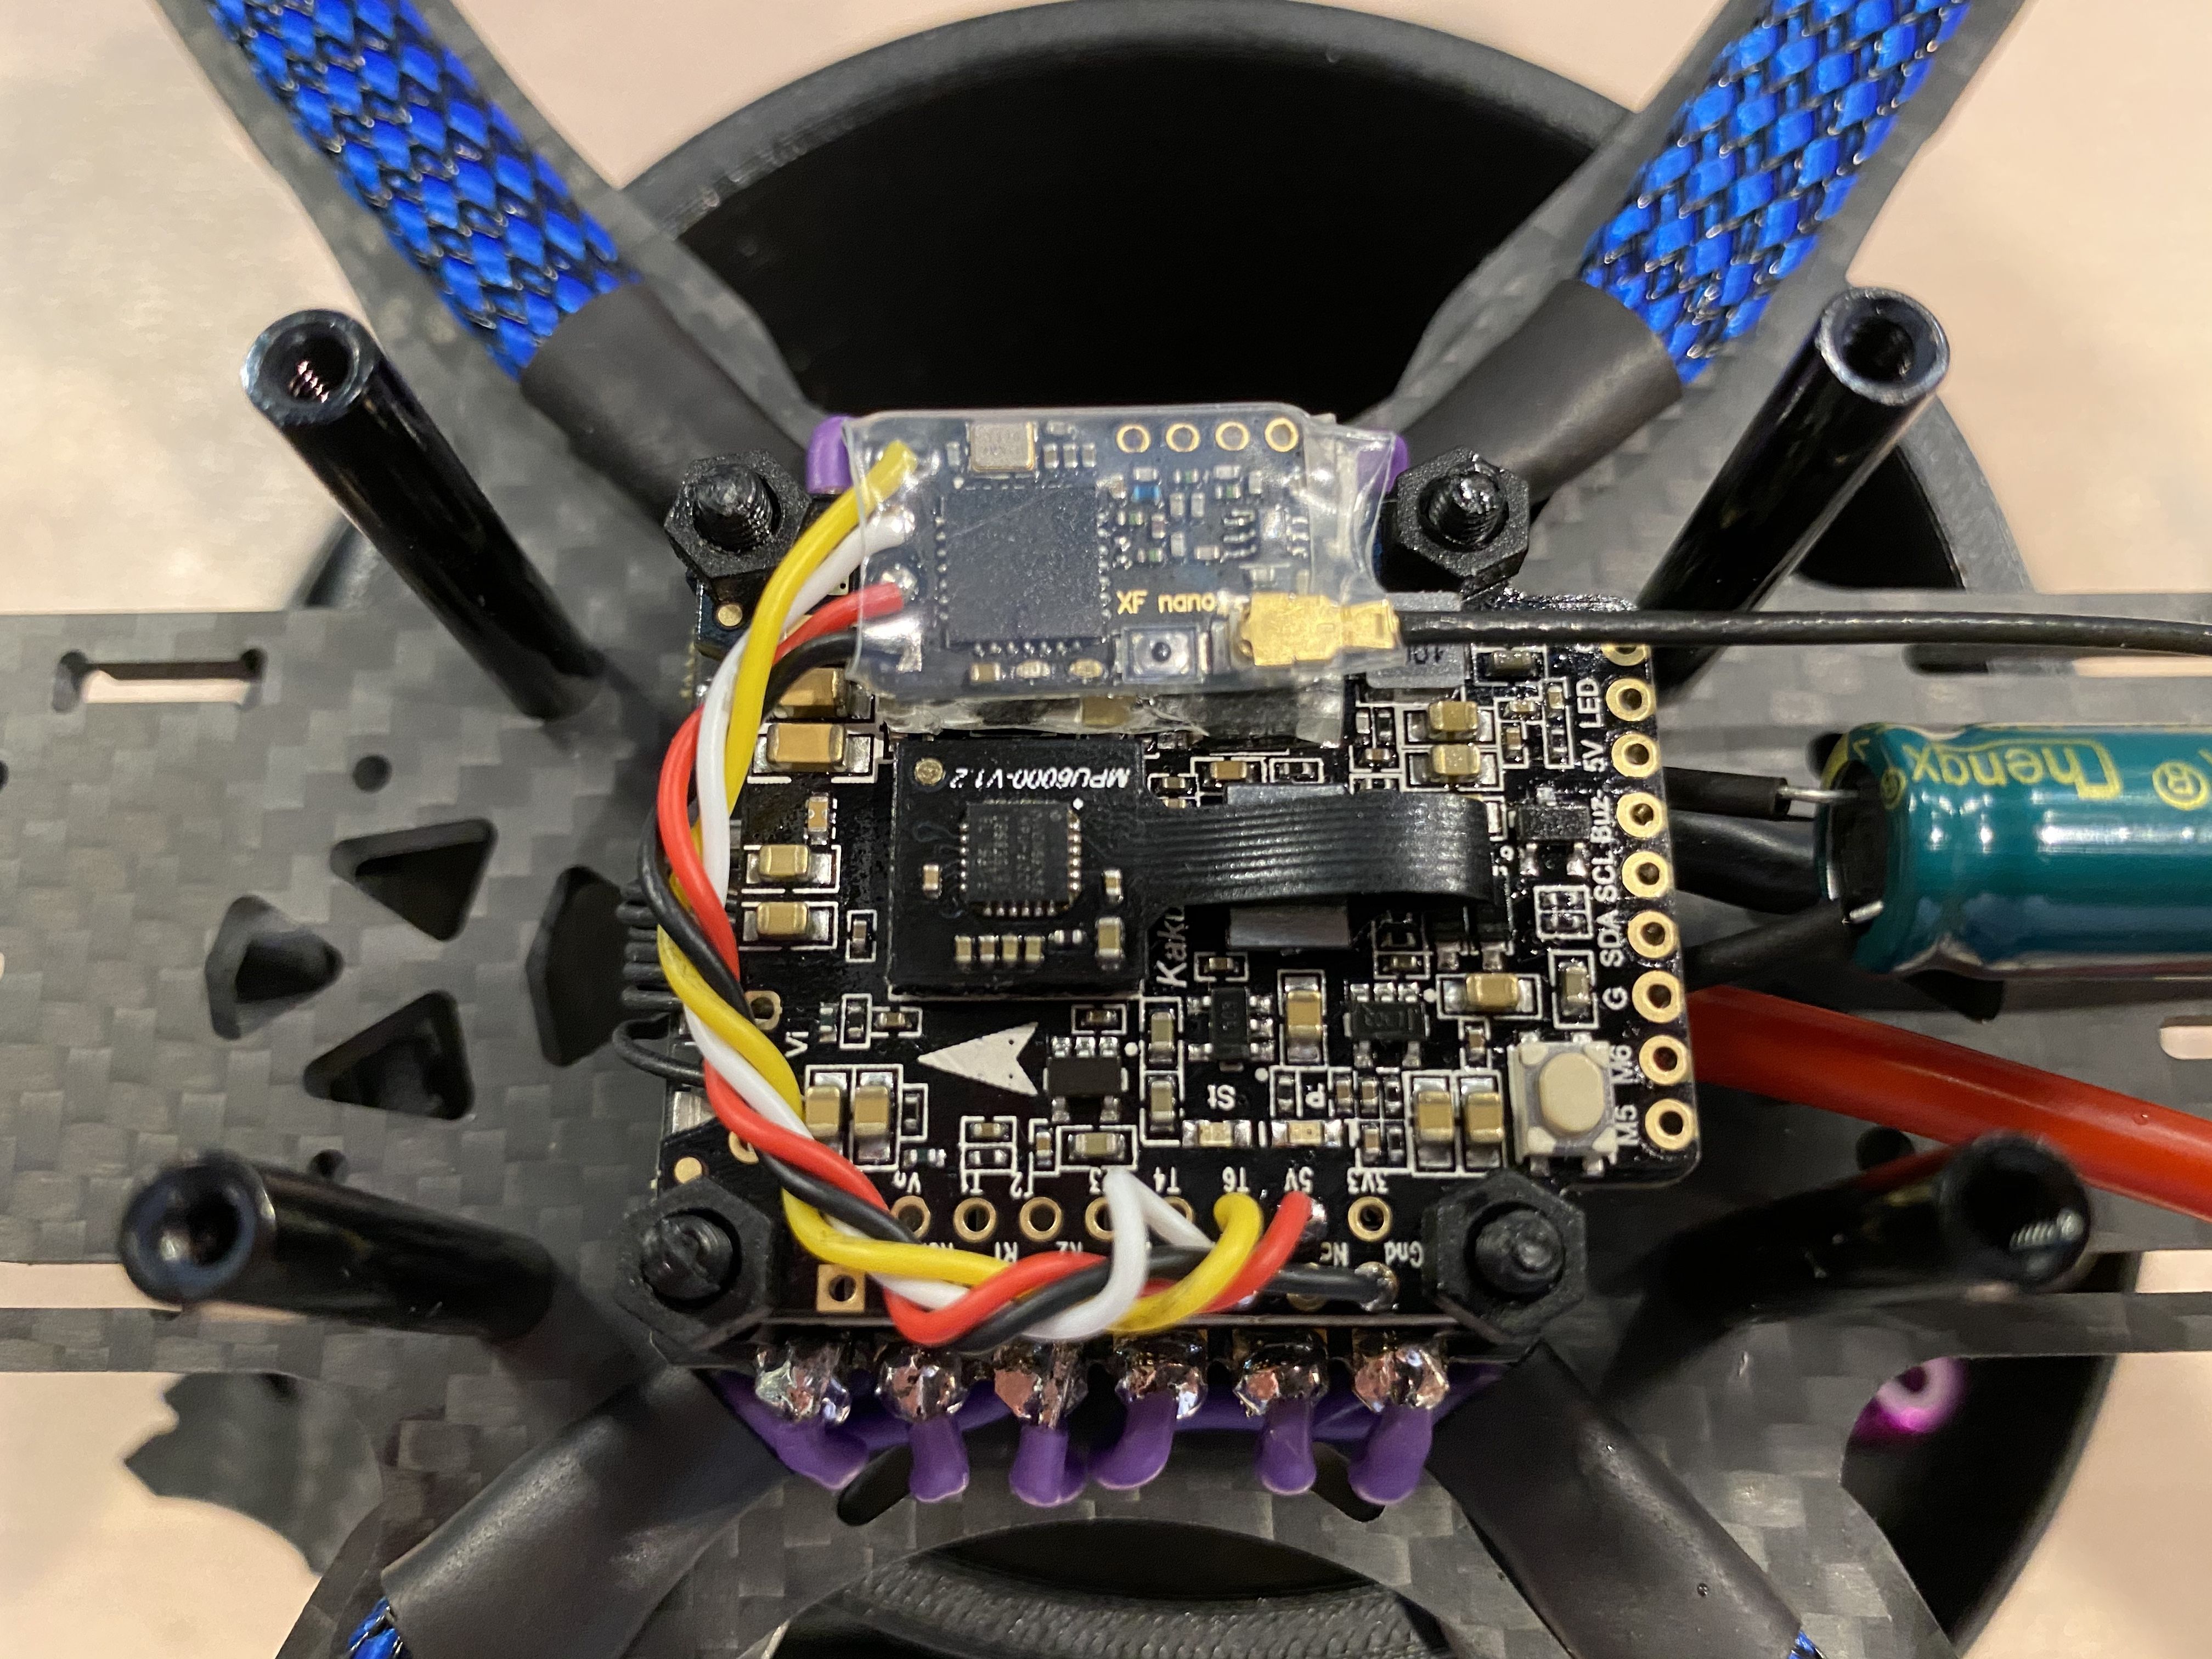
After this sensitive part done I installed the Filght Controller board on top of the ESC and wired them with appropriate cable. be careful that carbon fiber is conducting electricity, always use Nylon spacers for your electronic board.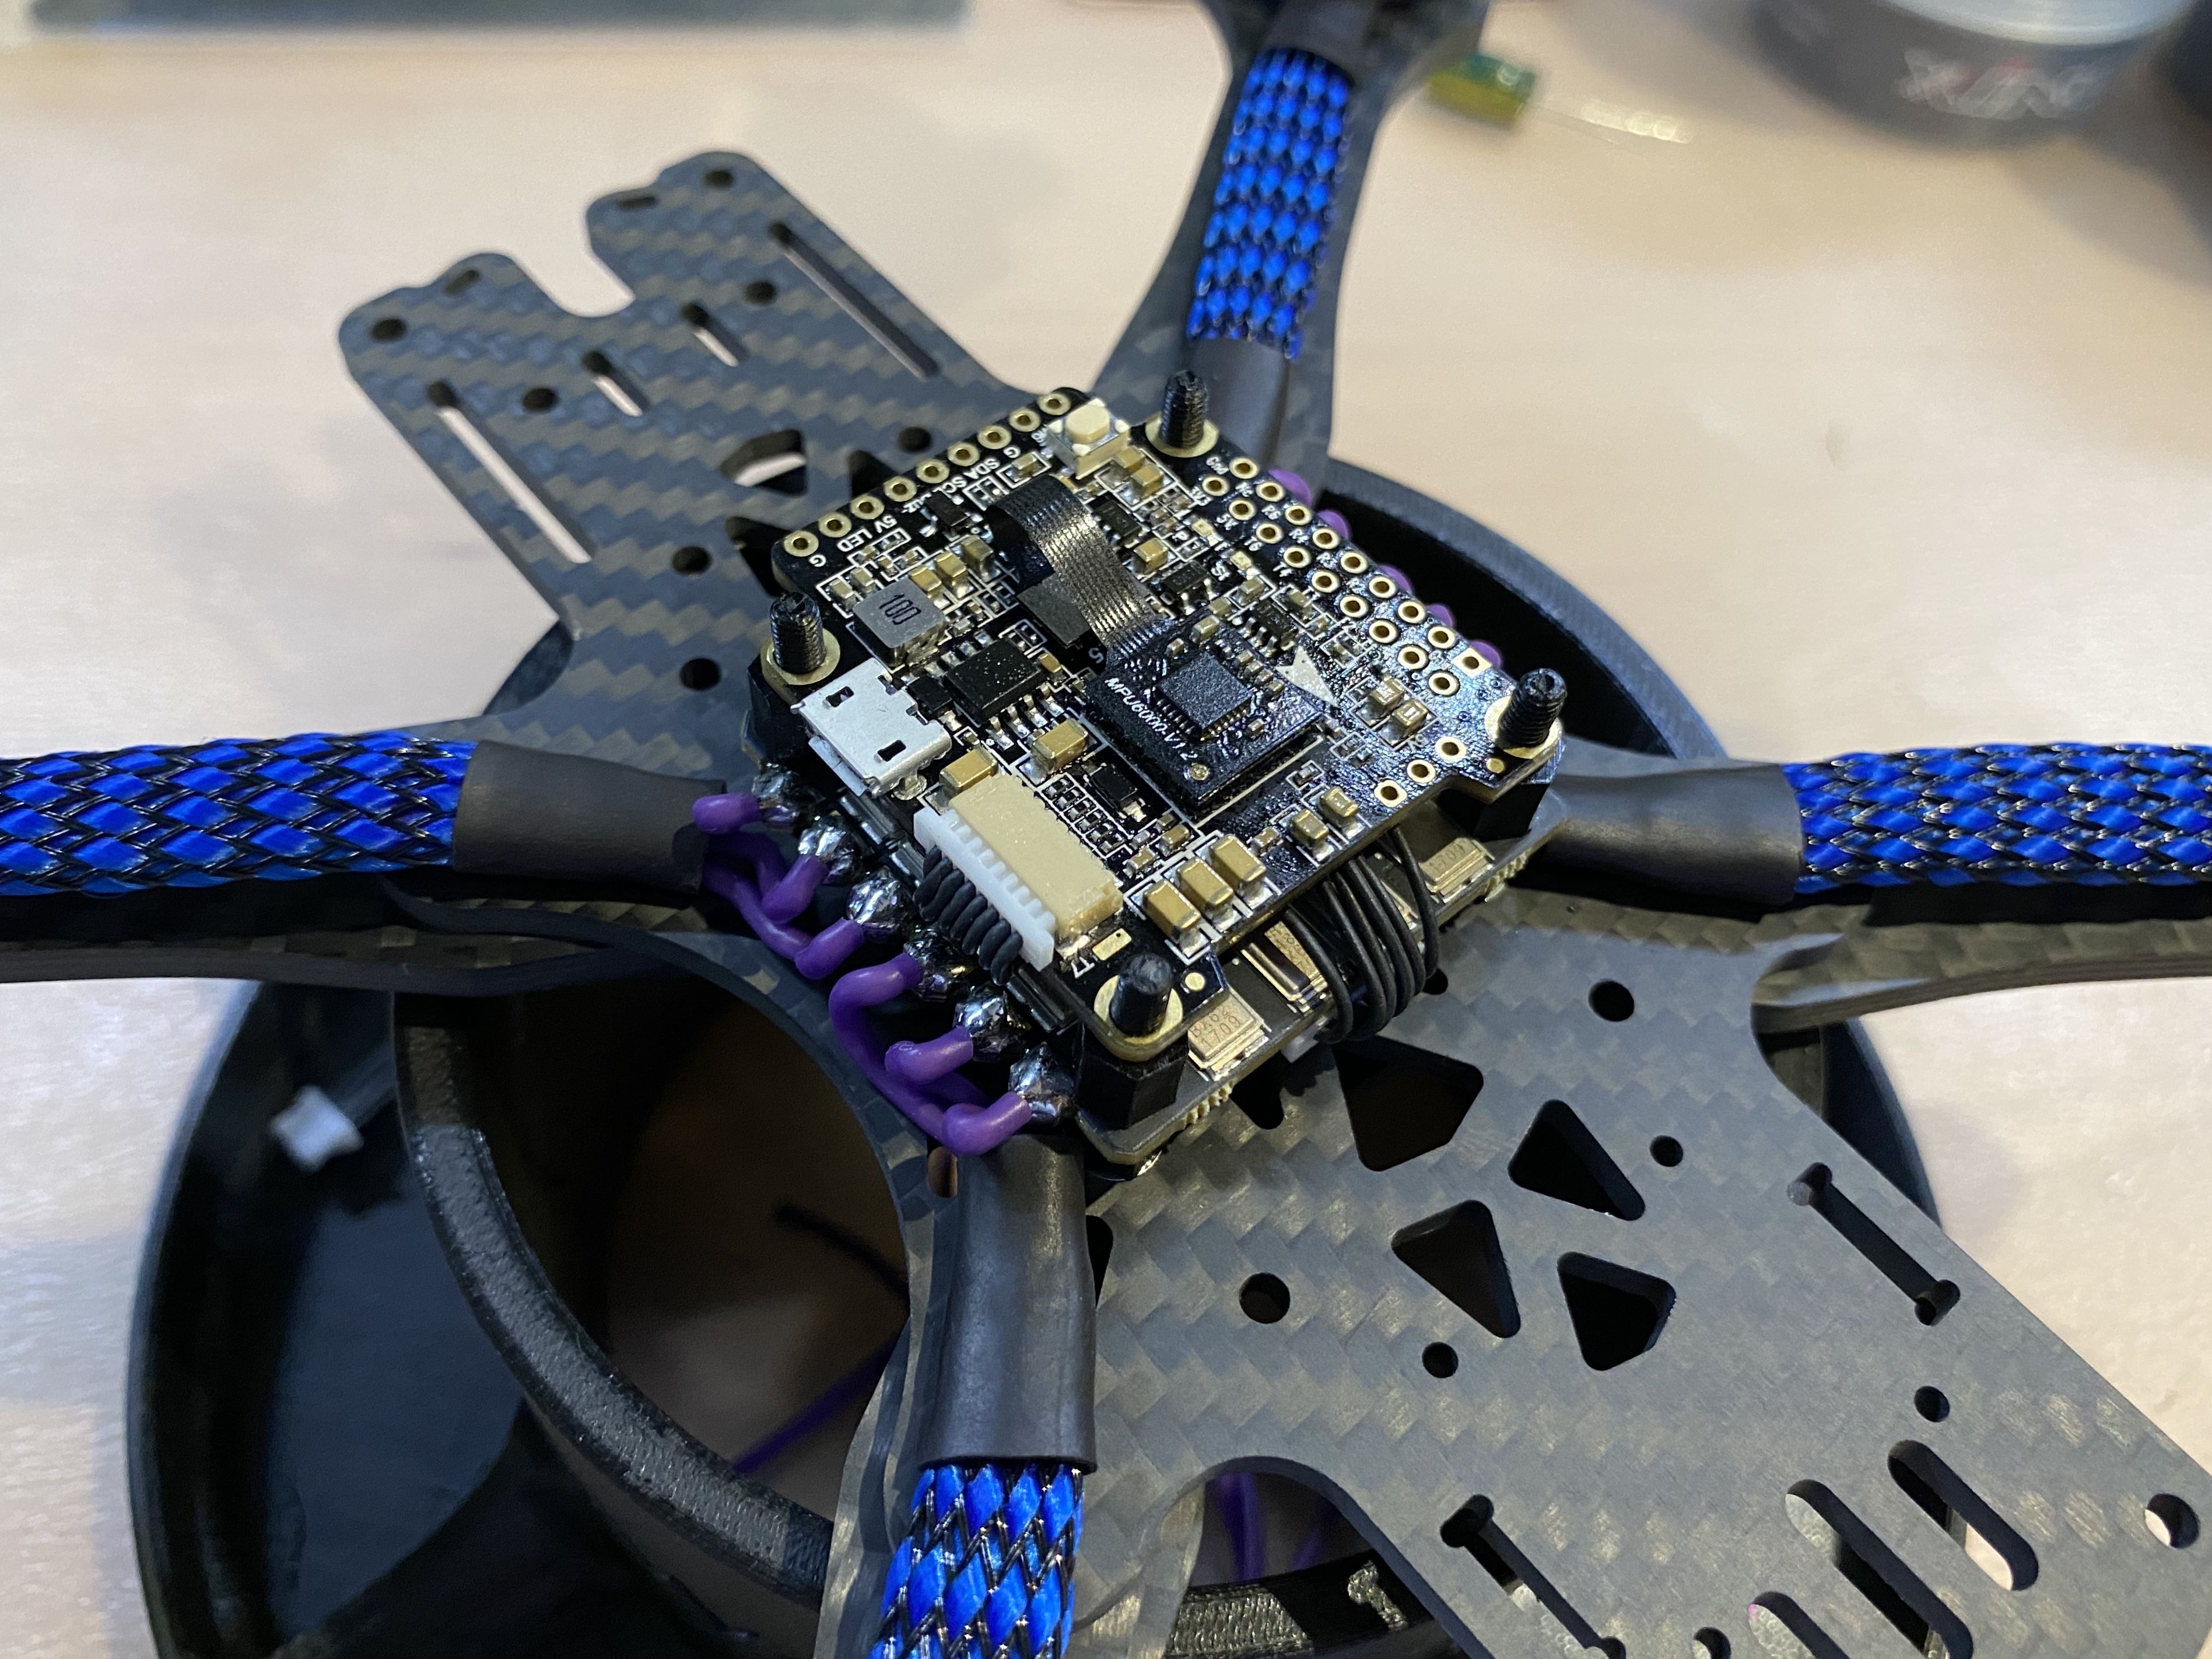
Then i installed 12AWG cables for battery connector (XT60) as well as capacitor delivered with ESC. I strongly recommend to protect capacitor pins with plastic.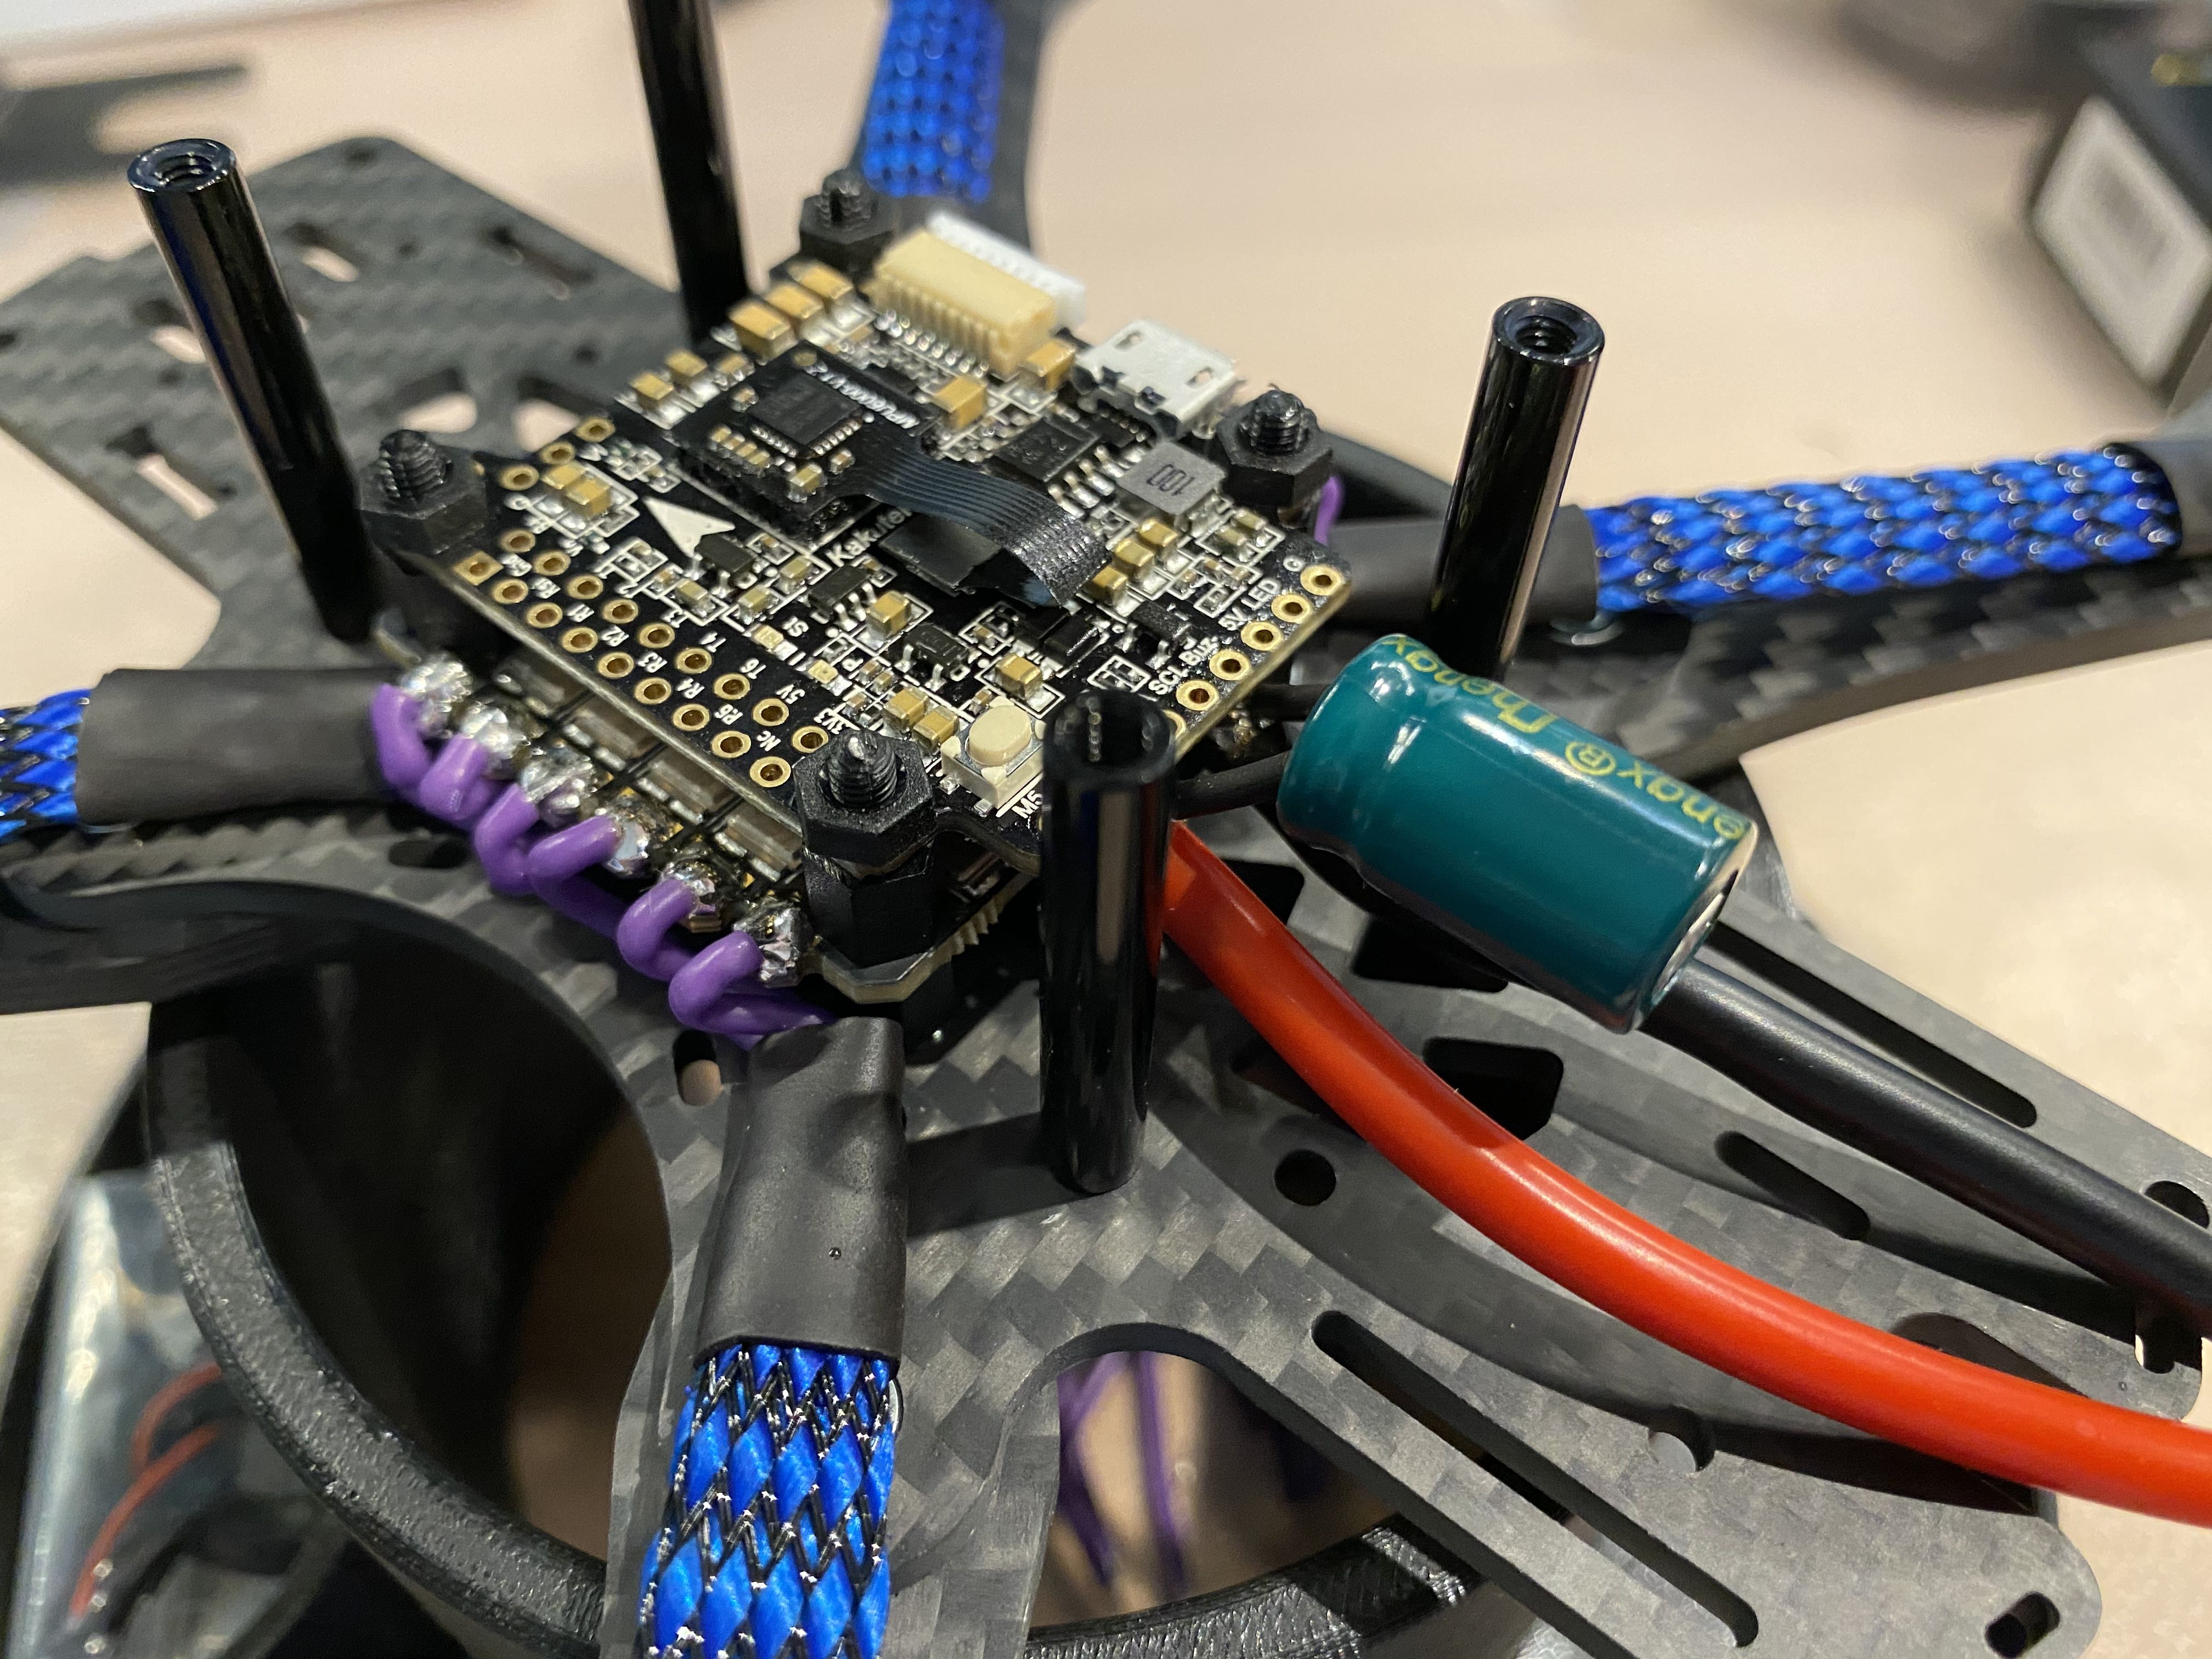
I worry to land fiber carbon frame directly on concrete to I found online great EVA foam feet that I installed on each arm.
These steps done i connected the Flight Controller to Betaflight Configurator to do a pre-check. I strongly recommend to watch video from Joshua Bardwell (
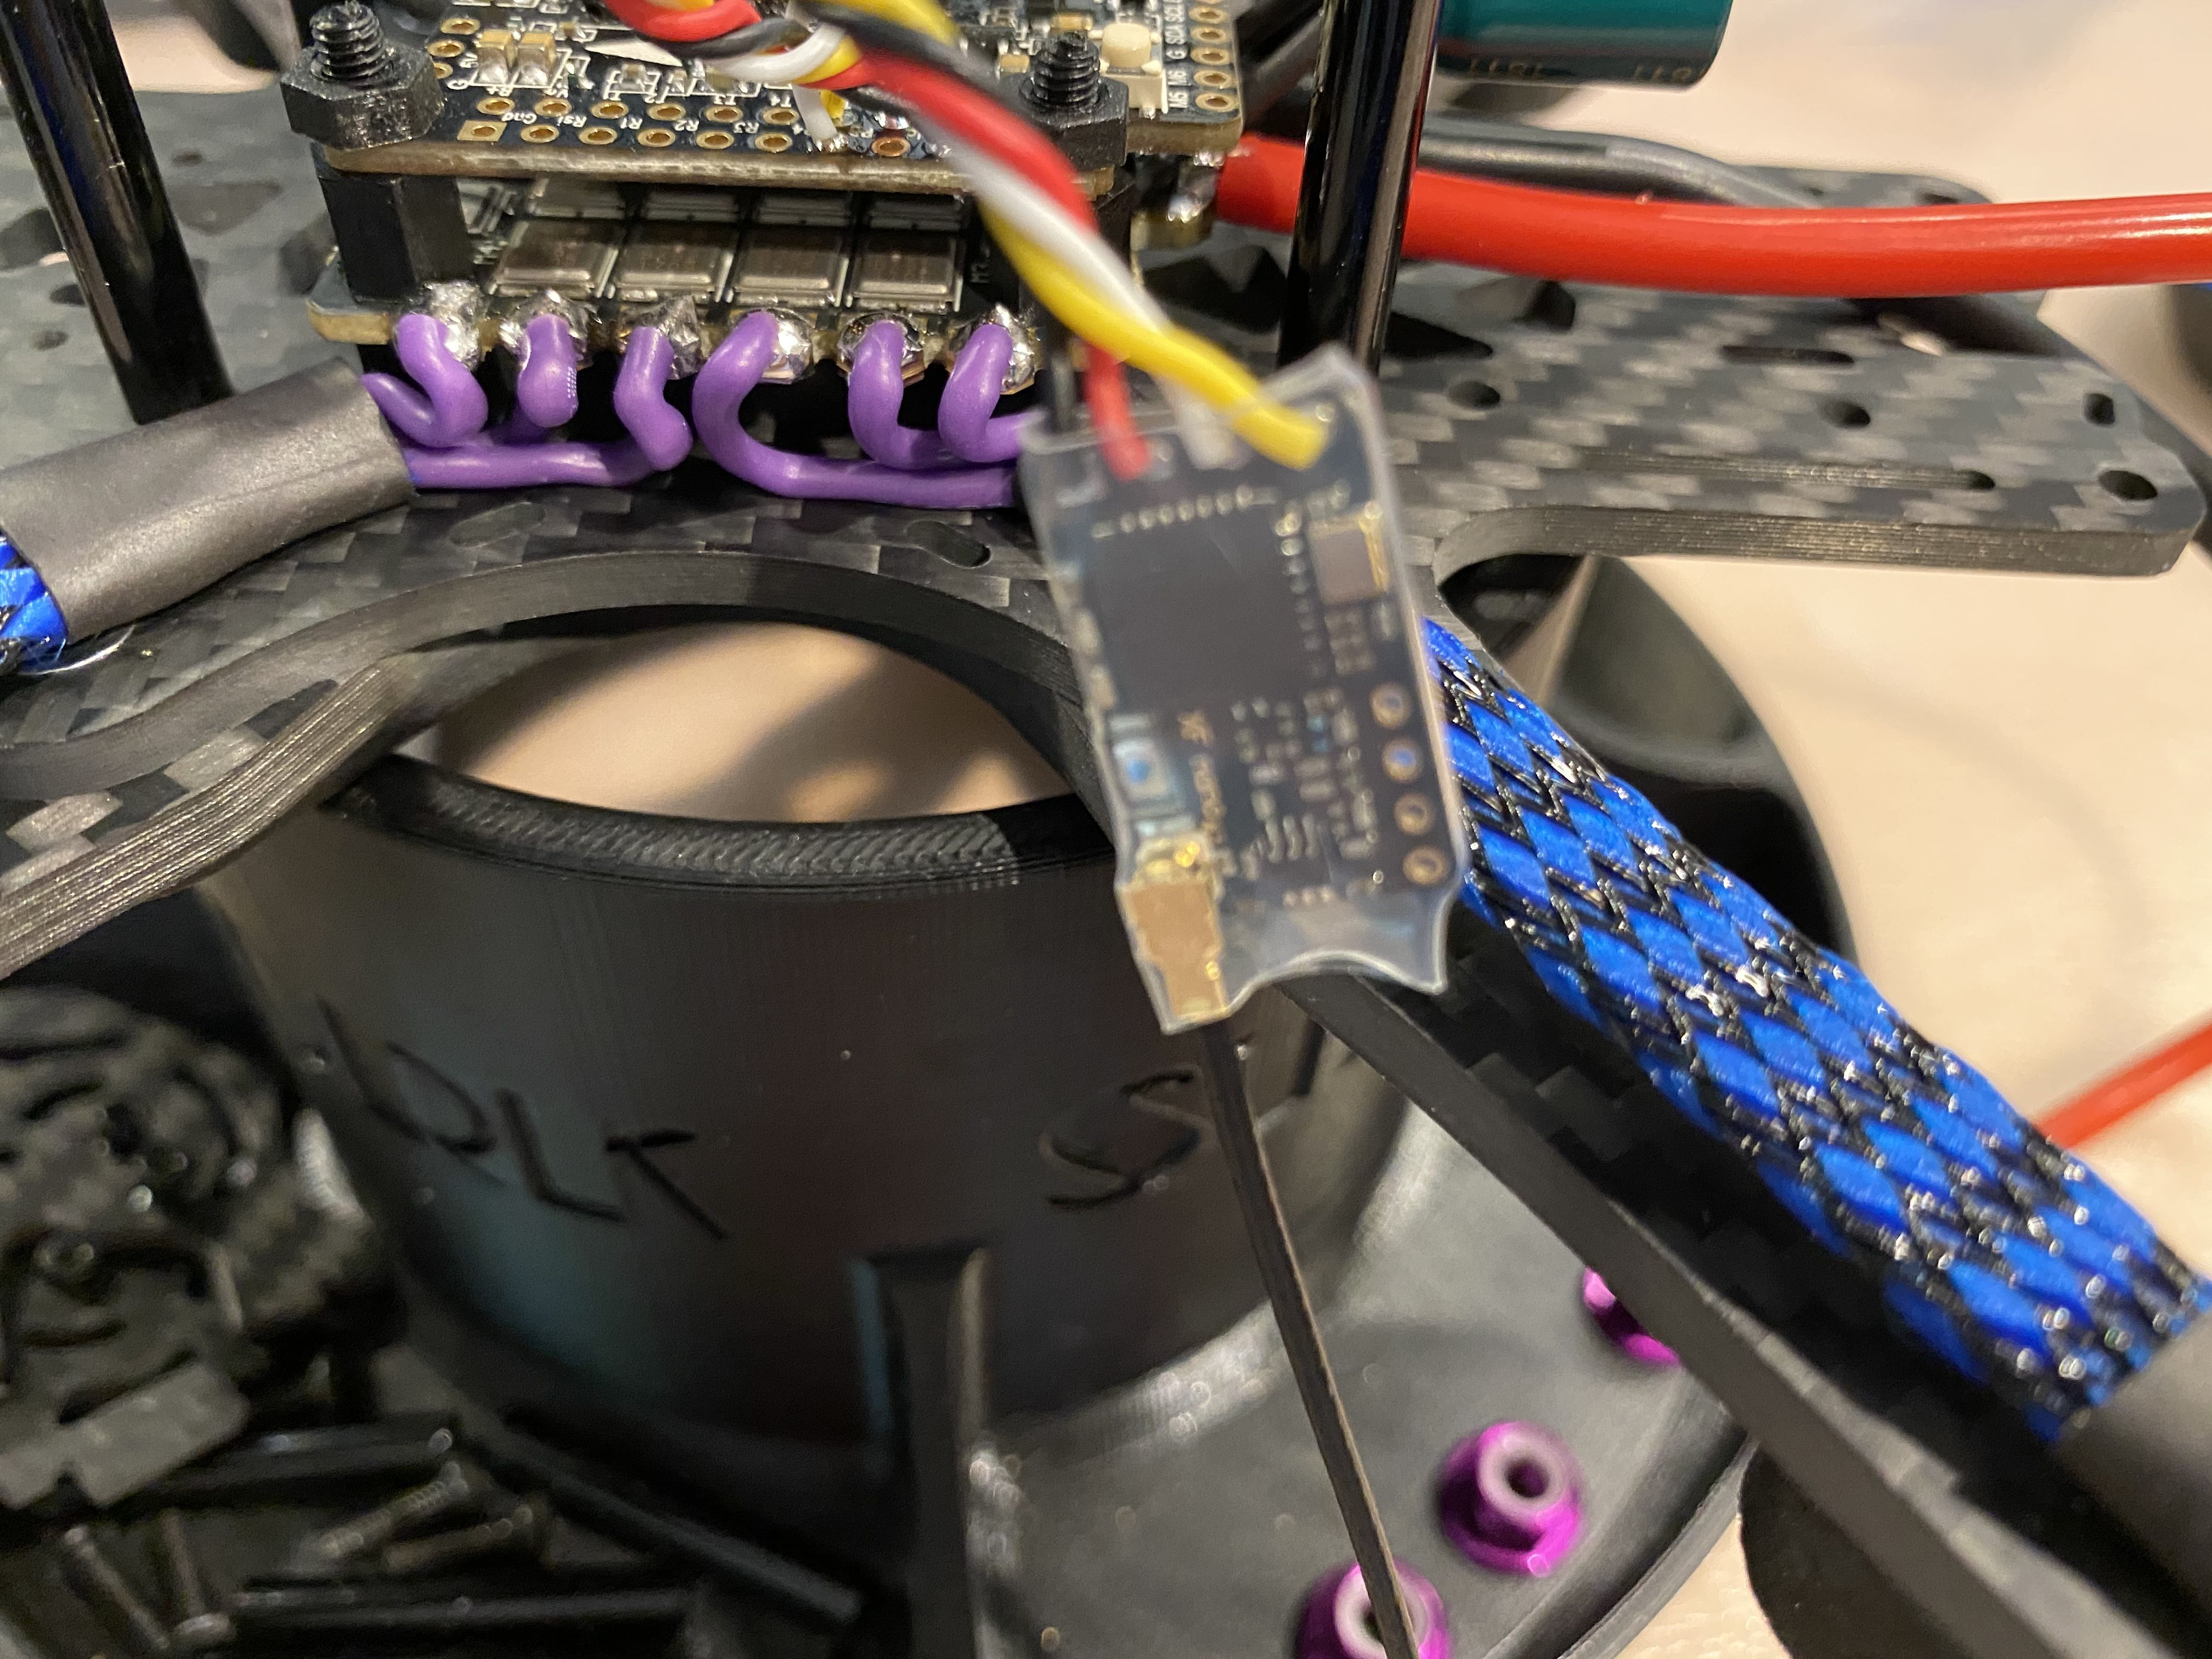
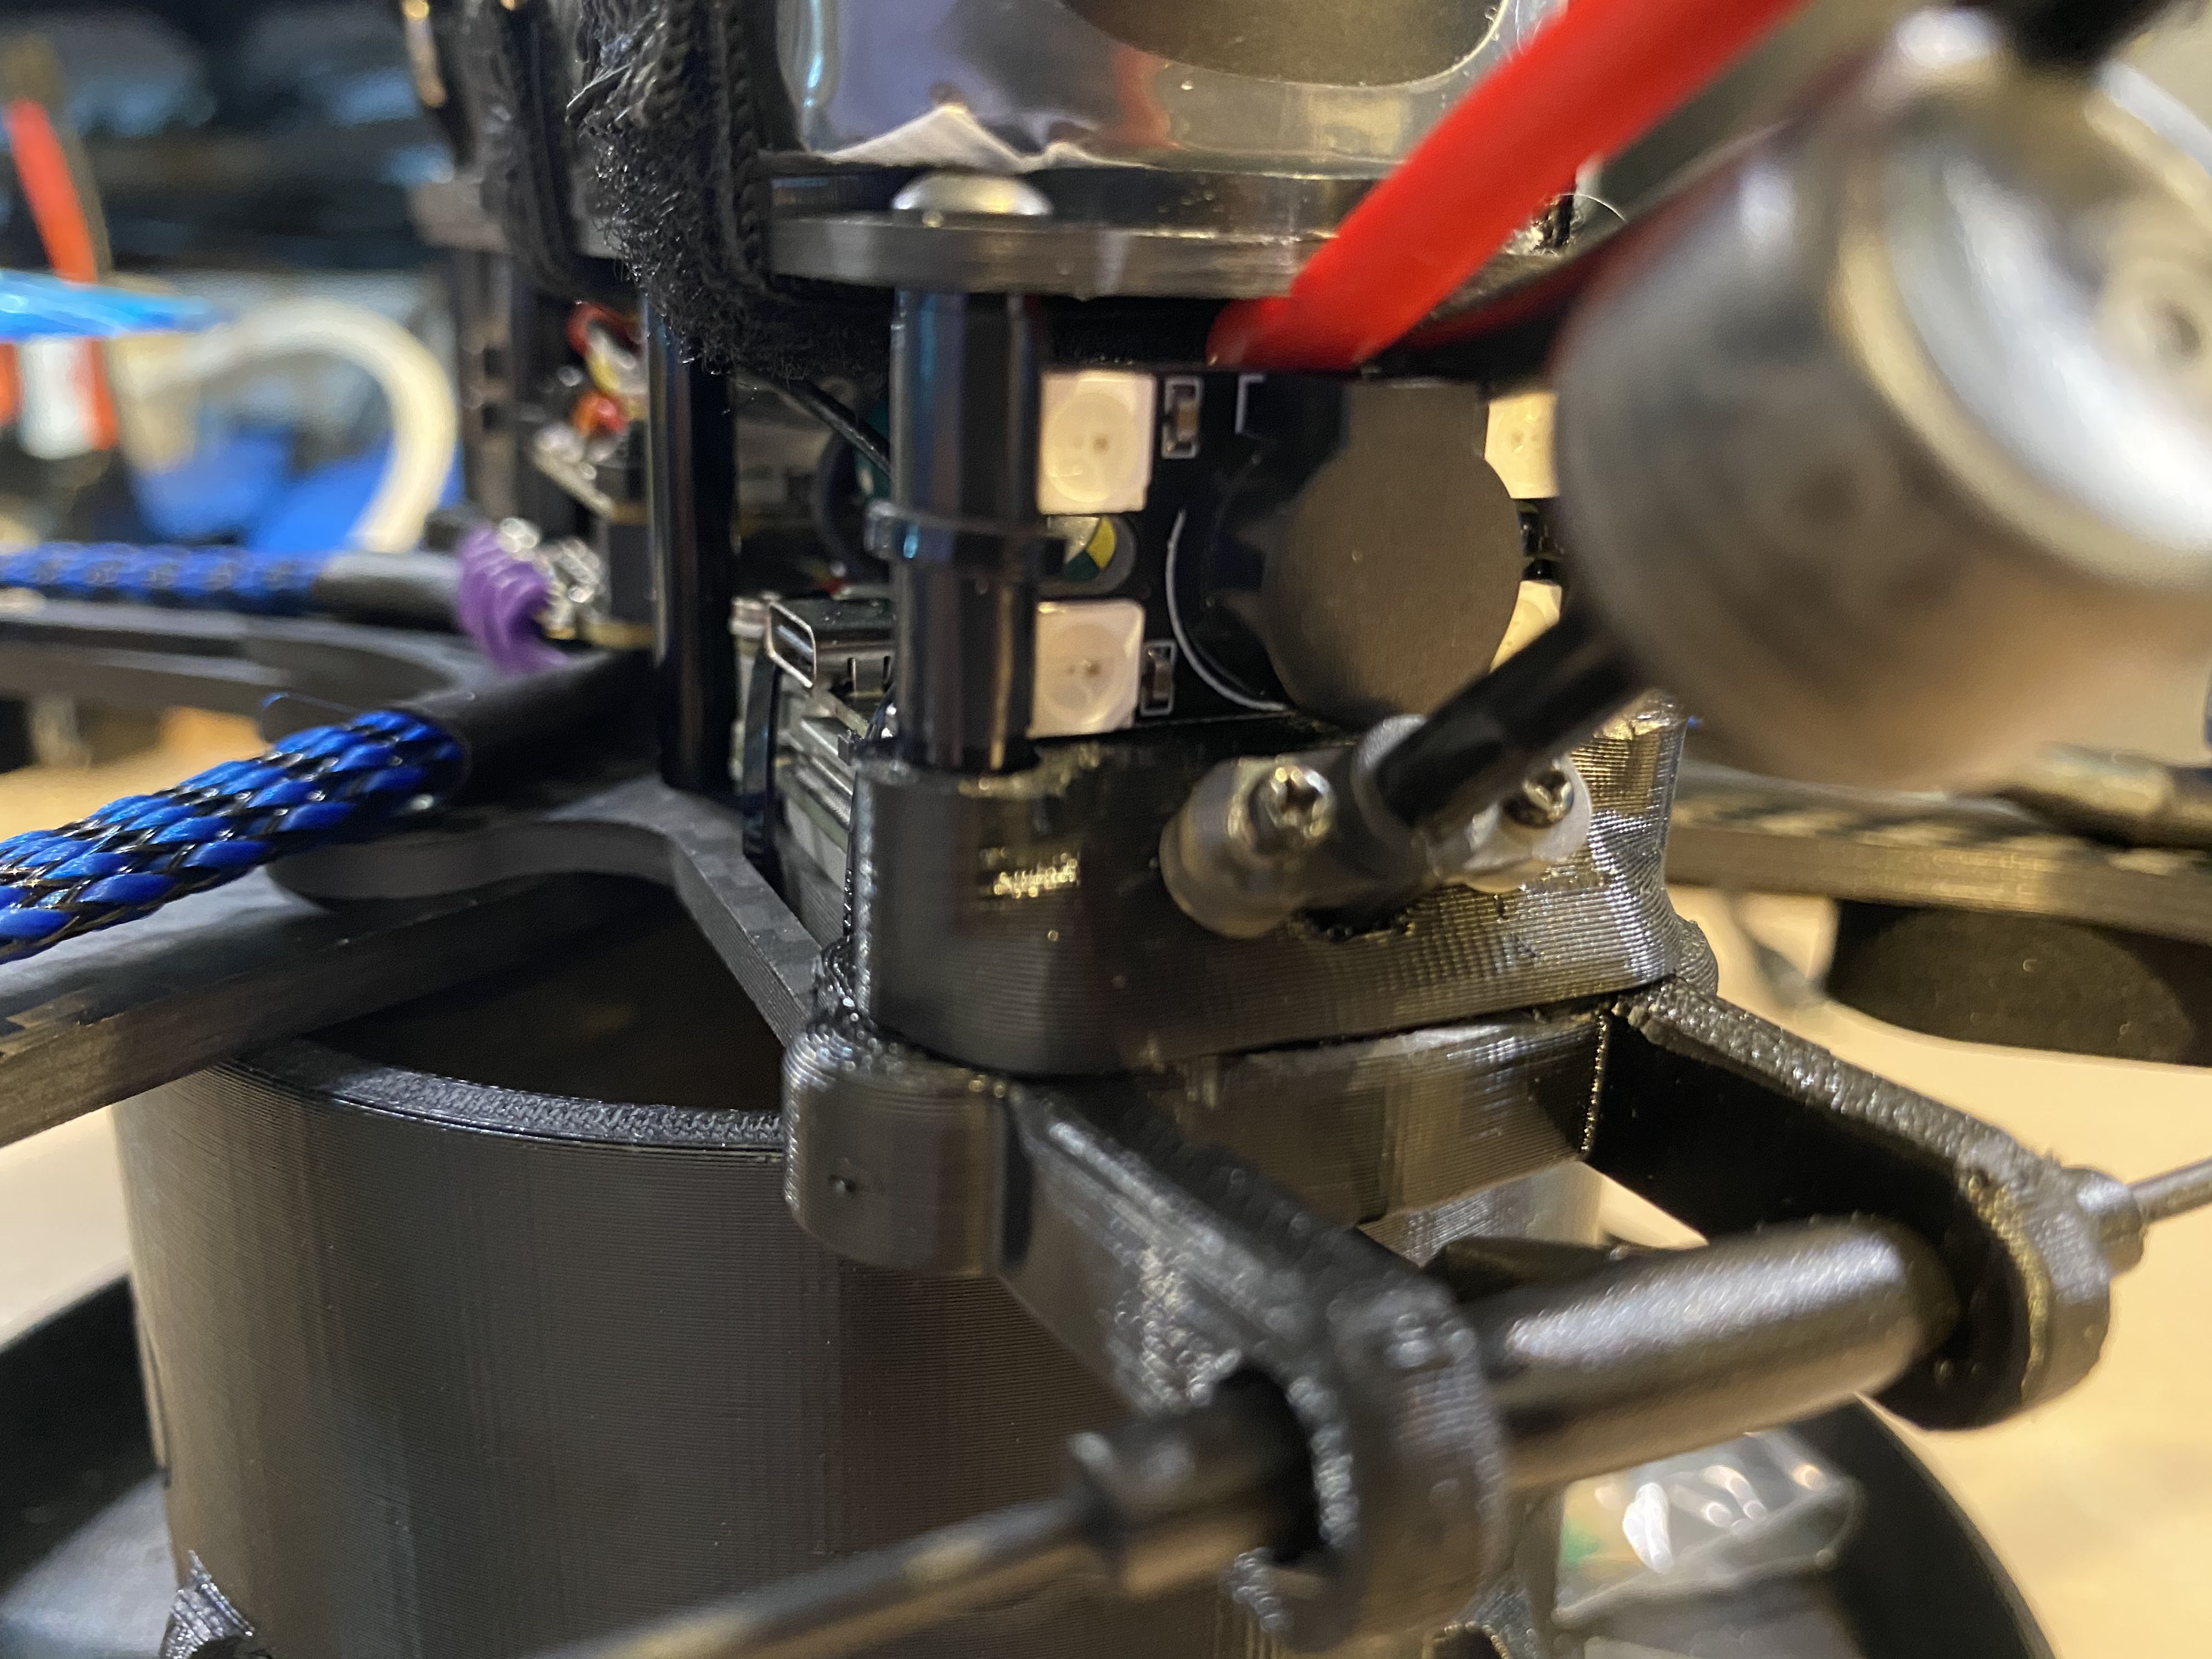
) with so many details about how to configure our quad.After that I installed TBS CrossFire Nano receiver using wiring diagram from Philipp Siedel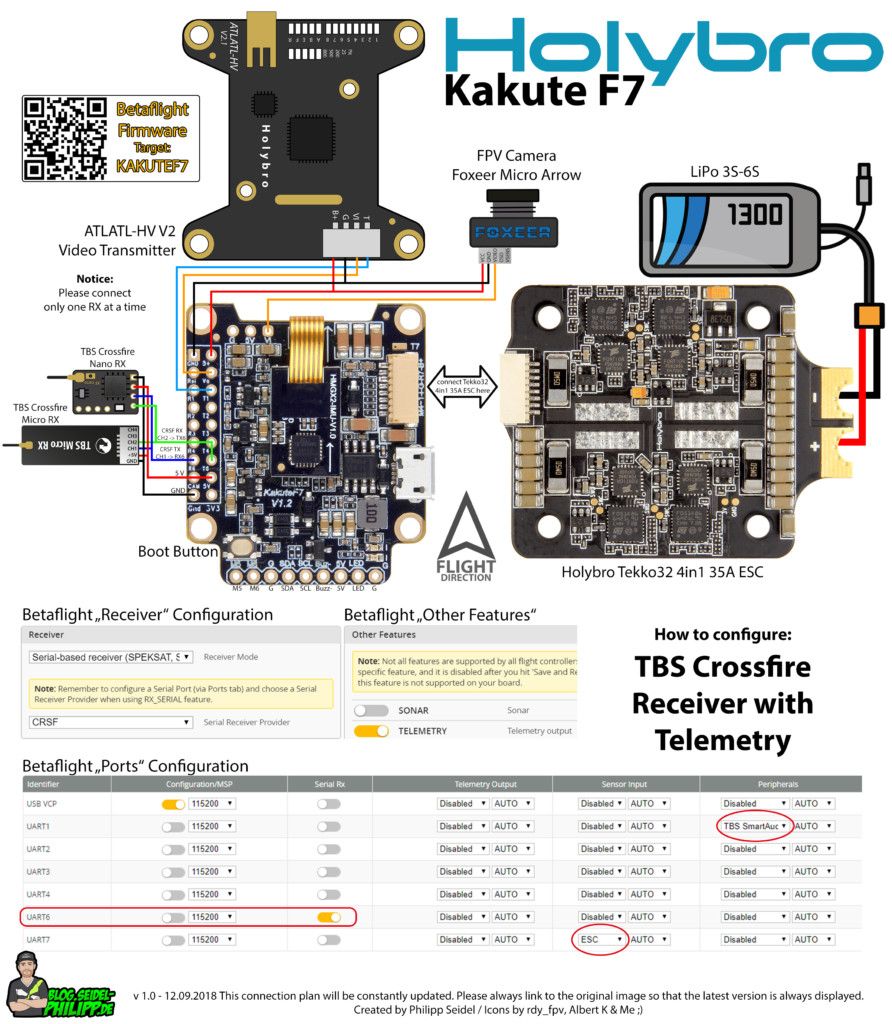
And after checking in Betaflight Configurator again that everything was good,I protected the receiver and installed it on the Flight Controller Board
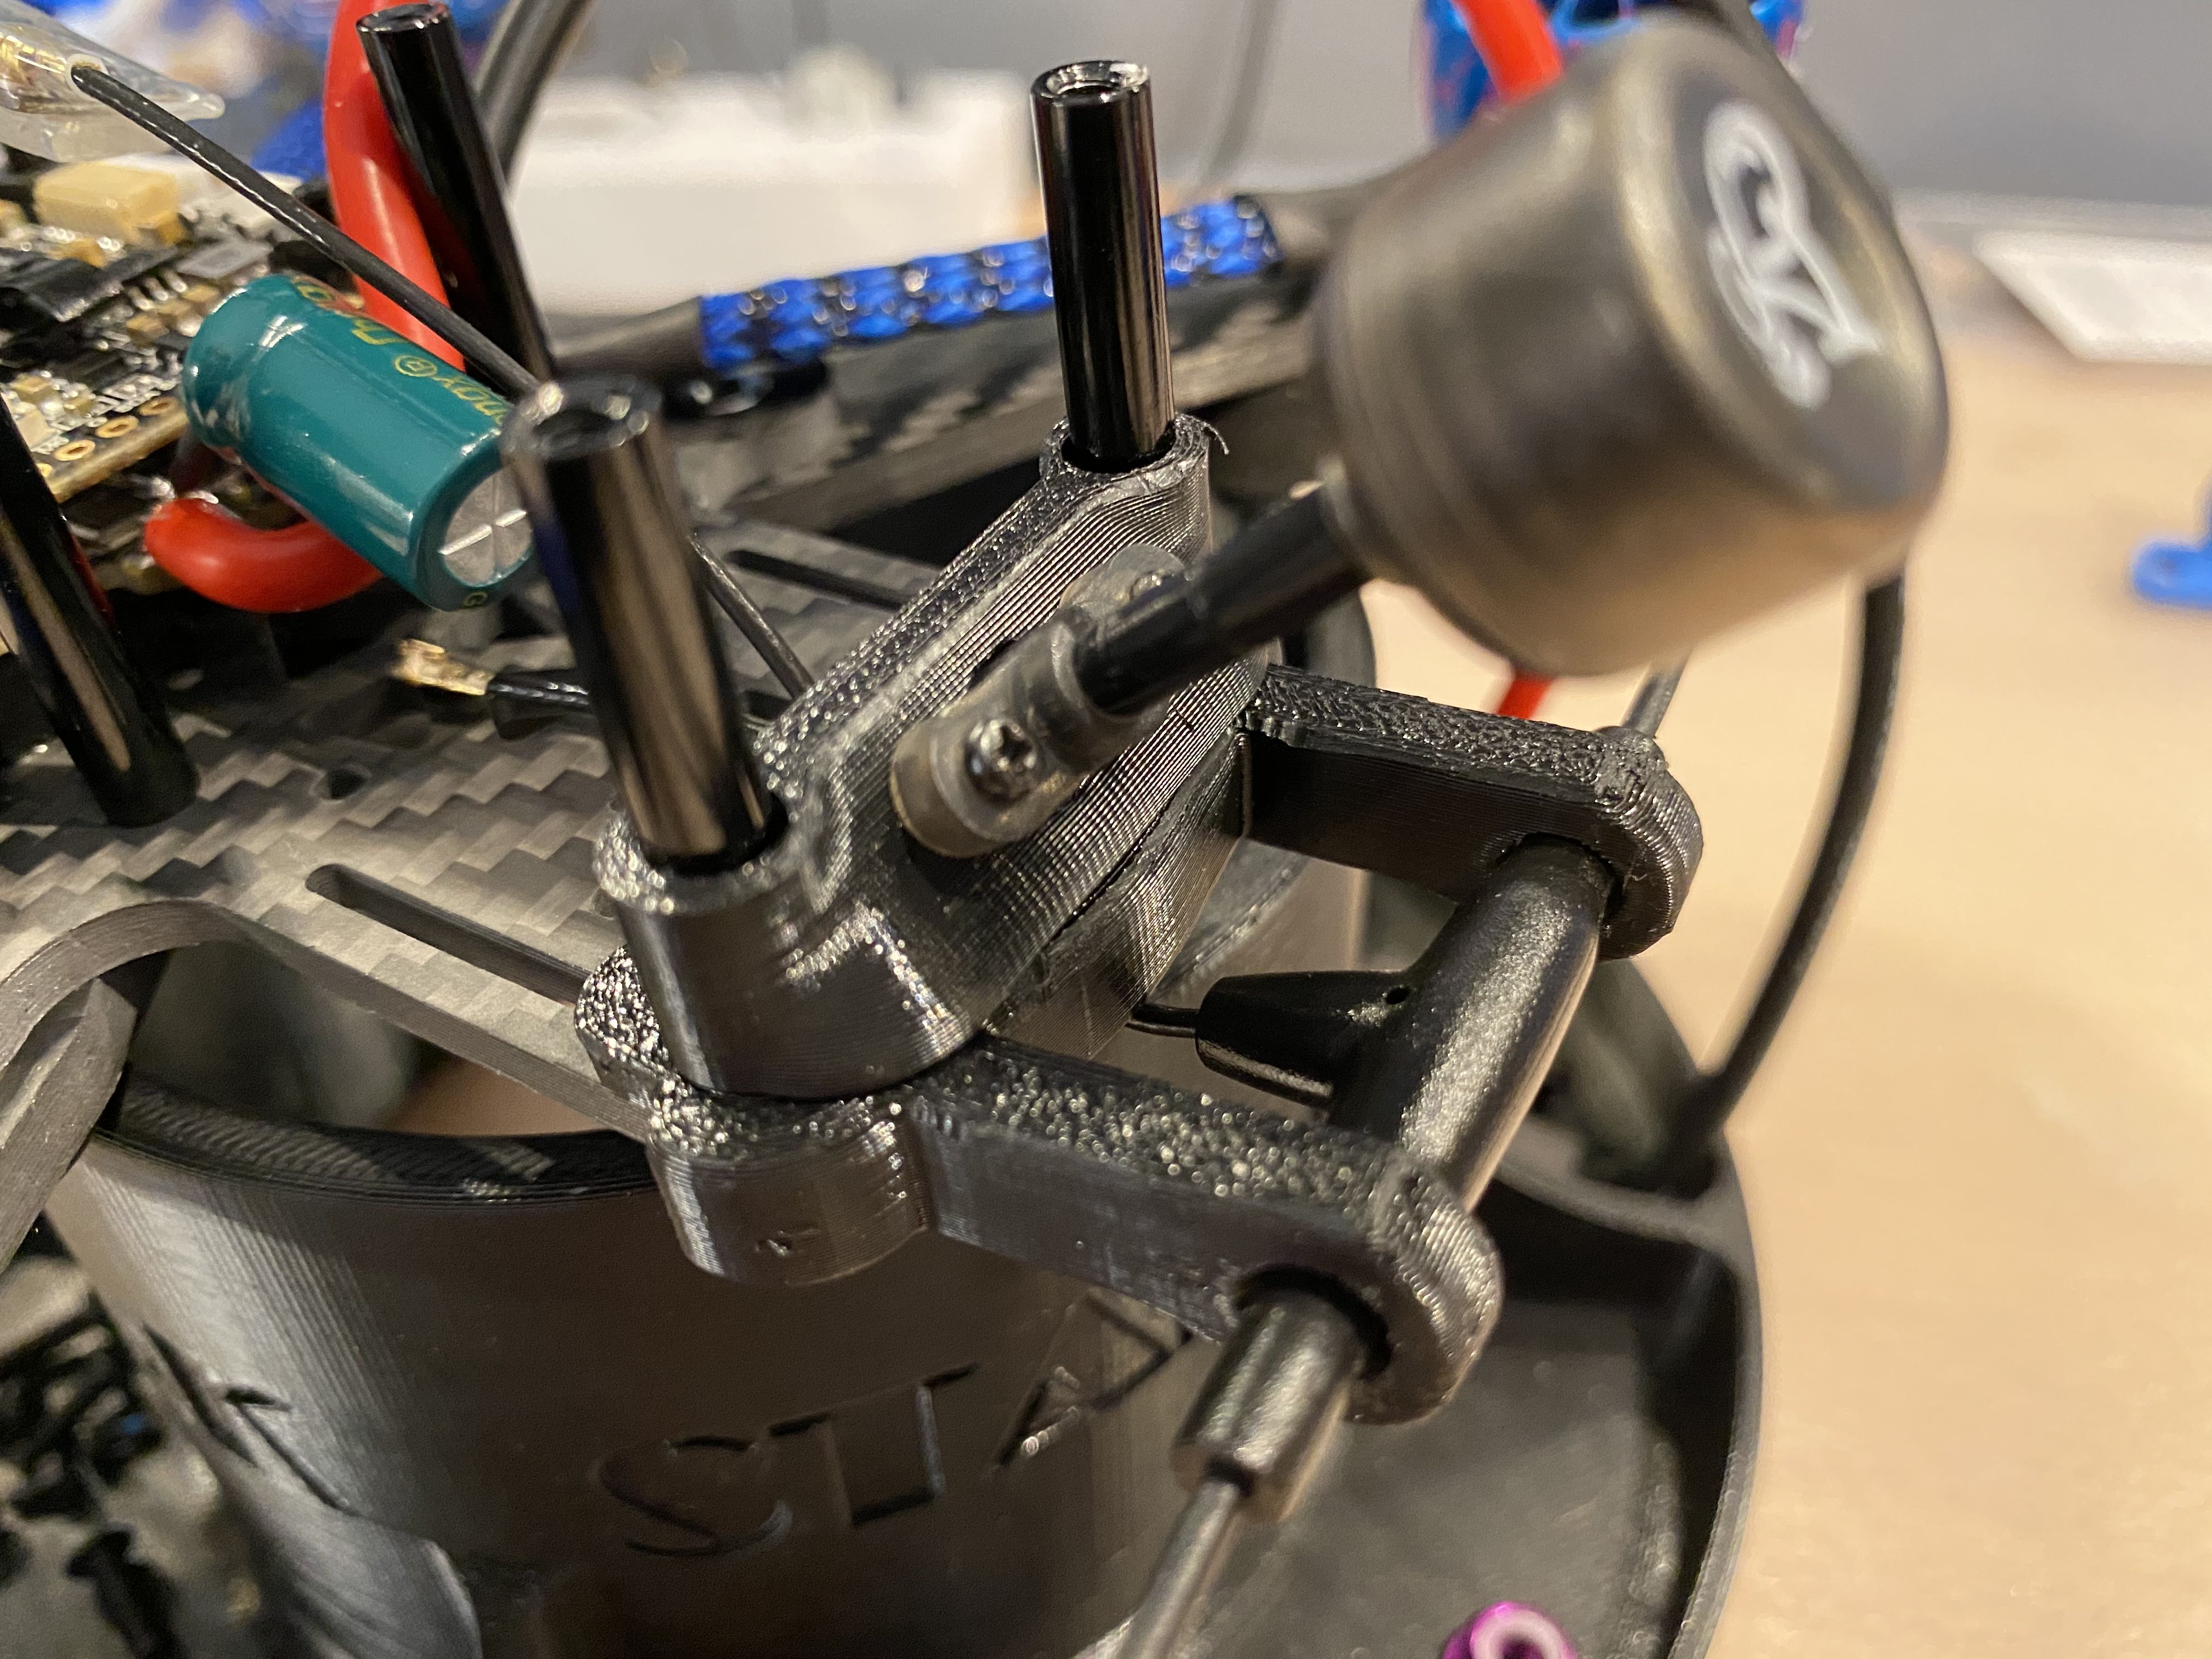
I 3D printed several parts like bumpers and antenna holders
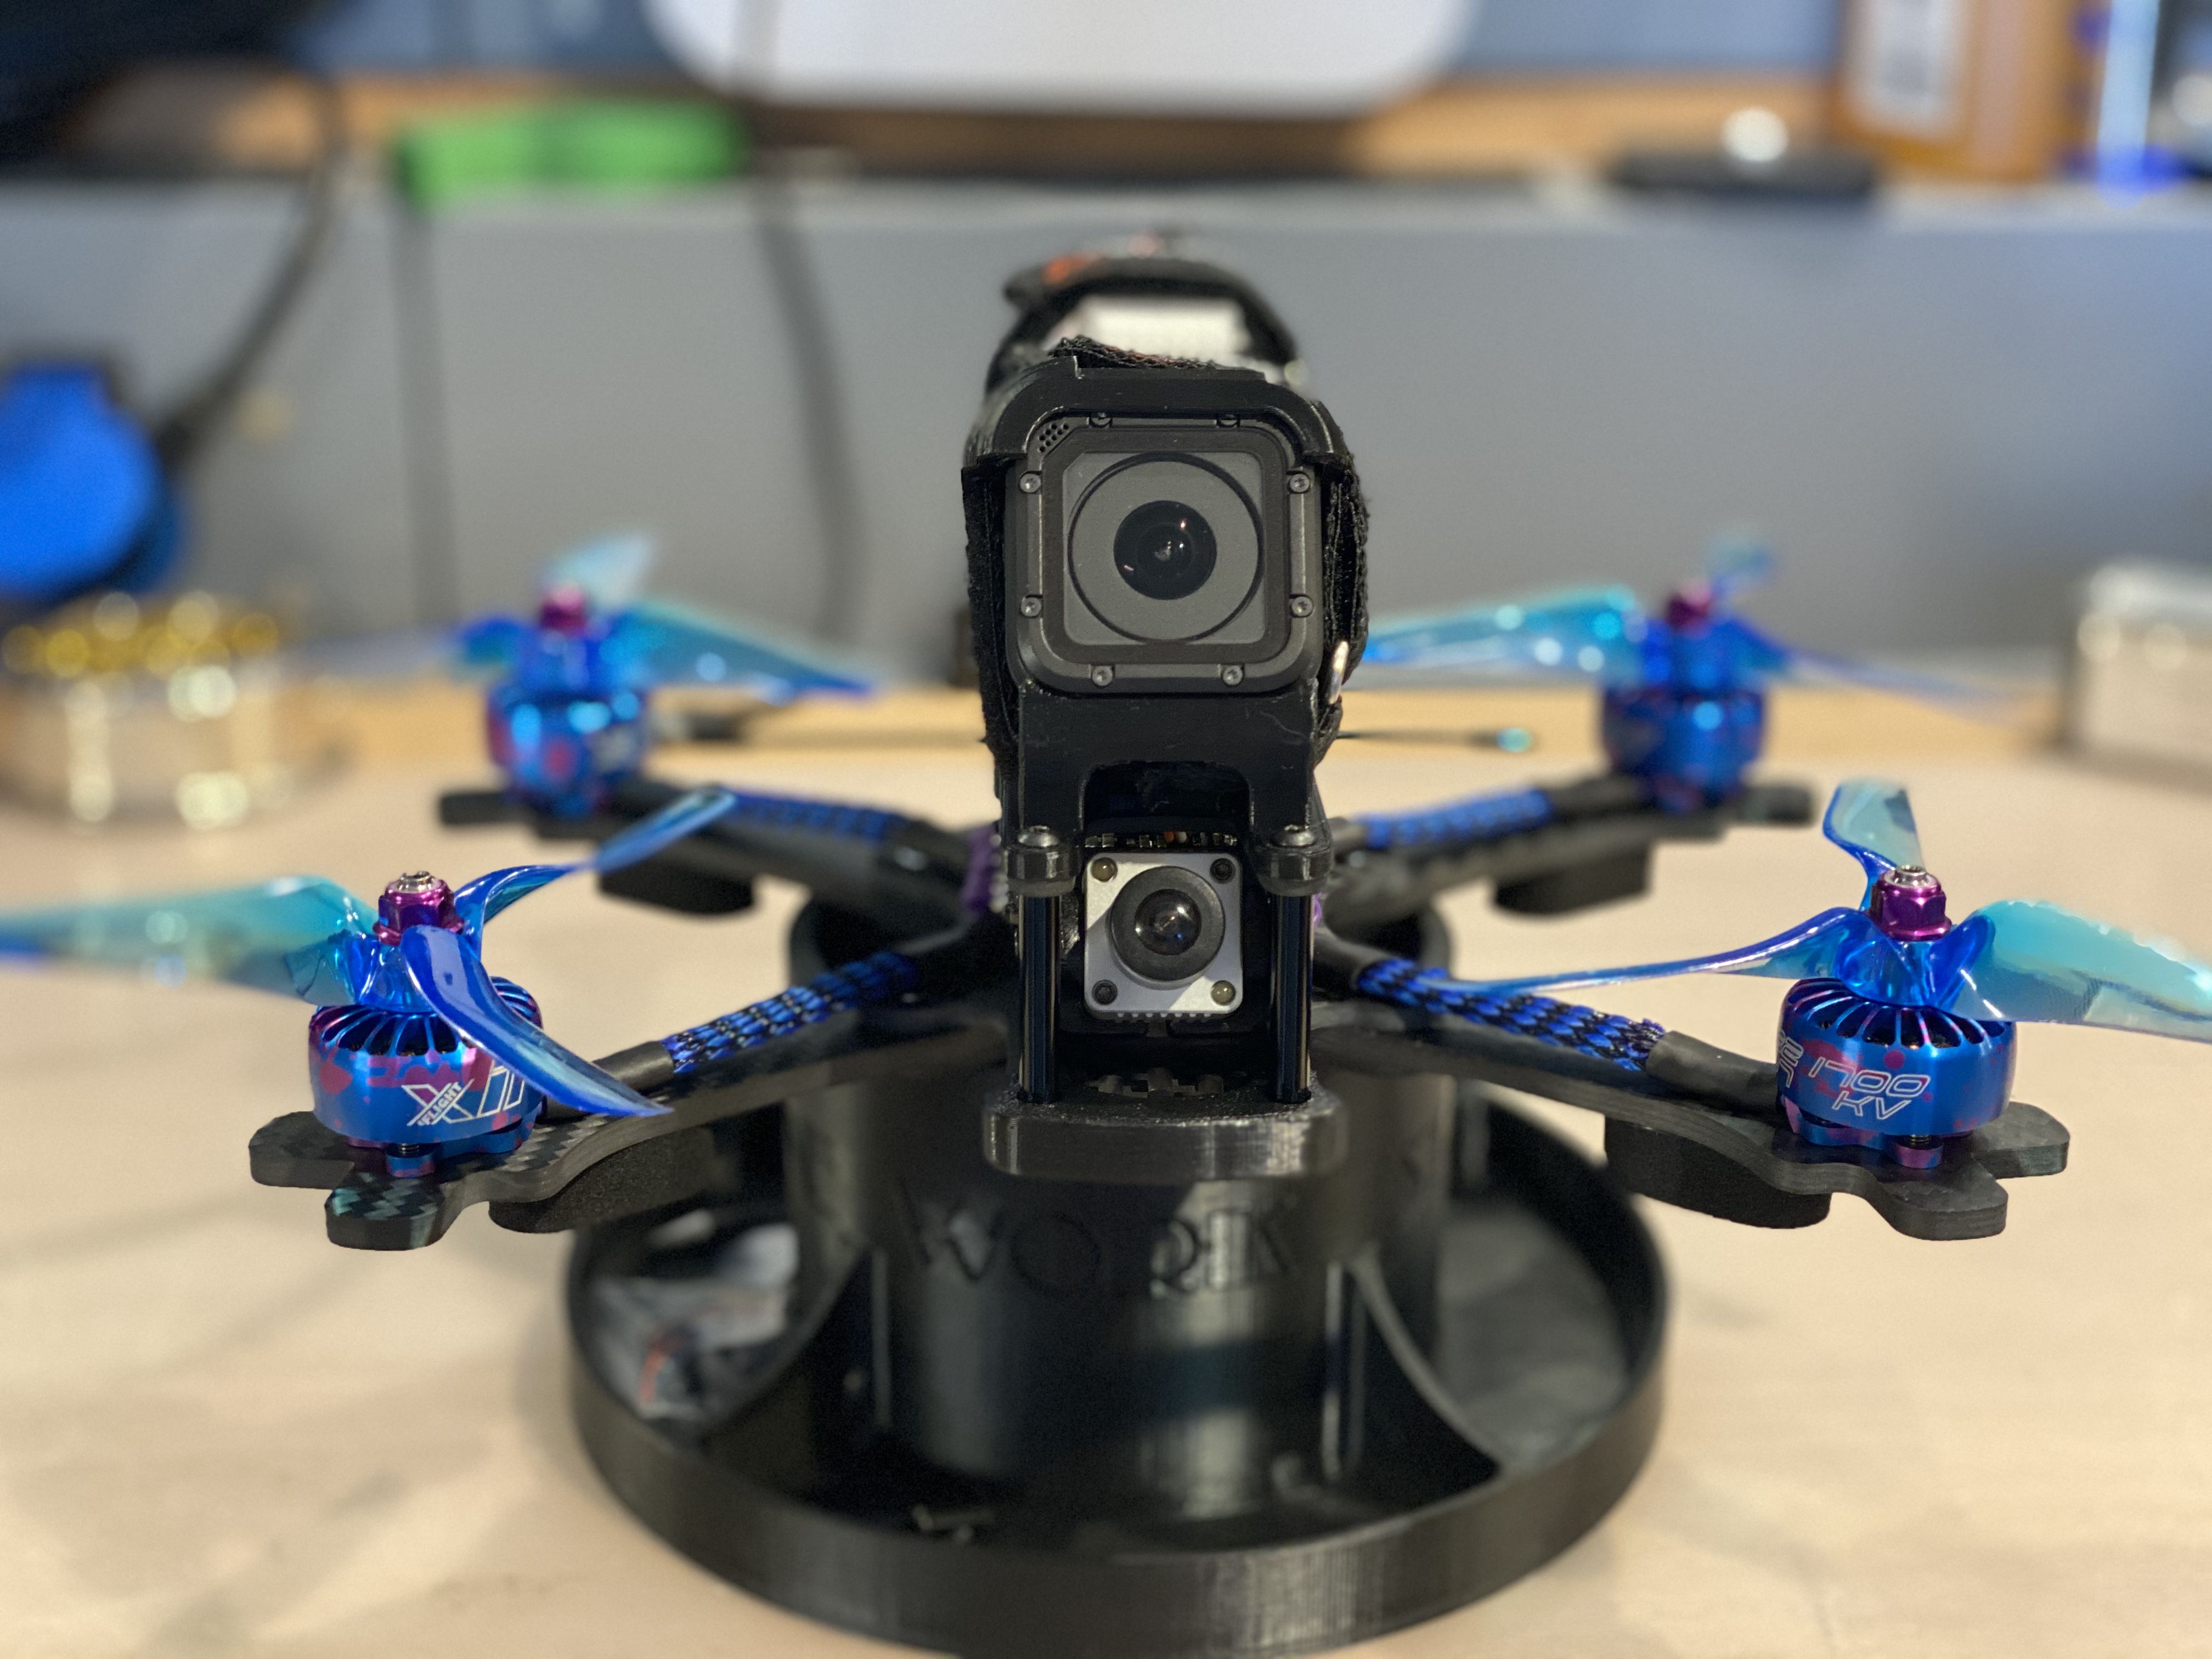
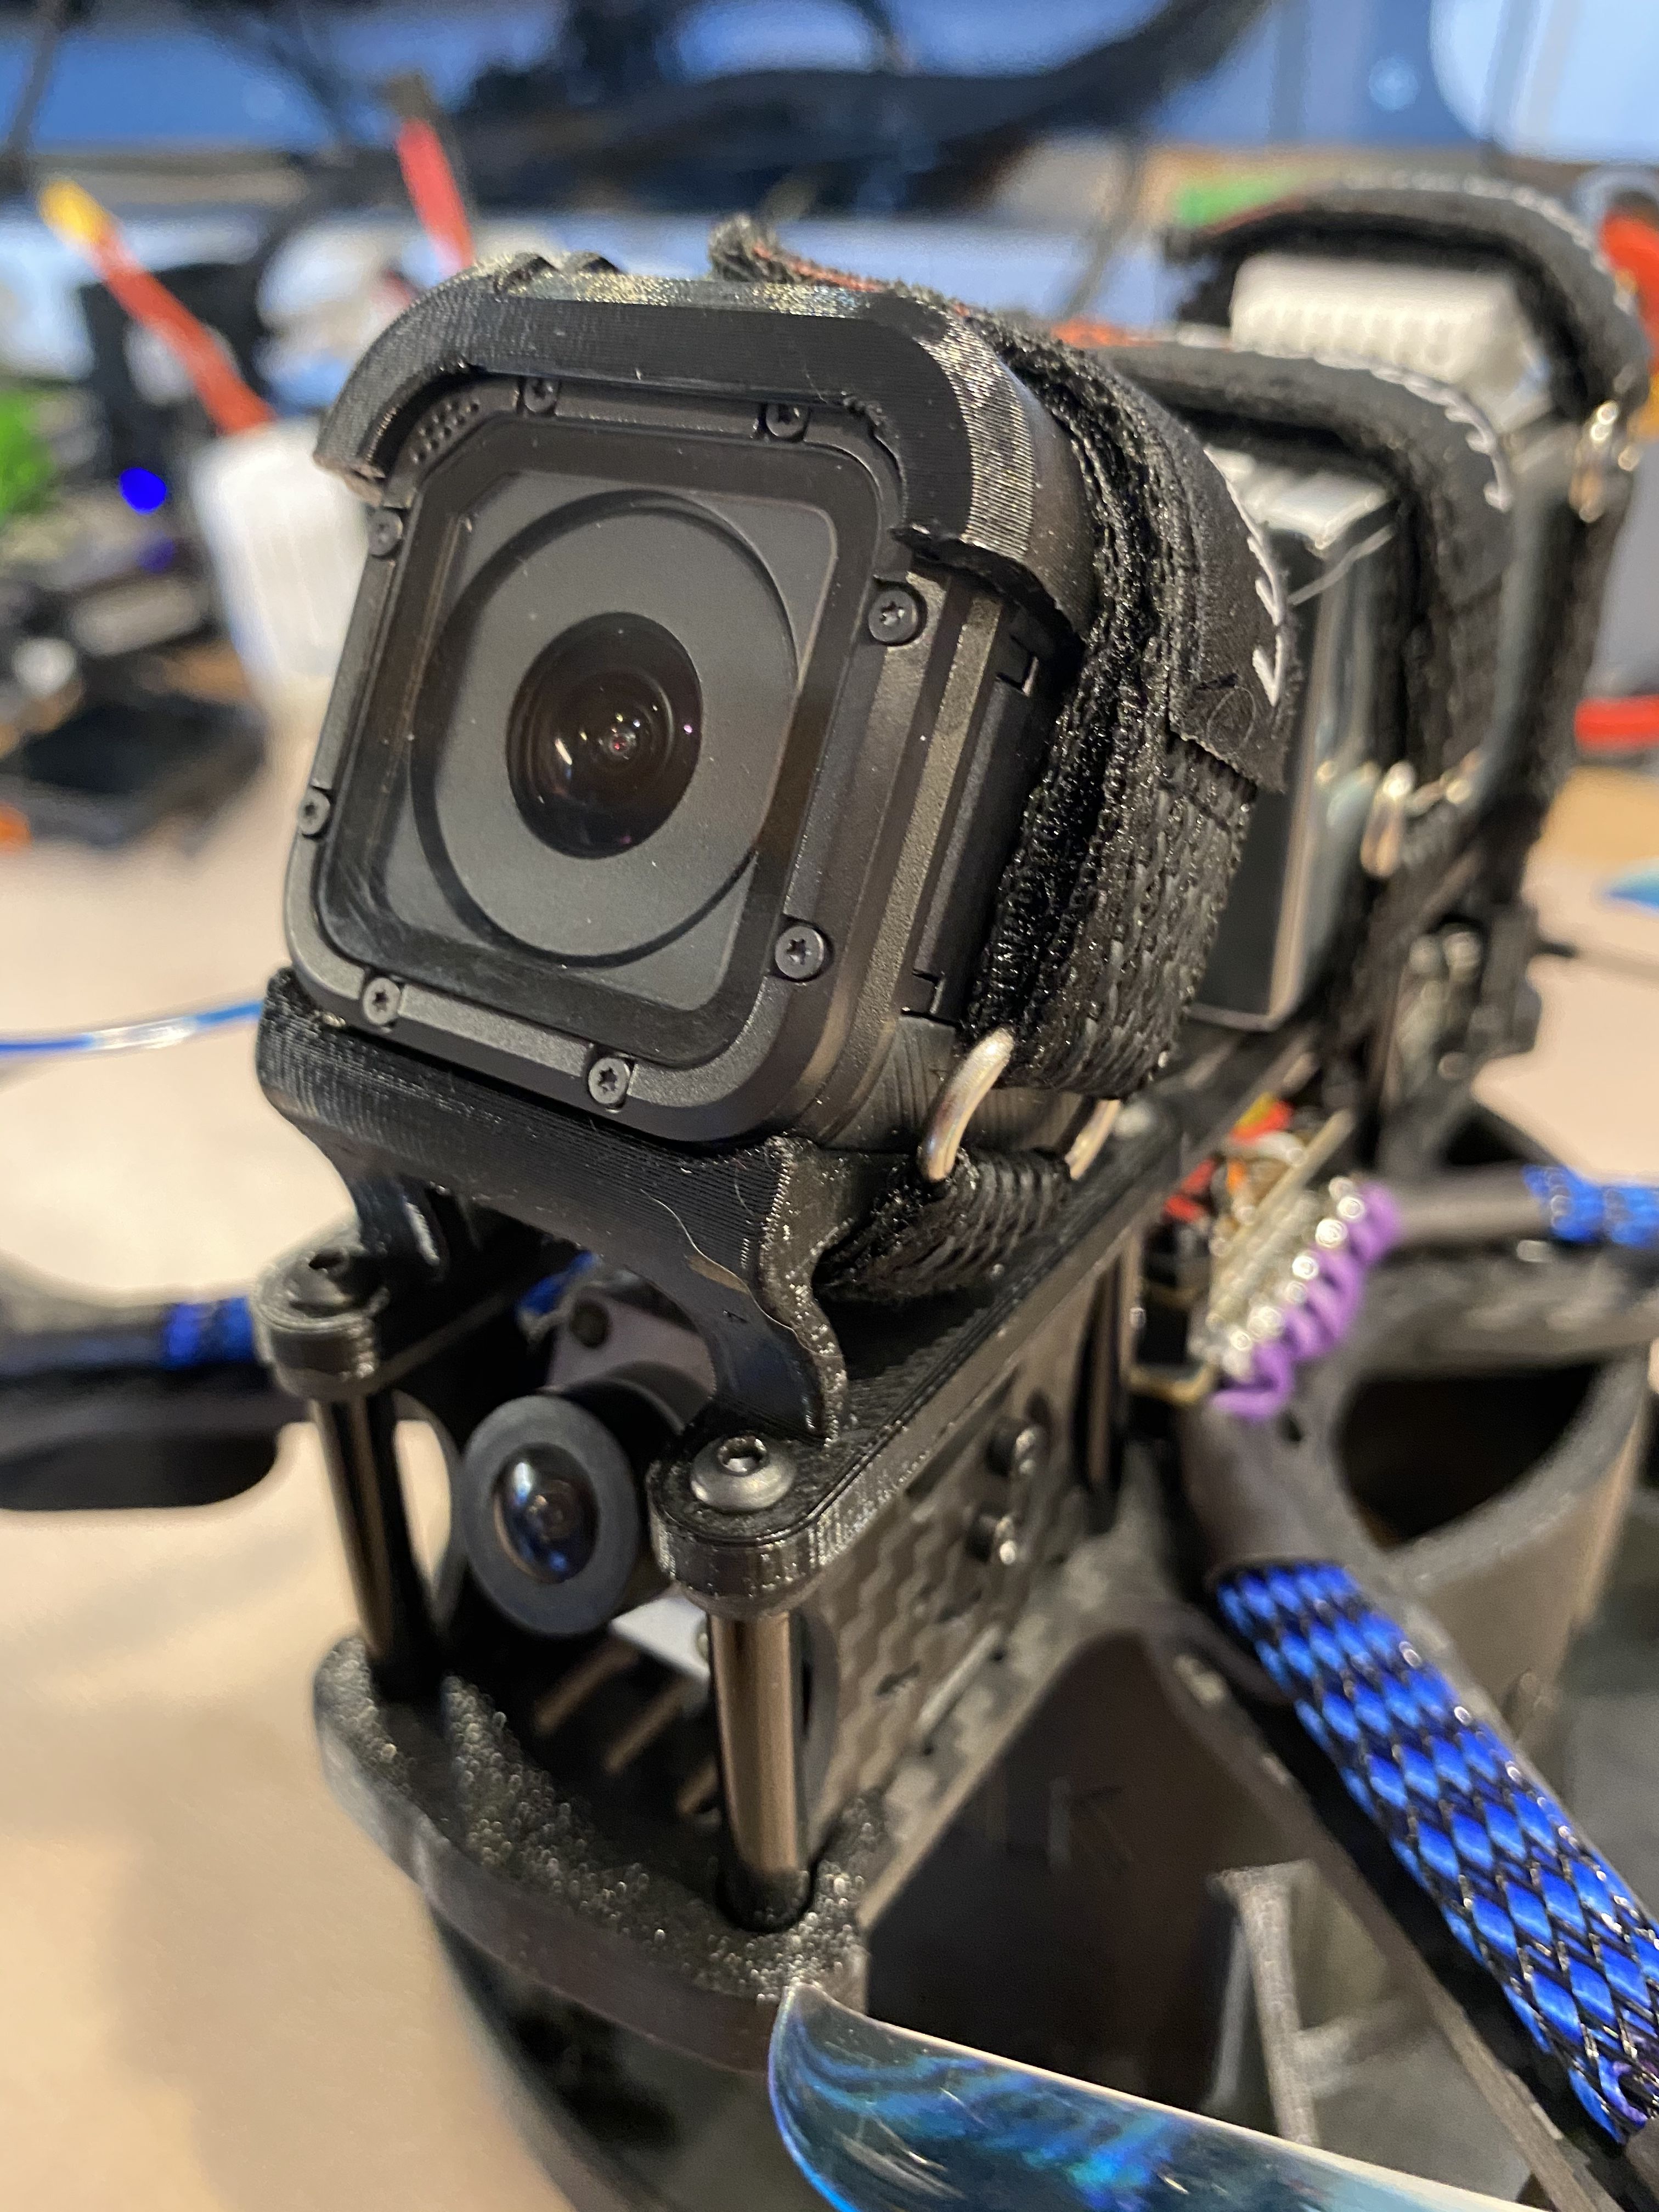
My main worry was the length of Caddx Vista camera cable but it is long enough for this frame at least
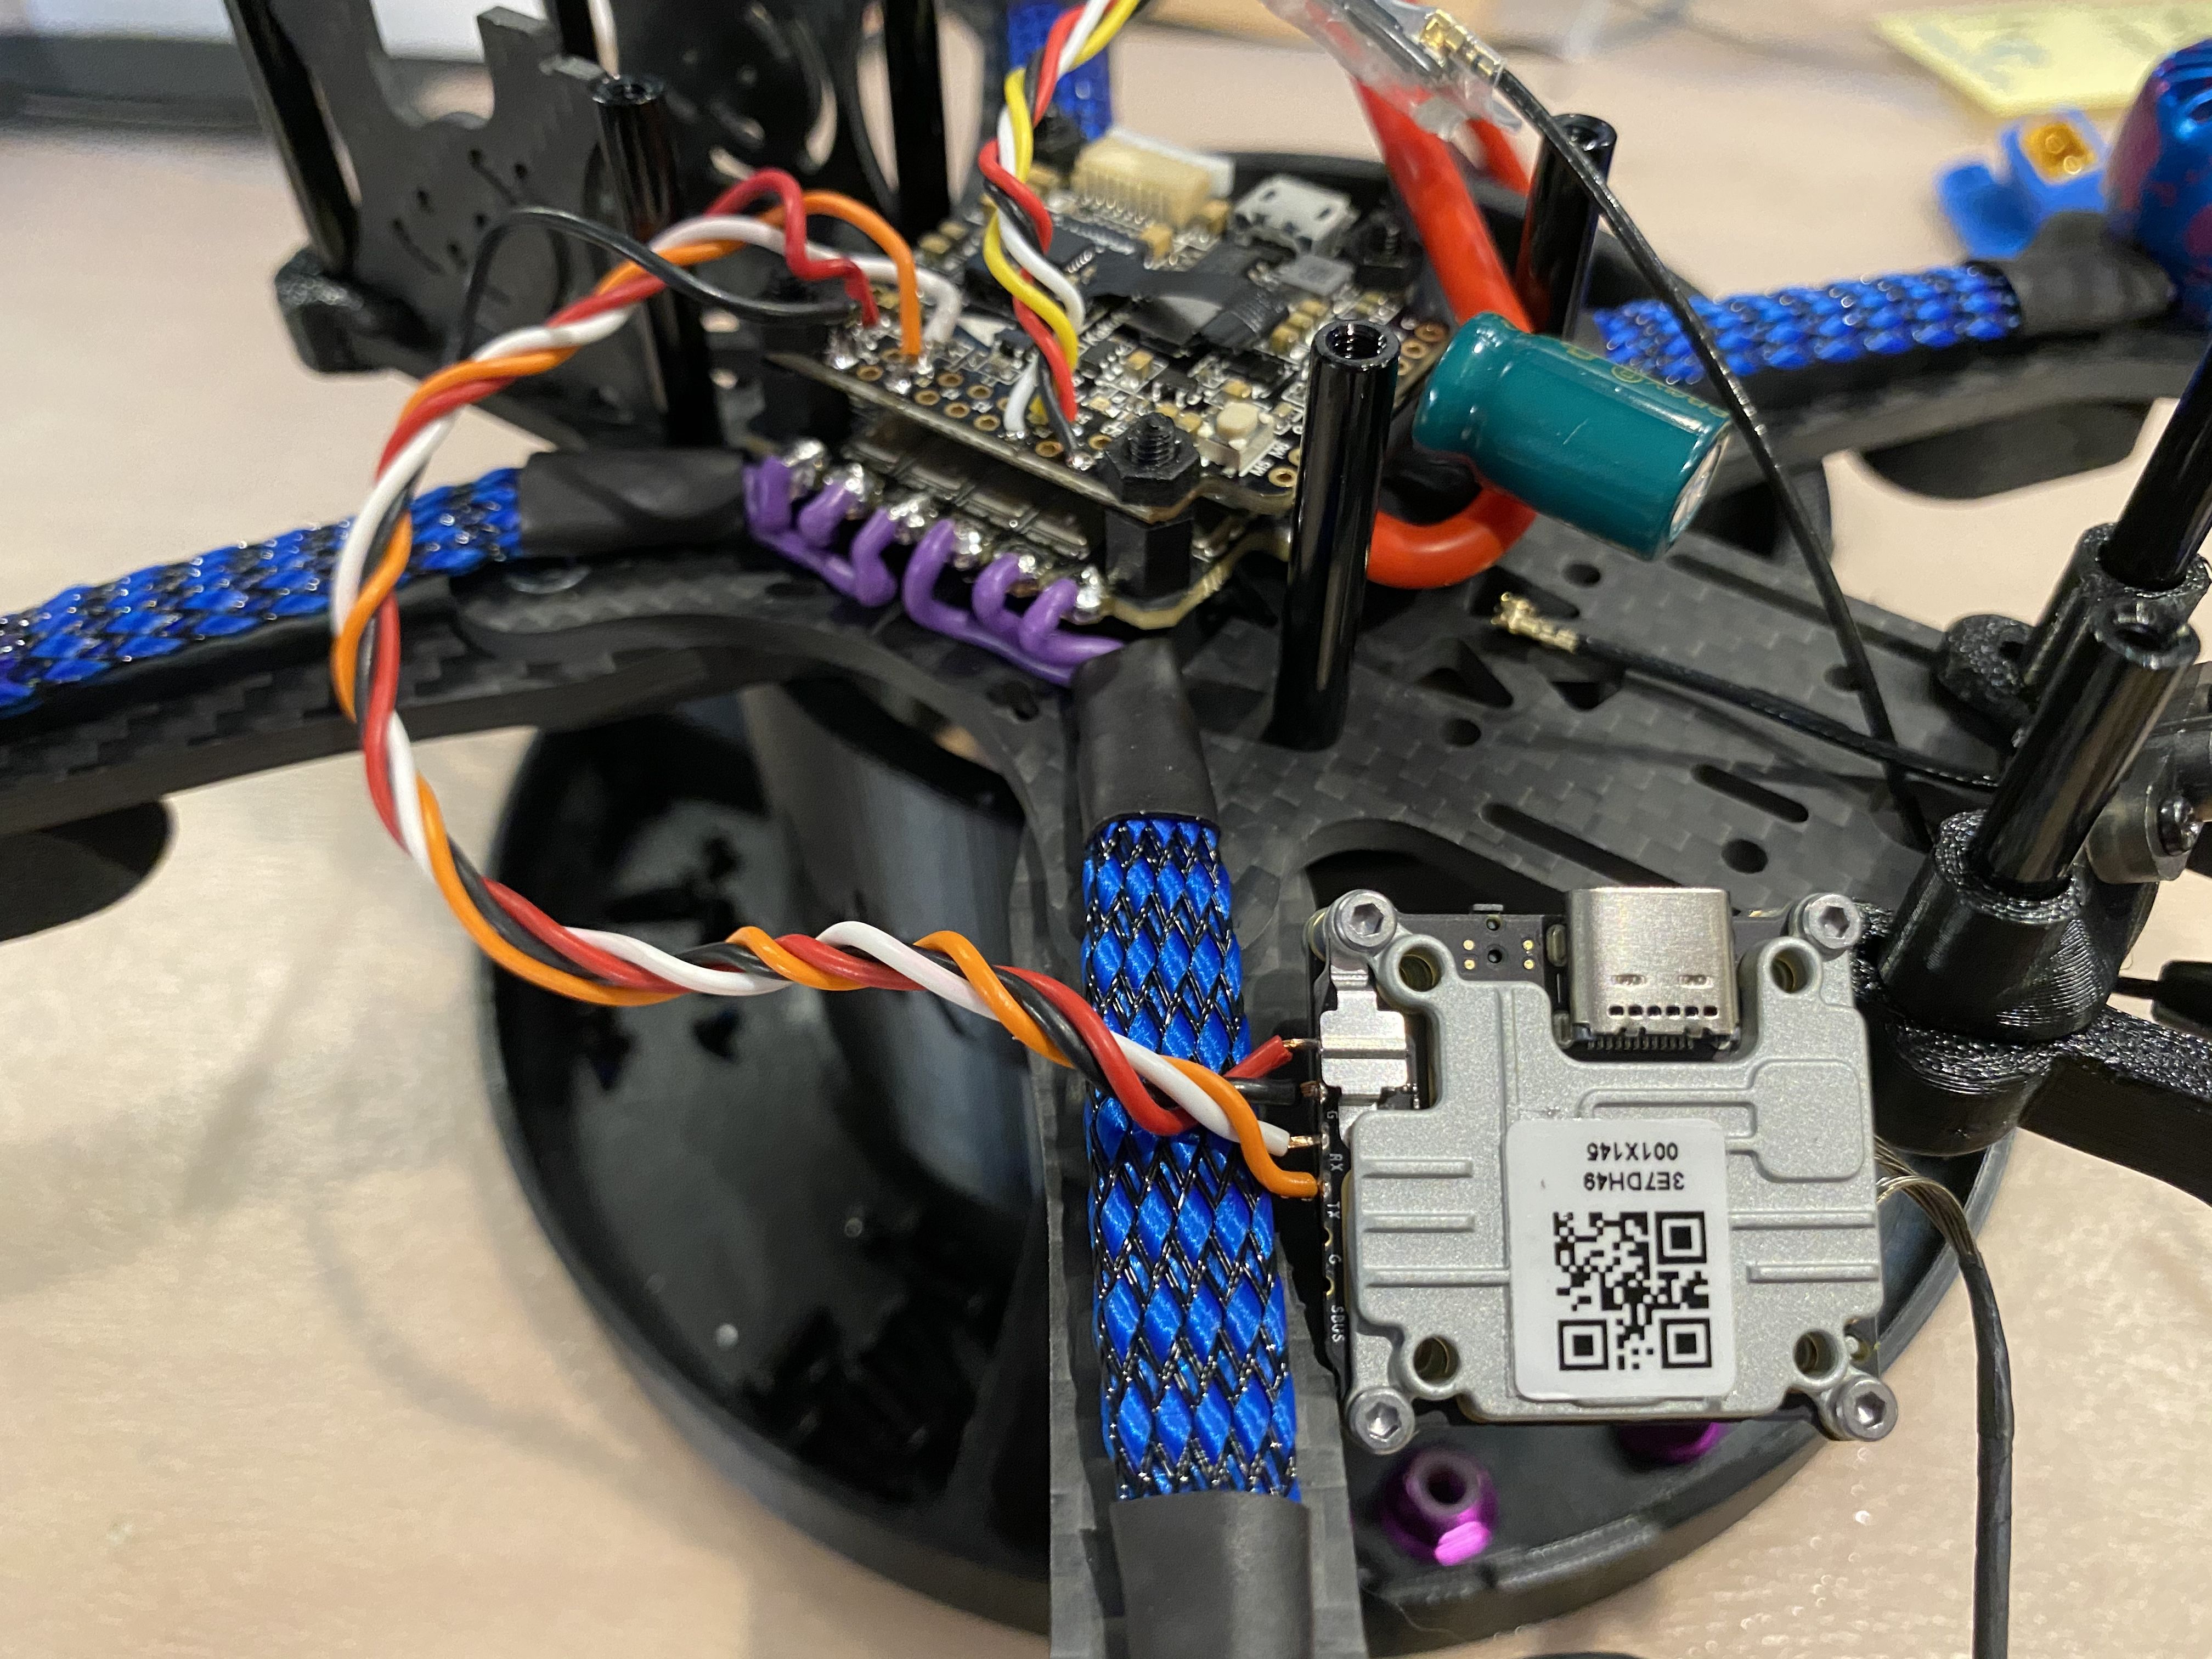
but the camera needs a small adaptor to fit in, I 3D printed it as well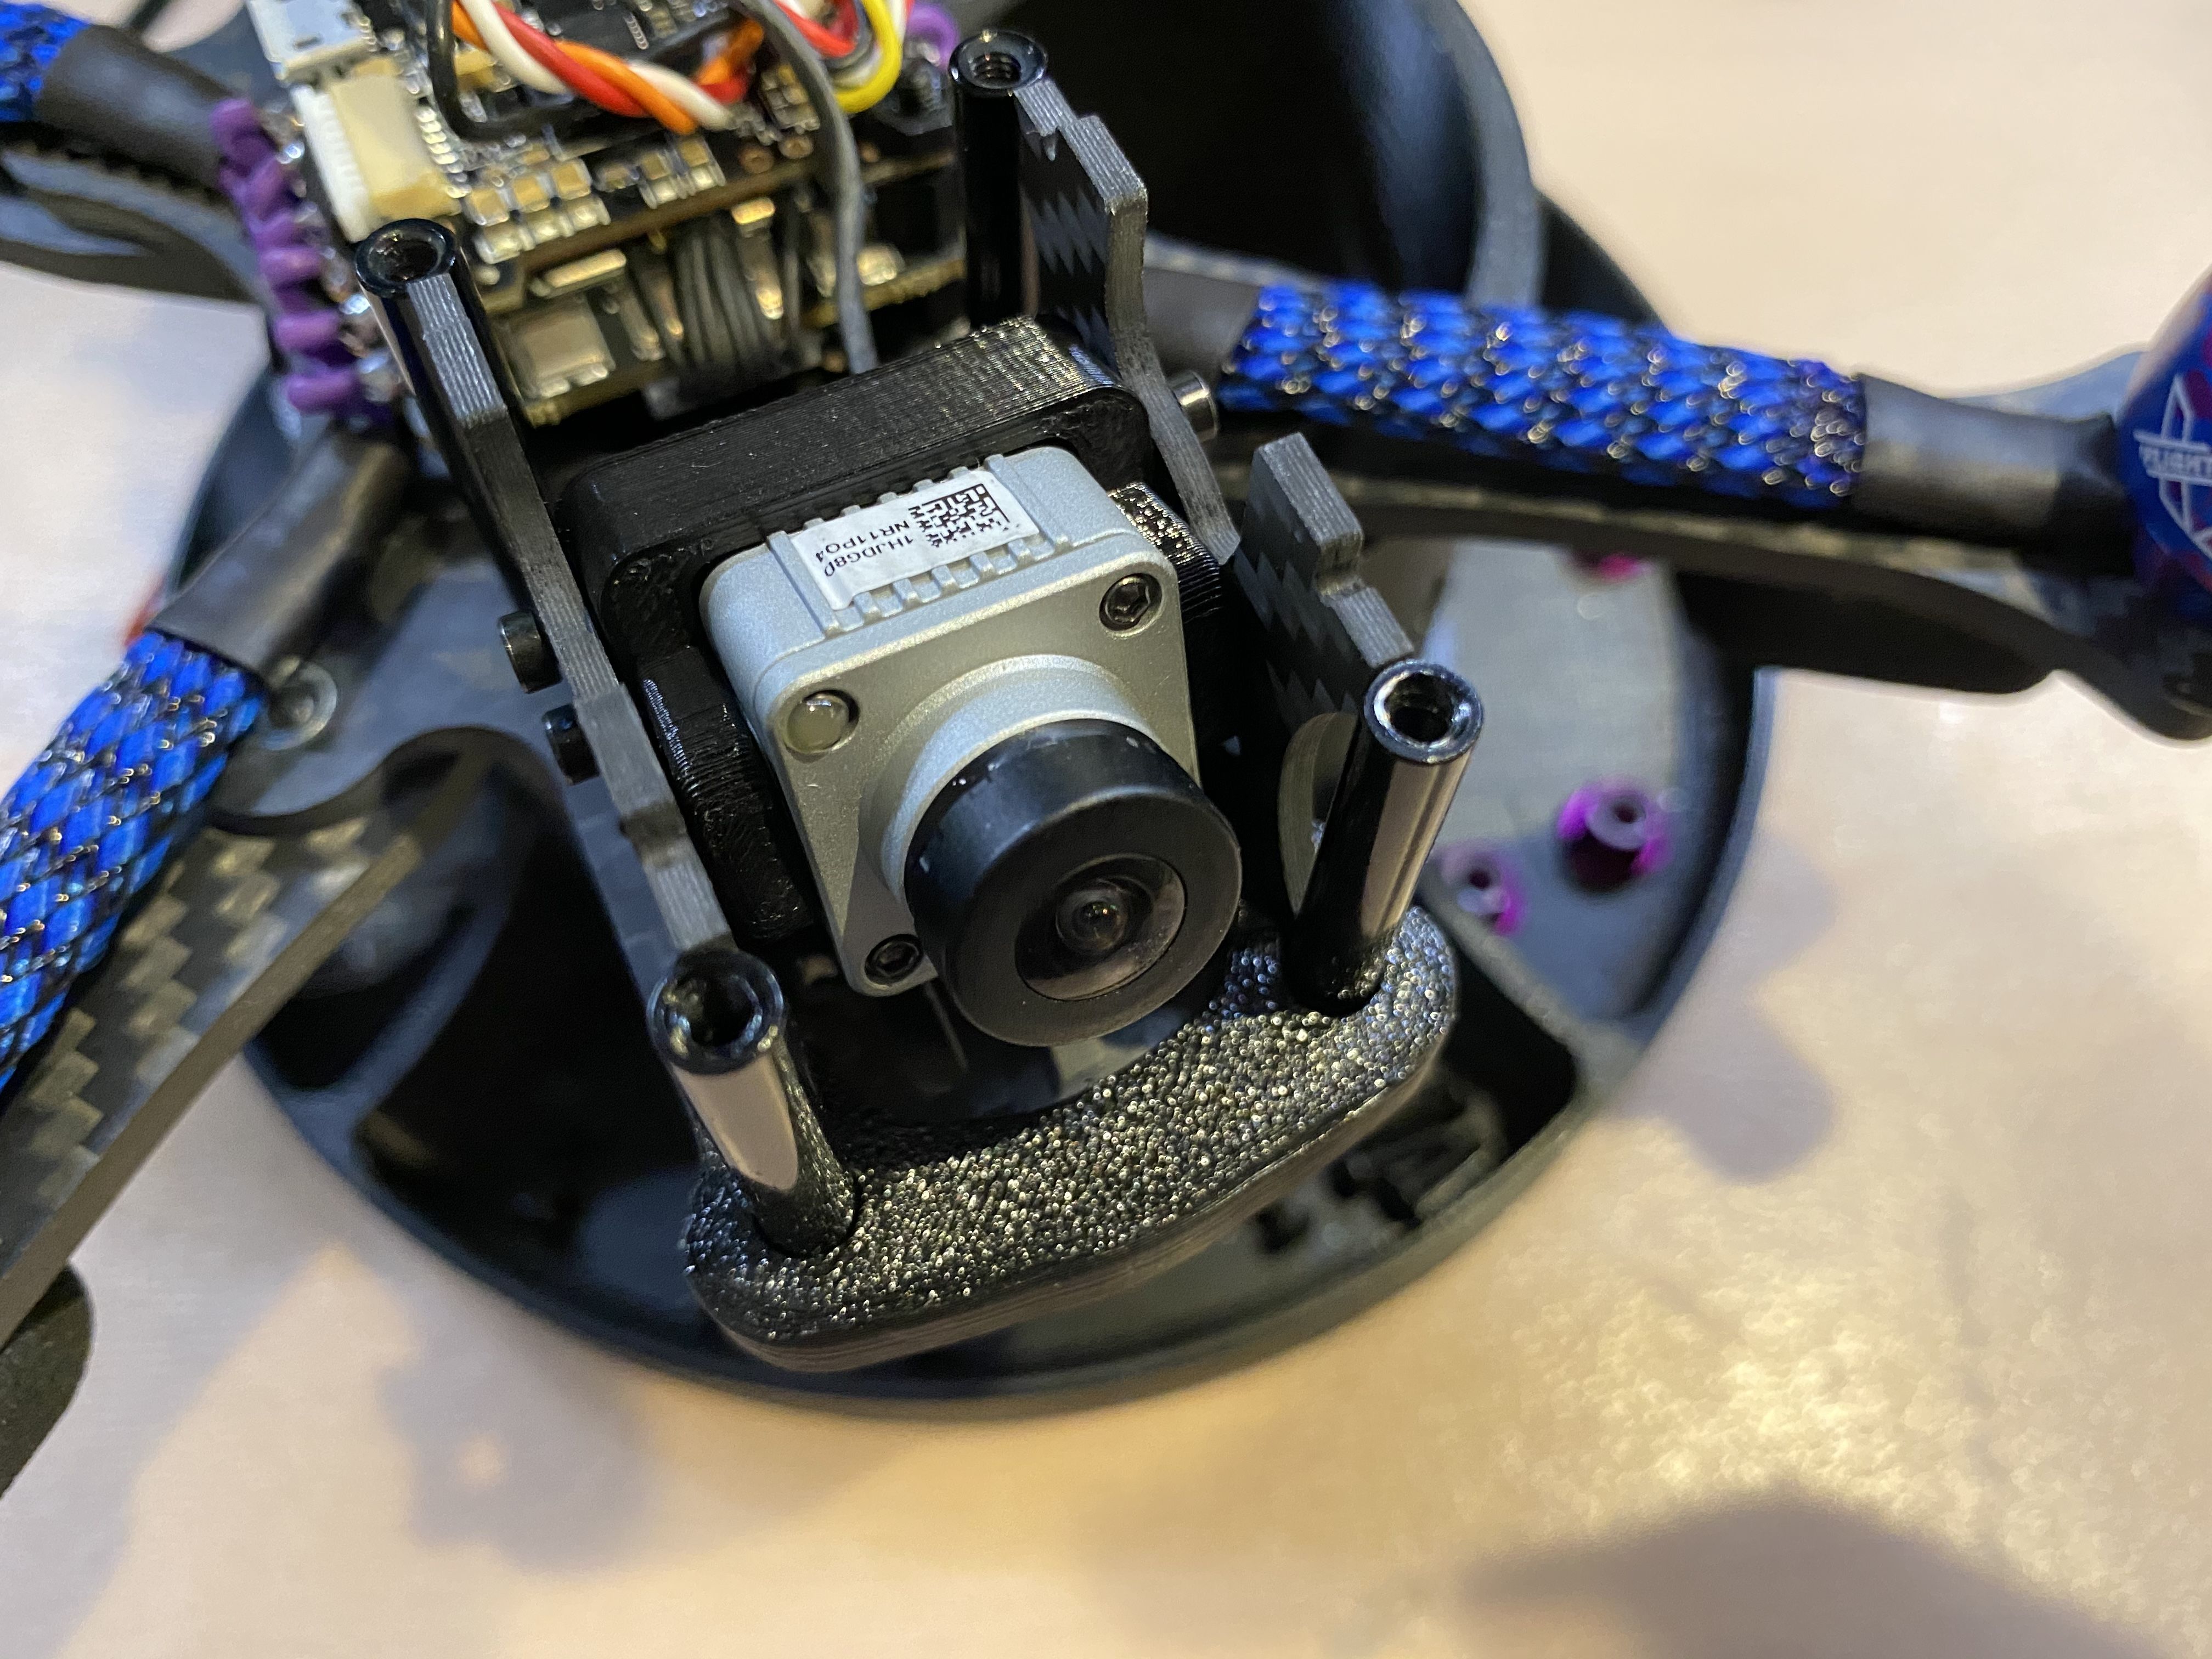
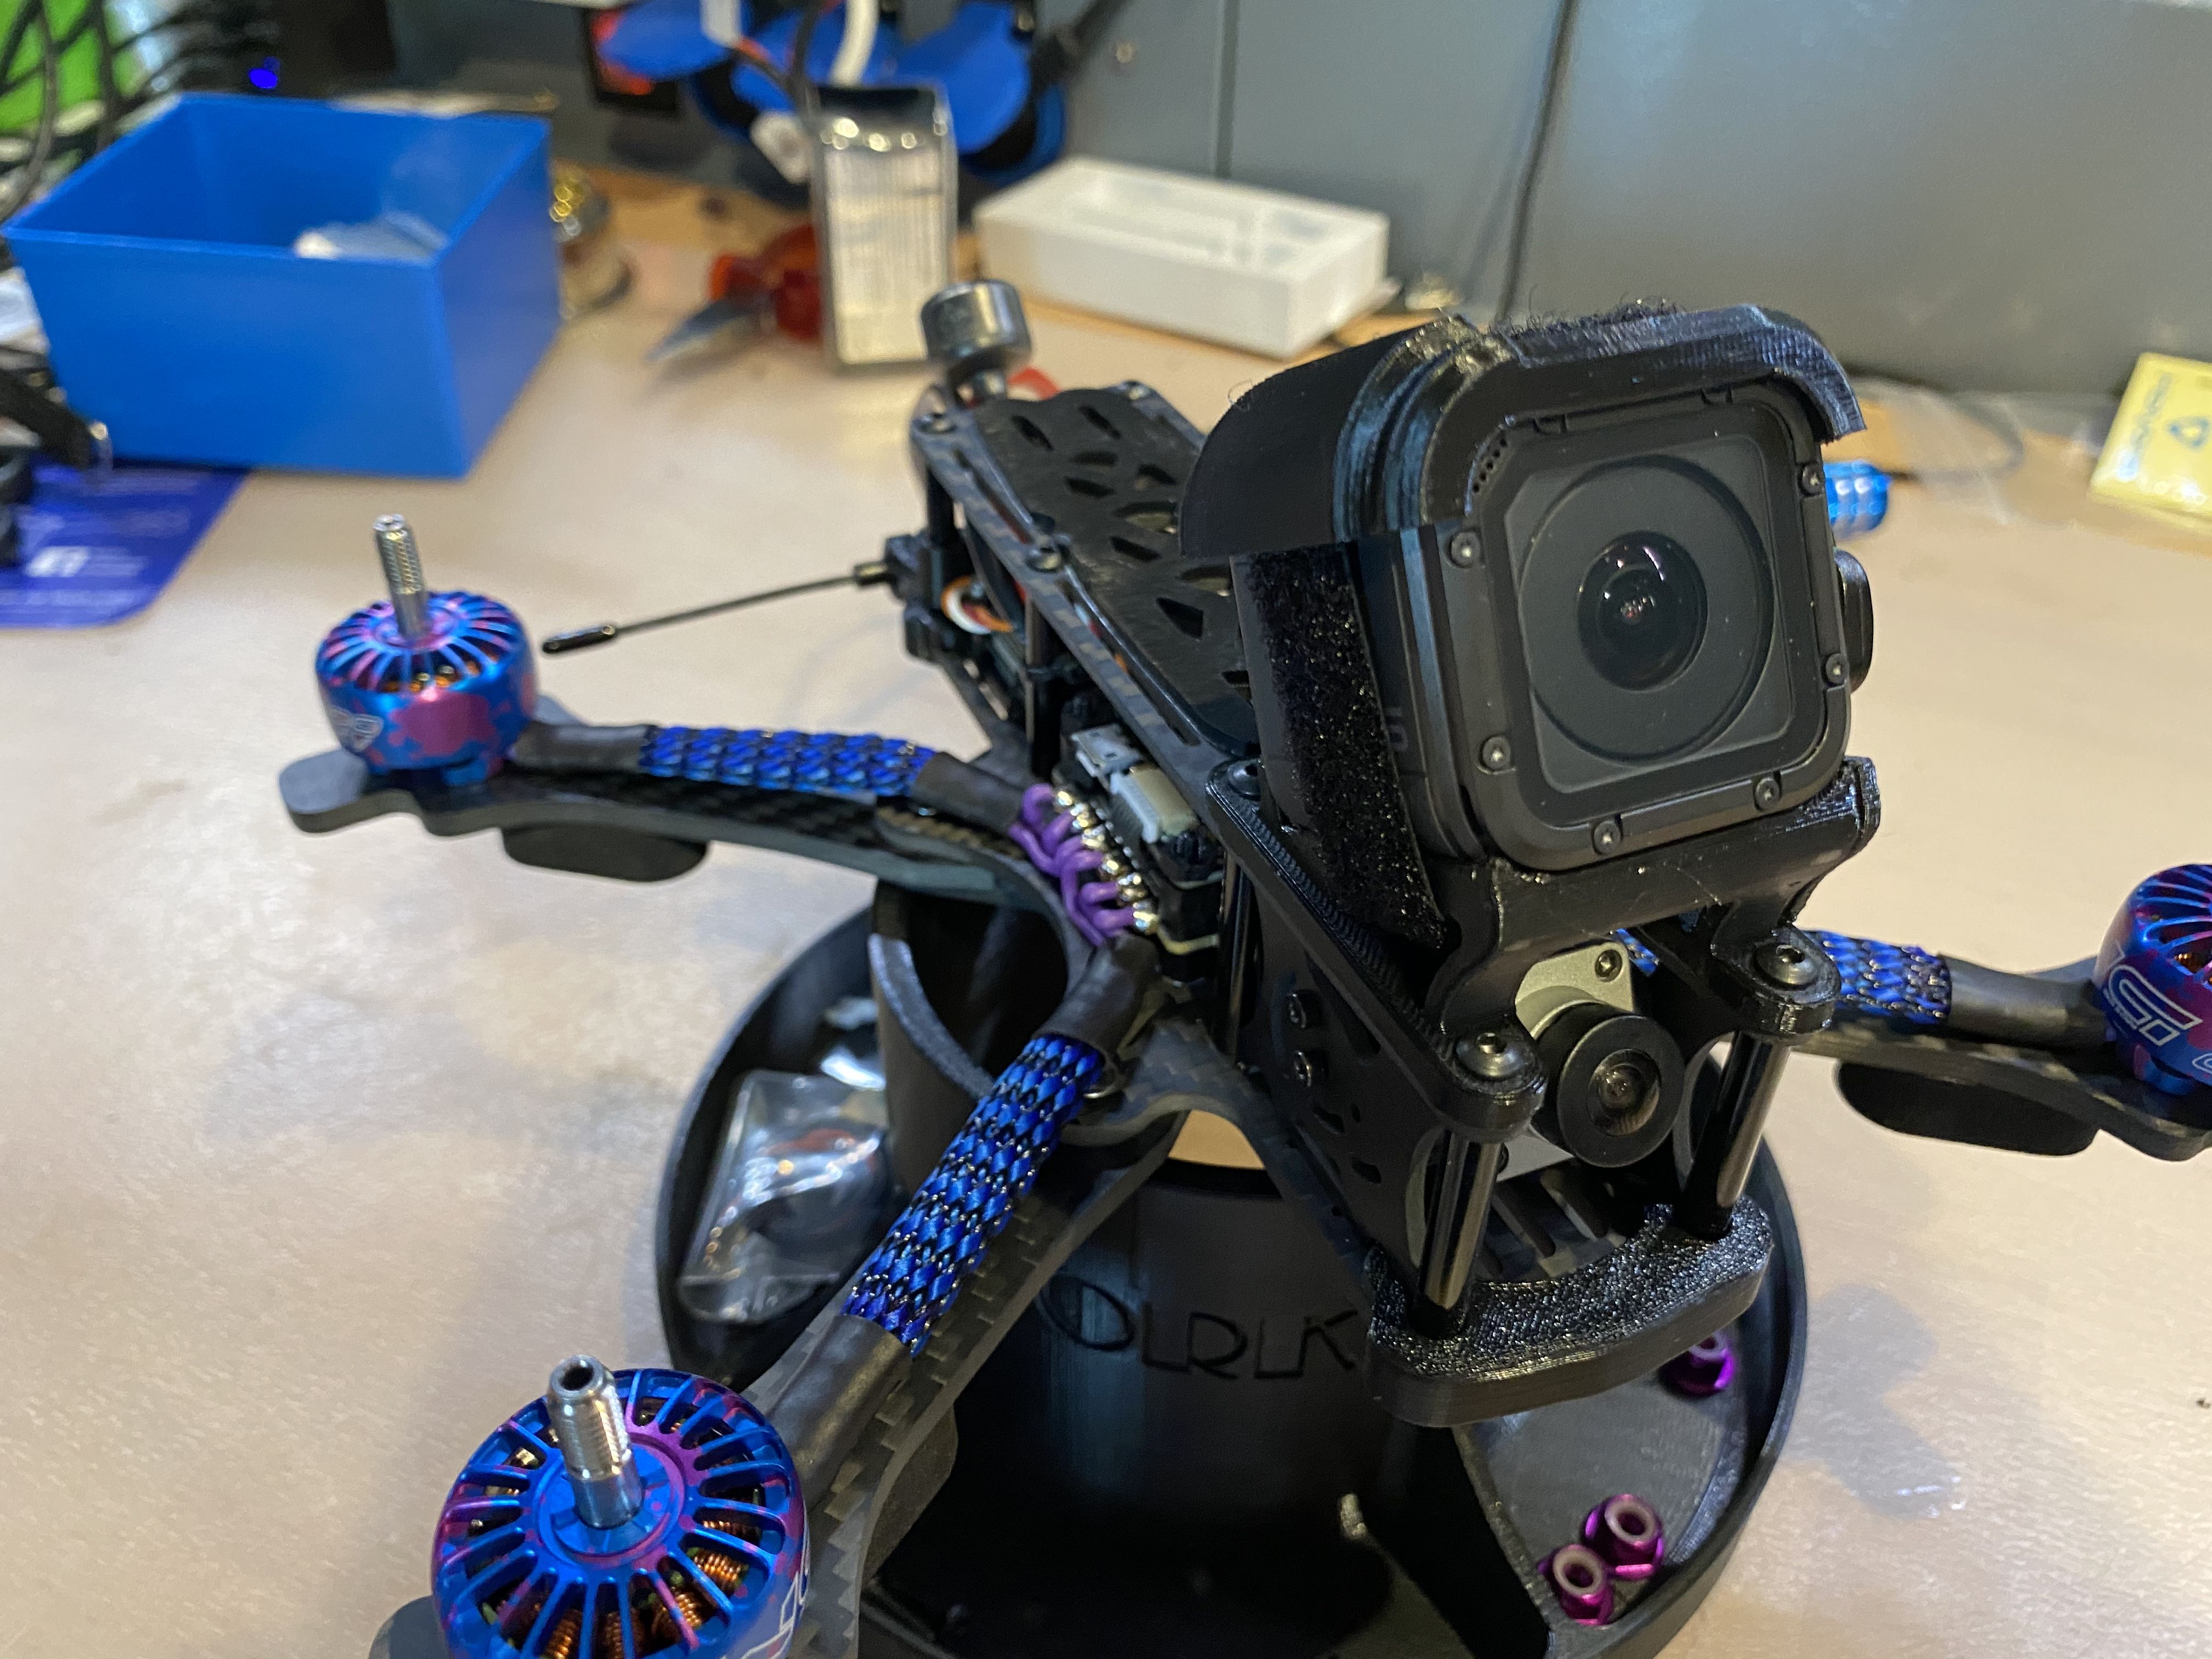
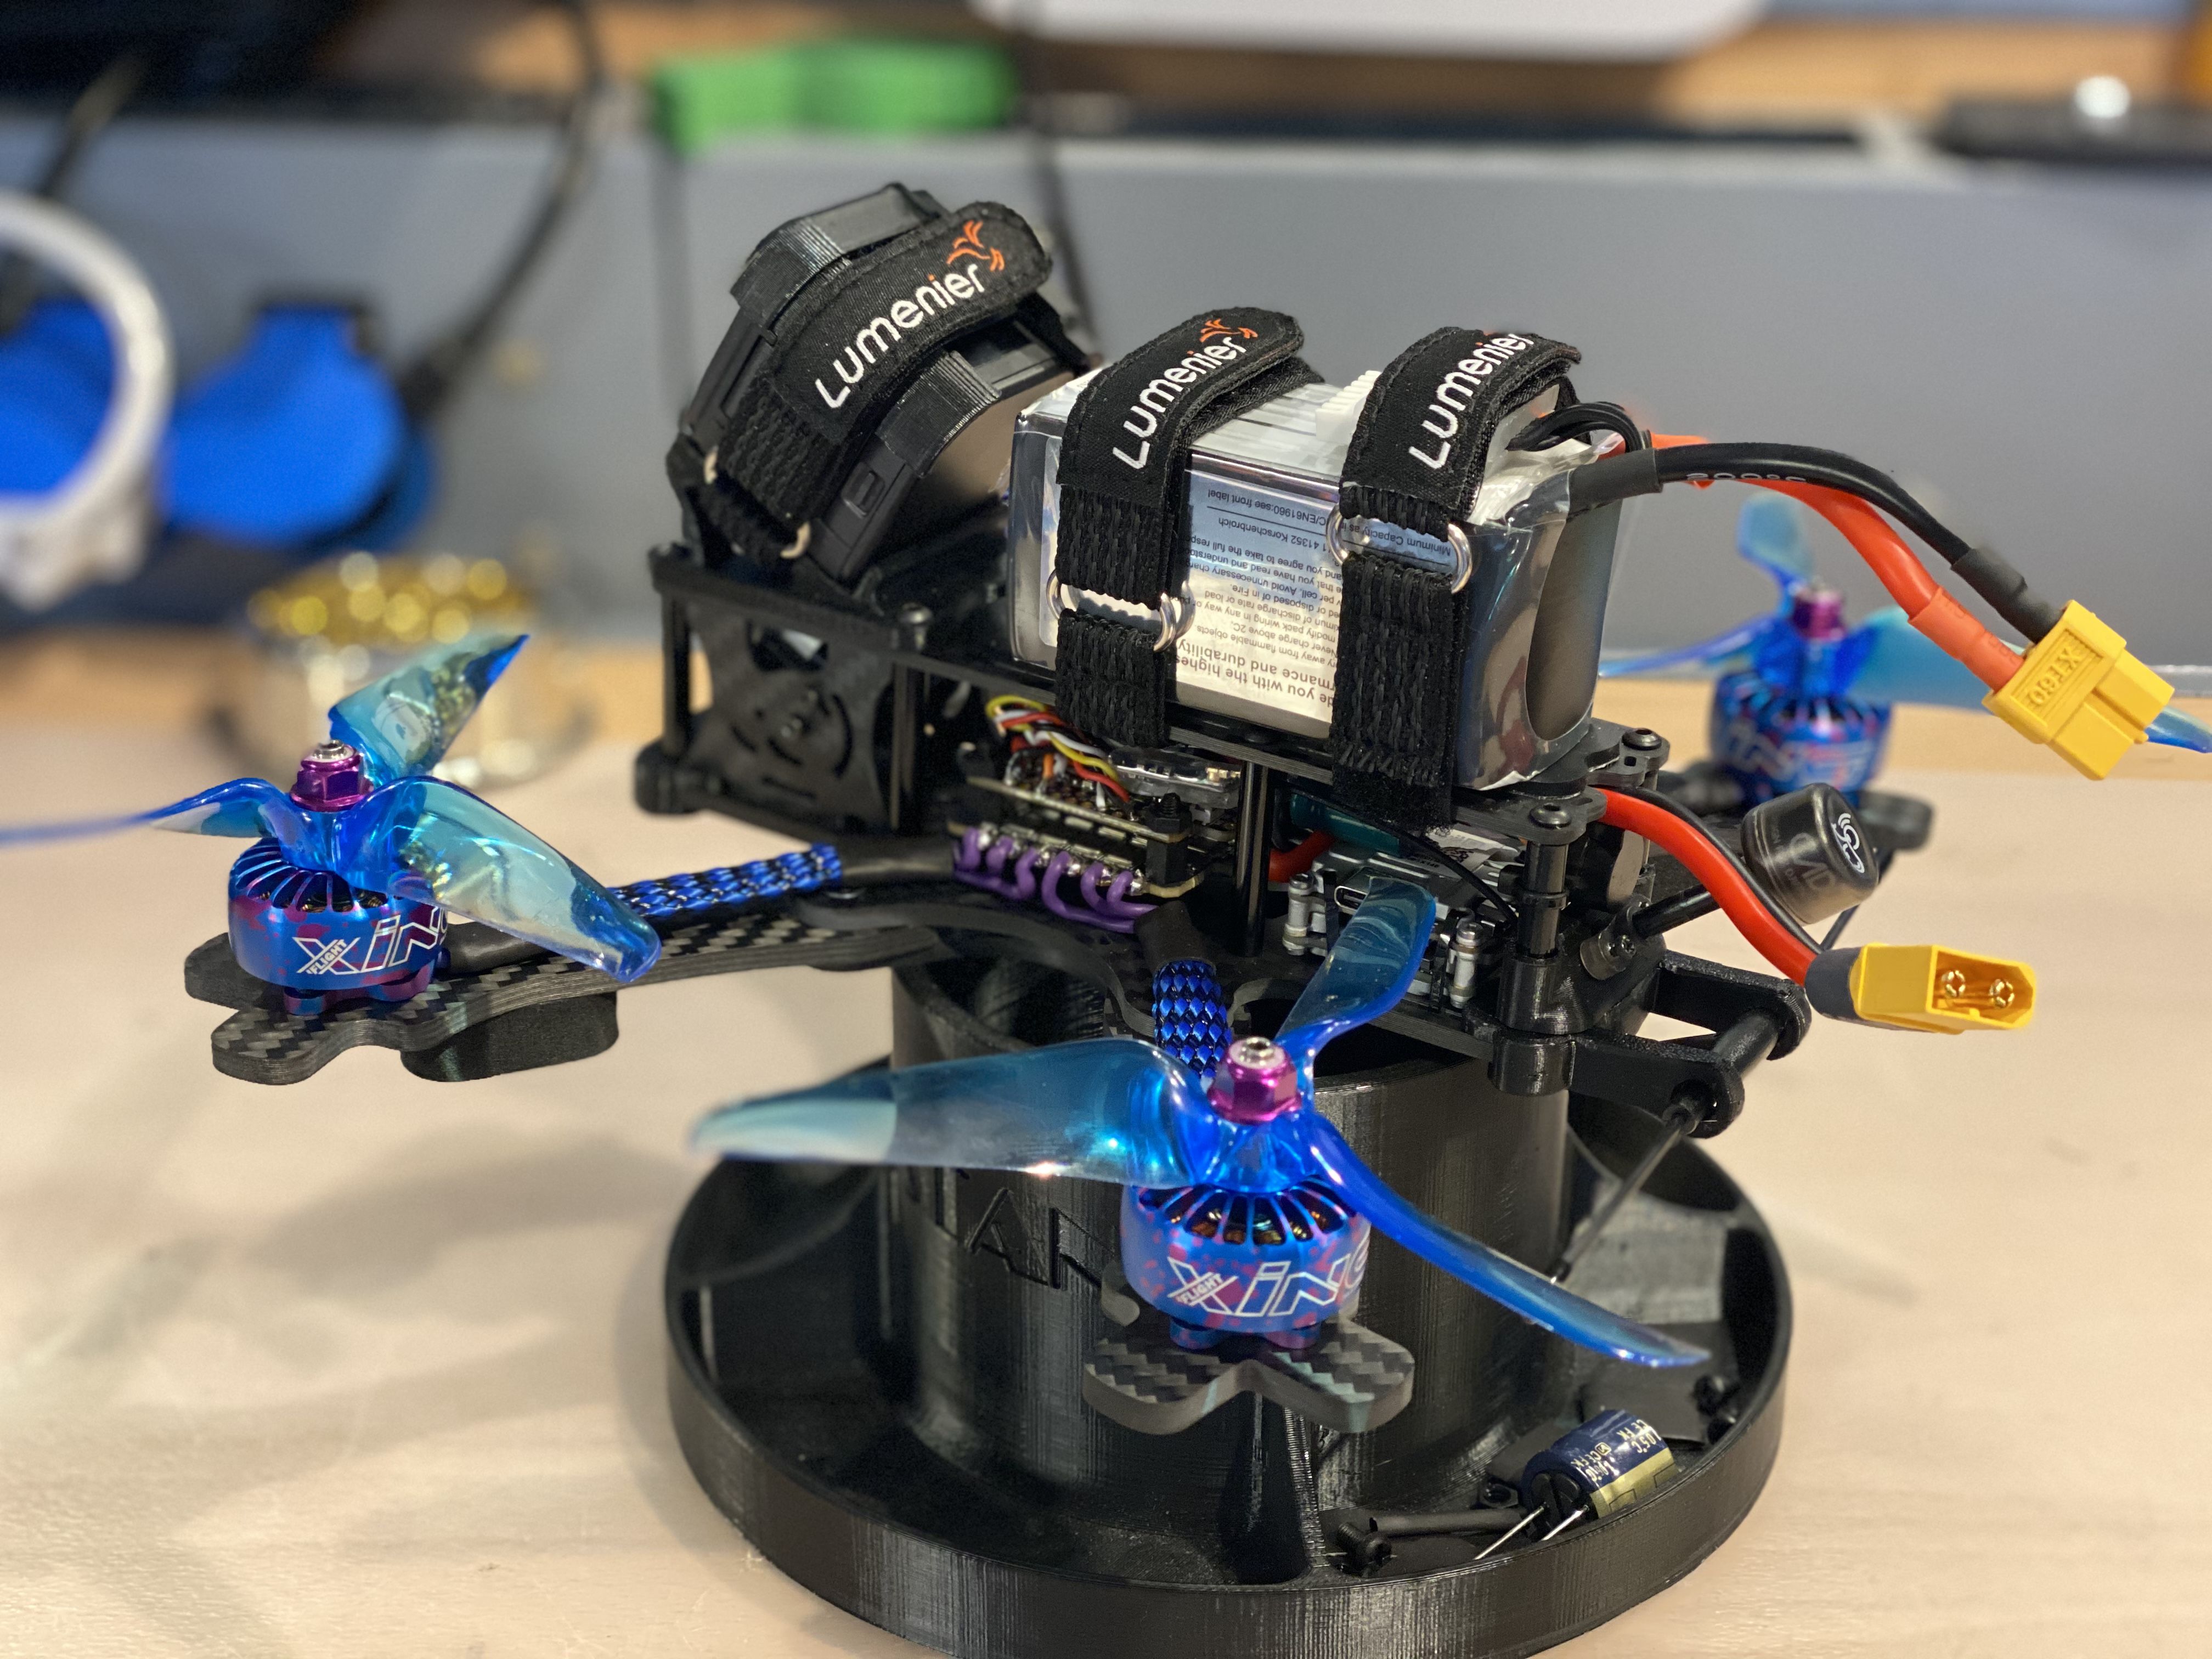
I installed the Caddx Vista VTX at the back of the frame and then finished with top carbon part and GoPro Camera holder
Before installing the props i did a last check in BetaFlight and found out that 2 motors were turning wrong direction. I wanna fly "Props Out" and had to access BLHeli-32 to change motor's rotation. At same time I changed th ESC initialization music.
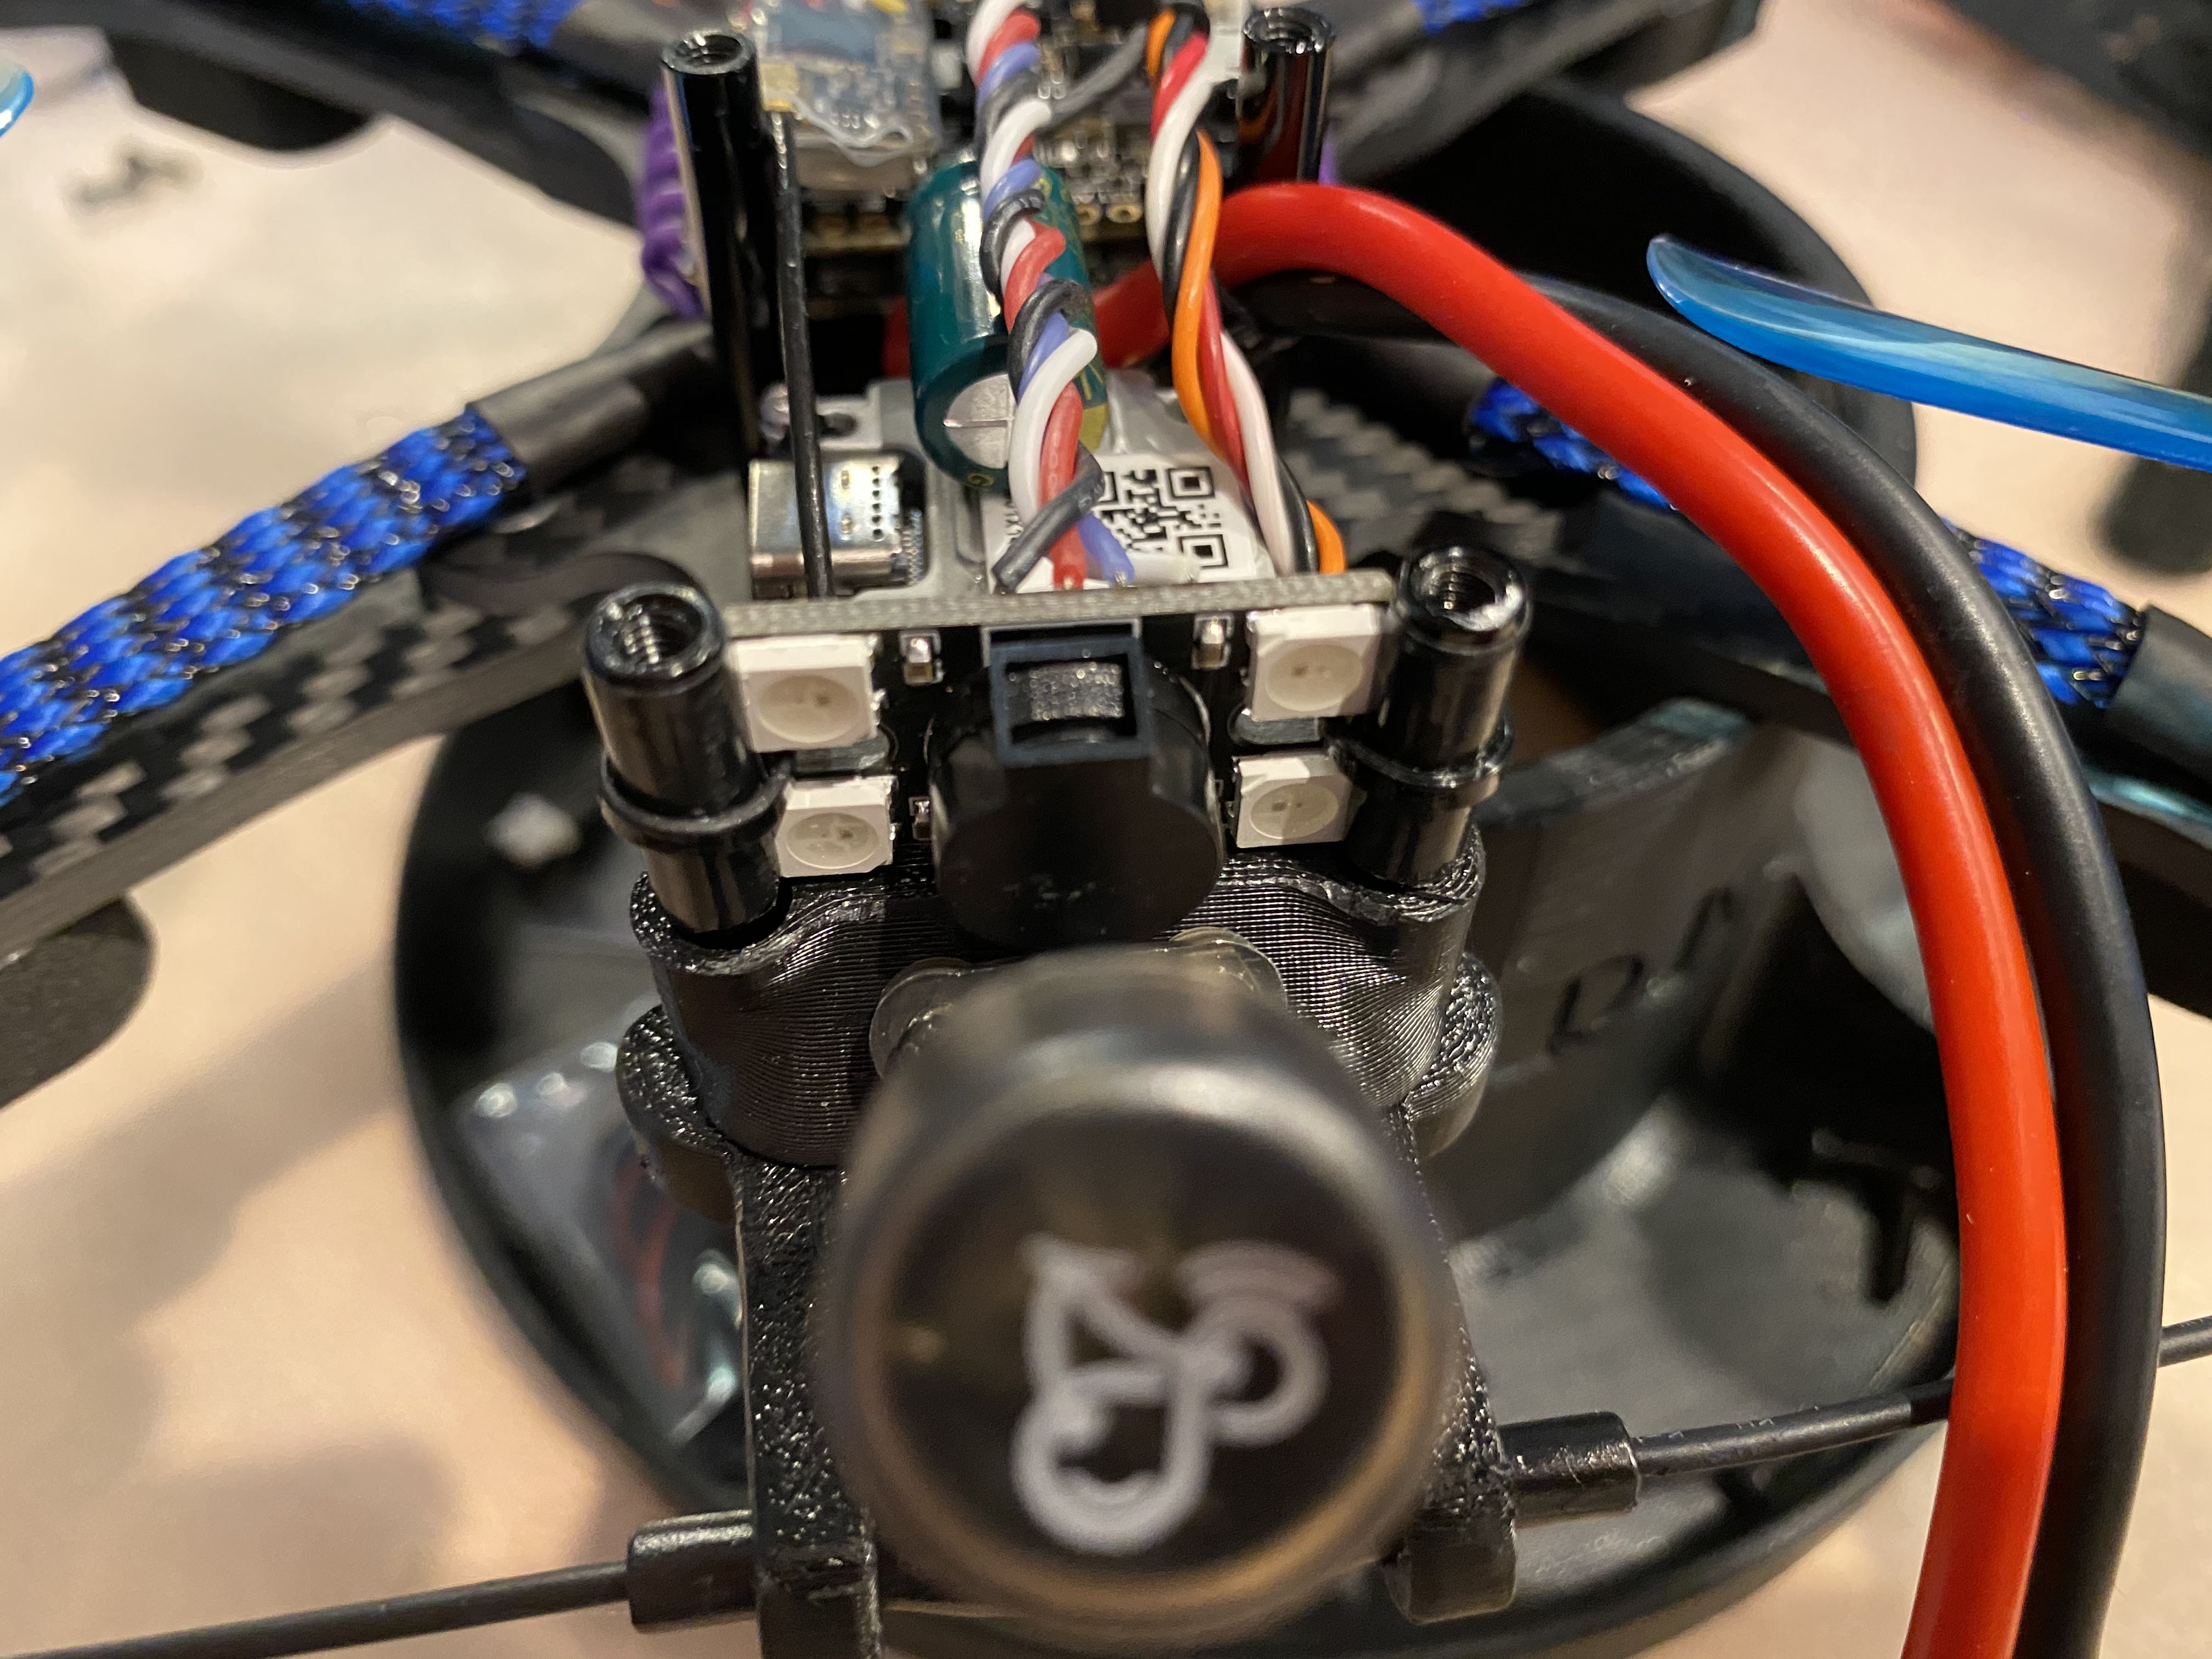
After first successful flight I installed LED and Buzzer accessory at the back of the quad

Couple Lumenier Kevlar Lipo strap and that's it build finished !

Photos


Part List
Show stores (5)
Hey mate nice build, I'm going for the TBS Source one V3 Frame-Build as well. It will also include a caddx Vista setup. Any chance you can refer to / share the 3D Print Parts for the Caddx Cam mount adaptor ? Danke :)


Excellent stuff! Just ordered almost identical components for my build. Did you have any issues with the ESC from Holybro and desyncs? I think the Metal 50A ESC 4 in 1 now is safe from desync at high throttle?
Any flight footage bud? C.

Really cool build and i'm a beginner in this so, when choosing motors do i need to get a pair CW and another pair CCW?


where can i find stl file for the polar camera ?