
Overview:
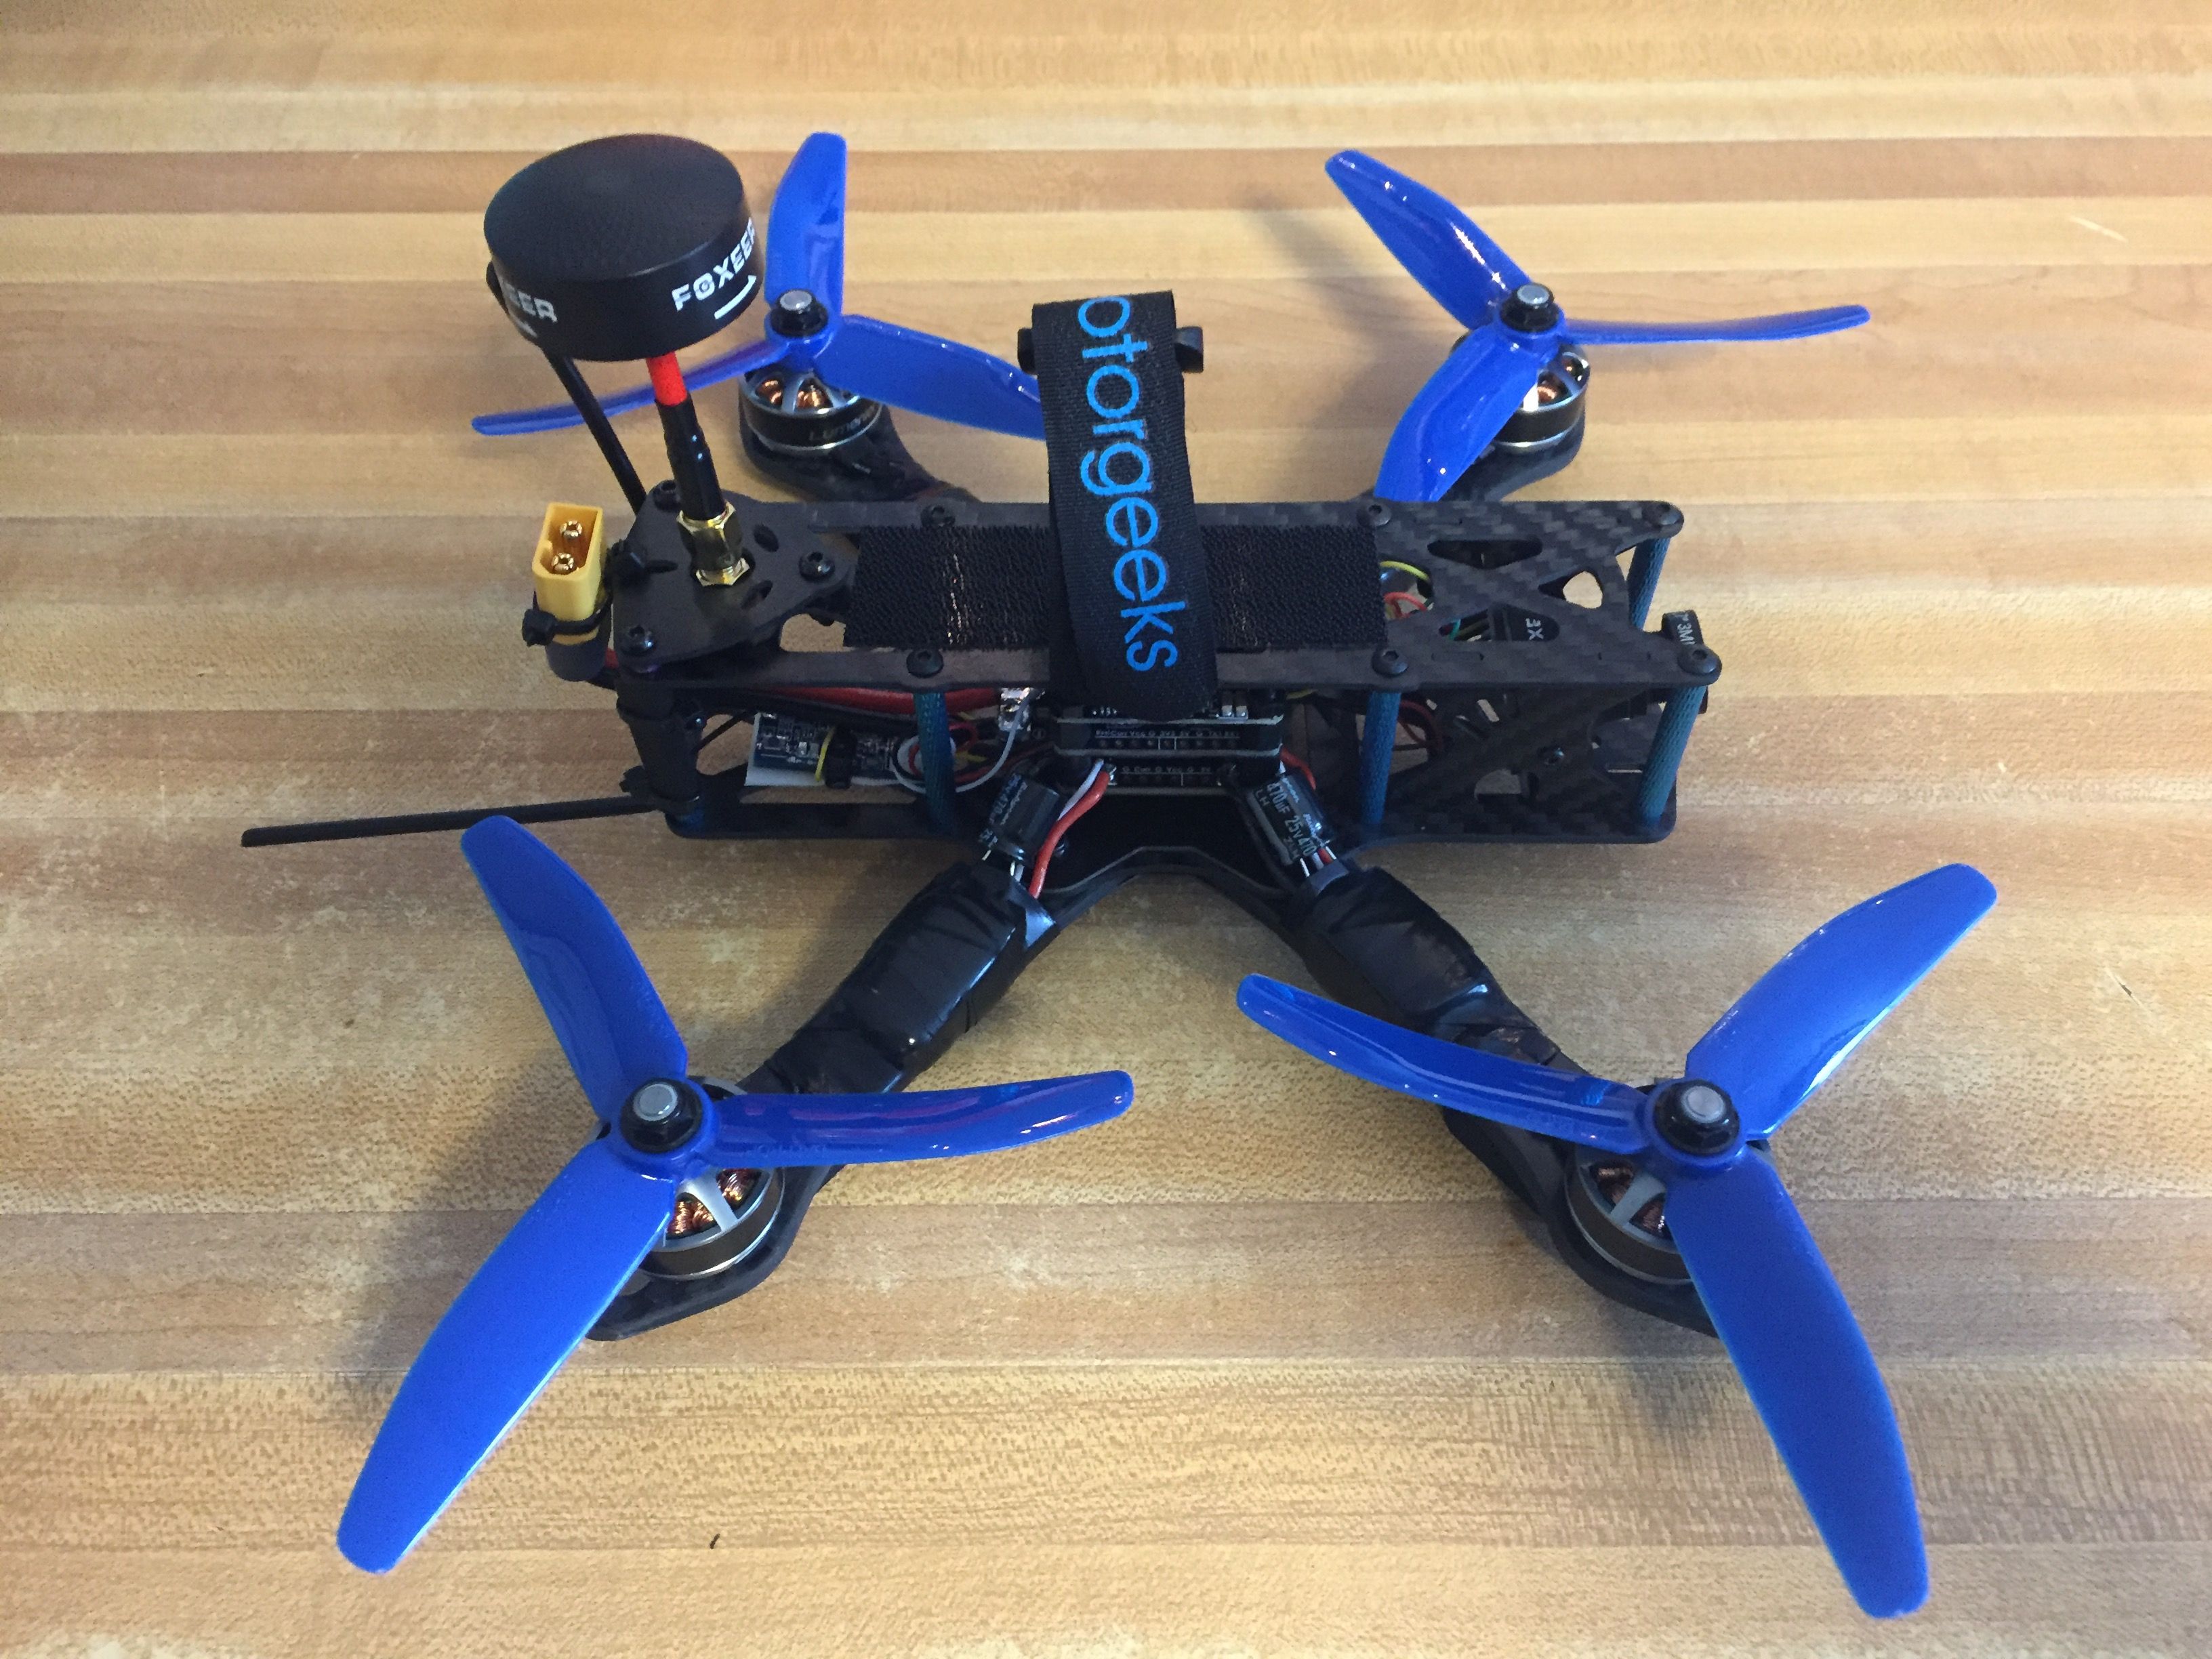
This is my upgraded Alien Clone. Freestyle build, FC with current sensor and full OSD control on all systems.
I plan to power up the Receiver on 5v, the VTX off the 10v and the cam can run off the VTX which has a LC filter.
I am going to wire in the VTX with smart audio so I can change channels and power levels with the OSD.
Also I want to wire in the Camera OSD so I can change that on the fly with my goggles too. See Joshua Bardwells OSD Camera Control video.
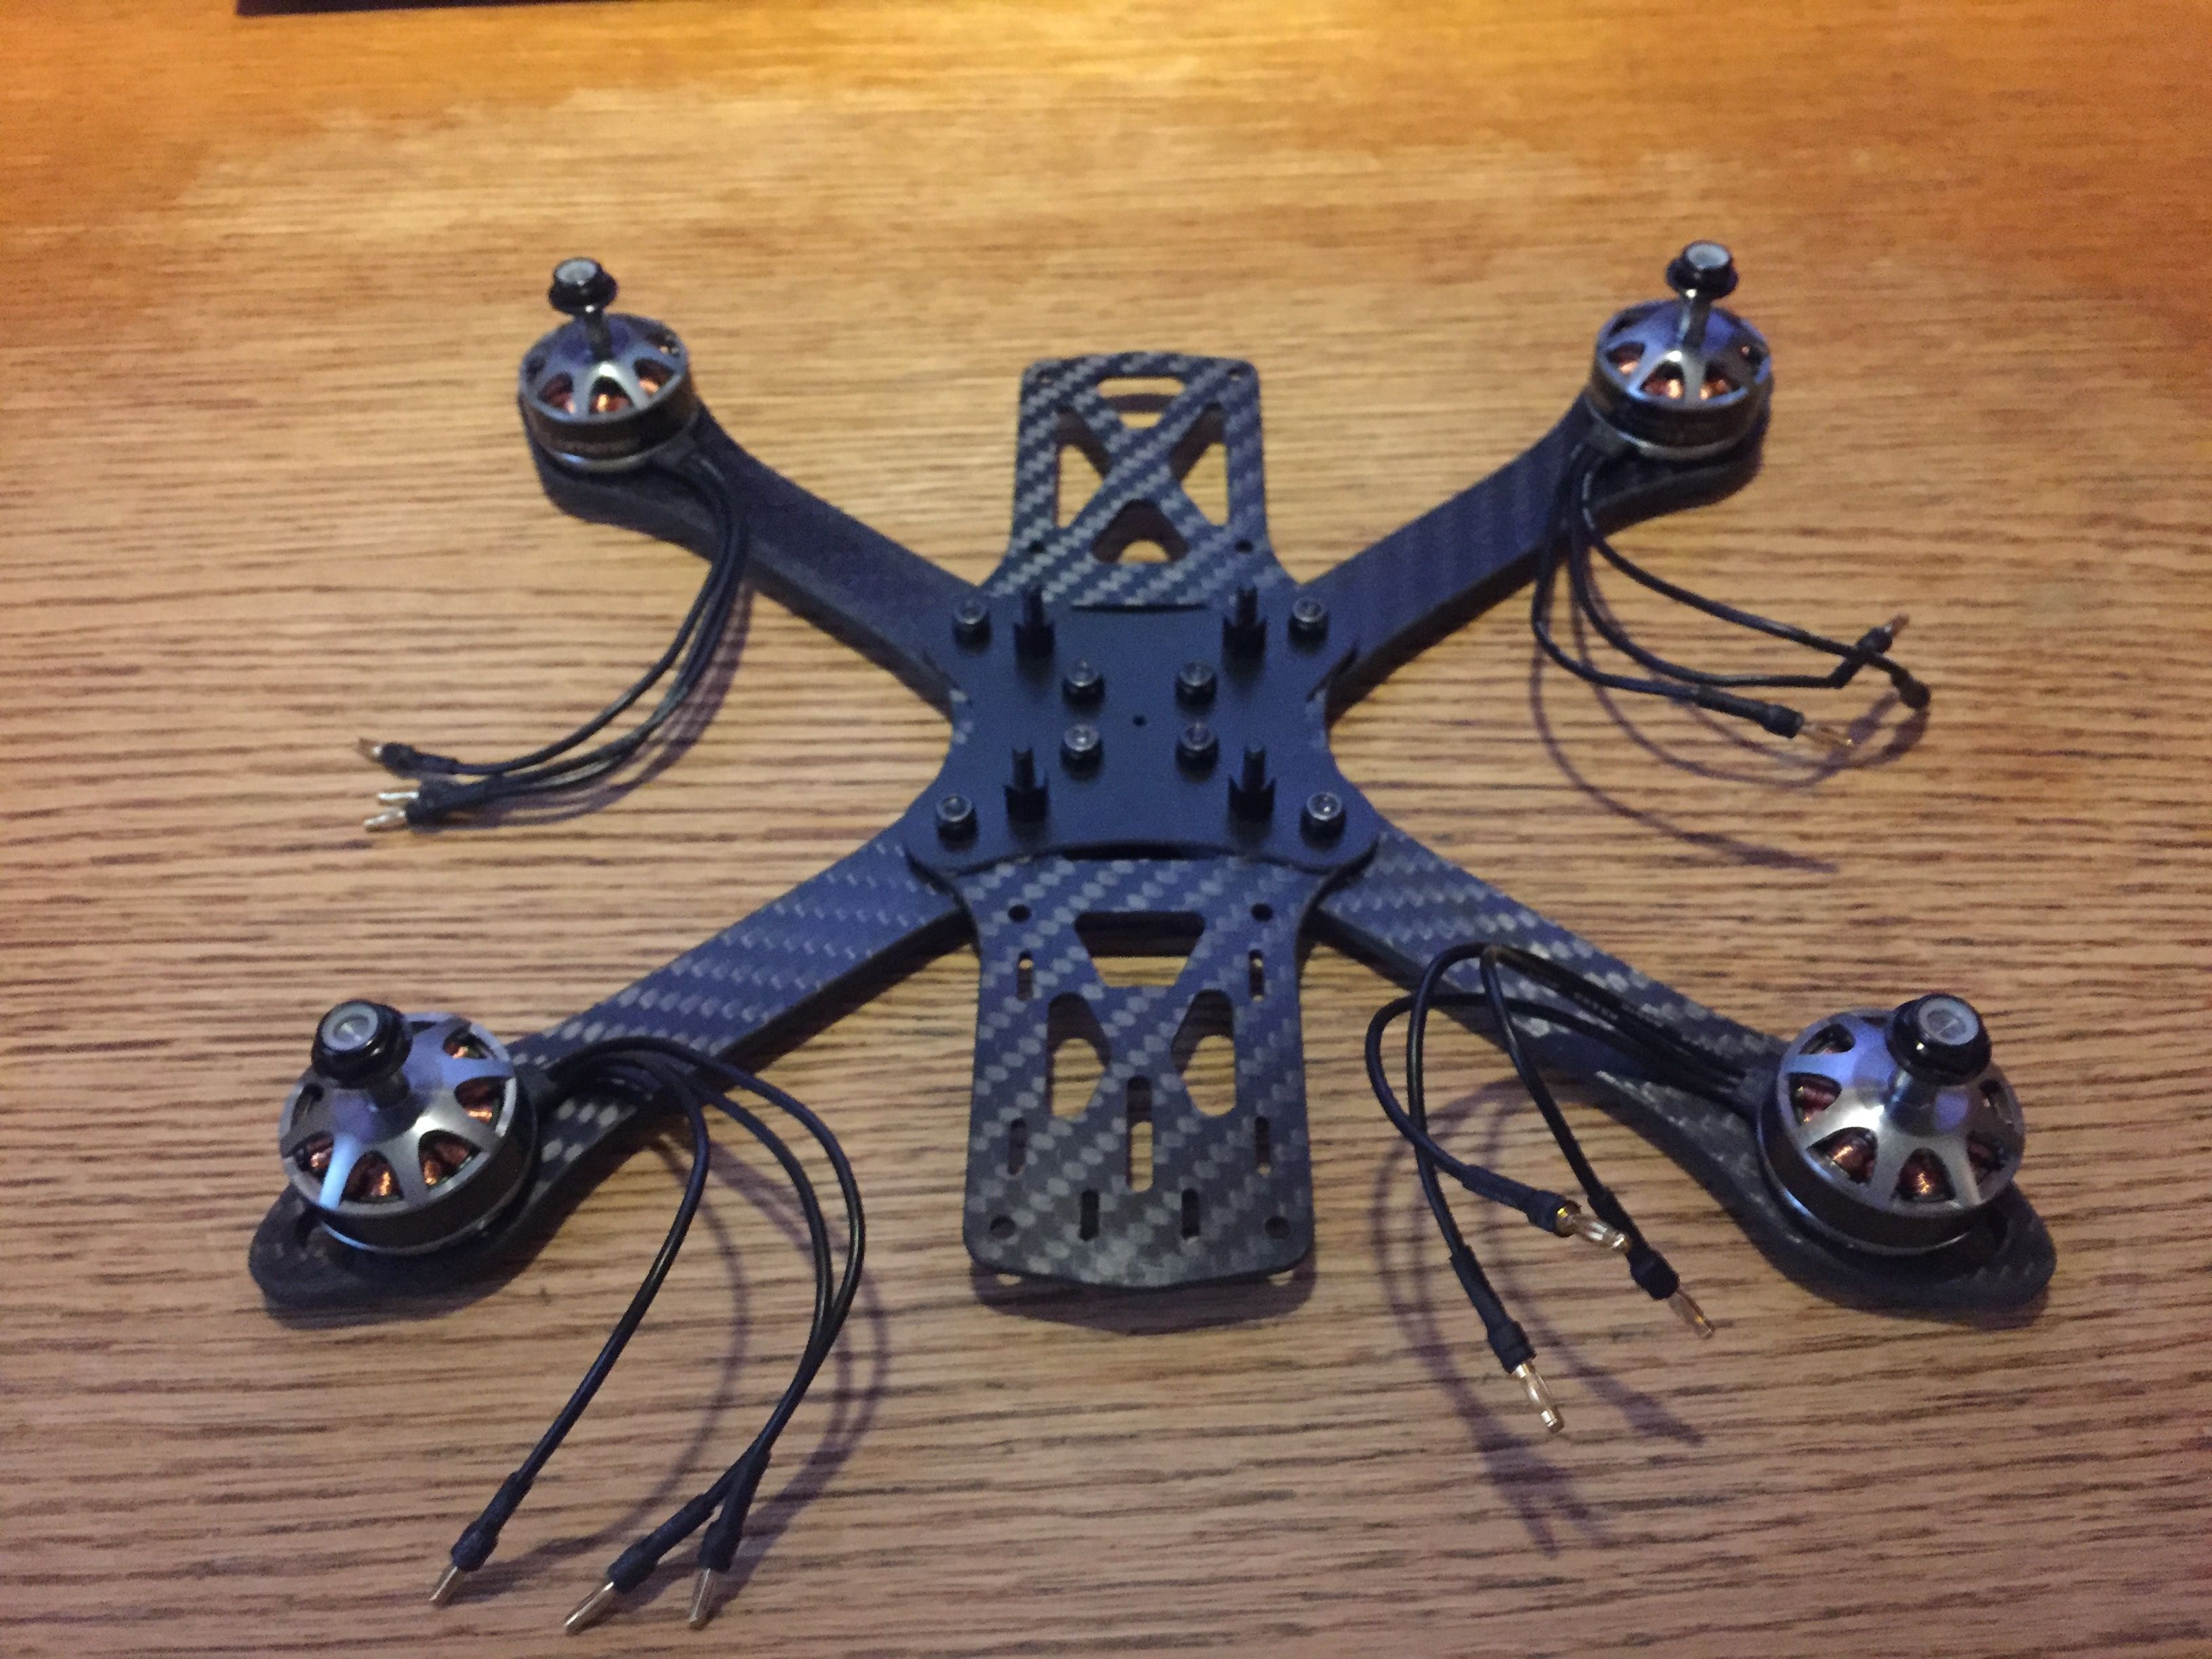
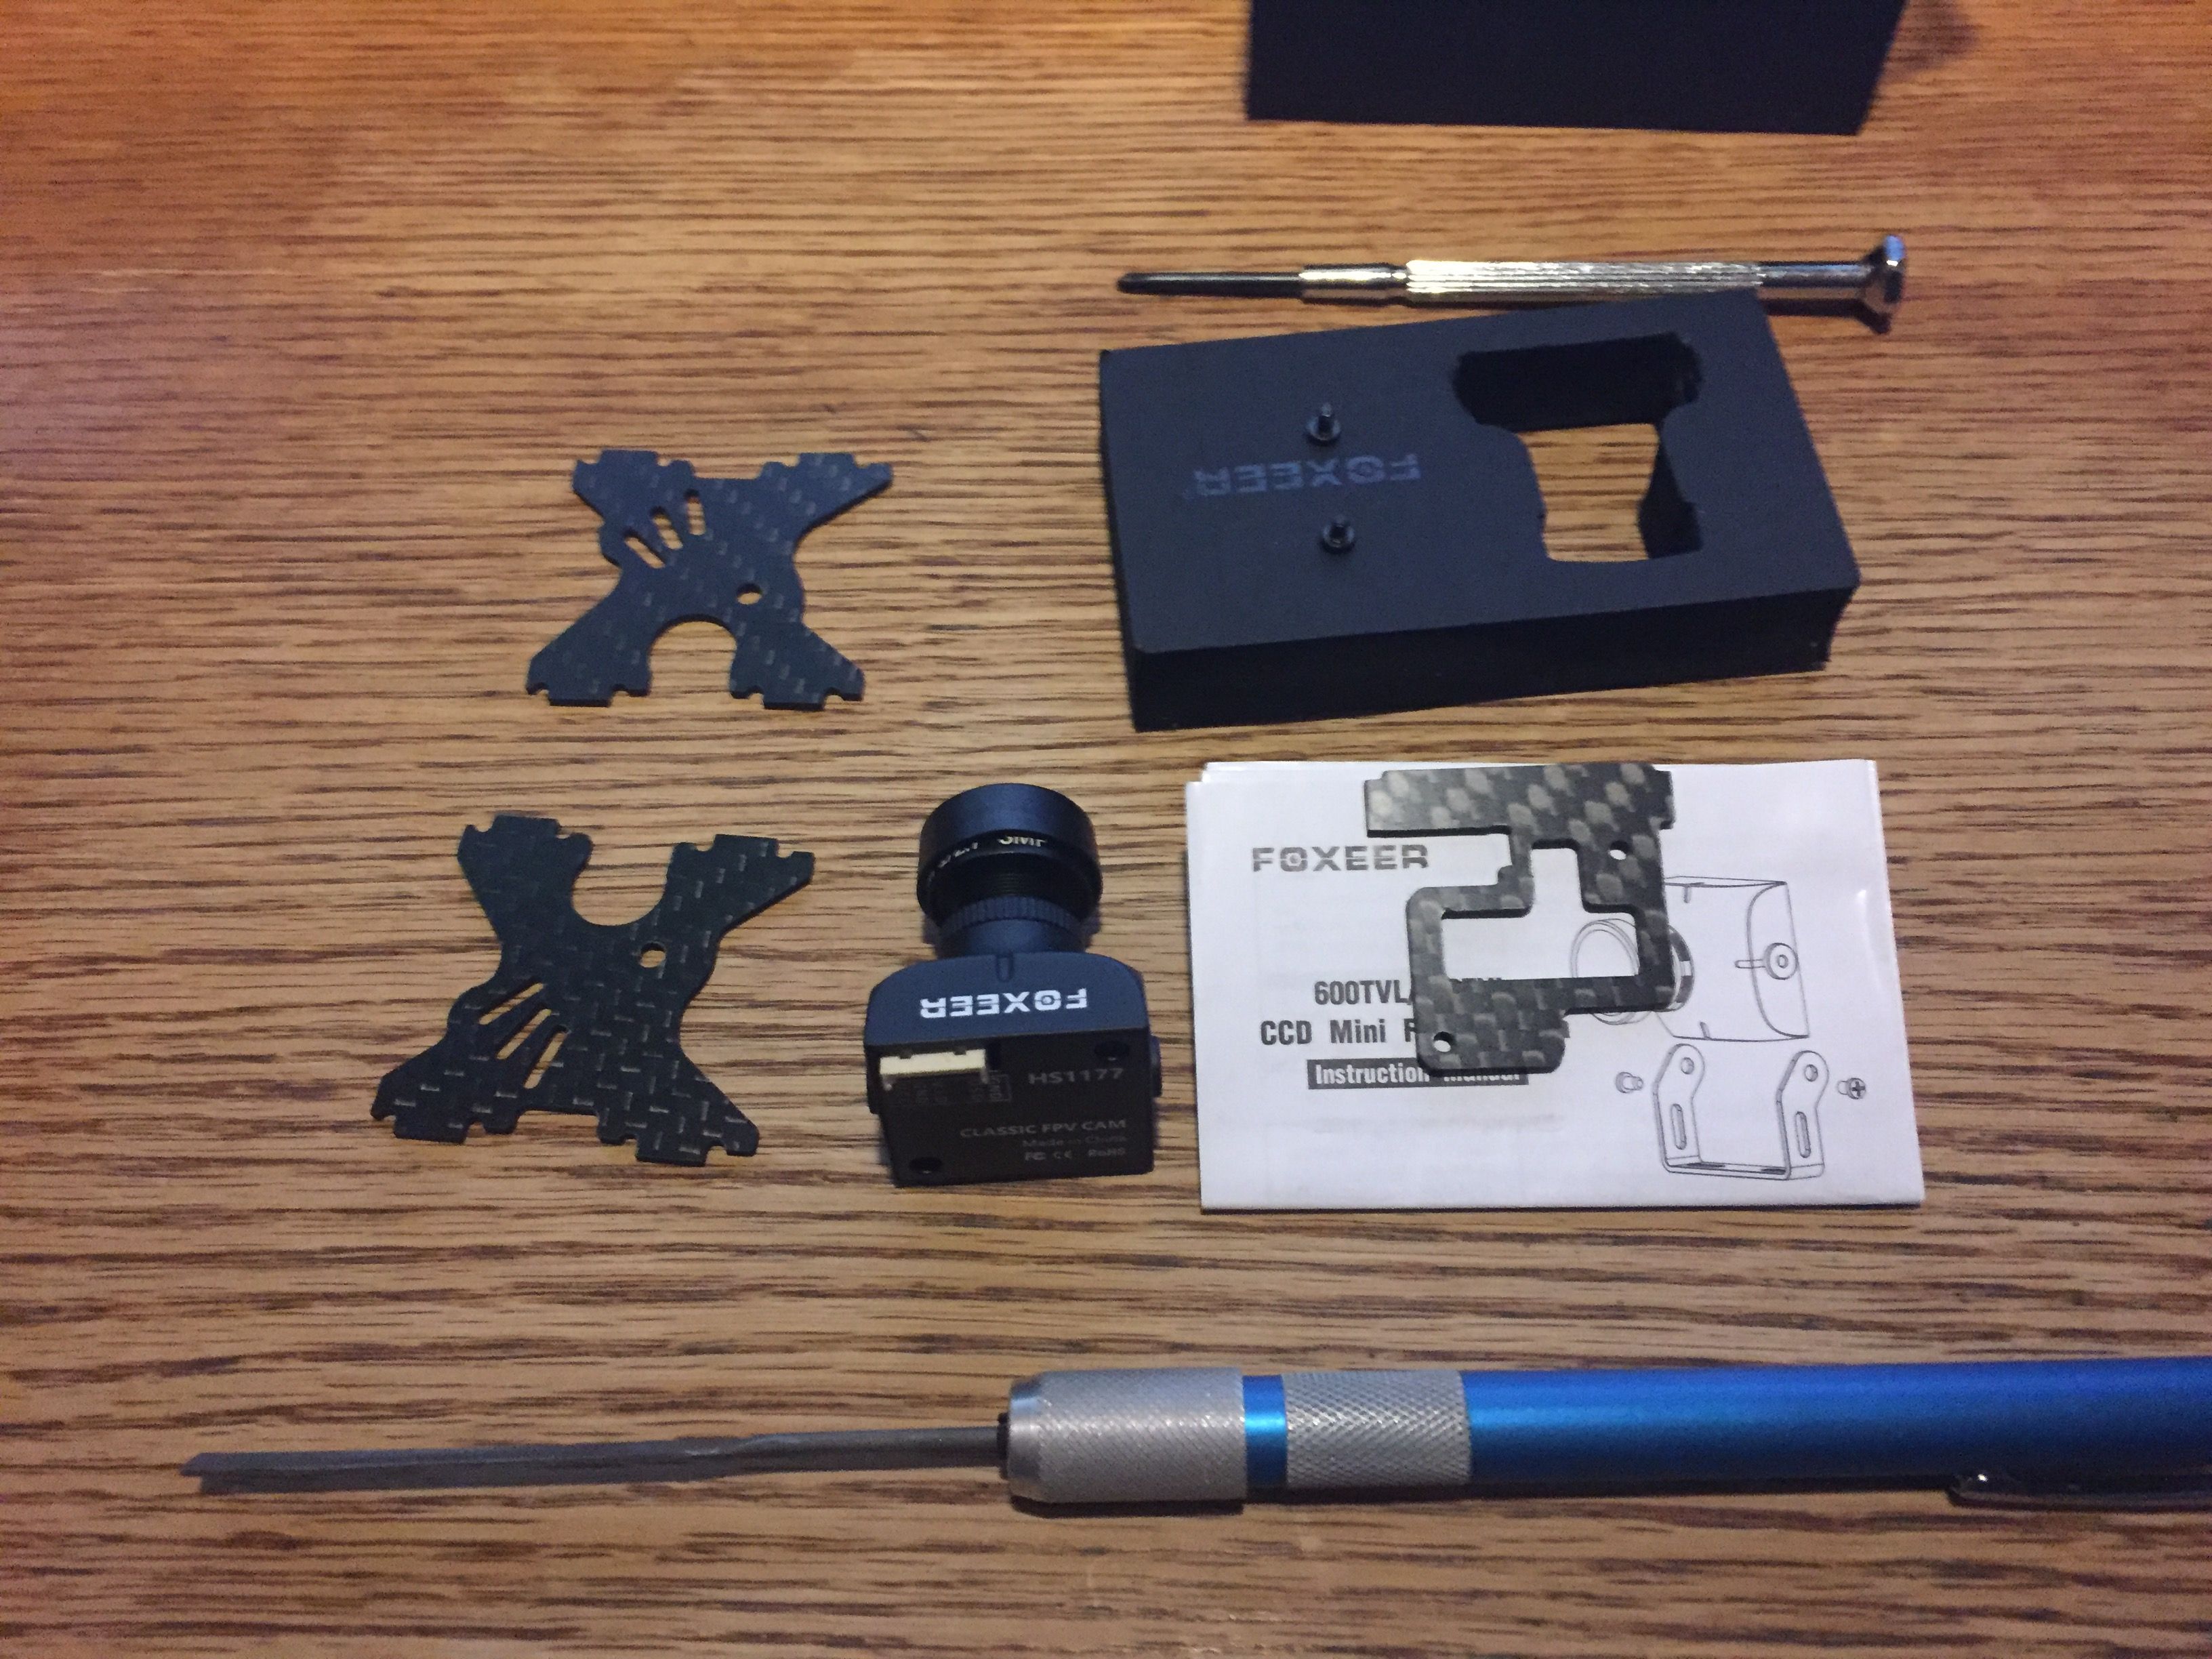
Component Selection:
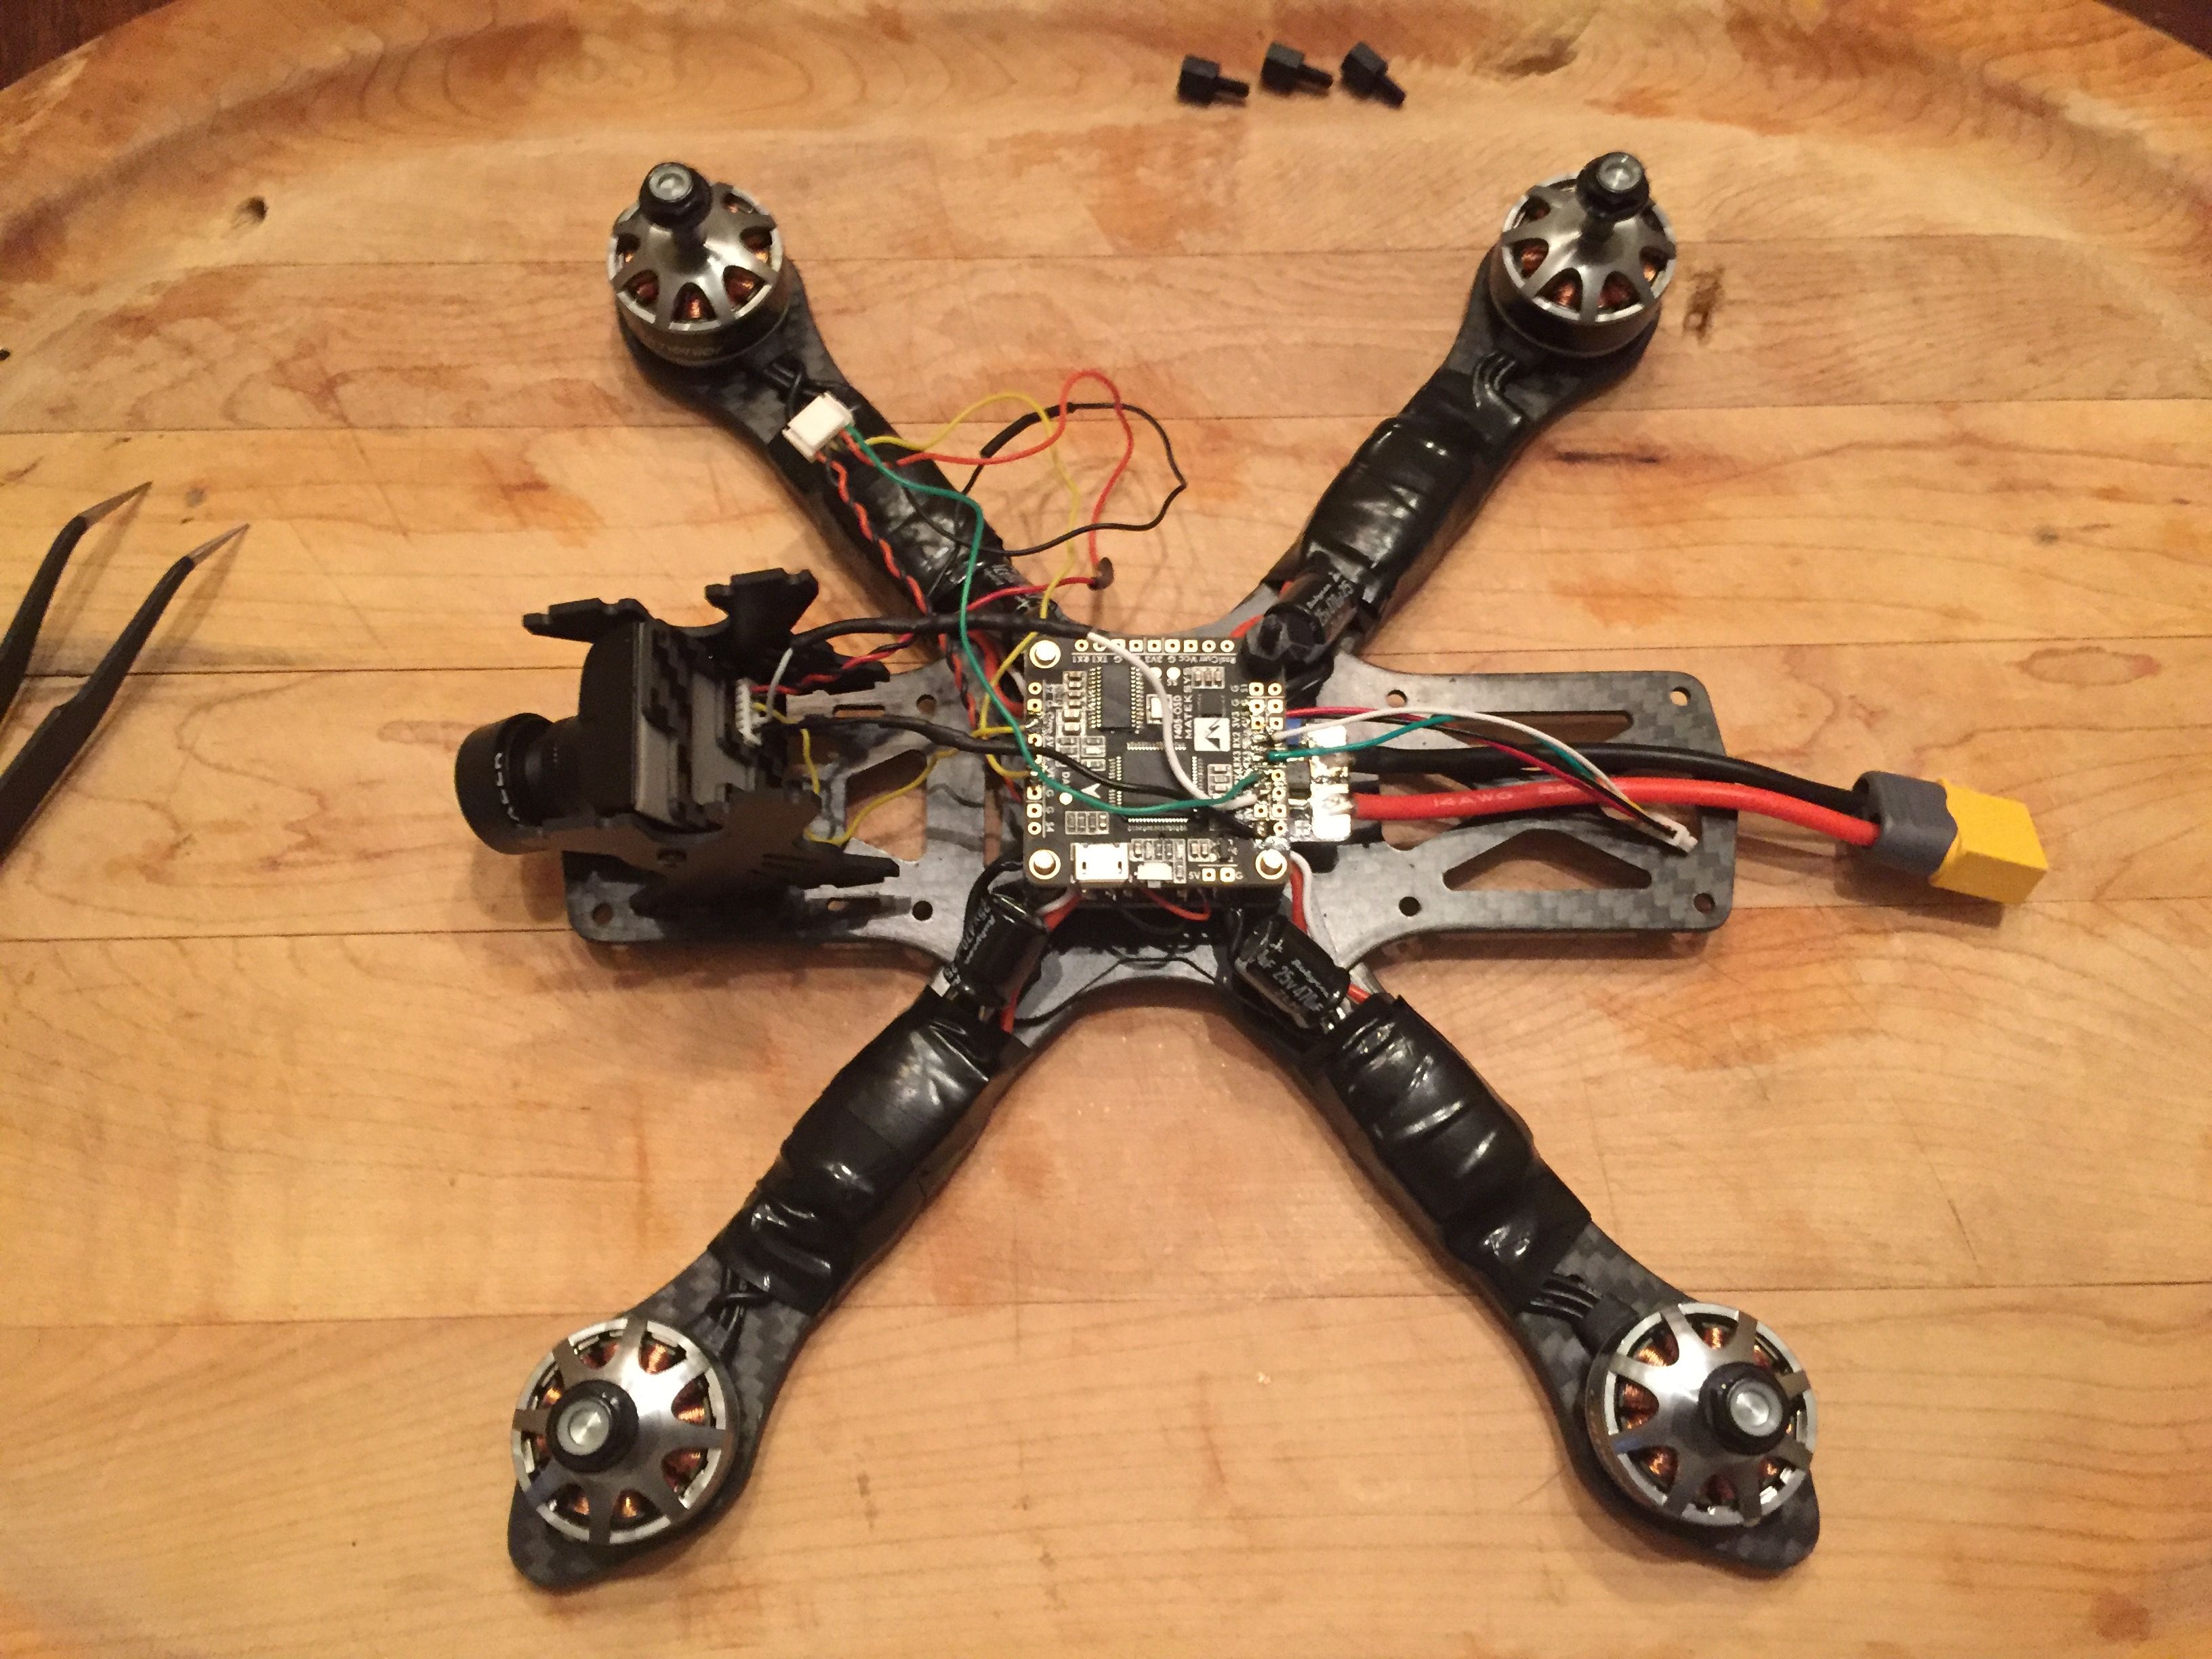
Ive used the Martian II frame before and its acceptable for an Alien clone. I have also used the Foxeer HS1177 Camera, its a good fit for the frames mounting system. I went with these Lumenier motors because they are the most efficient and well built motors I could find. Another option would be the Cobra Champion 2205 2300. I went with the Lumenier because I like their sound and I think they will give the thrust more linearly. Both of these motors have steel prop shafts for durability and are known as efficient freestyle motors. If you get the Lumenier you will need 1mm longer screws than are provided. The arms on the Martian are 4mm and the screws they give are for 3mm arms. I went with the 25a Spedix ESC matching what I think my amp draw will be, probably 30a ECS would be overkill, They are for 5 and 6s and I will only use 4s and Tri Blade 5x4x3 props. I wont ever put a prop on that draws alot more amps for my setup. The FC and PDB combo will make for a nice clean stack. It utilizes a ribbon cable so you dont have to do each motor wire to the FC. The VTX will be on the top of the stack. I was thinking about getting a TBS Unify Pro because I wanted to control the VTX in the OSD and I wanted higher power outputs but I learned about the AKK FX2 and decided to give it a try. It has the same features at a better pricepoint. The Foxeer antenna I got for it are the stubby version of the RP-SMA 3dbi. It preforms similar to a TBS Triumph but much less cost. It is also known for being durable. The 220 Ohm Resistors are for wiring in the OSD Camera Control. The 470uf 25v capacitors will go on each one of the ESC. They will be used to filter all my power. The VTX has an Onboard Mic and sound is sent to my fatshark goggles.
Building Concerns:
I use a file to make the camera pin cutout notch a bit bigger. The cam wont sit level on the mount if you dont. Only use double sided foam tape to stick the cam to the mounting bracket because the tiny screws in the back of cam are too short. However I do use the two side screws and its pretty solid once you have it all in the cam mounting frame.
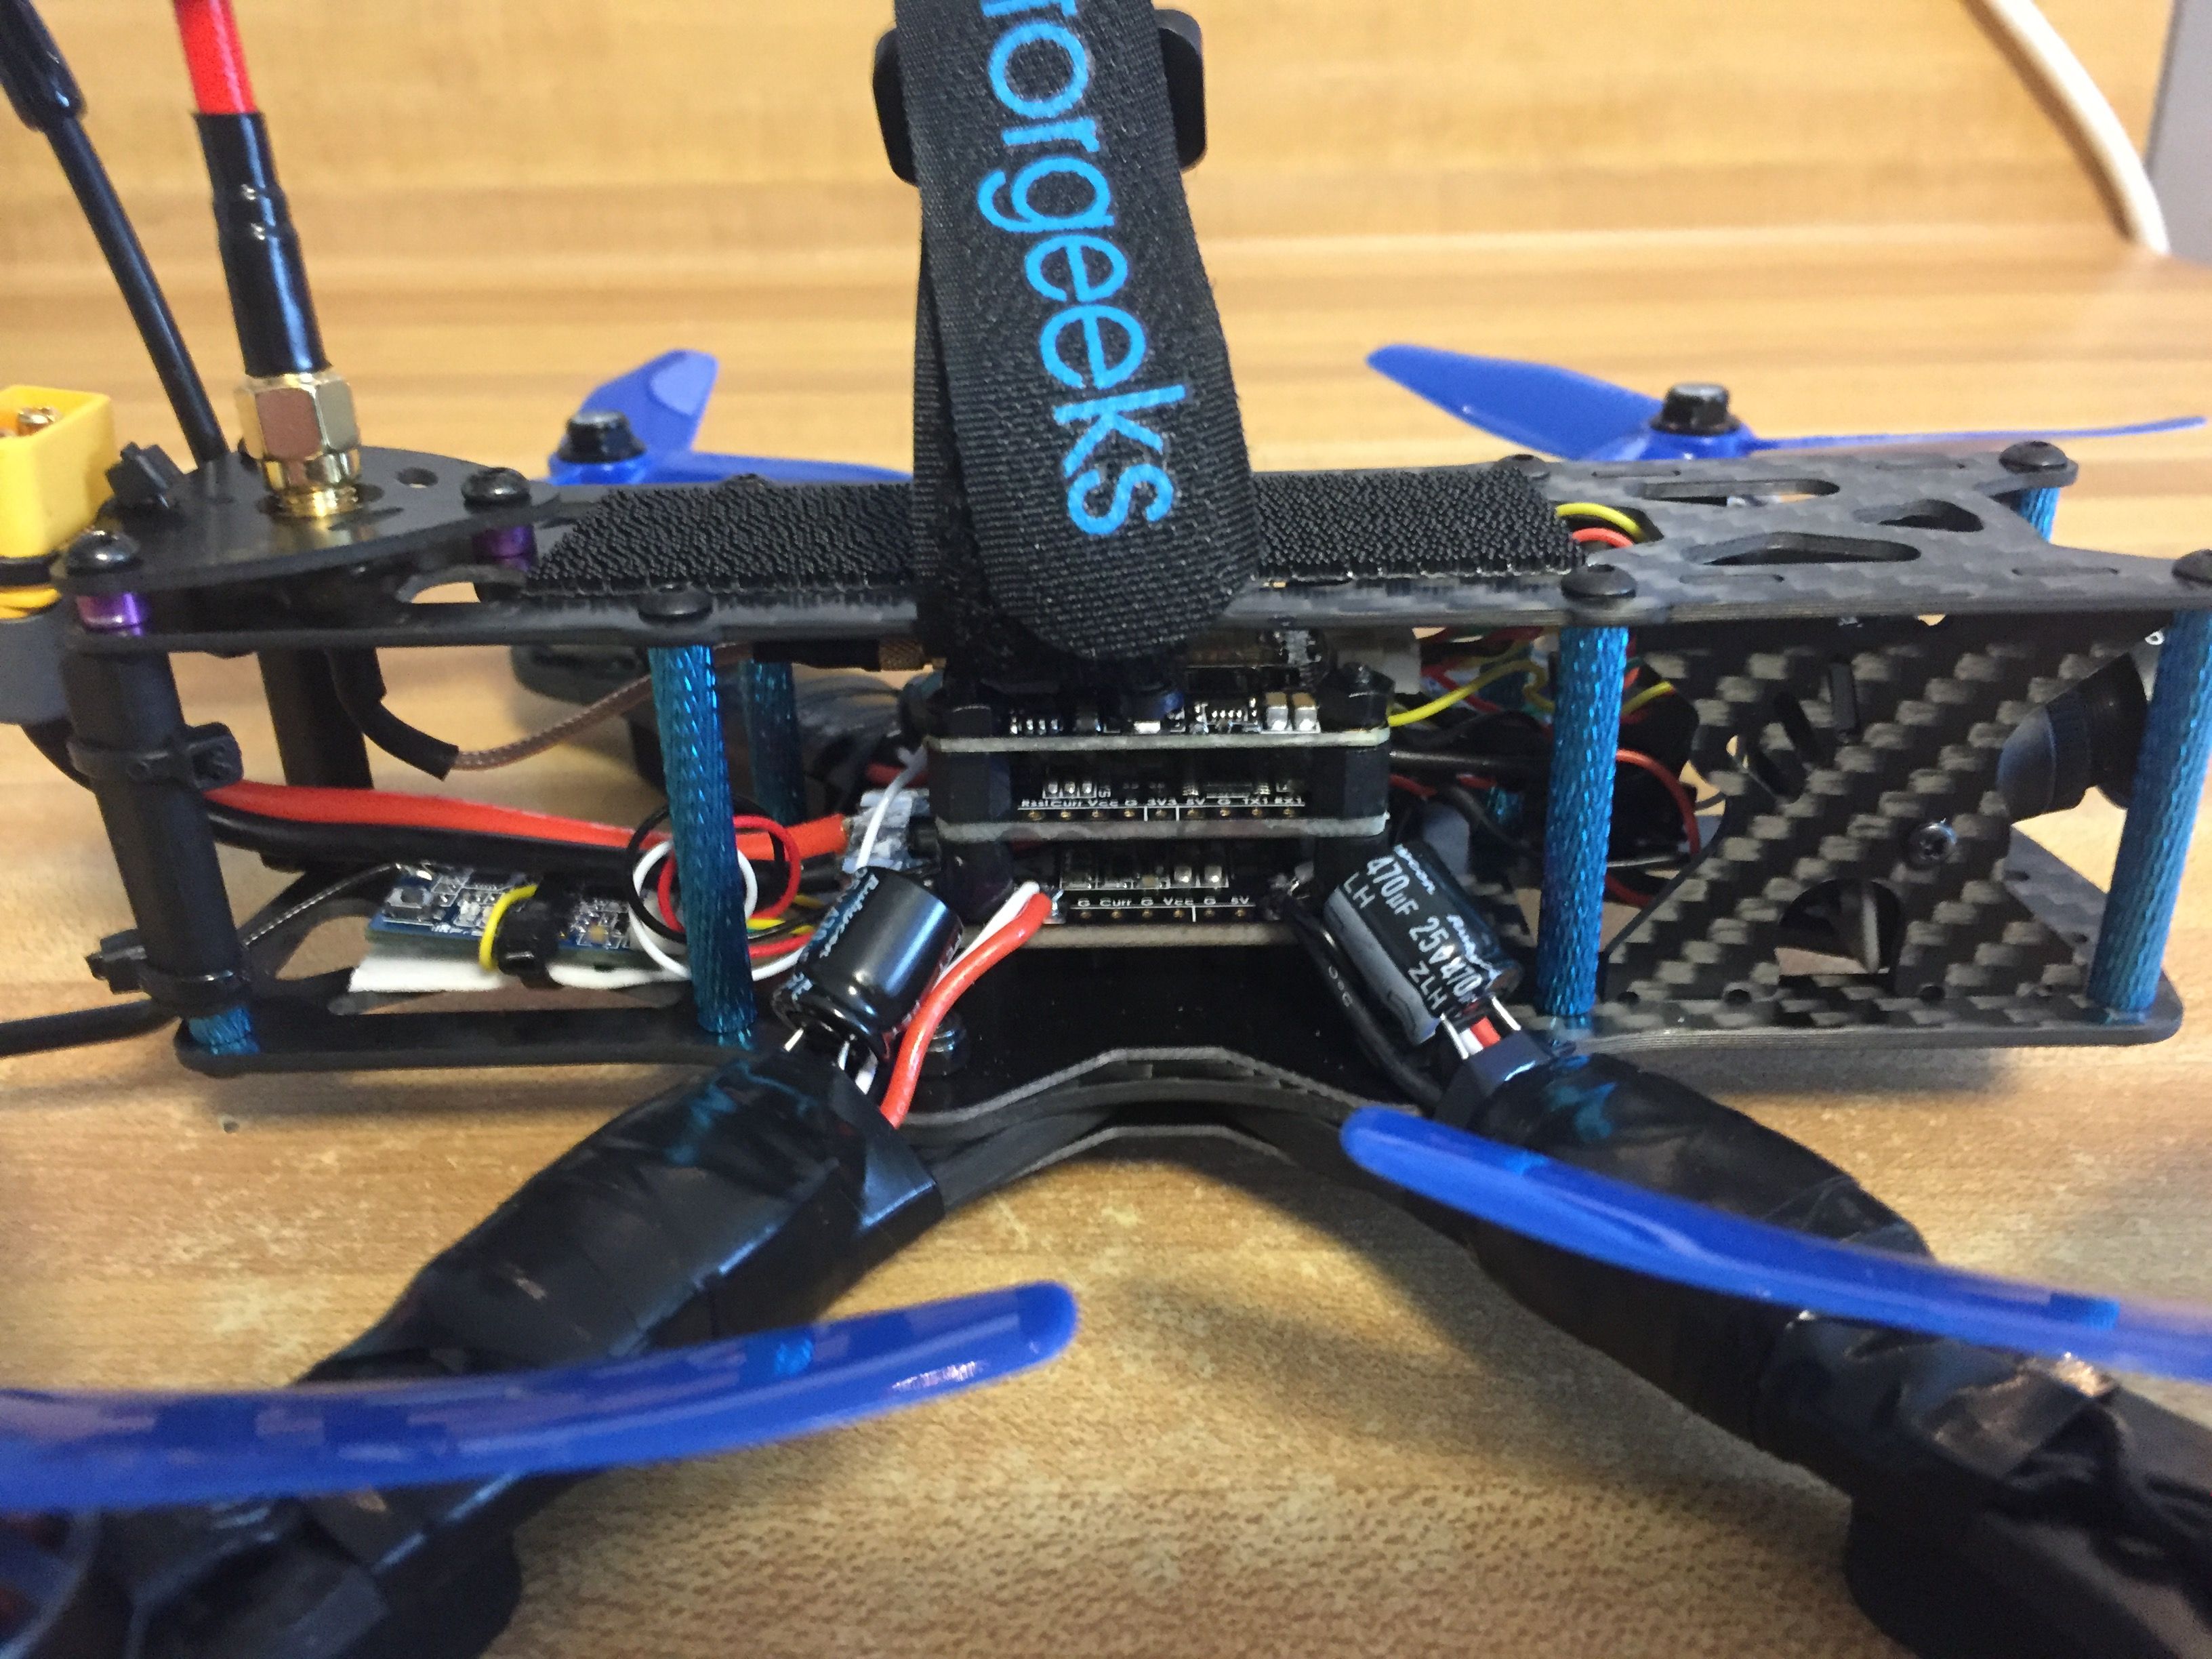
I like to put my Arms on the very bottom below the bottom plate. If you put it on top they are inside the space with the stack and take up 4mm of height, also its easier to remove the arms if they are sandwiched below with the carbon fiber plate. I dont use the PDB that comes with the Martian Frame, instead my PDB will sit up on some nylon standoffs. Stack will be 3 boards high with the PDB, FC and then VTX, RX will be in the back and the antenna will go out the back protected by antenna tubes.
The VTX comes with a MMCX coax cable to RP-SMA. If you already have SMA antennas you can get MMCX coax to SMA cables. I bought stubby Foxeer in RP-SMA for the quad.
The ESC's will be protected by double sided sticky foam tape and a bit of cut up old prop. Then I will wrap the ESC to the arm with self fusing silicone repair tape.
Everything will be Waterproofed with Silicone Confromal Coating and Corrosion X for the connectors.
Camera Control for the Matek F405 OSD only seems to work on the MOTOR pins not LED pin.
Camera Control:
Wire up the Diode and heatshrink it make sure the Orientatoin is right. The Gold and Dark band of the Diode has to go pointing to the cam on the WHITE wire of my cam OSD pinout. The black is ground.
Solder to the MOTOR 6 signal pin and put the white wire then put the black wire to a ground pad.
Go CLI:
type in:
resource
this shows pins - I need to clear MOTOR 6
resource MOTOR 6 none
save hit enter
type in: resource camera_control A08
save hit enter
Type resource and check its there.
Then type in:
set camera_control_key_delay = 125
save hit enter
Here is a Maiden with the Gopro:
Photos


Hey man, solid build. Where did you source that GoPro mount? Do you like it? Is it held on by a zip tie? What angle is it?
I got a few of them from banggood. https://www.banggood.com/Eachine-Wizard-X220S-FPV-Racer-Spare-Part-30-Camera-Mount-for-Runcam-3-Gopro-Session-p-1166269.html?rmmds=myorder
Yea I have it strapped on with a couple zip ties. Its a 30 degree angle. I like the mount. I stopped using a battery strap with it because it holds the gopro good enough on its own.