This build came about after I broke a second arm on my 16 month old Martian. I got to the point where I was sick of breaking the Chineseium carbon, and just shredding the hardware seemingly made of cheese.
I bit the bullet and bought at 6'' Rooster, mostly for the replaceable arms arms and lifetime garuntee. Just about all of the guts of the quad were just transplanted straight out of my Martian, so it didn't end up quite as tidy on the inside as I would have liked. However, here is a bit of a build log.
The build
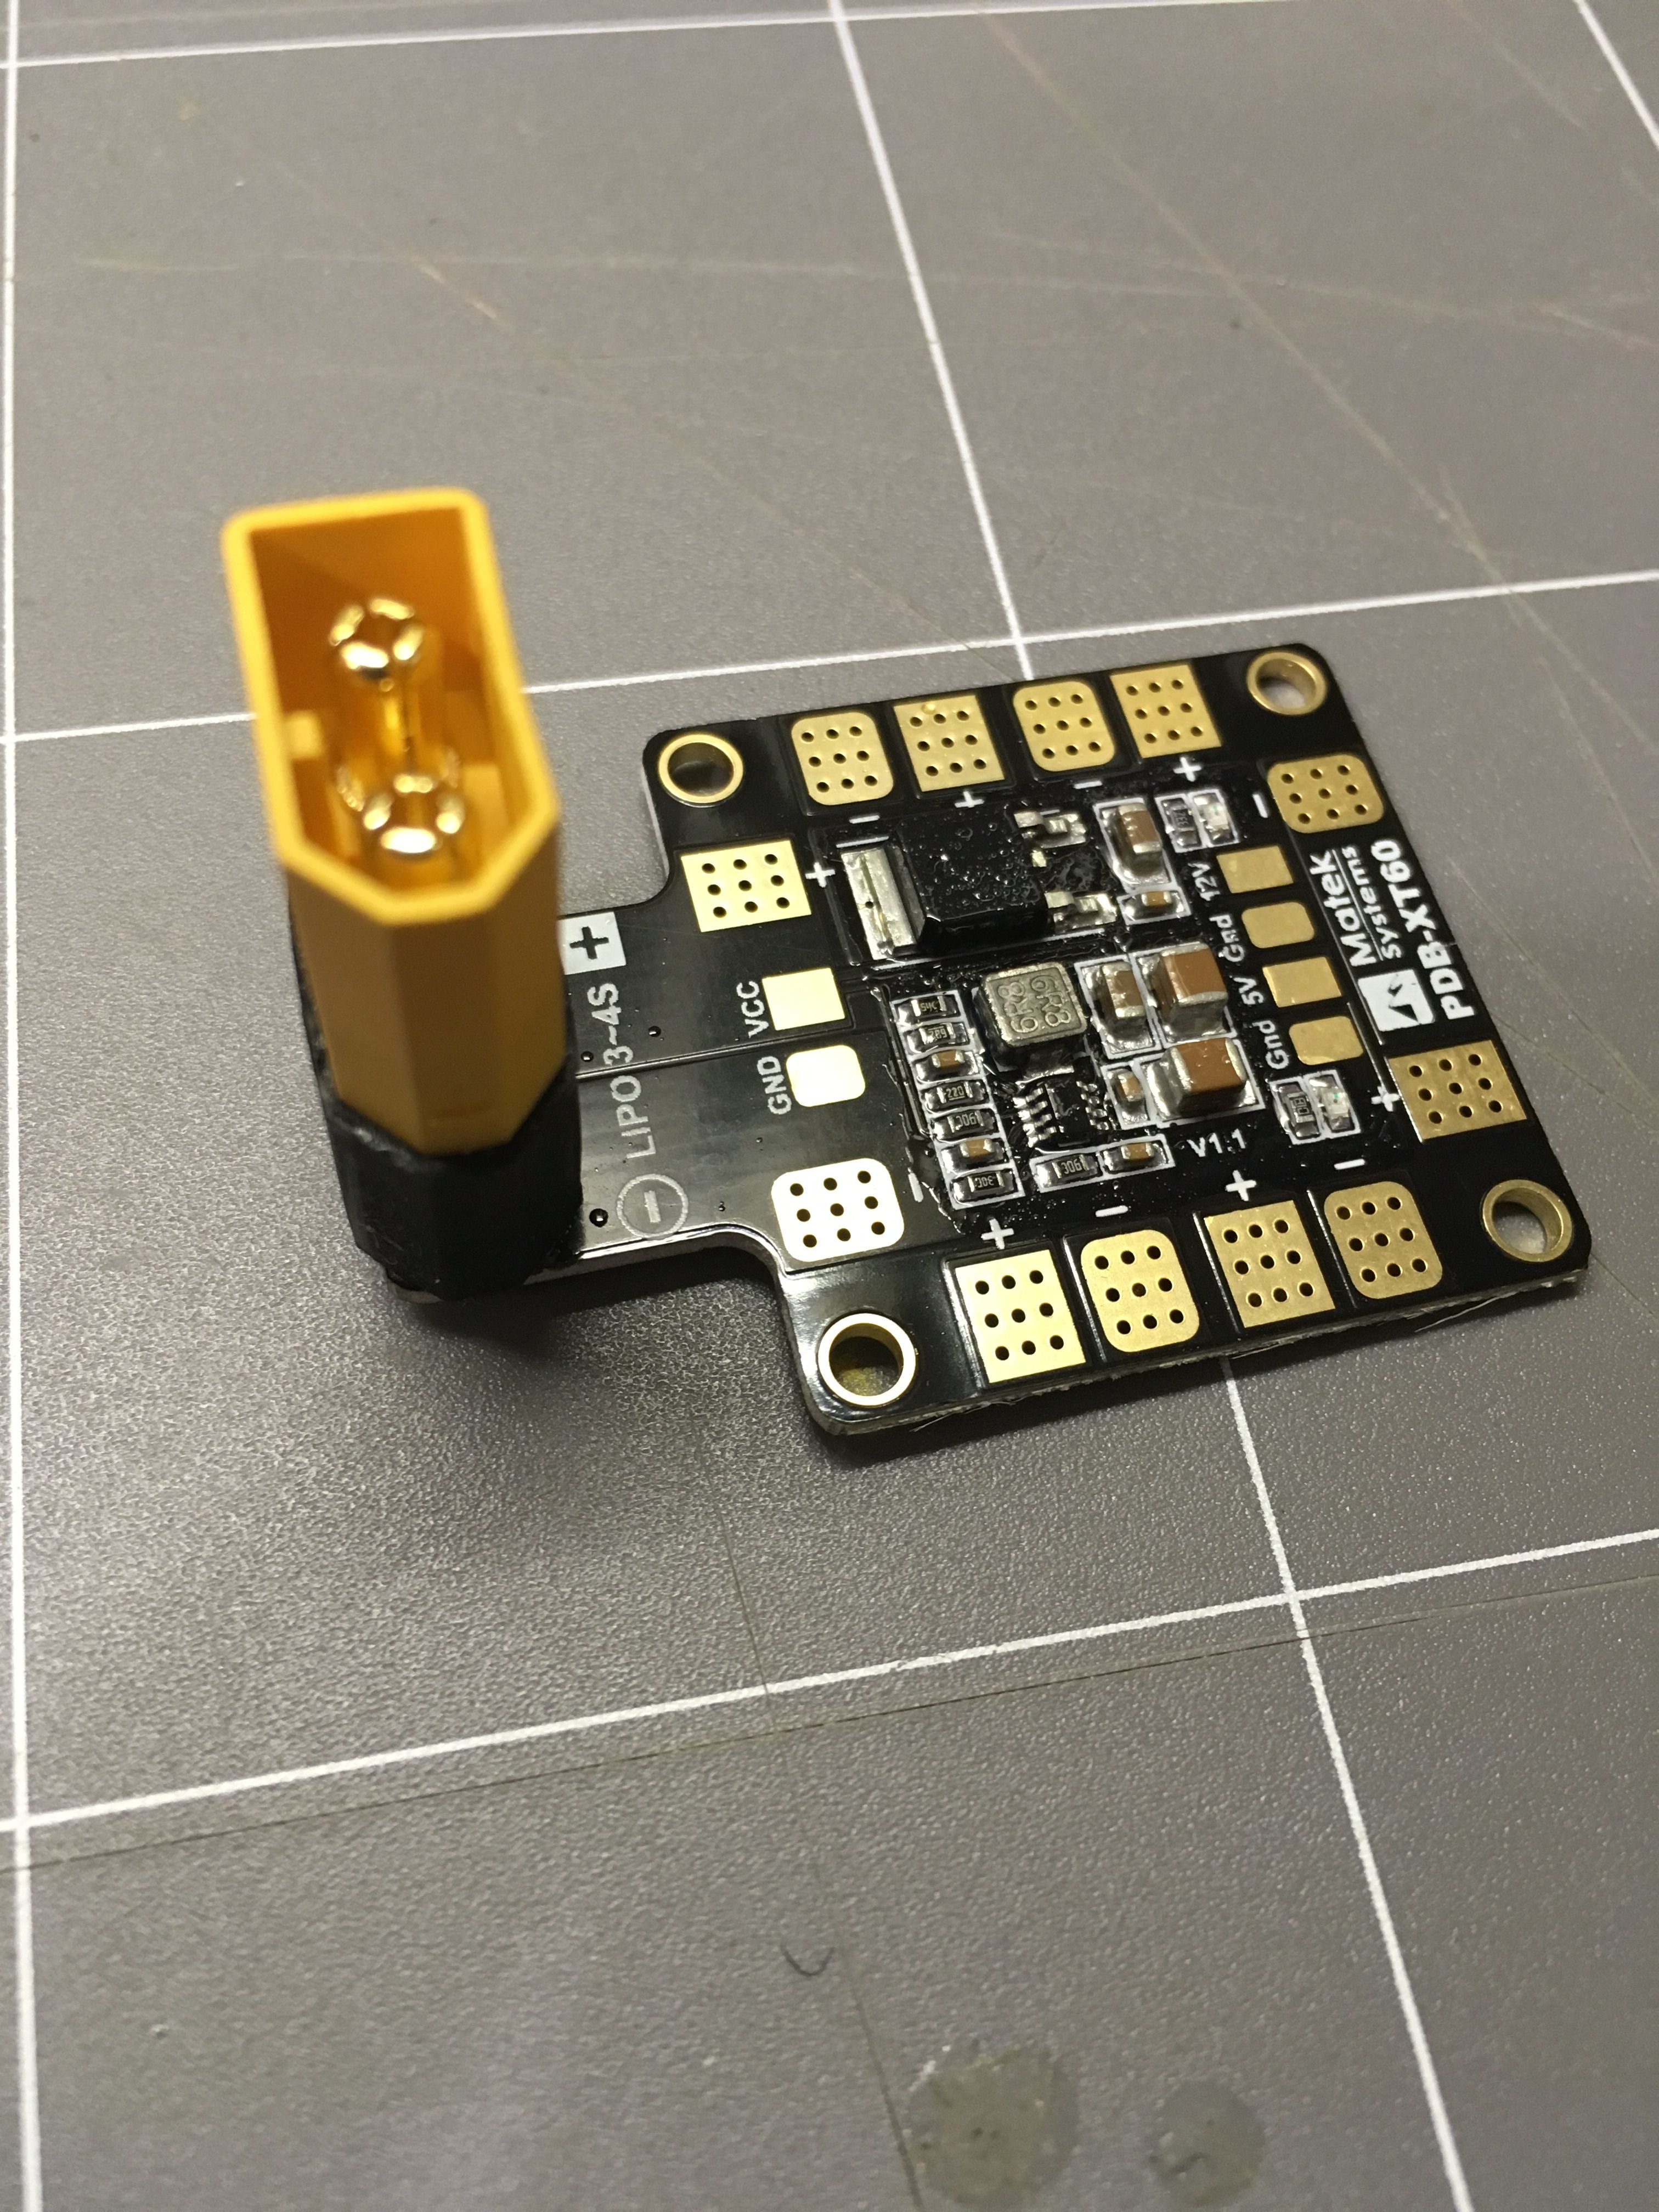
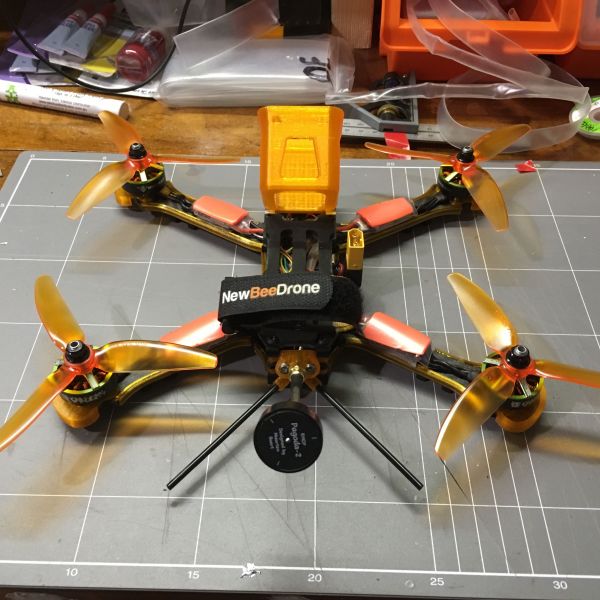
I started with a cheapo $7 PDB. Following some advice I had recieved over on the PhaserFPV Facebook group, I was hell-bent on side mount for my battery lead. I wasn't happy with any of the methods I could think of for doing this with the Bardwell F4, so a PDB was the way to go. I used an Armattan Connector Saver to help keep the lead out of the props.
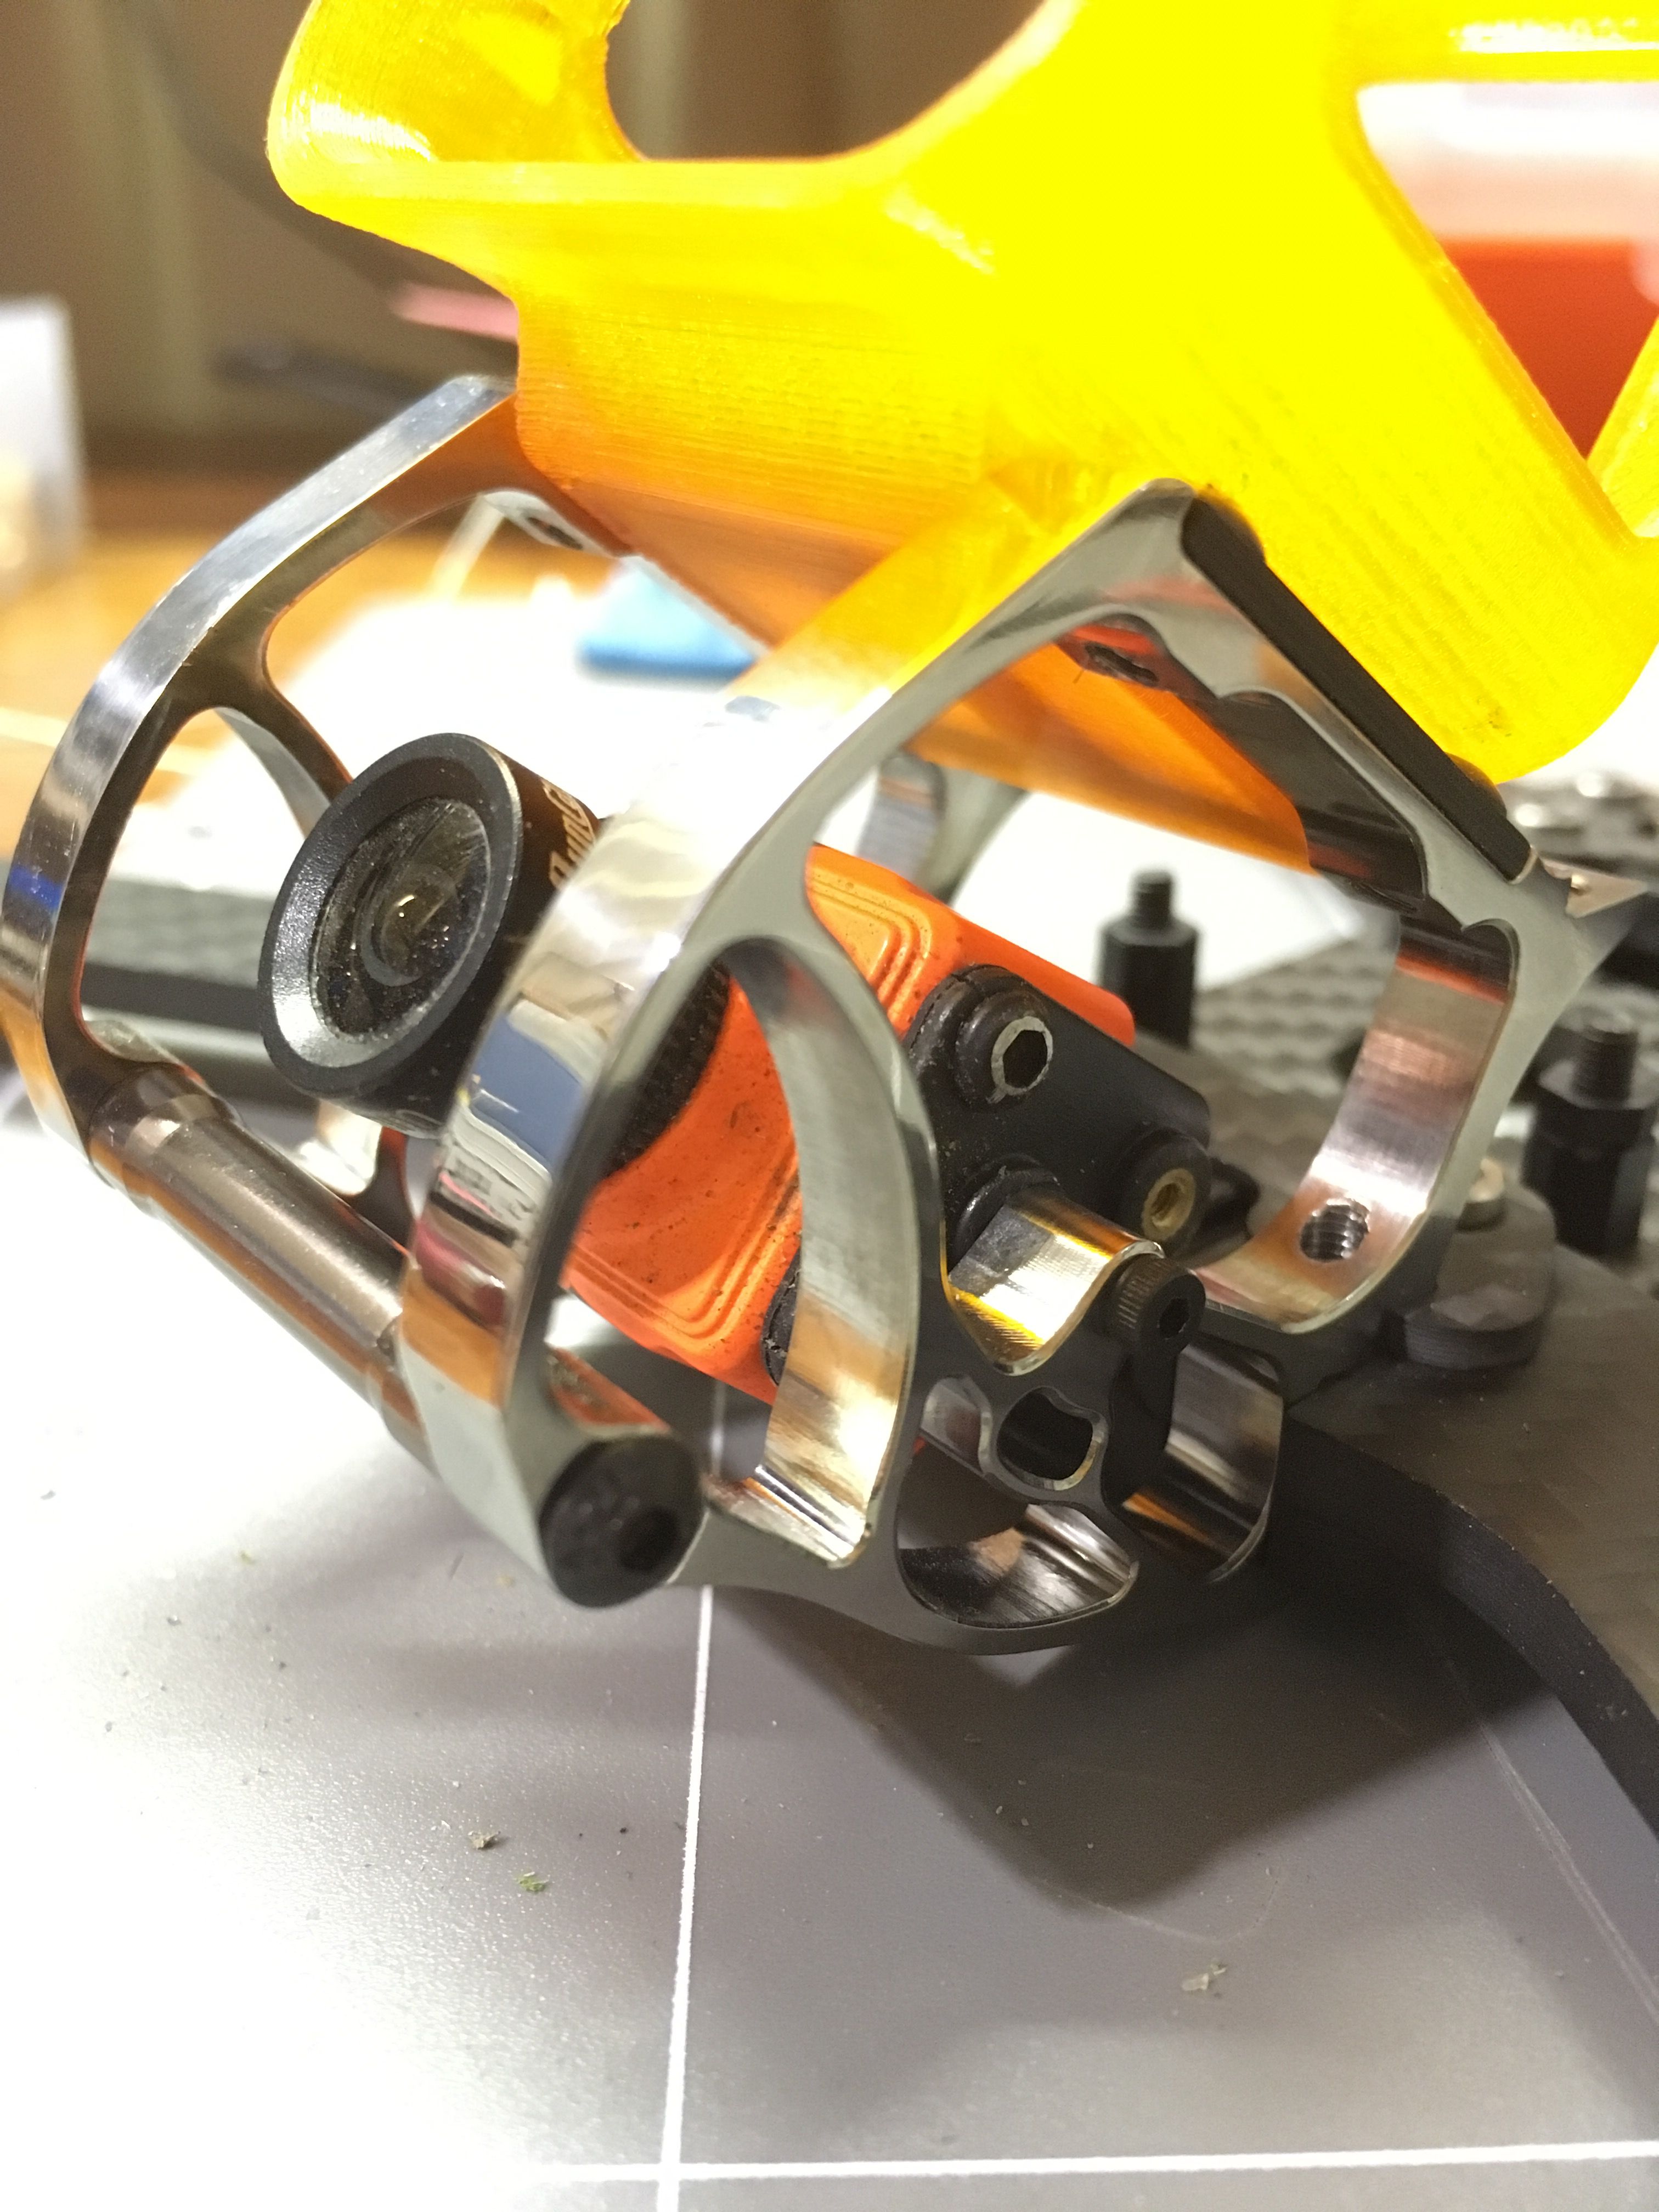
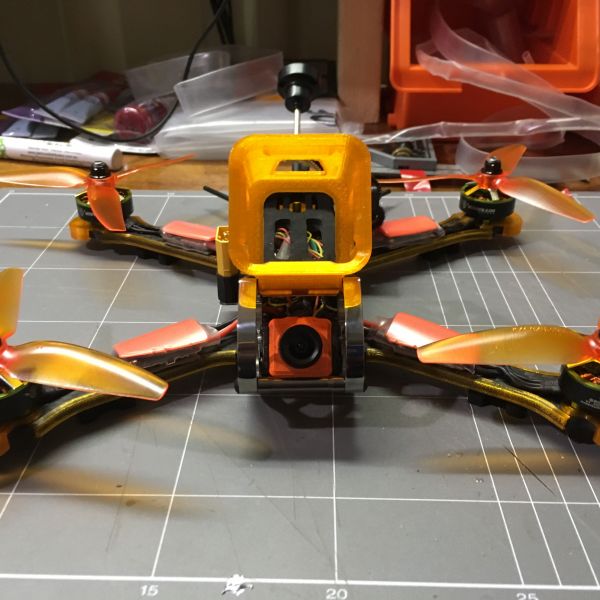
I popped the camera in next. I had to file the aluminum bolts down a little to get them to fit in the camera cage. You can see the marks in this photo.
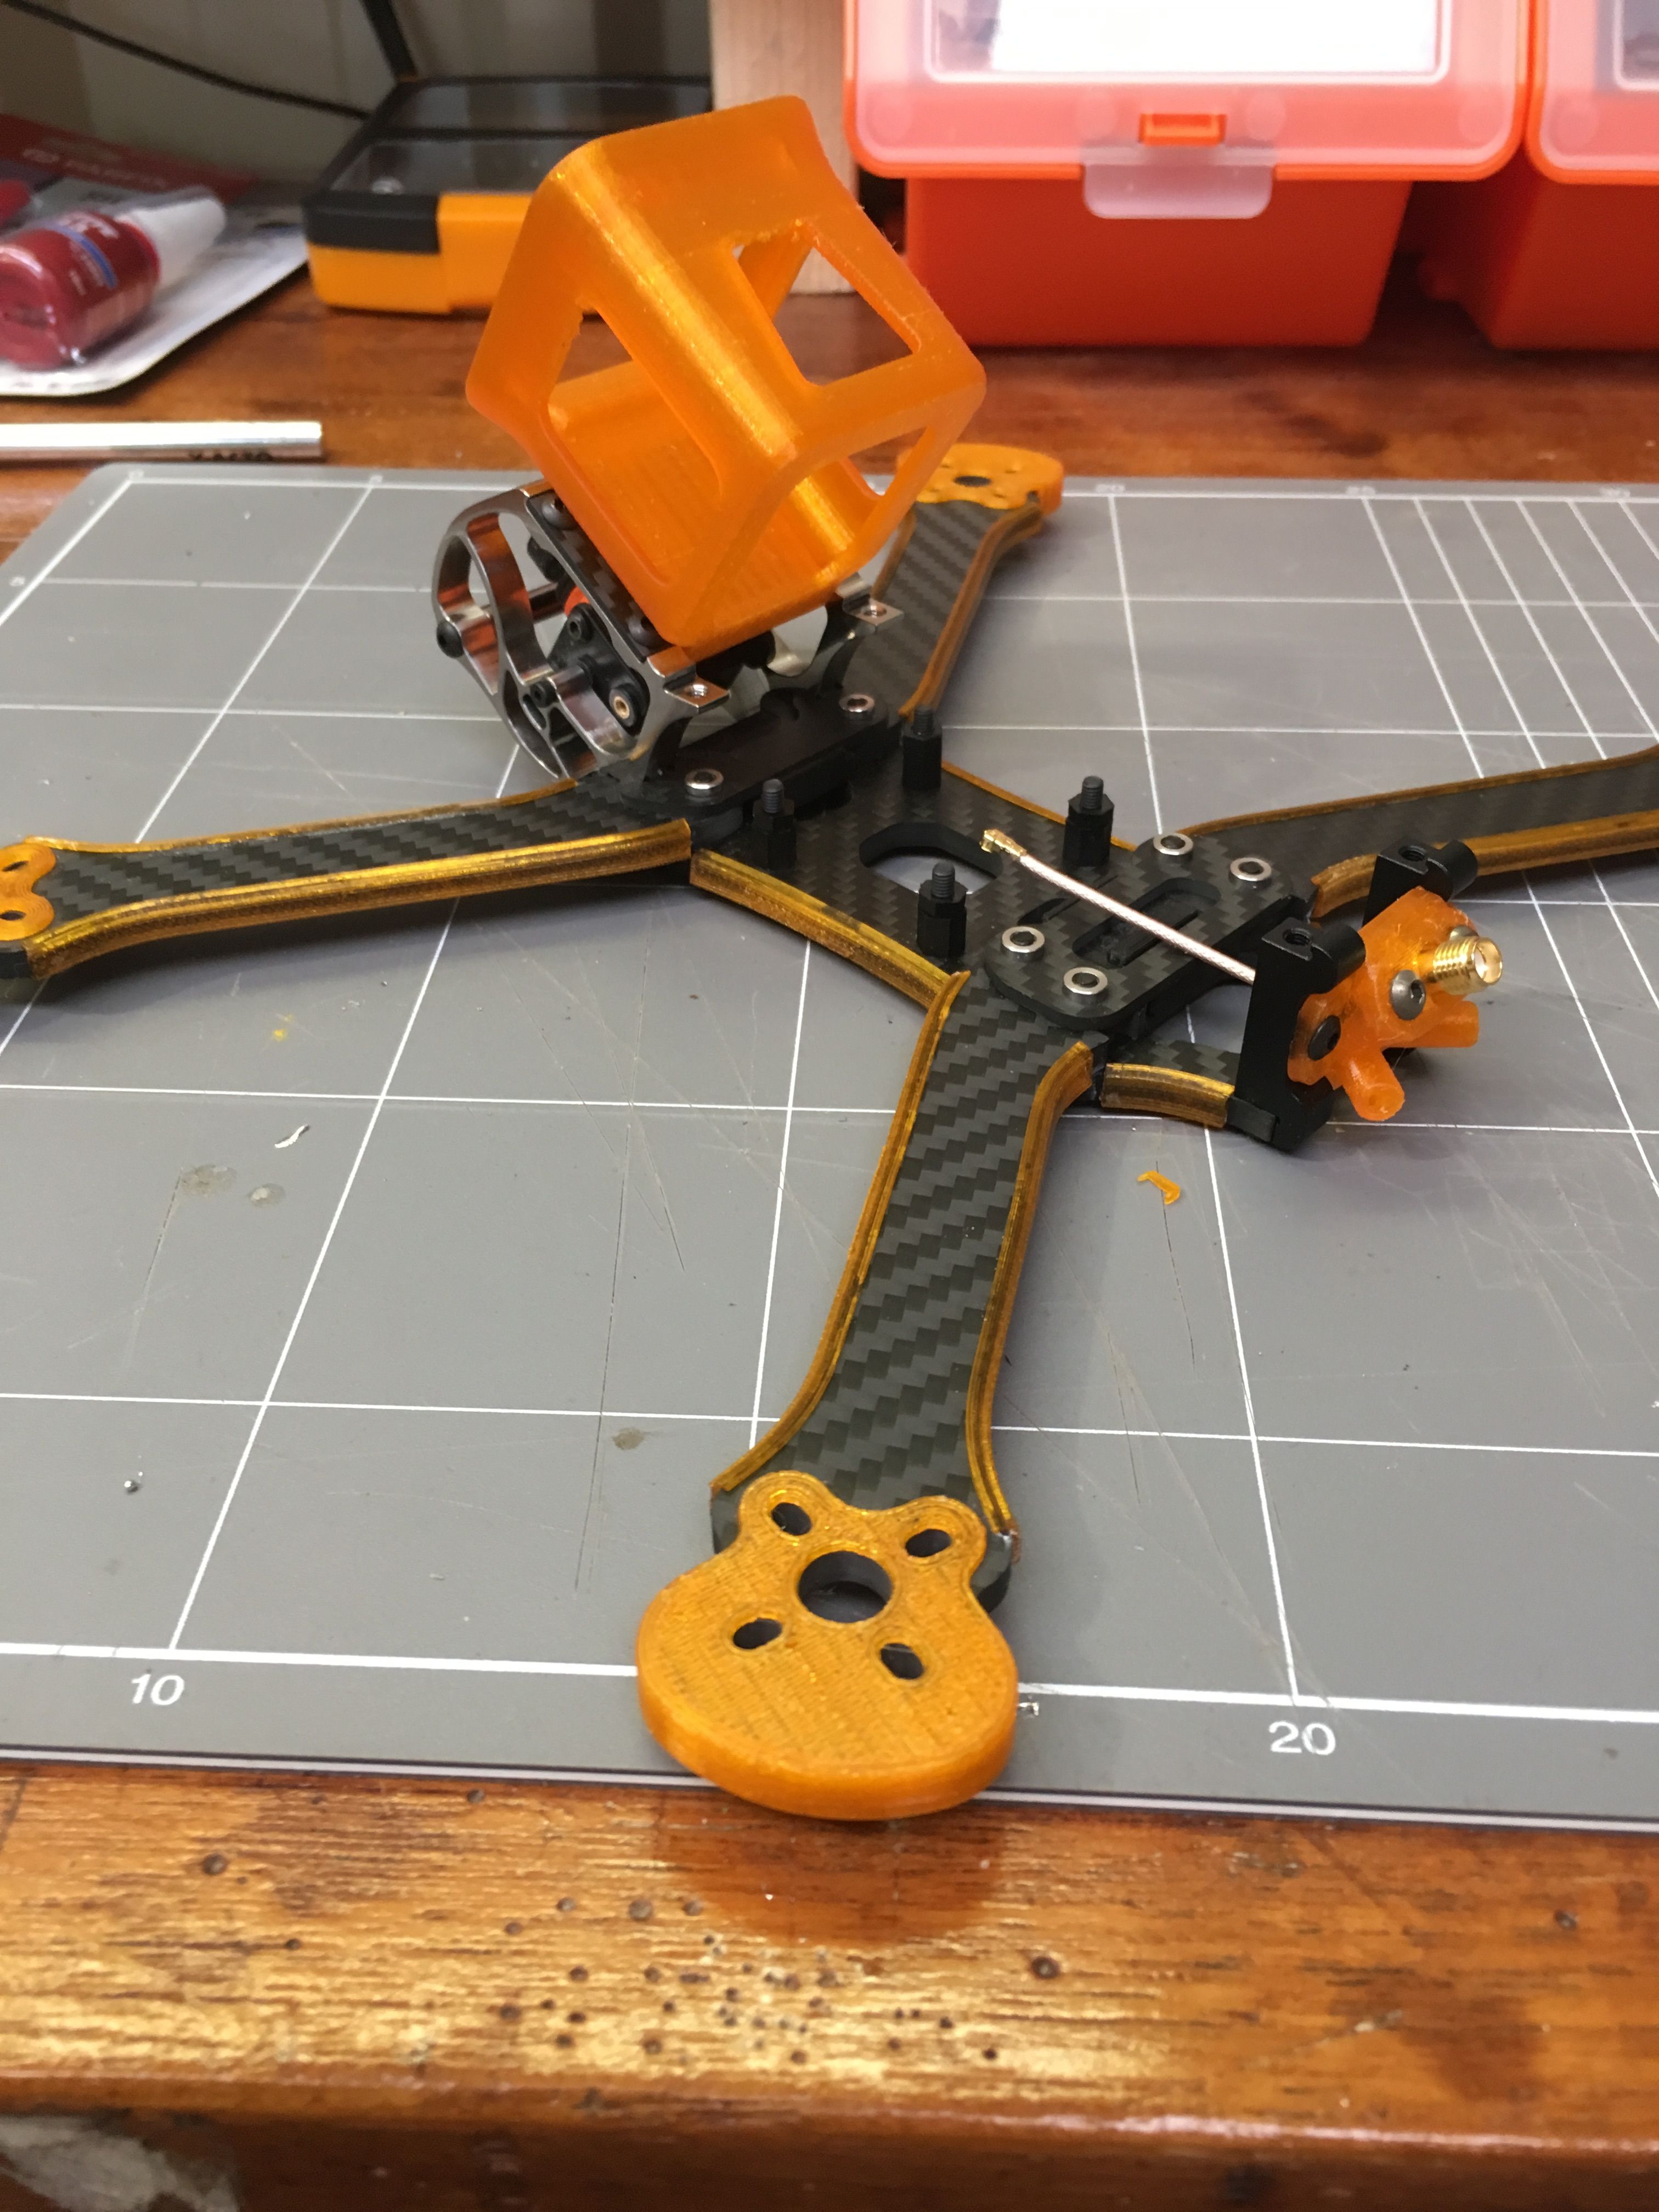
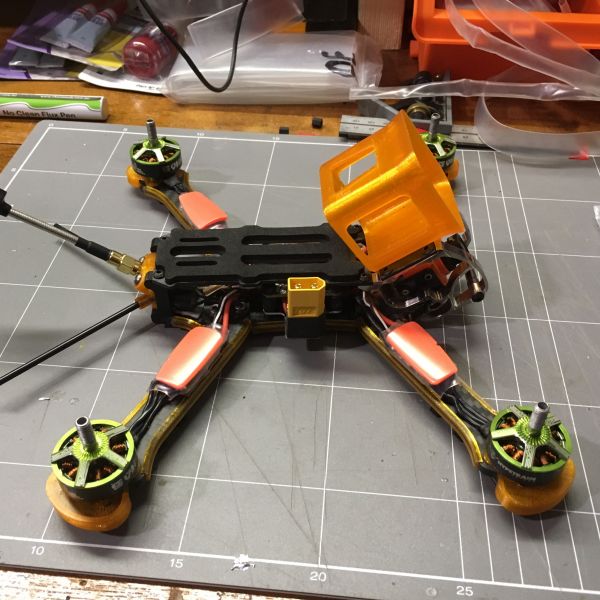
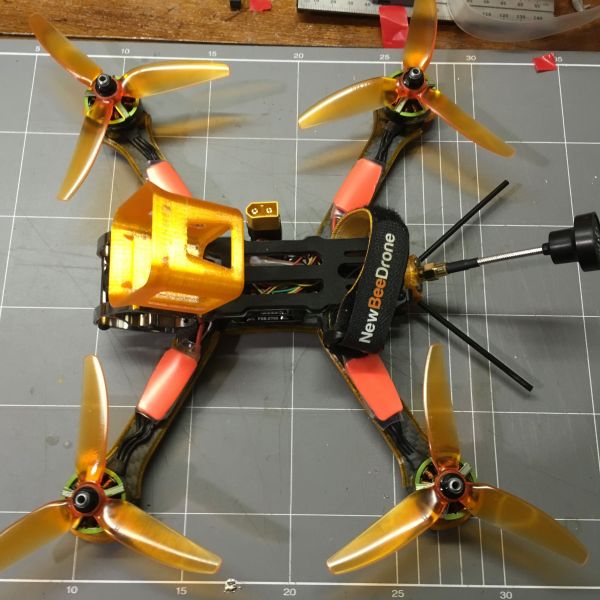
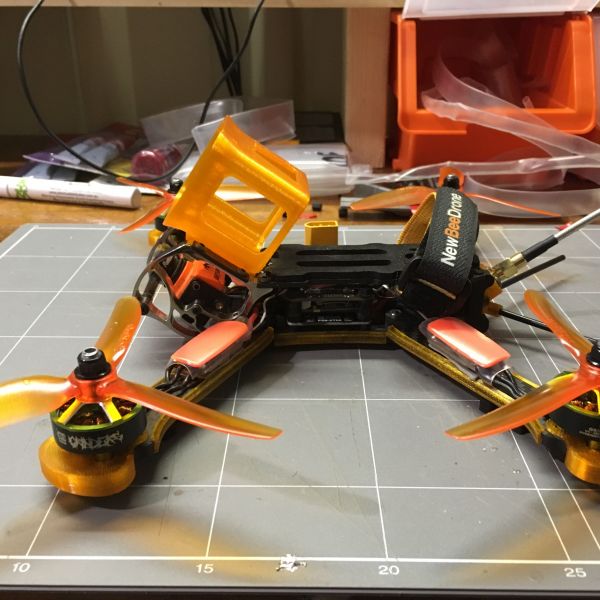
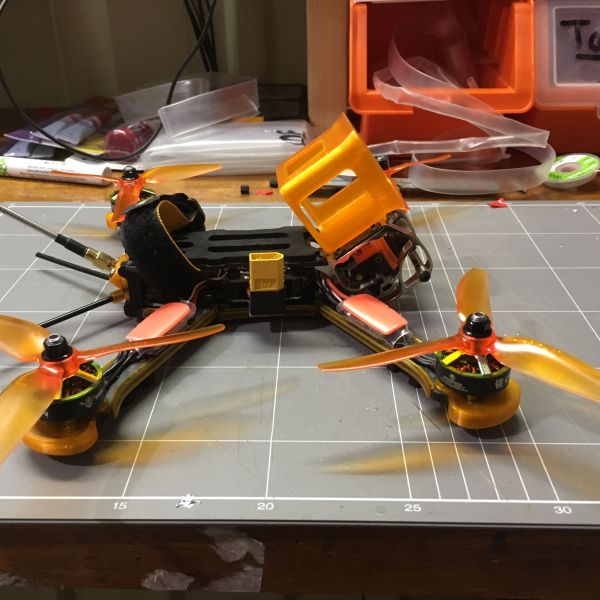
I really liked the idea of decking my Rooster out in as much orange 3D printed stuff I could find. PhaserFPV was able to sort me out with motor soft mounts, a replacement VTX mount, GoPro mount and these frame protector strips that I superglued to the arms. Not sure if they actually do anything, (I haven't crashed it yet) but they sure look sweet.
Once I had the PDB sorted, it was time to shove it in the frame. I had got very used to the huge amount of build space available in the Martian, so I struggled a little. I got it in there, as low to the bottom of the frame as I could manage.
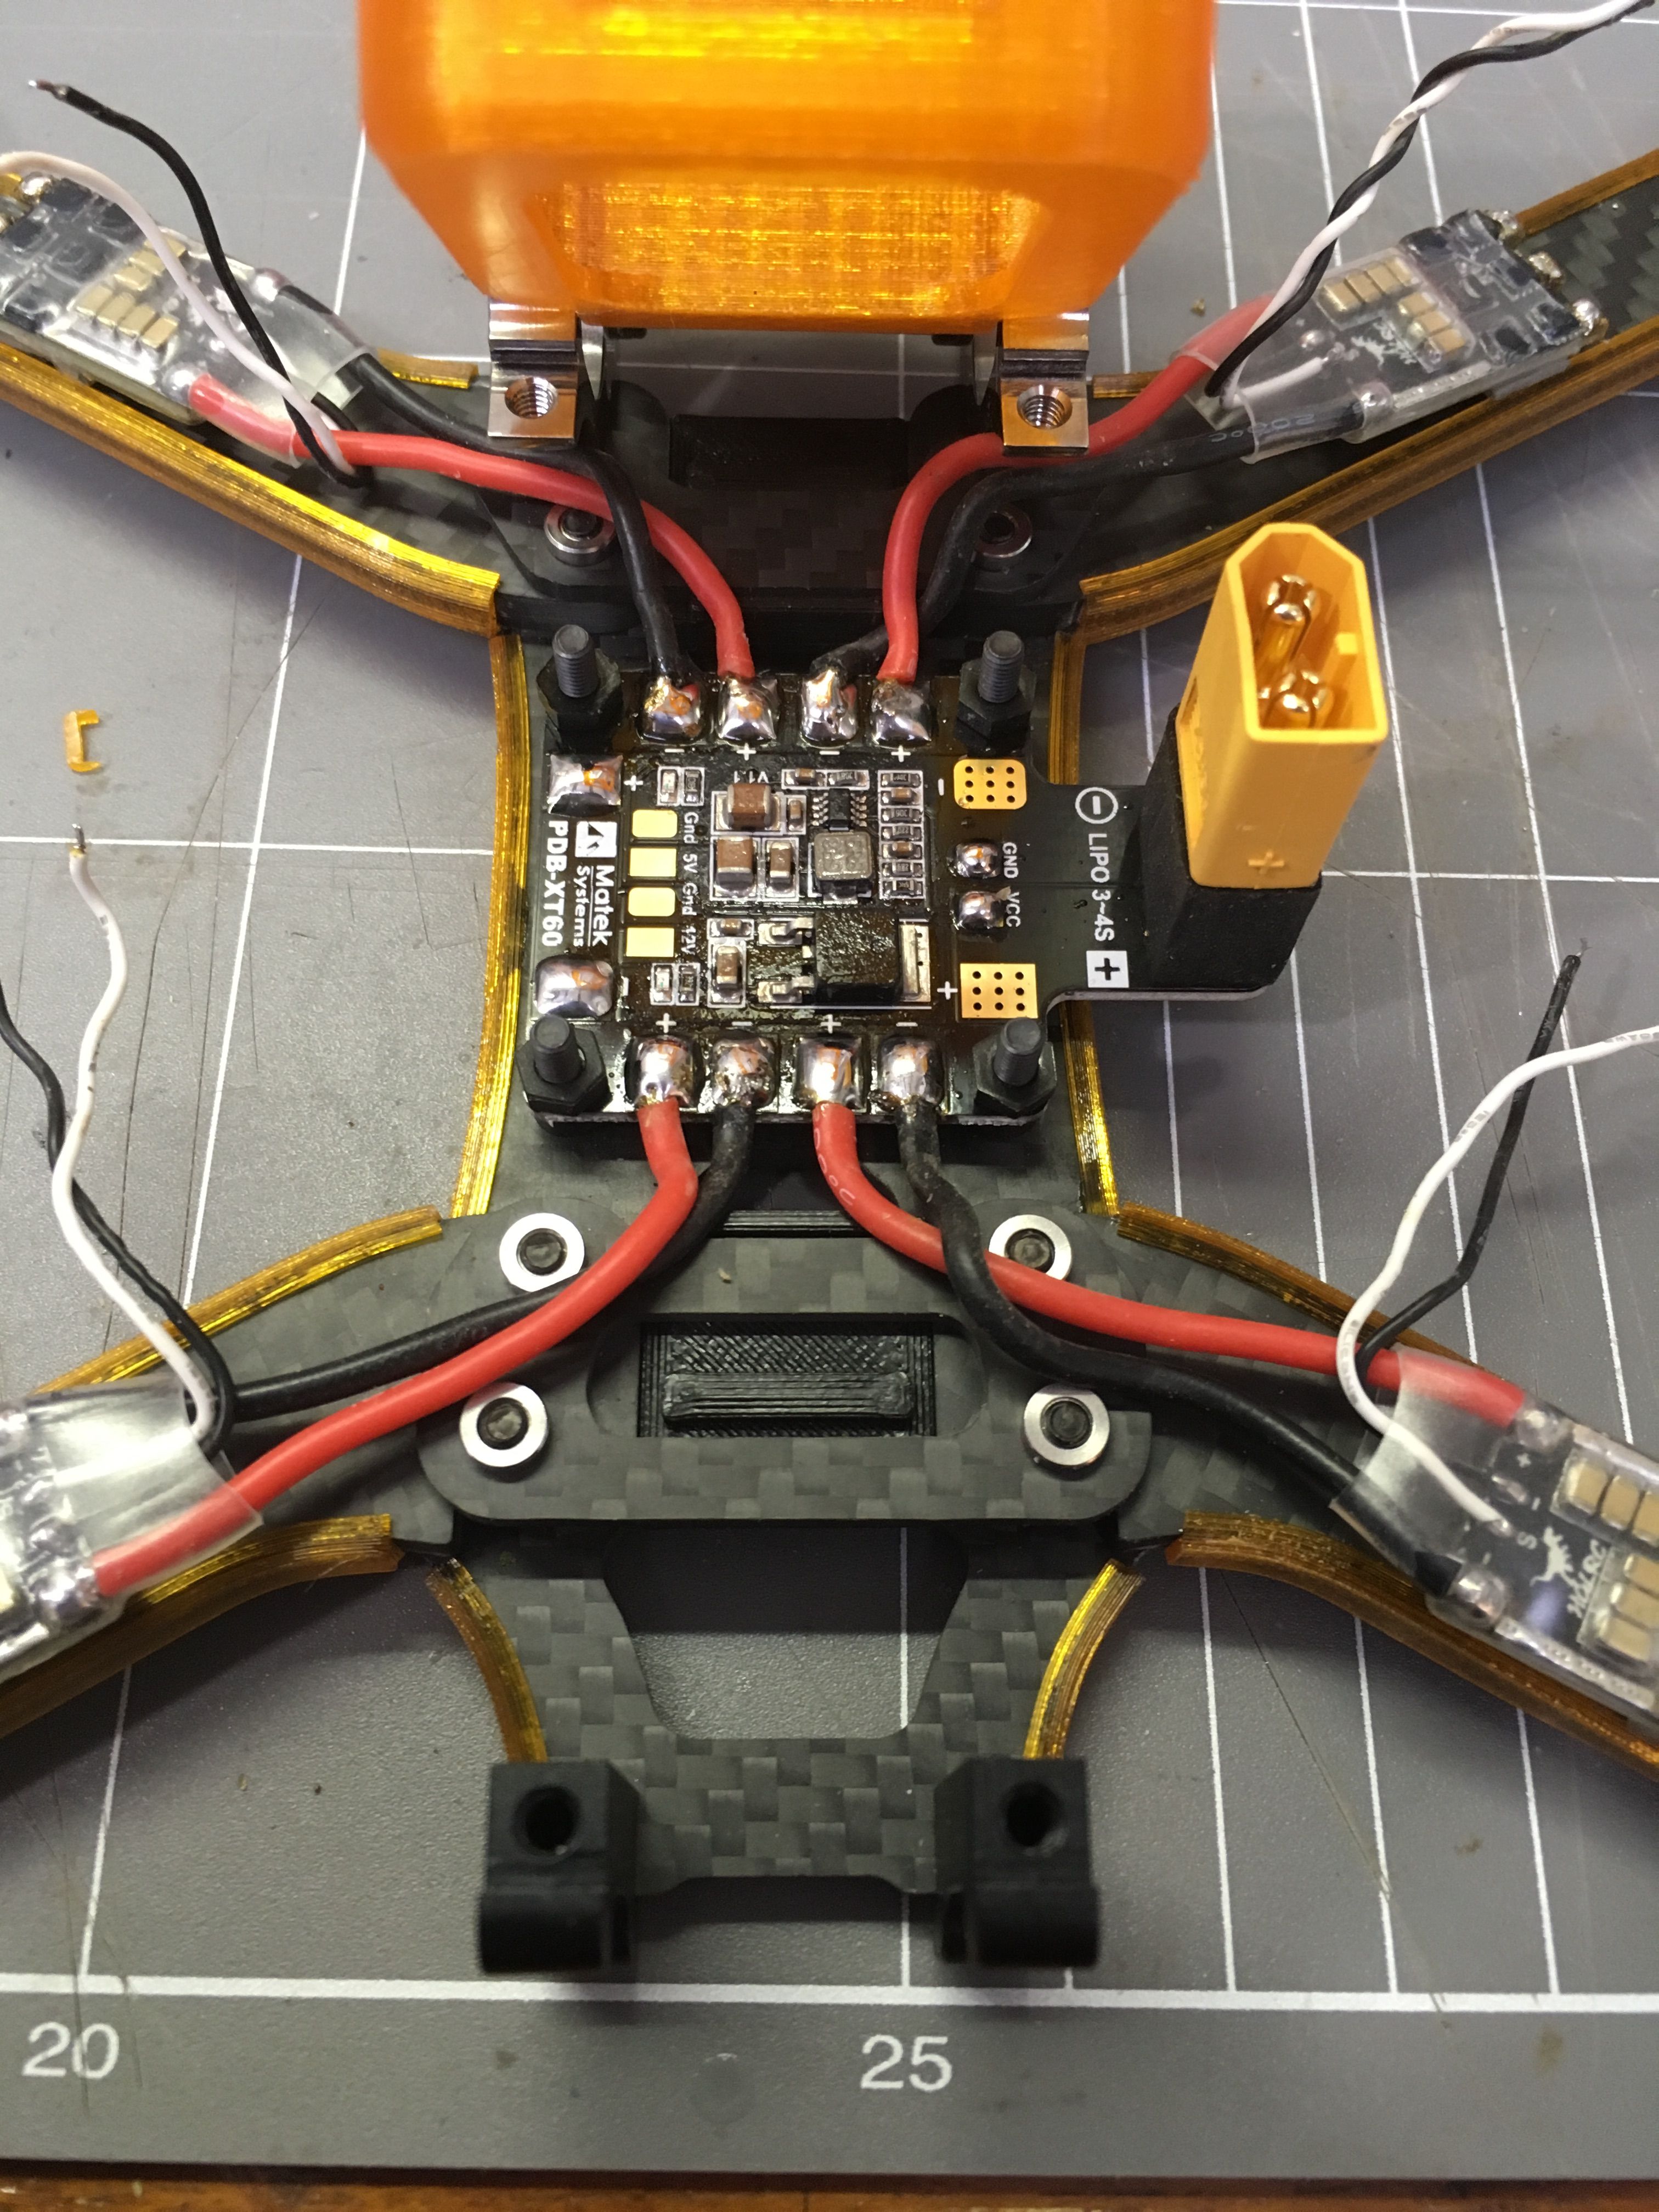
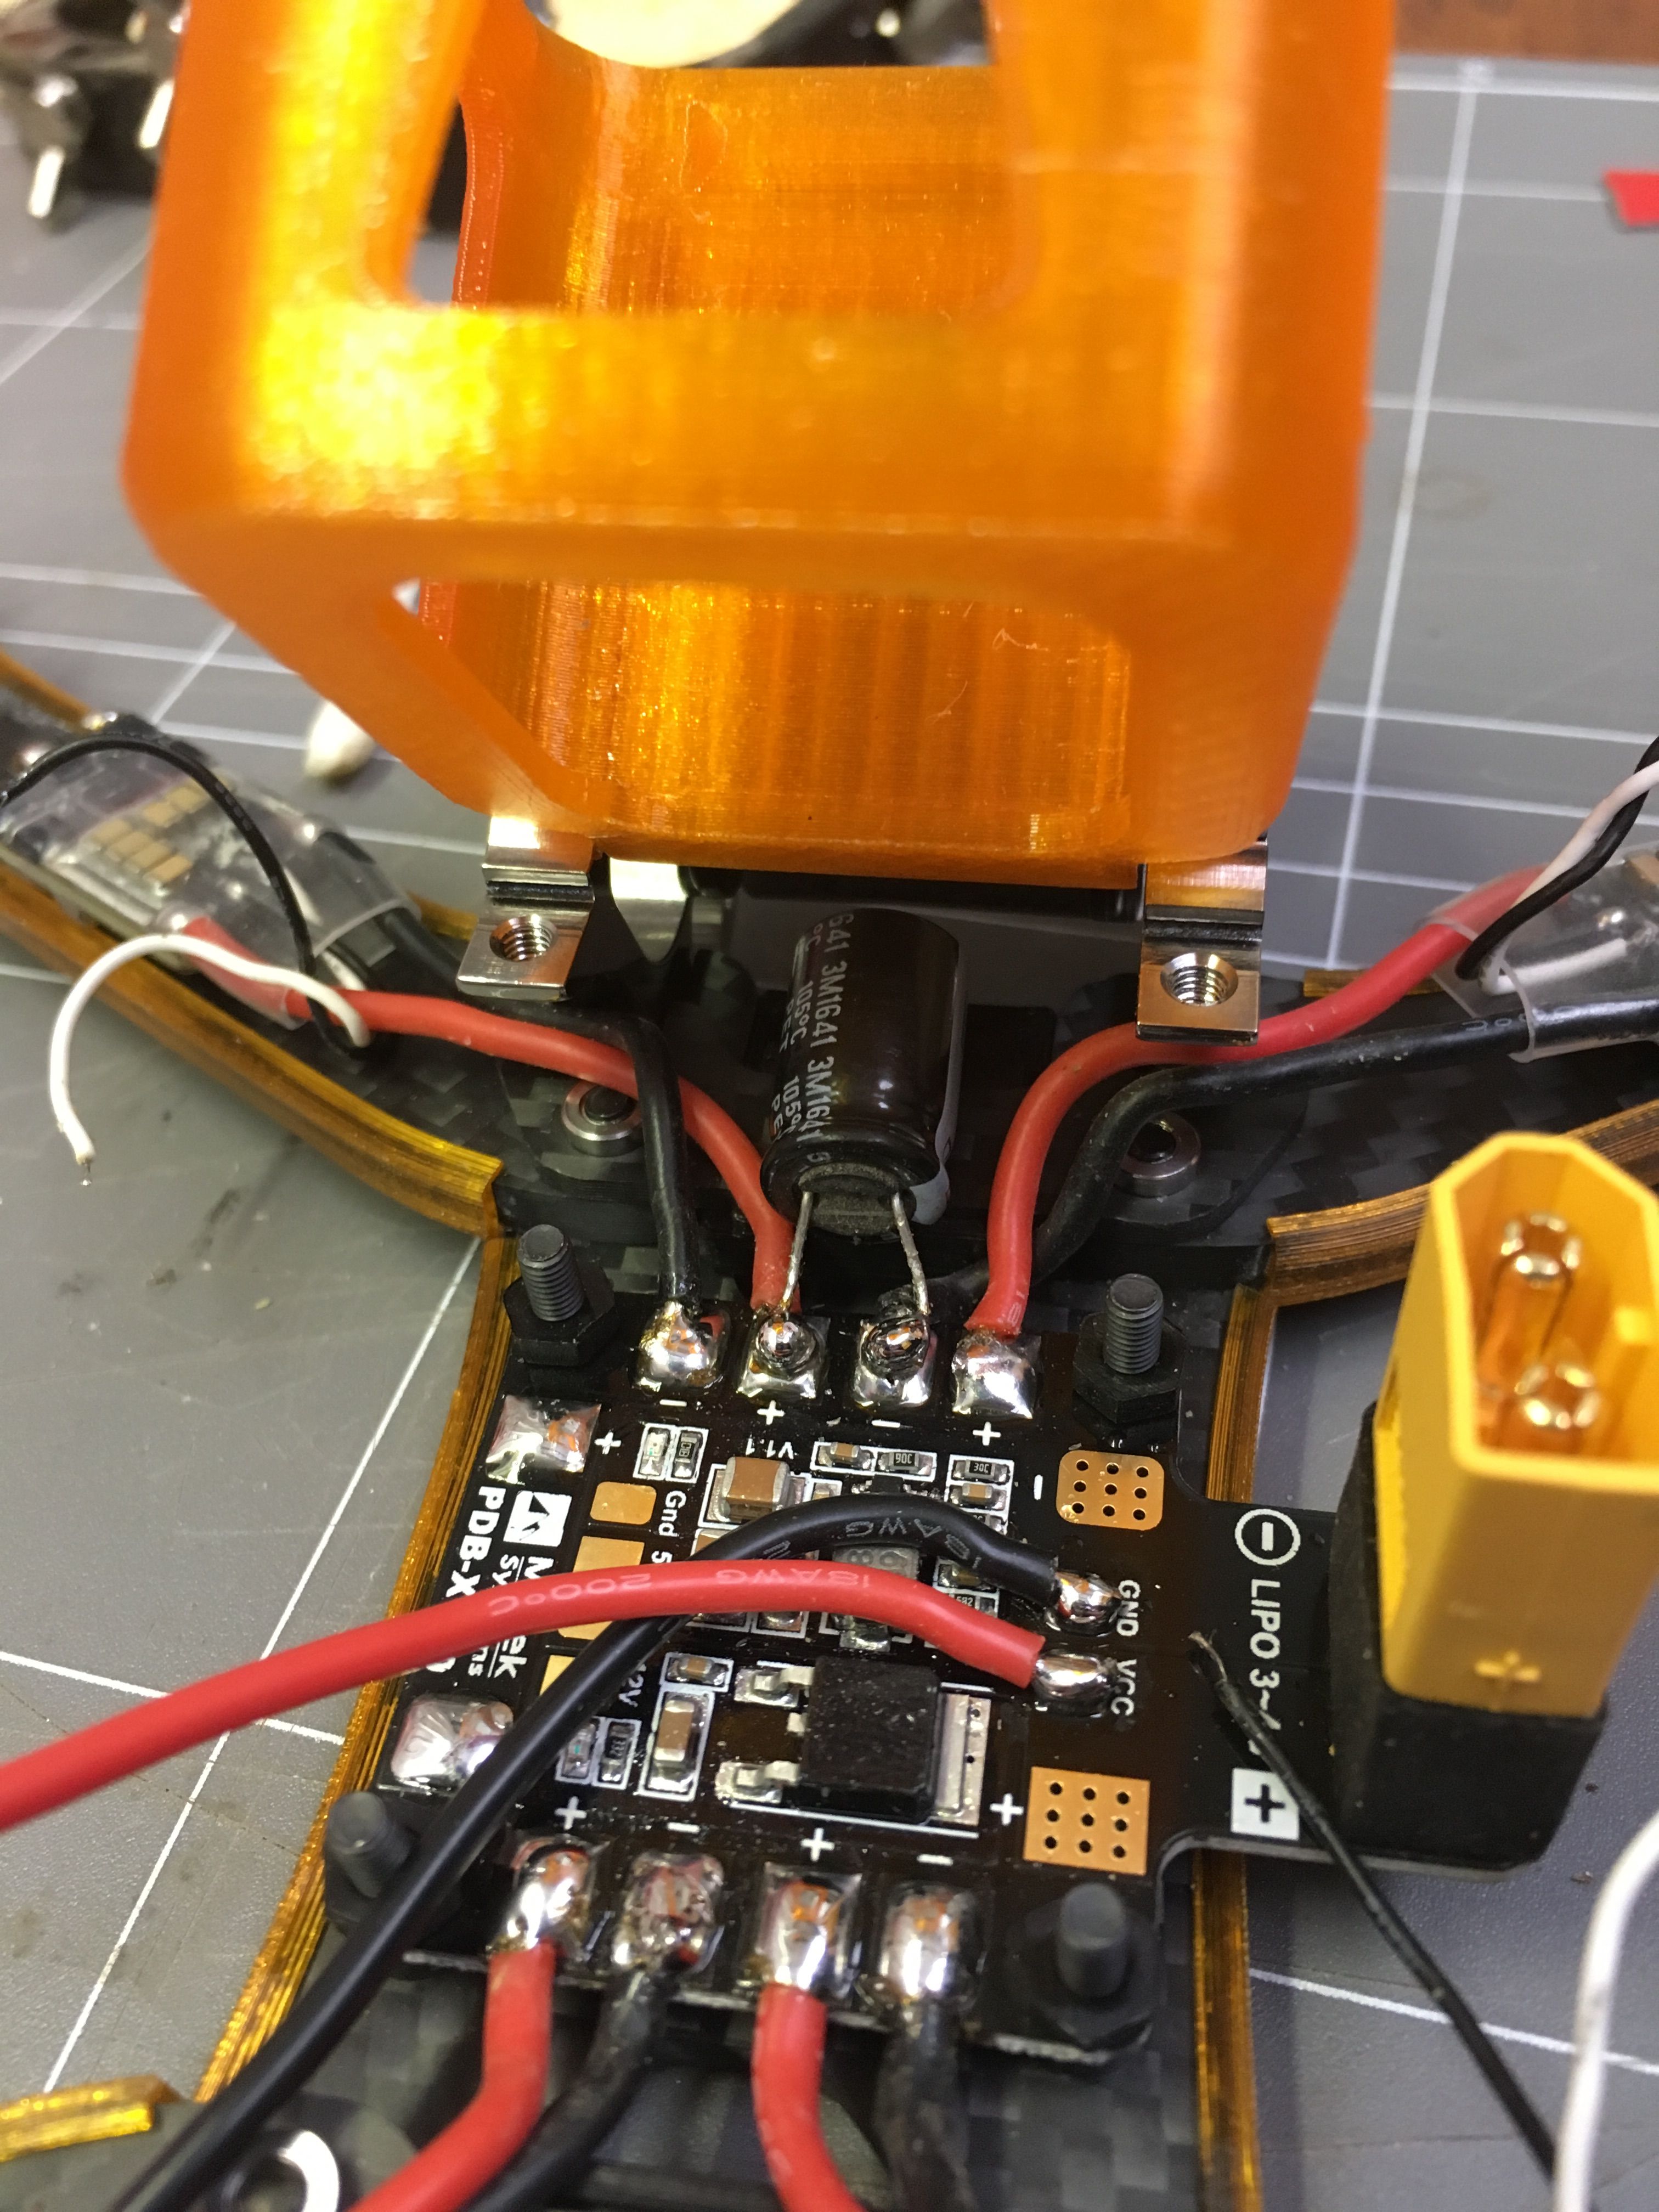
I somehow fit a capacitor in up under the camera:
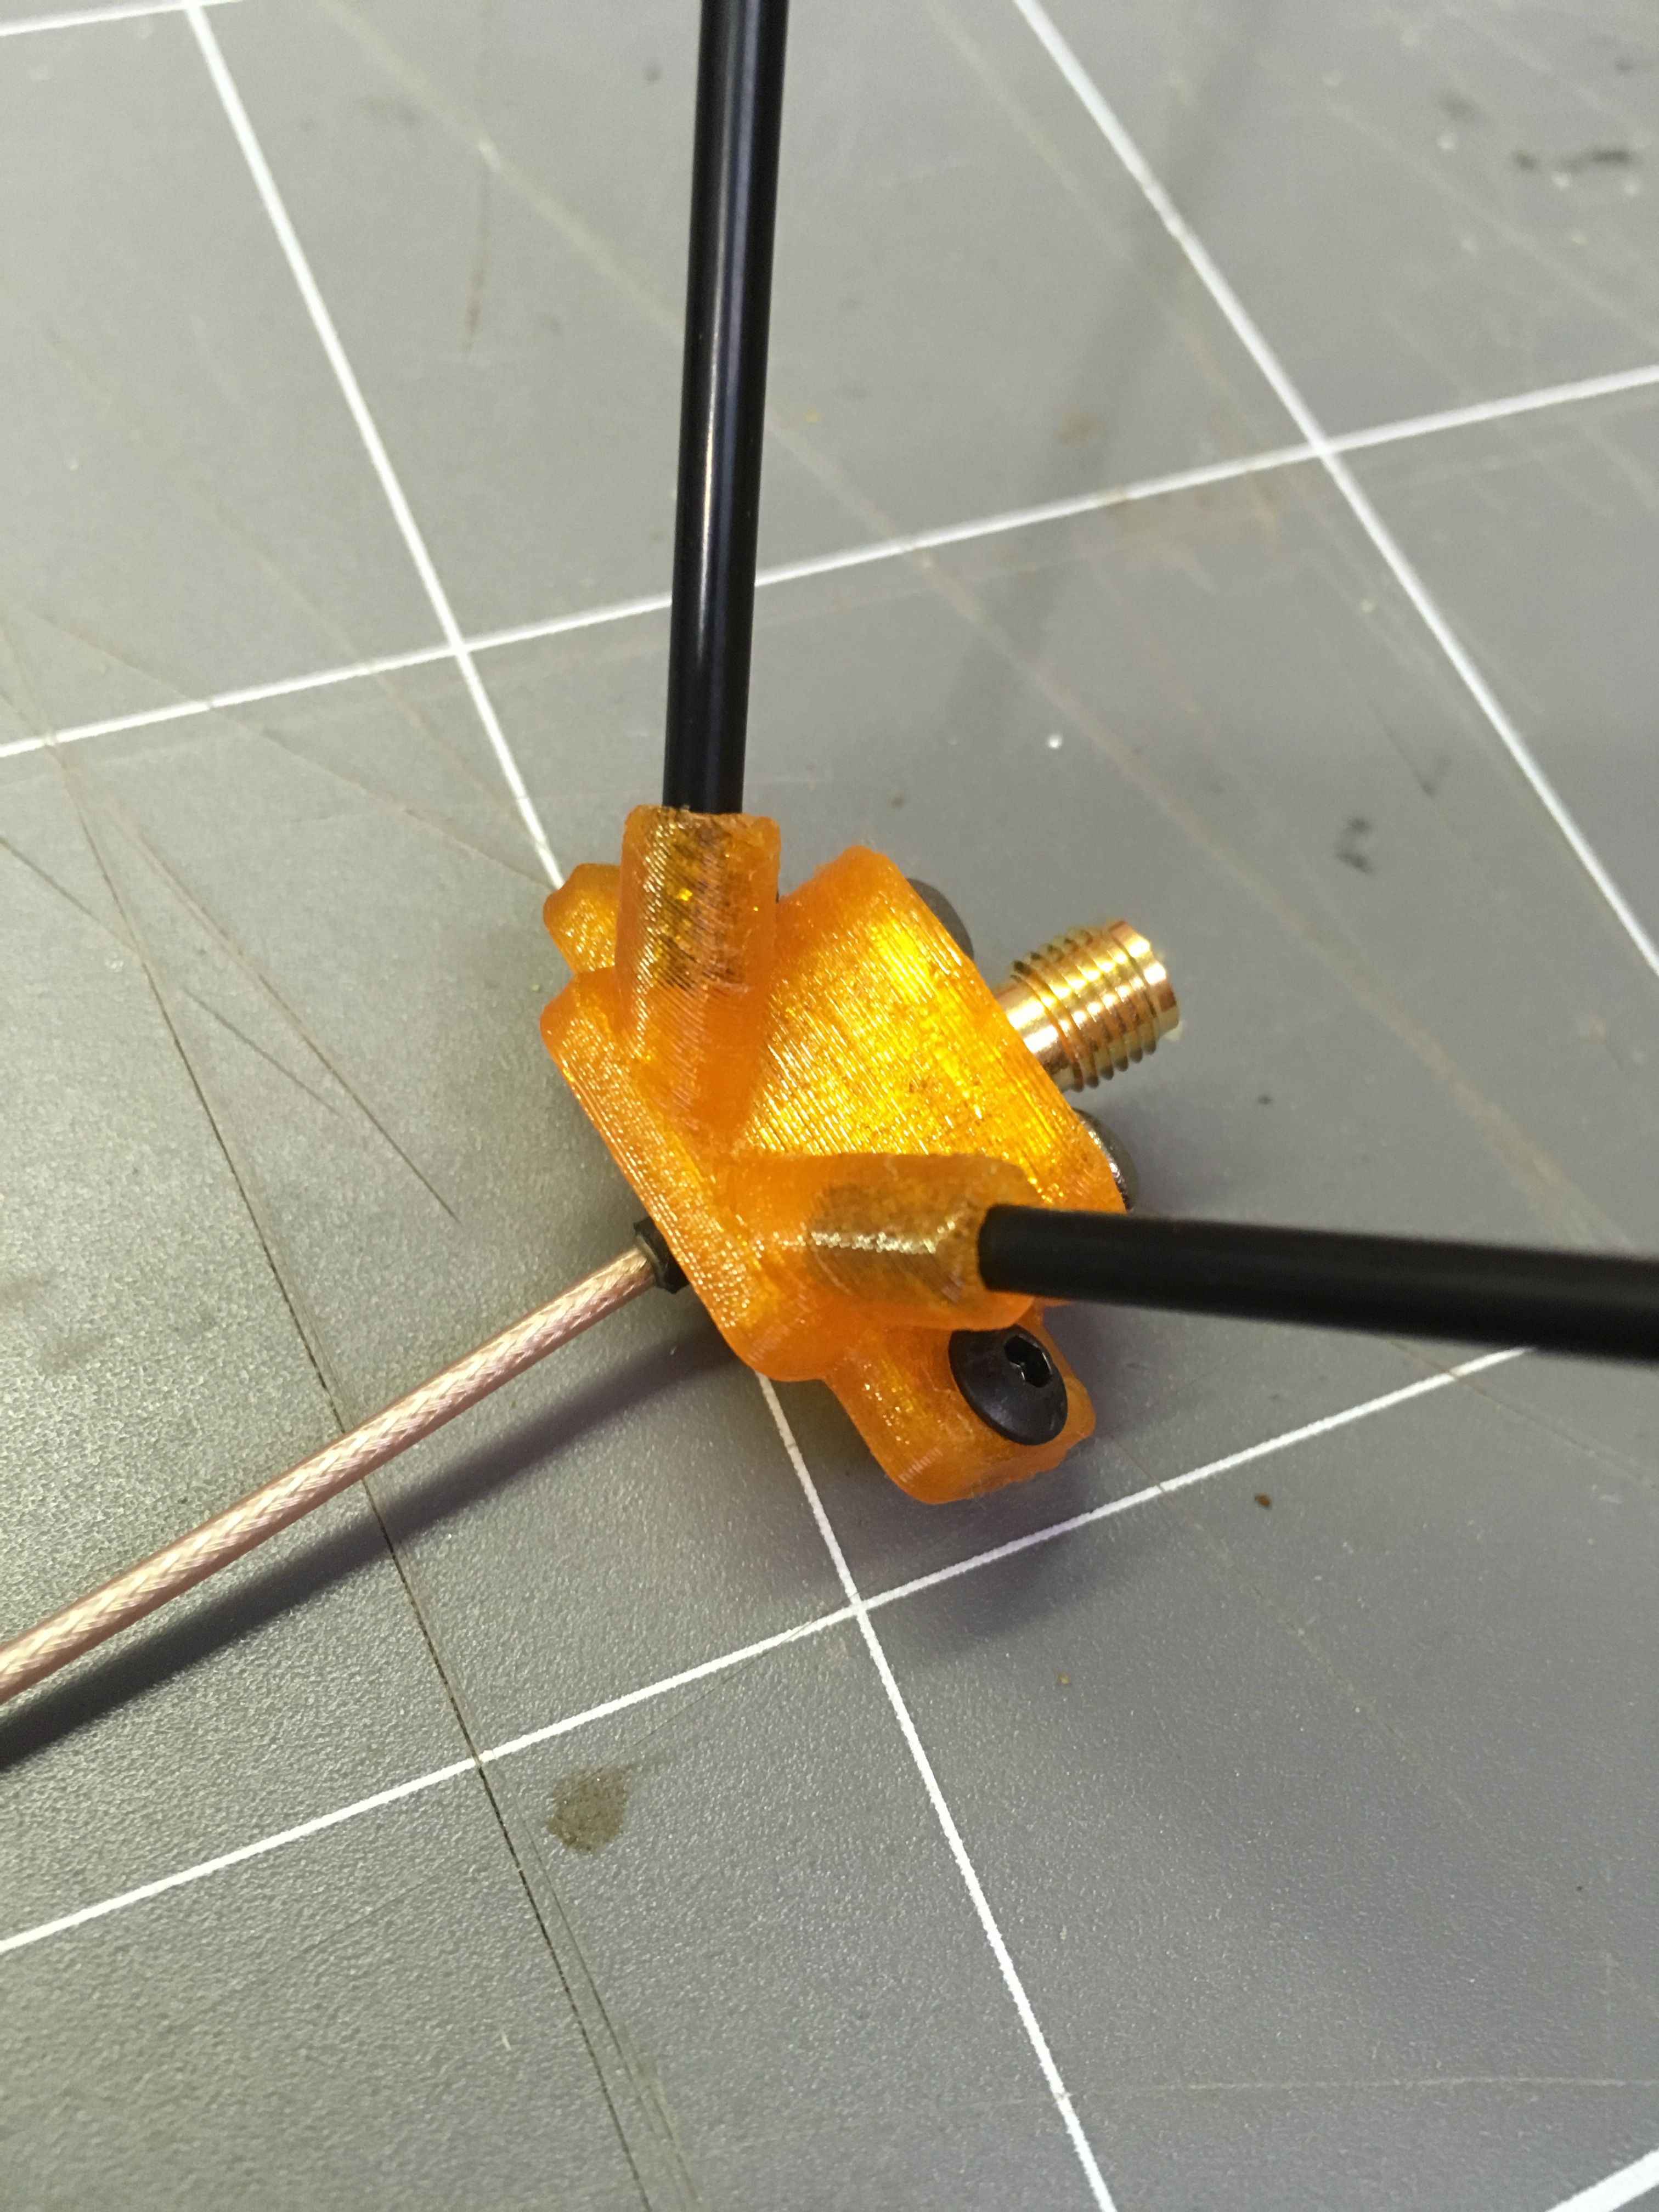
The VTX mount was pretty cute. No idea how durable it will be, but it kicks the antenna up at an angle from the frame, and keeps the control antennas in a nice V out the back. It just bolts onto the back of the frame, in place of the stock antenna mount.
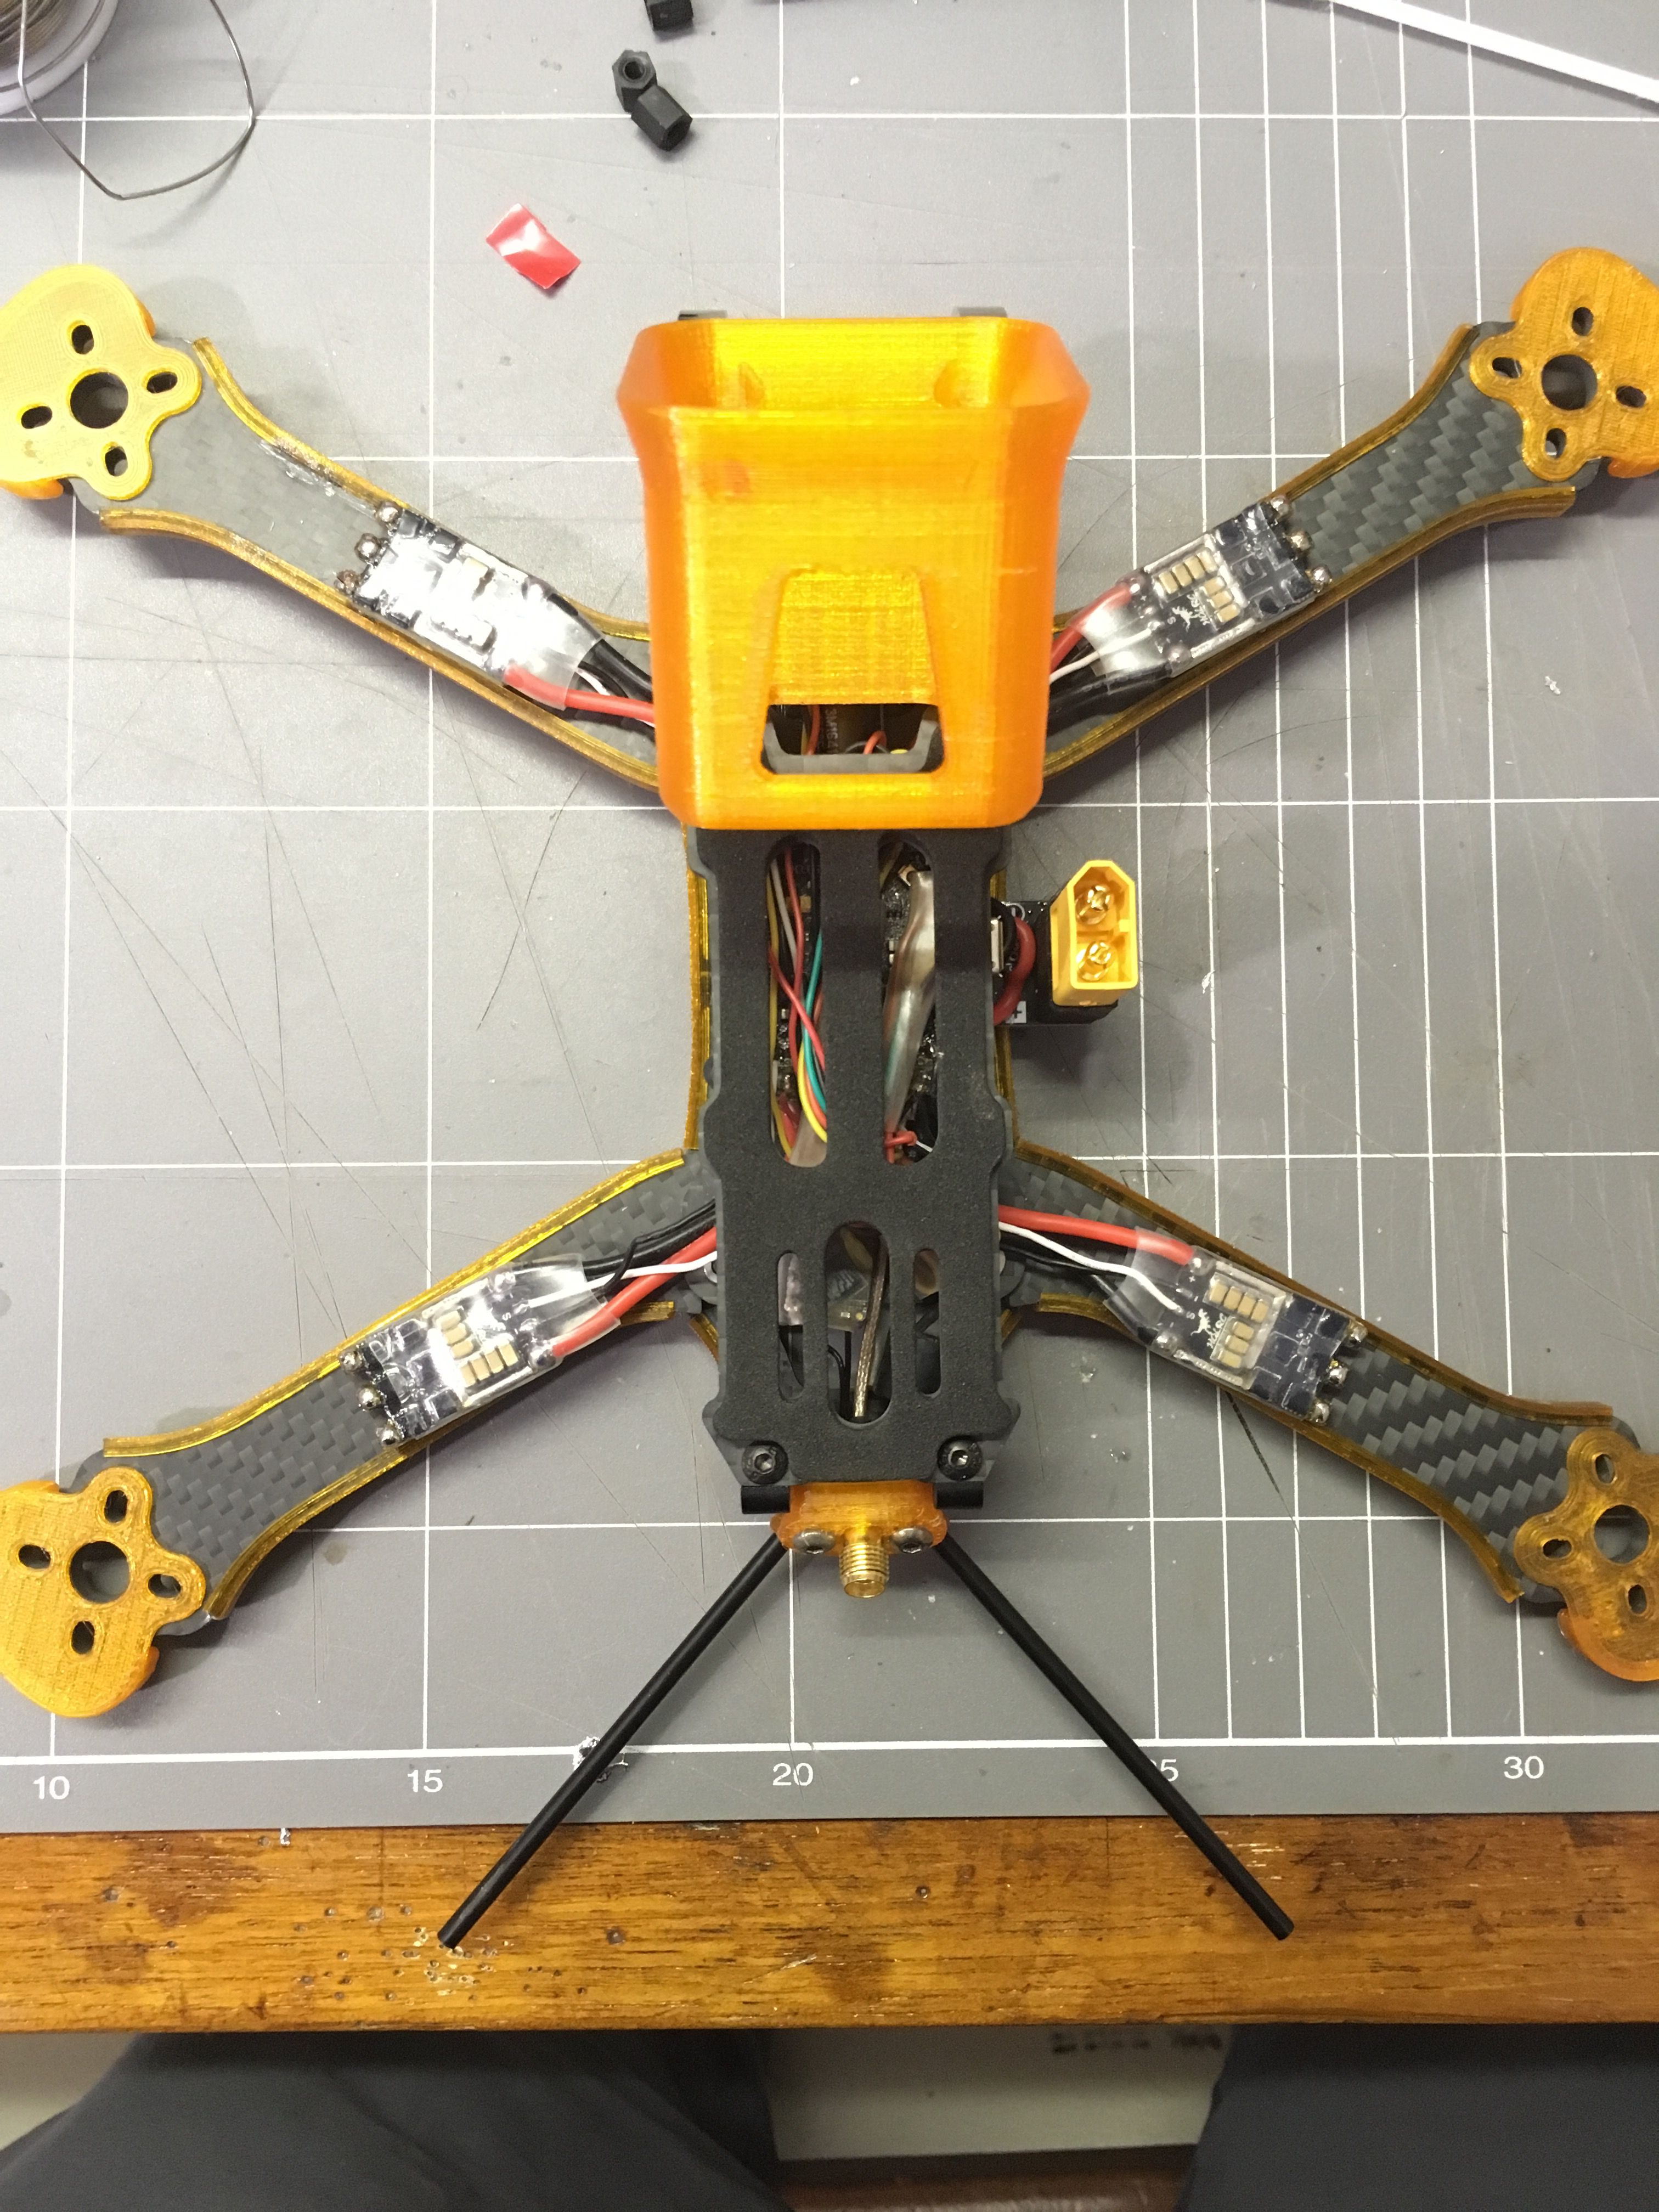
I had intended to take more pics of the wiring as I went, but I stopped because it got messy. I would have done a neater job had I been building from scratch, but as I said earlier, it was more of a transplant. Here is all the guts in place, with the top plate back on, but no motors yet.
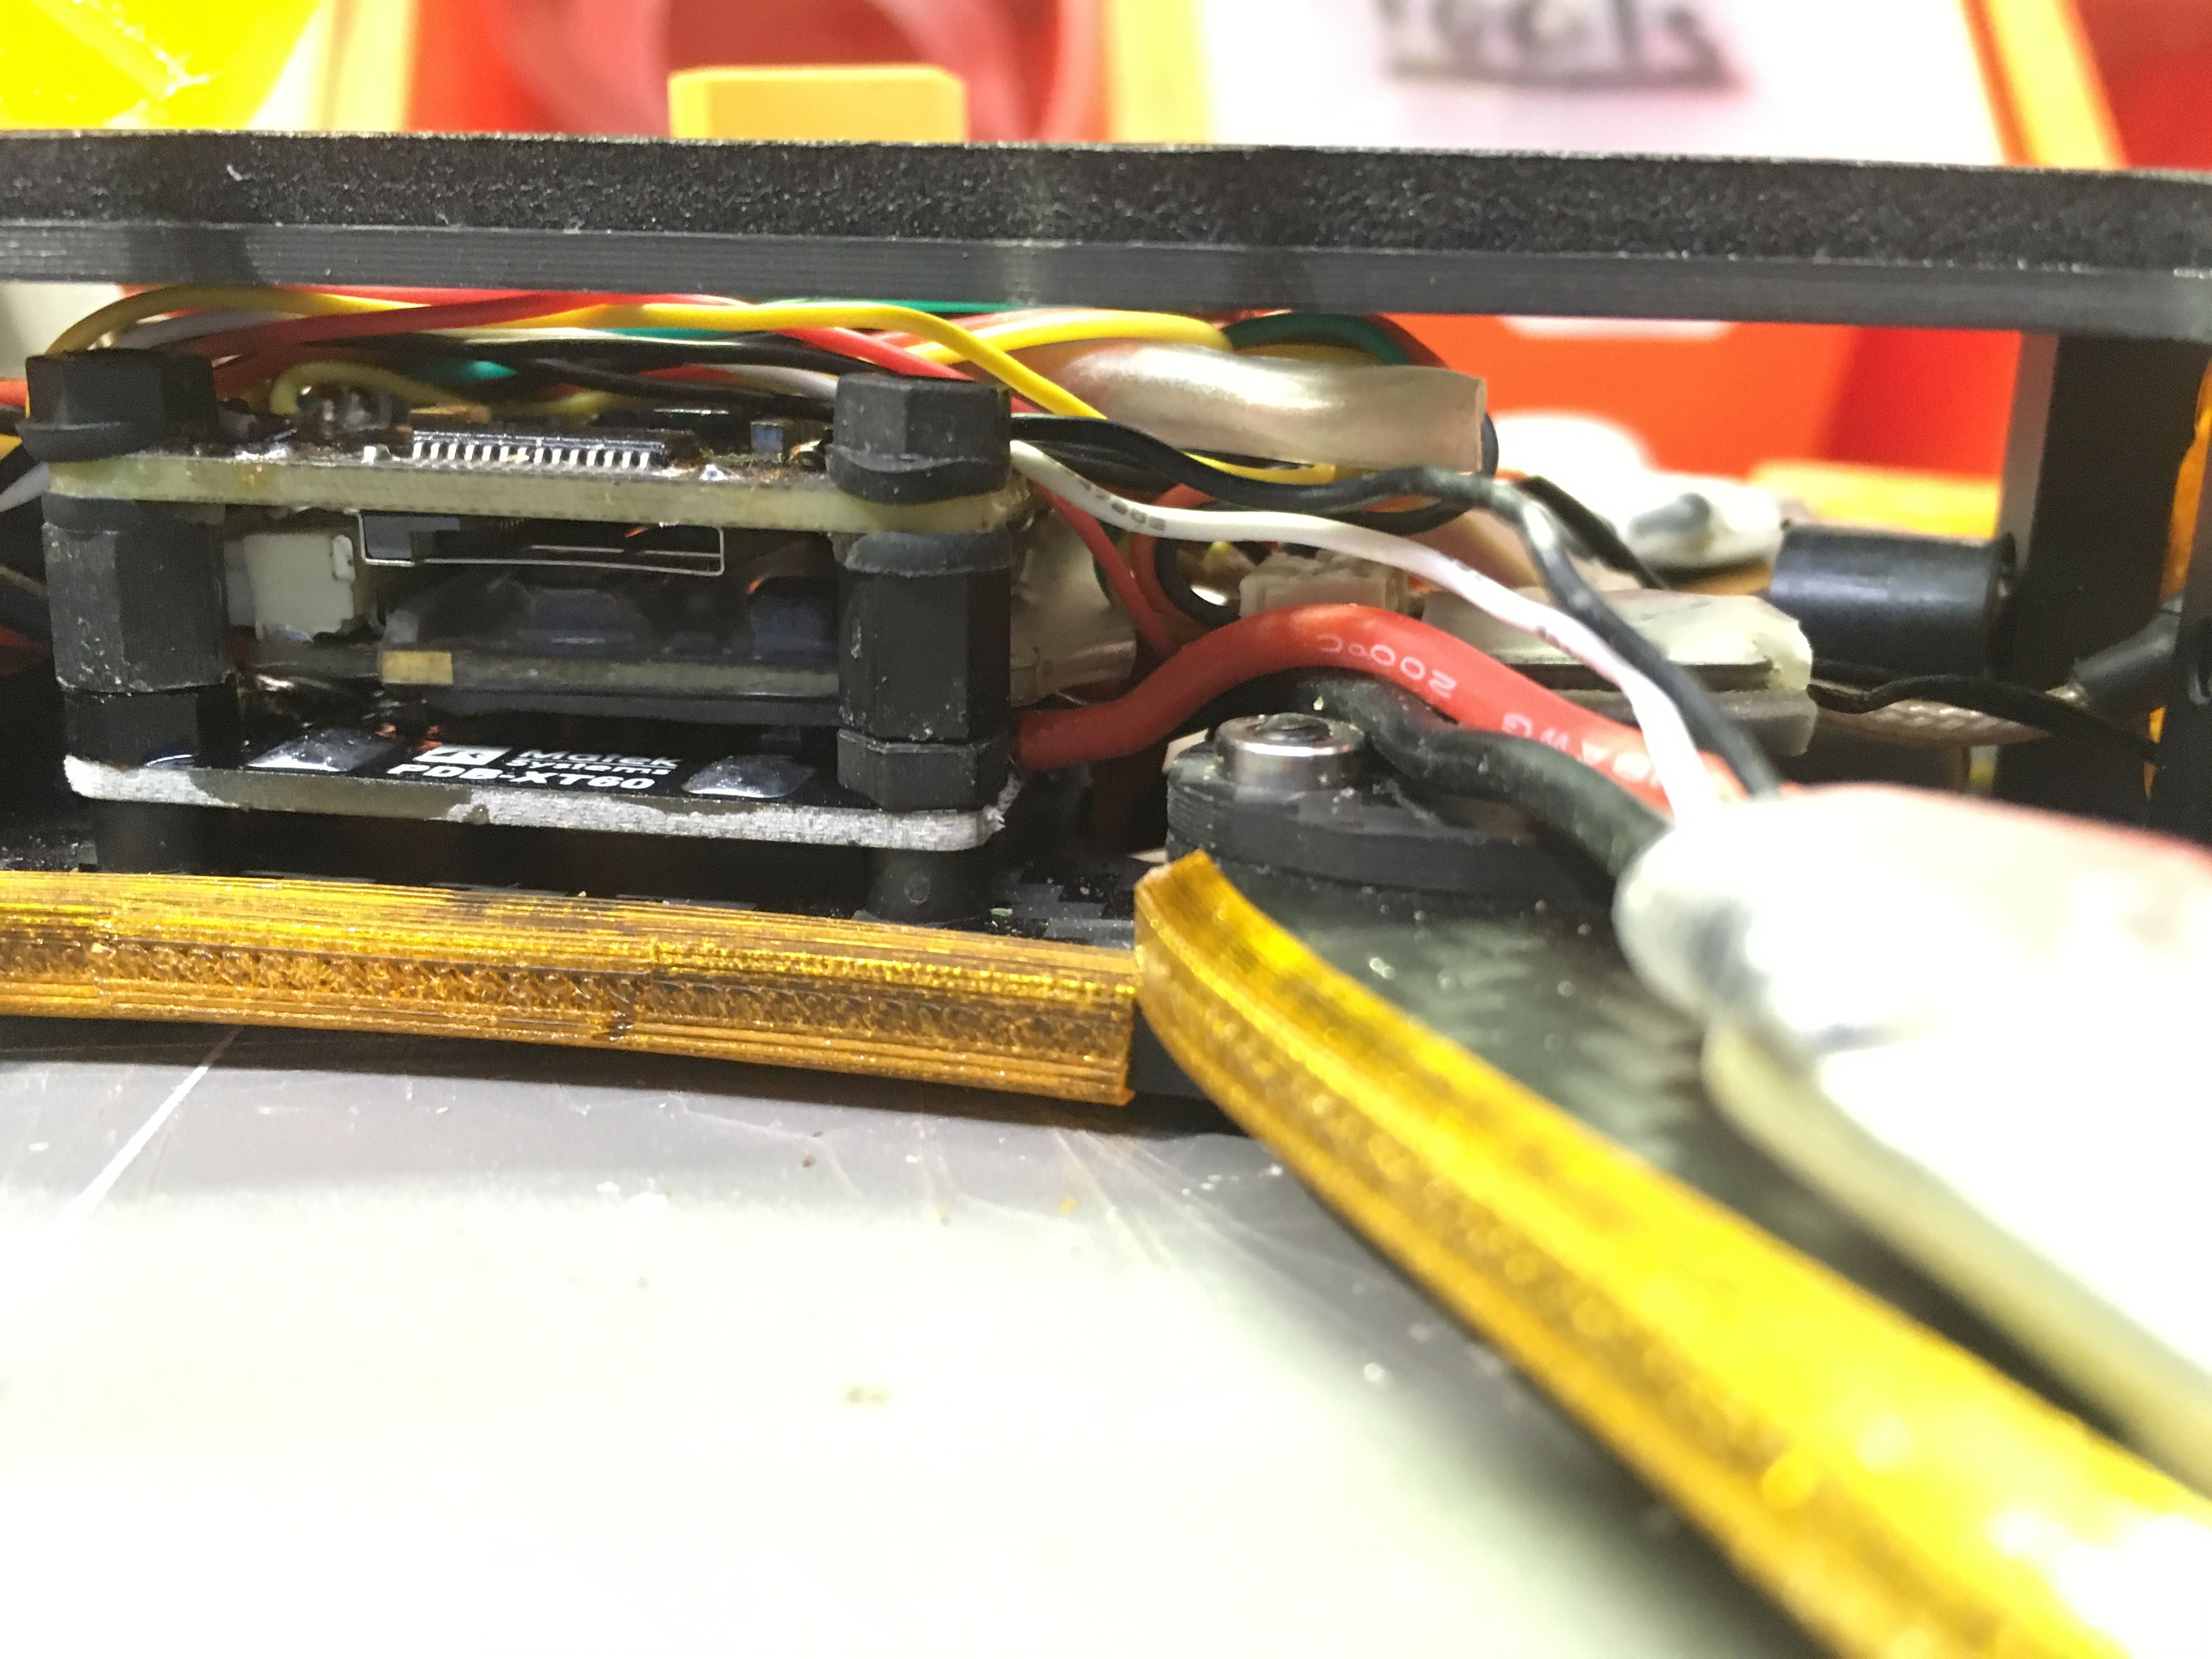
The center stack has my PDB at the bottom, then my Unify Pro shoved in with some double sided tape, then the Bardwell F4. I am not used to having to plan my stack to such a degree. You can also see the R-XSR stuck down towards the back of the frame.
From there, I just attached the motors, checked the direction, hit everything electrical with more conformal coating, and got some lock-tite on my motor screws. I took it out for a test flight, and all seemed to be working nicely. The motors felt exceedingly responsive and powerful, a welcome upgrade of my old DYS Samguks.
Stuff that isn't so great
- I haven't really figured out how to secure the battery properly. The battery lead is a bit short/GoPro takes up too much room for me to tuck it away nicely.
- The USB port is totally inaccessible, behind the side mount connector. I don't really need access, becasue the board was already pre-configured from my old quad, and I can tune/change channels via the OSD to my hearts content. Still doesn't mean I like the situation though.
Thanks for reading!
Photos
Part List
Show stores (4)Guides & Reviews
AirbladeUAV has done it again and this time they've brought long range to the 5" class! Based on the popular Transformer Mini, the new Transformer 5" Ultralight adopts a lot of the same design philosophies with larger props and more payload capacity. It can fly upwards of 20 minutes on a 4 cell Li-Ion battery pack and in ideal conditions it's got a range of over 4 to 5 miles. In this guide I'll walk..
Read moreWith the release of the DJI FPV Drone cinematic FPV has become a lot more accessible, but you certainly don't want to crash a $750 drone! The QAV-CINE Freybott is a compact, lightweight cinematic FPV drone that can take a hit and keep going. It's a lot safer to fly indoors and around people. With a naked GoPro or the SMO 4k you can capture some great stabilized footage. In this guide I'll show you..
Read more


Great build mate, looks smick!