Meet Dennis

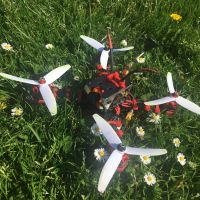
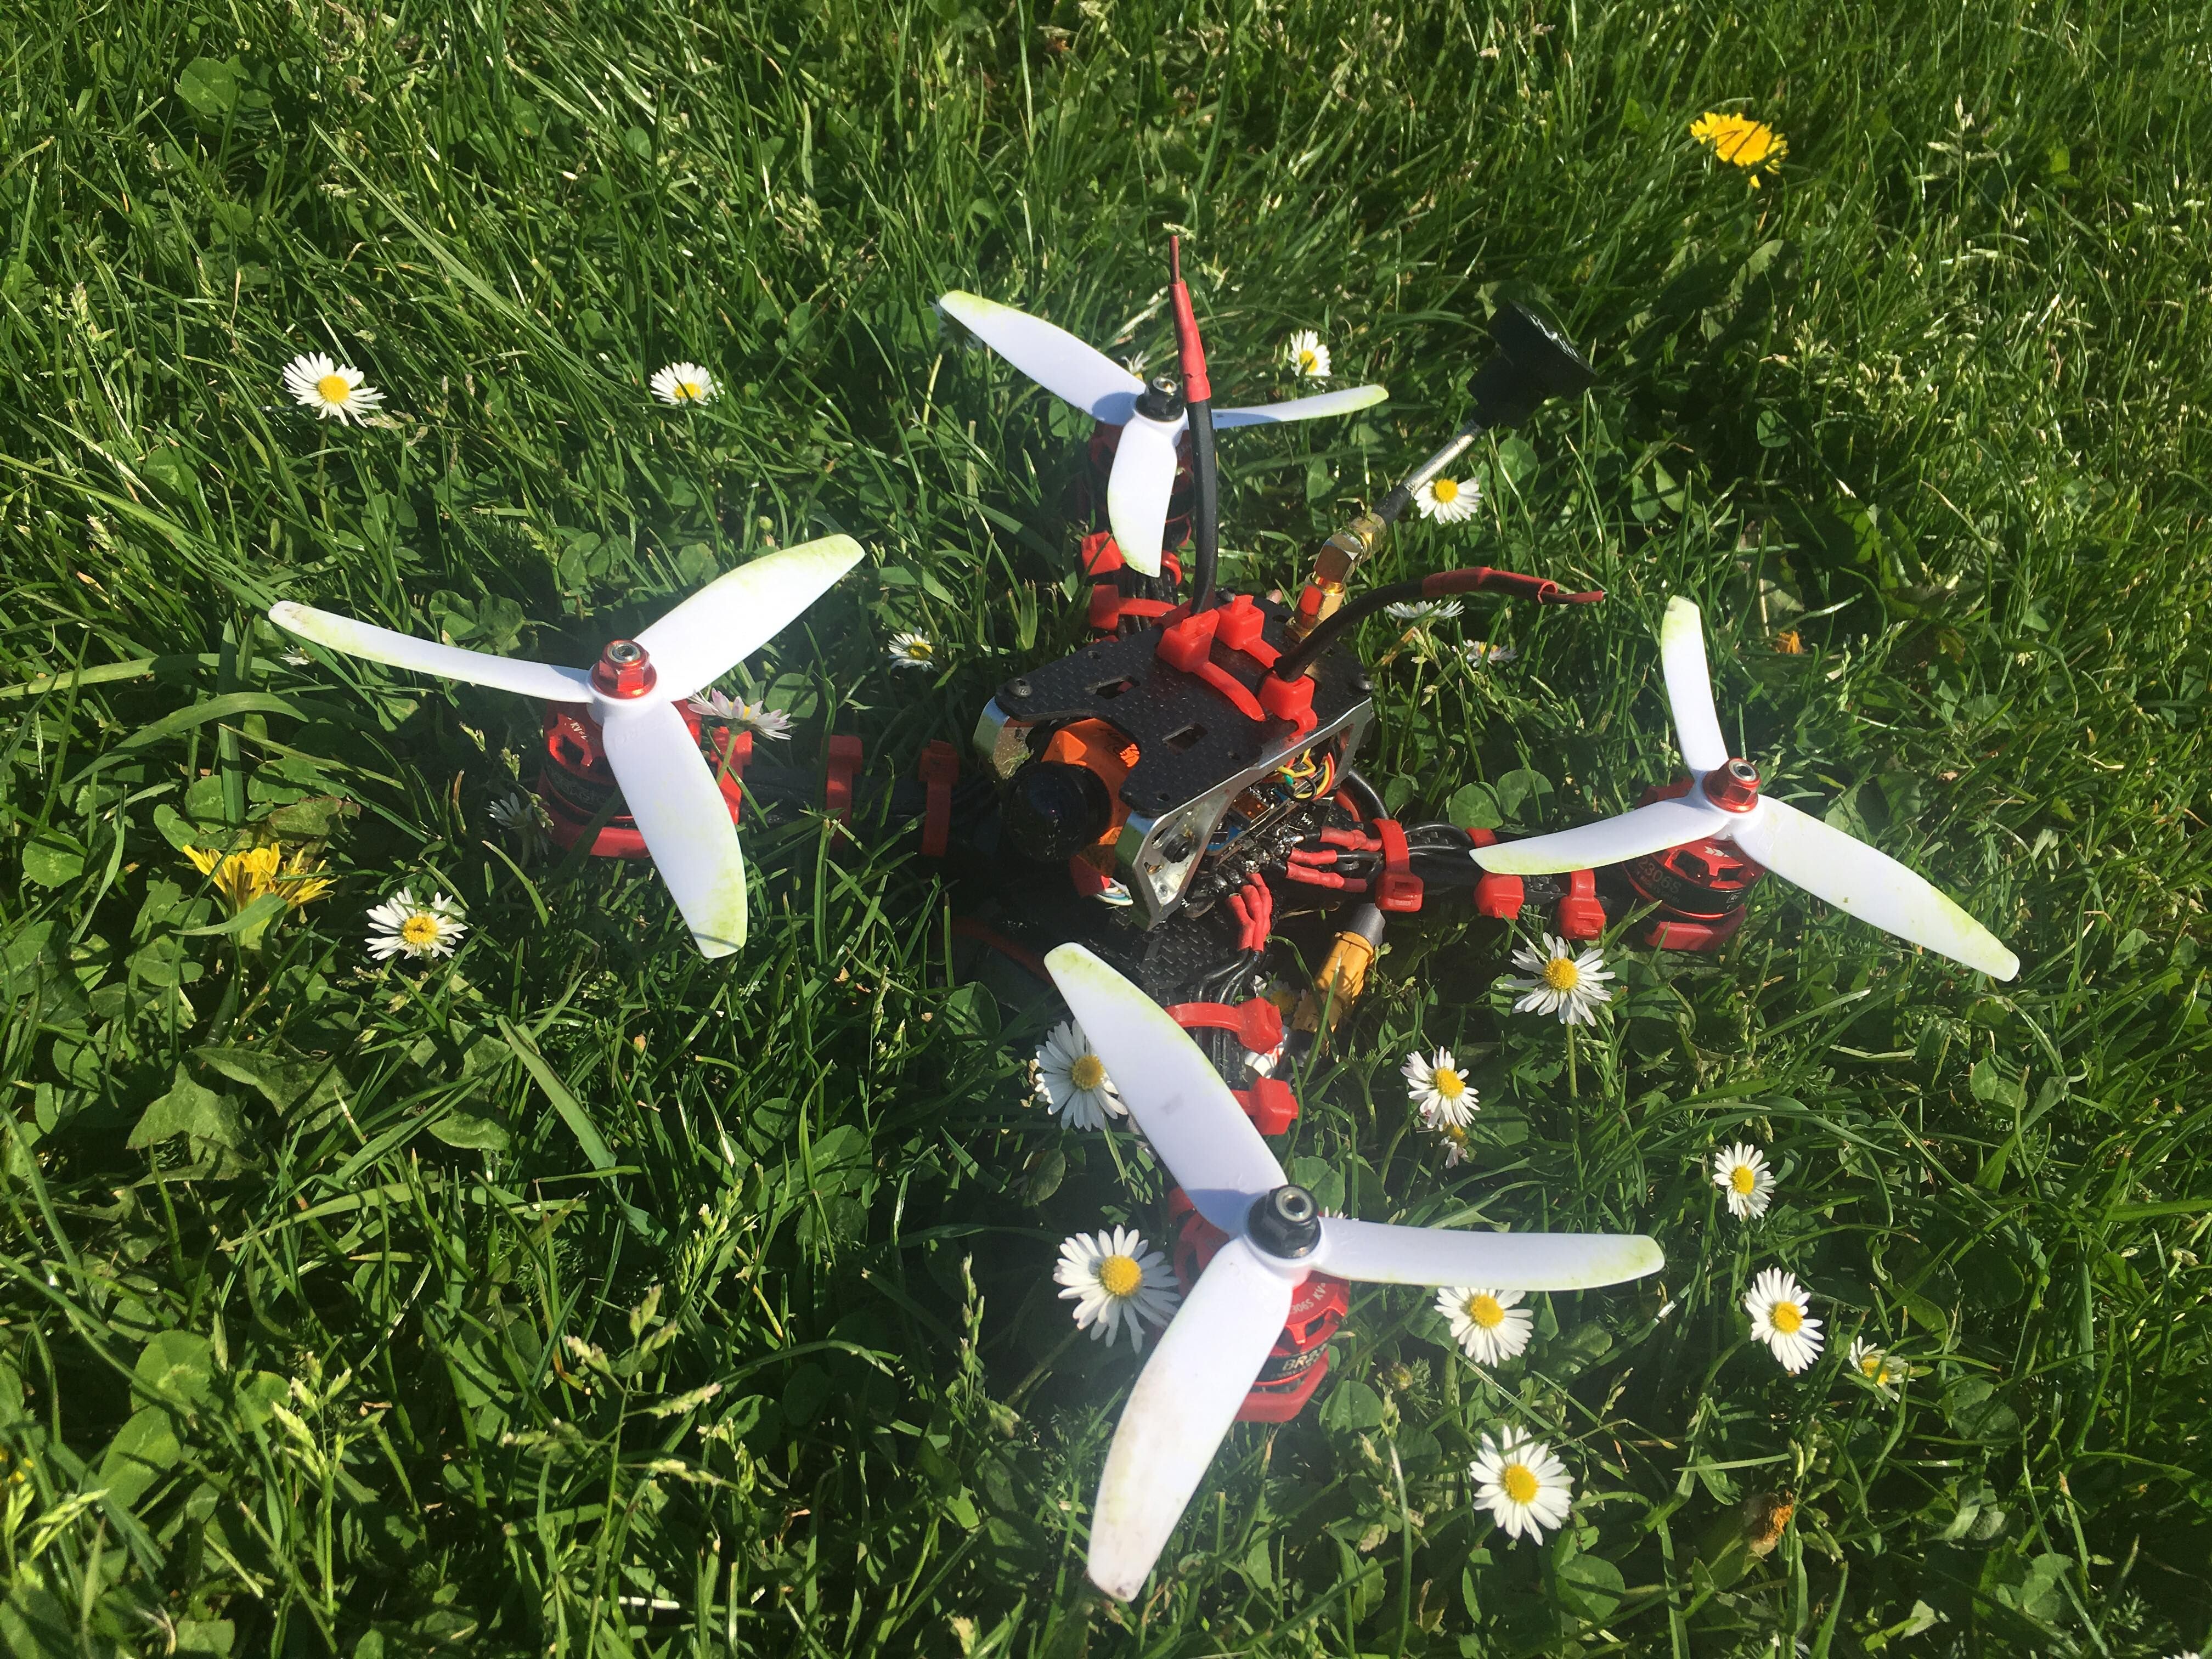
Dennis! - My first DIY quad build. The name comes from how the aesthetic of the quad ended up incorporating and reflecting the colour scheme of Dennis. Hence, my quad is now known by my family and friends as Dennis.
I intend to use Dennis for freestyle flying and as such speed and weight were not a massive concern for me.
Unfortunately, I do not have pictures at present of the build process - I may add some teardown images at a later date when I (inevitably) need to repair the quad
I'd read online about how the frog lite frame does not leave much space inside for many components or a large PCB stack (anything greater than 2 tier). However, looking into how the frame fit together I thought I could see a method to get everything to fit in the frame easily. More on that later.
I aim to provide not necessarily a guide, but an insight to the sort of niggles and issues a new DIY quad builder may find themselves faced with. Expect some detail!
The Frame (Frog lite)
Putting the frame together was/is simple, following the diagram provided in the box. I omitted the screws used to hold the aluminium side panels in place in favour of longer (25mm I believe) screws. This was part of my plan to fit everything in.
Getting Started (Typhoon 32 v2 4 in 1 ESC & Racerstar 2306 2700KV Motors)
The next thing was to install the 4 in 1 Typhoon32 V2 ESC and 4xRacerstar 2306 2700kv Motors. The ESC is BLHeli_32 and Dshot1200 capable, so no reversing wires here - that can all be done in the BLheli suite. The wires that come with the motors are not quite long enough and annoyingly need extending by roughly 5-10mm at most. The easiest way would've been cutting the wires back and adding longer extensions as it's a lot less fiddly than soldering tiny extensions as I did, however I think I prefer the placement of the heatshrink closer to the ESC - a minor aesthetic preference I'd ignore if I were to do this again in favour of the aforementioned method.
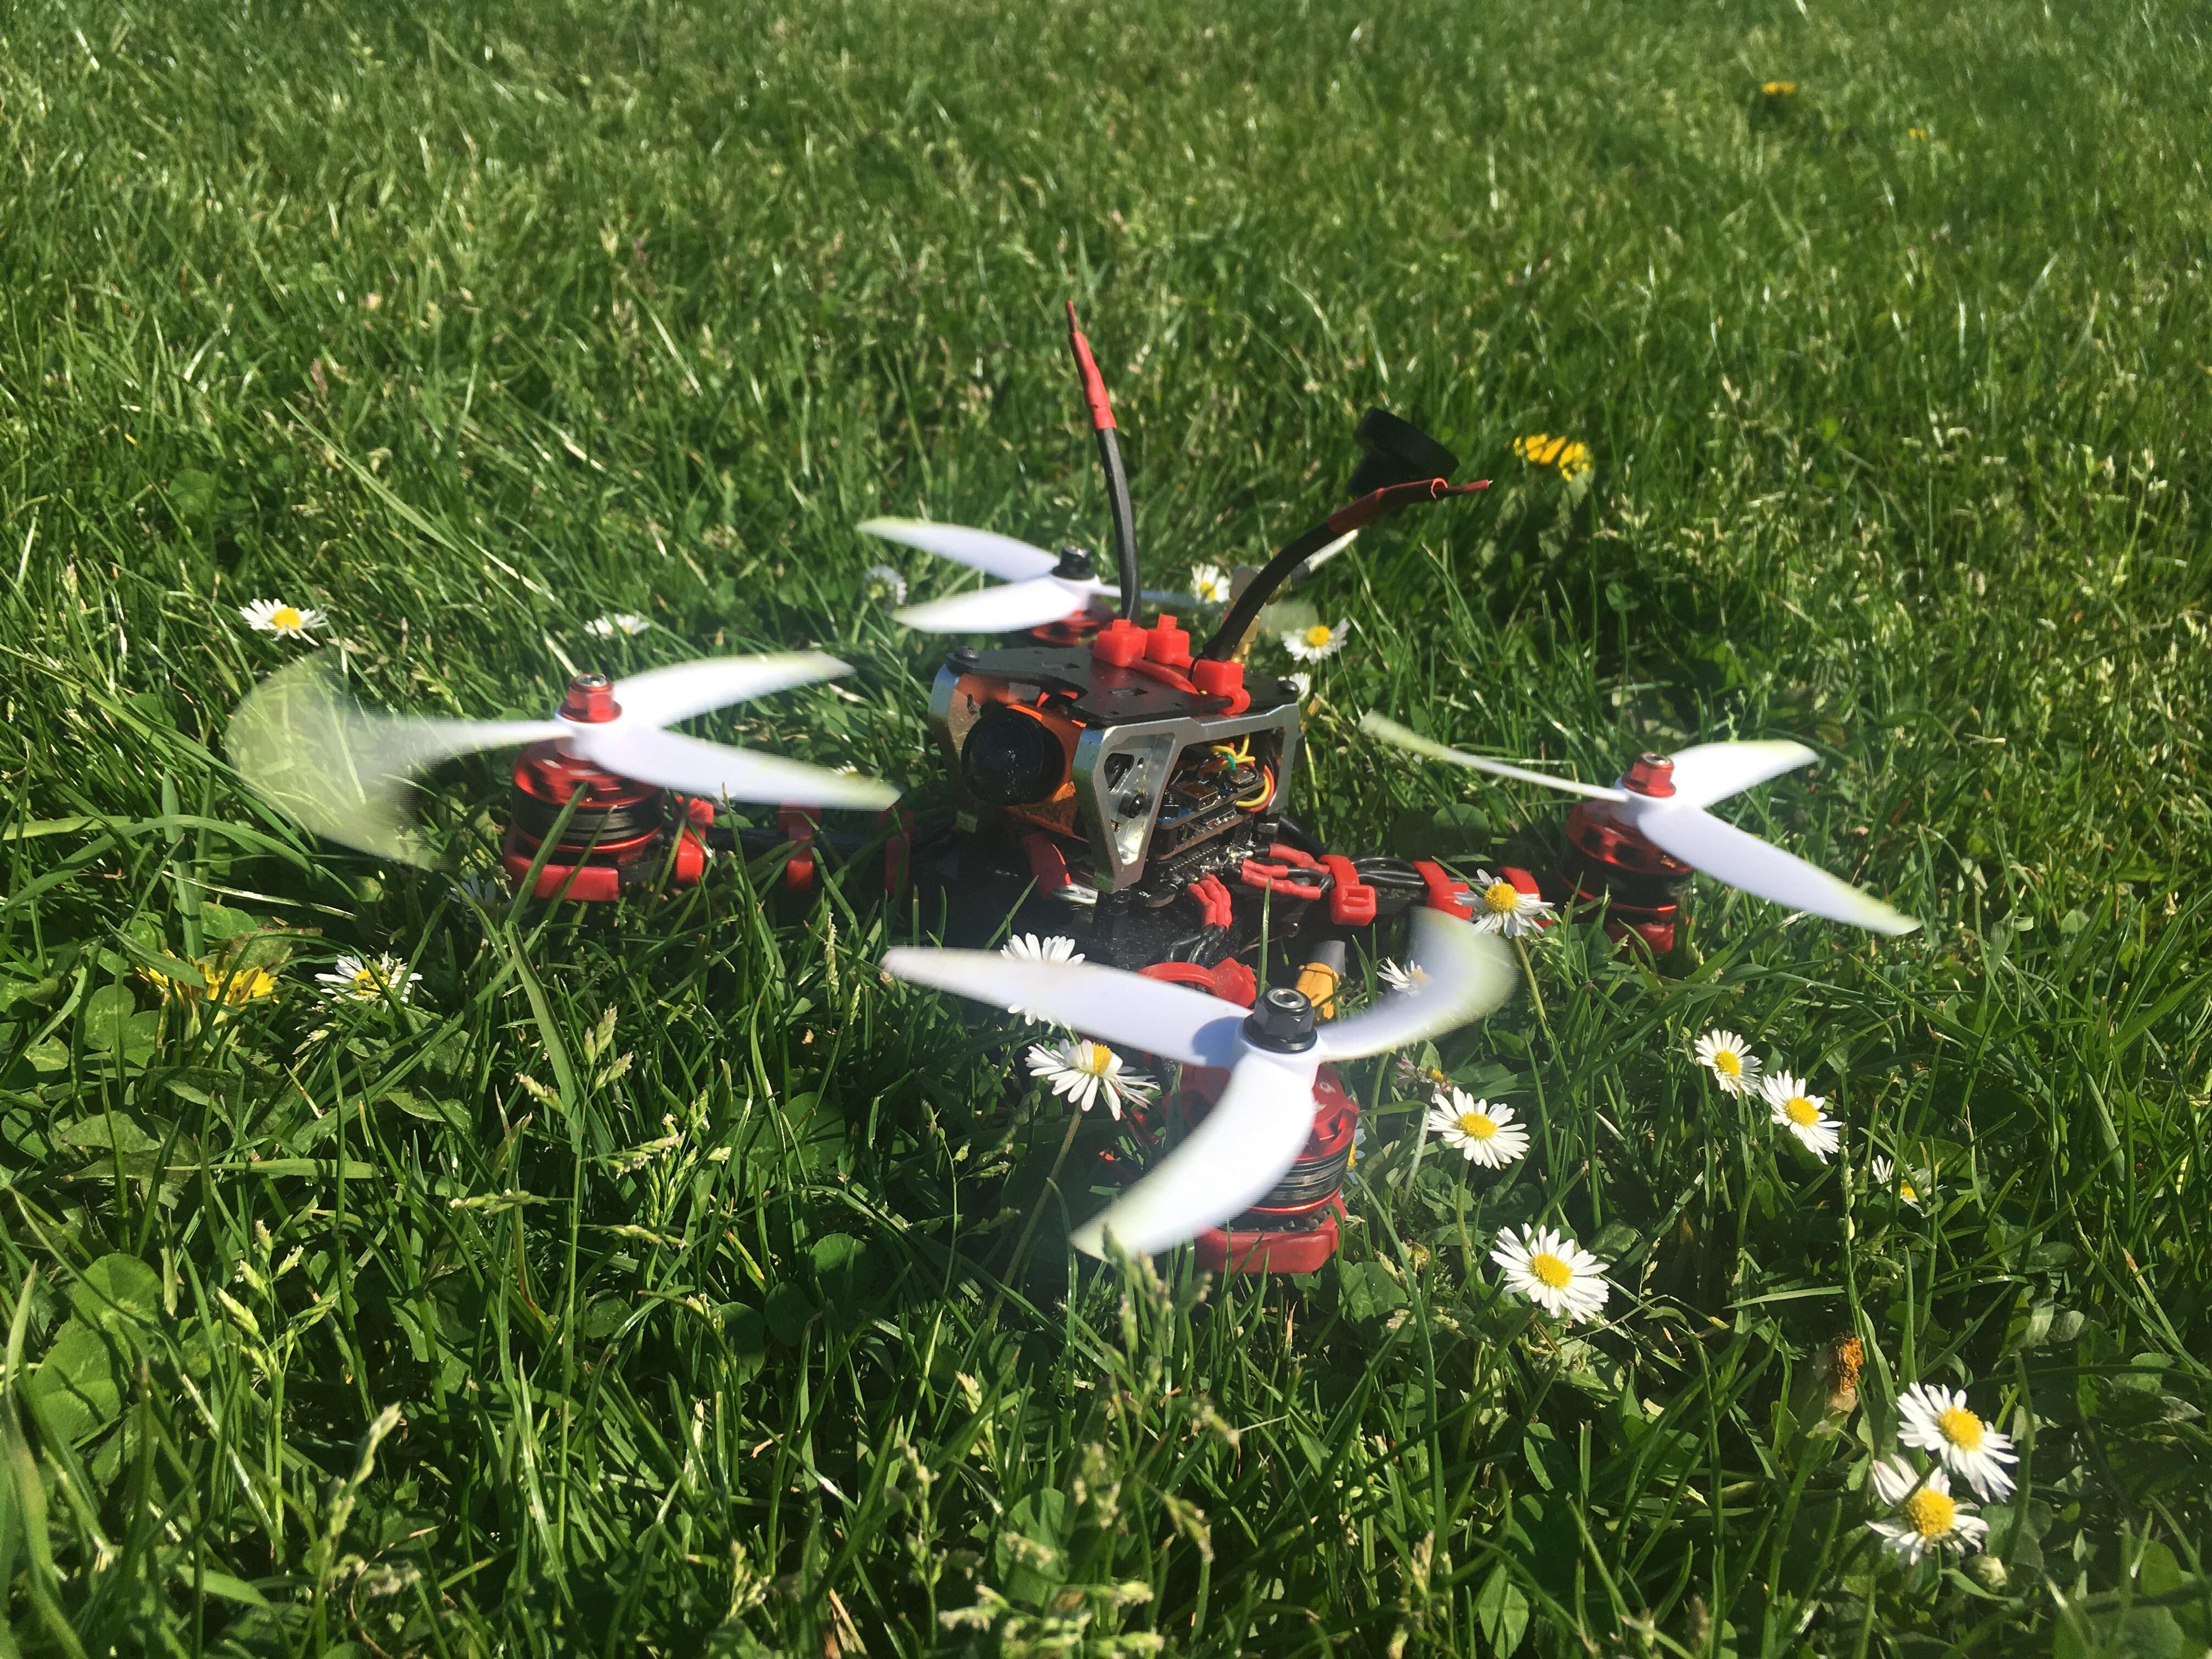
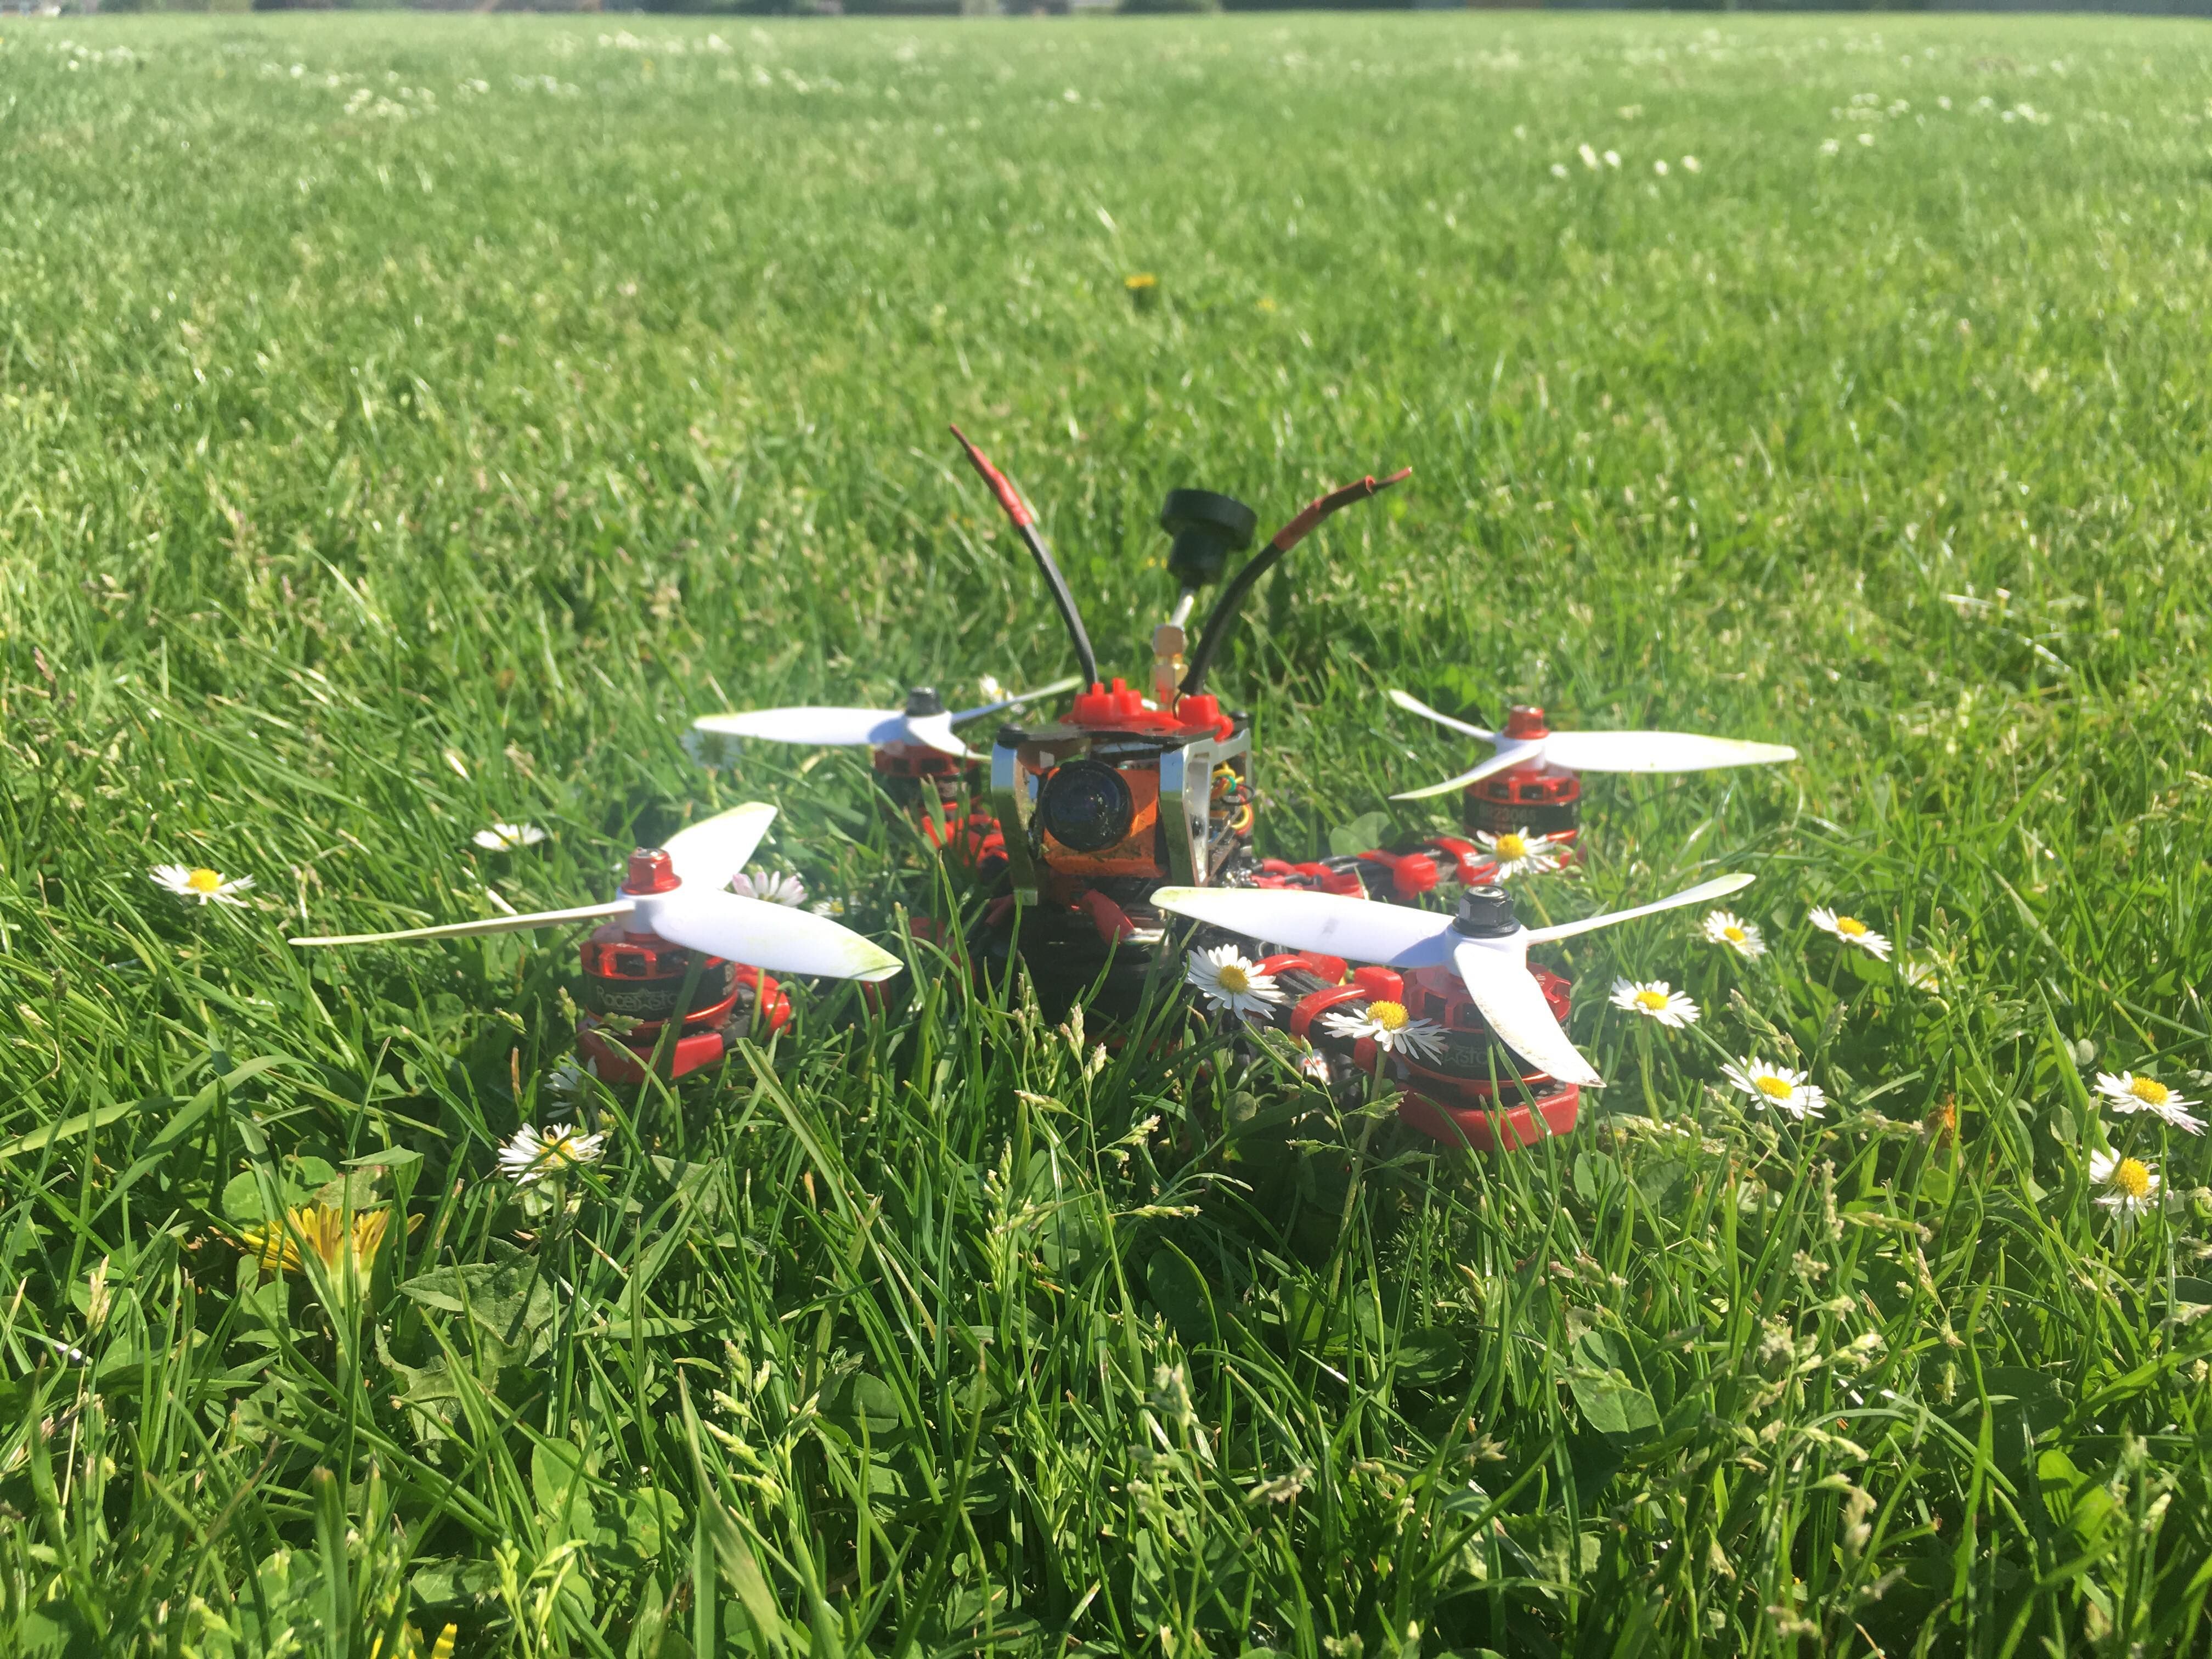
I did not have large enough heat shrink on hand to go over the arms of the frame and the motor wires, and I can't stand the electrical tape look - even if it has it's benefits - so I settled on using some large red cable ties I found laying around - which ended up suiting the quad nicely. 3 per arm as tight as they would go. I like the look of them enough that even if I were to replace them with some large heat shrink in the future, I'd like to simulate their presence somehow - perhaps rings of red heatshrink? We'll see.
The pads on the typhoon32 seem a tad close together, and I accidentally managed to bridge 2 pads with the tiniest amount of solder imaginable - I could hardly see it - which led to a motor twitching later on. Rookie error but easily fixed.
I mounted the ESC board to the frame using a 2-3mm deep nylon nut as a spacer, with the solder pads on top and rotated 90 degrees so that the battery connection is at the rear of the frame - which needs to be corrected later in betaflight by reassigning the motor resources. This is easily done and there are plenty of guides available online, all in all about a minute's additional setup time in betaflight (or butterflight).
Temporarily, I strapped the battery in place and measured out the length of the xt60-terminated cable I would need - cut it with a tiny bit of slack, removed the battery (don't leave it connected while you're soldering, you might earn yourself a Darwin award...) and soldered it in place on the ESC.
The Flight Controller (Holybro Kakute F4 v2 - Not the AIO)
The next layer in the stack is the FC - A Holybro Kakute F4 v2 (Not AIO - although that may not have been a bad choice and would reduce the stack size). It is critical to use spacers tall enough (about 9-10mm) to seperate the FC from the ESC - even though it may not look like the boards are touching when you first install them, it is easy to solder a wire in place with enough poking through the FC to just touch the ESC and cause some funky behaviour. This is another mistake I made and then corrected - the behaviour I observed was the quad would fly just fine until either it experienced the slightest bump, a moderate - strong breeze, or fast input deflections. It turned out to be a wire poking through the FC just a hair's witdth away from the ESC pad which would ever so slightly brush against it in these conditions causing Dennis to drop from the sky and fail entirely to re-arm until power was pulled and reconnected. Strange, but it could've been worse. It's also worth checking that you install the FC in the correct orientation (arrow pointing towards the front of the quad) - although this can be corrected in betaflight if you accidentally (or purposefully for whatever reason - wire routing perhaps?) orient the board differently.
The ESC and FC use a 8- wire cable with identical connectors either end to connect to one another. Easy. I (poorly) placed some red heat shrink around the 8 wires for additional protection.
At this point it's best to solder up your RX and VTX cables as well. Leave a good length of wire to help with mounting the VTX and RX later.
The Camera (Runcam Split v2) and Frame 'Modification'
I love this camera. The quality is perfectly acceptable, even good, for hobbyist videos and brilliant for FPV. With a stable, clean power supply I have never lost video. Plus, you no longer need to fly a gopro or equivalent around, reducing weight and increasing flight time, and replacement parts are readily available so you don't need to spend the full amount again if you break something. Love it. Note that I change the runcam settings via the WiFi module and runcam app to use NTSC 1080p60 as this has been proven to reduce latency (See here). NTSC cuts off the bottom of the screen in betaflight so you'll need to move your OSD elements up. Because I use the wifi module, I only use the GND, 5v+ and Video Out wires. I've found that the issue with running directly from VBAT voltage causing artefacts etc. is solved if you use a regulated 5v input such as those available on the FC. That's what I used. Adding a low ESR capacitor across the battery terminals will help to reduce noise throughout the build.
The runcam split board was also simple to install- 5v in to 5v out on the FC, ground to a GND pad on the FC, and video out to video in (VI) on the FC. Then, i spun the board round a few times to twist the wires together and installed the metal bracket provided onto the stack so that the SD card and microUSB connector would be easily accessible, on top of some 8-10mm spacers, followed by the board with the camera cable connecton at the back of the quad pointed toward the front to help alleviate some strain in the cable. Silicone wires, or just small wires in general, are prone to wear and damage over time, especially in this hobby, so it's better to take some precautions where you can.
Now, at this point, the stack would simply not fit in the standard frame, but we need to install the side panels. This is where the longer screws come into play. I loosely screwed down some nylon spacers onto the longer screws (for a total of about 15mm stand off height, the amount you need may vary depending on components and spacers you use in your stack) so that they just rested on the base of the frame but the screws would still spin. Then, I just installed the side panels on top. A simple fix, but it works well. adding the brace between the side panels is the final step to this - you're provided with two, but either will work.
It's worth noting that this raises the camera away from the props a bit - giving you the (possible) benefit of less visible props in the HD footage but the trade off is that the camera is more exposed to crashes. From my experience, you'd still have to be quite unlucky to damage the camera, but it's exposed enough that I want to, in the future, create some sort of lens protecion. Likely, I'll accomplish this with a sort of 3D printed 'canopy' to fit on to the front of the frame.
The camera body is fiddly to fit in as I found the screws and mounting holes don't quite line up, but this was eventually accomplished by omitting a screw and settling on 3 out of 4 being sturdy enough. The camera can move with some force but holds itself in placein flight and even after crashes. So, it's not a fault, it's a feature :) !
Mounting the VTX and RX - or - 'Get in there you b@$d@rds'
Fitting the RX and VTX is a matter of trial and error. The RX is easy enough, but, the VTX requires some more thought (read: brute force and ignorance).
For the RX, I first slid the antennae through from the underside of the frame's top carbon piece through two oposing rounded-rectangle shaped holes, in which I added a sturdy red cable tie each side to heatshrink the antannae to. Simply for aesthetic reasons, I first added a layer of black heat shrink followed by a short (approx. 1cm) length of red heatshrink to the tips - to look a bit more appealing, I think. then, I cable tied the RX in place (after adding some heat shrink over it to isolate it from the carbon a bit better, and after binding it to my TX) under the top panel.
The VTX is a pain in the backside. Originally, it was simple - I cable tied it in place at the back of the quad such that the SMA connector poked out of the rear end and assumed the flex of the pagoda antenna would be enough to take an impact - I WAS WRONG. 2 VTX's later (R.I.P. Eachine and Aomway VTX - you're barely missed) I realised I had to fix this.
I purchased a ChaosFPV VTX (because it's cheap, was faster, and easier for me to get my hands on and identical to the Mach 2, a very nice VTX indeed - manufactured by the same people. I'm unsure of the ethics here and havent looked into it but if there's foul play involved I highly recommend the Mach 2) along with a SMA pigtail (pack of 2) and 90 degree SMA connector. To get this all to fit in place is a huge hassle. To make it as easy as possible, first install the pigtail to the VTX so you have an idea of how much space that takes up - it's quite a lot. The end goal is to route the pigtail in such a way that the other end can be installed into the pre- cut hole on the top plate of the frog lite. Eventually, I managed this by looping the pigtail back on itself a few times in the space behind the FC/ESC/runcam stack, behind the brace holding the two side panels in place. One of the loops protrudes outside the frame, and I managed to avoid it interfering with the props by using yet another cable tie to fasten the loop pointing downwards to the bottom of the frame, nicely out of the way and not really too much of an eyesore. It works, and I'm happy.
Next, I sticky-back velcro and cable tie mounted the VTX on to the top plate underside and breathed a sigh of relief.
Finishing off - Phew!
Finally, I screwed the top plate in place with the provided screws - mounted the 90 degree SMA adapter and fixed the pagoda antenna to that. All done! Dennis is ready for betaflight and blheli setup :)
I couldnt be happier with this build. Dennis is robust, like I need him to be as I'm just learning - agile, and lots of fun. The FPV stream is fantastic with a strong signal, and he has a great punch out and range. The first thing I'd change is the motors, in the future, likely for some F40 variant approx. 2400kv. 2700 is a bit much and the racerstar quality is questionable. But for now, they work, and they work well at that. I love this quad.
Happy flying!
- Cam
Photos

Part List
Show stores (6)Guides & Reviews

AirbladeUAV has done it again and this time they've brought long range to the 5" class! Based on the popular Transformer Mini, the new Transformer 5" Ultralight adopts a lot of the same design philosophies with larger props and more payload capacity. It can fly upwards of 20 minutes on a 4 cell Li-Ion battery pack and in ideal conditions it's got a range of over 4 to 5 miles. In this guide I'll walk..
Read more
With the release of the DJI FPV Drone cinematic FPV has become a lot more accessible, but you certainly don't want to crash a $750 drone! The QAV-CINE Freybott is a compact, lightweight cinematic FPV drone that can take a hit and keep going. It's a lot safer to fly indoors and around people. With a naked GoPro or the SMO 4k you can capture some great stabilized footage. In this guide I'll show you..
Read more


New Message for CamsQuads