The first time I saw this frame I knew I had to try it. By the time I was in the market to purchase the frame I notice 2 other knock off frames. To make a long story short, I spent the extra money and went with the real thing. Here is why you should too. I am not going to link the 2 clone frames, but I will explain the logic of why you should not get the clone.
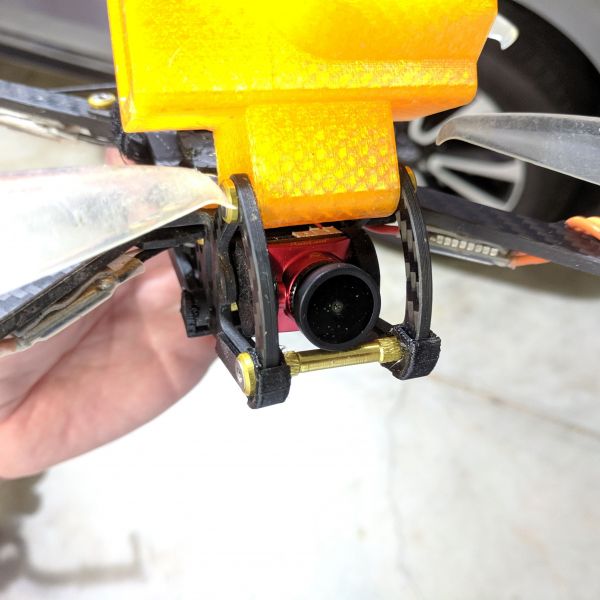
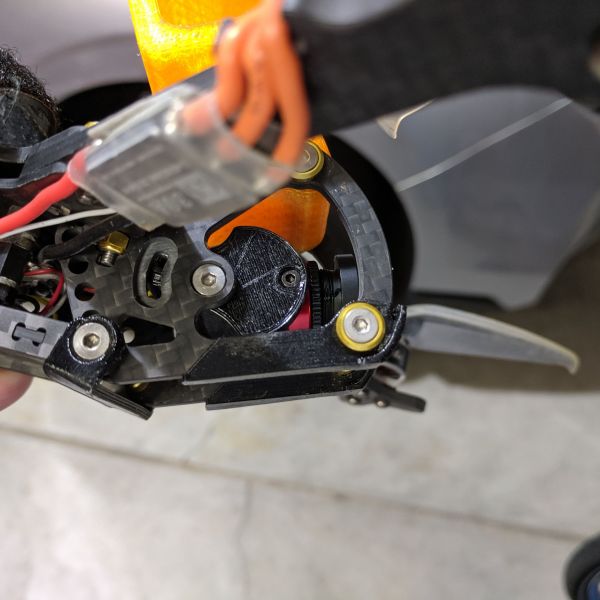
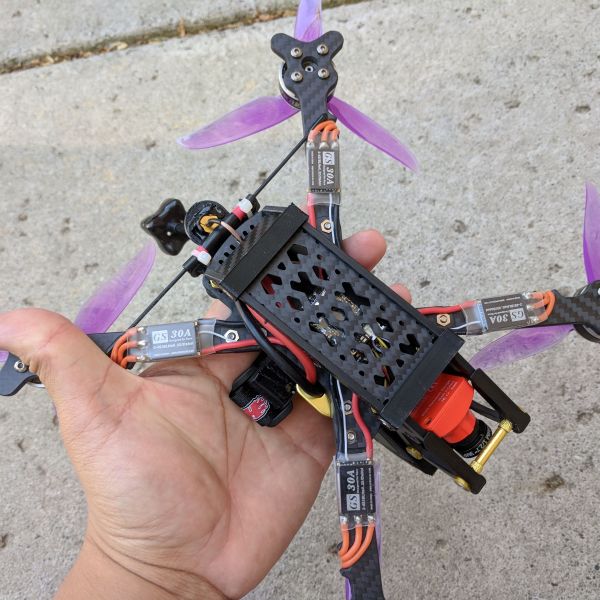
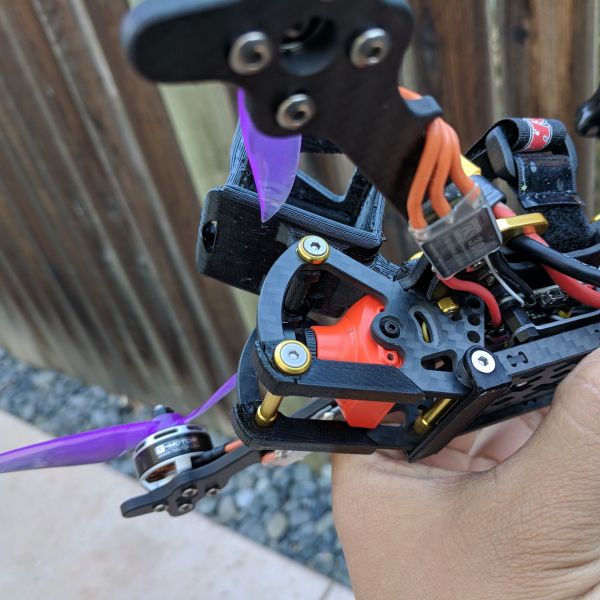
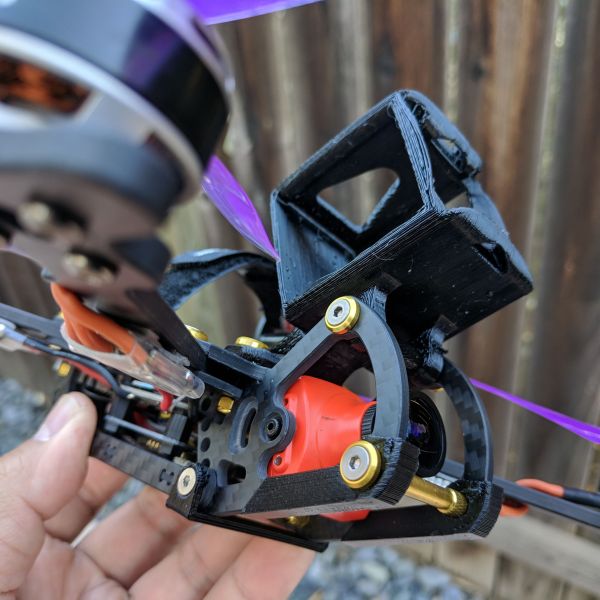
The first clone is priced at $30.99... can you imagine that; how can that be. I have a friend who purchased this clone and we notice a huge design flaw with it how the lower cage opens up. The authentic Remix camera is stationary when you open the bottom and there is extra support for the camera cage that sandwiched between the frame. But the clone swings from the top of the camera cage so you will need extra length to the FPV camera or you can open the lower frame. Because it swings from the top there is not support for the front of the frame. None of the carbon has chamfered edges so you will NEED to file or sand the edge of the arms where the motor wires wraps under. Whereas the real Remix, most of the parts are has chamfered edges already.
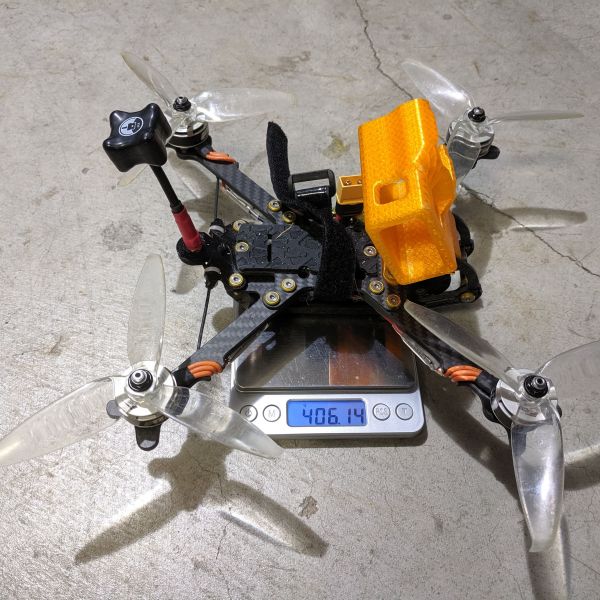
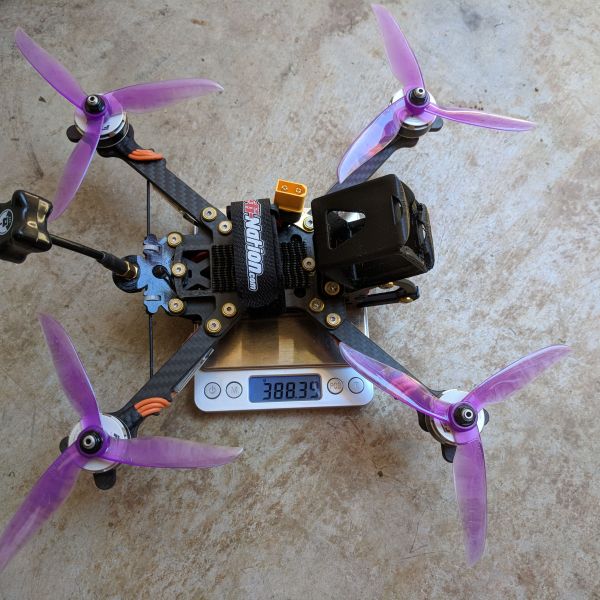
Now the second clone is a bit more expensive and it cost $69.99, so for $30 more you can get the real thing. I never seen the clone in person, so I do not know how the parts are cut in relation to the weave and the quality of the carbon parts. But I can tell you that the clone weighs 21g more. I care a lot about the weight so 21g is a lot to me. The clone comes with 12.9 Carbon Steel hardware, that is great but with the cost of additional weight. The authentic Remix comes with titanium screws so that could be where some of the extra weight and cost be factored in. If you were to buy the Ti screws on your own, I think it would cost you around $20 or more. If you do not care about the extra weight or Ti screws then go for the clone. If you wait for a sale you can get the real deal for around $80.
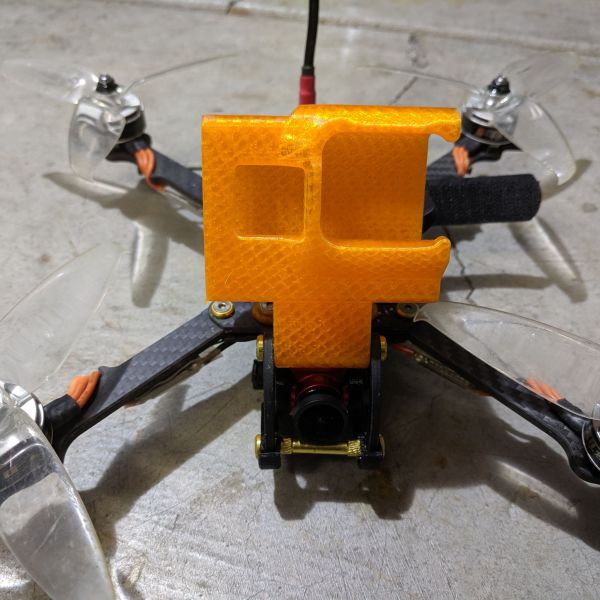
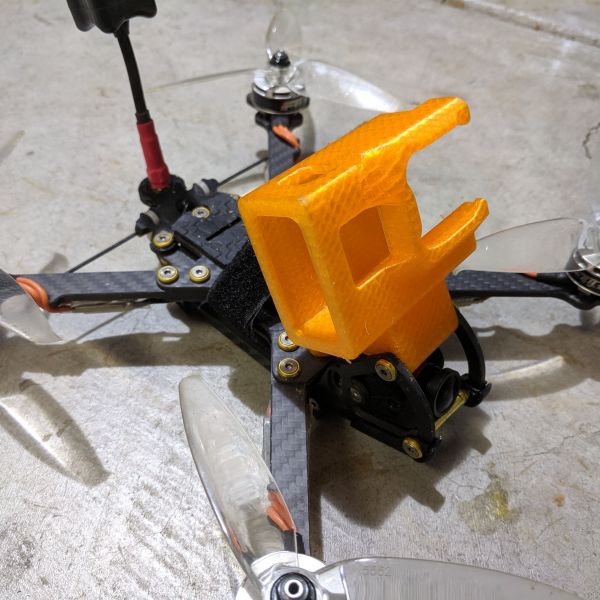
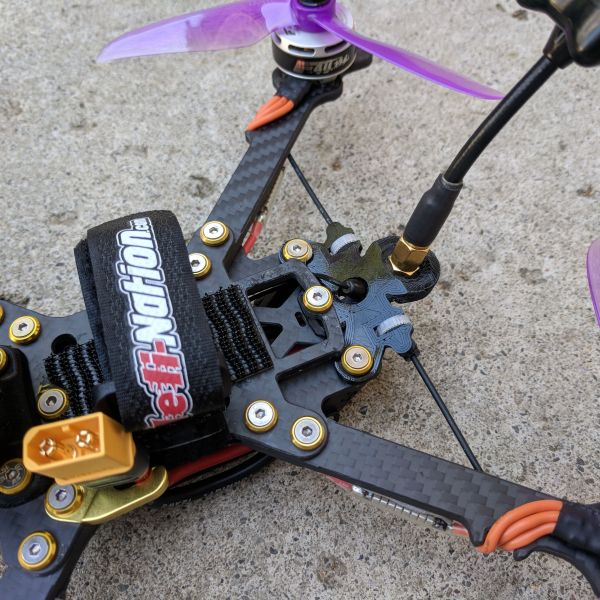
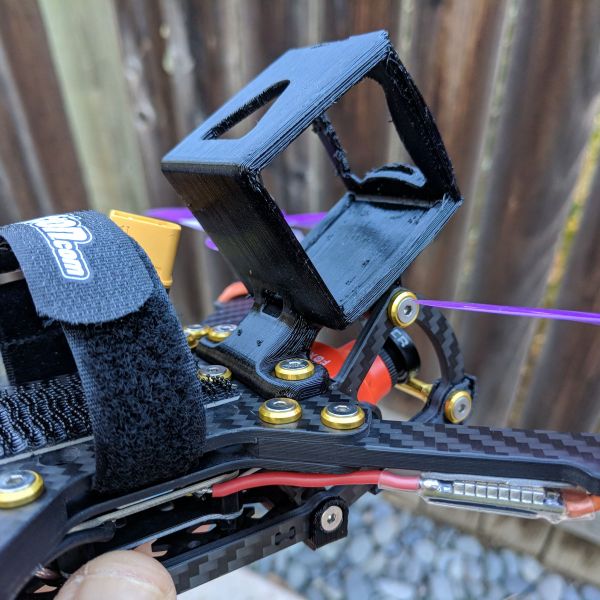
Before I started my build I watched Tommy's build video so I got a good idea what I need to do. The main difference between the regular build and this frame is how the FC is mounted. You will need to make some changes to Betaflight/Butterflight to change the orientation and the remapping the motors. One complaint I have about this frame is the lack of option to mount the vtx antenna. I am glad that I have a 3D Printer so I can use something from Thingiverse.
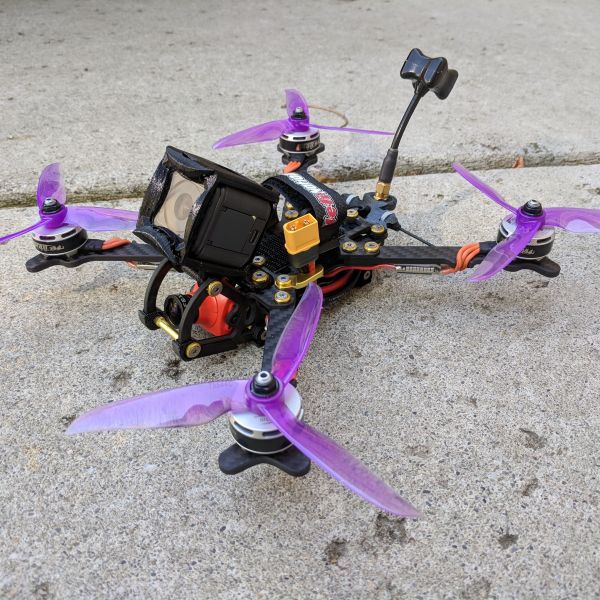
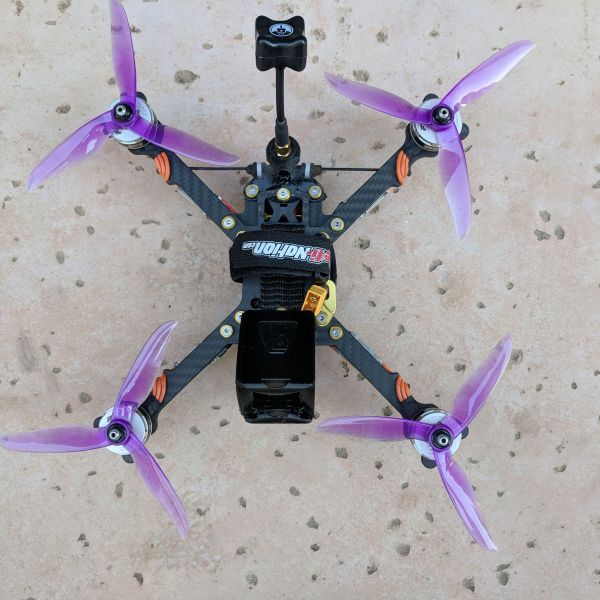
Let me just say.... wow. This frame is awesome, I need to do a little more testing, but I wonder if it is better than my Chameleon. It is really a not fair comparison between the setup because I have newer electronics and tuning (Butterflight) compared to the Chameleon. The remix frame feels really smooth and balanced in the air, but it is still a little heavy. I also did my maiden for the QAV ULX right after this first FPV flight and the QAV ULX put this frame to shame in terms of cornering. I would also want to note that the PIDs for all 3 quads are default settings and NO tuning. Could it use some fine tuning... of course, but right it still flies great without it.
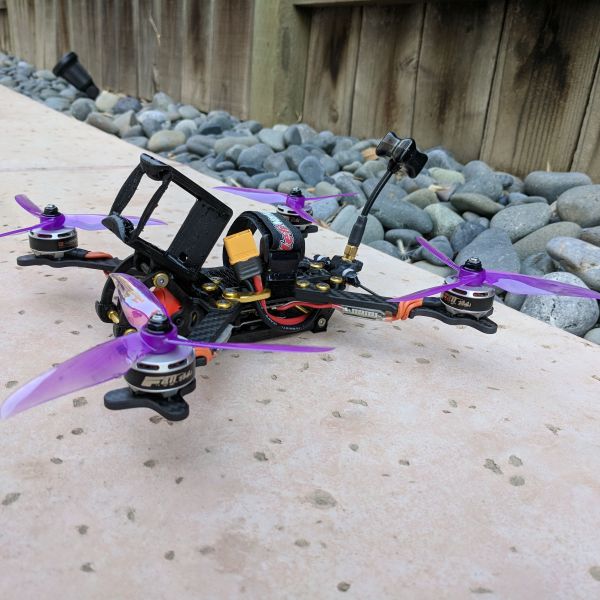
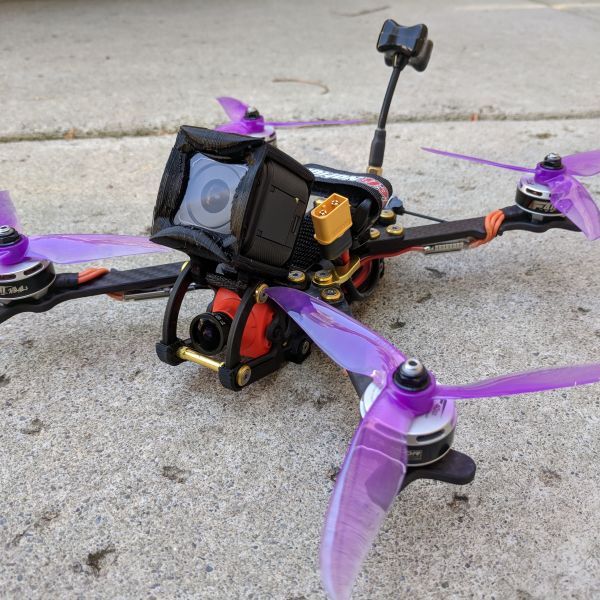
Update: Nov 26 2018 - New Props and Camera. The Gemfan Flash 5552 is my favorite 5.5 inch props. It feels like it corners better and lower RPMs is quieter. I finally got a different FPV camera for it too. The Foxeer Monster Pro is my favorite 16:9 camera that pairs up perfectly with my Fatshark Dom v3. The quad is not fast but it handles great, so I have a lot of confidence when I am flying it.
Update: Aug 15 2019 - It has been almost a year later and I am not sure why but this frame gets really good flight times. I am now carrying a full size GoPro 7 and still get 5 minutes of flight time. Here is my latest video of the Remix:
Photos
Part List
Show stores (8)Guides & Reviews
AirbladeUAV has done it again and this time they've brought long range to the 5" class! Based on the popular Transformer Mini, the new Transformer 5" Ultralight adopts a lot of the same design philosophies with larger props and more payload capacity. It can fly upwards of 20 minutes on a 4 cell Li-Ion battery pack and in ideal conditions it's got a range of over 4 to 5 miles. In this guide I'll walk..
Read moreWith the release of the DJI FPV Drone cinematic FPV has become a lot more accessible, but you certainly don't want to crash a $750 drone! The QAV-CINE Freybott is a compact, lightweight cinematic FPV drone that can take a hit and keep going. It's a lot safer to fly indoors and around people. With a naked GoPro or the SMO 4k you can capture some great stabilized footage. In this guide I'll show you..
Read more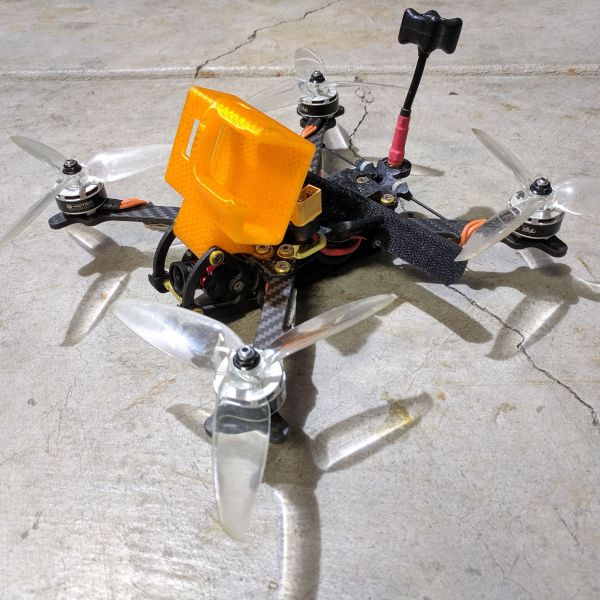

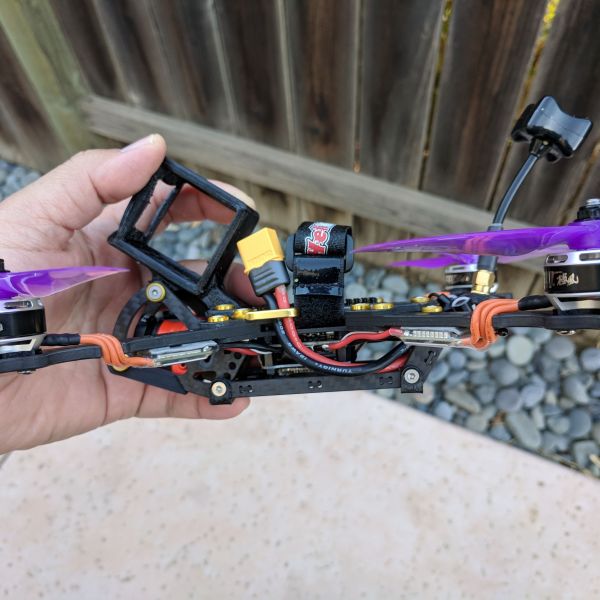

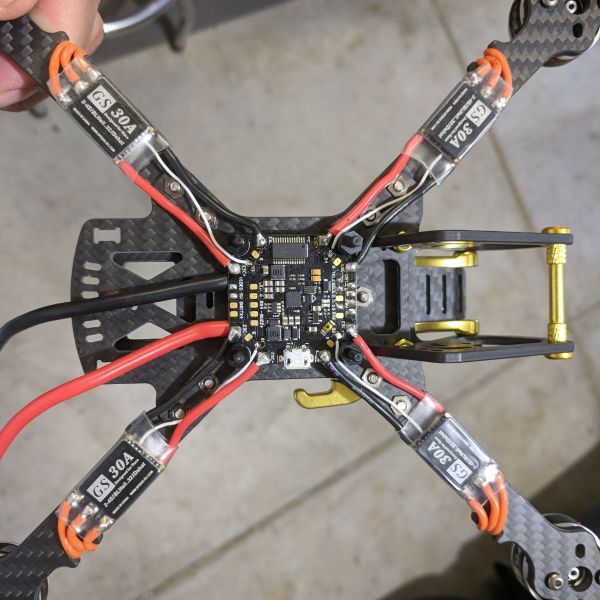
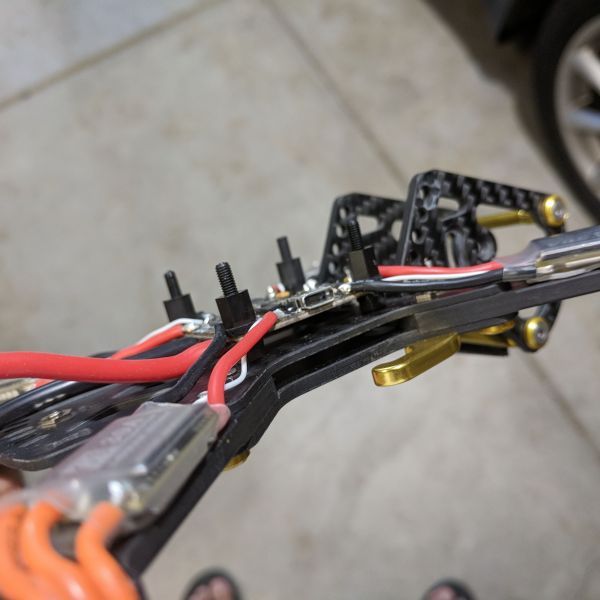
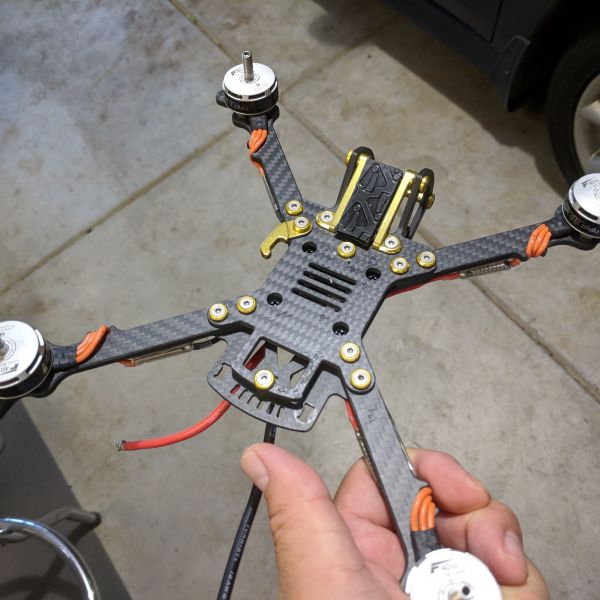
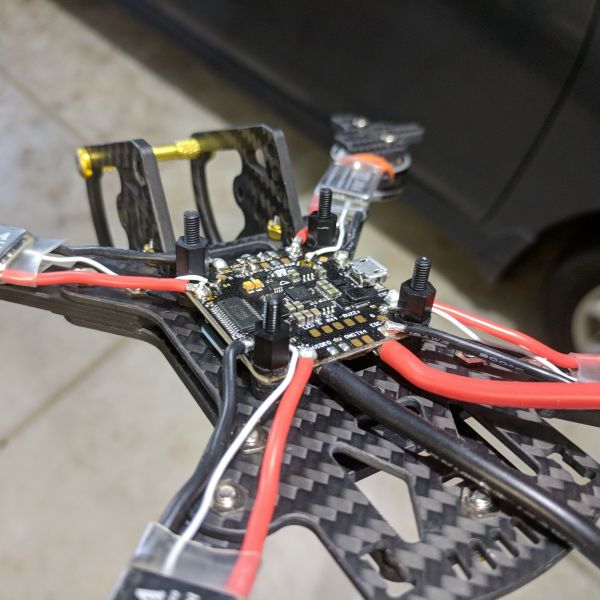


It would be nice if they'd make the body a bit longer so ppl could mount lipo's in the more traditional way, hate that sideways battery stuff and its to short to hold alot of lipo's in the standard fashion, plus you have to 3D mount that gopro so far forward just to make it half work on short lipo's. a little stretch wouldnt hurt anybody. what bollocks, could be such an awsome frame. underslung/Inverted frames are so much better then that awful top heavy business most frames go. they gotta do a 6" option so you don't have to buy another set of arms. don't know why they didn't just make the arms 1/4" longer and be done with it, but what do you do
I agree with you about the arms, they should have made it a tad longer, so it is 6" ready. It fits the 5.5 props now so why not a little longer. I am not sure why you are having problems with the battery placement unless you are NOT using the 3d printed session mount. I do not have a problem fitting a CHNL 1500mah 4s lipo on this frame long ways. I use the CHNL lipo as an example because it is the largest lipos I have. I was going to buy the 6" arms this weekend but end up not getting it because the 5.5" props are working very well for me. Why change it if it works. Are you mounting the session on the standard mount it comes with? If so, do you catch any props when you are recording? I wonder if that would be a problem if you upgrade to a 6" setup?