
You know, it can be difficult to get quad parts in the EU: High shipping costs, long shipping times, stuff lost while shipping...
Sooo last-year-me thought why not build a race quad? (Spoiler: Because you're too stupid). And so I gathered the cheapest stuff available from amazon and started building... then had ESC problems and gave up..
Anyway, this is luckily not the end of the story: After getting into FPV with a BNF and watching a dozen builds on YouTube I've recently got me the cheapest actually usable ESCs and got to work. Well today I've actually got it into the air YES. Time to check just how much everything costed and maybe share my story.
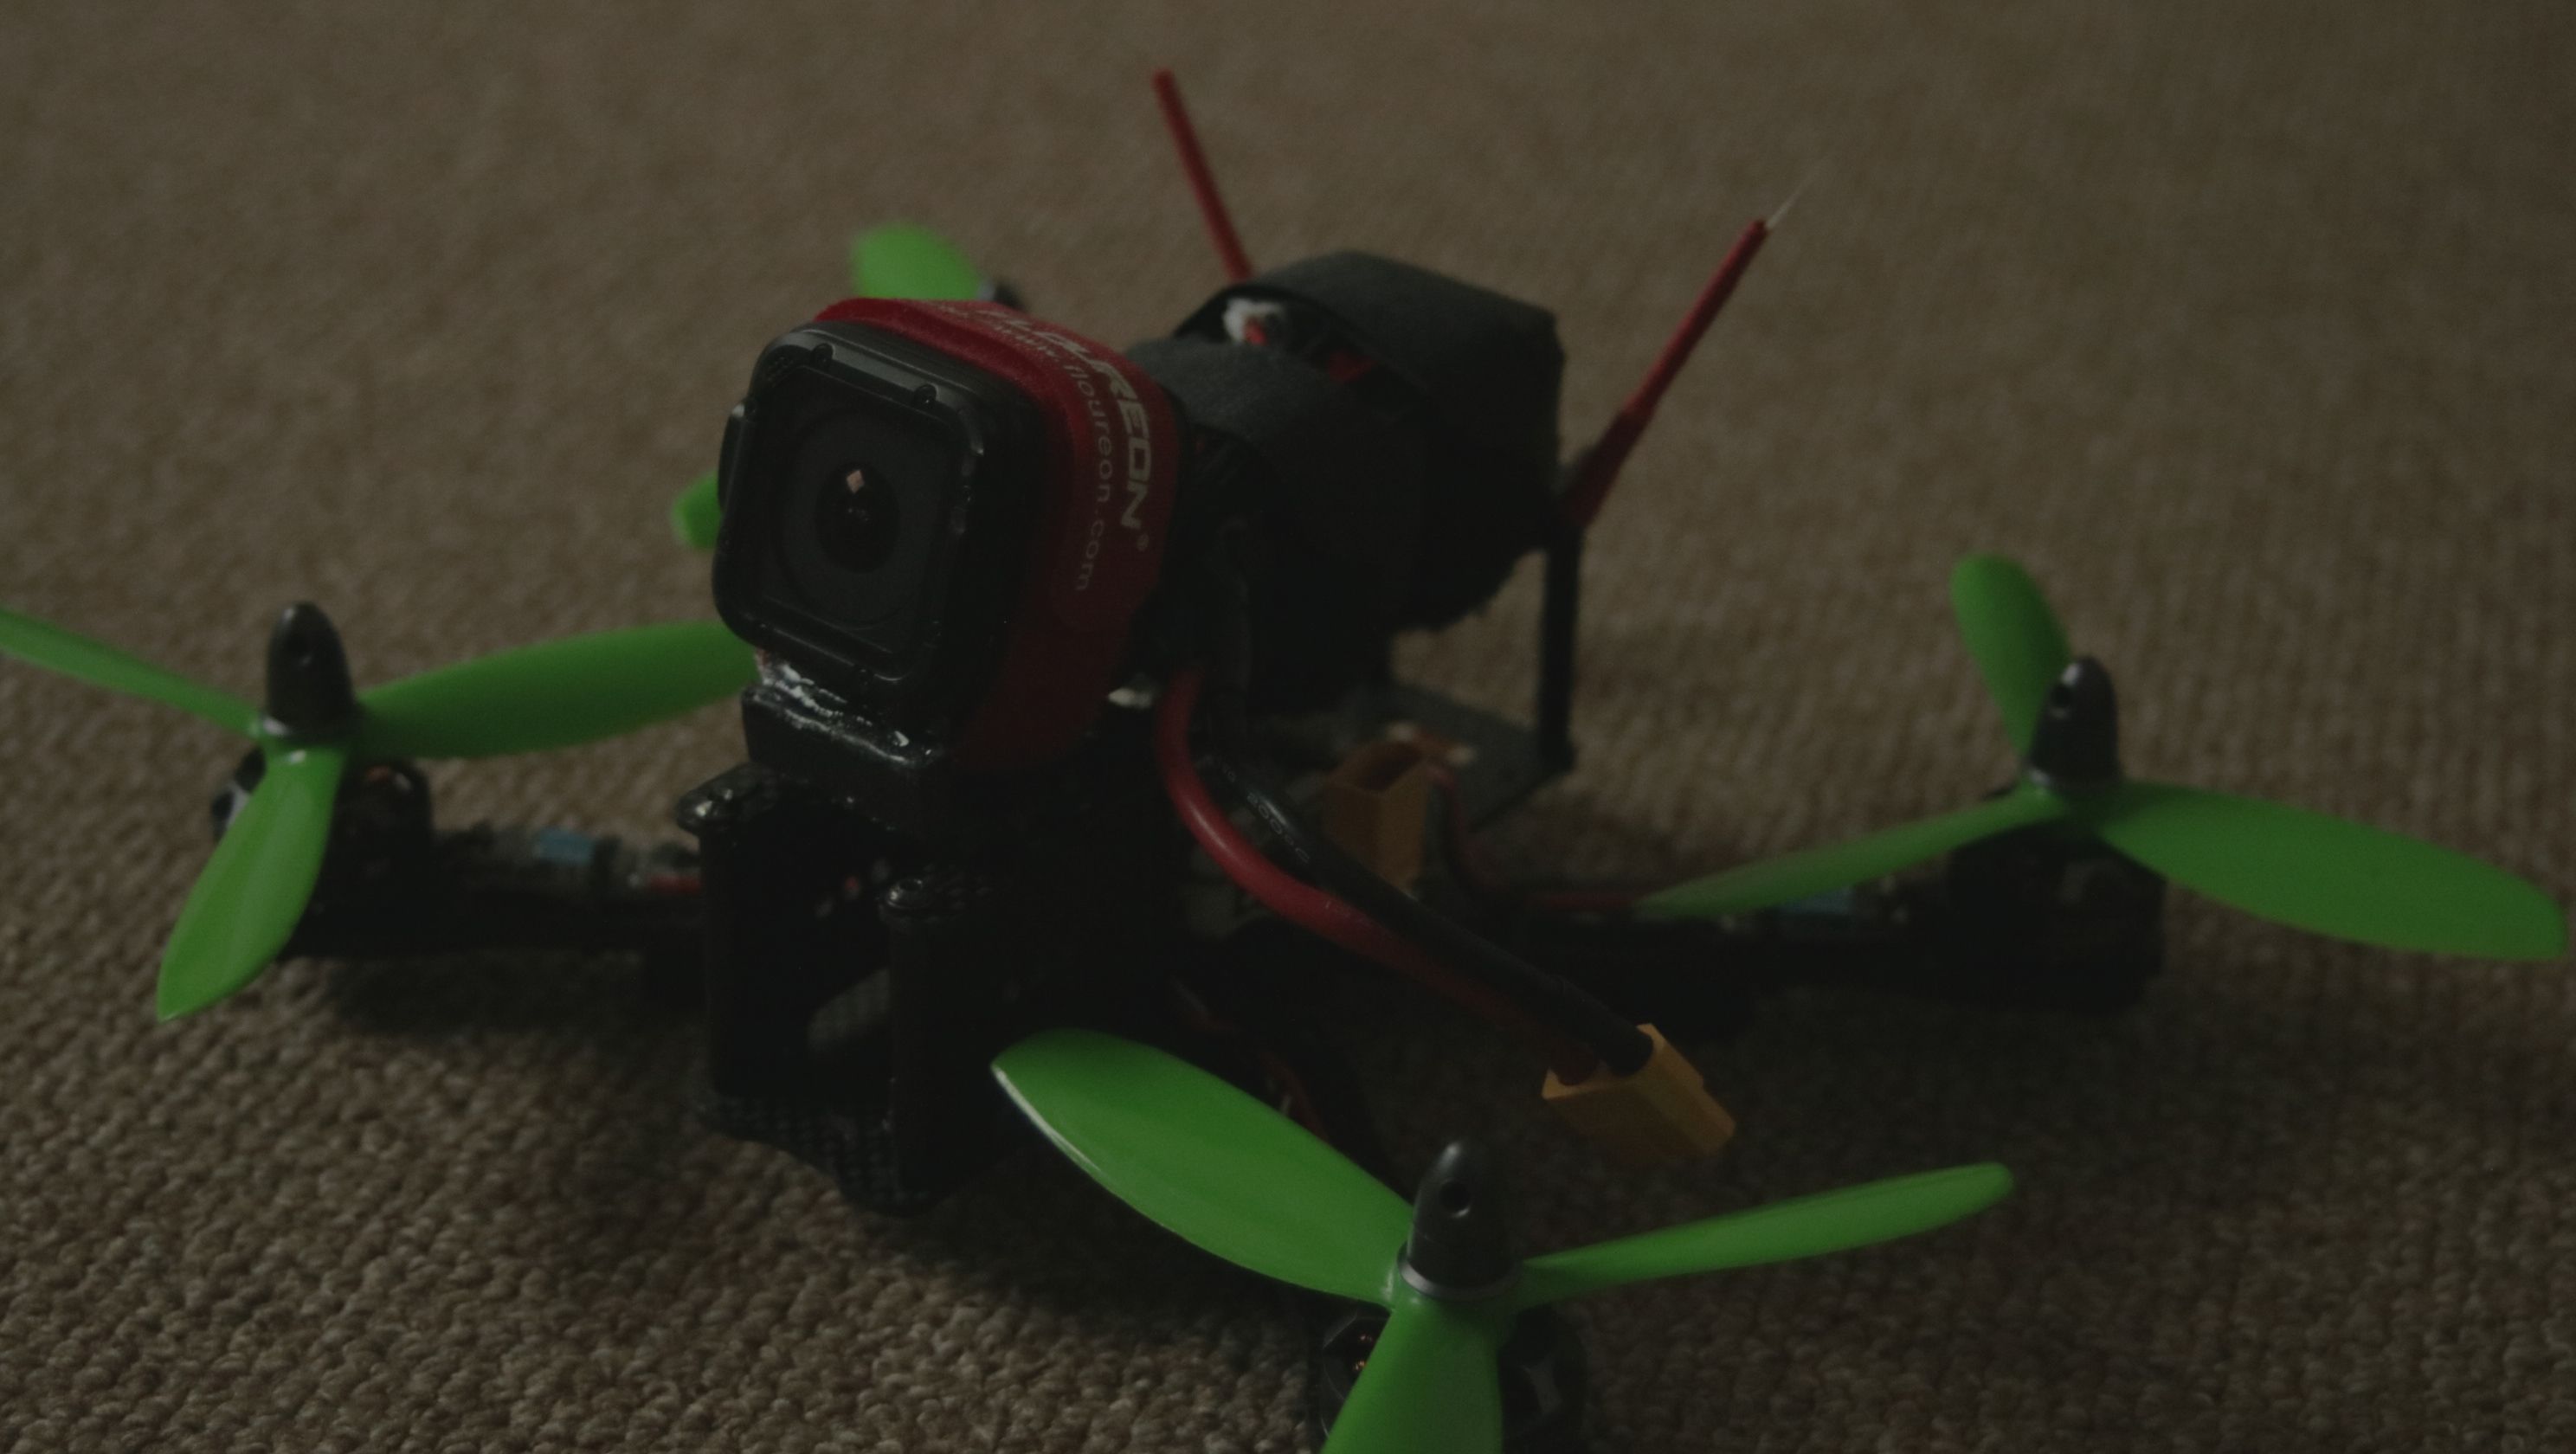
Total cost for the quad for me was 146€ (without FPV) and 170€ (with FPV) which is pretty okay for a 5" I guess. Runs on 3-4s.
Extra Links (which don't work where they're supposed to be ugh):
VTX: https://www.amazon.de/Gotoqomo-Doppelte-Anzeige-Multikopter-Mikrofon/dp/B075ZLFJX8/ref=sr_1_3?ie=UTF8&qid=1532960839&sr=8-3&keywords=tx31
Cam: https://www.amazon.de/GOTOQOMO-700TVL-Automatische-Kamera-Drone/dp/B073LF7YG6/ref=sr_1_2?ie=UTF8&qid=1532960793&sr=8-2&keywords=GOTOQOMO
Build
First of all: Mount the Motors.. with 2 screws. In my case because these screws are pretty bad and some are just unusable (alright, maybe I lost some).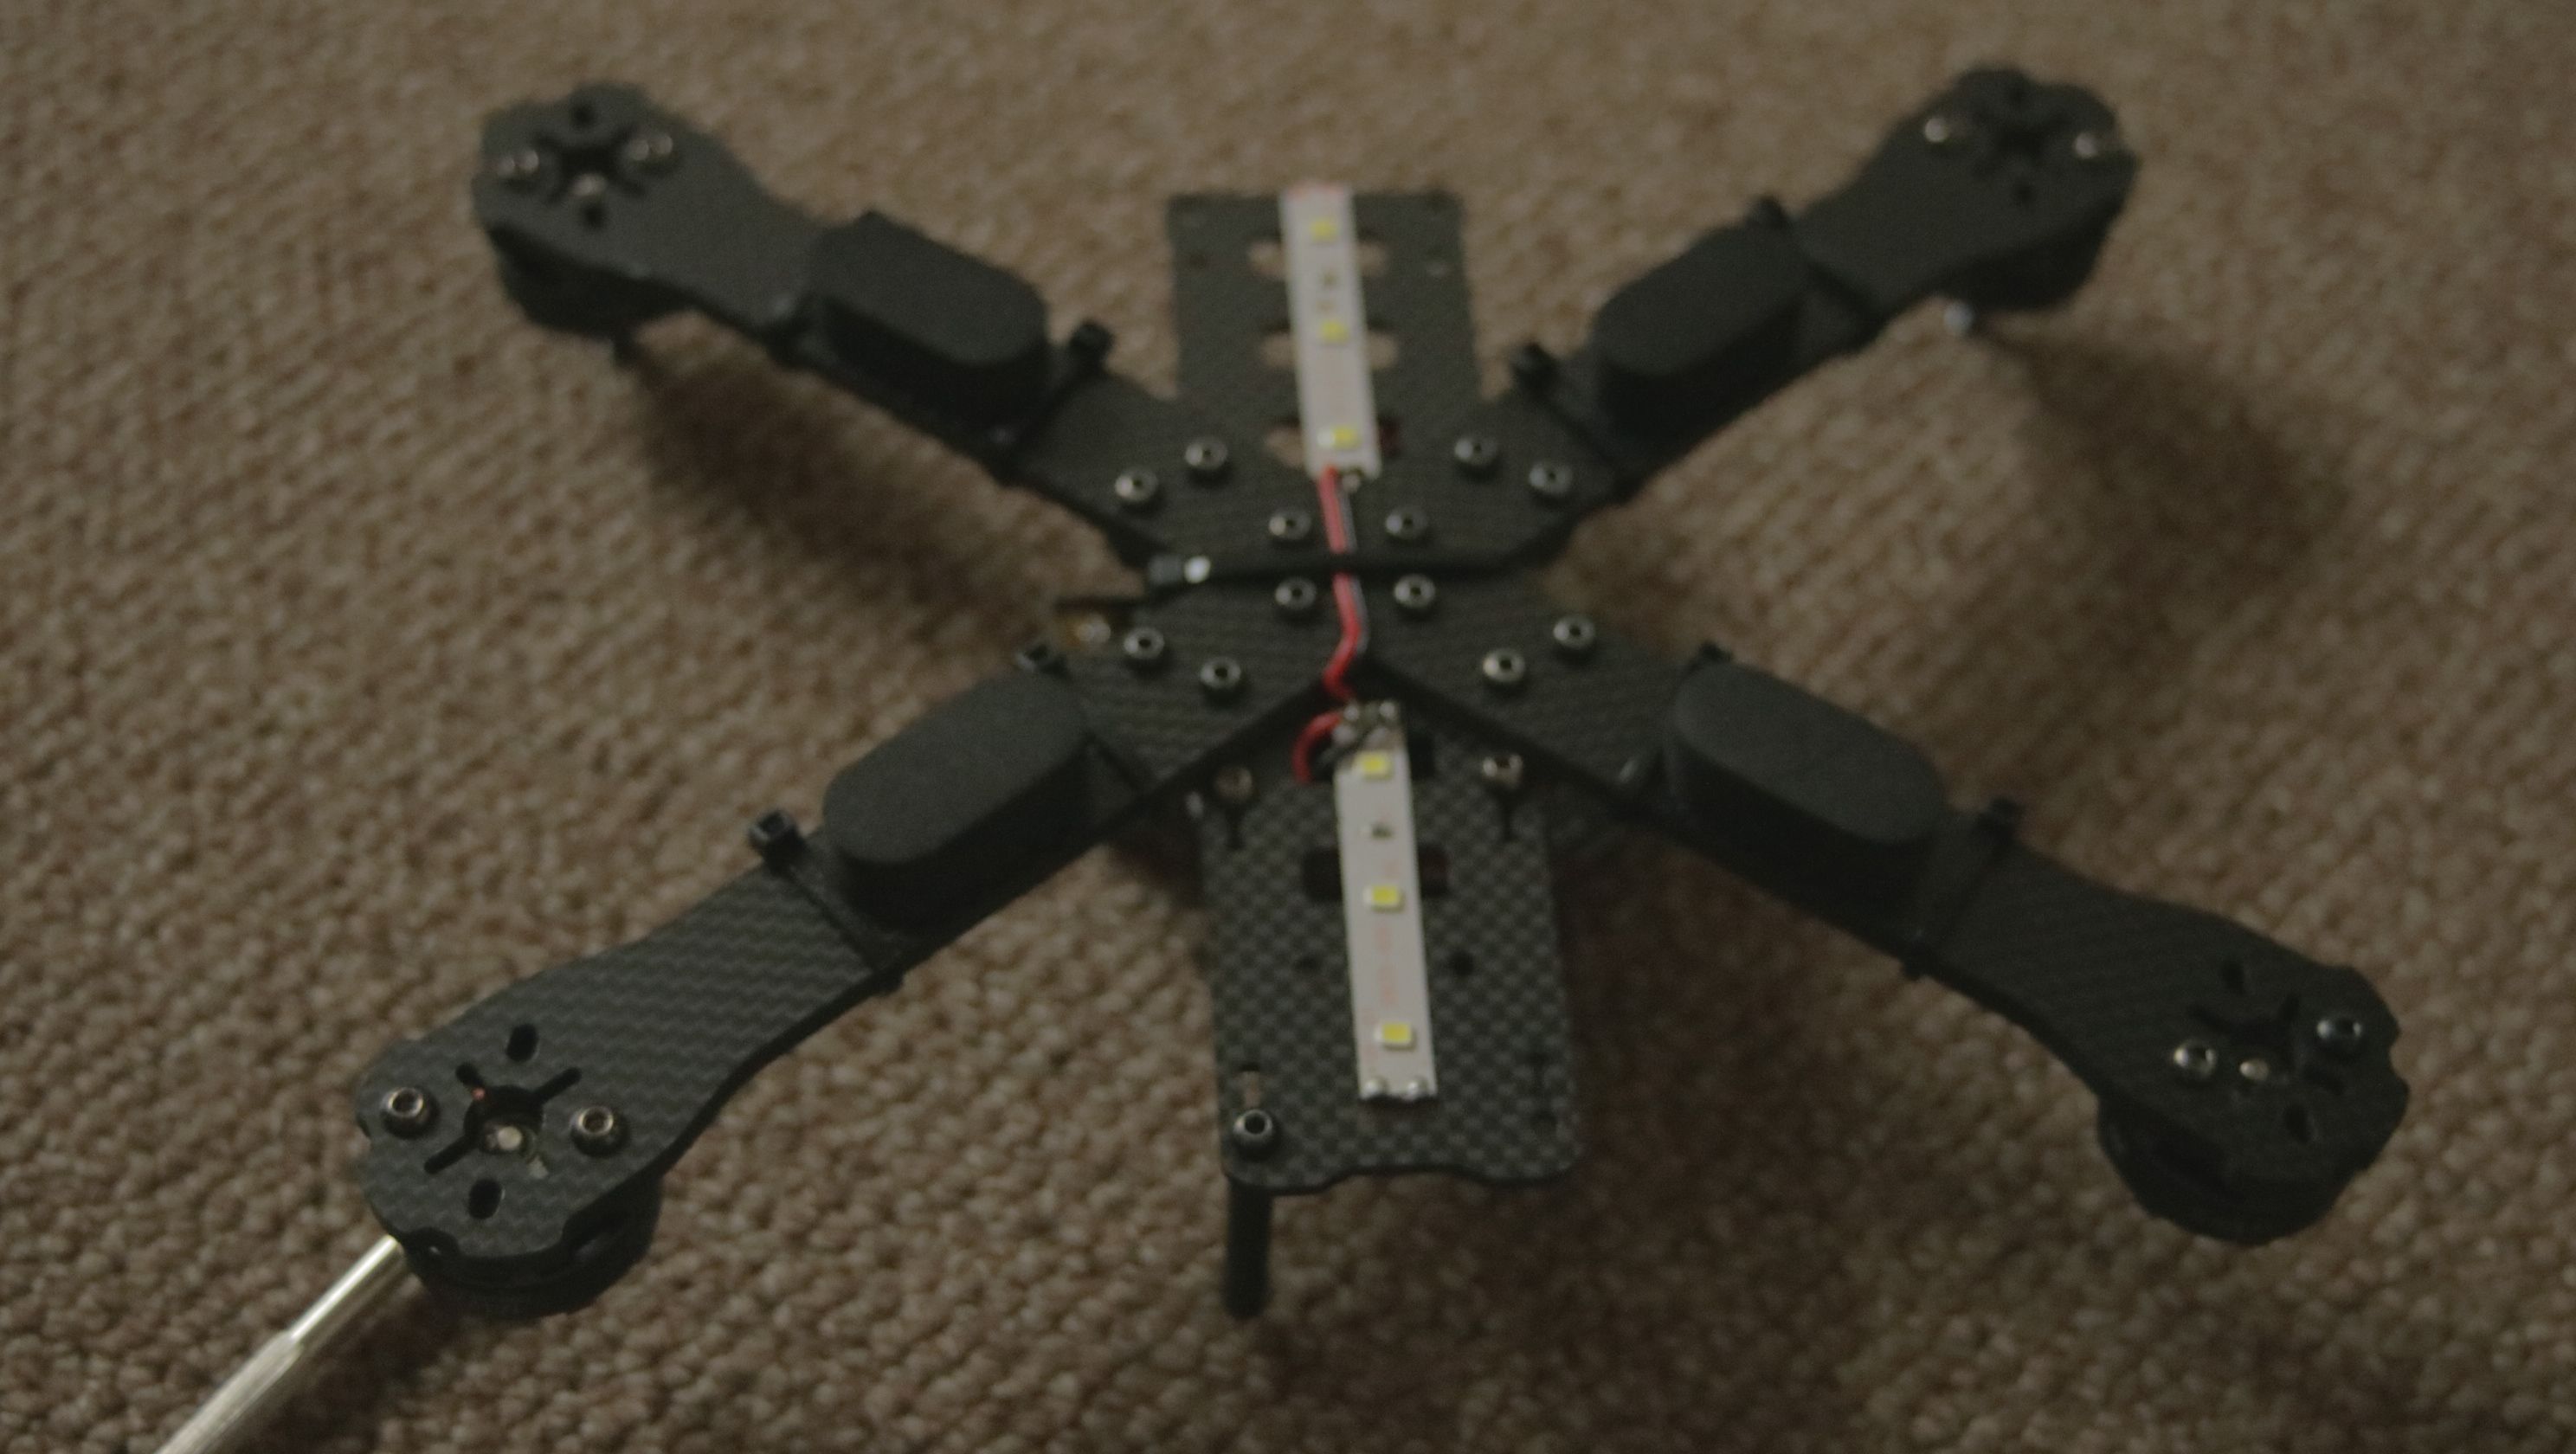
Then connect the wires to the ESC pads, simple, right? Well the motor wires kinda hate solder, maybe thats just me but they just decline my solder at like 400°C... Thus, connections look pretty terrible but they work just fine for now.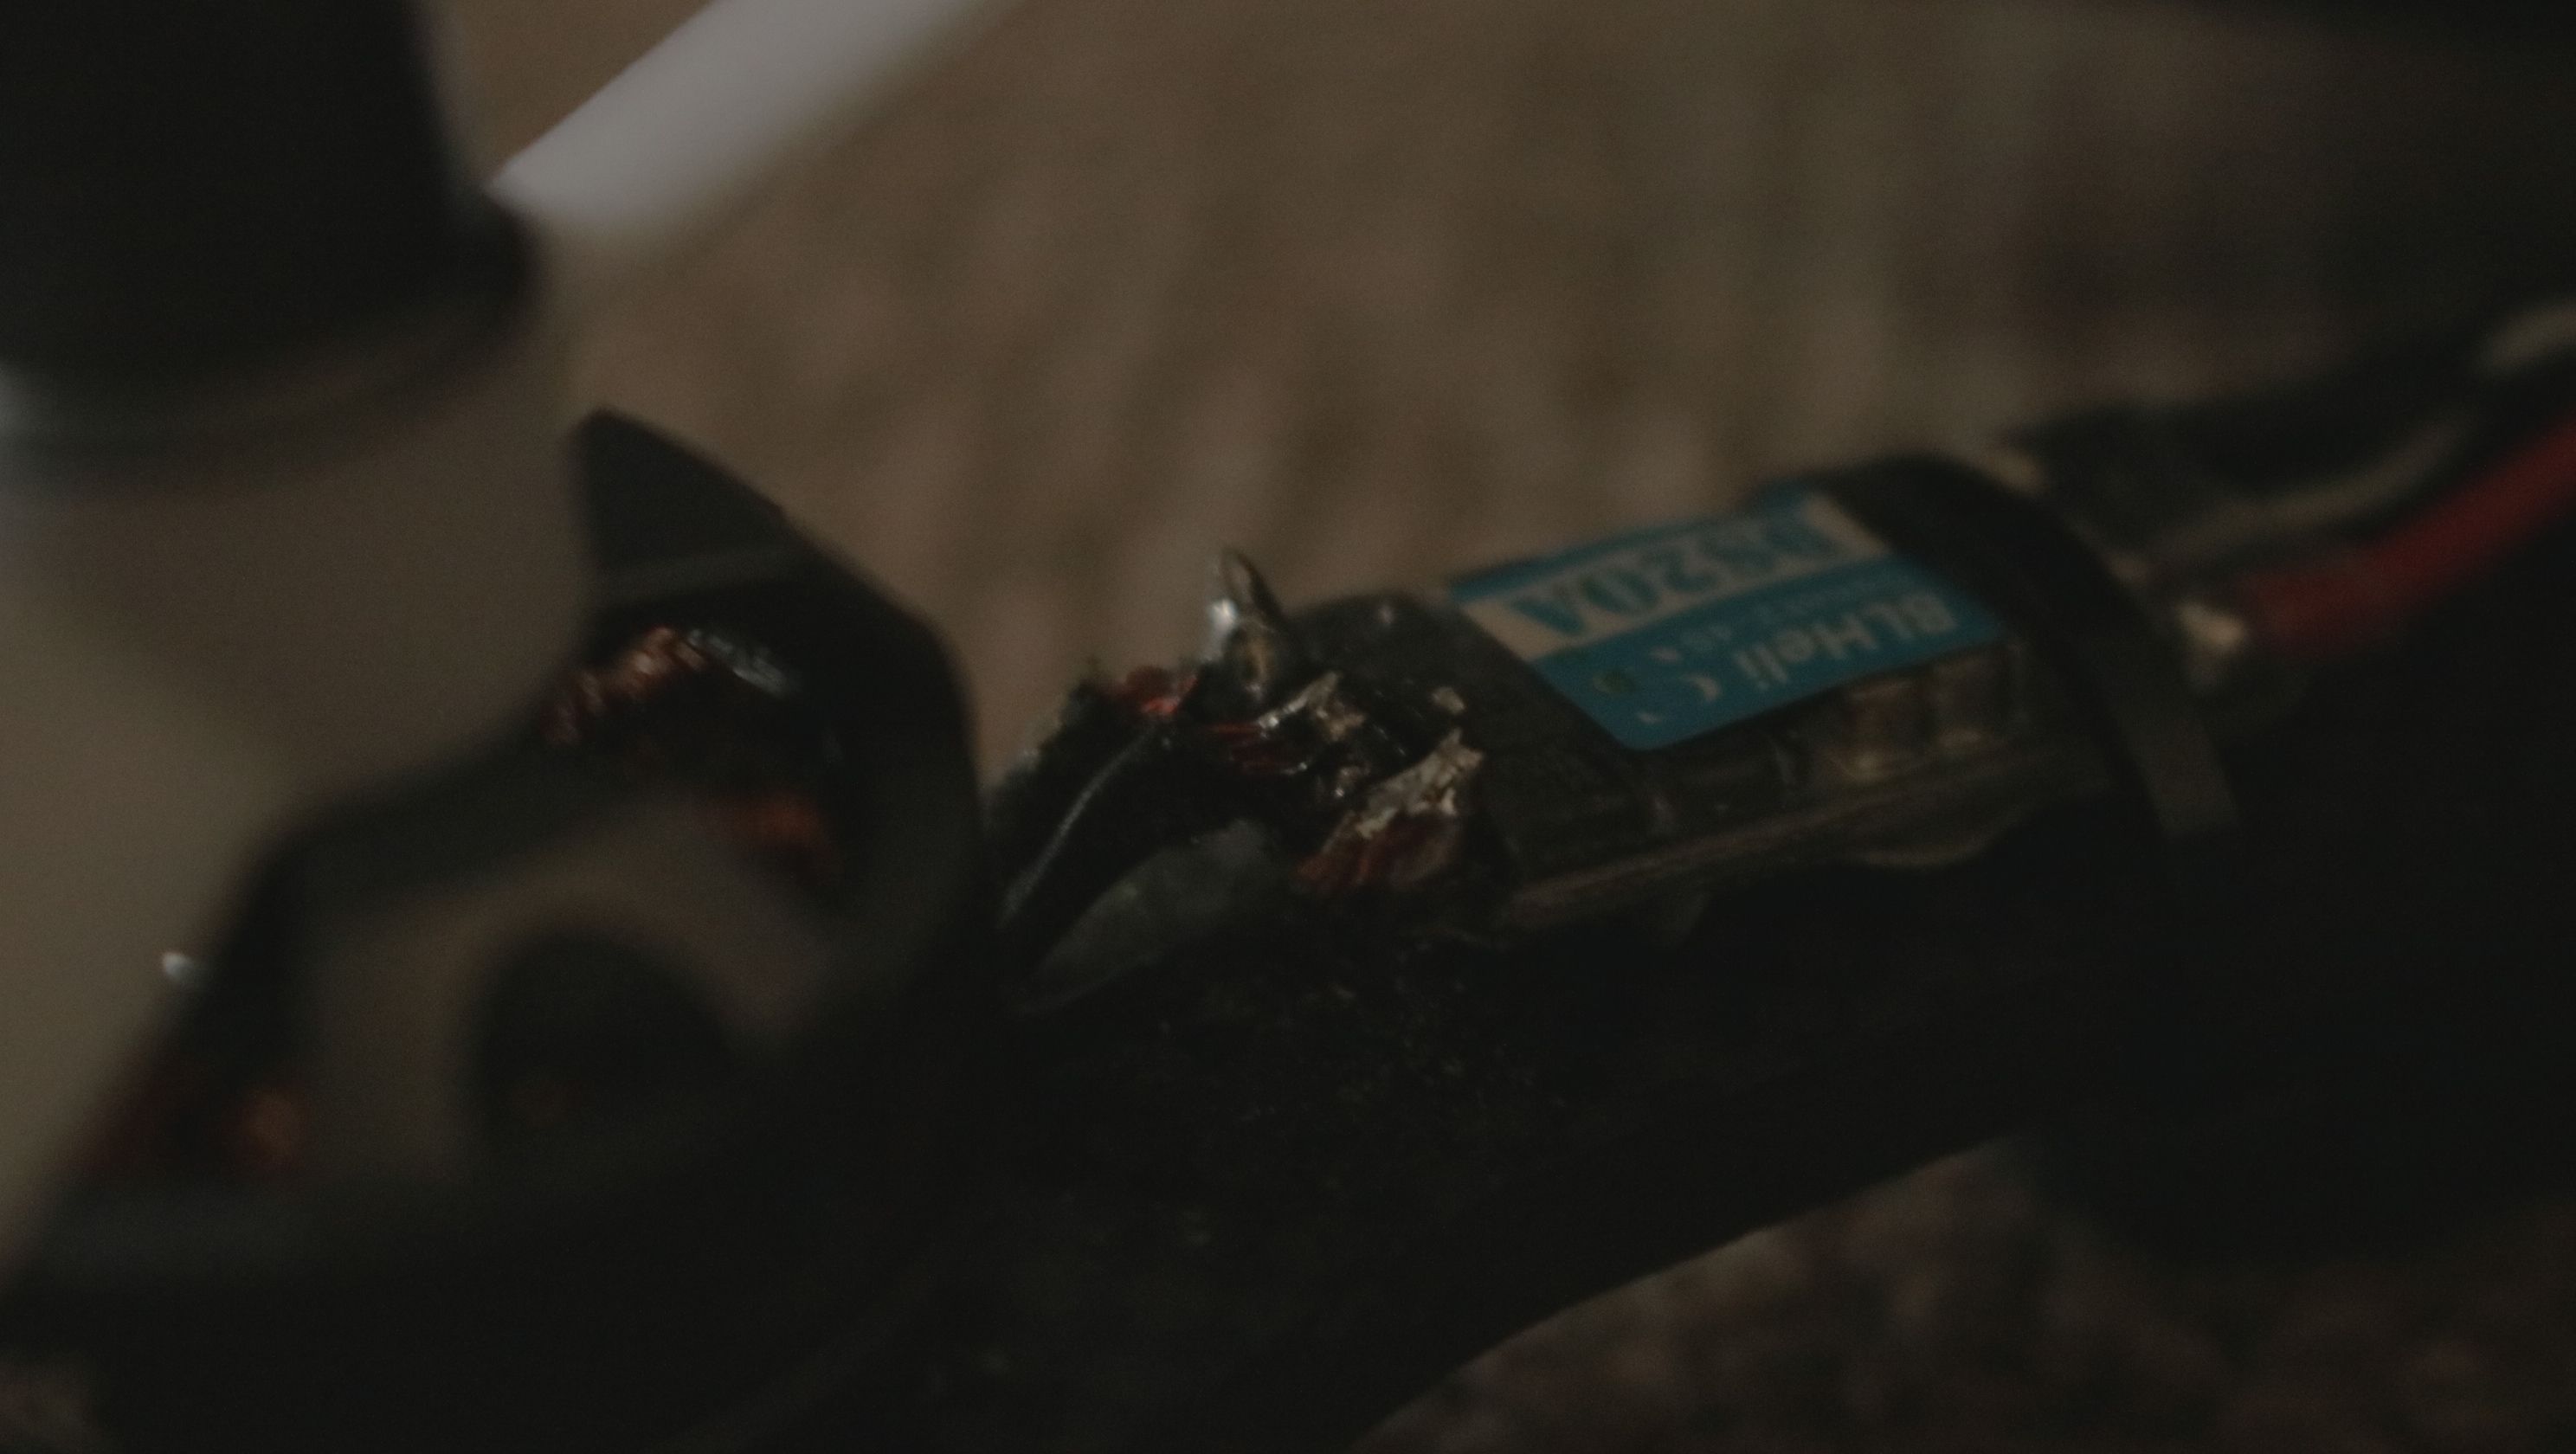
Oh and it's a good idea to put electrical tape on the bottom of the ESC to protect it against shorts, because there are pads on the bottom too and carbon fiber does conduct electricity.
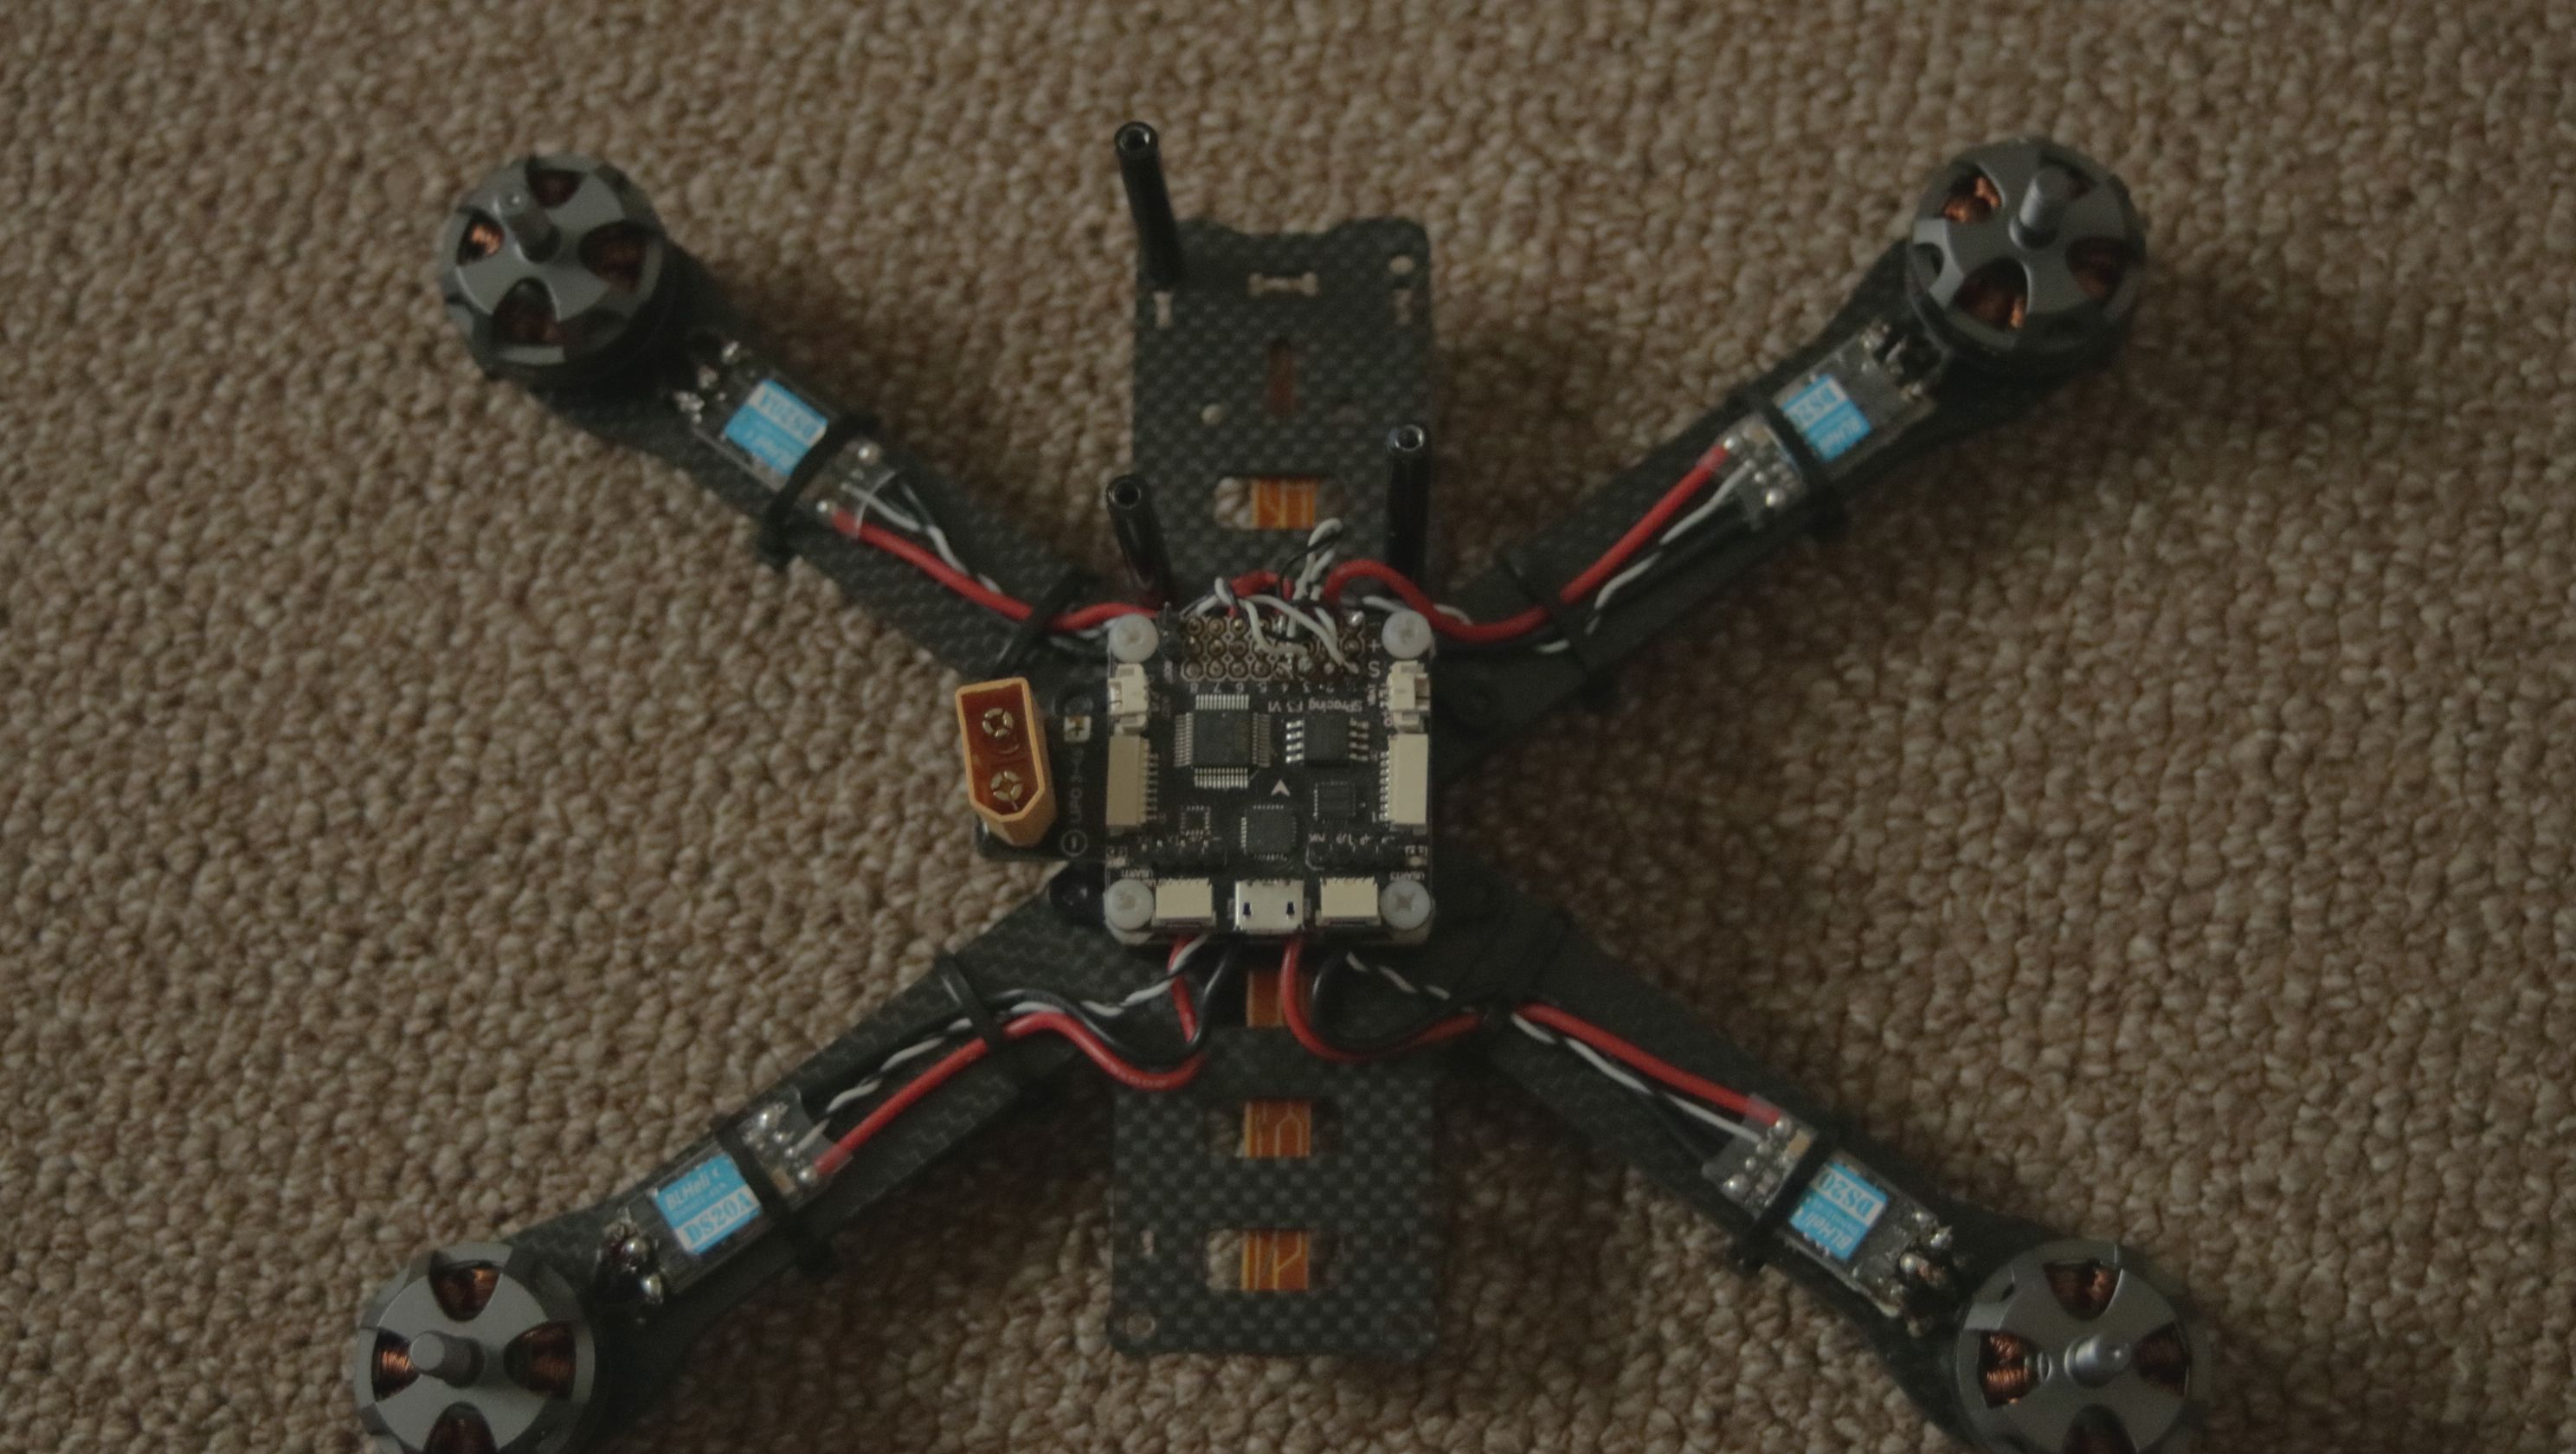
Here are the connections from the ESCs to the PDB which is included with the frame: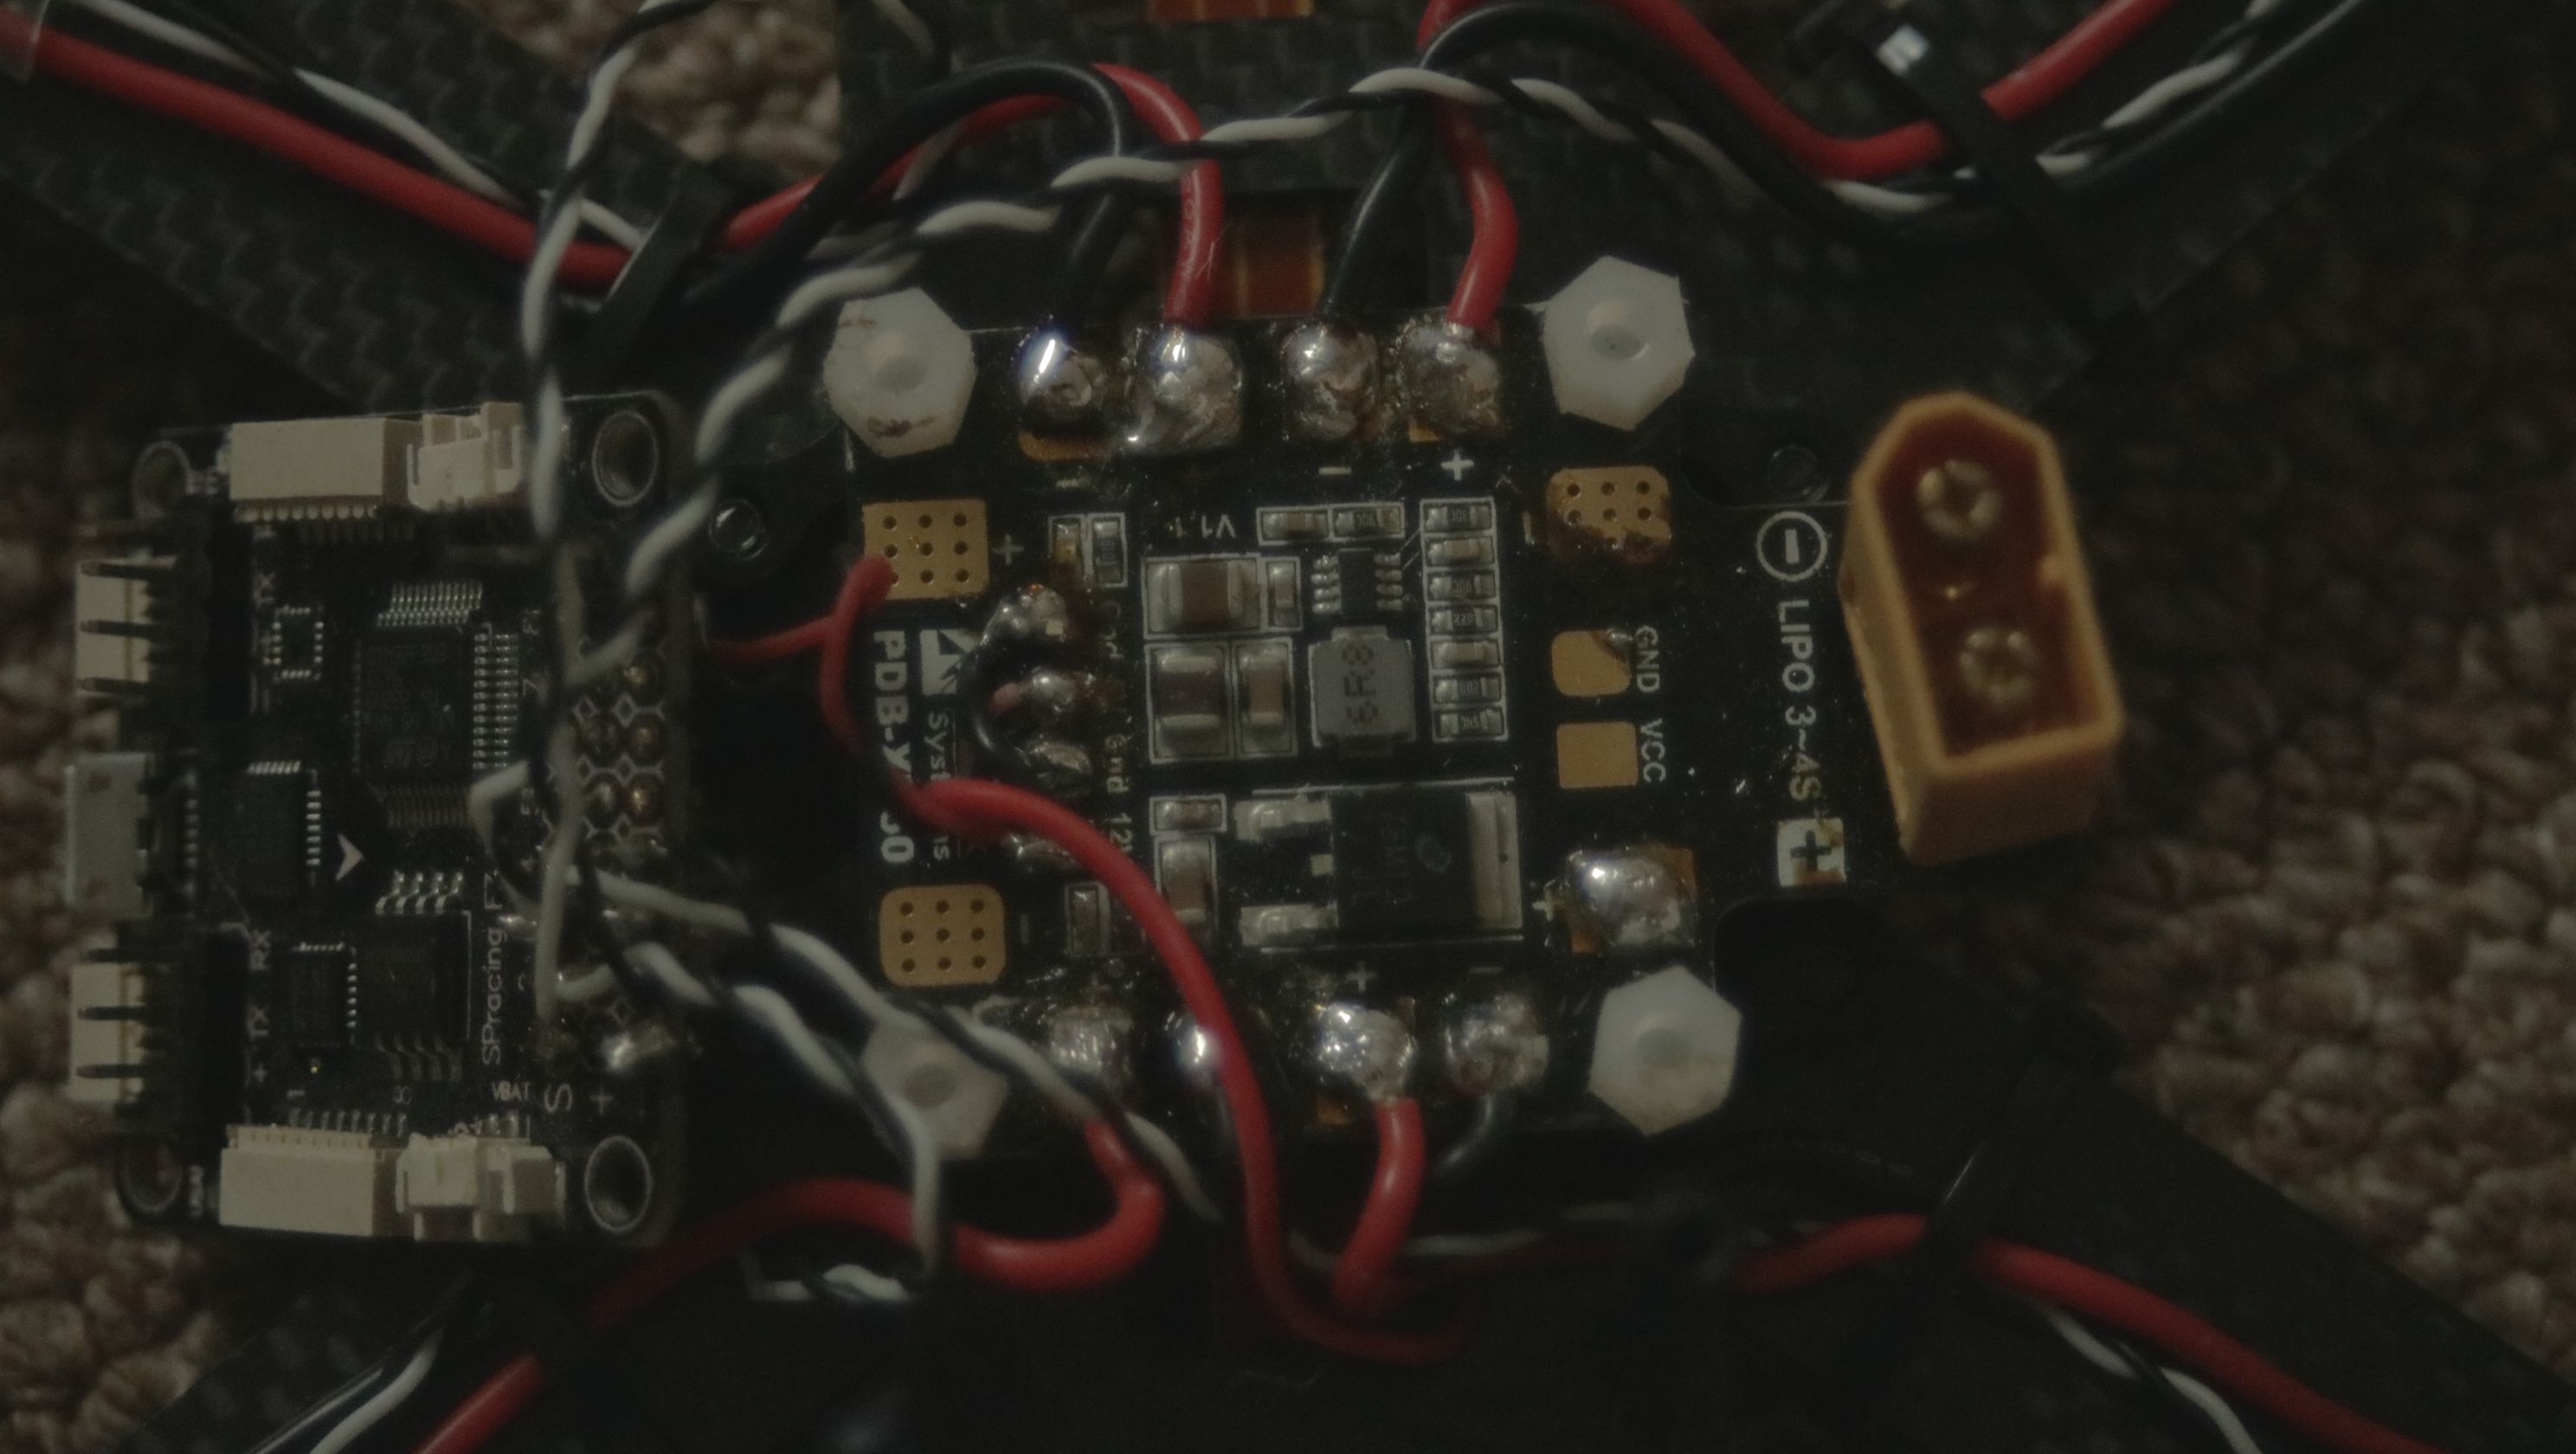
Make sure to use plenty of heat to pre-tin the pads and then just slam on the pre-tinned wires.
There is a 5V regulator on the PDB, solder some wires to those pads and connect the other side to the FC.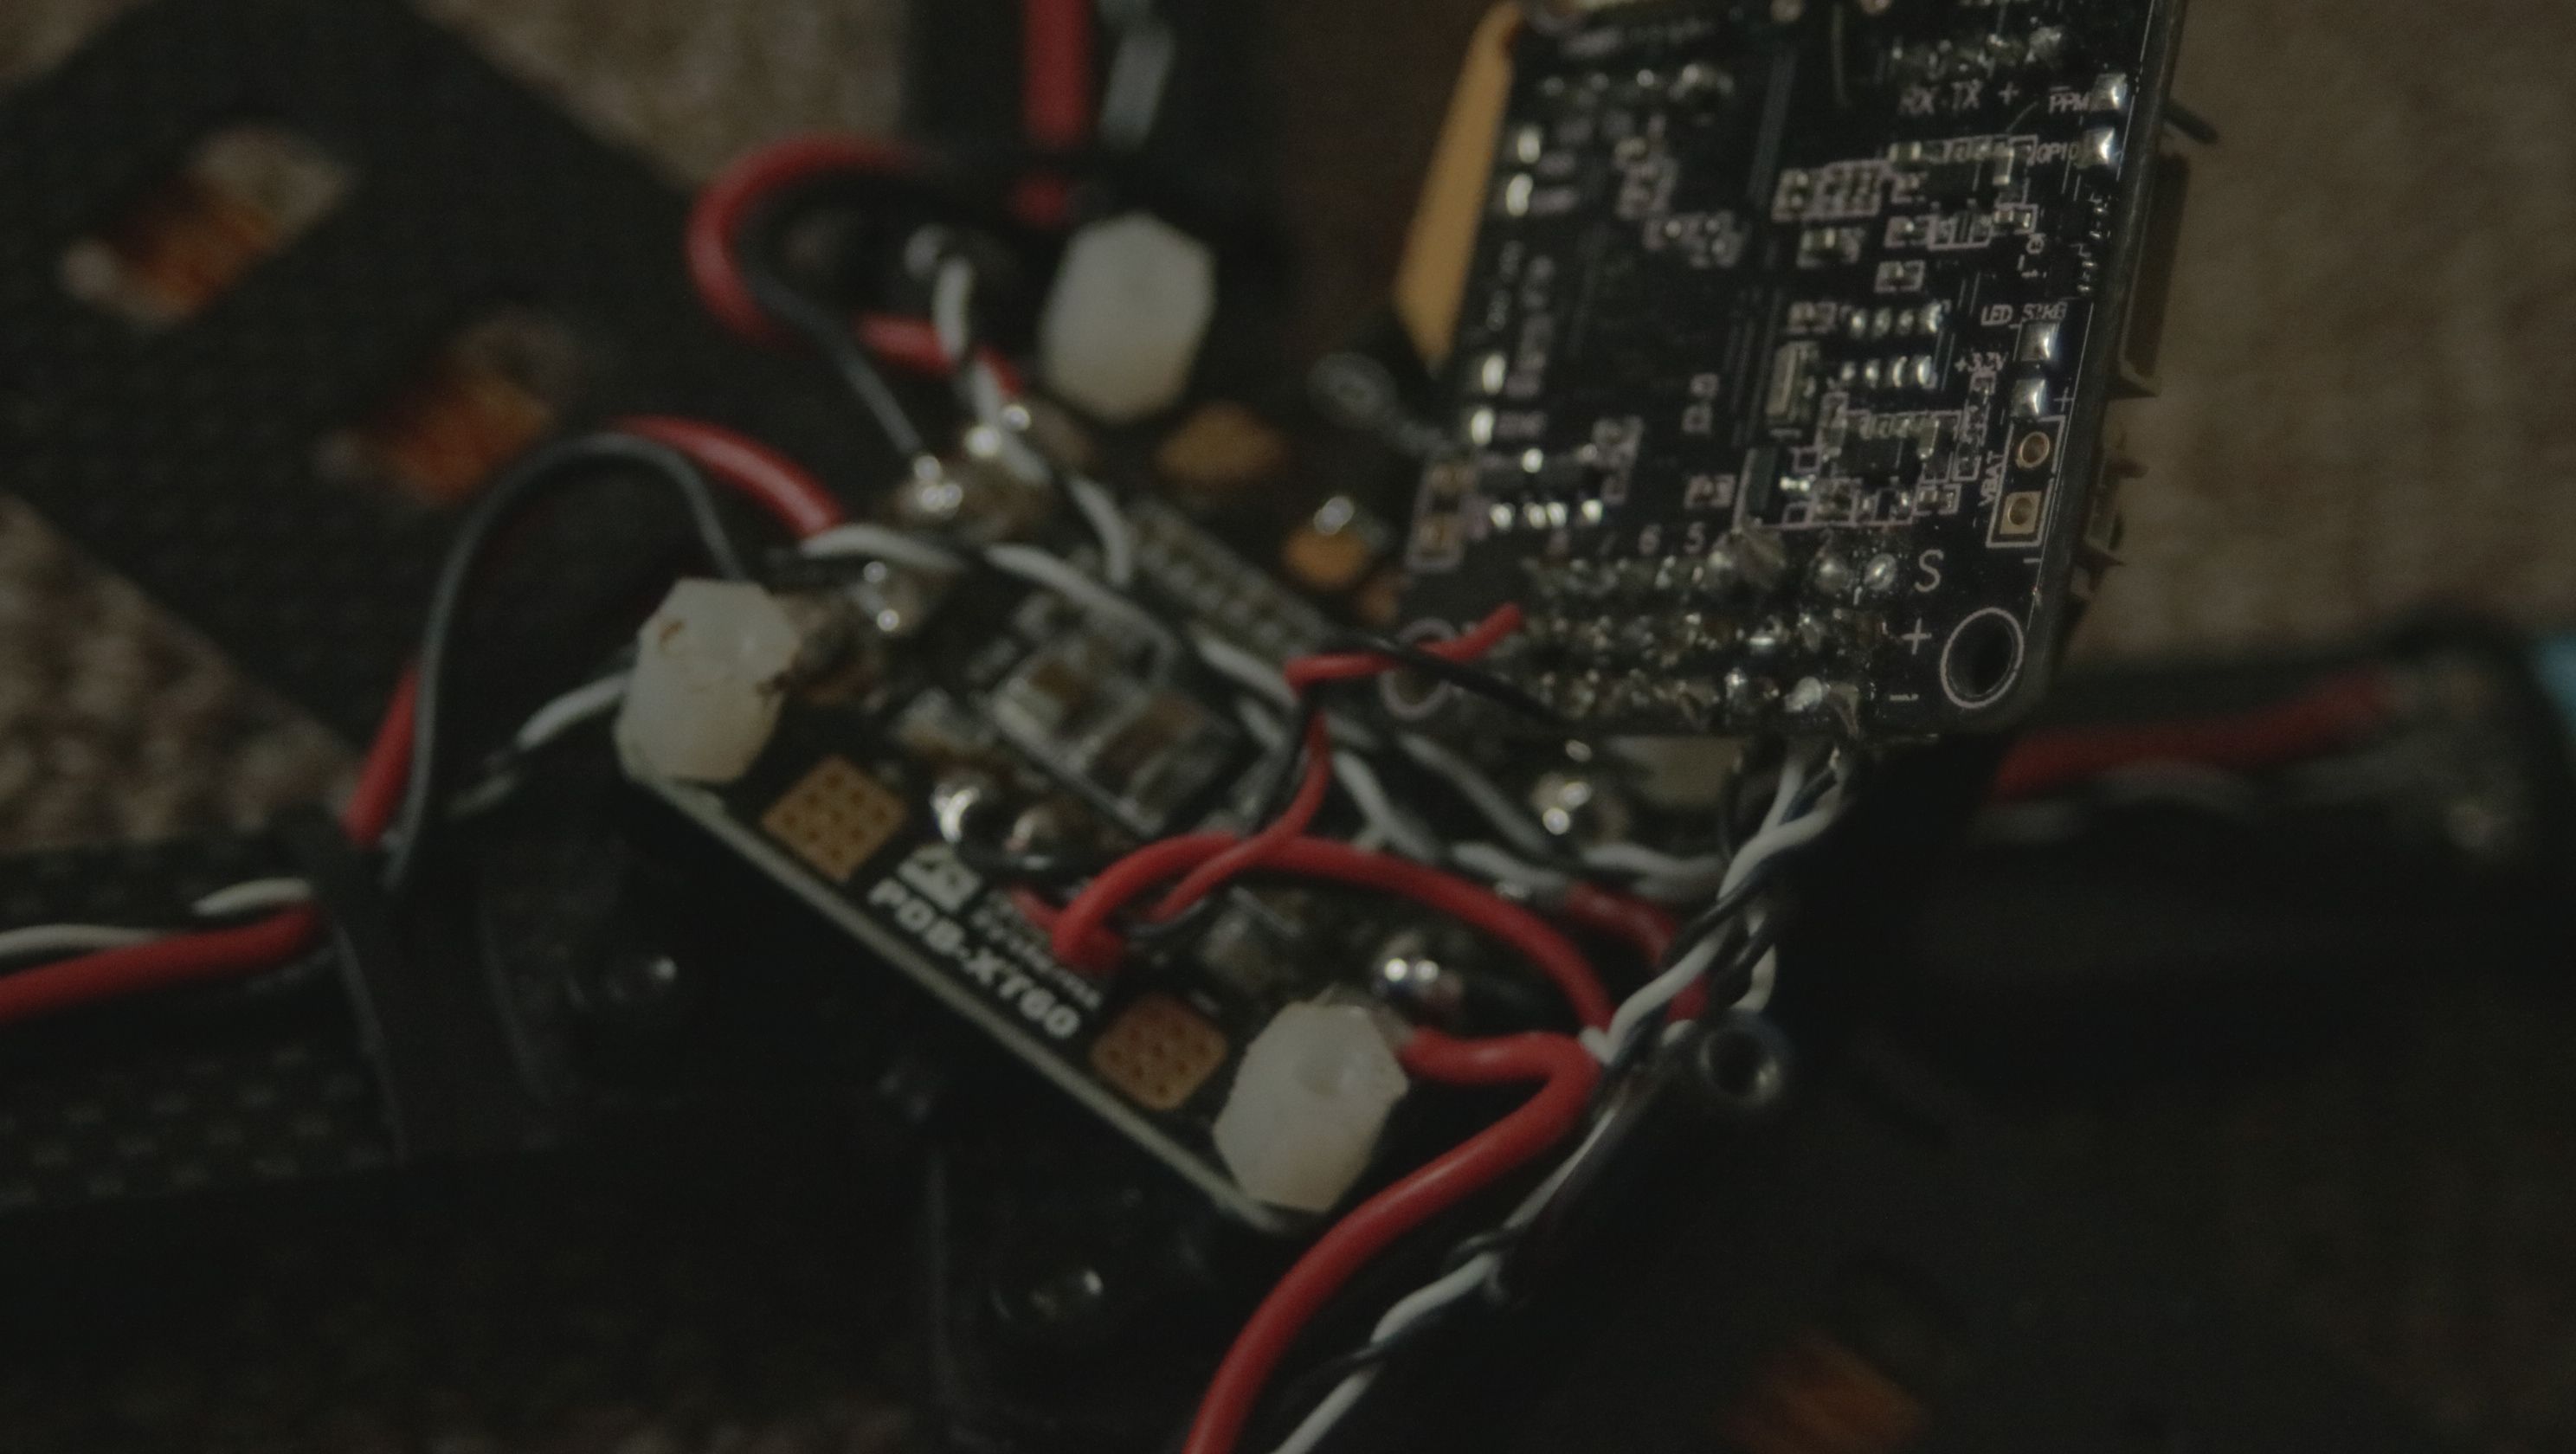
Now it's time to mount that FC, soft mounting yeeeah and solder on the signal wires from the ESCs, the ground wire to ground, the signal wire to well signal: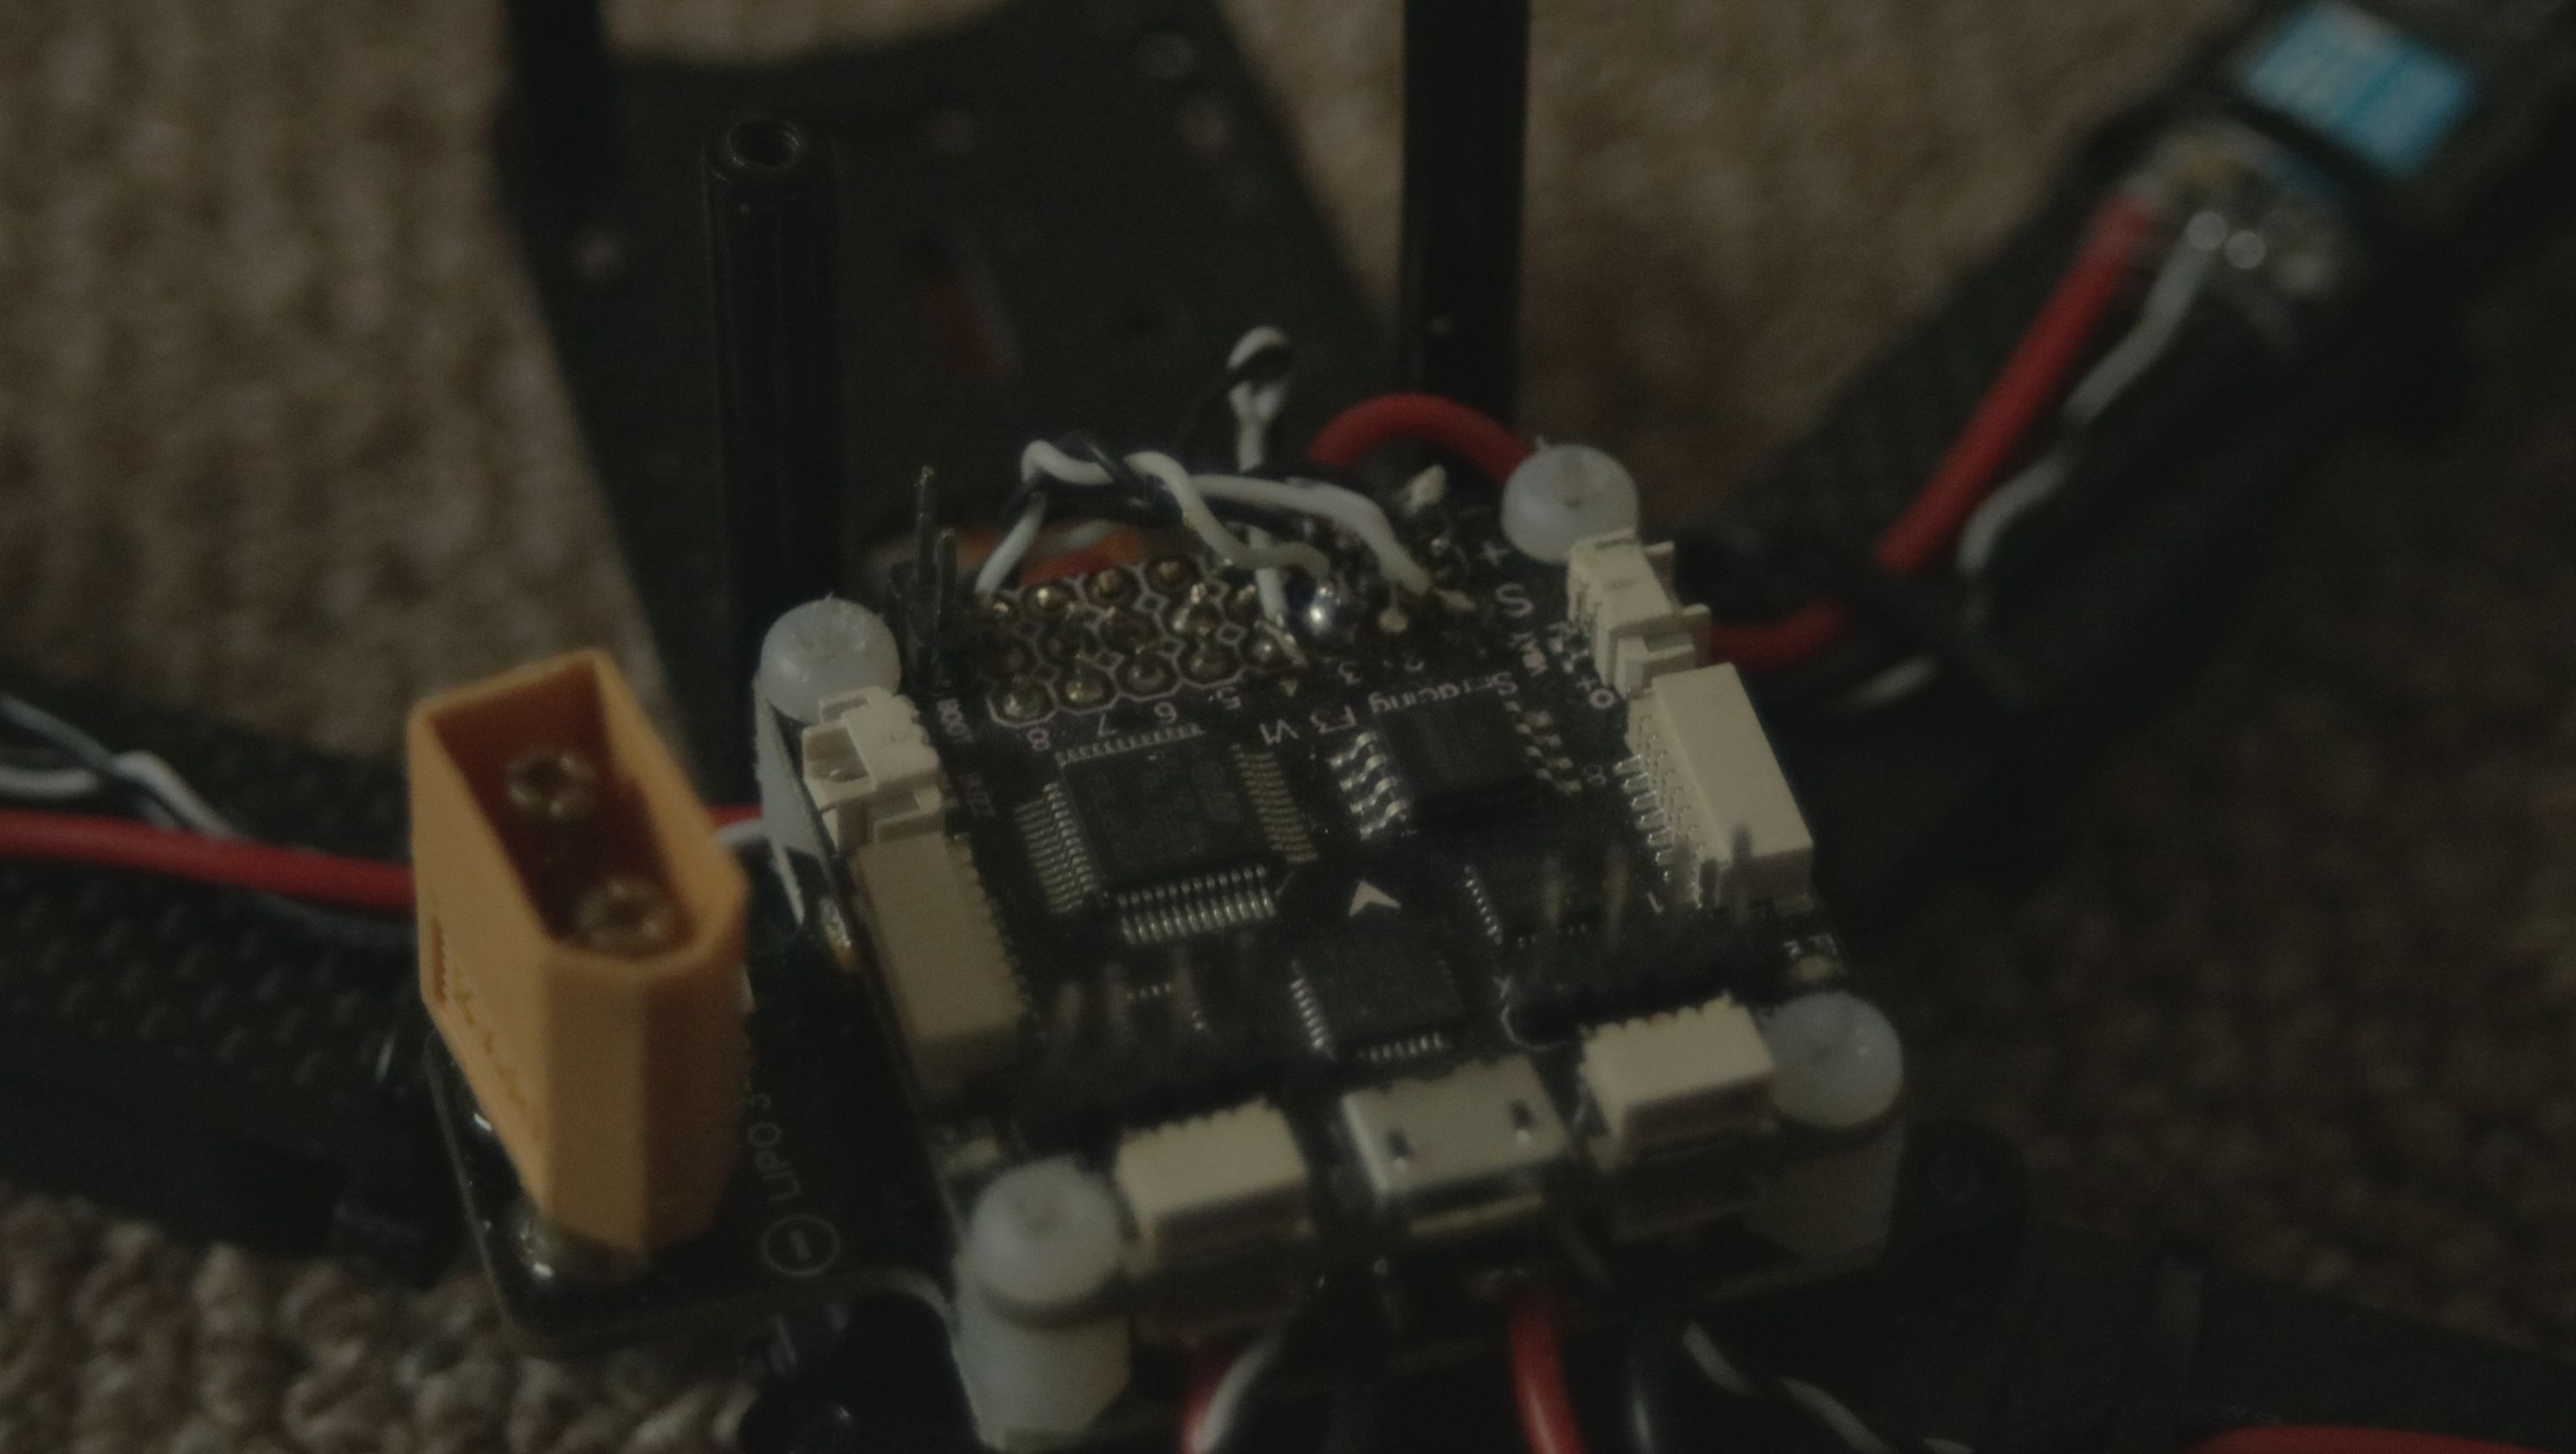
As you might be able to see all the other pads are tinned too and have half a pin sticking in them. Well a year ago I thought it was a good idea to solder the pin headers in. Don't do that.
Now let's get the RX going:
Just some electrical tape to protect against shorts on one side and a zip tie to mount it is enough.
For some fancy antenna mounting I usually use a zip tie, electrical tape to hold the antenna in place and then a heat shrink tube over all of that:
(image)
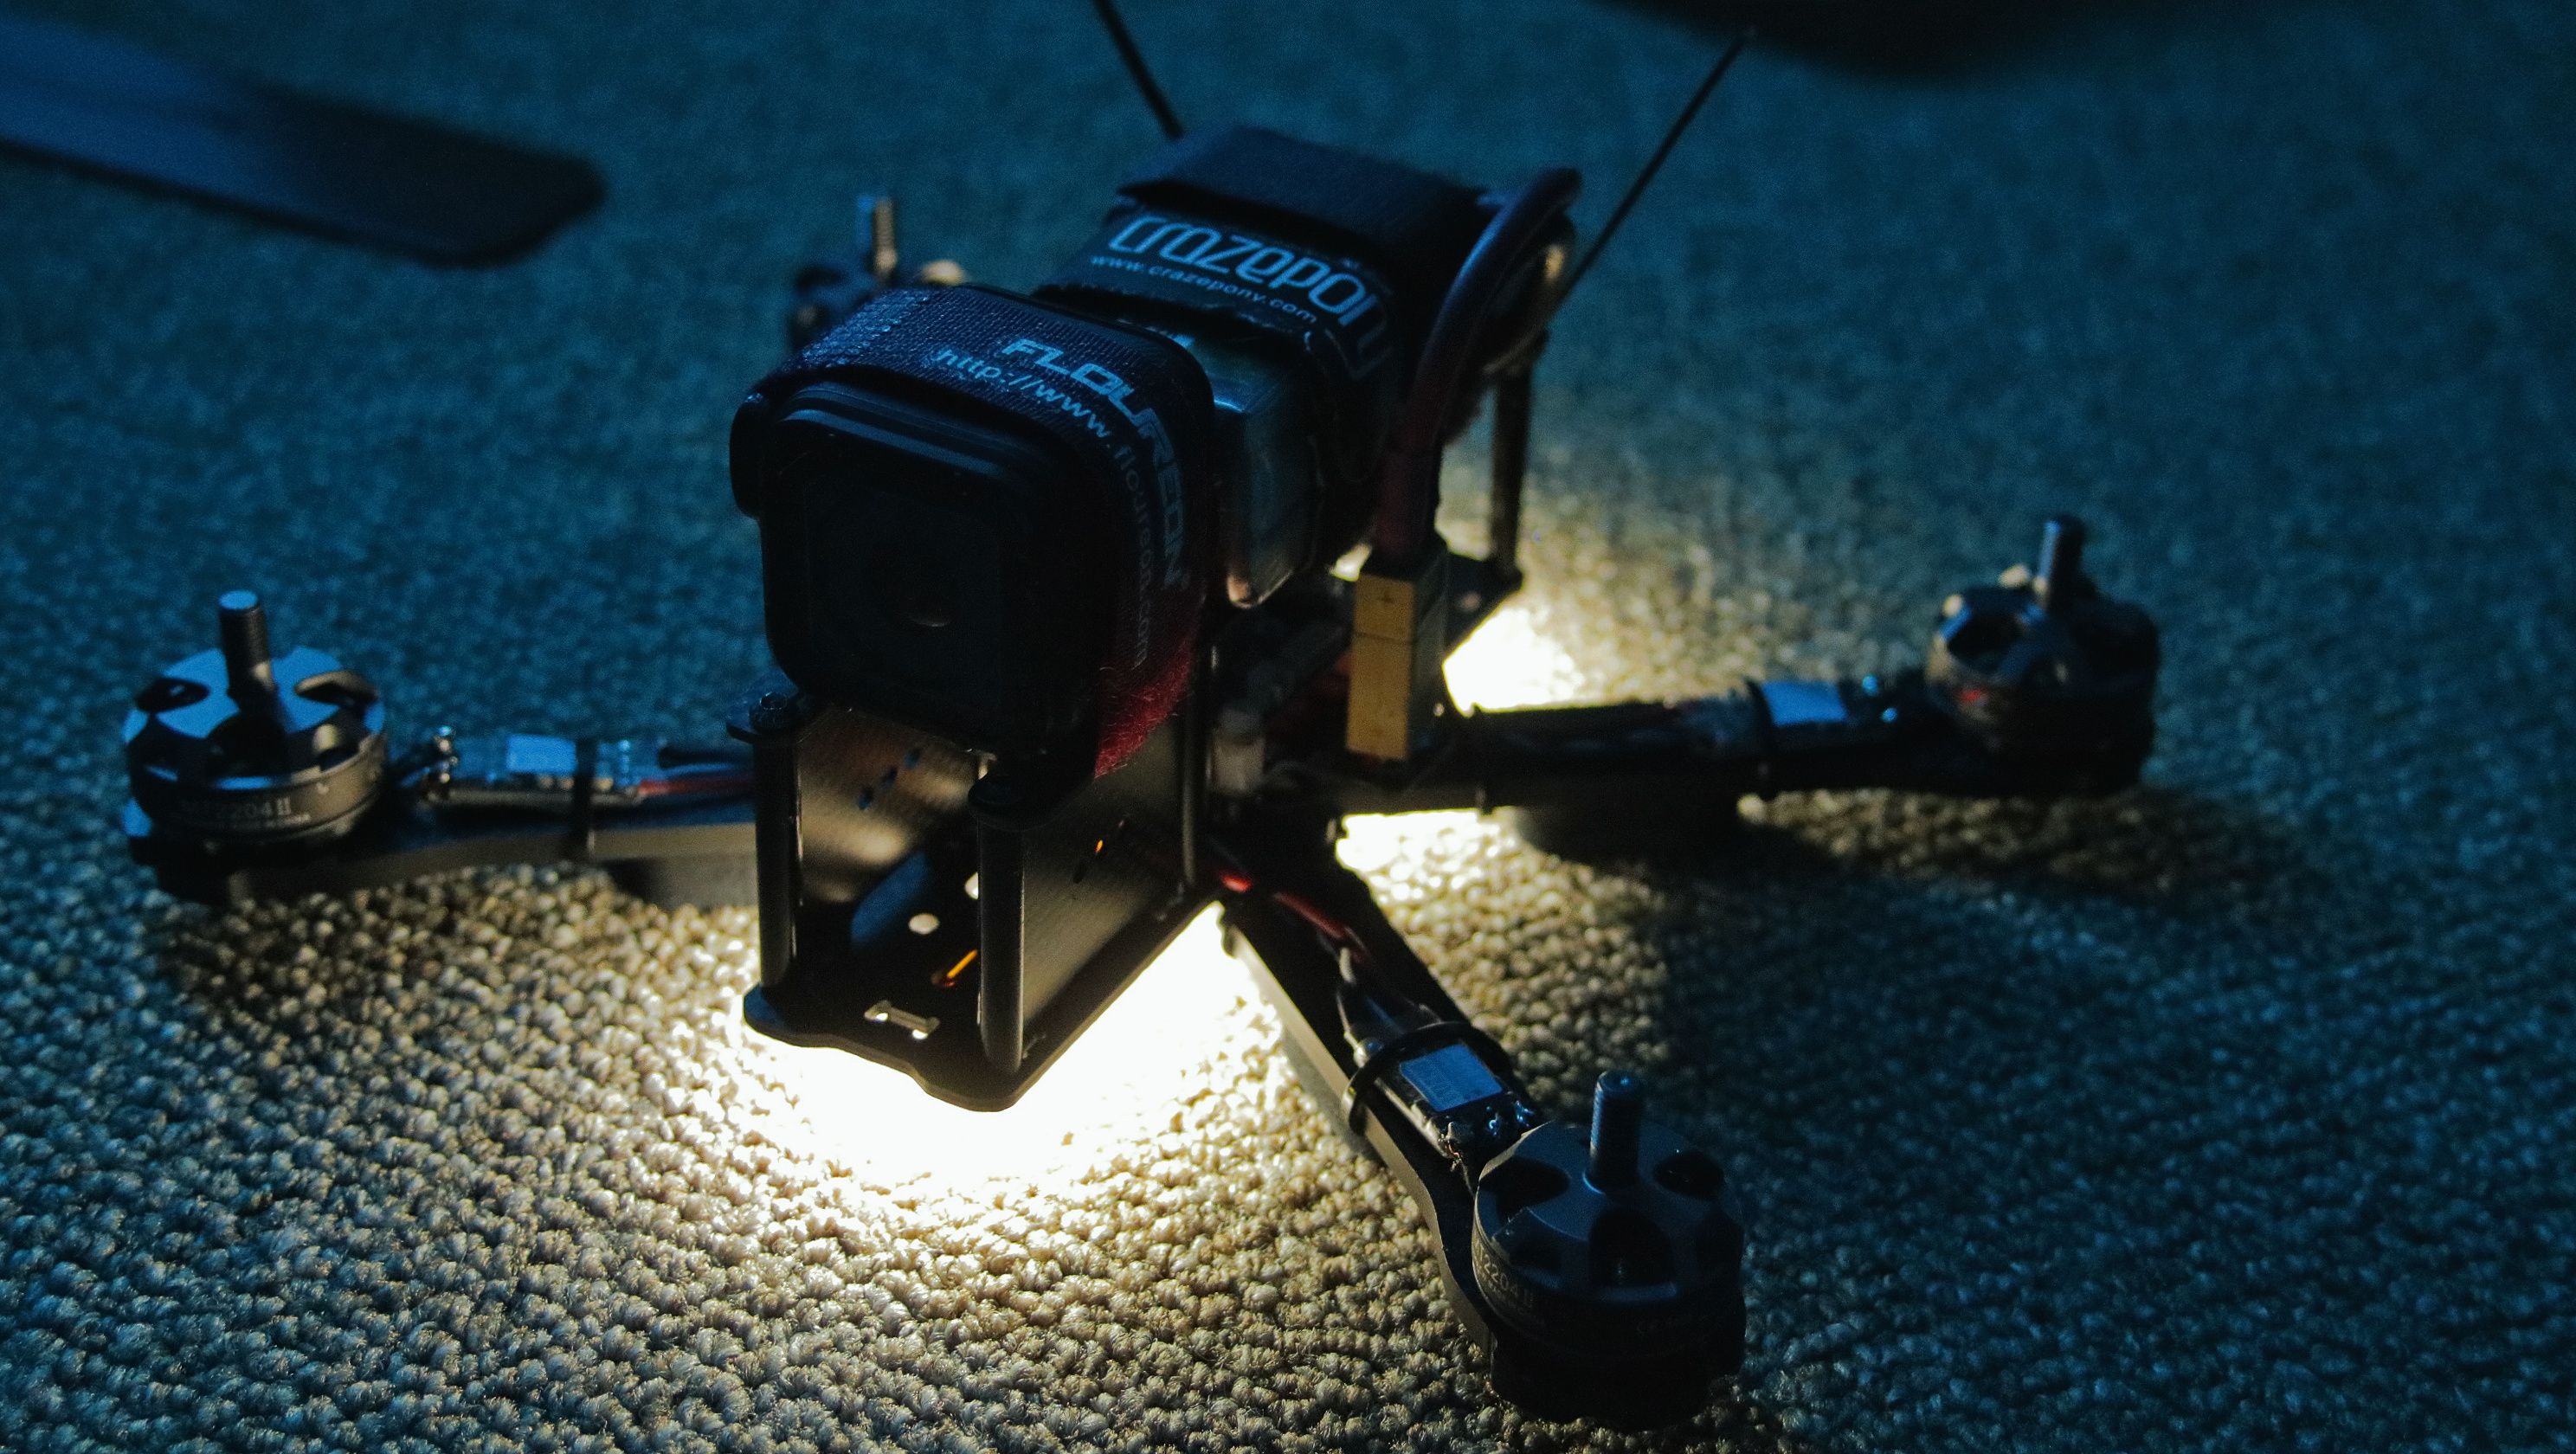
I had a 12V LED Strip laying around, and the PDB has a 12V regulator on-board nice.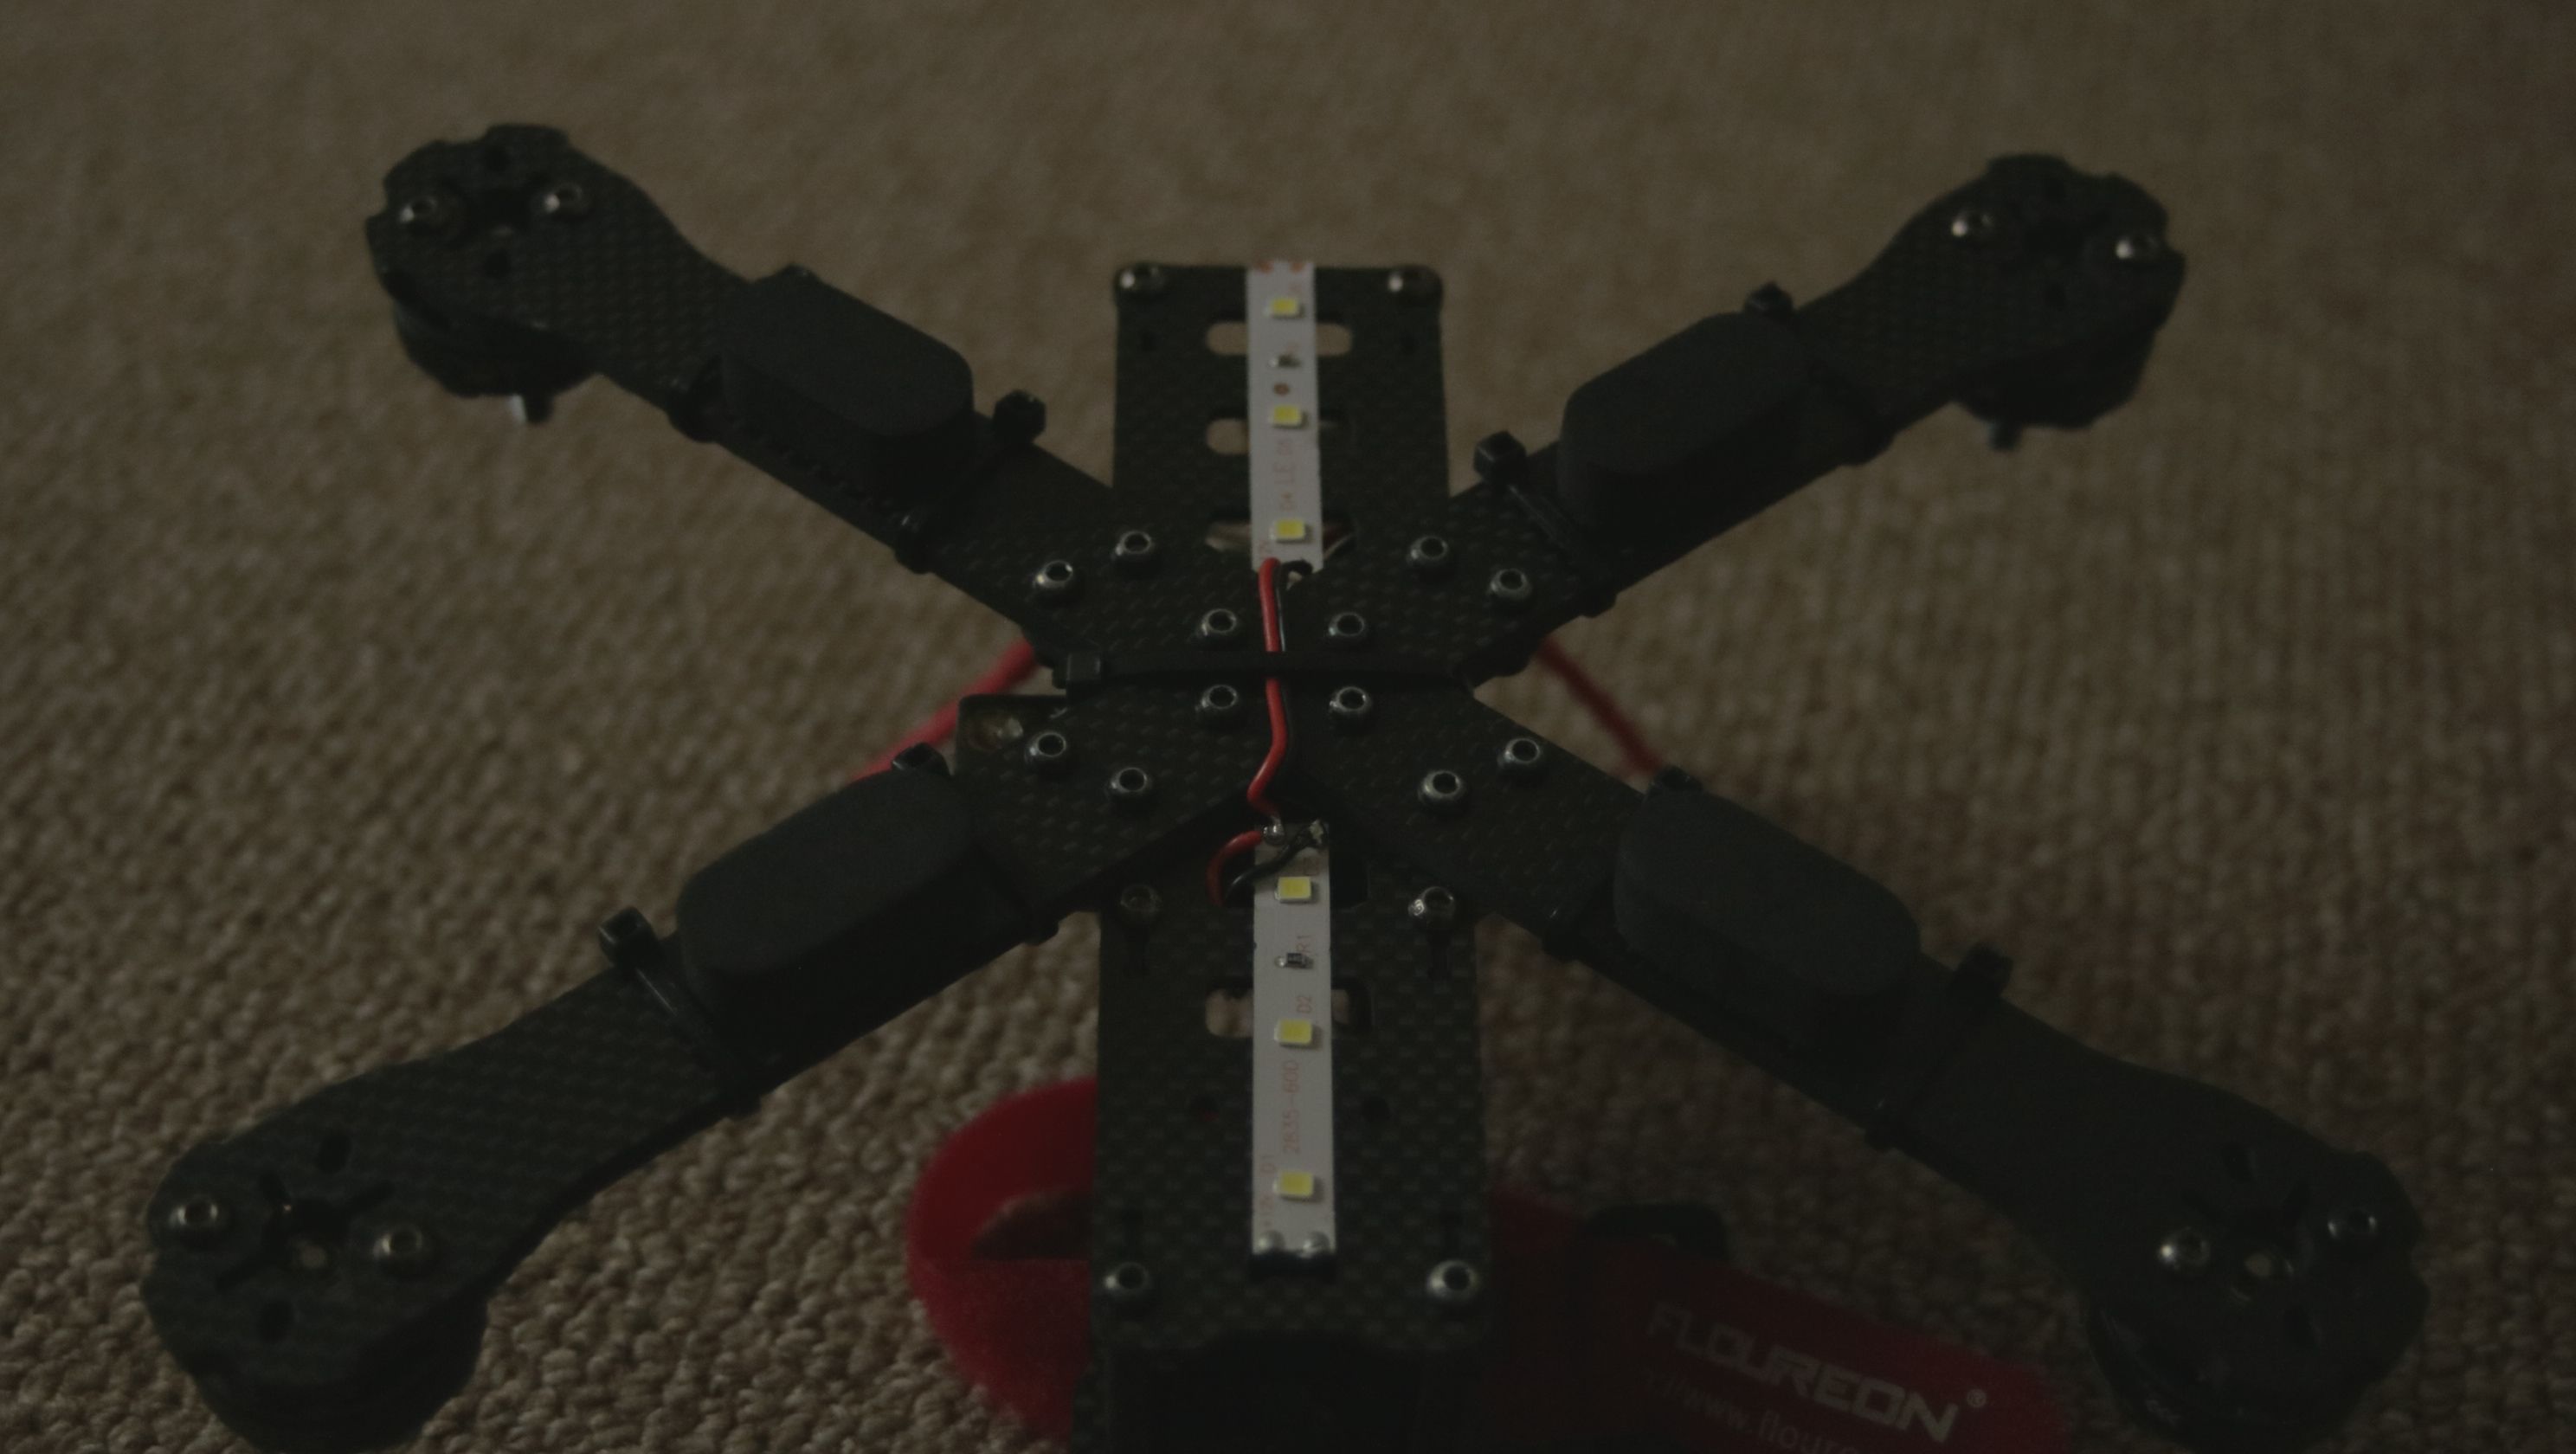
The landing feet make the light even more visible when landed, which is also a neat thing: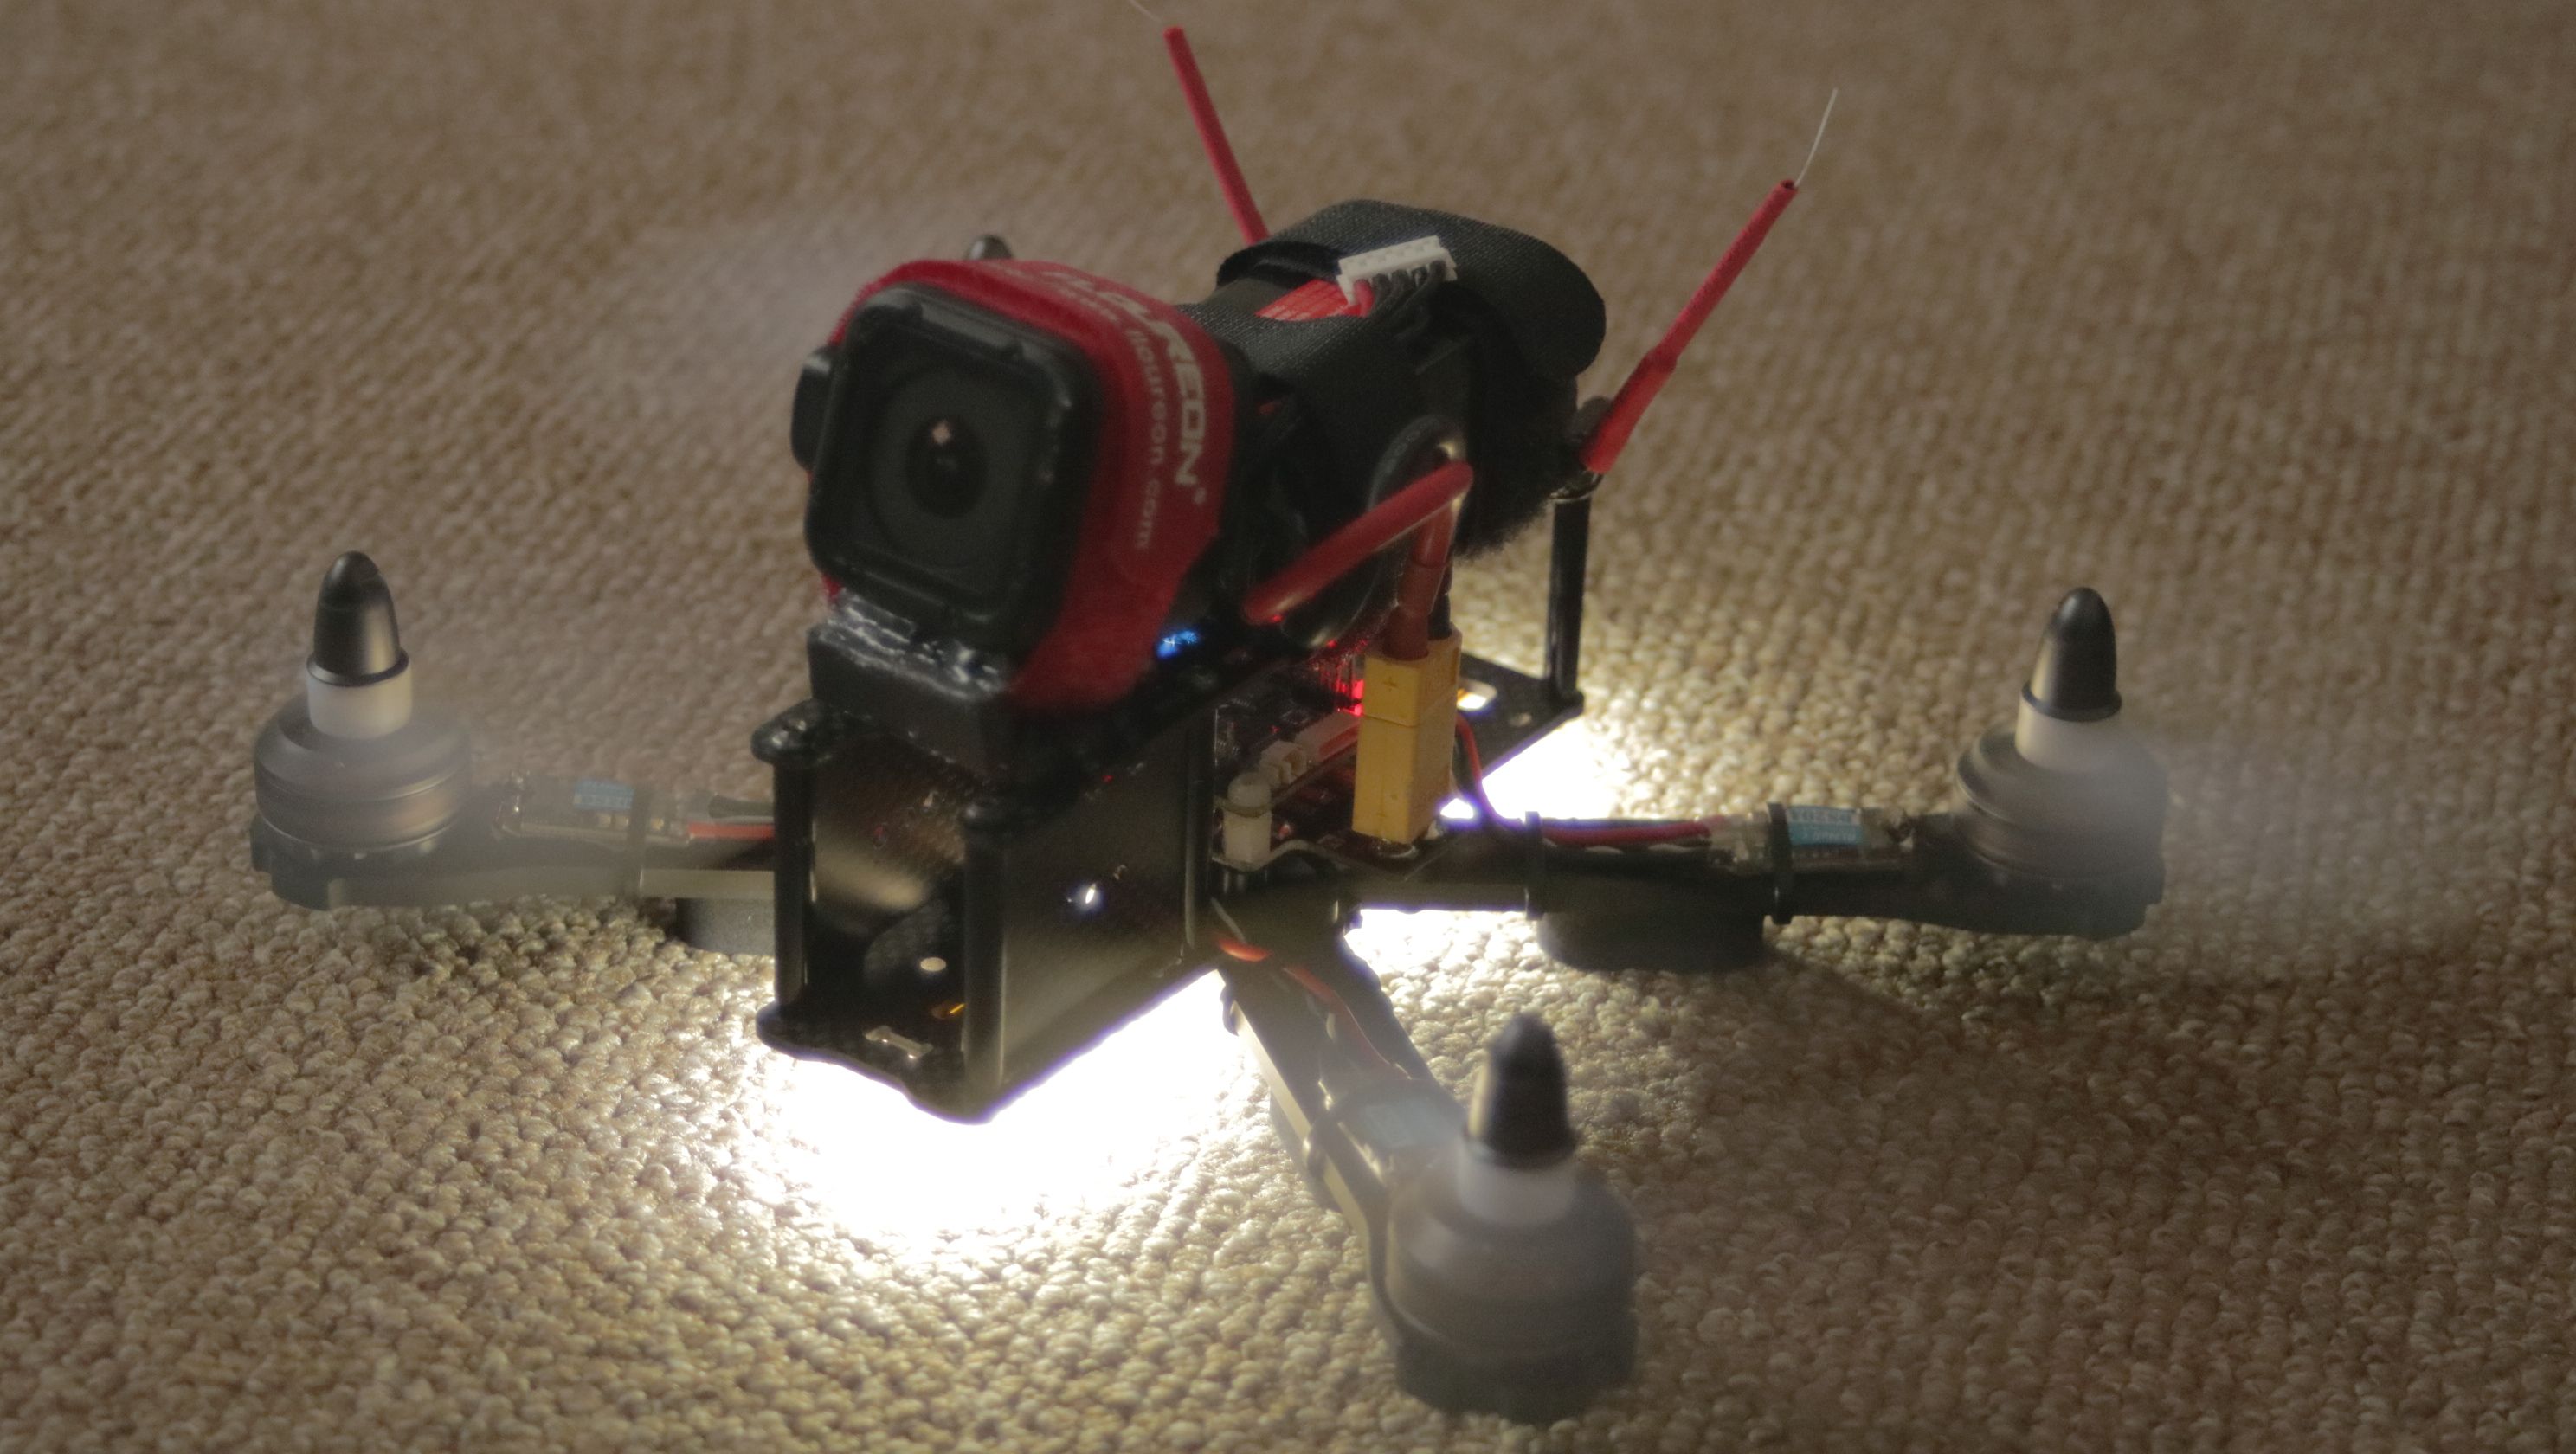
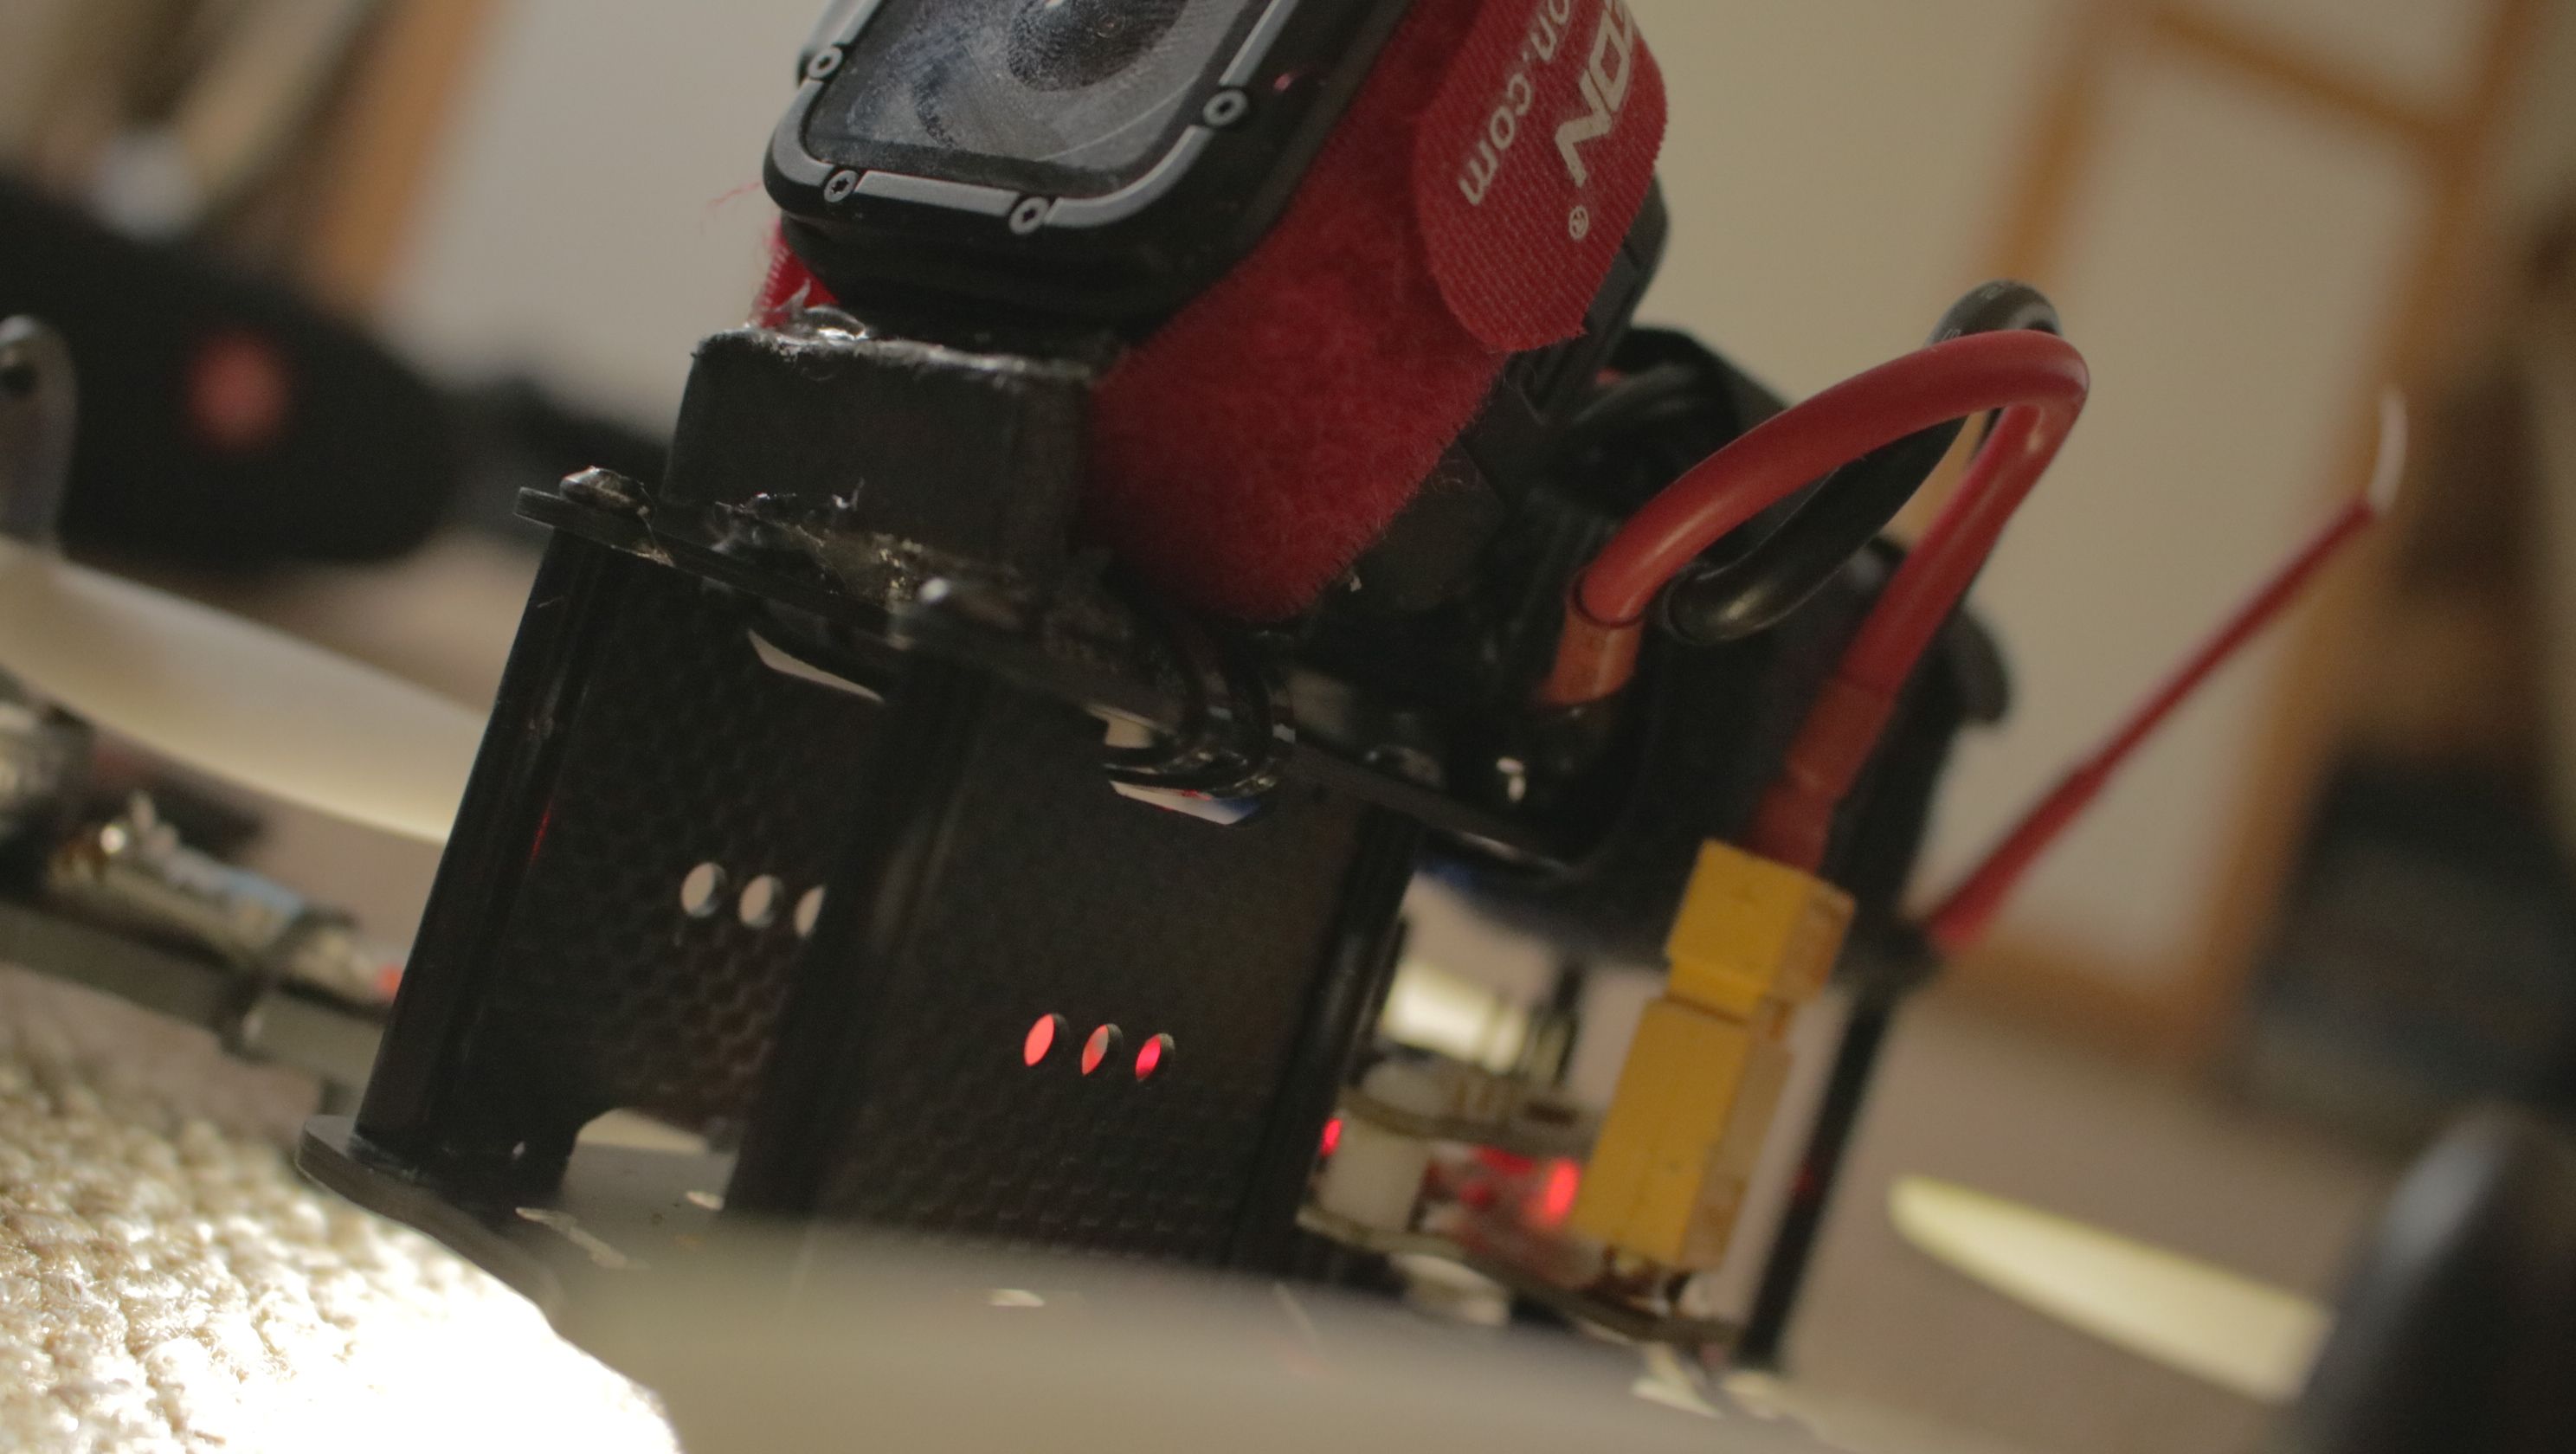
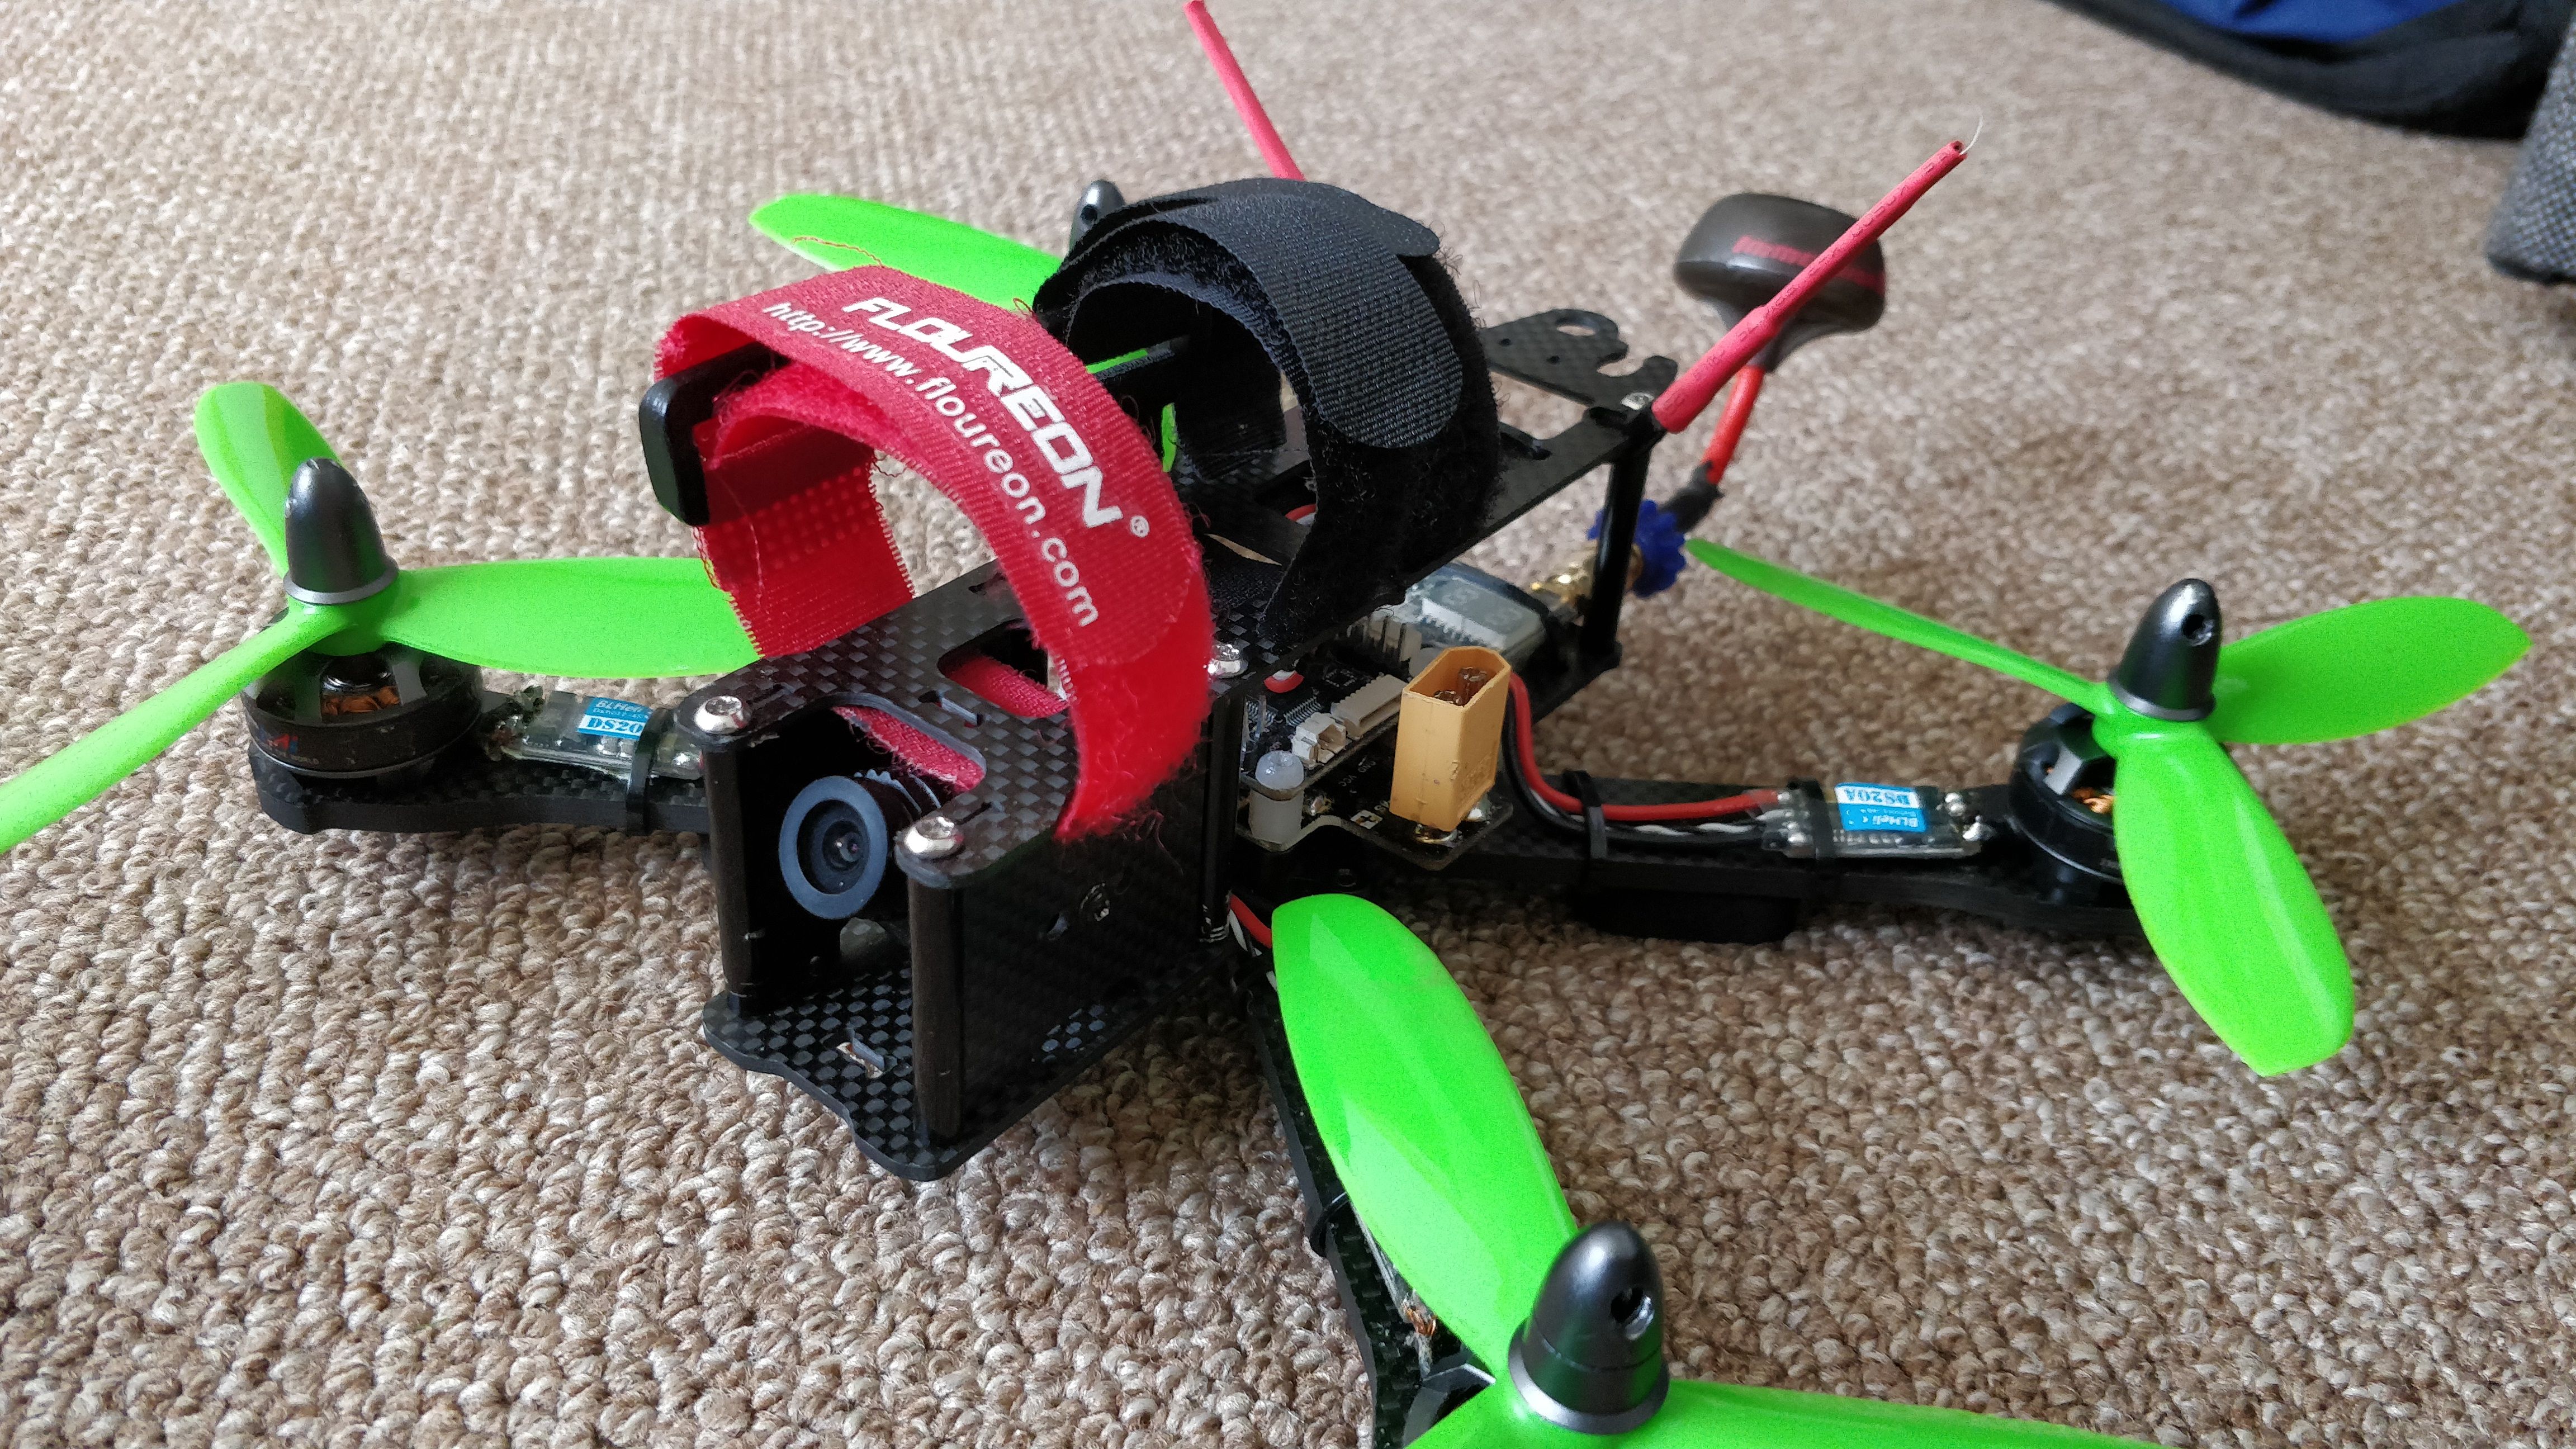
And I made a simple GoPro Mount out of some foamboard, mounted the foamboard on the frame with zip ties and the GoPro on the foamboard with a battery strap.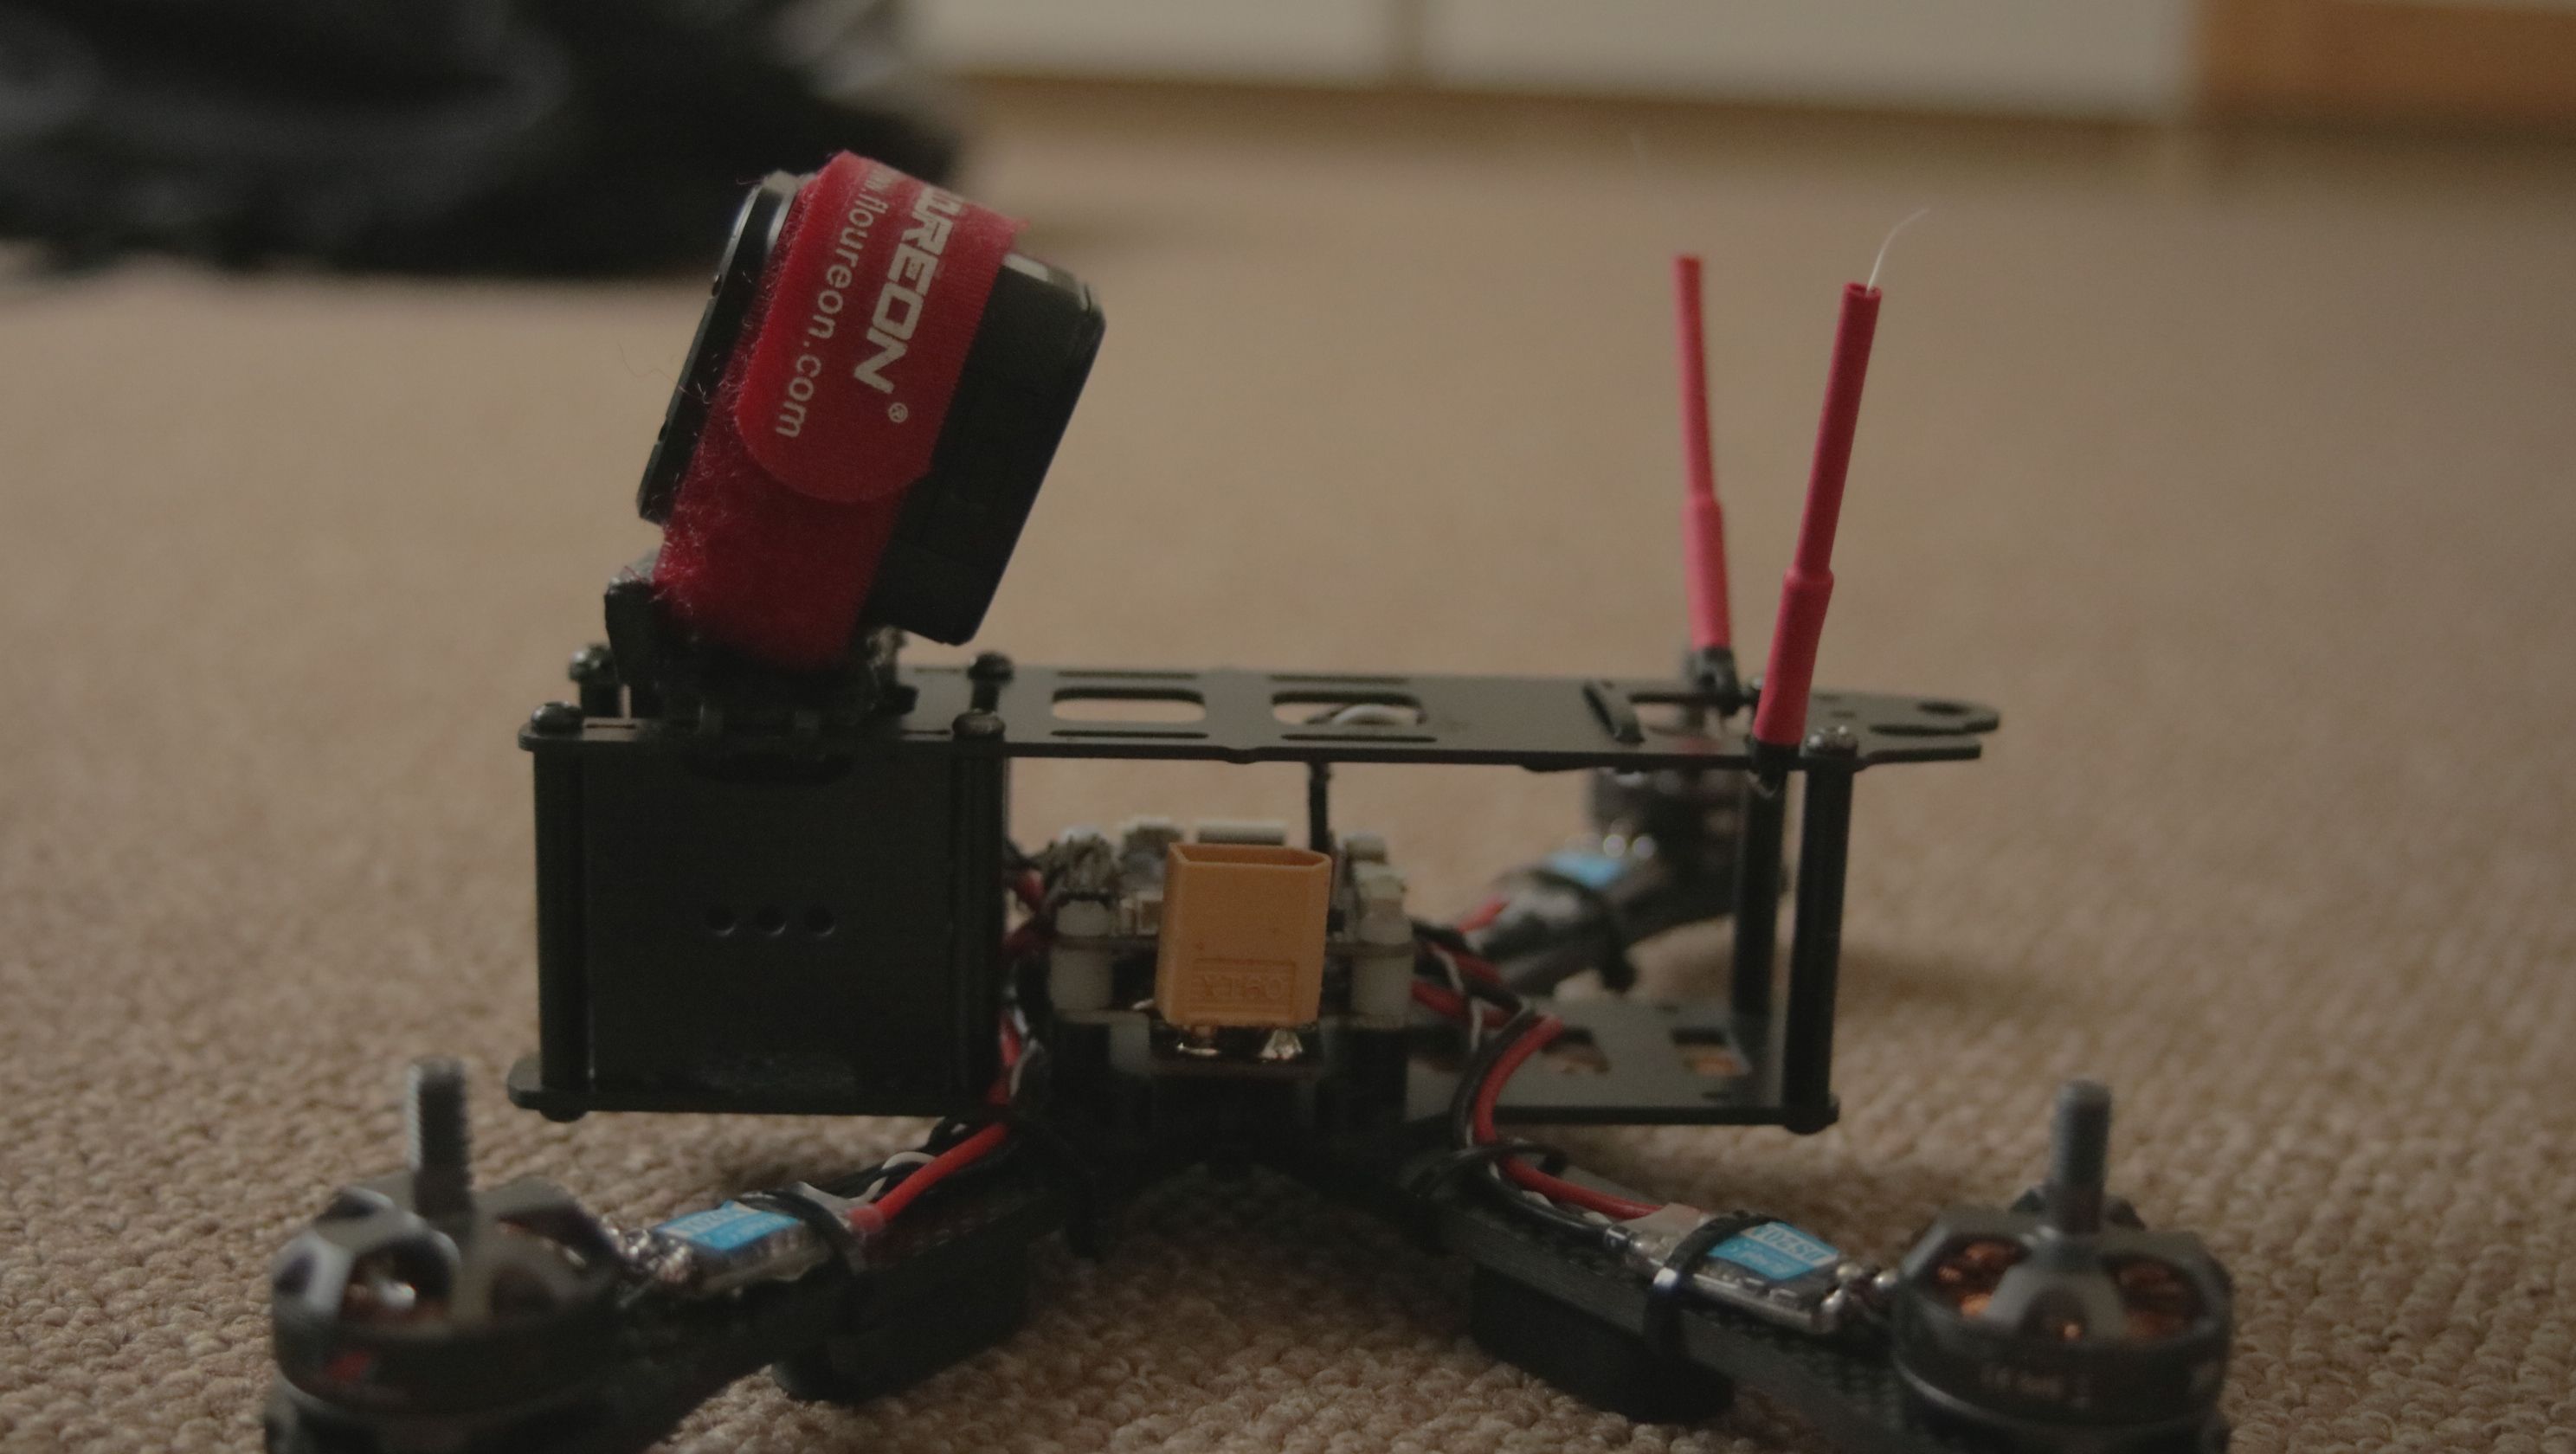
Setup
Now, basic Setup is pretty easy, but I wanted anti-turtle mode too so there's some more ESC magic going on.
To get it into the air you got to set up your receiver and calibrate ESCs, let's start with the receiver:
First of all, bind the receiver to your transmitter, this process varies by manufacturer, but for FrSky you just need to click the 'Bnd' button in the Setup menu of your TX, then power the RX (USB won't power it in this case, needs a LiPo) while pressing that button on the receiver. If you reboot both (without clicking anything) you should see a green LED light up on your Receiver.
Now for software (You need the Betaflight Configurator and the BLHeli Configurator.
Note: During the setup it's a good idea to test your ESC settings via the 'Motors' tab in Betaflight every now and then.
First let's jump into Betaflight, connect your FC via USB, connect Betaflight, go into the receiver tab, power your TX and then plug in a LiPo: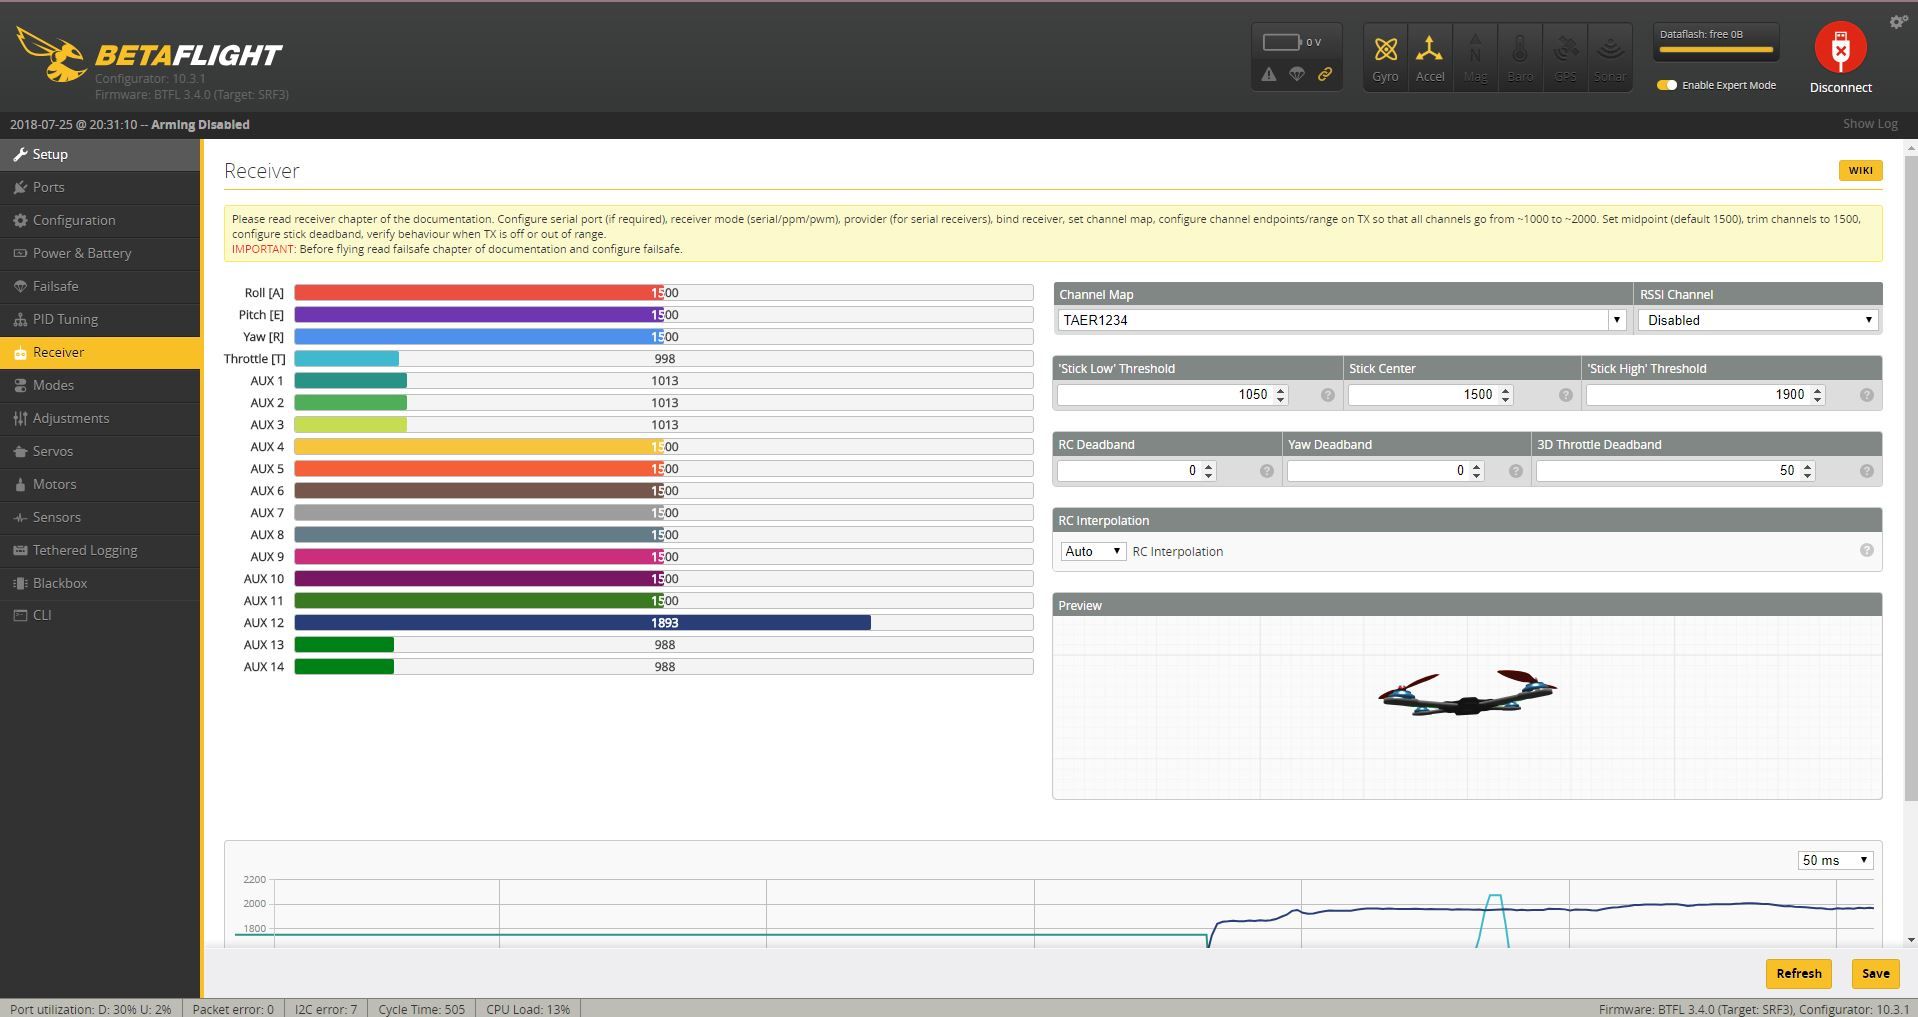
This is my receiver setup for a FrSky Taranis Q X7 on the XM+ receiver listed below. A few aux channels are switches, aux 12 is my RSSI channel.
You can try out your current setup in the corner. Once that works properly it's time to calibrate ESCs:
NO first it's time for some warnings:
TAKE OFF YOUR DAMN PROPS, i mean it
TAKE OFF YOUR DAMN PROP NUTS, those will fly off with over 9000mph if the motor spins the wrong direction, which it most likely will do.
Oh and yes I did find the prop nut thing out the hard way....
Moving on, first disconnect Betaflight then go into the BLHeli Config, connect that and 'Read Setup':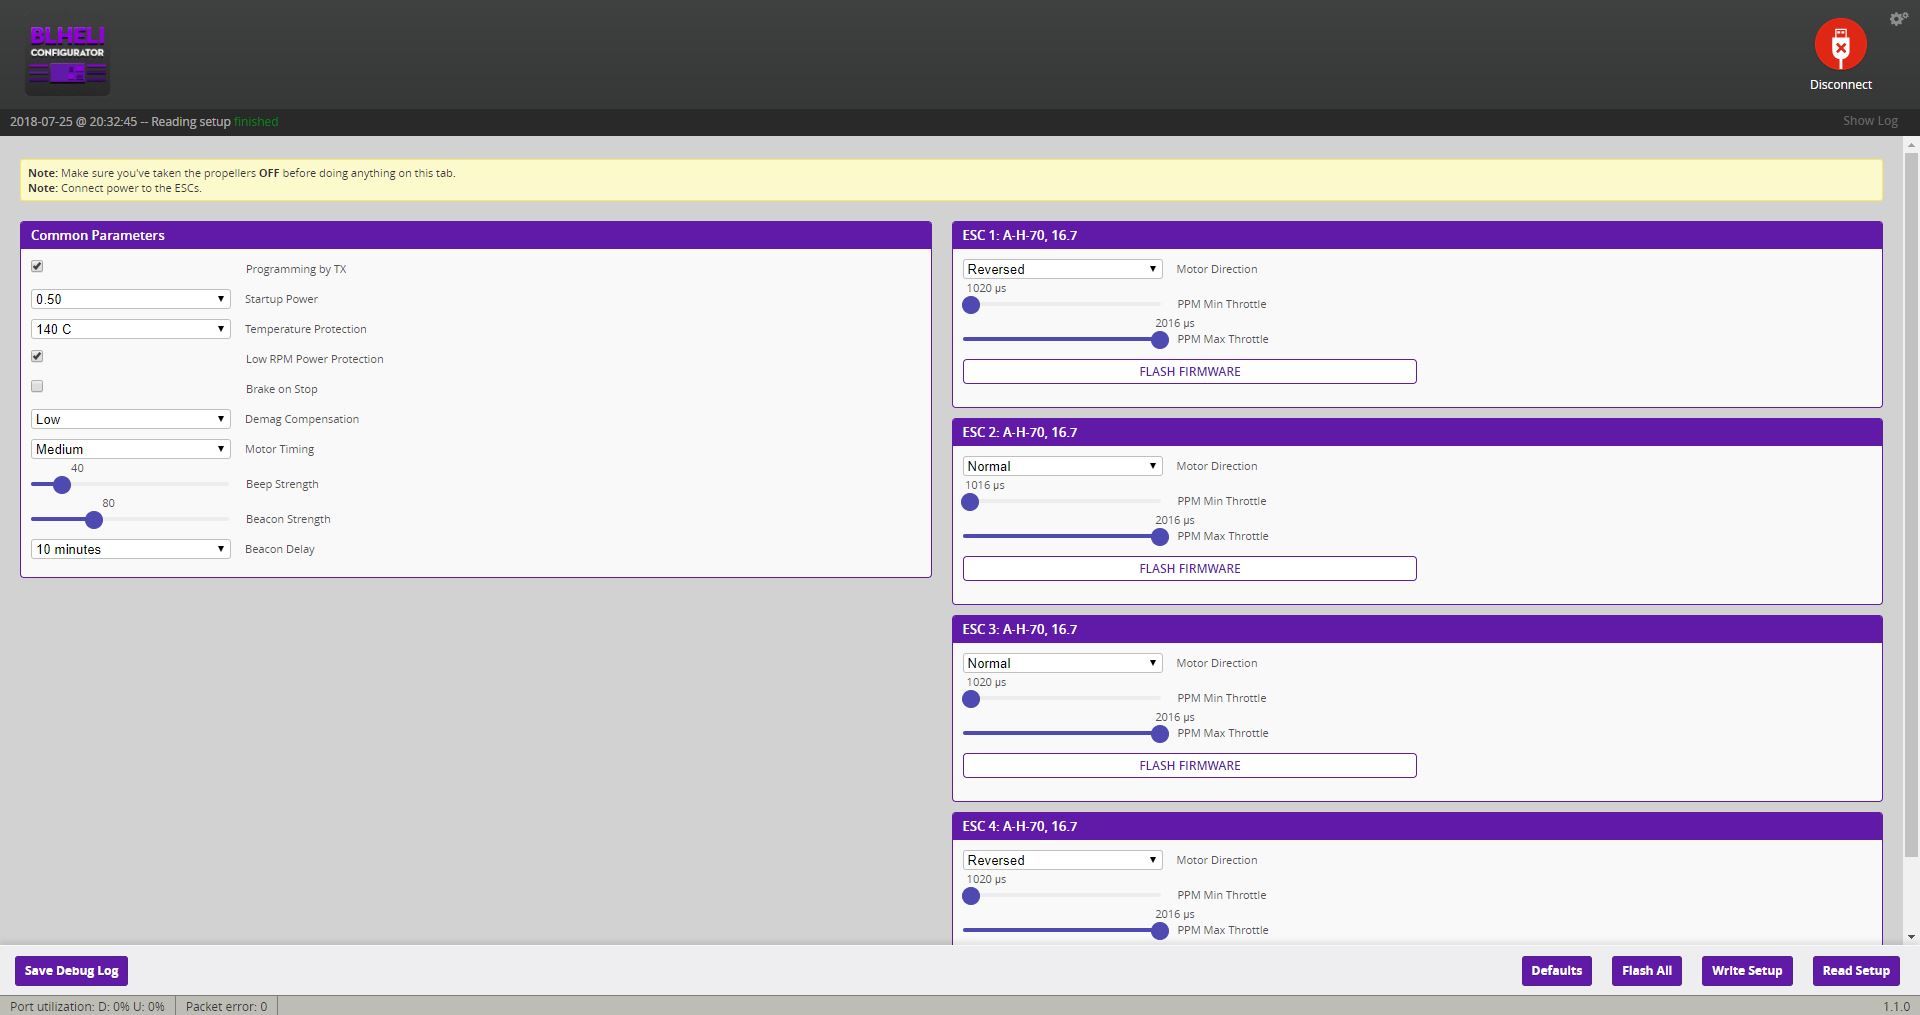
If you want anti-turtle you probably need to flash a newer Firmware: Click 'Flash All', don't change the first field, but select version 16.7 or above (newest version is probably a good idea):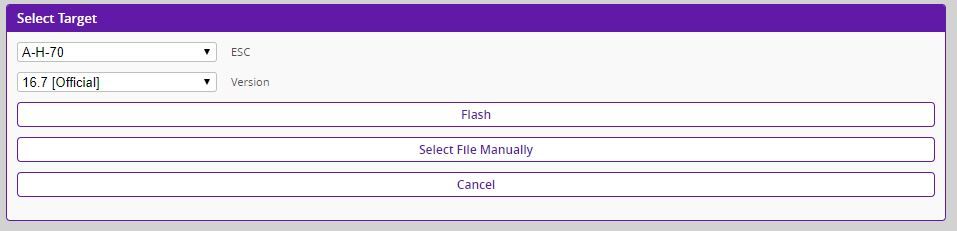
Give it a good Flash.
Once that's done, you need to set ESC 1 and ESC 4 to 'Reversed' even if you don't need anti-turtle-ing.
Well, disconnect BLHeli Config, you probably won't need it anymore.
Now you can set up your switches under 'Modes' in Betaflight and you're hopefully ready for a first flight.
You can find anti-turtle mode as 'Flip over after crash' under 'Modes' too.
FPV
Alrighty! Today the FPV Gear arrived, neat. Let's get building:
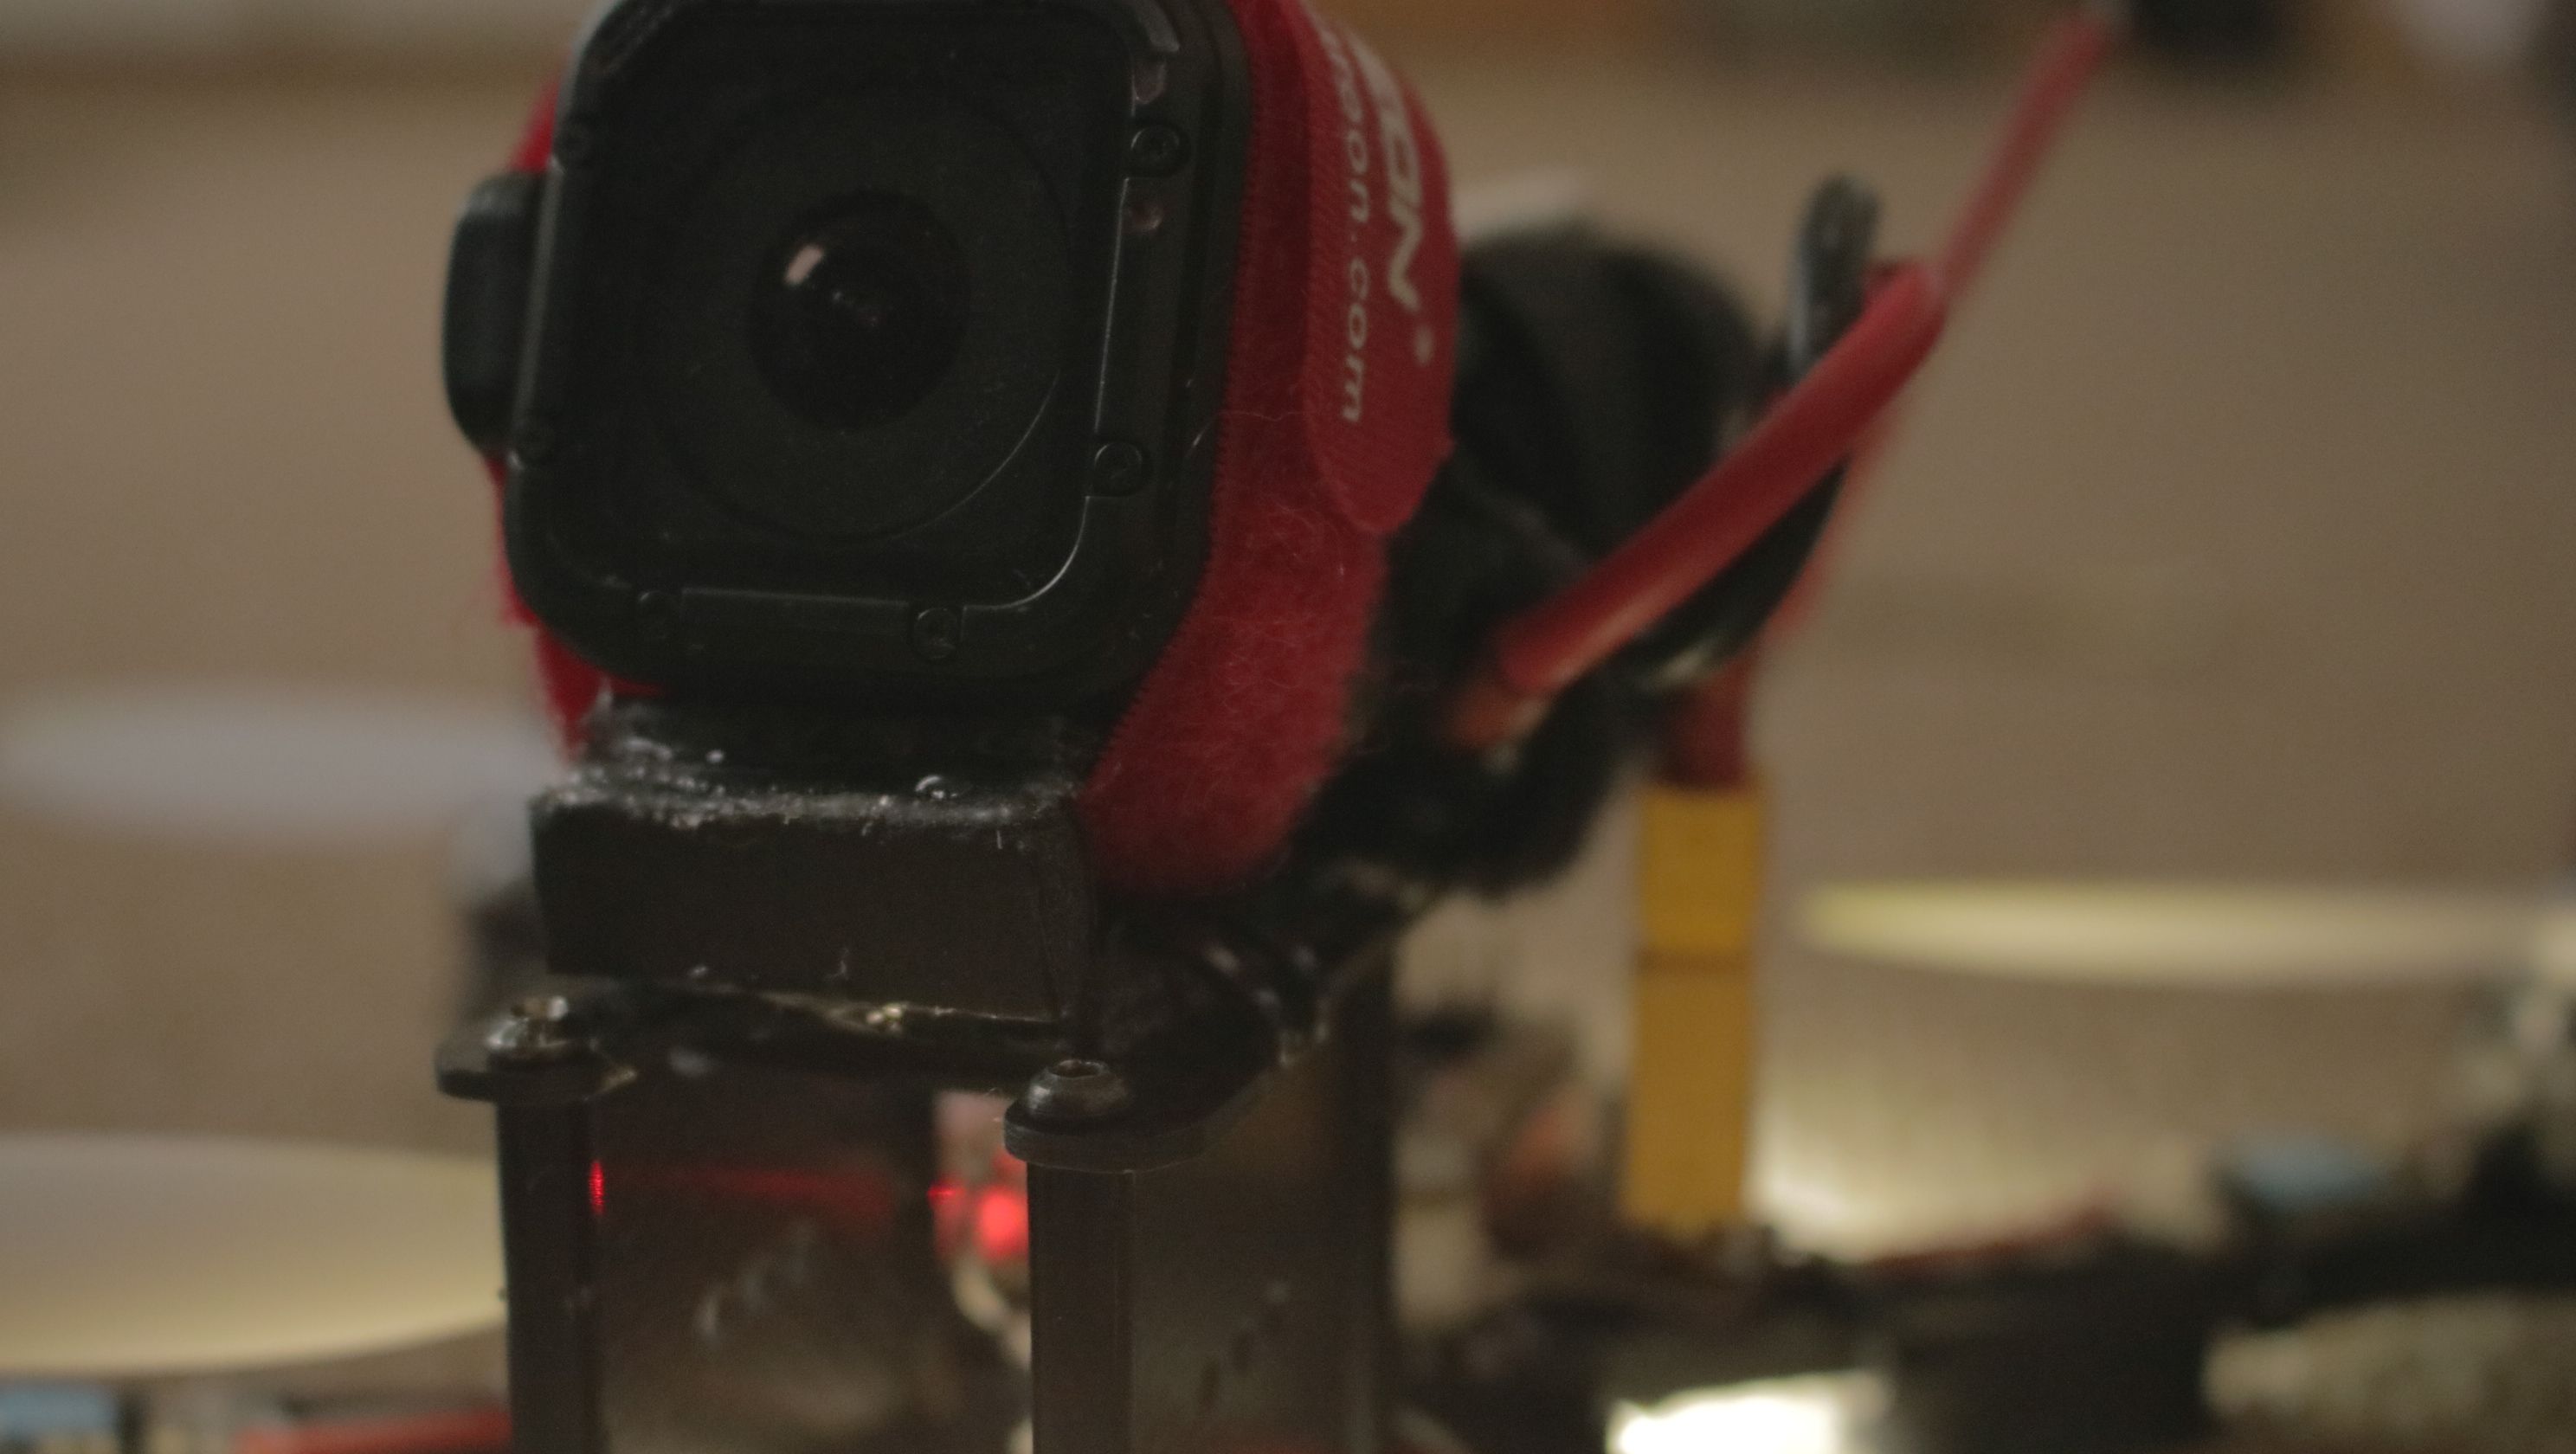
First of all it's important to know which components need which voltage. My VTX is 5-20V so you can directly solder it to the LiPo (IF YOU'RE NOT GOING >4S) but since my PDB has a 12V regulator I used for 2 reasons: The nominal voltage is 12V and the regulator probably has less electrical noise from the motors.
The cam is 5-12V so you could choose either regulator on the PDB, but I noticed this weird "CAM_VOUT" on the VTX which I measured: 5V. Alright, so the VTX has a 5V regulator on board too? Well I just used that so the Cam wouldn't need any connections anywhere but the VTX.
First of all I mounted the VTX in the back with a Zip Tie.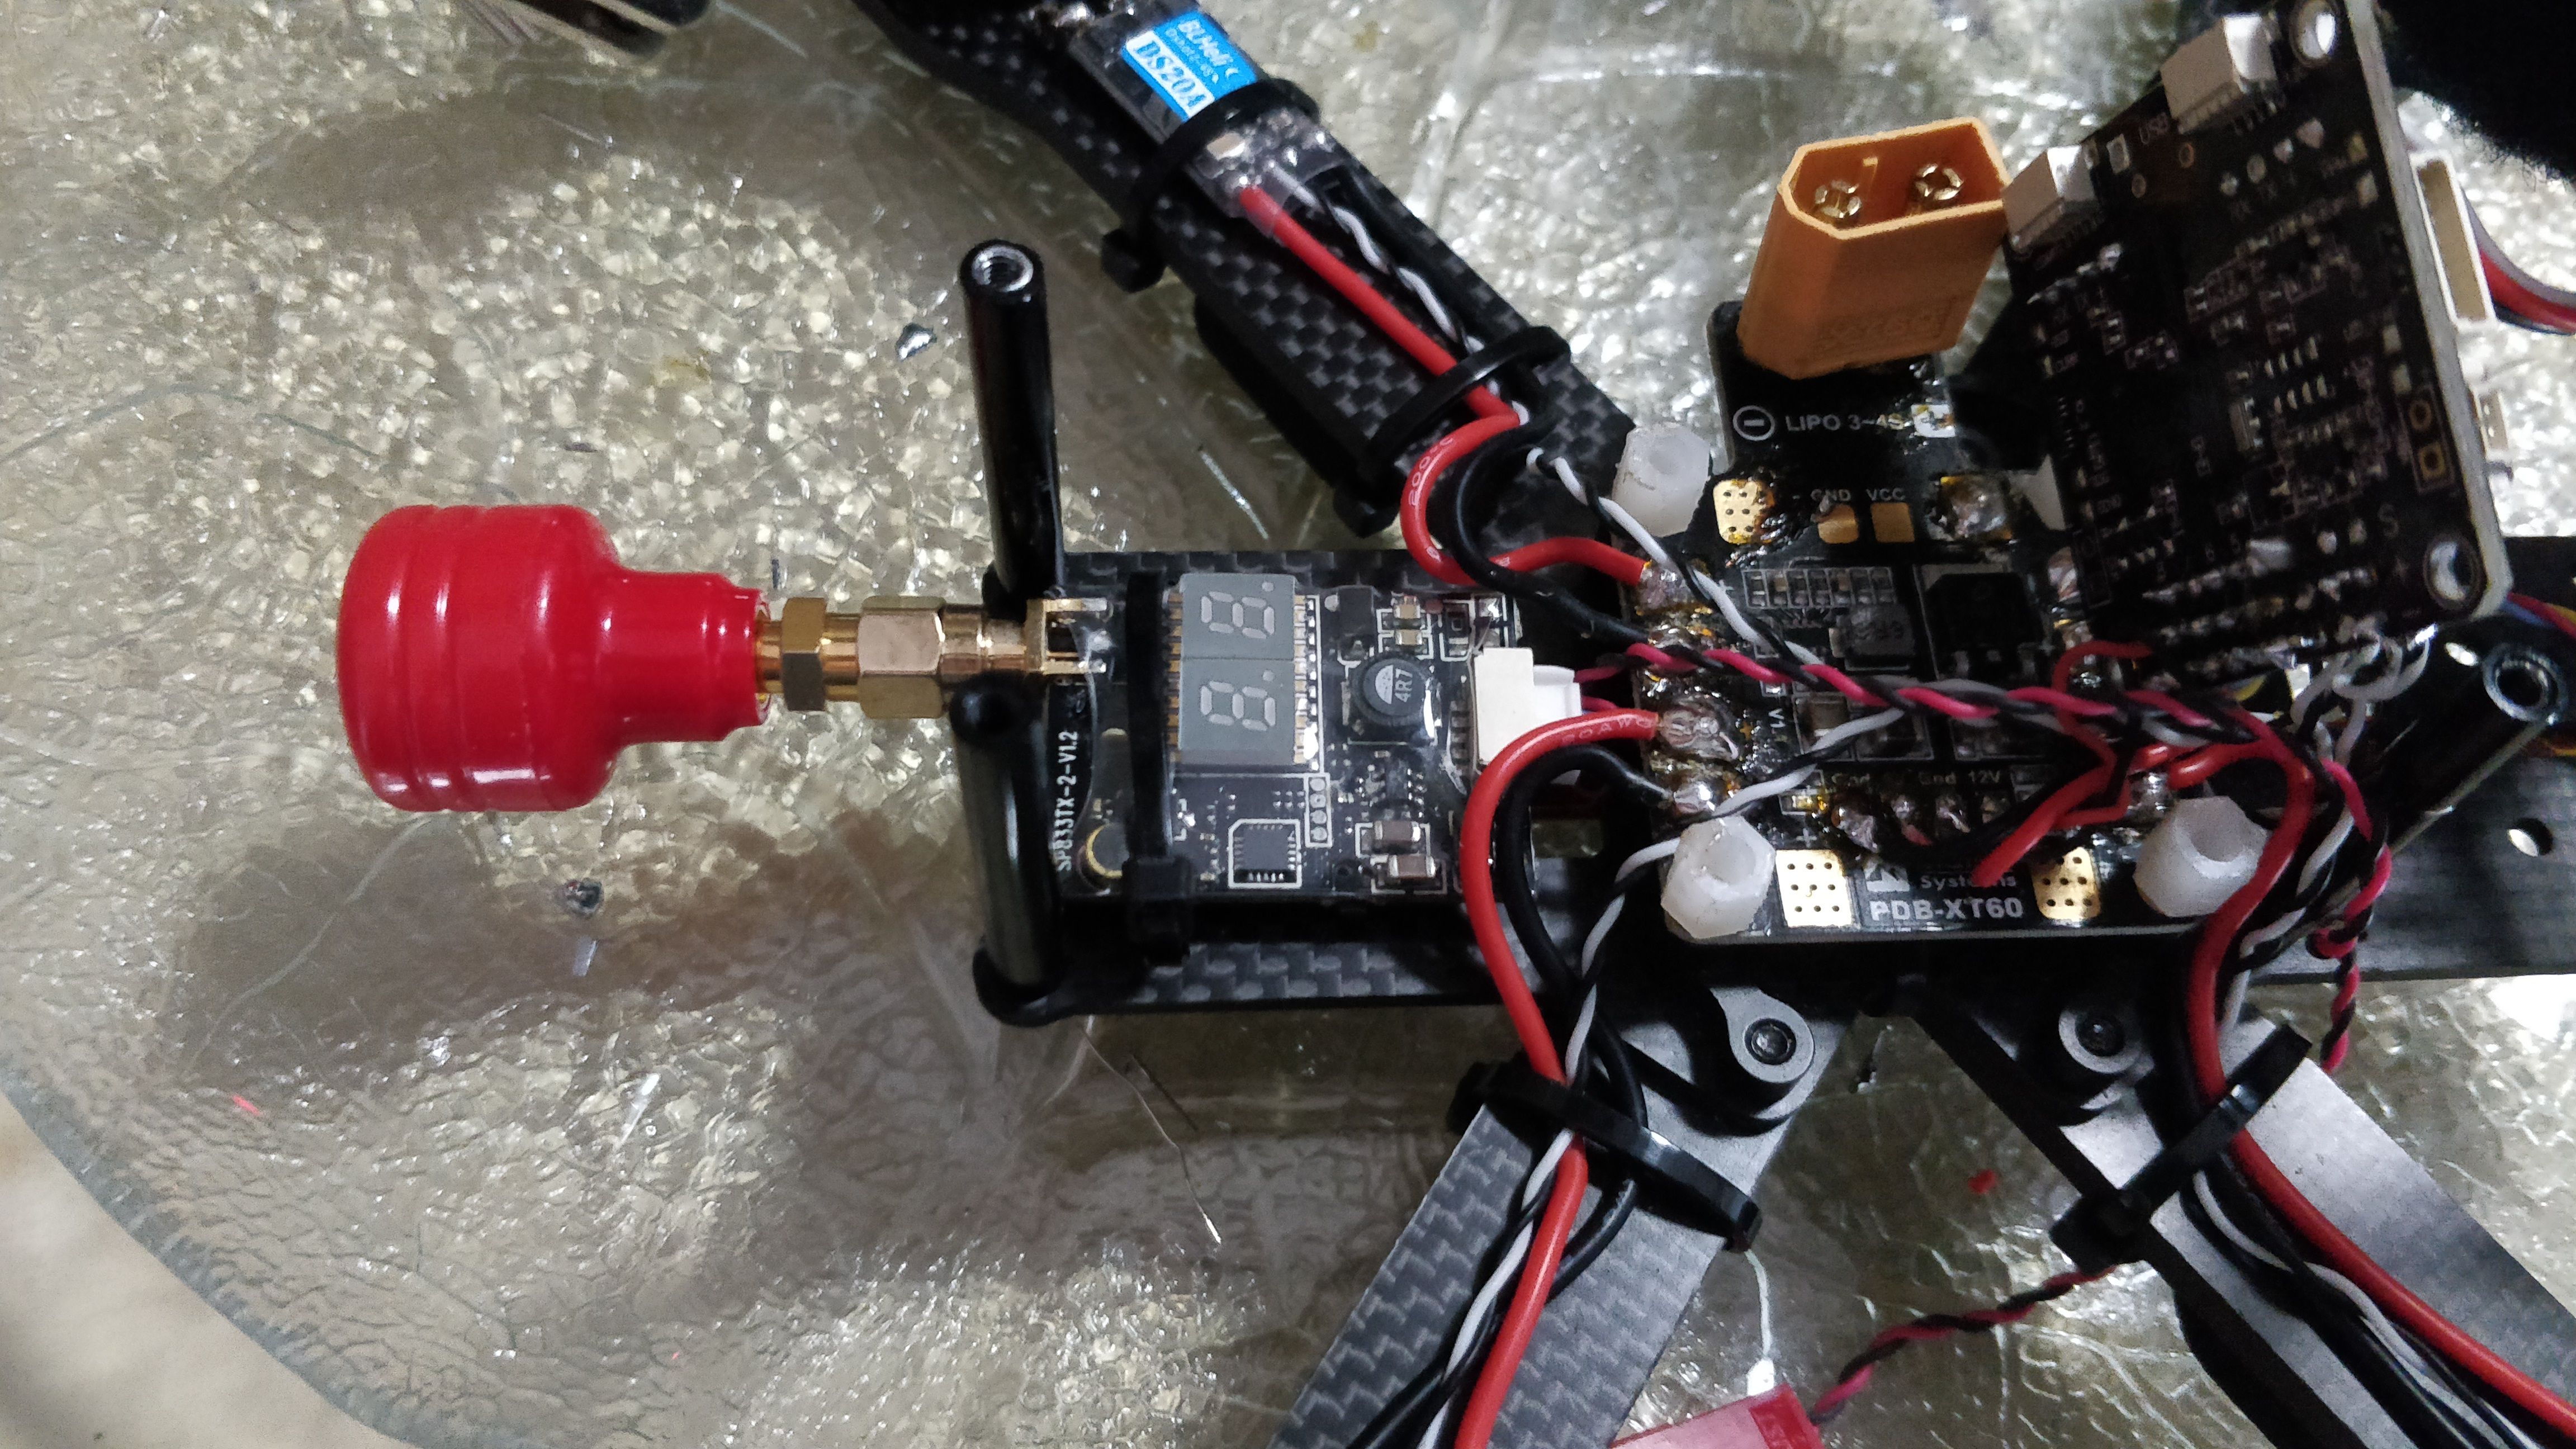
I routed the Cam wires under the PDB and the power wires for the VTX onto the 12V pad on top of the PDB.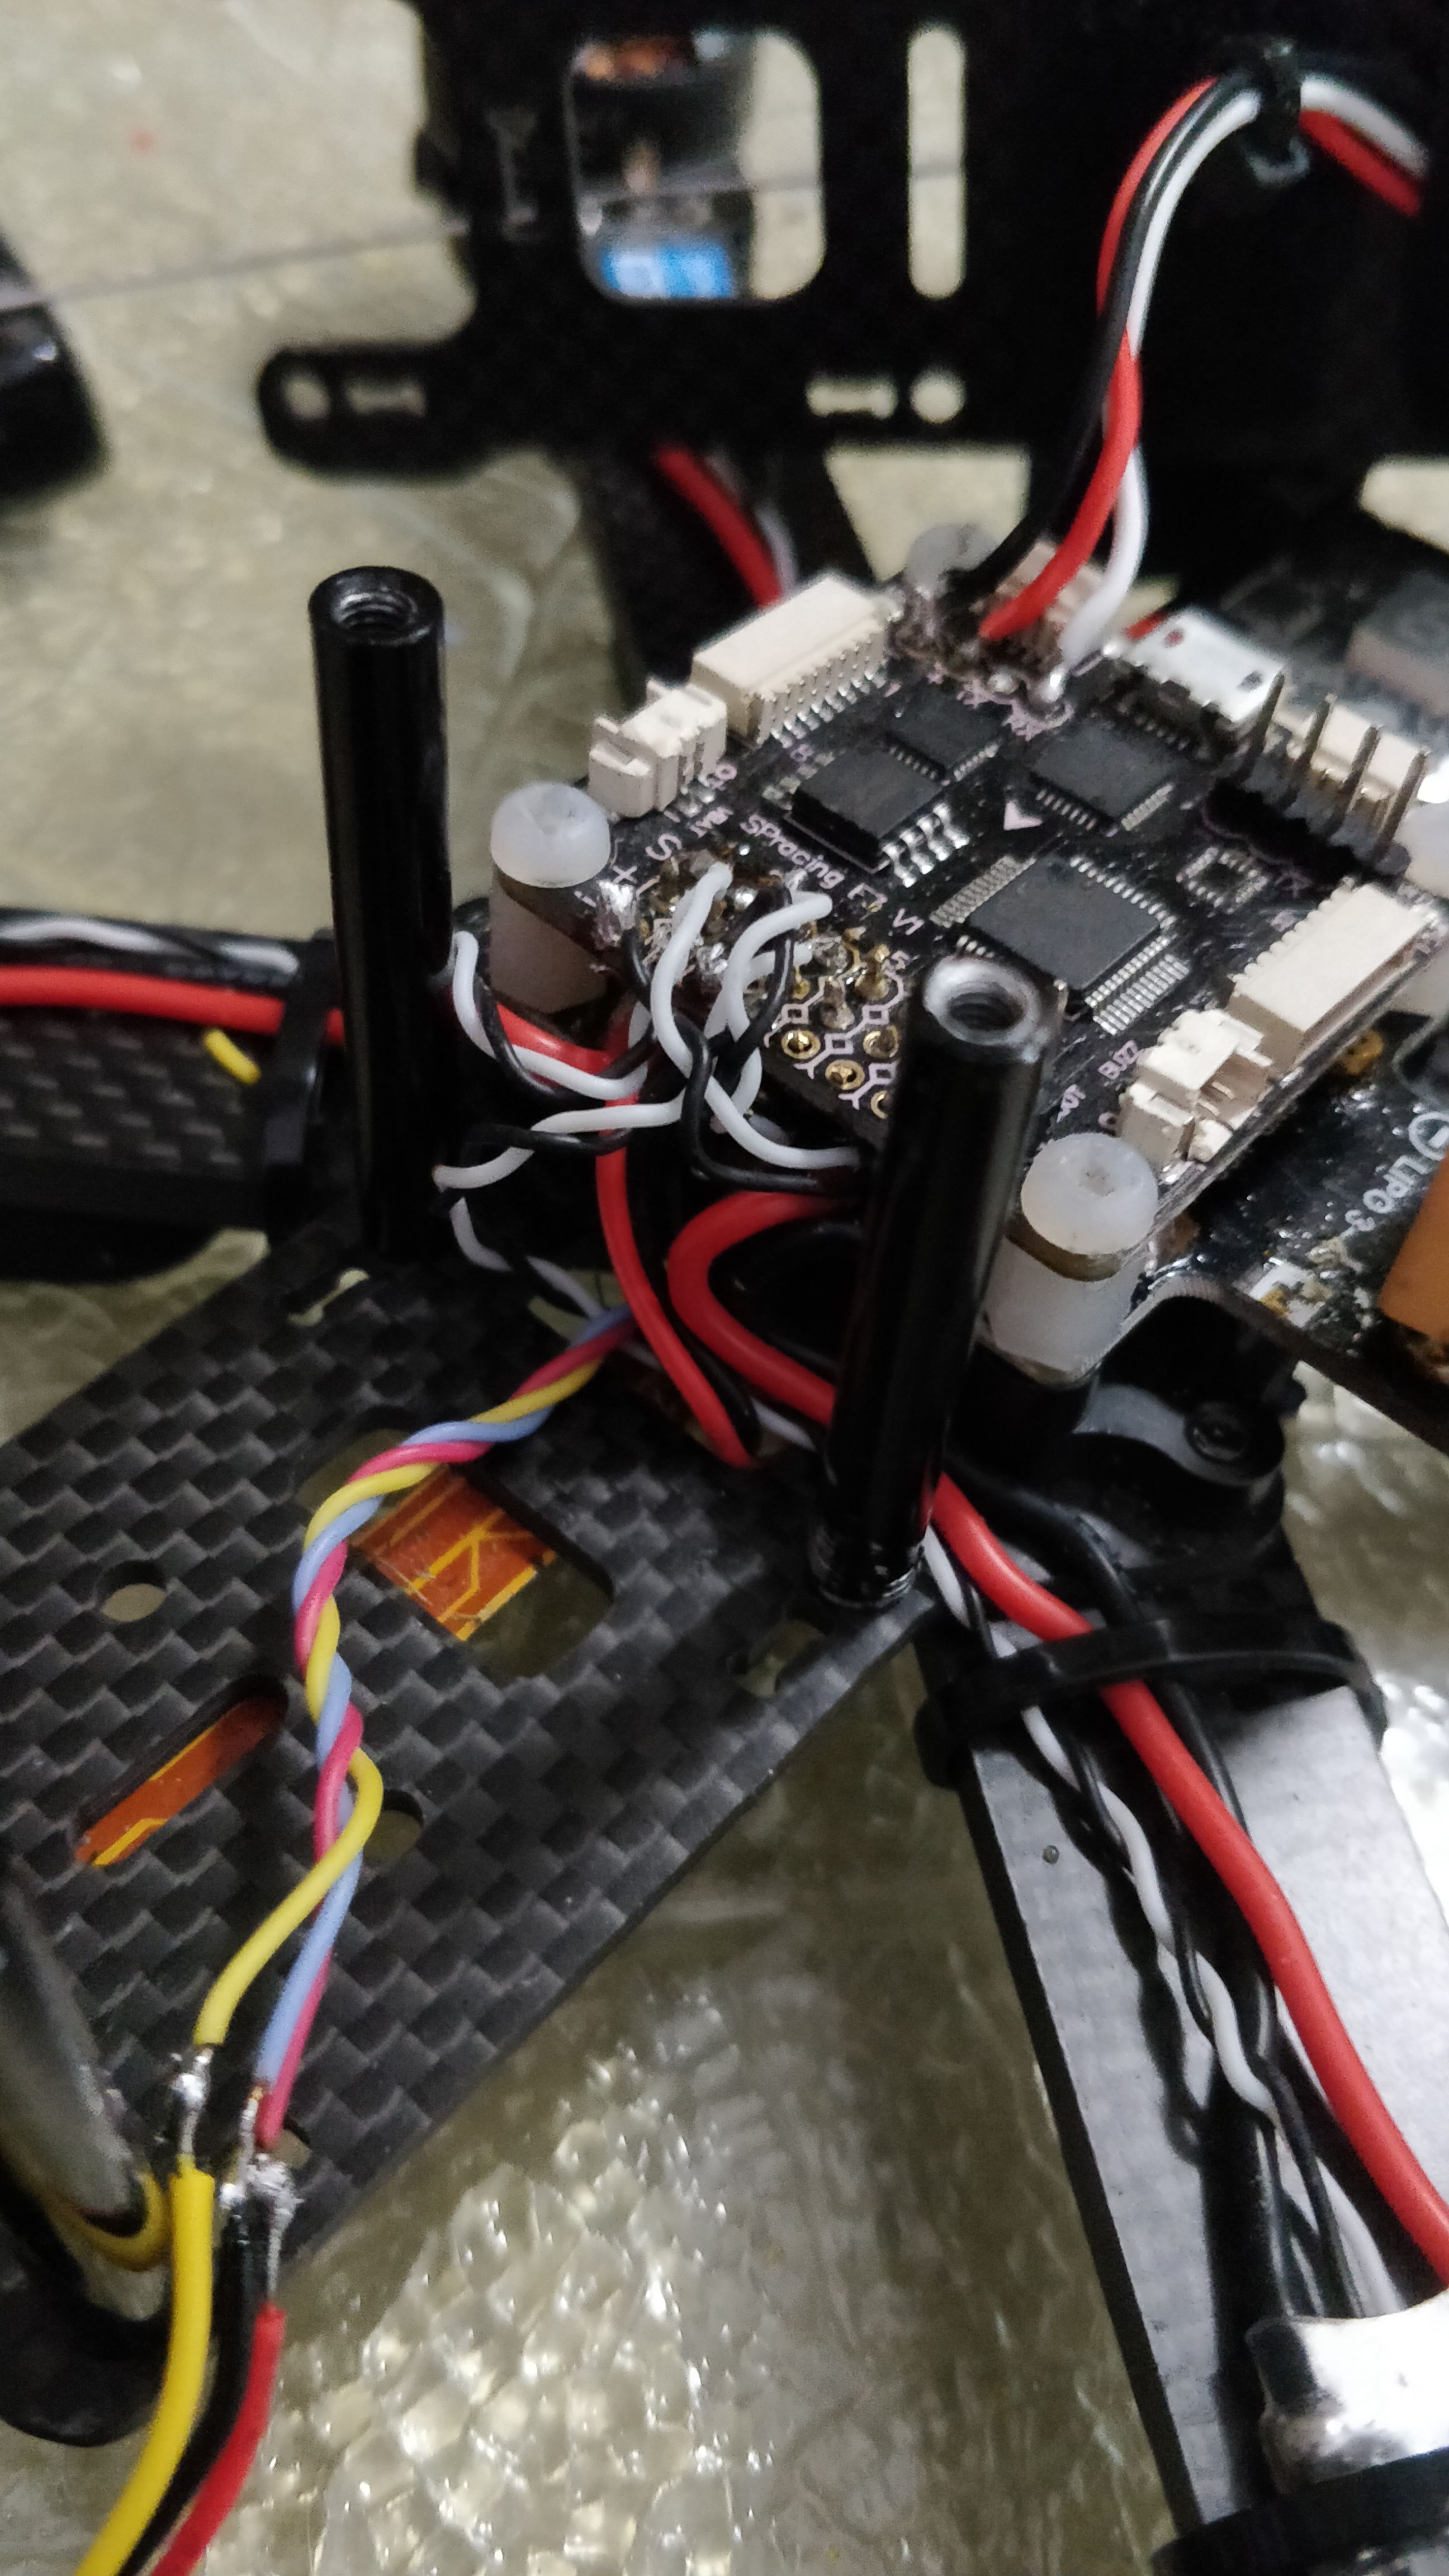
After a small check and setting the correct channel it seemed pretty good.
Well then I noticed that the Cam wire is actually pretty long. So I cut it.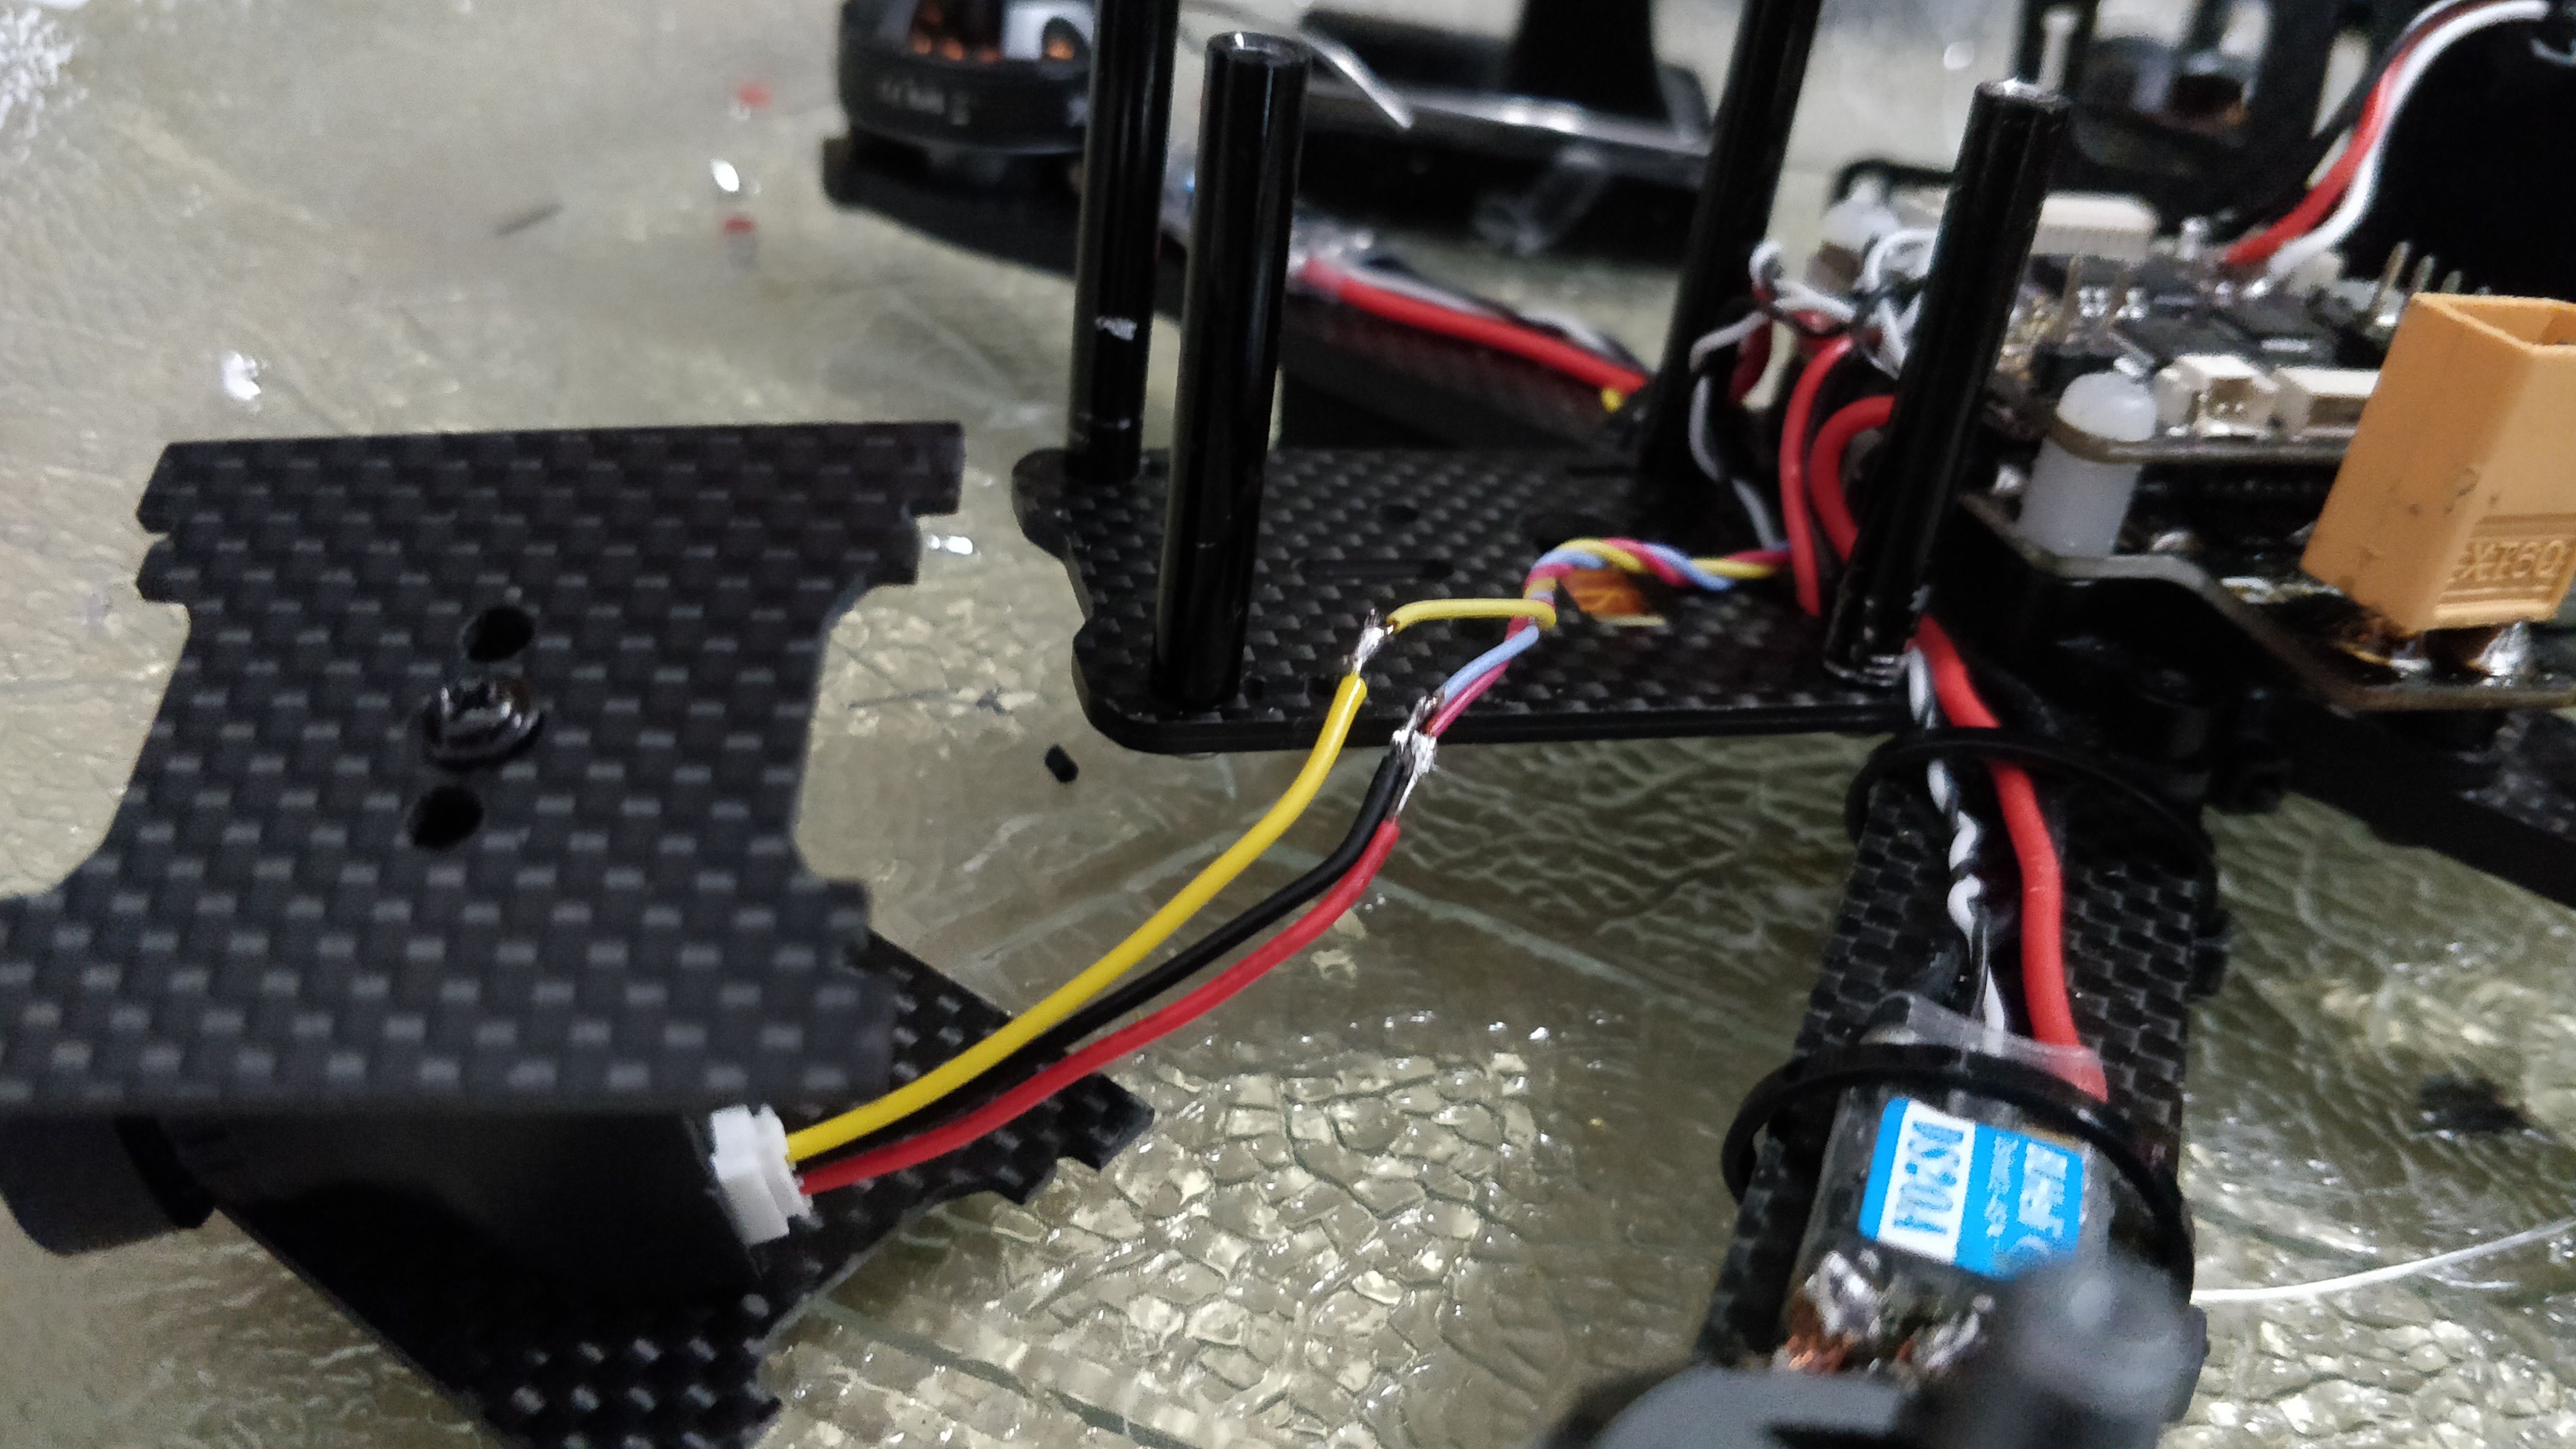
And.... I'm out of electrical tape and have no shrink tube small enough for these wires :/
Alright, time to improvise. I used a tiny bit of Perfboard so the wires wouldn't touch.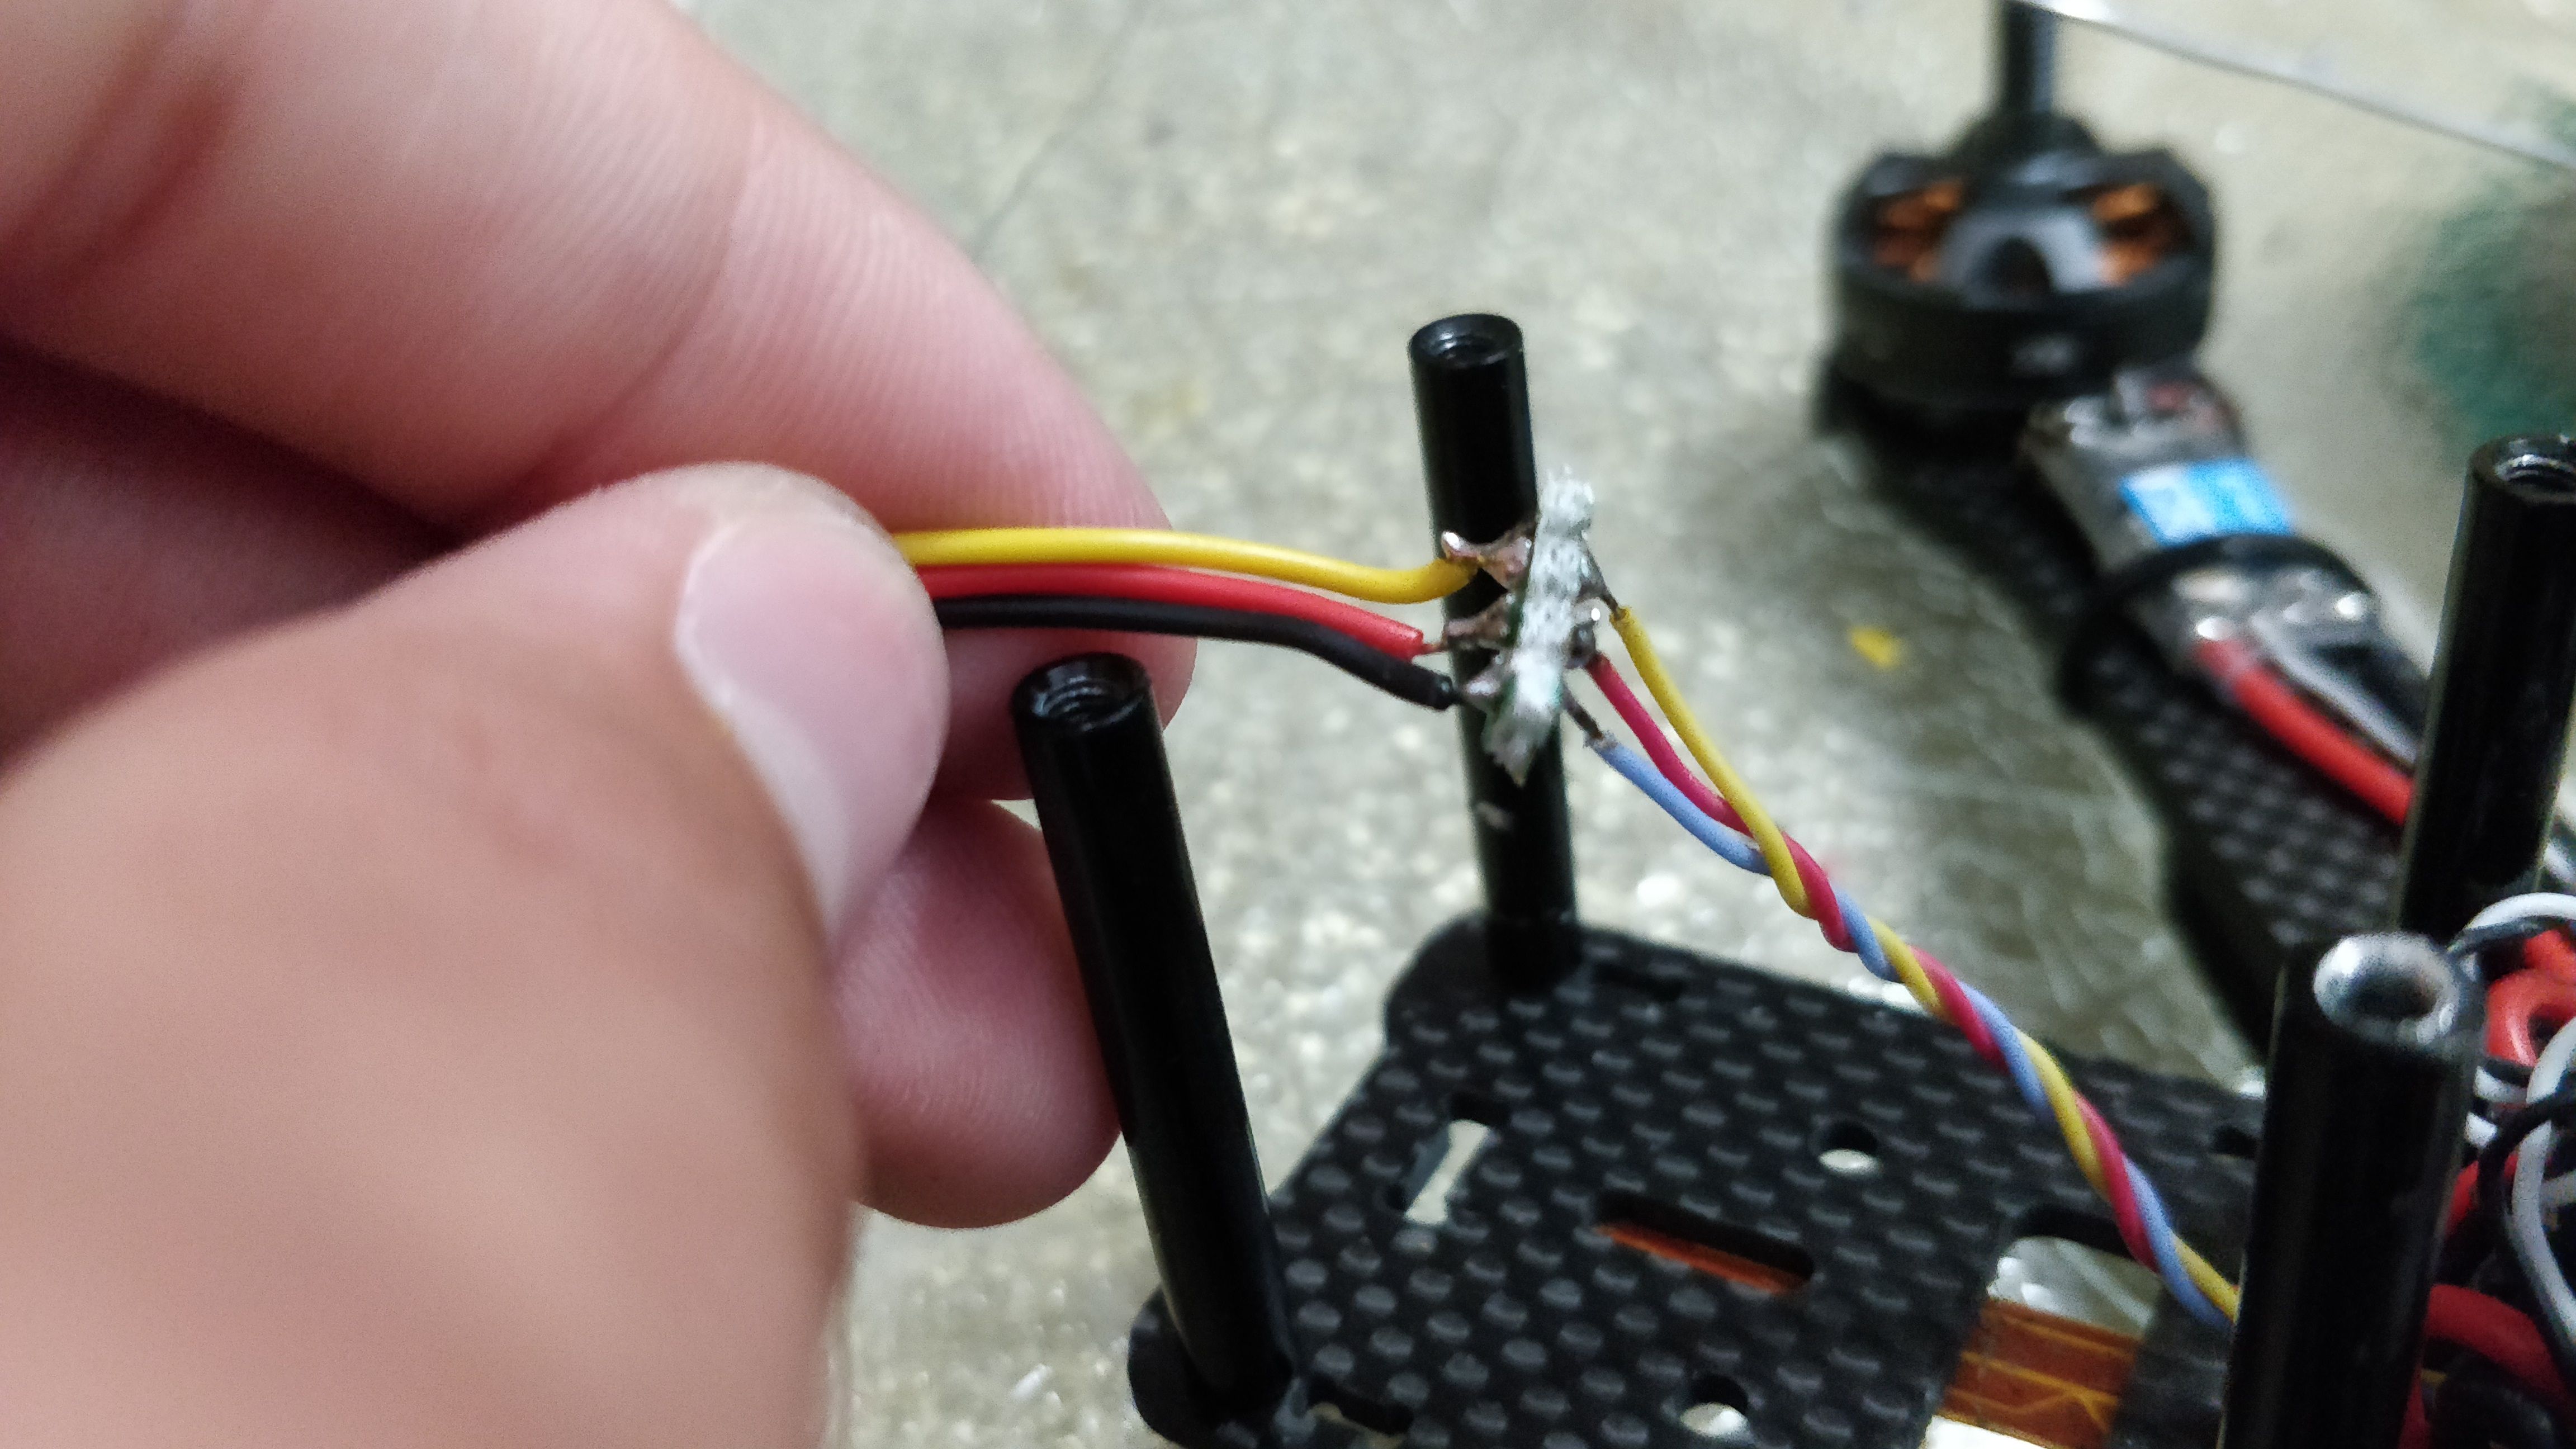
Then put some big shrink tube around that so it wouldn't short through the carbon.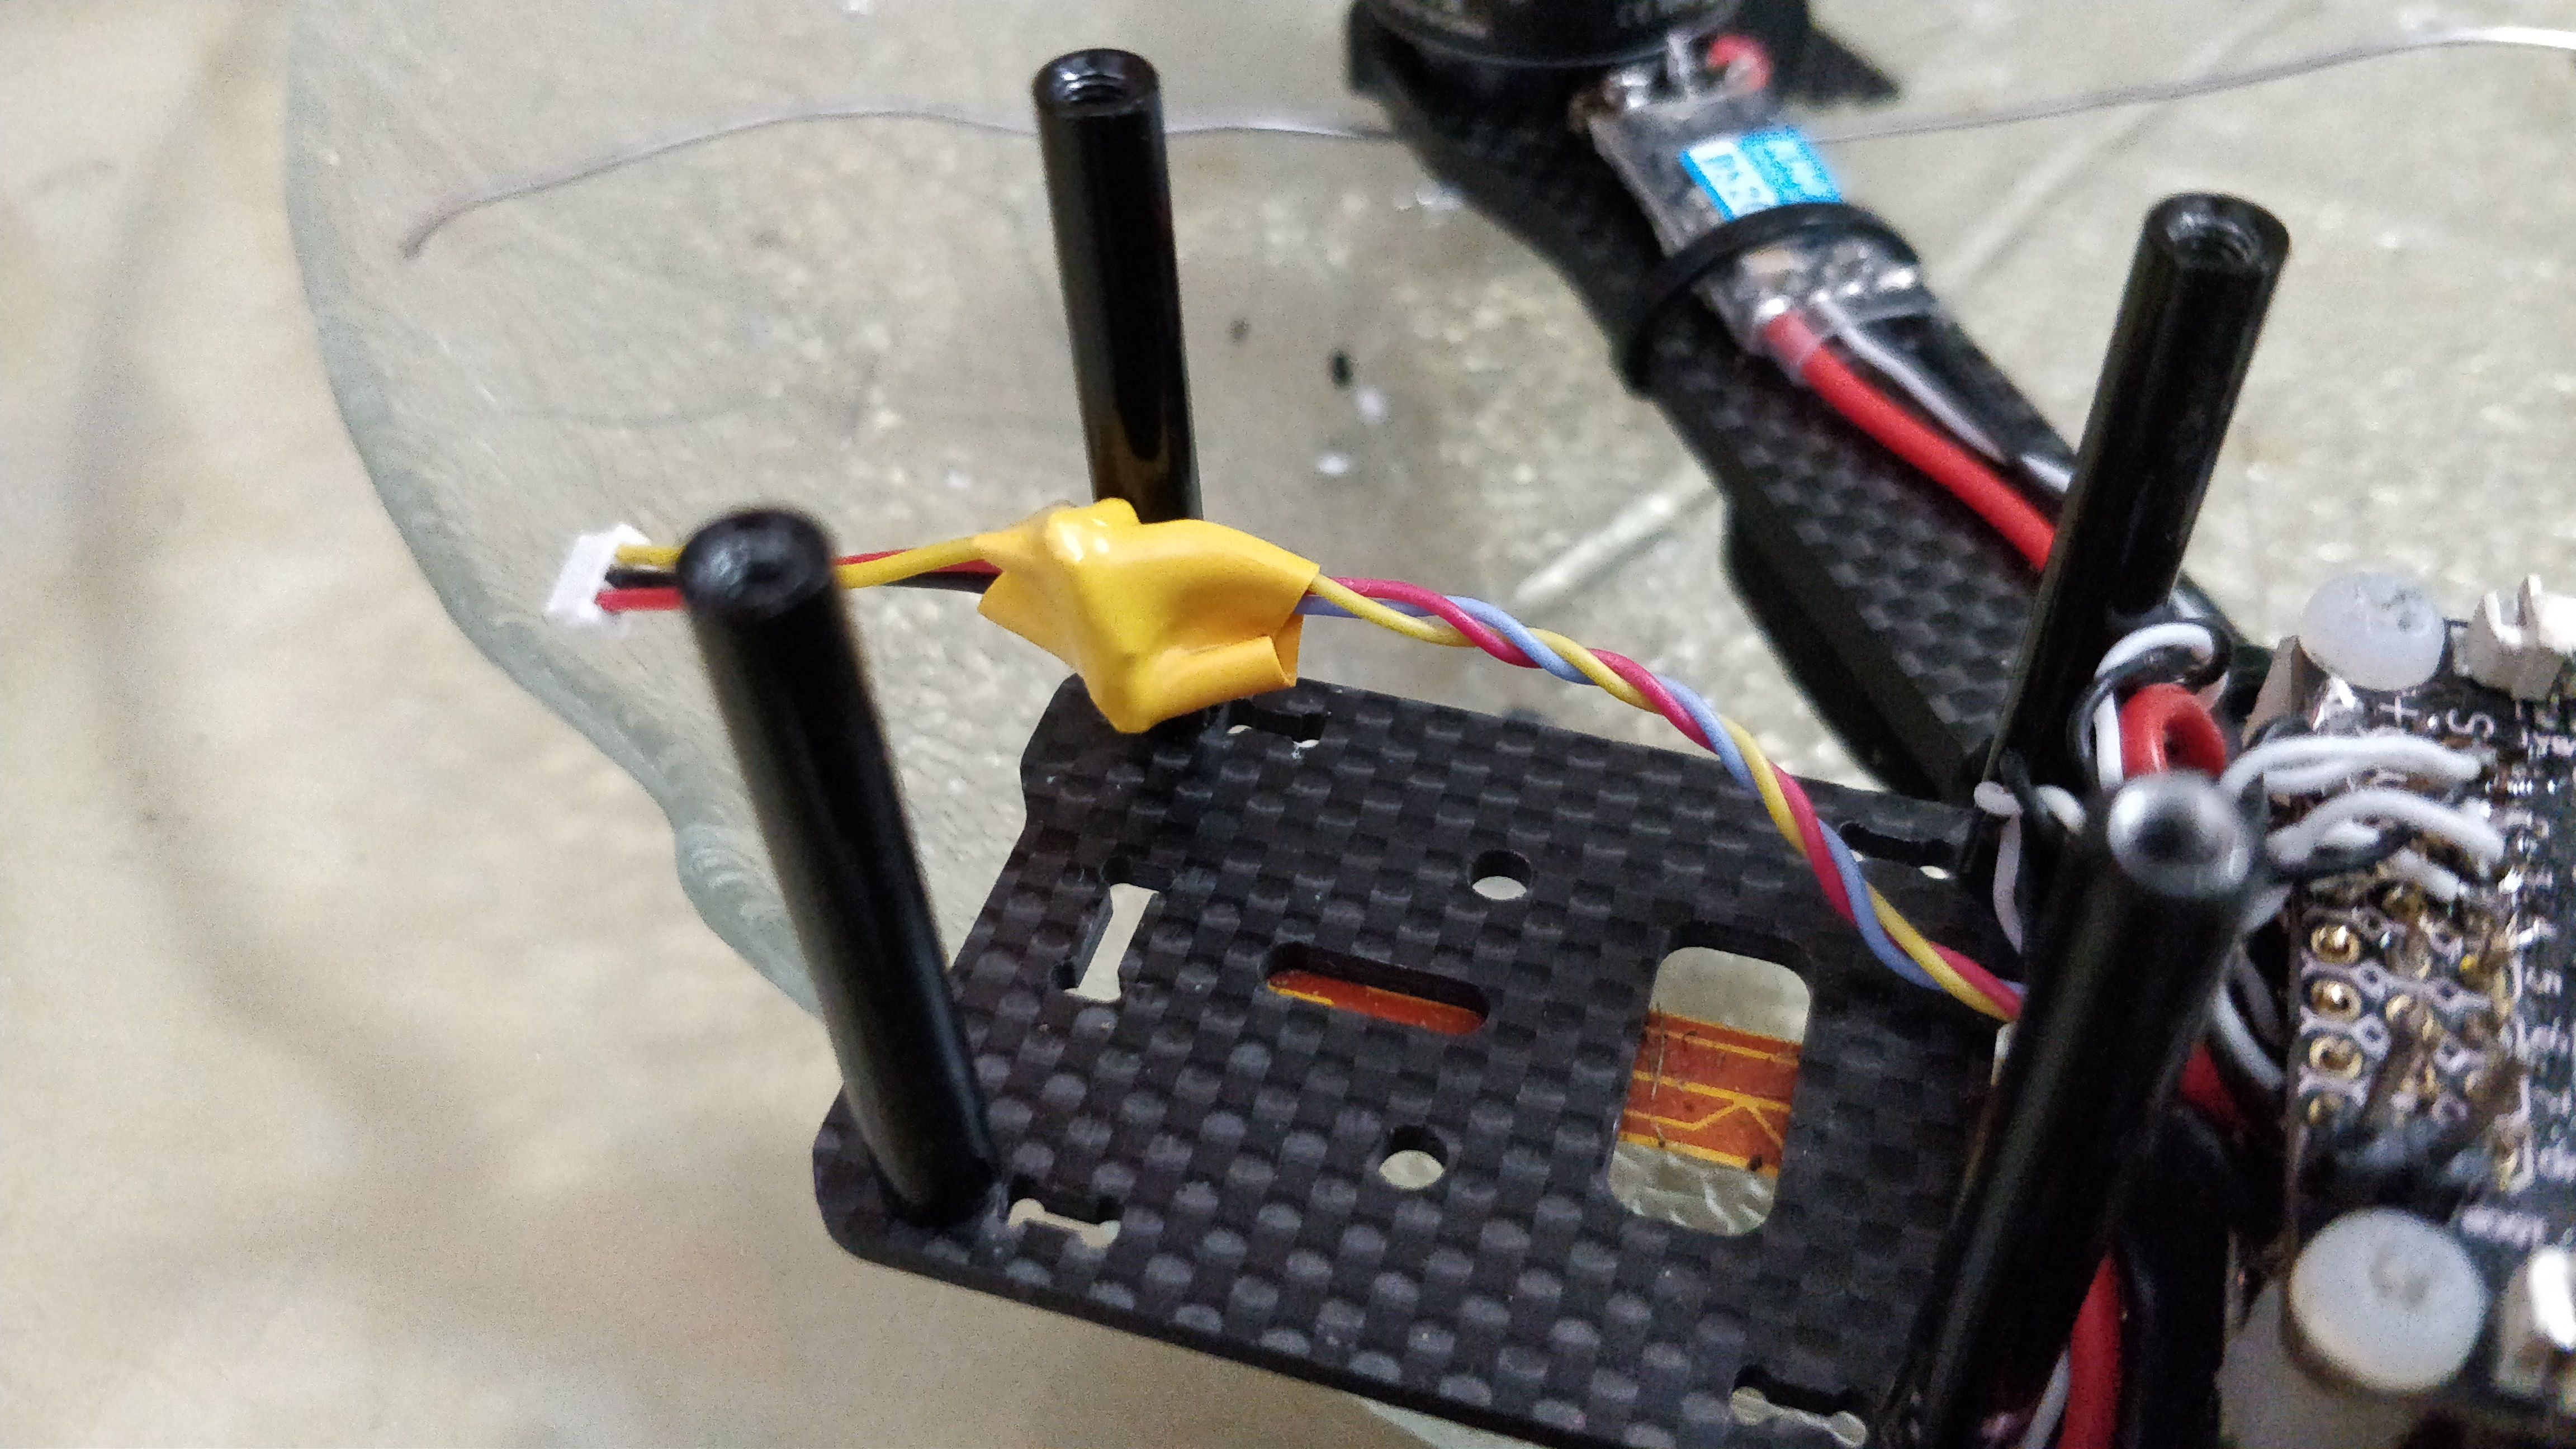
Well it looks ugly af, whatever, it works.
By the way, the Cam has a TOP arrow which seems to be the wrong direction...
OSD?
You know how some people feel "naked" without a phone in their pocket. Well guess how I feel about OSDs. Anyway, this F3 FC doesn't have an OSD support and I don't want this build to get even more messy or expensive. I'm going to leave it at this.
Conclusion
Well, I'm having some RX problems right now, so I'll get a refund. Meaning for now I can not freestyle, only cruise around a bit. But I'm just back from a slightly long cruise on a 2400mAh 3S which worked out very well. Still, I'm missing an OSD and the camera is unusable when pointing at the sun, so taking off facing the sun is really weird. I generally think the Camera has too high contrast, but eh whatever, I'm surprised how enjoyable this quad is for being made out of the cheapest parts off Amazon, would not really want to do this again though lol, so I gotta figure out some supplier with decent shipping costs. Time will tell.
-Ryz
Part List
Show stores (5)Guides & Reviews

AirbladeUAV has done it again and this time they've brought long range to the 5" class! Based on the popular Transformer Mini, the new Transformer 5" Ultralight adopts a lot of the same design philosophies with larger props and more payload capacity. It can fly upwards of 20 minutes on a 4 cell Li-Ion battery pack and in ideal conditions it's got a range of over 4 to 5 miles. In this guide I'll walk..
Read more
With the release of the DJI FPV Drone cinematic FPV has become a lot more accessible, but you certainly don't want to crash a $750 drone! The QAV-CINE Freybott is a compact, lightweight cinematic FPV drone that can take a hit and keep going. It's a lot safer to fly indoors and around people. With a naked GoPro or the SMO 4k you can capture some great stabilized footage. In this guide I'll show you..
Read more


New Message for Ryz