
Building a Silverware Whoop
Building a Silverware Whoop
If FrSky Click Here
10/12/18 -- I flew this Betalite with a TX01 Bayang Radio prior to changing any firmware to make sure it works. It flies terribly and the rates are impossibly slow. There is so much involved in gettimg this thing flashed properly. I was rightfully hesitant to try until now. To get started you will need to solder some servo connectors to the 3 tiny pads on the bottom of the BetaLite board. This means taking the whole thing apart. Once apart and soldered in you will need 3 different computer programs to help you run shit. STLinker which runs the USB stick, ARM Keil which is the program that reads Silverware, and NFE Silverware itself. Nothing is exactly as any video or tutorial shows so you kind of have to think on the fly. You may need to download several drivers too. For some reason my Silverware program is read-only so I was unsuccessful in flashing yet. It took me about a hour and a half to get to this point.
10/15/18 - I feel like I have been sinking every spare moment I have in trying to get this to work. I removed and reinstalled the STLinker tool, Keil, and Silverware from my computer 3 times. For some reason the 3rd version of silverware opens but the 1st and 2nd do not. There also seems to be an order of operations when it comes to plugging in your lipo and the USB connection to the computer. I haven't figured out that exact order yet. I followed a couple other videos and walk-throughs on Youtube and they clued me in on a couple items that were missed in the below video. With the ST Linker tool you can either click on the wall-outlet plug connect button or go to the menu "Target" and connect. This should read a huge pile of nonsense and tell you that you are connected successfully. If you get any errors, unplug the USB and fiddle with the lipo connection and re-attempt. Once you have a connection you can then proceed to Silverware.
In Silverware (Keil program) you will need to find the board. To do so, you have to go to the menu at the top "Project" and go down to "Build Target". This finds the board and loads all the information that's on it. From there, you can change any of the information you need to like PIDs and Rates. If you have a Bayang Radio like mine, you will need to make some adjustments to the code for the board to recognize it. Everything in NFE Silveware (10/15/18) is defaulted to a Taranis (sbus) and Alienwhoop board. I didn't realize this and was no longer getting LEDs when plugging in my lipo. I've since adjusted but still don't have the right combination to arm with my Bayang radio.
10/17/18 - I have been fighting with this programming for 2 days and I'm no closer to flying than I was earlier. No matter what configuration I pick, the board does not seem to respond to any commands to arm. I followed all directions for the stock controller and even tried using a Hex compiled by a person who is familiar with Silverware. When I flash the updates to the board it seems to accept them. I go to bind my controller to the whoop and the LED's go solid. When I attempt to arm, the controller beeps and the board flashes quickly. The LEDs remain solid unless I put the throttle at max or yaw right or left, then they flash very rapidly. If I push the right stick up twice, the radio beeps incessantly like I caused an error of some type. If I do a designated stick gesture like Left, Left, Down or Right, Right, Down the LEDs flash as if they accepted a command but the motors do nothing. Channel 5 which is the top left button causes the LEDs to flash rapidly but no other action besides the loud annoying beep from the TX. I am dumbfounded as to why this will not arm.
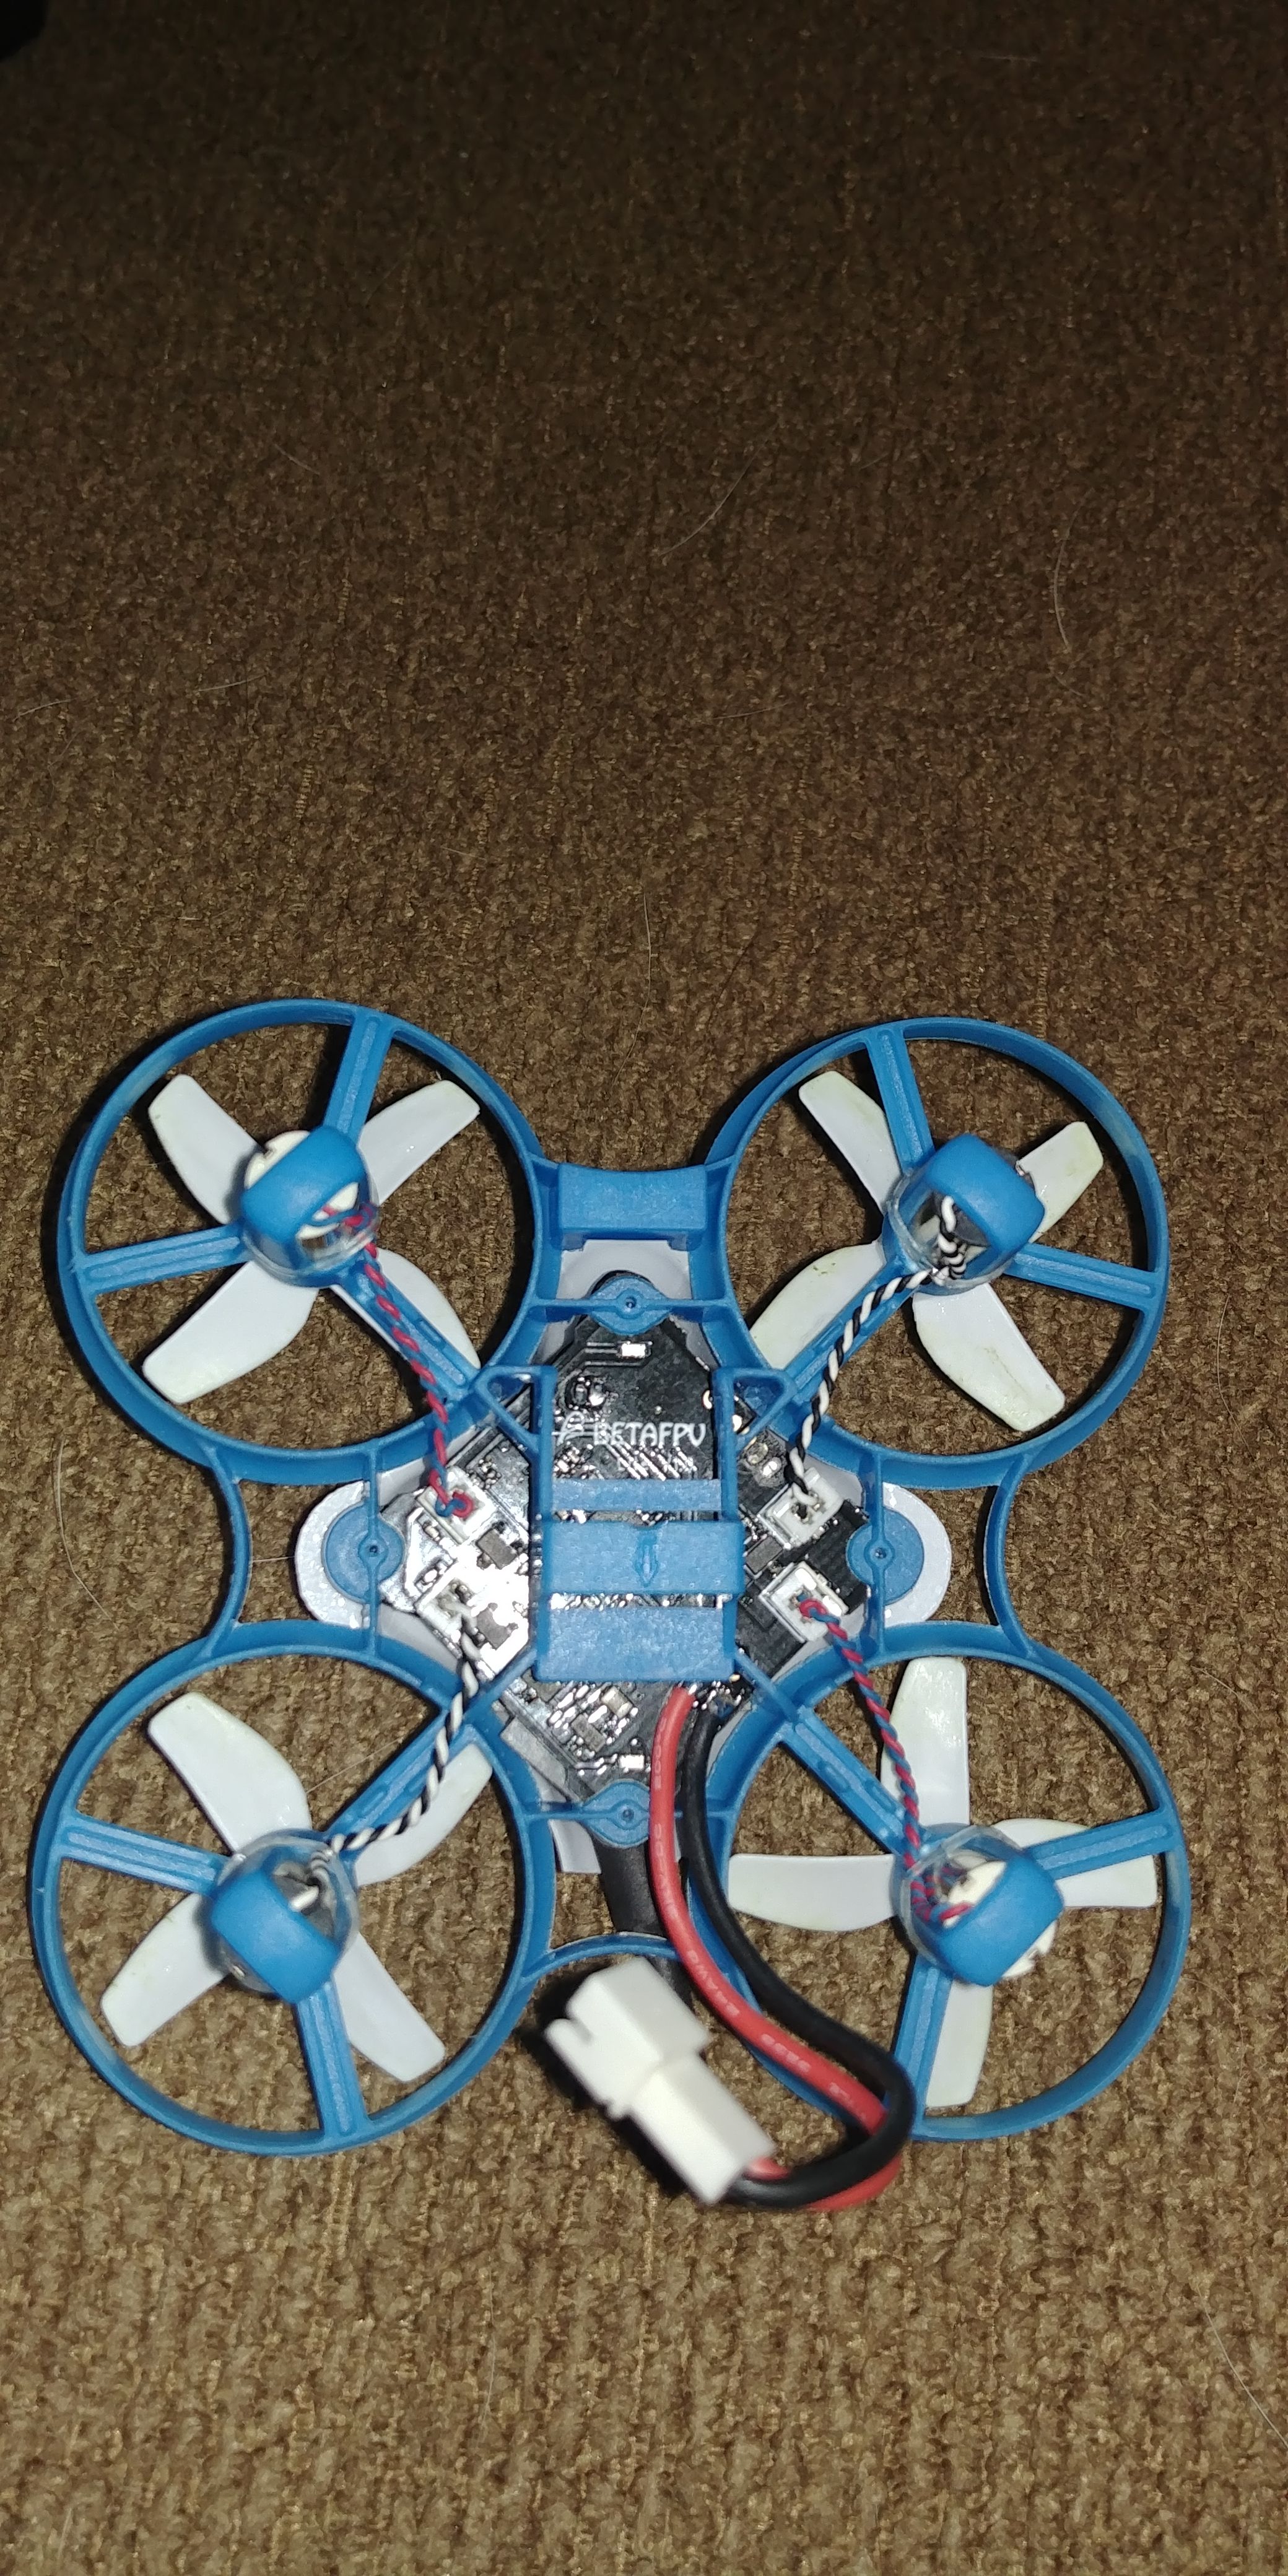
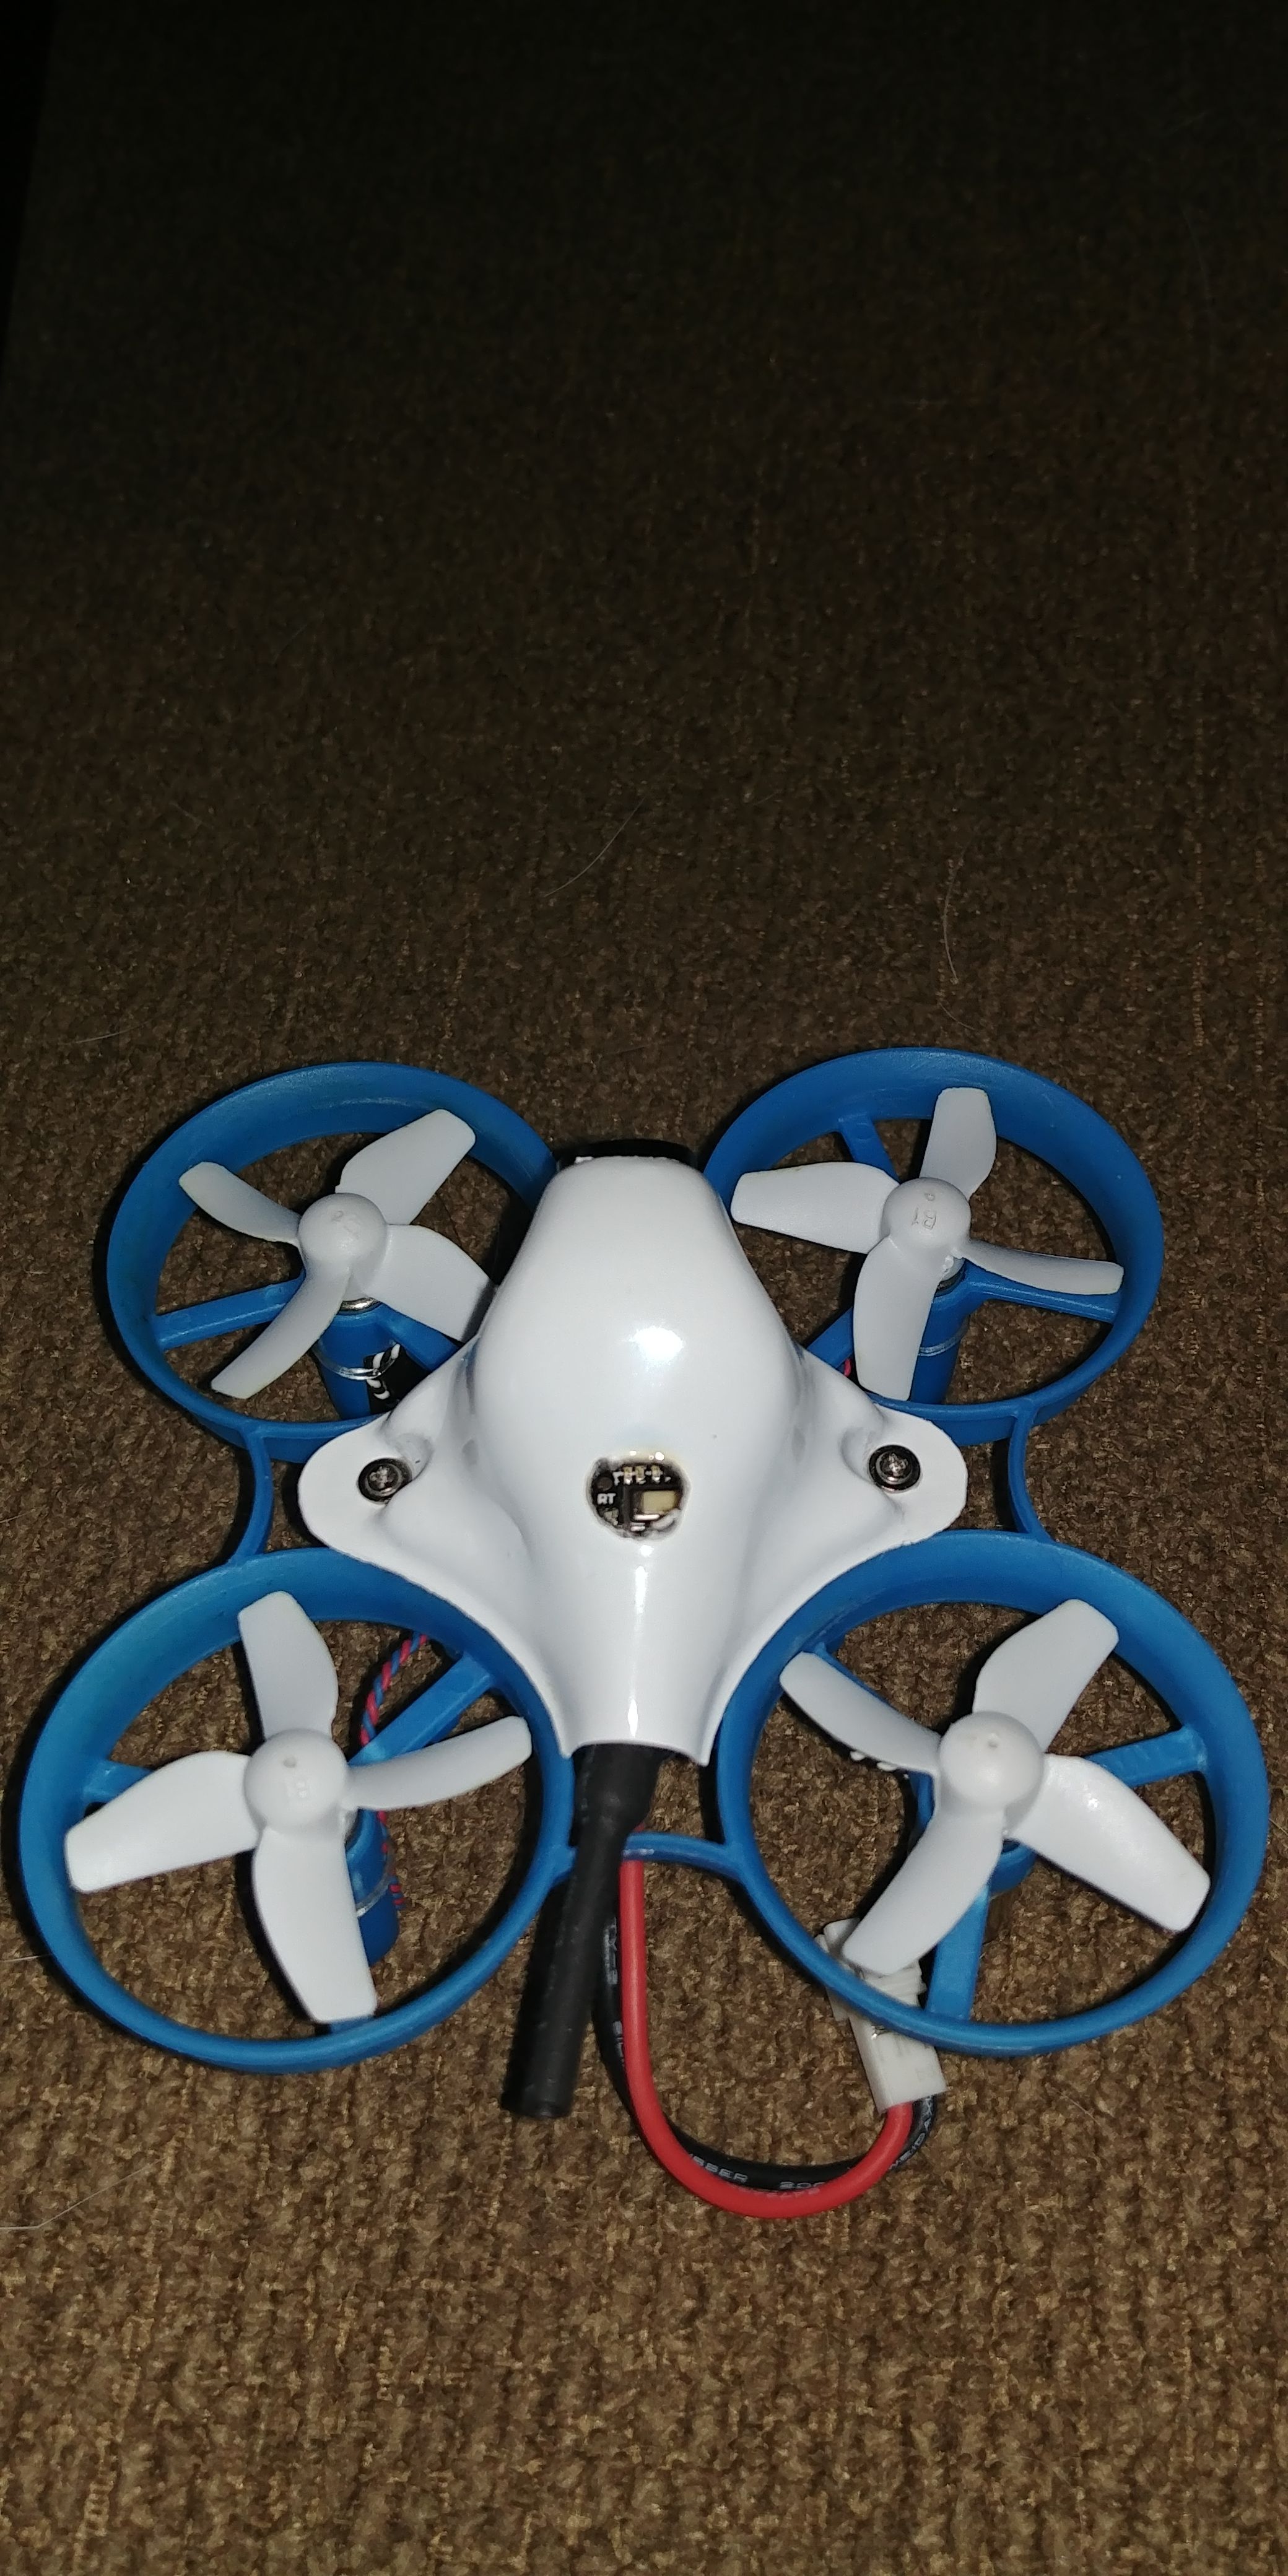
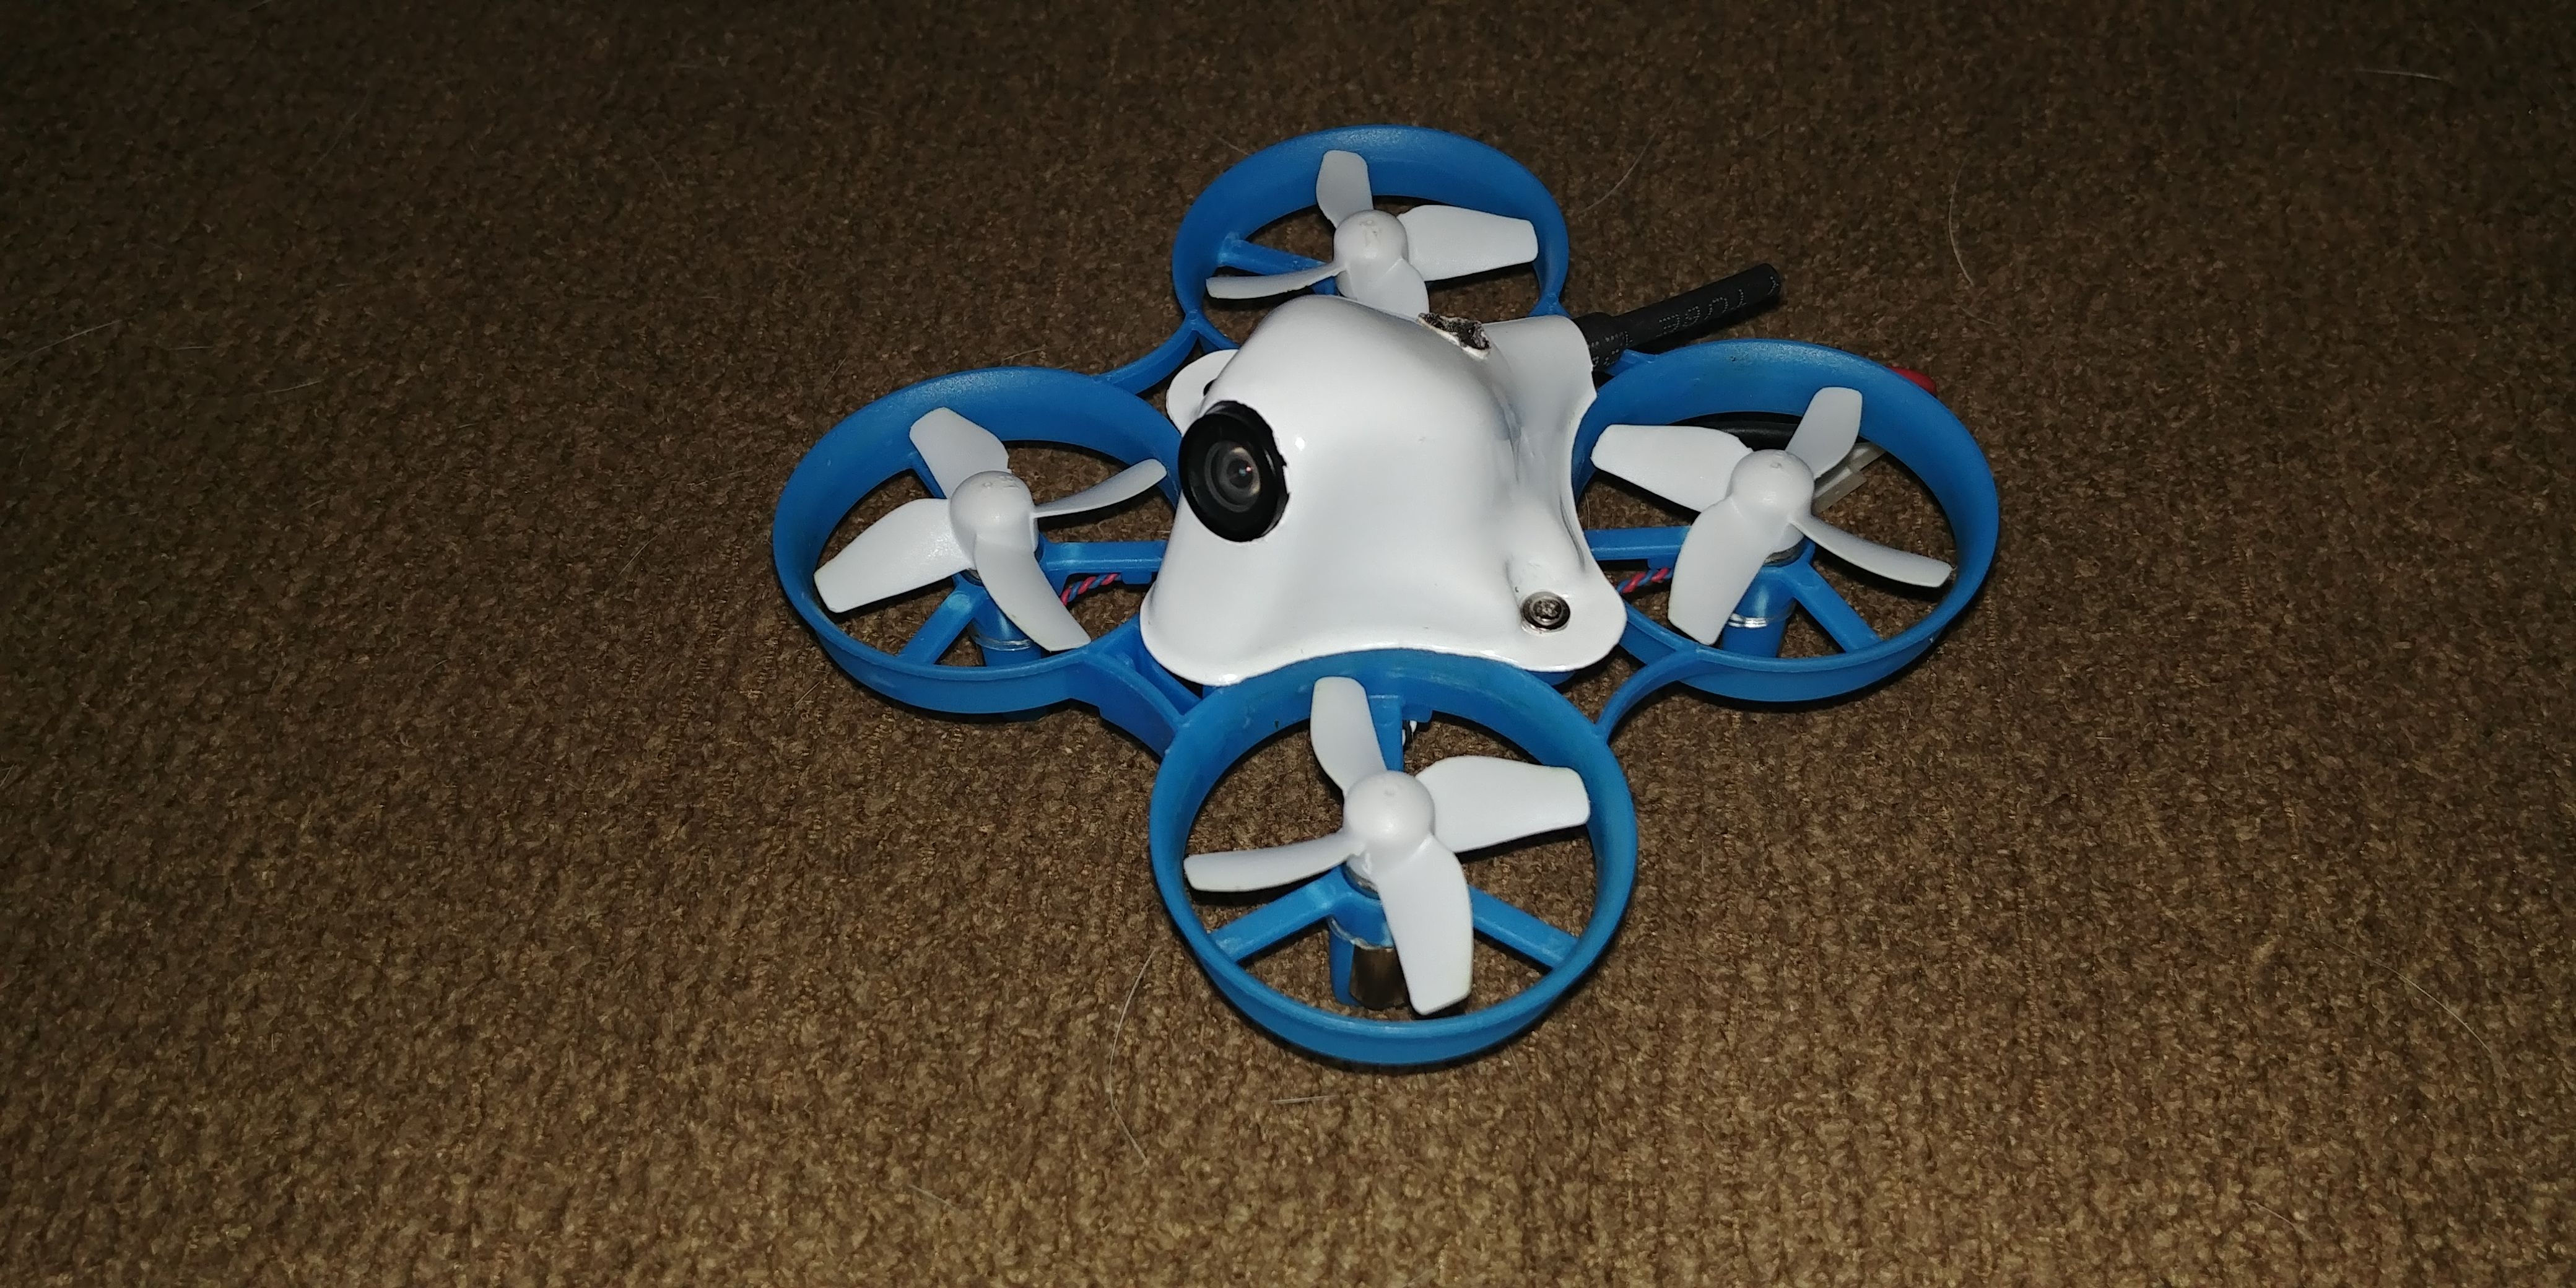
10/25/18 - I have given up on the board that I had flashed. It seems like there may be a hardware issue preventing me from taking off. A friend kindly sent me a new board already set with the commands for the Bayang radio. I did a bind test and the motors spin. This is great news! The bad news is, the motors are in the wrong places now. NFE Silverware defaults to props out so the motors were turning the wrong direction in an endless yaw spin. I swapped the motors left-right and it gave me a better behaving whoop. I added the Beta VTX to the new board although the pin connection is not very secure. I I took off for my first acro flight and was getting what seemed like massive packet losses at a range of 20-30 feet. Attempts at a simple trick like a roll or flip worked but I soon found the ground when there wasn't enough power in the battery to remain aloft. Using the Right-Right-Down stick move on the pitch/roll gimbal I am able to access Angle Mode. The angle limit is set extremely high. It may even allow for a full forward or backward roll. This causes me to fly very fast but often overshoot my turns. If I over correct, the quad crashes in a heap and I lose VTX power because of the funky connection. This board also allows me to drain the battery down to 3.3v before it quits on me completely. Wherever you are when it hits 3.3 the unit shuts down and drops where it is. Be prepared to walk.
11/09/18 - I tried to change the angle settings on the board by doing a re-flash. The board is no longer arming and behaving as it did before. I've tried everything I could think of to rectify. I even used a different laptop and still could not resolve it. I shipped everything to my friend who had flashed the board for me. Transmitter, 2 boards, motors, frame, battery, and STLink. Hopefully he'll be able to figure it out.
11/26/18 - My package was put in an incorrect locker by a postal employee and is now stolen. Some jackass now has a pile of non-working RC parts. Good luck buddy.
Below are some of the codes in BOLD that I had to change.
//Universal pids are already loaded for 6mm and 7mm whoops by default. Adjust pids in pid.c file for any non whoop builds.
//
//HARDWARE SELECTION
// DEFINE FLIGHT CONTROLLER HARDWARE
// SELECT ONLY ONE
// uncomment BWHOOP define for bwhoop, bwhoop pro, E011C Santa Edition, and Beta FPV Lite Flight Controllers
// uncomment E011 define for E011 flight Controller
// uncomment H8mini_blue_board for the H8 mini flight controller with blue circuit board
#define BWHOOP
//#define E011
//#define H8mini_blue_board
//#define Alienwhoop_ZERO // requires defining RX_SBUS radio protocol
//*RECEIVER SETTINGS
// rate in deg/sec
// for acro mode
define MAX_RATE 667.0
define MAX_RATEYAW 667.0
// *****max angle for level mode
define LEVEL_MAX_ANGLE 65.0f
// ***** low rates multiplier if rates are assigned to a channel
define LOW_RATES_MULTI 0.5f
// EXPO from 0.00 to 1.00 , 0 = no exp
// positive = less sensitive near center
*#define ACROEXPO_ROLL 0.45
define ACRO_EXPO_PITCH 0.45
define ACRO_EXPO_YAW 0.00
// Radio protocol selection
// select only one
//#define RX_SBUS
//#define RX_DSMX_2048
//#define RX_DSM2_1024
//#define RX_NRF24_BAYANG_TELEMETRY
define RX_BAYANG_PROTOCOL_BLE_BEACON
define RX_BAYANG_PROTOCOL_TELEMETRY_AUTOBIND
// ***Transmitter Type Selection
#define USE_STOCK_TX**
//#define USE_DEVO
//#define USE_MULTI
// SWITCH SELECTION
// CHAN_ON - on always ( all protocols)
// CHAN_OFF - off always ( all protocols)
// Aux channels are selectable as CHAN_5 through CHAN_10 for DEVO and MULTIMODULE users
// Toy transmitter mapping is CHAN_5 (rates button), CHAN_6 (stick gestures RRD/LLD),
//CHAN_7 (headfree button), CHAN_8 (roll trim buttons), CHAN_9 (pitch trim buttons)
//Arm switch and Idle Up switch (idle up will behave like betaflight airmode)
//comment out to disable arming or idle up features ONLY if not wanted. Other features set to CHAN_OFF to disable
//Assign feature to auxiliary channel. NOTE - Switching on LEVELMODE is required for any leveling modes to
//be active. With LEVELMODE active - MCU will apply RACEMODE if racemode channel is on, HORIZON if horizon
//channel is on, or racemodeHORIZON if both channels are on - and will be standard LEVELMODE if neither
//racemode or horizon are switched on.
define ARMING CHAN_5
define IDLE_UP CHAN_5
define IDLE_THR 0.05f //This designates an idle throttle of 5%
define LEVELMODE CHAN_6
define RACEMODE CHAN_7
define HORIZON CHAN_8
define PIDPROFILE CHAN_9 //For switching stickAccelerator & stickTransition profiles on pid.c page
define RATES CHAN_ON
define LEDS_ON CHAN_10
// switch for fpv / other, requires fet
// comment out to disable
//#define FPV_ON CHAN_ON
// enable buzzer functionality
// external buzzer requires pin assignment in hardware.h before defining below
// change channel assignment from CHAN_OFF to a numbered aux switch if you want switch control
// if no channel is assigned but buzzer is set to CHAN_ON - buzzer will activate on LVC and FAILSAFE.
//#define BUZZER_ENABLE CHAN_OFF
// *****start in level mode for toy tx.
define AUX1_START_ON
// *****automatically remove center bias in toy tx ( needs throttle off for 1 second )
//#define STOCK_TX_AUTOCENTER
Photos
Part List
Frame |
BETAFPV Beta65S Lite BNF Micro Whoop Quadcopter Silverware Firmware Lite Brushed Flight Controller with 7X16mm 17500KV Brushed M
Amazon.com
|
$44.99 |
Flight Controller |
Logisaf ST-Link V2 Mini STM8 STM32 Emulator Downloader Programming Unit (Random Color)
Amazon.com
|
$6.49 |
Receiver |
iRangeX iRX6 Multiprotocol TX Module for Flysky FS-i6 i6x Transmitter
Ebay.com
|
$8.86 |

So I REALLY like these posts... and I tried to read this whole thing. It is substantially longer than War and Peace. What exactly is whe point of all those lines of CLI input, and firmware swapping?

When you download the NFE (Not Fast Enuff) version of Silverware it is preset for a FrSky Radio and the Alienwhoop Zero board. Since I am using a toy controller I had to adjust the code accordingly to work with my radio. Unfortunately, none of my changes allowed the radio to bind, although it SHOULD have. My friend coded a different board with the exact same information and that one worked.


Maybe this will help, not sure this isnt my area! FYI: https://www.youtube.com/watch?v=z0MwnHNu-6U&list=PLYukbw7jAMOHpzCF_VGh3amnvlWi5C_Og&t=0s&index=7