
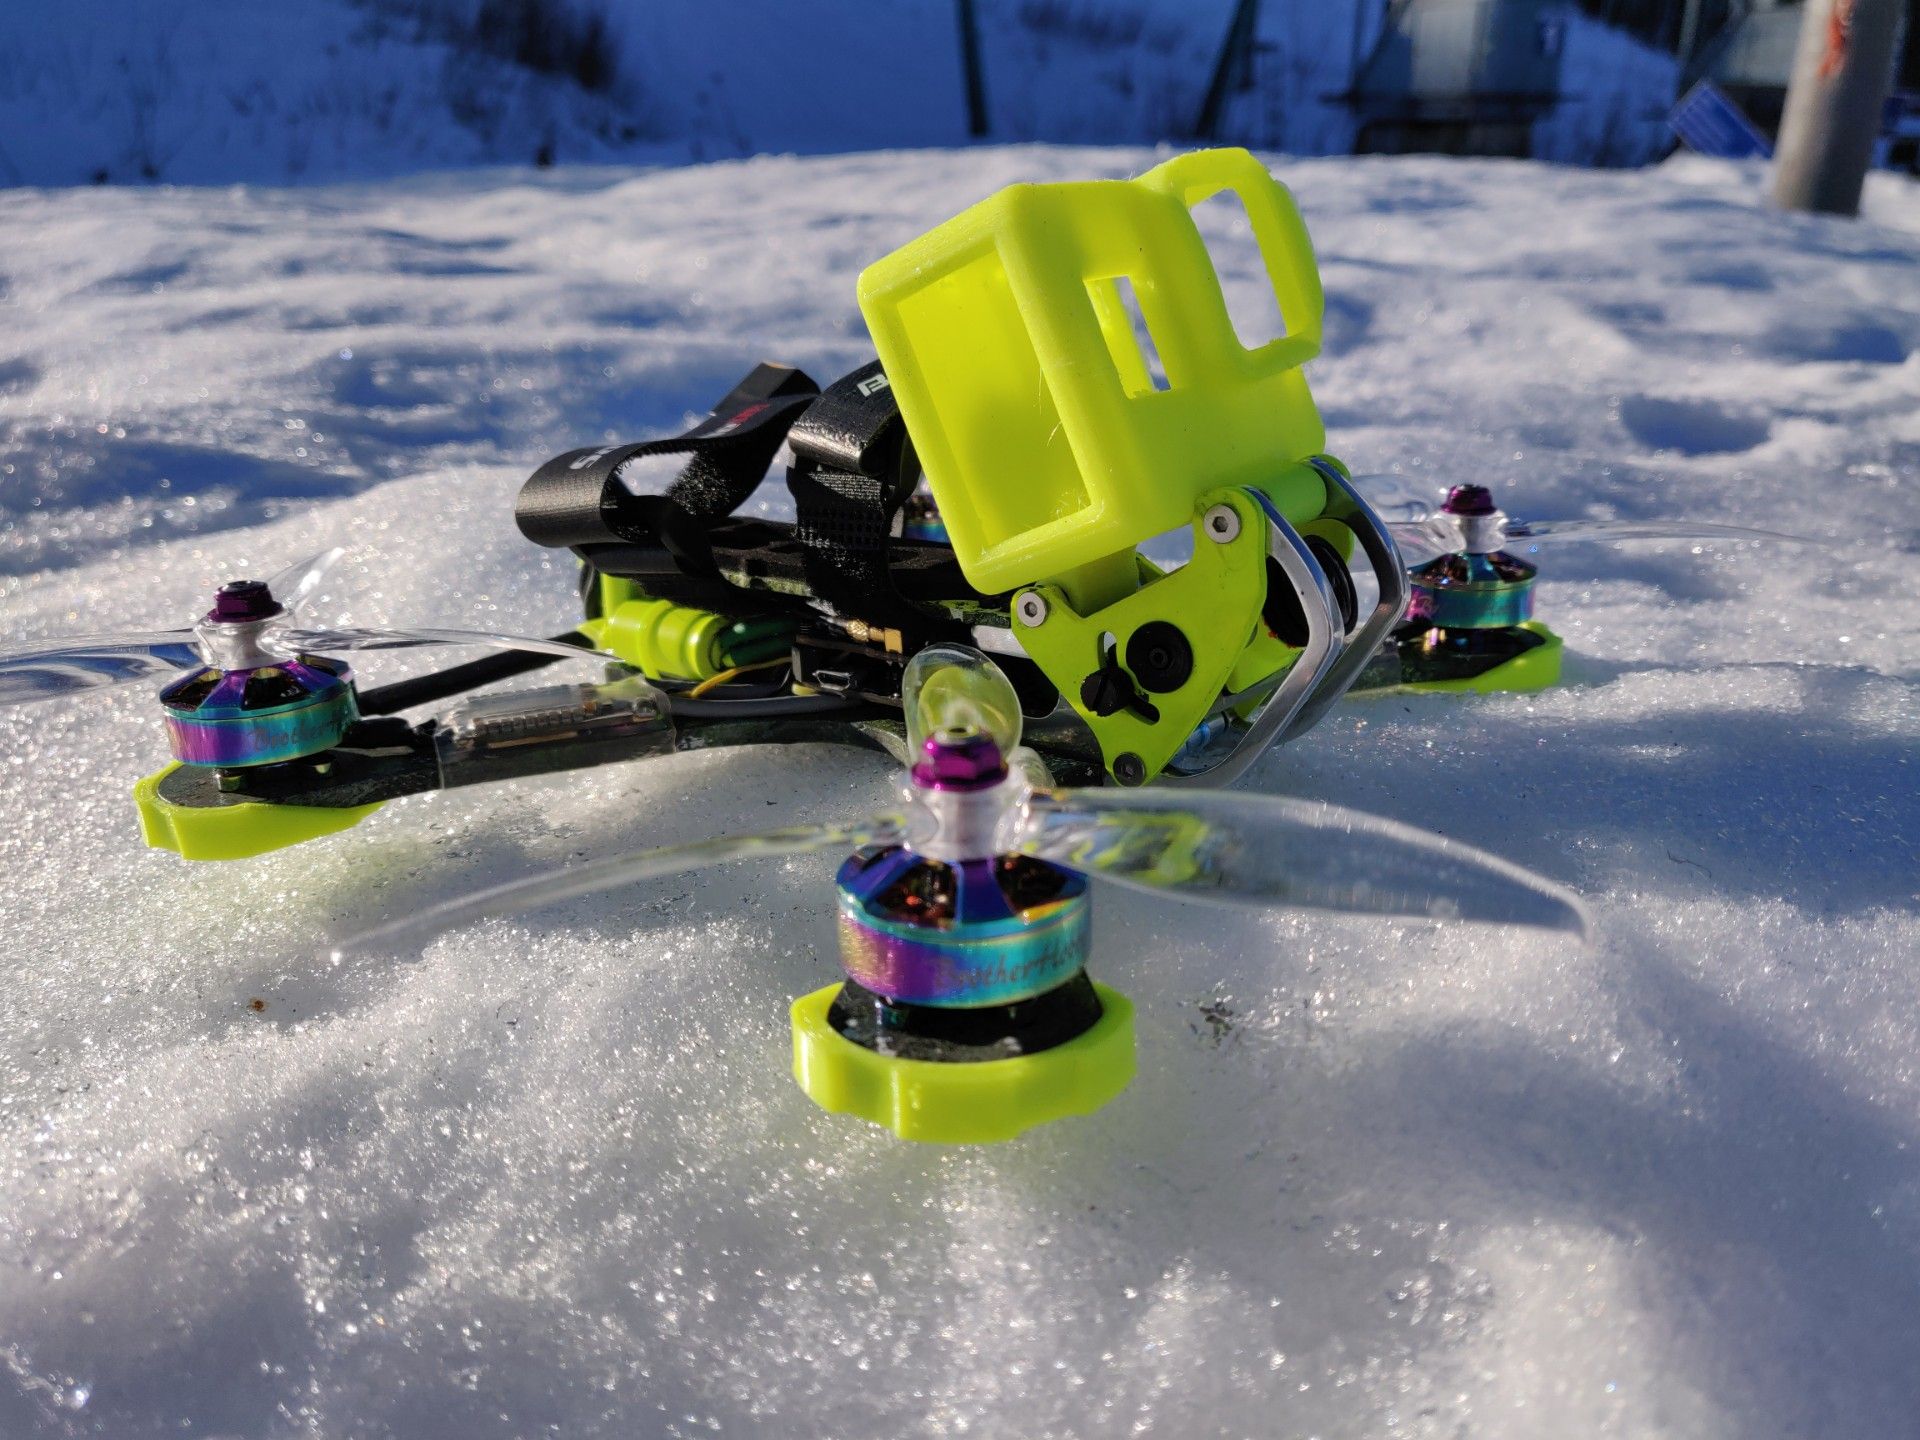
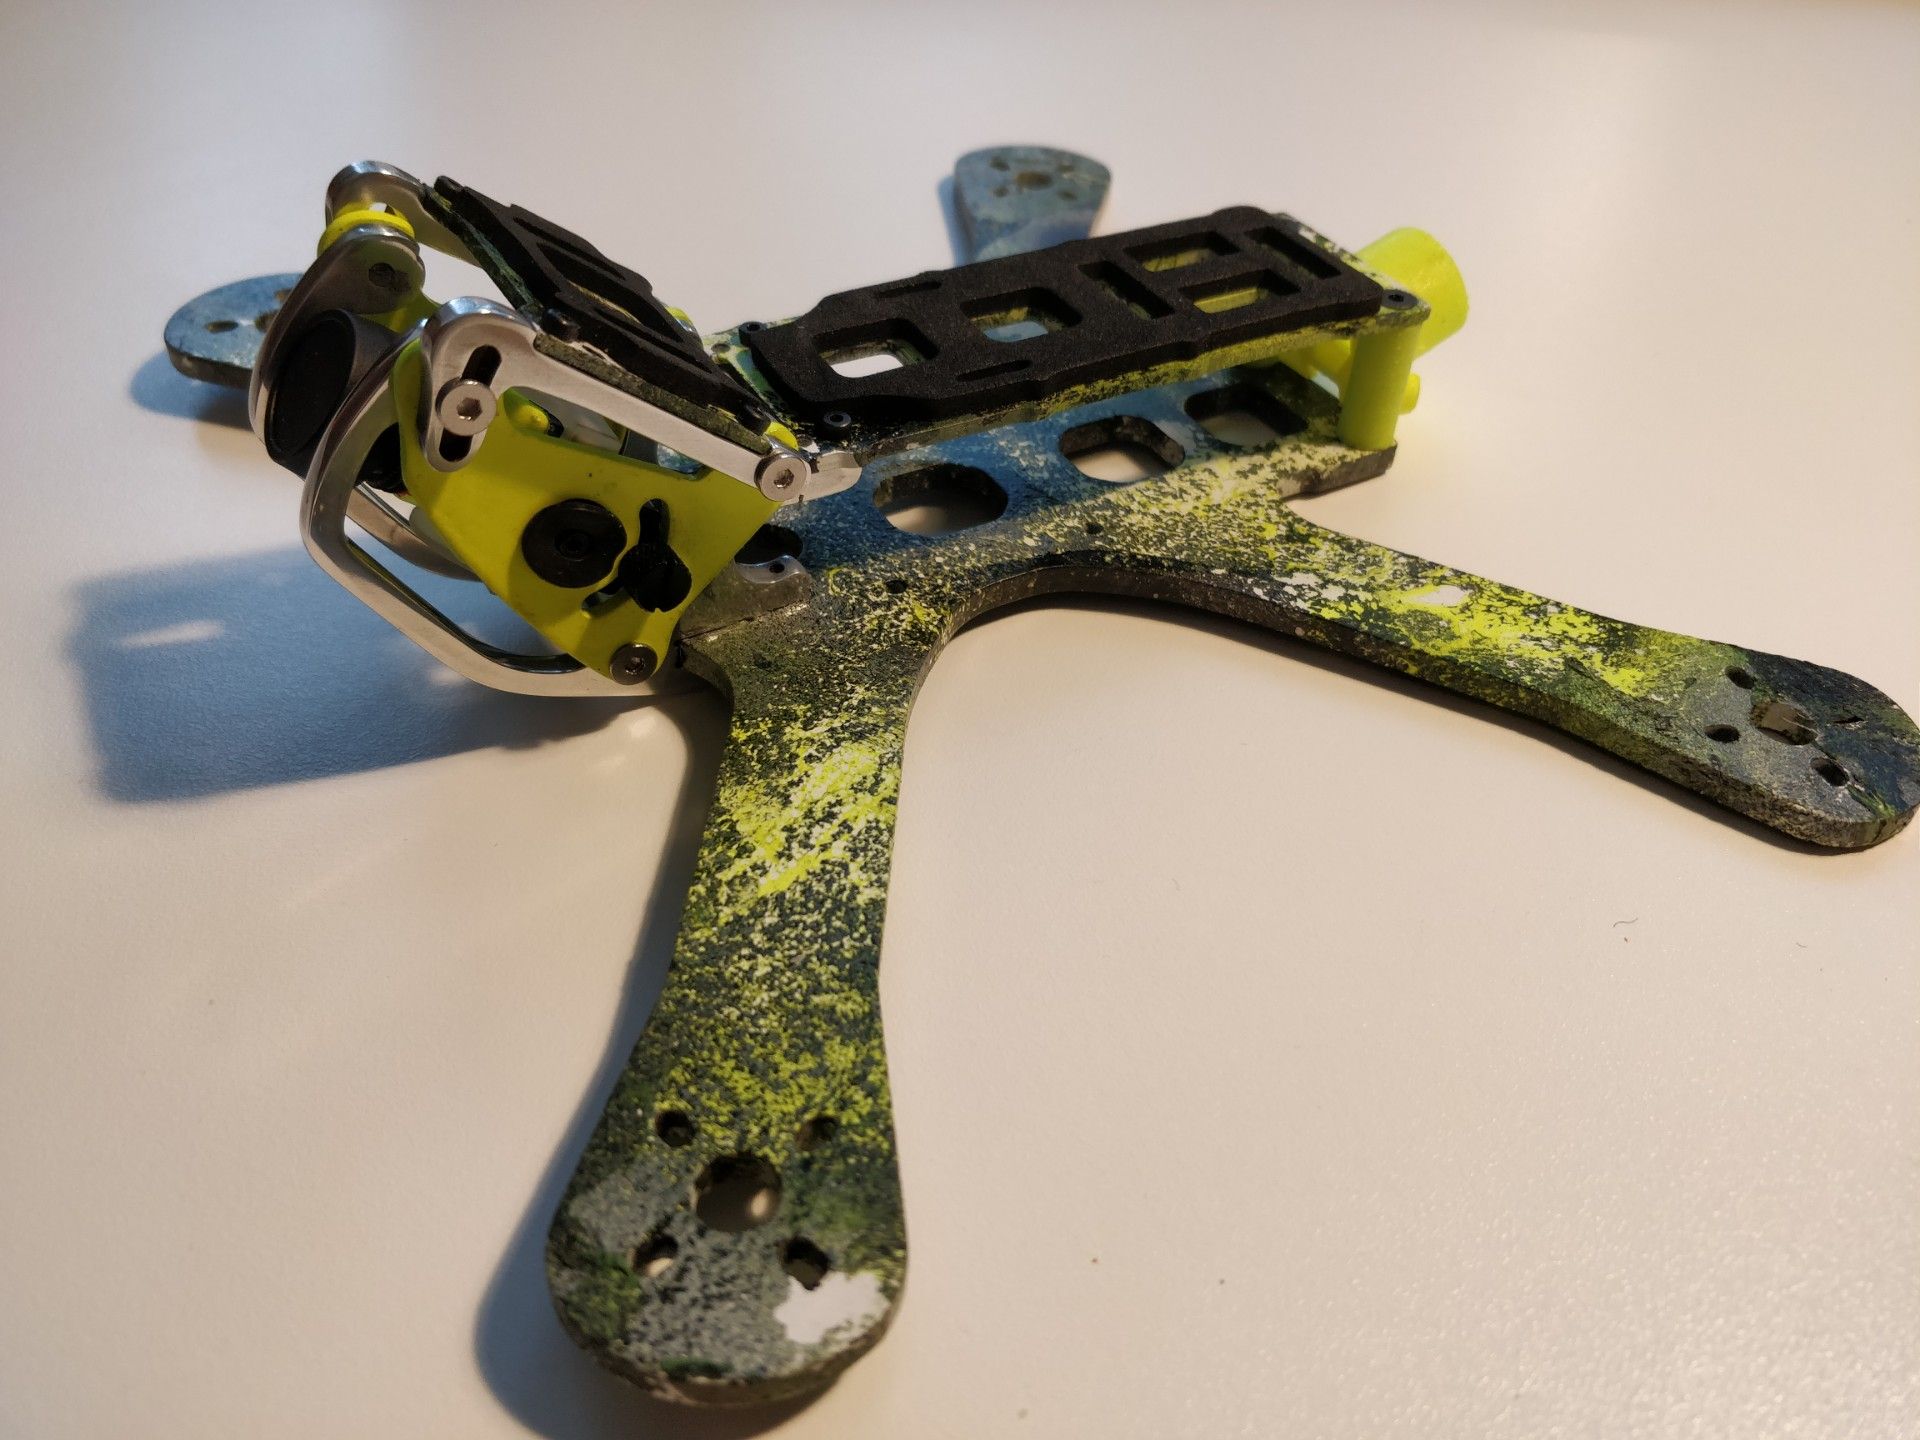
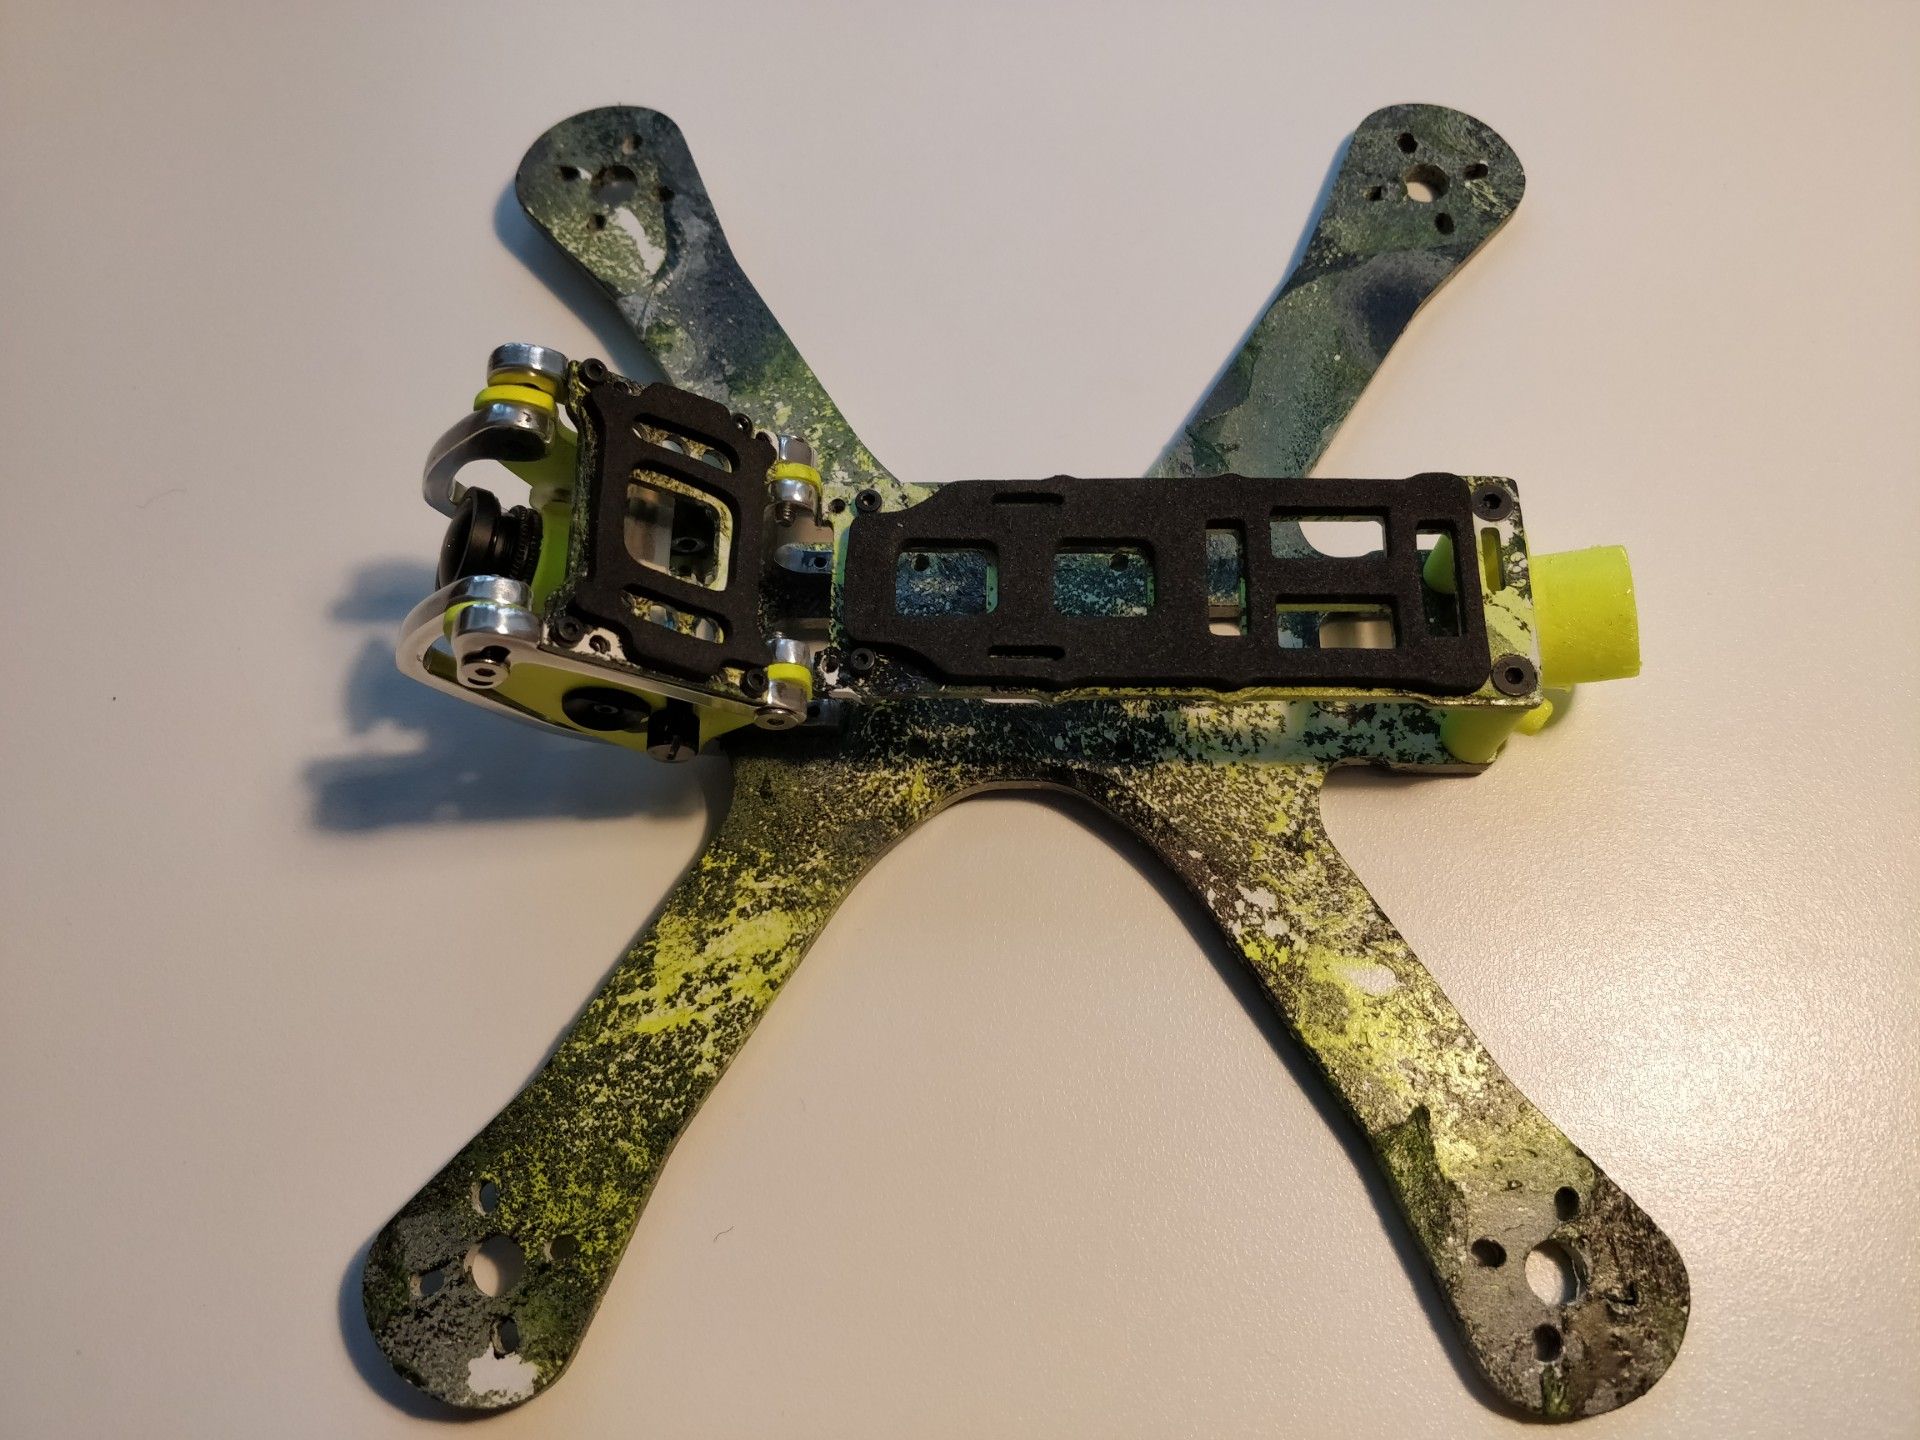
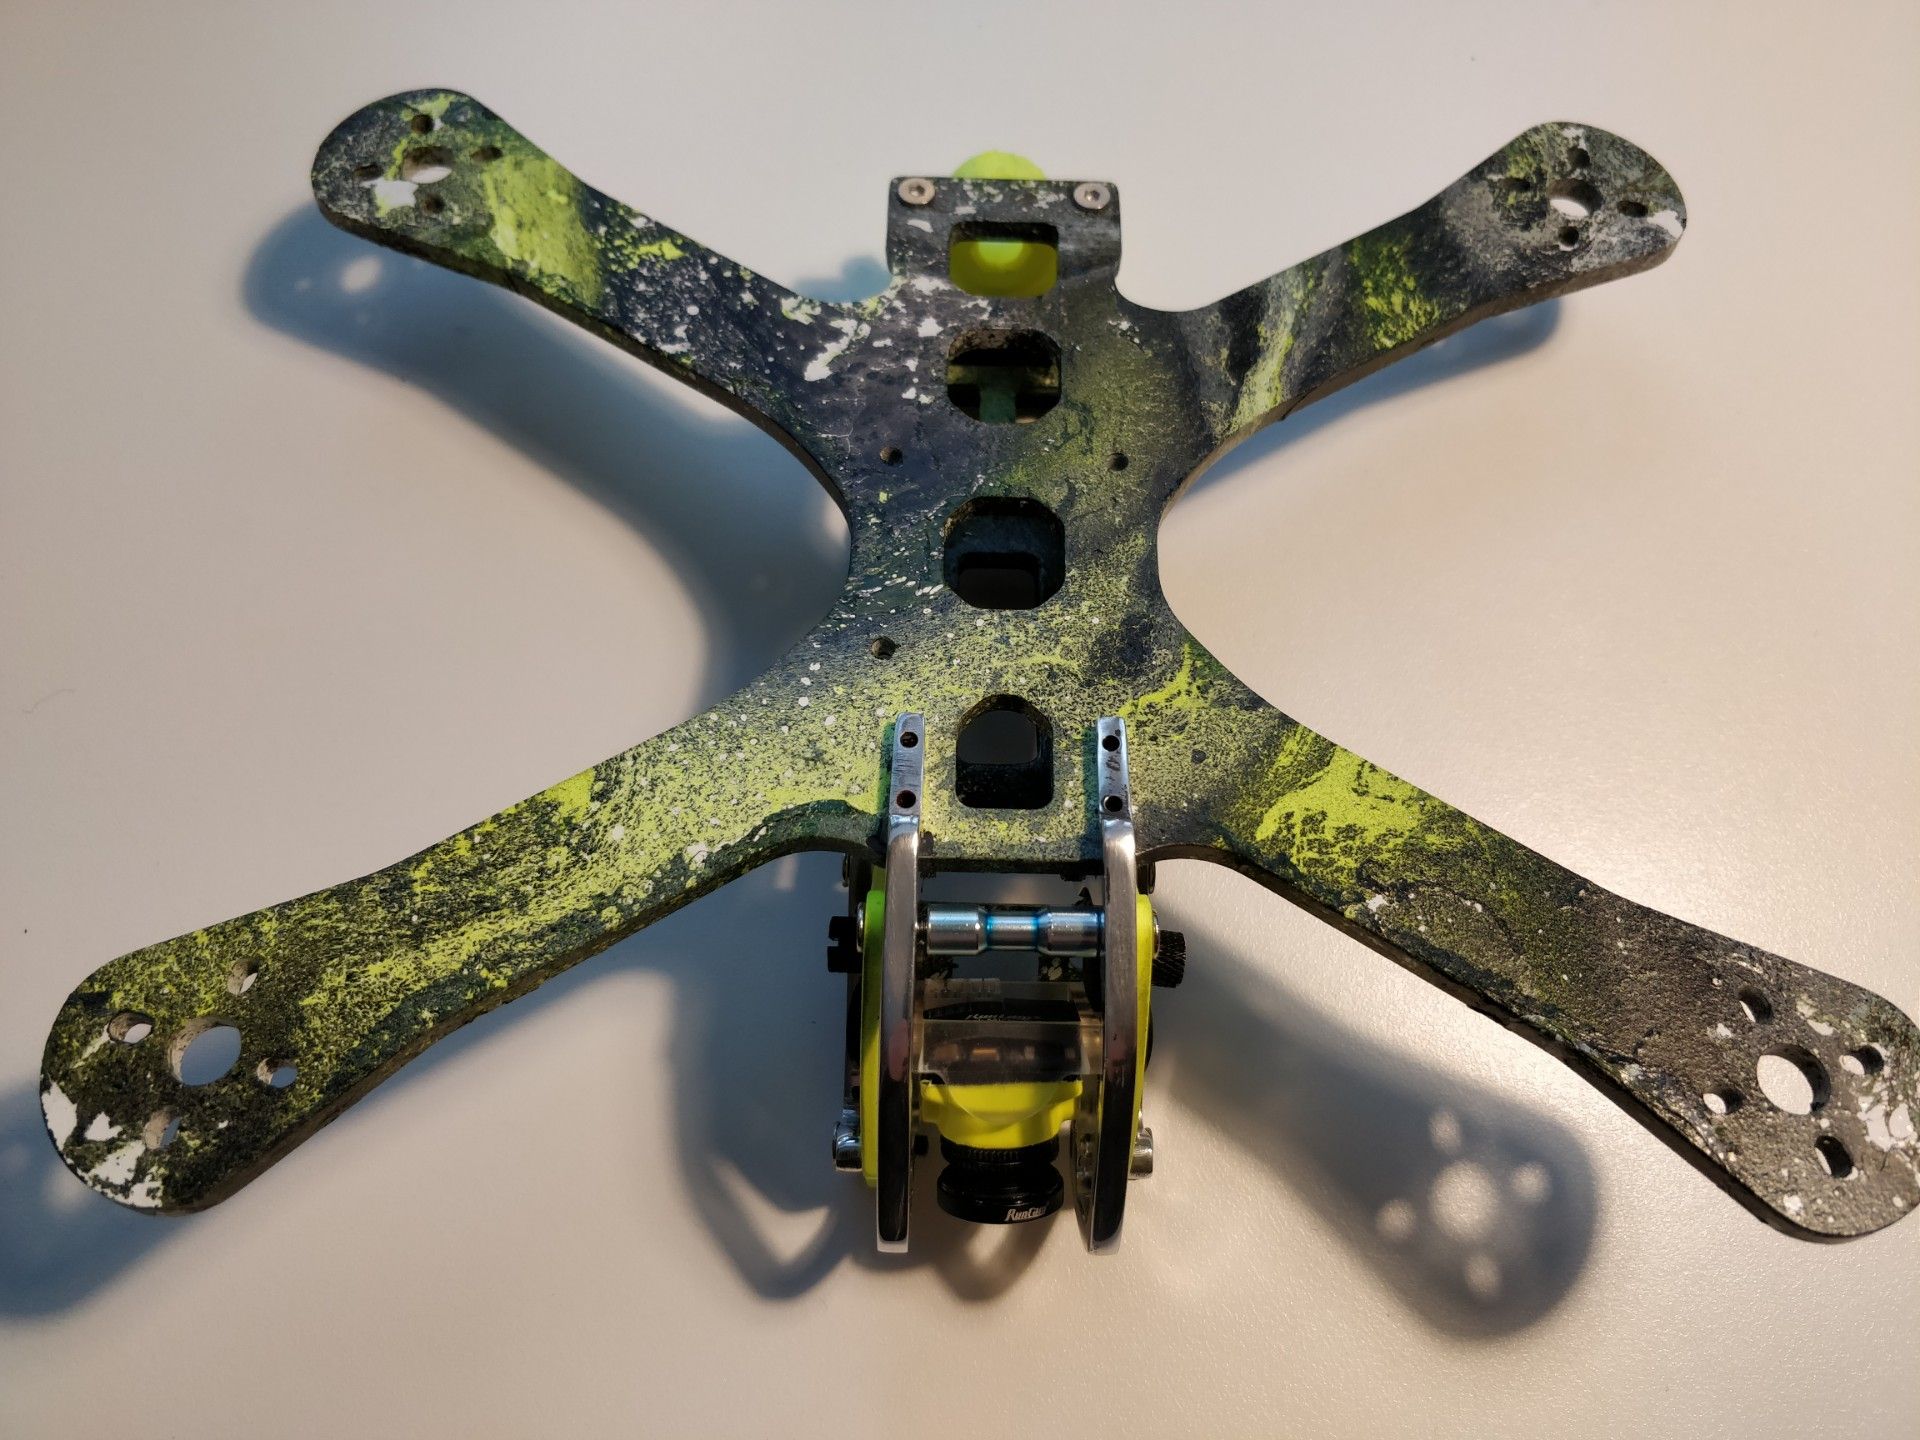
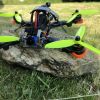
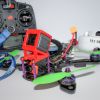
Bought a used 5" chameleon frame for dirt cheap.
I like Chameleon flight characteristics very much. I've had 4 Chameleons already, so this is my fifth build (and first 6S Chameleon).
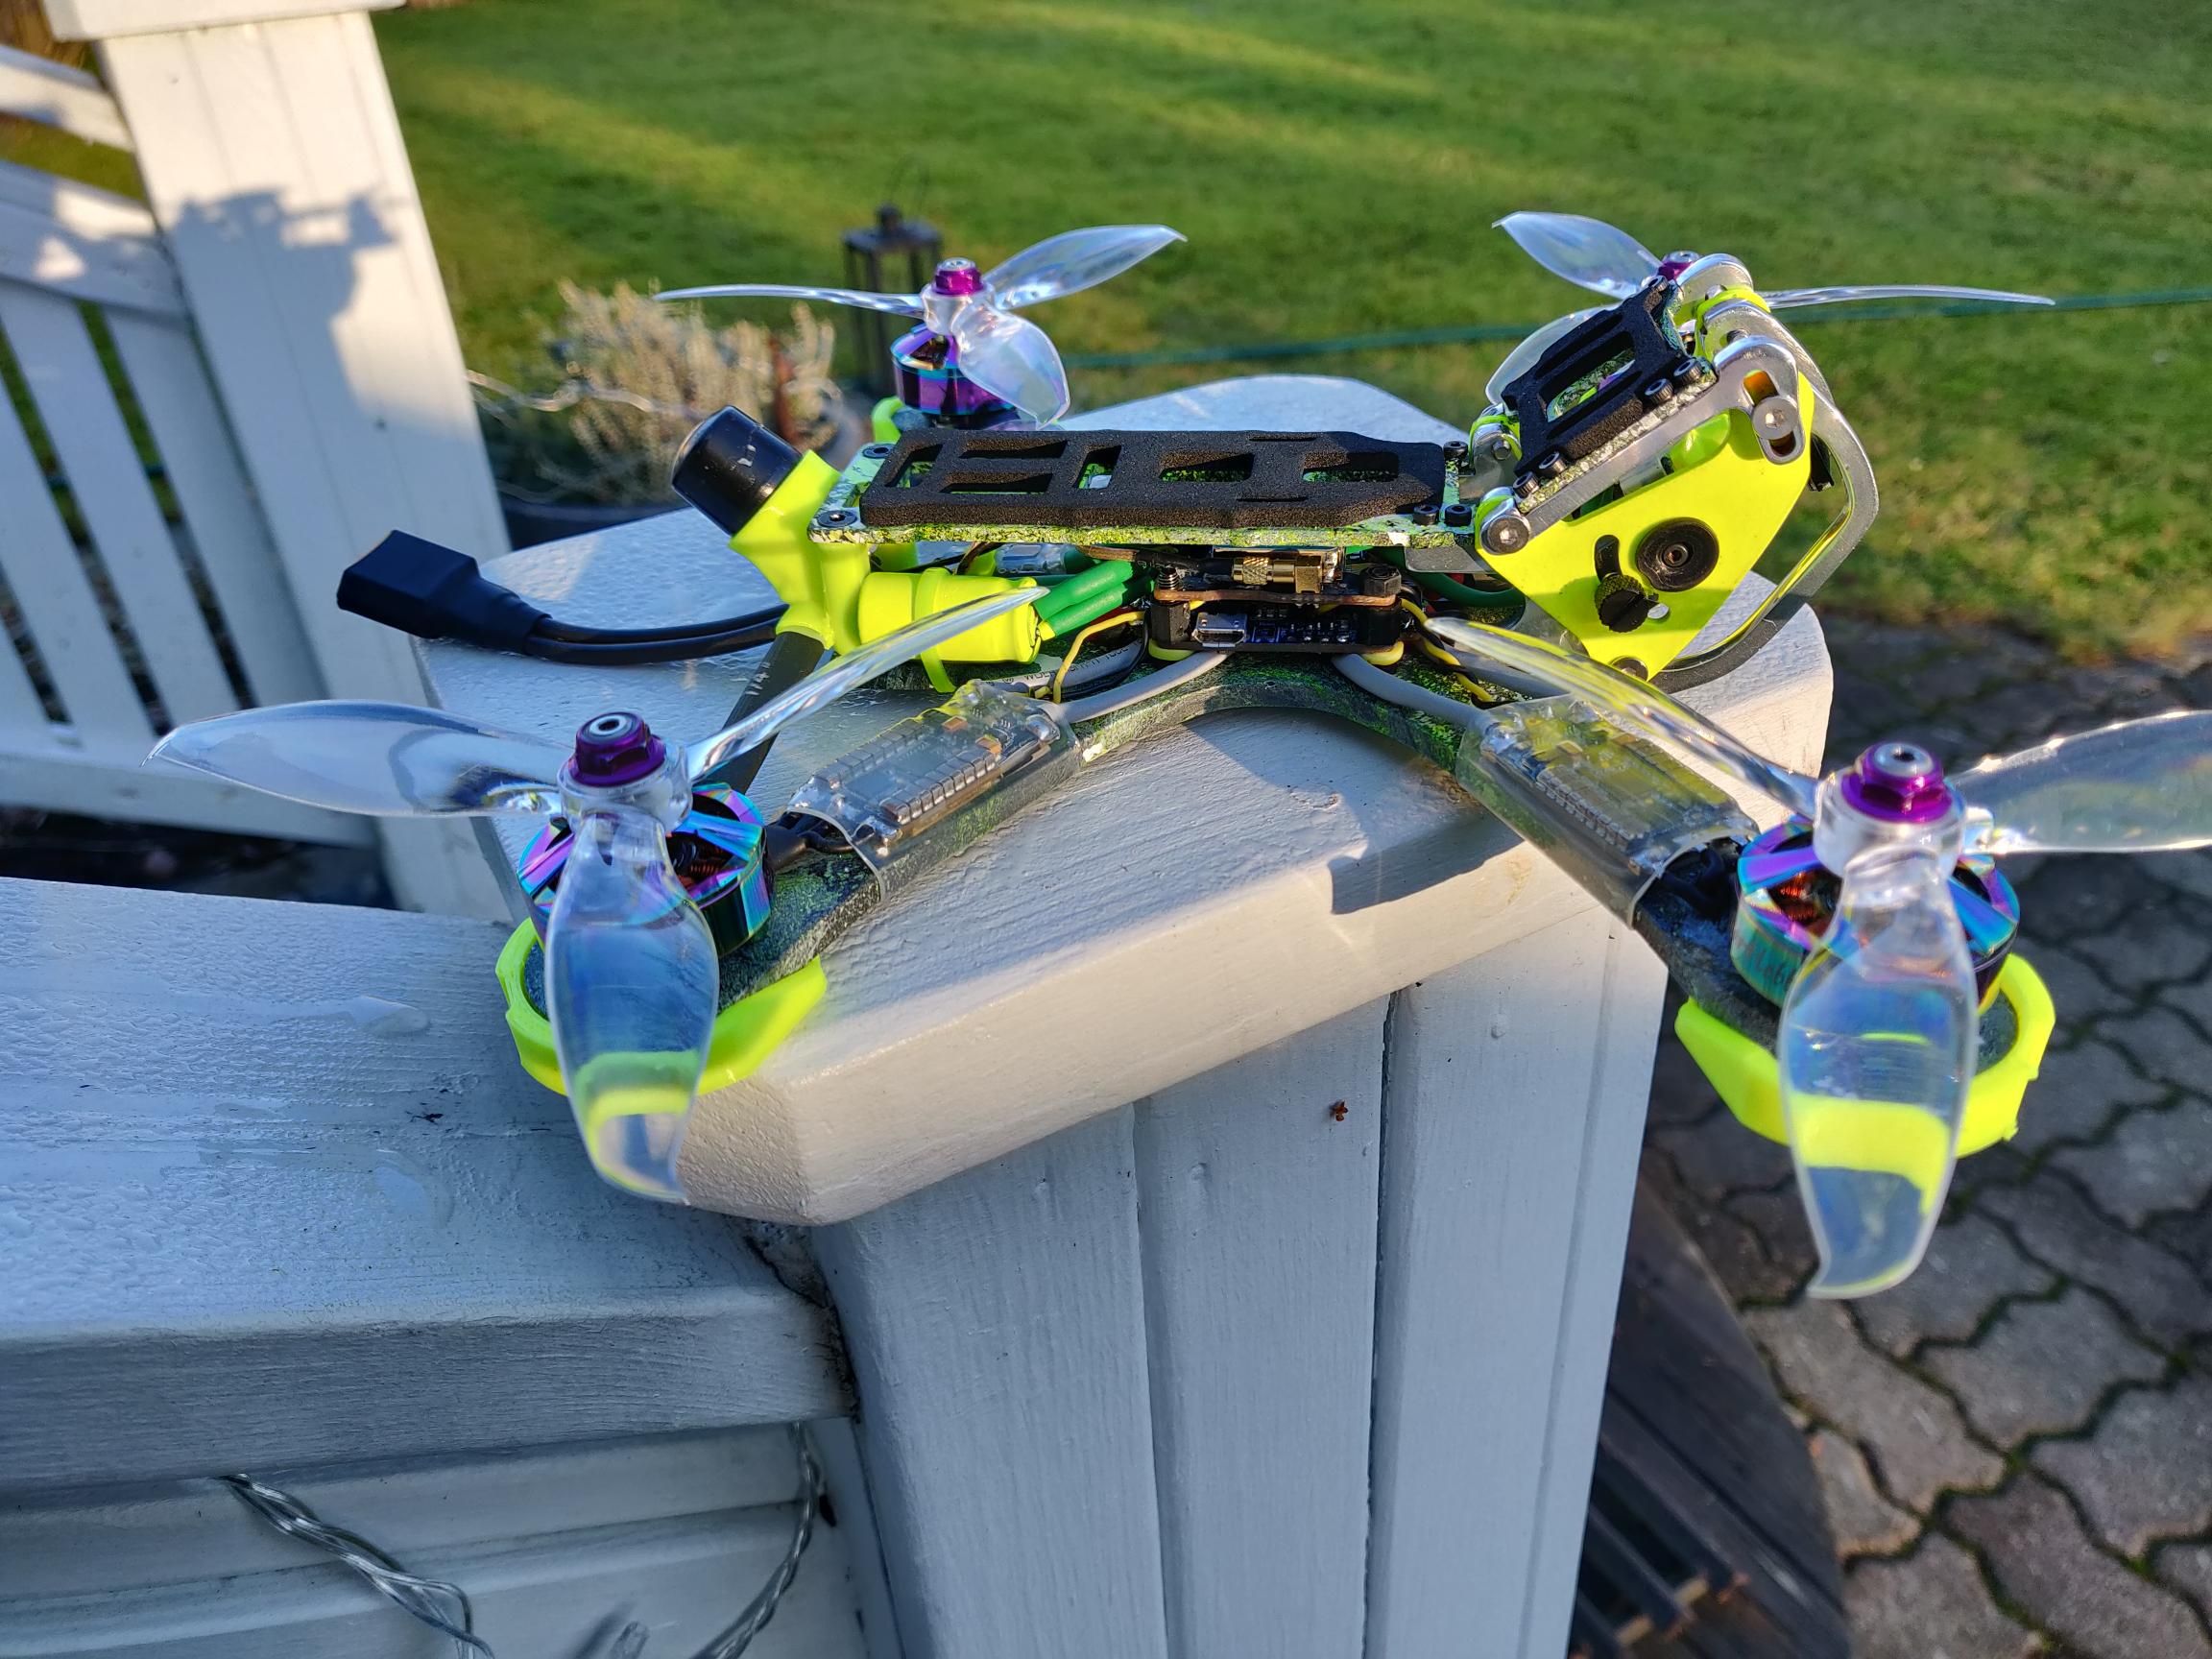
Because the weathers in Finland are really bad this time a year, i have much time to spend in my "quad factory". So I decided to put some extra hours in this quad to have some unique looks.
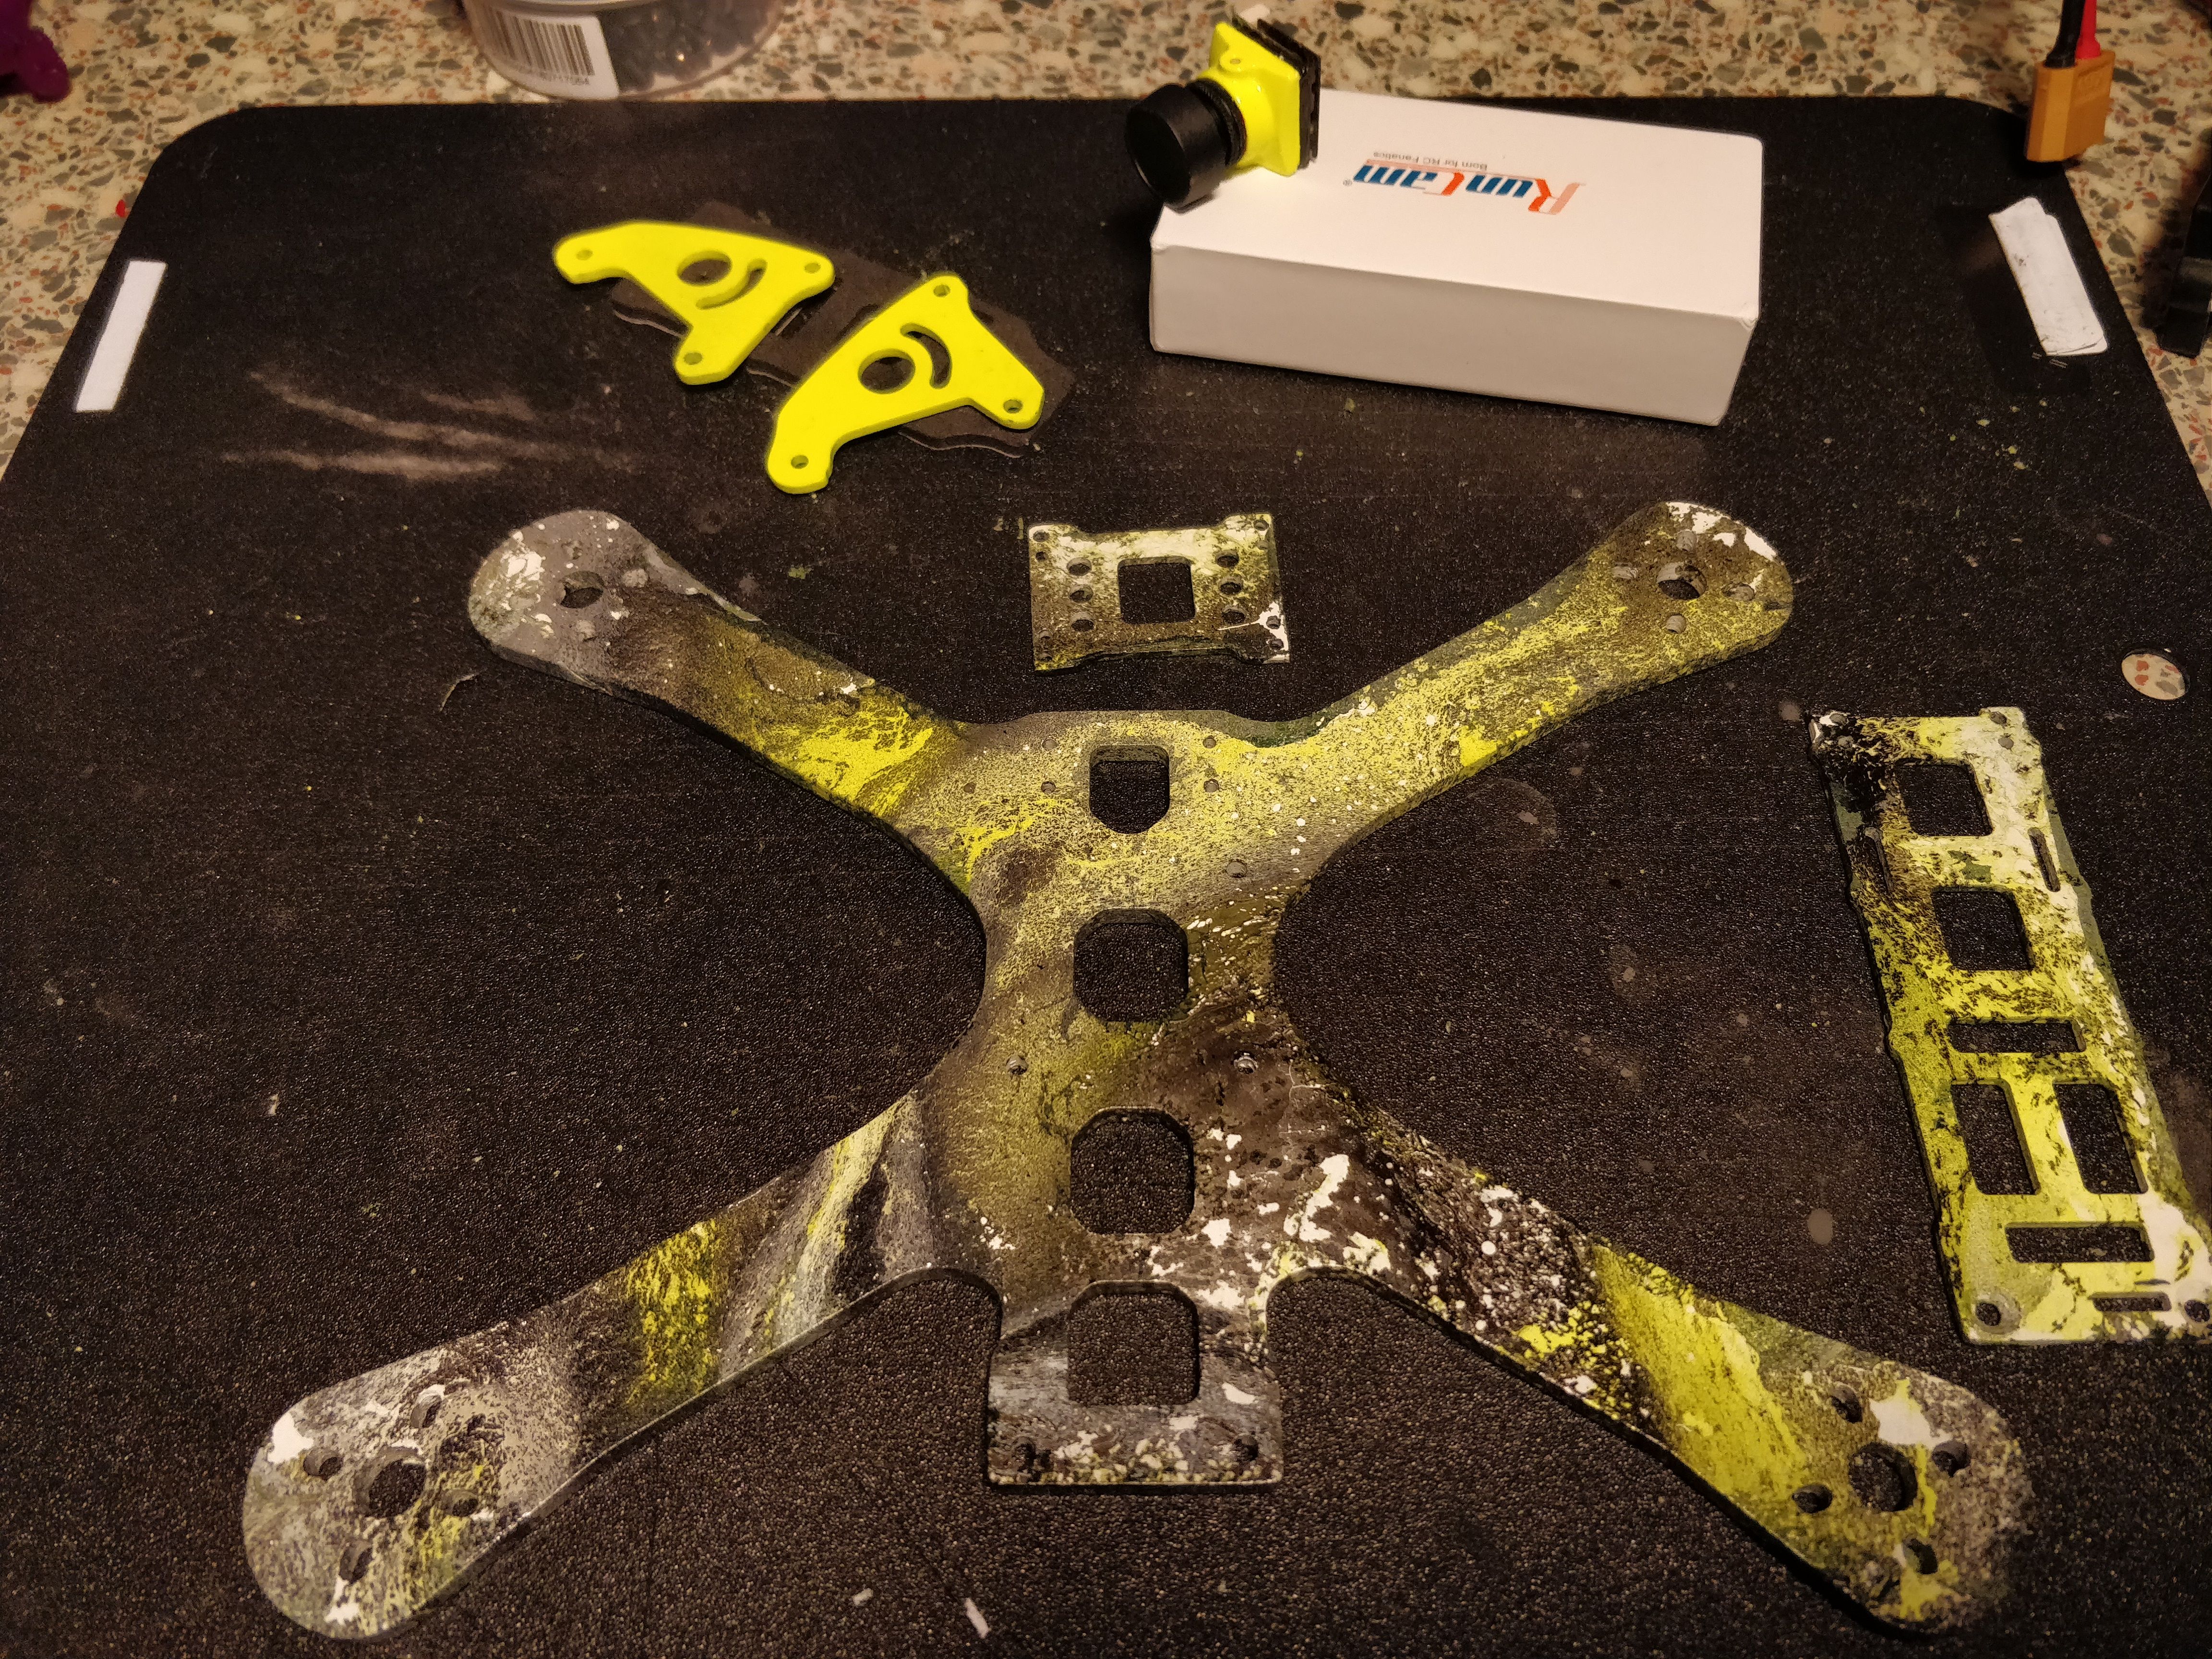
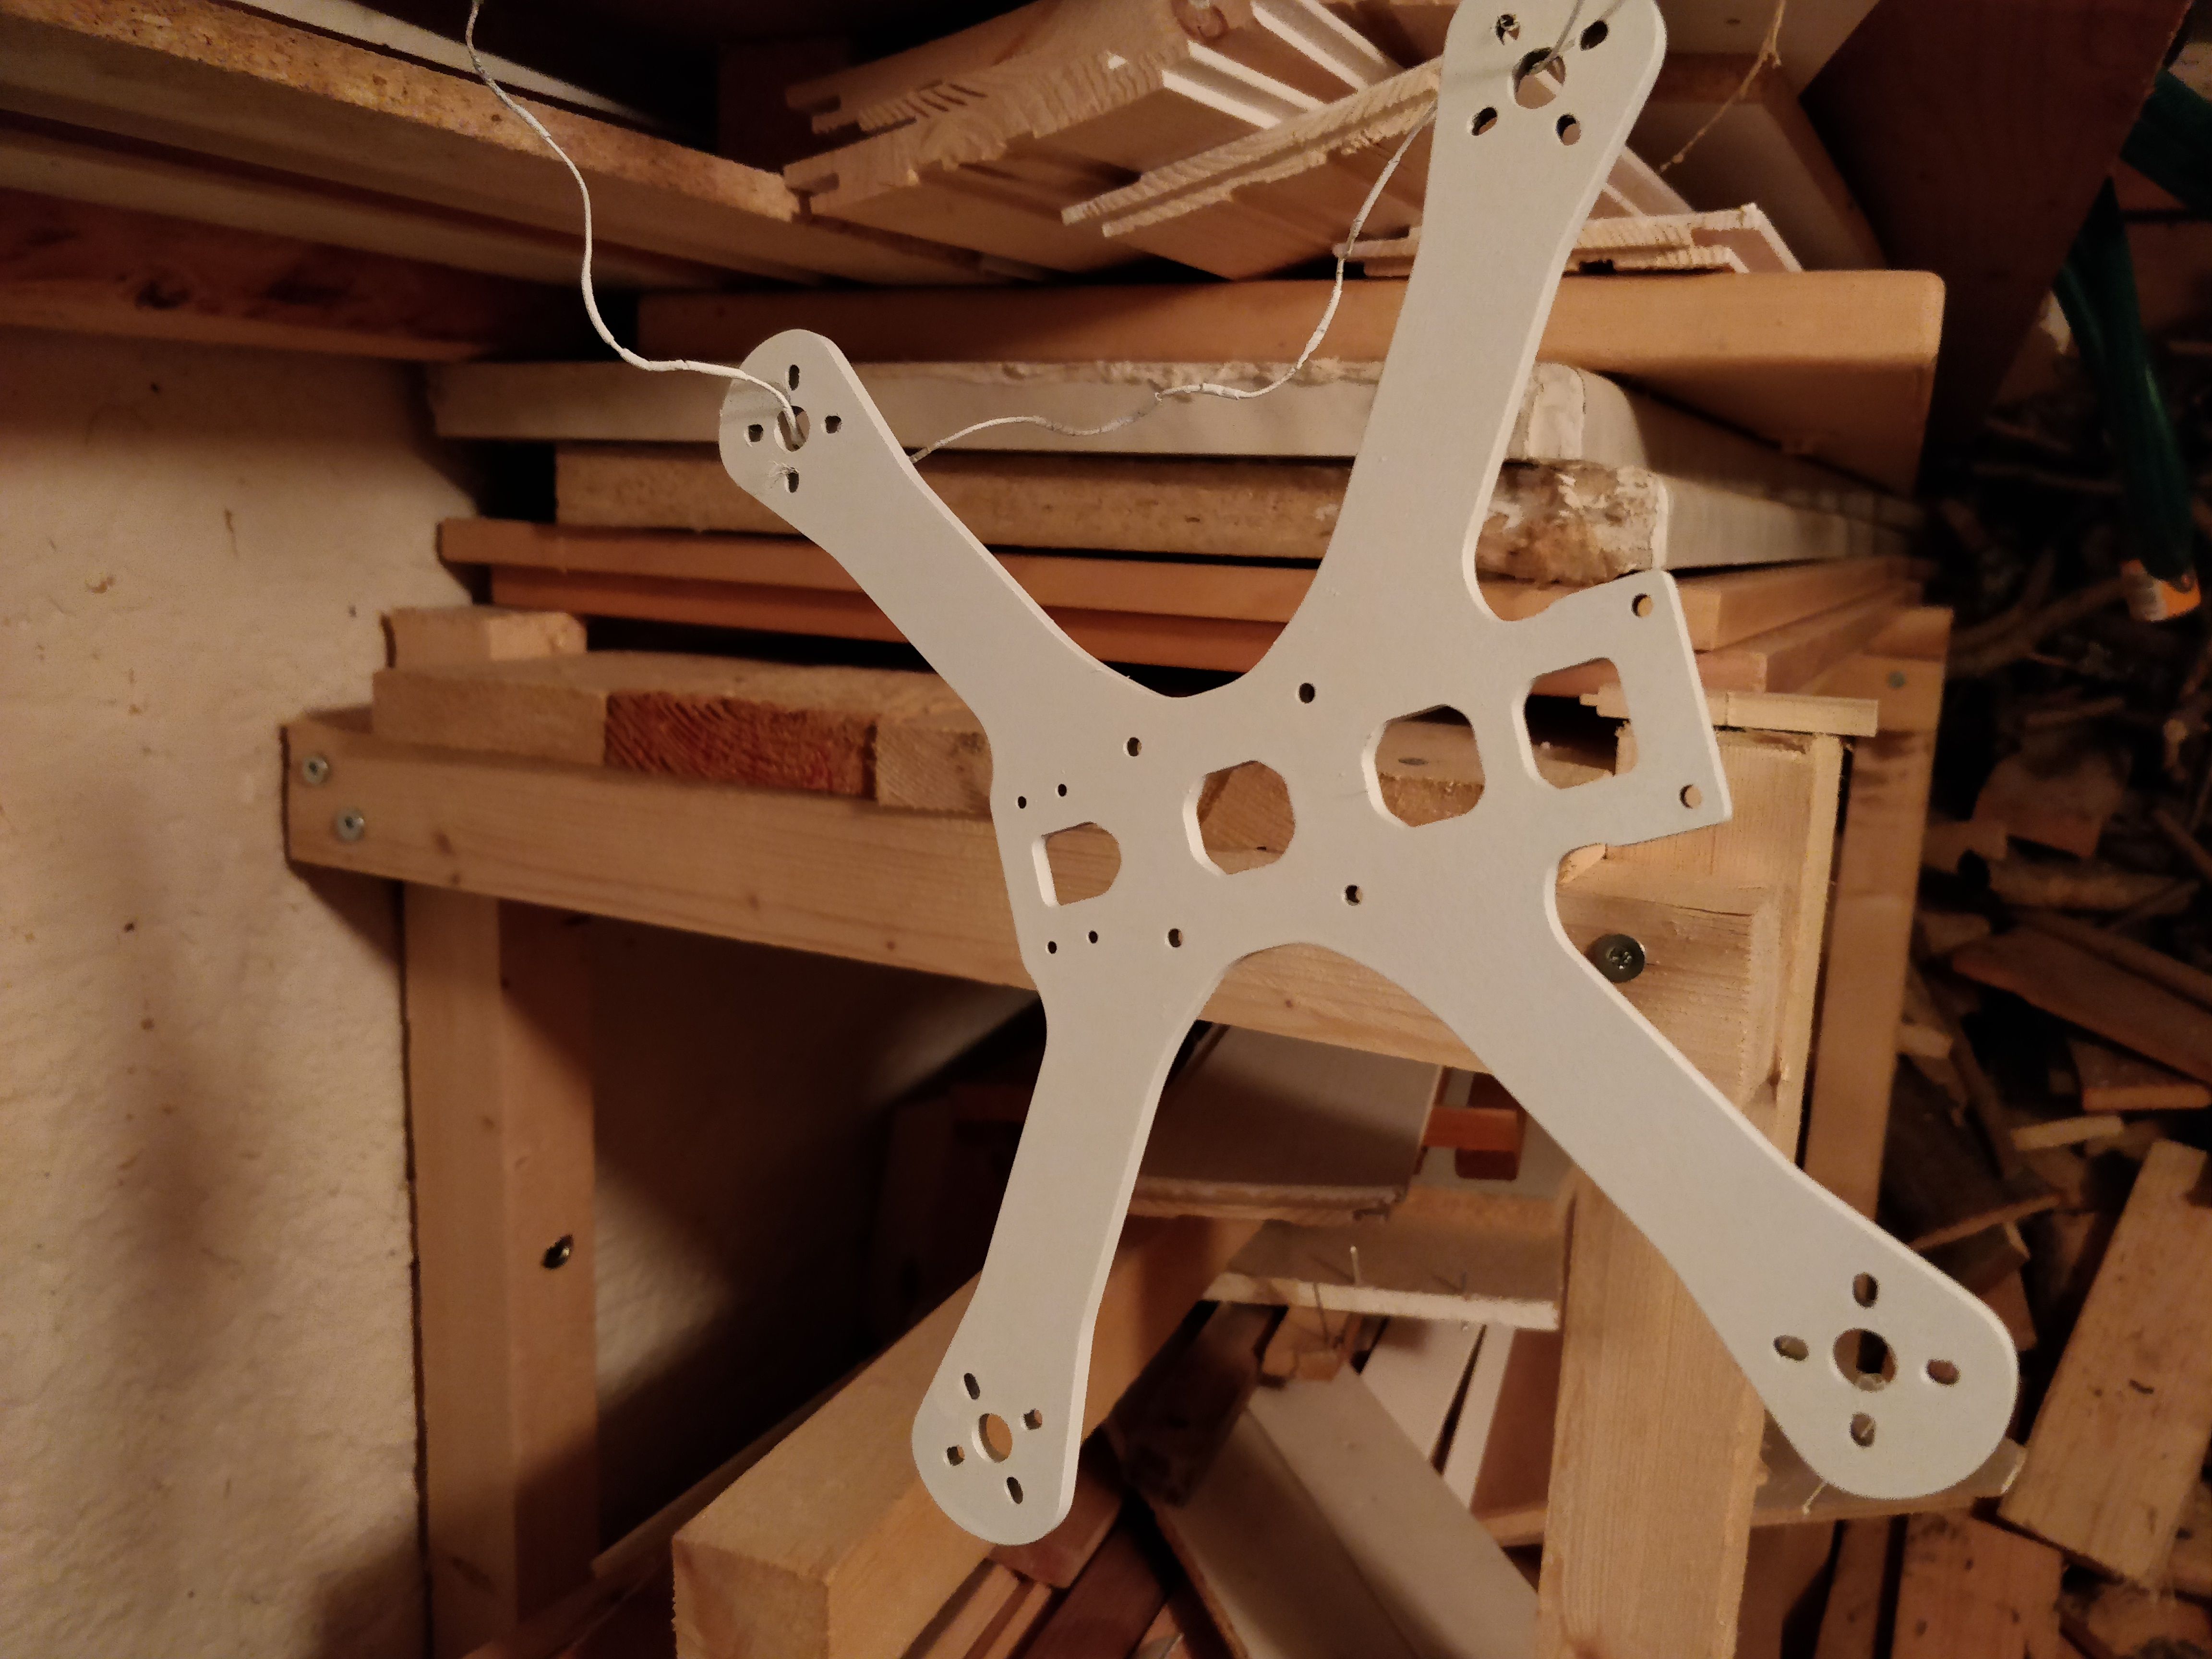
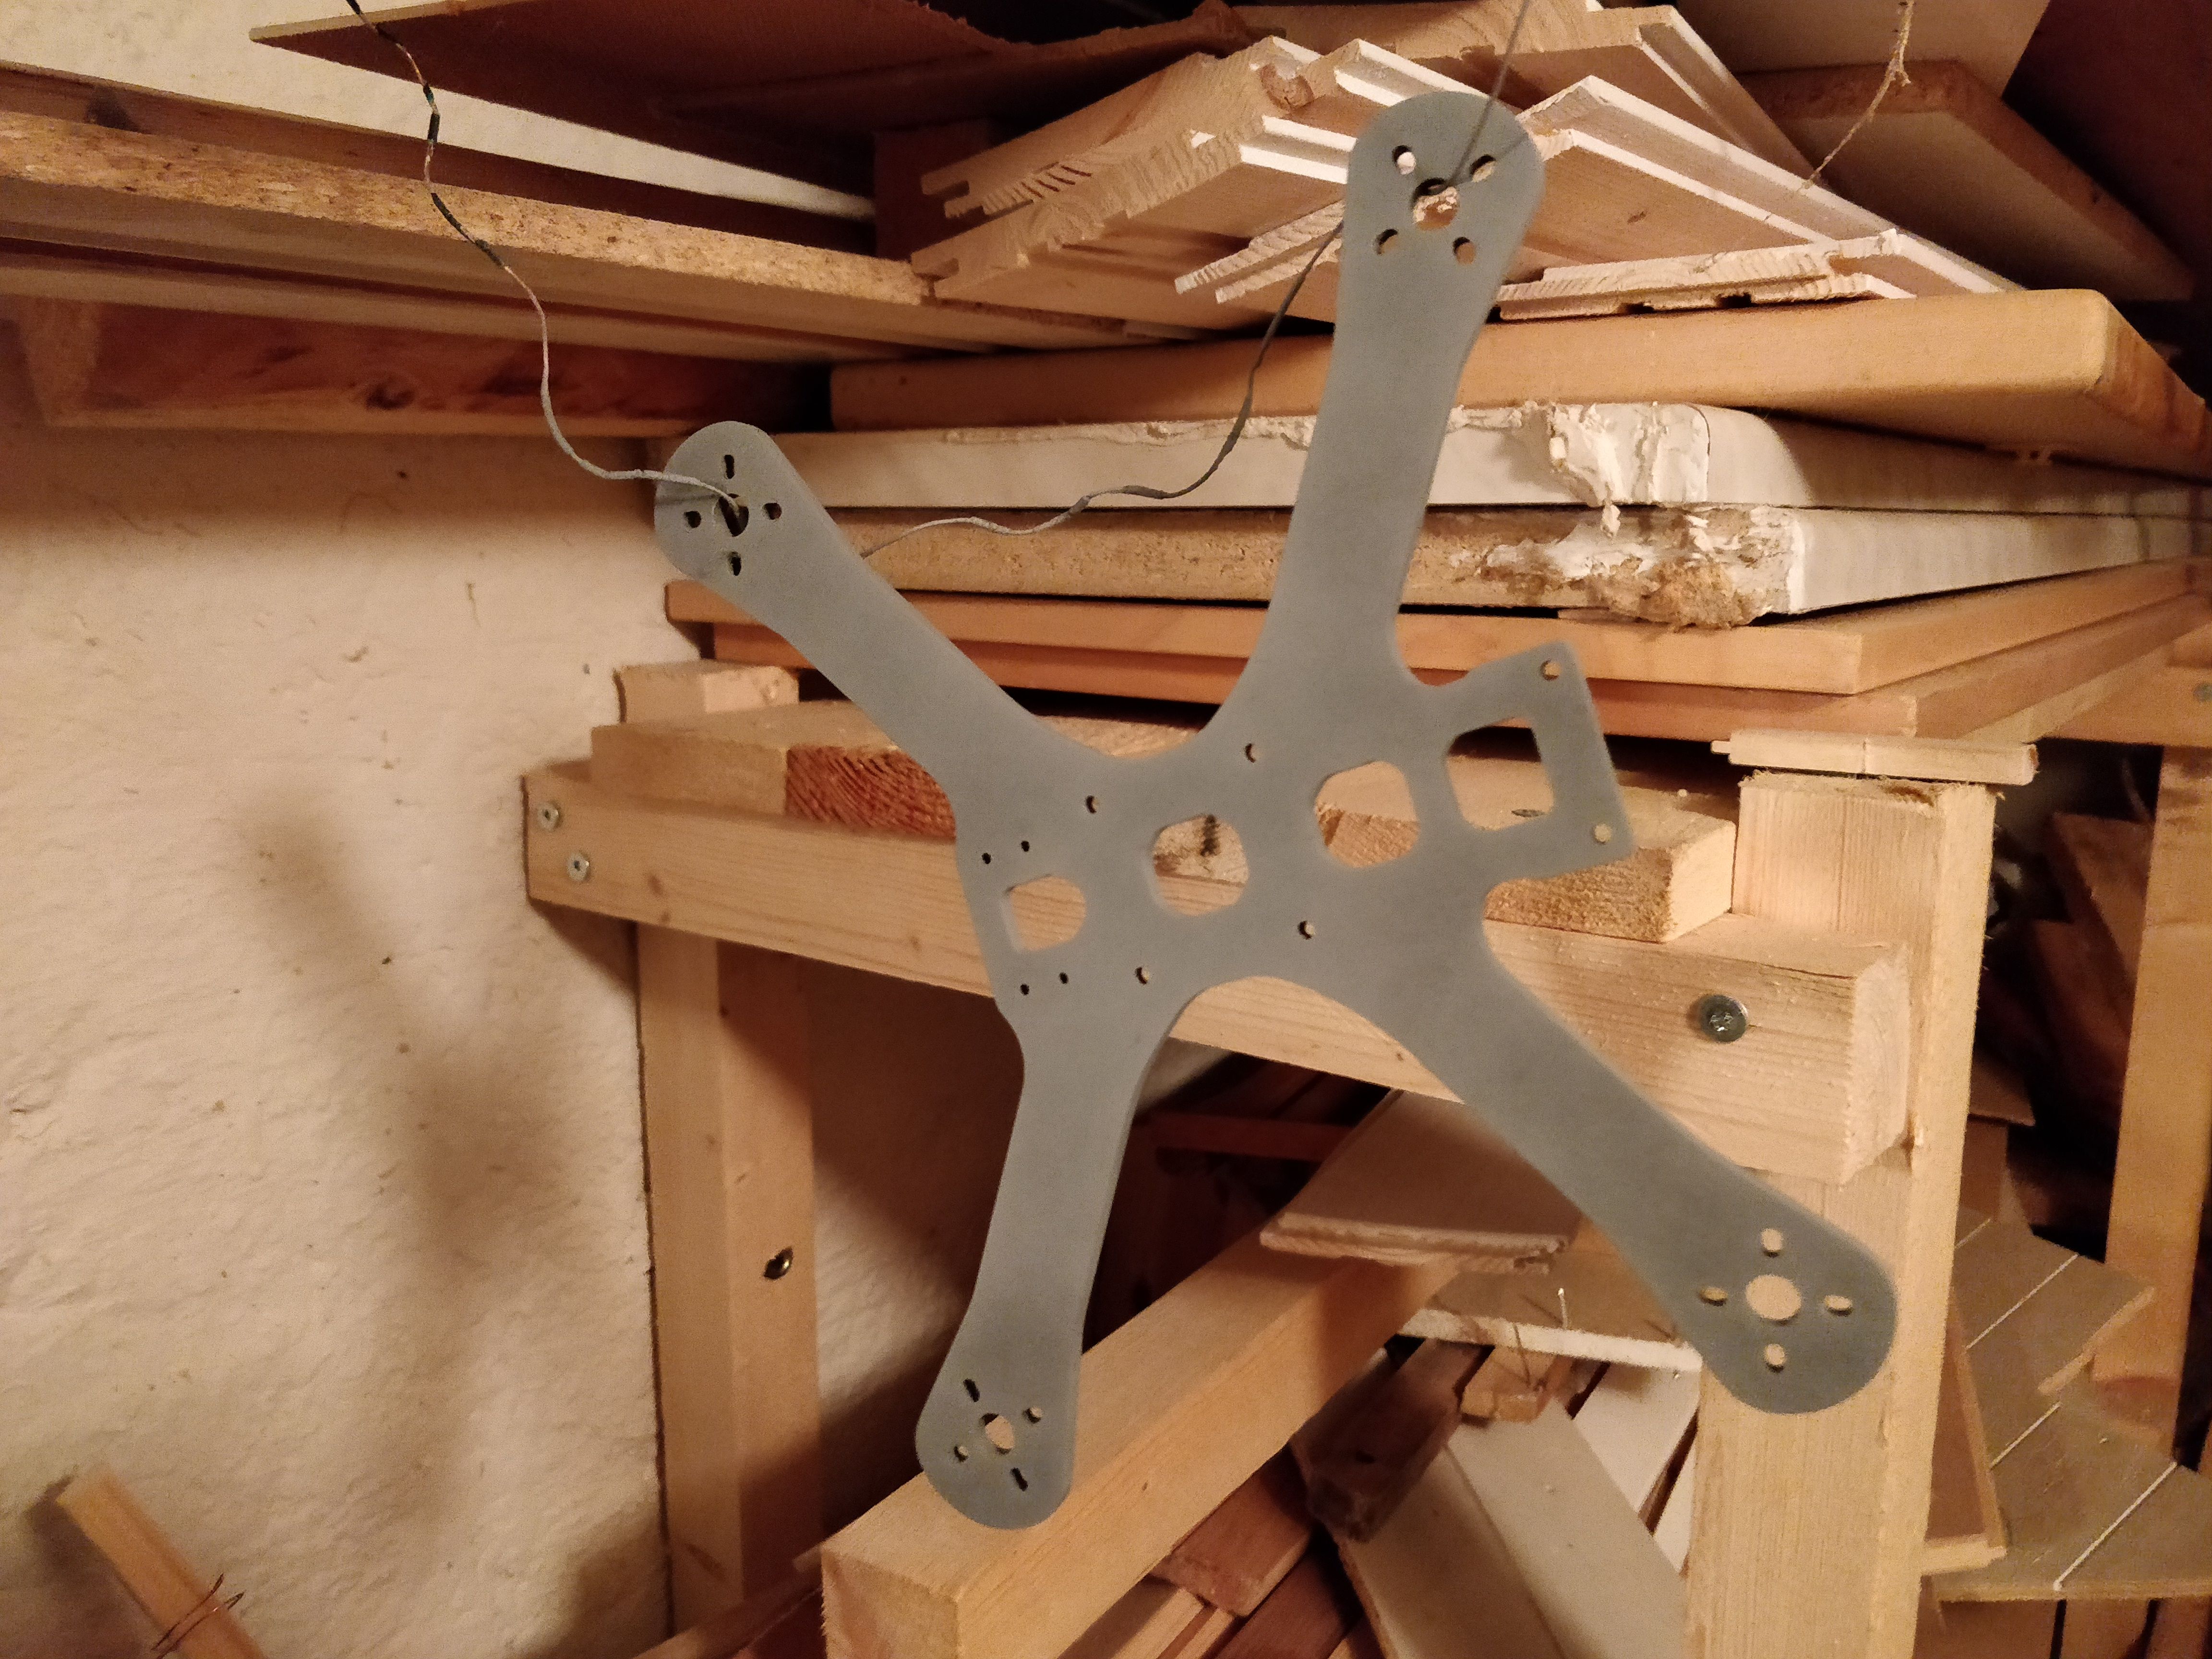
I decided to test a spray paint hydro dip finish to the frame. This is something I have not done before, but I've seen some really nice paint dips.
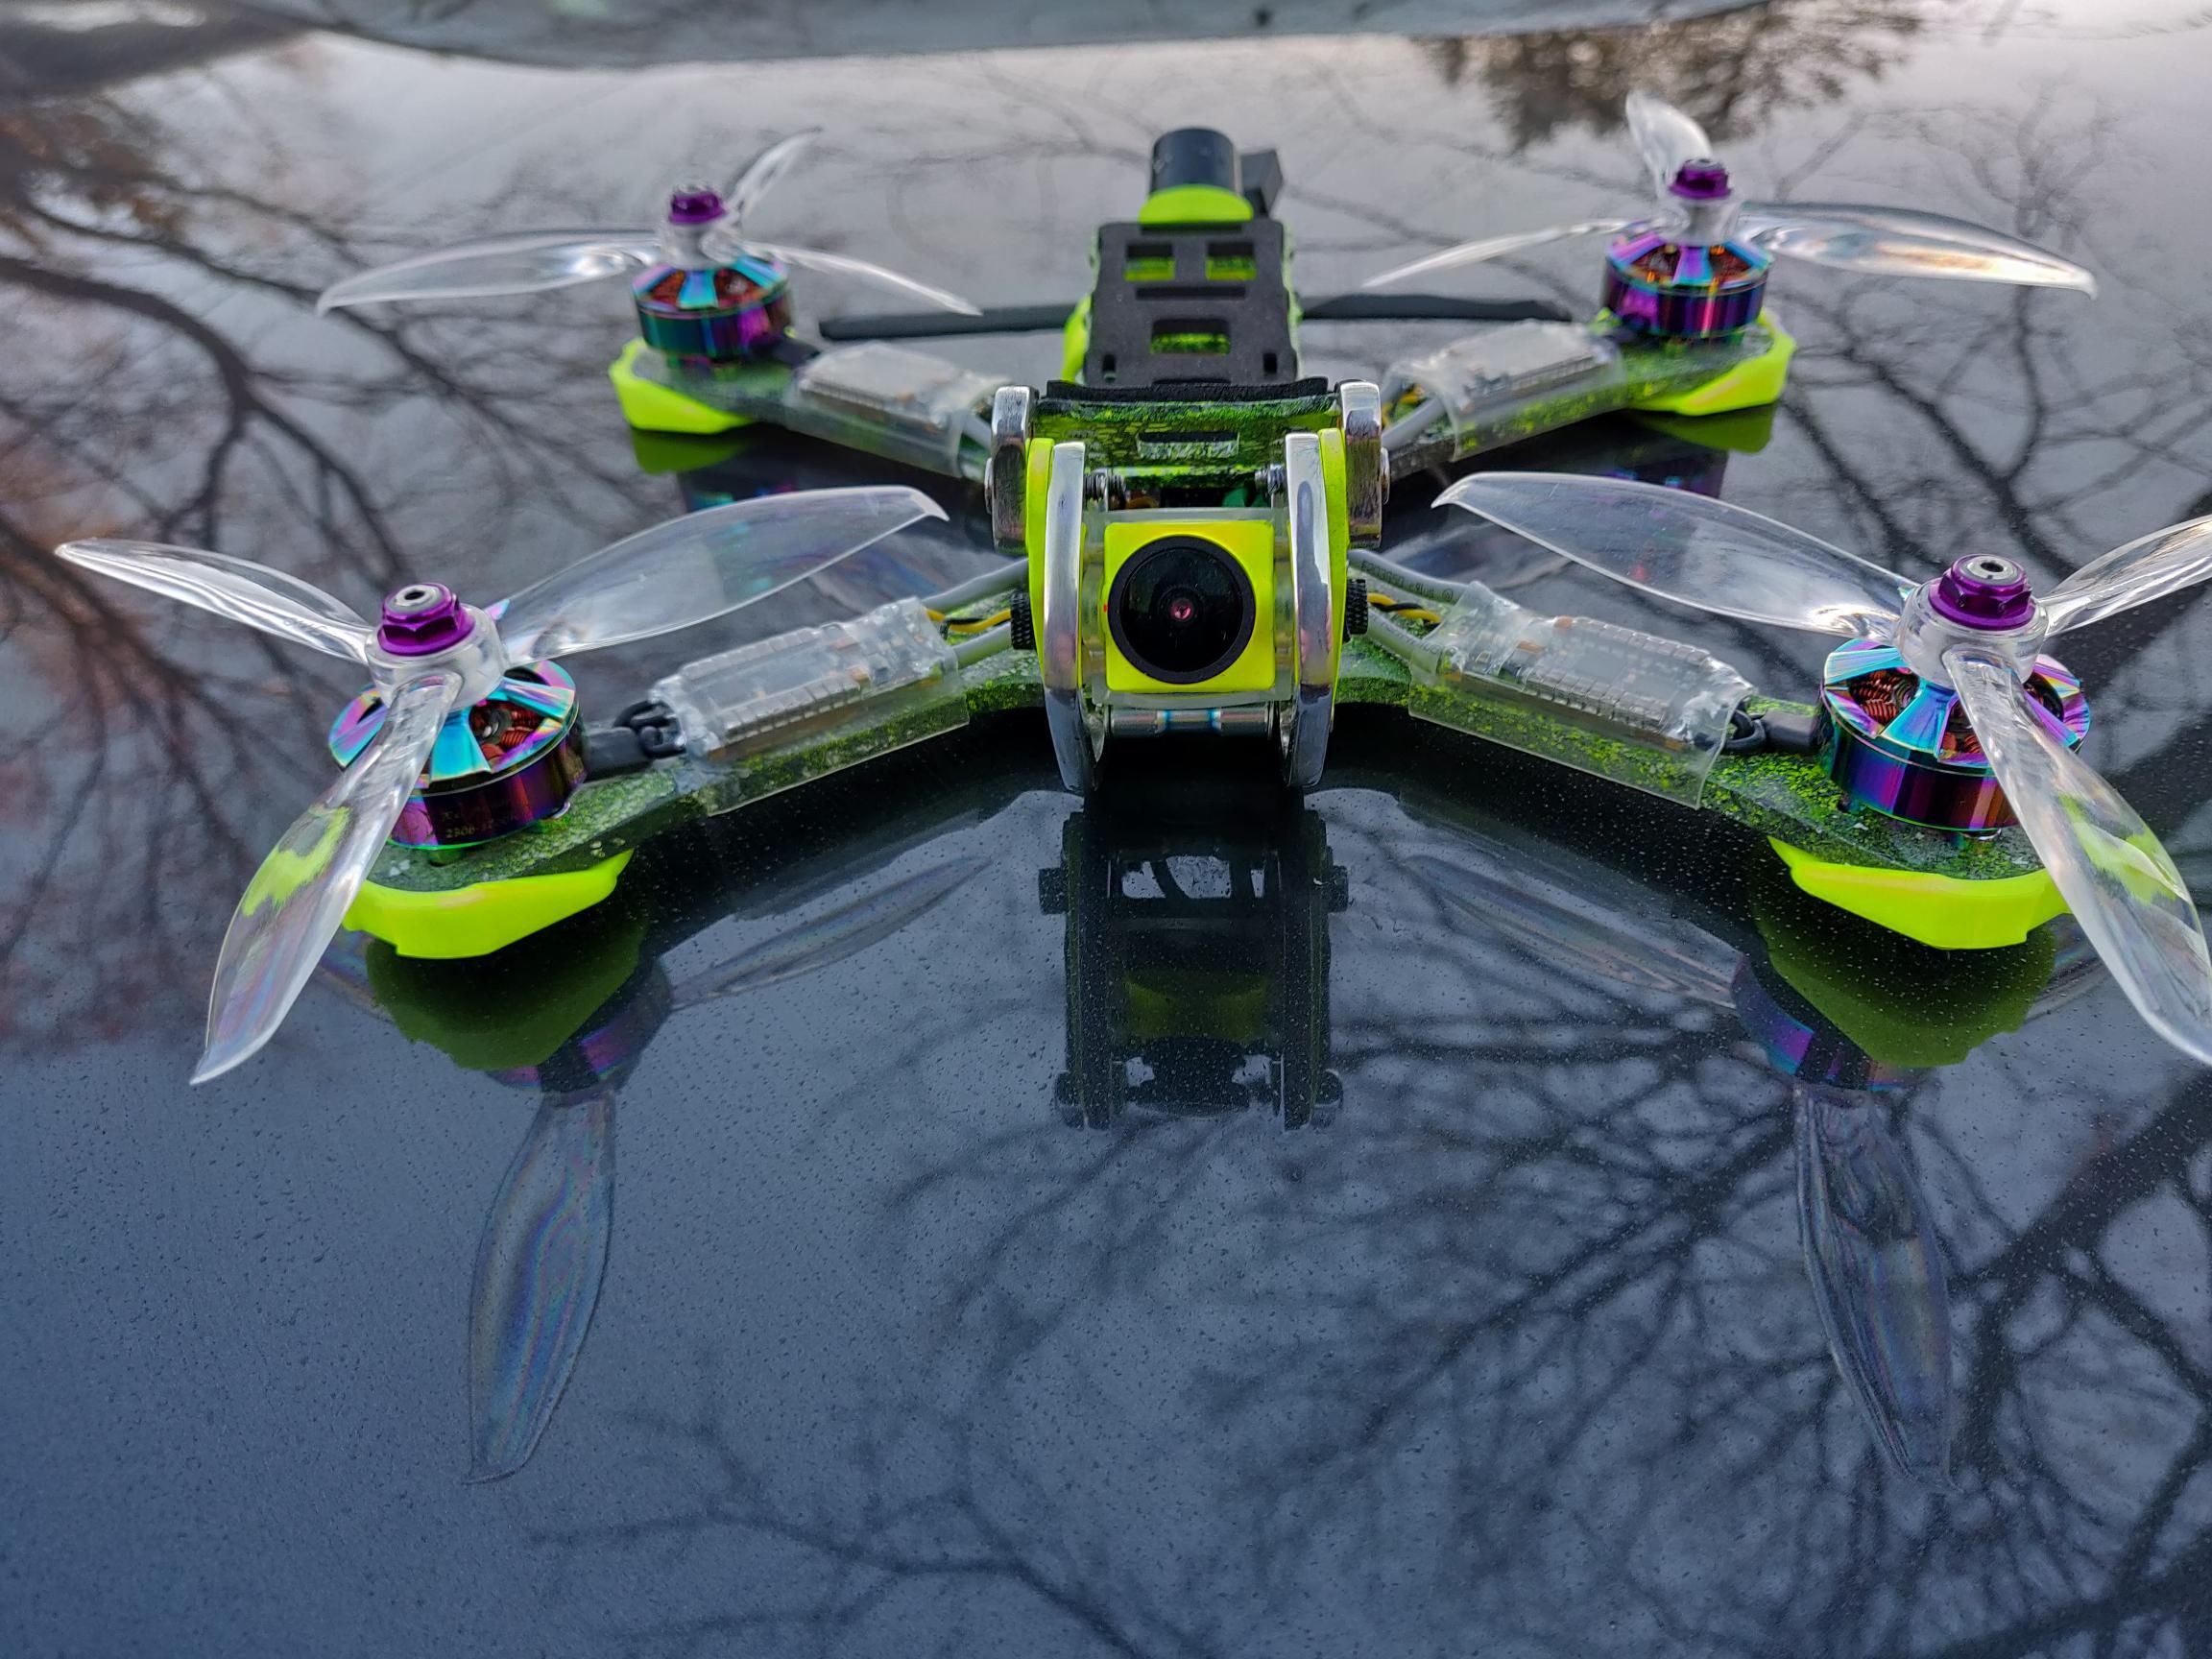
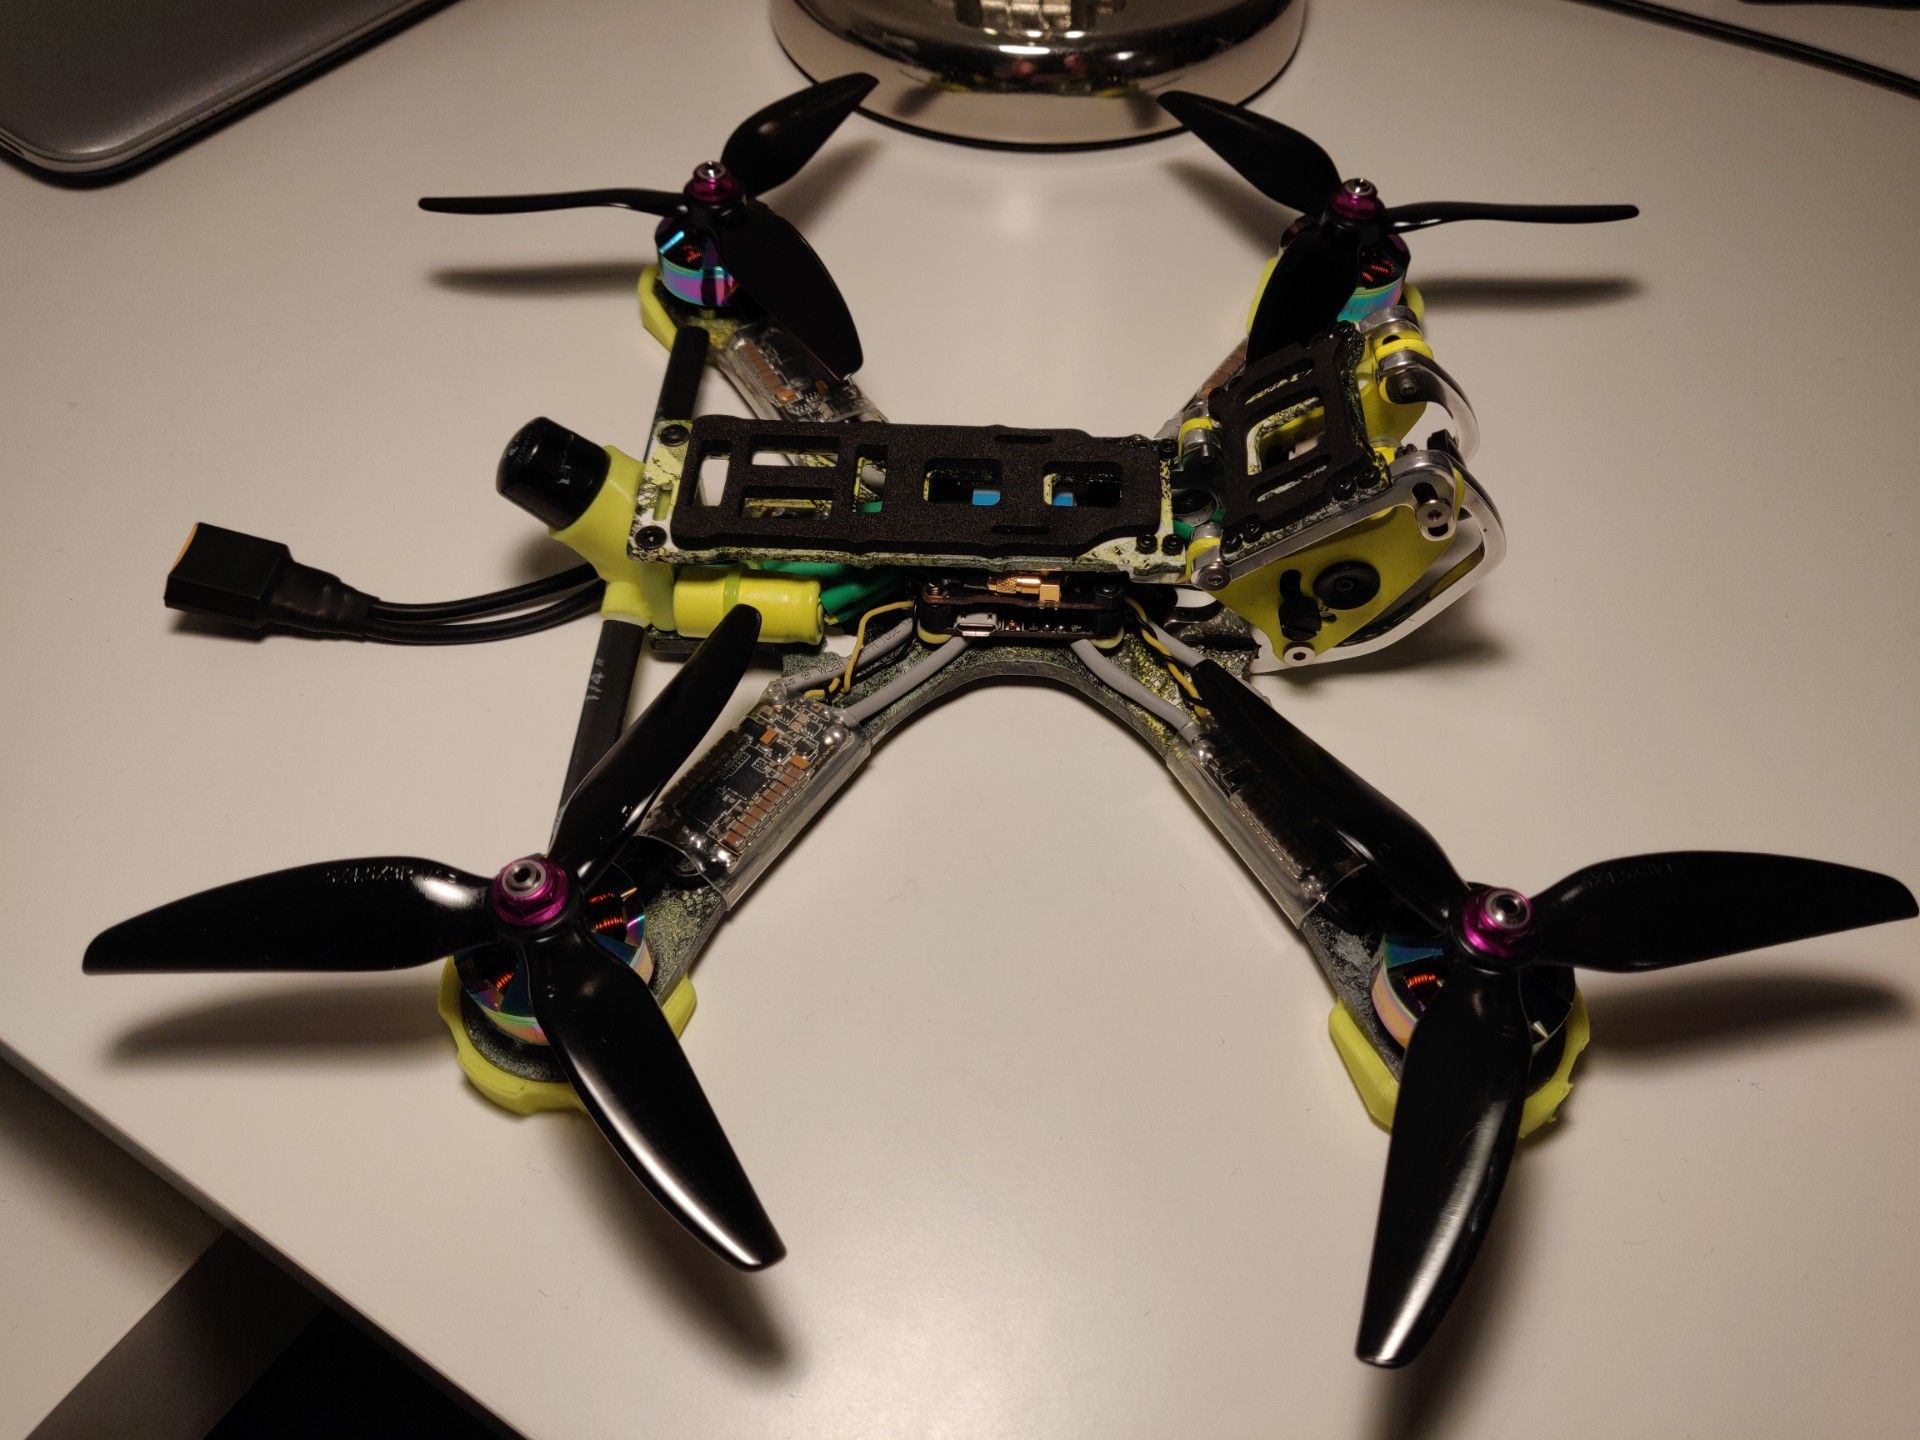
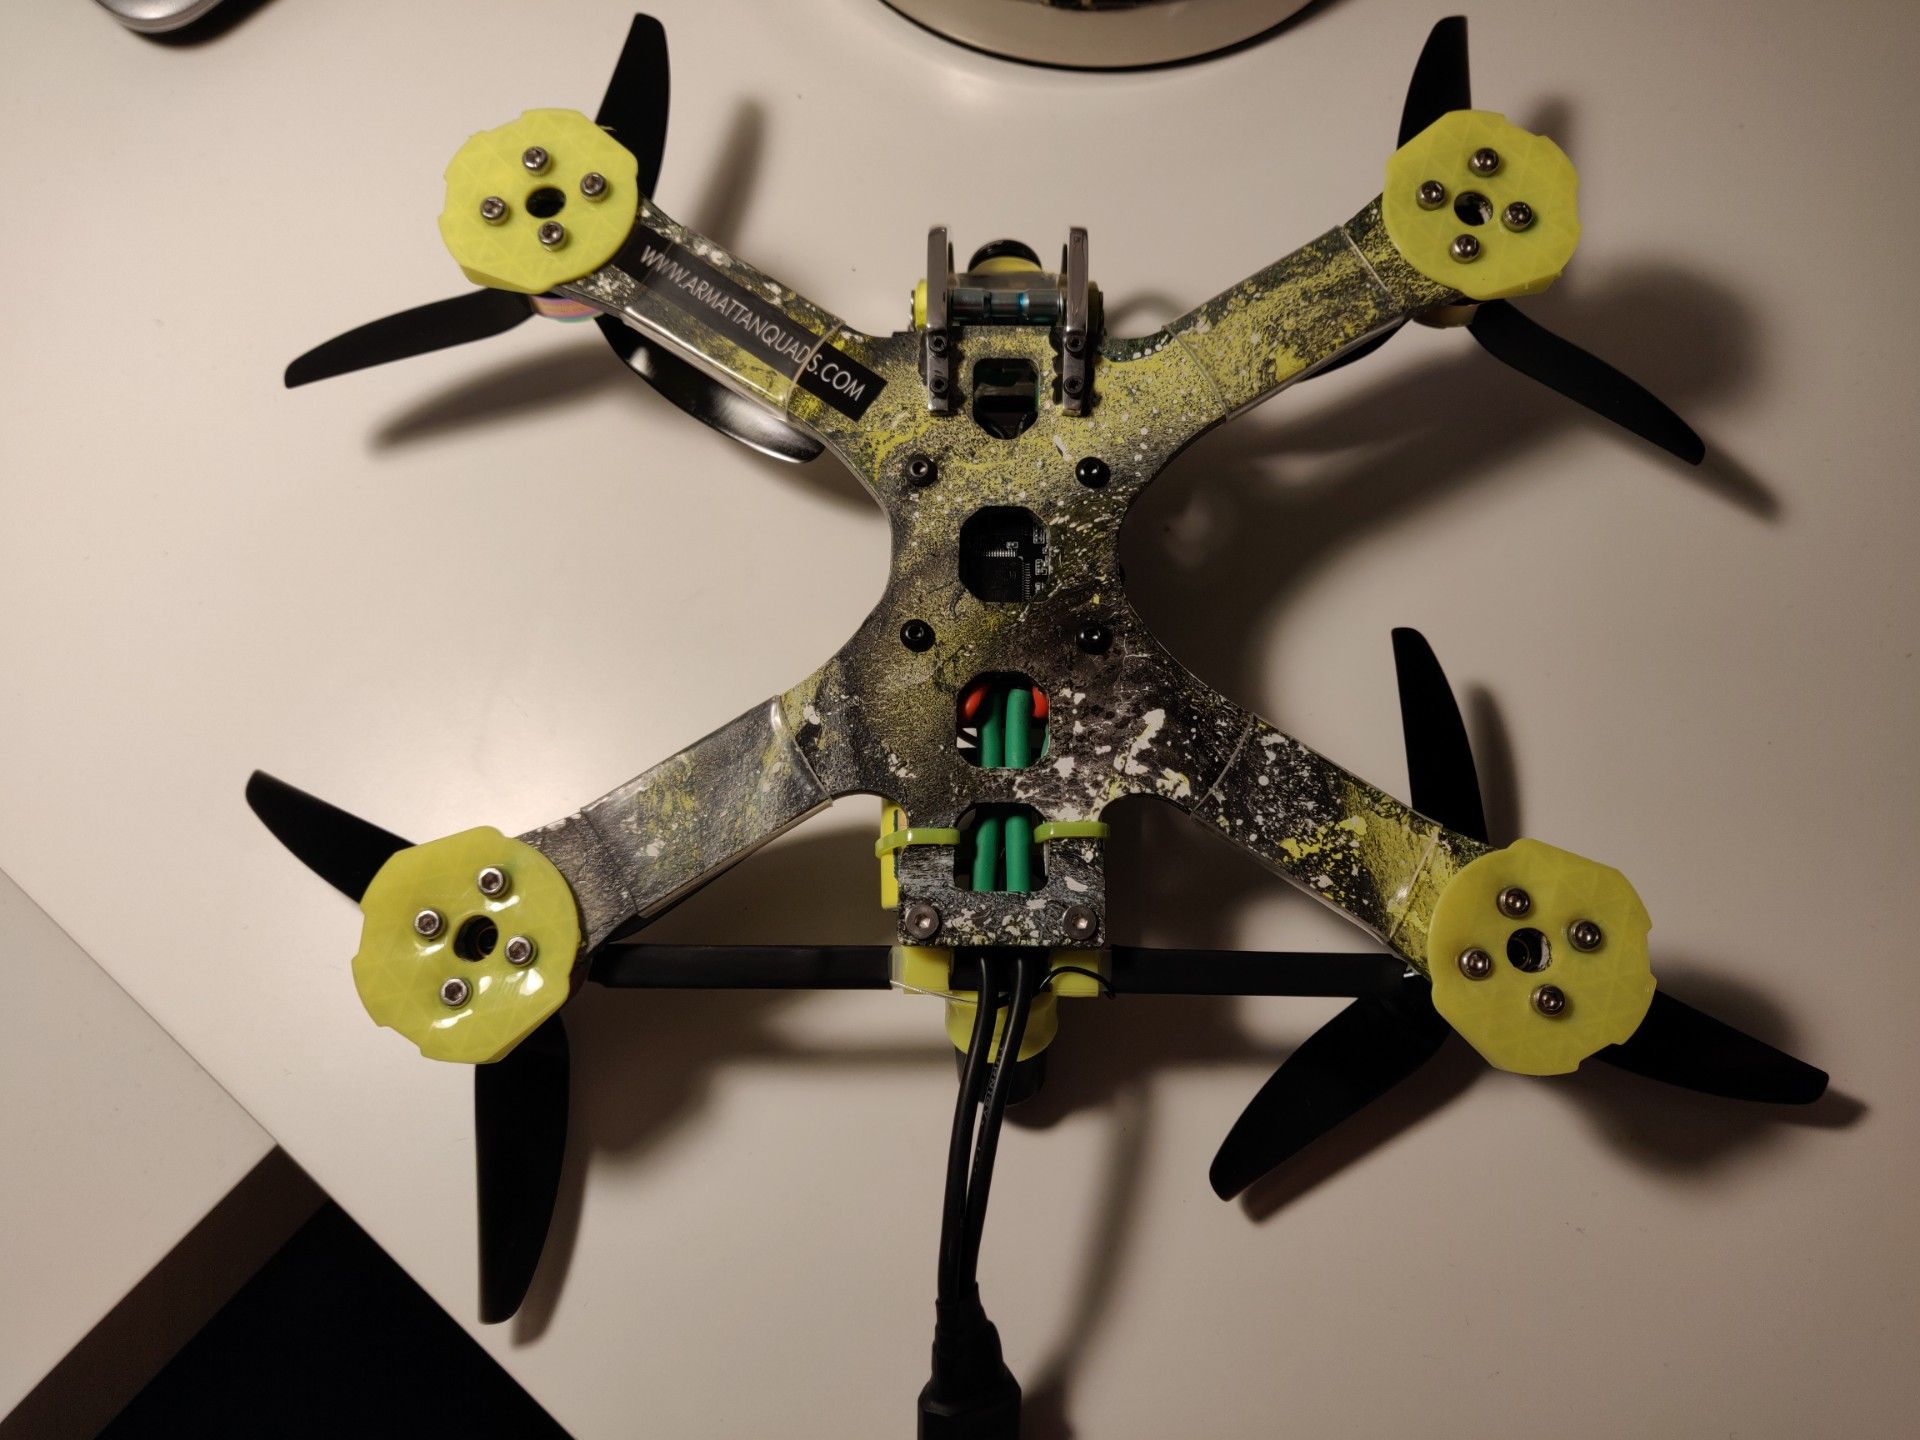
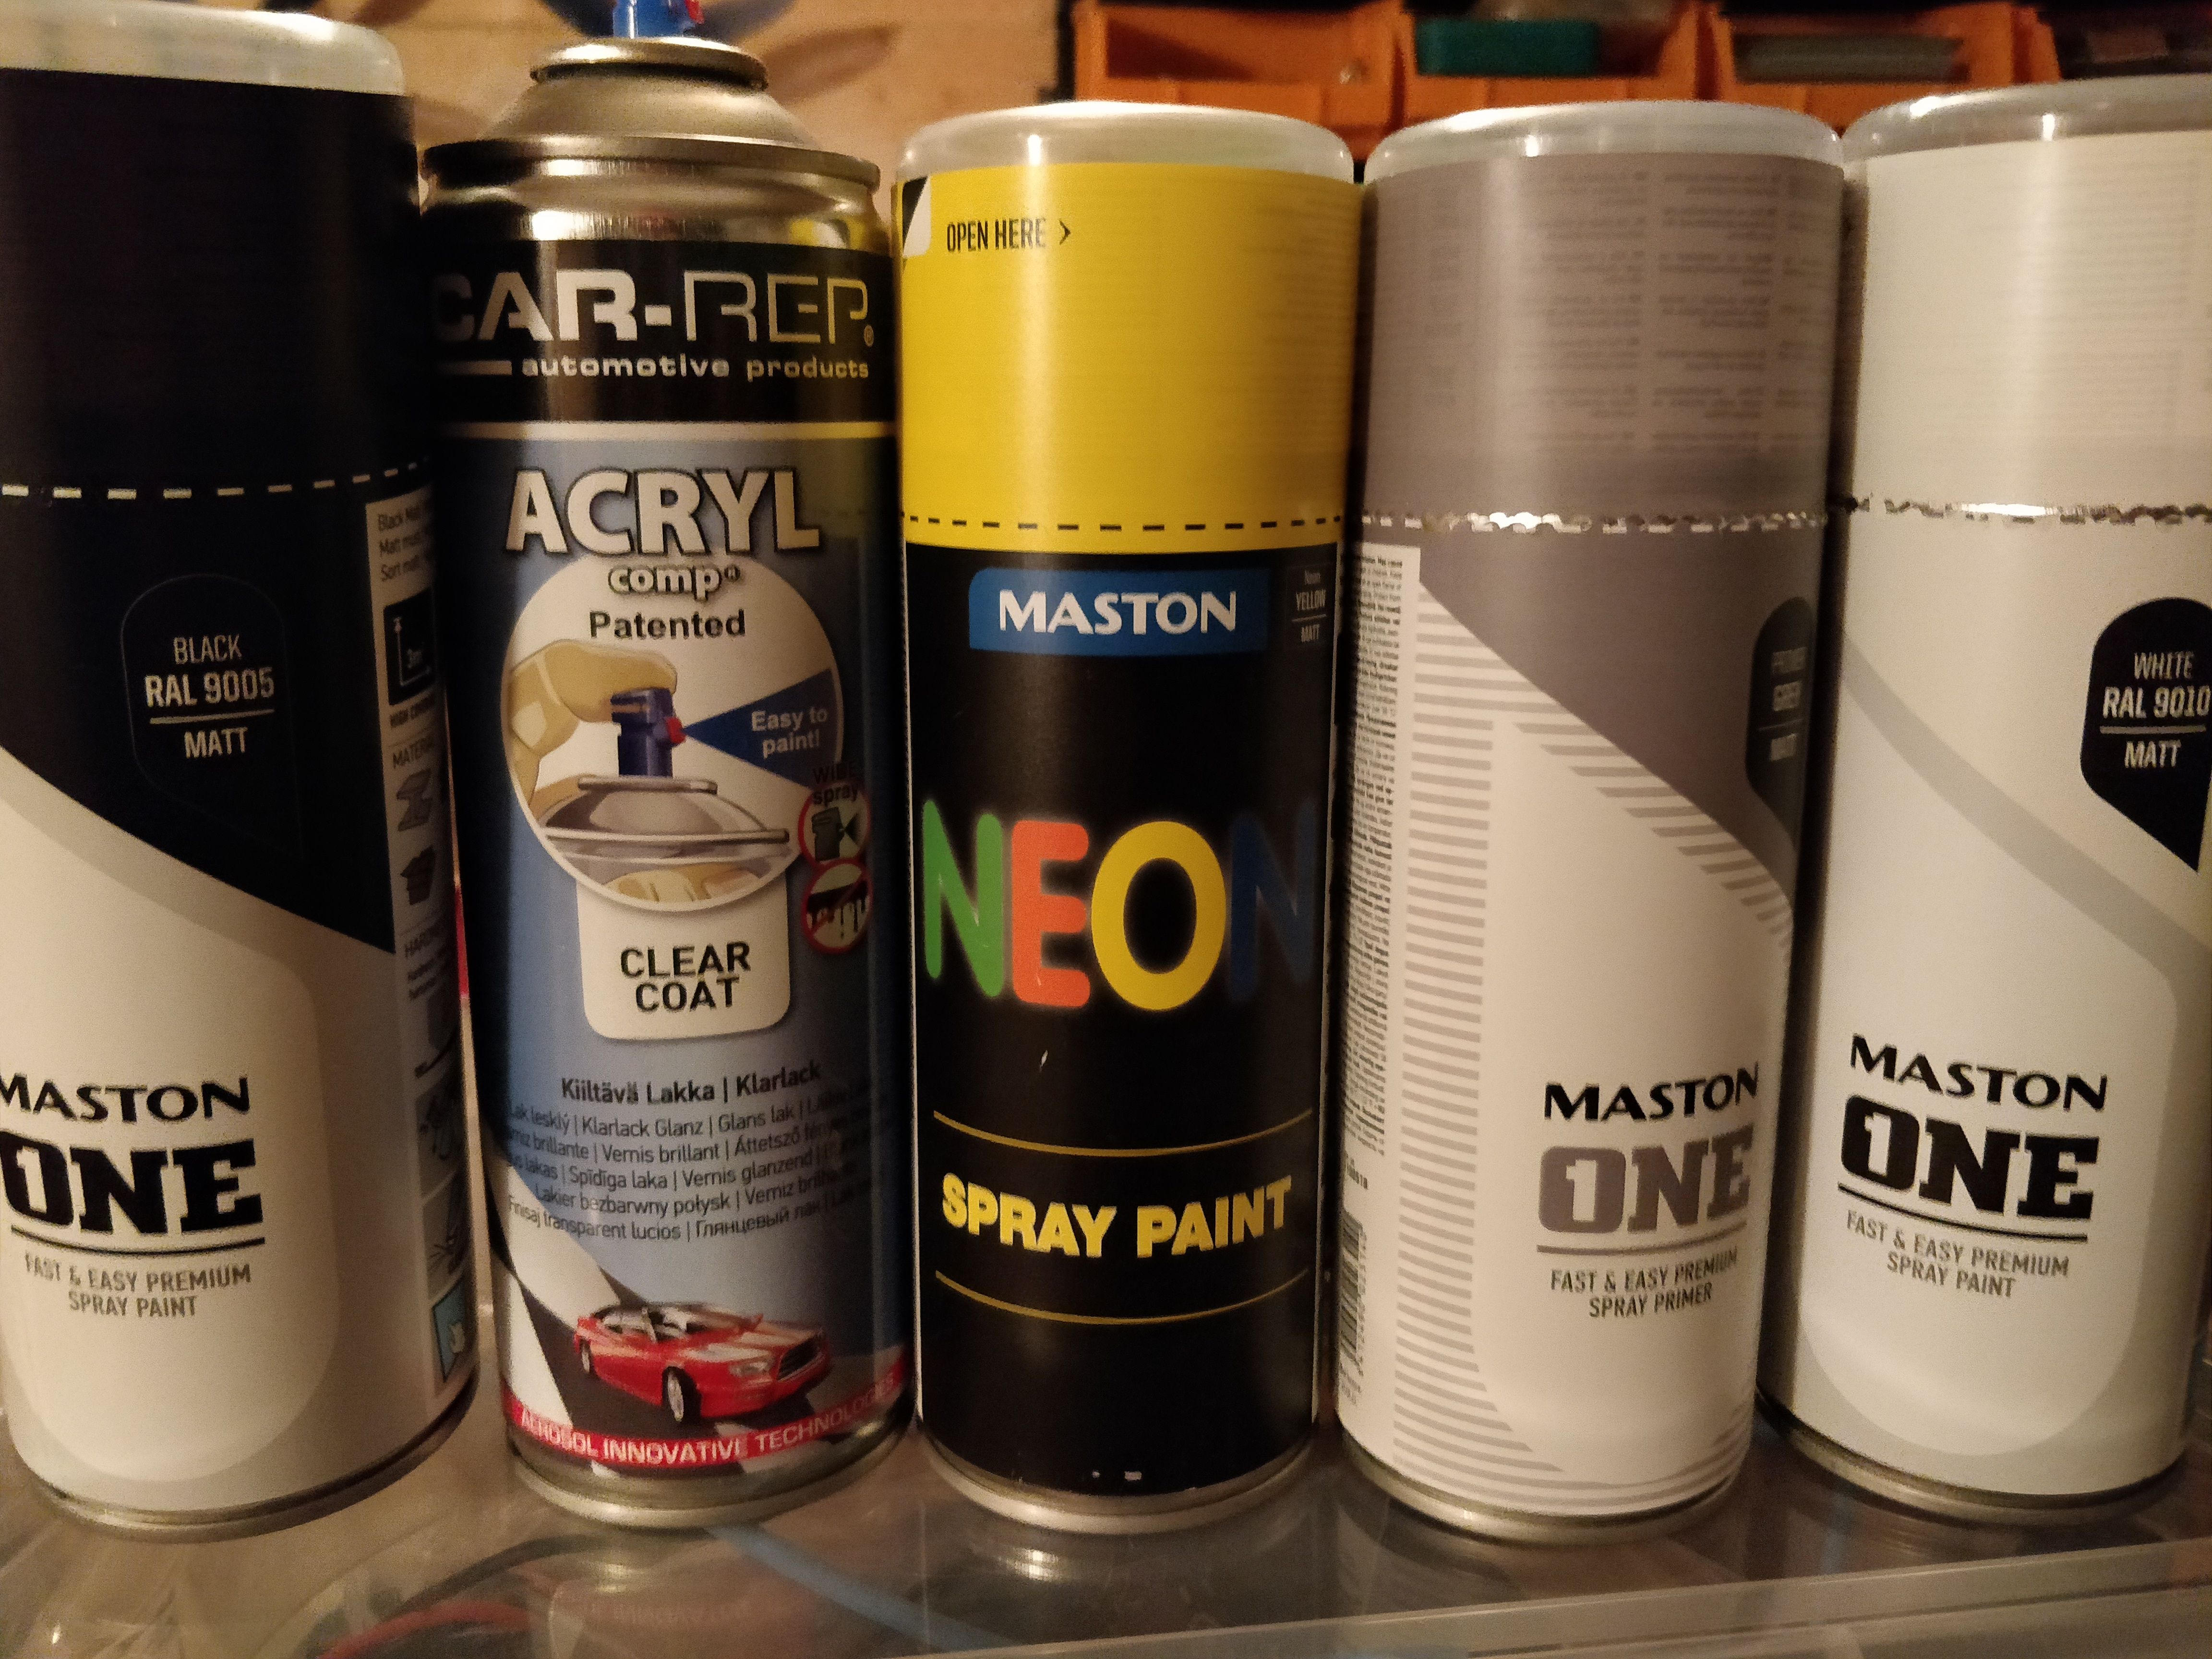
The spray paint hydro dip was a p.i.t.a. process, but i am really satisfied with the result. I used 4 different colors in the hydro dip, black, gray, white and neon yellow. After the hydro dip. i clear coated the parts with two layers of acryl clear coat.
My advise for the spray paint dip:
- The water in the dipping tank should be as cold as possible. In warm water, the paint dries in seconds
- Even if you have a really cold water, you should work fast: Shake all cans well before spraying and be quick in spraying the water surface. You have only about 30-45 seconds to dip the frame in the water from the first spray to surface.
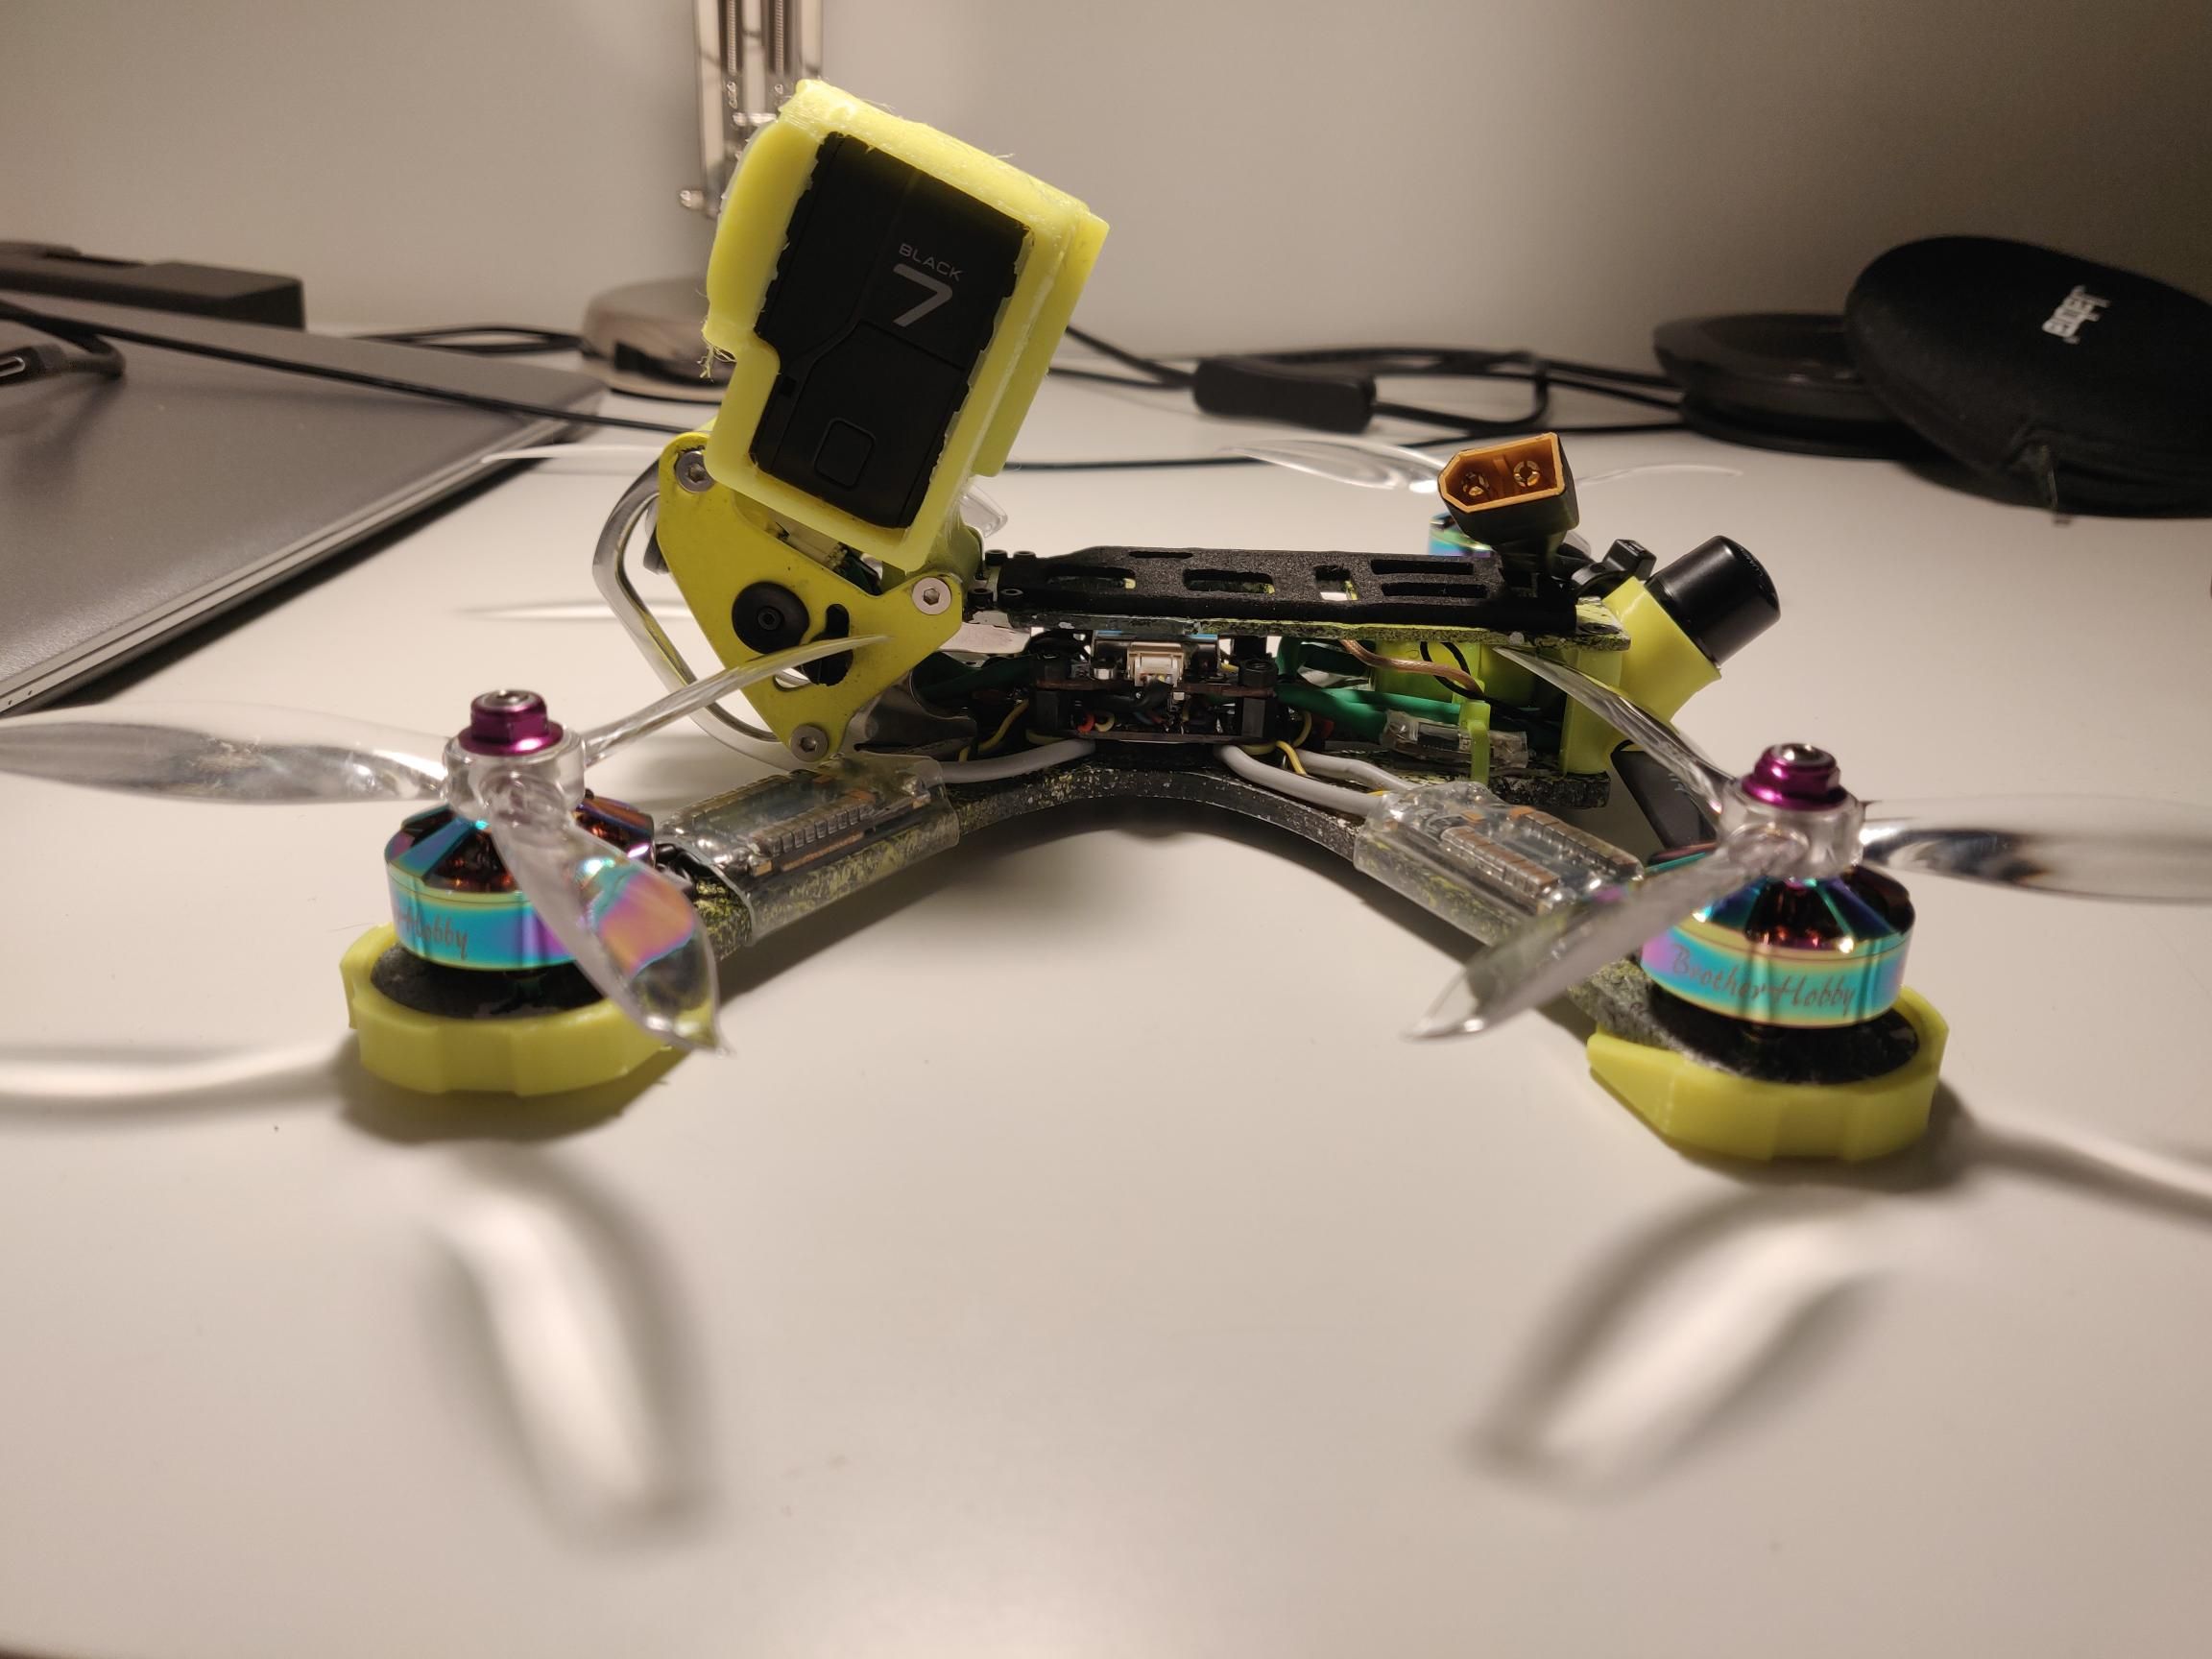
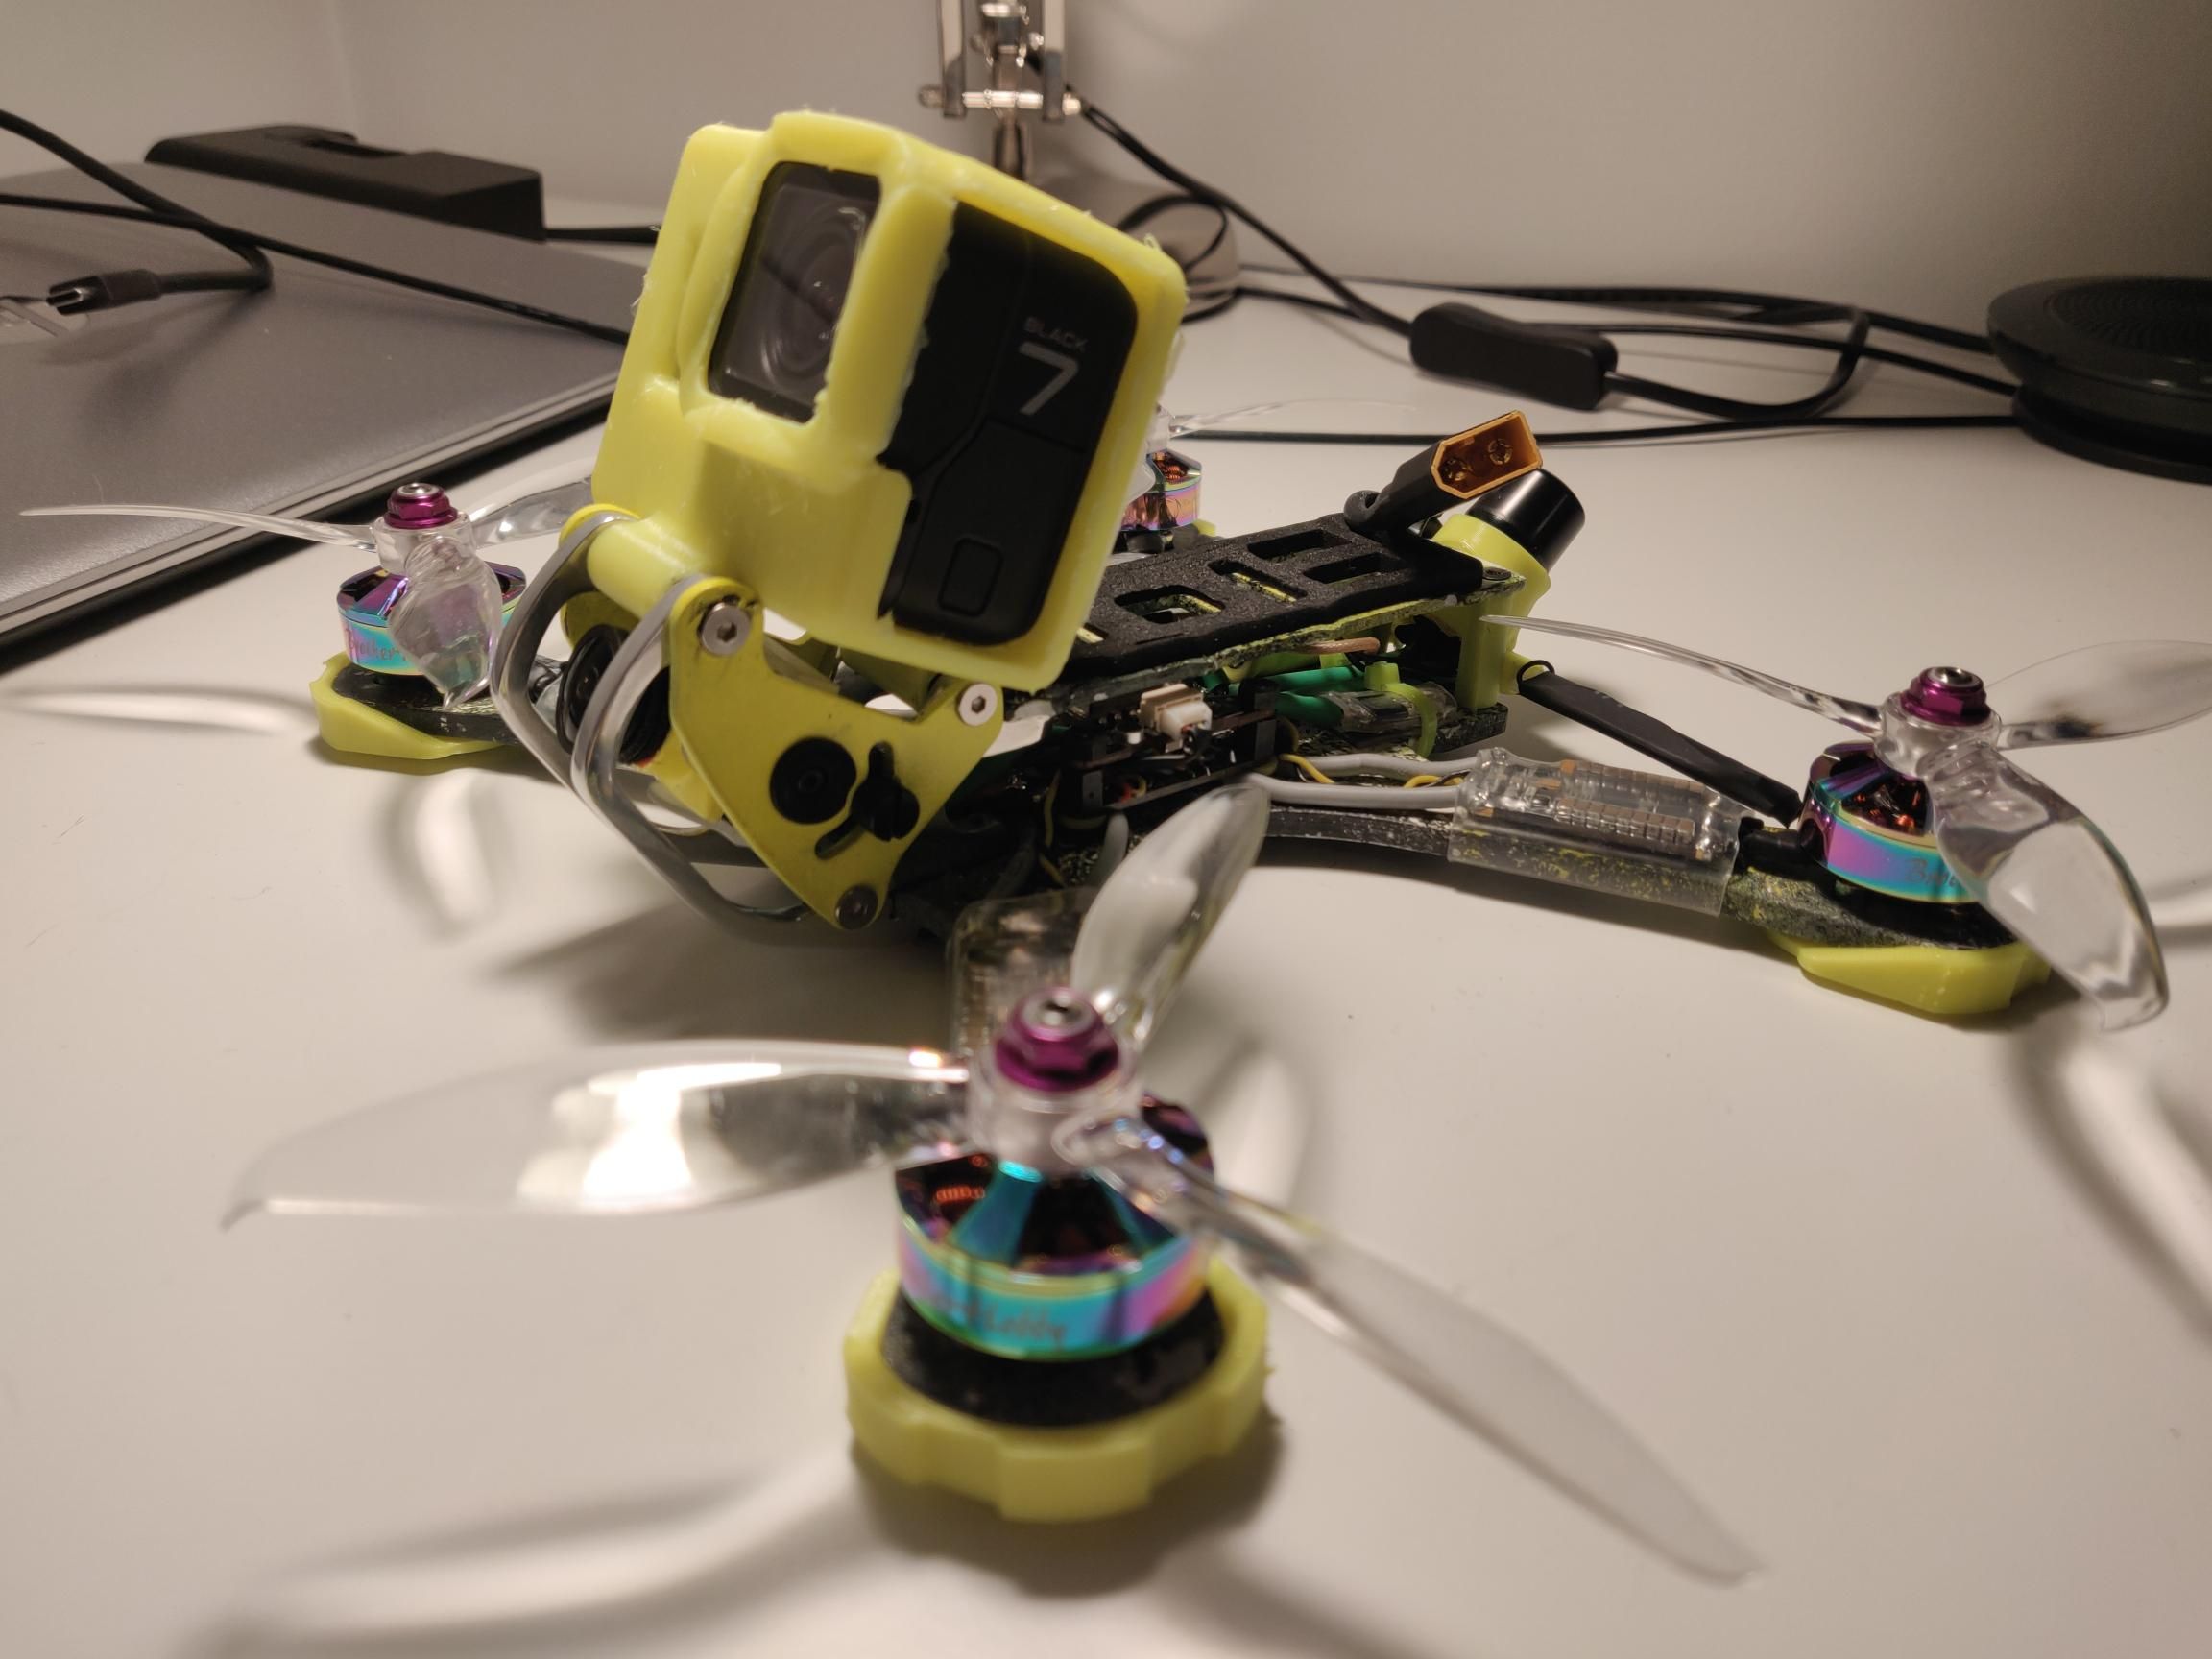
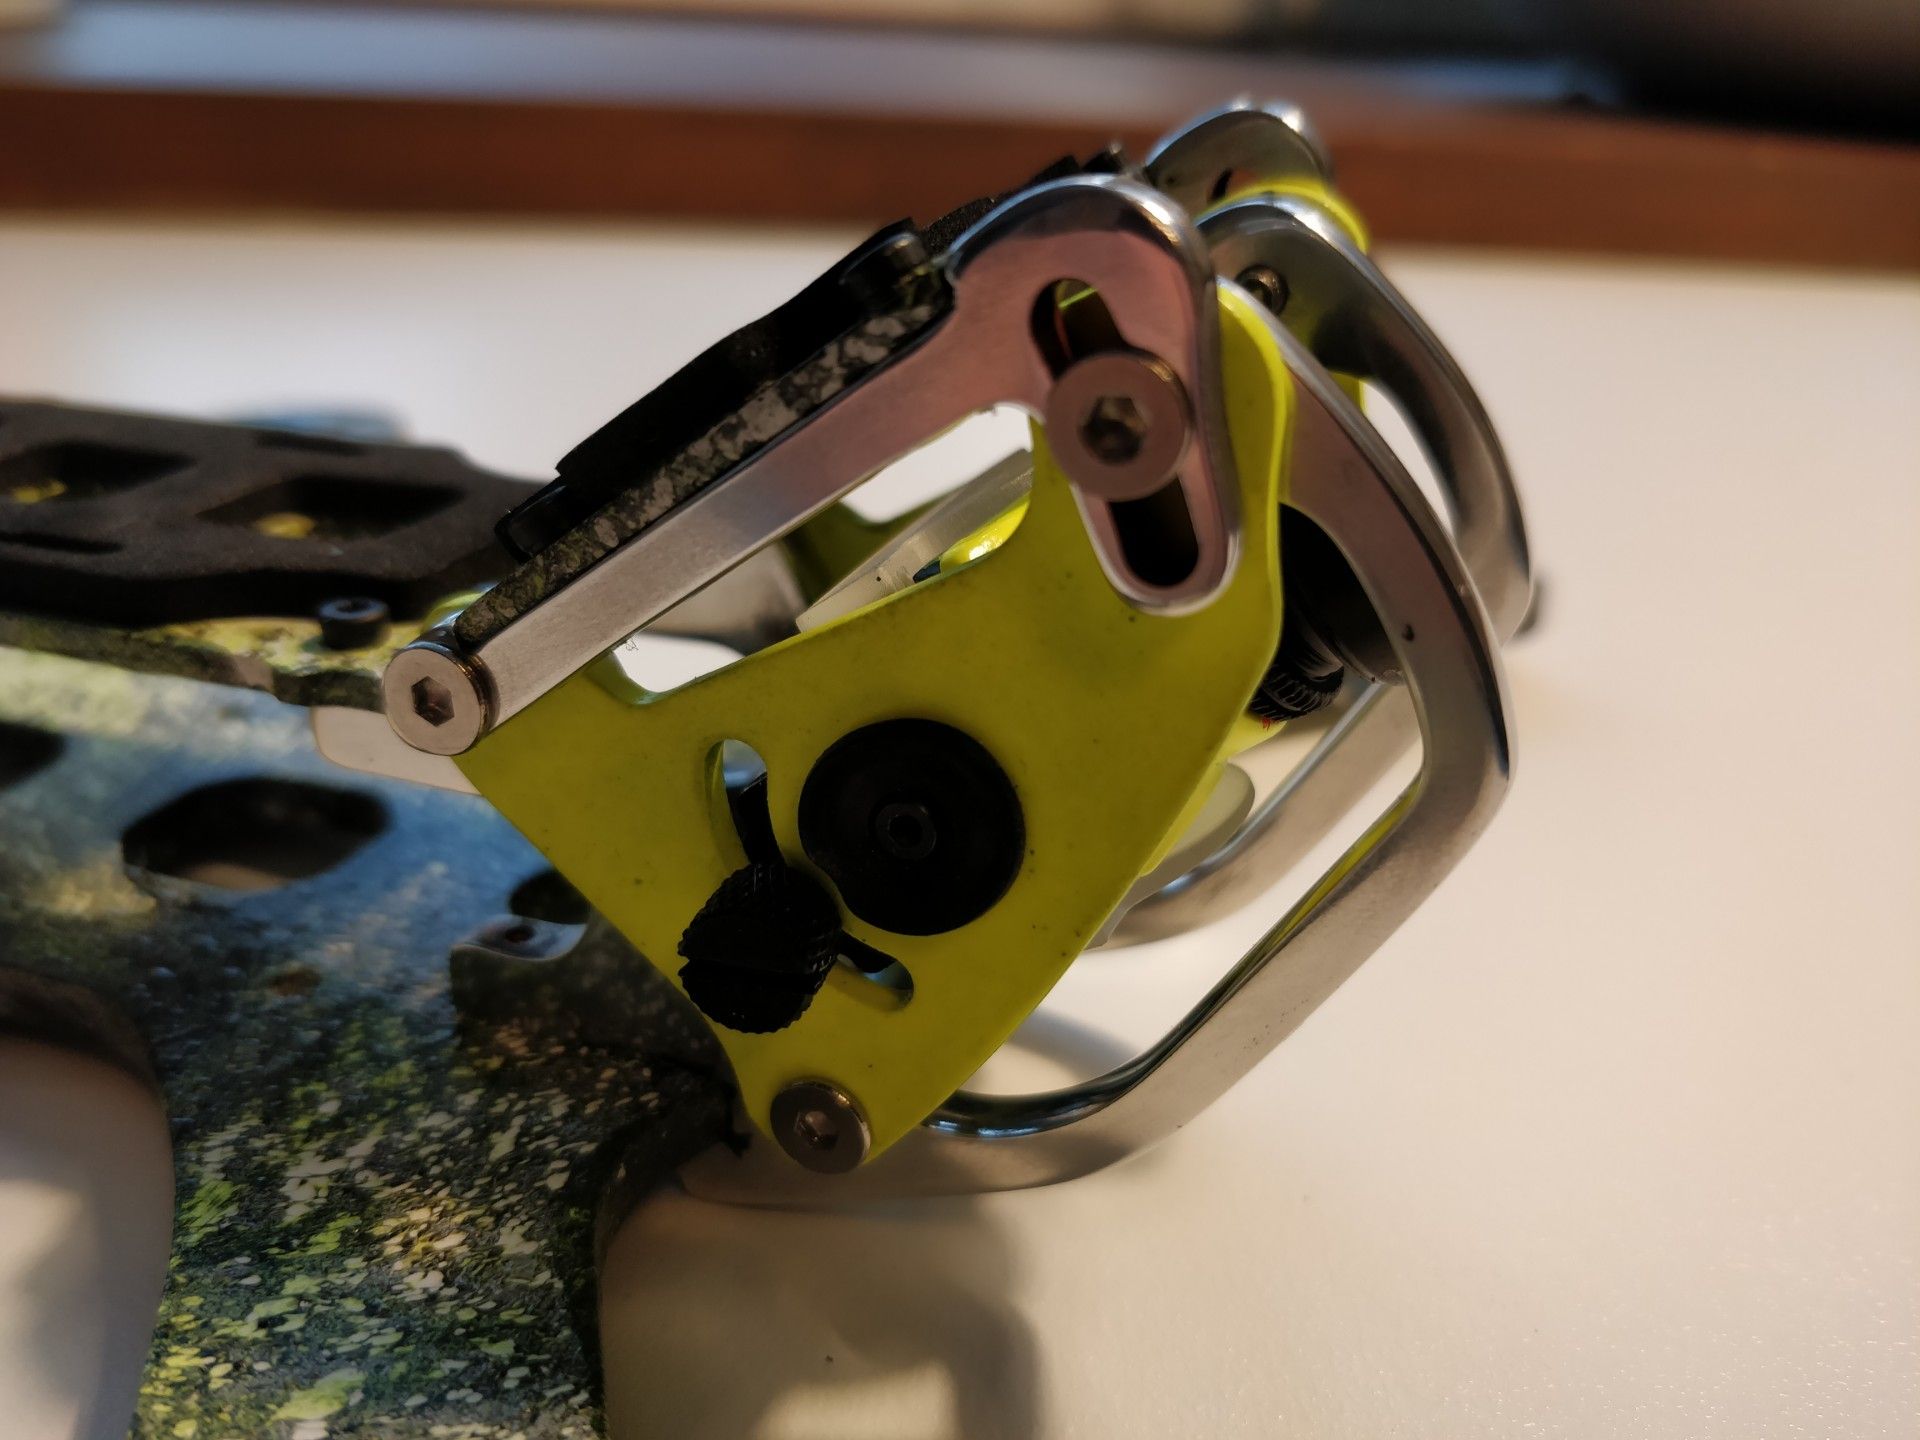
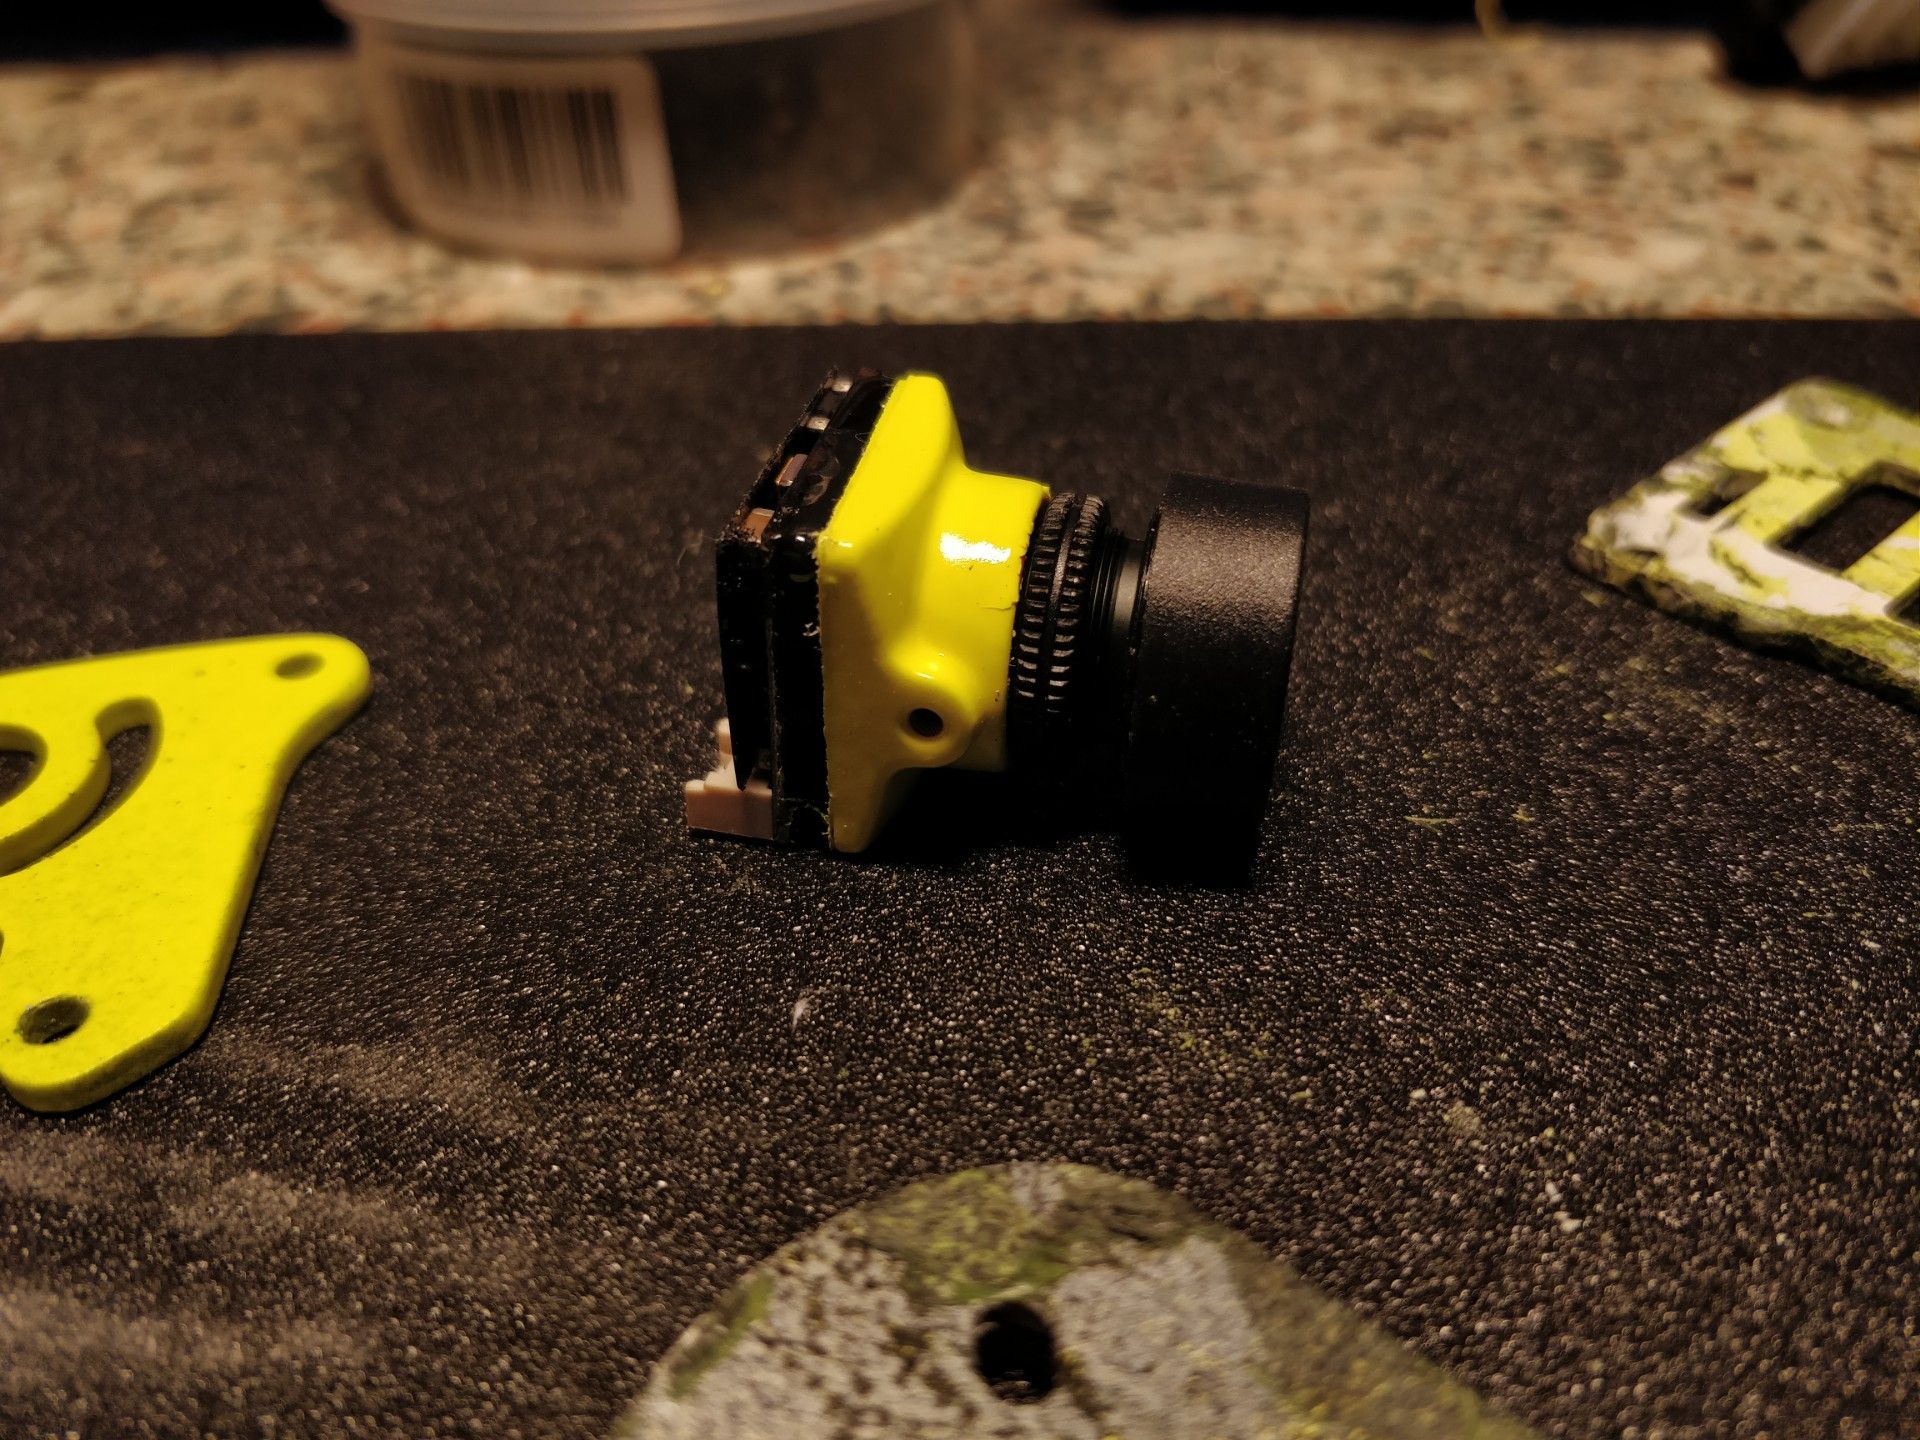
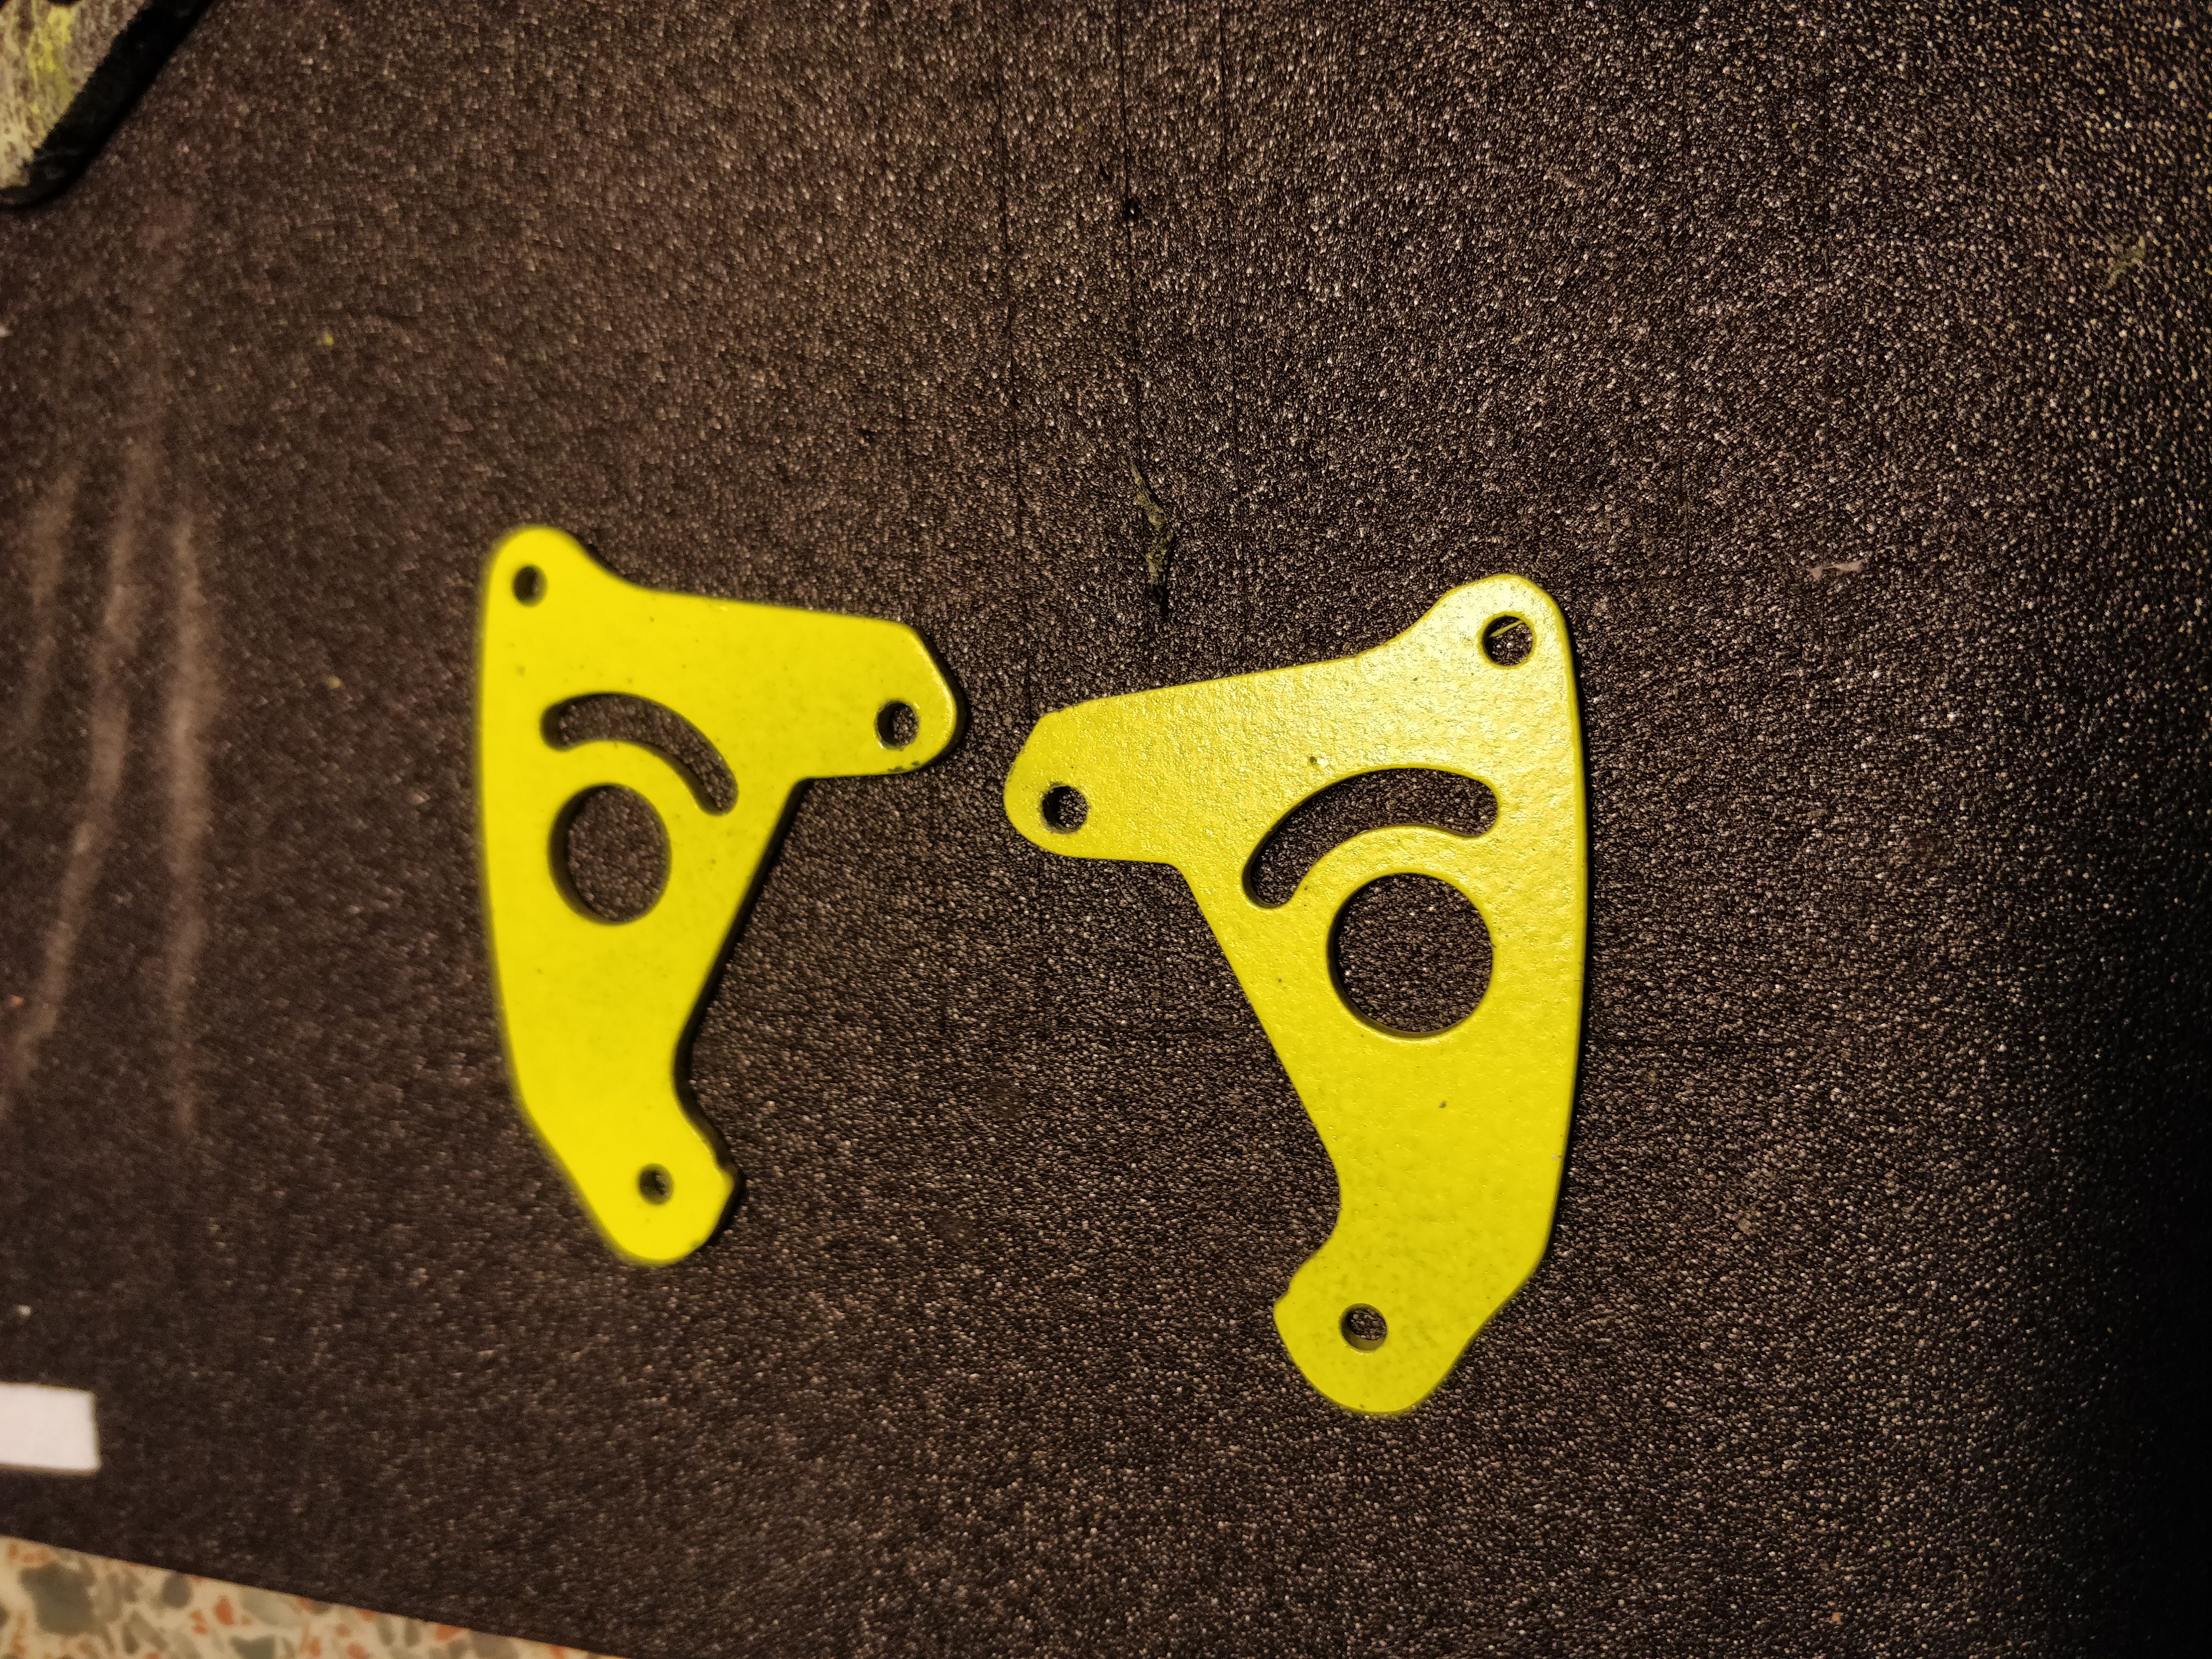
Next I painted the camera pod side plates, capacitor and the Runcam micro eage frame with yellow color.
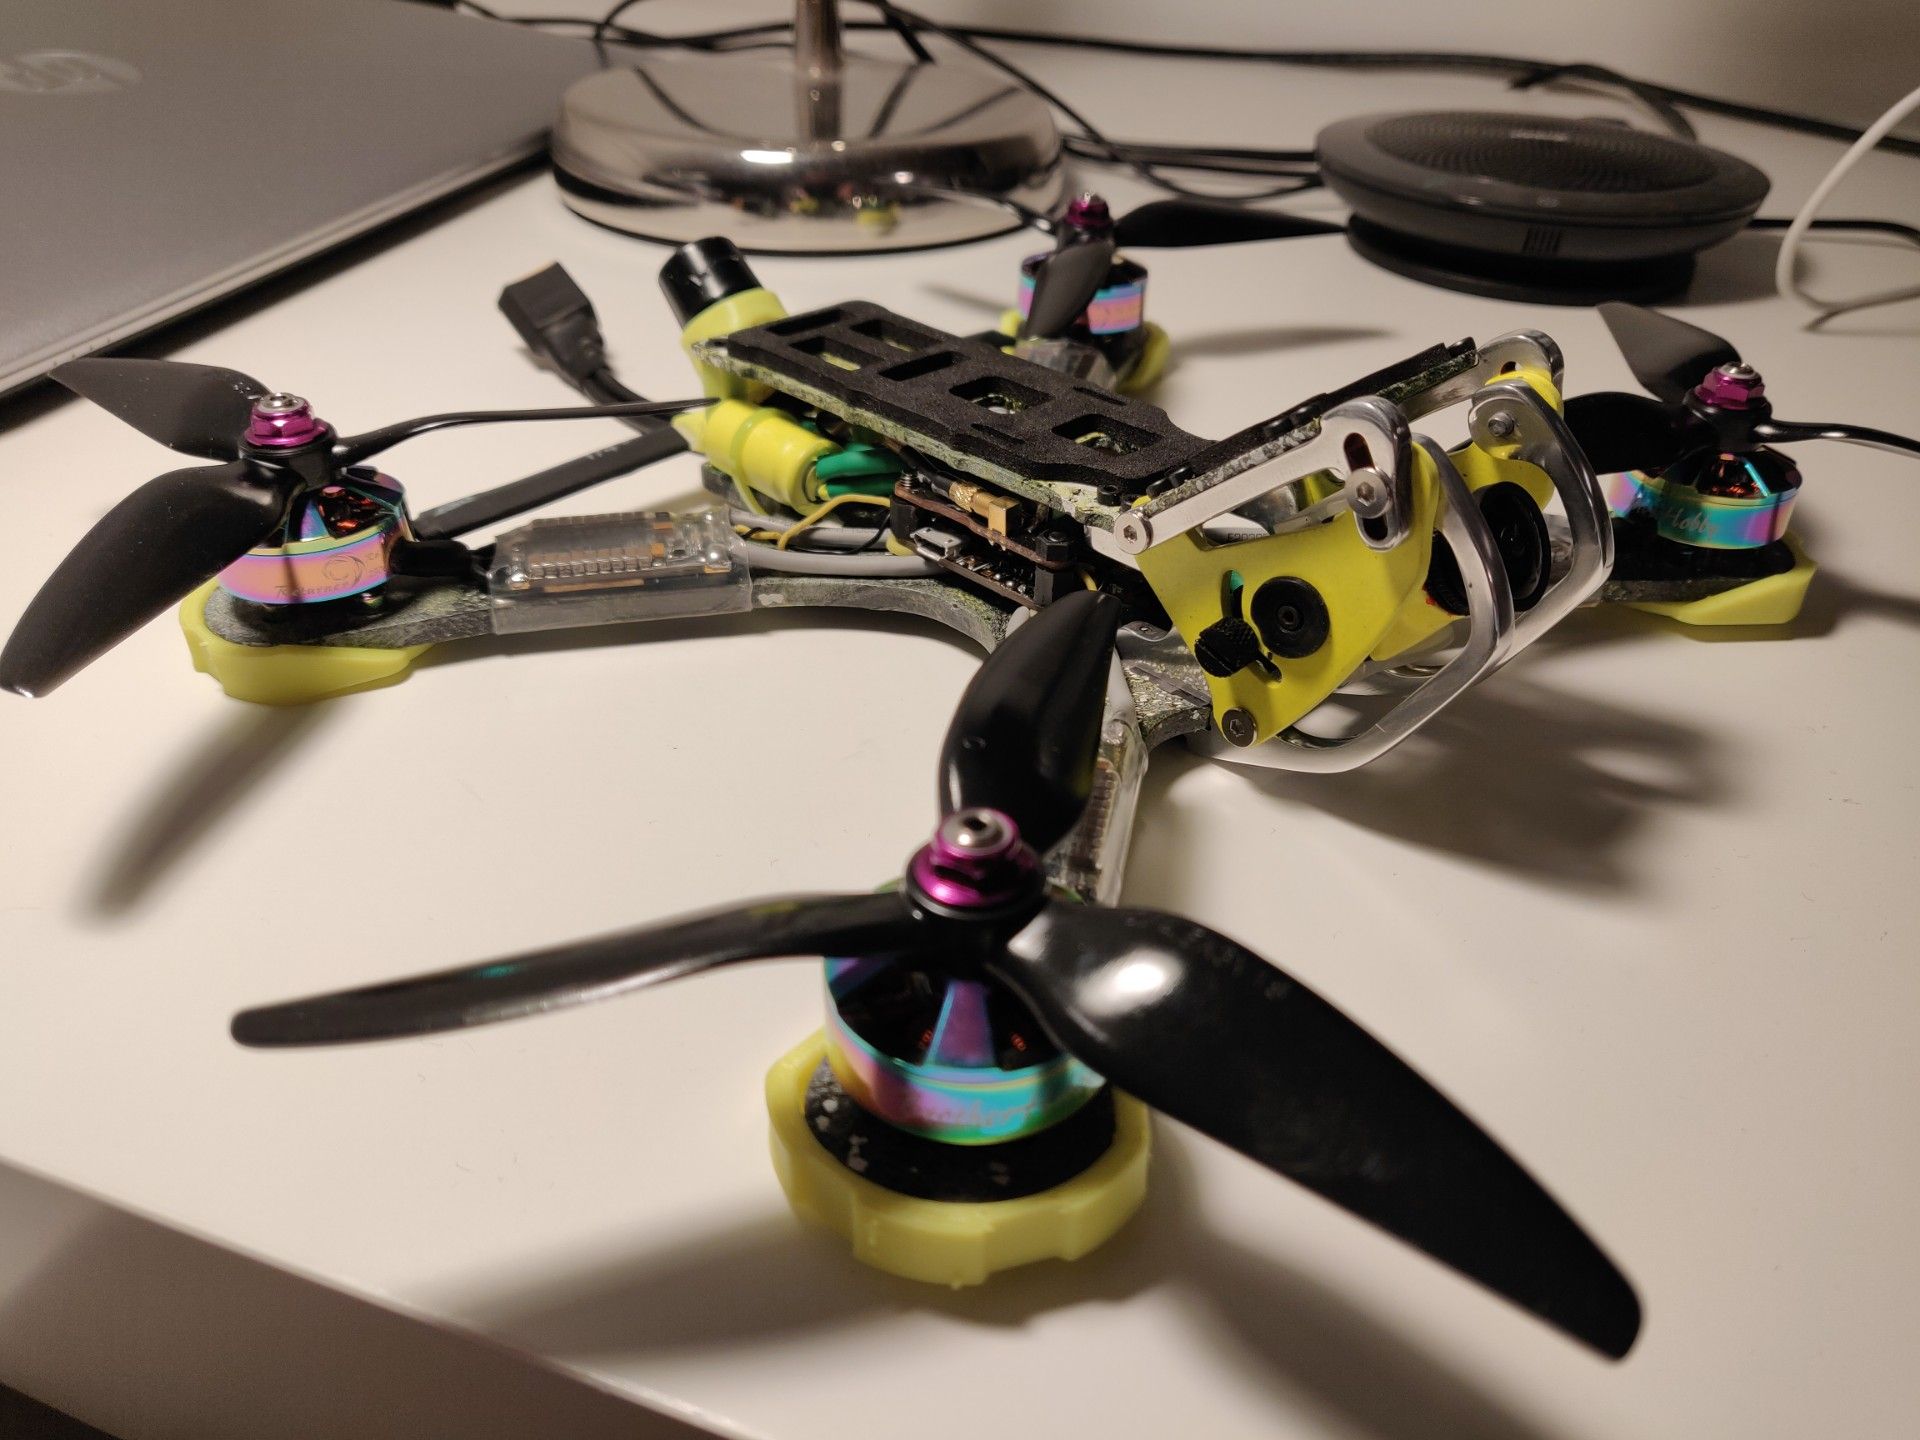
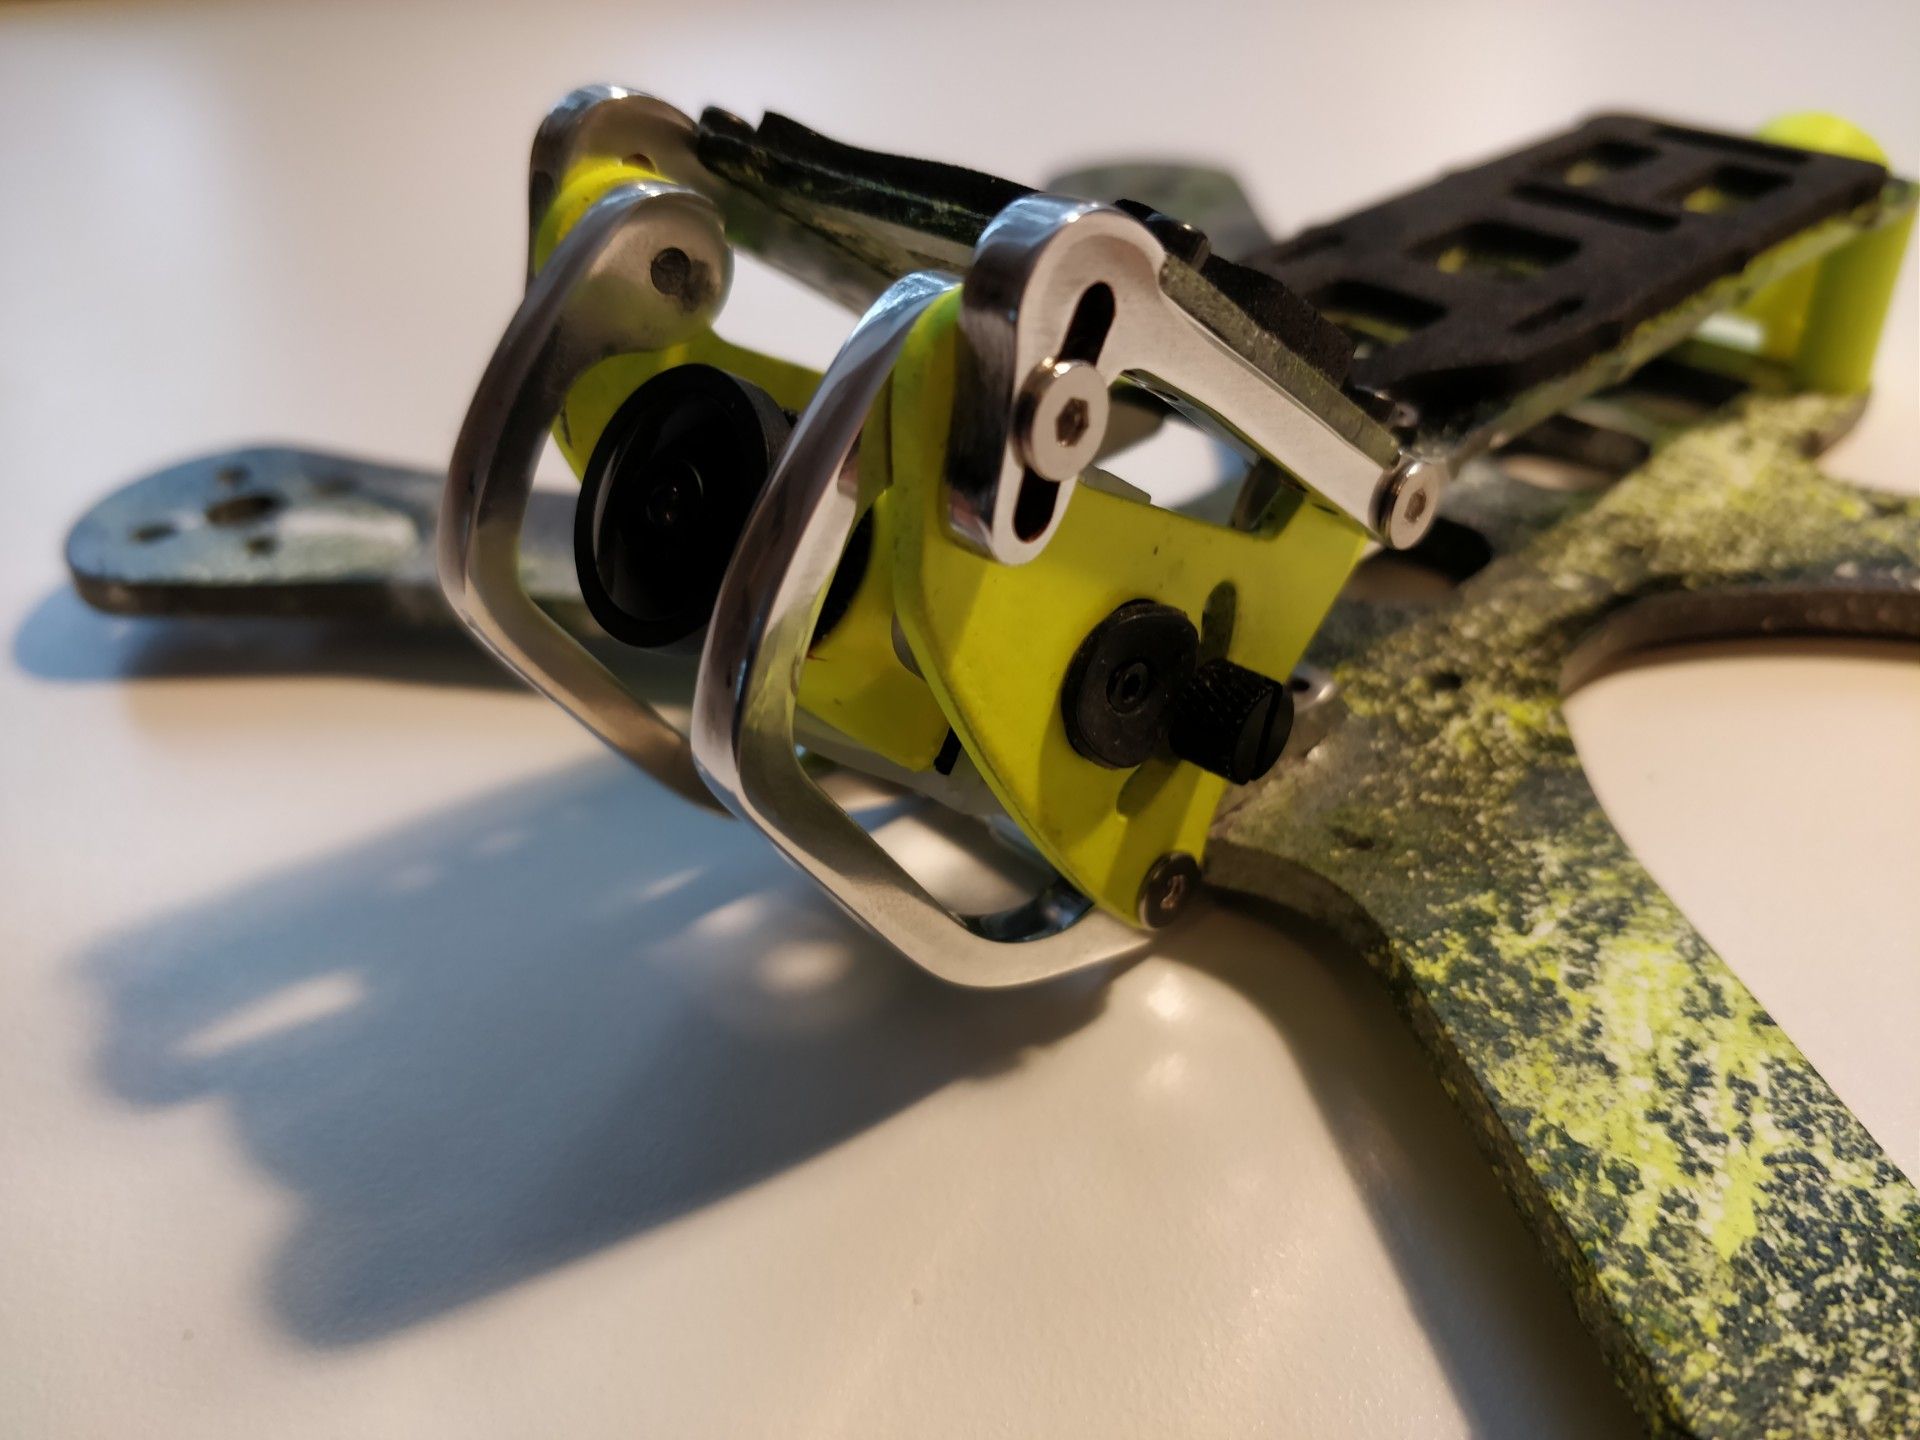
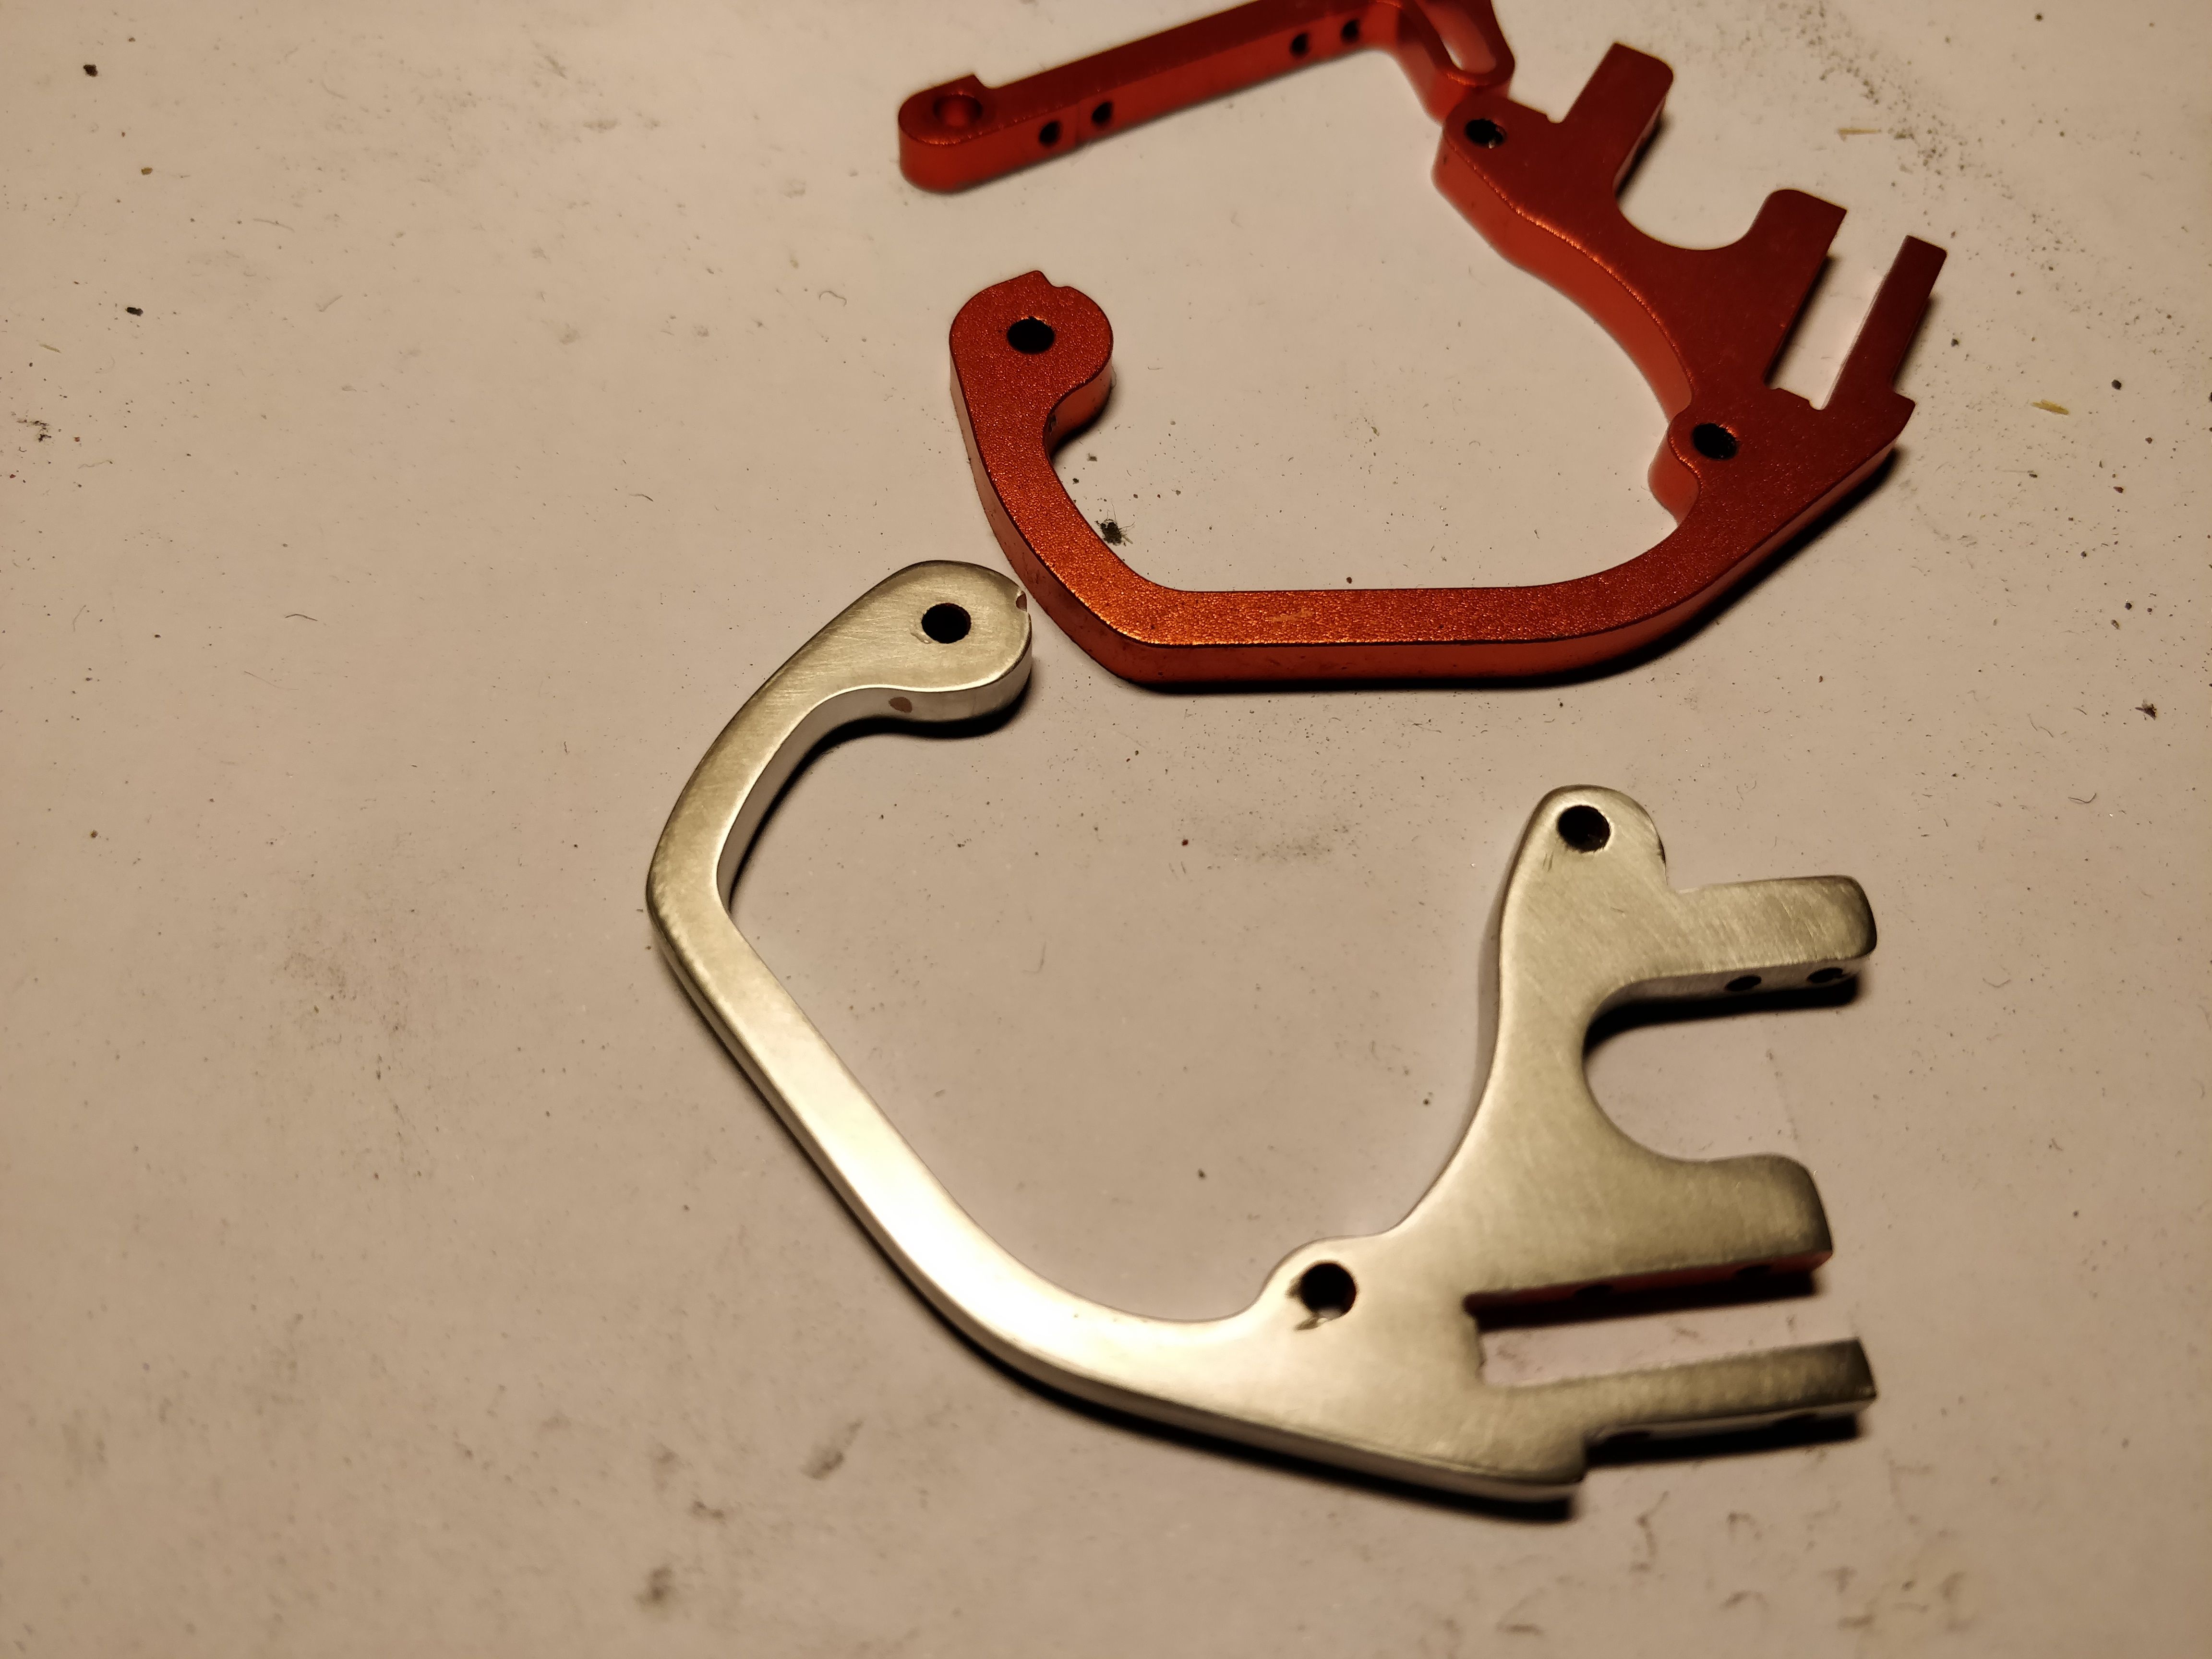
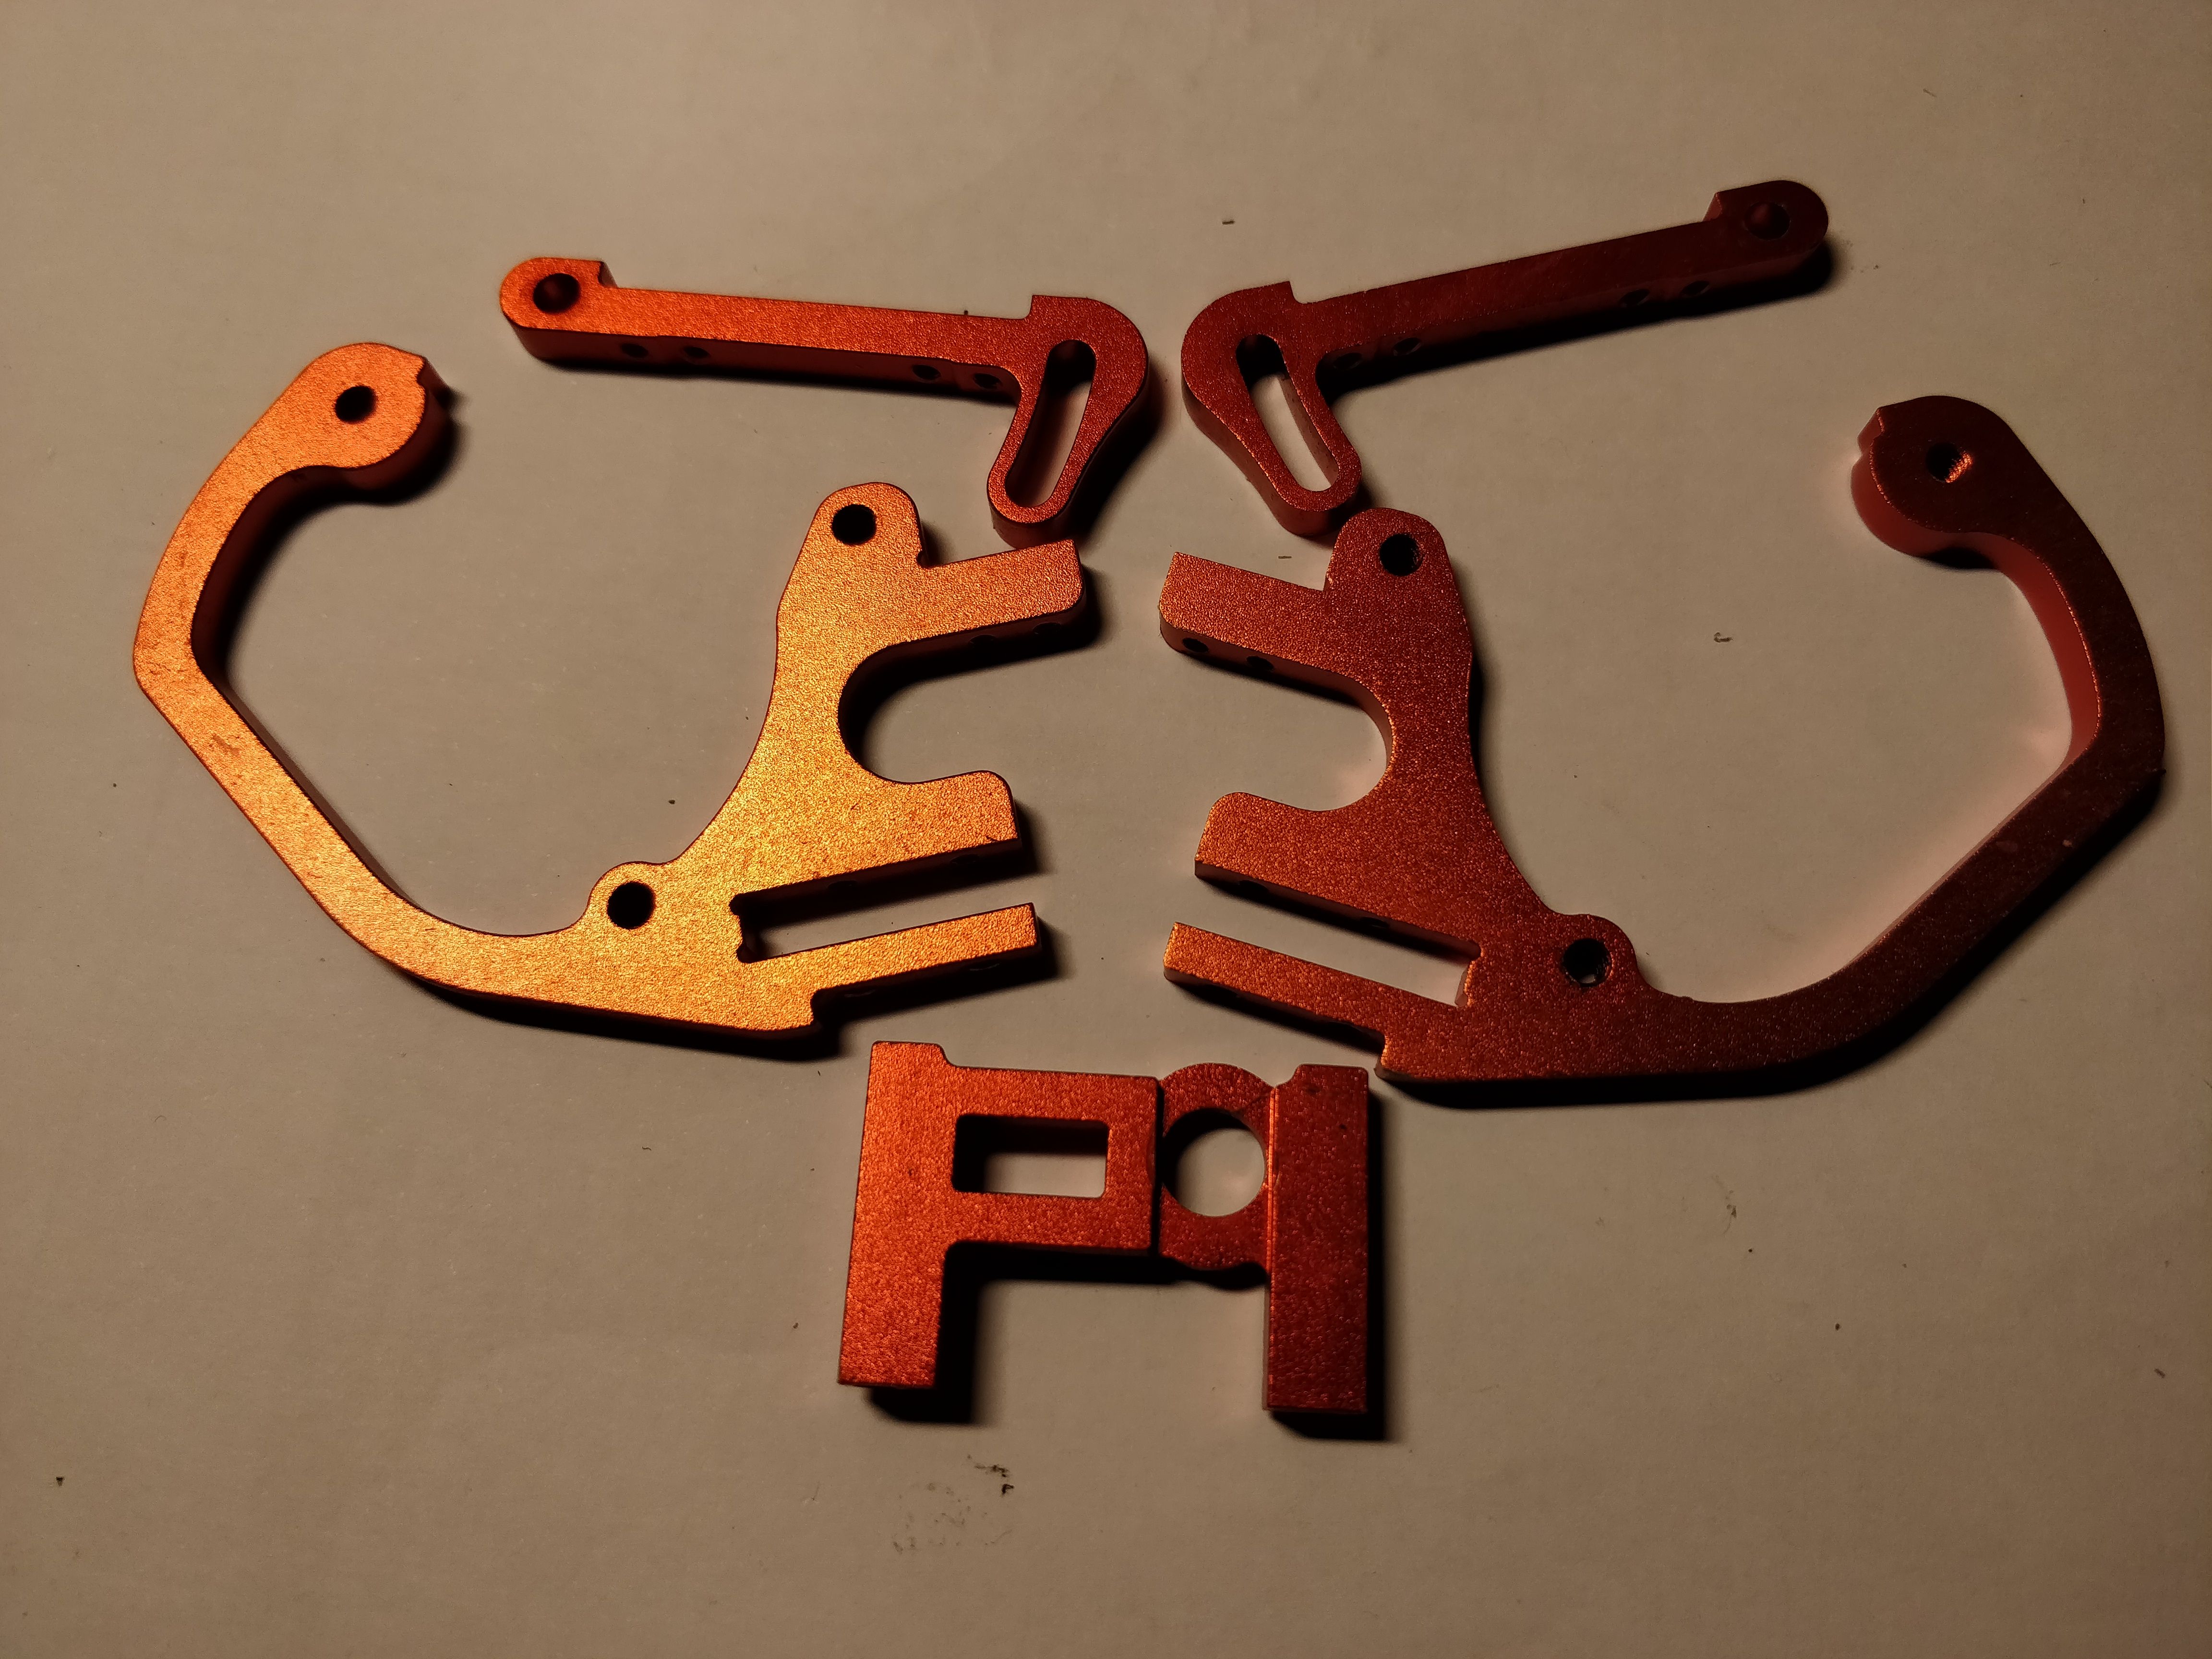
I didn't like the orange finish in Chameleon's aluminium parts, so I polished all aluminium parts the old fashion way by:
- Removing the hard coating from the surfaces with P80-120 sand paper
- smoothing the surface, first P600, then wet sanding with P1200, P1500 and finally 2000.
- last a polish with aluminium polishing wax and fabric
This polishing process is really slow, but gives a chrome like finish. This precise time it took about 8 hours to complete.
I used some printed parts in this builld.
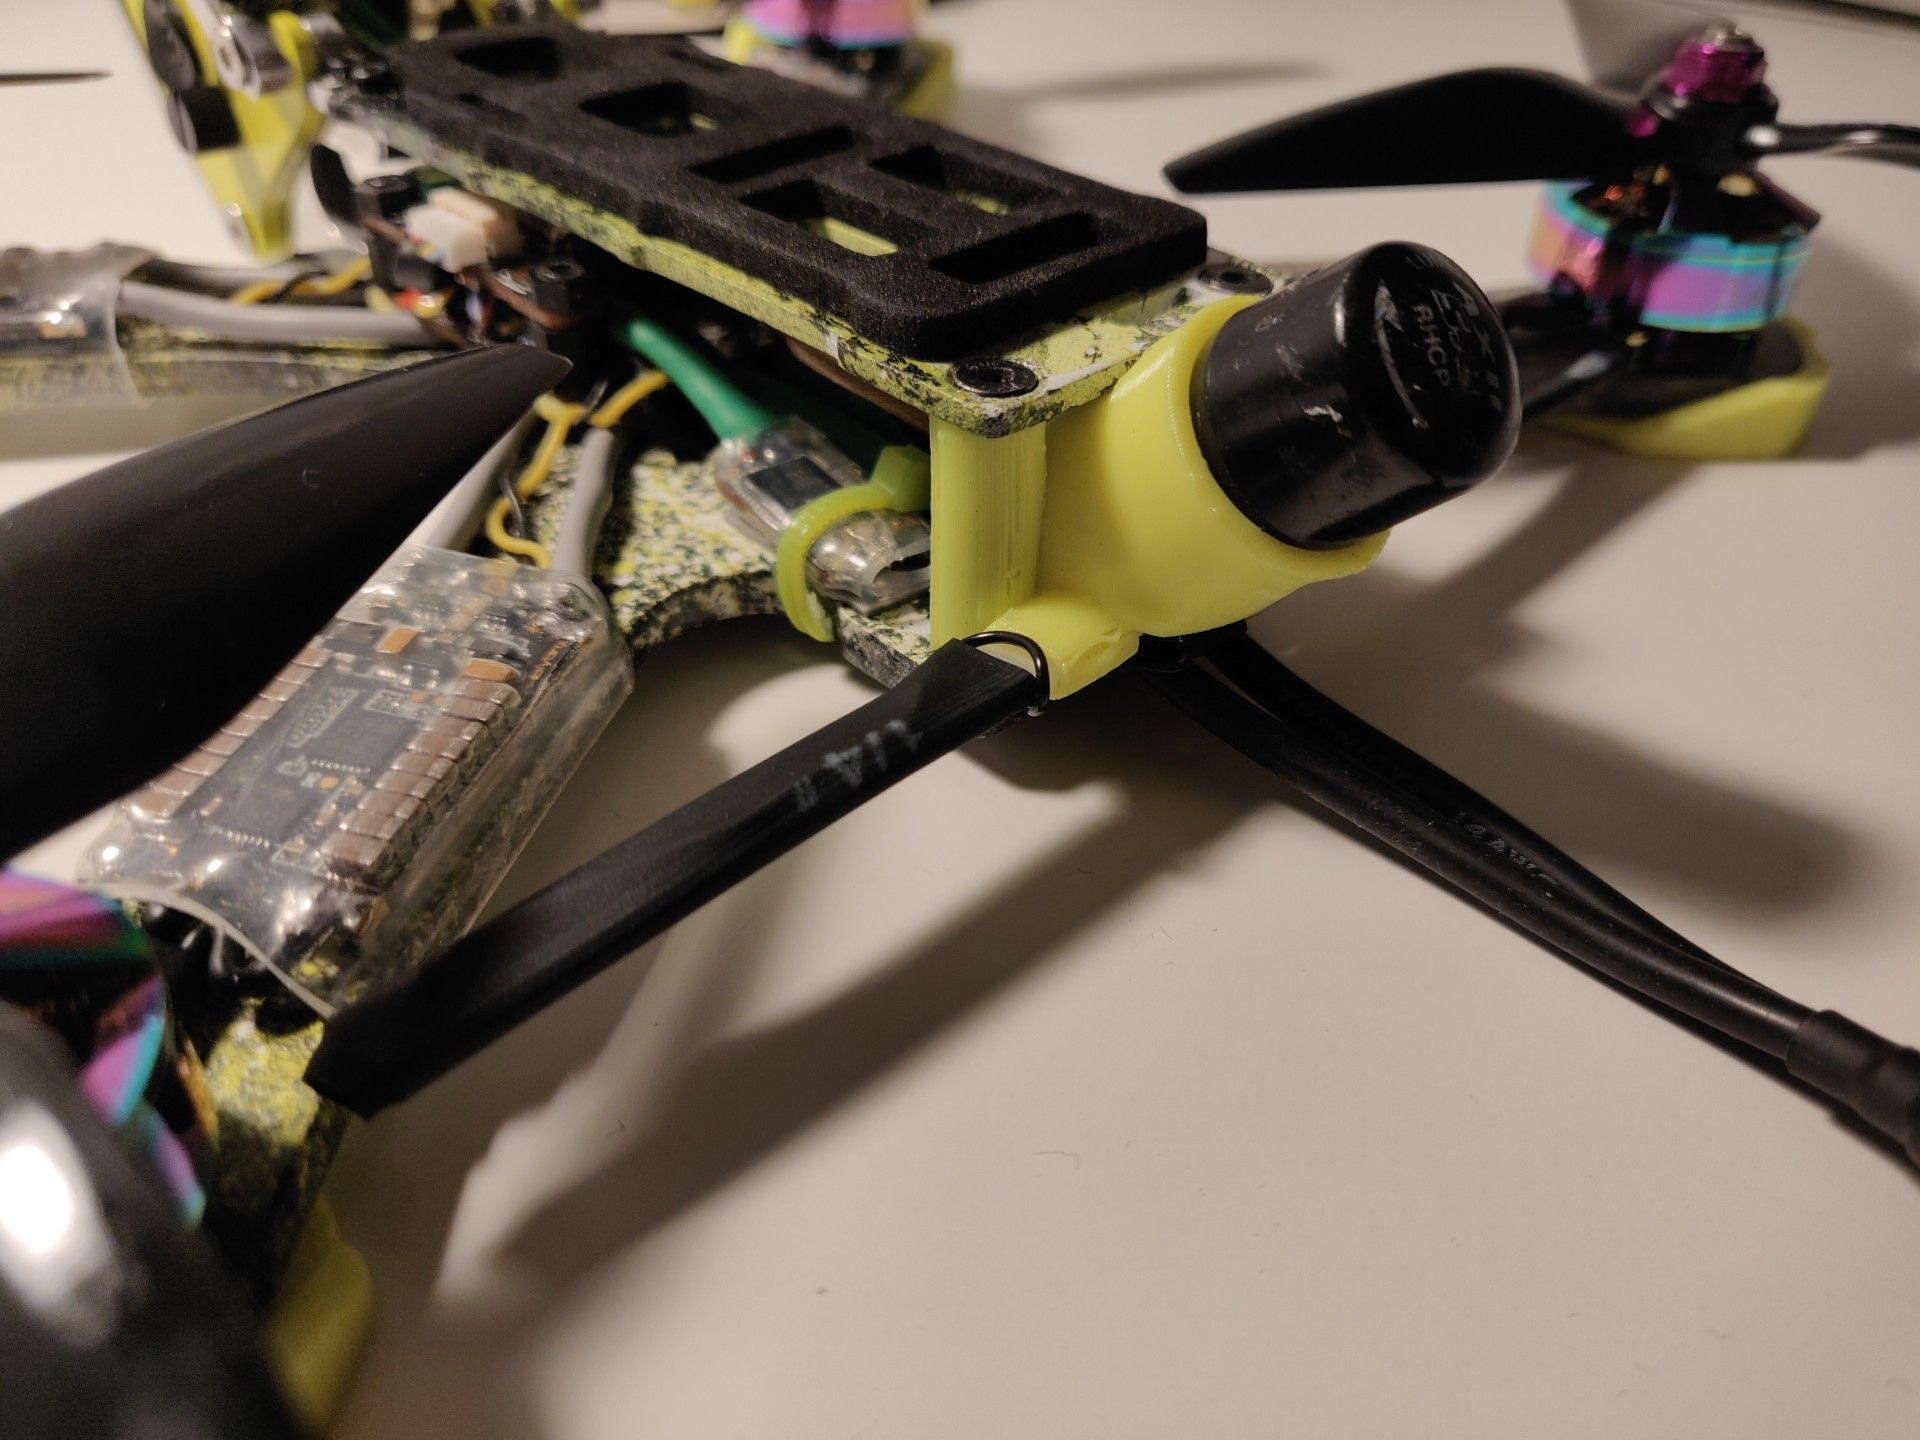
Arm protector plates: https://www.thingiverse.com/thing:2651181
Lumenier AXII mount with integrated rx antenna mount: https://www.thingiverse.com/thing:2654814
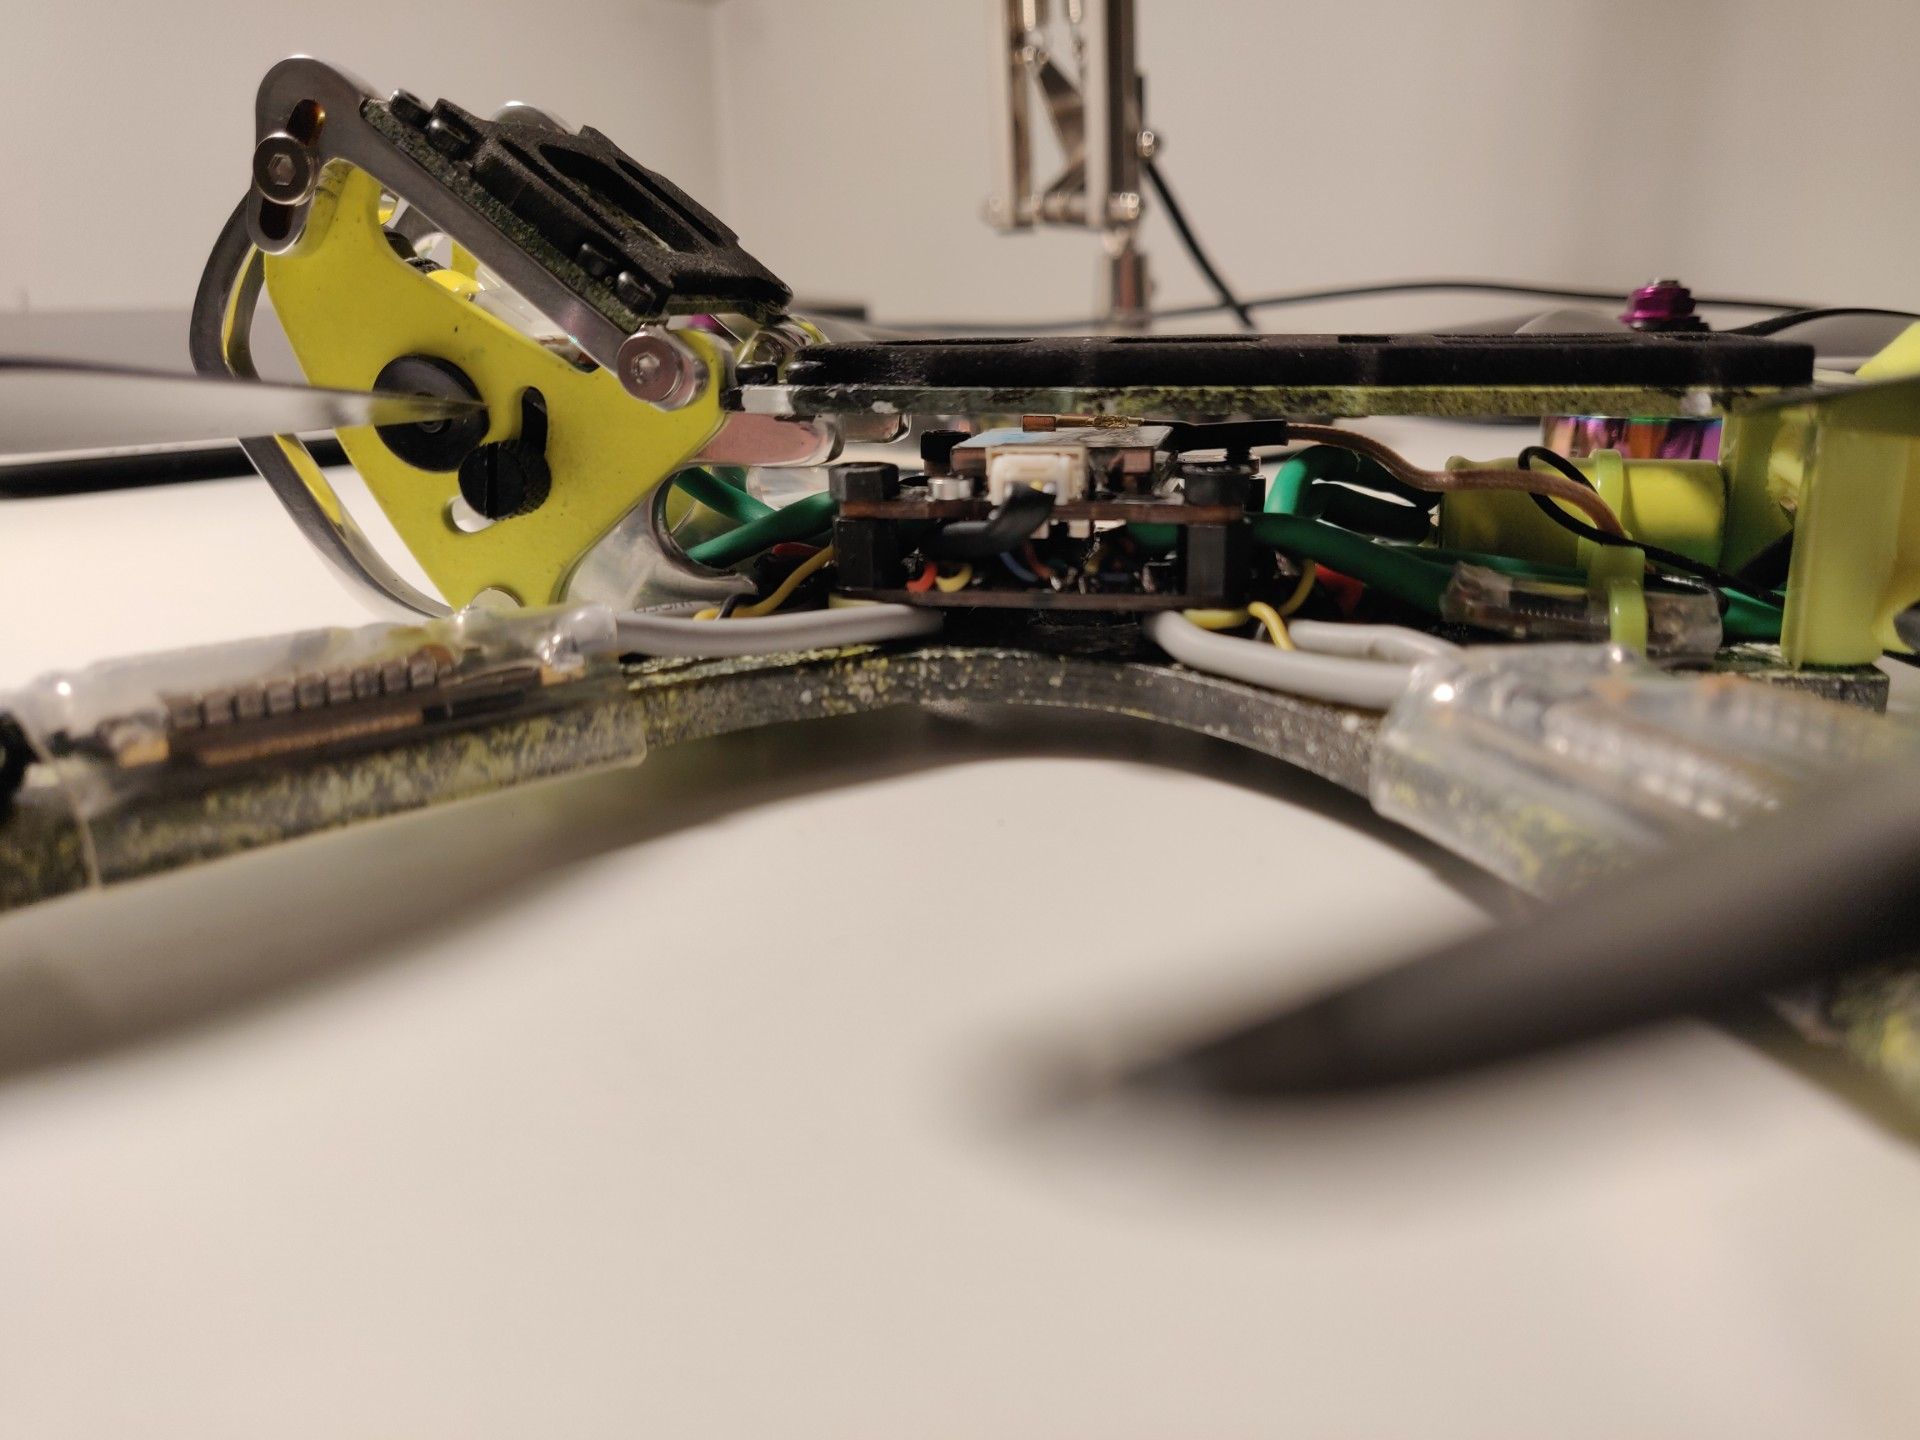
In the electronics side there are nothing special, basically all components are proven reliable with 6S so I used them.
The Brotherhobby R6 2306 1800kv motors are really interesting and I cannot wait to get some stick time with 6S.
Some heat shrink here and there....
Now i think the Chameleon looks quite unique. I have not seen a polished Chameleon parts before (excluding Chameleon Ti of course!).
Photos


Part List
Frame |
Armattan - Chameleon W / PDB+XT60 & Connector Saver - Orange
(3 builds)
Readymaderc.com
|
$69.99 |
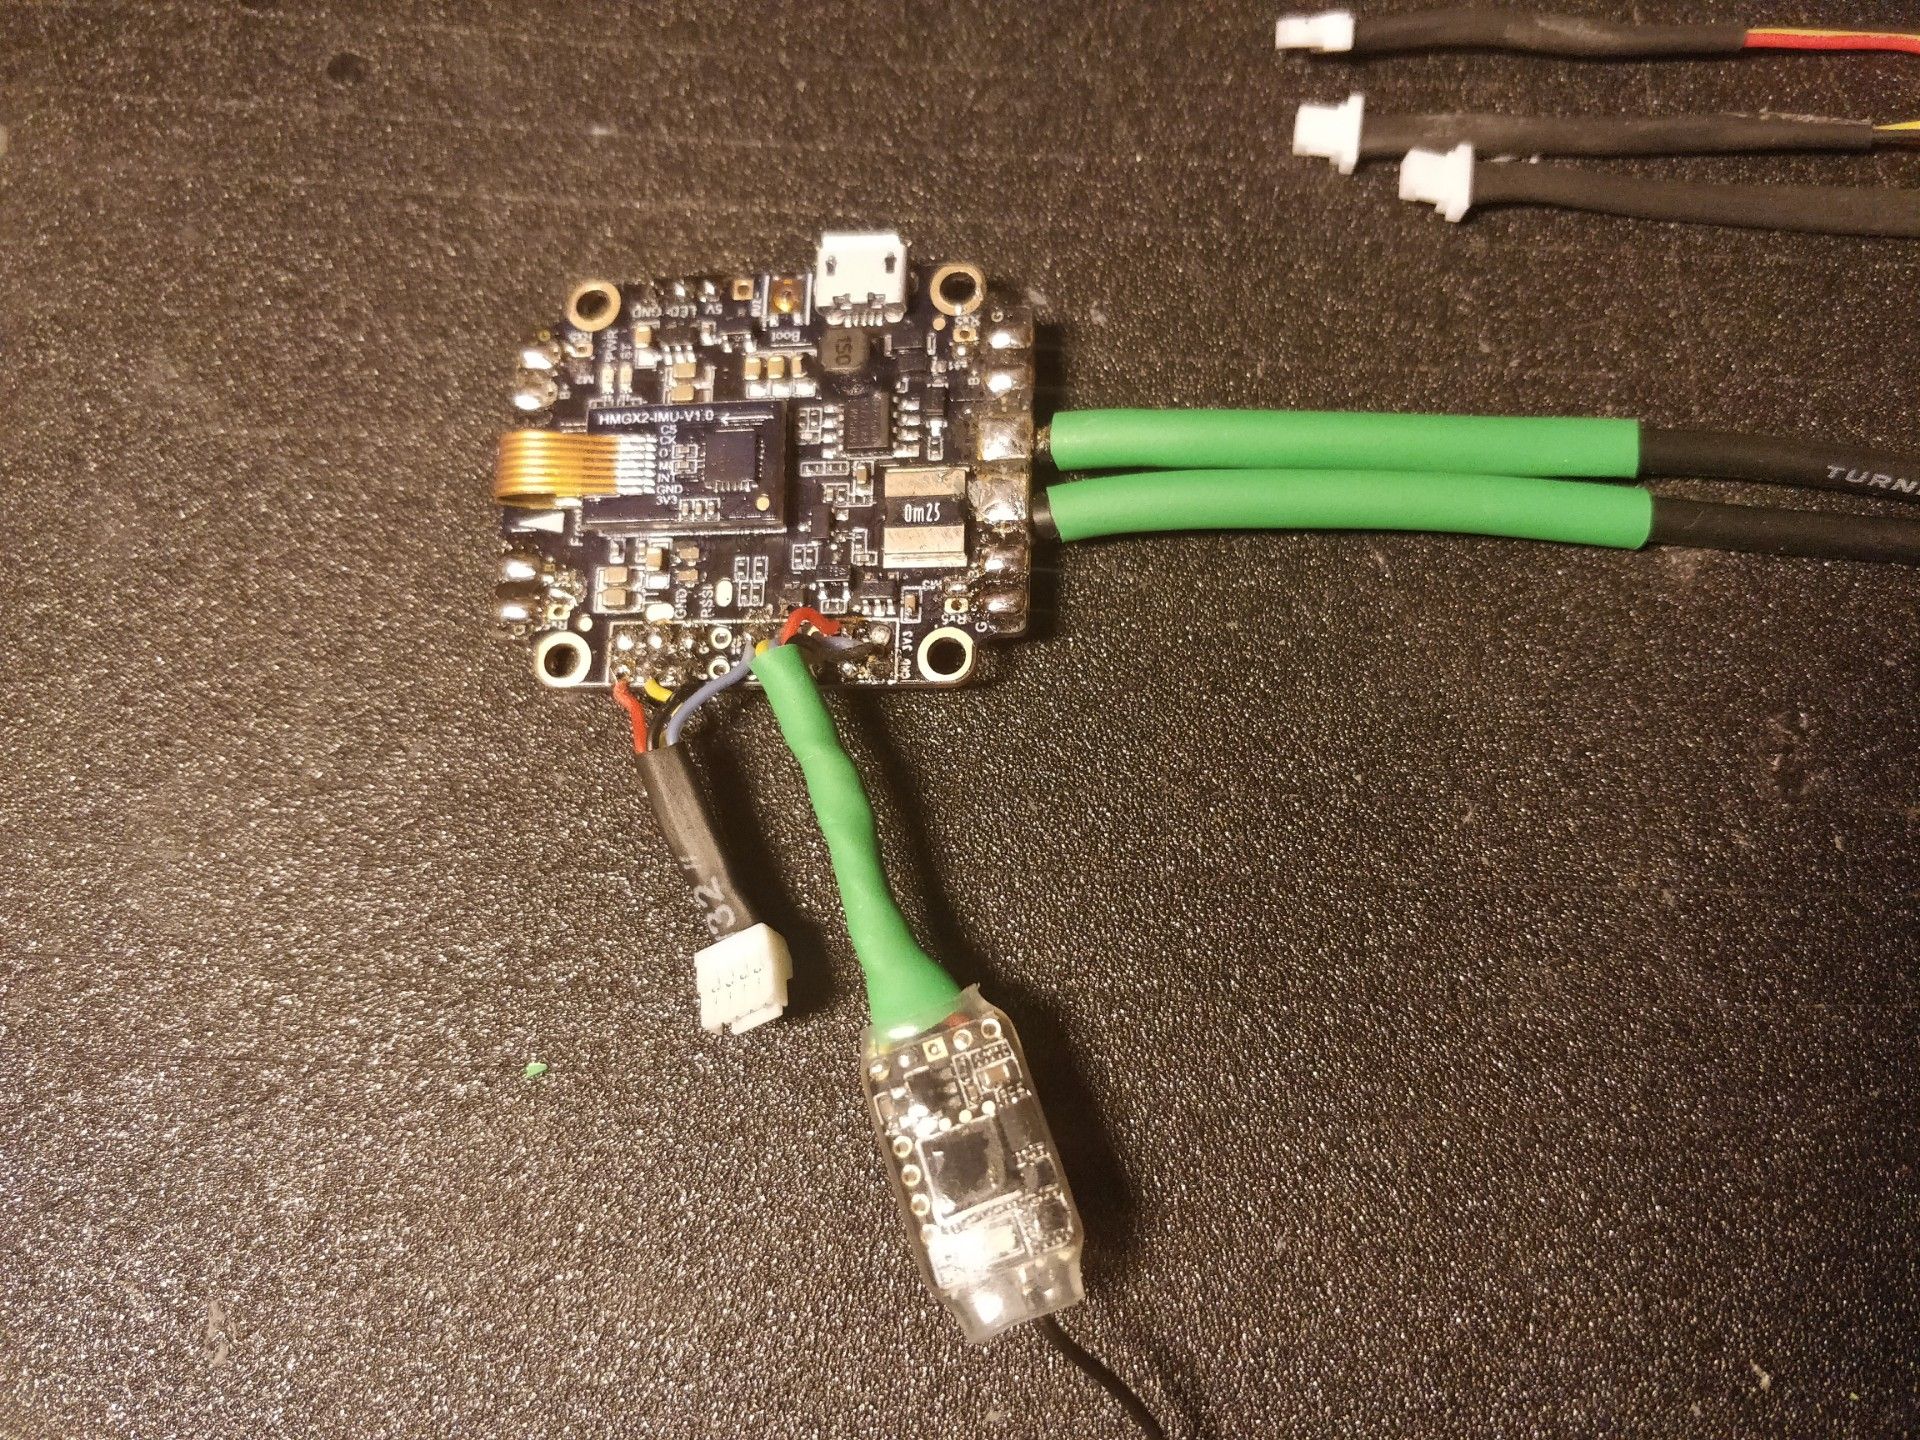
Flight Controller |
Holybro Kakute F4 AIO V2 Flight Controller - FC, OSD, PDB, BEC
(2 builds)
Rotorvillage.ca
|
$53.99 |
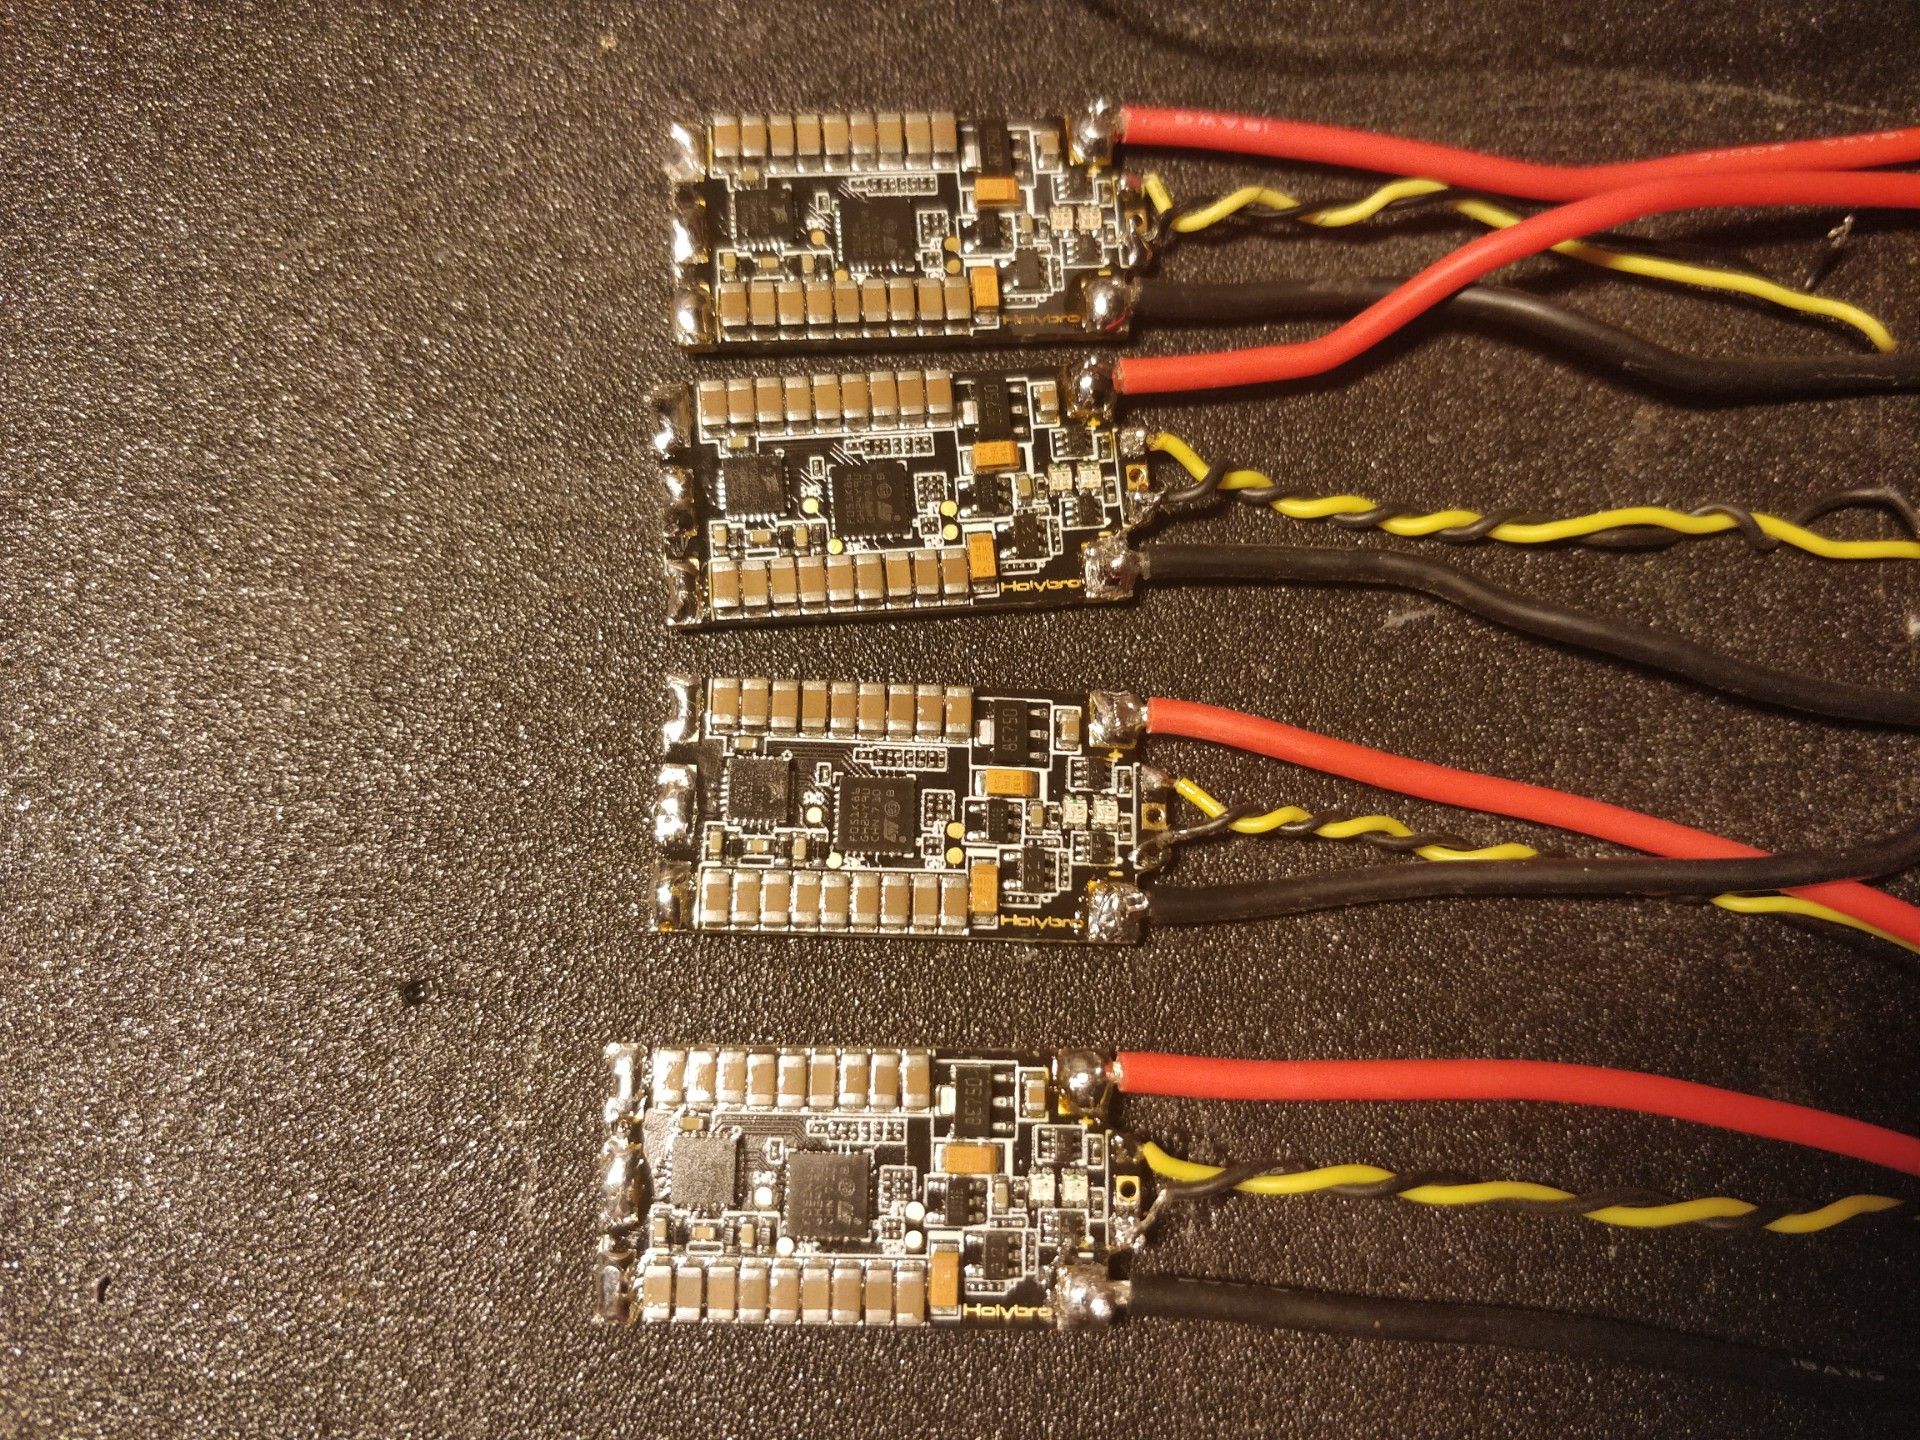
ESCs |
4X Holybro Tekko32 35A BLHeli_32 ESC Dshot1200 2-6S Build In Current Sensor For RC Drone FPV Racing
(27 builds)
Banggood.com
|
$73.49 |
Motors |
4 x BrotherHobby Returner R6 2306 1800KV 4-6S Brushless Motor Colored Plating 16cm Wire for RC Drone
Banggood.com
|
$99.96 |
FPV Camera |
RunCam Micro Eagle 1/1.8" CMOS 800TVL Global WDR 16:9/4:3 Switchable FPV Camera for RC Drone
(323 builds)
Banggood.com
|
$46.11 |
FPV Transmitter |
30.5x30.5mm Holybro Atlatl HV V2 5.8G 40CH 25/200/500/800mW FPV Transmitter Built-in Microphone
(16 builds)
Banggood.com
|
$31.91 |
Receiver |
FrSky R9 Mini 900MHz Long Range Receiver
(57 builds)
Getfpv.com
|
$19.99 |
Misc Parts |
2 PCS Micro Camera Mount Bracket for RunCam Micro Sparrow 2 Pro Micro Eagle Split Mini
(4 builds)
Banggood.com
|
$4.98 |


.I like the process you used for the finish on this frame...I may give this a try sometime.