Talon MK 11.2
 By Mayan_Hawk on Jun 16, 2019
This is (was?) my first drone, but after multiple crashes and upgrades I've eventually reached Mk11.x .
Mk11.1 update:
- after a MASSIVE CRASH I had to replace one motor... the frame is still rock solid (huge shout out to Armattan)
Mk11 update:
- replaced broken Samguk motors with RR Blaster motors (noticeable performance improvement)
- replaced VTX antenna (bargin brand) to Foxxer Lolipop v3
Mk10 update:
- added Caddx Ratel camera
- added Vifly buzzer
- replaced vtx
The first frame disintegrated when it met fence post at the end of a power loop. The rooster frame has been in service ever since, and other parts have made their way in. The only original part left is the battery lead...
Photos
Part List
Show stores (6)Guides & Reviews
AirbladeUAV has done it again and this time they've brought long range to the 5" class! Based on the popular Transformer Mini, the new Transformer 5" Ultralight adopts a lot of the same design philosophies with larger props and more payload capacity. It can fly upwards of 20 minutes on a 4 cell Li-Ion battery pack and in ideal conditions it's got a range of over 4 to 5 miles. In this guide I'll walk..
Read moreWith the release of the DJI FPV Drone cinematic FPV has become a lot more accessible, but you certainly don't want to crash a $750 drone! The QAV-CINE Freybott is a compact, lightweight cinematic FPV drone that can take a hit and keep going. It's a lot safer to fly indoors and around people. With a naked GoPro or the SMO 4k you can capture some great stabilized footage. In this guide I'll show you..
Read more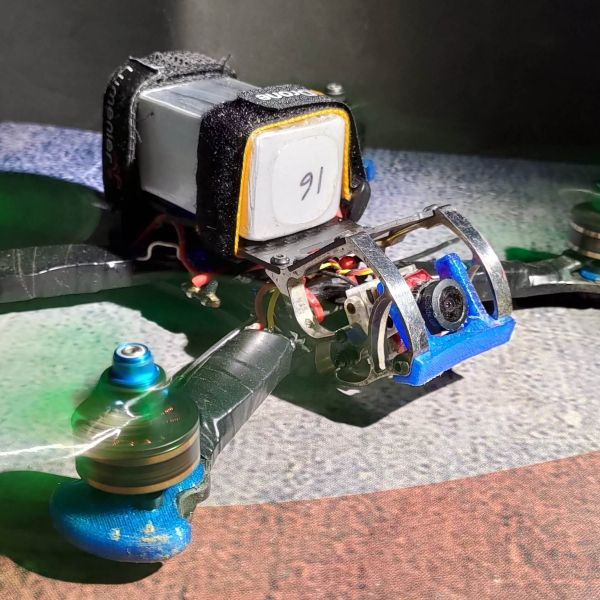
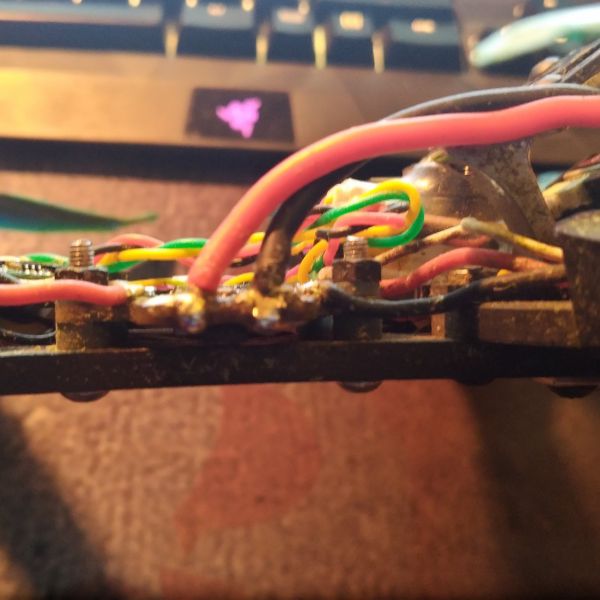
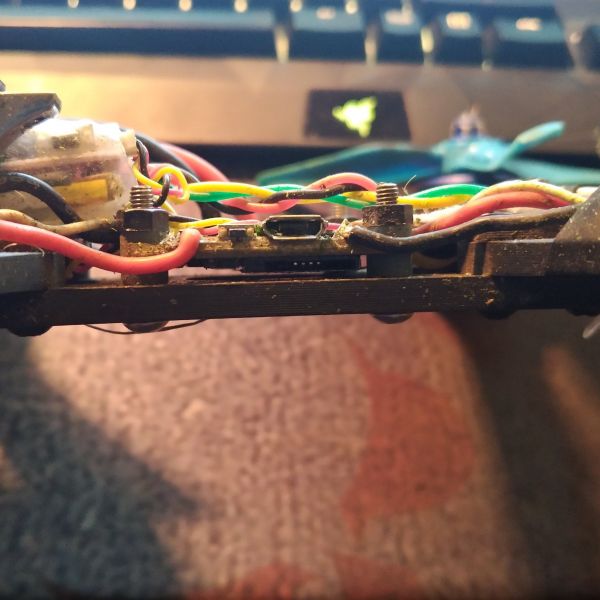
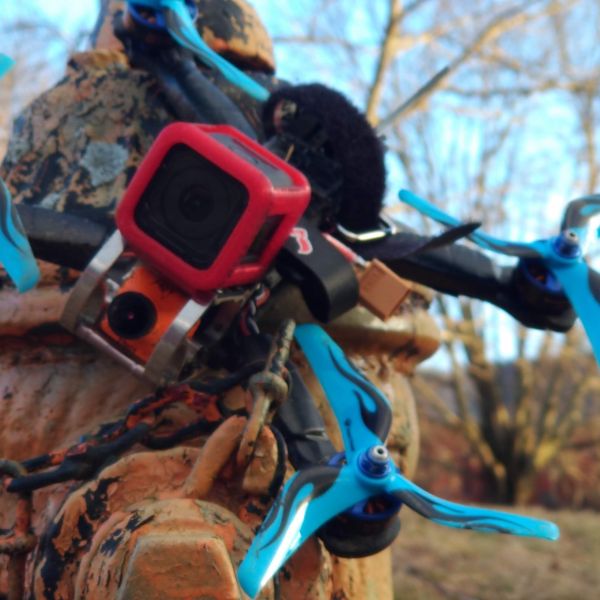


I would love to see more pictures of your build. Specially where you have place your components within the frame.
I am going to build my first Quad, and most of my components are identical to yours. So inspiration on where to place them, would be very helpfull.
Absolutely! I'm at work right now, but ill gladly take some picture when I get home. What are you looking for specifically?
Thanks, sounds great.
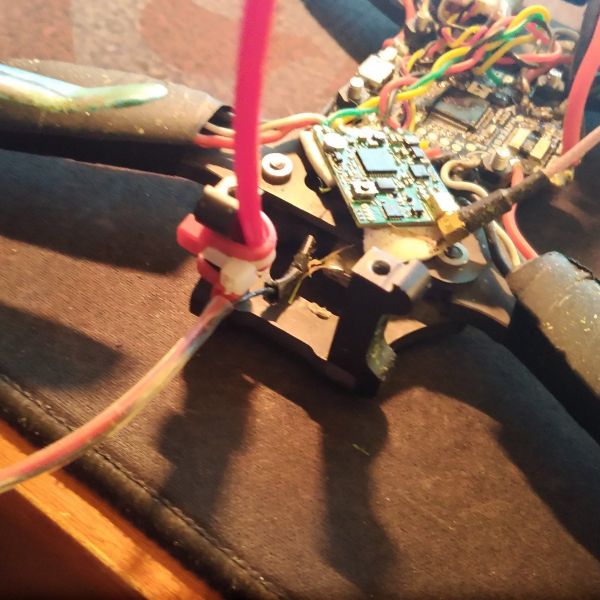
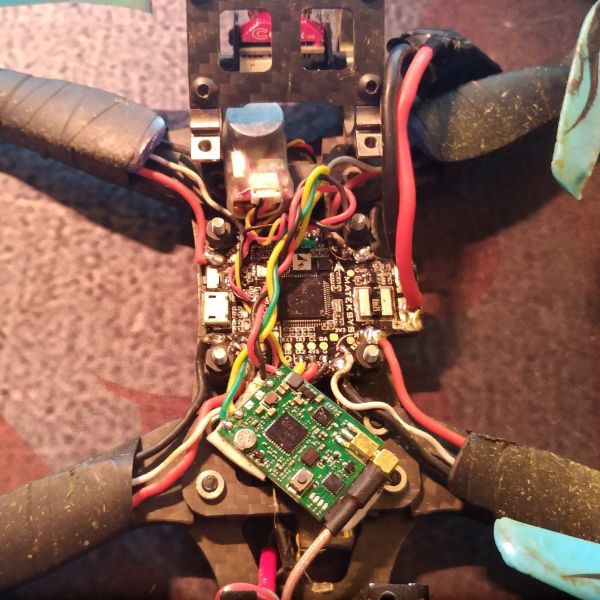
Where you have chosen to put your VTX, receiver and how low you have mounted your FC in the stack... Also how you have choosen to run you XT60 power cable and mount the antenas.
But anything will help :)
So I mounted the reciever under the rear arm brace. It's well protected there - and the config is Mr. Steele's "Immortal L". I saw a video he made about it a little while ago and I copied it on this build. The FC is mounted nearly directly to the base plate, the soft mounting gummies that came with it give ample spacing (it's REALLY TIGHT). The VTX has been mounted above the receiver (on the other side of the rear brace). I'll put a text representation at the end of this. XT60 connector runs under the top plate now, from the right side to the left side of the frame now. I usually have a ziptie running from the titanium cage to it as an attempt to take some strain off the solder joint in a crash.
The buzzer is a new addition that has come in clutch, especially since the cam upgrade lets me fly a little later in the day - if I crash it has an LED that flashes too!
Finally, here is the diagram
[ VTX ]
[ double sided tape ]
[ ARM BRACE ]
[ARM - Reciever - ARM]
[ bottom plate ]
Thanks a lot for the info and pictures. It helped a lot. Answered all the questions i had.
I have the same buzzer and had planned to put it in the exact same space (so the button are easy to reach :) ) Now I know that will work.