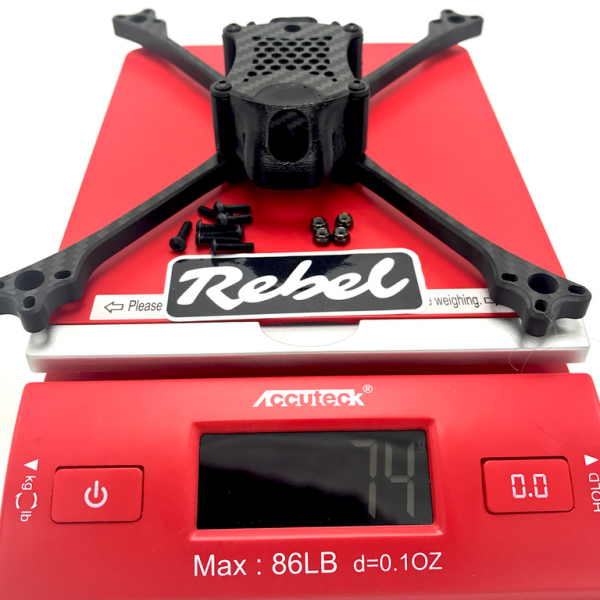
6" Rebel Ruxus LR HD Filming Quad
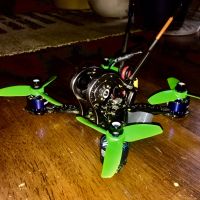 By Portland_Pilot_88 on Jan 18, 2019
Really excited to share this build with the community. This one comes with a bit of a back story too. Got to show CodeRED FPV around out here in Portland In This build will be alot of first for me! This build with be my 1st 6" Quad, 1st True Long Range Build, 1st 6s Race quad (The Daya 680 was 6S), 1st Cadex Camera. I started this build after hosting CodeRED FPV here is Portland OR to get him together with Billy "Bones" Miners from the Landyatchz Downhill Longboard team. We spent a whole day doing chase cams and in car chase cams of BIlly skating down a rad local road. After going to Maryhill the following weekend (https://www.youtube.com/watch?v=AQlSJx4y6ys&t=6s) and flying my 4s quad, i new i wanted to build a 6s 6" rig for filming at real long ranges.
This build is being done with all higher end parts for reliablity and safety while flying in close proximity to athletes and vehicels. This quad will also be equiped with GPS Return to home for added safety.
Started this build by doing an initial coating of conformal coating (https://www.amazon.com/MG-Chemicals-Silicone-Modified-Conformal/dp/B07BSK5S7B) on everything that would be getting soldered on at all. My idea was to make the coating process easier and be able to do a more through job than I can usually seem to do at the end when trying to apply coating around the already built quad. I will go back at the end and touch up all the soldered connections and make sure there are no areas that didn't get well coated.
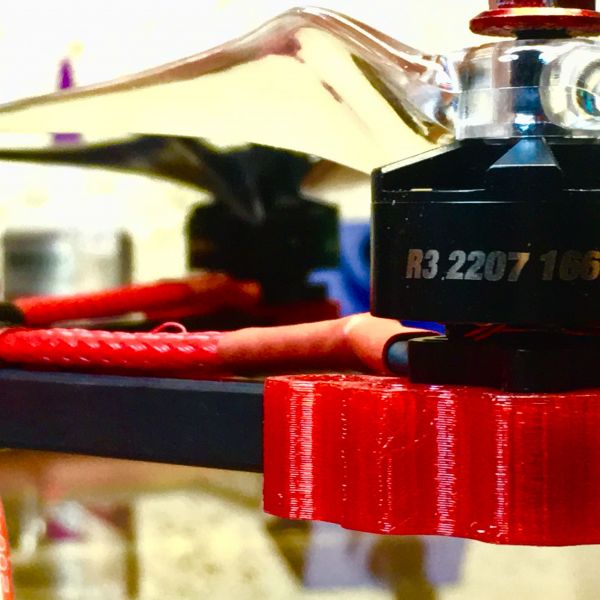
I happened to have some red 3/8" braided mesh still around from the Tomoquads Katana build(https://rotorbuilds.com/build/12846) So decieded this would be a good use for it since it was going to be a red/black themed build and would protect the motor wires better than the naked braided wires I was originally planning.
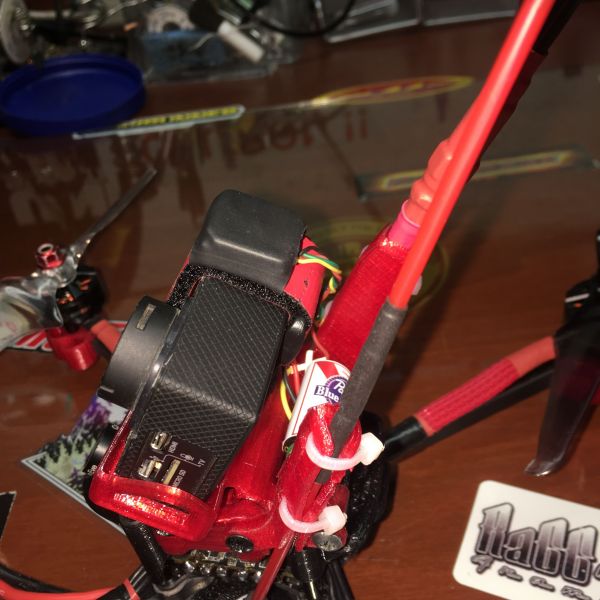
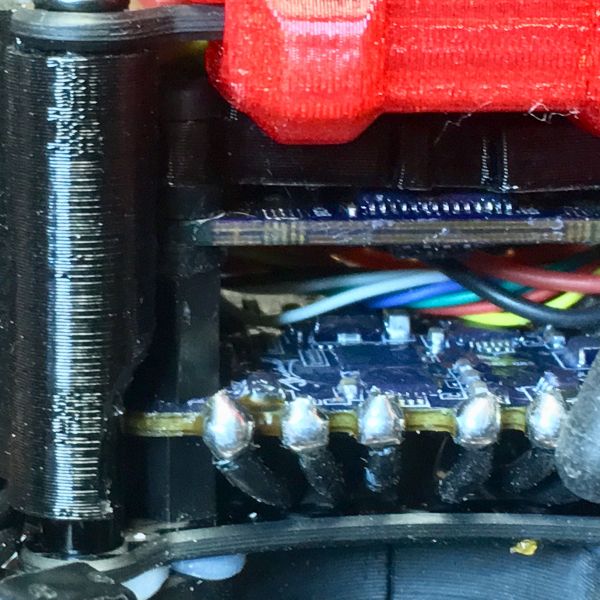
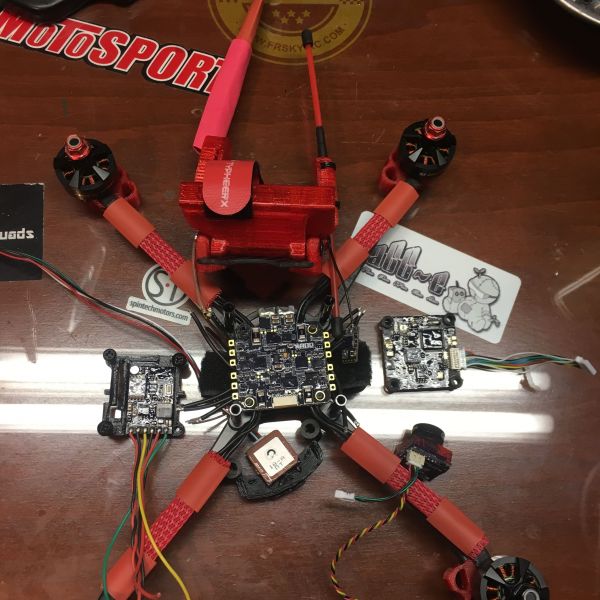
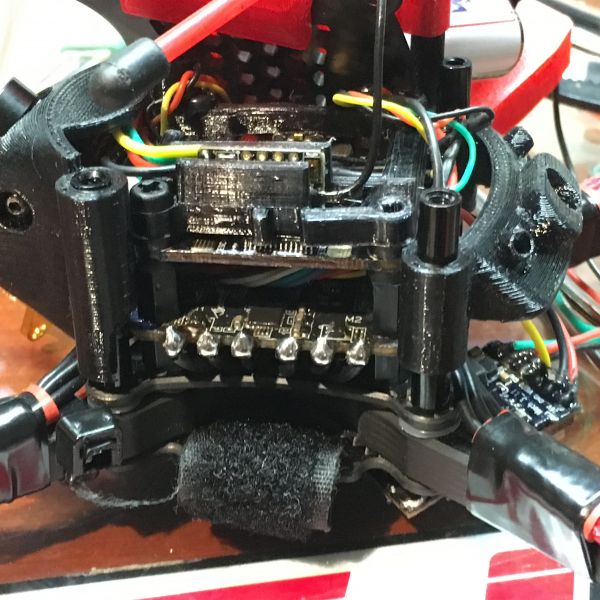
I ran into another issue when I got ready to decide how to mount my stack in the quad. I had a 3d Printed tray to hold the Mach 3 VTX and R9Mini that came with my stack from Racedayquads. Its a really clean little piece that keeps everything very neat but requires a little extra height. The other issue i came on is that the Ruxus uses 4 of the 8 arm mounting screws as the base for the stack mounting. After some quick online inquiry, I found out that the JBF4 stack is not insulated at the posts and will create a short if done with steel hardware. This meant I wasn't going to be able to use longer metal screws (Needed to keep the metal for structural strength) with O Rings in order to get a stack short enough to fit. I ended up installing 5 mm taller stand offs on the 4 outside corners to raise the top plate just enough to get the stack in. I used a M3 Female x Male stand off below the ESC and then a Female x Female Stand between the ESC and FC. This allowed me to drop a long nylon screw down through the 3d printed VTX/RX tray, through the FC softmounts and into the top of the stand offs above the ESC.
After finishing up mounting the stack I decieded to test fit where I was going to put the Capacitor. I soldered some leads on using one of these nifty litte PCBs (https://www.racedayquads.com/products/wafl-s-cap-cap-set-of-5?variant=12335214461035). I thought I could possibly tuck the giant capacitor behind the camera inbetween the ESC and FC. However, as I was attempting this I managed to break the cable connector off the FC that connects to the 4in1 ESC.....
So after a few minutes of swearing and some tiny soldering I got the connector resoldered to the board and all the solder bridges between the pins removed... Looks like the capacitor will be riding behind the GoPro mount ha.
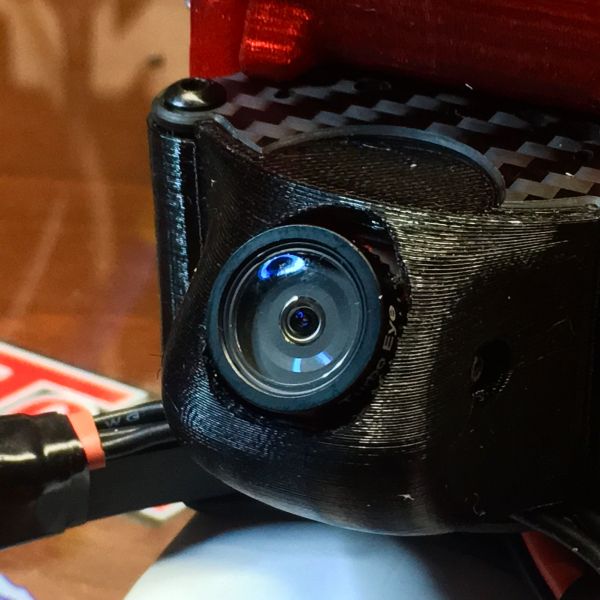
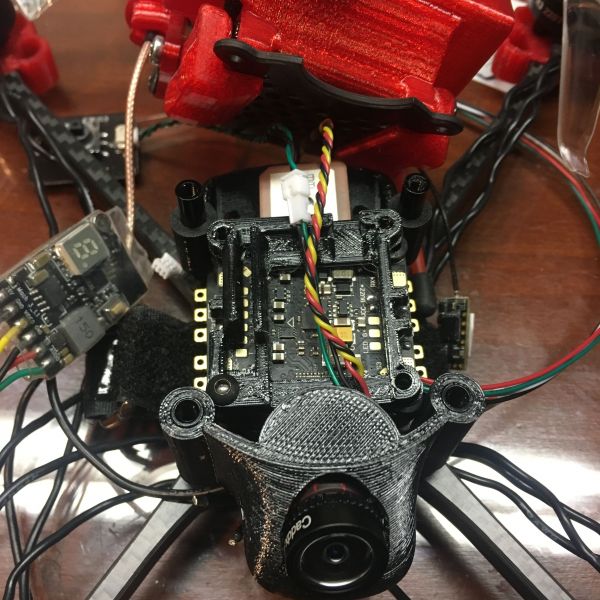
I decieded on a Cadex Turbo Micro SDR2 Plus (Freestyle) (Long enough name??) which did require me to carve out a bit of material around the lens opening on the 3d printed camera holder. This is also a good time to address the other minor issues I ran into with this build. The JB ESC is a very nice looking solid feeling piece of electronics. The PCB is nice and heavy with alot of material around the mounting holes and not components mounted to close to the stand offs. It does however stick out past the holes a bit farther than the matching FC in the stack. This resulted in having to trim the standard Ruxus 3d printed camera mount along the back side of the stand off sleeves. A litte triming along with the slightly longer standoffs got the camera mount securely slid onto the standoffs and clearing the ESC edges.
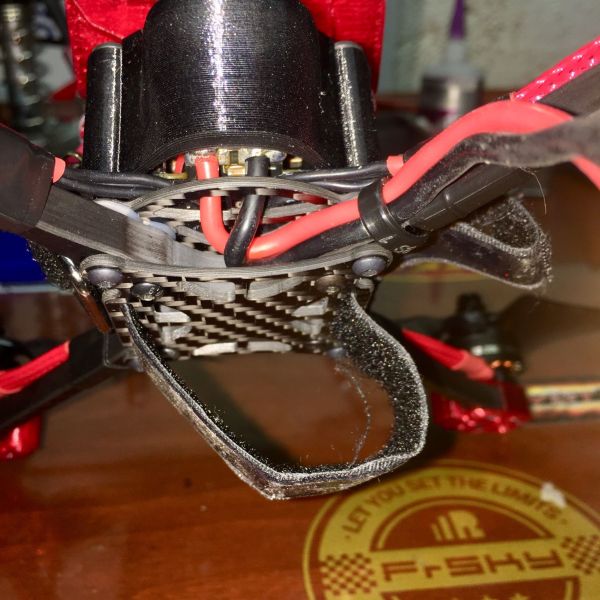
Next up was soldering the motors to the ESC. I made sure that when I routed the wires through the braided mesh that they were laying flat so that I could easily tell which wire was which when I got to this step. After some carefull cutting, striping, triming and re-striping wires I got all of the wires soldered up looking decent and laying nice and clean underneath the ESC.
Finally got around to all the final soldering of the wires onto the FC. This process was uneventfull other than having to extend the wires for the GPS. (Have a friend 3d printing a mount so wanted to have a litte extra slack) I also still have to swap out the SMA lead on the VTX for one I have that is a bit longer but overall I am super happy with this build!! Just need to plug it in and program it before the maiden now!
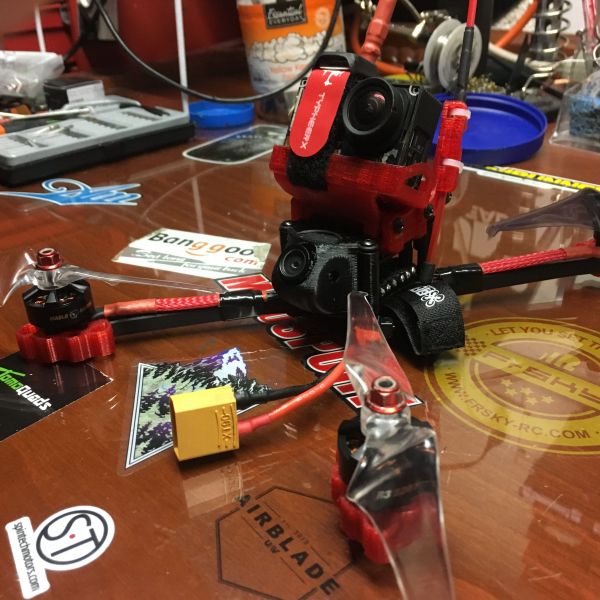
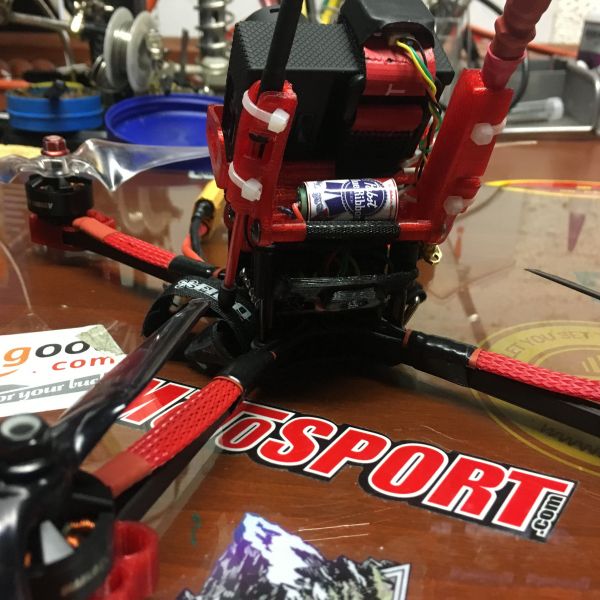
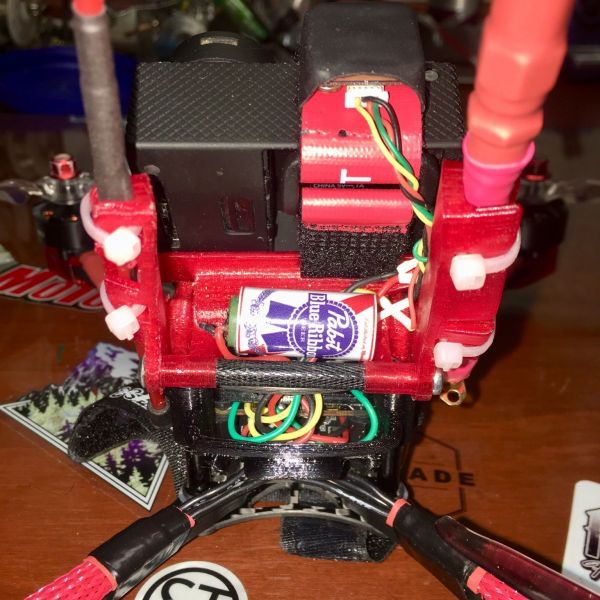
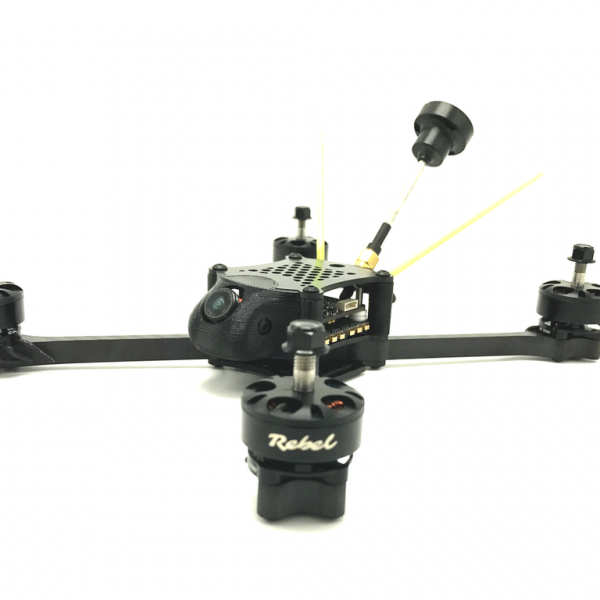


whats the auw? Also could i see some footage, wondering how smooth the 6" is??
397 g without the gopro