This is my first build, ever. I had a tiny bit of soldering background from building my own mechanical keyboard, and a decent amount of experience with small form factor PCs to help me with fitment of everything.
The goal was to get a bigger, more stable quad that had a longer flight time than the 2.5-3.5 minutes I was averaging on a Babyhawk R with 450mah 3S batteries, while being able to carry the GoPro that I have if the opportunity arose.
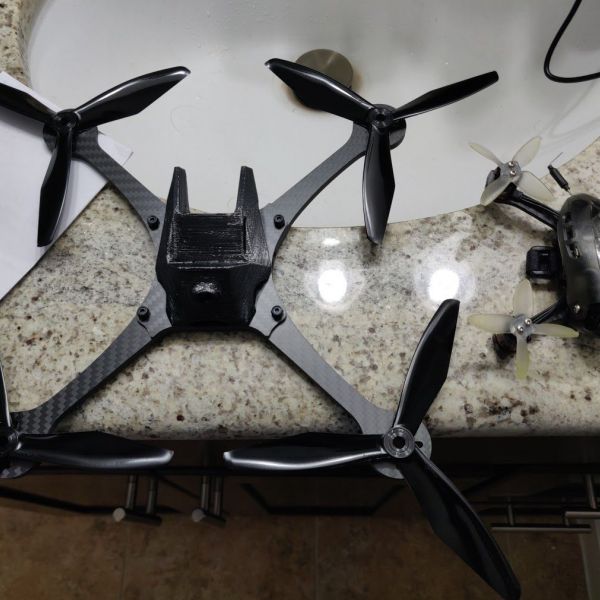
The first few pics are just the parts arriving, beginning with the frame (genesis for the entire project, as it just looked so good)
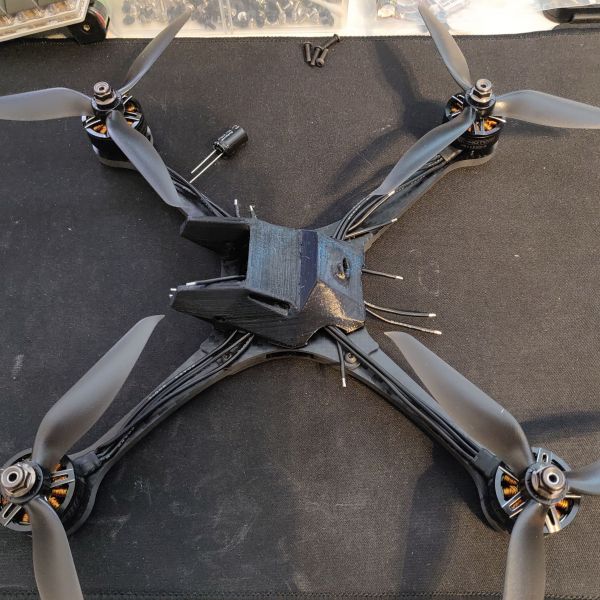
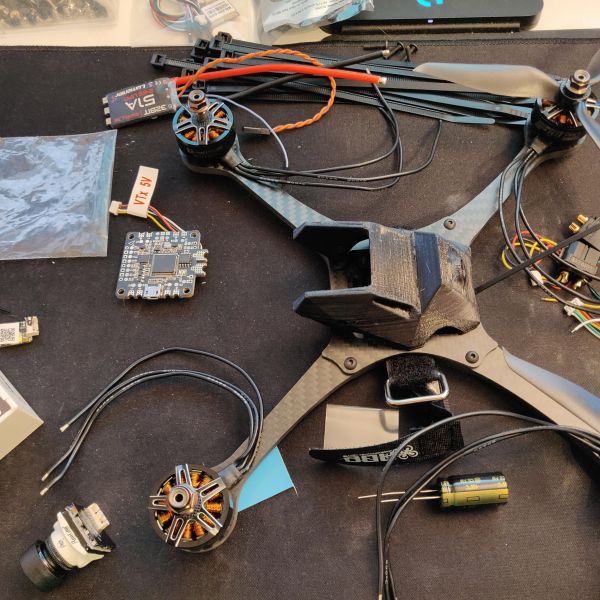
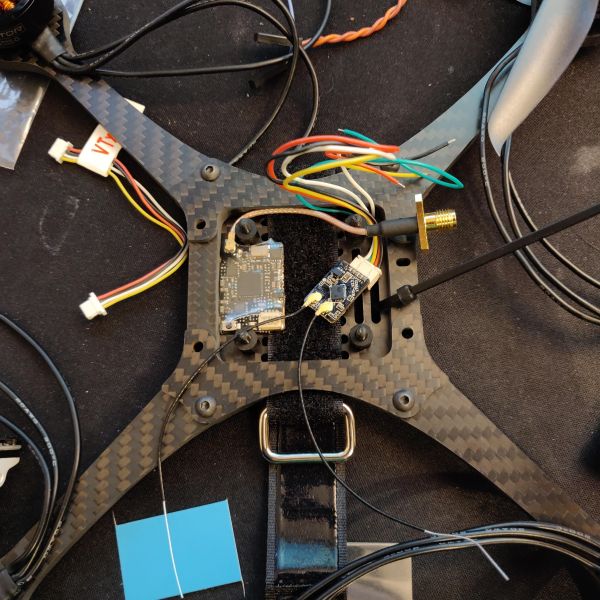
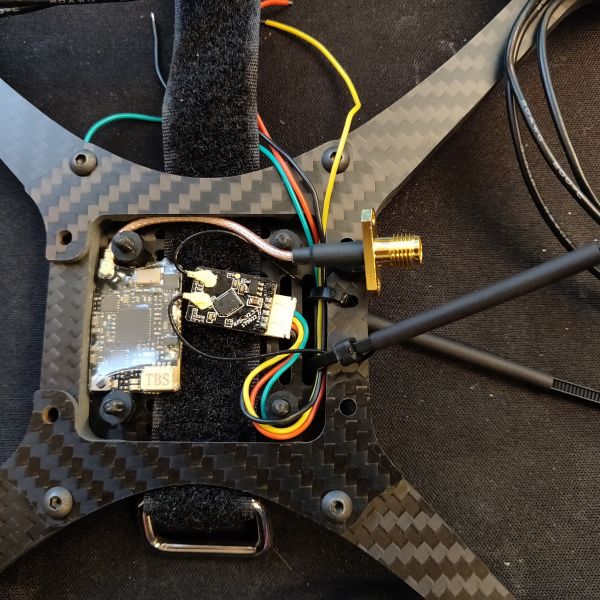
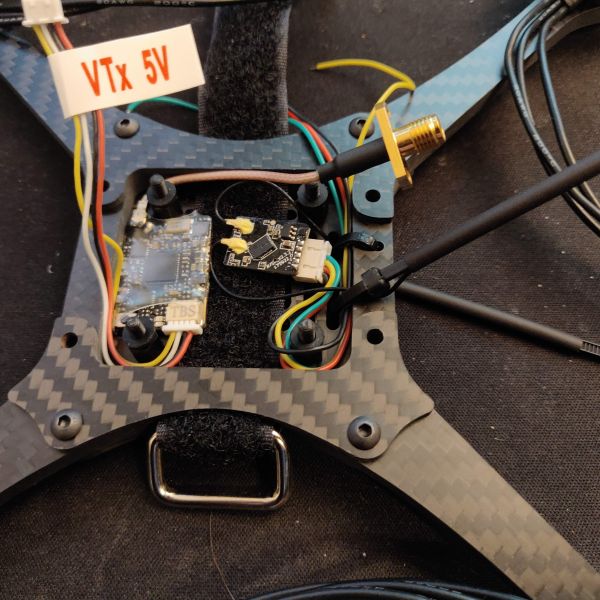
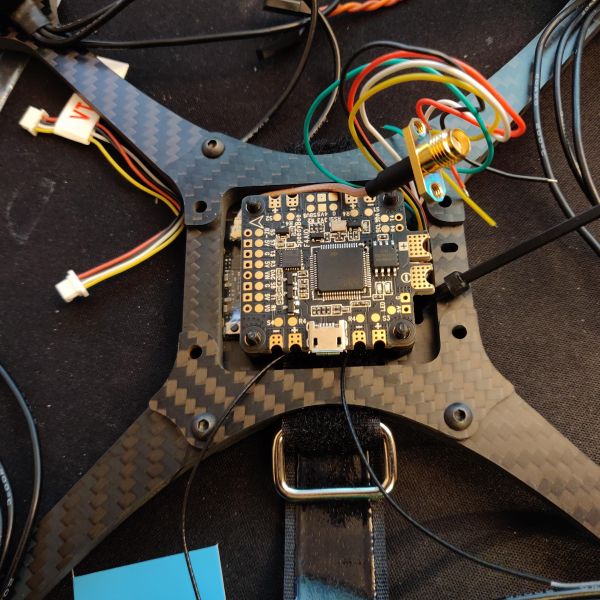
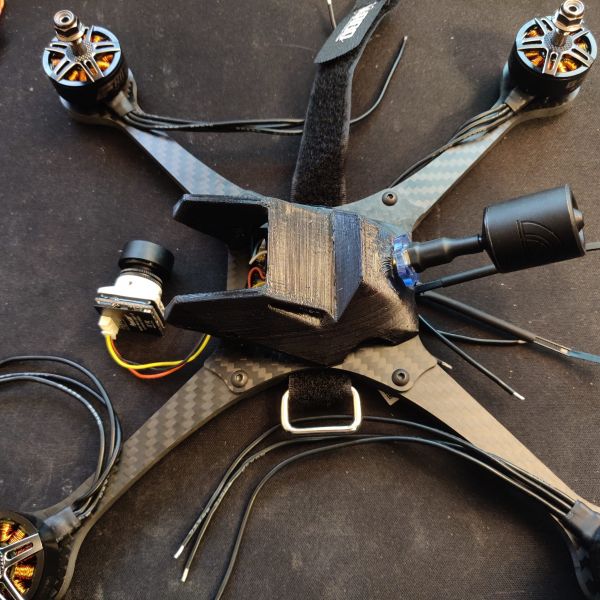
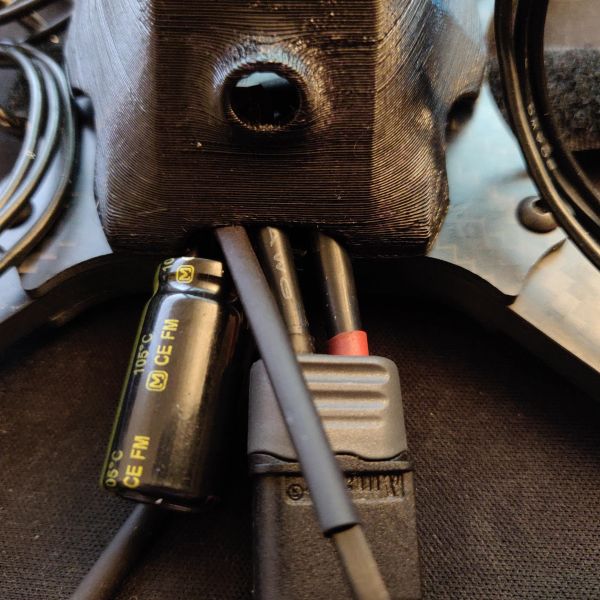
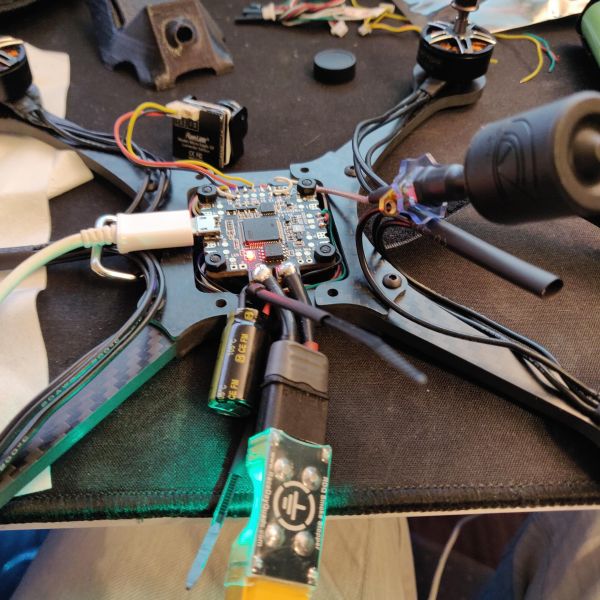
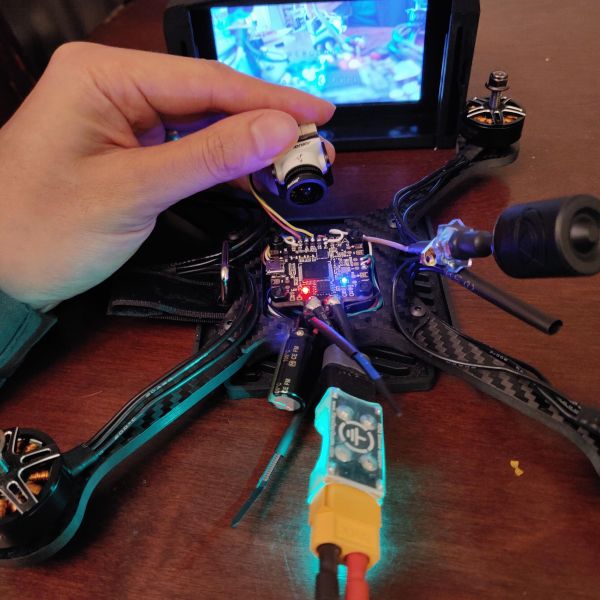
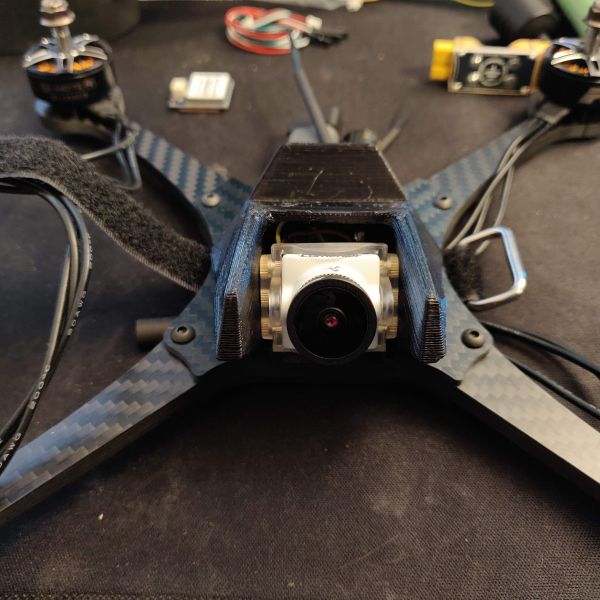
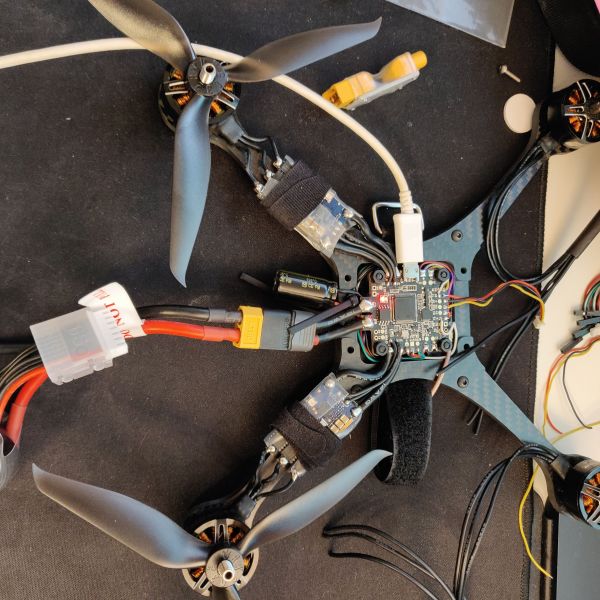
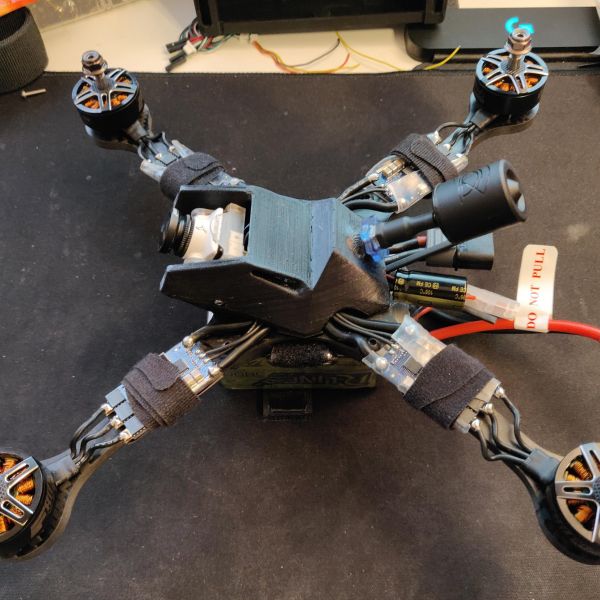
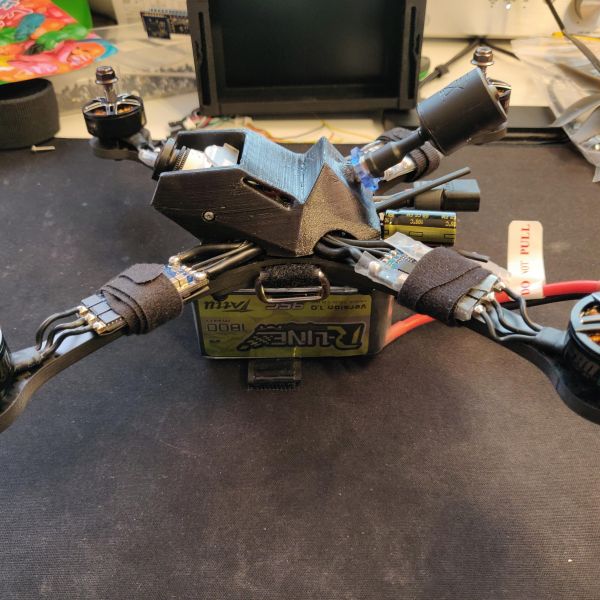
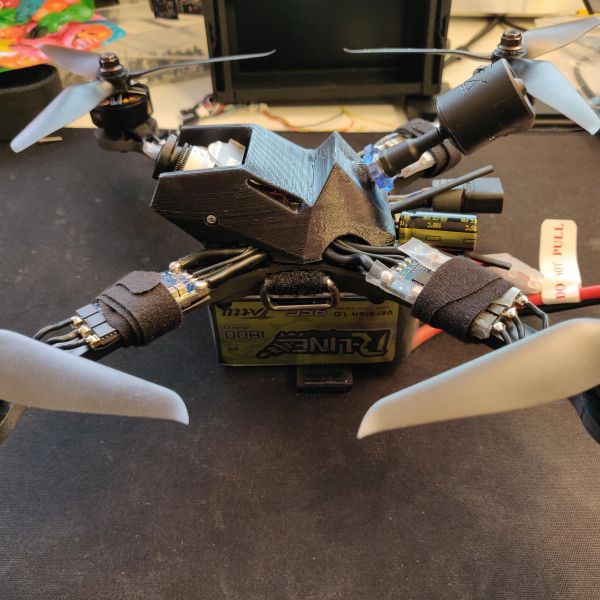
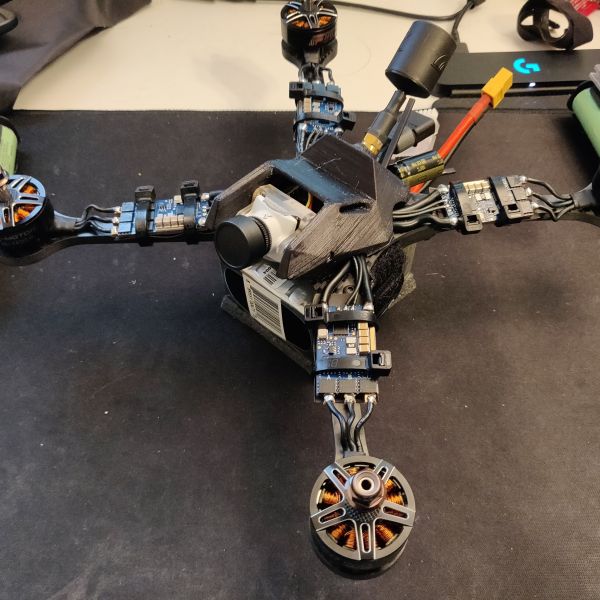
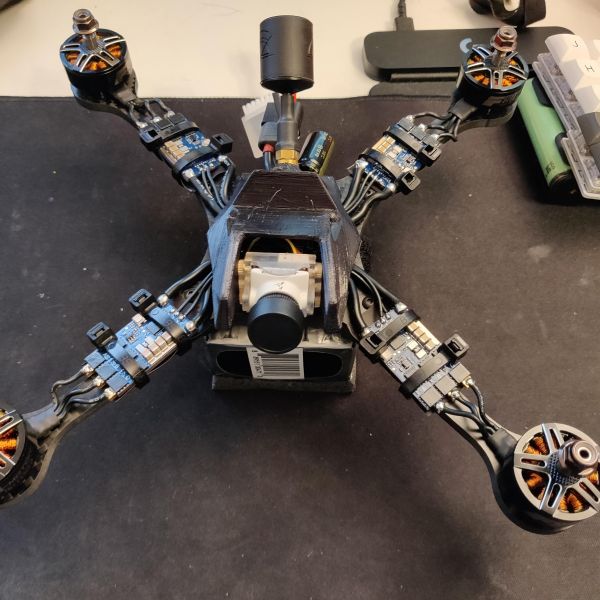
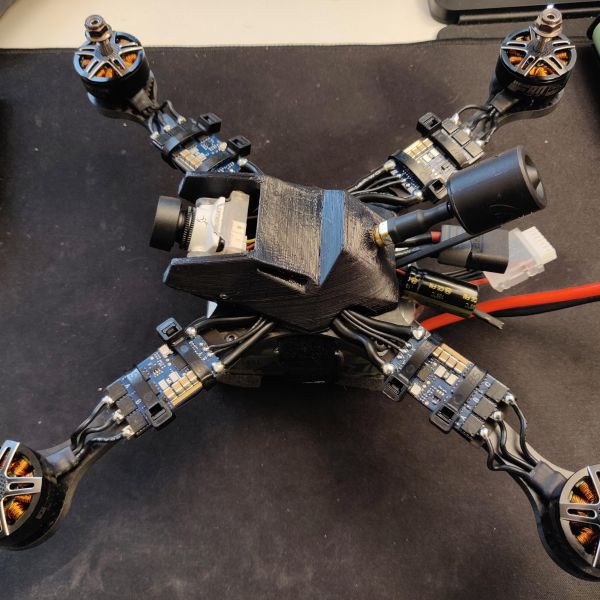
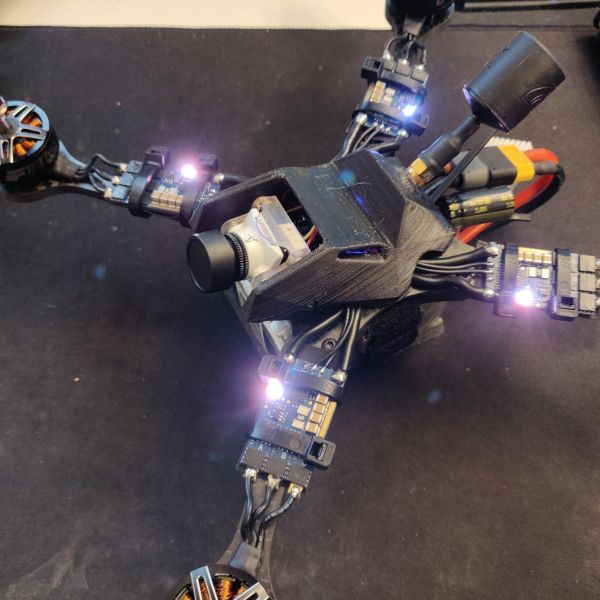
Once the parts arrived, I did some dry fits with the motors alone to get an idea of the end size. After mounting the motors, I set about placing the VTX and radio RX along with some wire routing to begin laying things out and making sure everything would clear & reach. The antenna location is a little close to the main battery and capacitor, but I think it is ok for now.
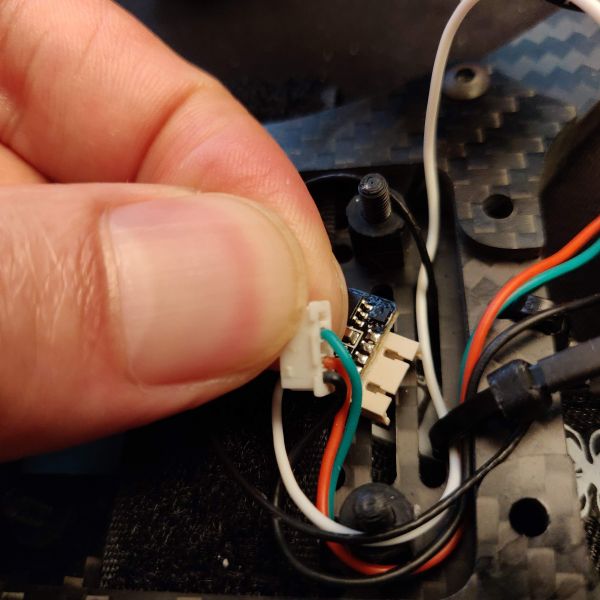
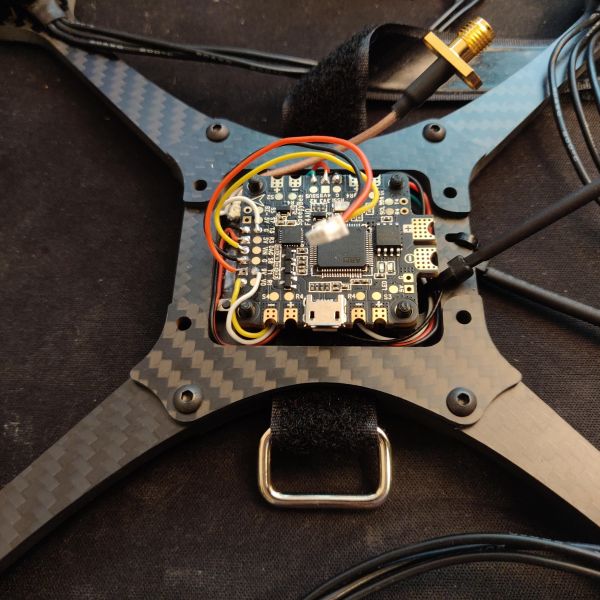
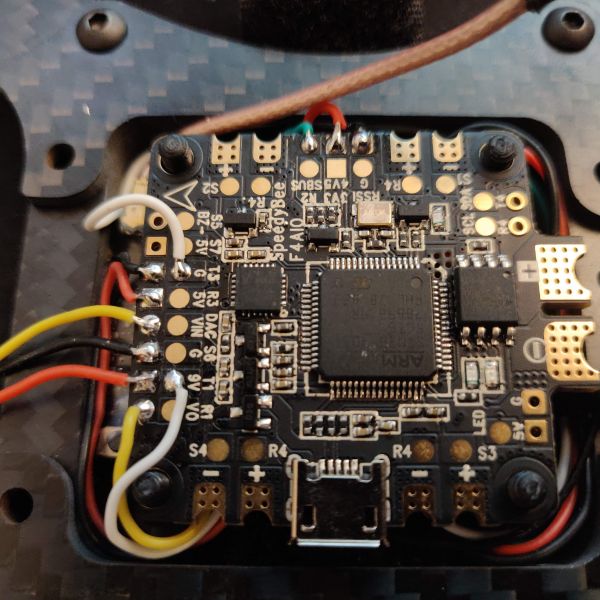
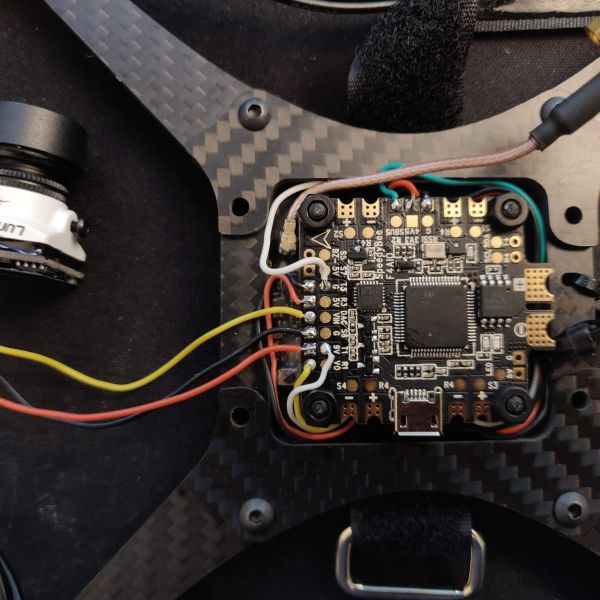
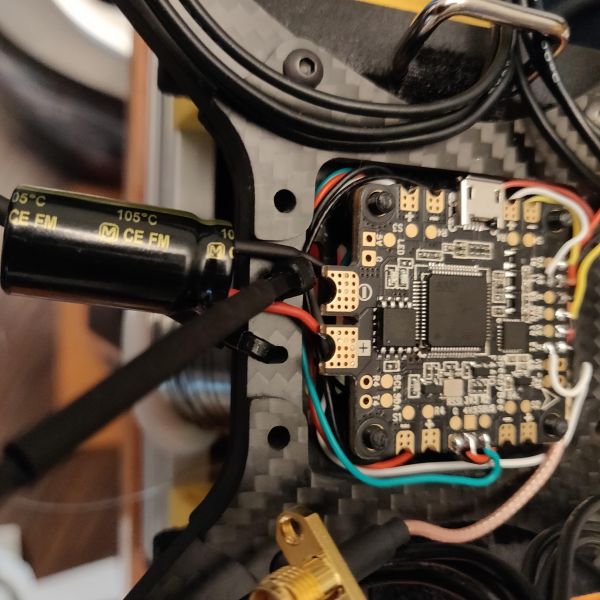
Removal of unused wires on the RX harness, as well as research on what protocols to use and how to wire for all the different protocols took up the better part of a week here, before I was finally comfortable enough to solder things down. For the first iteration, I ended up with: UARTs for SmartAudio, GPS UART, and SmartPort UART / onboard SBUS pad for RX
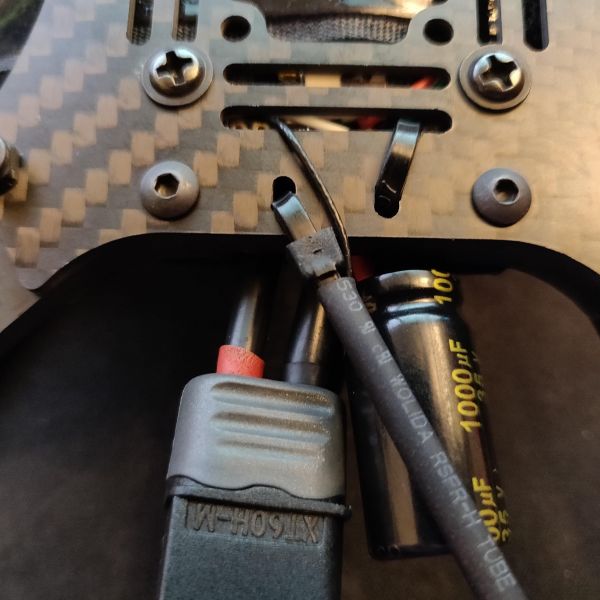
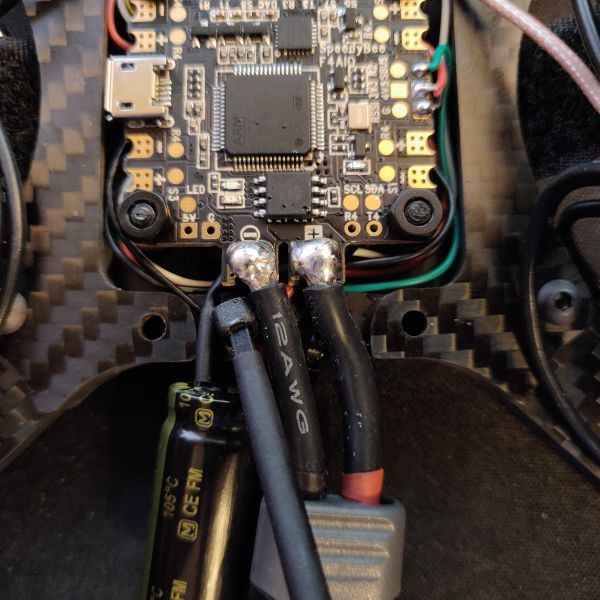
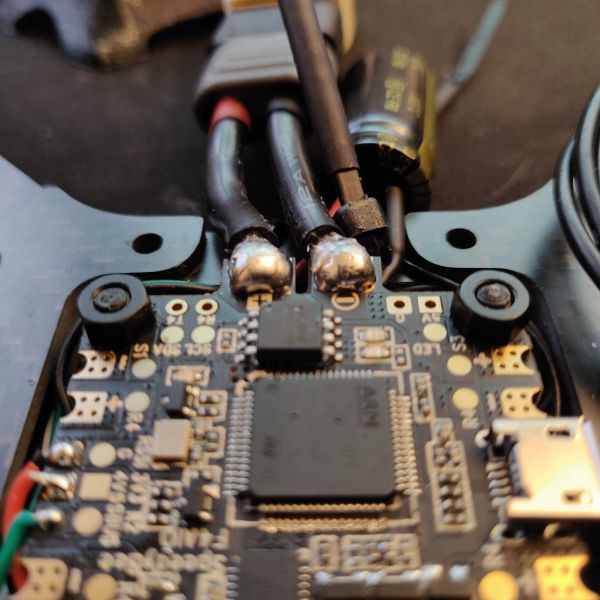
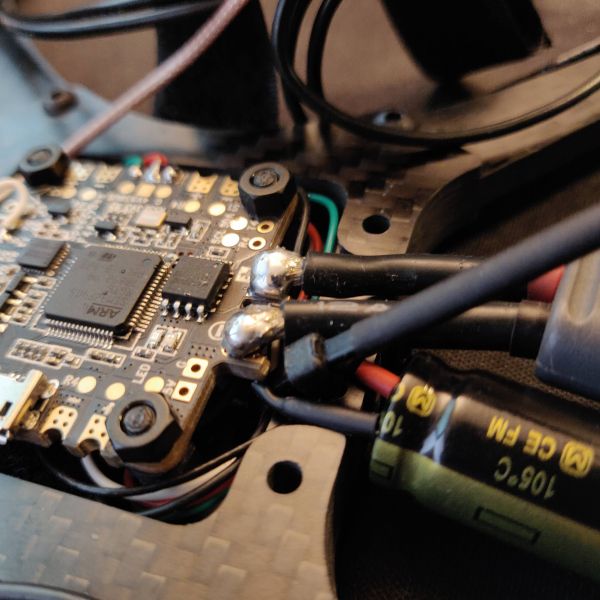
The thicker gauge XT60 pigtail gave me a lot of headache, as I had no idea how to solder it correctly and ended up with my first attempt being as stiff as a carbon fiber rod, due to solder wicking the entire way down the wire
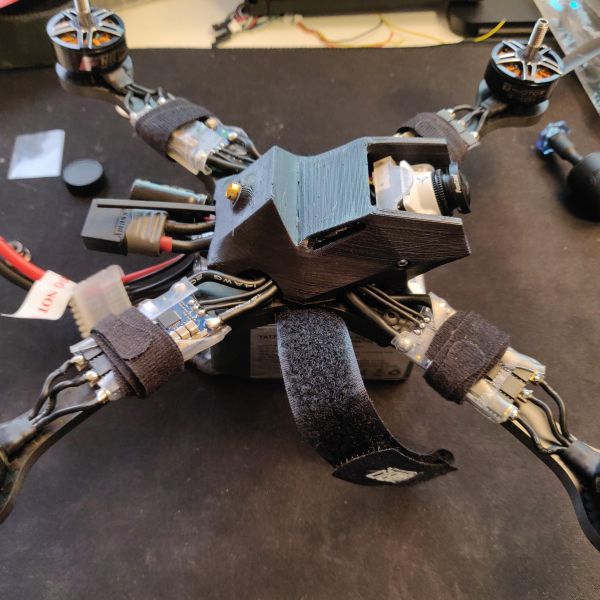
After finally powering her up for the first time, I was able to bind RX and program VTX without many issues at first. Happy moments and followed by difficult moments, proceeding to cut/solder ESCs. ESC main wires were also very troublesome due to the same issue as XT60 above, compounded with needing to fit the ESC wiring through the body gaps while maintaining proper wire length (I did not do well here with the wire length cuts or soldering)
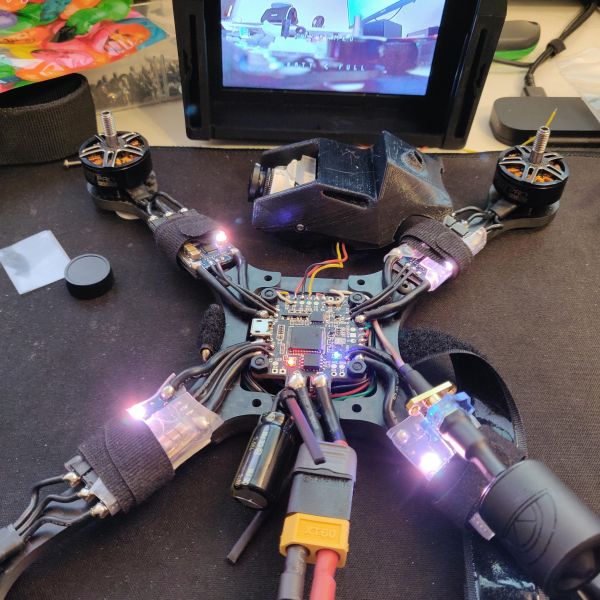
After attaching the ESCs, I began Betaflight & BLHeli setup, updates, and configuration. This took another week or two, as I have never done either of those except a very minimal amount of BF setup for the Babyhawk R. Applied a layer of silicone conformal coating, then zip tied the ESCs to the arms and began testing motor direction on battery power finally. Always pay heed to warnings and do these tests with PROPS OFF. I had difficulty seeing the motor spin direction, so I put a prop on without prop nut to ensure prop/motor/ESC were all setup correctly. During my testing, my dog managed to nudge my hand at the exact moment I was adjusting a motor throttle slider in BF, and the motor spun up and shot the prop straight up into the ceiling - there are still paint/drywall marks on the prop. Luckily my face was clear of the flying prop, and the prop nut was not attached, or I could have ended up with a deathrolling quad to the face.
I ended up having to take off the ESCs and FC in order to heatshrink the VTX and RX. The video feed was cutting out quite a bit, due to VTX grounding on something that I could not pinpoint (either FC or frame, though I tried plastic inserts and a sticky pad to no avail). I took this same opportunity to waste 4 hours figuring out how to flash F.Port instead of S.Port, as my radio was constantly vibrating, and after updating the qx7s firmware I got constant audio indicators of telemetry loss along with the buzzing. This is the guide I ended up following for serial passthrough R-XSR flashing, it worked for me as I did not have a servo cable to wire directly to my radio
Maiden flight is now complete, and she flies great! I get over 16 minutes of straight hover time, only pushing the batteries down to ~3.65v/cell. Relaxed freestyle/cruising seems to hit around 11-13 minutes. With 6"/6S/1900kv, there is still a ton of power/speed that I feel is more than adequate for my capabilities, and still a very satisfying banshee wail on punchouts with 6032 props
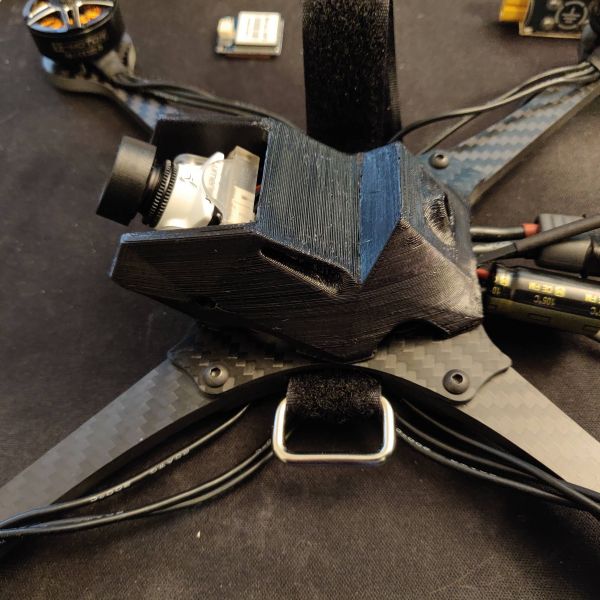
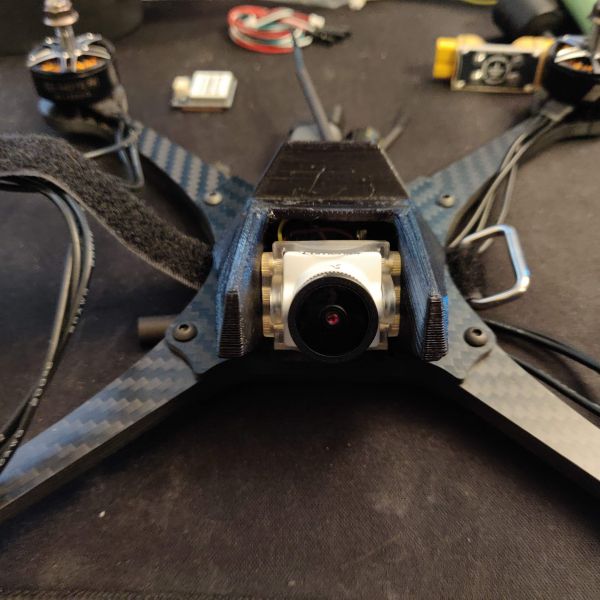
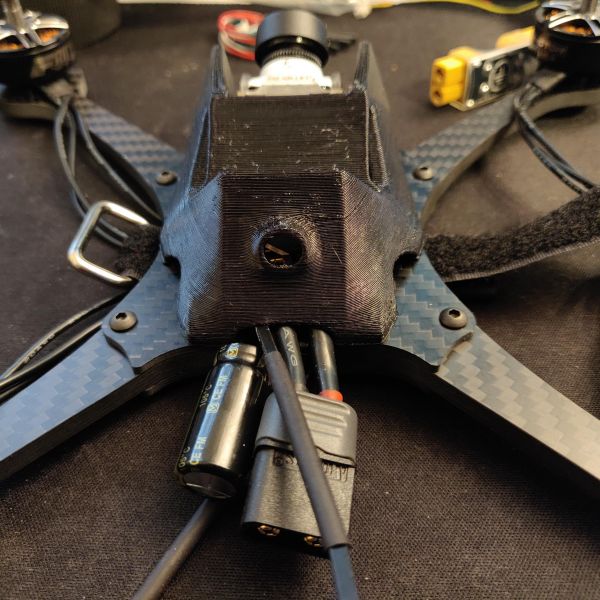
If I had to do anything over again, I would probably go with the Racerstar tattoo 52A ESCs, as their black PCB matches the rest of the quad better, and they are the same ESC as the Lumenier 51A (Lumenier just rebrands them, allegedly). The GPS has been left out of the final picture, as I don't have a spot ready to mount it on the quad. There are likely a few PID adjustments on the roadmap as well, to clean up some oscillations I noticed during near full throttle
Photos
Part List
Show stores (8)Guides & Reviews
AirbladeUAV has done it again and this time they've brought long range to the 5" class! Based on the popular Transformer Mini, the new Transformer 5" Ultralight adopts a lot of the same design philosophies with larger props and more payload capacity. It can fly upwards of 20 minutes on a 4 cell Li-Ion battery pack and in ideal conditions it's got a range of over 4 to 5 miles. In this guide I'll walk..
Read moreWith the release of the DJI FPV Drone cinematic FPV has become a lot more accessible, but you certainly don't want to crash a $750 drone! The QAV-CINE Freybott is a compact, lightweight cinematic FPV drone that can take a hit and keep going. It's a lot safer to fly indoors and around people. With a naked GoPro or the SMO 4k you can capture some great stabilized footage. In this guide I'll show you..
Read more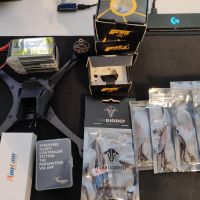



Man, excellent first build & love the writeup! Would love to see some video 😍