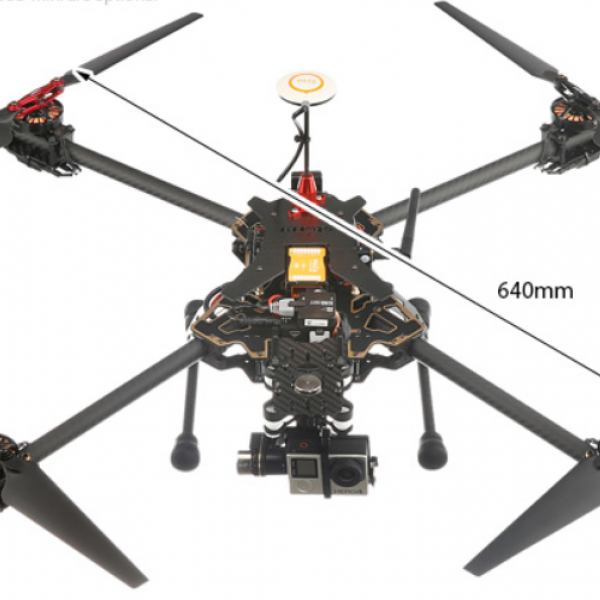
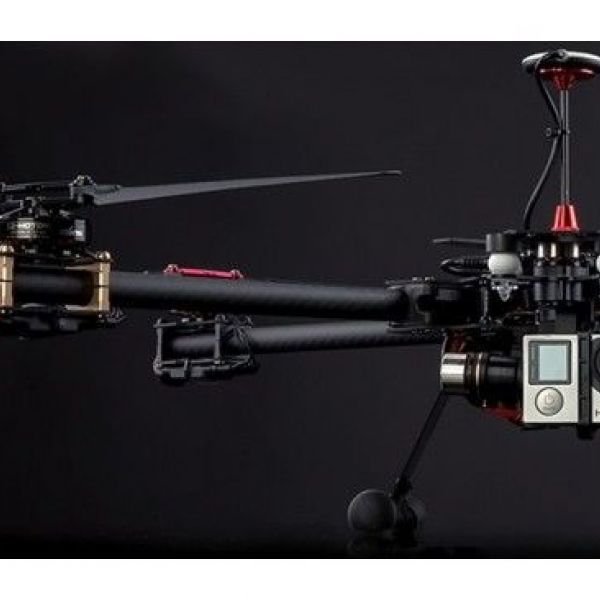
Storm AntiGravity LR Filming Quadcopter (1.65 kg Dry)
 By Portland_Pilot_88 on Jan 09, 2019
Weight 1.65 Kgs no battery == Storm Antigravity RTF with T Motor 4006 = 1210 grams (Thats no GoPro Gimbal, VTX or VTX antenna though)
HAPPY TO REPORT 31:52 Second to forced to land by the FC at 3.2 volts per cell!!!! Very happy with this result!
Video is uploading now.
This will be an replacement/upgrade to the Daya 680 frame which unfortunately experienced a crash:( After trying to get parts and customer service from the website i purchased it from for 5 months, i have given up and decieded on this frame as a replacement that has a good reliable source for spare parts if needed) Helipal also claim to be getting near 30-40 min flight times based on Naza M builds with similar specs on this frame.
Frame was recieved from Helipal in record time! I am very impressed with their company they were of great customer services and helped answer questions for me and clarify details before shipping my order. And then 3 days from Hong Kong to my door for less the $30 in shipping!
Once I got all the carbon out of the box a quick once over revealed what you will find on most frames from overseas, little to know finshing on the edges after being CNC'd so into the sink for about 2 hours total of sanding until i had all the edges nicely beveled to how i like them. (After clear coating again i have found this will also help with preventing cracking and delam in the carbon) Outside for a few coats of glossy Rustoleum on all the carbon pieces for a bit of extra bling for the carbon.
While these were drying out I got all of the components of the Naza V2 system that would be the brains of this build roughly laid out and secured in place with 3m double sided tape to the top plate/PDB. I have deciede to use the built in PDB on this build in association with Matek PDB i had previously selected for it. I will be using the BECs on the matek PDB in order to power the 12v need for my VTX and gimbal. I will power the LEDs from the BATT voltage pads on the Matek PDB that are intended for power wires for the ESCs.
My previous AP rigs i have just built a wiring harness out of ugly lumps of solder and wires that have weighed a ton and used external BECs. I felt better about this i regards to less chances of falure but this helped to clean everthing up significan'ty in the build and cut some weight. I decided to use the built in PDB on the top plate for the positive and ground wires for the motors and ran the power wires for the matek PDB directly to the solder points for the battery leads on the quad top plate. I ended up using the PDB BAT + and - pads to power the 6s rates Tiny LEDs that I tucked inside the back of the motor mounts.
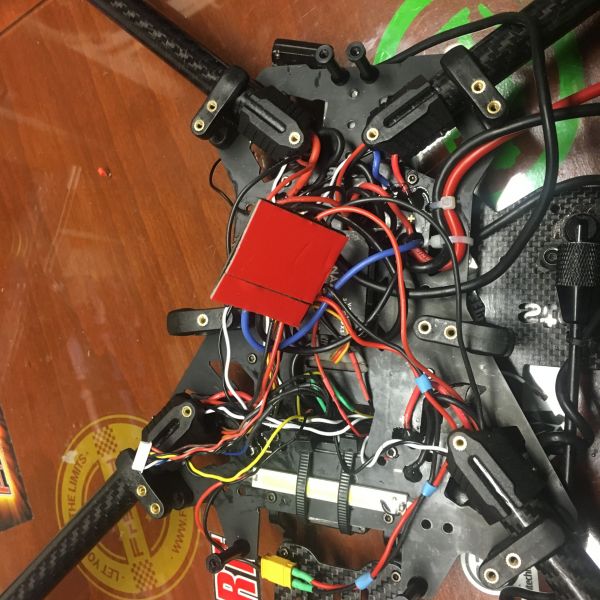
I trimmed and prepped all the wires on the motors and mounted the escs underneath each respective motor with a bit of "aftermarket" heat shink for better cooling for efficiencys sake???? ha Everything got heat shirnked and then zip-tied in place.
i then moved to final mounting all the components that would go intenal to the frame. With the ESCs on the arms this only left the DJI PMU, the Matek PDB and the associated wiring to get tucked away inbetween the main frame plates. On top of the main plate I mounted the FC dead center with the R9 Reciever inline behind it. The mini iOSD is mounted directly infront of the FC and the VTX is secured directly to the top of it.
I currently have the VTX antenna secured to some zipties out the top of the aircraft (preferable for me in regards to getting it aways from interfernce for better siginal but it has been pointed out to me that it may put my props in danger due to the mount fatiguing esspecially over a long flight. Due to these suggestions I will be reconsidering exactly how i mount the VTX antenna.
Hope you all enjoy the build and pictures! Videos from the quad will be on my facebook channel in the future!
Quick Video of first test hover
Photos
Part List
Show stores (8)do you think this could turn into an x8? so 4 motors top 4 bottom?
Wow this is really cool, but i have 3 questions :
1) What gimbal do you use ?
2) Do you use a gopro hero 4 ?
3) What software do you use, and do you only use this in angle mode, or acro mode too?
Guides & Reviews
AirbladeUAV has done it again and this time they've brought long range to the 5" class! Based on the popular Transformer Mini, the new Transformer 5" Ultralight adopts a lot of the same design philosophies with larger props and more payload capacity. It can fly upwards of 20 minutes on a 4 cell Li-Ion battery pack and in ideal conditions it's got a range of over 4 to 5 miles. In this guide I'll walk..
Read moreWith the release of the DJI FPV Drone cinematic FPV has become a lot more accessible, but you certainly don't want to crash a $750 drone! The QAV-CINE Freybott is a compact, lightweight cinematic FPV drone that can take a hit and keep going. It's a lot safer to fly indoors and around people. With a naked GoPro or the SMO 4k you can capture some great stabilized footage. In this guide I'll show you..
Read more


Absolutely love the build, where did you get your connector for the R9 Reciever?
its just a servo plug??