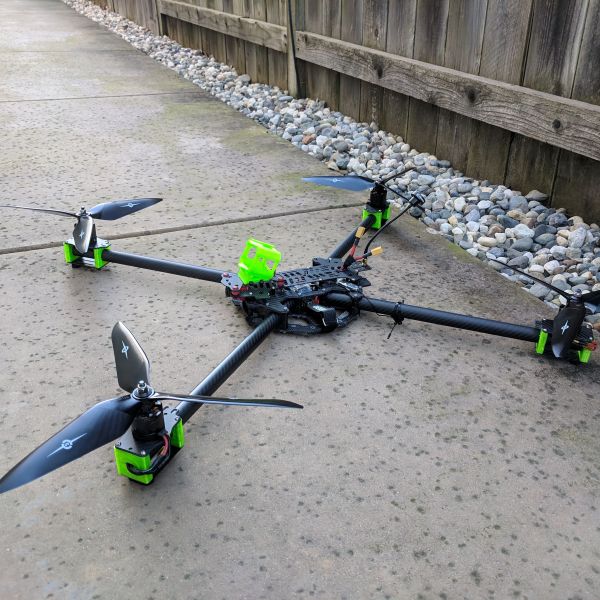
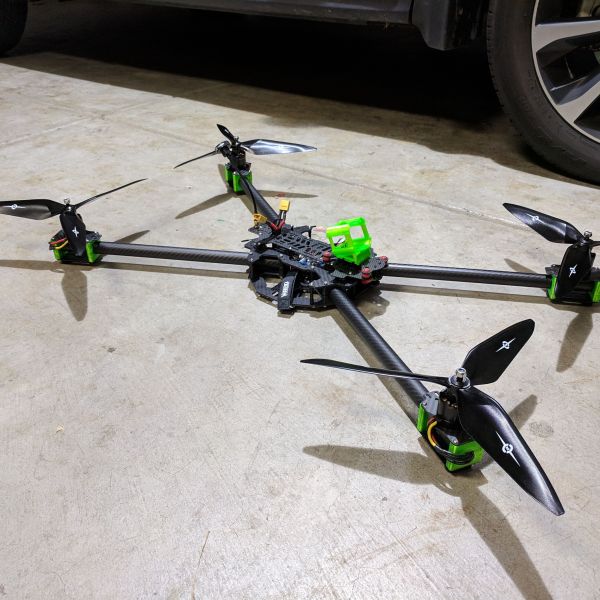
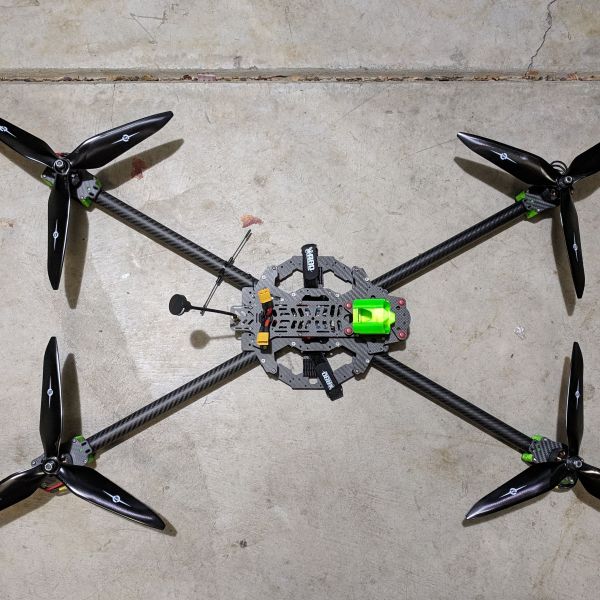
Frankenquad Custom X-Class (Tarot FY680, Vortex 285, Carolina XC) 800mm
 By wrong17 on Mar 16, 2019
Update (June 02, 2020): It has now been converted to the DJI Digital FPV system and APD 12s ESC. Everything below is the orginal build, here is a link to the new build: https://rotorbuilds.com/build/22654
Feb 22, 2019
I wanted to build a X Class size FPV race quad but do not want to spend $400 to buy one. Before going in to detail about my build I have a few concerns about this build. First, the Sunnysky 2814 700kv motors for this build might not be strong enough to make is a racer quad. It was originally used on an AP Hexacopter, so it was supposed to be a slow flying multirotor built for efficiency. According to the motor specs, it only draws 23.7amp with a 13x4 (2 blade prop) at 100% throttle on a 5s Lipo. According to the spec sheet these motors only put out 2300g of thrust with 13” props. So, getting this quad in the air is not a problem, but making it go fast is a whole different story. The only reason why I am using these motors is because I was free! Since these motors draw so little amps, a 40a 4in1 esc should have any issues powering up the motors (Update: I end up buying a new ESC that is 55a and 75a burst). Another thing I should take in consideration is that I am not planning to race it but to see if I could build one with the parts I have.
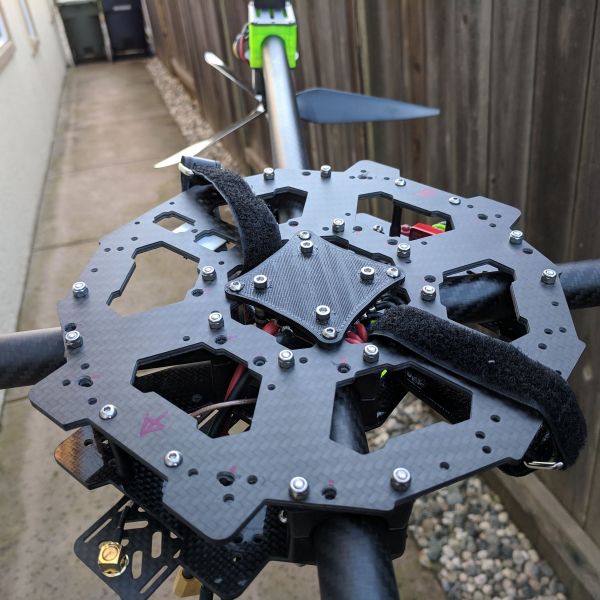
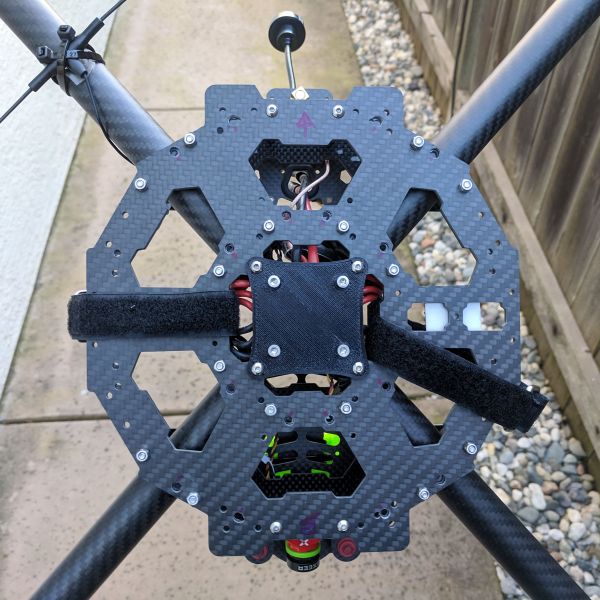
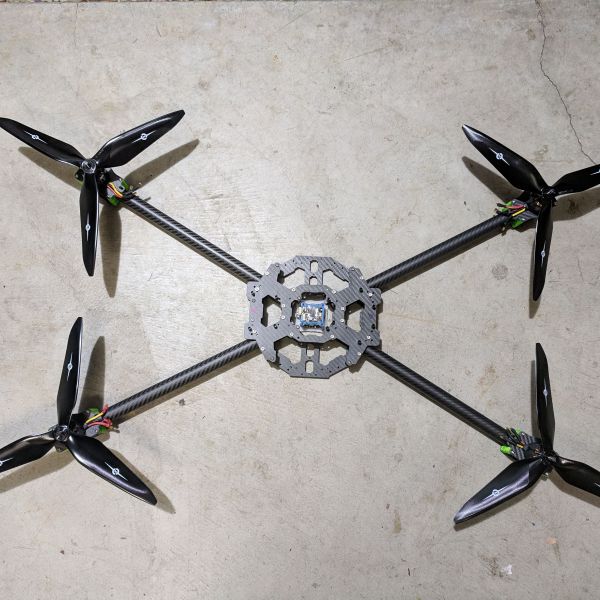
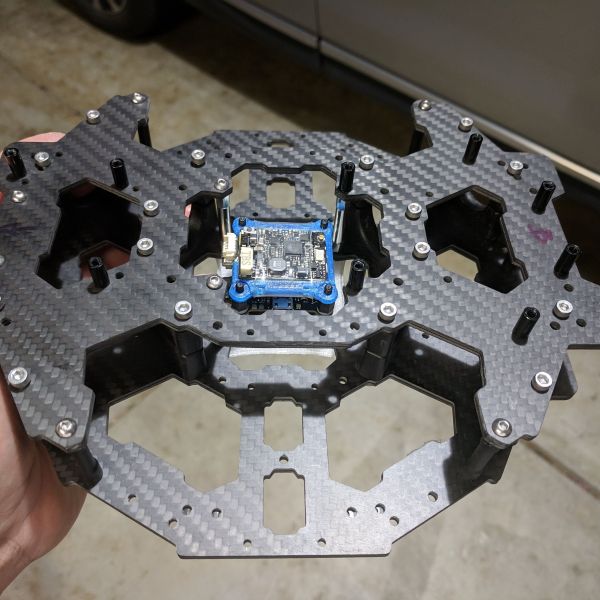
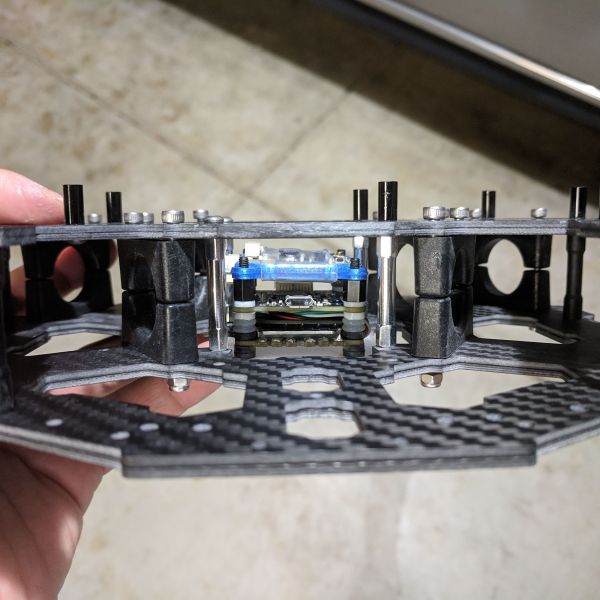
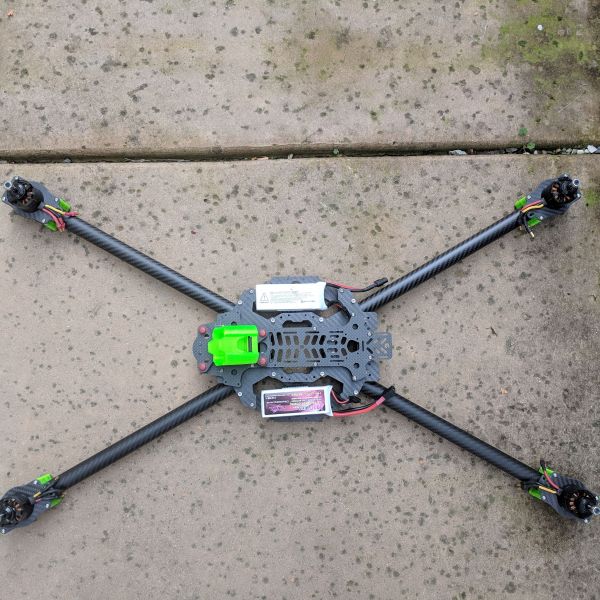
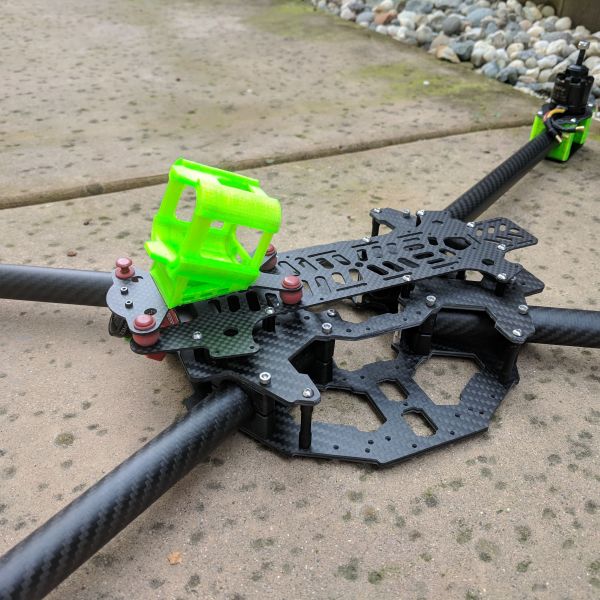
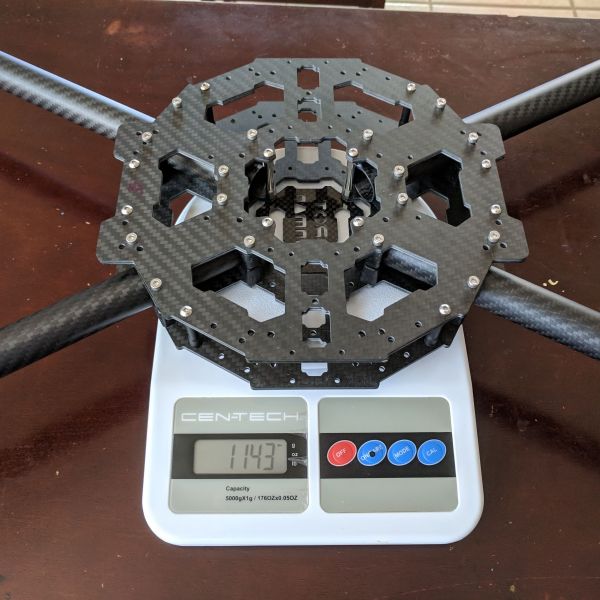
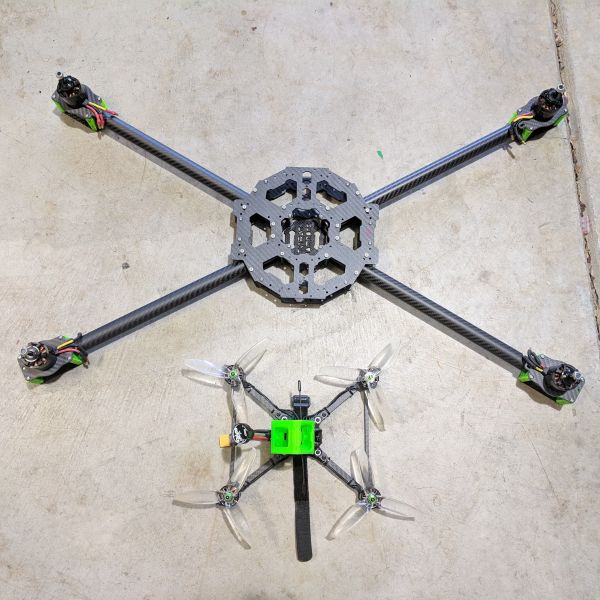
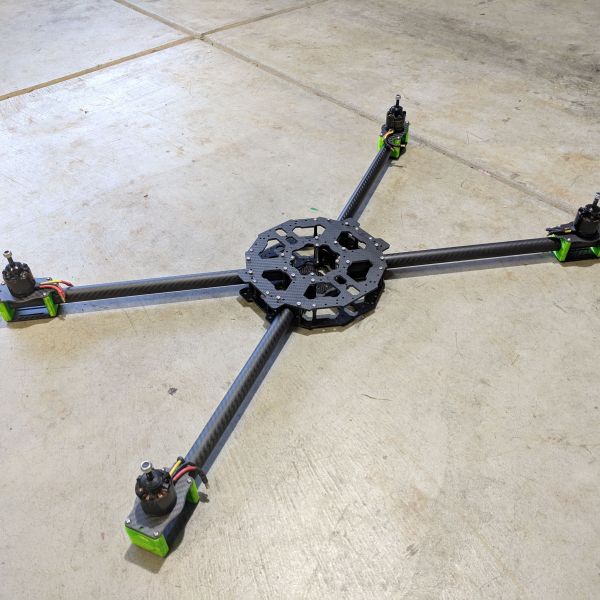
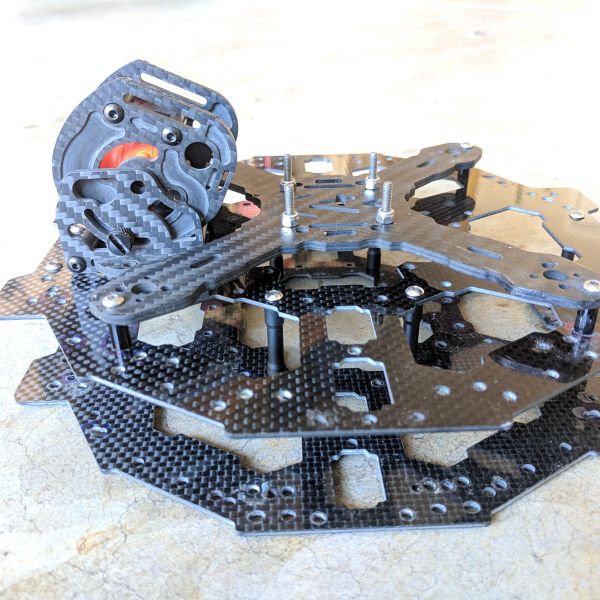
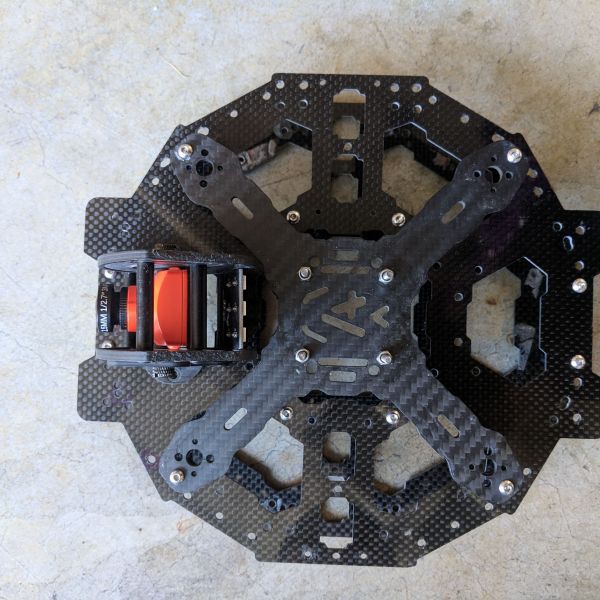
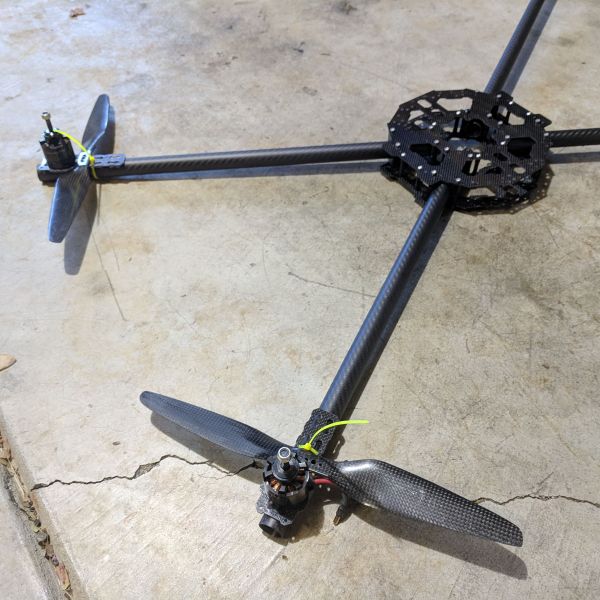
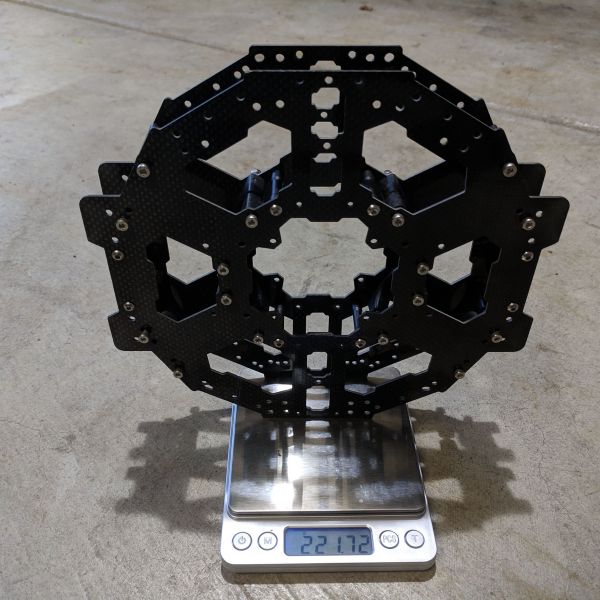
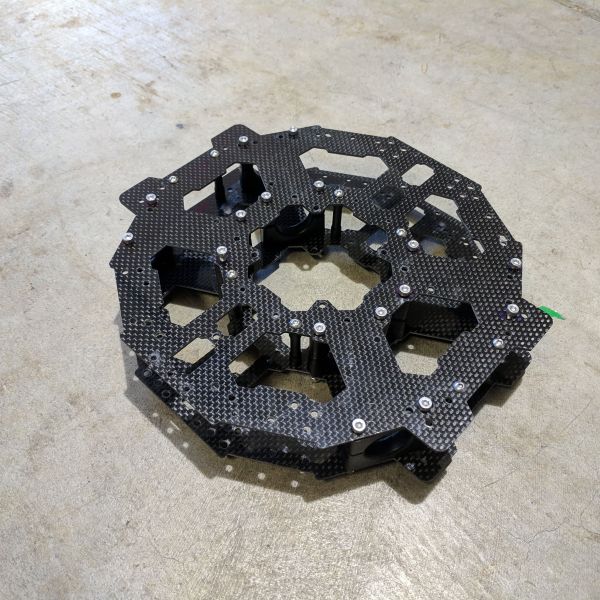
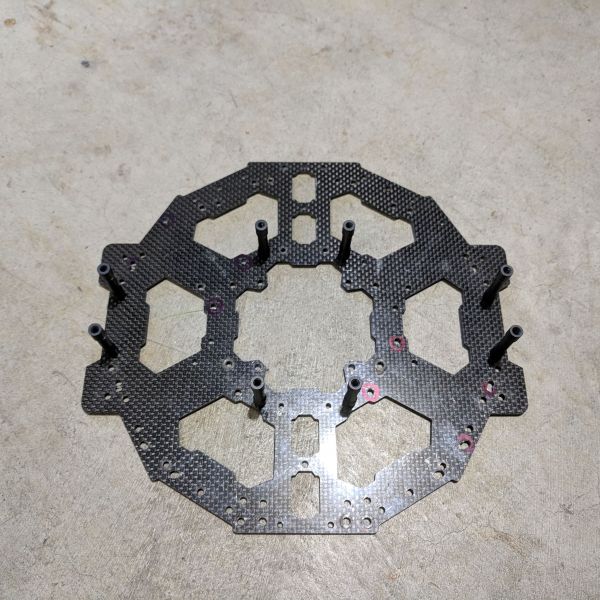
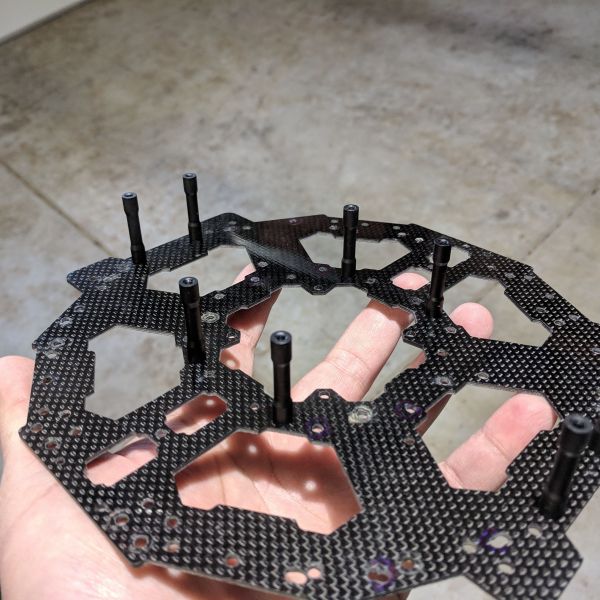
Majority of the parts used for this build is based on what I have avalible to me without spending additional money. To start off, I needed a center frame and I will use a Tarot FY680 Hexacopter frame with 21.5mm arms. Ideally, I would use 25mm but I have way more 21.5mm on hand. I was a bit concerned about how the center frame is only 1.6mm thick. But after installing the standoff and clamps it felt stiff. To be safe I bought another 2 more Top/Bottom plates and I will sandwich it together to get a combine total of 3.2mm. I found the plates locally in the USA for 11.95 each. After increasing the frame thickness and if it still is not stiff enough, I will stack an additional top plate.
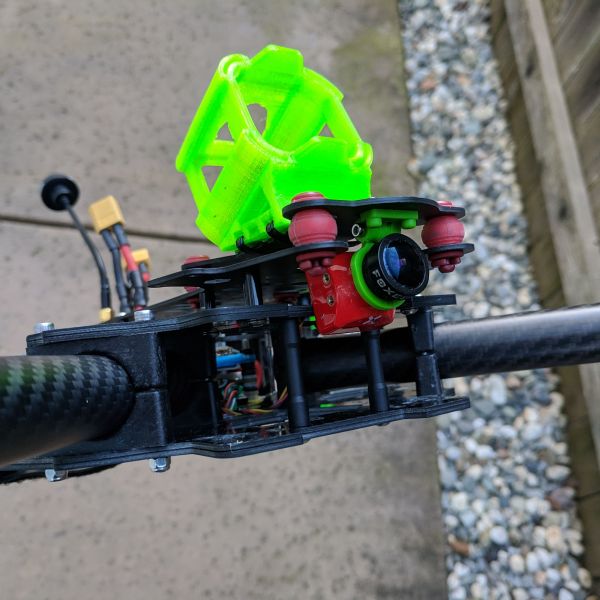
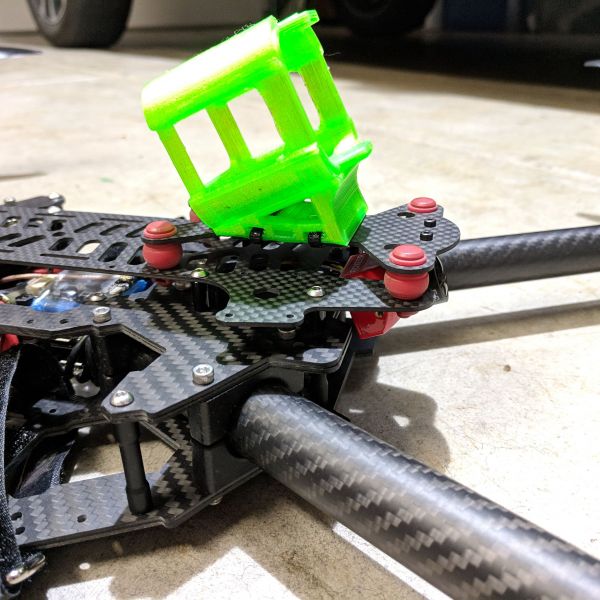
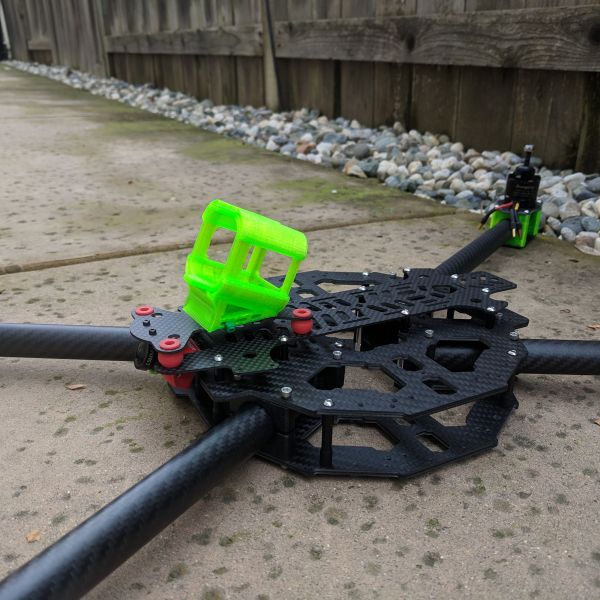
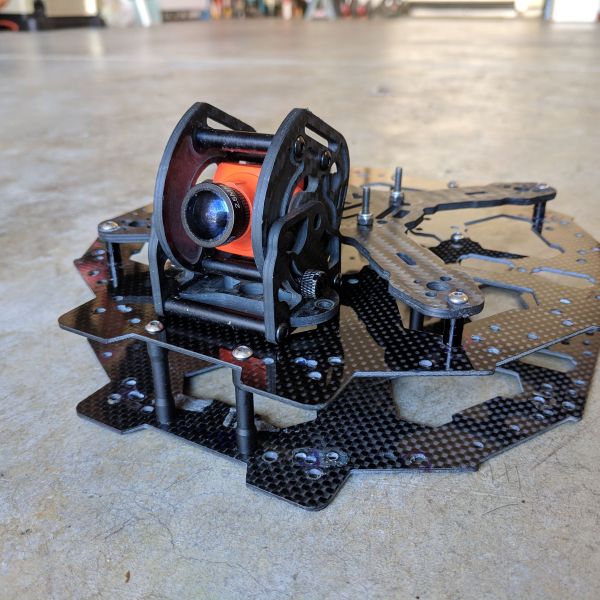
In the meantime, I already planned to use either an Armattan Morphite 155 frame as support brace or an ImmersionRC Vortex 285 top plate as a vibration dampener for the FPV camera and GoPro Session. As you can see in the picture below, I took my Armattan frame and stripped it to the bottom plate and mounted it. I like how the pod looks on the front for the frame but I am unsure about the frame as providing extra support.
Feb 28, 2019
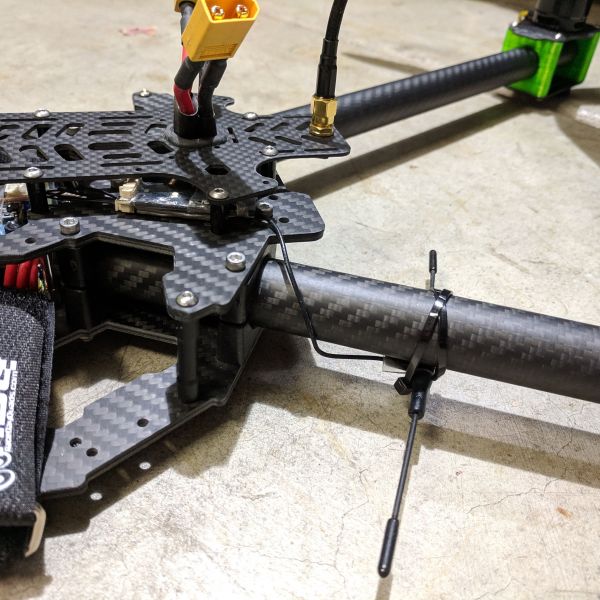
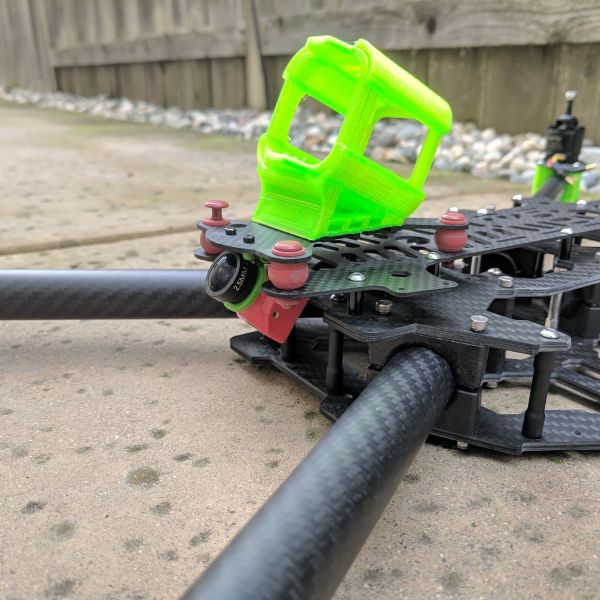
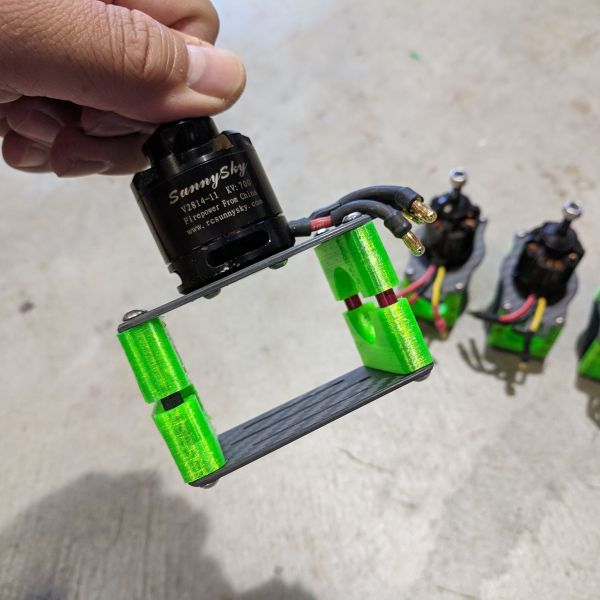
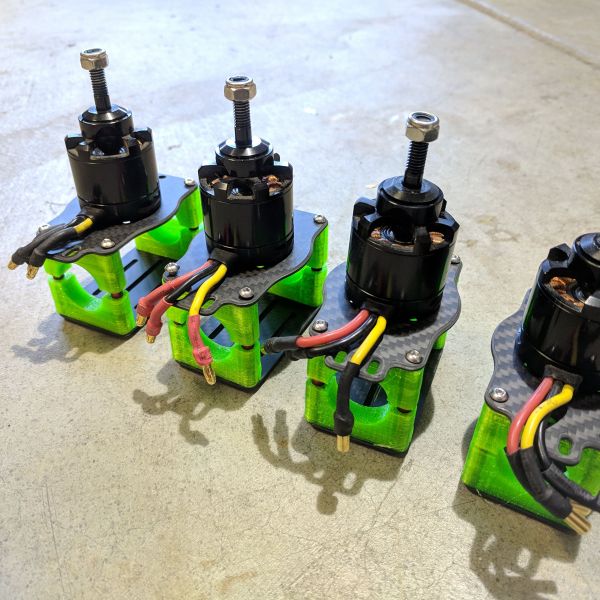
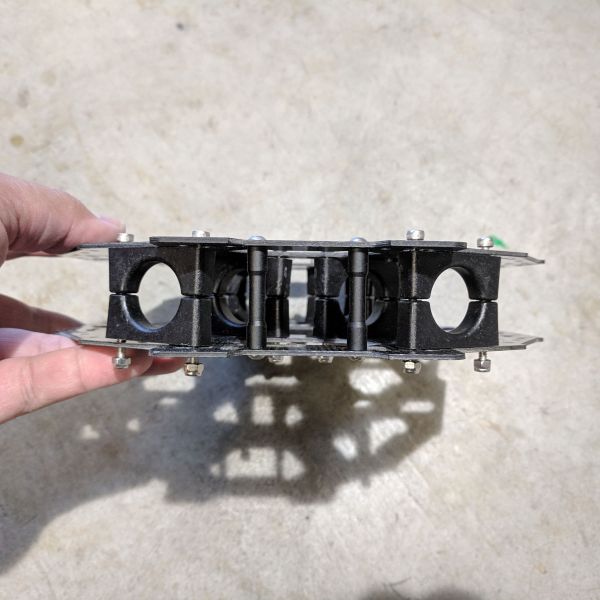
The CAROLINA XC carbon fiber motor mounts plates came in today. I bought the cheapest version they offered with no hardware and 2mm carbon fiber plates. I could not understand the hardware options when I placed the order. Why are the screws so short, only 12mm long (I was using 40mm M3 screws with my original clamps)? Why do you need 35mm standoff? I finially understood those options after 3D printing the tube clamps (the 3d files are free to download). Instead of using one long screw that goes form the top of the plate to the bottom, it uses a standoff between the 2 clamps and shorter screw on both ends. Then I was kind of worried that the TPU would be too soft and not clamp tight enough. No need to be worried because the clamps grips tube very well and it might help reduce the vibrations from the motors too. One last thing about the carbon fiber plate is the chamfered edges, but only on one side. It saves me to trouble in filing the edges myself.
Mar 01, 2019
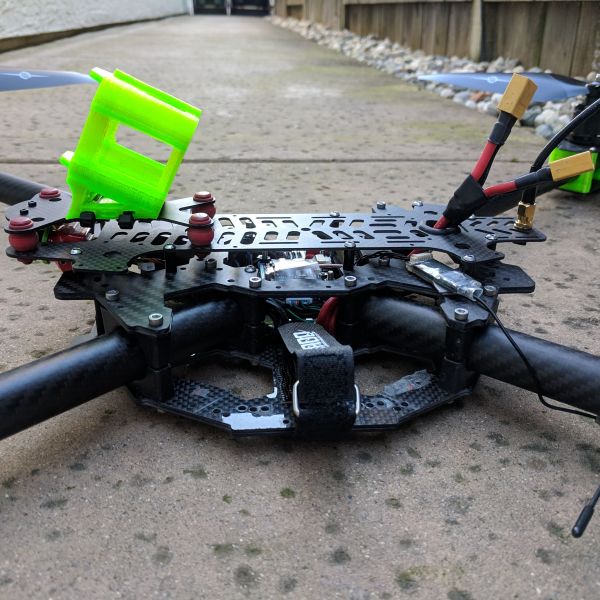
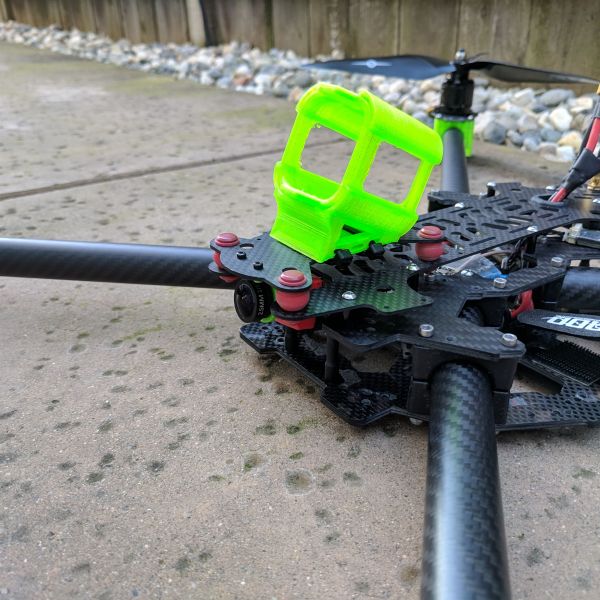
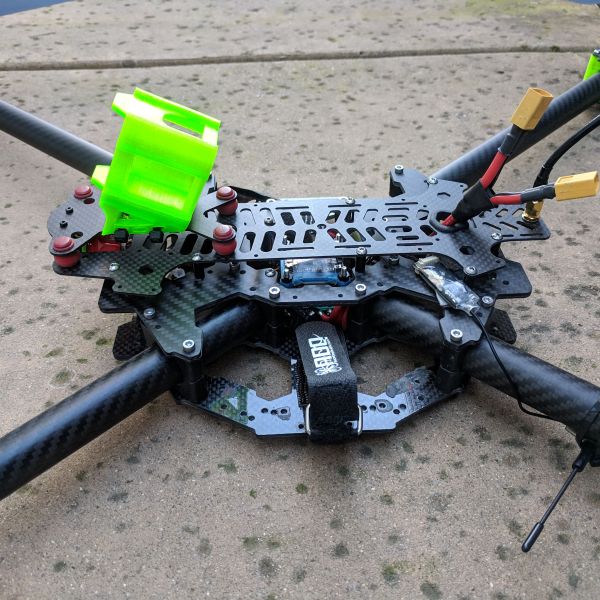
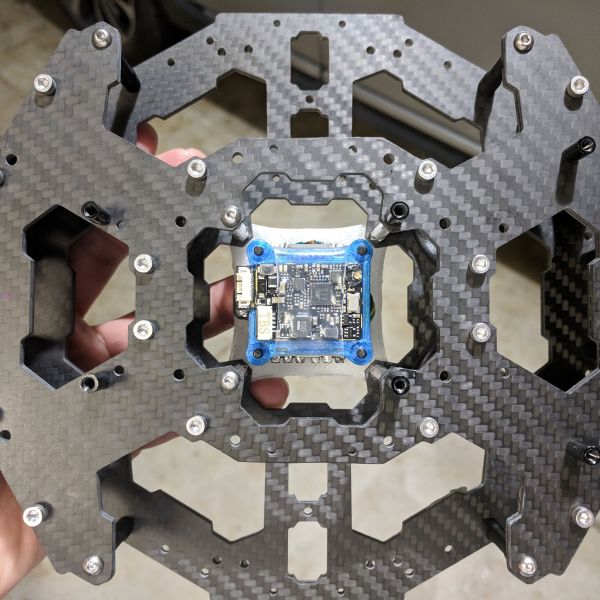
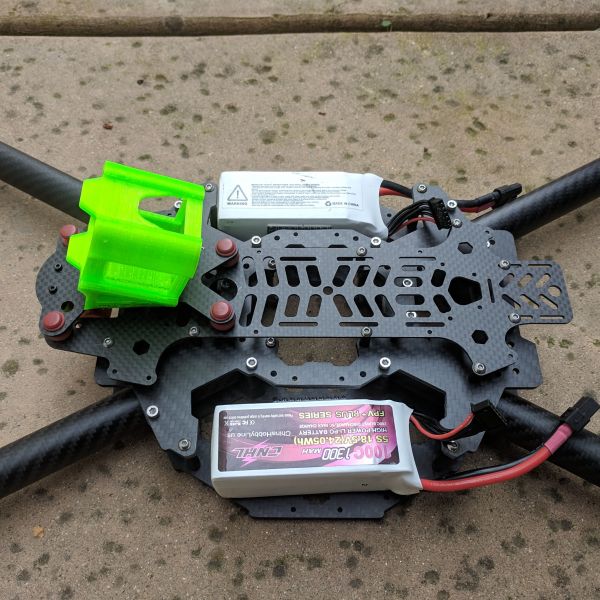
After watching a few X Class videos, a few people mention it is common to have vibration/ jello in their videos. Because of that I decided to go with the ImmersionRC Vortex 285 top plate. So now I will not use the Armattan Morphite frame and Pod anymore. I plan to use a Foxeer Monster Mini Pro as the FPV camera, but I was having trouble with the wide 1.8mm lens. The lens was so big that is was hitting the mounting plate and limits the amount of angle I could have on the camera. I replaced the lens with a 2.5mm and it seems to do the trick.
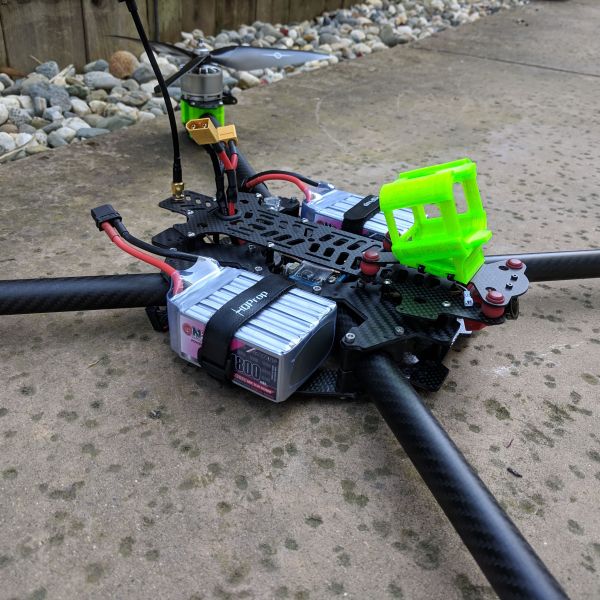
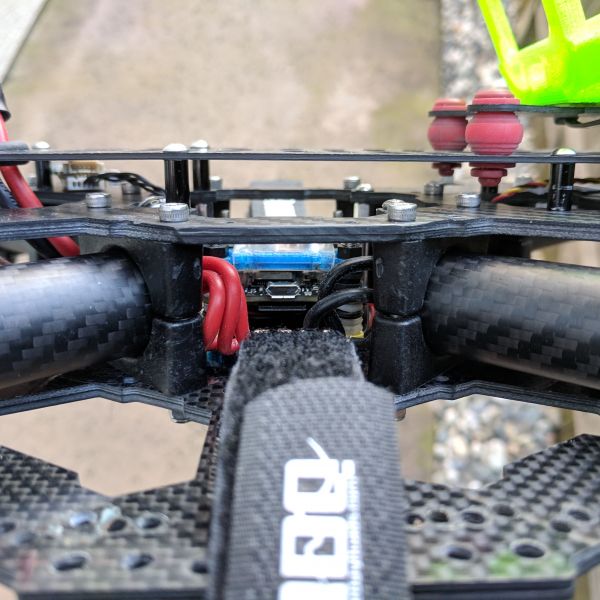
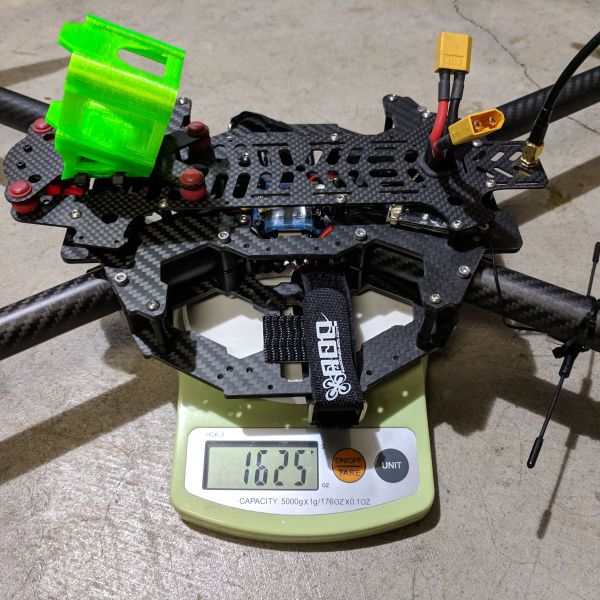
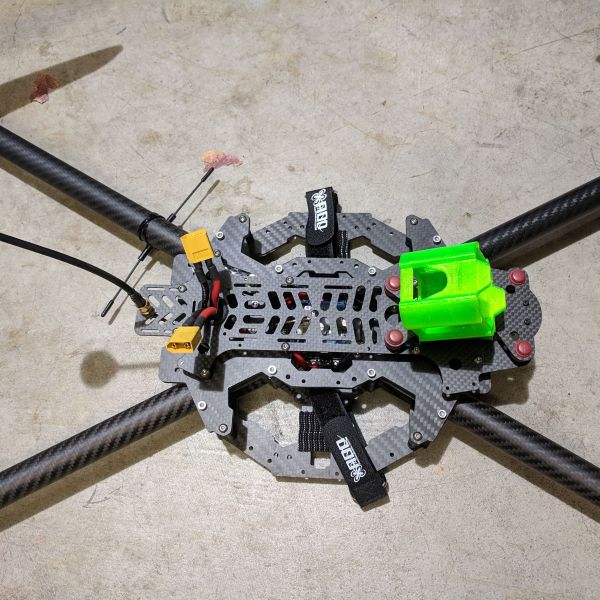
Next up, is the battery placement. I do not want to put the lipos on the bottom or the top of the center plate because it does not have any protection. So, I cut off a portion of the top plate and strap the lipos on the inside of the bottom plate. For the time being, I think I will Velcro the lipos and use a battery strap to secure it in place. I would like to 3D print a quick release battery tray kind of like what a DJI S900 has. First you strap the lipos on to a carbon fiber plate. Then you slide the battery try in to the frame and it locks in to place with a clip.
Mar 02, 2019
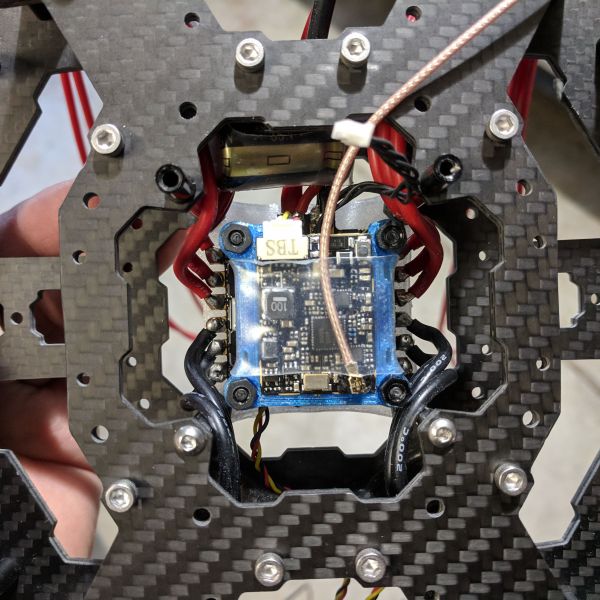
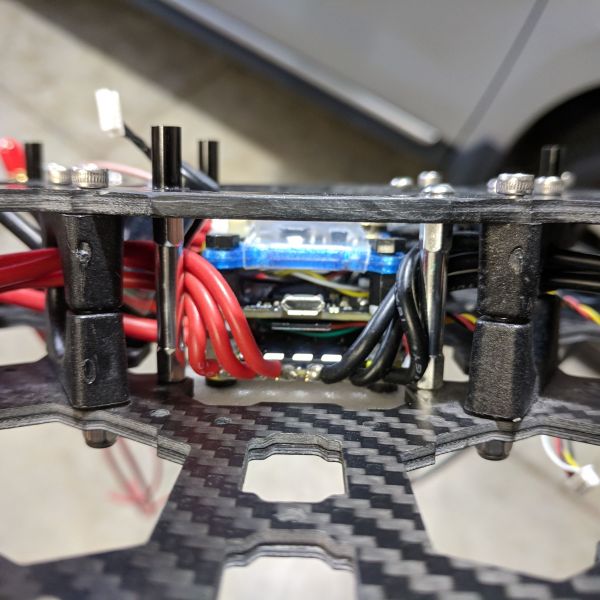
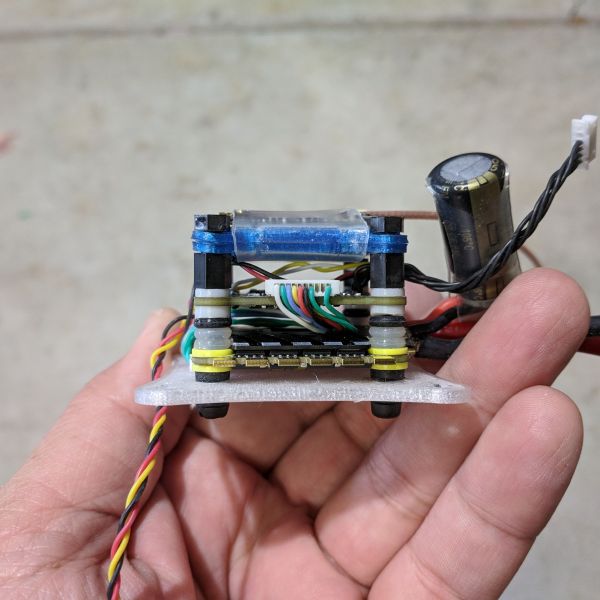
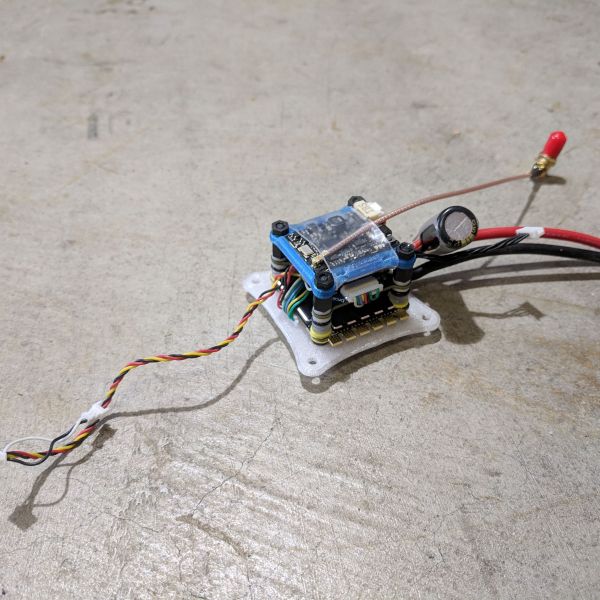
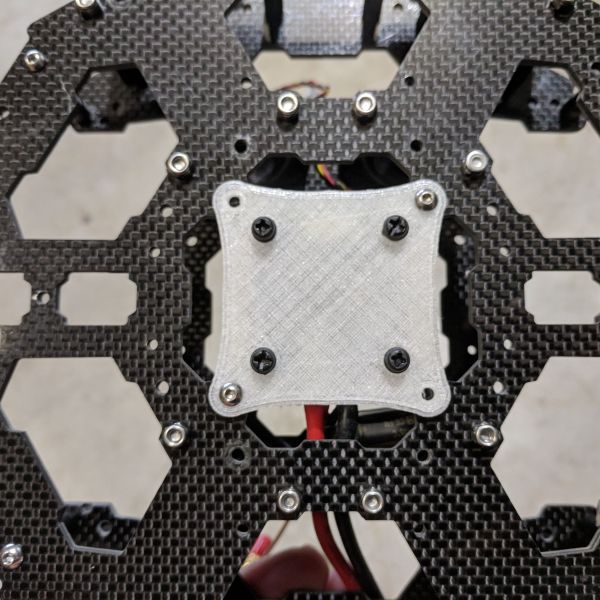
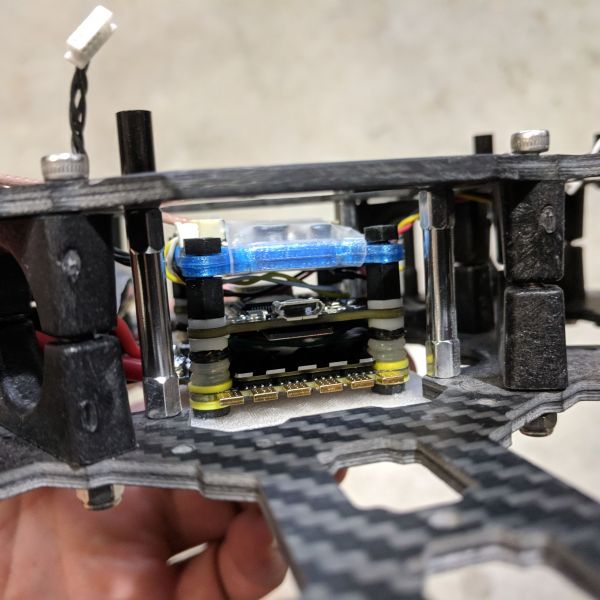
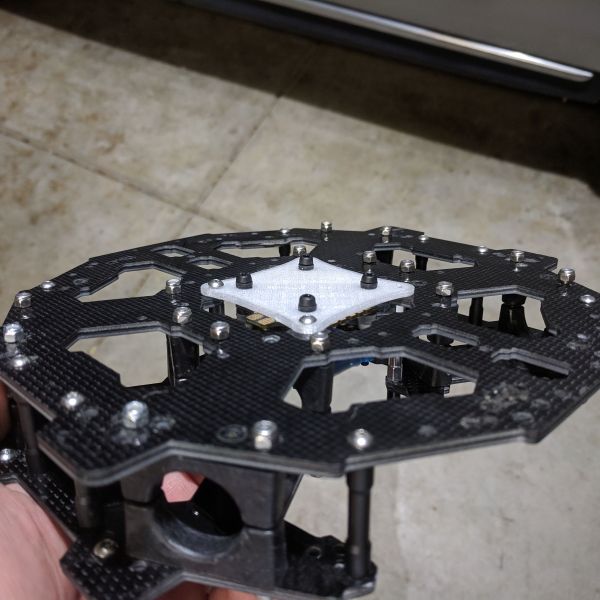
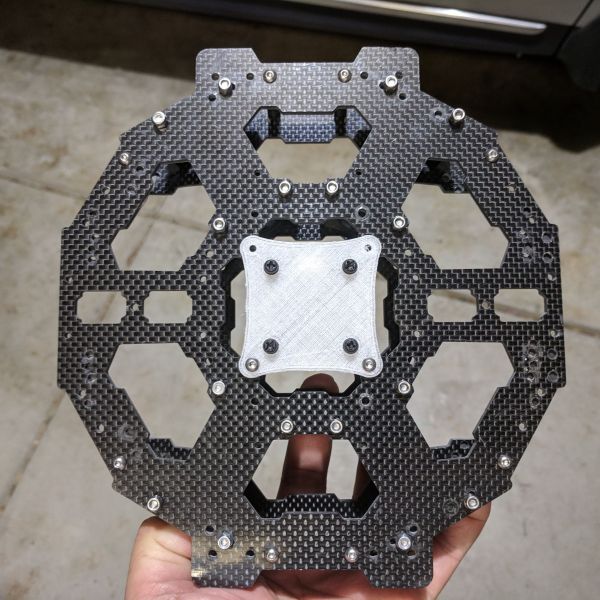
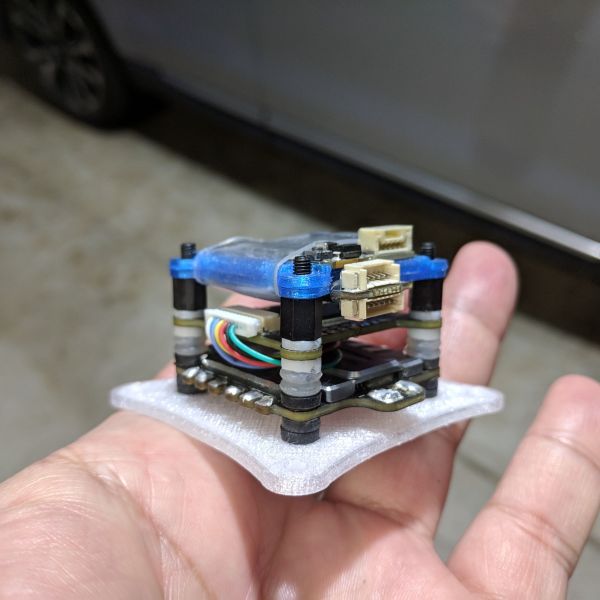
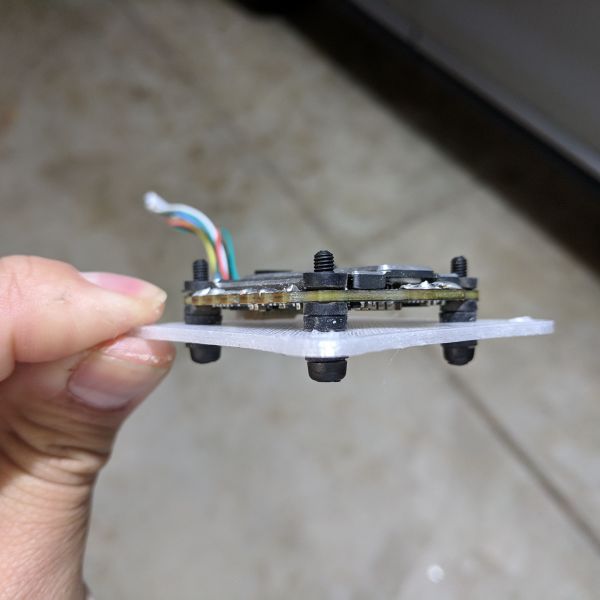
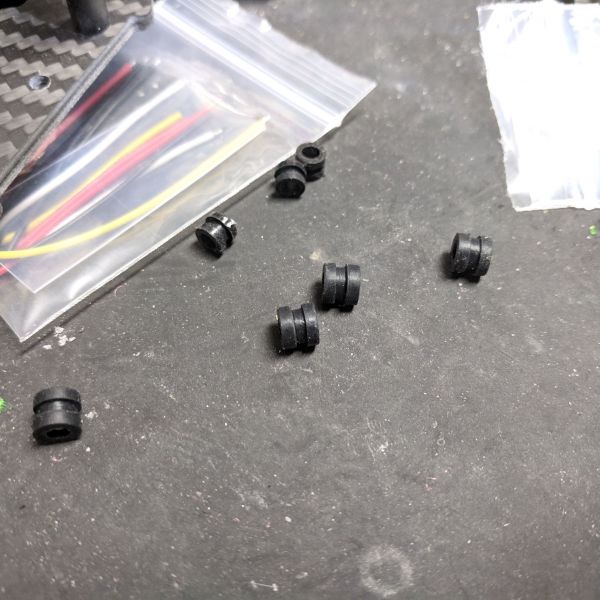
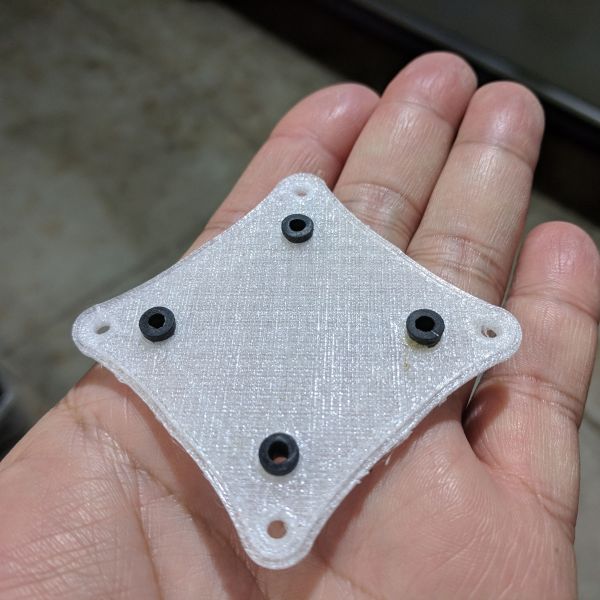
I looked around on thingiverse and only found a GPS mount that had the correct hole patterns. To save some time I just remixed the mount and added an 30.5mm x 30.5mm hole pattern so I can mount my electronics on it. Instead of using the standard M3 mounting holes I made it a bit larger (about 4.2mm) so I can use a rubber dampener to reduce the amount of vibration to the stack. I had some spare dampeners that came with some DYS F4 flight controller. Or you can dampeners similar it what I have: https://www.amazon.com/iFlight-Vibration-Rubber-Controller-Absorption/dp/B071RP443J
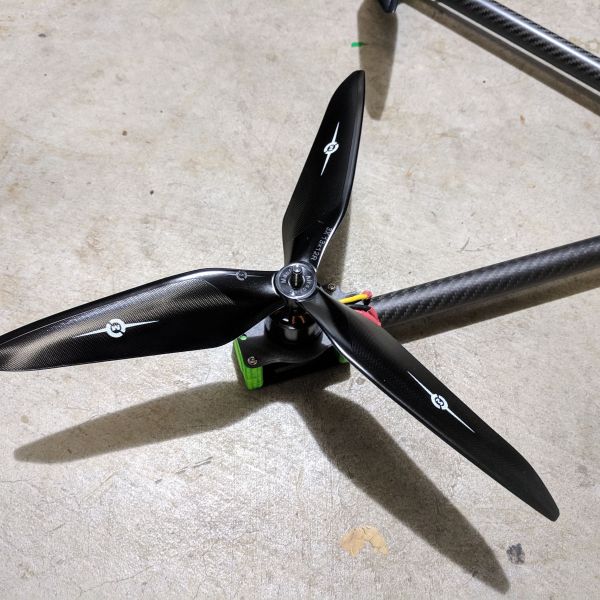
Later today the newly released props from Master Airscrew 3X Power - 13x12 Propeller arrived in the mail. I can not wait to finish this build and test these props out.
Mar 08, 2019
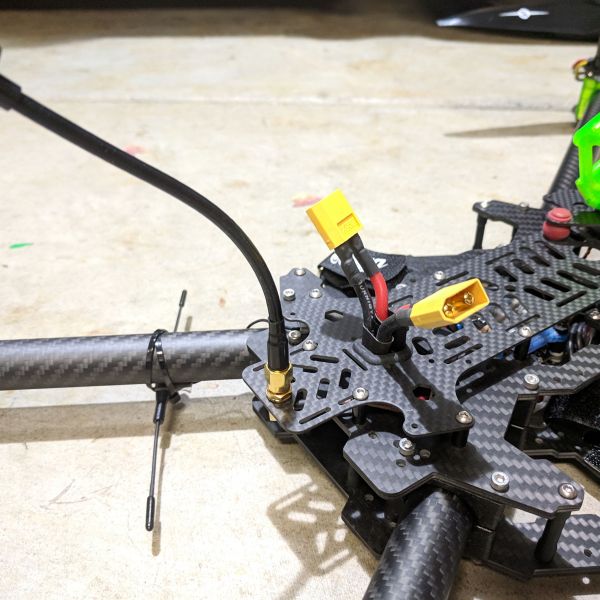
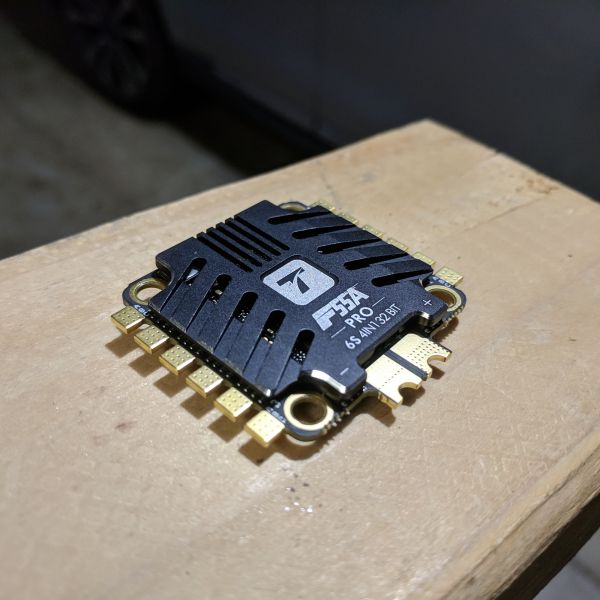
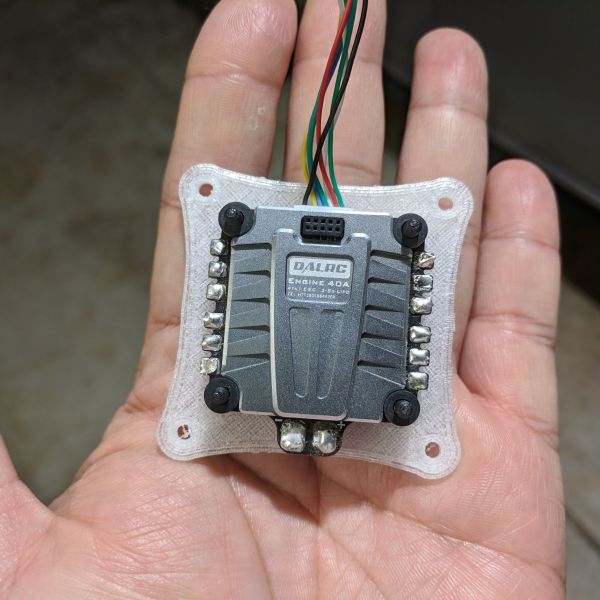
I did not like the idea of being limited to using a 5s lipo because of the DALRC Engine 32Bit 40A ESC, so I ended up getting something different. I am still avoiding any X Class ESC because I cannot repurpose it if this project does not work out. The main reason why I picked the T-Motor F55A Pro 32Bit 55A 3-6S 4in1 is the amp rating and it is 6s capable. 55a is one of the higher 4in1 esc that I could find and what I find most impressive is the 75a burst. Most ESC’s have a burst rating that is around 5 – 10 amps, but this one claims up to 20 additional amps. With that in mind I could possibly use a larger motor if I need to. Since I plan to use a BrainFPV Radix FC the 5v BEC on the T-Motor 4in1 will come in handle because the Radix only supports 5 volts.
Mar 10, 2019
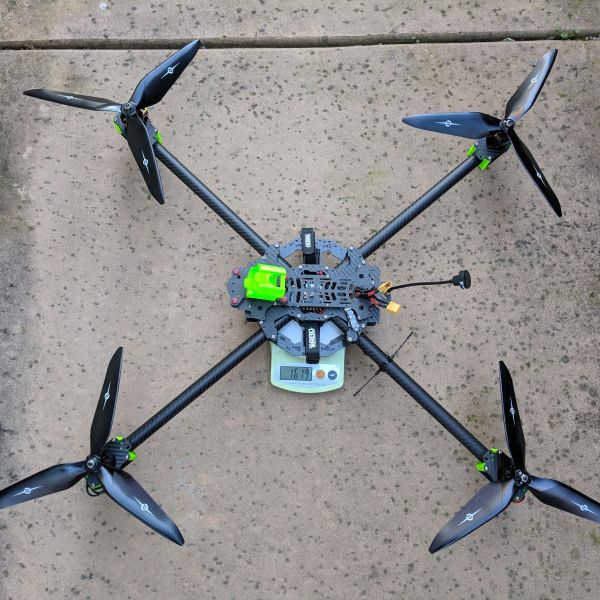
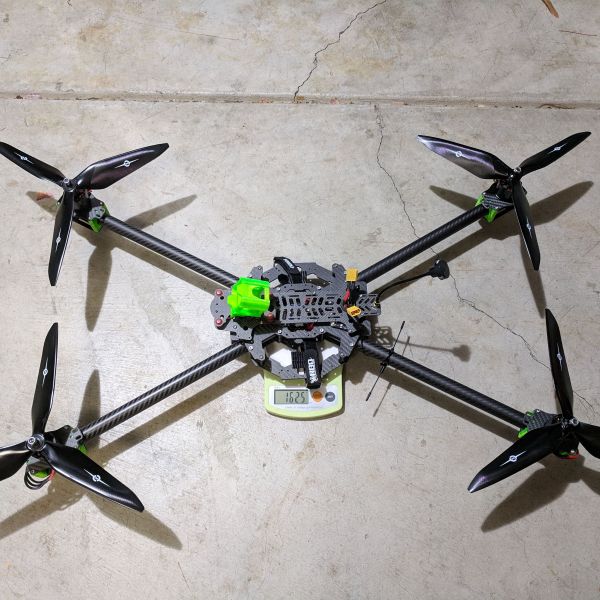
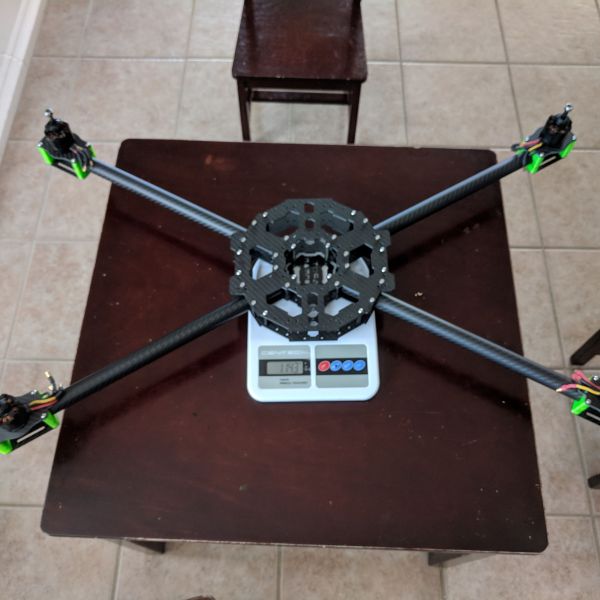
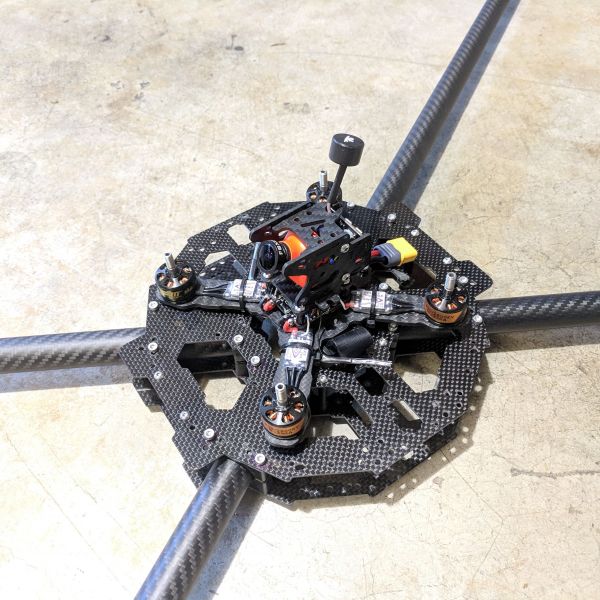
It is done and ready for test flight. Final weight (not including the Lipo and GoPro Session) 1625g. I do not have any 6S lipos so I will be using two 1300mah 5s Lipos.
The first test flight did not go to well because it is oscillating way too much to even however (with stock PIDs). When I upped the P and D I was able to get it to hover but any movement with cause it to oscillate.
Another possible issue I had was the 3D printed plate where I mounted the ESC and FC. After a few hard landings, the plate cracked. So, the next time around I will increase the thickness of the plate. I will also remove the extra rubber dampeners on the 3D Printed plate and switch to metal screws instead of plastic.
Mar 13, 2019
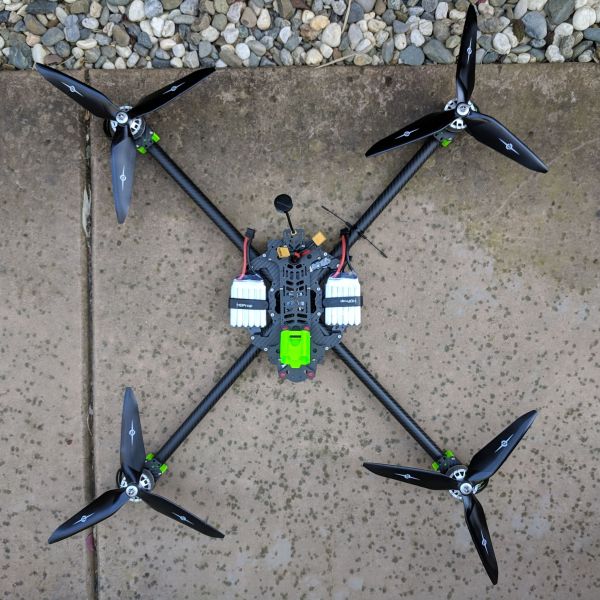
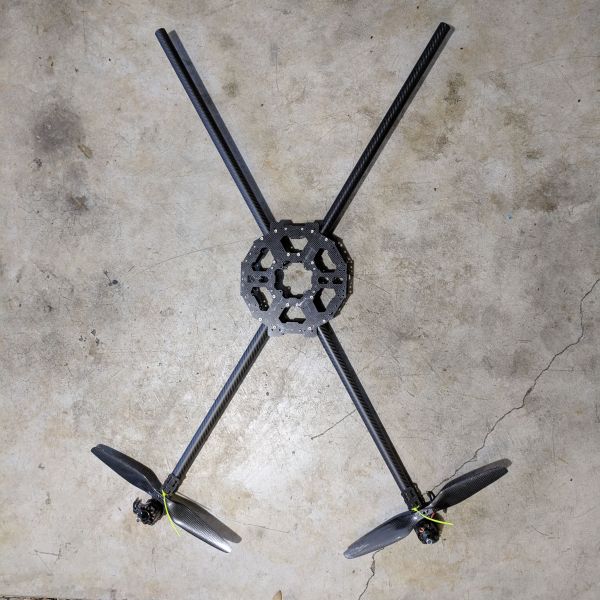
I think the stretched X was a bit too "stretched" because it was not very stable, and It might be the cause of the oscillation. My first configuration the arms were 30 degrees from the center. Now It changed it to a tad less than 45 degrees, so it is still slightly longer than wide. I did a quick 5 min test flight today and the new arm configuration helped but I am still having oscillation. It will hover fine but once I do any quick movements then you start seeing the oscillation and it gets worst and worst, until it goes out of control. I am not sure how much turning I can do to fix it because the motors are starting to warm up when I hover for less than a minute. It is not close to being hot but I do not expect the motors to give off much heat when hovering for such a short amount of time.
Mar 15, 2019
Today I did my first FPV test flight without further PID tuning because I could not wait anymore. I was only cruising around to make sure it even flies. It flew okay, but I need lots of tuning still. Here is a DVR footage of the flight:
So far, the only things I had to buy are:
- M3 x 40mm Socket Head Cap Screws 50pc ($9.01)
- iFlight 10pcs M3x30mm Aluminum Column Standoffs - I got these because it looked nicer than what I had ($8.99)
- 2 pcs TL68B03 Tarot FY680 Top Frame TL68B03 ($23.90)
- X Class Motor Mounts (http://great3d.com) ($25)
- T-Motor F55A Pro 32Bit 55A 3-6S 30x30 4in1 ESC w/ BEC ($74.99)
- 4 - MasterAirScrew 3X Power Props (55.78)
Total $197.67
I guess this might not be a budget build if you had to buy everything new. I am glad I did not get rid of all the old parts that has been sitting in bins since 2014. It is kind of interesting to see the transformation of the Tarot frame. If you looked at the frame closely you can see It has been through a lot because of all the holes I drilled to accommodate the different setups. It started as a Tarot FY680 Hexacopter, then Y6 Hexa, Folding Y6, and finially a X Class. I think I will create a build log of these old setups I built in the past. I will post a link to them here when I finish writing it.
Apr 13, 2019 - Brotherhobby Tornado T7 4215 520kv Motors Installed
I found a set of brand new Brotherhobby Tornado T7 4215 520kv Motors on Facebook classifieds and swapped the Sunnyskys out. I think the Sunnysky 2814 motor lacks the power to react quick enough for the heavy MAS 13" 3 blade props. Maybe if I used a smaller or bi-blade prop it would have been fine. Even early on in the build I had my doubts about these motors but after installing the BH 4215 motors, it pretty much confirmed it because it hovered pretty well with stock Betaflight PIDs. I am still getting some oscillation but with the 4215 motors, but it still flies without tuning. Since I am using a lower KV motors, I will be forced to use a 6s lipos. Ideally, I should use 8s but the ESC I have does not support it. I am hopping the Tmotor 55a ESC will be able to handle these motors. The new motors added a lot more weight to my setup, it is now 2102g (at is an additional 477g).
Apr 23 2019 - GNB 1800mah 6s 22.2v 130c Lipos
I am liking these GNB 1800mah 6s lipos because I am getting great flight times and very little voltage sag. Take a look at this OSD video, it pretty much shows you everything you know.
Apr 24, 2019 - PID Tuning
After reading on the XCLASS Facebook group, I made some the following changes (since betaflight 4.0 is new for a Radix FC i will contiune using v3.5.6)
P I D
46 45 20
50 50 18
65 45 5
Feedforward (ALL): 180
TPA: 1700
Gyro Lowpass 1: 40
Gyro Lowpass 1 Filter Type: BIGQUAD
D Term Lowpass 1: 40
D Term Lowpass 1 Filter Type: BIGQUAD
Yaw Lowpass: 40
Here is a video of the XCLASS cruising around the park, it is my 2nd flight using a 6s lipo and I’m still working on the PIDs. I only used 60% of the lipos after almost of 5 minutes of flight.
Photos
Part List
Show stores (12)Guides & Reviews
AirbladeUAV has done it again and this time they've brought long range to the 5" class! Based on the popular Transformer Mini, the new Transformer 5" Ultralight adopts a lot of the same design philosophies with larger props and more payload capacity. It can fly upwards of 20 minutes on a 4 cell Li-Ion battery pack and in ideal conditions it's got a range of over 4 to 5 miles. In this guide I'll walk..
Read moreWith the release of the DJI FPV Drone cinematic FPV has become a lot more accessible, but you certainly don't want to crash a $750 drone! The QAV-CINE Freybott is a compact, lightweight cinematic FPV drone that can take a hit and keep going. It's a lot safer to fly indoors and around people. With a naked GoPro or the SMO 4k you can capture some great stabilized footage. In this guide I'll show you..
Read more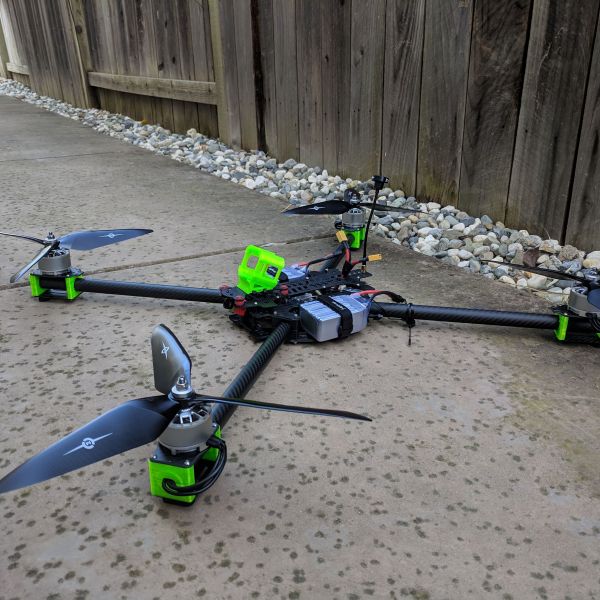







your build is awesome! how is it flying now? im about to build a 7" quad and am looking to use the BrainFPV FC and Tmotor 55a esc. what did you use for 5v to power the FC? the ECS has vbat and 10v bec. Thanks!
Thanks! The quad is flying great, after I got the correct motors. I noticed the ESC I used was updated to the F55A PROⅡ but when I added it to the build list it was a F55A PRO. So, in the first version of the F55a Pro it has a 5v BEC.