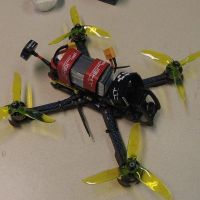
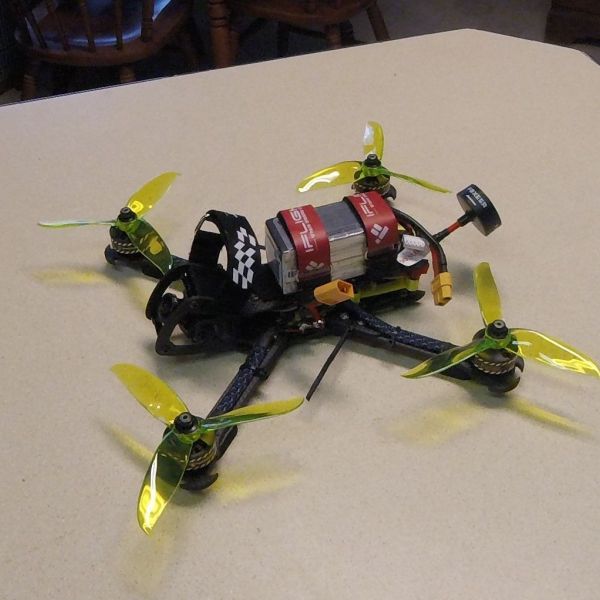
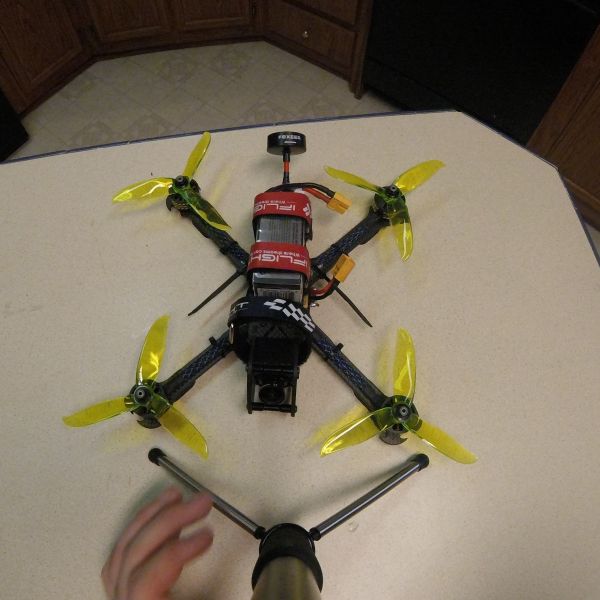
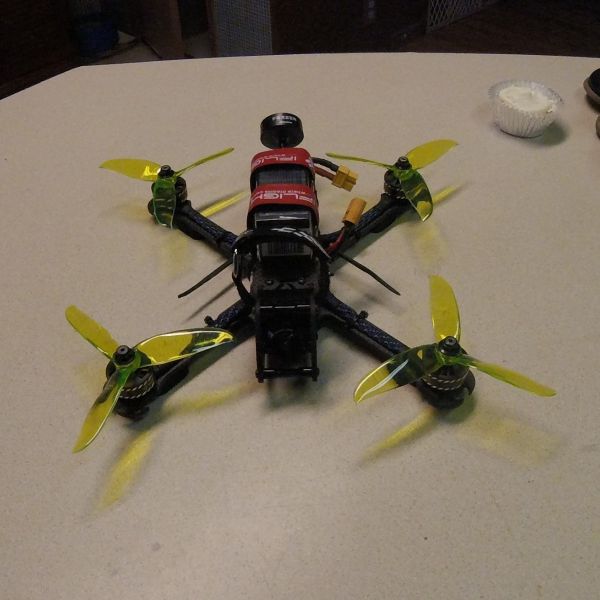
This was my first attempt at building my own Quad.
I chose the Kakute F7 Flight controller stack that came with the 35amp Tekko32 4-in-1 ESC and the Atlatl HV V2 vTX. I chose this stack because for the bundle price its very hard to beat the features you get. All of the telemetry options i need, analog camera control on the FC for the Falkor camera, and an altimeter build in.
The battery shown in the picture is actually Tattu 1500Mah FunFly line 100c battery. The search tool didnt find it.
I had intended to do a video of the build process, however I discovered after I completed it that i forgot to turn the camera back on after soldering the motor wires to the ESC.
I went ahead and used what video i did record along with the hover test and that can be found here. Please consider checking out my other videos and also like/subscribe
The setup was also very easy, i just followed the manual for the Kakute F7 and used the recommended UARTS for my components. By doing this the FC was already configured for my RX and telemetry when I first booted it up.
The manual can be found here
http://www.holybro.com/manual/Holybro_Kakute_F7_Manual.pdf
Camera control required remapping motor 5 signal to camera control, that was outlined clearly in the manual and was a total of 4 lines in the CLI tab.
This is the smoothest on the sticks and currently the overall best flying quad I have ever flown.
Photos
Part List
Show stores (4)Nice man, congrats, now do ur Axe a favor and reverse props, itll be more efficent, less Propwash n faster cuz of the large space between front n rear prop, and slap scraggle away vs grabbin n pulling it in. Arm angle 180 + turtle mode and you might never get stuck in a tree. ;) really works
Lmk if ya dunno how I'll link vids I used. Happy flyin
Maybe you can lend me your experience with an issue that i cannot seem to find a solution for online. With this exact build my osd reading of my current sensor reads over 33 amps while simply powered up and jumps up to 34amps when armed and idle. I was going to try and calibrate my current sensor using the method described by bardwell. That is to draw 1000mah from your battery on the OSD and then charge it up and average them till you're satisfied its accurate. I cant realy use this method because my mah drawn read-out on the OSD will show 1000mah before i even get my goggles pulled down and adjusted. Any idea?
Hey man, I don't do current sensors on my esc for 2 reasons. 1 its a pain lol, 2 i don't wanna have it cuz I'd obsess over it and watch it constantly and probly fly softer to not rape my packs lol. I had planned on hovering and slow cruisin with my watt meter strapped to bottom before I decided against it, as it holds max readings until unplugged. sorry can't help ya, but your answer is out there with enough searchin ;) hey i assume you did the scaling right ? my 35a esc has a scale of about 310, had that saved. lmk if that helps


Hey, Im very interested in this build, and I would like to know how to build this. I would like to build it for the DJI Digital FPV System. Any ideas? Thanks!
If i understand the DJI digital system, it serves as Camerat, VTX, and Receiver. Basically it should be the same build without those parts and with the DJI system instead.