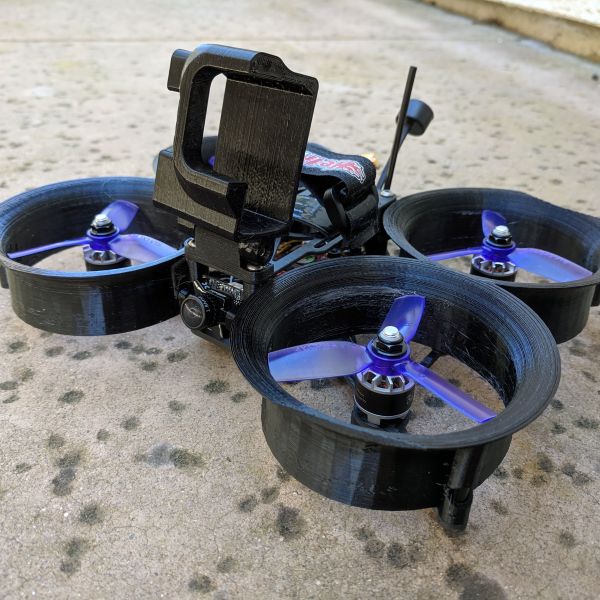
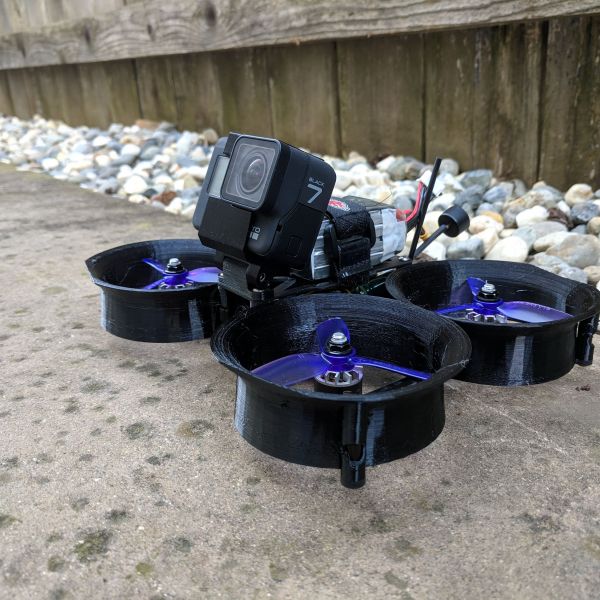
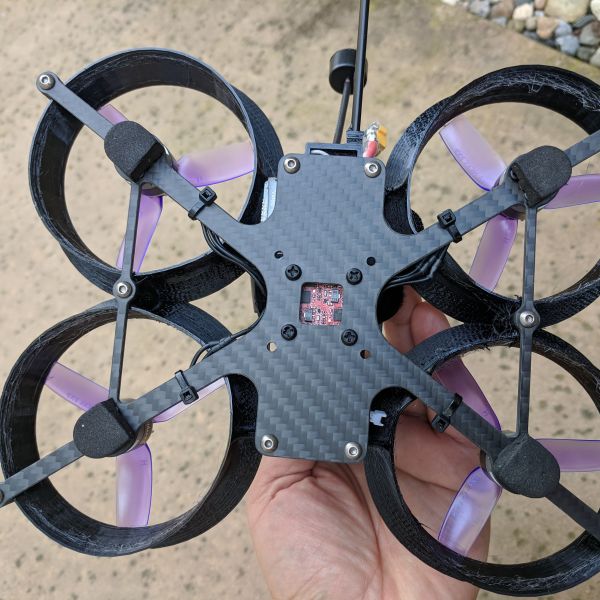
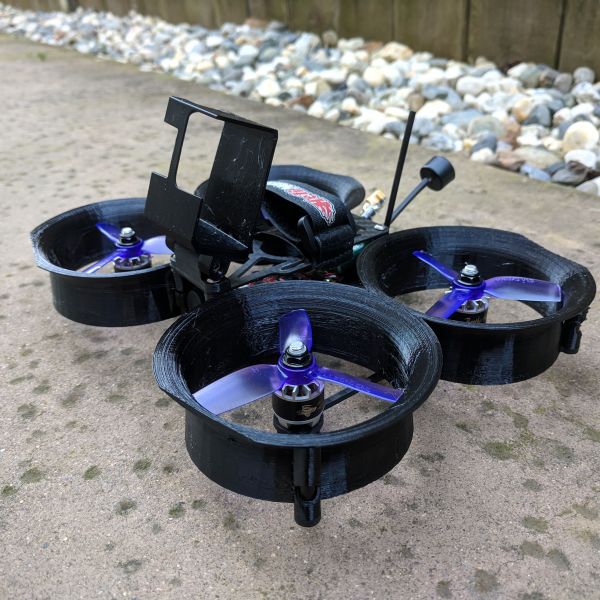
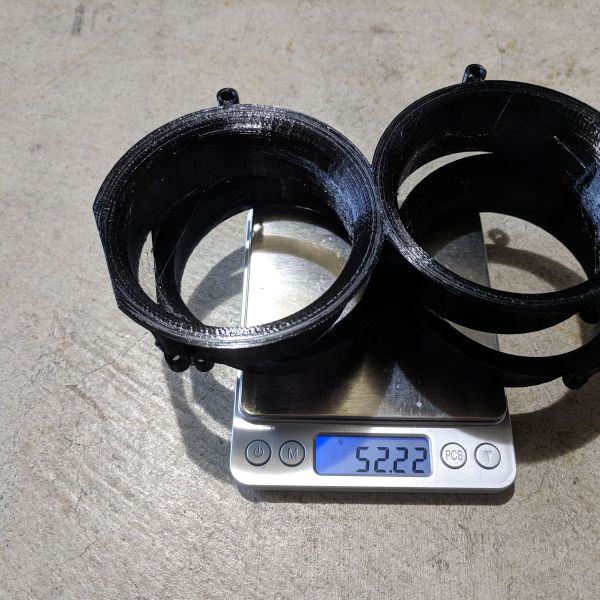
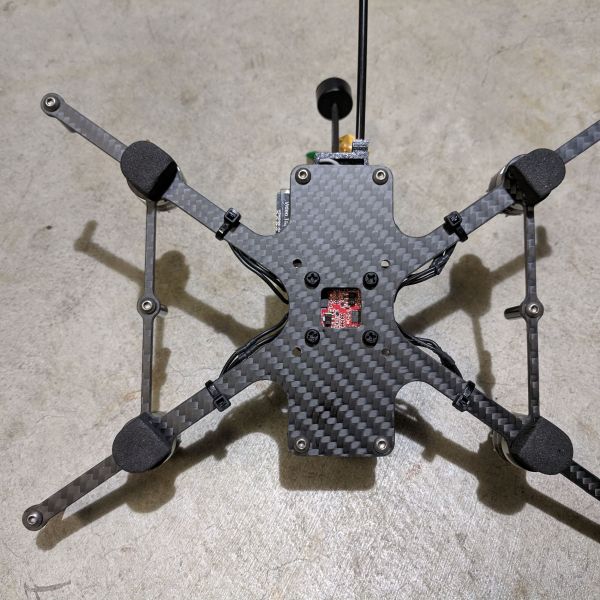
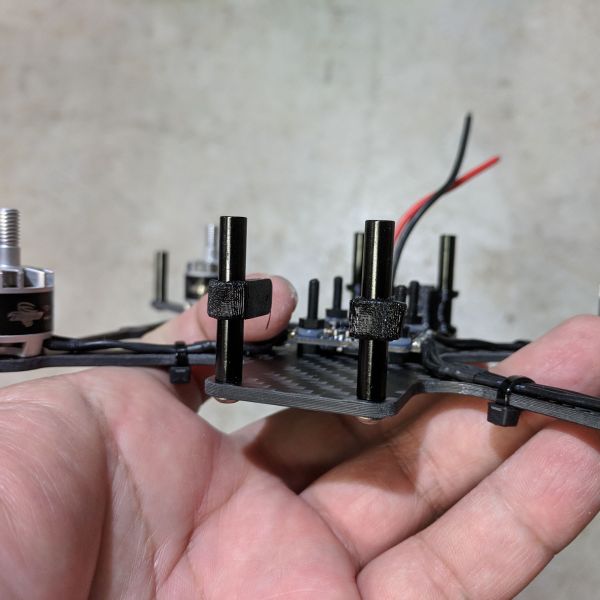
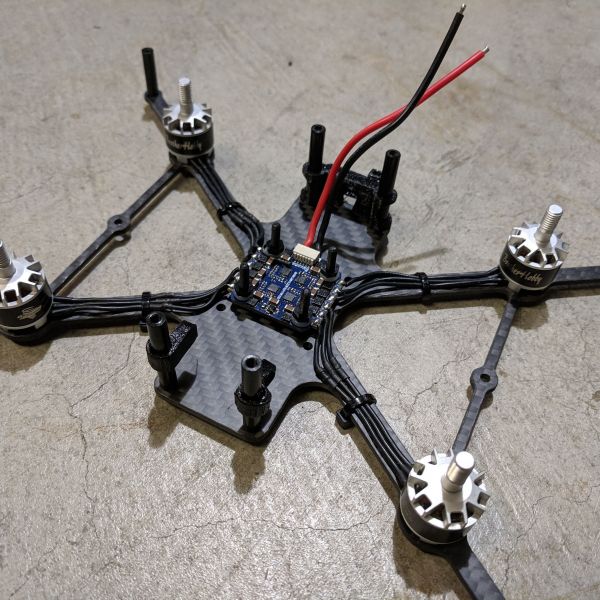
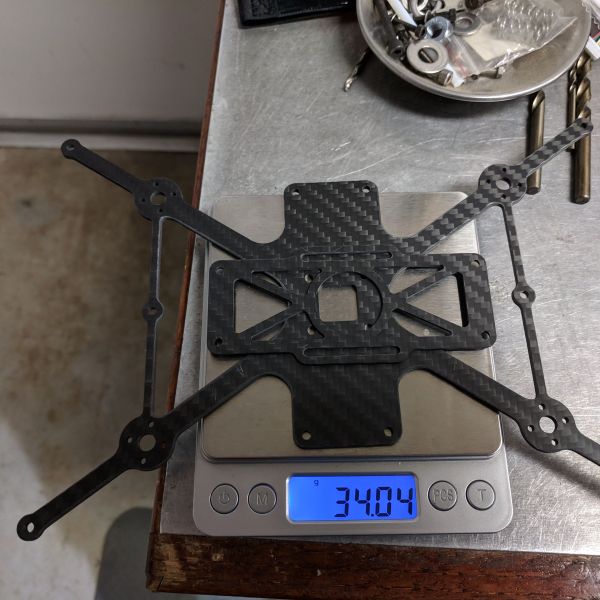
I like how they release 3 different options for the Shendrone Squirt v2 (GP7 w/ fix mount, GP7 w/ adjustable mount, and CF frame with hardware only). Since I have my own 3D printer, I saved myself $57 and printed my own parts. If they had the option to sell me only the 2 carbon fiber plates, that would be even better because I end up replacing all the screws with titanium ones and I already have the same standoffs they provided.
Before I bought the frame, I made sure my printer was able to print the ducts. After printing the set of ducts, I proceeded in purchasing the frame through RDQ. The carbon fiber plates were cut pretty well, and the edges was not very sharp, but I still file edges down a little bit. I guess sharp carbon fiber edges is my pet peeve, especially around the battery straps and wiring.
Initially I was planning to use a Helio Spring Mini FC and Cicada 25a 20x20 Blheli_S esc. I actually had everything soldered up before deciding to switch over to a HGLRC F420 stack. I only switched because the PIDs we got from Nurk (http://paulnurkkala.com/) worked best with betaflight than butterflight. Well, this info based on a friend’s experience. He was able to finish building his Squirt before me and when he used Butterflight with Nurk’s PIDs, it did not fly too well. But when he switched over to Betaflight, it made a huge difference. I took his word for it and followed him.
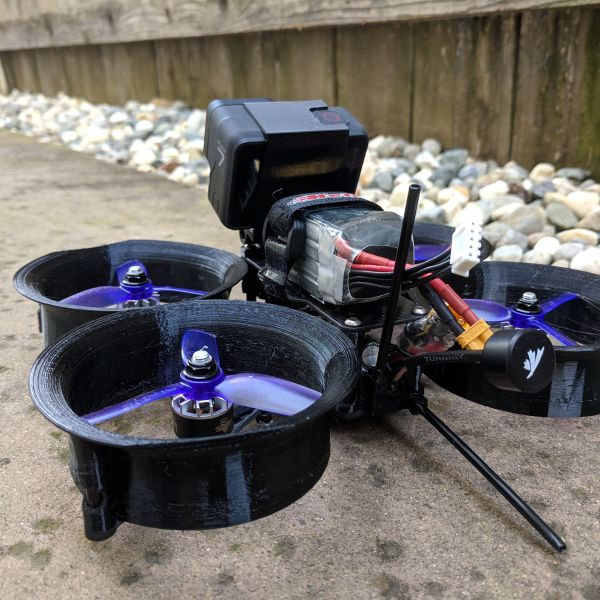
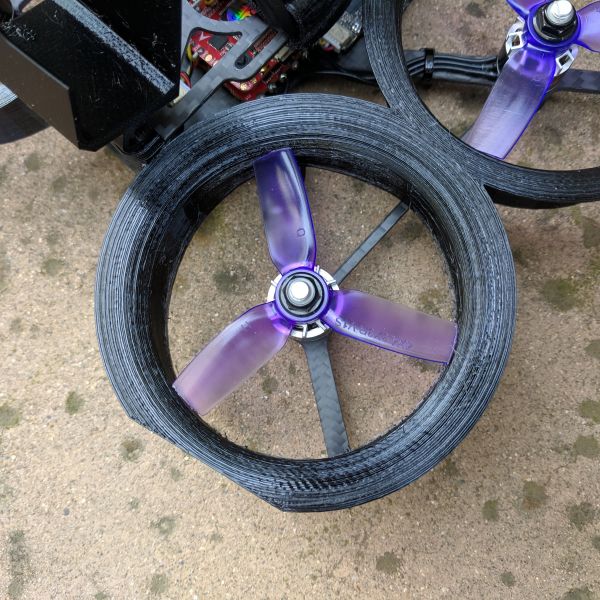
I am glad I switched to the HGLRC stack because it gave me some slack on the motor wires so I can run them along the side of the arms where the ducts meet. If you have the ducts rest on top of the wires it “may” distort it enough where the ducts rub against the props. Or you can cut a notch on the ducts to let the wires through.
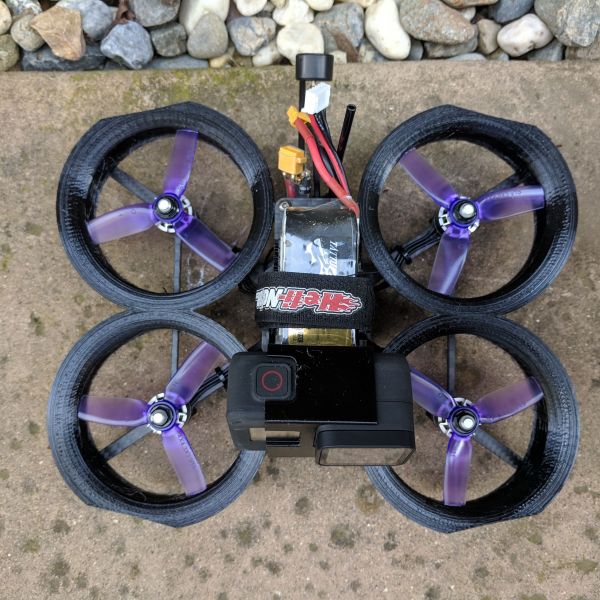
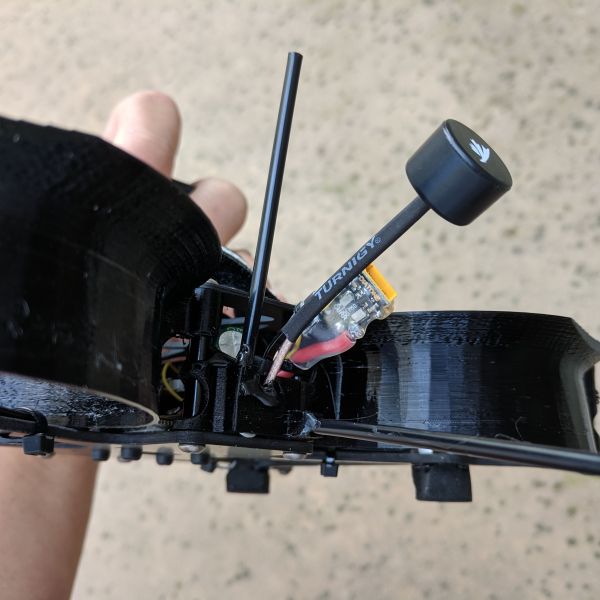
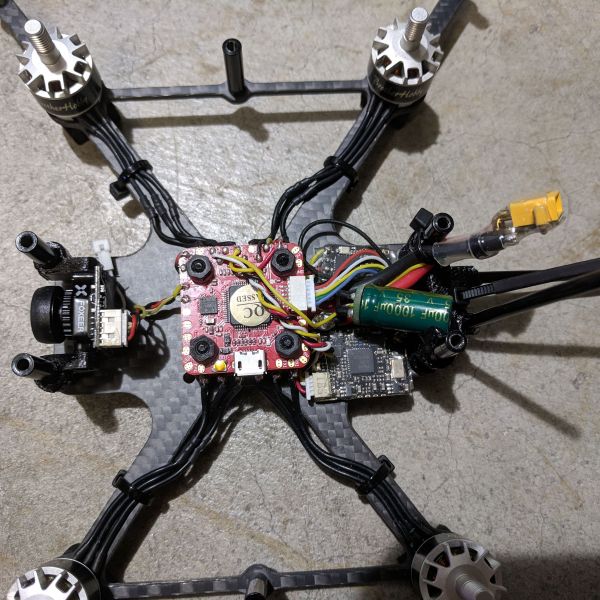
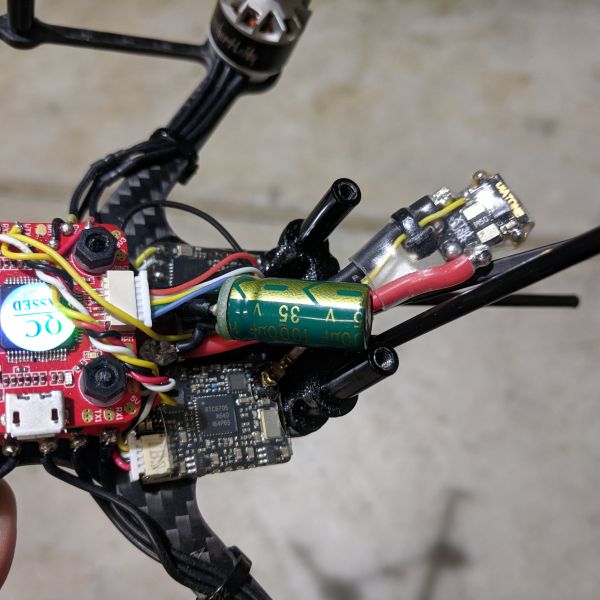
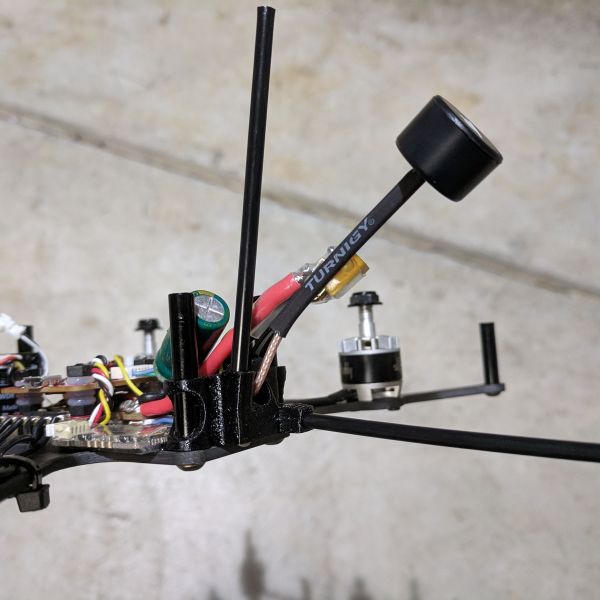
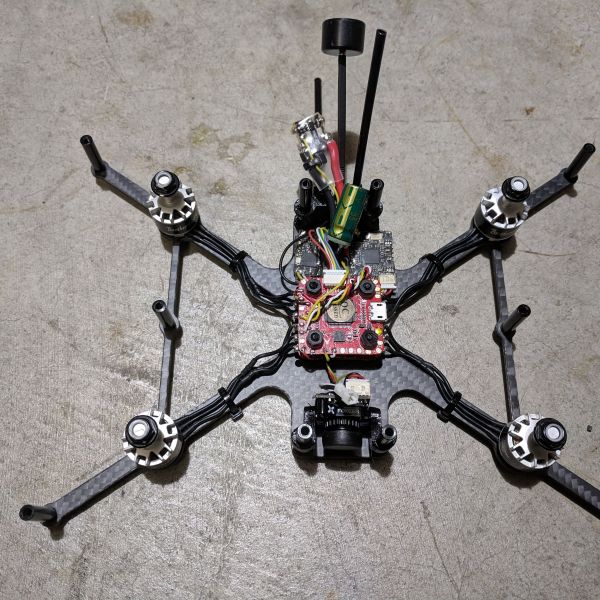
One nice thing about this frame is that it has a lot of space for you to put your electronics. I could have stacked the VTX and RX on top of the FC but I end up putting in on the rear of the quad. I wanted to have the TrueRC AXII-U.FL antenna to be sticking out as far as possible so it can get better signal so that is why I mounted the VTX so close to the rear. As for the Crossfire RX, I had some much slack on the antenna I think I should have move it on top of the FC so it will make is less cluttered in the back.
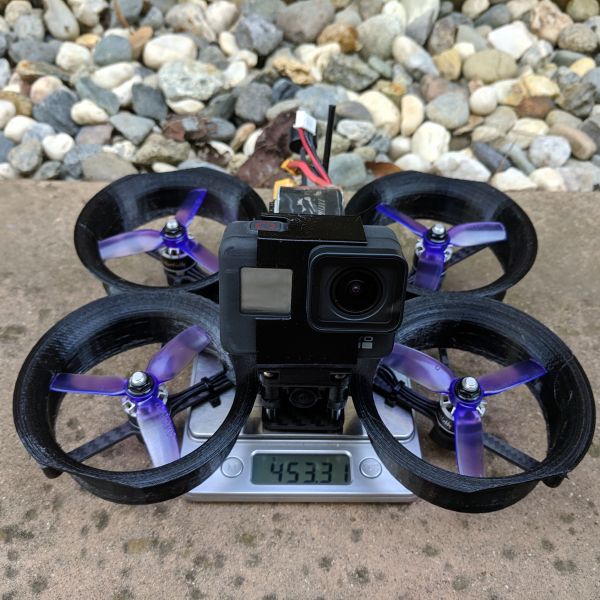
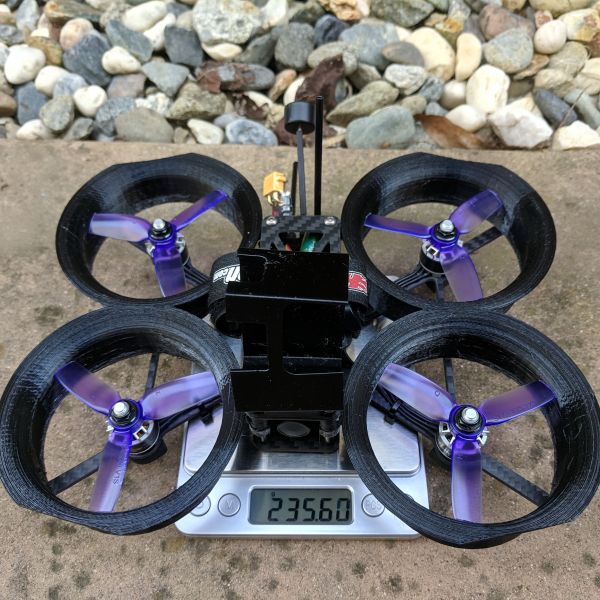
With out the battery or GoPro 7 the Squirt weighs about 235g, and If I remove the ducts it would be around 183g. The AUW (Tattu 850mah 4s and GoPro 7) for the Squirt is 453g. I was a bit worried about the weight, but it actually did pretty well for a 3” quad with such a high AUW weight. It gets better too. I thought an 850mah 4s lipo would not provide enough juice and cause voltage sag, but it did very well. If you fly slowly you can get at least 6 – 7 minutes of flight and if you fly fast you will get about 4 minutes. It also depends on what voltage you land too. Take a look at this DVR video to get an idea of the voltage sage with a 850mah 4s lipo (please note, the AMP draw has not been calibrated and it is reading hi).
Here is the same video but with the GoPro 7. I was nothing fancey, I wanted to know how it will do if I flew it faster.
Update: Apr 18, 2019
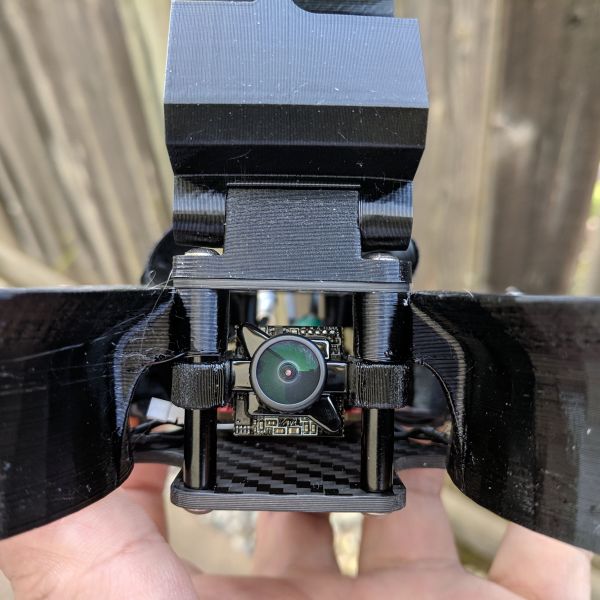
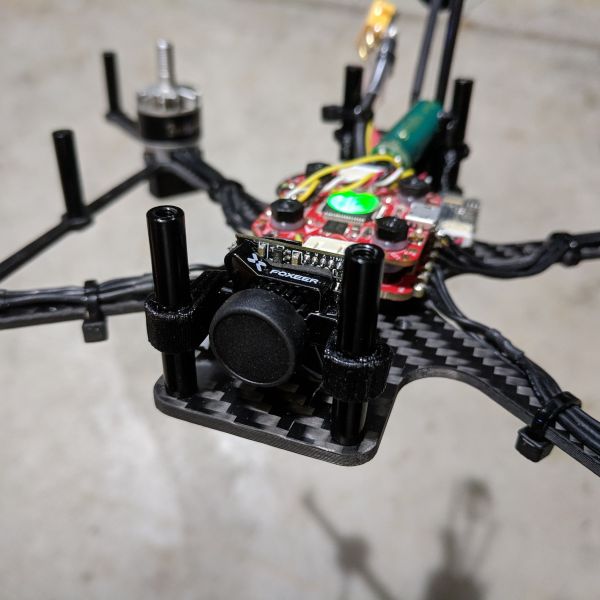
I noticed a lot of people mounting the FPV camera sticking past the frame, so I did that too. When the camera is protected inside the frame I with see the ducts on each side when I used a Foxeer Falkor Micro with a 1.8mm lens. After flipping the camera outwards, the ducts are almost gone. With the super wide 1.8mm lens I am surprised I did not see more of the ducts. If you look at the first video above, you will can see the ducts in view. I have not flown the Squirt since flipping the camera mount, so I do not have an example of the FPV camera's view.
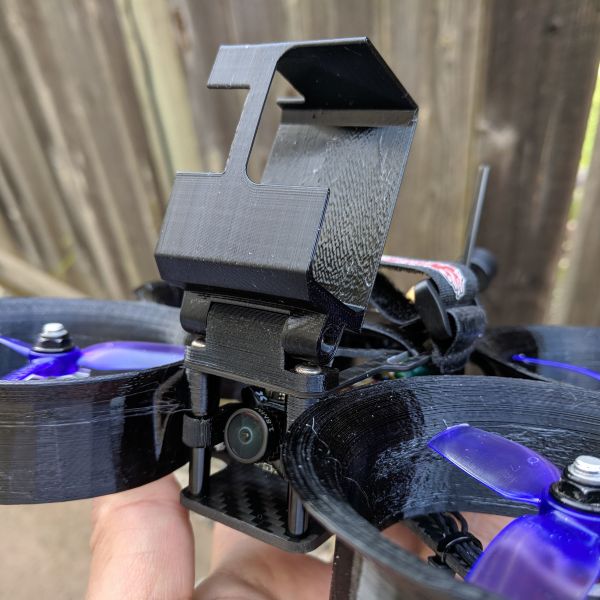
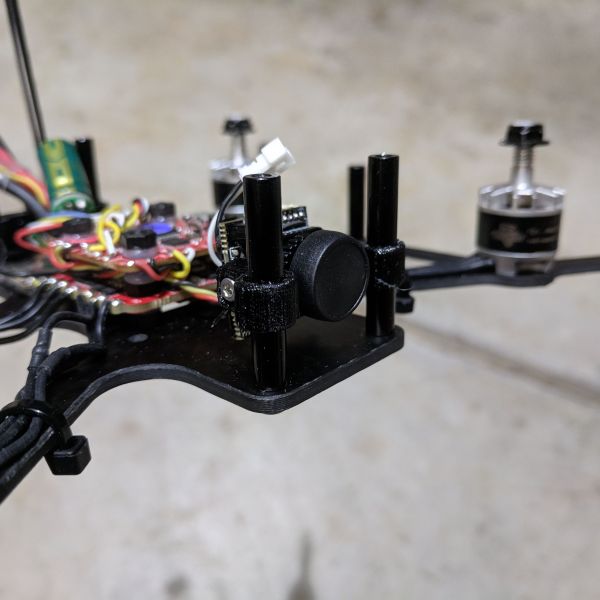
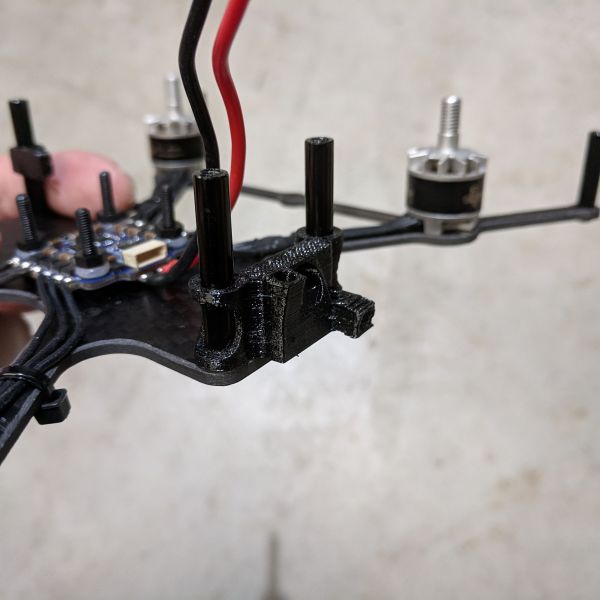
The last modification I did was combine 2 different gopro mounts and created something I like a lot more.
Here is the link to the Remix file that I created: https://www.thingiverse.com/thing:3564993
I did not like how the original variable angle GoPro mount because it did not hold the camera very tight. I never had an issue with it falling out, even after a crash the camera did not move. But still, I rather have a mount that is a bit tighter. So I combined the following files to make what I have now.
https://www.thingiverse.com/thing:3495228
and the variable angle base:
https://www.thingiverse.com/thing:3425163
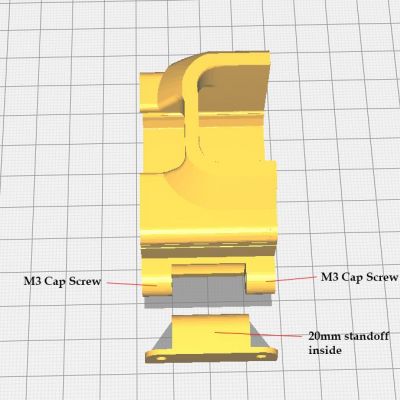
Just like the original variable angle mount you will still need to use a m3 x 20mm standoff inside the base.
I also remixed the bottom mount so it is a little thicker where it mounts to the frame. The bottom is now 2mm thicker.
I did some test with infill and notice a huge weight difference:
Infill @ 75% - total weight 15.47g
Infill @ 25% - total weight 10.80g
Shendrones Squirt Variable Angle Hero Mount - 9.37g
For something like the Squirt, I would like to get it as light as possible. With the infill at 75% it had the tightest fit, and with 25% infill it was not bad either. The original "Shendrones Squirt Variable Angle Hero Mount" had the least amount of grip on the camera and only weighed 9.37g. So with a tab more weight I am willing to sacrifice 1.5g to make sure my GoPro will NOT fall out.
Photos
Part List
Show stores (8)
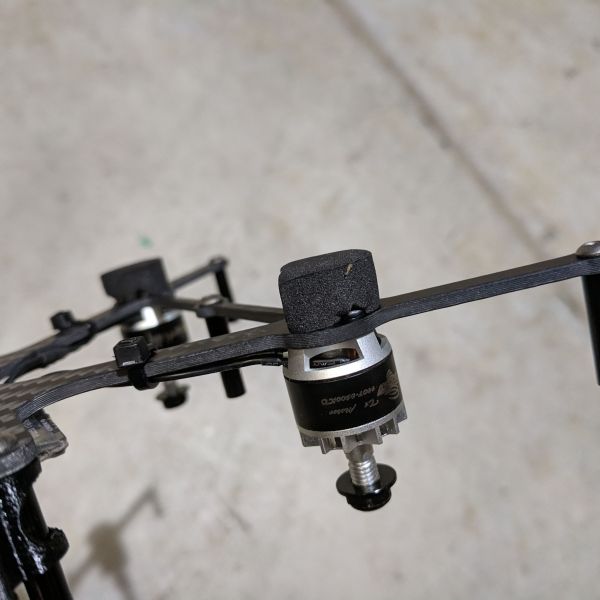
i like the foam landing shocks you made
Hello, nice build and it fly really great !!!!!! Can you post a dump of your configuration please?? I'm jealous :).
Just PIDs and filters.
Many thanks
I can not take any credit for the PIDs im using. I just followed Nurk's betaflight settings:
http://paulnurkkala.com/cinewhoop-shendrones-squirt-betaflight-dump/
how does the adjustable mount hold its angle? looks like the bolts are recessed into the lower part of the mount? i have my 3d printed parts im just waiting on the carbon. im sure ill figure it out once the rest shows up. just curious if you just tighten them that far that they sink in like that?
You need to tighten the m3 screw from both sides of the camera mount and yes you are correct, the bolts are recessed. Inside the base you will insert a m3 20mm standoff. Make sure the standoff is nice and tight (maybe glue it in) inside the 3d printed base, because if you ever plan to remove the top plate it can be a pain to loosen both m3 screws from the standoff.
Thanks! yea once i got mine i figured out how it went. i was using button head skrews at first and didnt realize the holes in the top part are countersunk. Might end up gluing mine in, because it still tends to move a lot if i disarm a few inches off the ground. I'm actually about to try one of those ultra soft mounts that are supposed to work for reelsteady go. so we'll see how that goes lol
Guides & Reviews
AirbladeUAV has done it again and this time they've brought long range to the 5" class! Based on the popular Transformer Mini, the new Transformer 5" Ultralight adopts a lot of the same design philosophies with larger props and more payload capacity. It can fly upwards of 20 minutes on a 4 cell Li-Ion battery pack and in ideal conditions it's got a range of over 4 to 5 miles. In this guide I'll walk..
Read moreWith the release of the DJI FPV Drone cinematic FPV has become a lot more accessible, but you certainly don't want to crash a $750 drone! The QAV-CINE Freybott is a compact, lightweight cinematic FPV drone that can take a hit and keep going. It's a lot safer to fly indoors and around people. With a naked GoPro or the SMO 4k you can capture some great stabilized footage. In this guide I'll show you..
Read more