Fatshark Mods 🦈
 By sergetania on Apr 10, 2019
I hope someone will find this useful.
For most, it's the absence of a power button. For me, plugging and unplugging a balance lead to get the fan going is actually the worst, then having a battery on the side of my head, finally followed by the power button. All that after spending $500!
Slaytech extension cable is actually a good product but it doesn't solve the balance lead issue and adds another barrel connector that needs to be plugged in. It appears it's not that difficult to address both problems.
If you decide to follow the description below, please be very careful to avoid ruining your very expensive goggles. Always check and double check polarity with a multimeter. Use the continuity mode to check for shorts before plugging in. Also, the warranty will probably be void with these mods.
Pry open one of the two black covers of the 18650 battery case. It has two screws through it - I have found it out after opening it. You should locate the screws under the label. 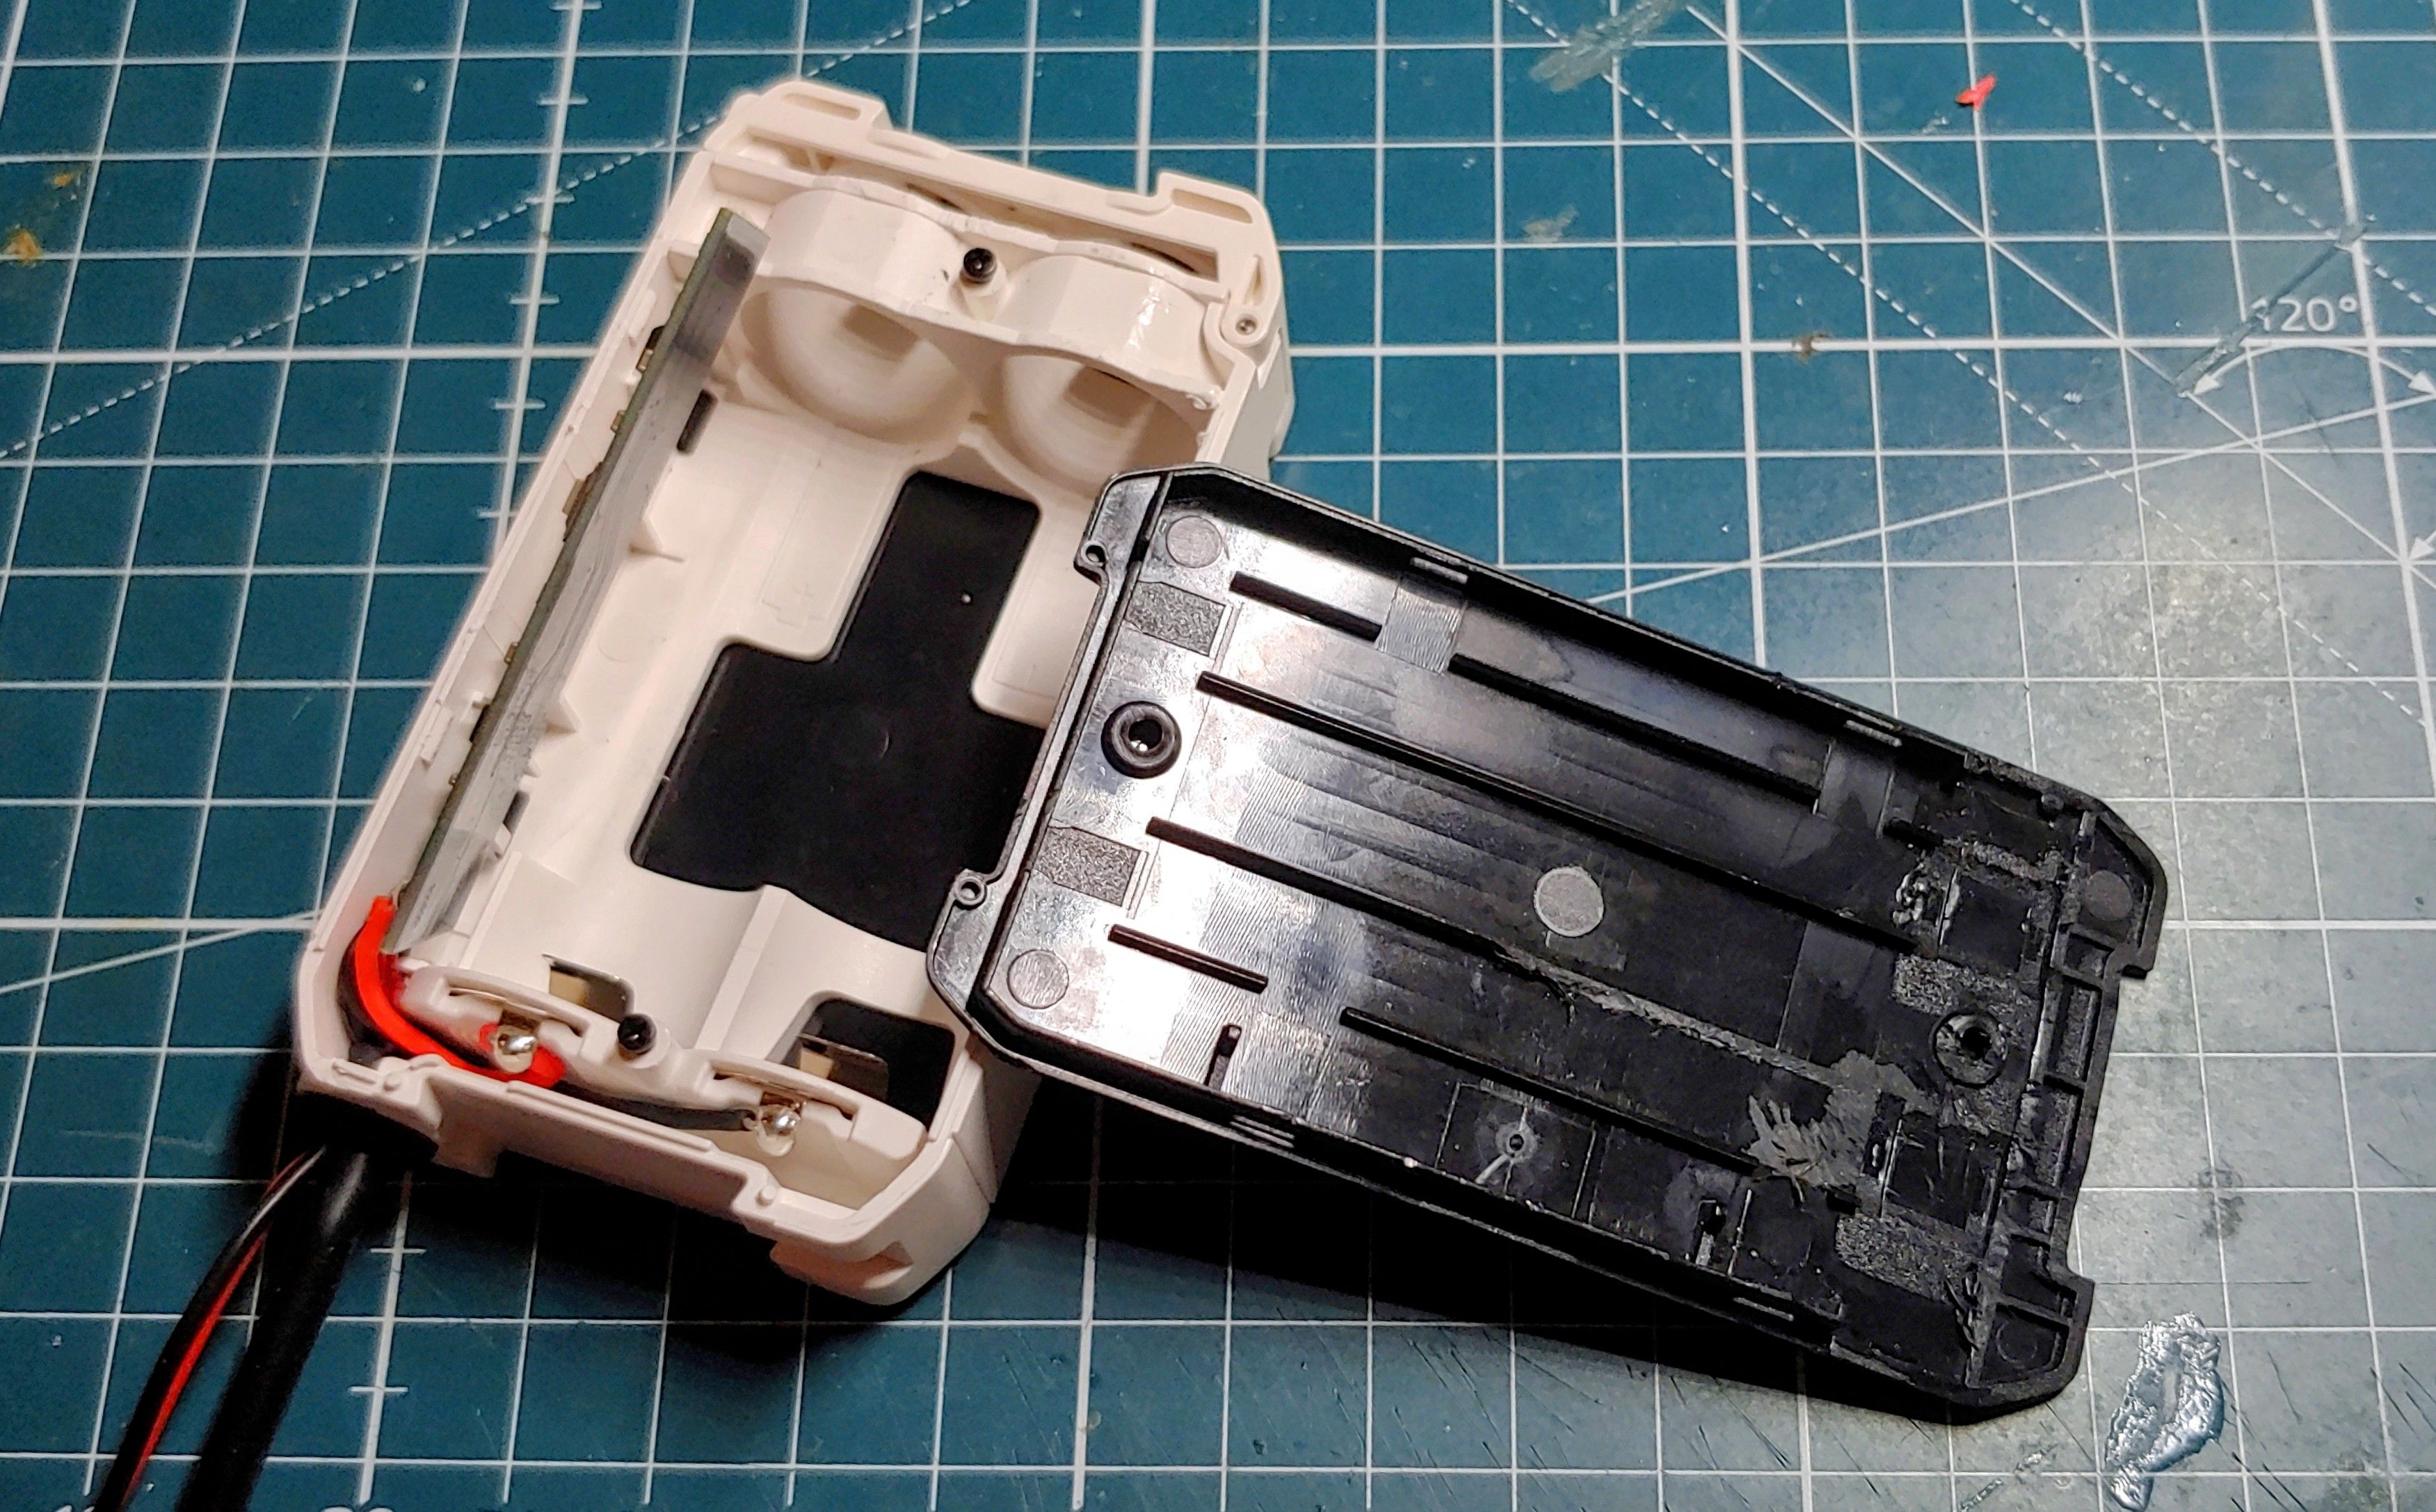
Cut off the balance lead and barrel connector from the extension cable. Isolate whatever is left of the balance lead wires on the extension cable NOW (make sure the two wires never connect)
Remove the board from the case and unsolder the old wires from it. The terminals on the board are marked Batt- (with black wires) and Batt+(red wires). Solder the extension cable wires along with leads that go to the battery contacts to the board. The extension cable wires are red and black. Still, check the polarity! Outside of the barrel connector is ground, inside is positive. Tack the board and wires back in.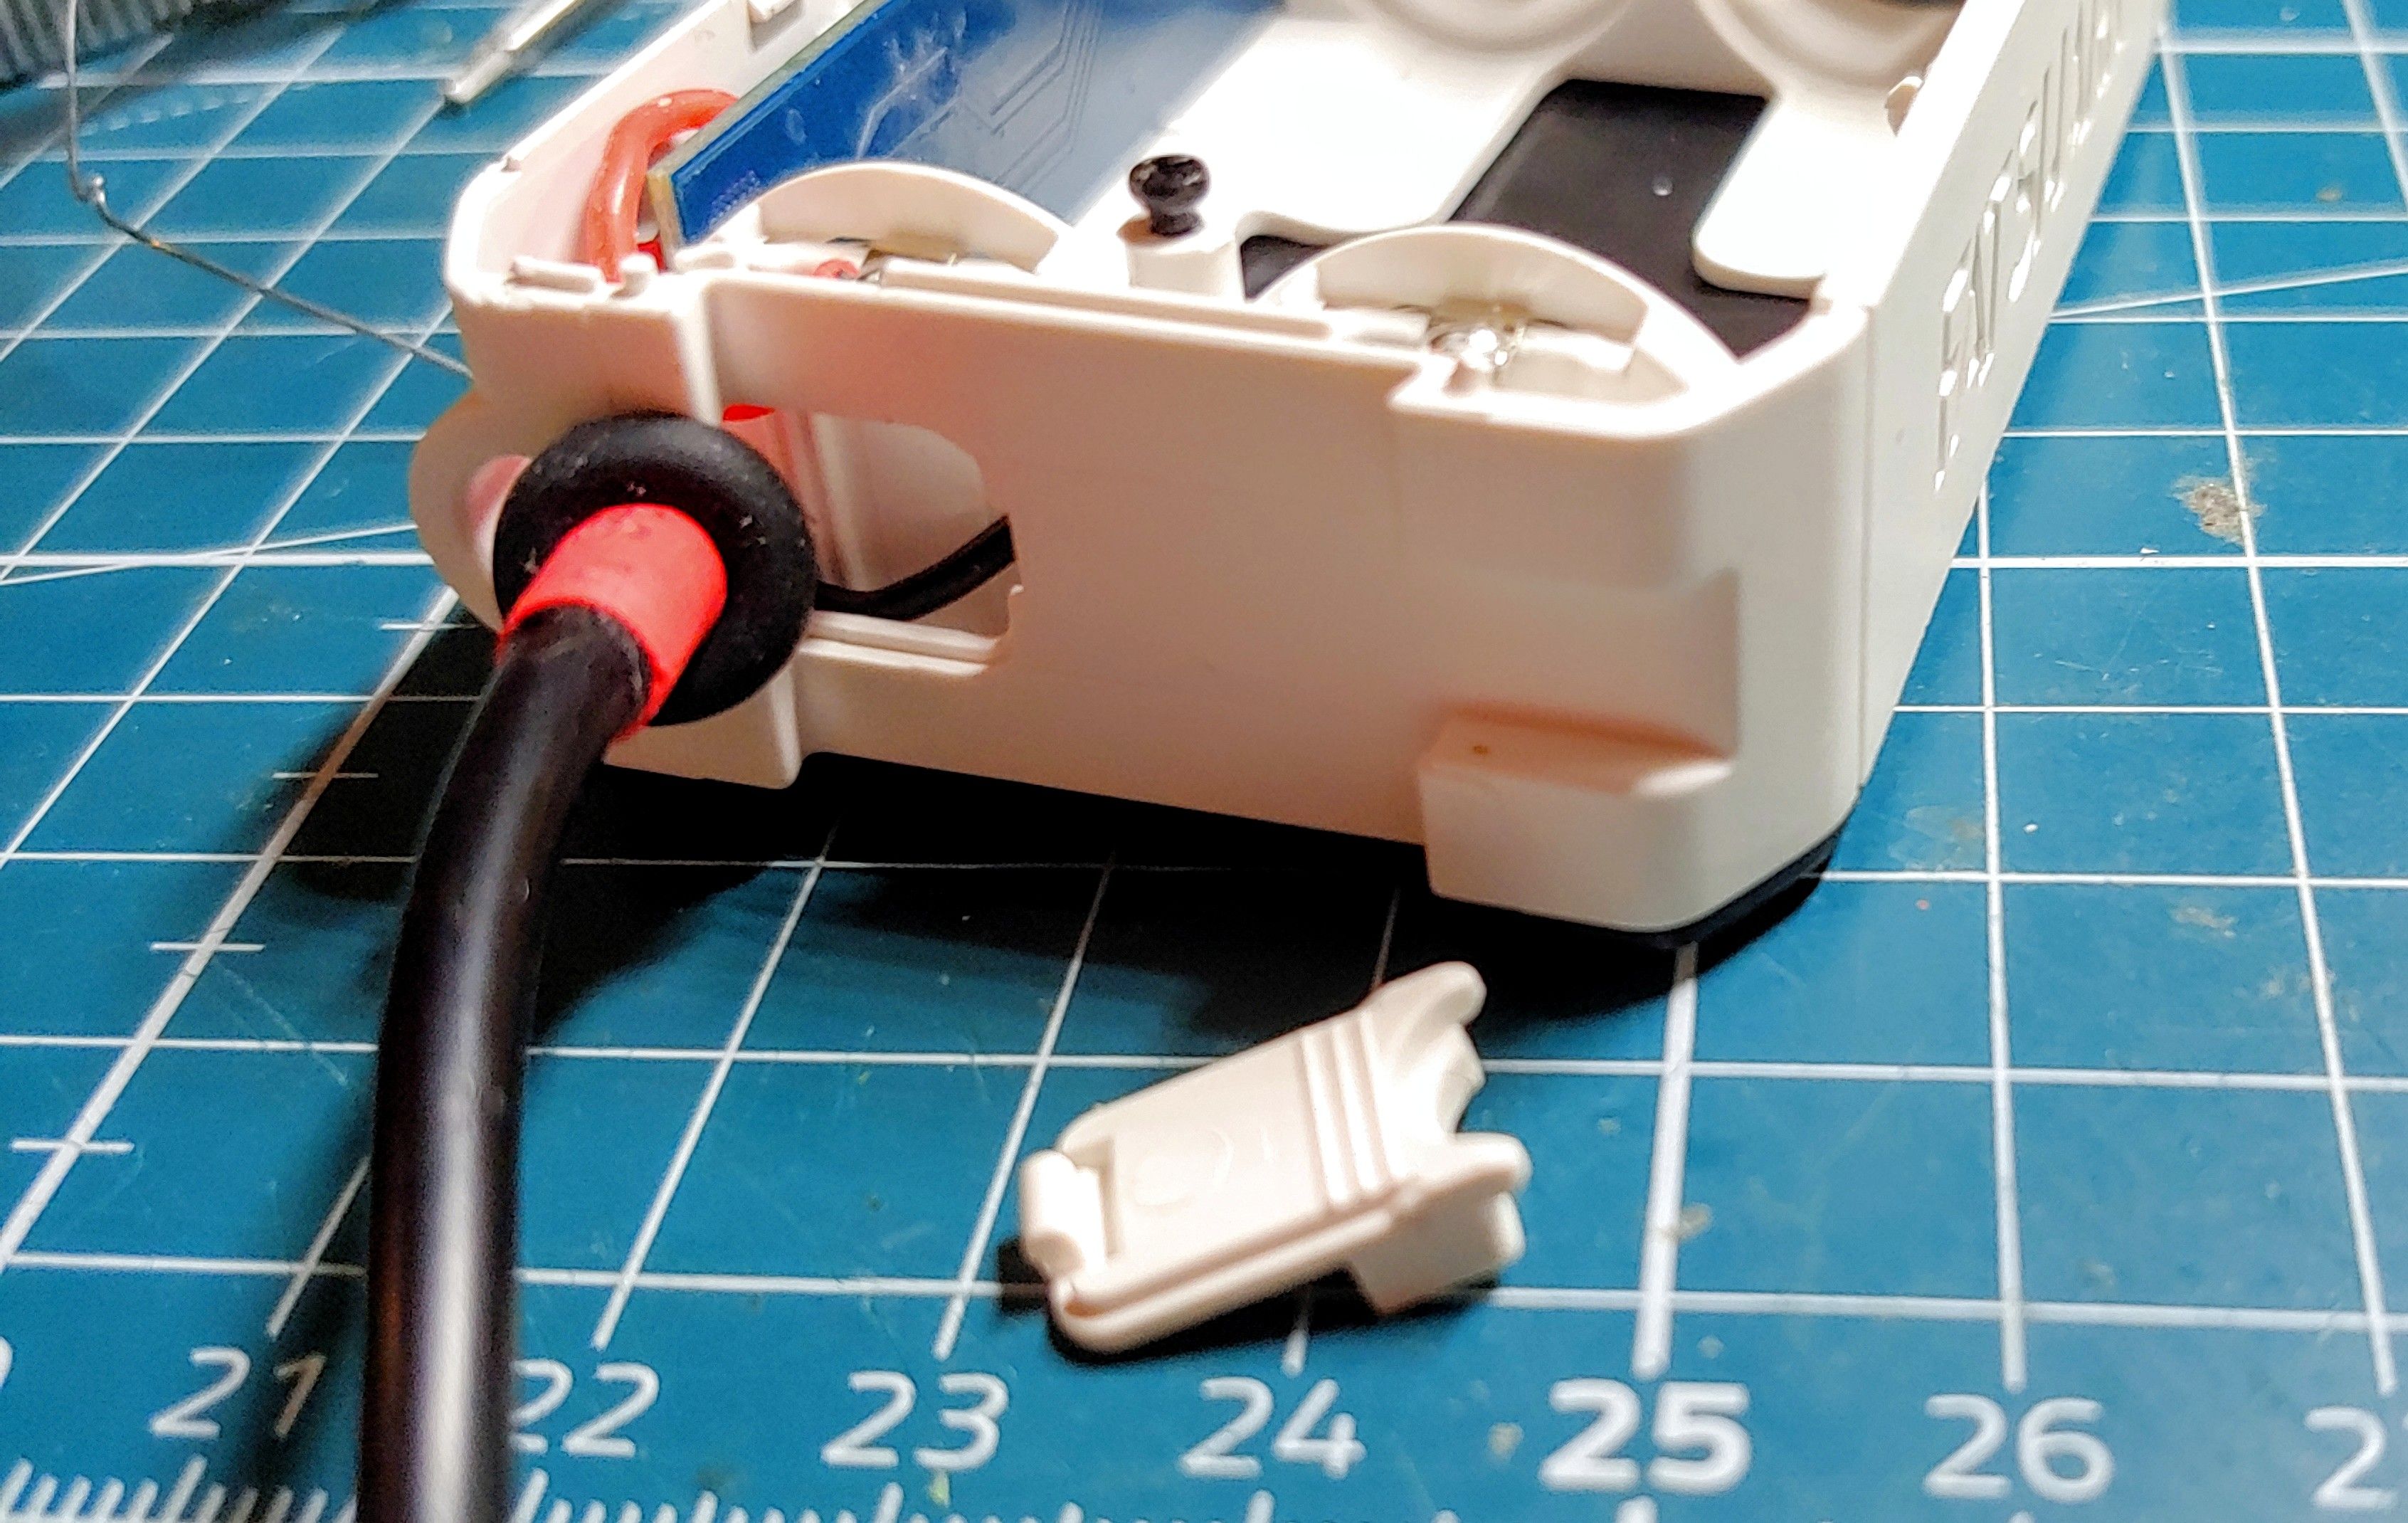
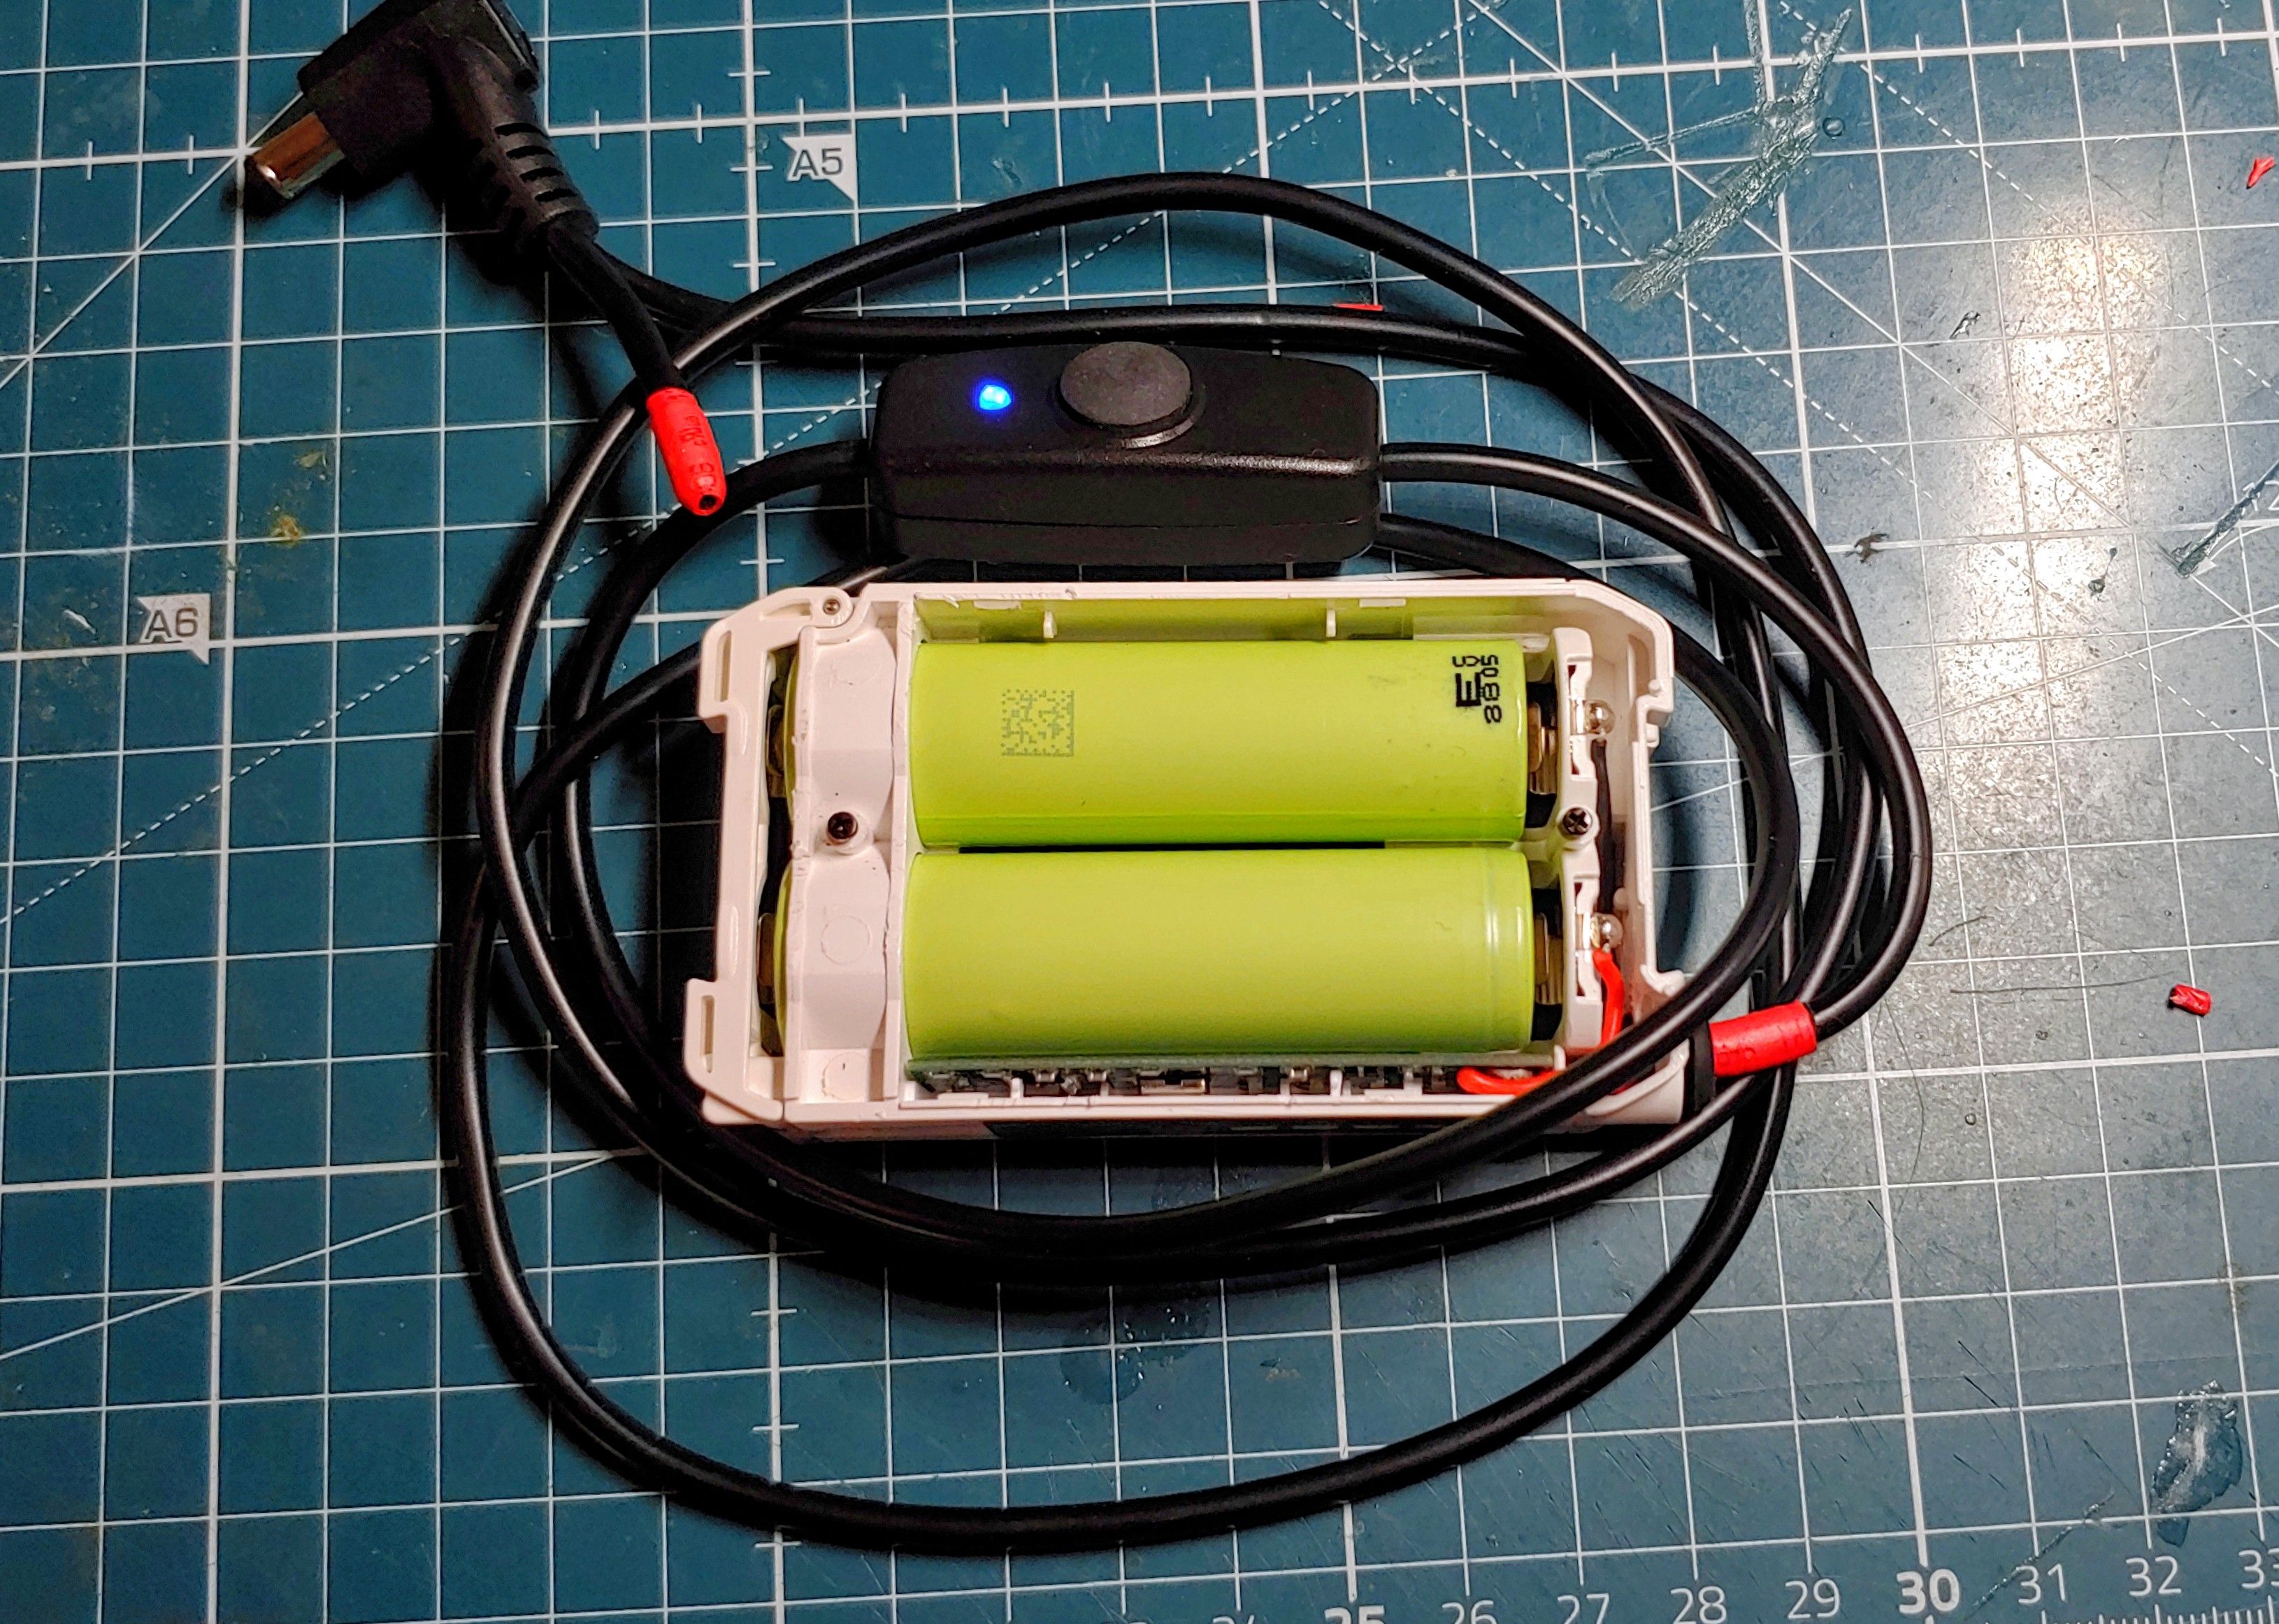
Close the battery case.
On to the goggles! You don't need to fully open them to solder the cut-off balance lead to the power connector inside of the goggles. Just popup the face plate and open a cover near the power connector. Unscrew two screws - one from the bottom of the goggles below the cover you just opened and another one holding the board inside the bay. Now pry open one side of the goggles, remove the strap and the electronic board that has the power connector on it.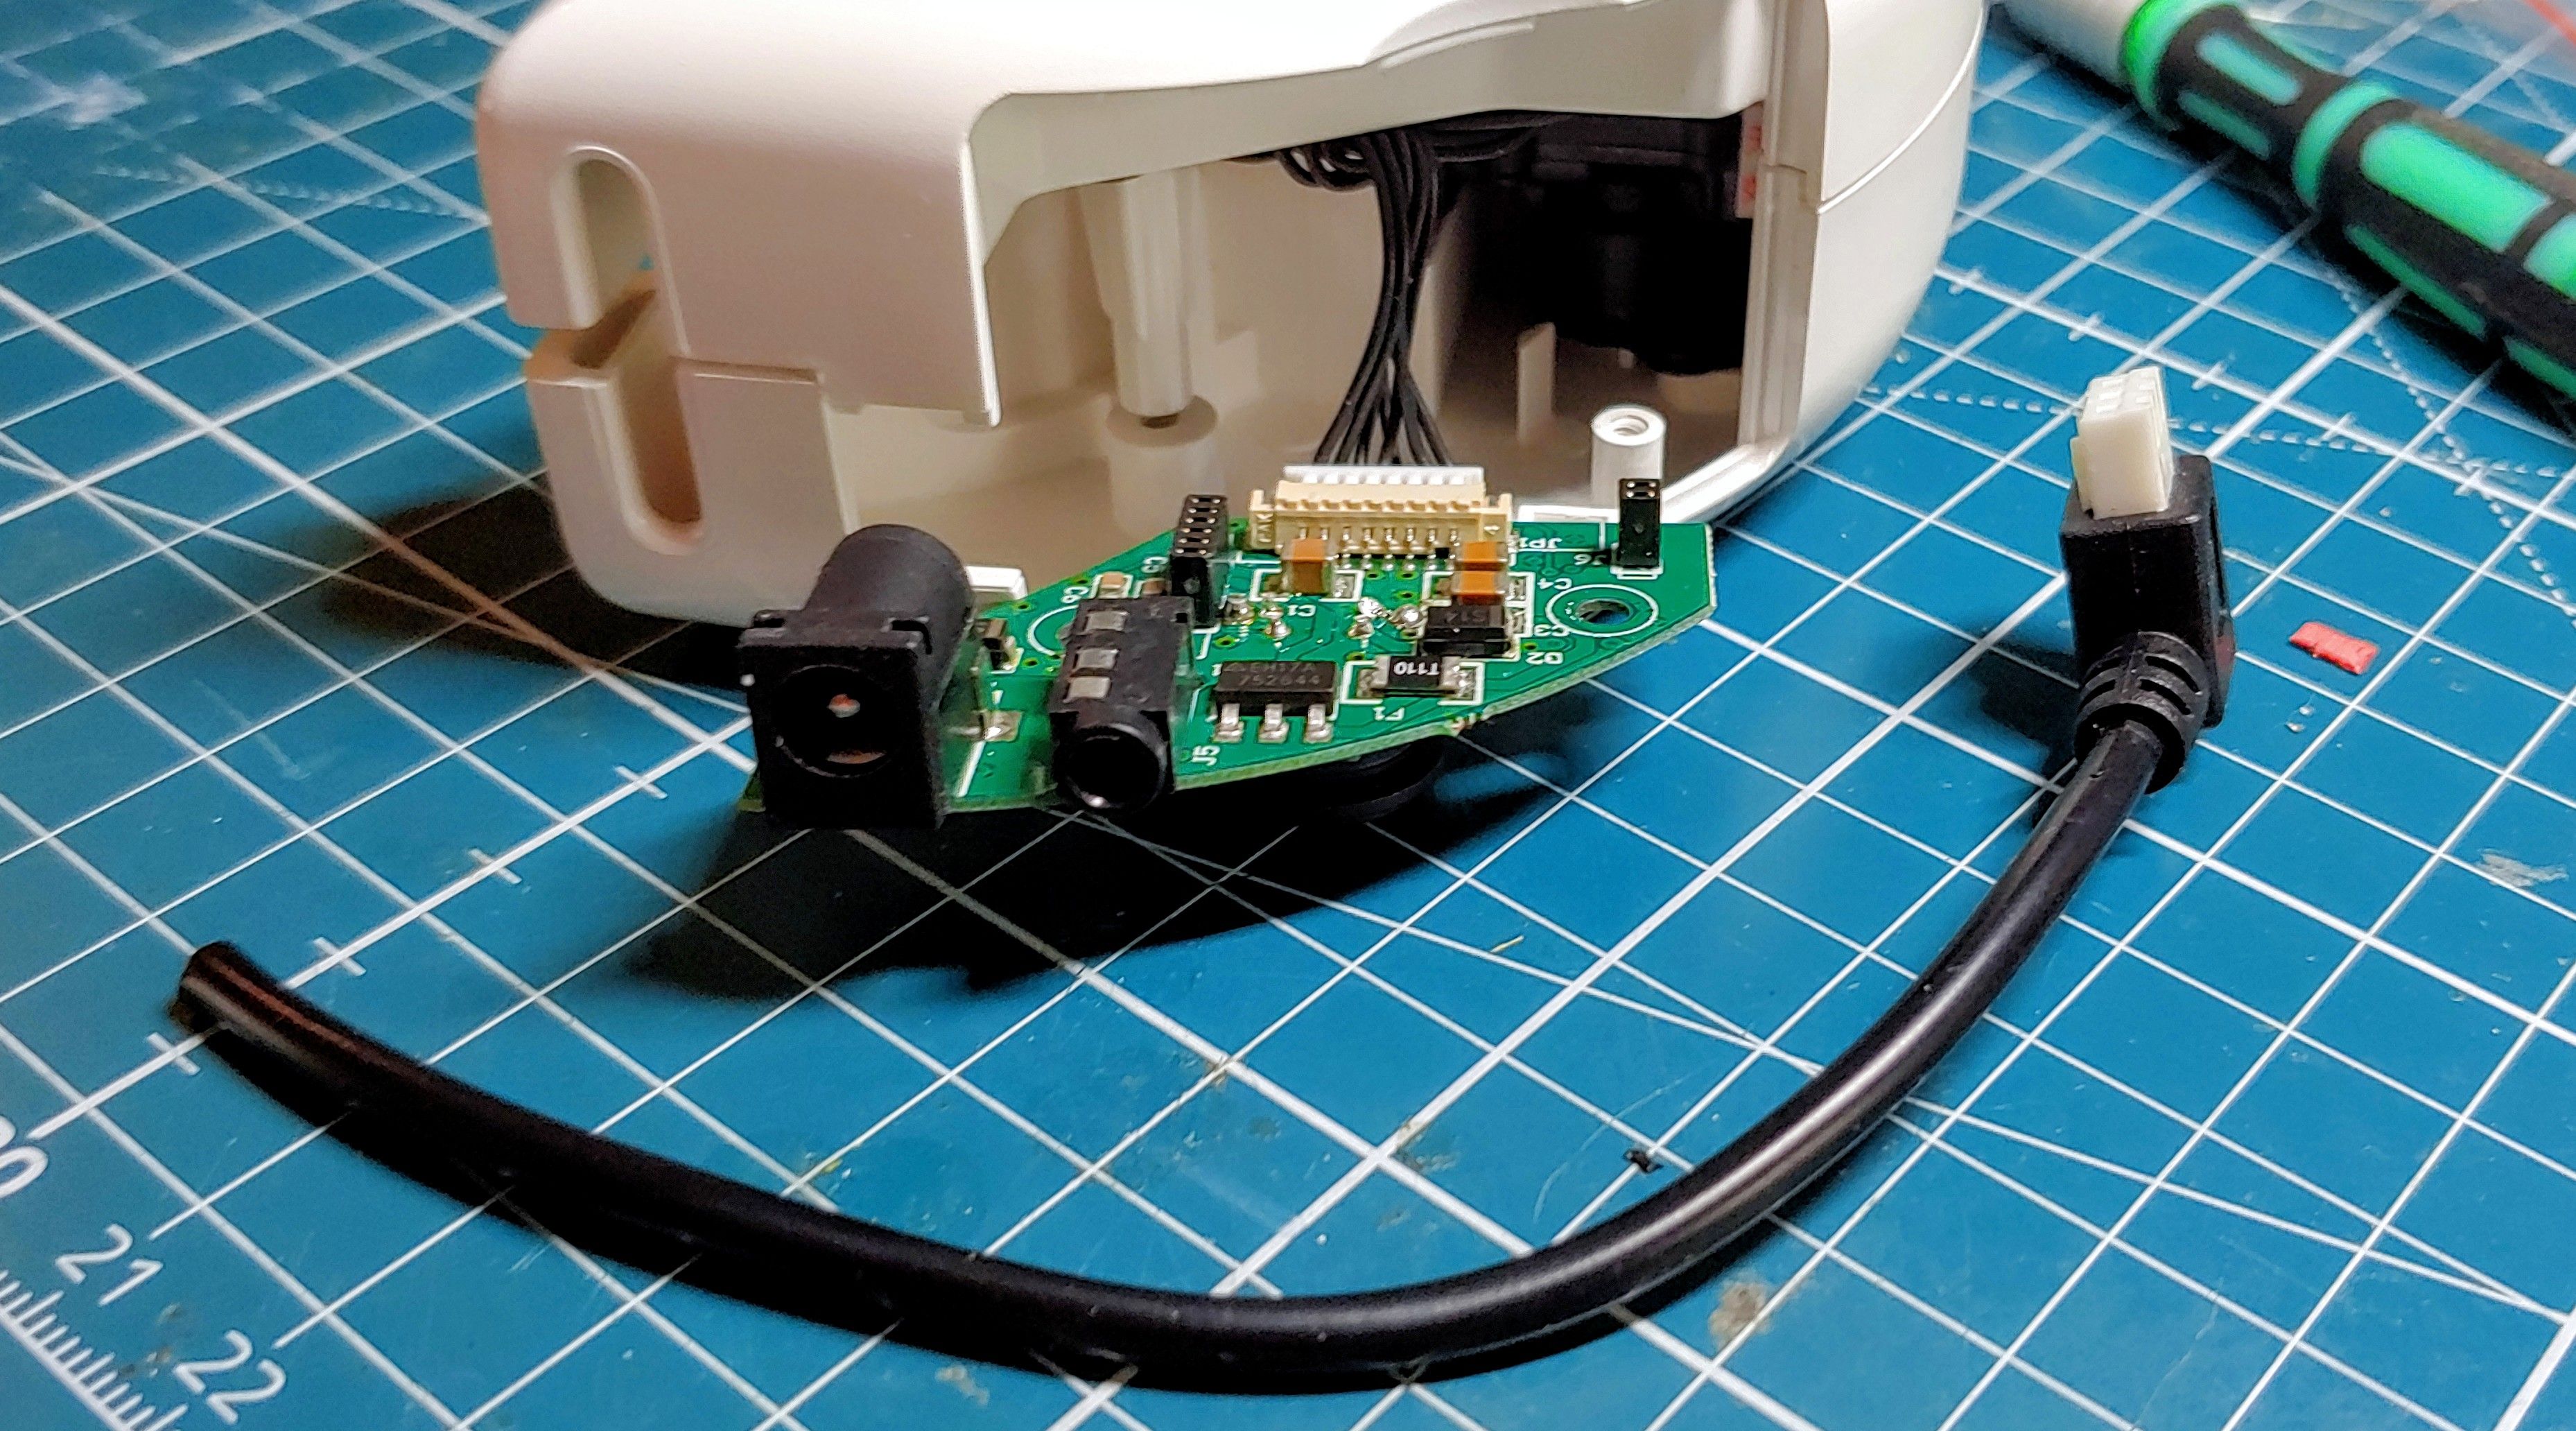
Insert the cut-off lead through a hole in the side where the strap attaches to the goggles. Solder the lead to the connector contacts from the bottom of the board. Use a multimeter to determine polarity of the contacts! Insert the board in and screw the screws back in (see the red and black wires on the back in the picture)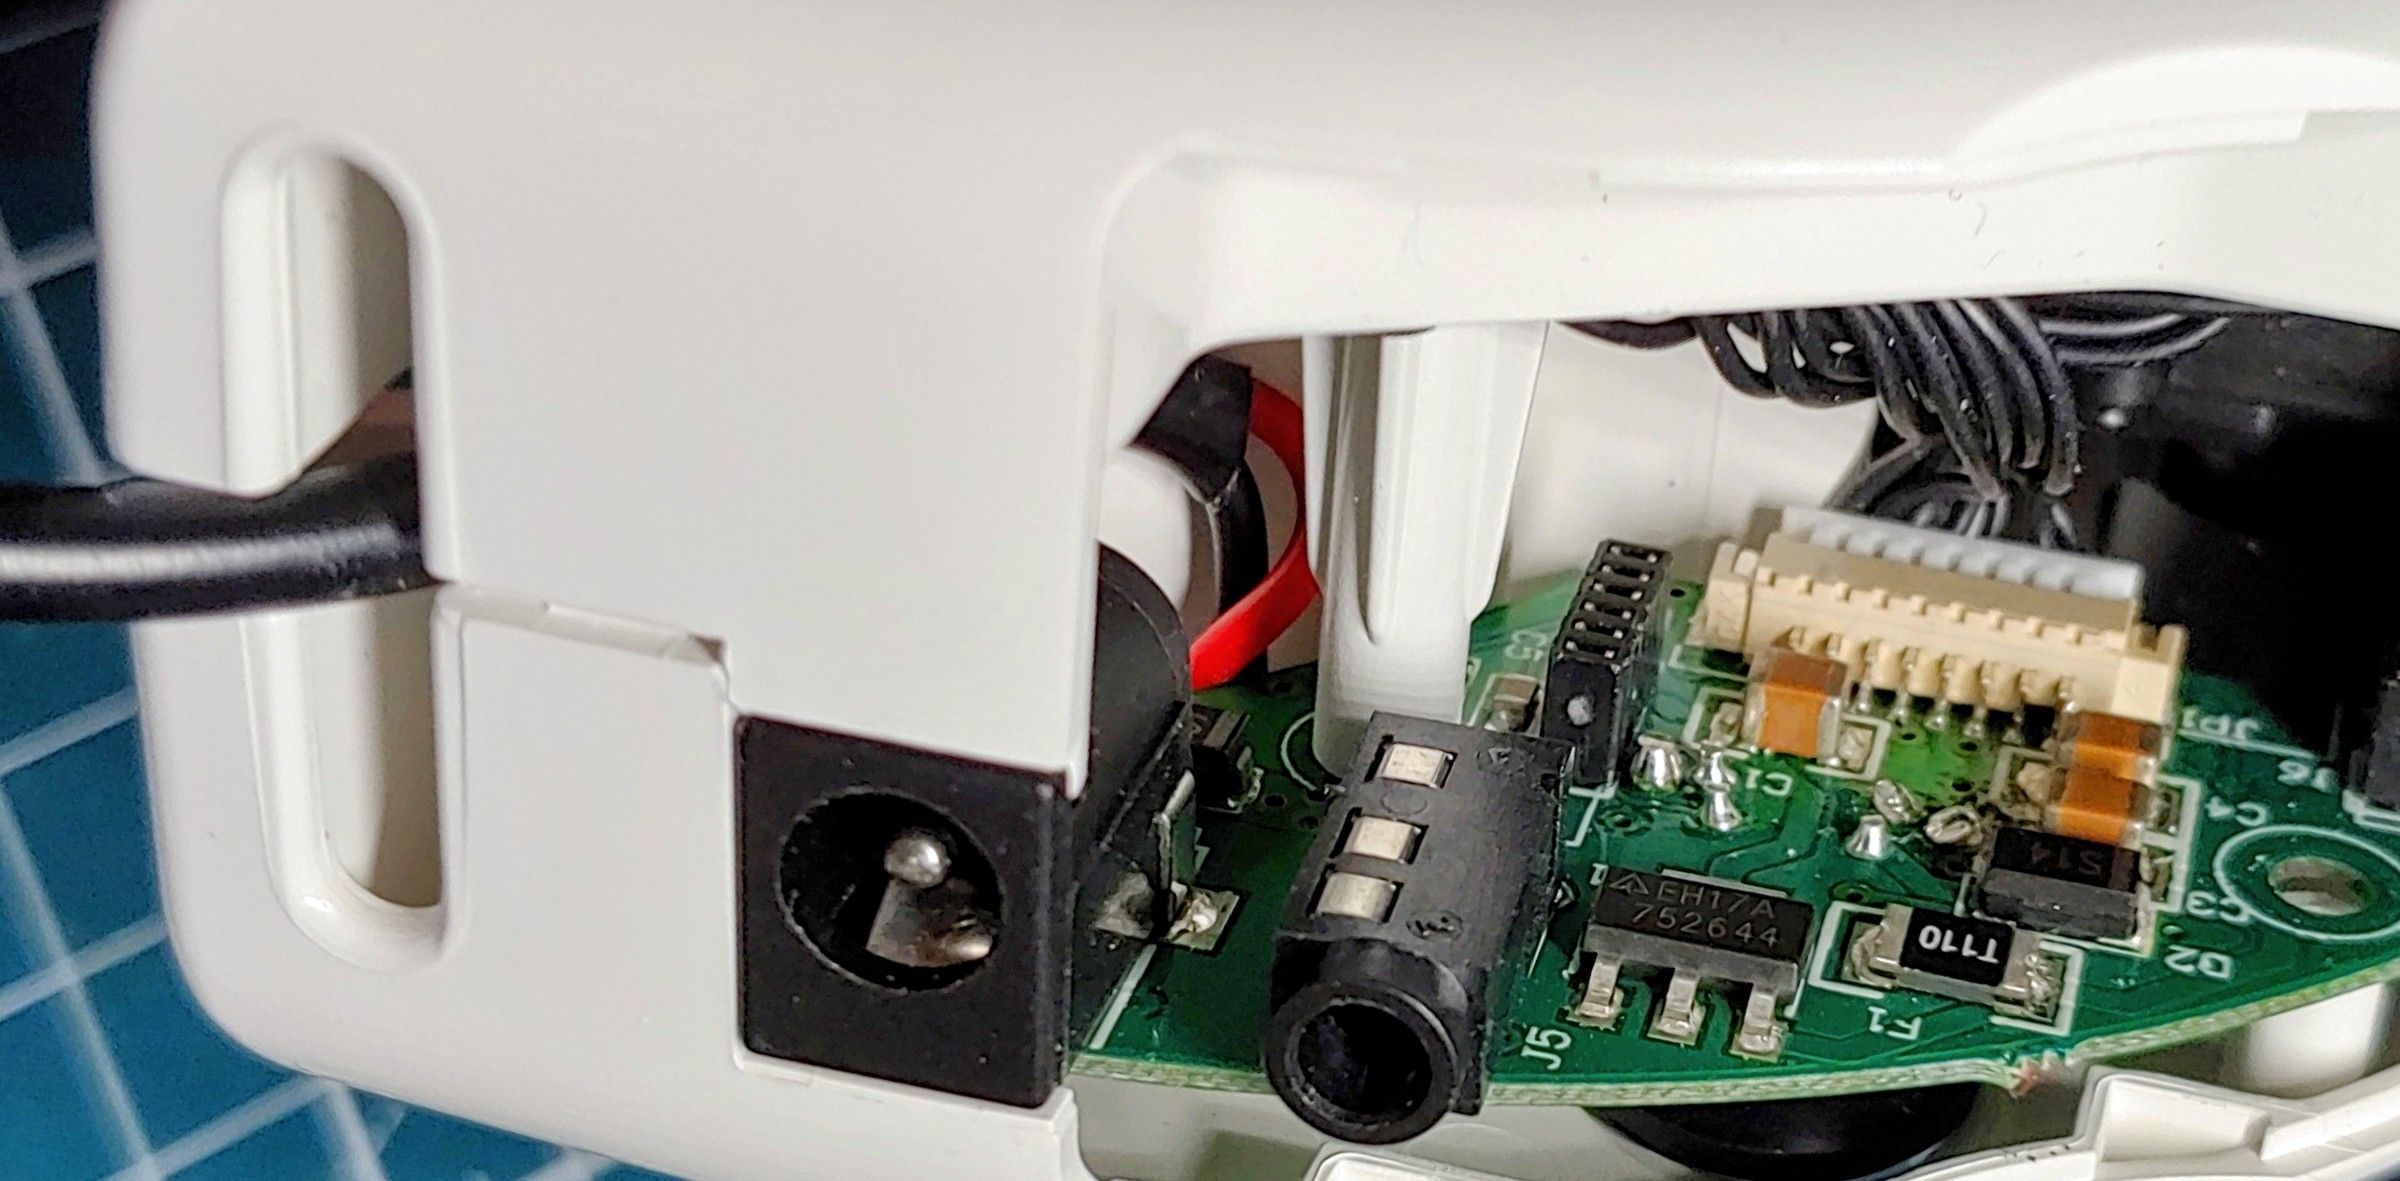
Attach the face plate, the strap and plug in the lead in to the fan connector and LEAVE IT THERE. No more unplugging! 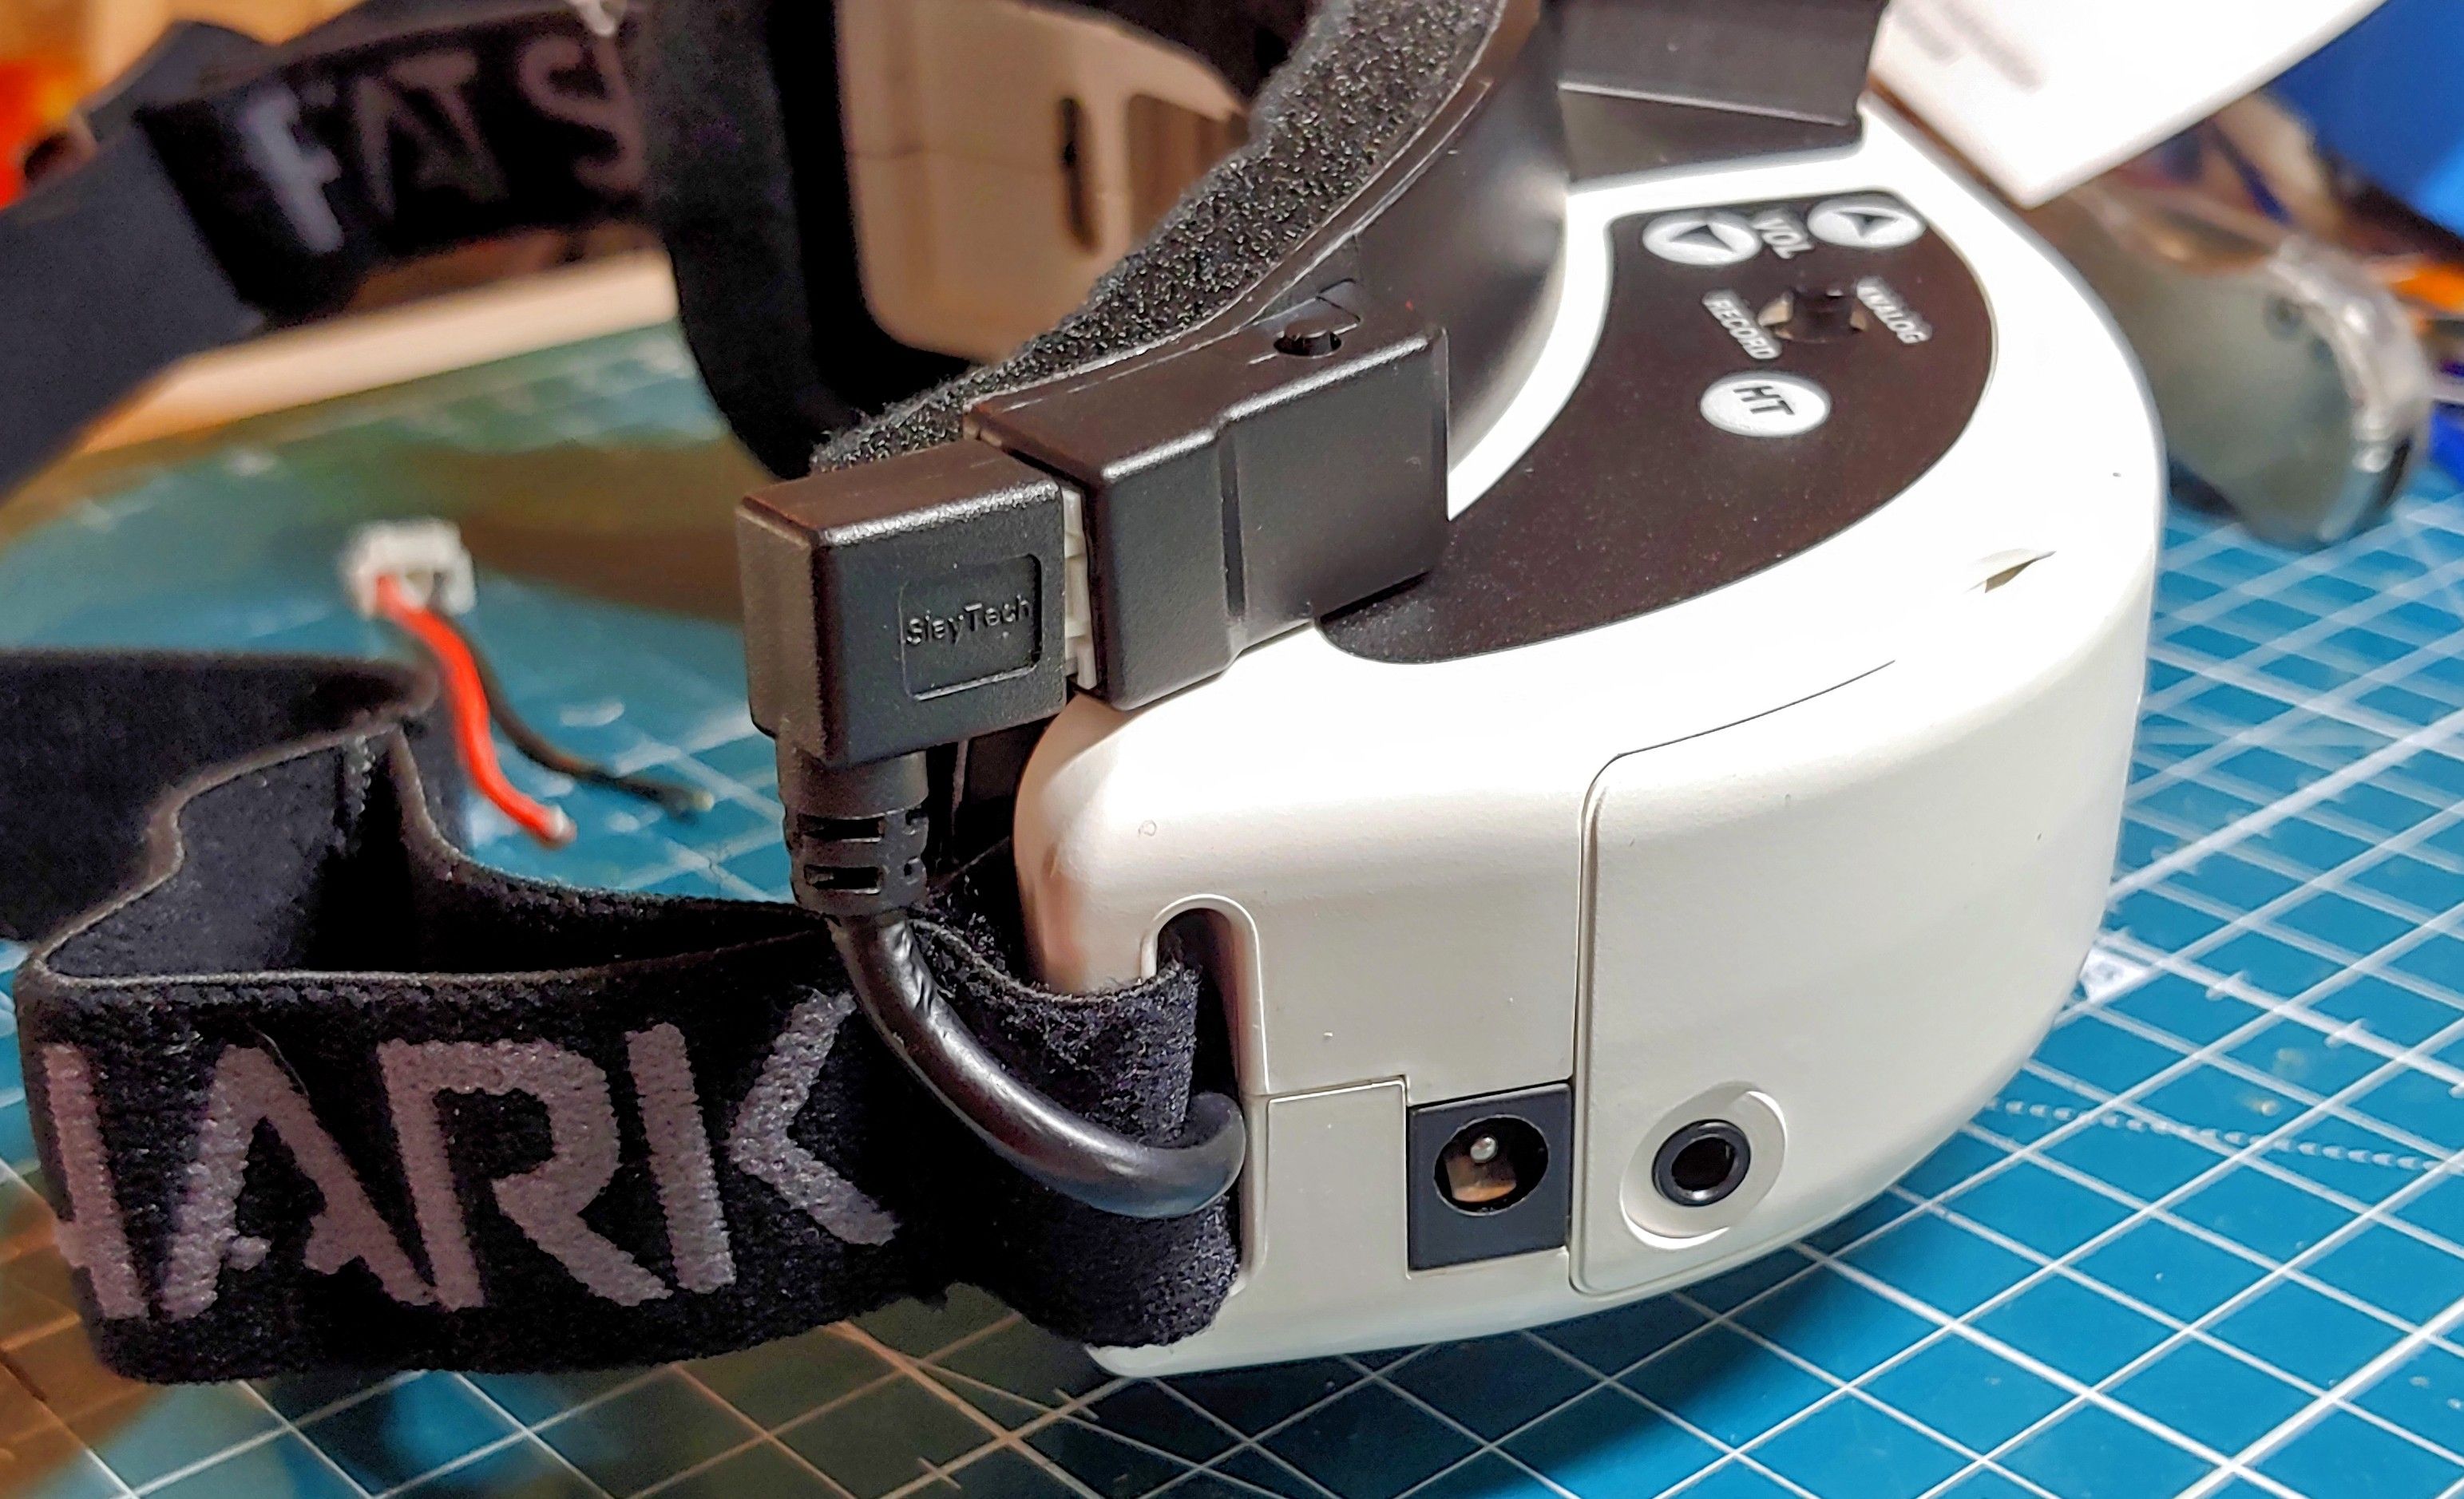
It's done! Enjoy!
Photos
Part List
Radio |
FrSky X-Lite 2.4GHz Radio Controller (Red)
(64 builds)
Getfpv.com
|
$121.99 |
Goggles |
Fat Shark Dominator HDO+ FPV Goggles
(136 builds)
Racedayquads.com
|
$599.99 |
Misc Parts |
Fatshark 7.4V 18650 Li-ion Cell Battery Case DC5.5*2.5 For FPV Goggles Video Headset without Battery
(3 builds)
Banggood.com
|
$17.85 |
Misc Parts |
SlayTech FatShark Goggle Power Cable - 2.1MM Barrel ConnectionDefault Title
Racedayquads.com
|
$14.99 |
Video Receiver |
ImmersionRC rapidFIRE w/ Analog PLUS Goggle Receiver Module
(177 builds)
Pyrodrone.com
|
$149.99 |
Radio Module |
Frsky R9M Lite - Radio Transmitter Module (Black)
(11 builds)
Getfpv.com
|
$47.99 |
Tools |
Hakko FX888D-23BY Digital Soldering Station FX-888D FX-888 (blue & yellow)
(34 builds)
Amazon.com
|
$115.00 |
Guides & Reviews

AirbladeUAV has done it again and this time they've brought long range to the 5" class! Based on the popular Transformer Mini, the new Transformer 5" Ultralight adopts a lot of the same design philosophies with larger props and more payload capacity. It can fly upwards of 20 minutes on a 4 cell Li-Ion battery pack and in ideal conditions it's got a range of over 4 to 5 miles. In this guide I'll walk..
Read more
With the release of the DJI FPV Drone cinematic FPV has become a lot more accessible, but you certainly don't want to crash a $750 drone! The QAV-CINE Freybott is a compact, lightweight cinematic FPV drone that can take a hit and keep going. It's a lot safer to fly indoors and around people. With a naked GoPro or the SMO 4k you can capture some great stabilized footage. In this guide I'll show you..
Read more


New Message for sergetania