
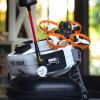
Here's my new quad which is named "Tala" and it is my first legit expensive quad that I really thought about and earned for.
Instead of talking about how nice this quad is, heres a link of me doing that for you already over on my channel and some flight videos: (insert URL here; give me like a week to put this here)
I'll be sharing my experience with you on how I decided, thought about, and put together this really nice quad.
STEP #1 Answering Key Questions
This all started late June when I decided that i really want a reliable, durable, and quality quad for filming and freestyle. I really wanted to rush this build so I can go fly it but it's important to note that you have to take time in deciding for parts. Especially when you're a beginner, you have to think about each part and how it fits in together.
I was on my online shops, looking for parts. Now there's somethings to consider when your looking for parts:
- Does it fit with what I plan to do with my drone? You have to know whats the purpose of making the quad. For me it was film and freestyle while others might want something for racing.
- Are the specs within my range of "things i want it to do"?. This is where knowing what motor kv, your range, battery life and sag, and etc. All these play out with No. 1
- Are the reviews good? knowing what other people think about it will help in deciding if you want to use those parts.
- Are these parts compatible with each other? This question goes over both "is there enough space?" and "will these parts be good together?"
- Are these parts within my budget? Now this may or may not be a deciding factor for you. You do your research on its "Worth" and decide if you're willing to go on pricey parts or cheaper parts (Not all pricey parts are good and not all cheap parts are bad)
I really wanted to get the new Flywoo 1404 motors as it was fairly new to the market and is a top-quality brand. I also went for the Iflight frame because I knew that it would be worth my money and replacing arms wont be too hard. I like the EOS2 camera so i went with that. I got the new MK2 version of the Mamba mini f405 stack because It's really reliable and they made the specs better compared to MK1. I had a VTX03S laying around that fits in perfectly at the back as well as a Foxeer Loliipop.
Once you get those questions answered, and your cart full of goodies, you're ready to purchase and wait for those parts. Note that you can buy these parts on different dates. Personally, I like to buy the frame first before I get other parts so I can get a physical object as a basis on space. And also because i like to design 3D printed parts for the frame as I wait for the other part to come.
Speaking of those 3D printed parts, heres a bunch of them that I designed for the frame: https://www.thingiverse.com/thing:3753013
STEP #2 Preparation
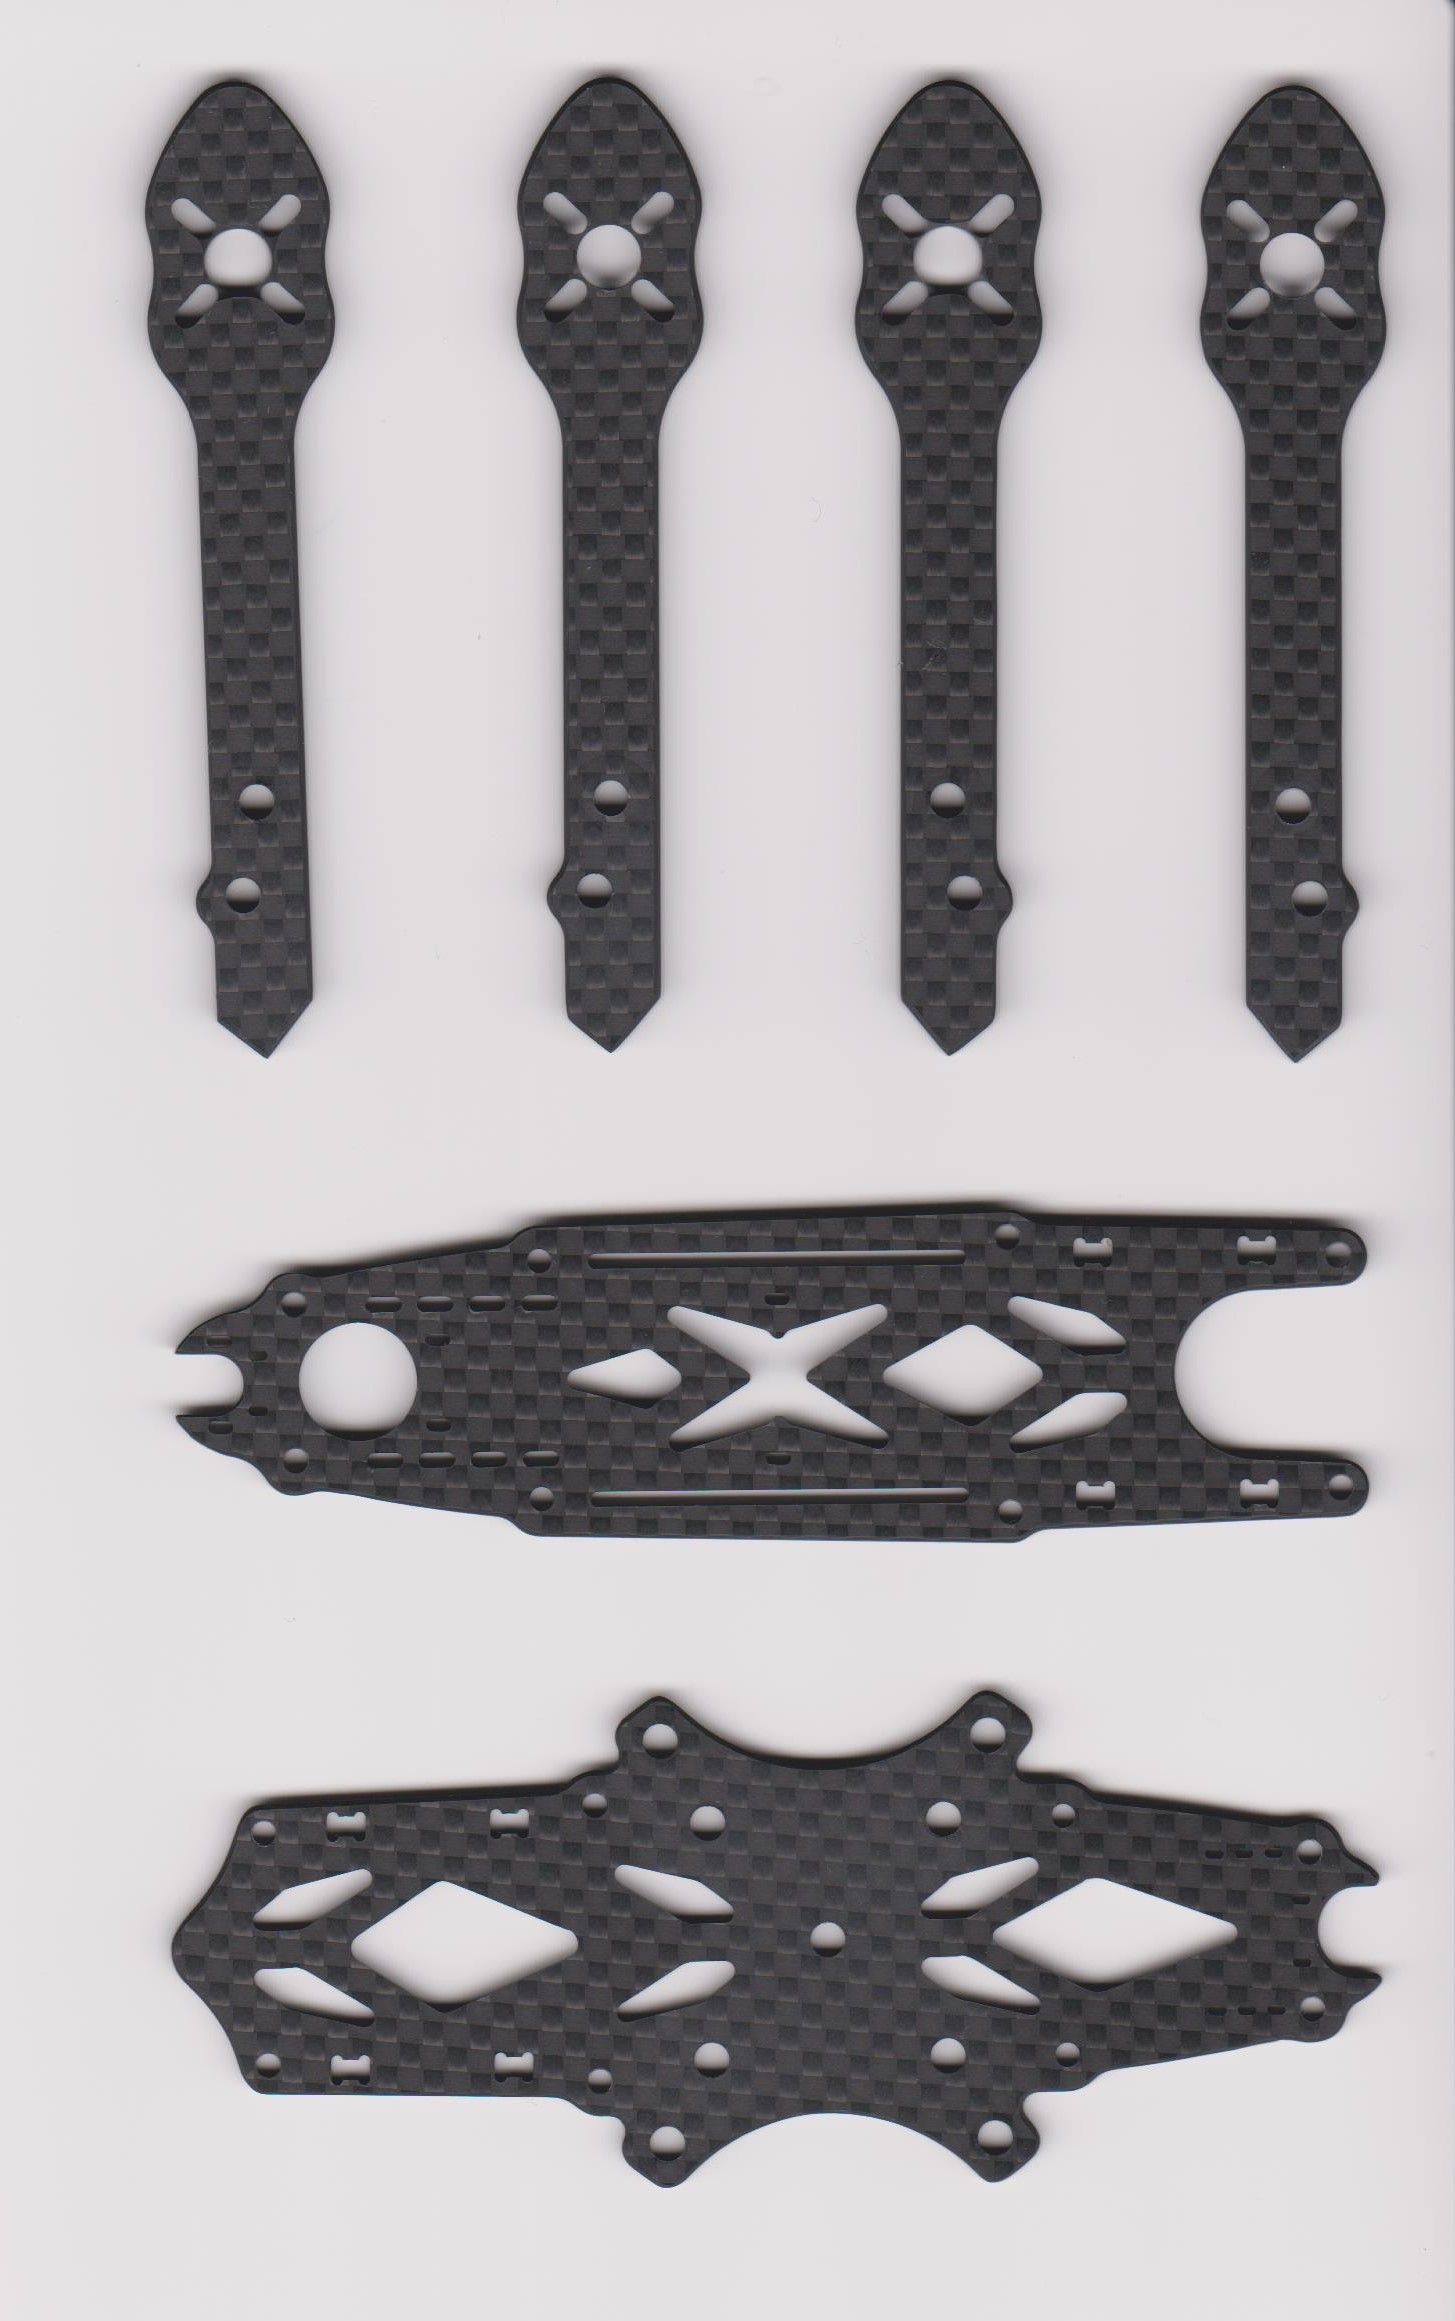
When you have your parts (or at least some), start planning what goes where. Its handy to have a ruler and maybe dimensions of the parts on hand. Sketching it also helps!. When I got my frame, i scanned it right away so that I can use it as reference for spacing and the 3D printed parts.
I used Fusion 360 for making the printable parts and its been very useful when it comes to assuming if parts fit and generally making accessories.
STEP #3 Putting them all together
Its good to take your time. All great builds take time. Prepare some snacks, prepare your table and solder. Plays some music too. Building is an important aspect to how this hobby grows. yeah many people prefer buying it as RTF or ARF or idk but at some point you guys will have to repair and fix parts. I'd suggest that if things aren't going well, go do something else for a while to calm yourself. If you're frustrated, you might end up breaking parts.
When I was building Tala, I had so many problems with the stack. It wasn't because the stack was bad, but because it was from a previous build and i didn't even know I burnt an ESC. I had a hard time too with the spacing as I wanted a "slammed" top plate but using my long M3 screws wouldn't work or using my shorter M2 won't fit the whole 2 boards. After long breaks and soothing music, I got it to work out well.
STEP #4 Final Preparations
You got your quad, your controller and goggles. It's time or you to set it up with whatever software you choose and tune it. I prefer betaflight just cause im used to it. Make sure your props are off when using any of the configuration apps just to be safe.
Heres a checklist of the software part of a normal quad build:
- Calibrate accelerometer
- Rx Uart
- Quadcopter configuration
- ESC protocol
- Switches (Arm, Acro trainer, Turtle Mode, etc)
- RSSI (if you have)
- Type of RX (Serial Based)
- Motor Direction
- Board Alignment
- OSD
- Voltage and Mah
STEP #5 ENJOY!!! You have worked hard, spent time and money, It is time to ripp this new quad!!!!
Photos


Part List
Show stores (8)
wow, you made this frame shine. I've been looking to do my 2nd build  and having a hard time picking that special frame. You have helped make up my mind. Nice touch with the 3d prints.
Are the props in view on this frame?

How'd you scan the frame? Just put each piece in a scanner then draw the outline in cad? I'd love to hear any tips on this process.
Nice! I'm startting a build with this frame using the same FC stack and the same 3D printed parts. I'm using EMax 1108 6000v motors, a Caddx Turtle V2, Gemfan 3028 Wind Dancers, a Spektrum Diversity DSMX Quad Race Receiver (up to 18 ch), and a AKK Nano 2 Micro Switchable VTX w/ Smart Audio. I'll share it here, at RotoBuilds, when it is done.


Cocngratulations! Such an amazing little beast :)