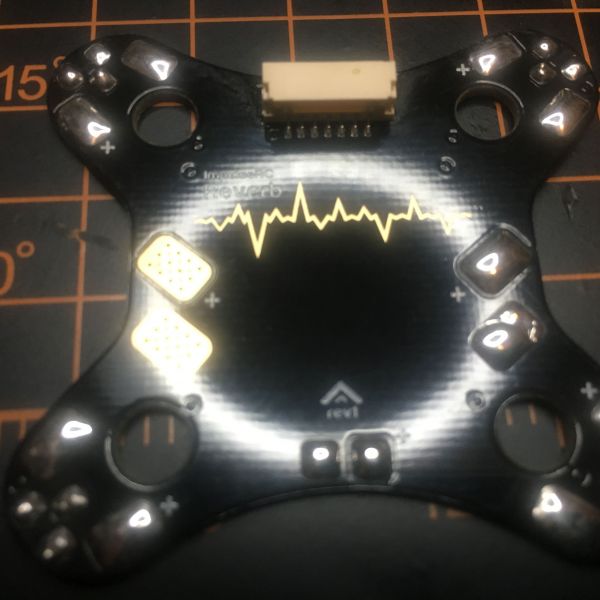
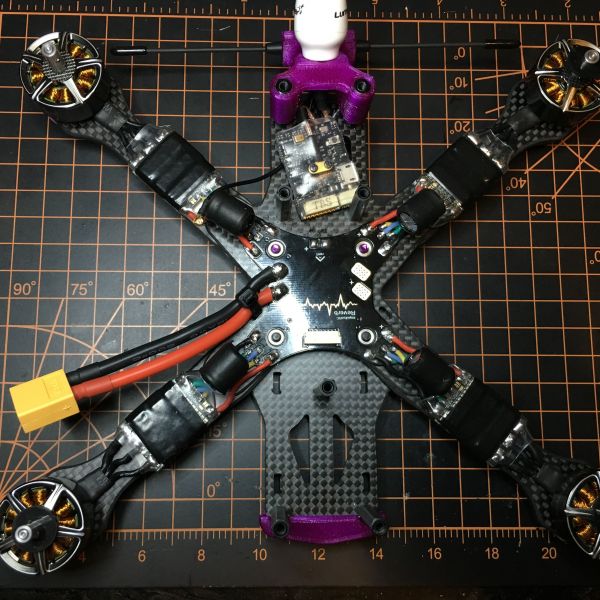
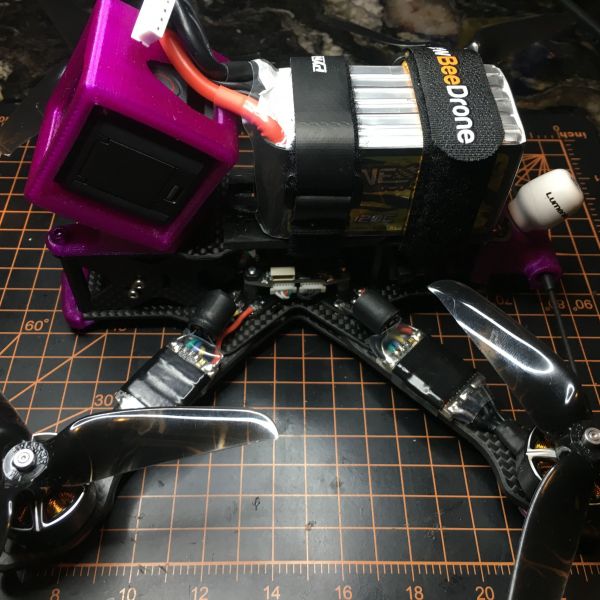
Kiss 6S Reverb
 By Rebelution Nova on Aug 11, 2019
Introduction
After four years of following the sport/hobby, wanting to build my own. I finally took the plunge and joined the community.
While everyone is migrating over from 4S to 6S, I decided to commit to building a 6S powered quad for my first quad. Since the 5" quad space is a relatively popular one, I've had a lot of choices and spent a considerable amount of time locating a good, smooth, low-kV motor (1750kv) that matches a 5" / 6S setup. I am using a full Kiss build because of their quality and reliability.
Goal and Parts Selection
The goal of this freestyle build was to make a reliable 6s powered rig that is low kV in power, long freestyle flight time and has excellent flight characteristics.
Weight Reduction
I've used the following method below for shaving weight off the typical Reverb Build:
Micro FPV Cam over Full-sized FPV Cam
TBS Crossfire Nano RX instead of the Crossfire Micro RX
TBS EVO for VTX and OSD
Titanium cap head screws instead of the standard steel frame screws.
4 x 8mm aluminum screws per motor over the stock 4 x 7mm steel screws that came with the motors.
I minimized the use of zip ties and shortened wires to the appropriate working length.
I Used the Tattu 1300mah(V3) Lipo. At 208g, It's by far the lightest 6S battery made to date of this size.
Beveled the edges of the carbon fiber for weight and strength.
GoPro Hero5 Session instead of the full-size Gopro
F60 POPO bells instead of standard bells
Average 6S powered Reverb / Kiss V2 AUW: 670g-720g
My current 6S AUW: 700g
Results
With a 700g AUW, heaps of power, crystal clear FPV feed, and KISS V2 firmware, this freestyle quad is incredibly smooth and responsive. The build is feels locked in and predictable from my initial flights as a newbie. The Swift 3 v2 is a fantastic FPV cam and allows adjustments through the OSD. And finally, the F60 1750kv motors are highly responsive and efficient throughout the rpm band. The POPO Bells are extremely strong. The bells have taken a few full throttle impacts and never a prop slip or malfunction.
Future
Recut the Cam Plates by 5mm to lower the top deck and lower the CG of the quad for better response and weight distribution while shaving a couple of grams. Add very small zip ties to go over the ESC capacitors for more support and greater reliability.
Update 8/23/19
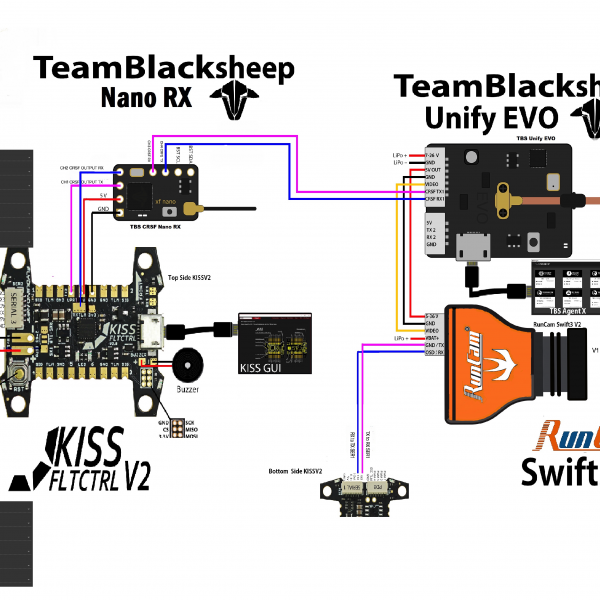
After a lot of research and trial and error, Both the RunCam and Unify EVO OSD setting can be activated by stick control. RunCam says it will not work, but here it is. Also to note TBS Unify EVO is missing a lot of information in the instructions. Download the last photo and zoom in for the secrete to get both devices working at once, easily. The wiring diagram and settings information has all been updated and accurate.
Photos
Part List
Show stores (11)Guides & Reviews
AirbladeUAV has done it again and this time they've brought long range to the 5" class! Based on the popular Transformer Mini, the new Transformer 5" Ultralight adopts a lot of the same design philosophies with larger props and more payload capacity. It can fly upwards of 20 minutes on a 4 cell Li-Ion battery pack and in ideal conditions it's got a range of over 4 to 5 miles. In this guide I'll walk..
Read moreWith the release of the DJI FPV Drone cinematic FPV has become a lot more accessible, but you certainly don't want to crash a $750 drone! The QAV-CINE Freybott is a compact, lightweight cinematic FPV drone that can take a hit and keep going. It's a lot safer to fly indoors and around people. With a naked GoPro or the SMO 4k you can capture some great stabilized footage. In this guide I'll show you..
Read more


Nice build!
Thank you, when I have some time I'll start on dropping the deck using the carbon cam mounts and update the build.