
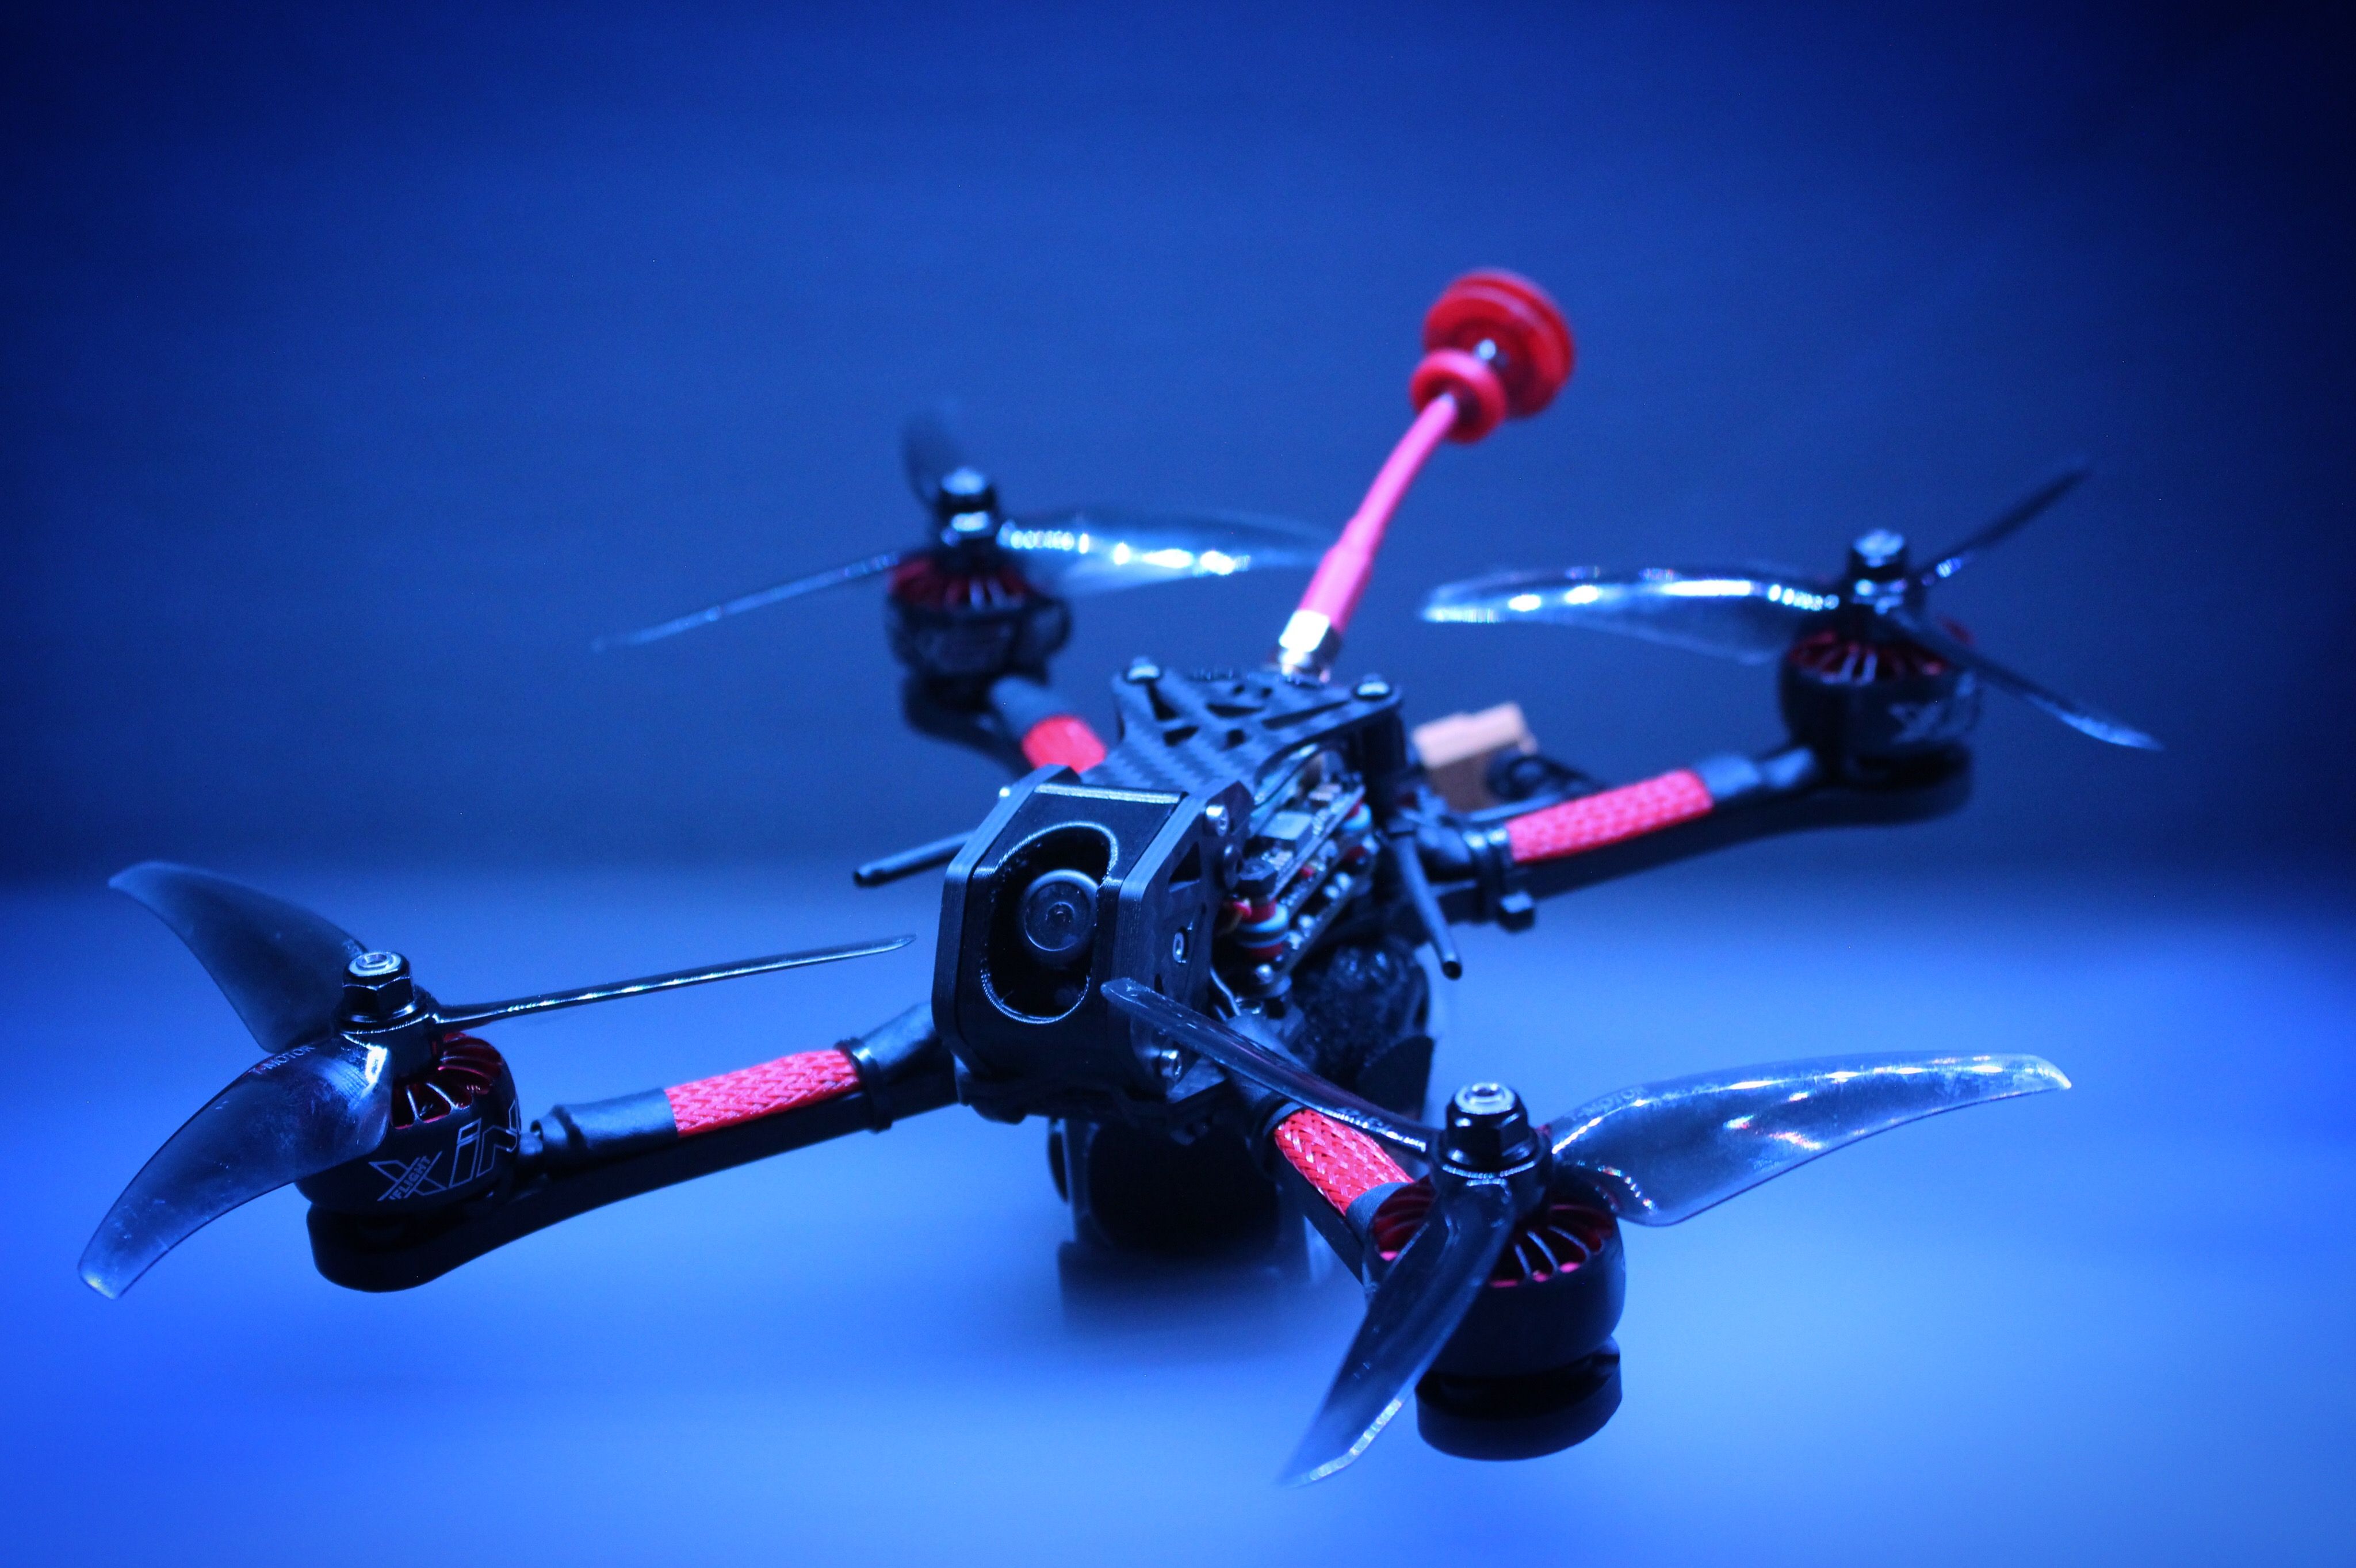
The original design of the frame is by Skye Rollercoaster
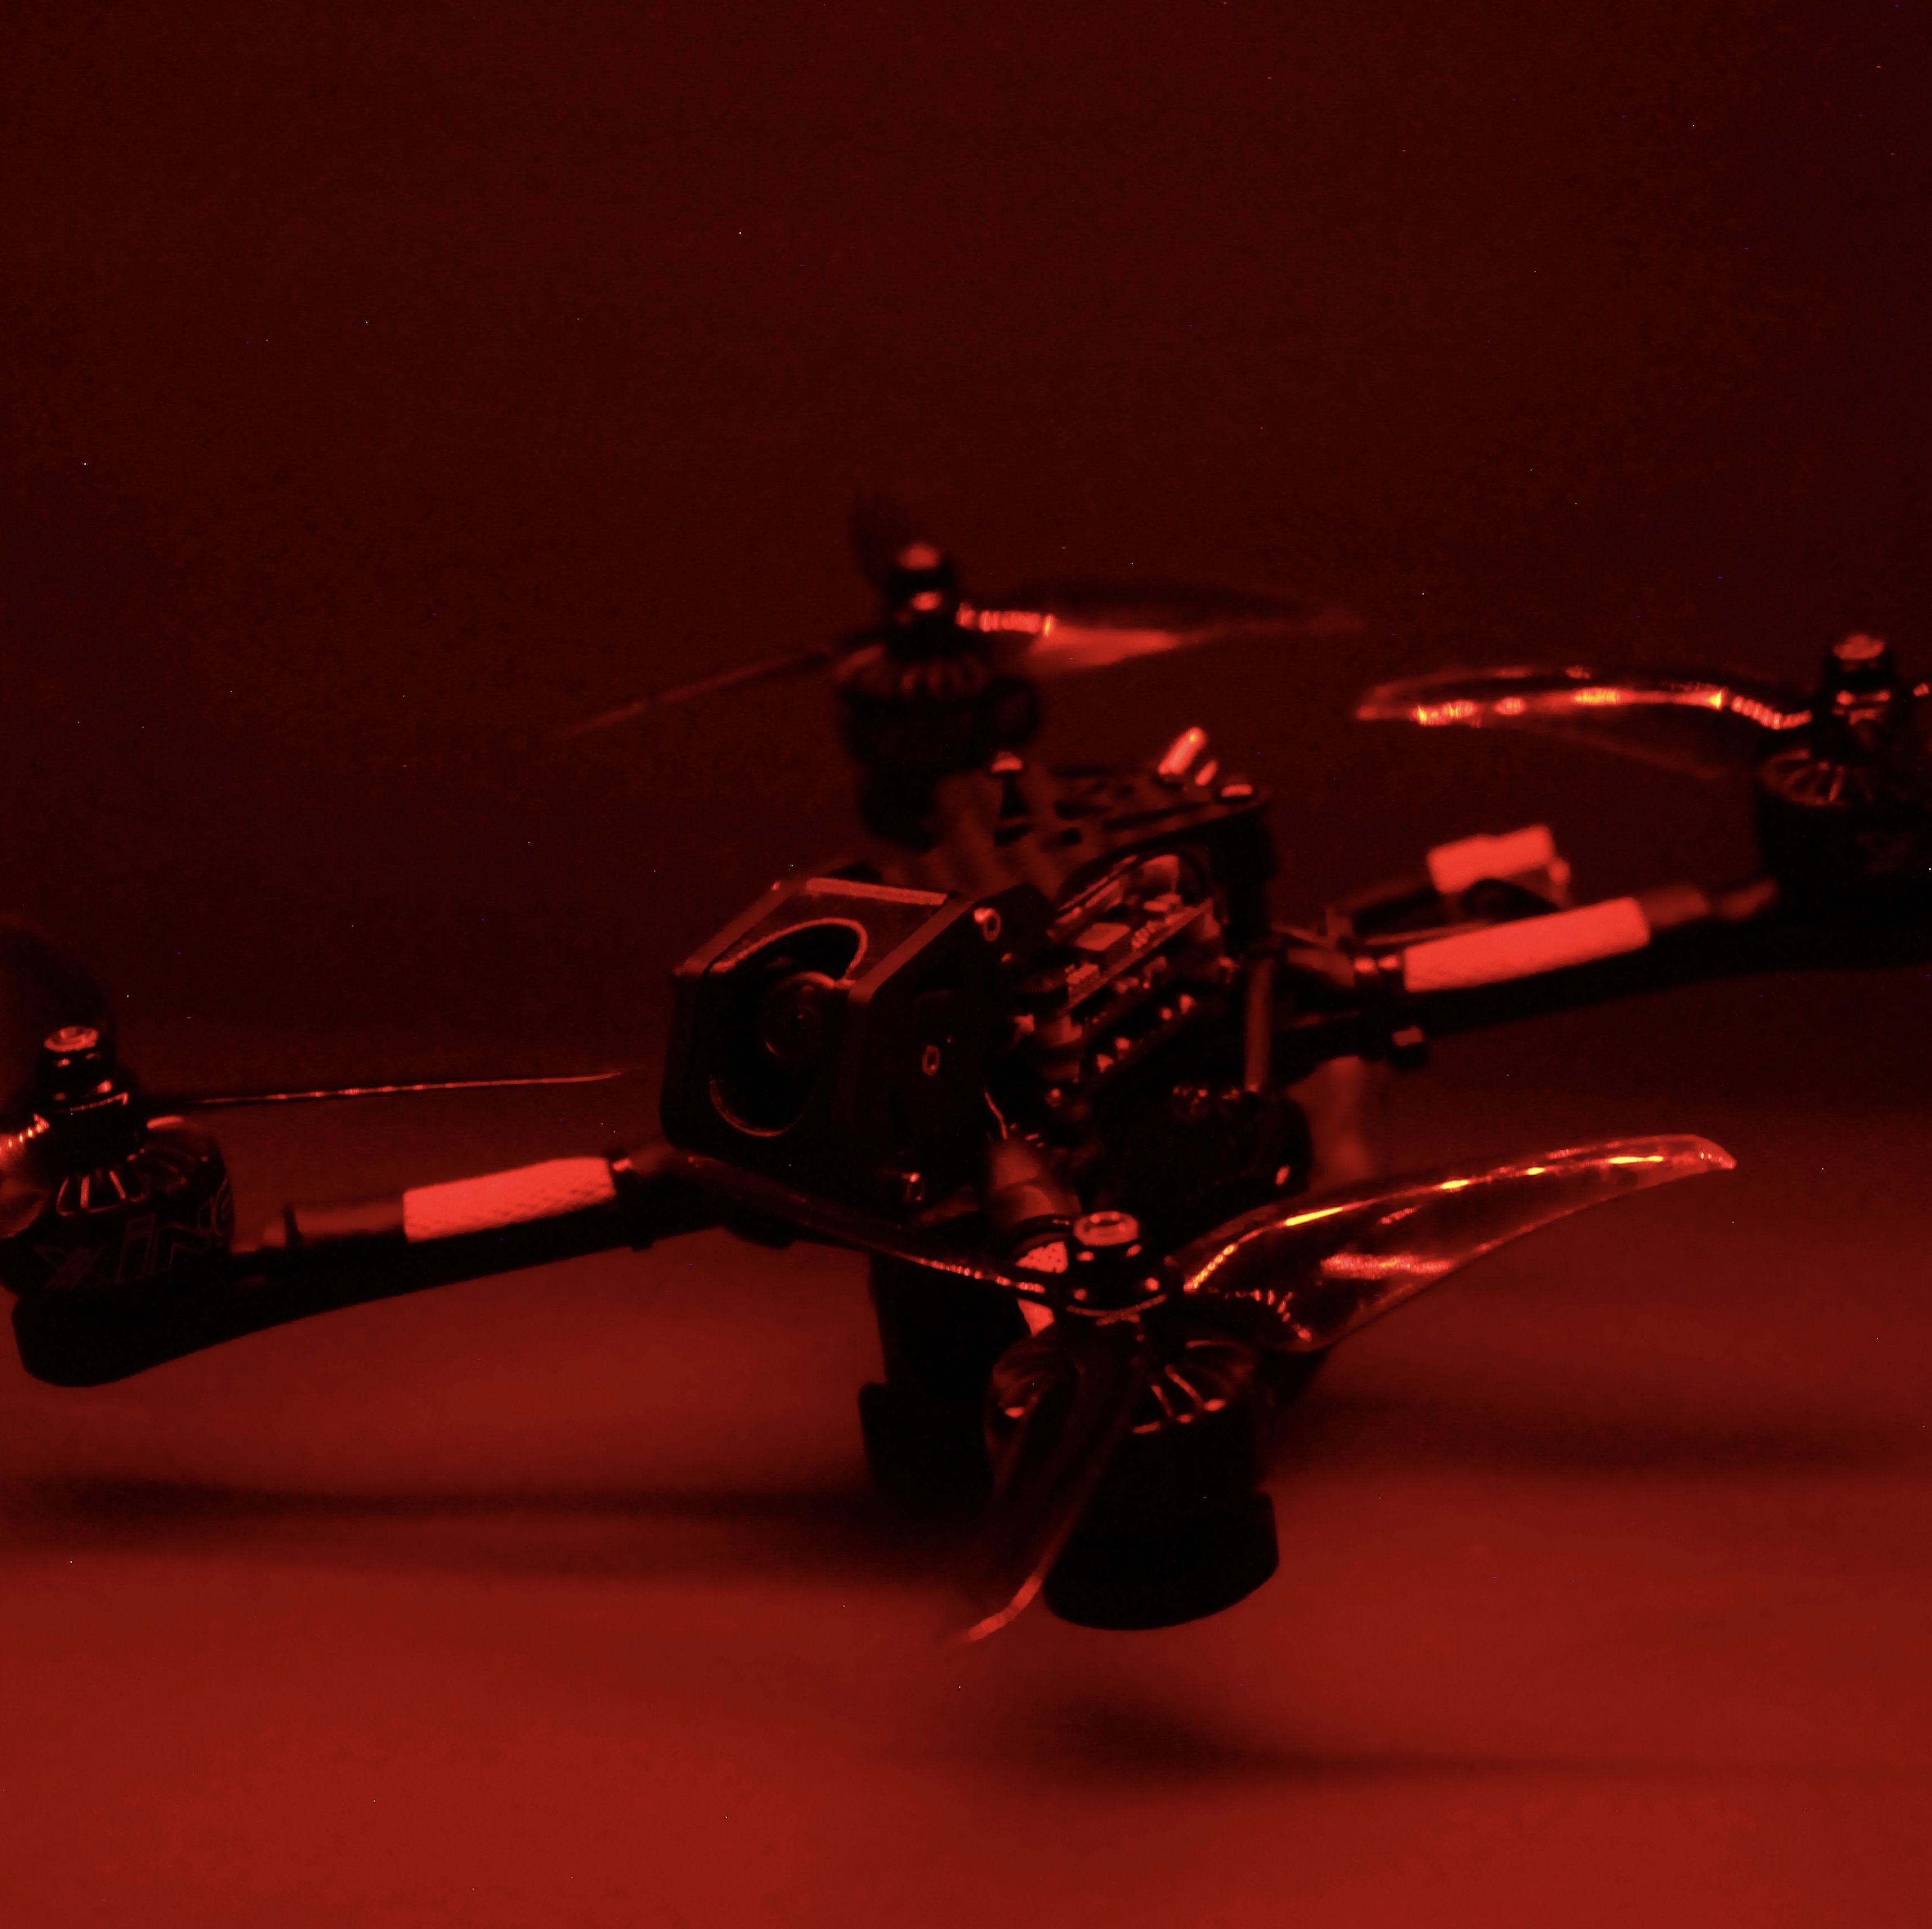
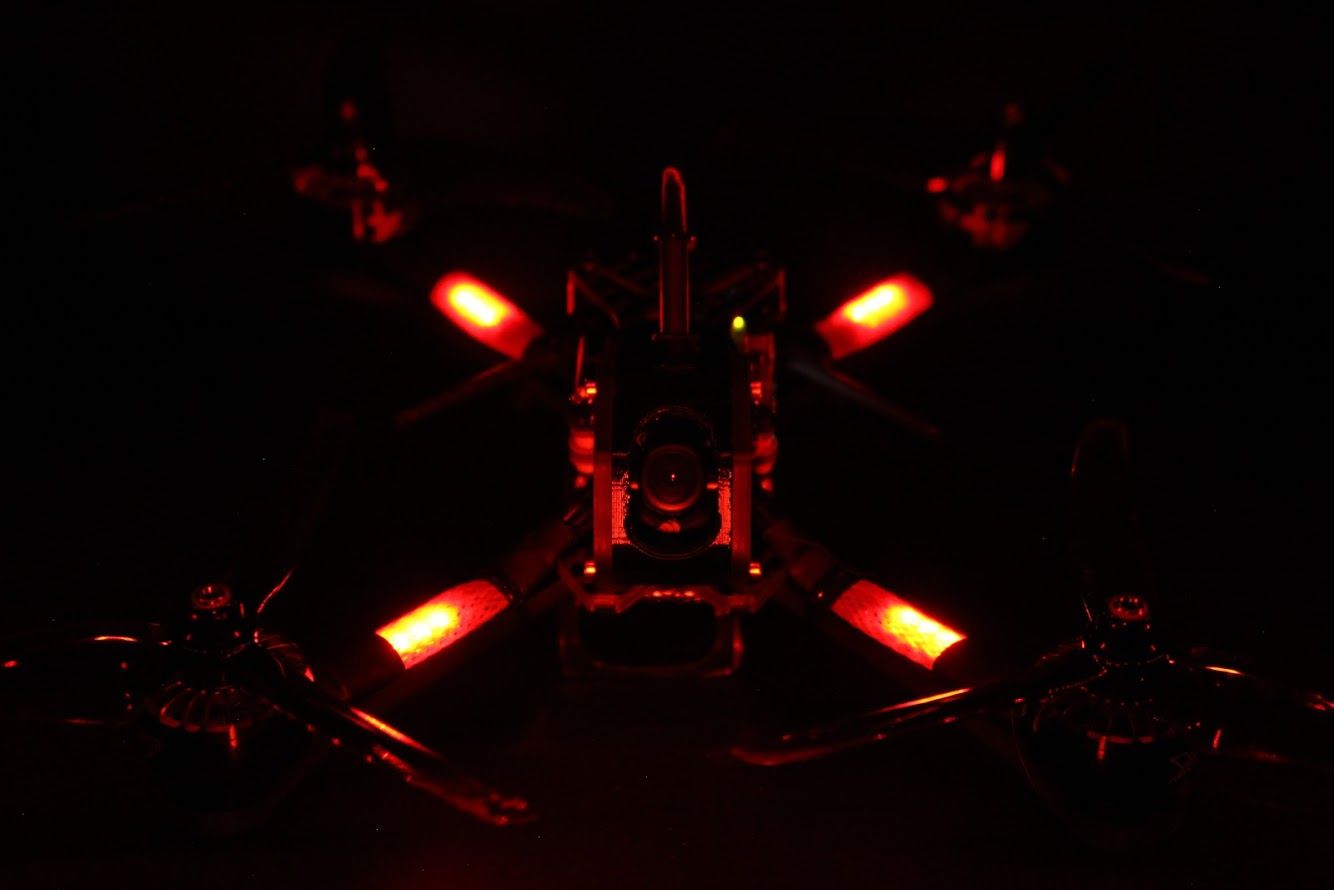
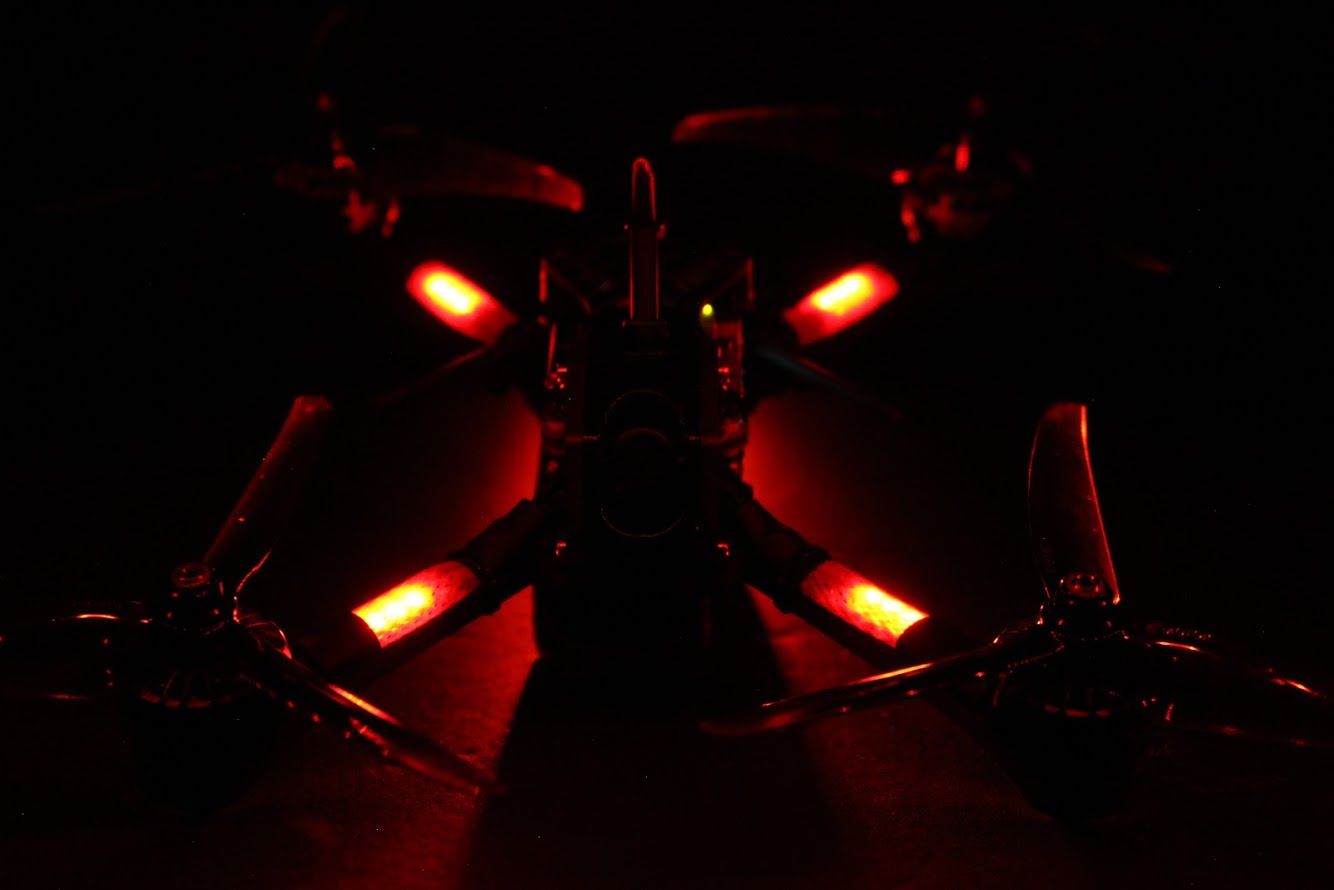
I wanted this build to be very good looking too. Aggressive, mean, sexy. I've taken a lot of inspiration from other people, like the CLracing LED's in the wire mesh. This build was mostly inspired after the XING motors, which I got for about $11.75 a piece from https://www.xt-xinte.com/ which is absolutly insane.
I also wanted a 6S build, which was perfect for the 1800KV version of these motors. I still think it is crazy for the deal I got with these motors. It felt sketchy at first buying from XT-Xinte, but once I got the motors (after about a month) I couldn't tell a difference from buying them with other companies. They are packaged very well and the smoothest motors I have ever felt. Very premium for motors that cost less than Eco's!
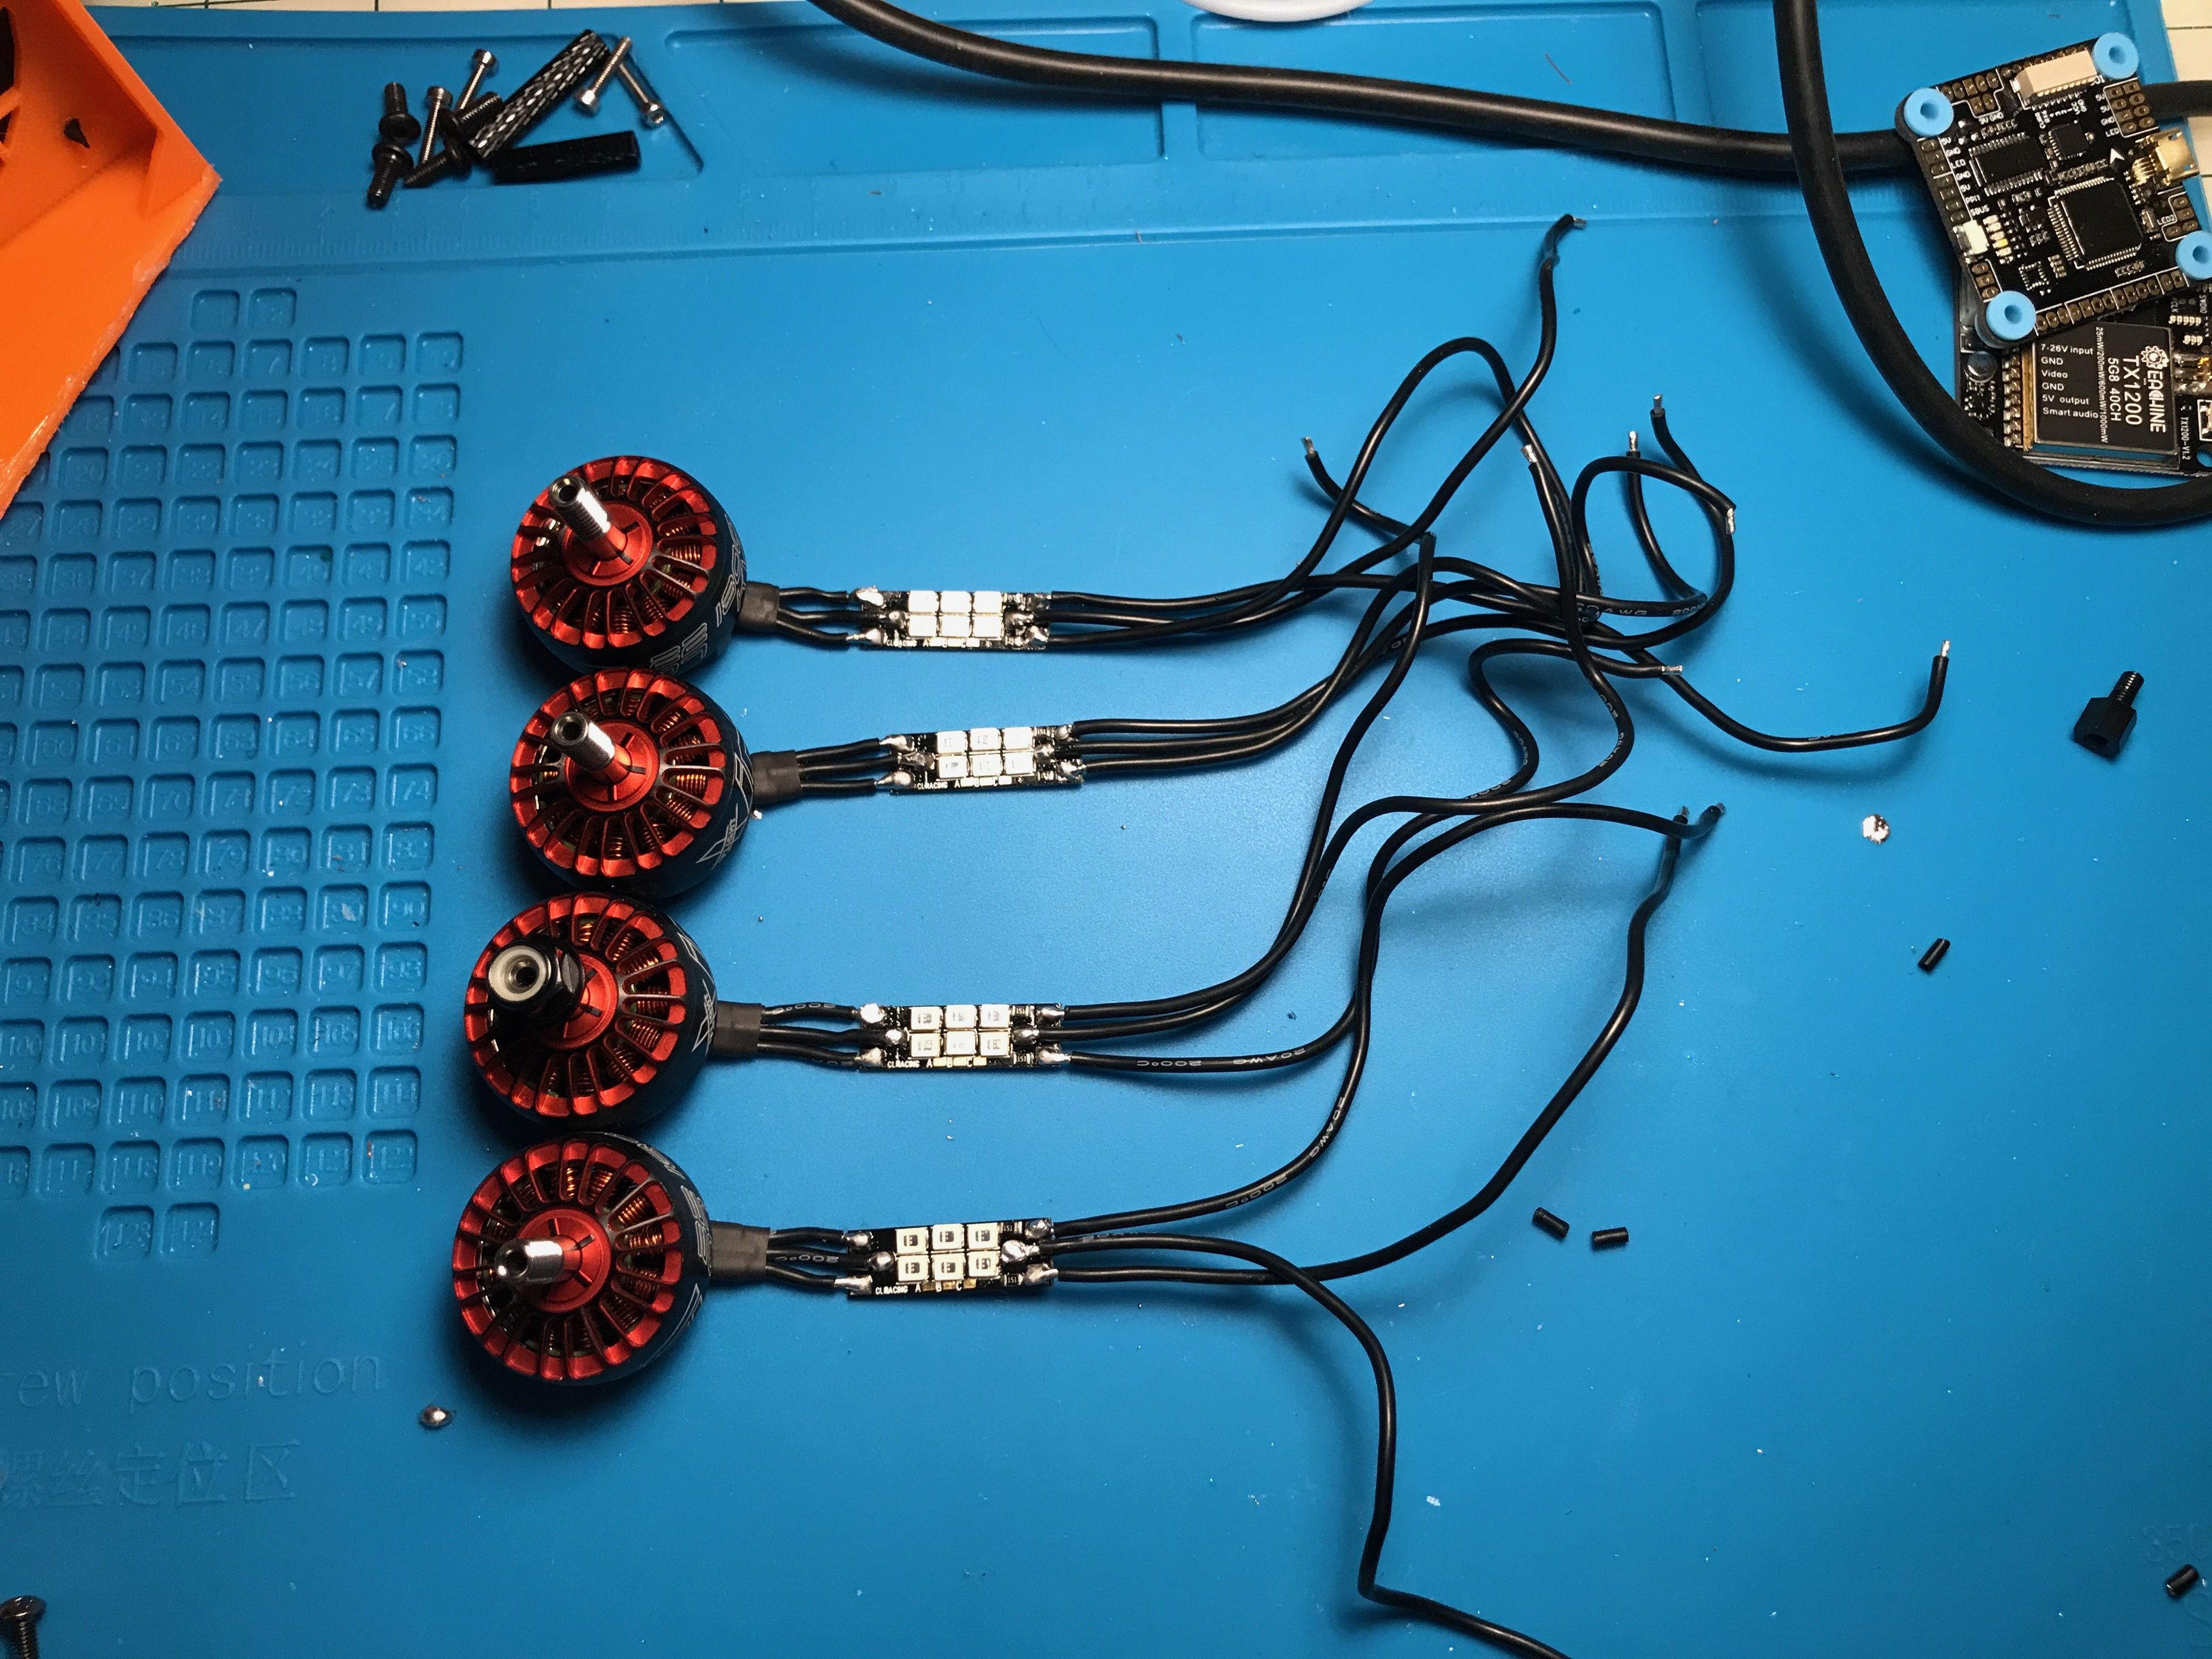
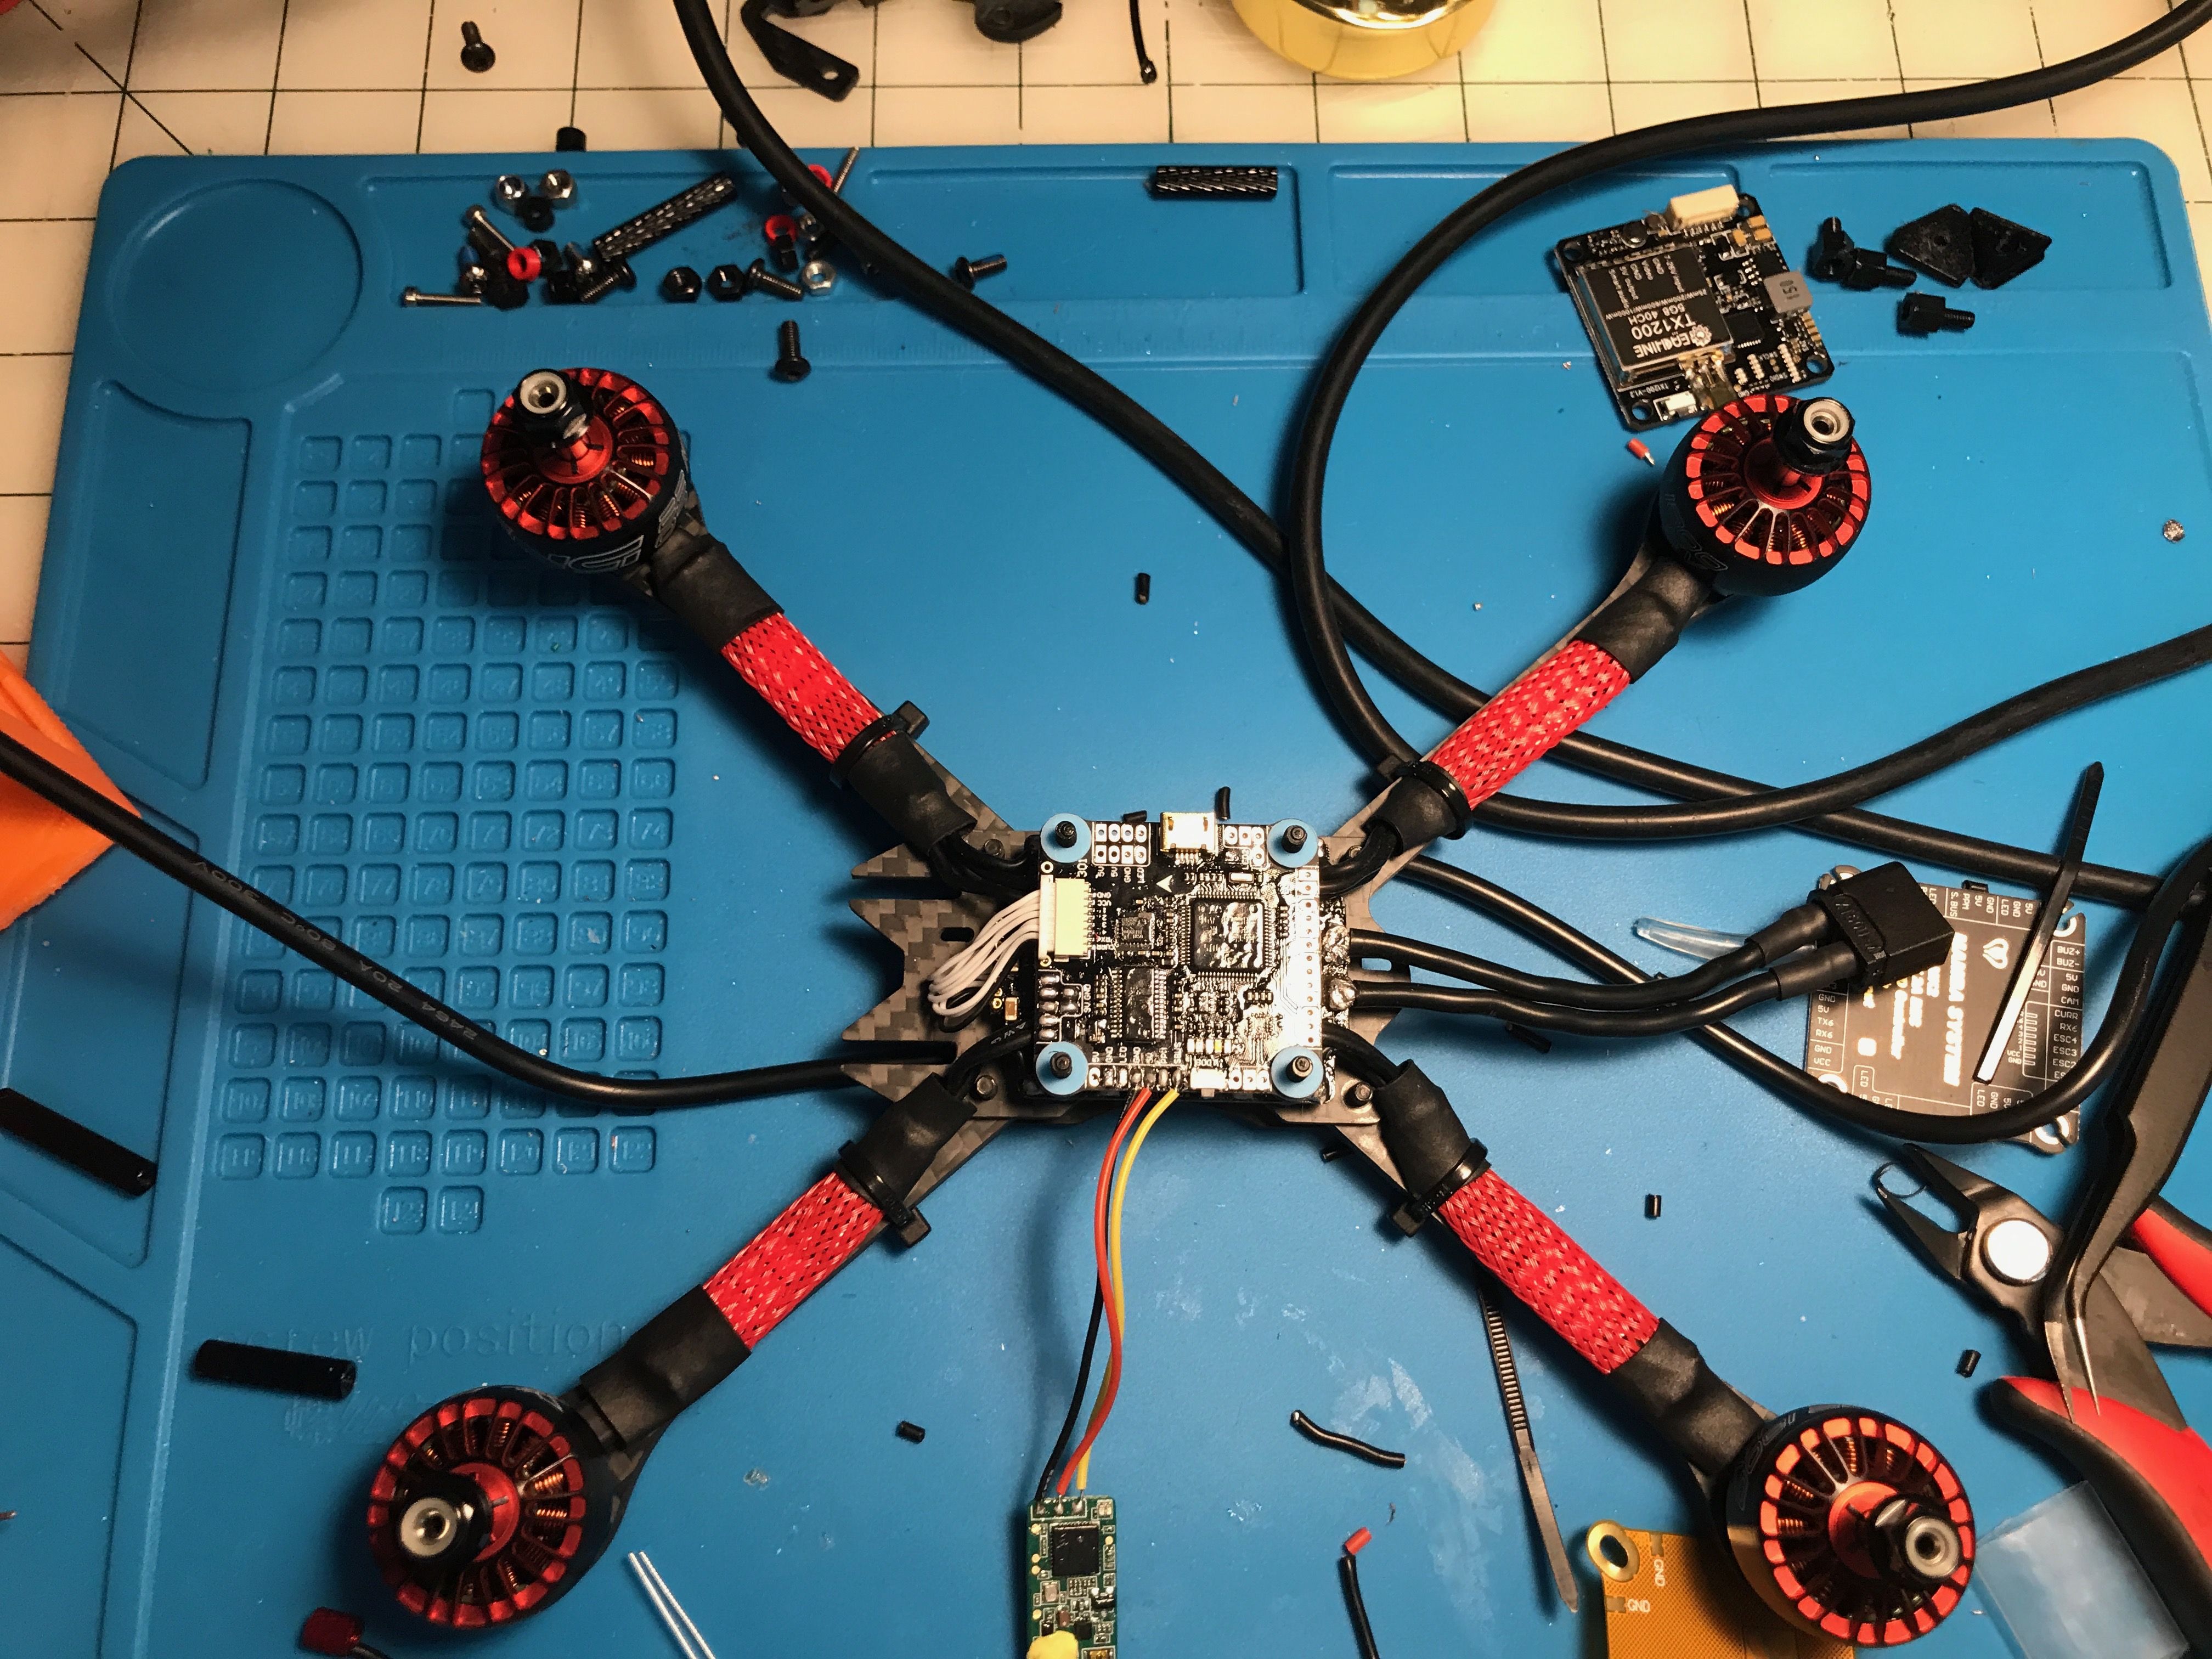
First to start the build, I trimmed the motor wires and soldered them to the CLracing 25mm LED's. Then I soldered the excess wires to the other side so I can cut them later. I stuck Loctite on the motor screws and attached them to the frame. The sleeving was cut to length and slipped over the wires. Damn! Super clean already! Then placed the Mamba F405 MK2 ESC on some 20mm nylon screws and
started cutting carefully. Measured, then measured, and measured... then cut!
(Remember to measure 8 times, then cut once)
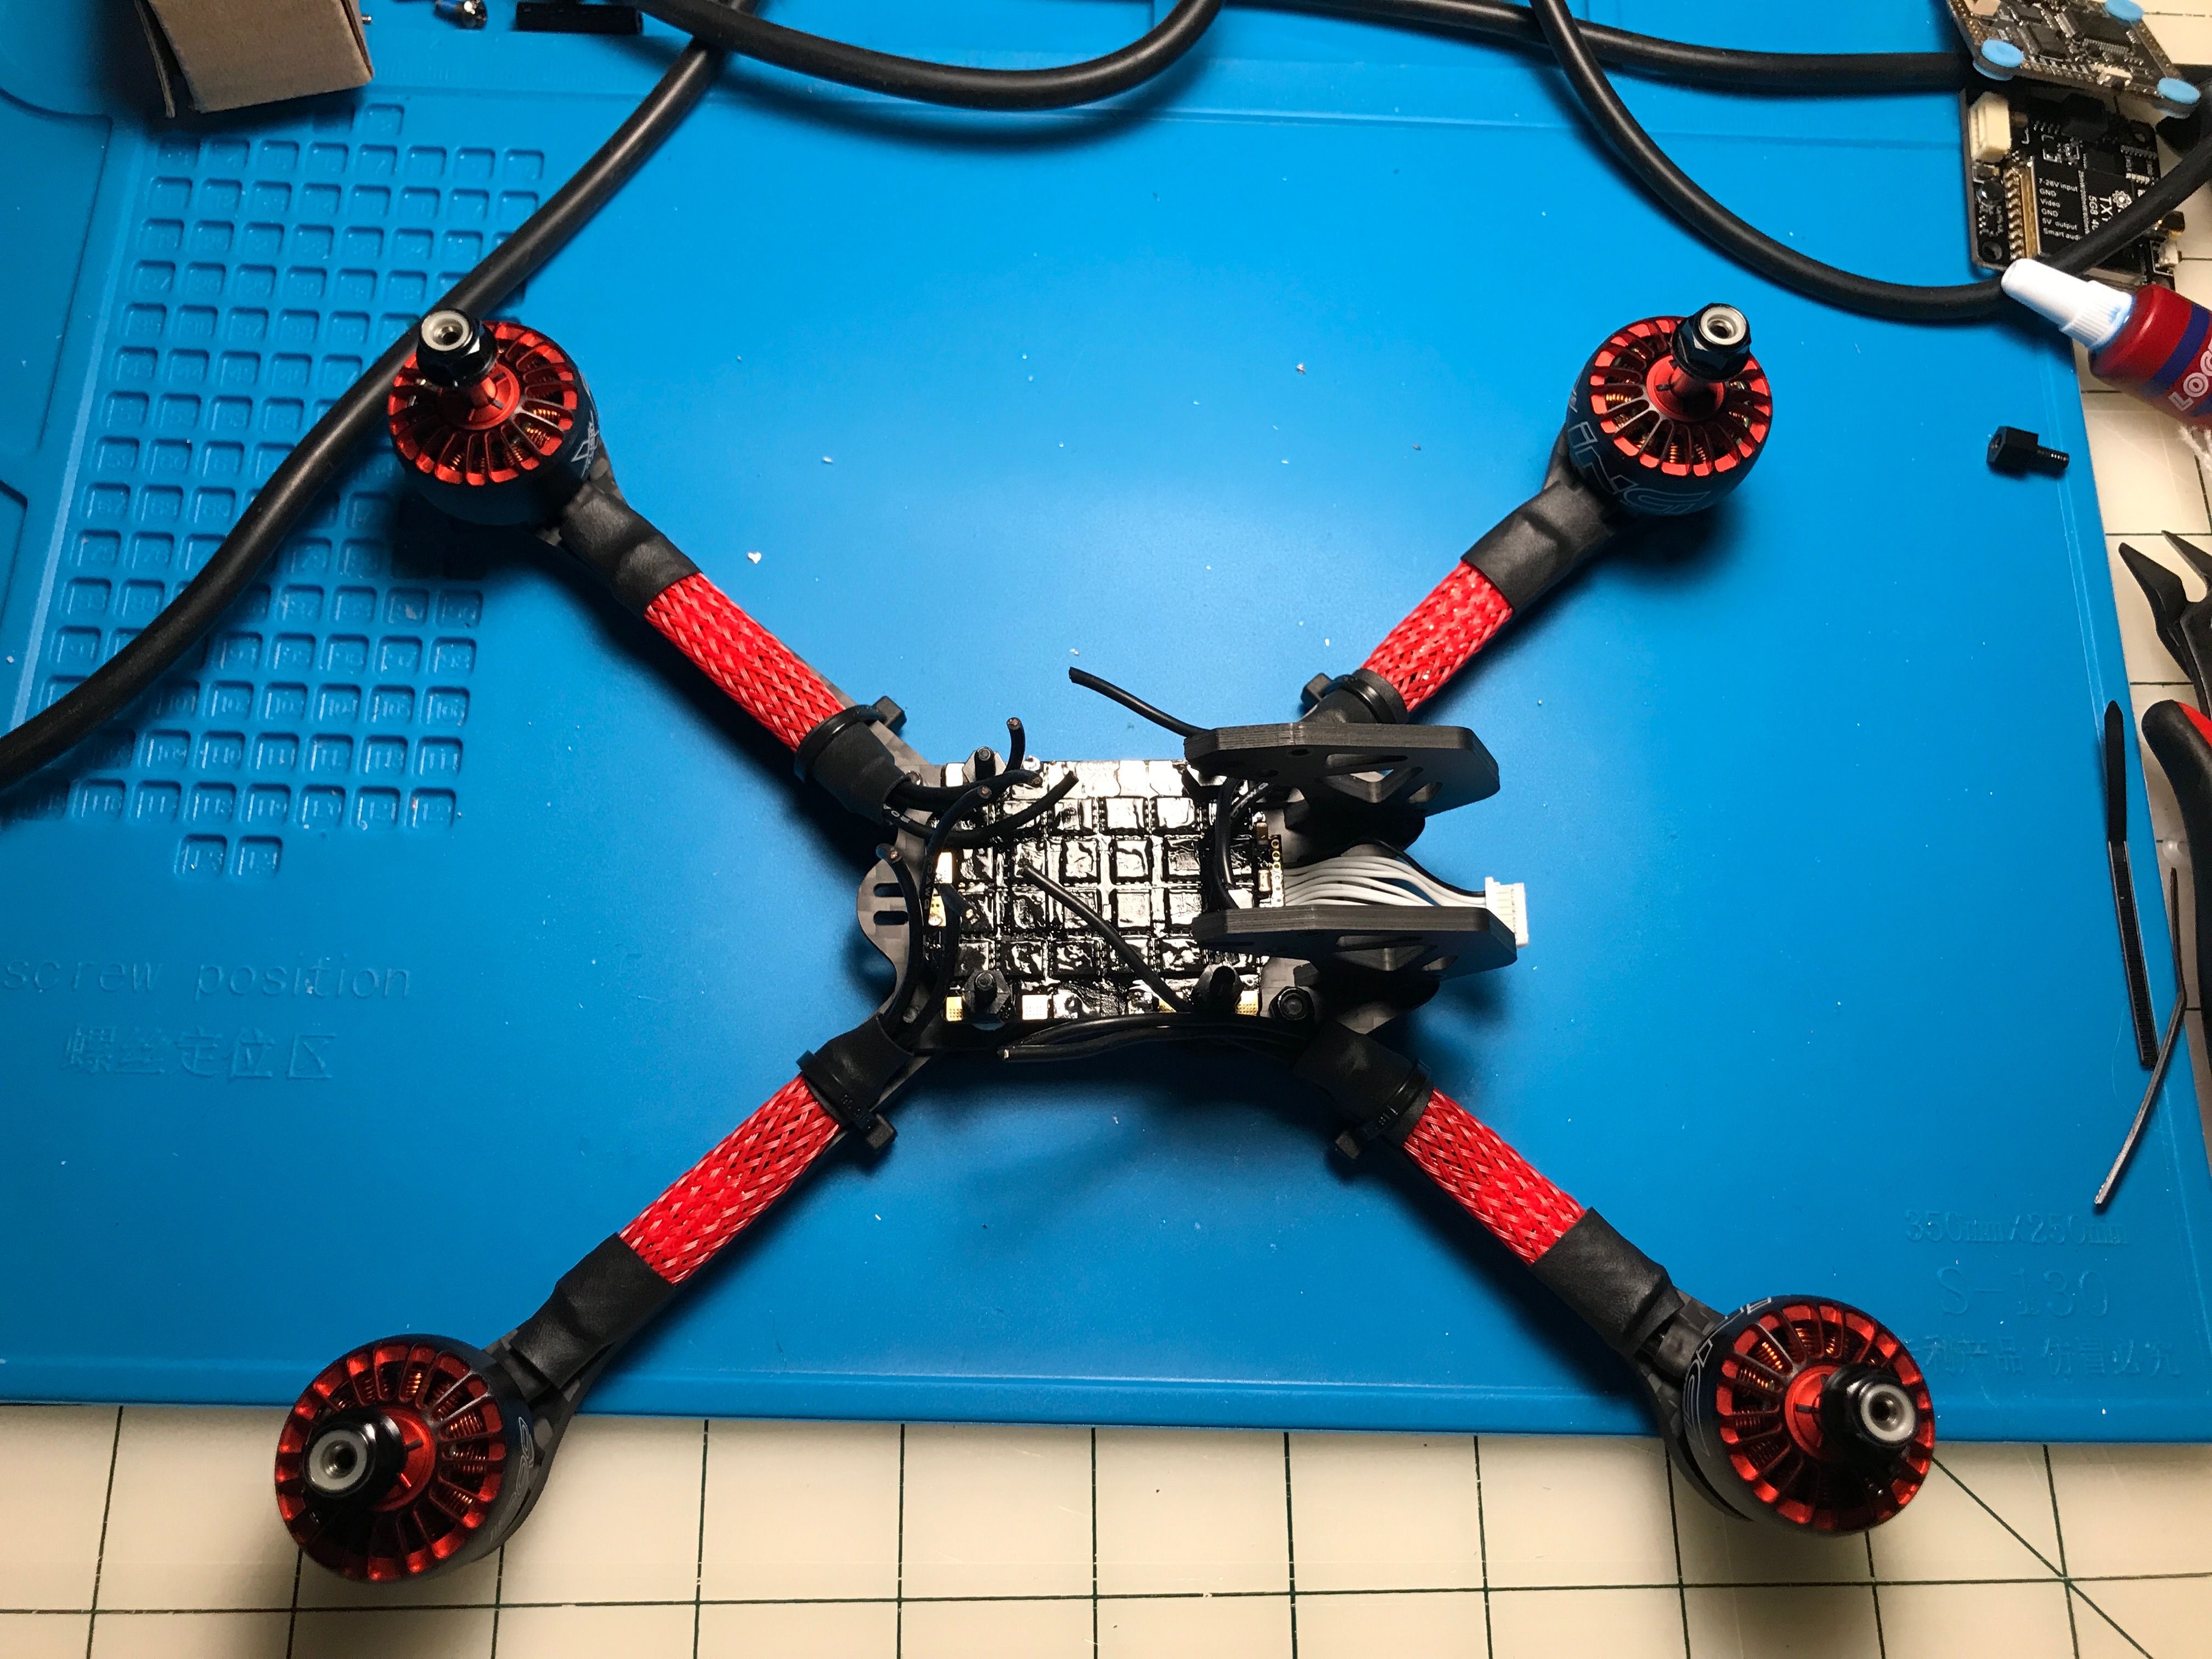
Next, I moved to soldering everything together, I.E motor wires to ESC; receiver, camera, and VTX to flight controller; etc.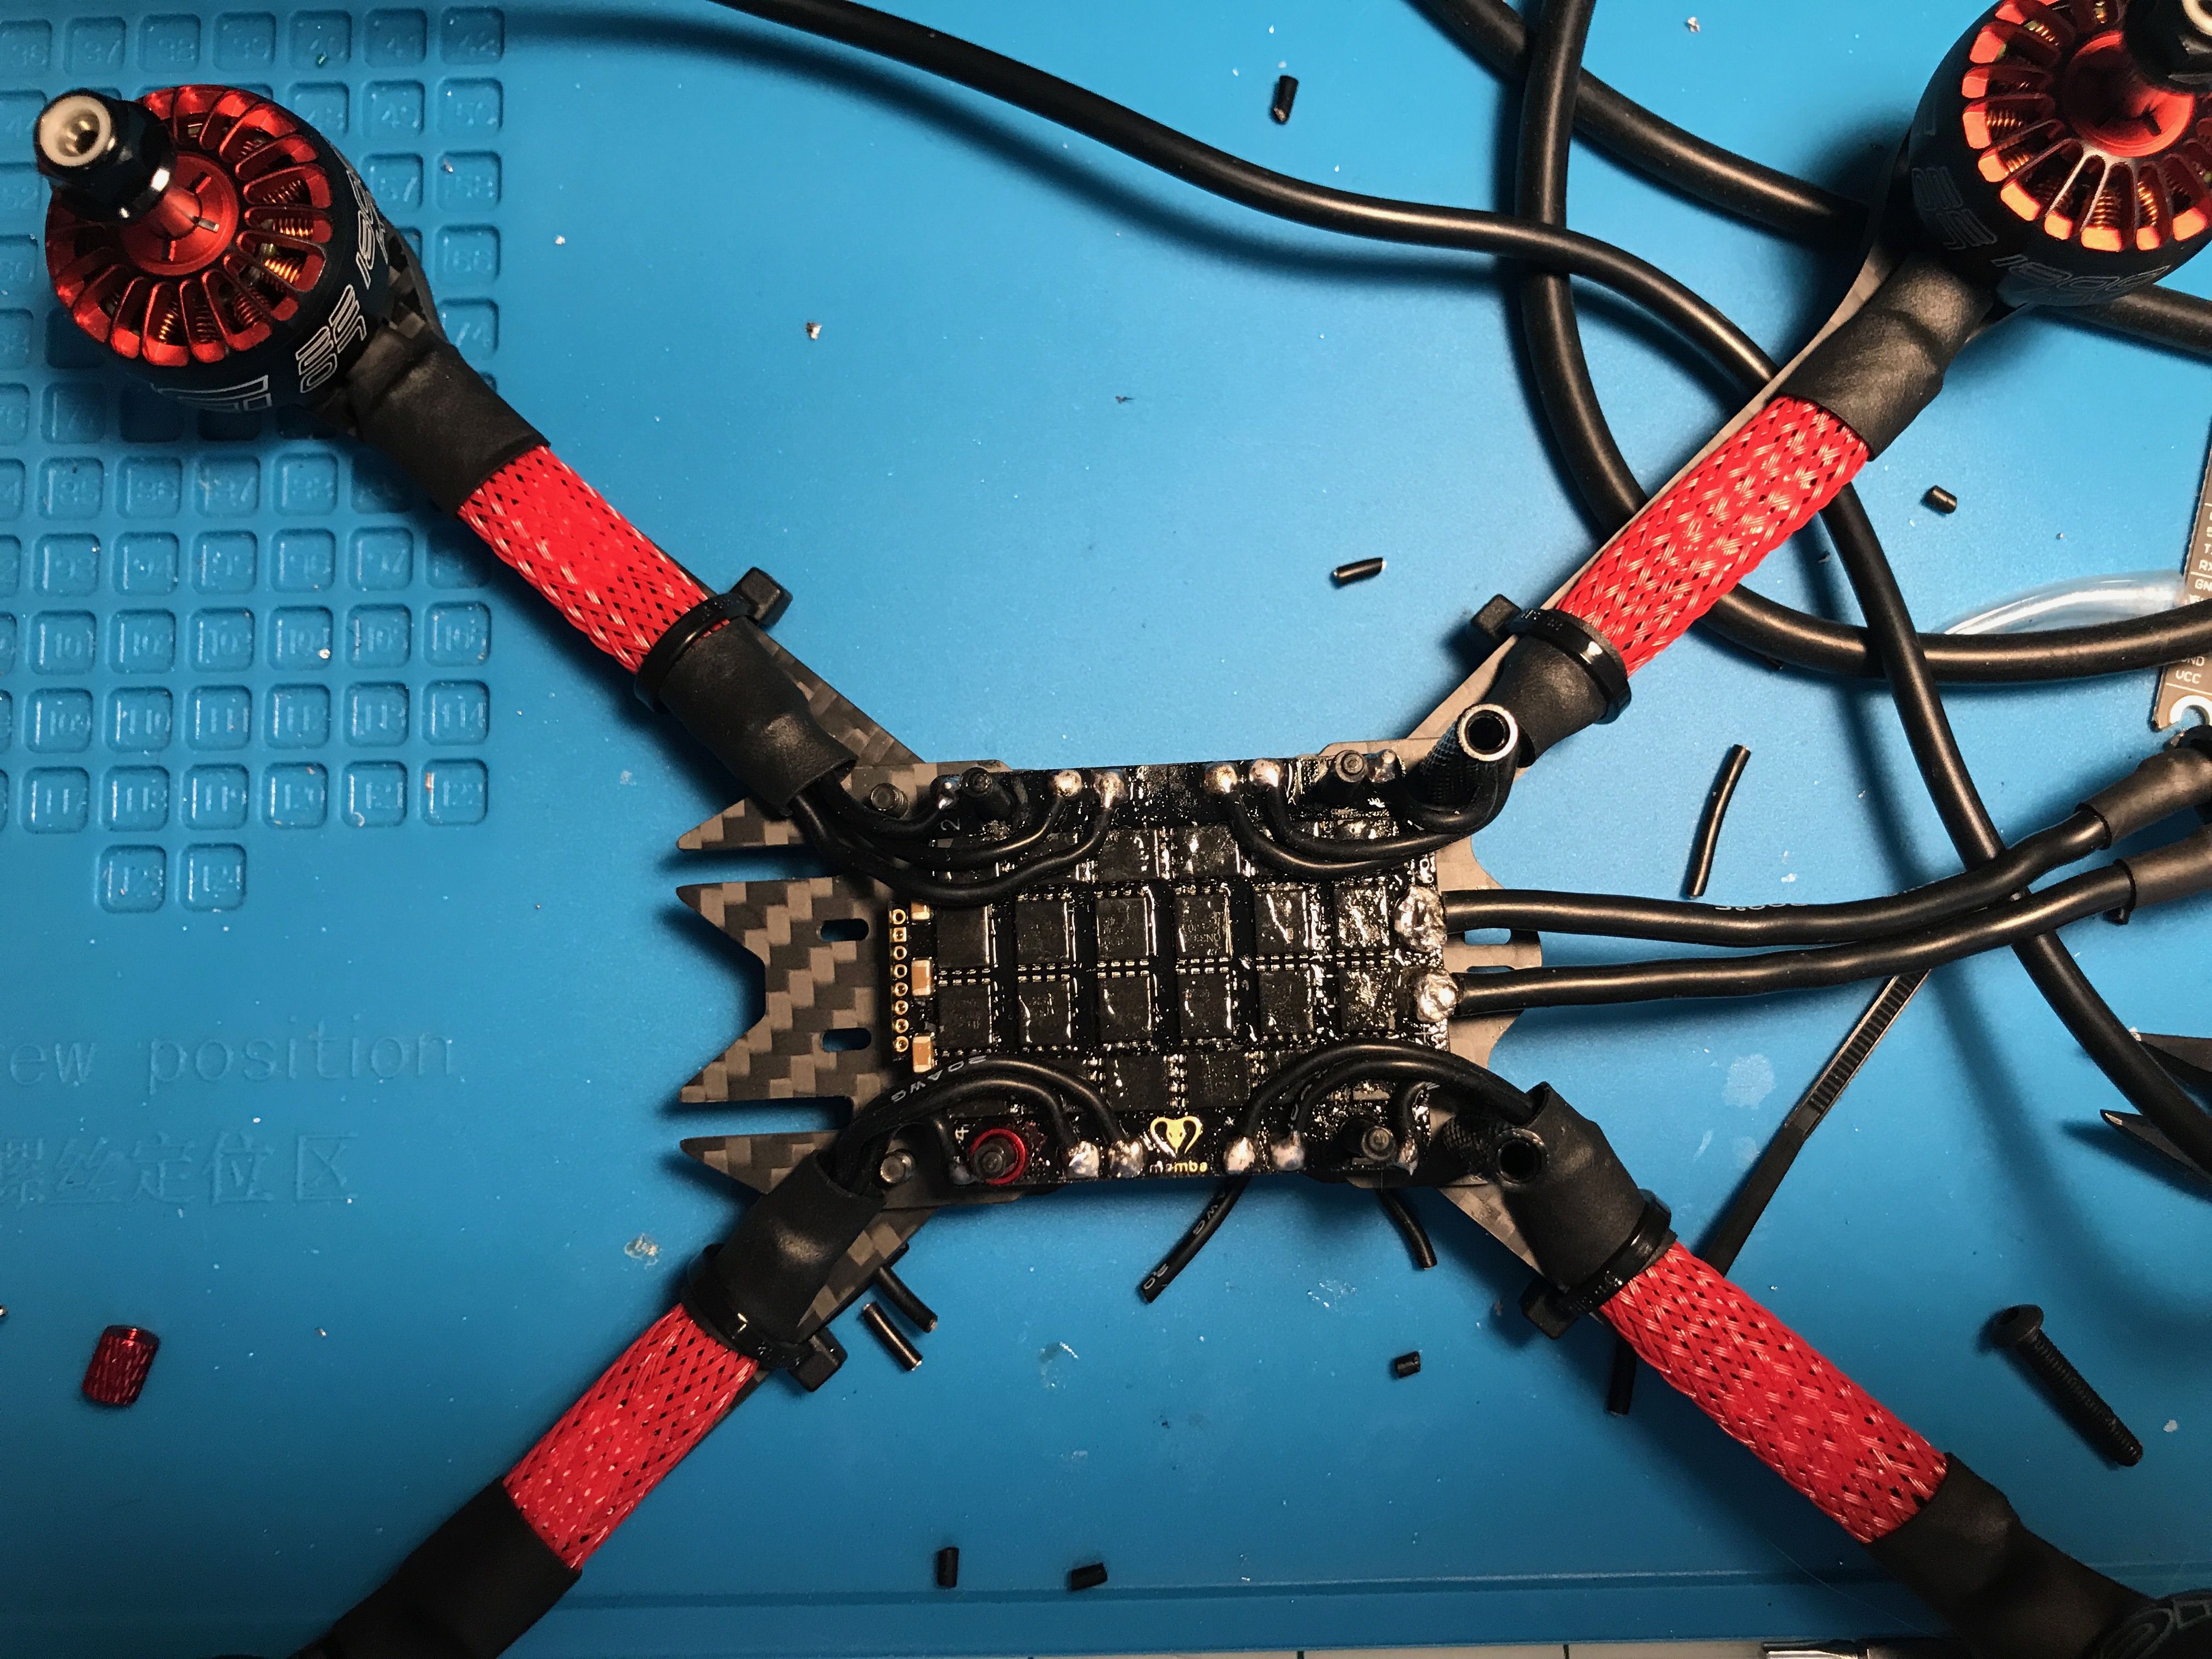
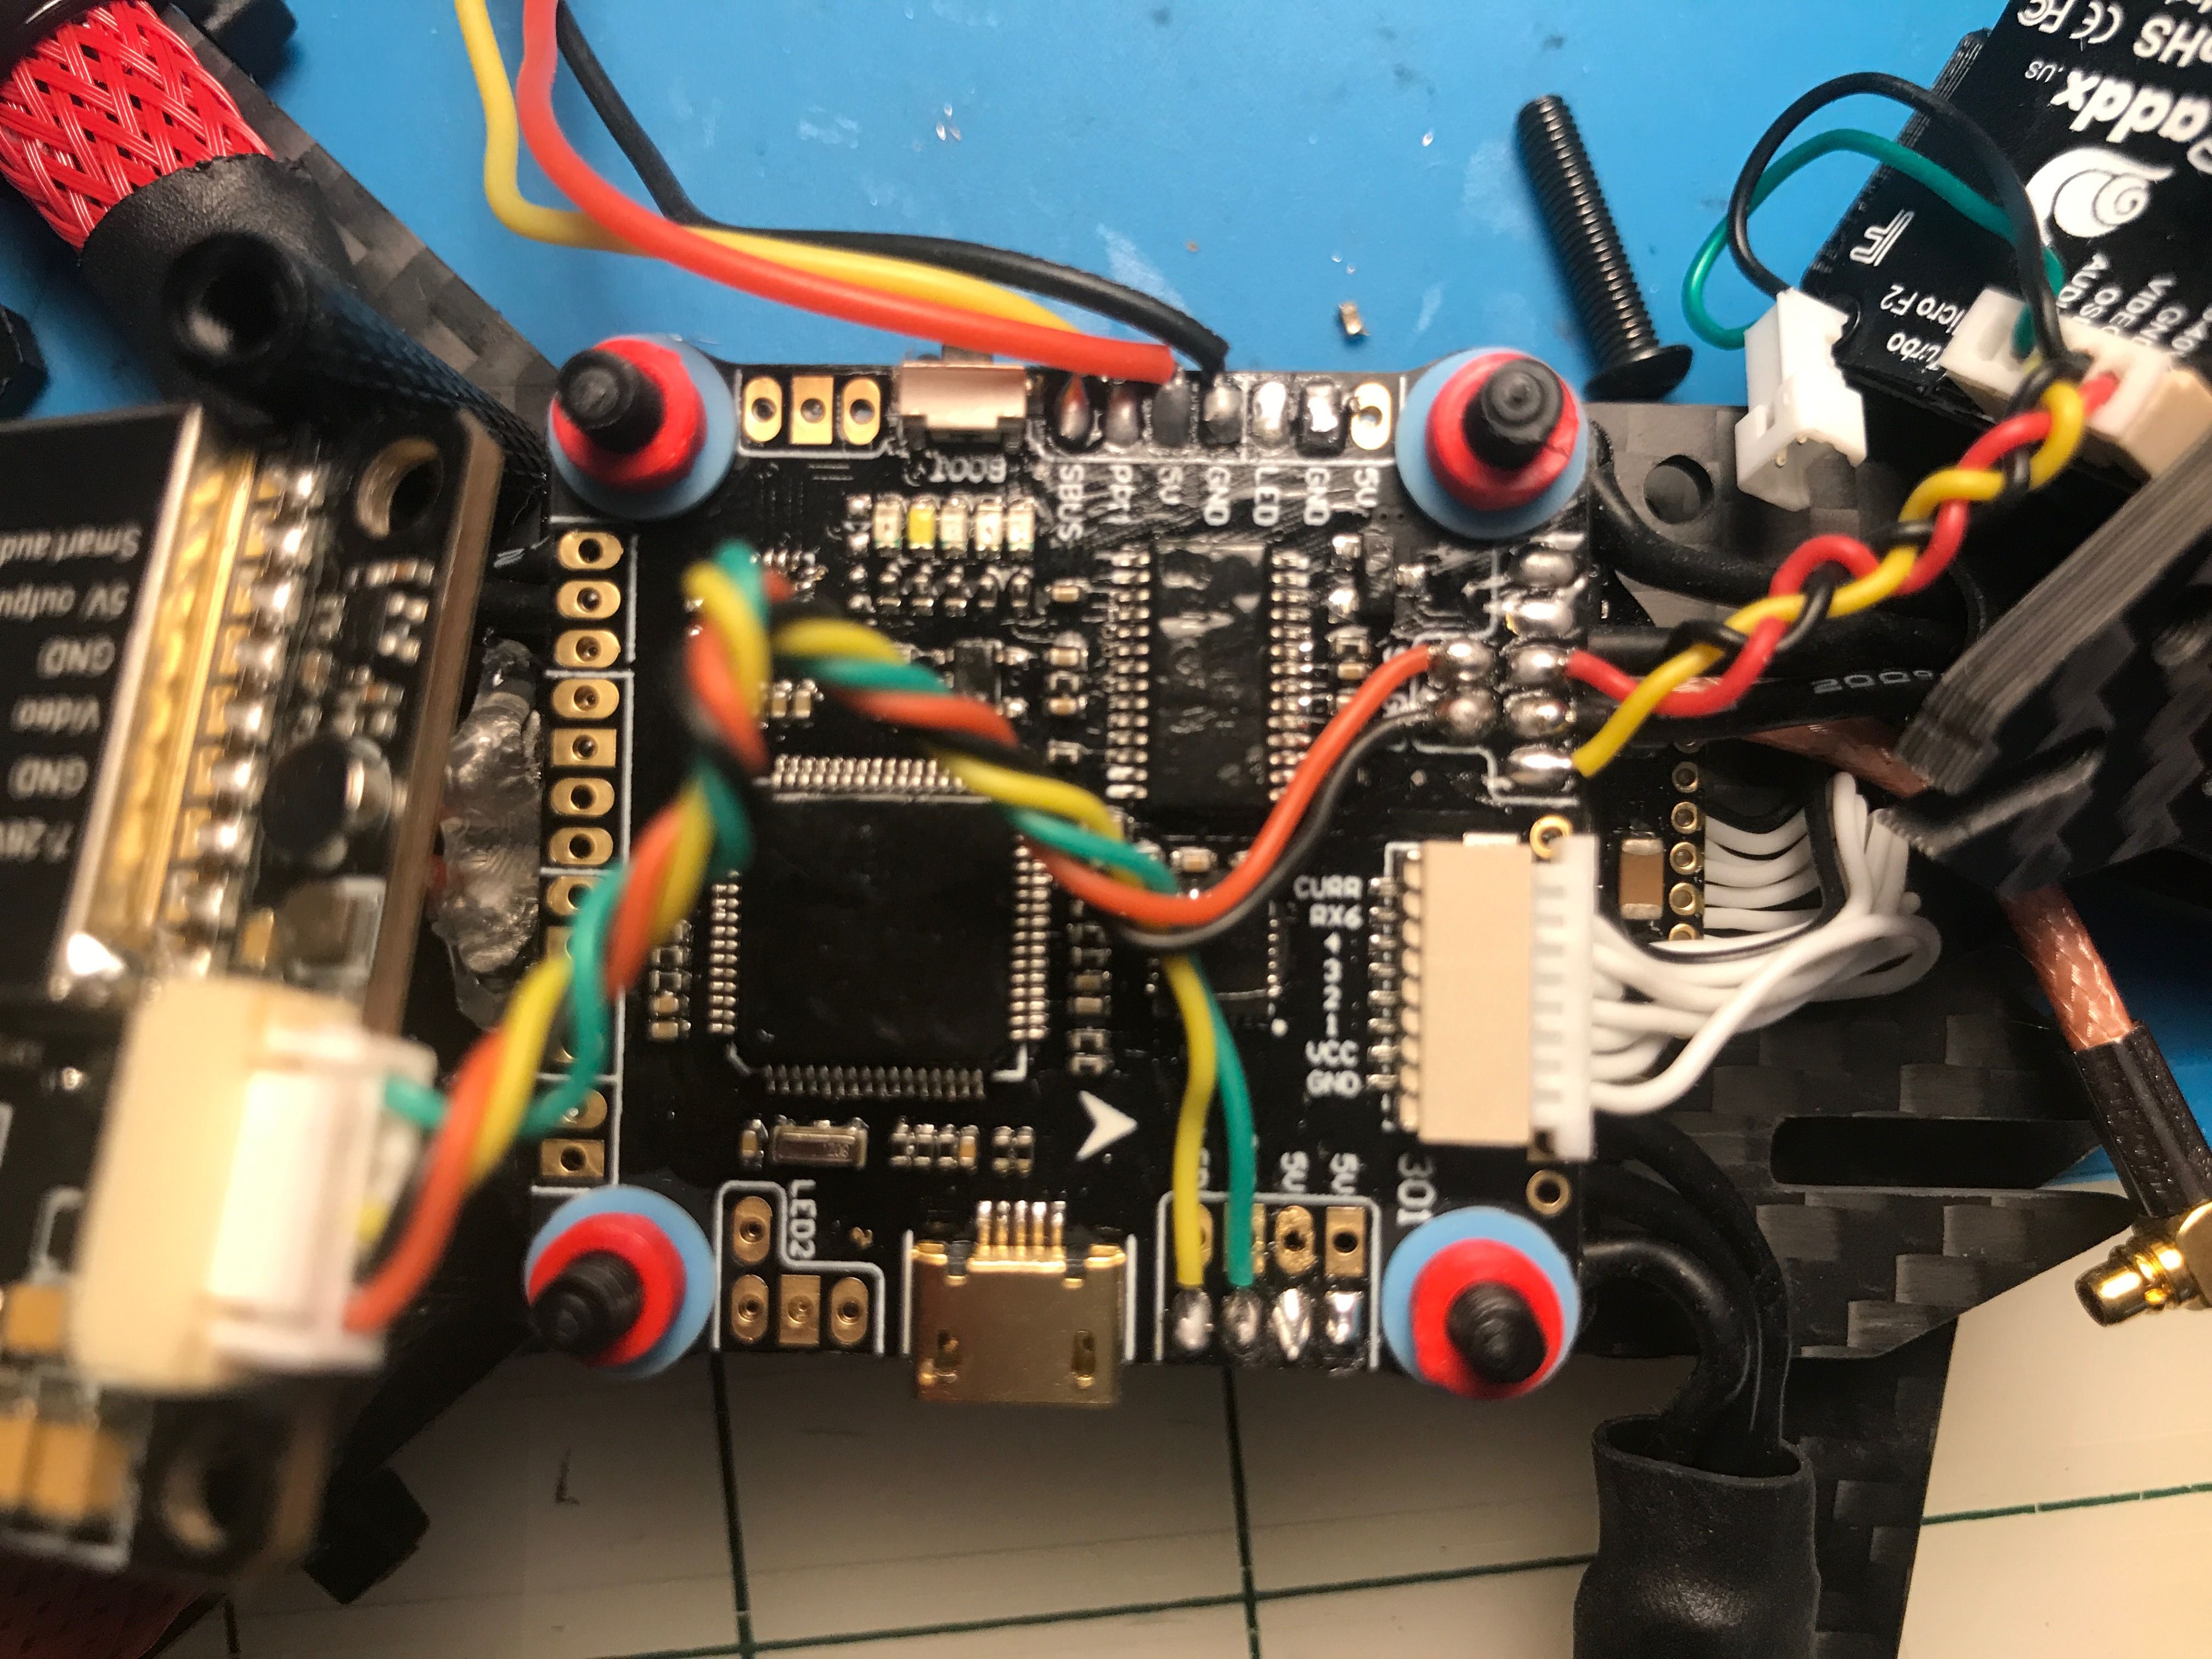
And this is where I encountered my first problem. When I plugged in the battery, Everything powered up except the VTX. Due to the fact that I'm using 6S, I can't use VCC or 5V pad to power it, so I had to use one of the two 9V pads. I first thought it was the VTX that was dead, so I plugged in the FC and used my multimeter to test if there was any, and to my surprise, there wasn't Just to confirm this, I used my power supply and set it to 9V. Then connected the leads together and bam! Powaa! Now for the life of me, I couldn't reason why either of the 9V pads were not working, Now this is where a RaceDayQuads Customer Service Representative comes in. We exchanged about three pictures, and within thirty minutes they responded and I fixed it. Turns out, it was just a tiny short. Doh!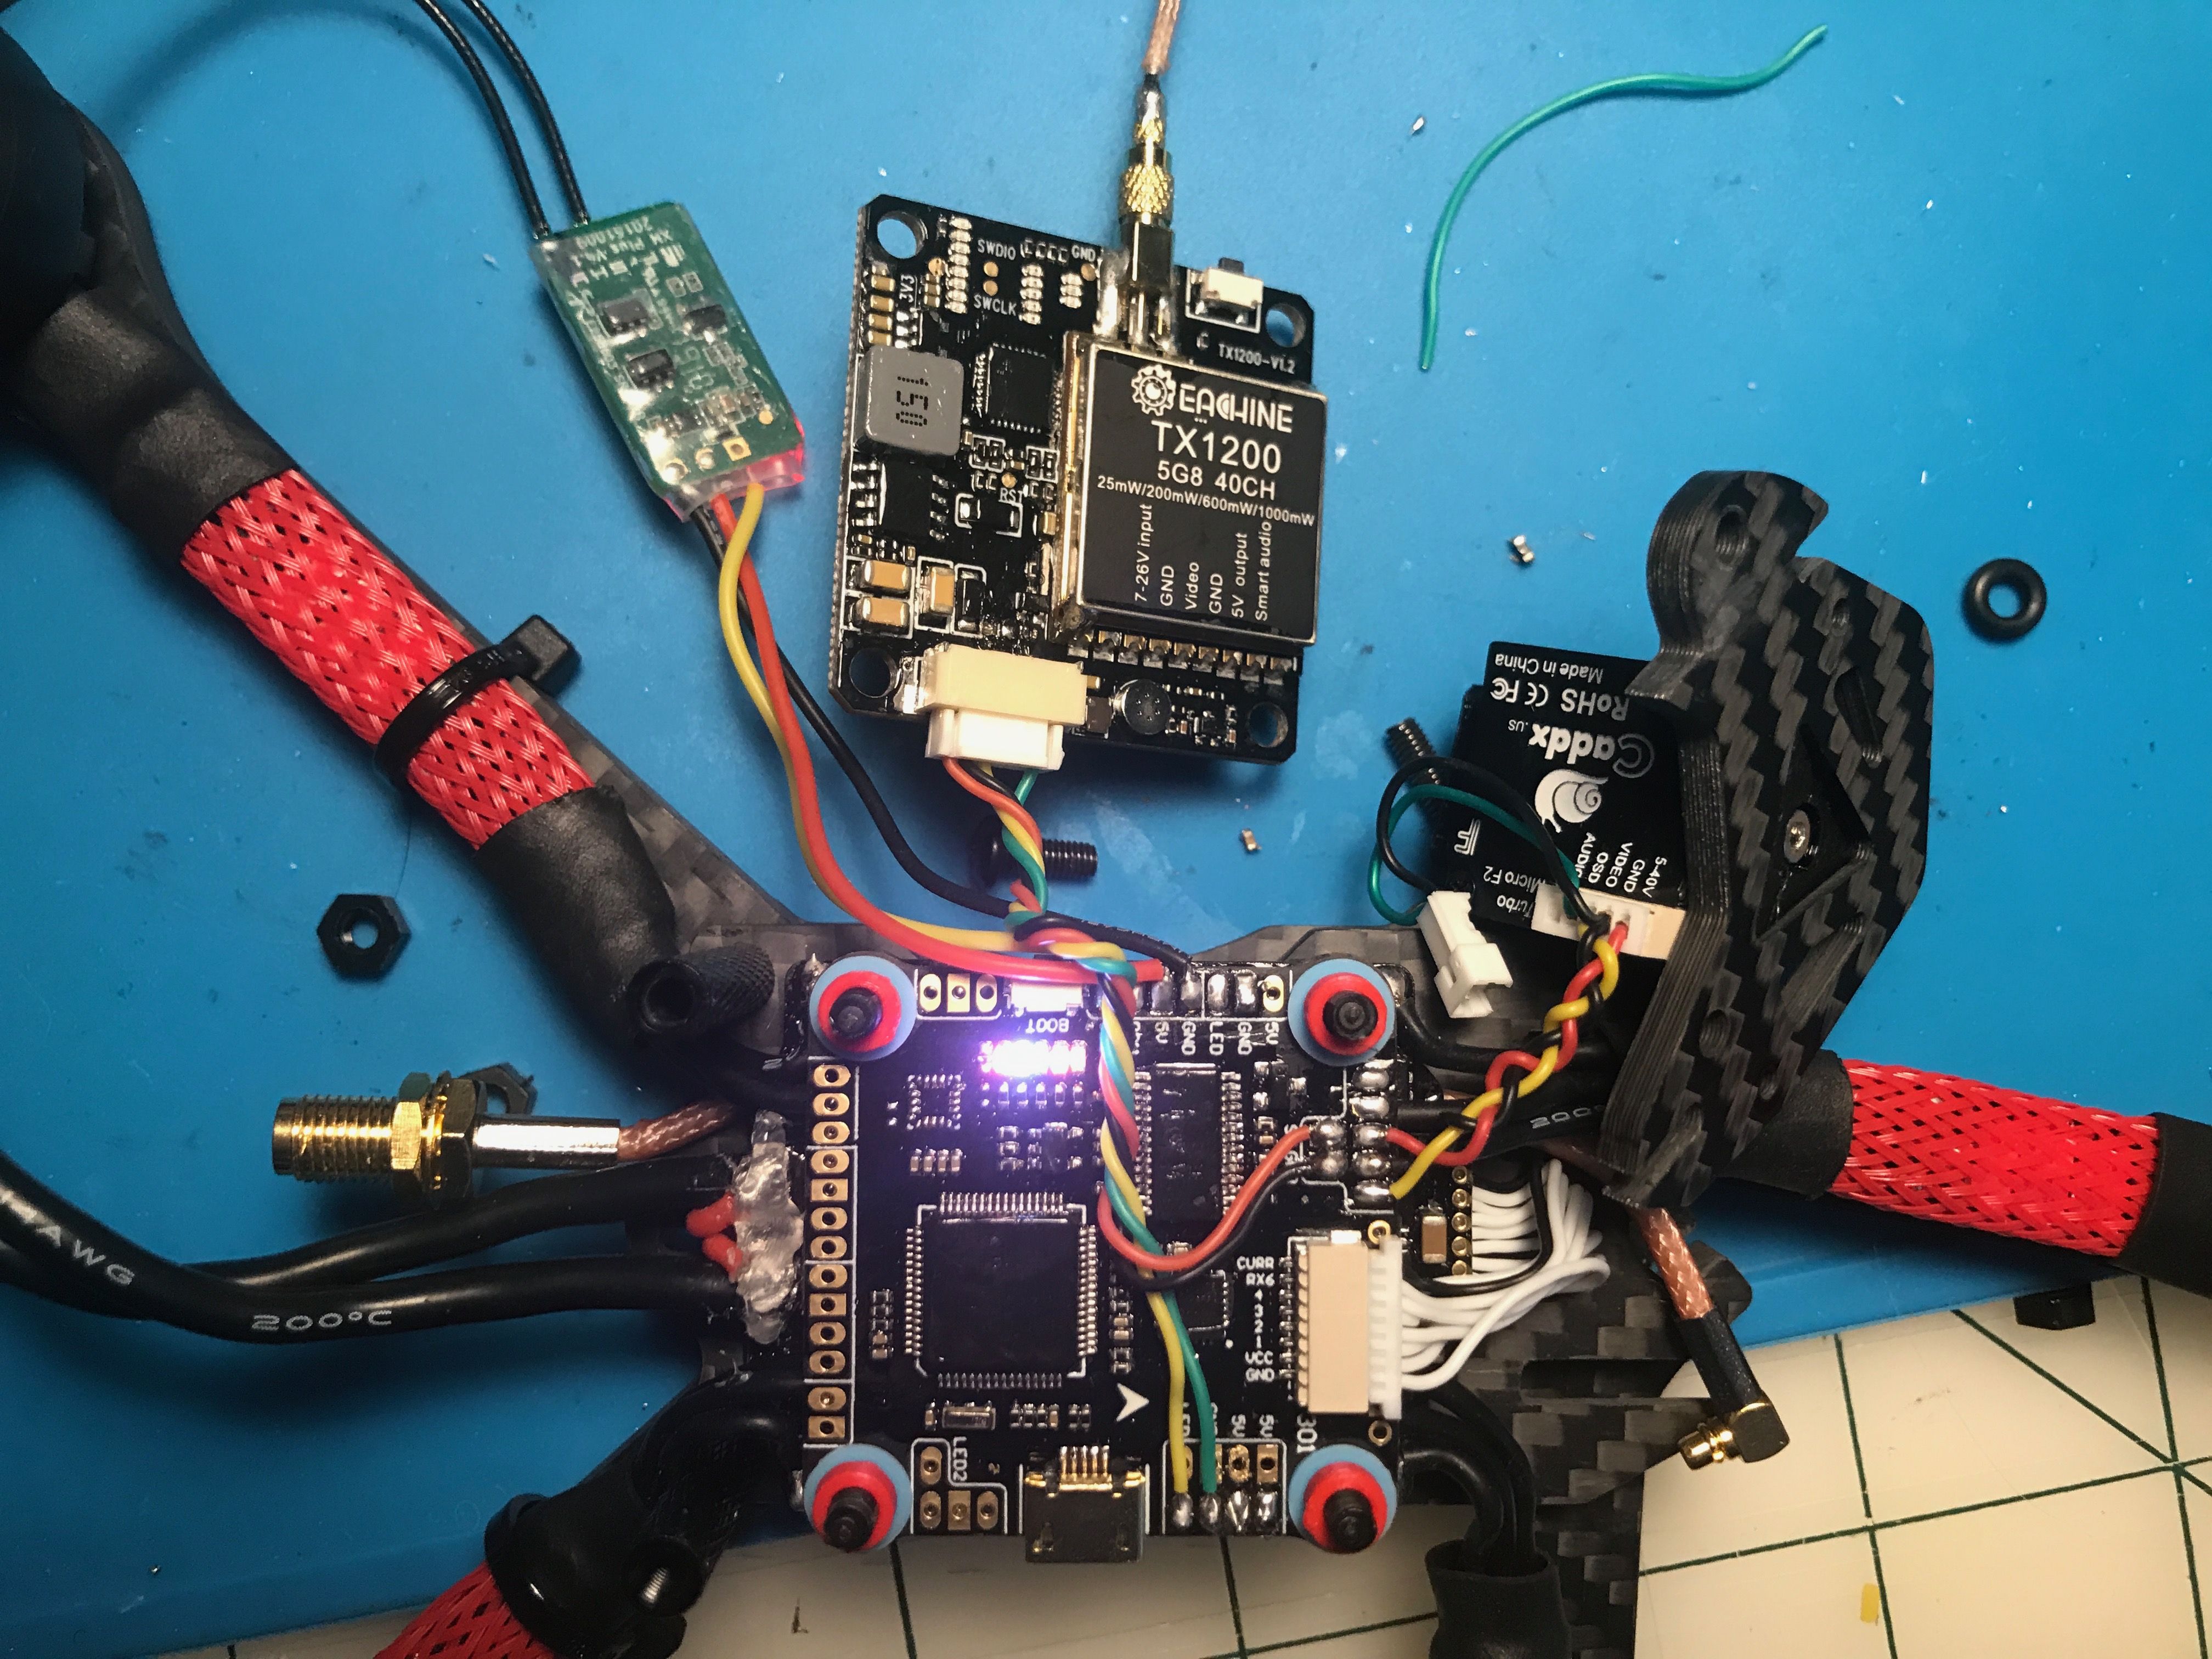
With that taken care of, I put more things together and tidied/shortened the wires. The receiver was bound to the QX7 and then I did some Betaflight tuning. First arm was a success! But I wasn't on cloud nine for tooo long, because I encountered two more issues. The first was that the quad kept disconnecting within a few feet. Later I found out this is commonly known as "swamping" which is a prevalent problem with FrSky XM+'s. Now the second was oscillations during arming which caused the motors to spin up and freak out. This turned out to be a problem when testing on the bench with no props on, and also I had a few loose screws holding the arms on.
You learn everyday!
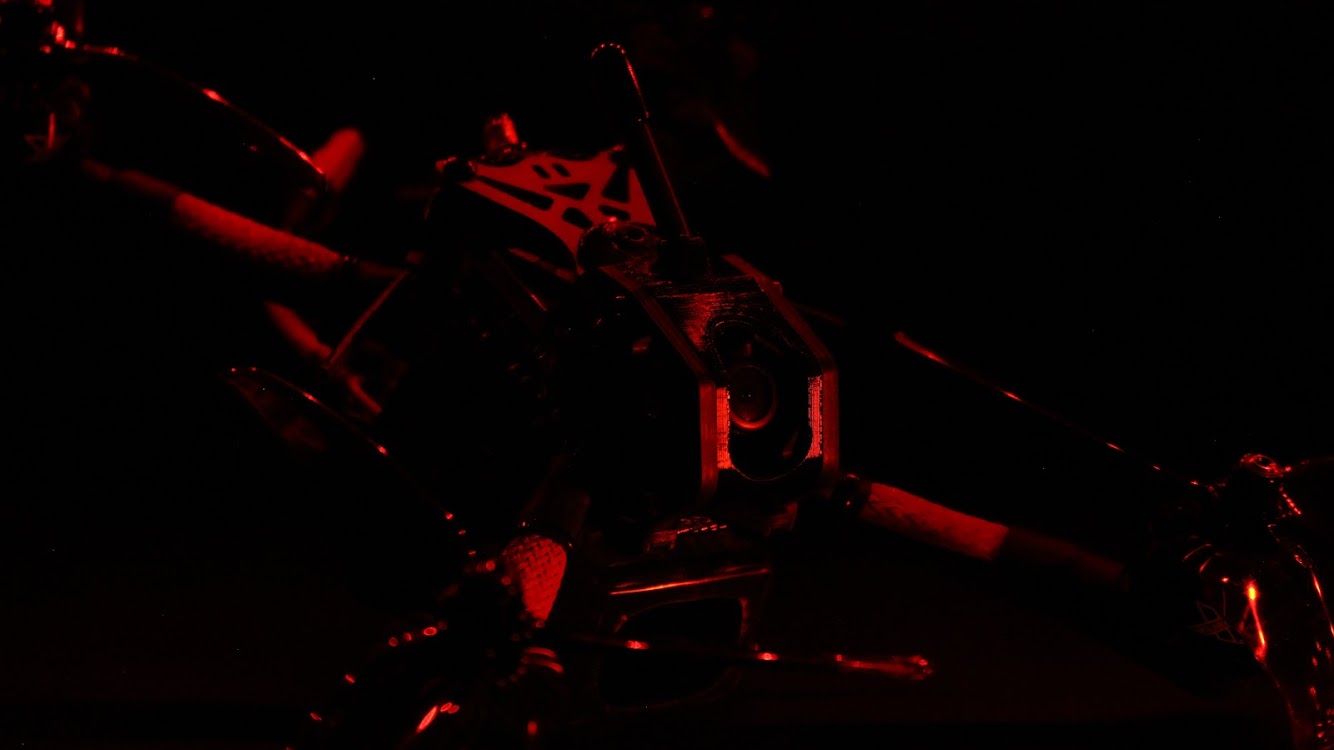
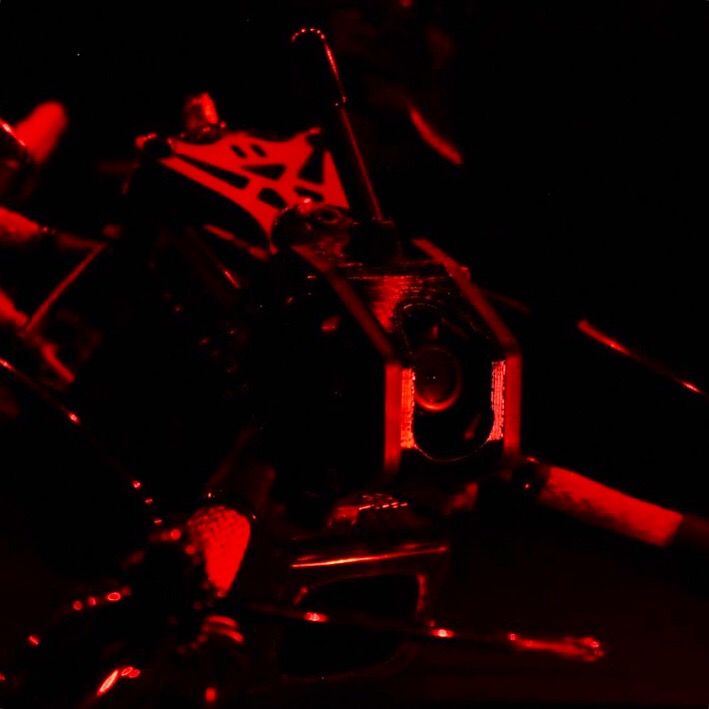
This concluded the build. Now time for photos. ;)
I really enjoyed this build, and for my second one, not too shabby. If you would like to follow me on Instagram, my handle is @apexfpv.
Photos


Part List
Flight Controller |
Diatone Mamba F405 Mk2 F40 Mk2 3-6S 30x30 Stack/Combo (F4 FC / 40A 4in1 ESC)Default Title
(193 builds)
Racedayquads.com
|
$67.99 |
Motors |
4 x Best Drone Motors for - RaceDayQuads
(83 builds)
Racedayquads.com
|
$71.96 |
Propellers |
5 Pairs T-Motor T-5147 5147 5.1x4.7 3-Blade Popo Propeller CW & CCW for RC Drone FPV Racing
Banggood.com
|
$6.99 |
FPV Camera |
Caddx Turbo Micro F2 1/3" CMOS 2.1mm 1200TVL 16:9/4:3 NTSC/PAL Low Latency FPV Camera W/ Microphone
(41 builds)
Banggood.com
|
$20.99 |
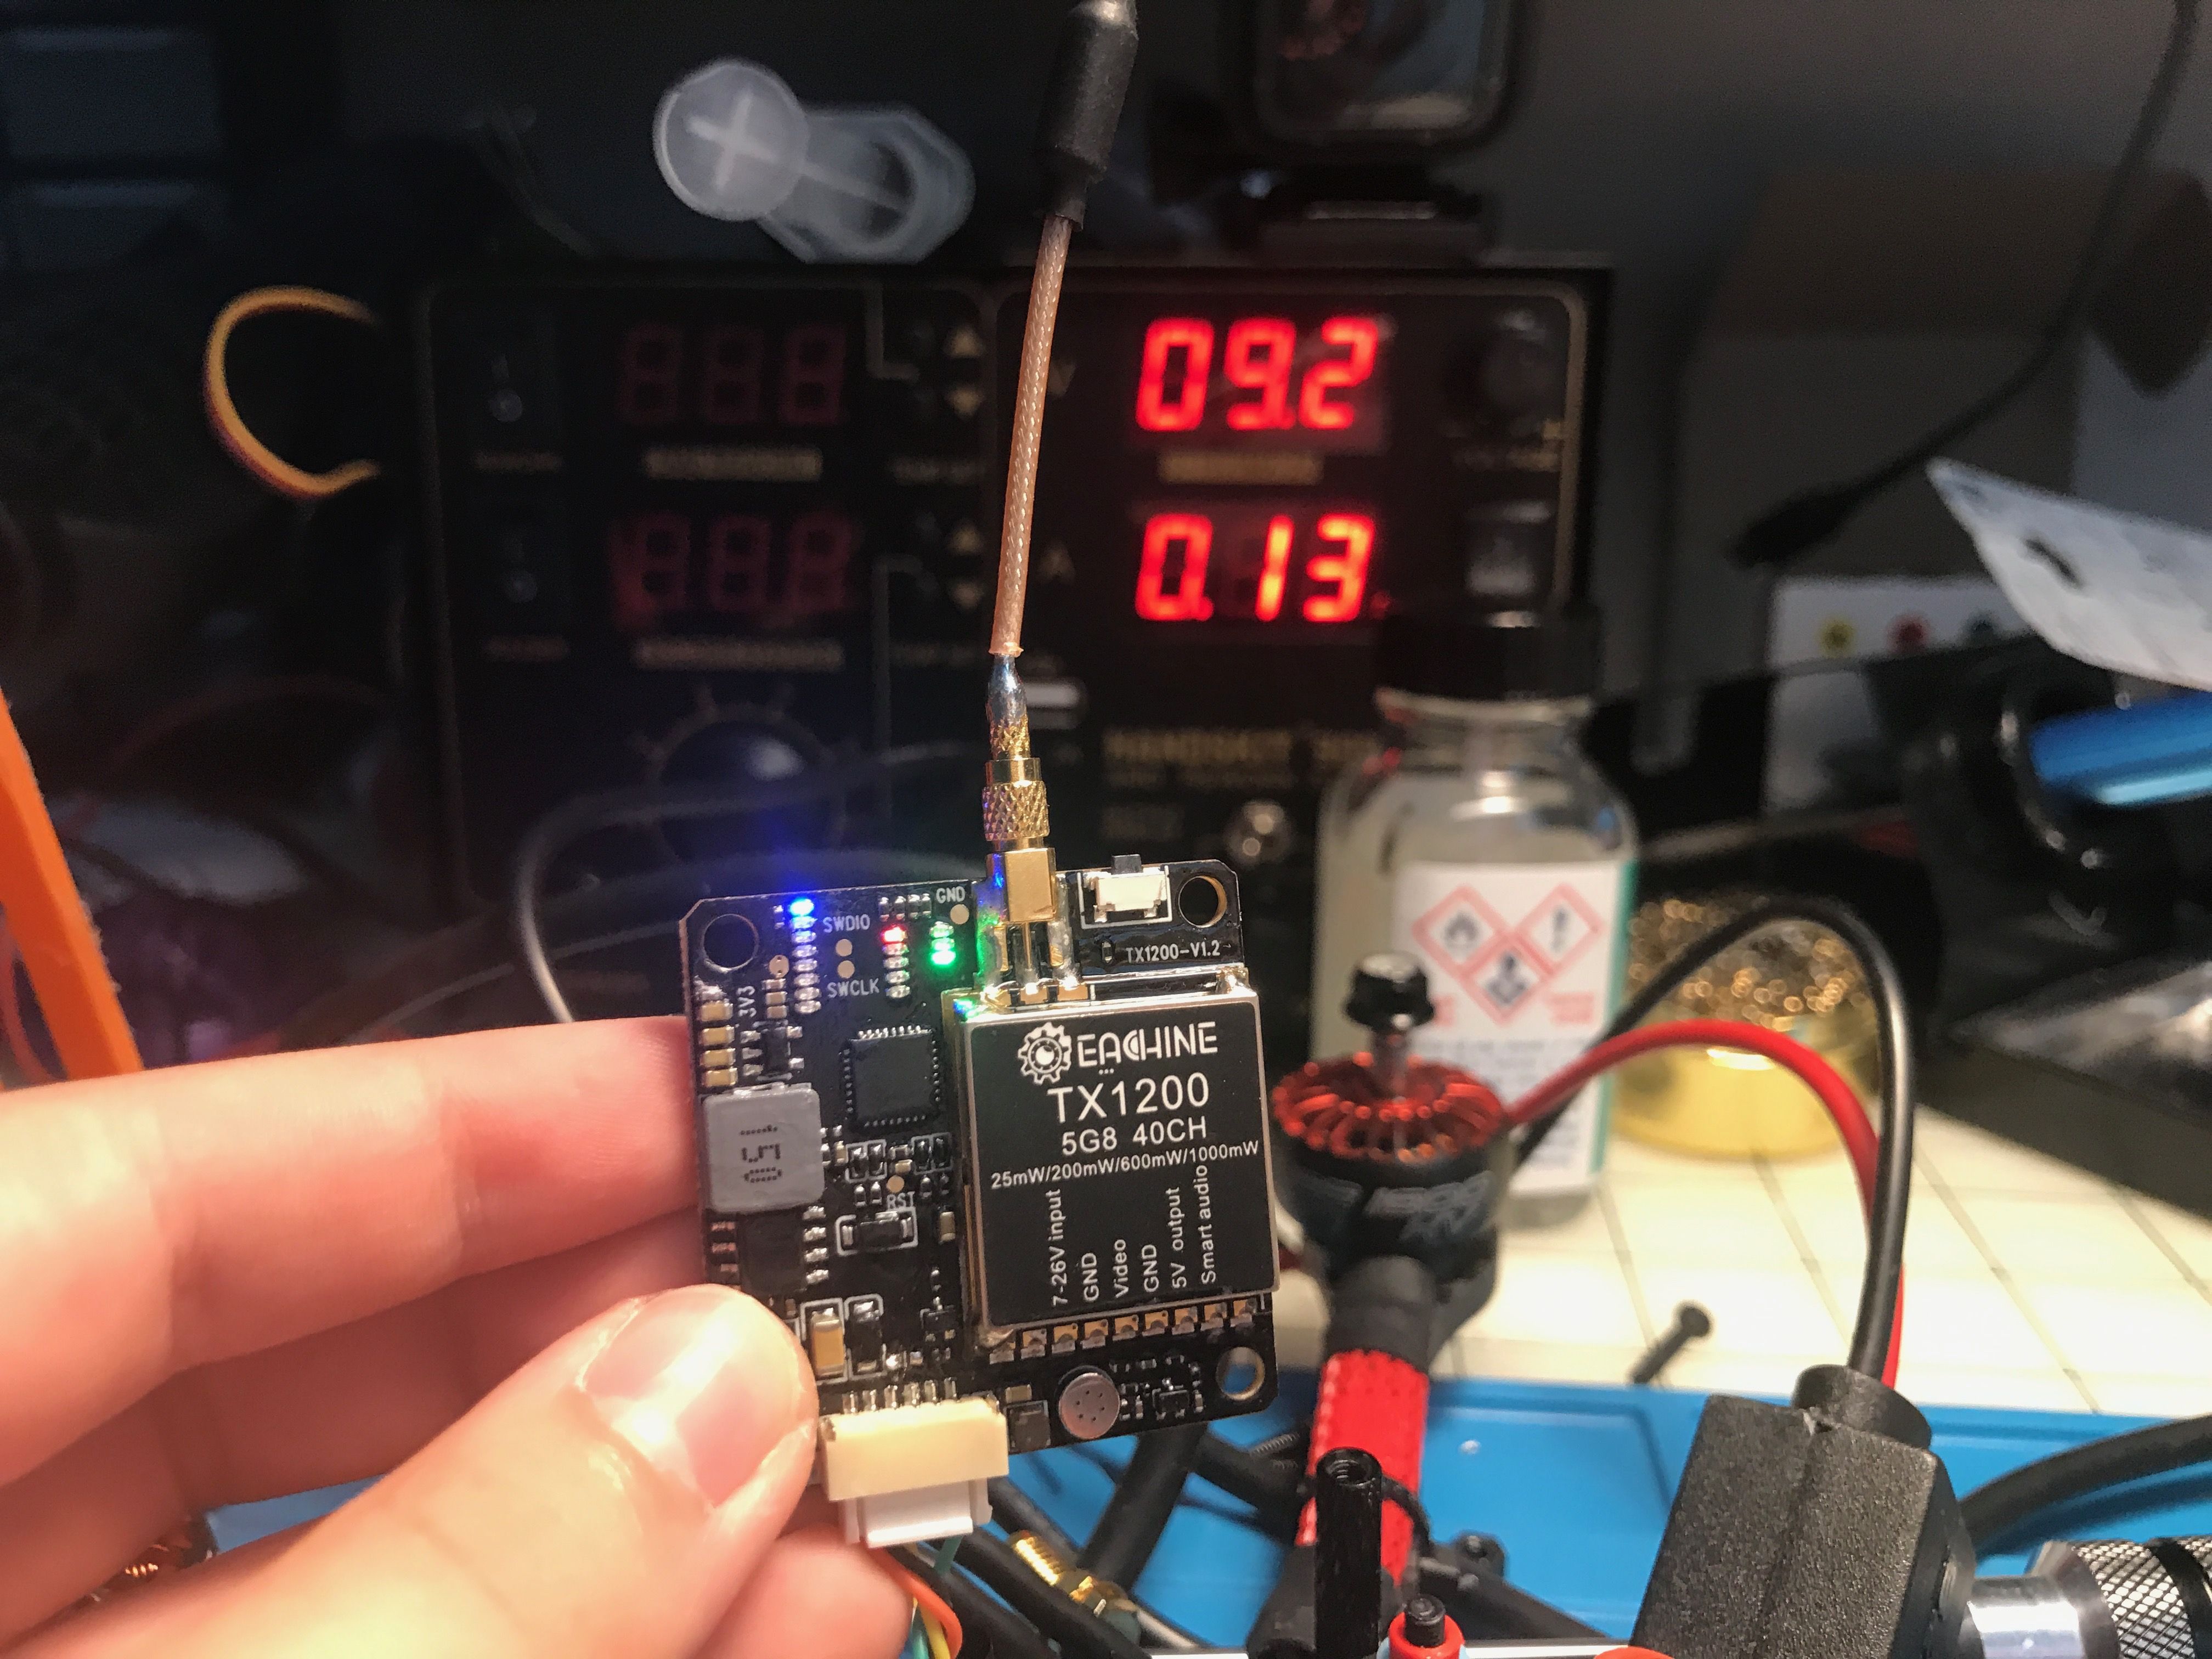
FPV Transmitter |
Eachine TX1200 25/200/600/1000mW 5.8GHz 40CH FPV Transmitter LED Display Support Smart Audio OSD Pitmode MIC
(5 builds)
Banggood.com
|
$29.00 |
Receiver |
Frsky XM+ Micro D16 SBUS Full Range Mini Receiver Up to 16CH for RC FPV Racing Drone
Banggood.com
|
$13.69 |
Batteries |
Ovonic 1000mAh 6S 100C LiPo Battery with XT60 Plug for FPV Racing RC Quadcopter Helicopter Airplane Multi-Motor Hobby DIY
(31 builds)
Amazon.com
|
$21.99 |

This frame is actually a clone of my framr the Skye Raptor which is available on Thingiverse and protected under a Creative Commons Attribution Non-Commercial Share Alike license. Any sales of this frame (Vector) is illegal. Apexfpv is also required to acknowledge the I am the original designer of the frame. His modifications to it are actually very minor, Radiused some angles, removed my logos, and placed a space in the midplate for a capacitor to mount under the ESC. Other than that not much was modified and you can check that on my Thingiverse page Skye_fpv, also the place where the files were downloaded. Which is not an issue. It's the taking credit for someone elses design and then trying to sell it. The Skye Raptor was placed on Thingiverse as a gift to the fpv community, it is a shame that someone would then steal that intellectual property and try to profit from it.


Looks great, i'm curious about your decision to use vertical plates to hold your camera. Why not use 3d printed plastic to hang it from standoffs, allowing you to support the top plate with easily replacable/cheap off the shelf aluminum standoffs (instead of unique CF plates that you have to get custom cut since nobody will have any spares)?
Don't get me wrong, it looks sturdy, and it's a cool vibe. Crashes happen though.
You did not design it. I did. Remember our Instagram conversation? You radiused angles.
The carbon fiber plates are actually very durable. The do take impacts very well. Breakage is usually delamination, which can then be superglued. The thing about the side plates is that I designed it to be an entire modular pod. When can quickly be replaced with just the removal of 2 screws. This is great during a race when there are gew minutes in between Heats. What is also a unique design element that I did was the top plate slides into the camera pod and provides access to the stack with the removal of 2 screws. The arms only require the removal of 1 screw and loosening a screw that mates with a press nut in the midplate. i could go on and on about how I designed it. I only joined Rotorbuilds to protect and reclaim my intellectual property. You can see all the files as well as various other versions of the Skye Raptor on Thingiverse. Just search Skye_fpv. It has been around since last December. Anything you want to know about the frames please feel free to ask me. I am the original designer and several of us in NC, SC and GA have been flying the Raptor since the beginning of this year. You cal also verify that on my Instagram account Skye_Ro