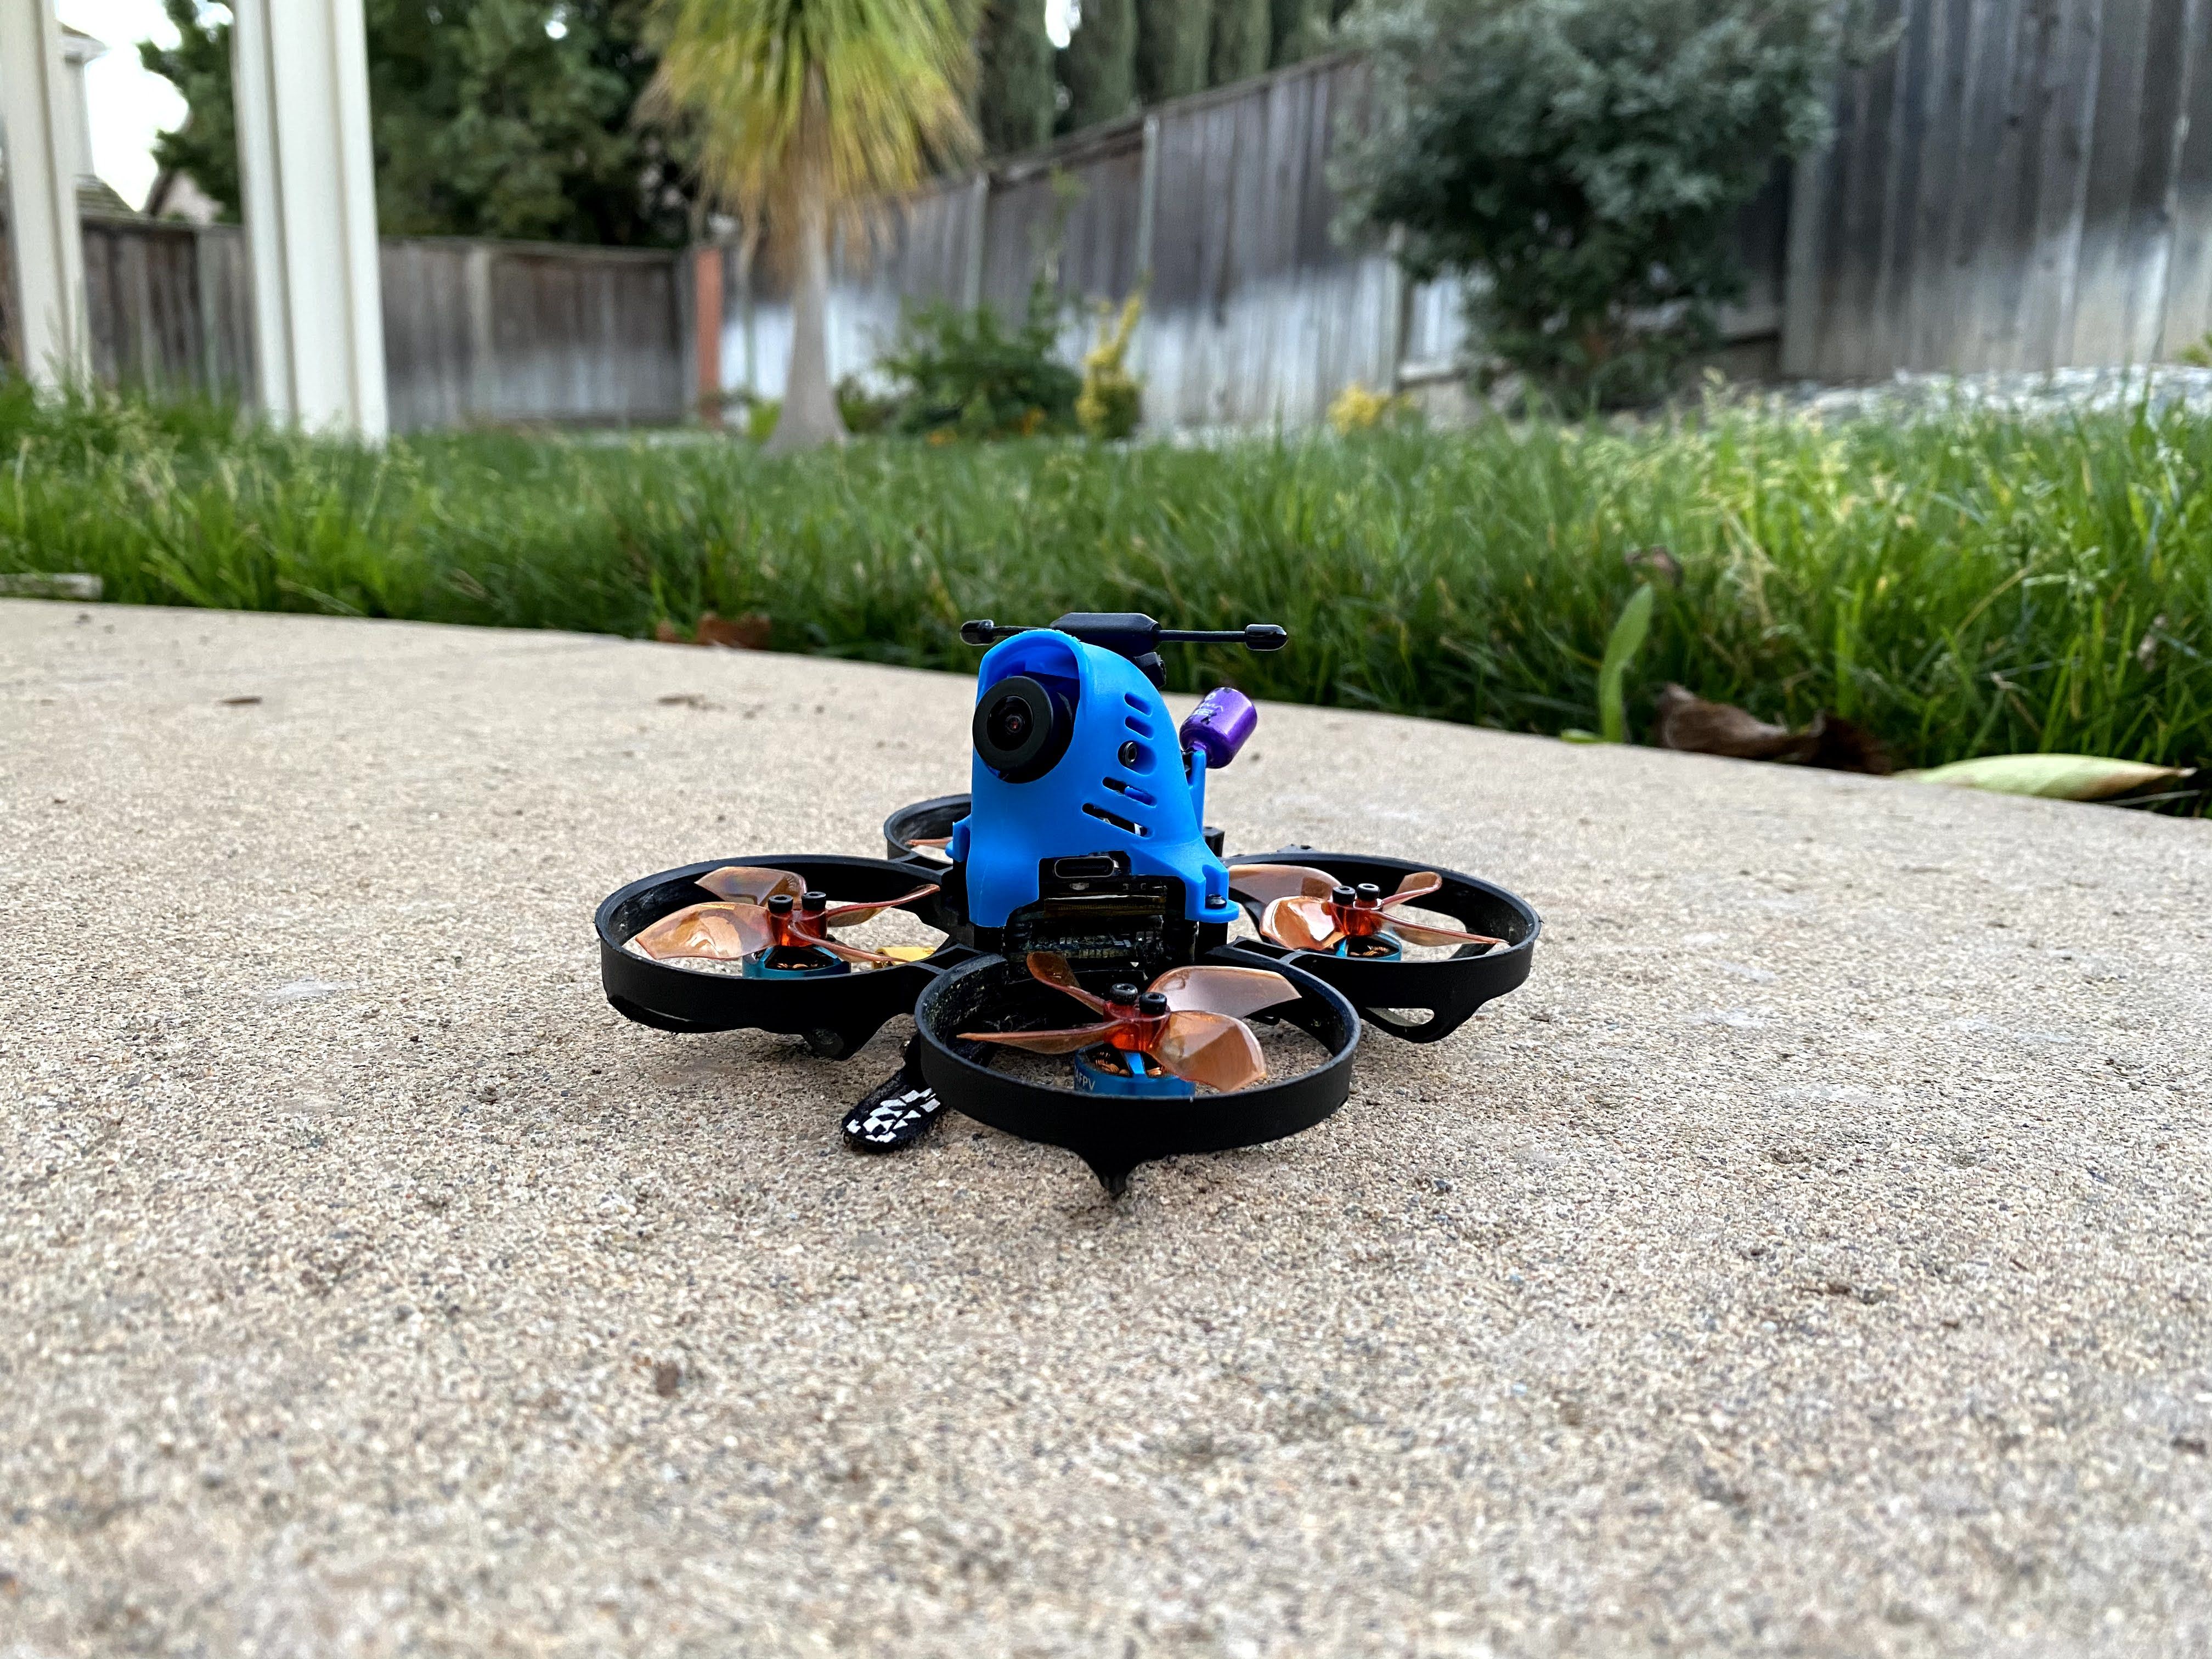
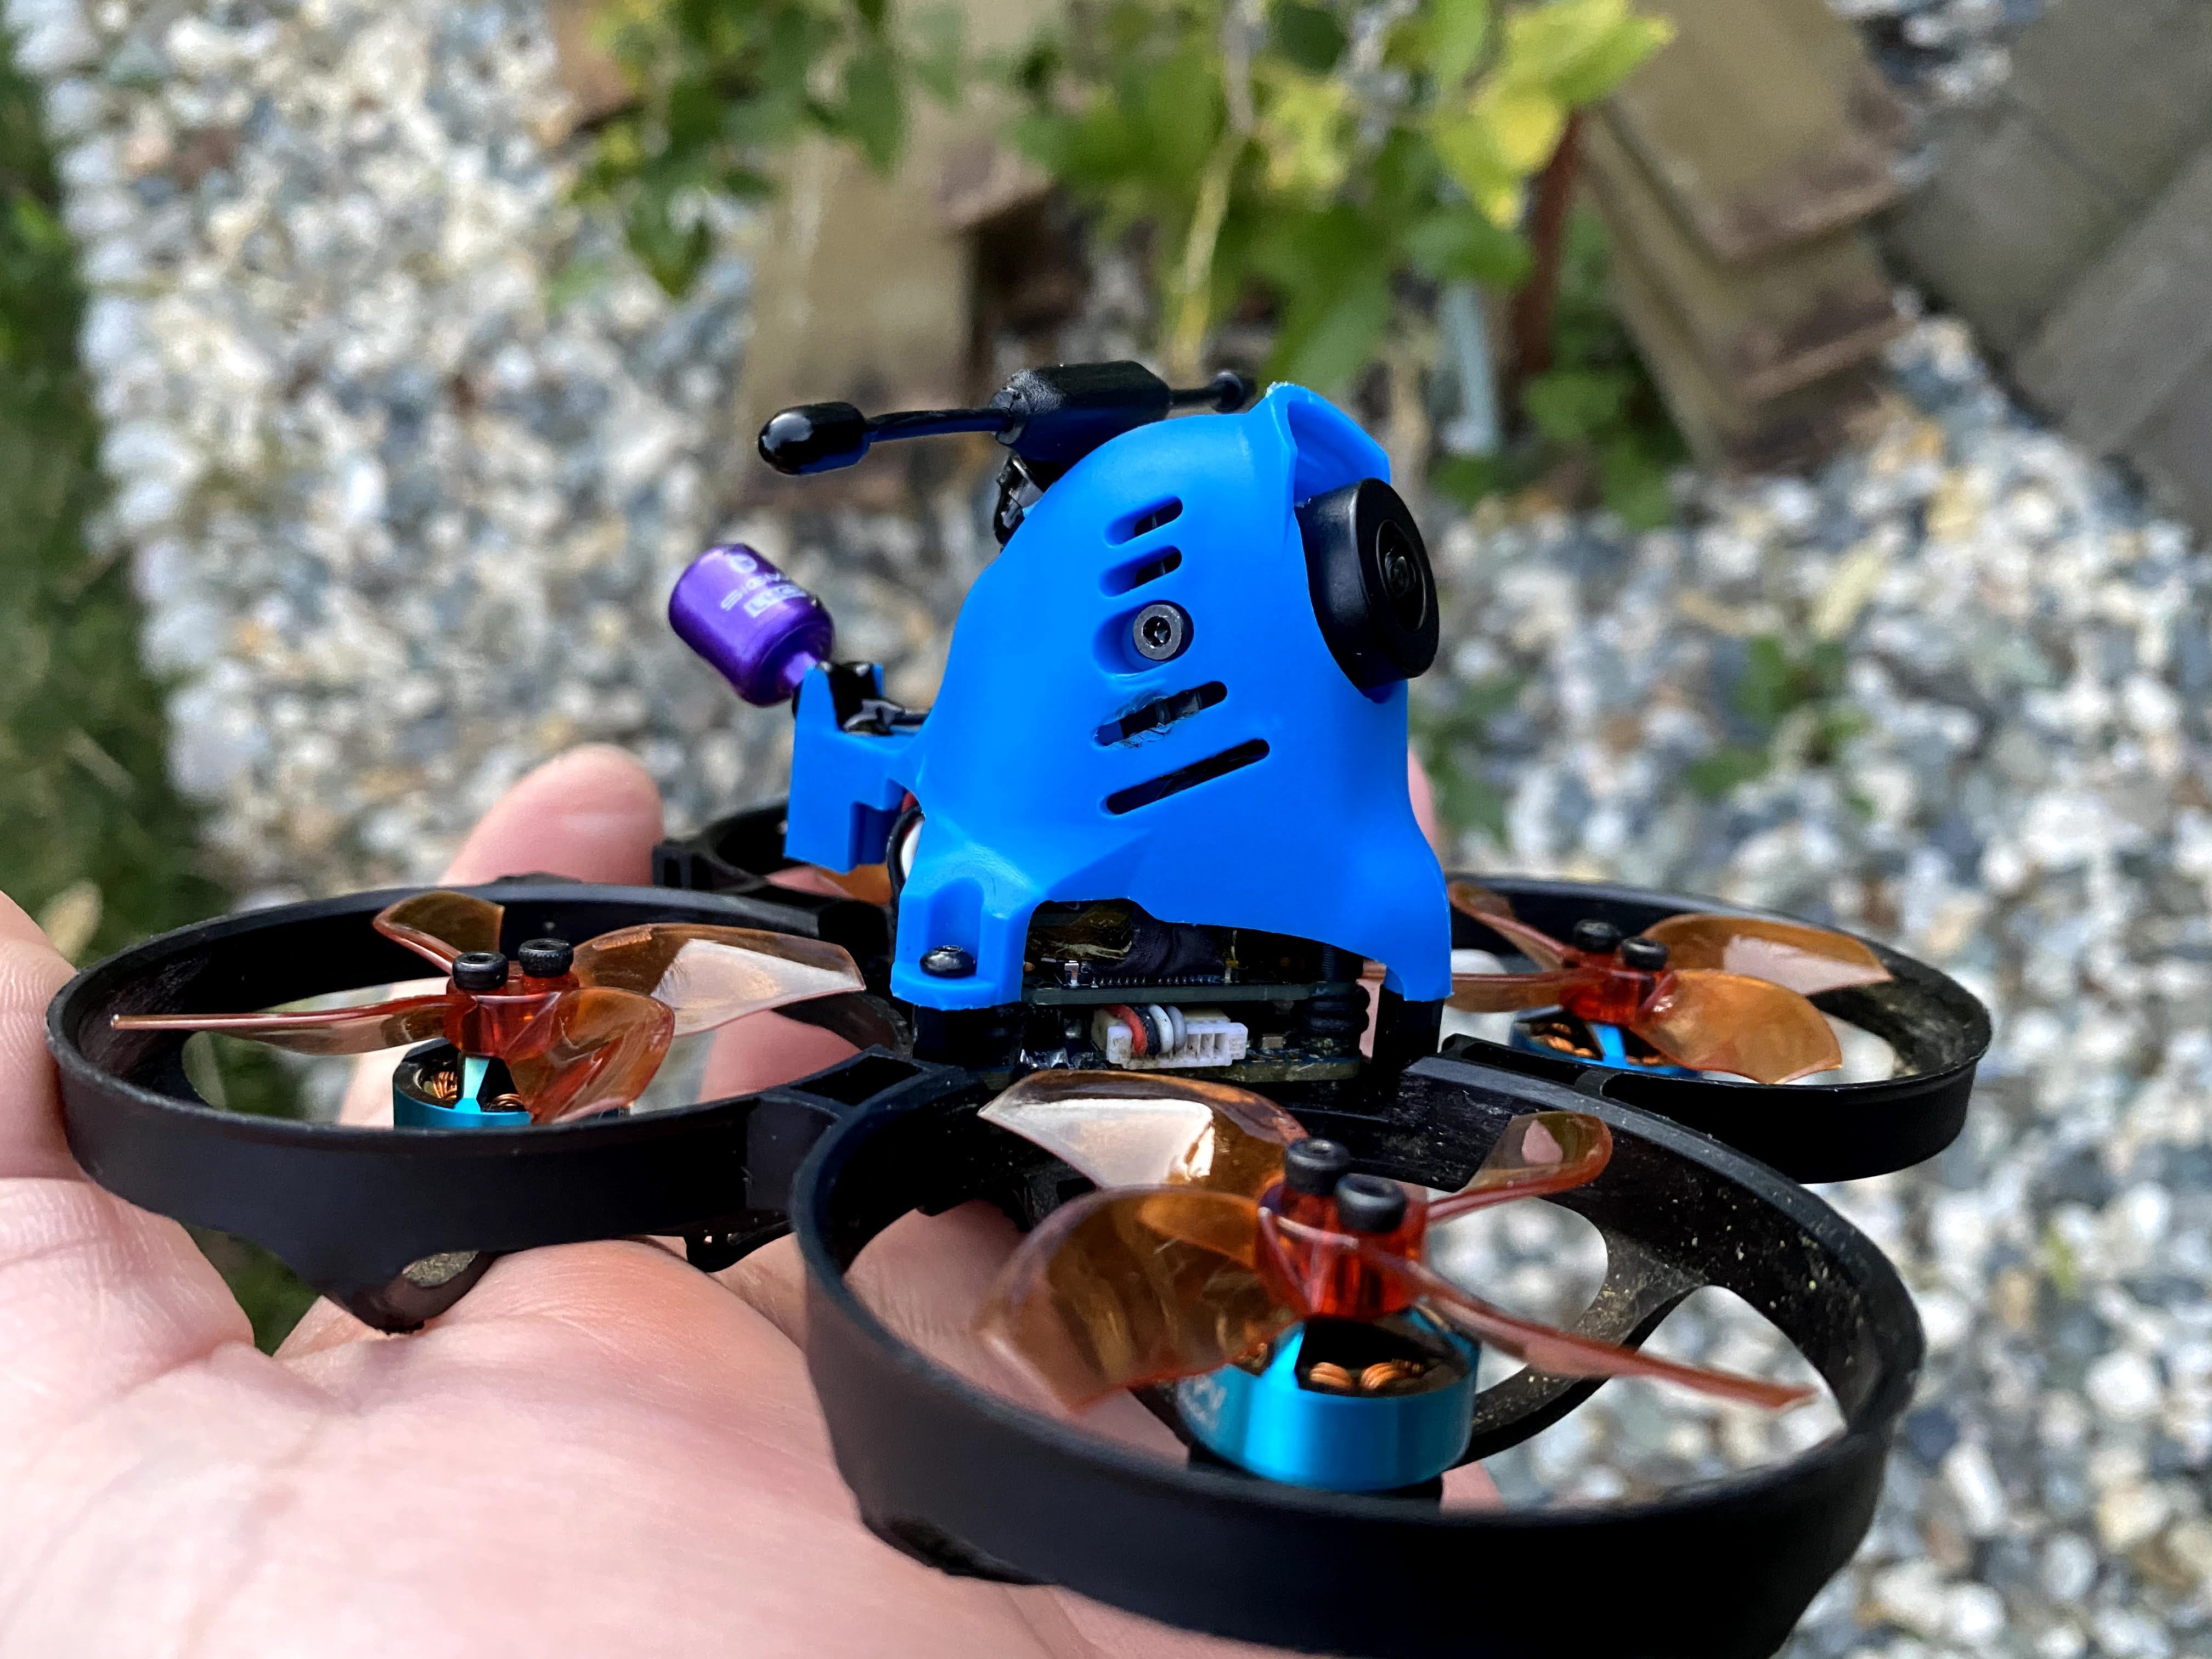
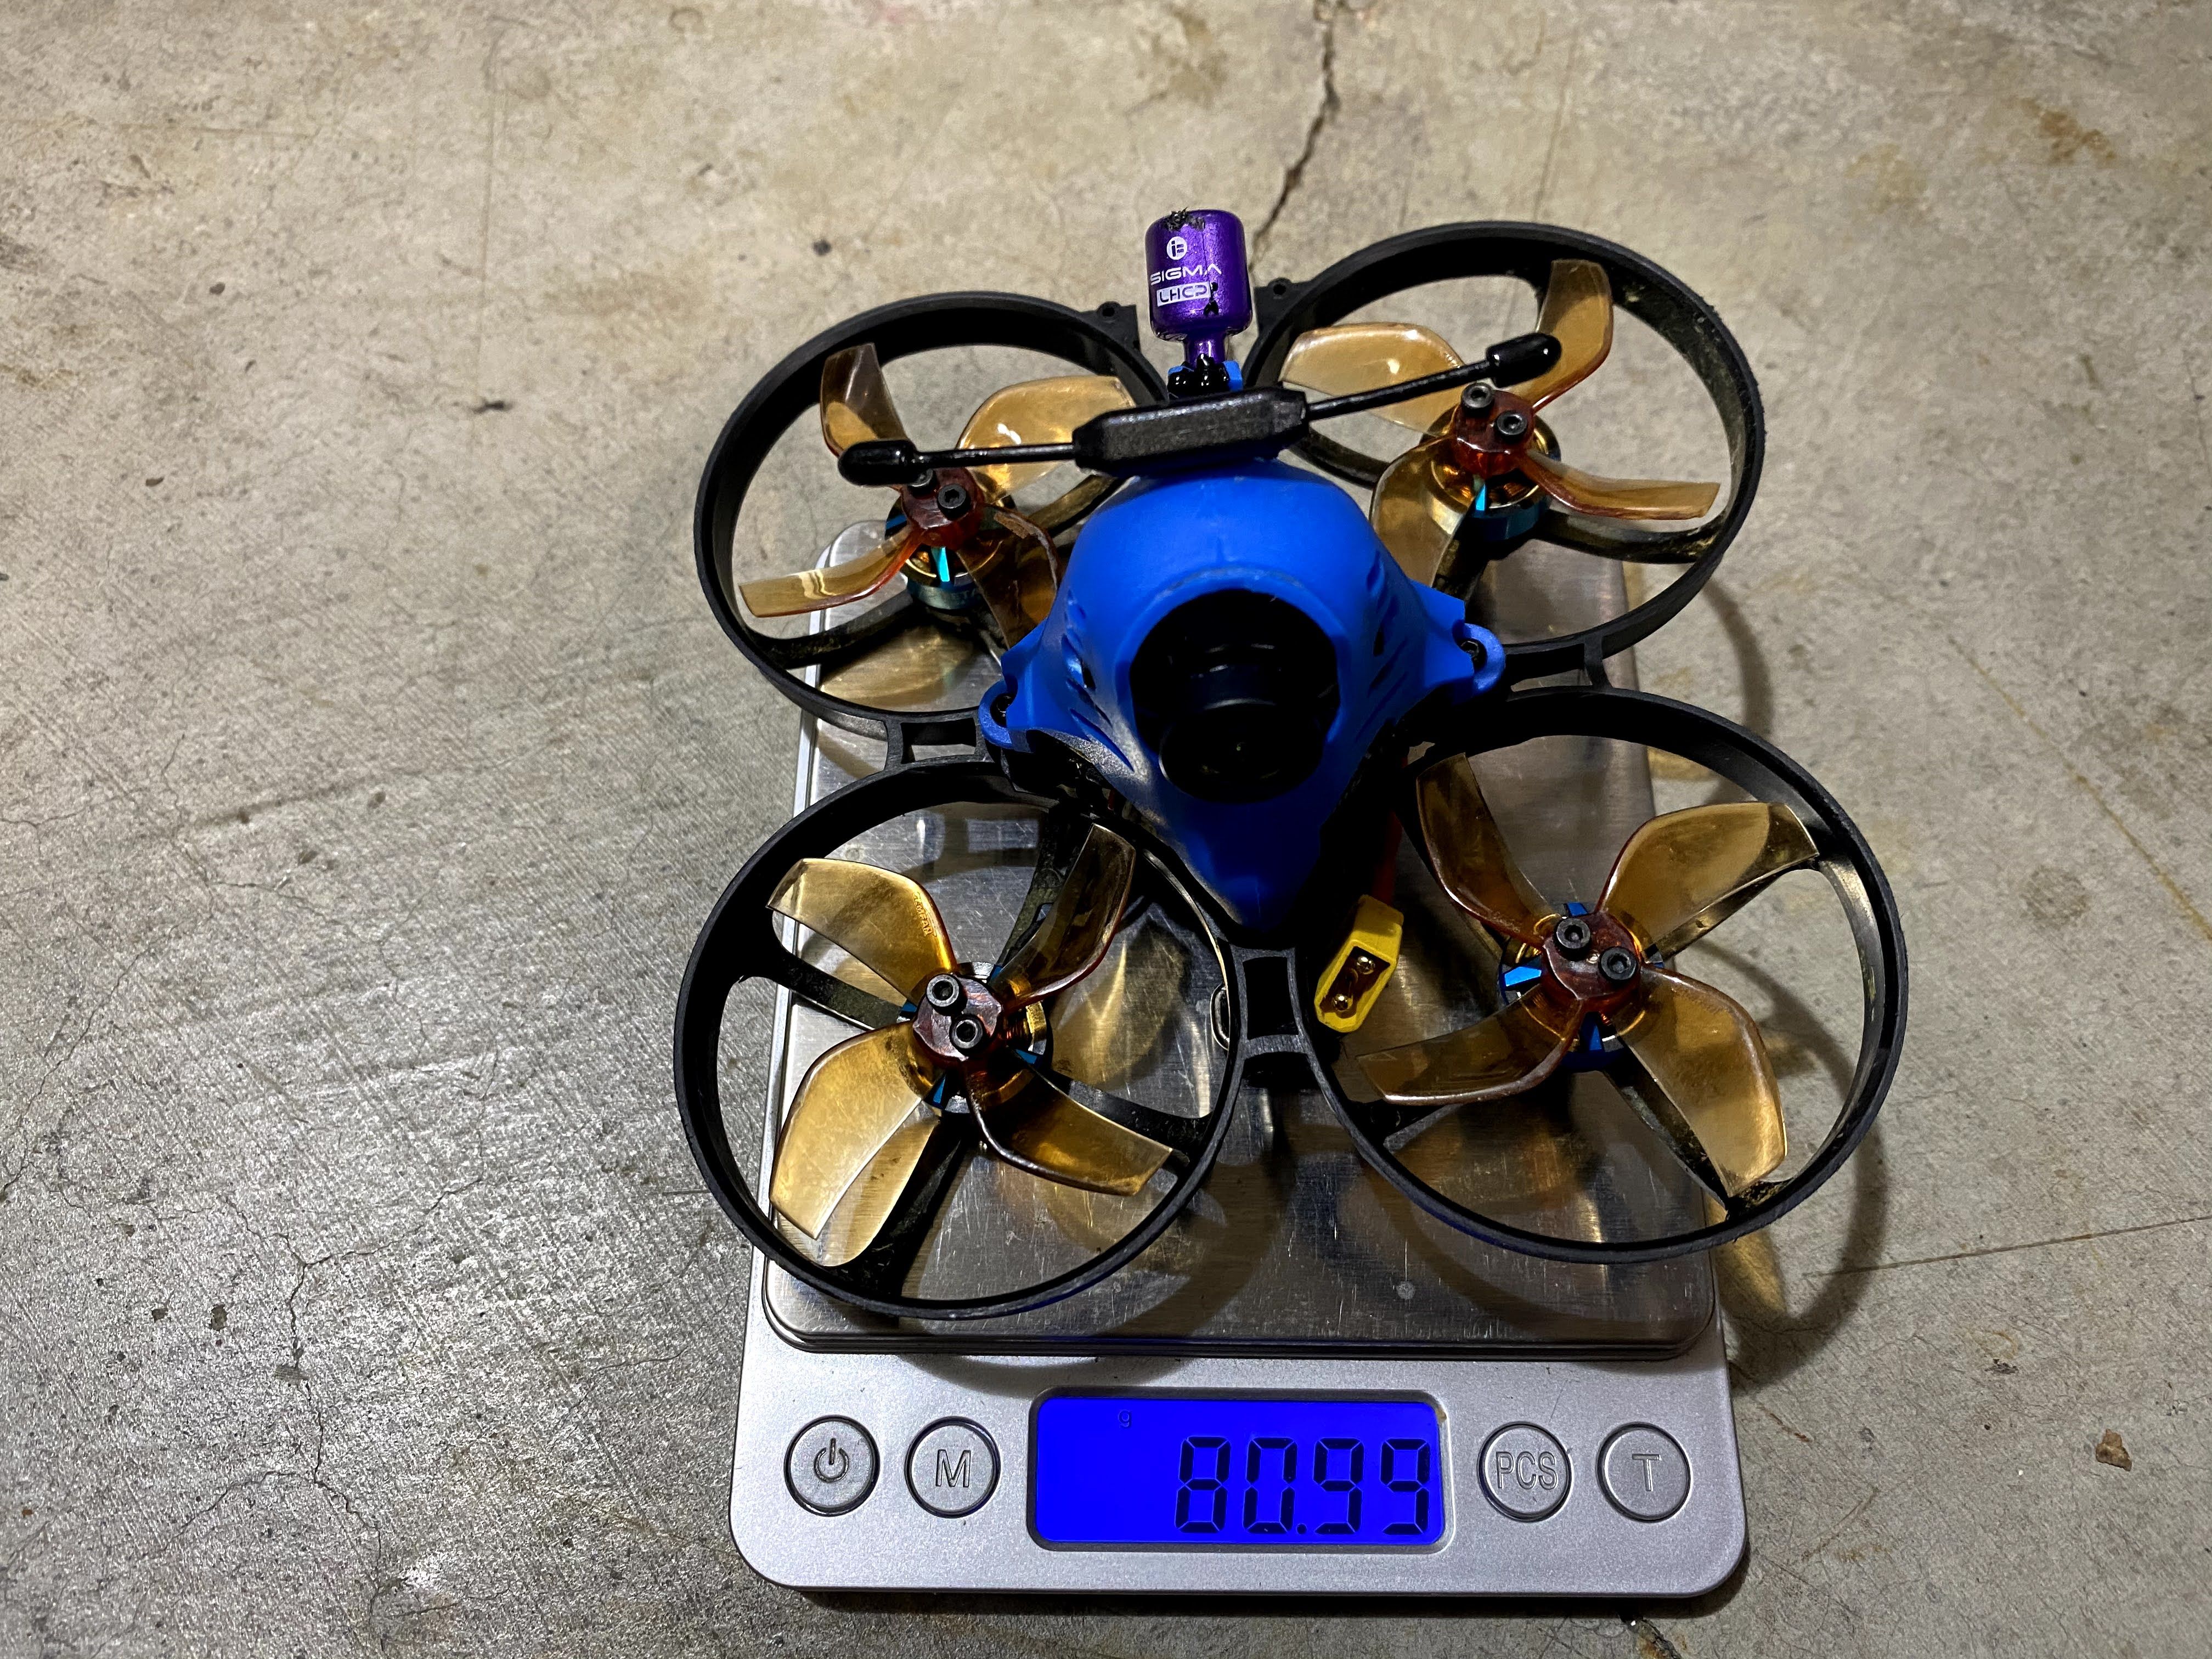
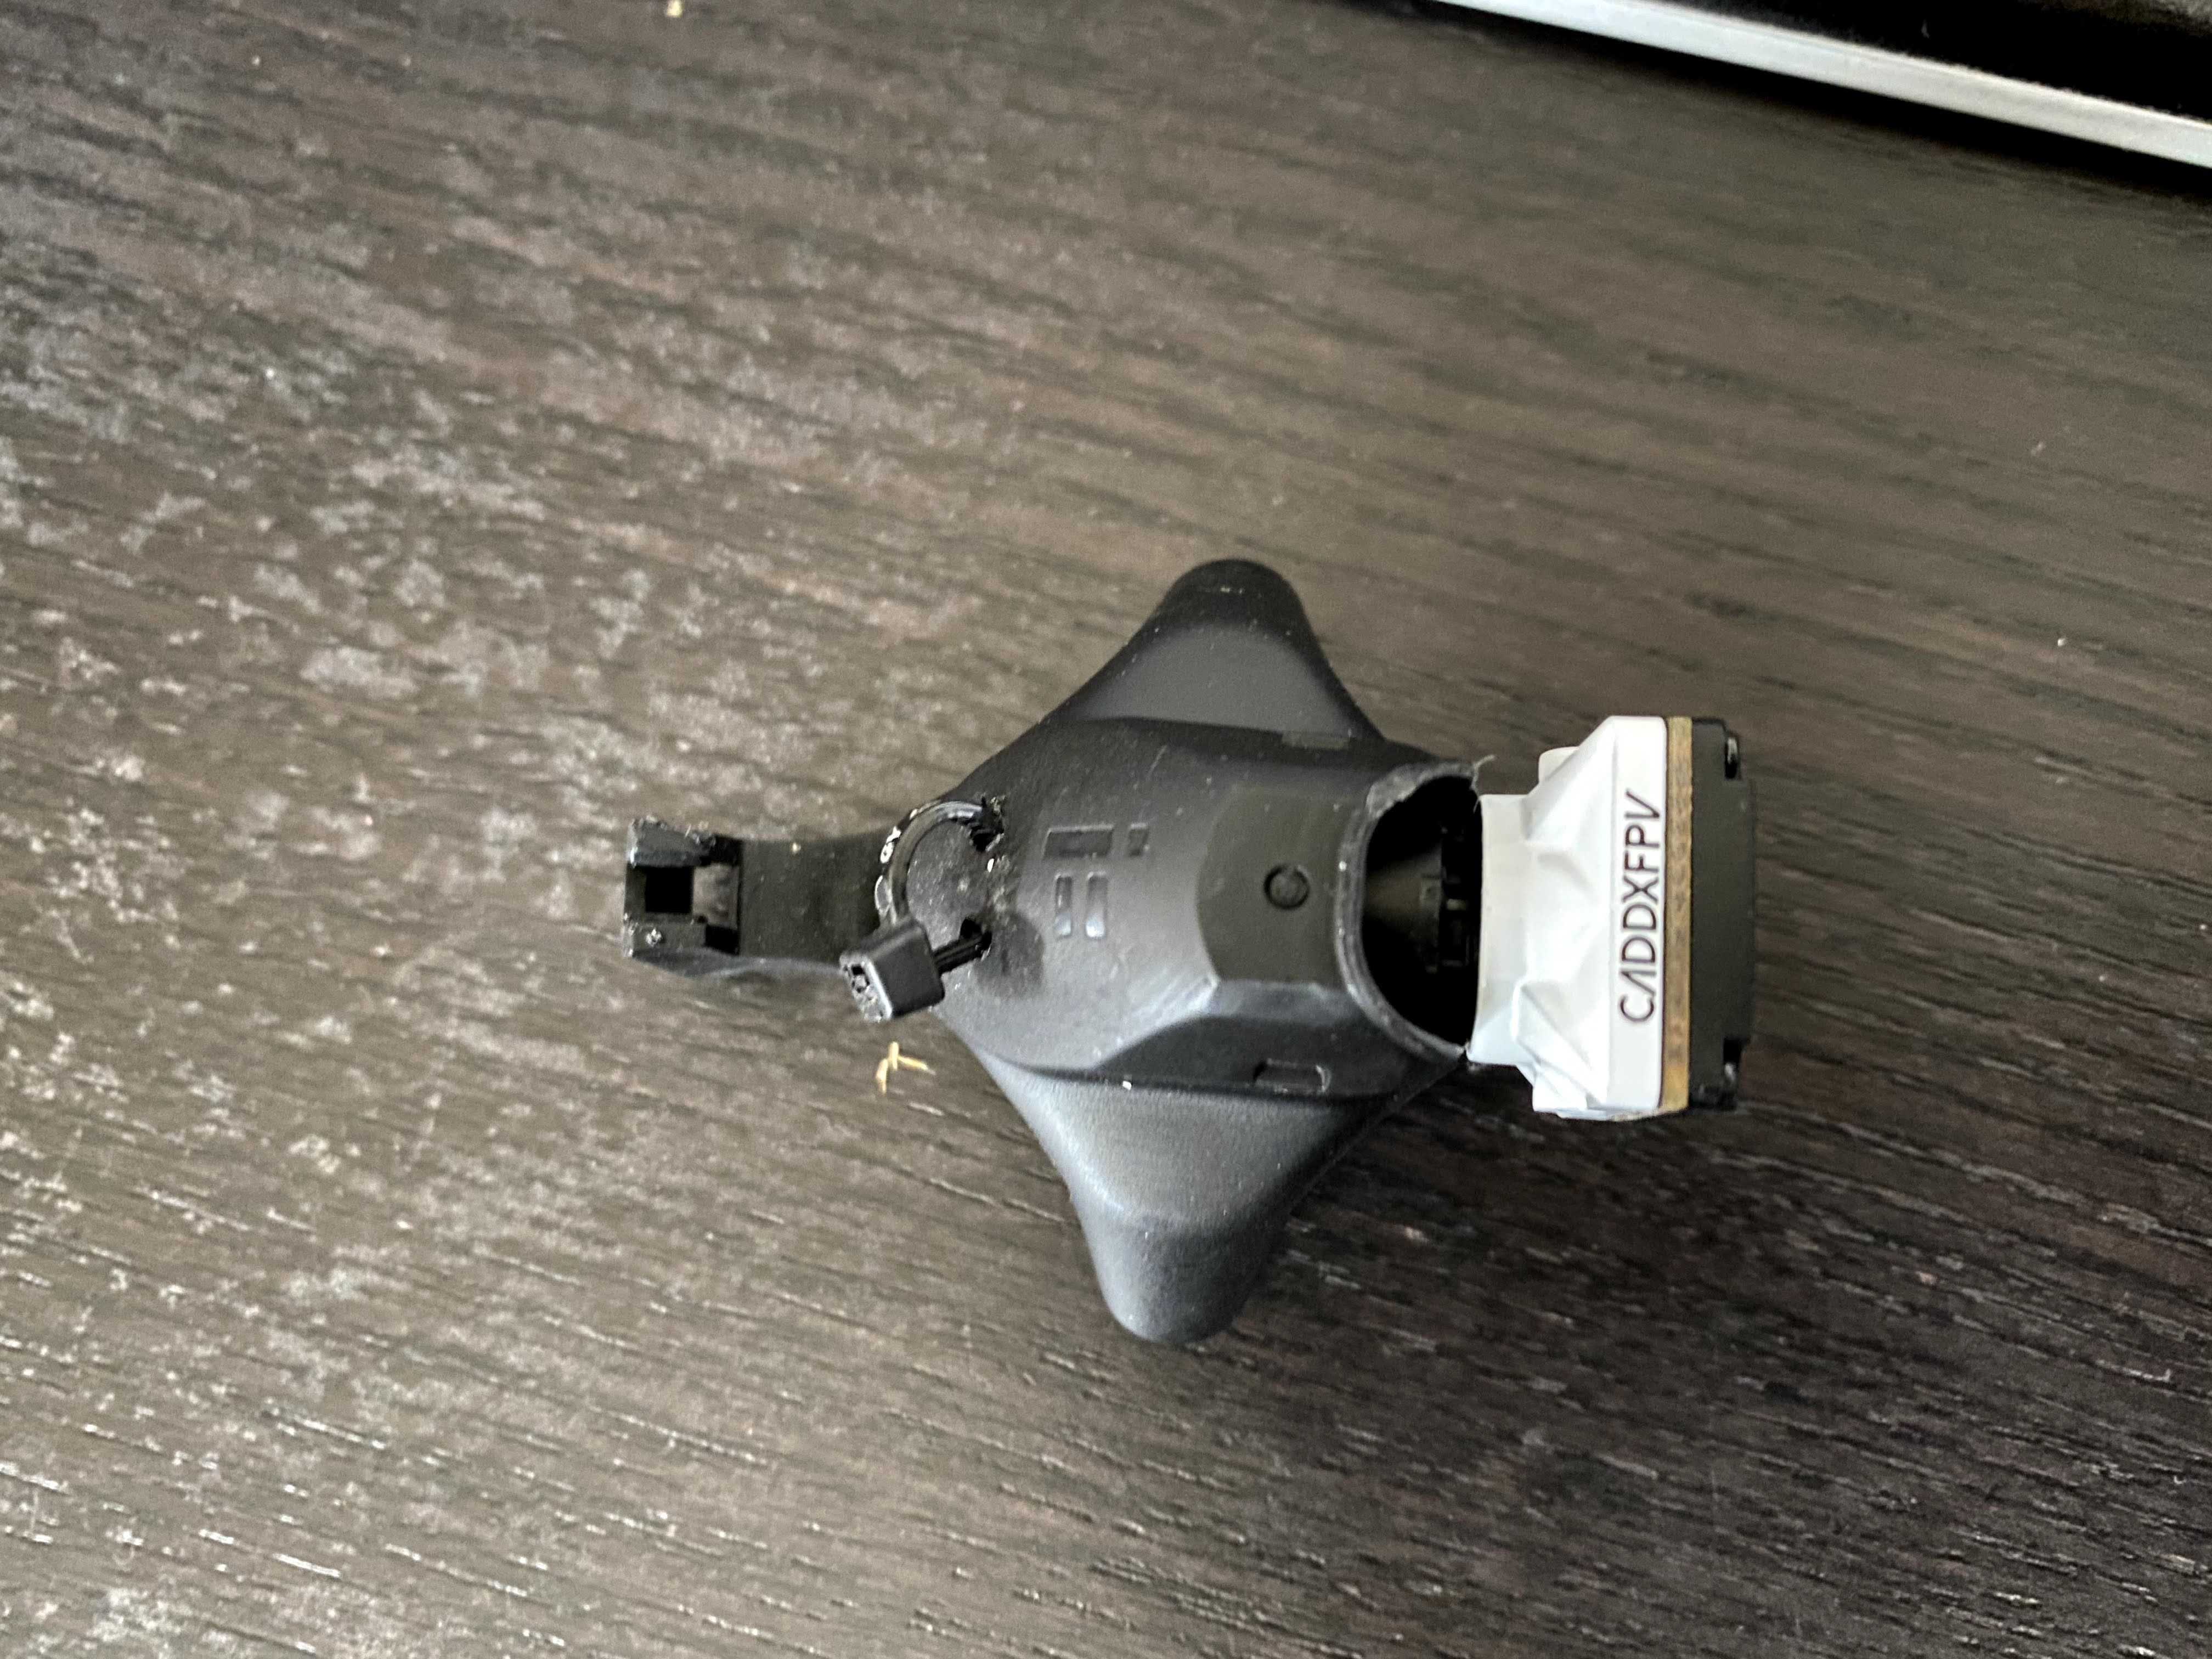
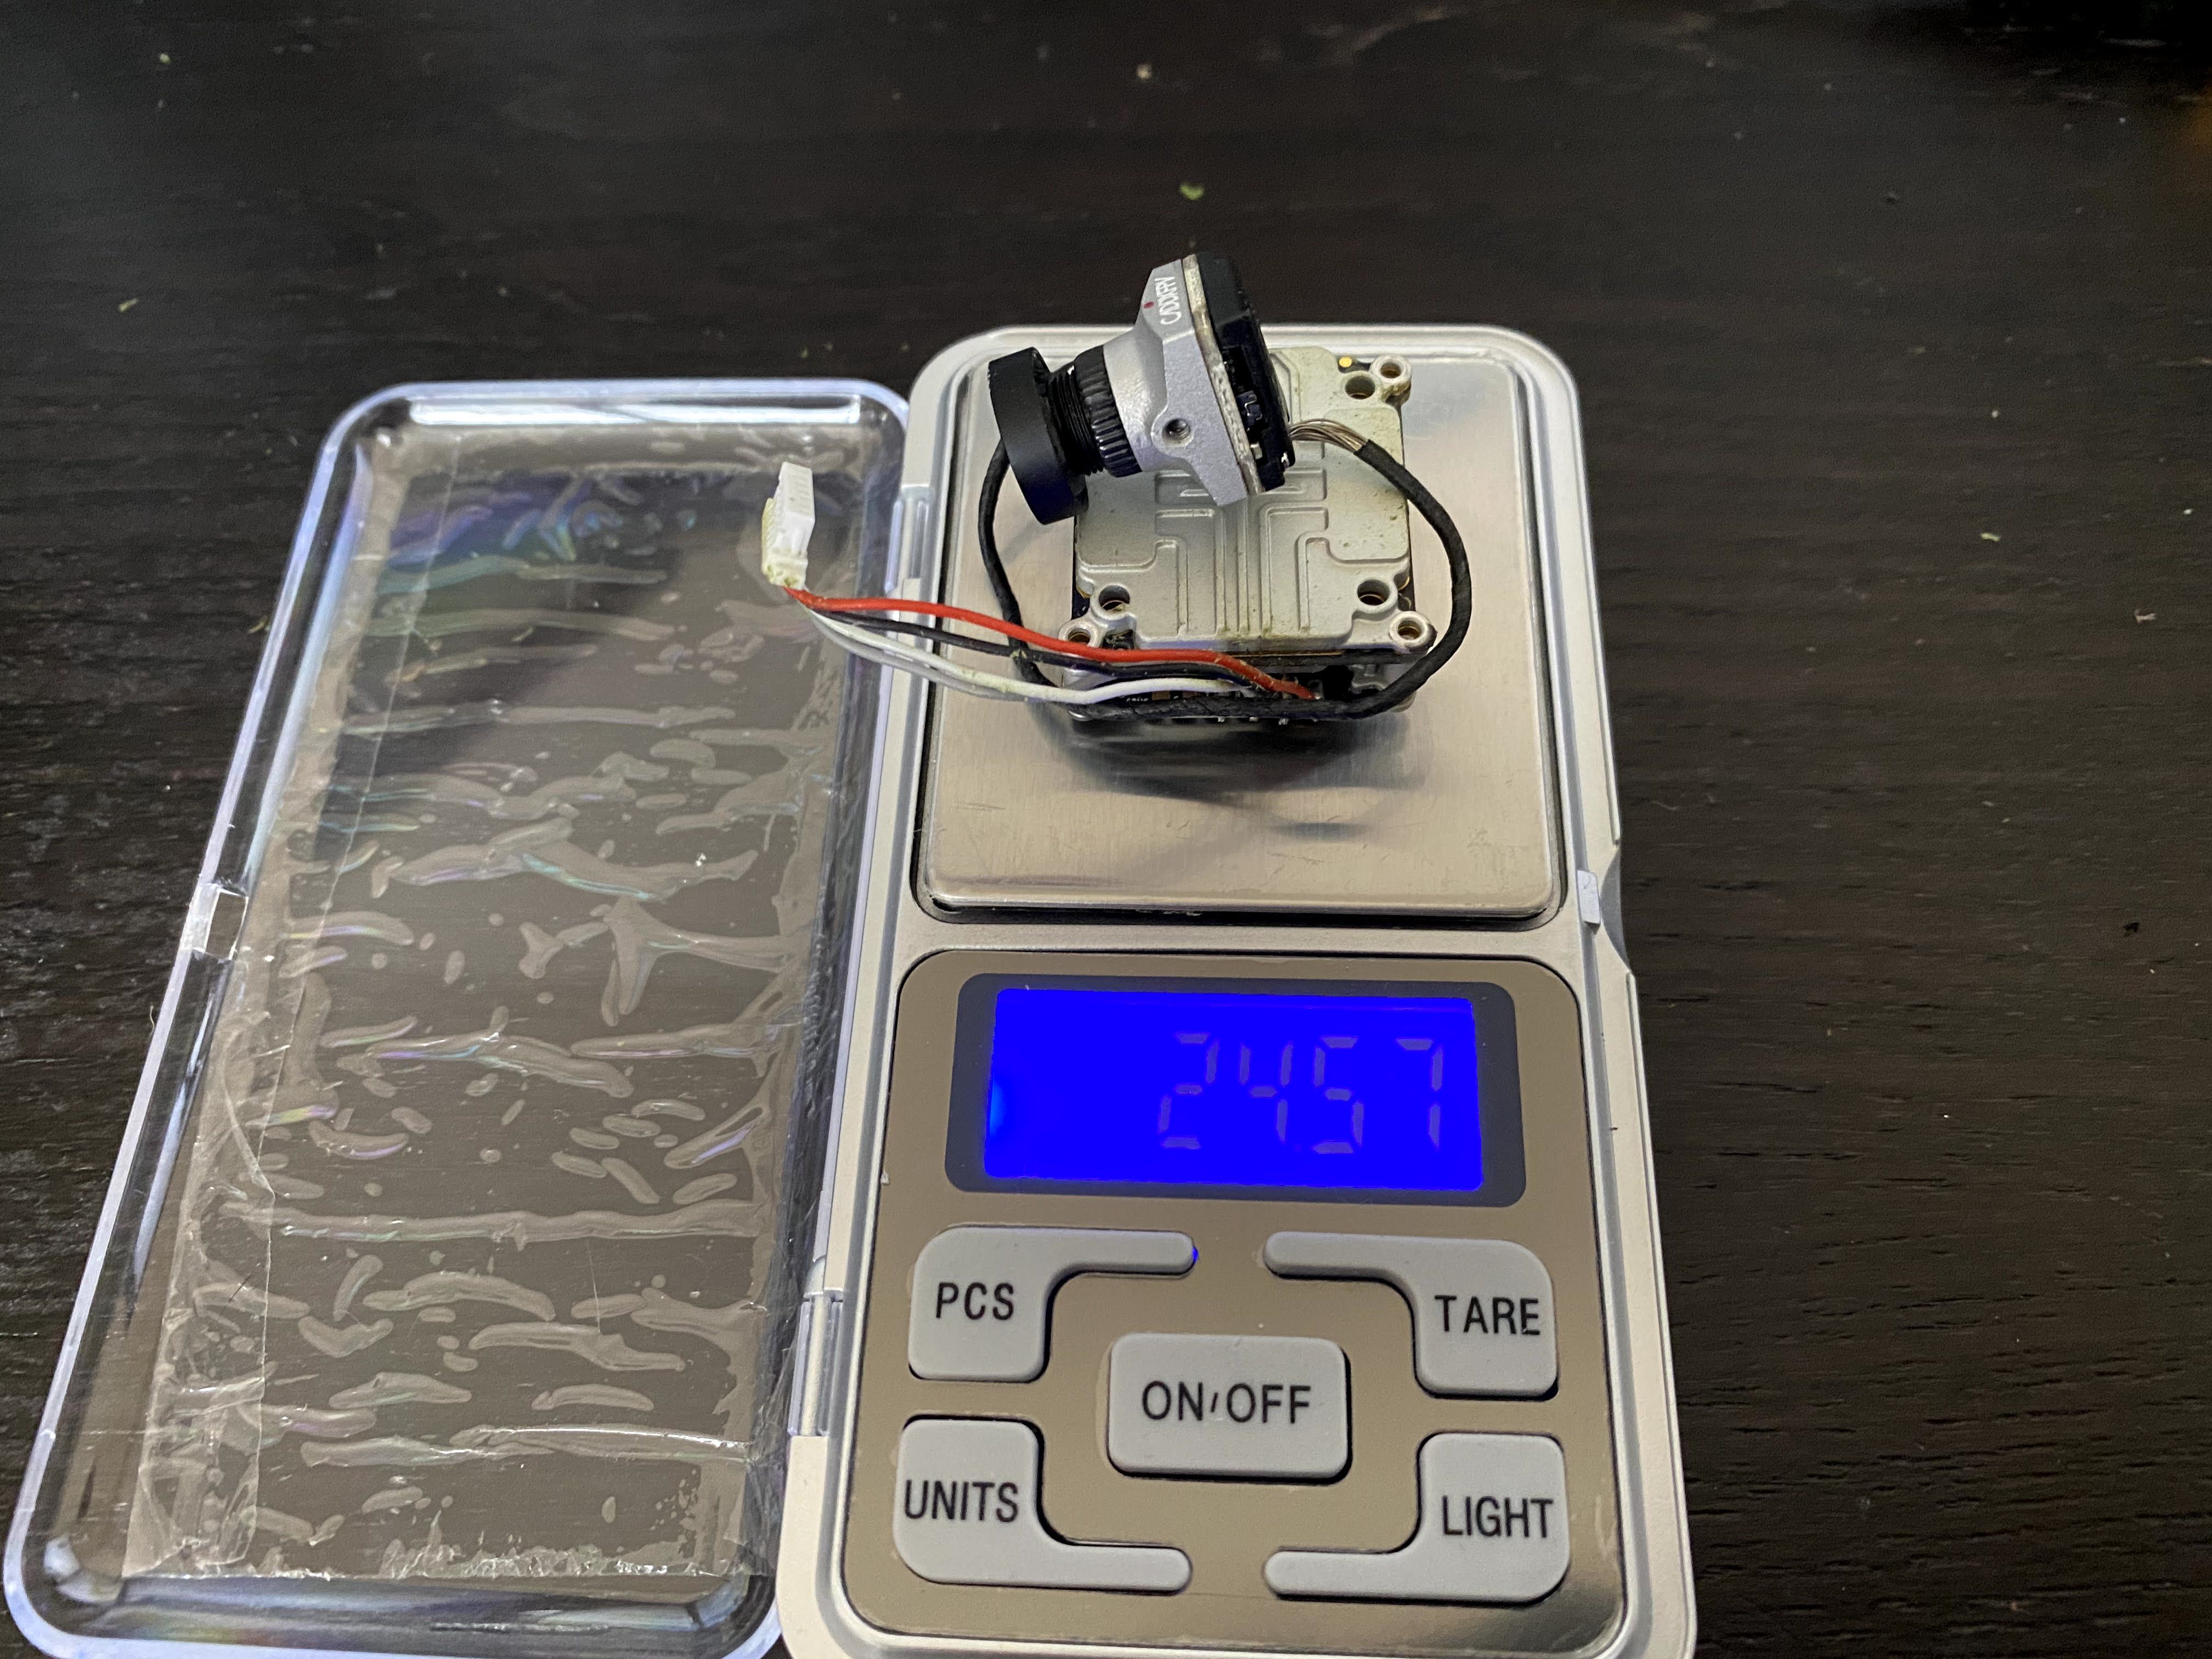
An 81-gram iflight A85 is nothing to rave about, but at least a have a Nebula Pro micro size camera in it! :)
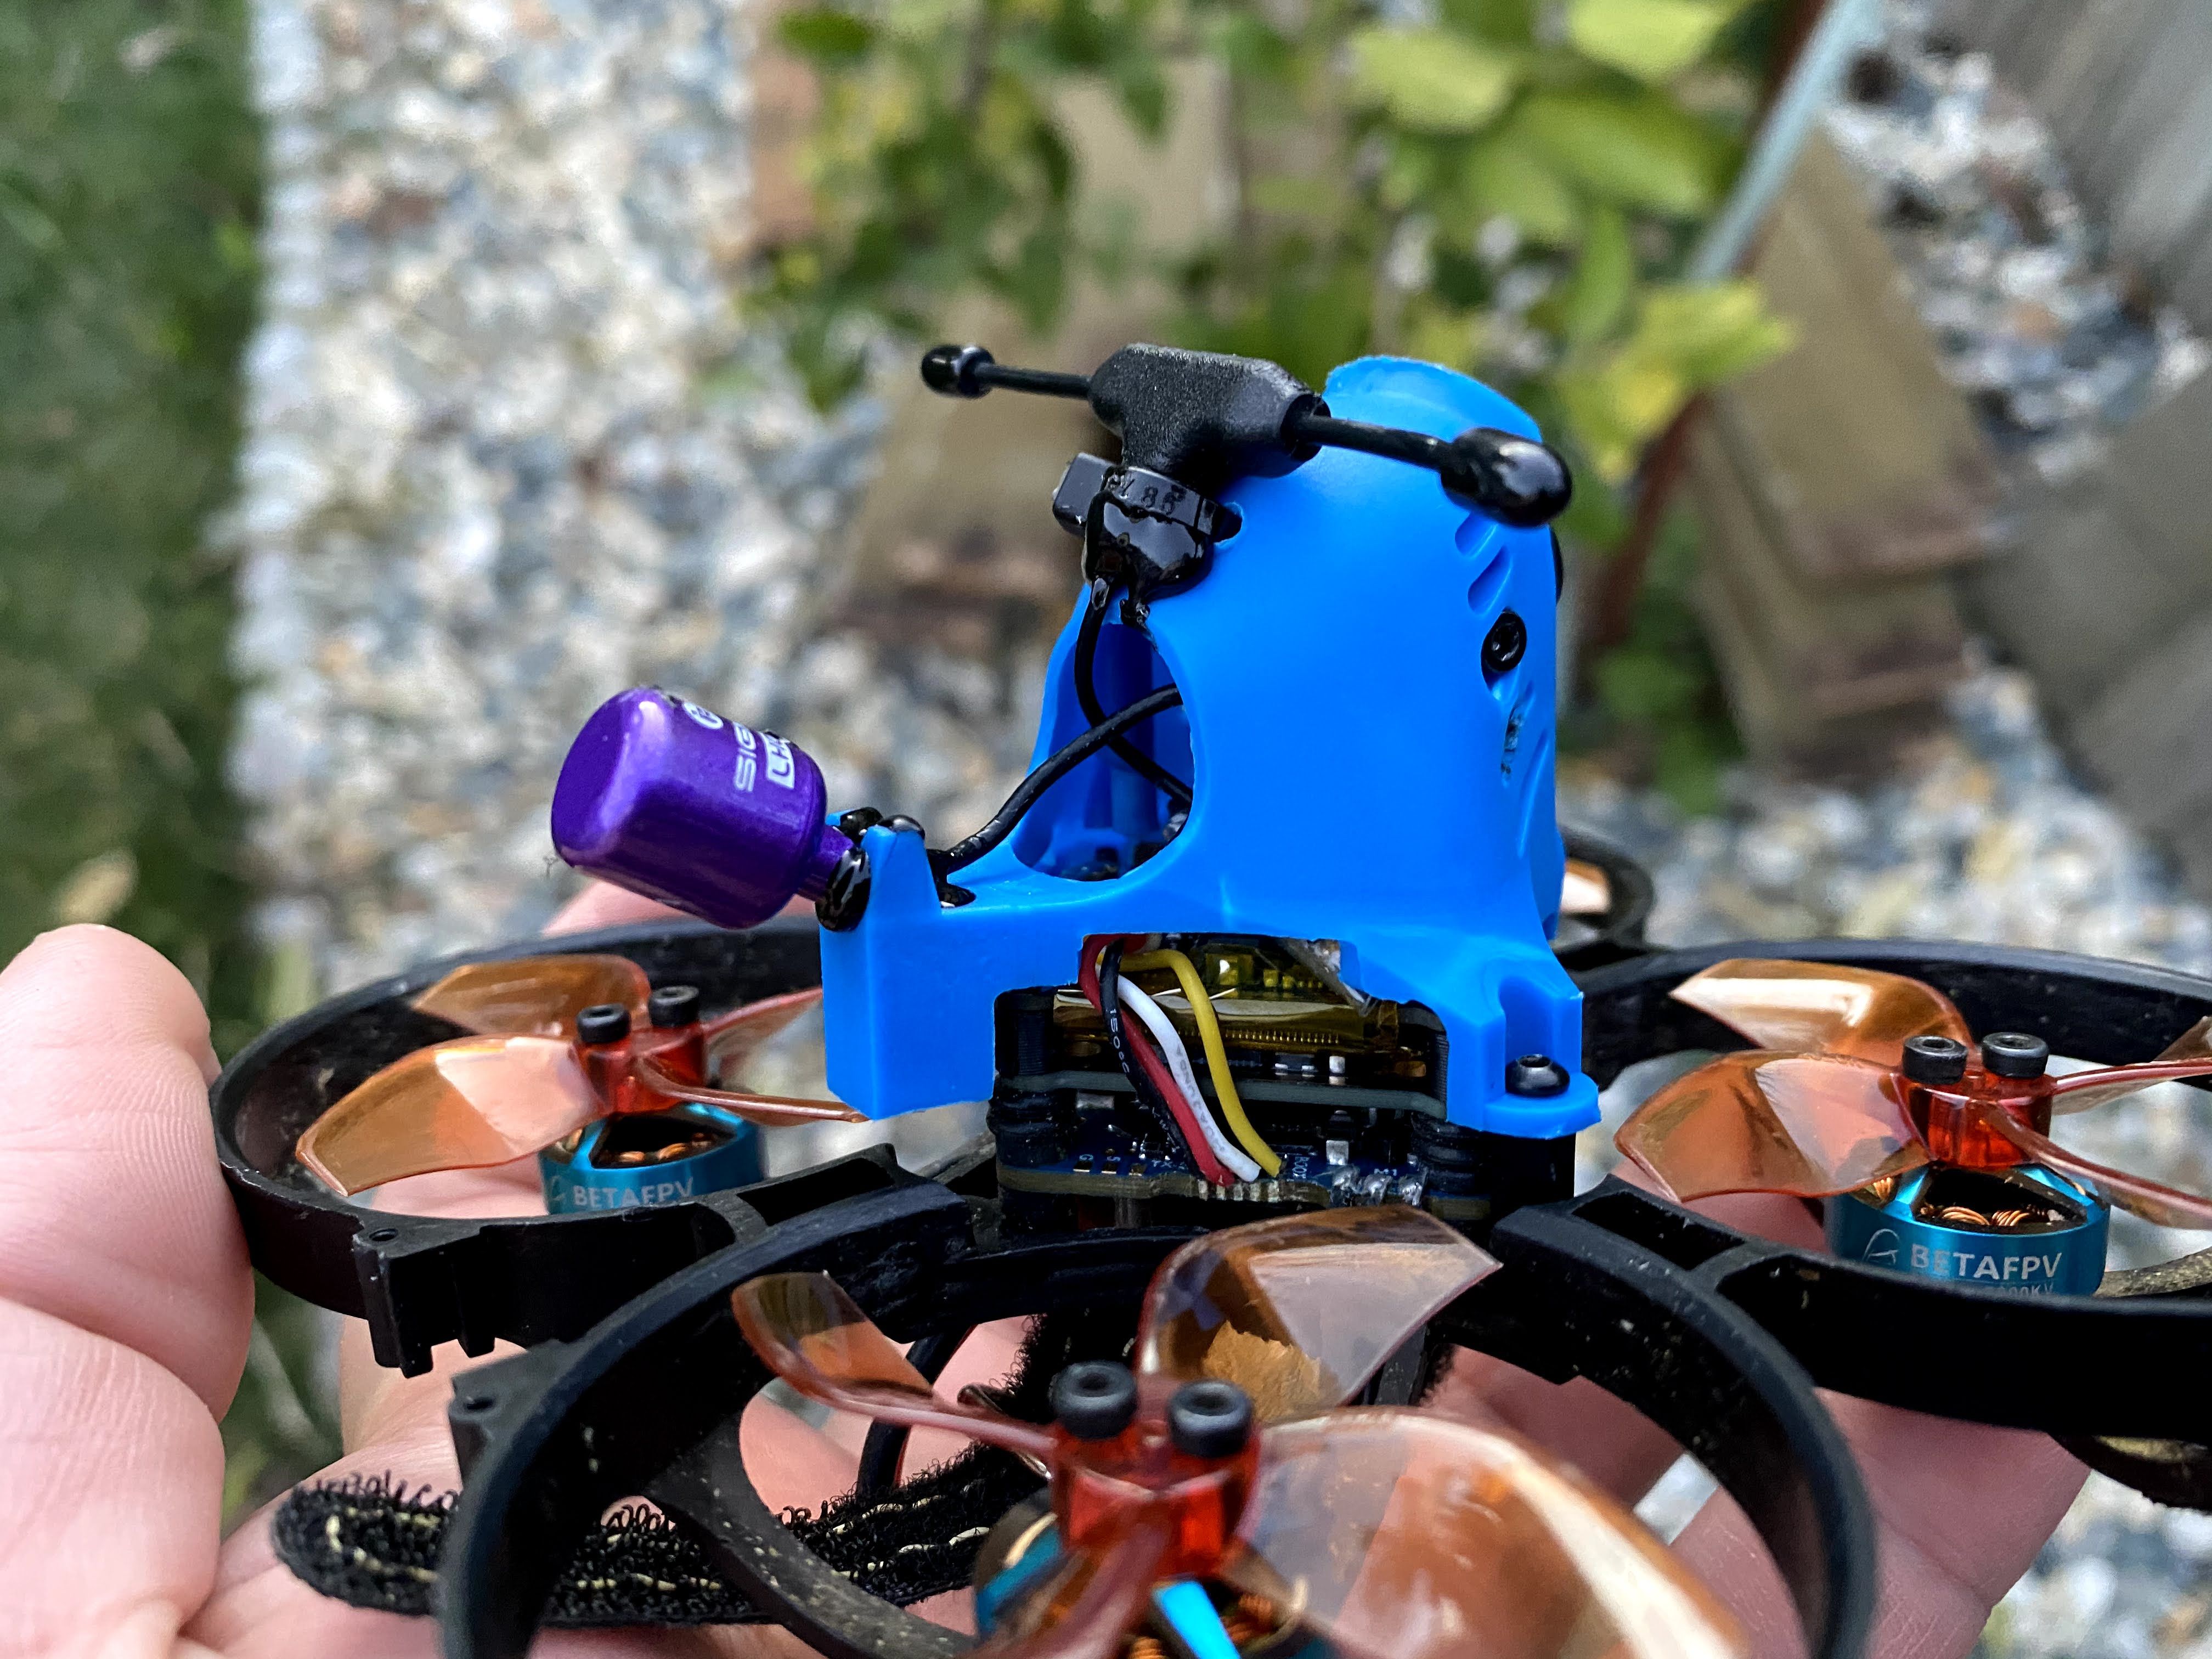
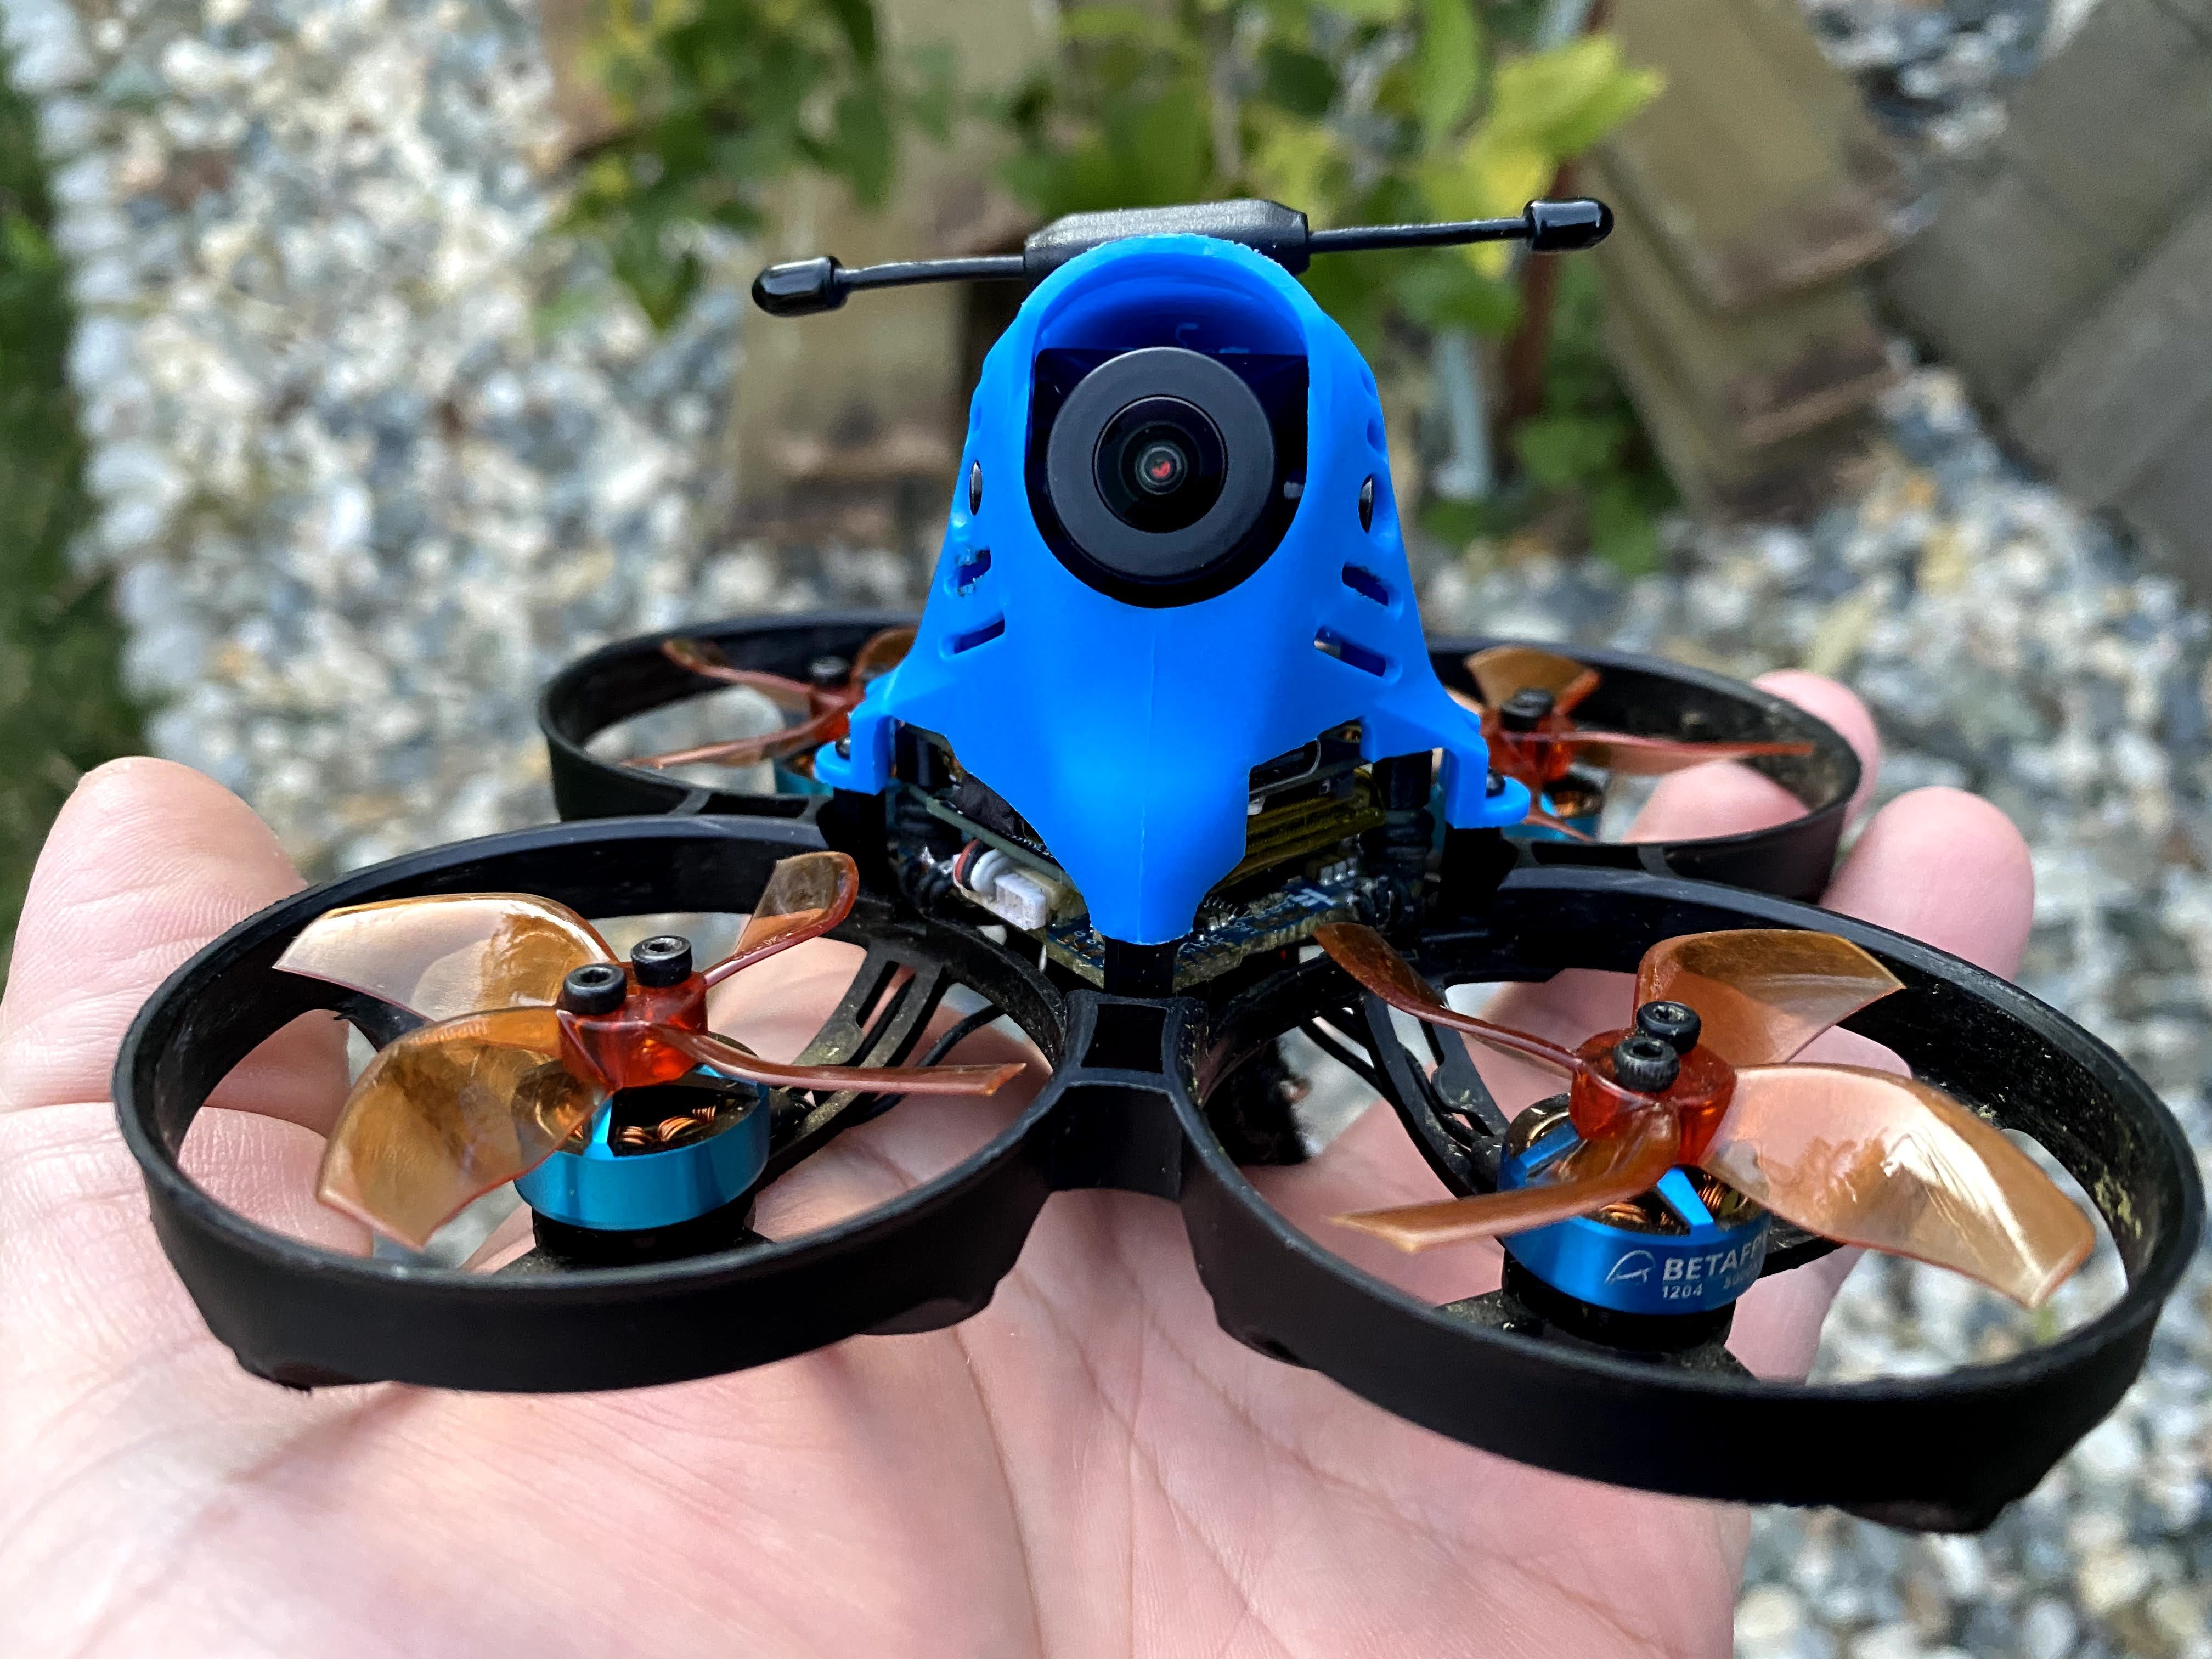
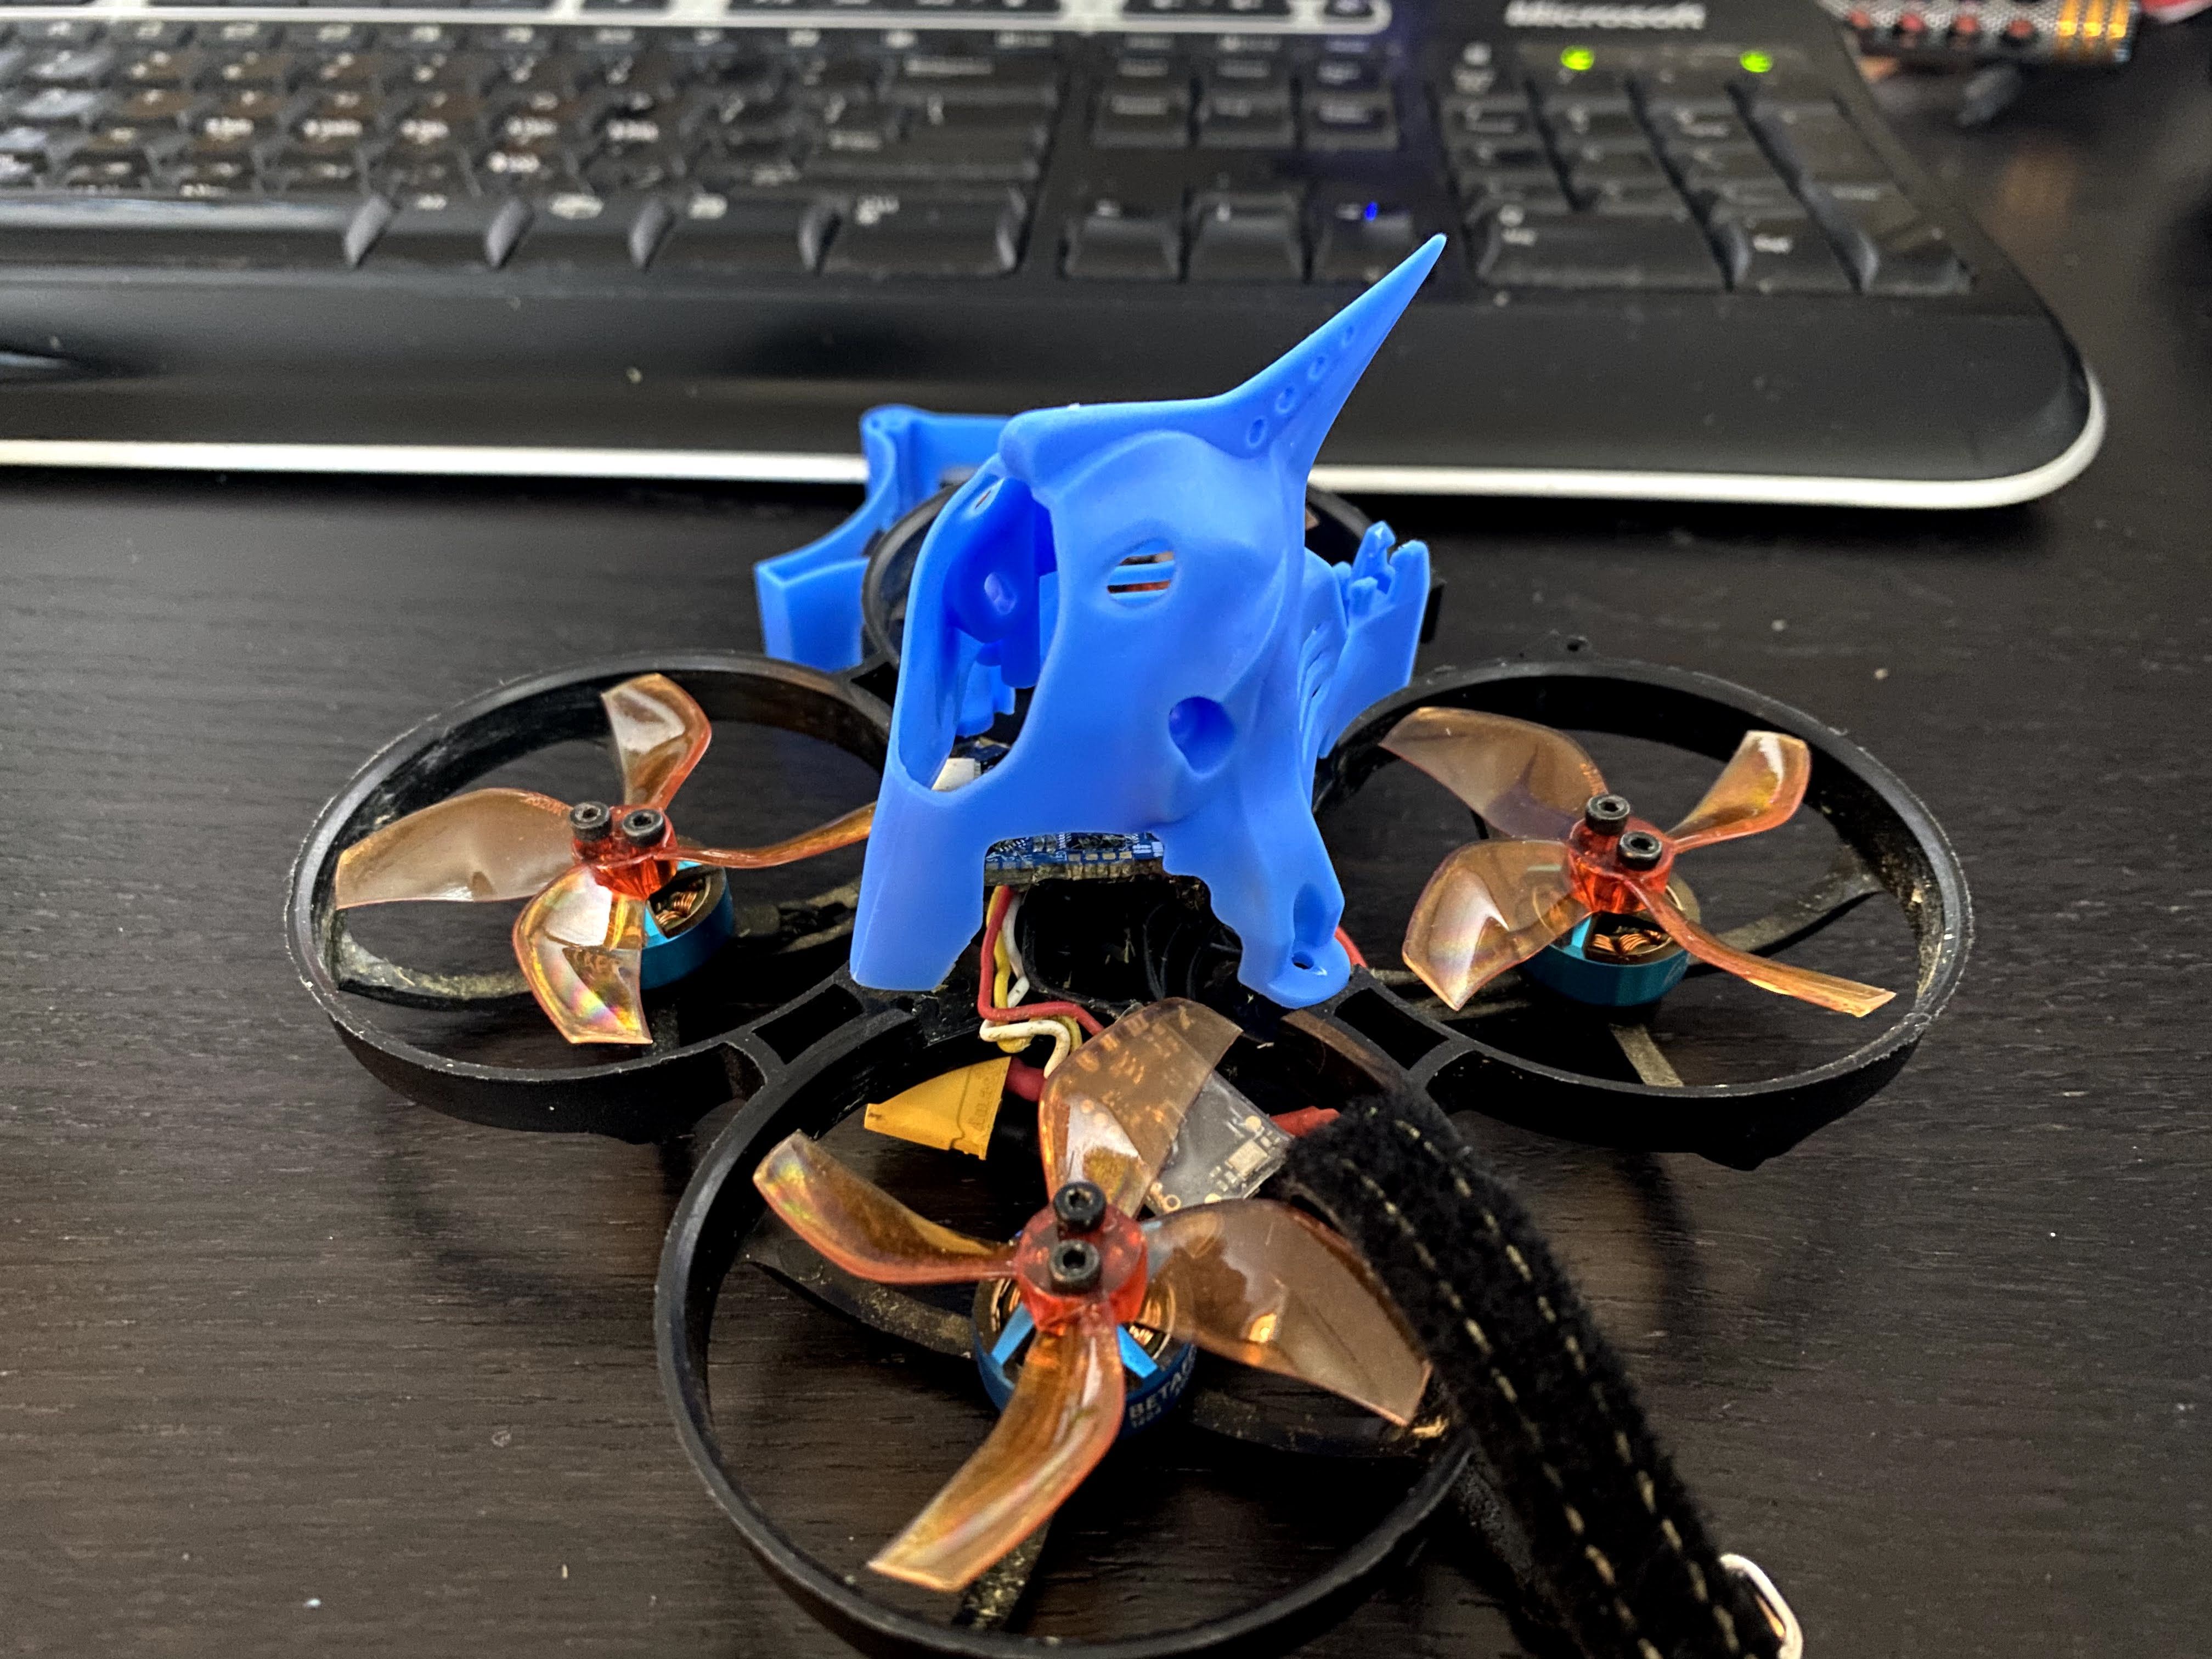
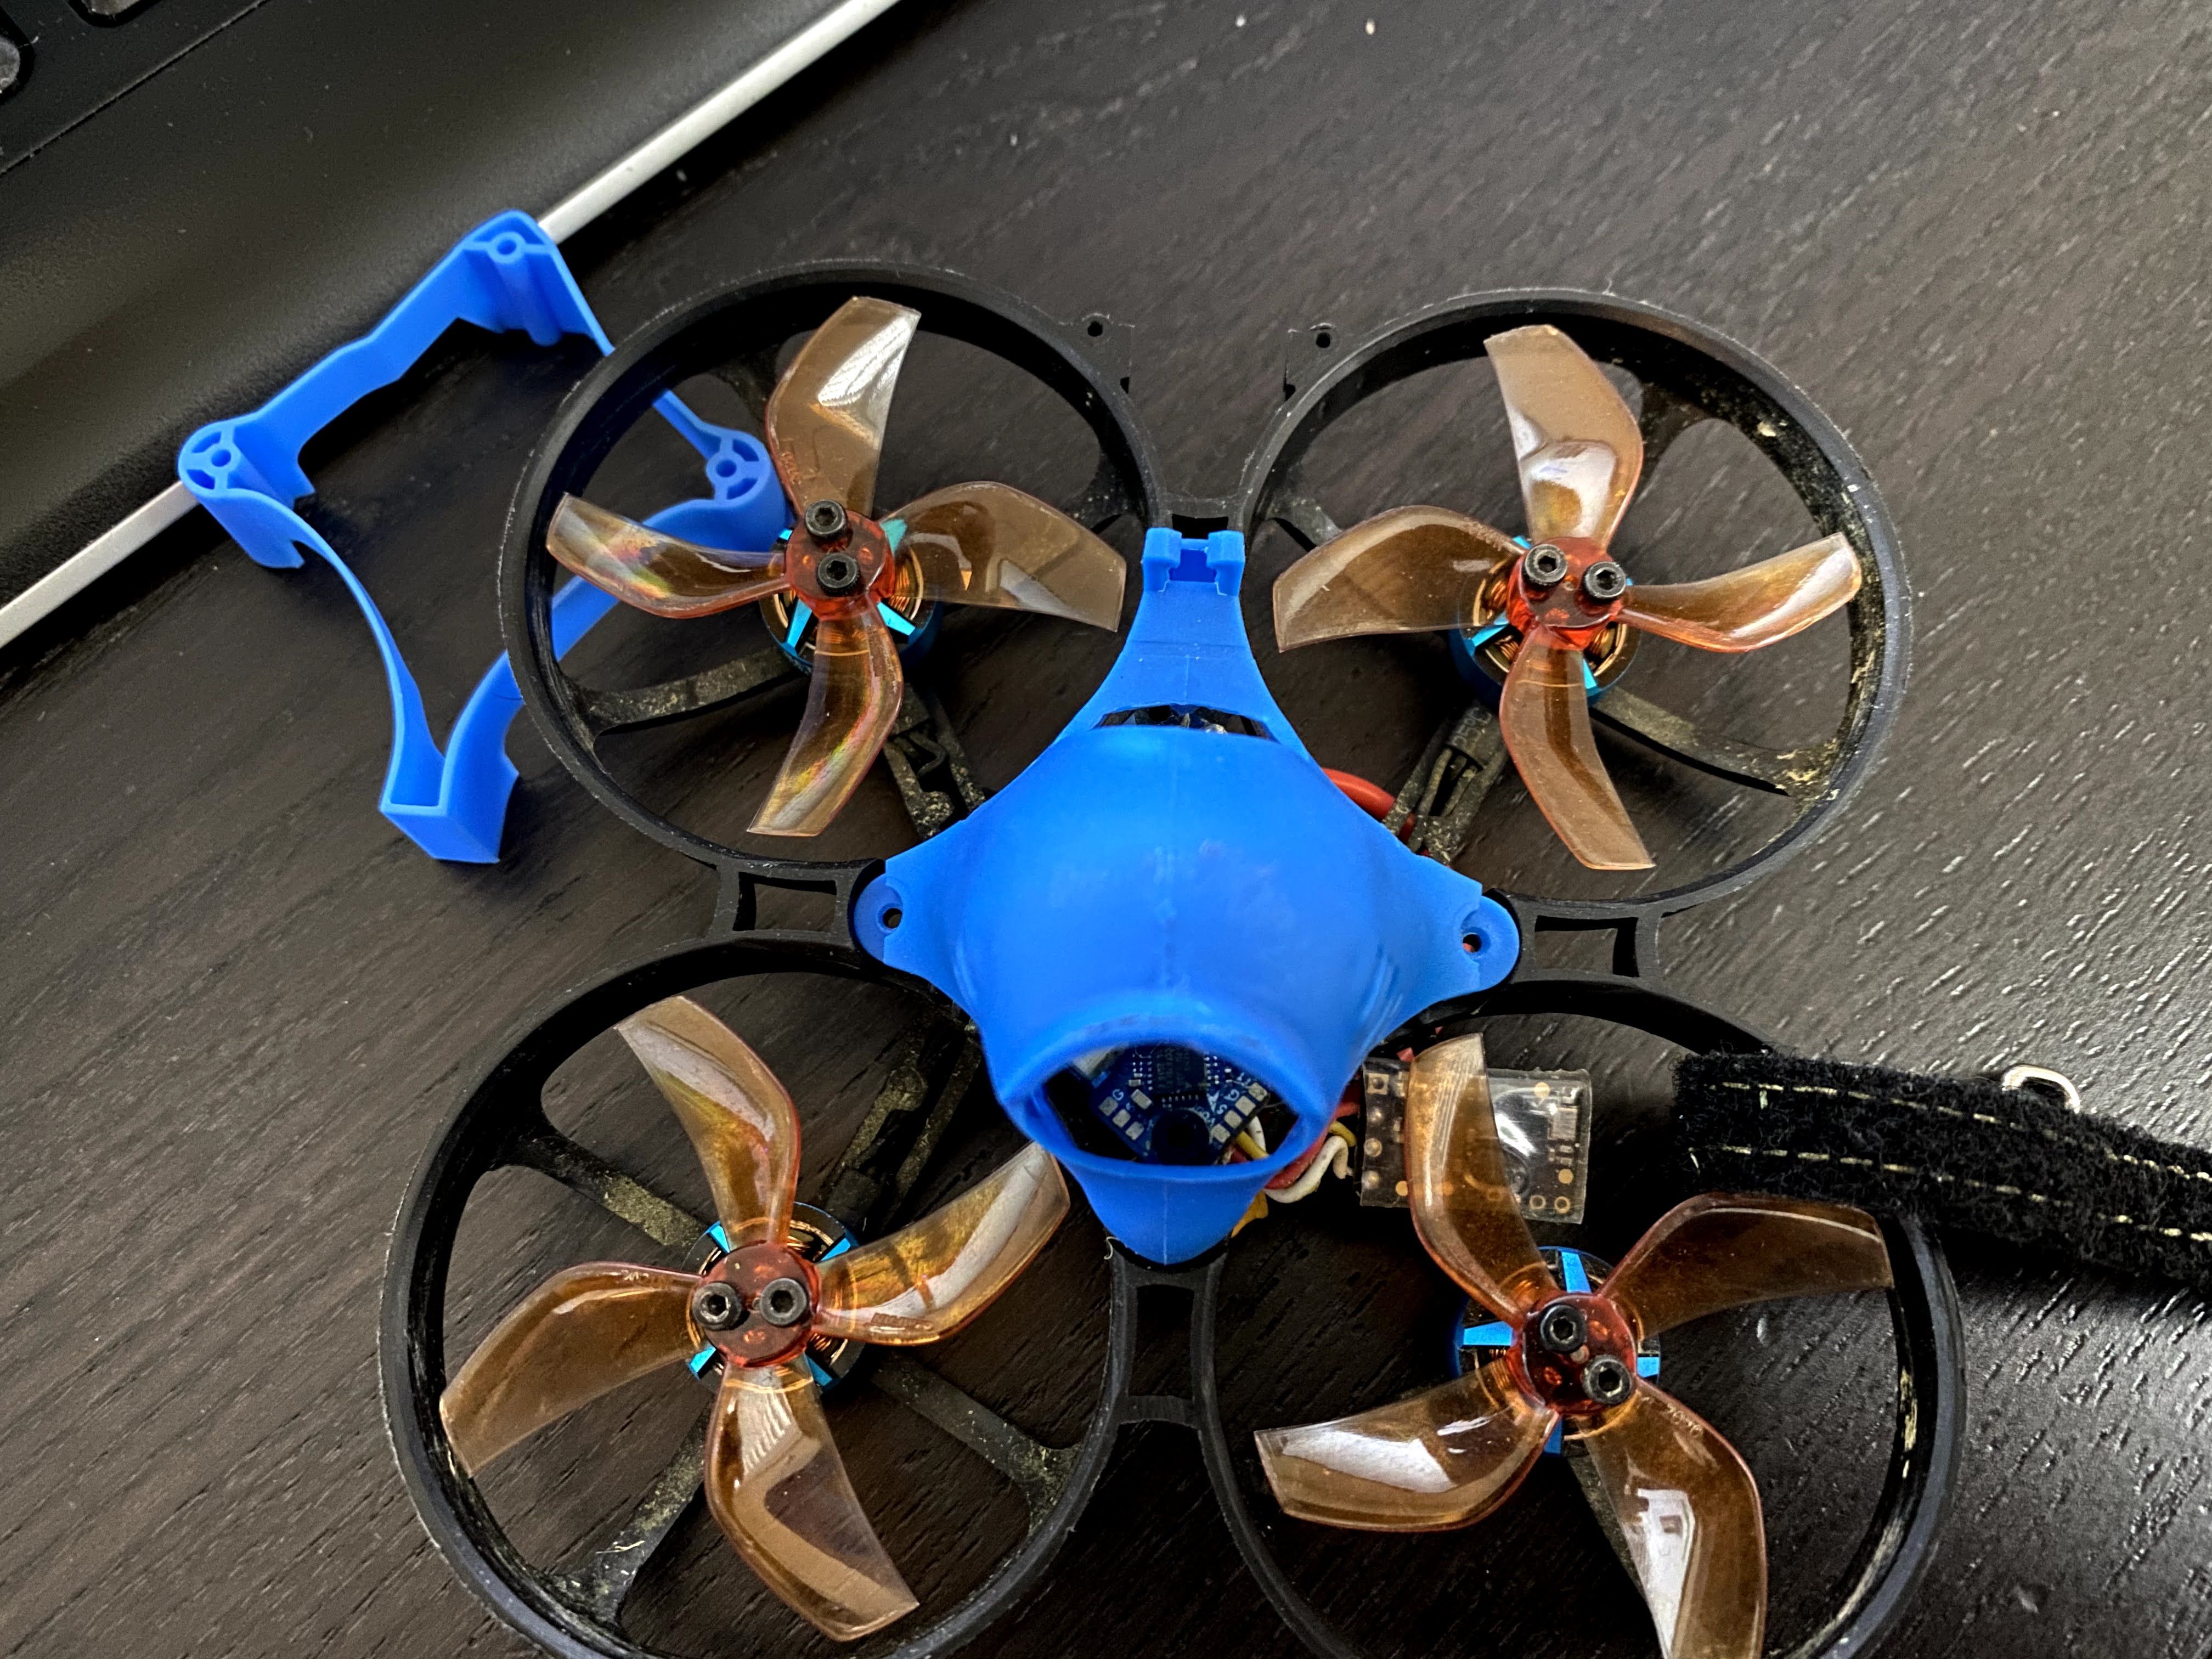
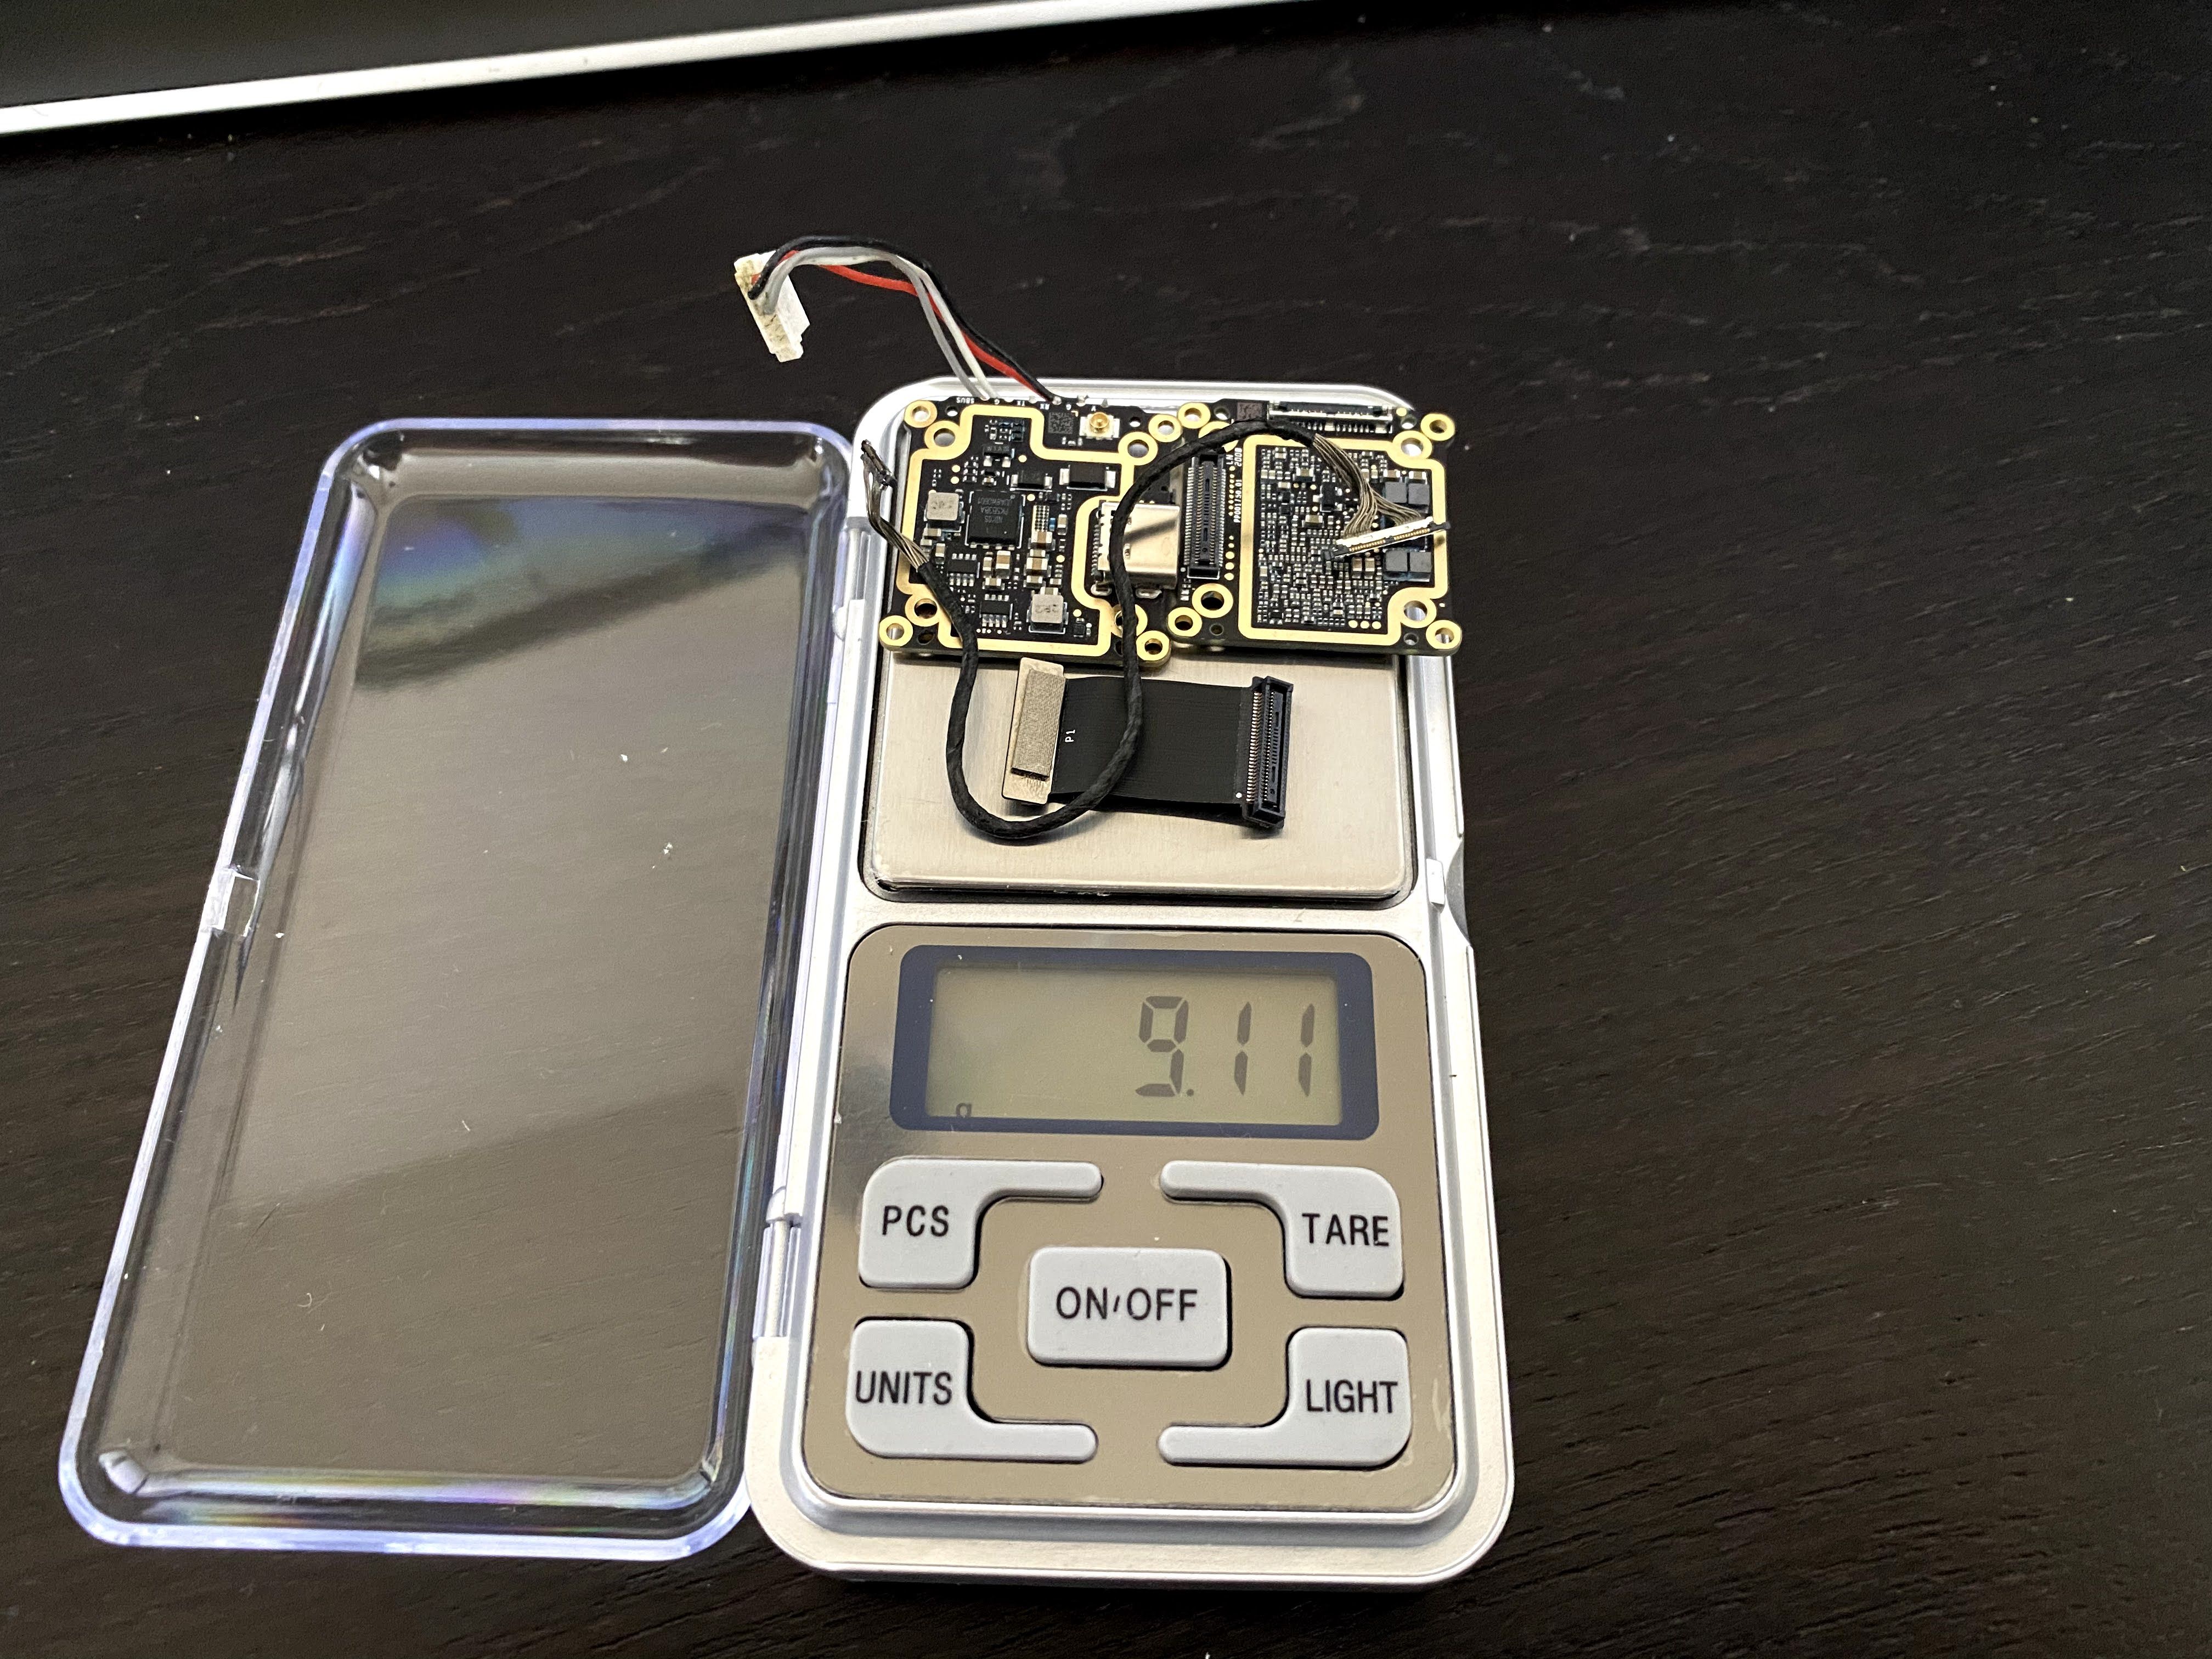
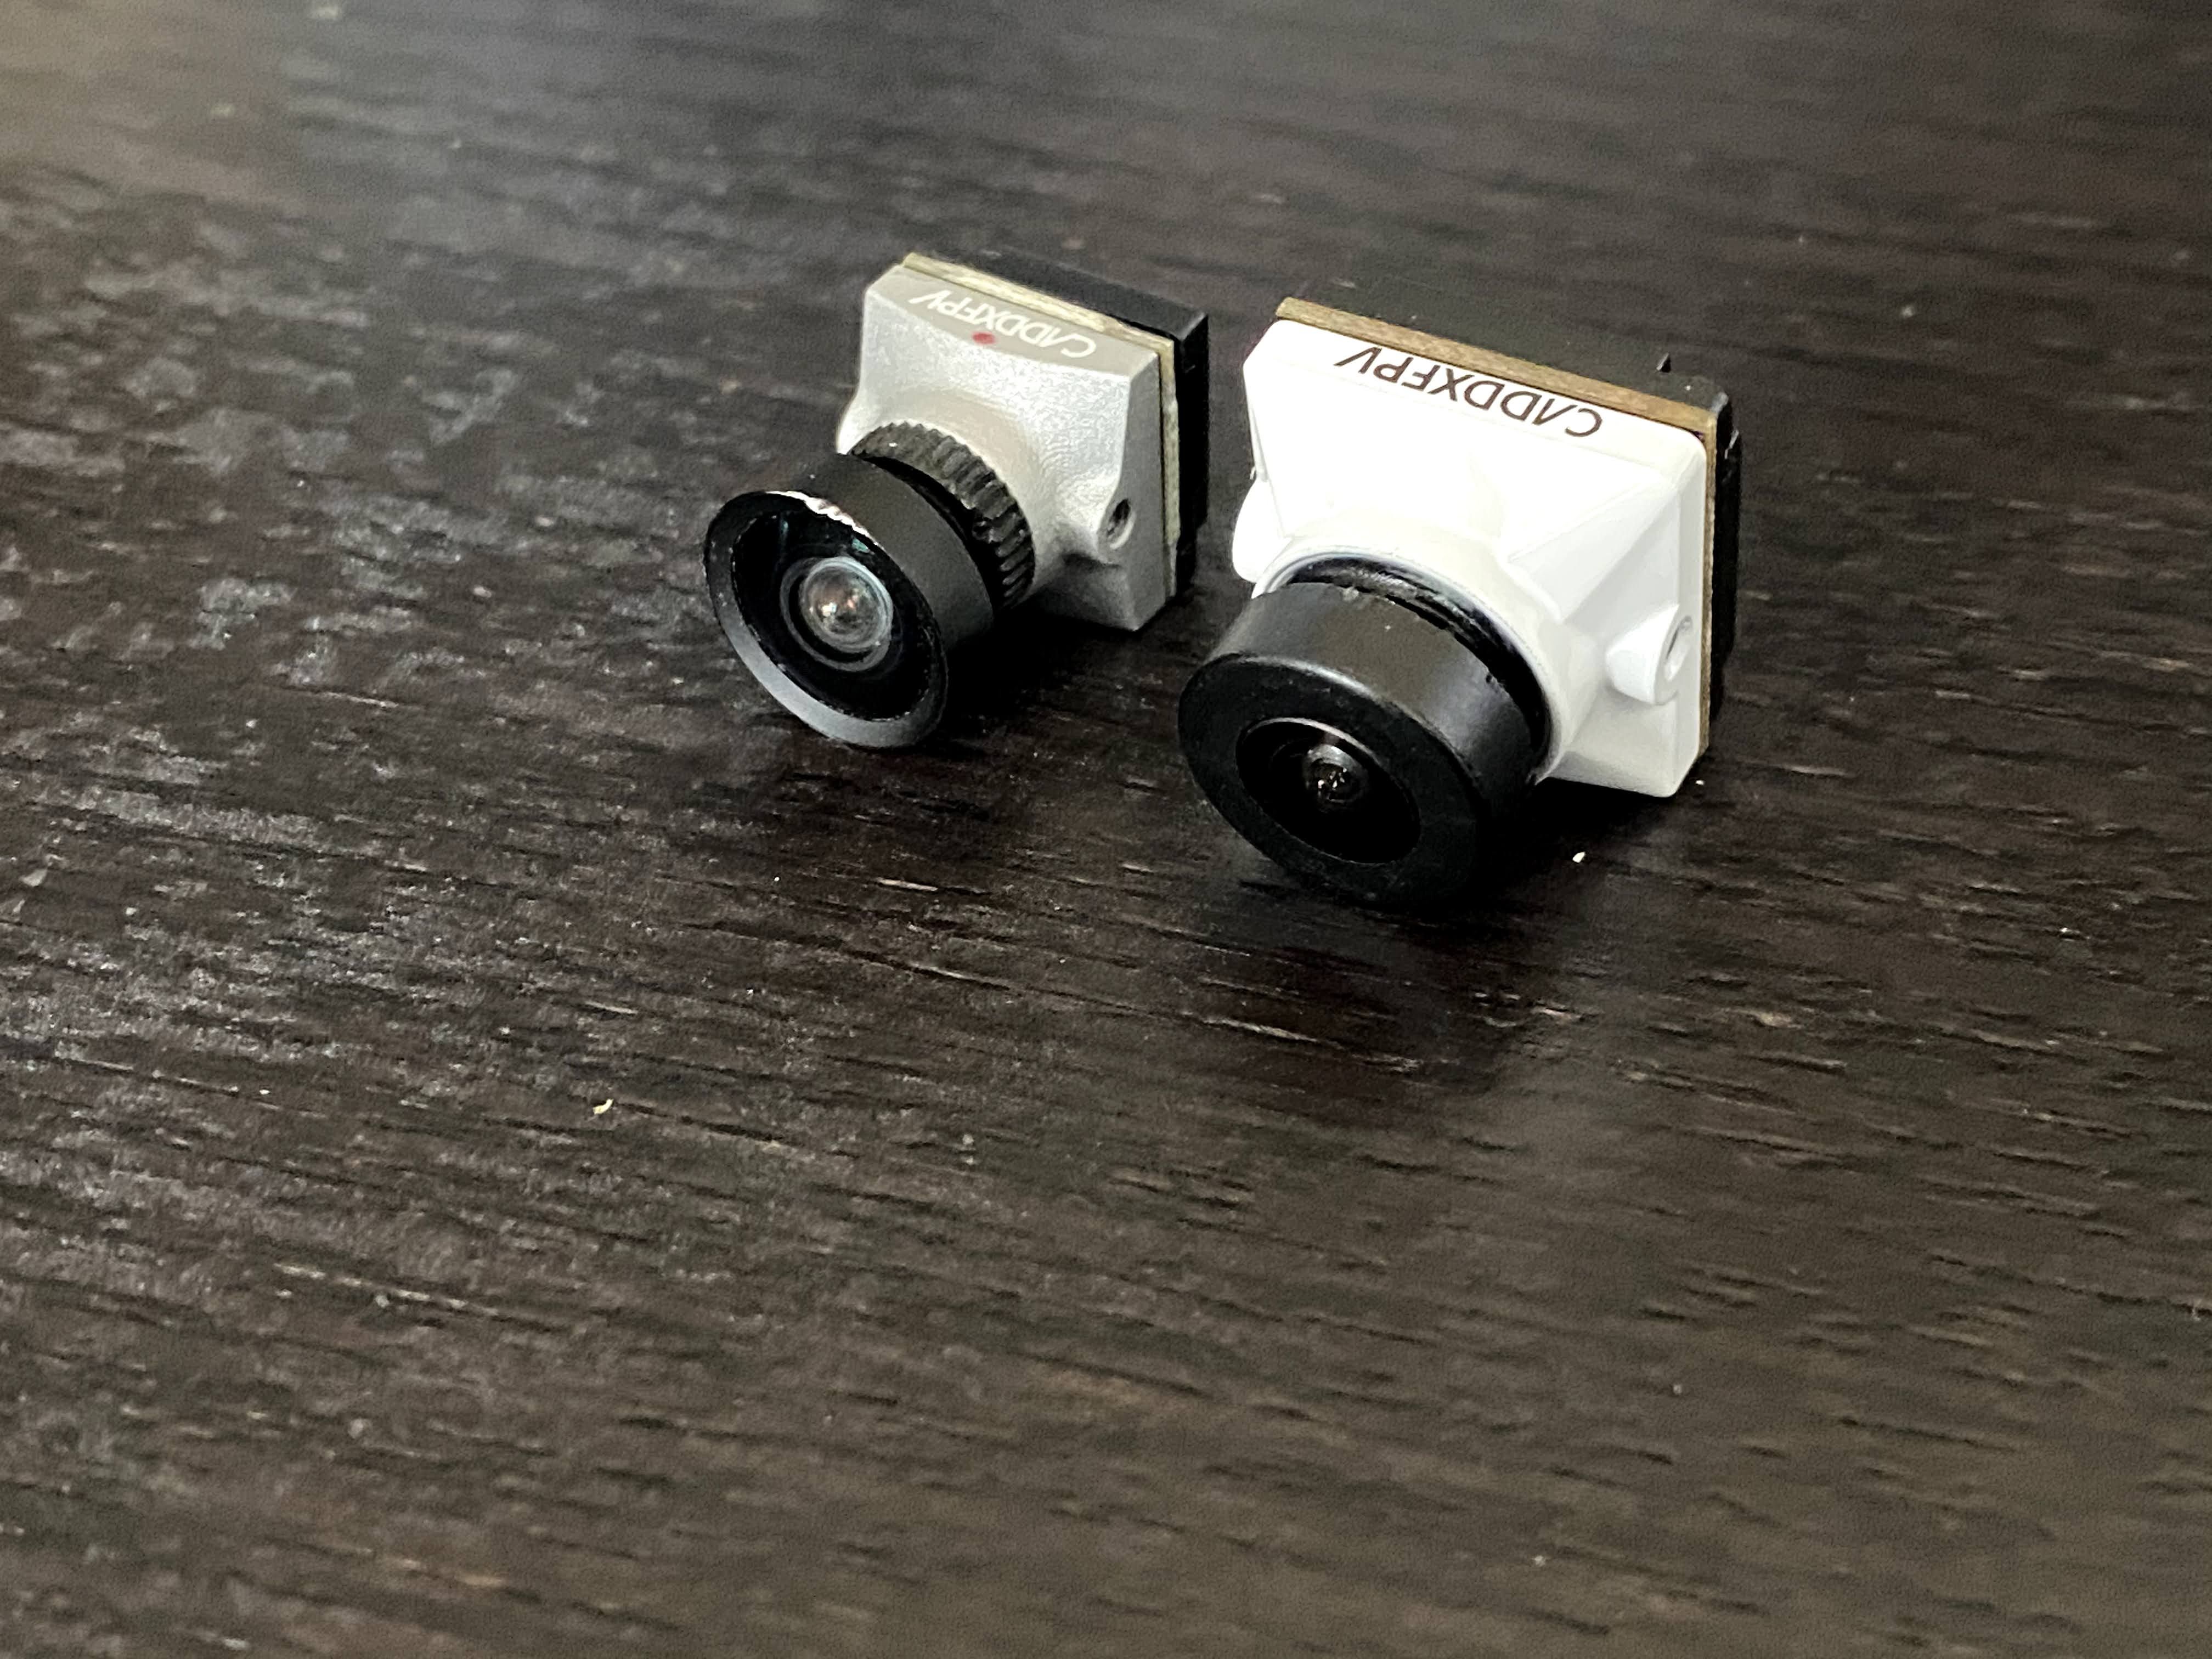
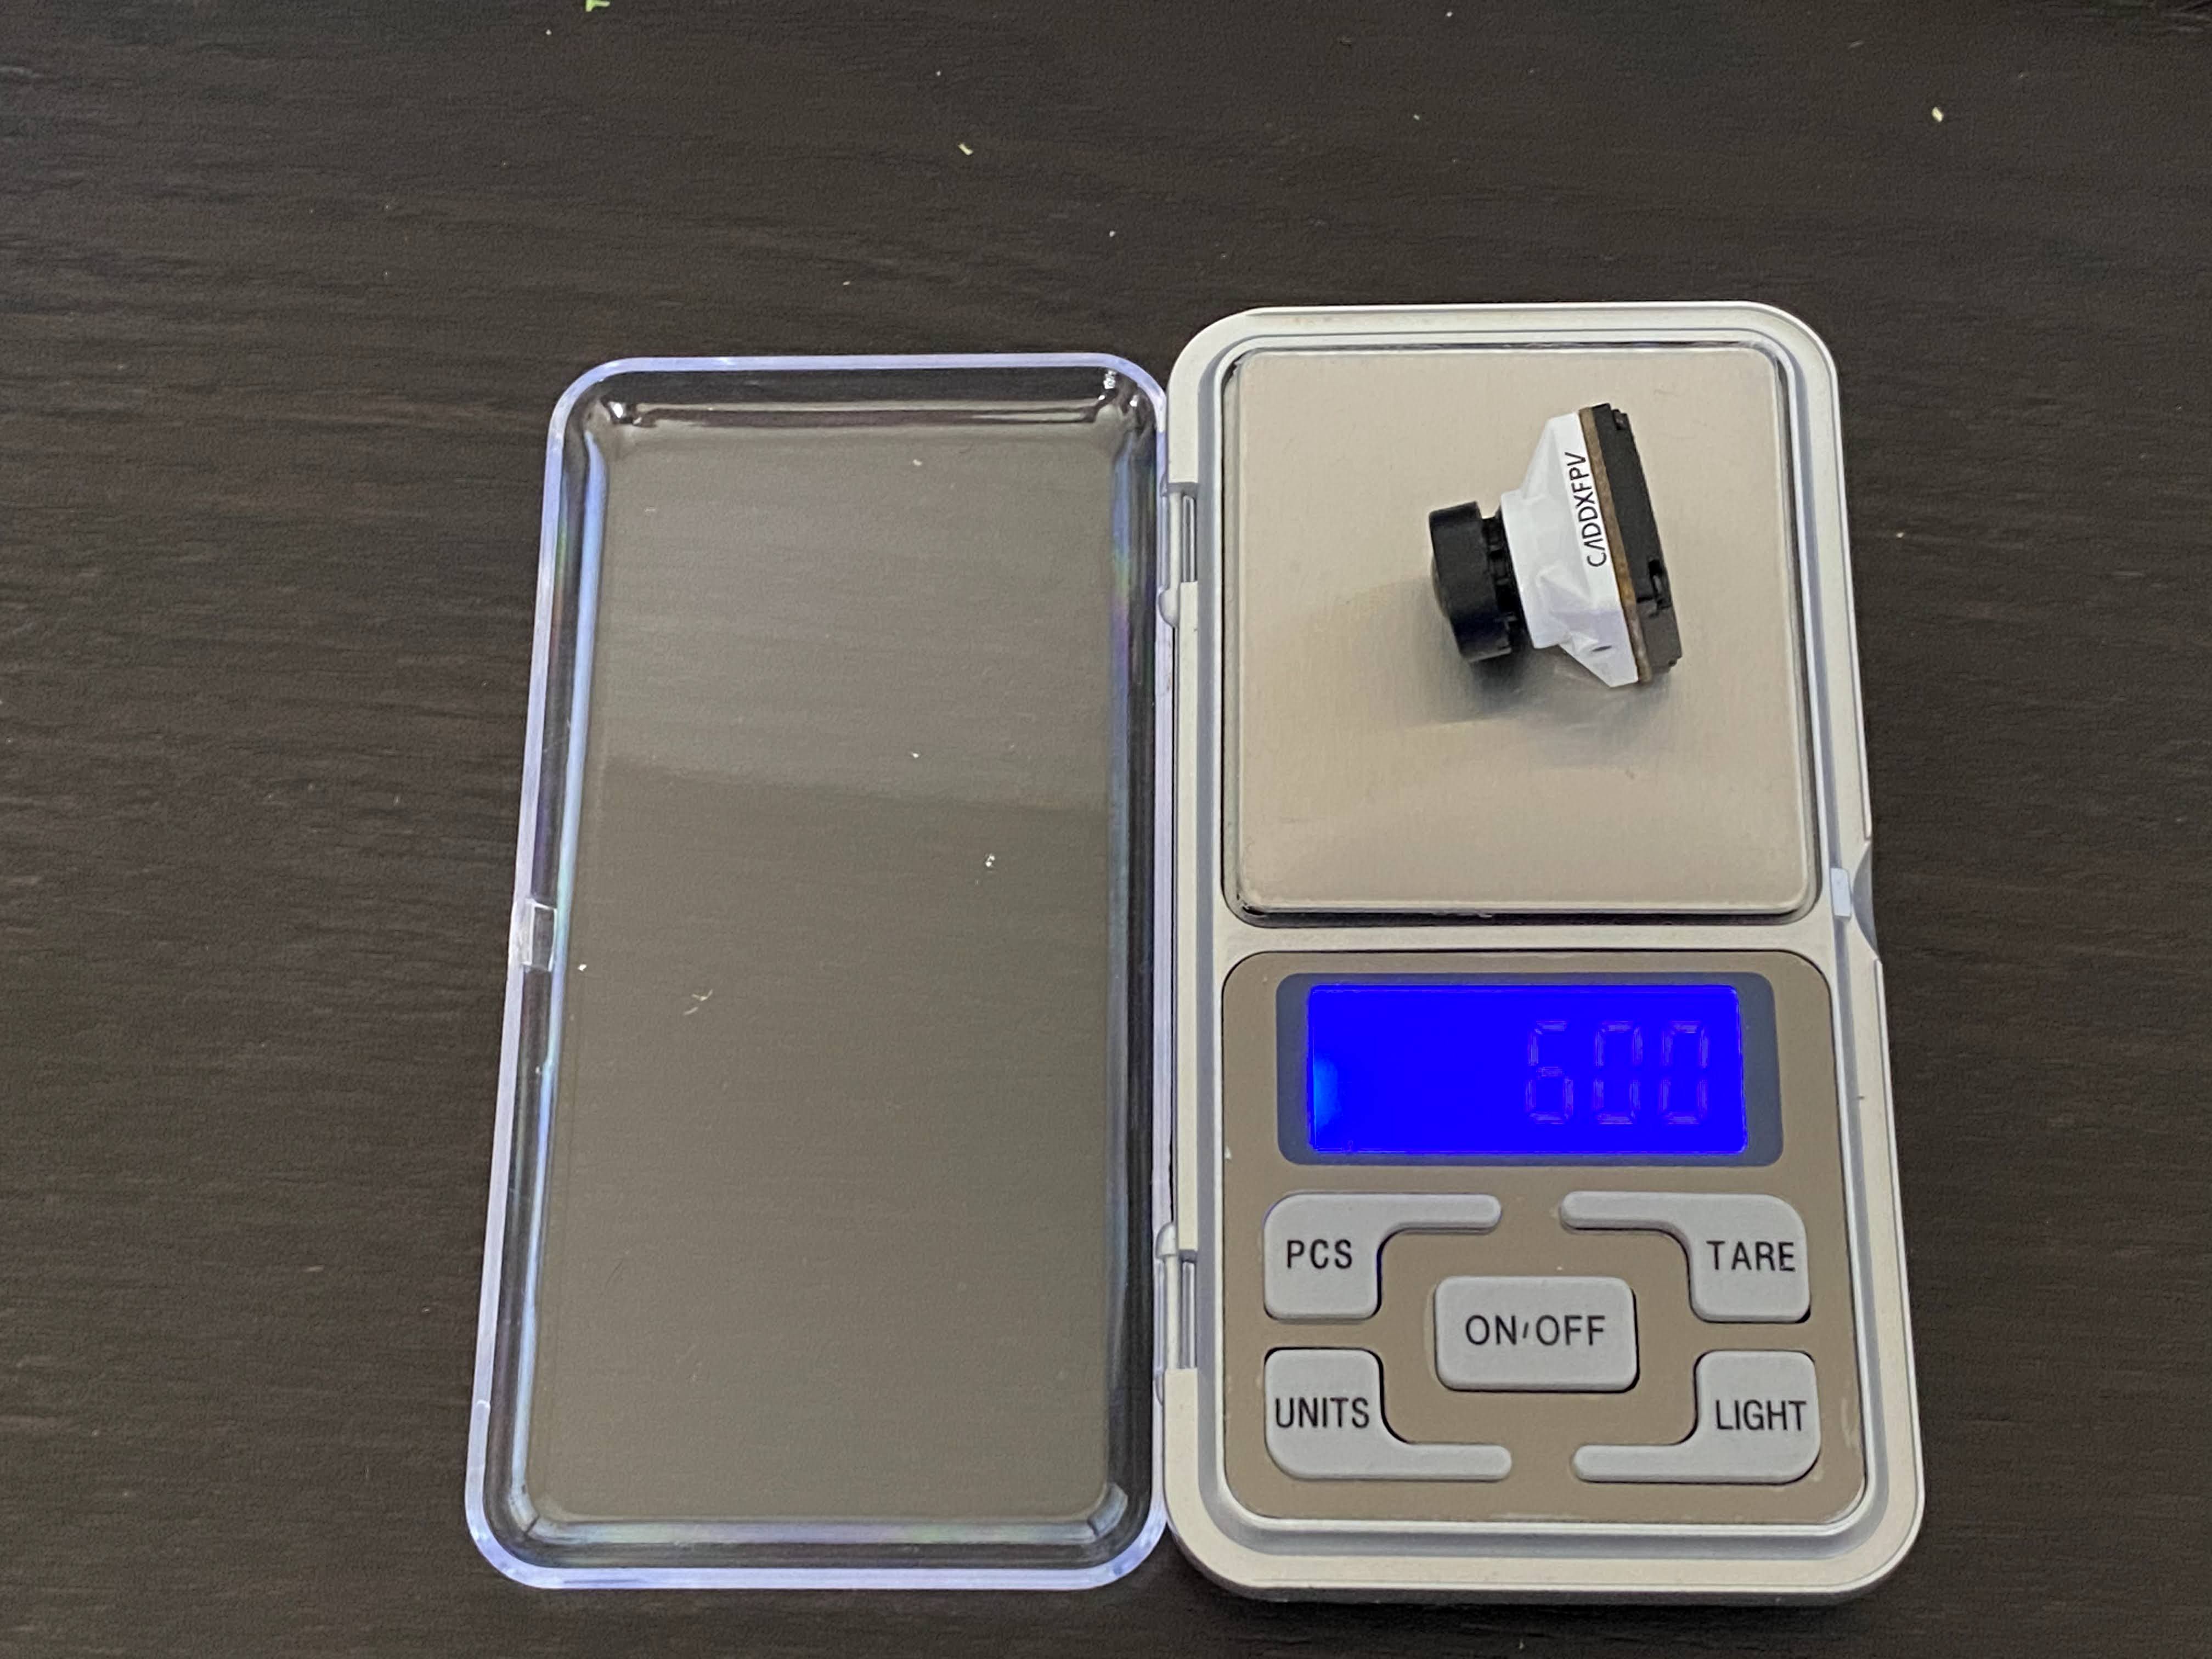
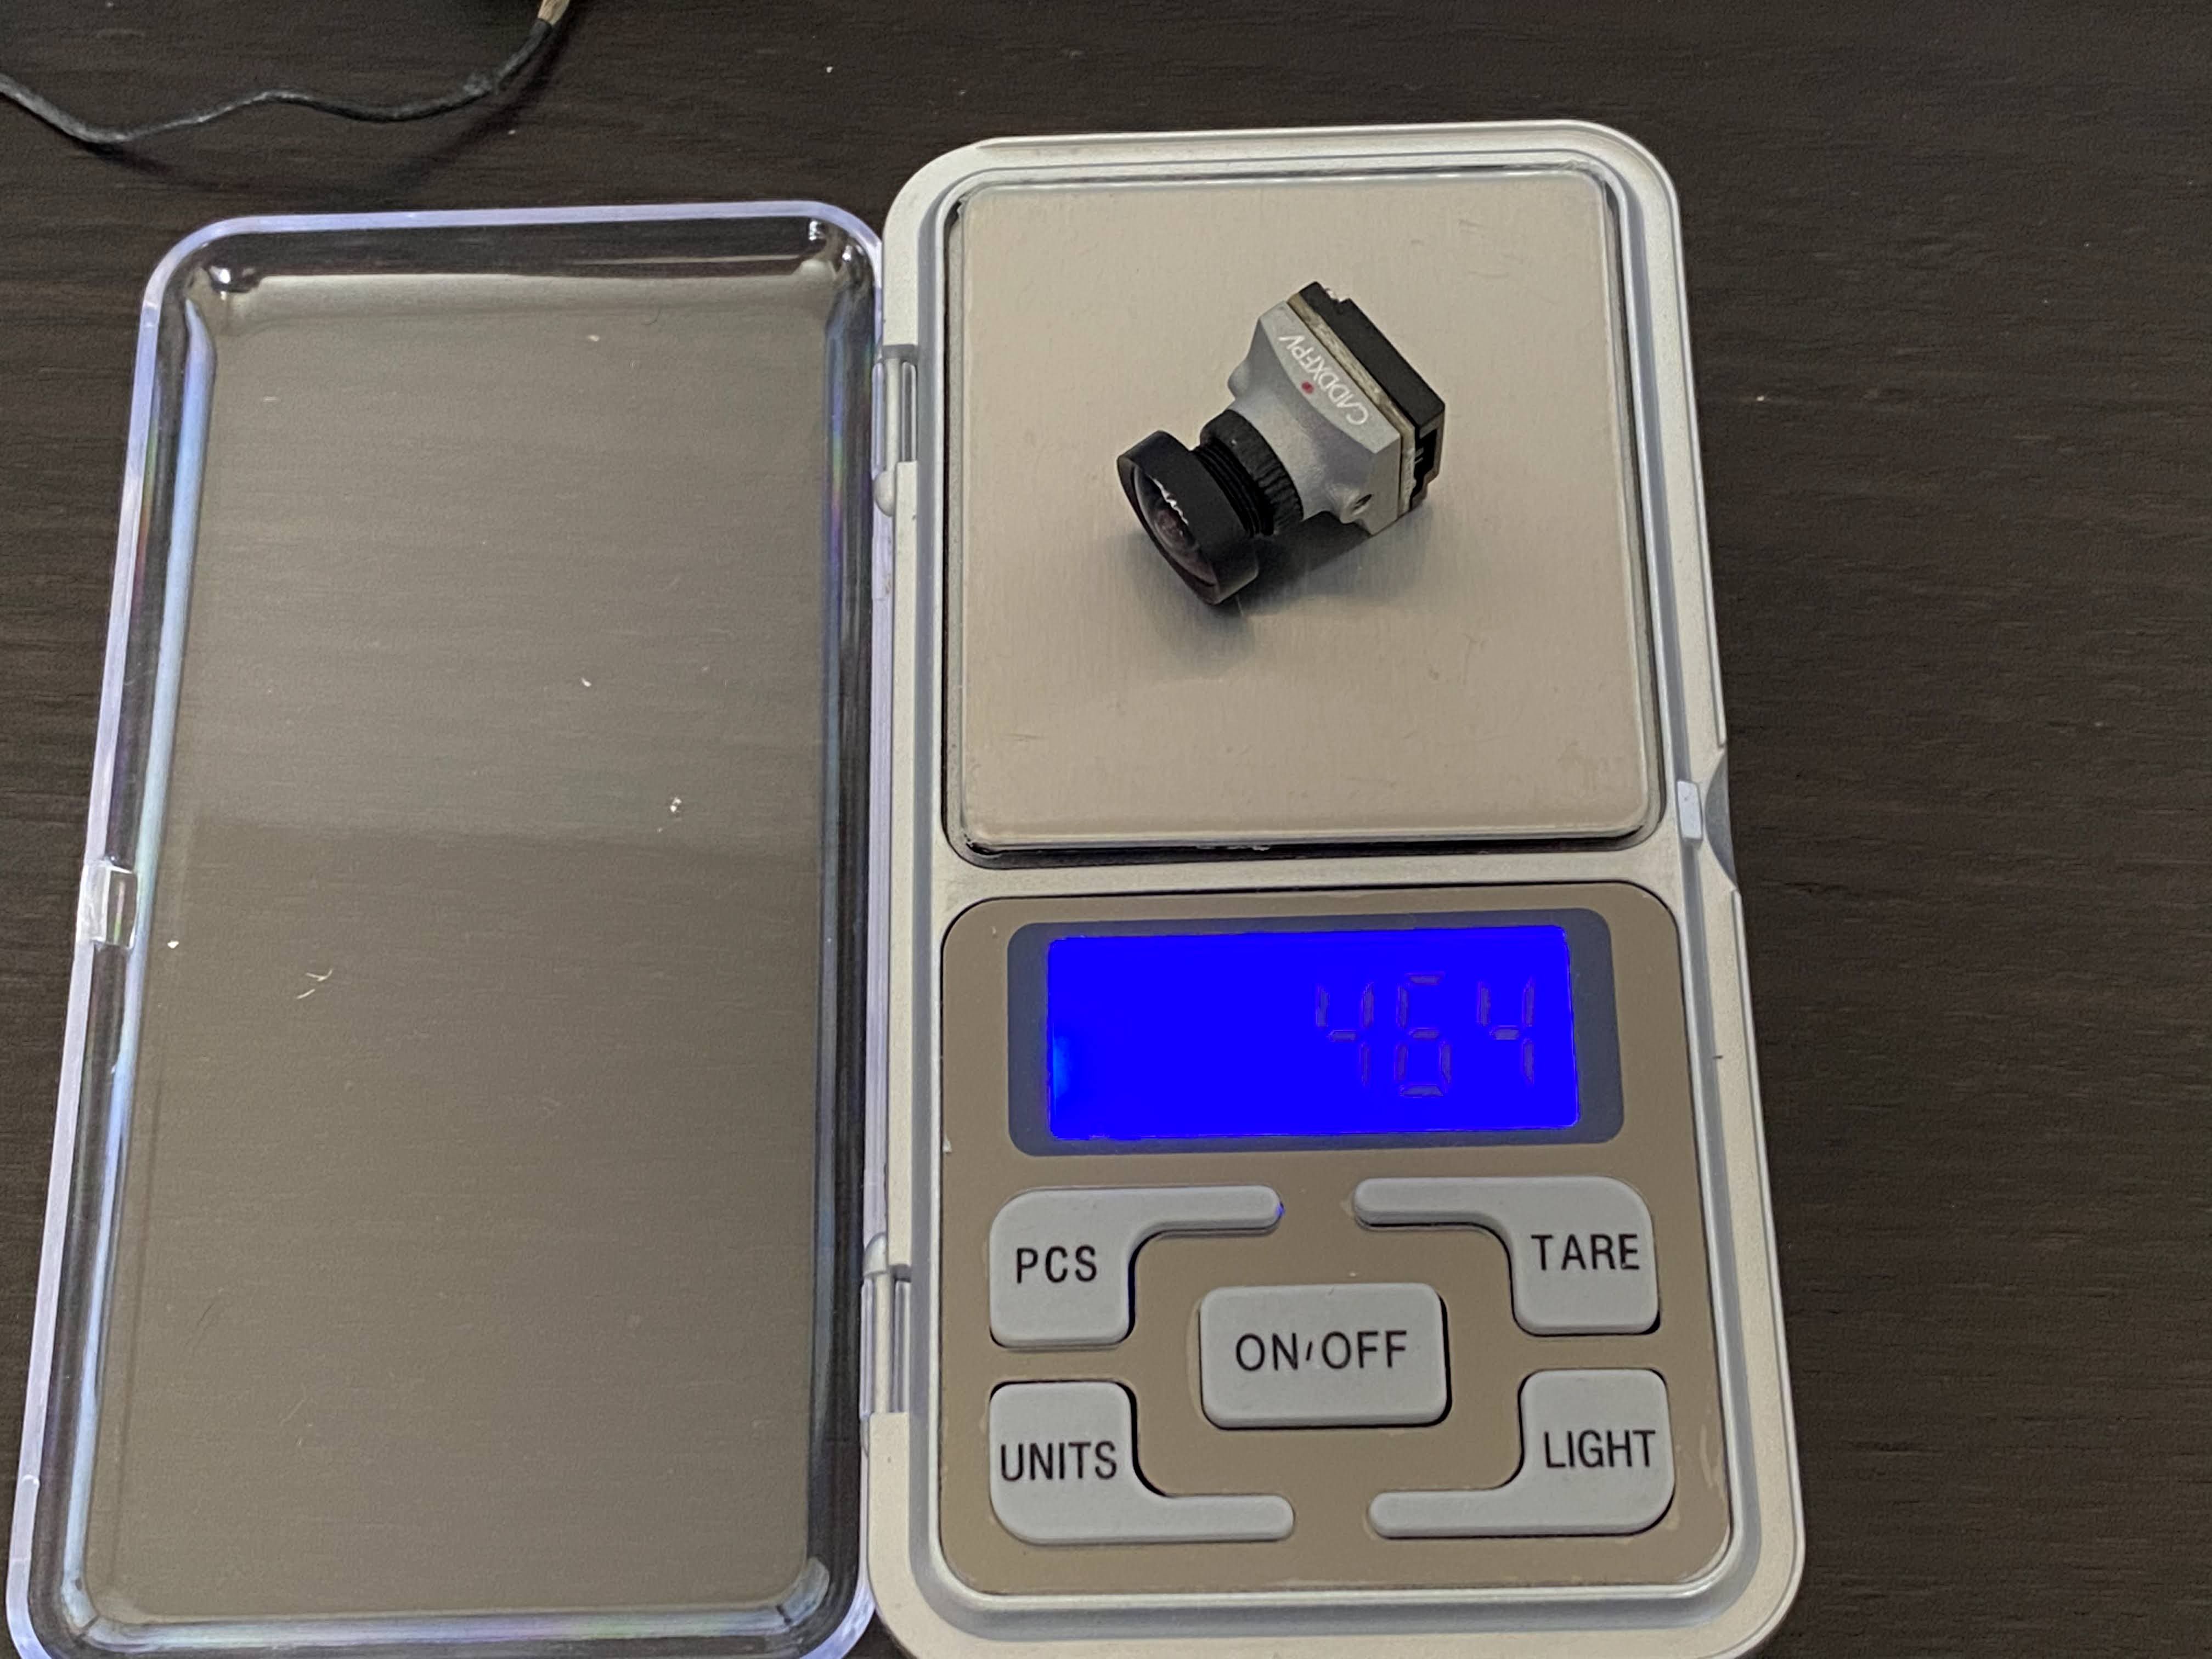
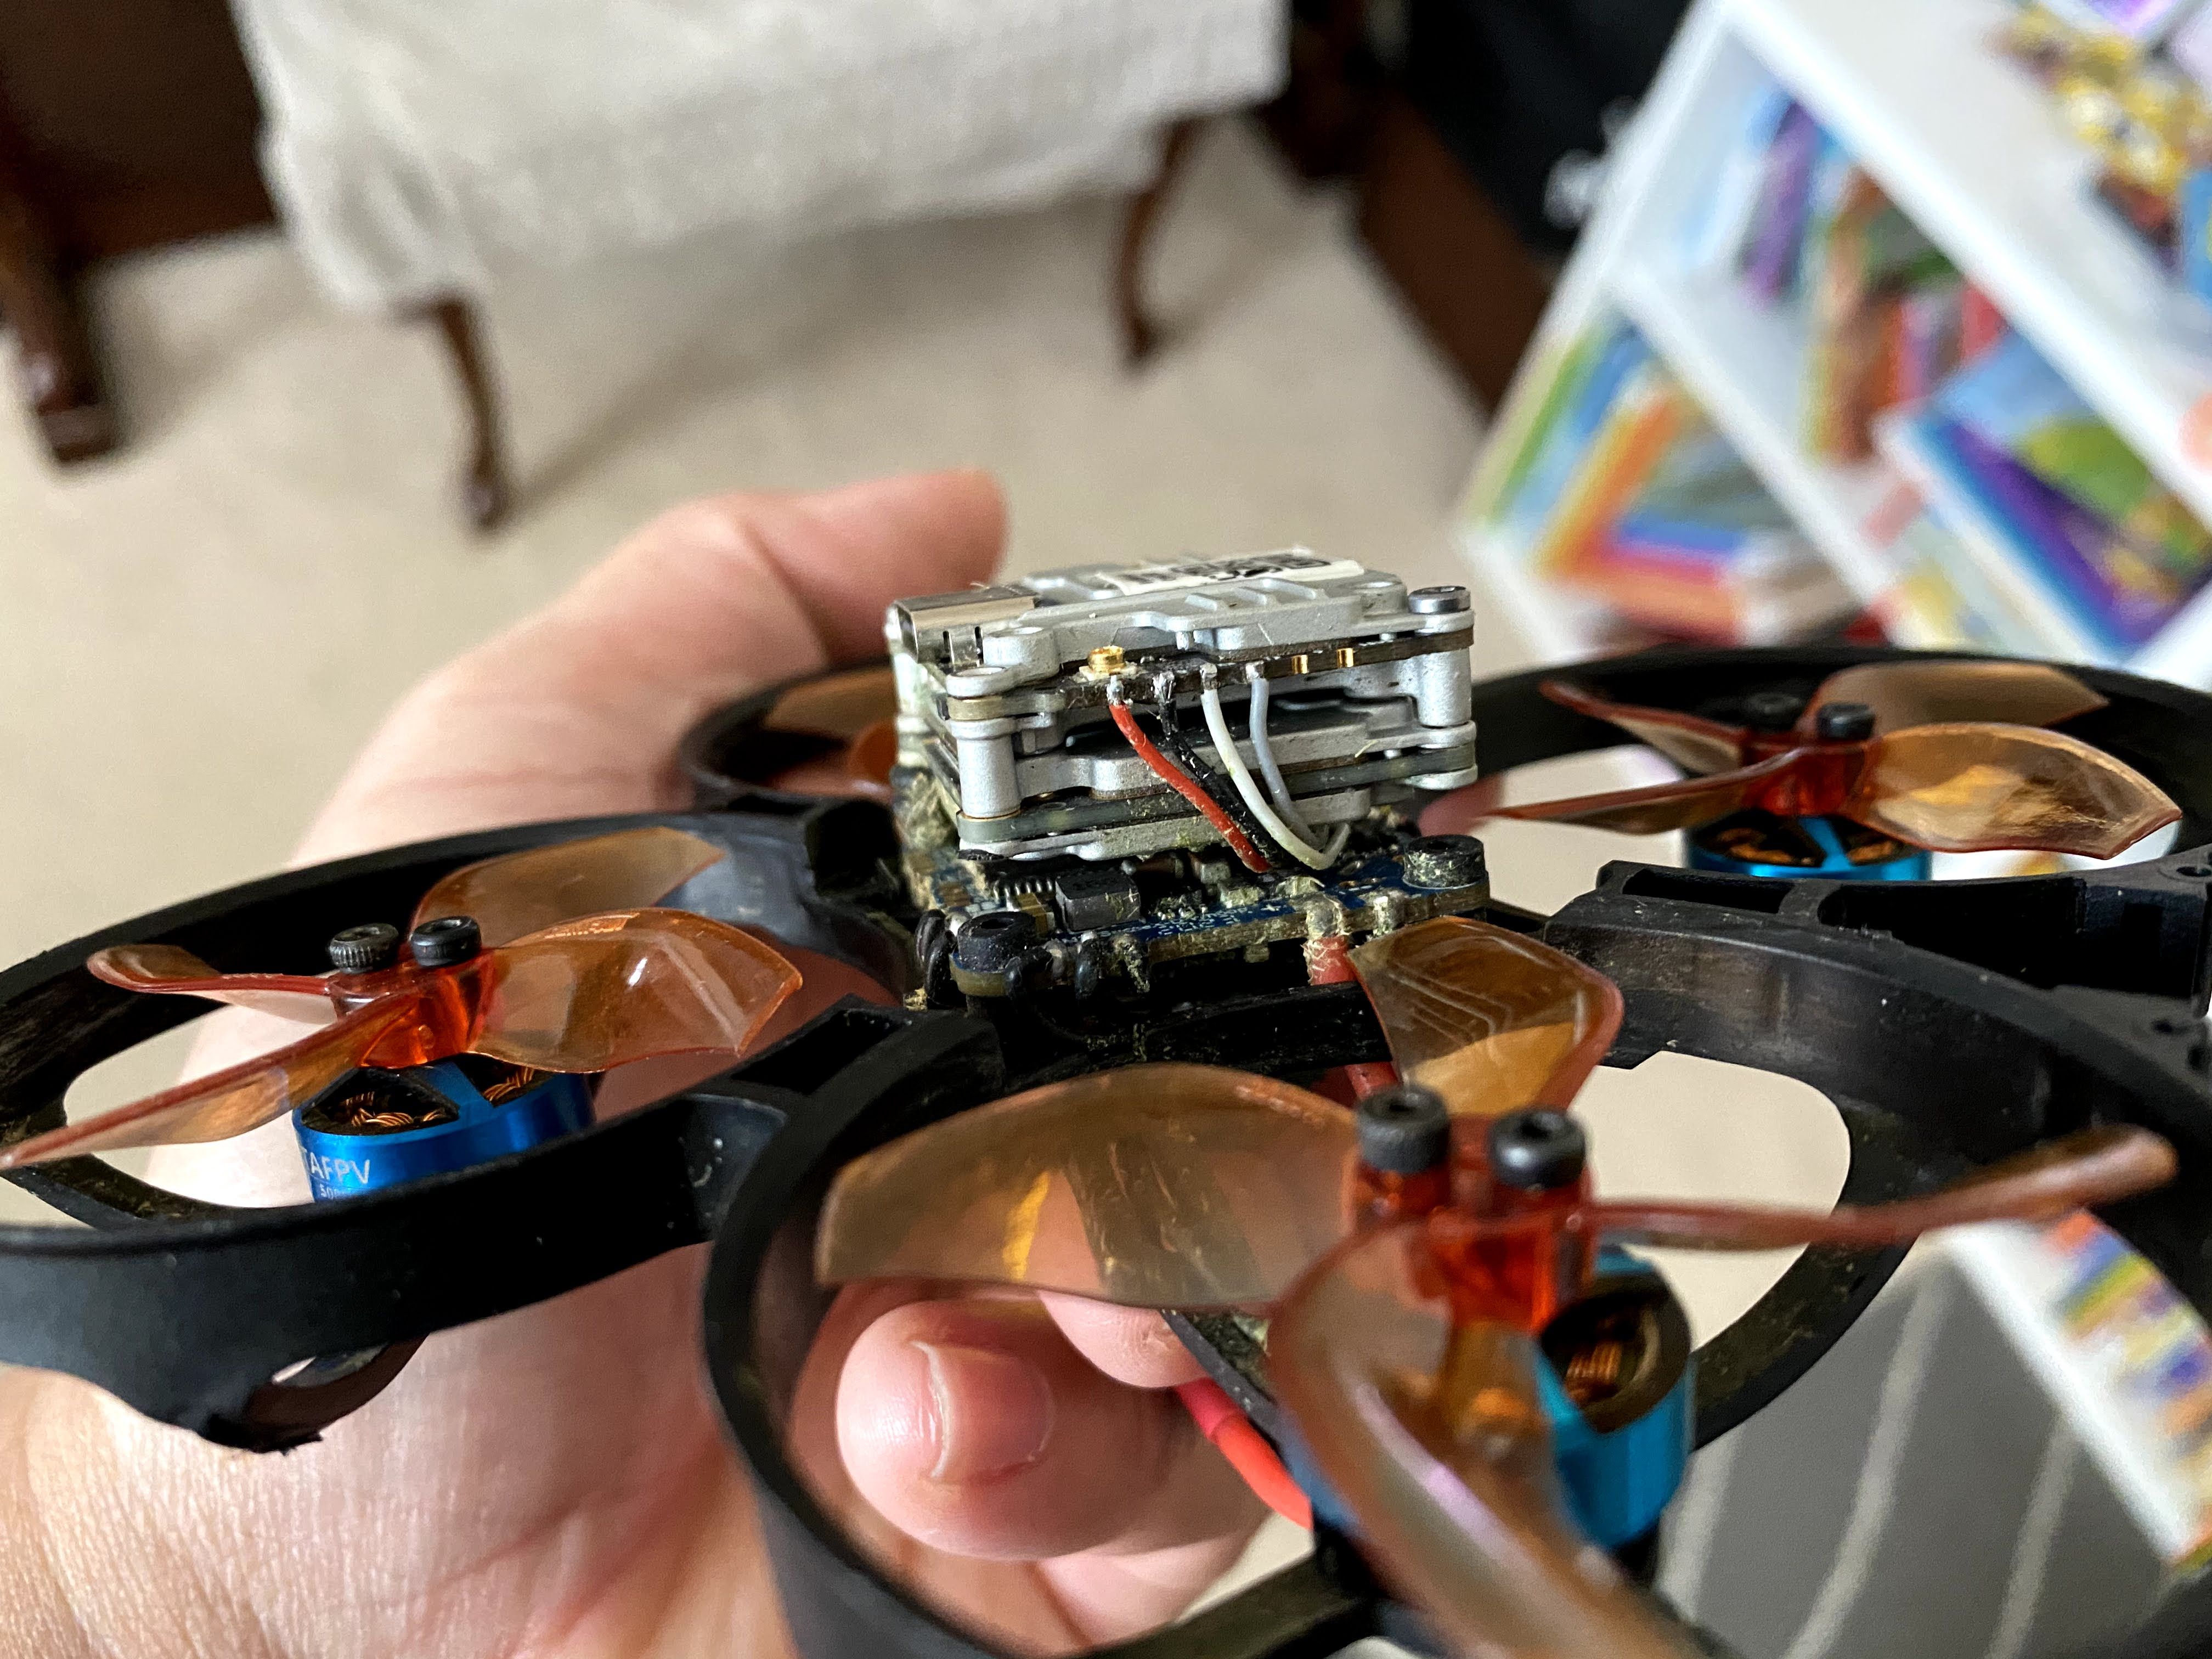
We all know that the Caddx Nebula camera was a massive failure and Caddx offered a few options to remedy that problem. To make a long story short, I pick the option to purchase a v2 sensor for $16 (that included the shipping cost from China). The new sensor made an improvement, but it is still a long way from the quality of a Vista. Now, recently they released the Nebula Pro and that it very similar to the Vista but with a slightly smaller form factor and 6g lighter. Also keep in mind that the Nebula is a nano size camera (14mm wide) and the Nebula Pro is a micro (19mm wide). So, the problem I will have is fitting the micro camera in a nano canopy. I like the A85 canopy, but I was not able to melt the canopy and massage it to the shape I wanted. I was going to 3D print a canopy, but someone suggested to use a BetaFPV XKnight Canopy, at it fits perfectly! Unfortunately, I all I have are the blue canopy, so that will do for now. One of the main advantages about the BetaFPV canopy, compared to the 3D printed ones is the weight. The stock a85 and betafpv canopy weighs around 3g and the 3D printed on is estimated to be 9g. Since it will take me 6 hours to print one, I will continue my build with the betaFPV canopy. I am not a big fan of the blue BetaFPV canopy on my iFlight quad, so I will “need” to find a black version ASAP.
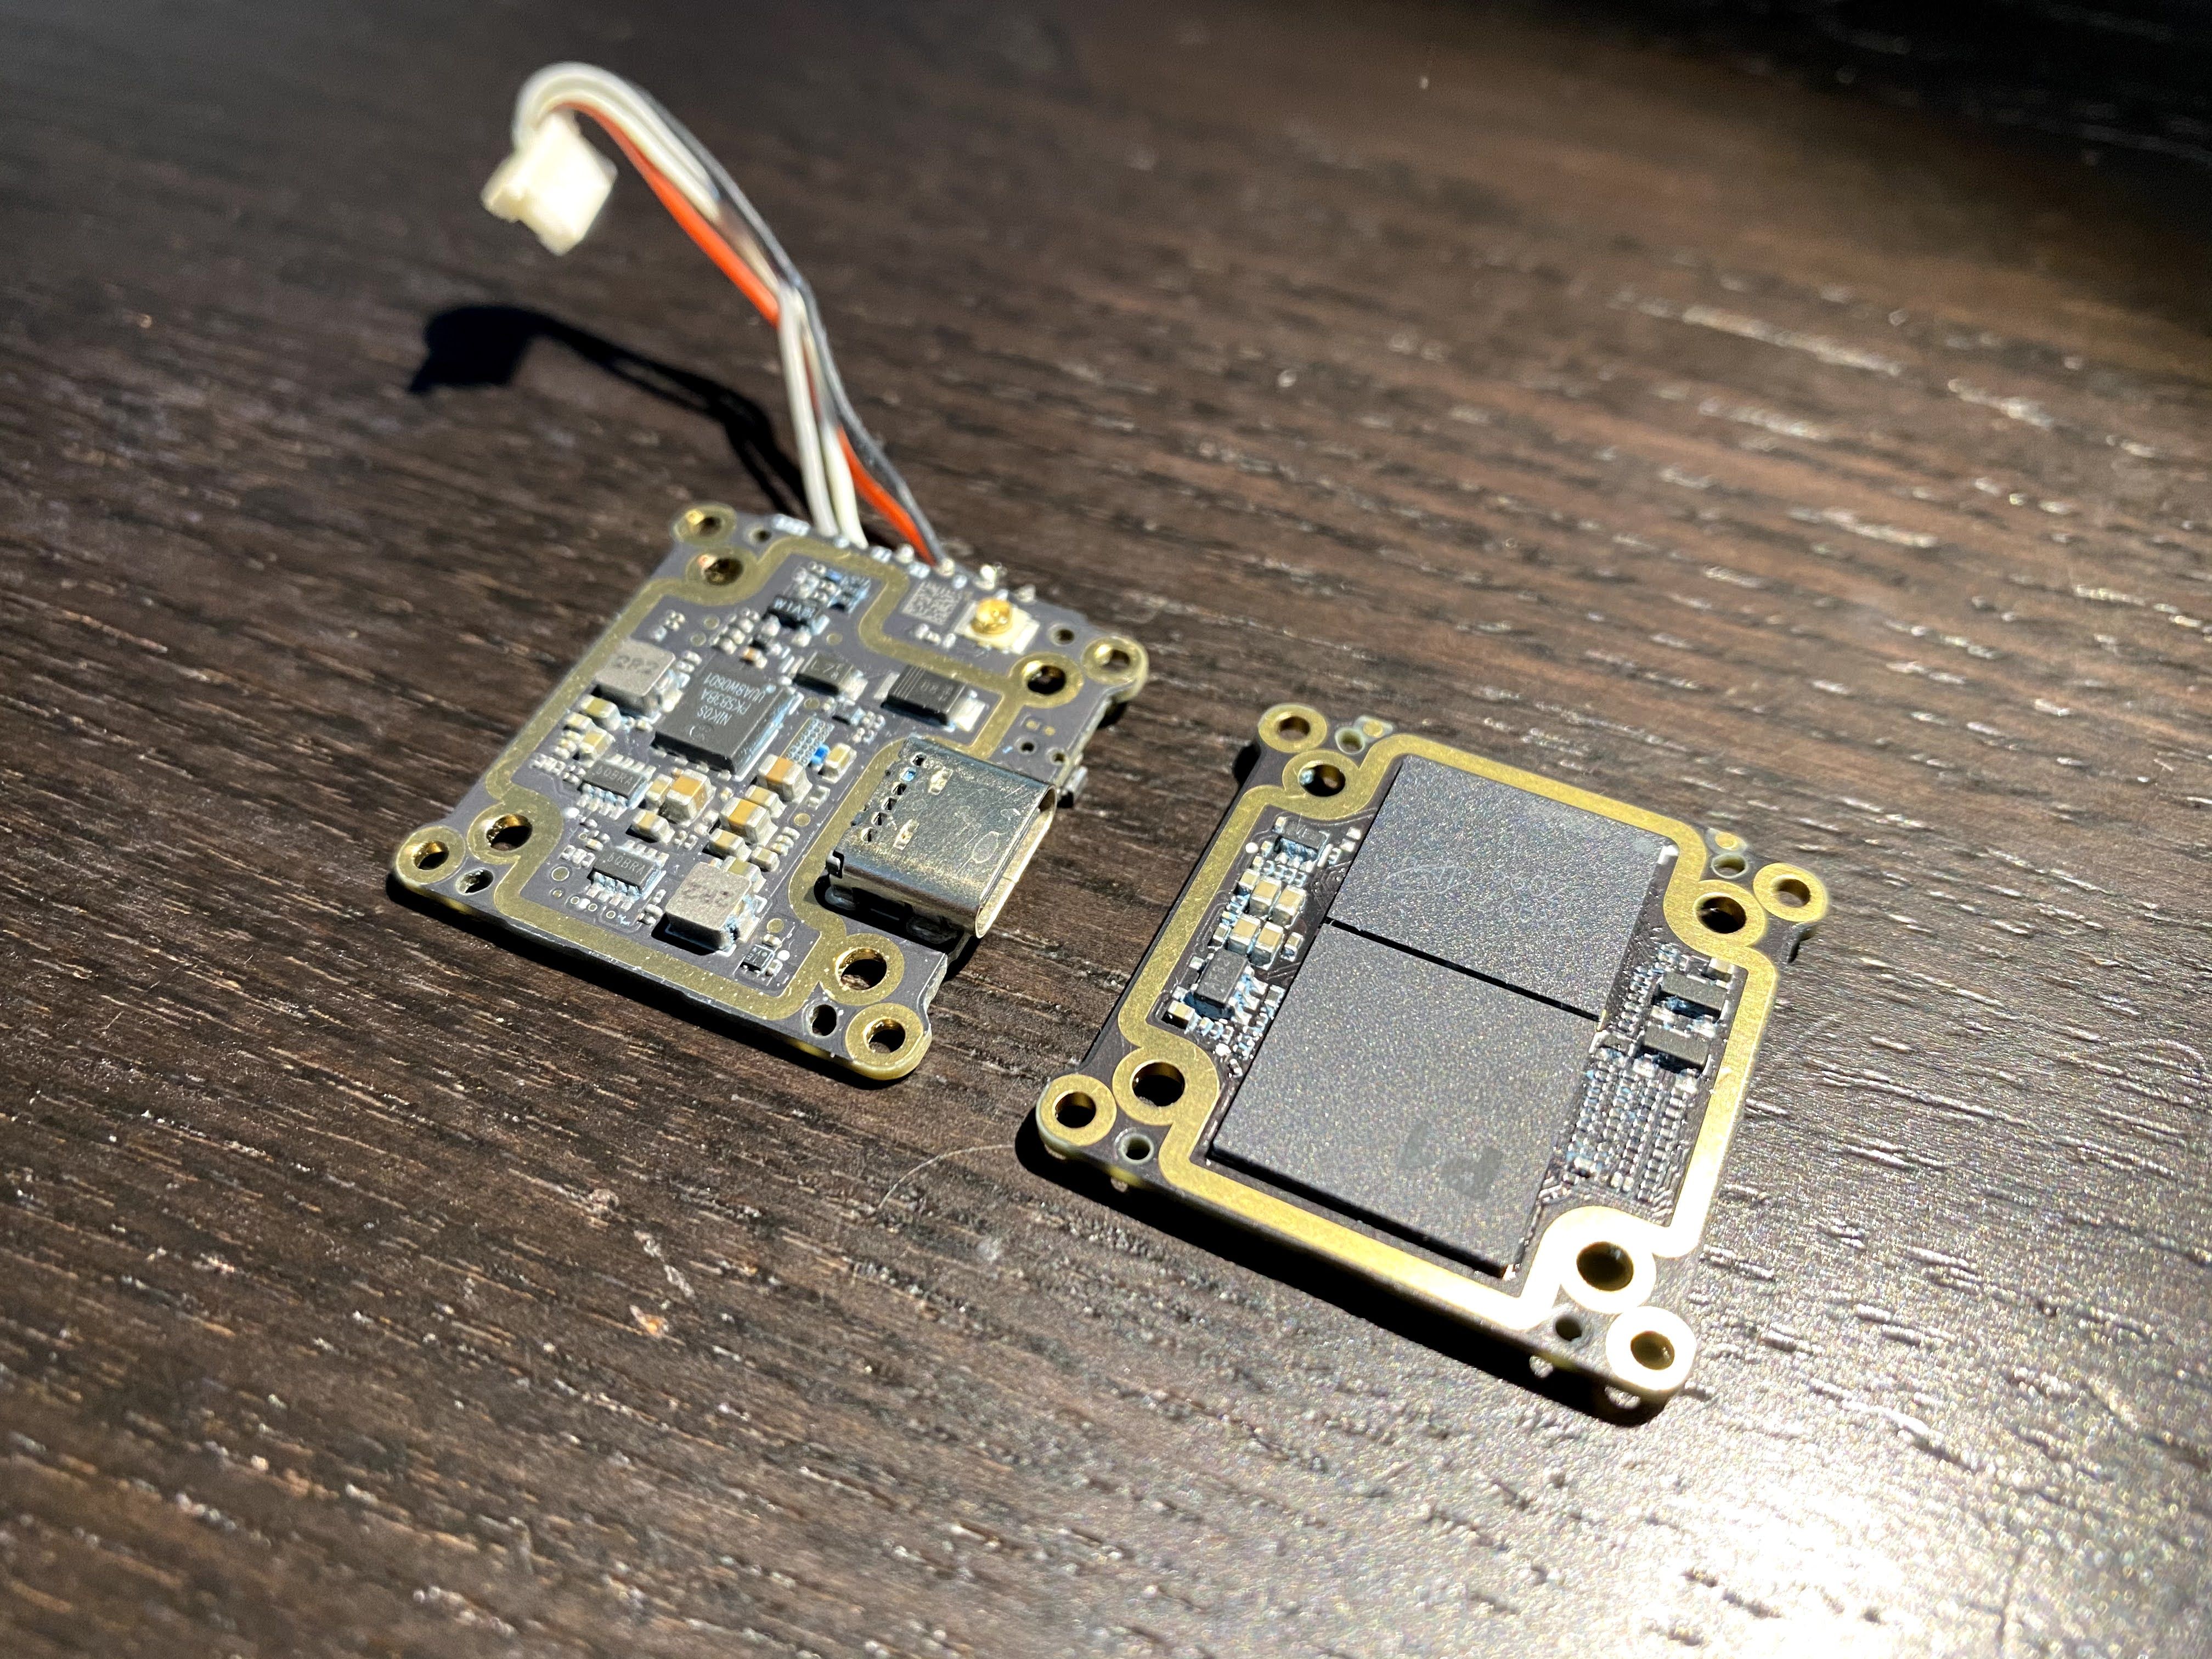
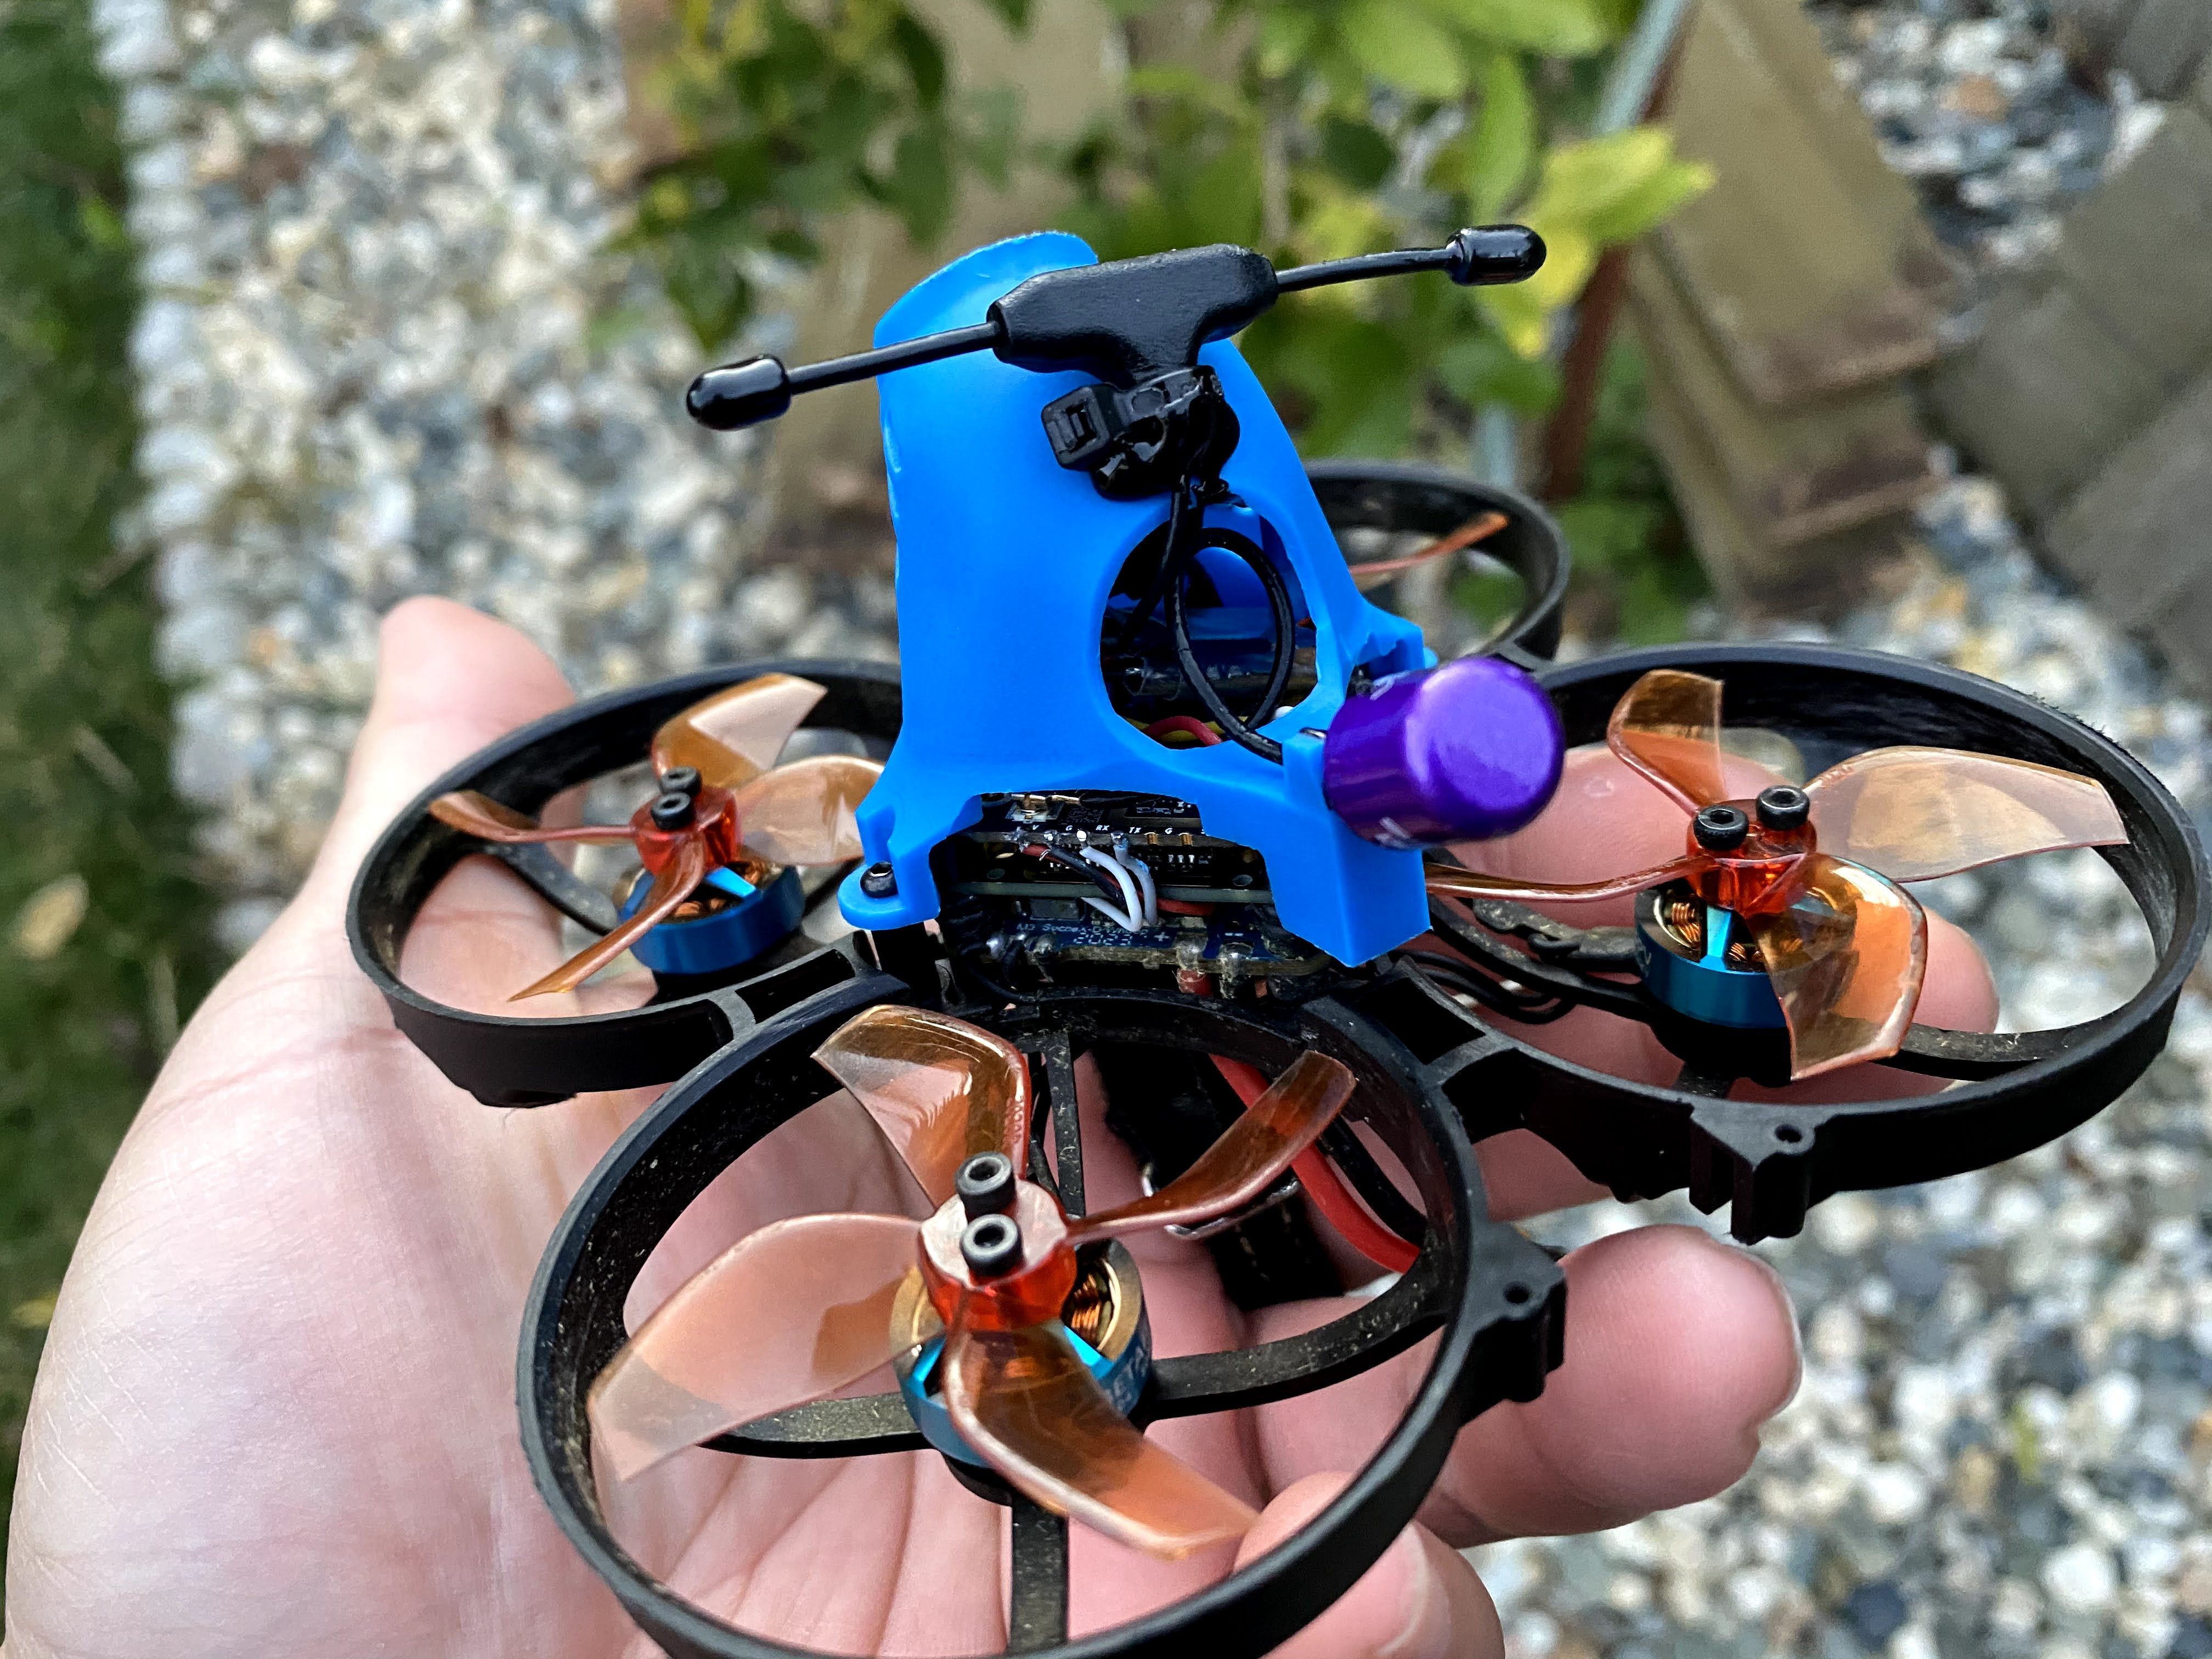
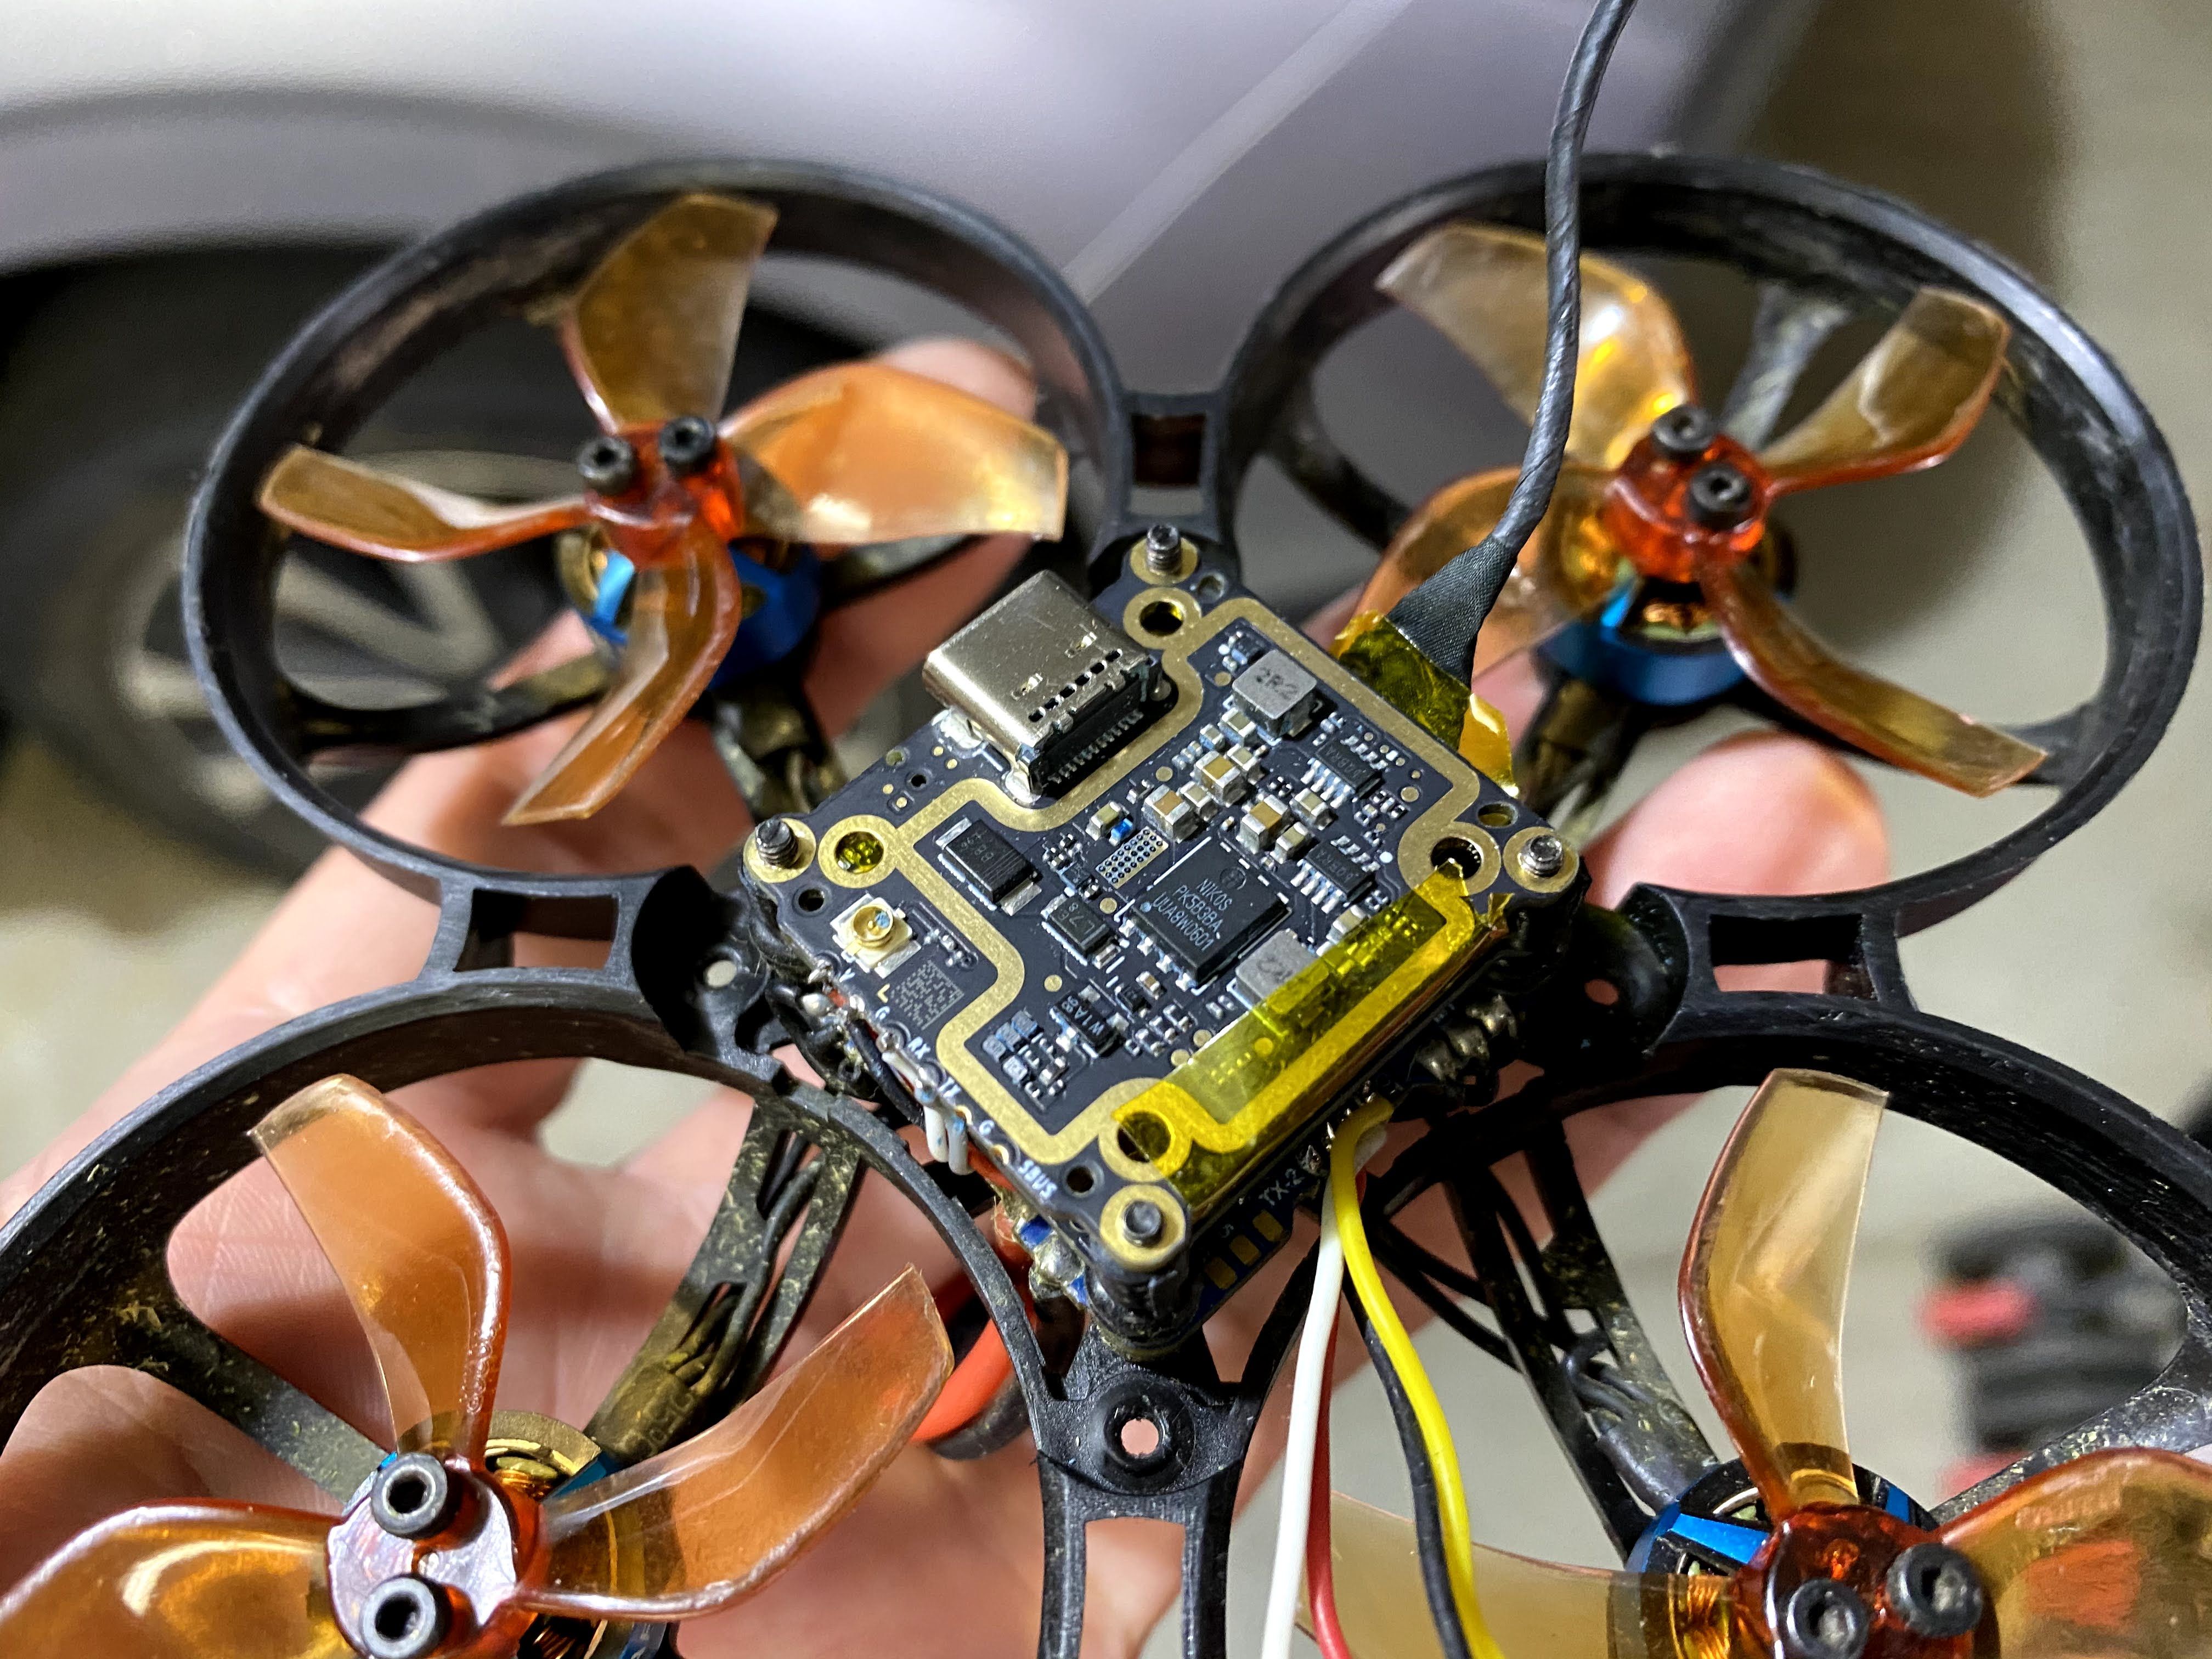
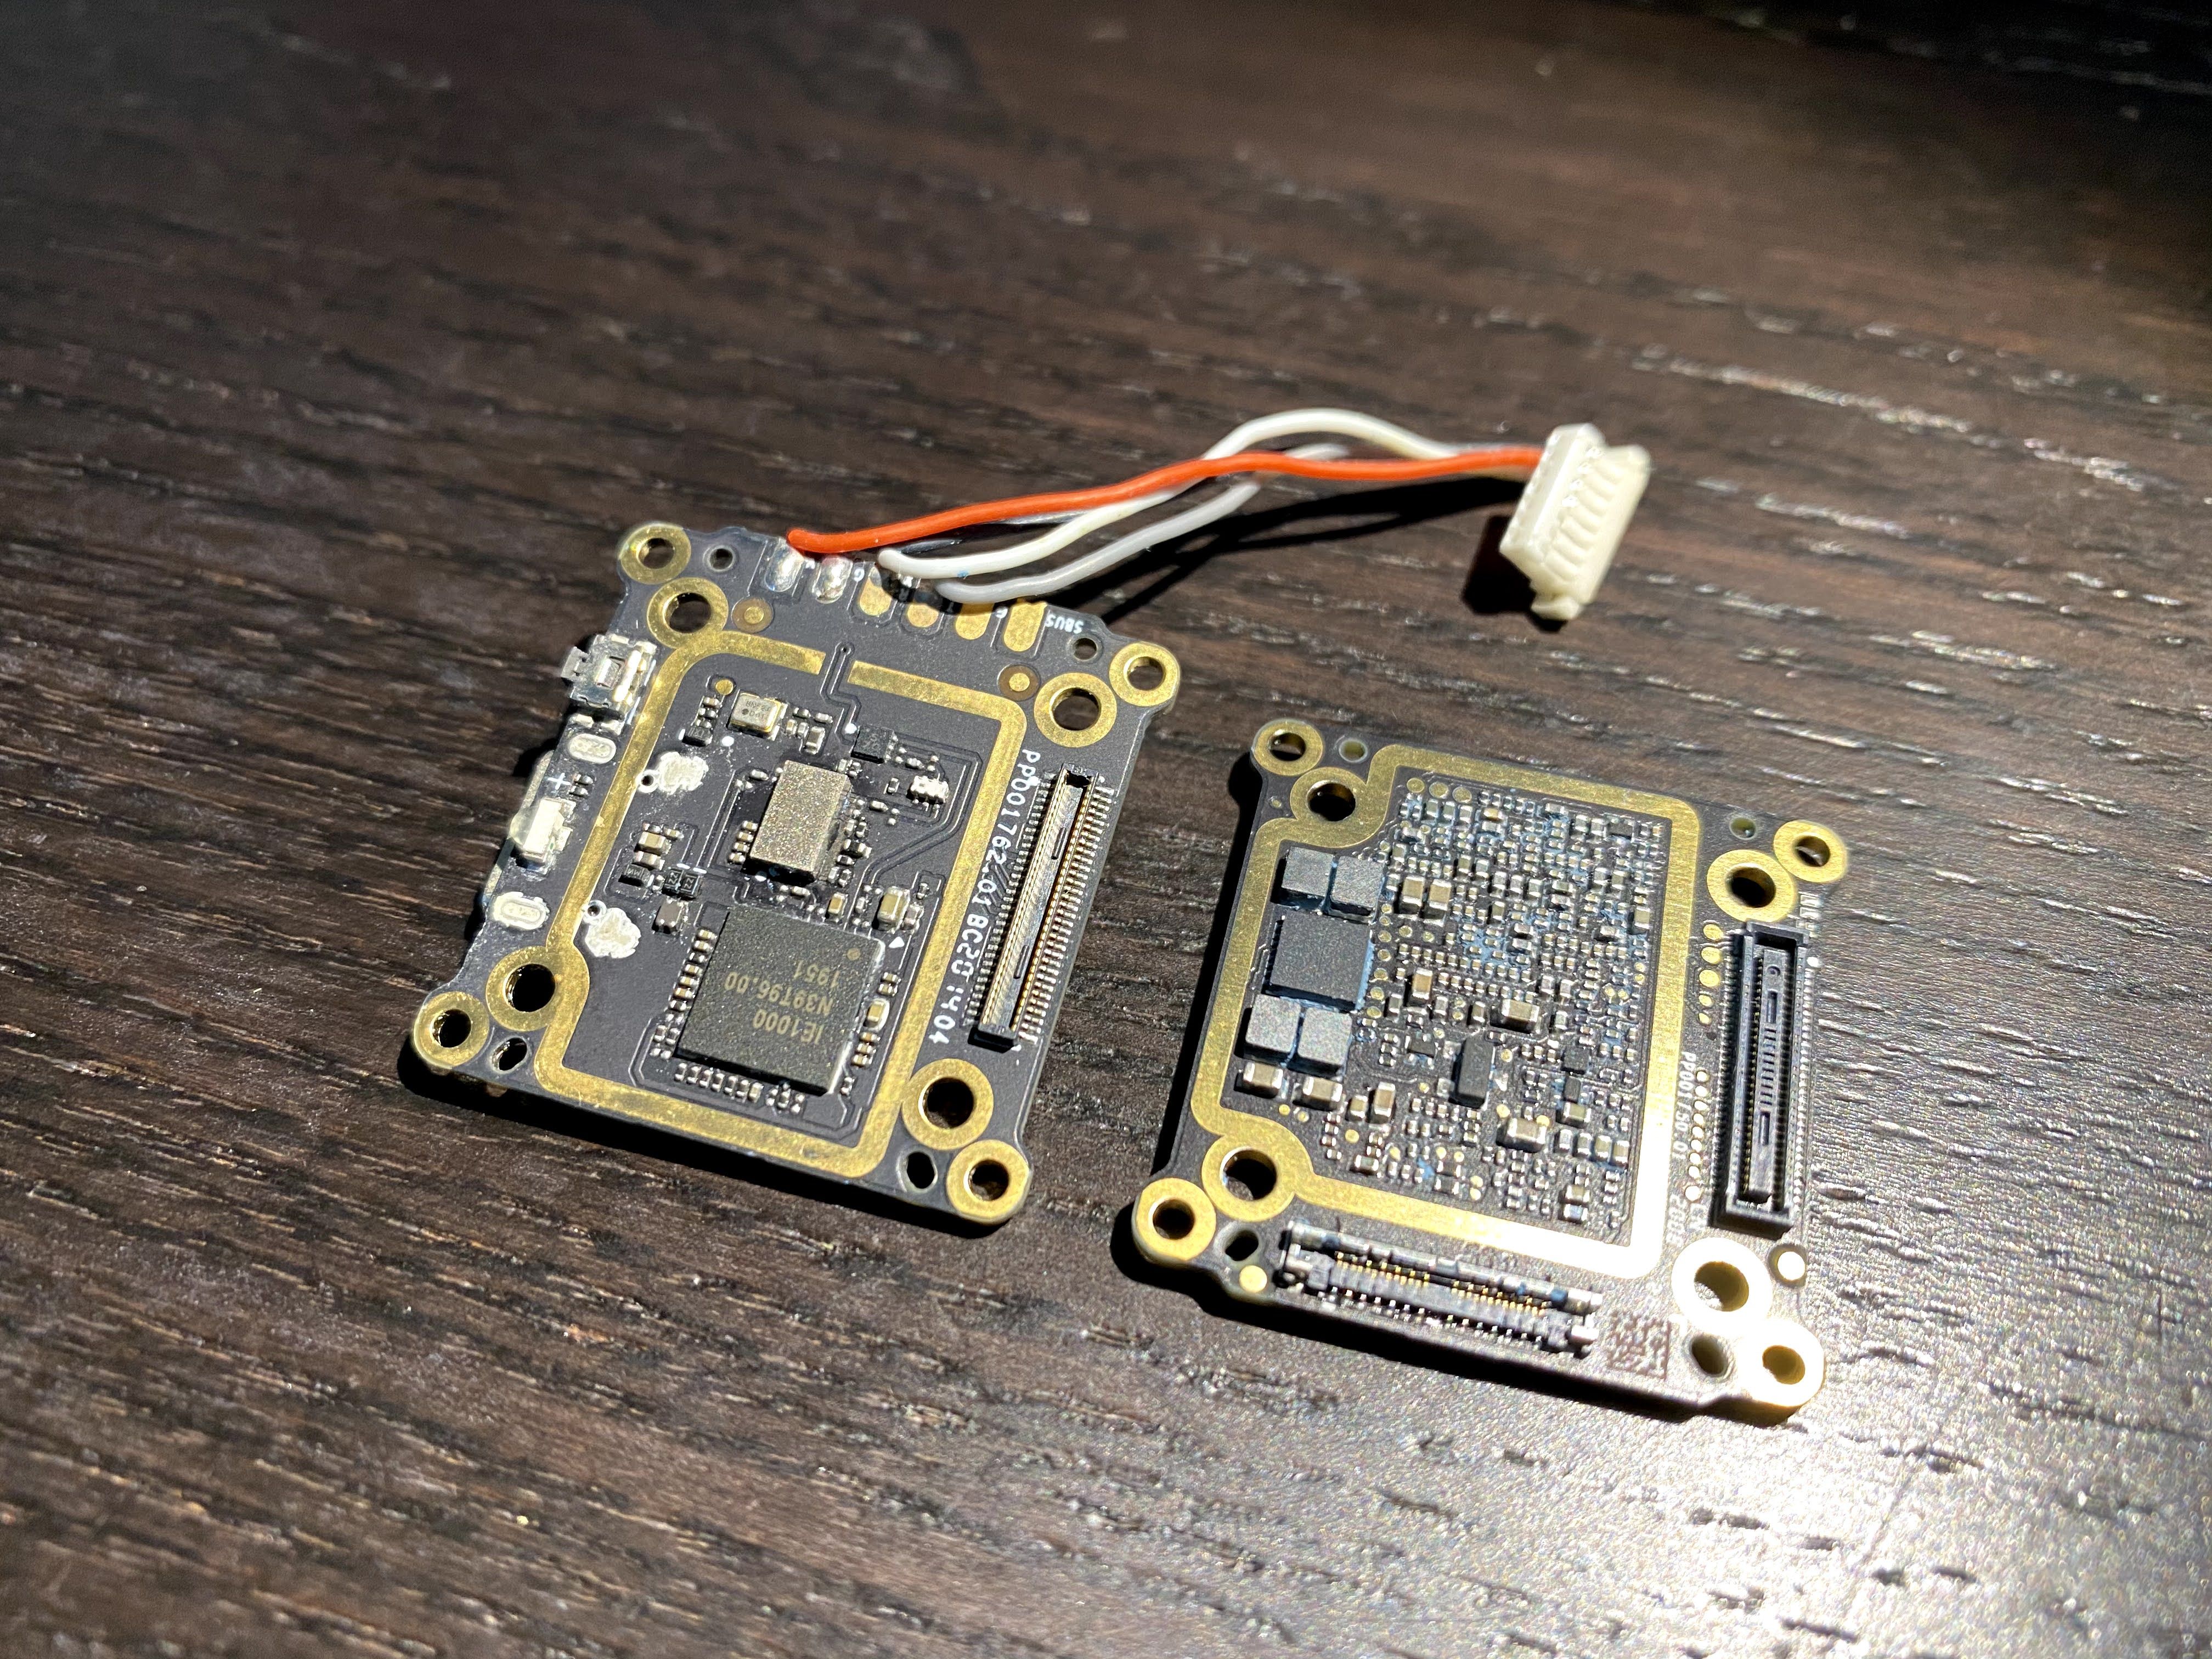
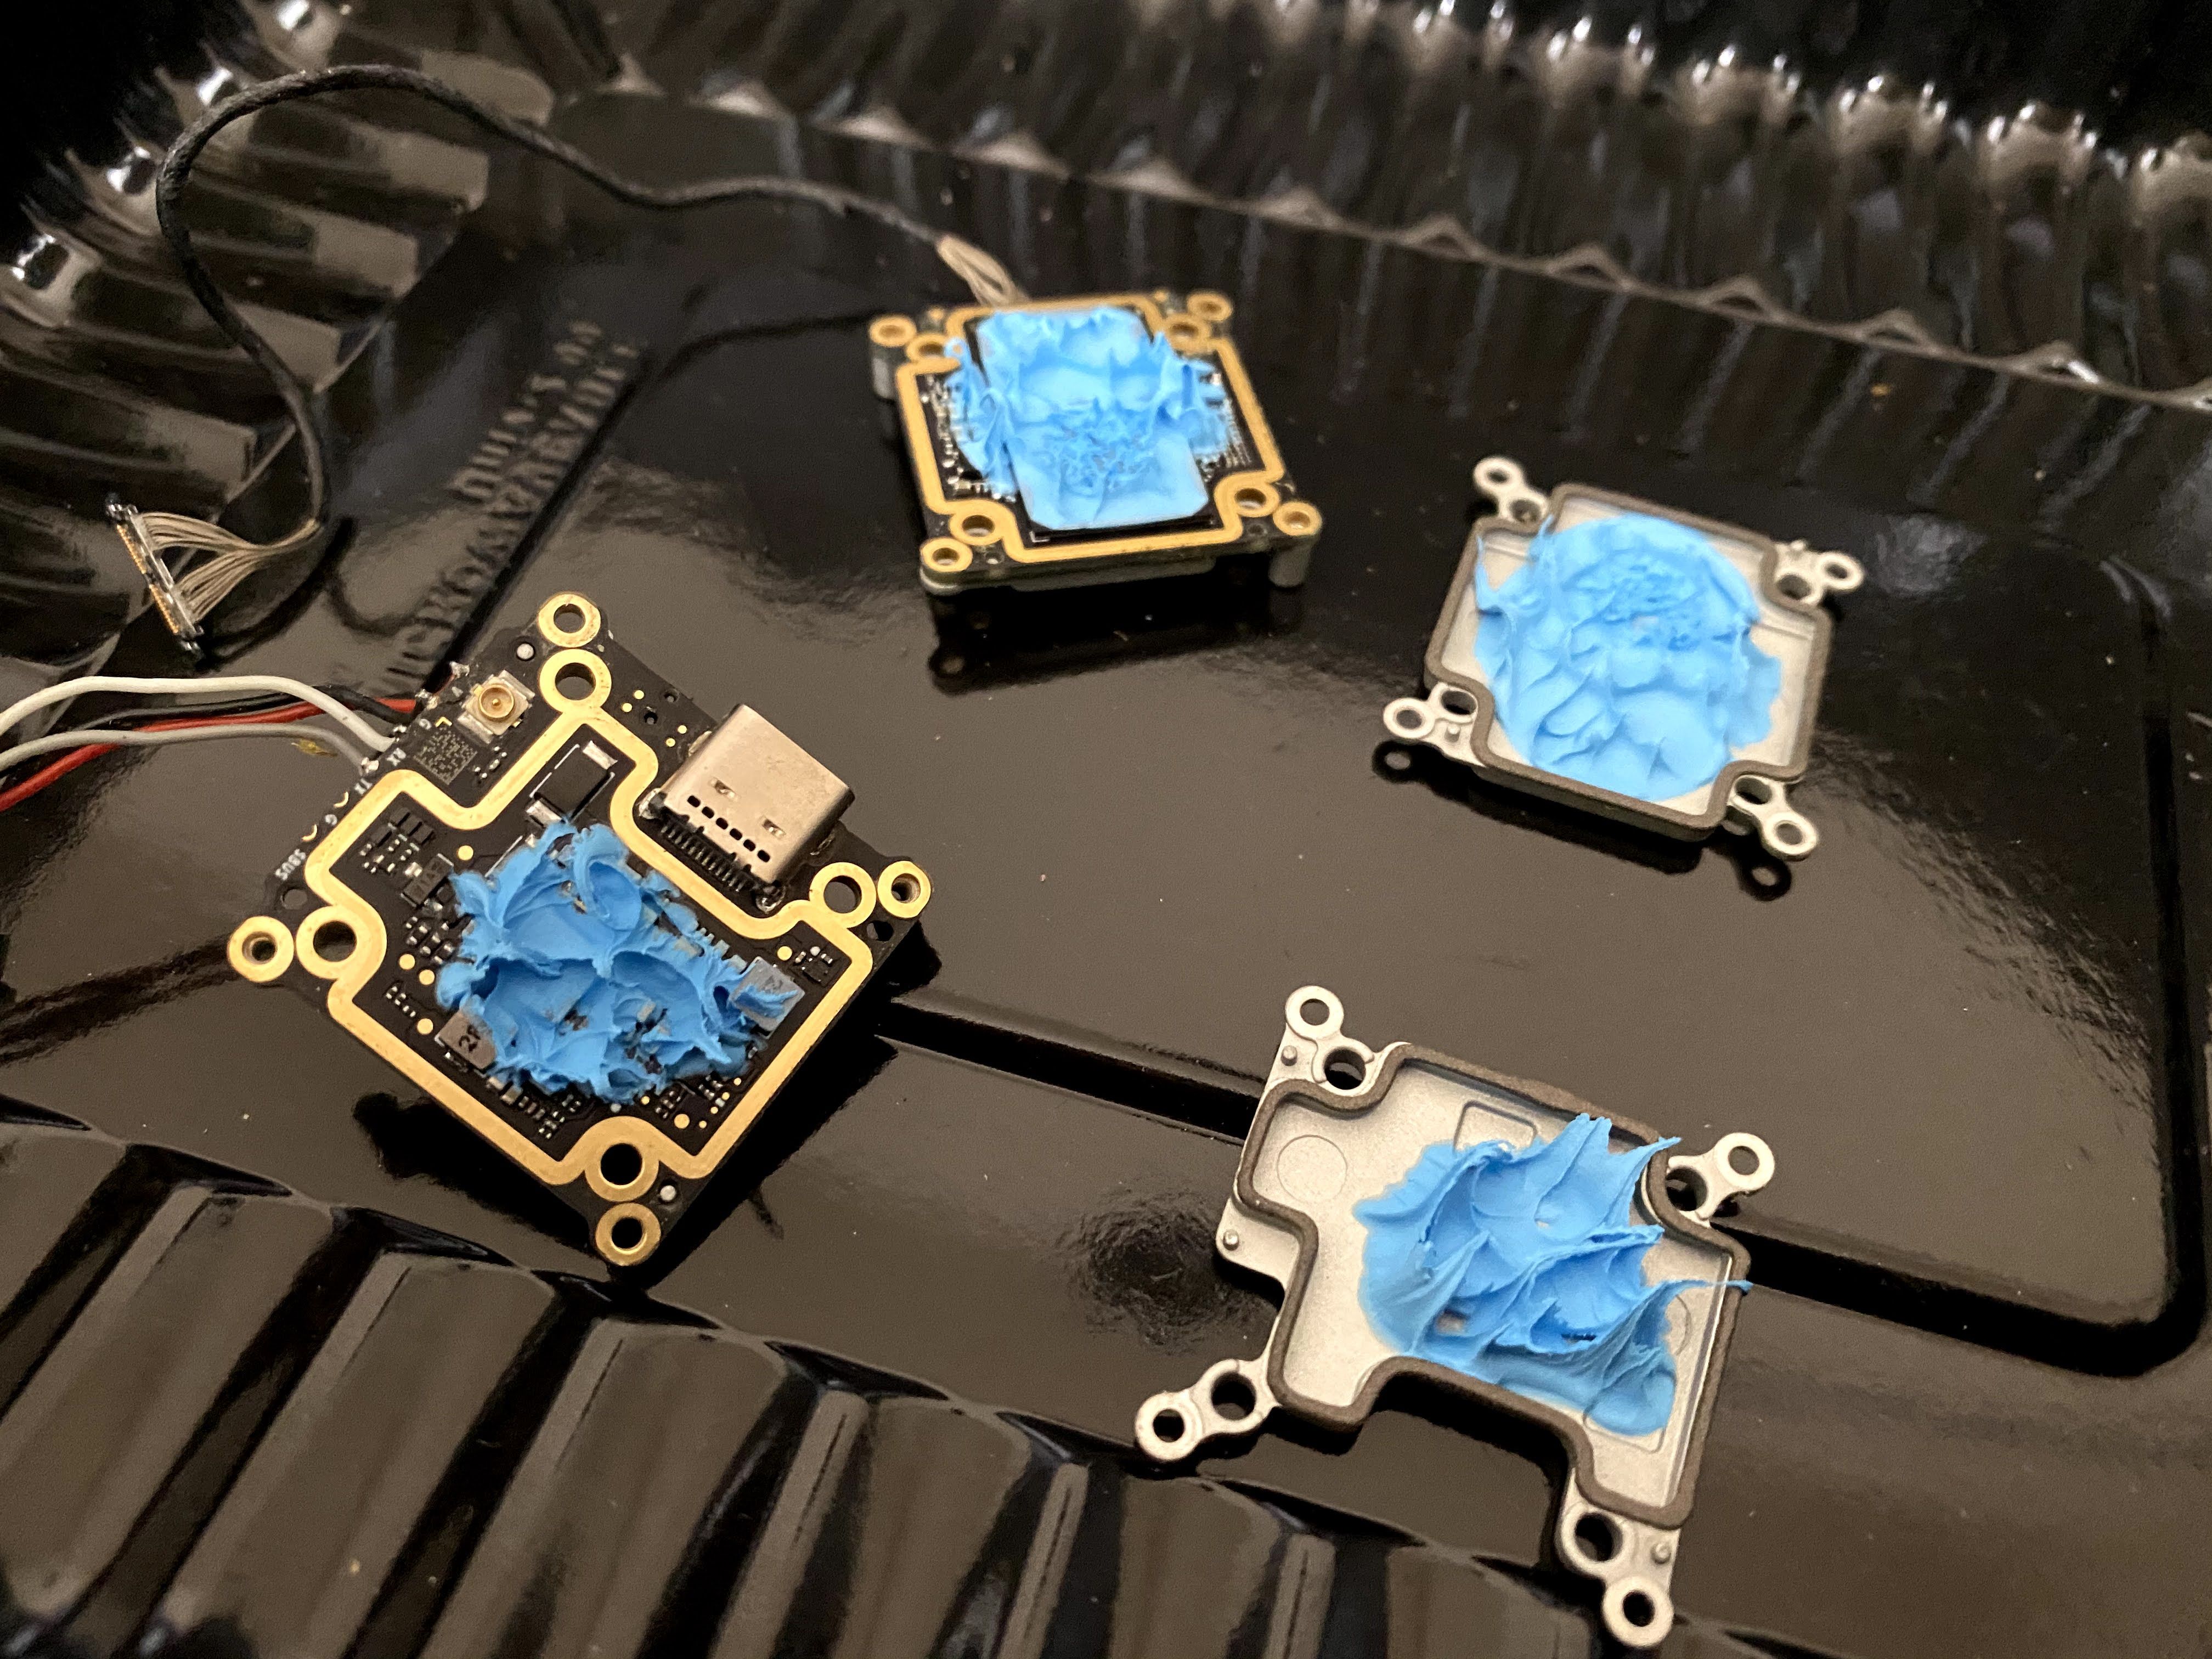
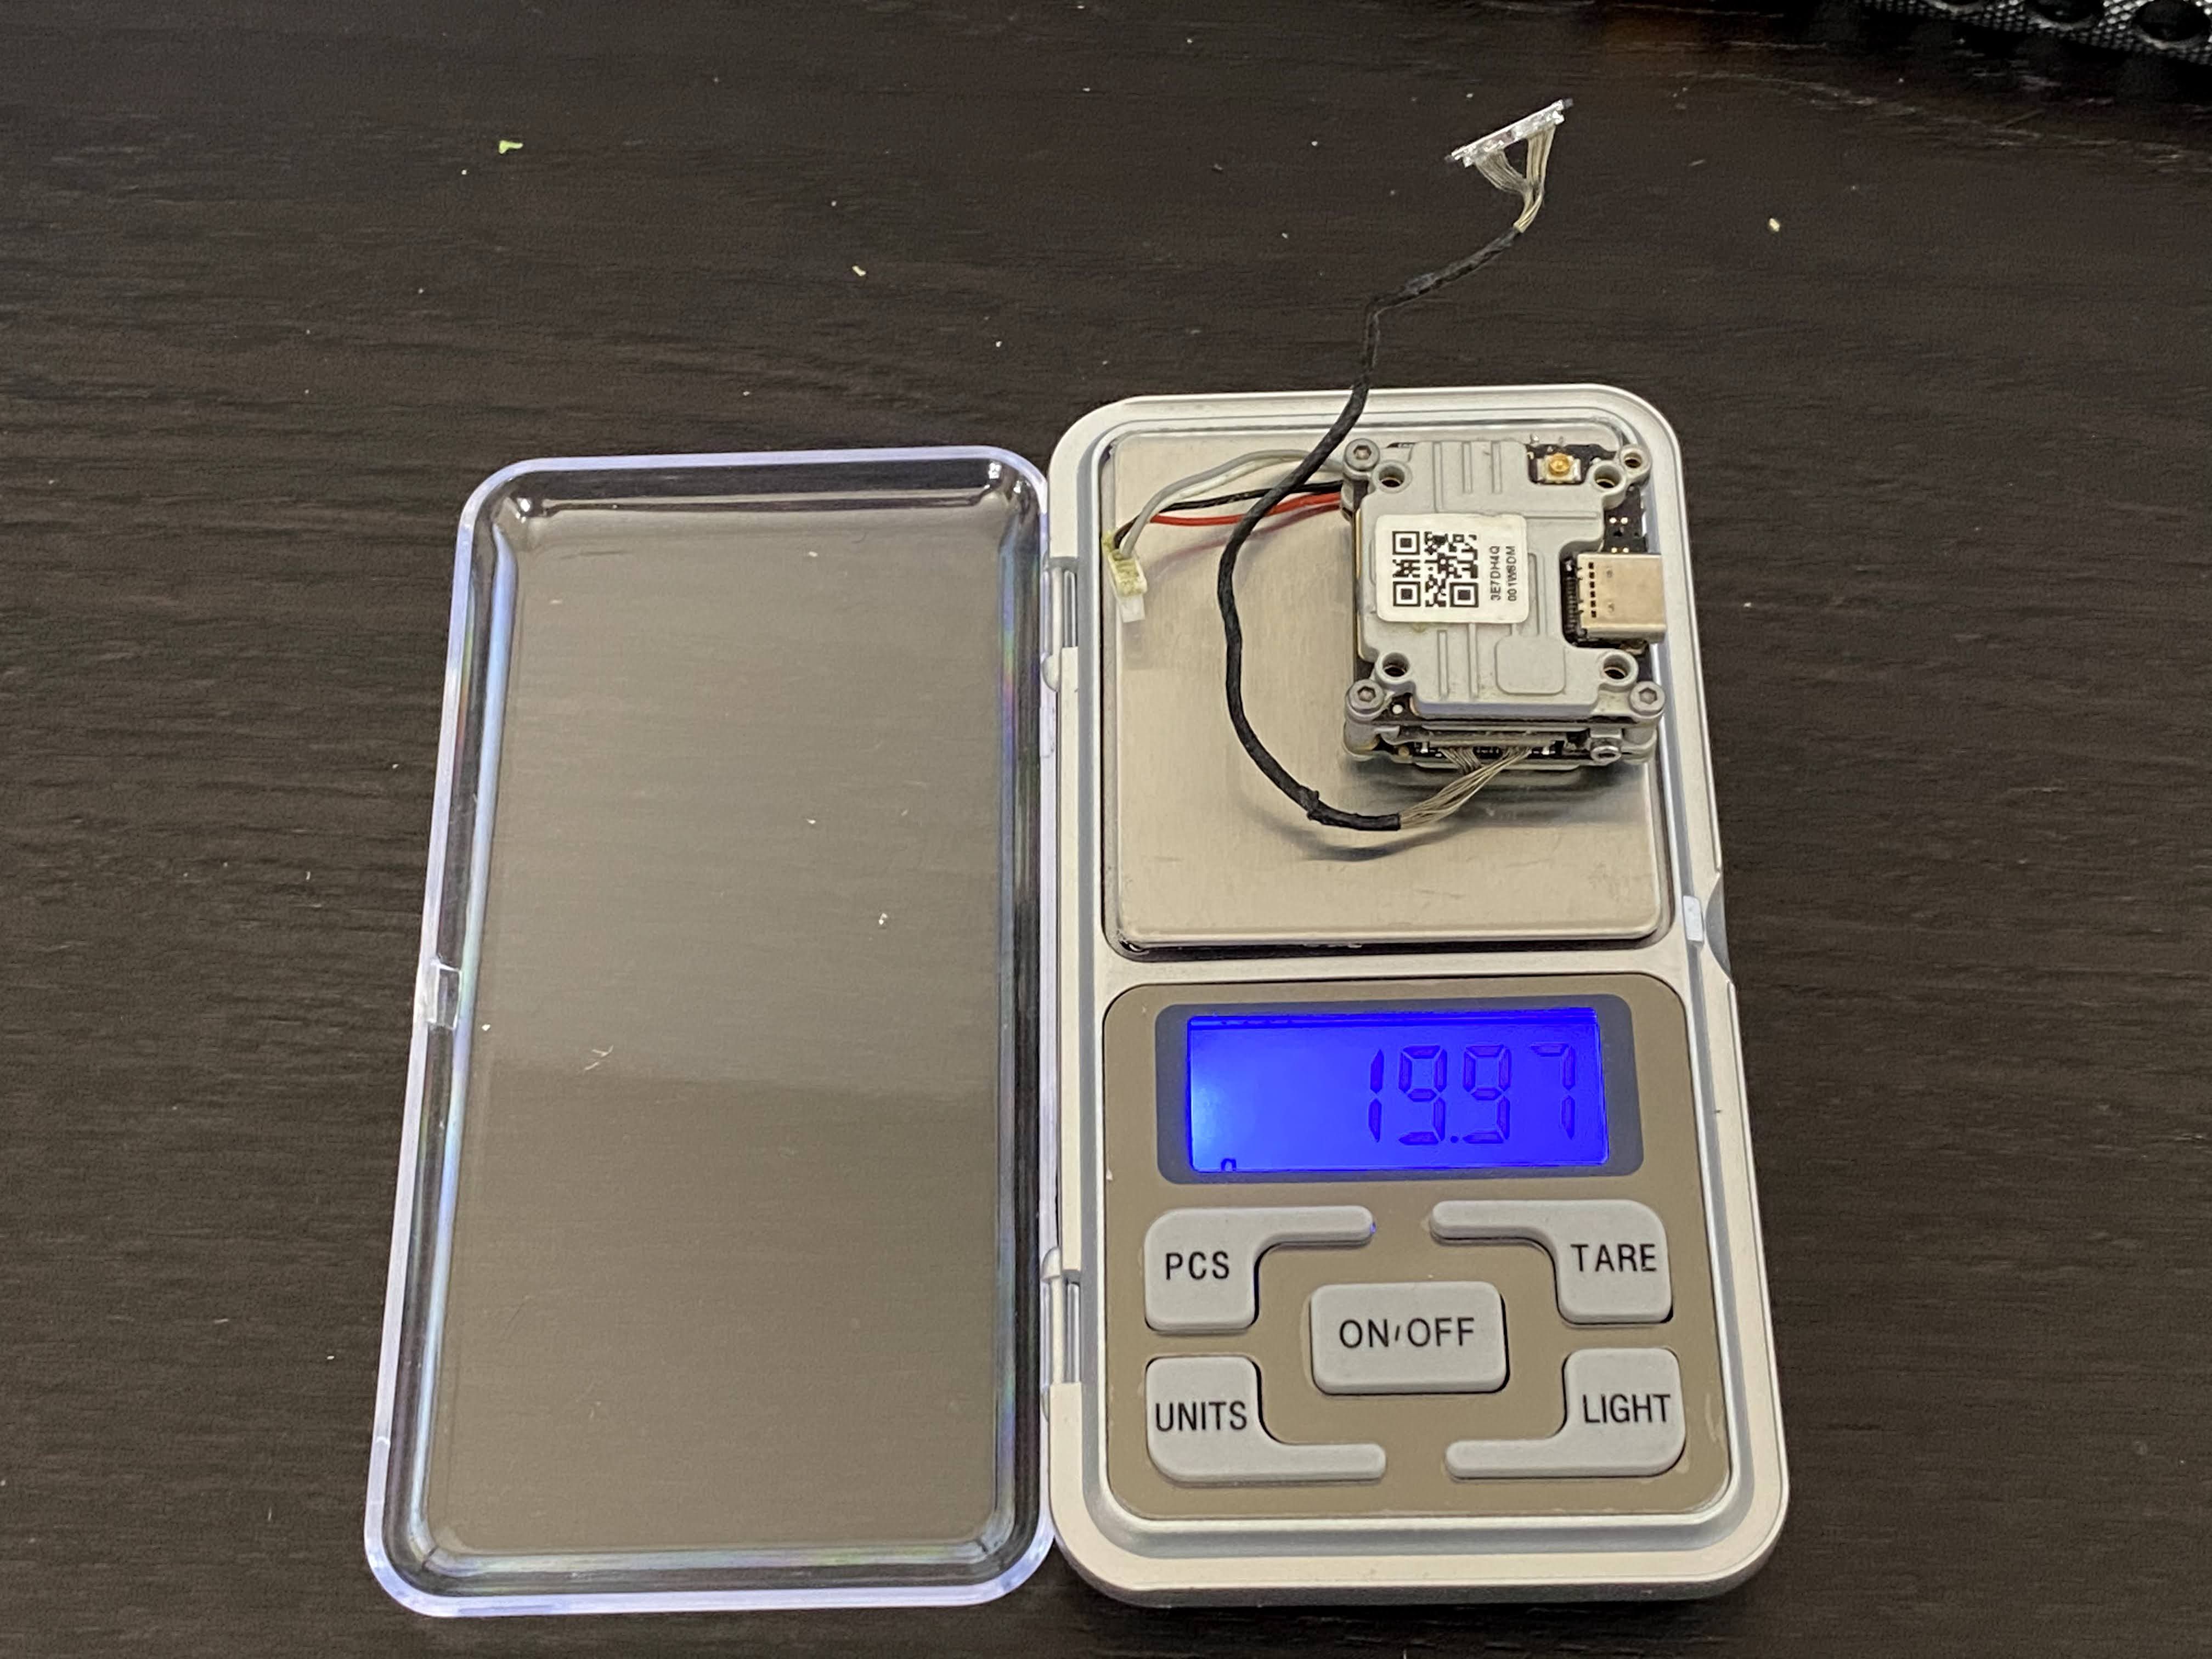
The purpose of this rebuild is to upgrade the camera with out gaining more weight and the best way to do this is decasing the Caddx VTX. It was pretty much as easy as it looks in the youtube videos. Just take your time cleaning it with isopropyl alcohol and a toothbrush. I used 70% isopropyl alcohol because that’s all I had at home and it is possible that 99% isopropyl alcohol may work better. I say that because I did spend a lot of time brushing it until I got most of the blue thermopaste off.

I tapped the 4 existing holes on the boards to accommodate M2 screws. The holes are perfectly size and does NOT need to be drilled out. I am pretty sure you can use a M2 screw instead of a tap to prepare the holes.

To keep the Caddx board evenly spaced and from touching each other, I 3D printed a spacer for it. I included a link to the 3D printed spacer I found on thingiverse, but I suggest modifying it so the inner hole it larger. Since the 2 boards are threaded, it makes it more challenging to install the spacer because it grips on the screw like a nut too.

Since the iFlight Canopy will not fit with the Nebula Pro micro size camera (19mm), the the BetaFPV canopy is the next best thing. I did use an 8mm m2 standoff to lift the canopy up so I will clear the Caddx stack. Unfortunately, I only had plastic standoff and time will tell if it is strong enough.
Outdoor Test Flight
Photos


Part List
Show stores (7)Guides & Reviews

AirbladeUAV has done it again and this time they've brought long range to the 5" class! Based on the popular Transformer Mini, the new Transformer 5" Ultralight adopts a lot of the same design philosophies with larger props and more payload capacity. It can fly upwards of 20 minutes on a 4 cell Li-Ion battery pack and in ideal conditions it's got a range of over 4 to 5 miles. In this guide I'll walk..
Read more
With the release of the DJI FPV Drone cinematic FPV has become a lot more accessible, but you certainly don't want to crash a $750 drone! The QAV-CINE Freybott is a compact, lightweight cinematic FPV drone that can take a hit and keep going. It's a lot safer to fly indoors and around people. With a naked GoPro or the SMO 4k you can capture some great stabilized footage. In this guide I'll show you..
Read more


New Message for wrong17