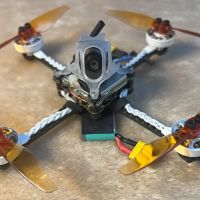
This is my first from the ground up build. The idea was to do this as cheaply as possible with little compromises. The camera was from another build but with the help of a zip tie was able to fit into this frame.
Photos
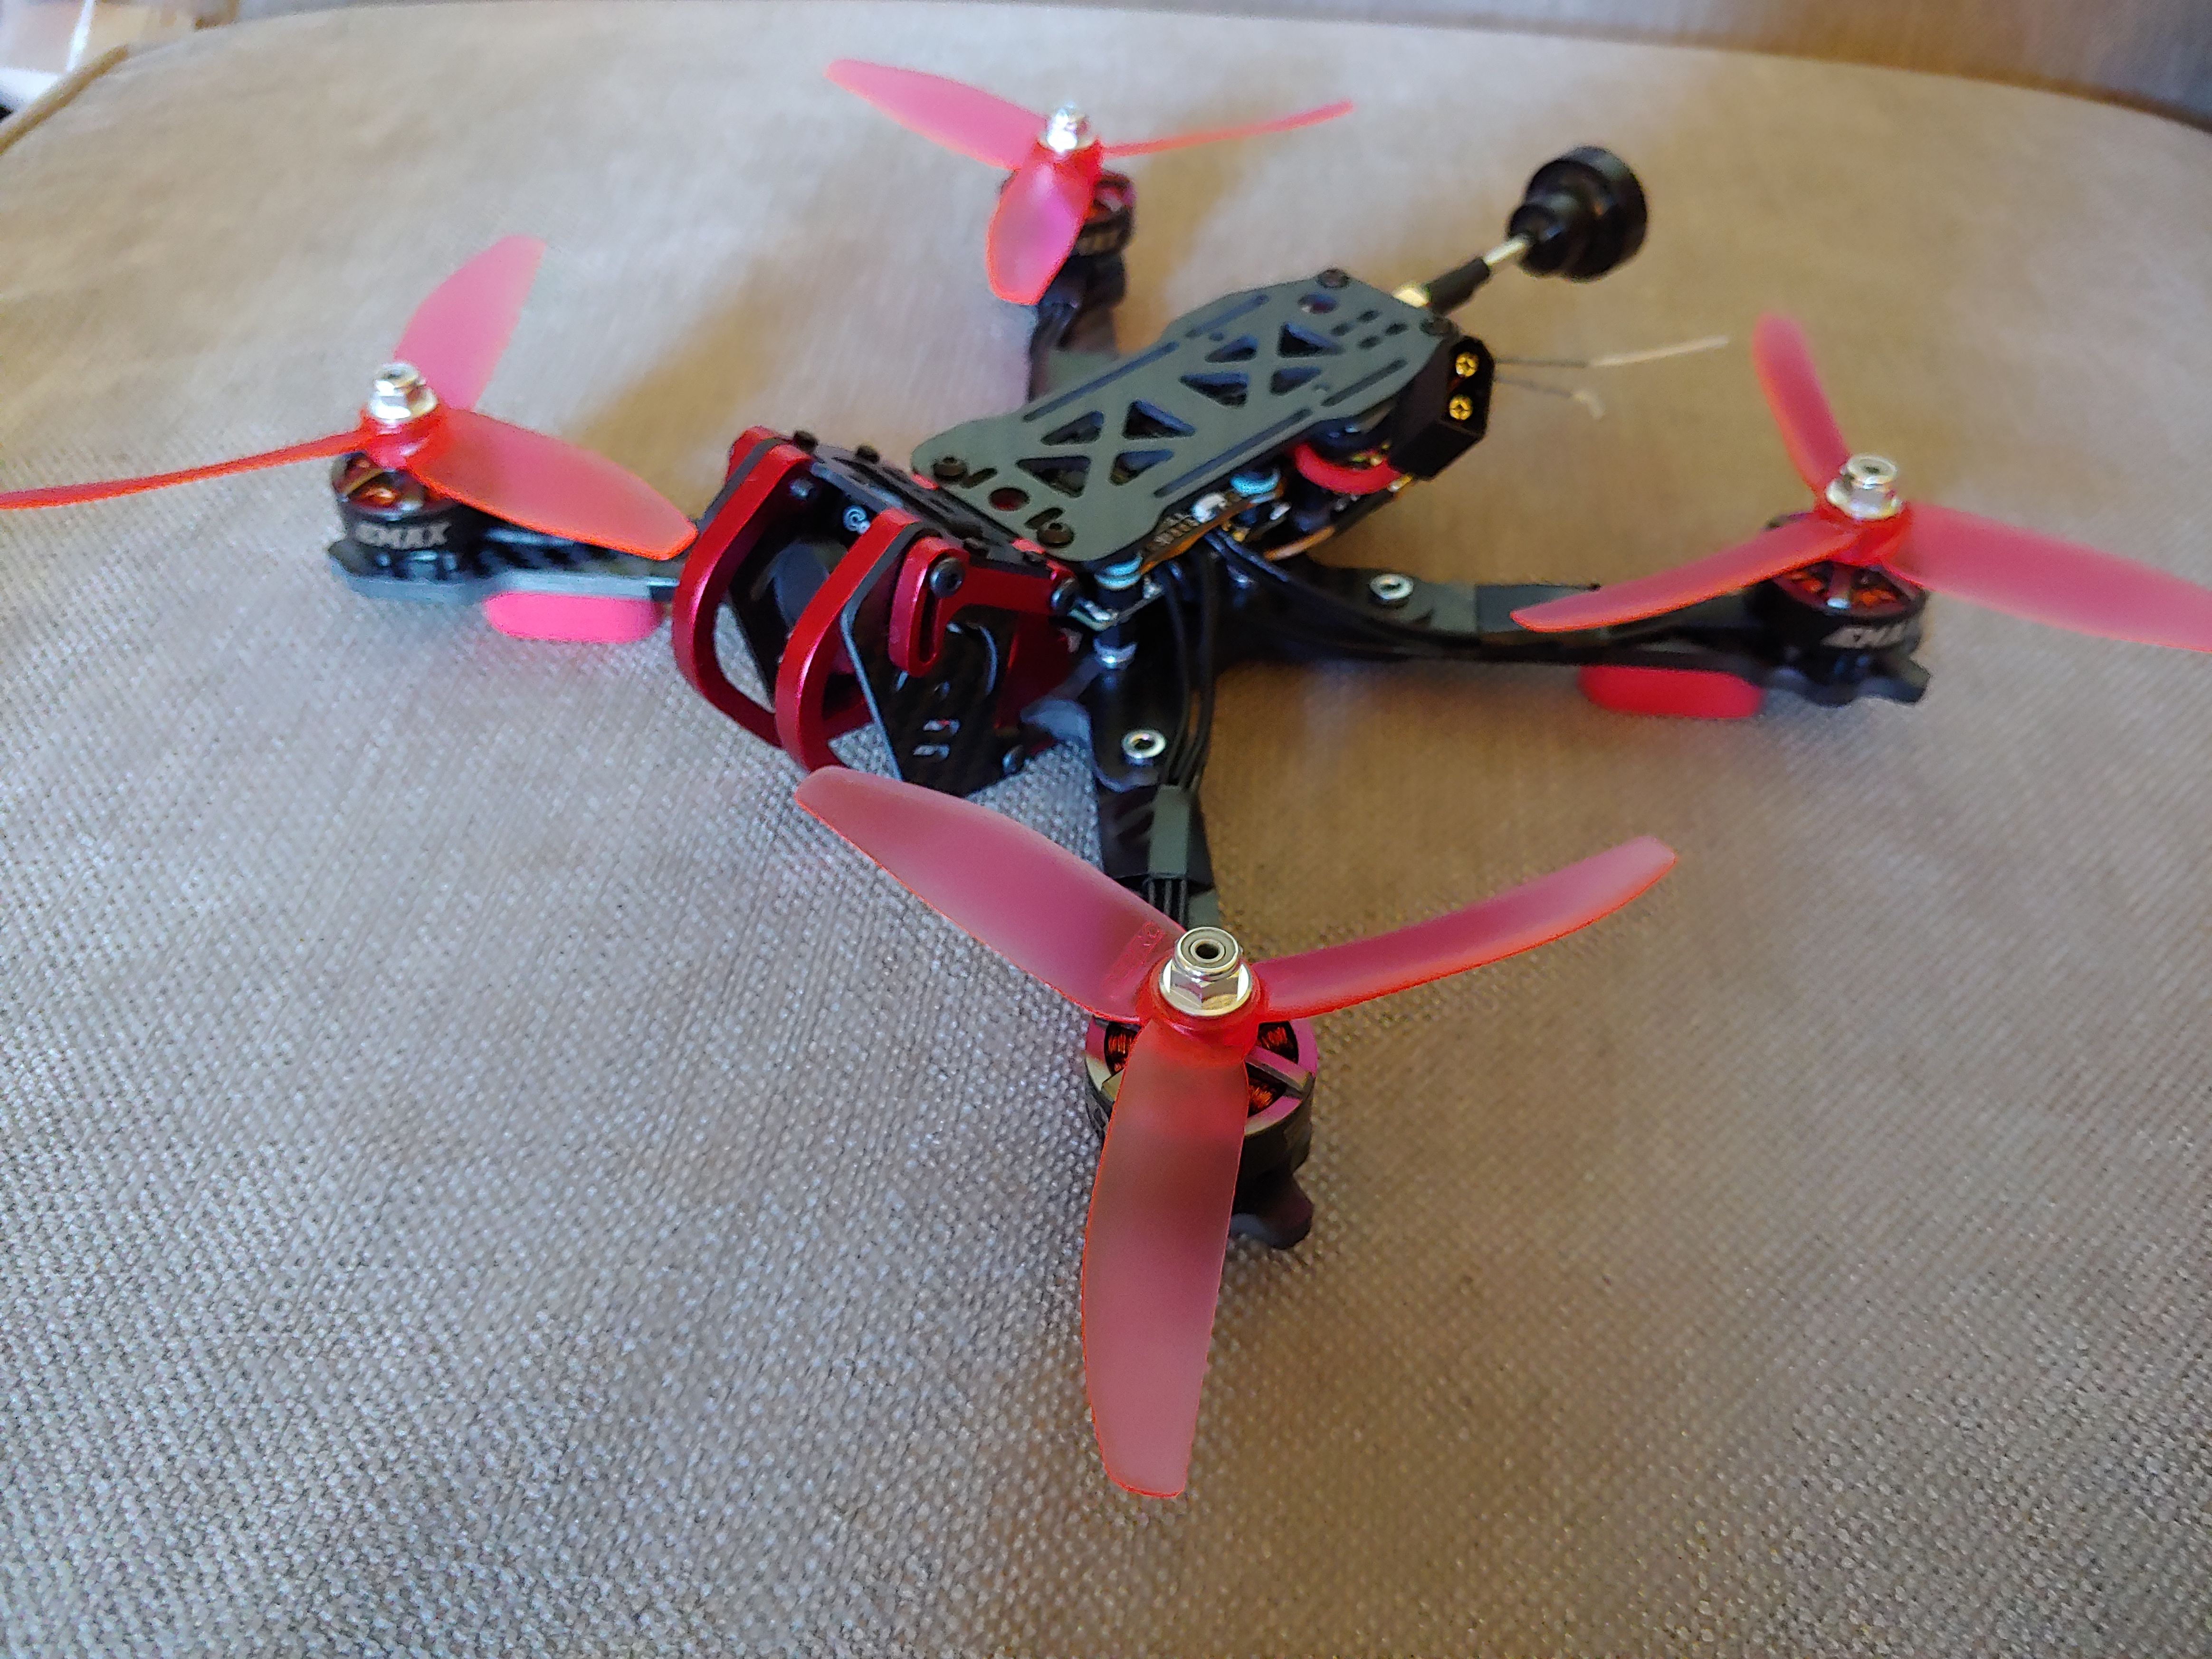
This is my first from the ground up build. The idea was to do this as cheaply as possible with little compromises. The camera was from another build but with the help of a zip tie was able to fit into this frame.


I'm building the same drone here. So it's a suprise to find your build here.
How did you attached the Caddx to the cage ? I don't see any screw or ziptie.
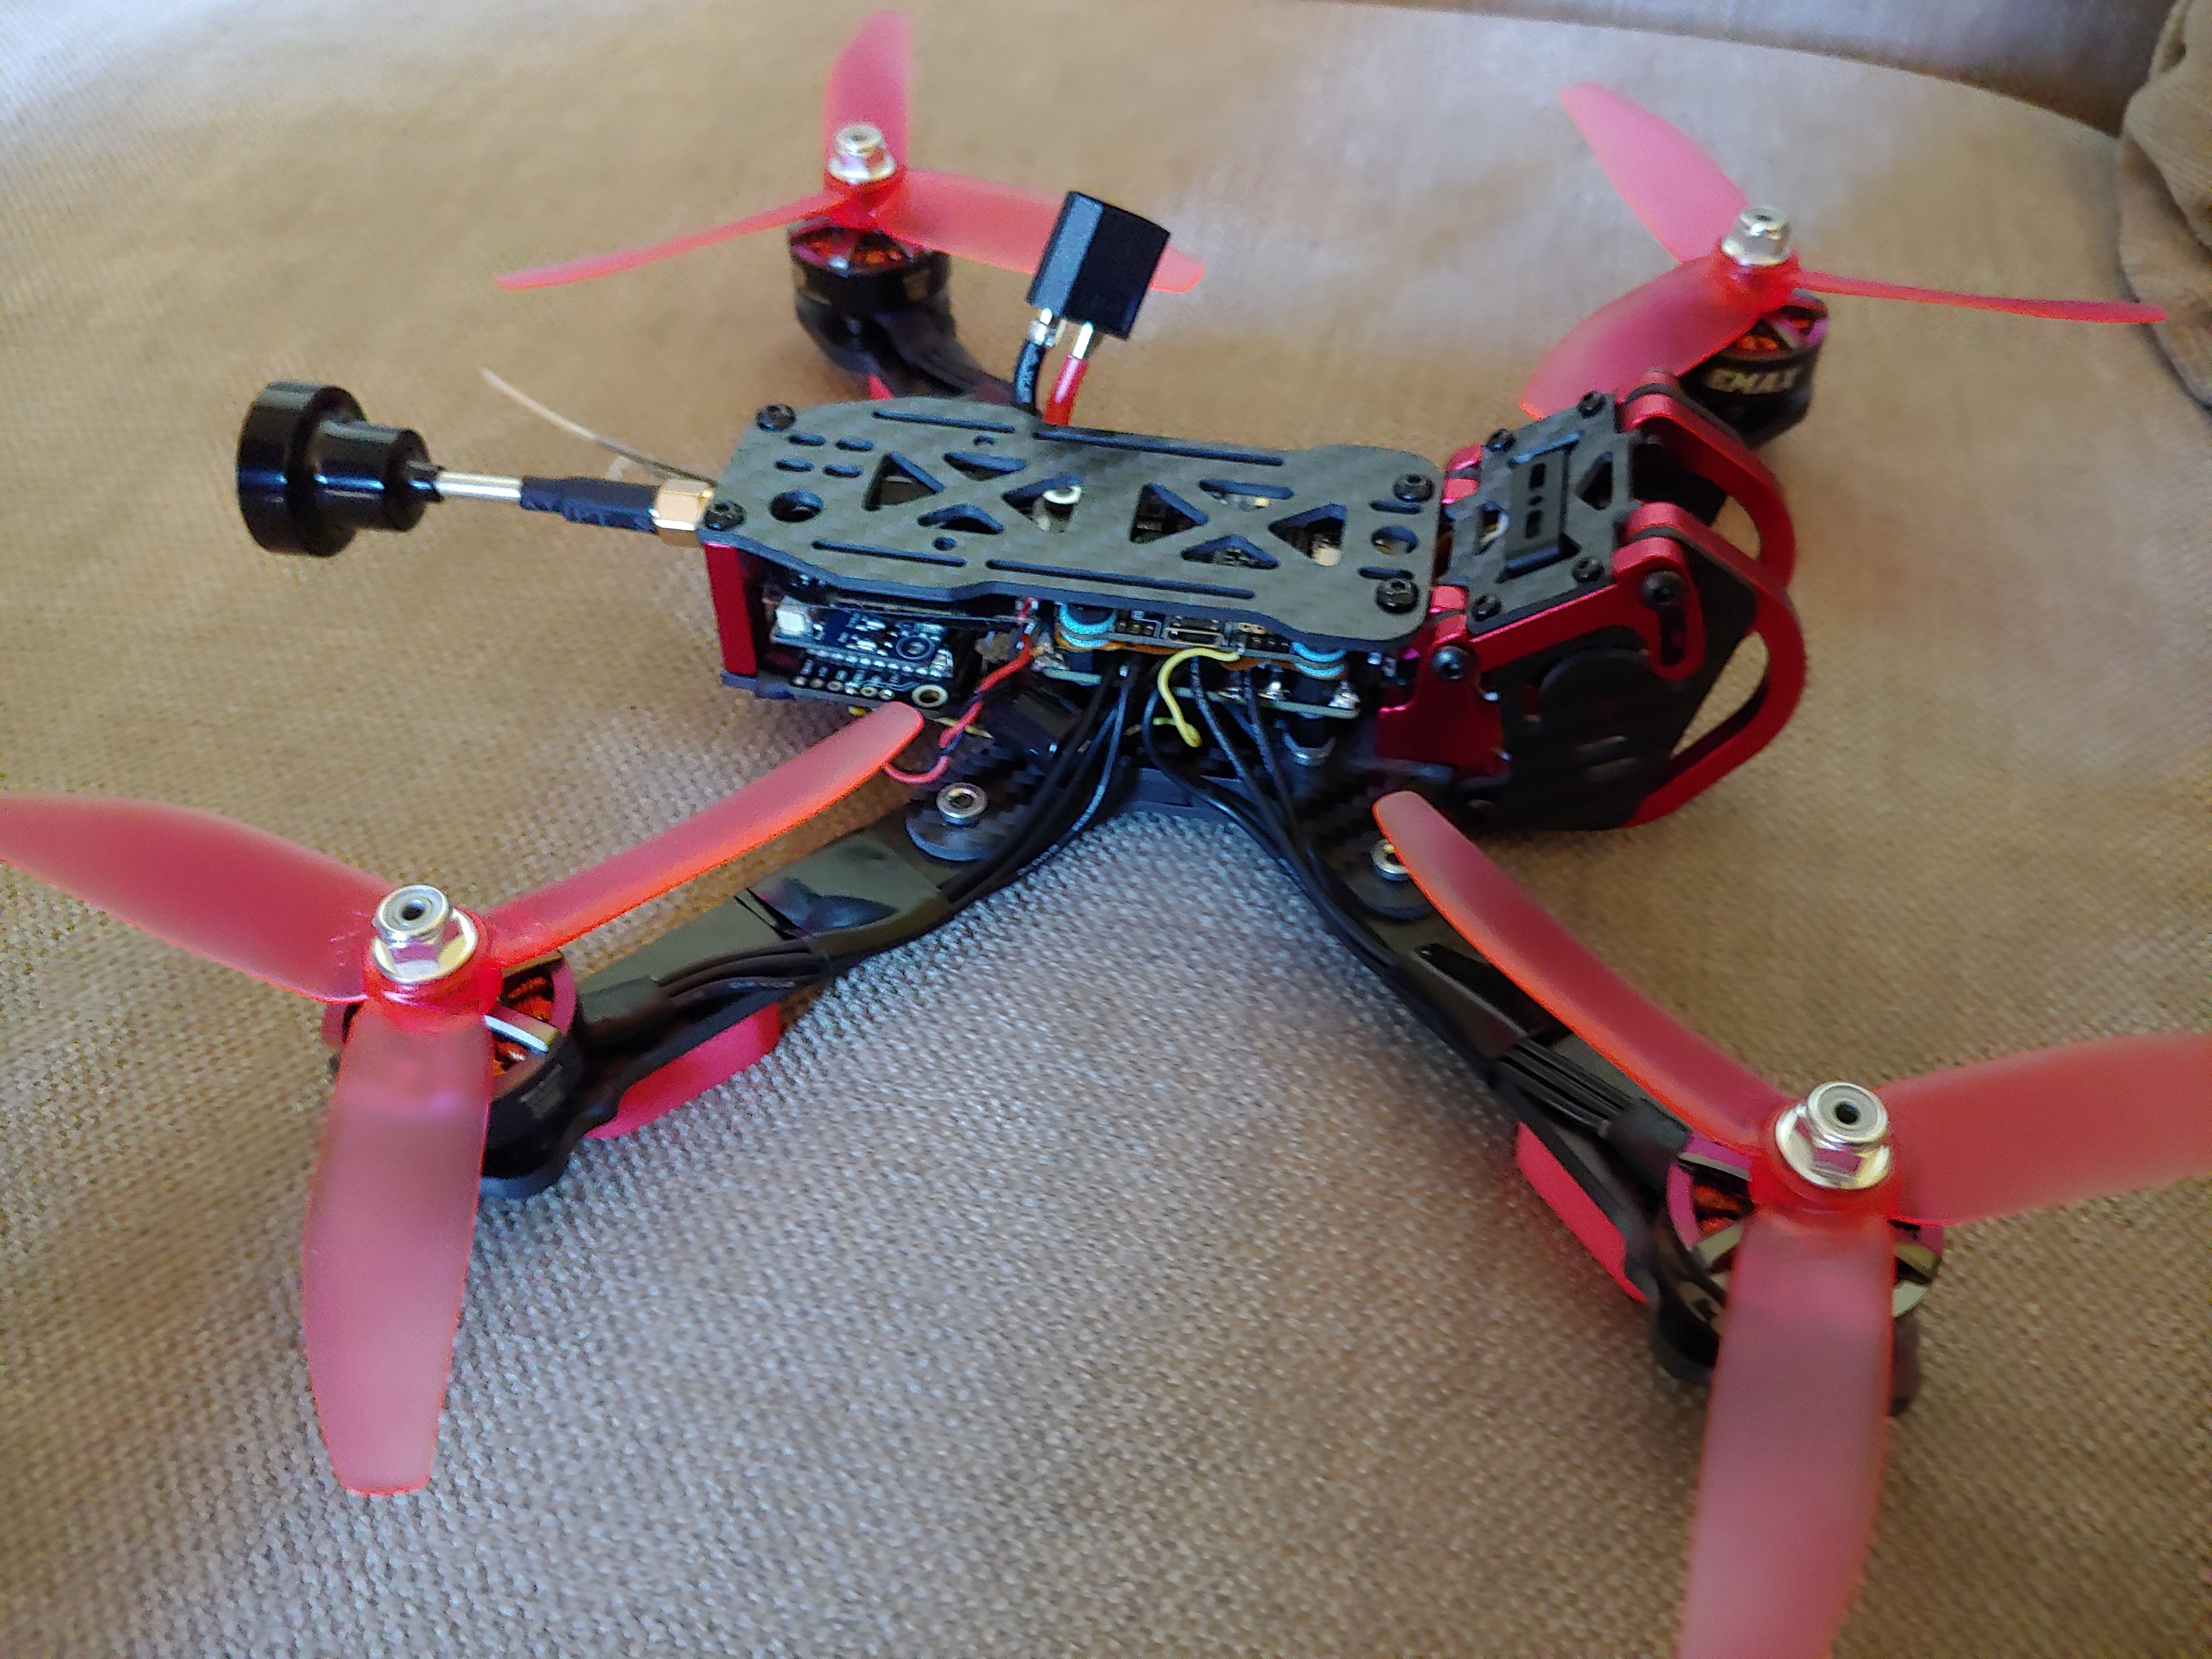
Hi there, I hope you enjoy the build. it served me well untill i crashed so hard i broke one of the arms. about your question with the Caddix. I used the metal bracket that came in the box pushed it through the top of the cage (you can just see it in some of the photos) and then attached the camera to it. It works but the cage got into the frame of the video. I made an improvement but sadly don't have any photos to show you.
I took the same metal piece and attached it to the back of the camera to make an O shape. and then used 2 zip ties on either side of the O and then through the sides of the frame to float the camera there. It wasn't pretty but it worked without seeing the cage in the camera picture. I hope this helps. If i still had the drone i'd take some pictures for you.
Thanks for your answer Valek :) I do like the build. Mine is slightly different (FPV transmiter : EWRF e708-TM3 and Antenna : Foxeer Lollipop). My camera is also a Caddx but i'ts a Ratel 1/1.8" Starlight. Pretty much the same drone.
Before I posted a message here and according to the pictures you show I tried to fix the metal part on the top plate with zipties. First try I figured I could see a lot of the "cages bars" throught the FPV googles. So then I tried different ways to get as close as I could from the outside. Here is what I did at the end :
1- Fix the metal U on the top plate : Not on the center but on the upside of the X (the cross made of carbon... sure you know what I mean.). This way I get about 1/4 inch closer.
2- The U metal part on what the camera has to be screwed is showing a round extremity on both sides. One way better than the other and I can be about 1/8 inch closer.
3- Using the "Angle managment system" (those two red parts you can slide) I went half way and here I am !
Through the googles I have a full field-of-view.
Problem is the screw on both side of the camera doesn't allows a steady angle. It wiggles a little and it could potentialy moove from 30° to 45° if the dron makes hard moves during the flight. Double side tape is you friend ! I squished two thikness of double side tape on top on the camera... not perfect, ugly and ... yeah. Just Ugly !
This is my first drone and this morning I did my first flight. I have other problems to solve. That ugly fix is the last of my worries >