
I decided to build a top-of-the-line Freestyler. It should be durable, have a build-in HD camera and decent Video and RC Range.
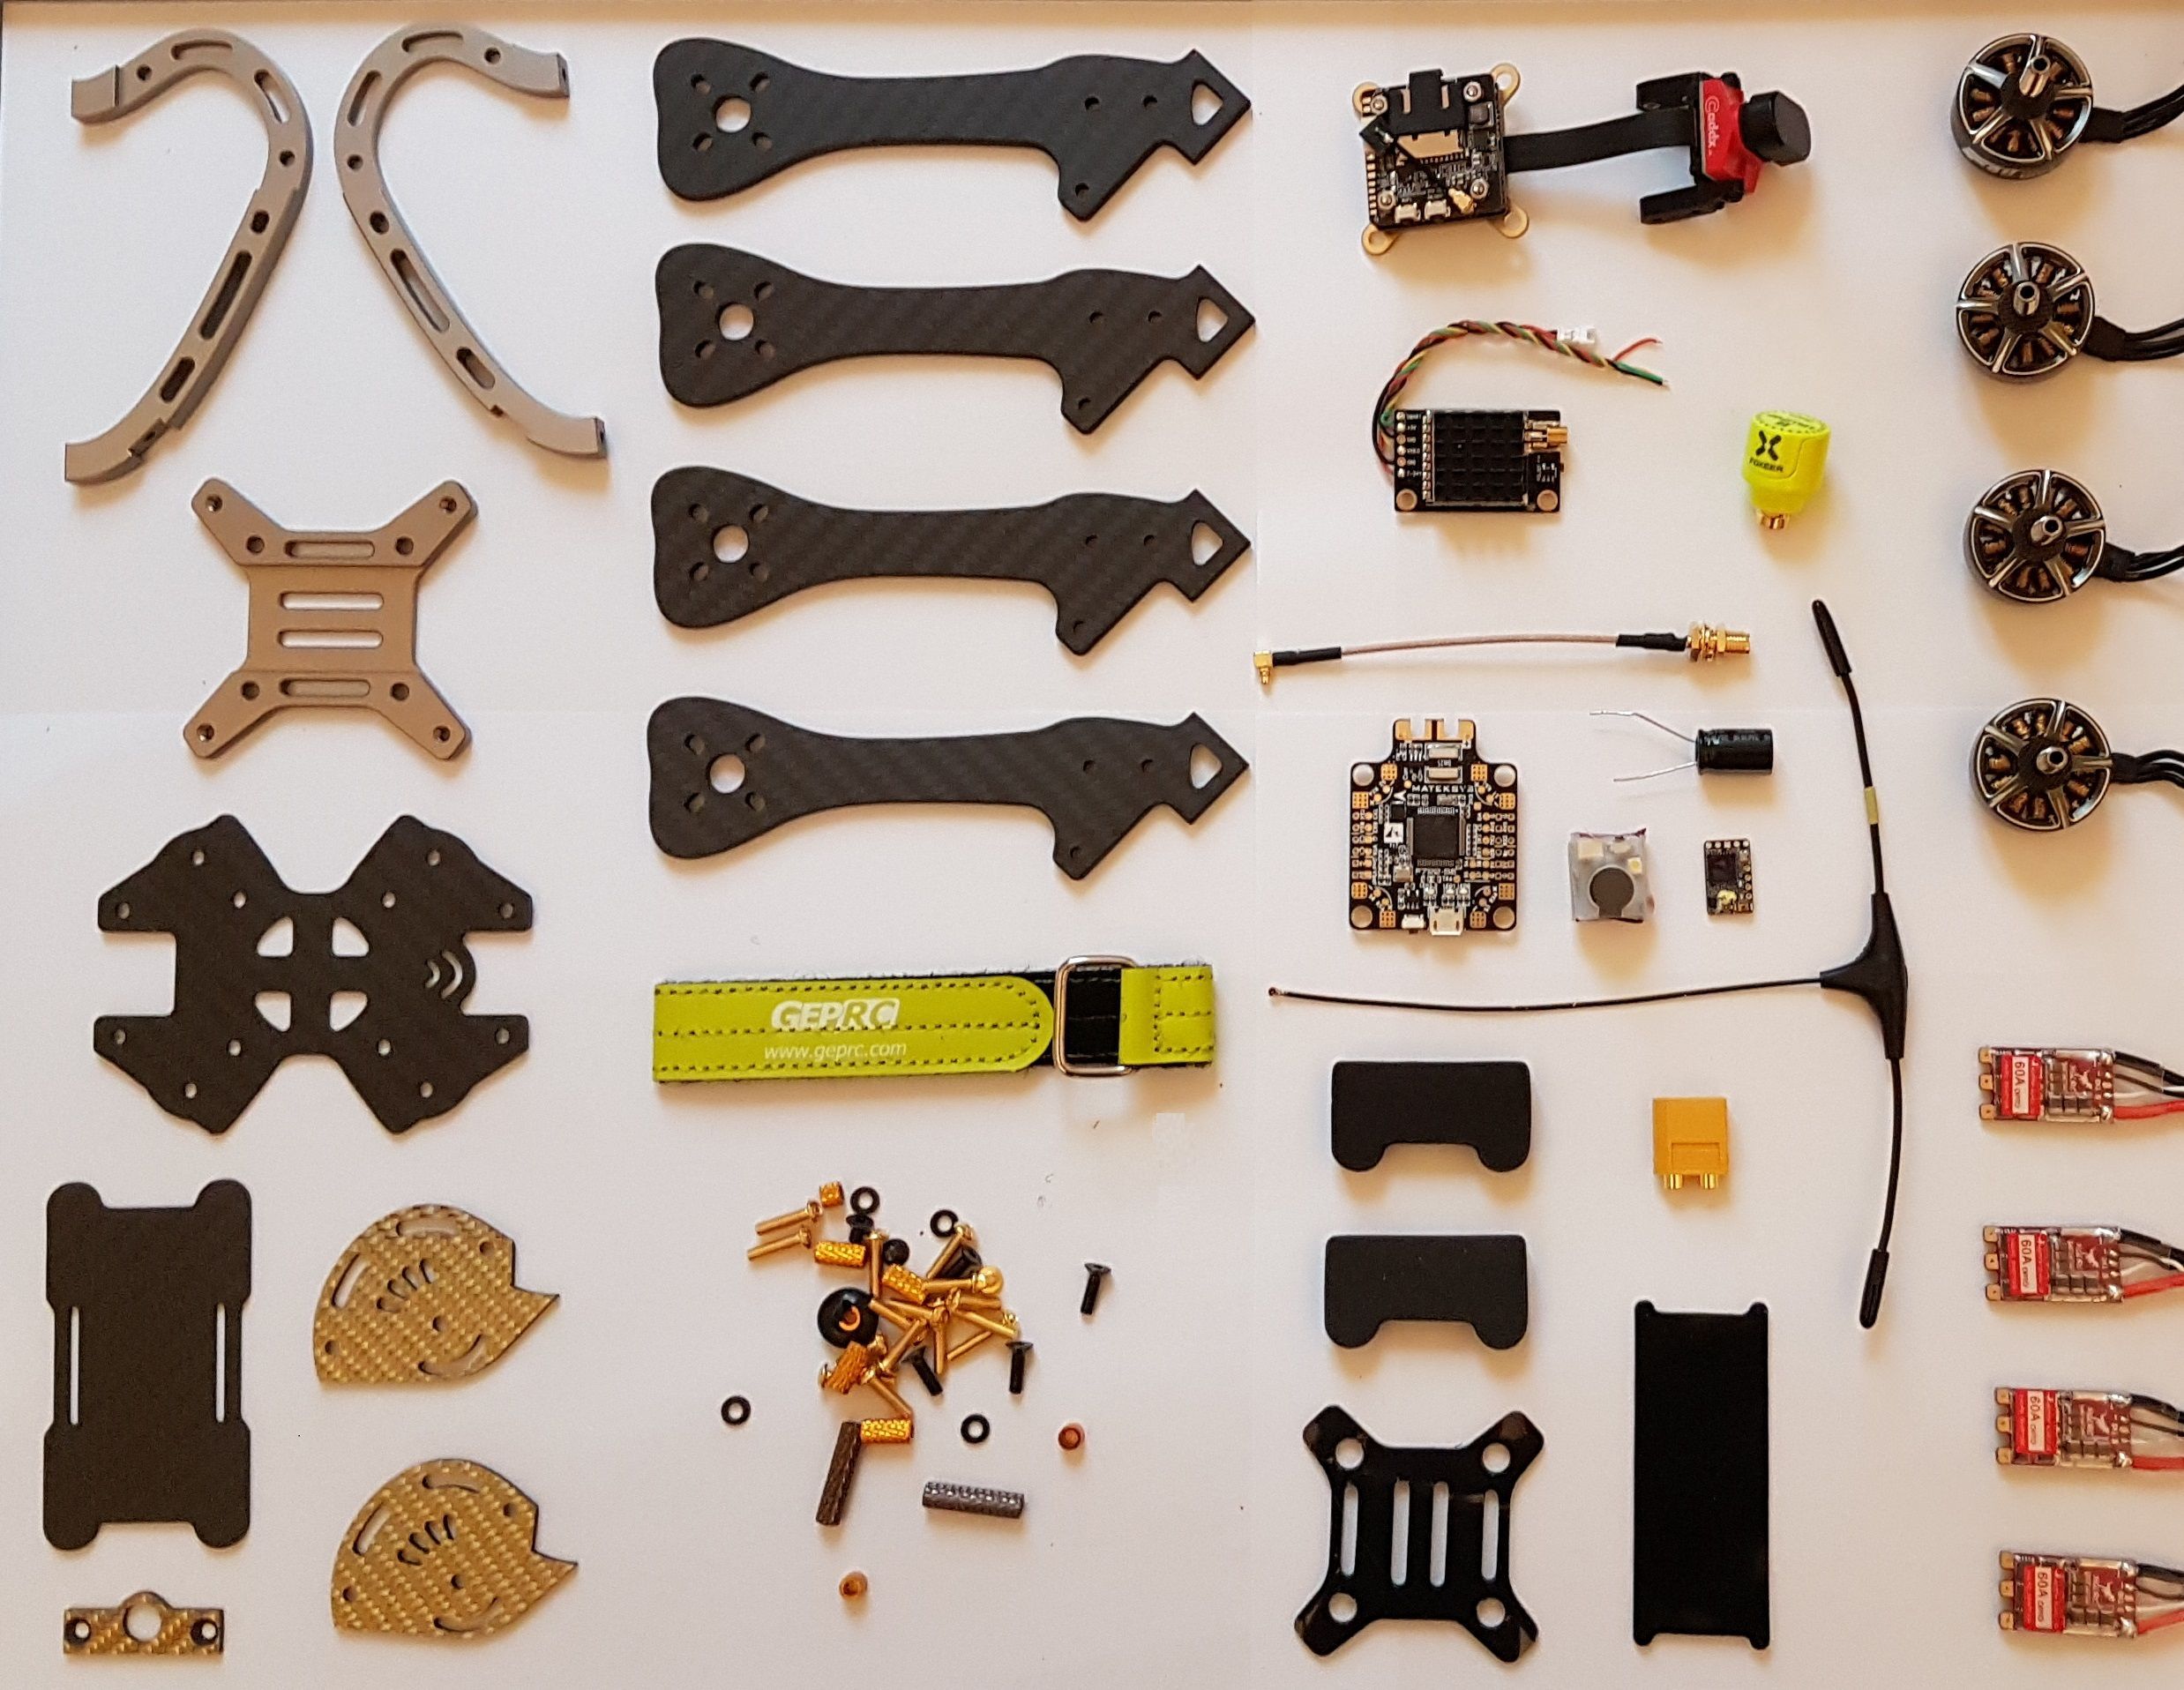
I have chosen the following components:
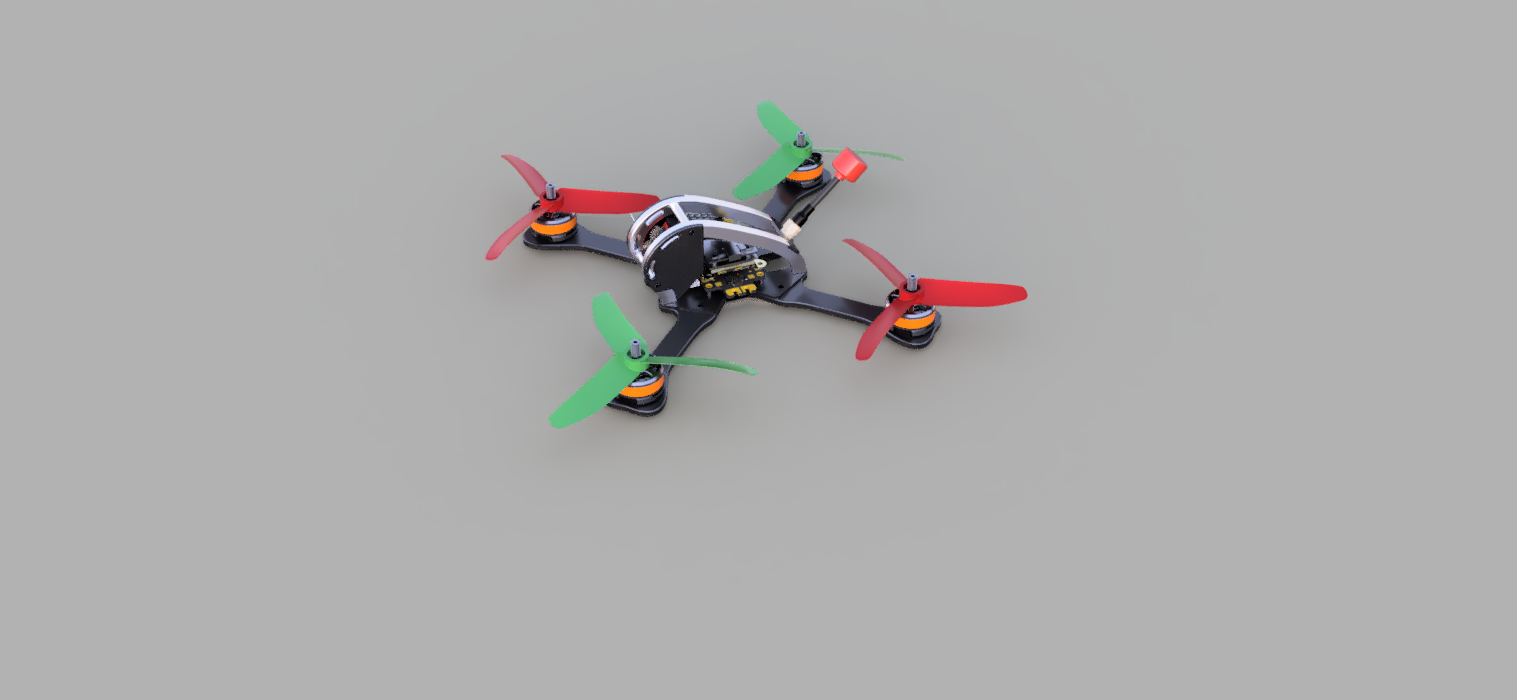
- GEPRC Leopard Frame - It looks durable and good. Only con: little space. So i checked part placement in CAD first, I found a way to pack everything in there.
- T-Motor F40 Pro III 2400KV - these are very powerful. I use them already on another Quad and I like them, so i used these again.
- Matek F722 Flightcontroller - I like Matek FCs, you can invert all the UARTs and they have a lot of them. I have choosen this one because I want to test the F7 CPU. Moreover this FC allows to connect 2 cams and switch between them via TX - perhaps I can make use of this feature in the future.
- HGLRC T-Rex 60AMP ESCs - Very cheap BL_Heli 32 ESCs that can deliver a lot of Power and provide a telemetry pad
- Caddx Tarsier Camera - Split cams always add little latency, so i decided to test a 2-Lens Camera in this build Update: I'll switch to the Runcam Hybrid as i cannot control Caddx Tarsier settings via FC.
- Eachine TX805S VTX - best power/Money+Size-ratio. Also supports Pitmode and Smartaudio - that's all I need.
- FrSky R9mm Receiver - Tons of range and very little price difference to a 2.4G RX. Supports telemetry also, so same here: All i need.
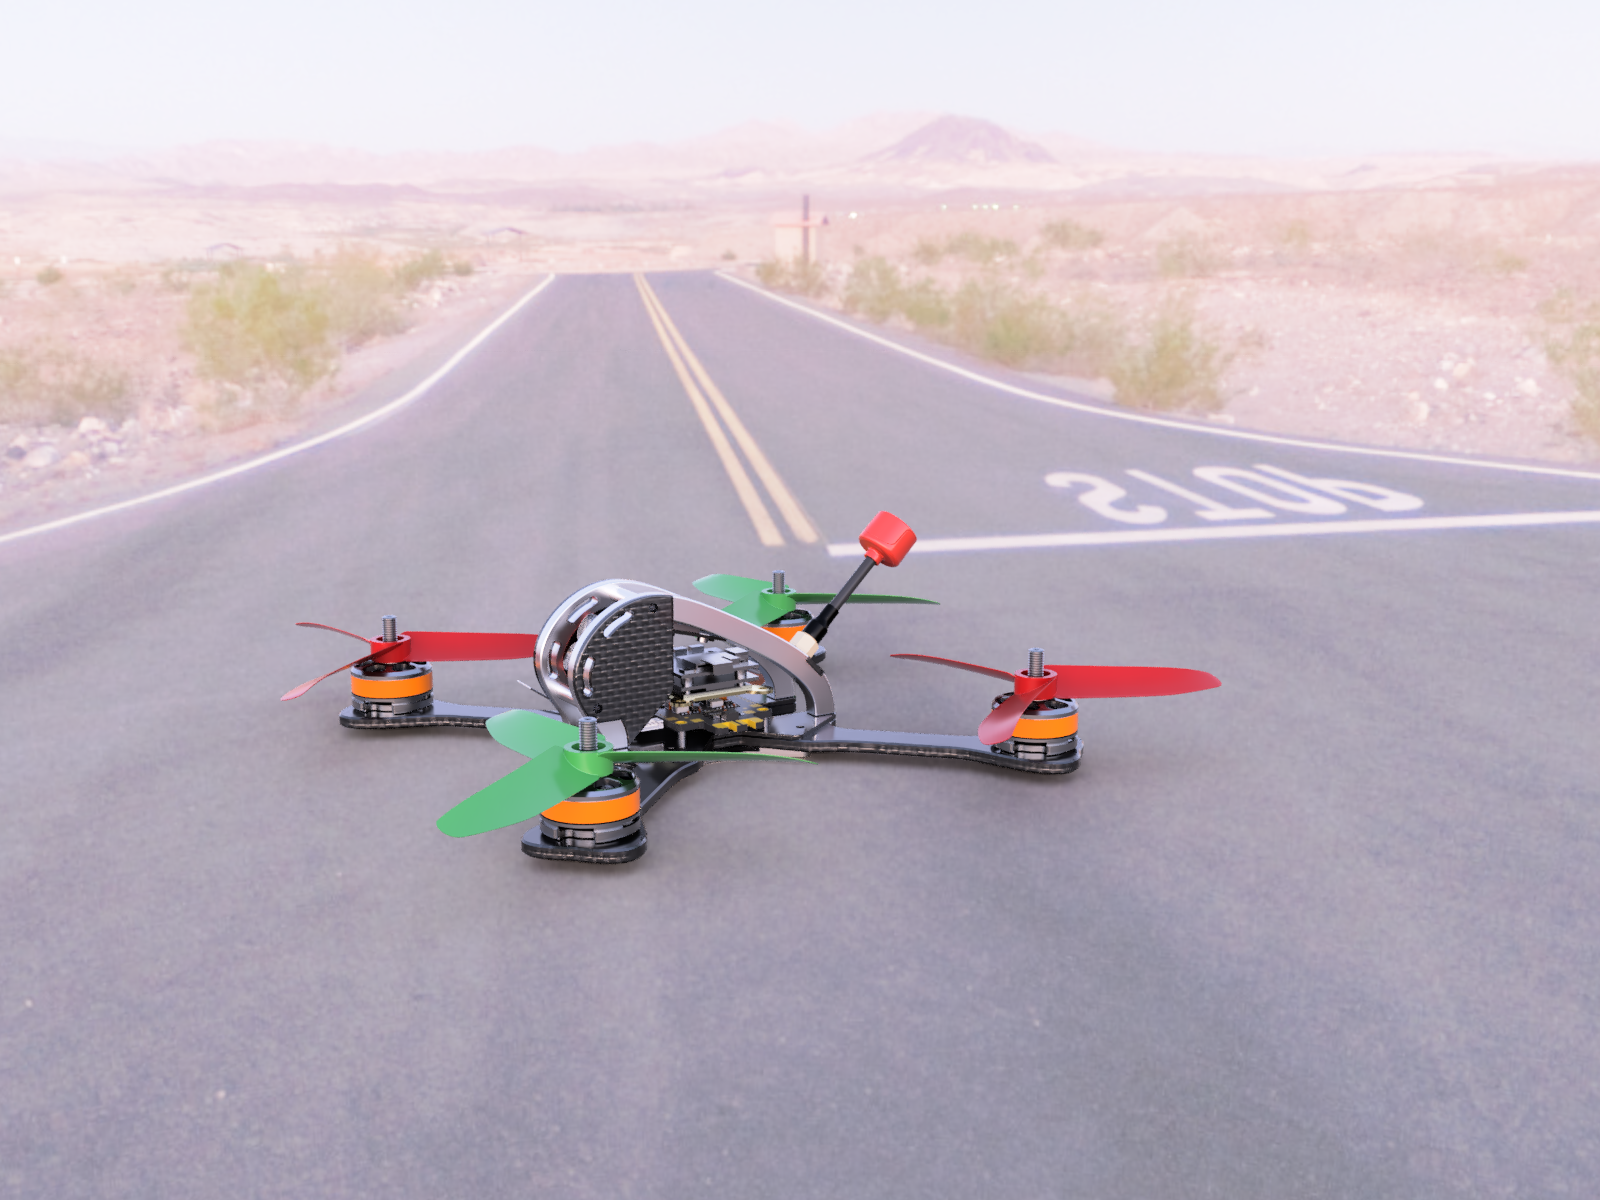
Dealing with limited space
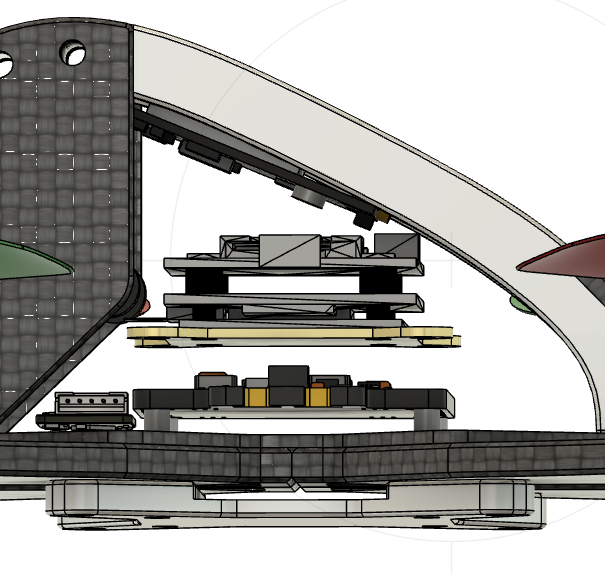
As space is limited in this frame I decided to figure out how to place the components in CAD. I found a way to fit everything in there: The FC at the bottom with the Caddx Tarsier board on top. I've placed the Receiver in the front of the baseplate and the buzzer at the rear. The VTX fits exactly in between the two aluminum braces, so I decided to mount it with zipties in between them - It sould be protected quite good there.
Mounting the Baseplate and cage
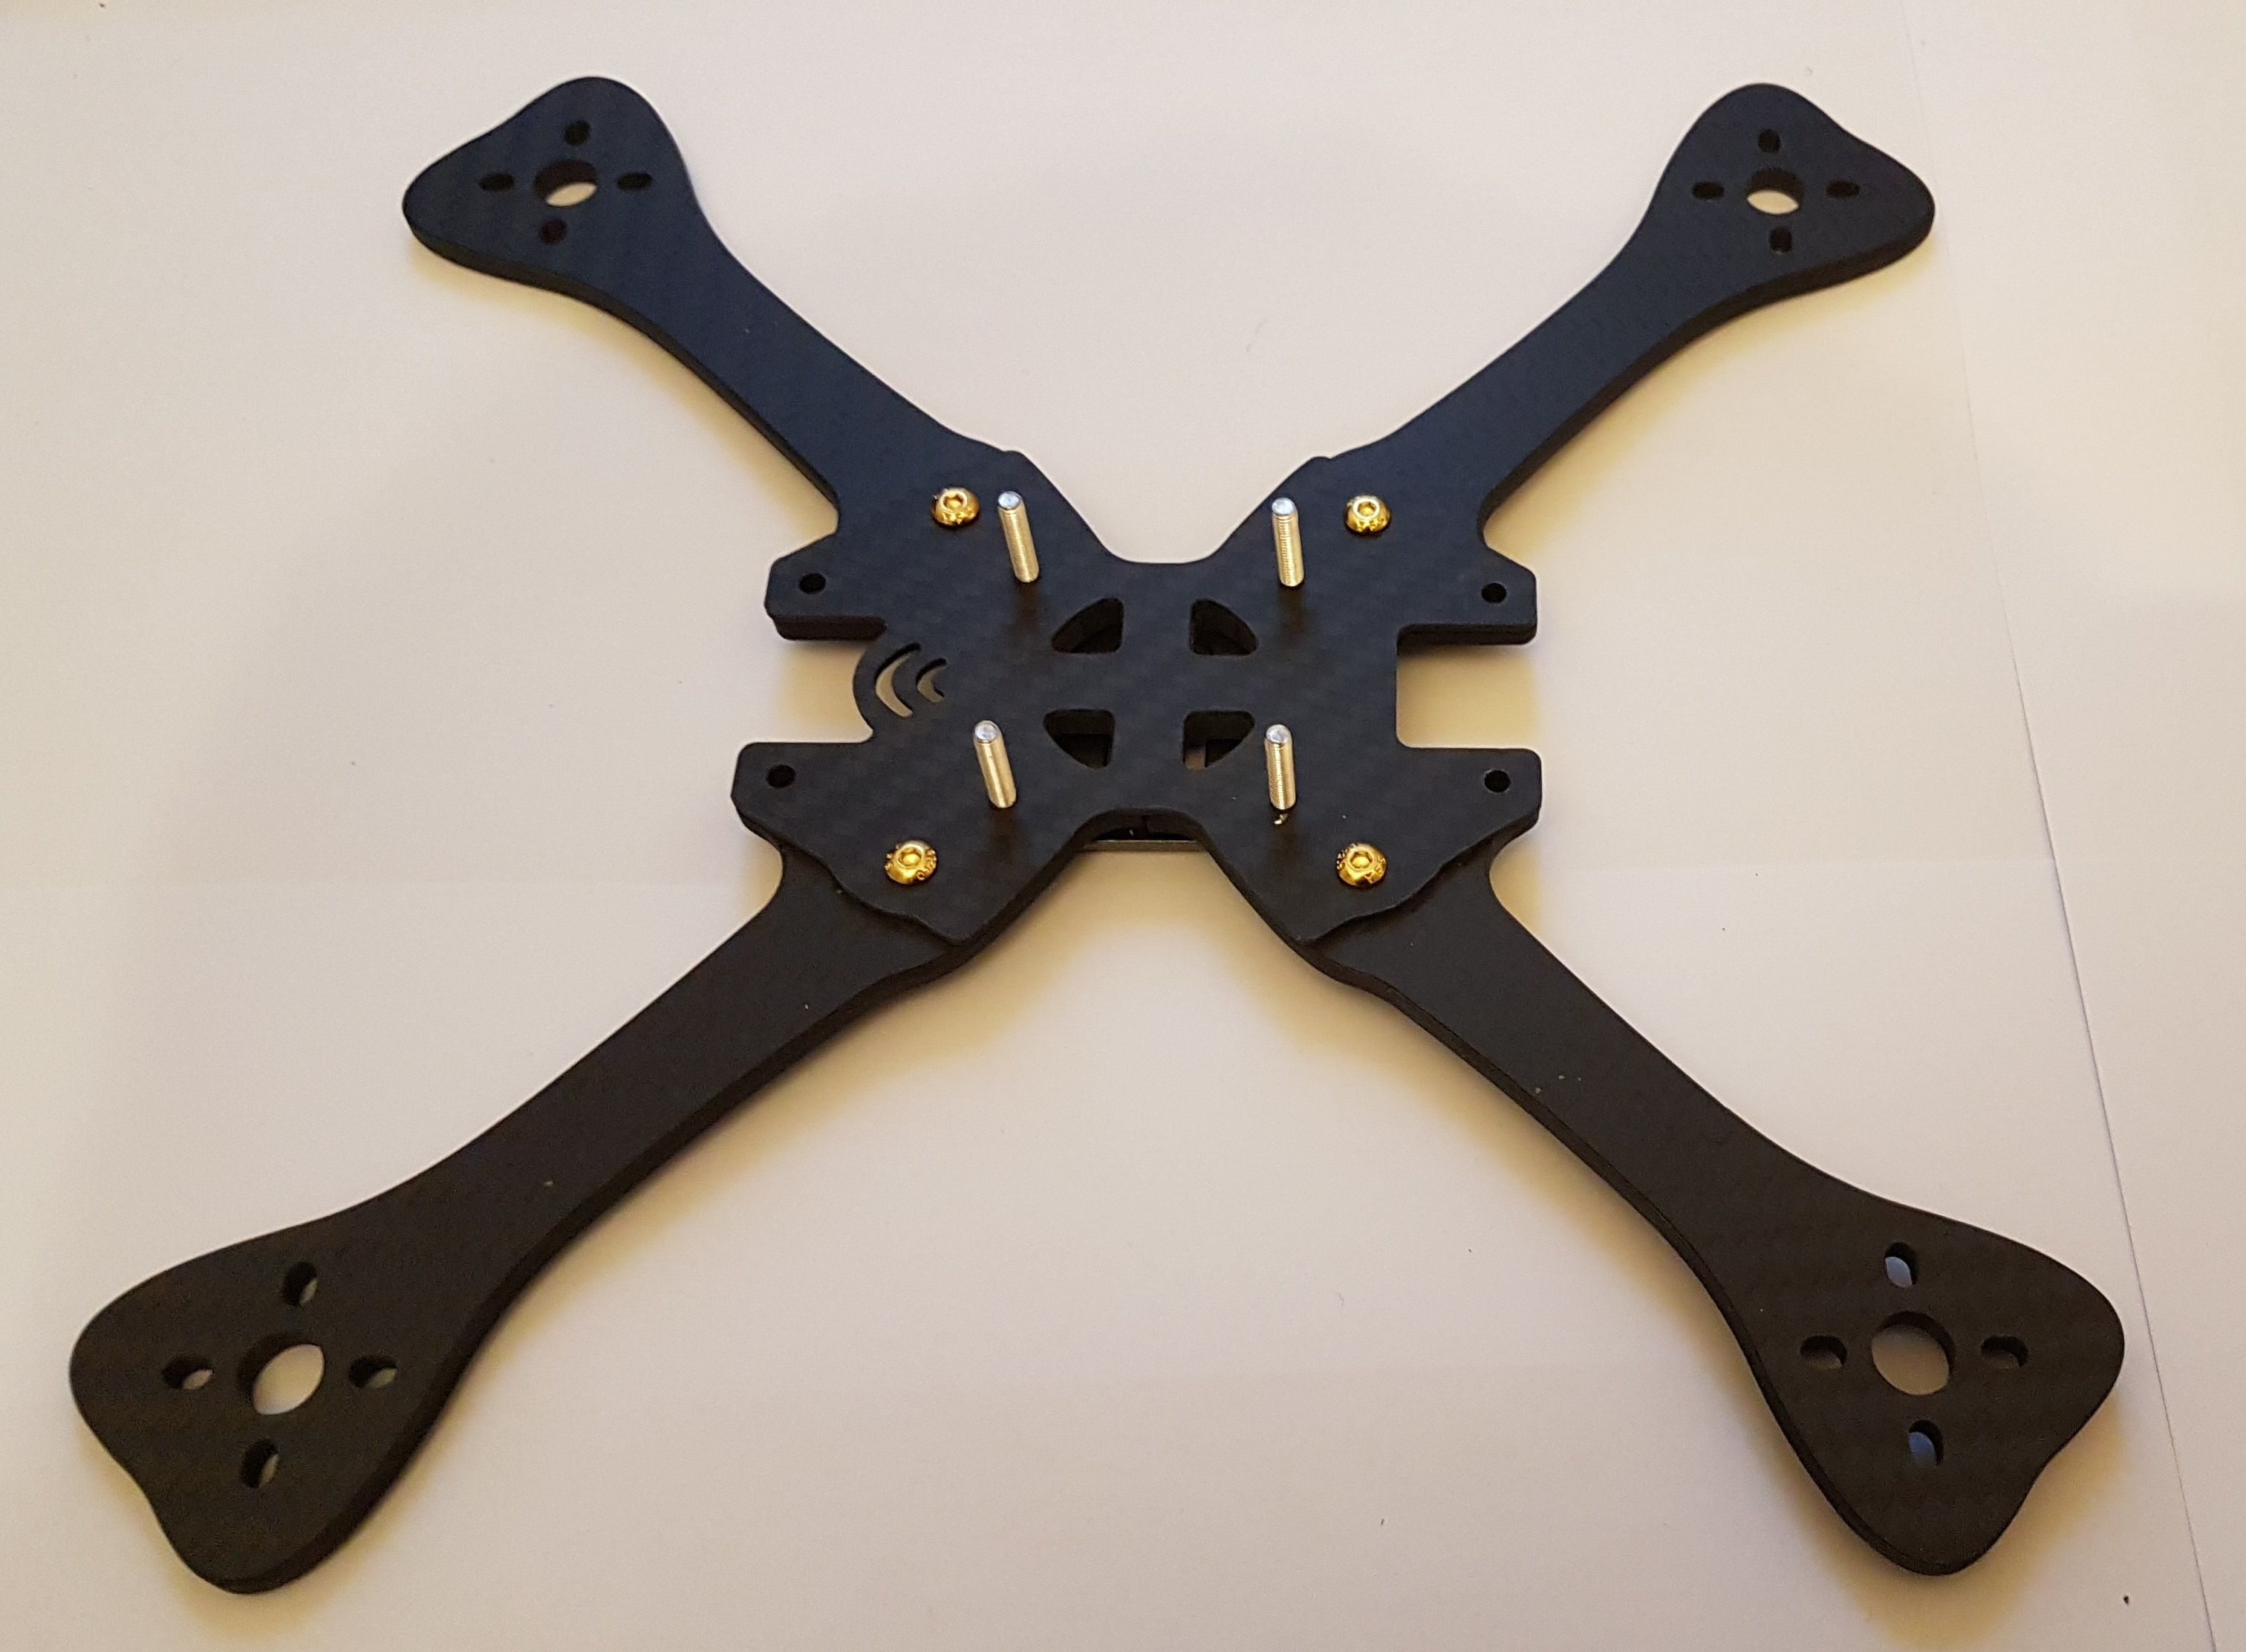
Mounting the Baseplate is quite straight forward. I have mounted the baseplate first an decided to use longer screws to mount the FC and the Caddx Tarsier board on them. If you also plan to do so please do not forget to use vibration damping inserts for your flightcontroller as softmounting is mandatory nowadays. Mounting the cage was also straight forward, I screwed everything together and removed one sideplate and one aluminum brace to keep everything accessable. I had do print an adapter for the Camera as the frame is designed for standart-size cameras, you can find it here. After that I was able to mount the cam an confirm that there is enough space.
Wiring everything up
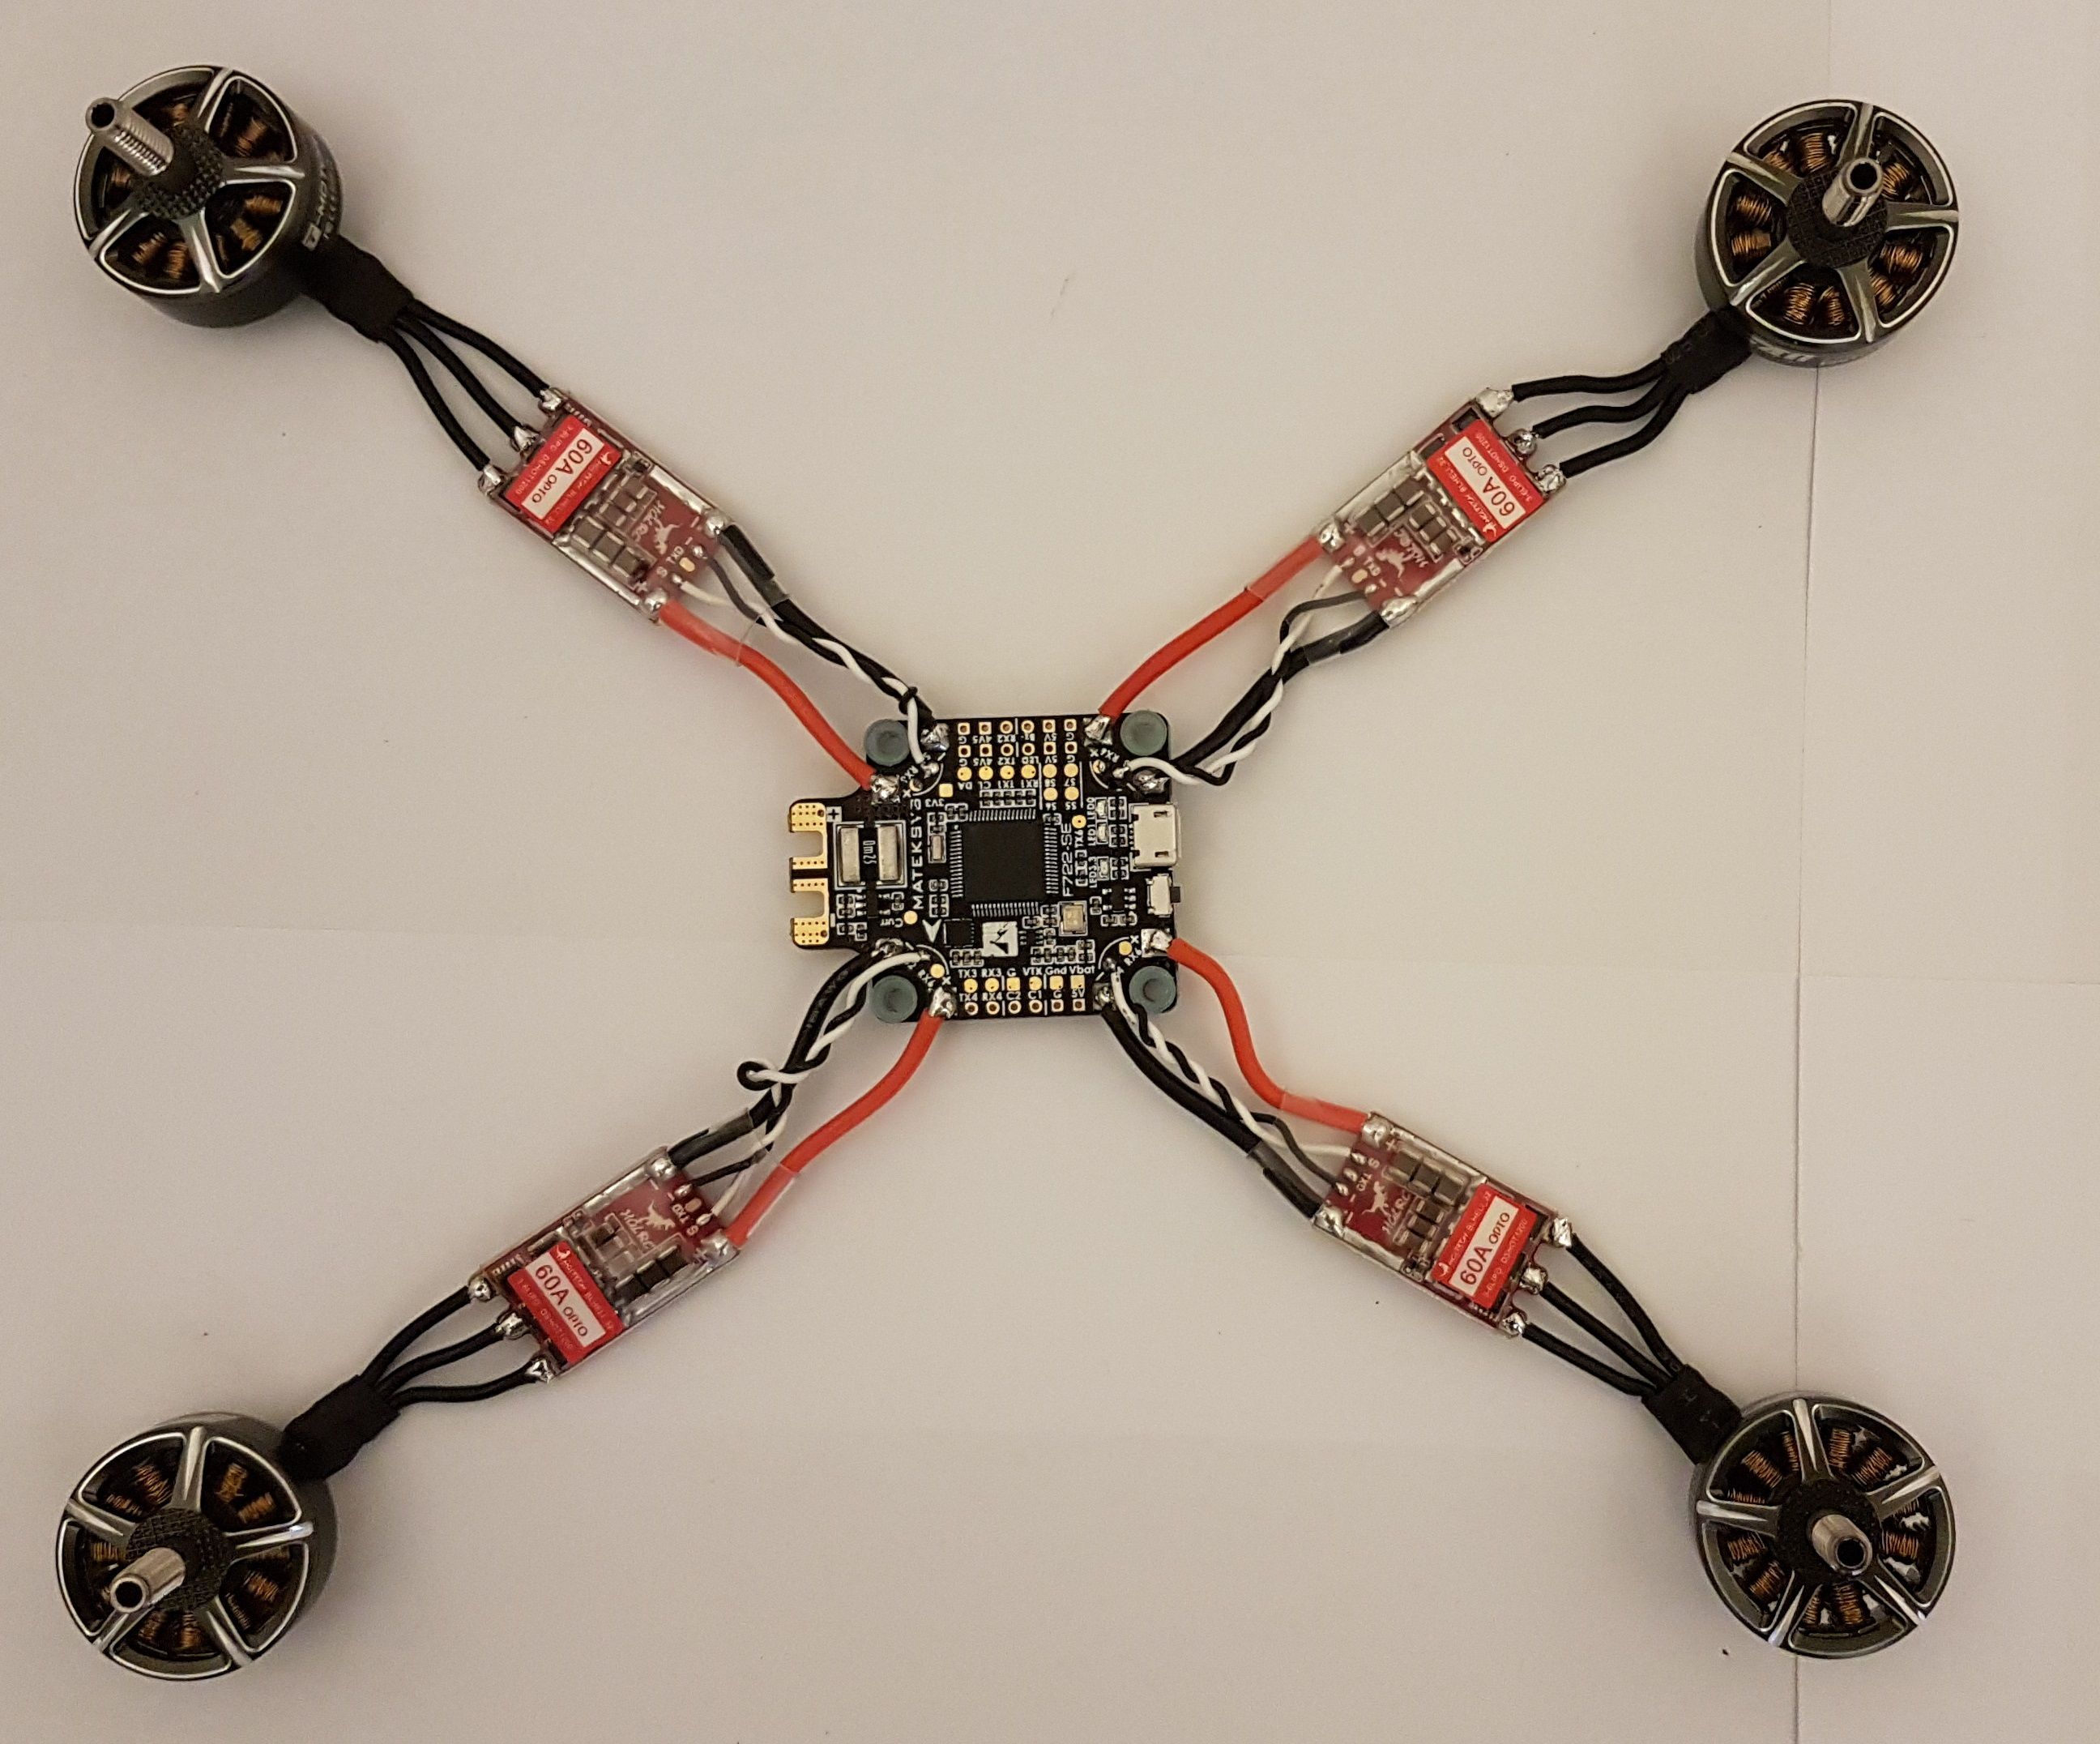
I like to solder outside the frame if possible. With this frame that worked quite well for most of the components: I started with soldering ESCs and motors to the FC and continued with all the cables with plugs. After that only the Receiver and the VTX were left. I wired the receiver directly to the FC via F.Port, I also wired SBUS for firmware updates. If you want to do Firmwareupdates via serial passthrough please take care to wire the receiver to a 5V pin (only powered with battery), not to a 4V5 pad (powered by USB only). If you have never heard about firmwareupdate via serialpassthrough check this out. The last thing to connect is the VTX, make sure that the cables are not to short before soldering it to the FC.
Power cable
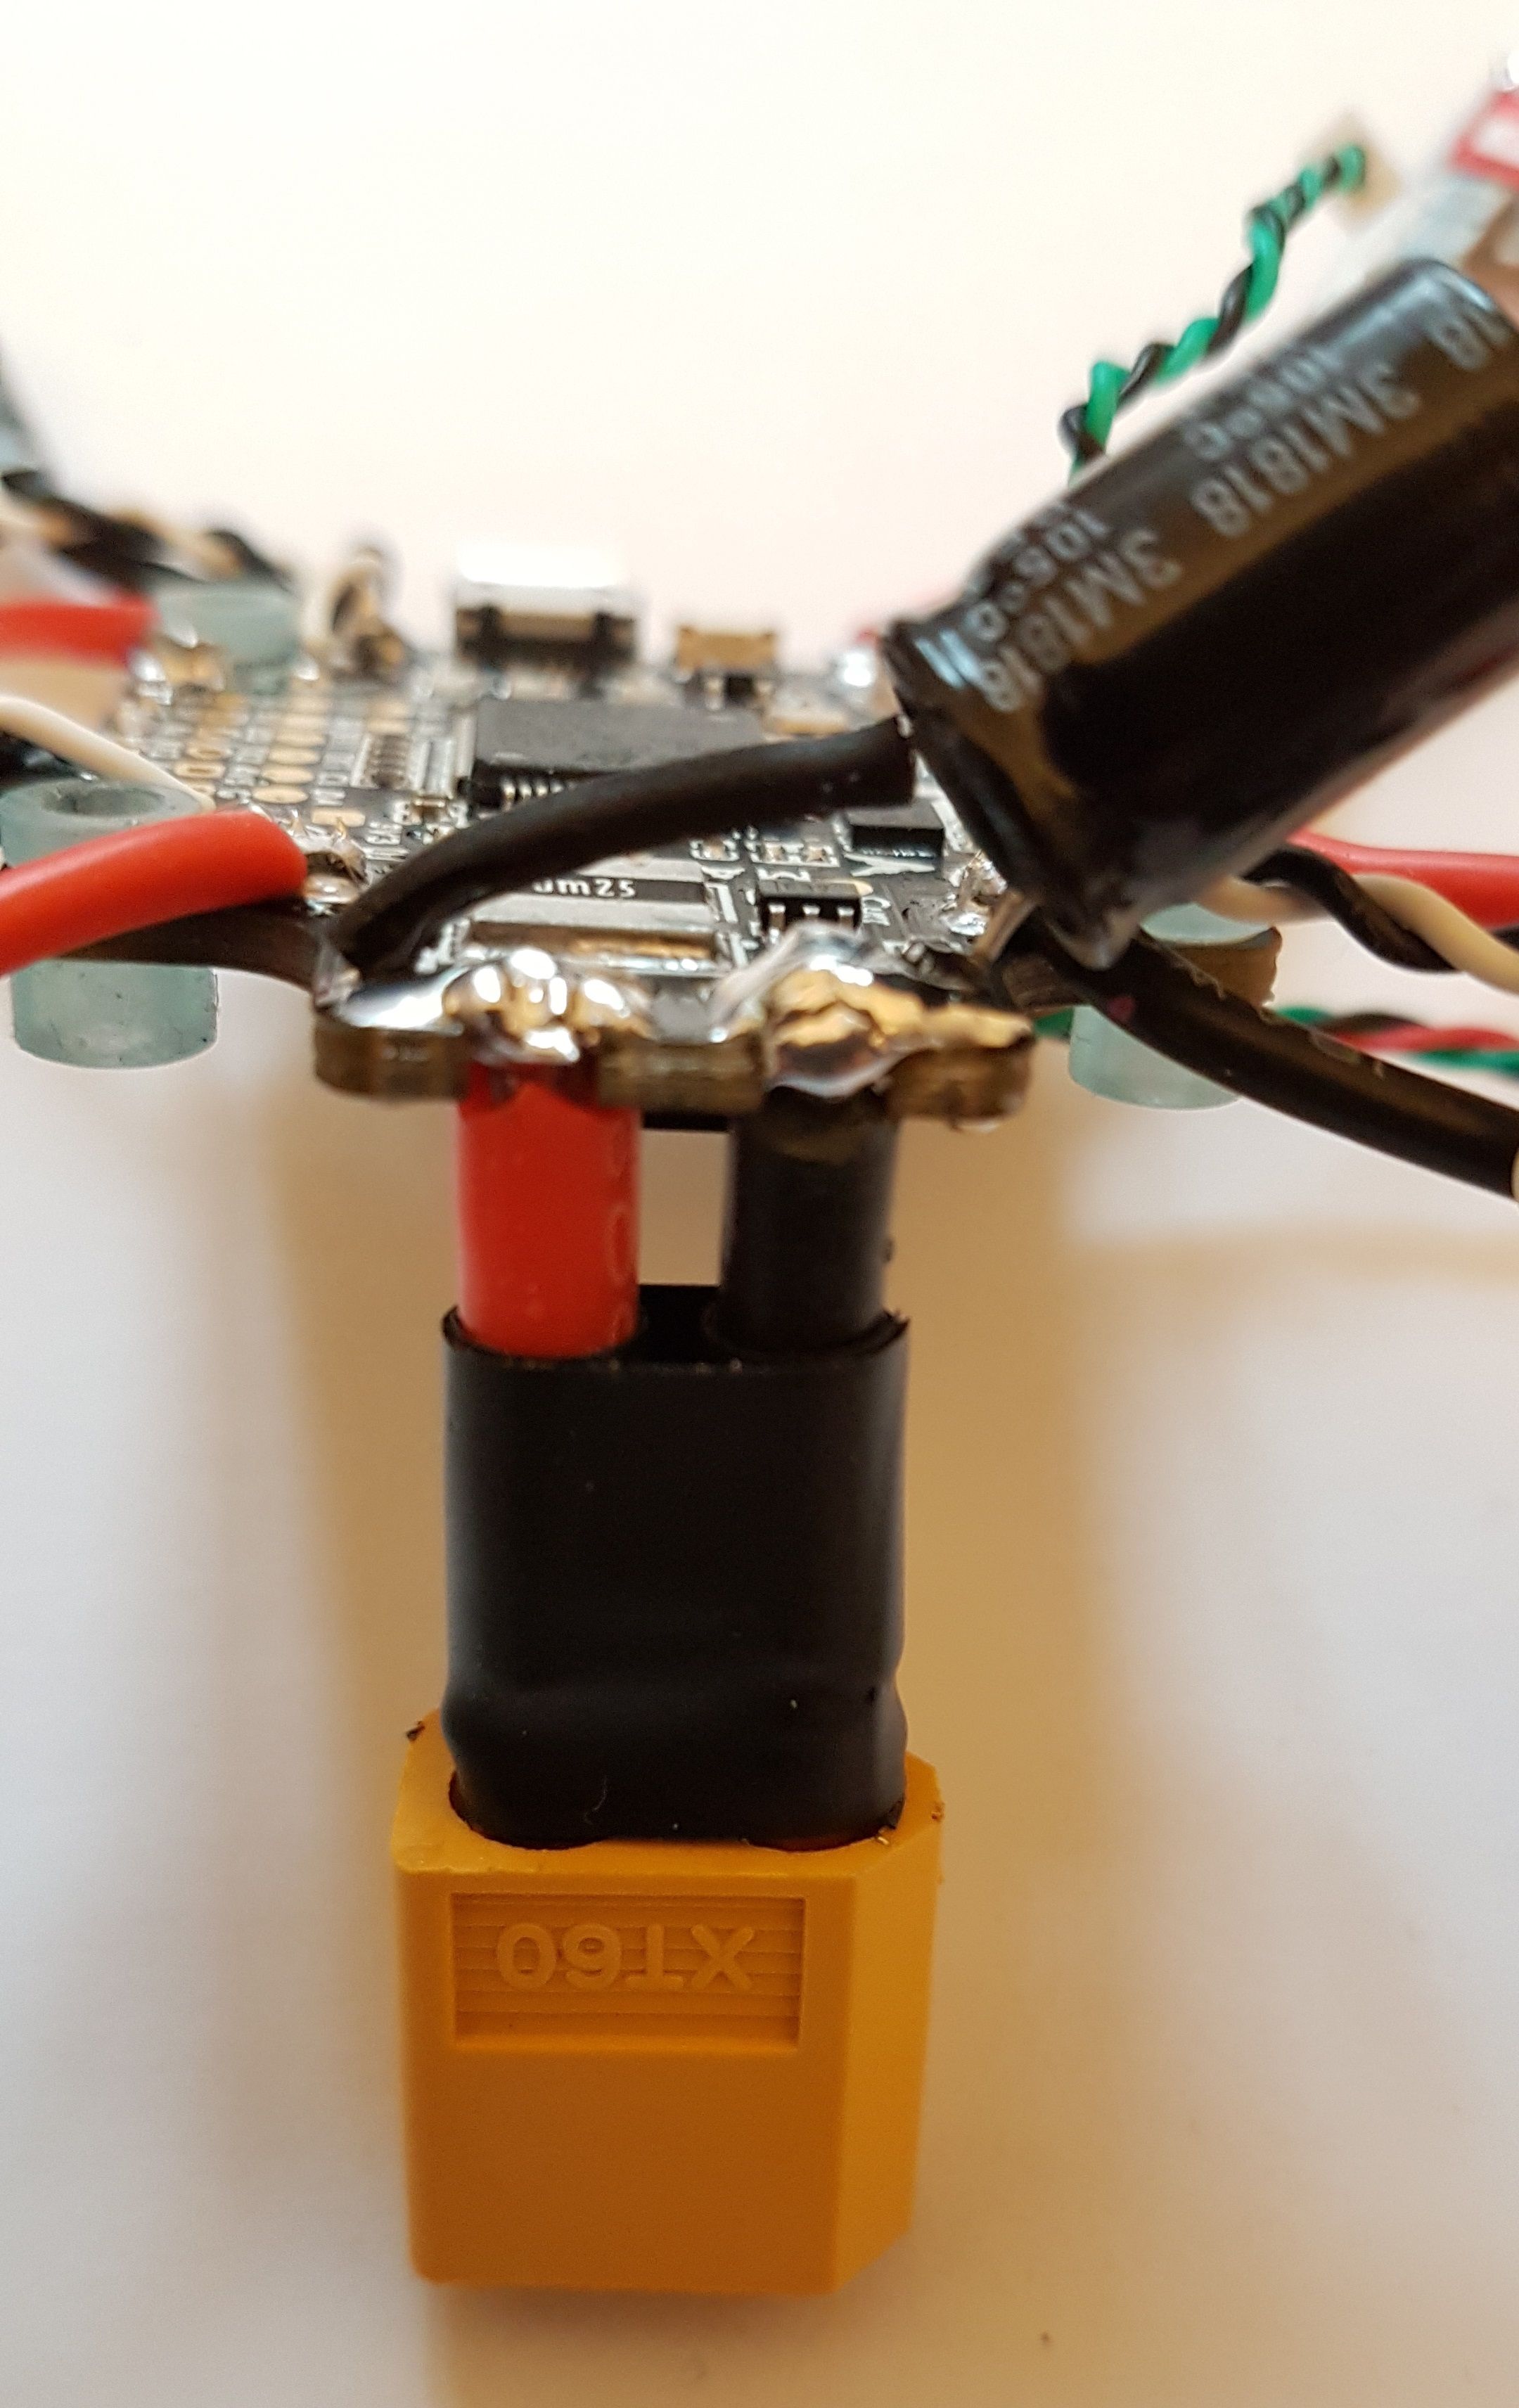
I do not like to direct wire the XT60 connector to the FC as it may damage the FC or get ripped off in a hard impact. Therefore i wire short silicon wires to the FC and the connector on the end of these. To make it look nicer you can also put a shrink tube around the two wires. When soldering the power wires do not forget to solder a CAP for voltage smoothing to the power pads.
Mounting all together
When all the soldering is done it is time to mount everything together. I started with mounting the FC, motors and ESCs to the Baseplate. After that I mounted the receiver with a zip tie directly on the Baseplate. After that it becomes a litte more tricky: You have to place the cage near the rest of the frame and install the Tarsier board on top of the FC, after that you are ready to mount the cage on top of the baseplate. After checking that everything is placed where you want it to have it is time to close the cage by mounting the second aluminum brace and second sideplate.
Betaflight configuration
Betaflight configuration is as always, but in this build are some things to keep in mind:
- I had to remap the resources for the motor pins as I mounted the FC 180° rotated
- I had to configure Gyro orientation for the same reason
You can find a full dump here
First Flights

It was quite easy to find a good PID tune and the Quad is very powerful and flies as expected. In the FPV feed I have props in view in the bottom left and right corner, you could avoid this by mounting the Camera a little higher. in the 4K feed there are no props in view.
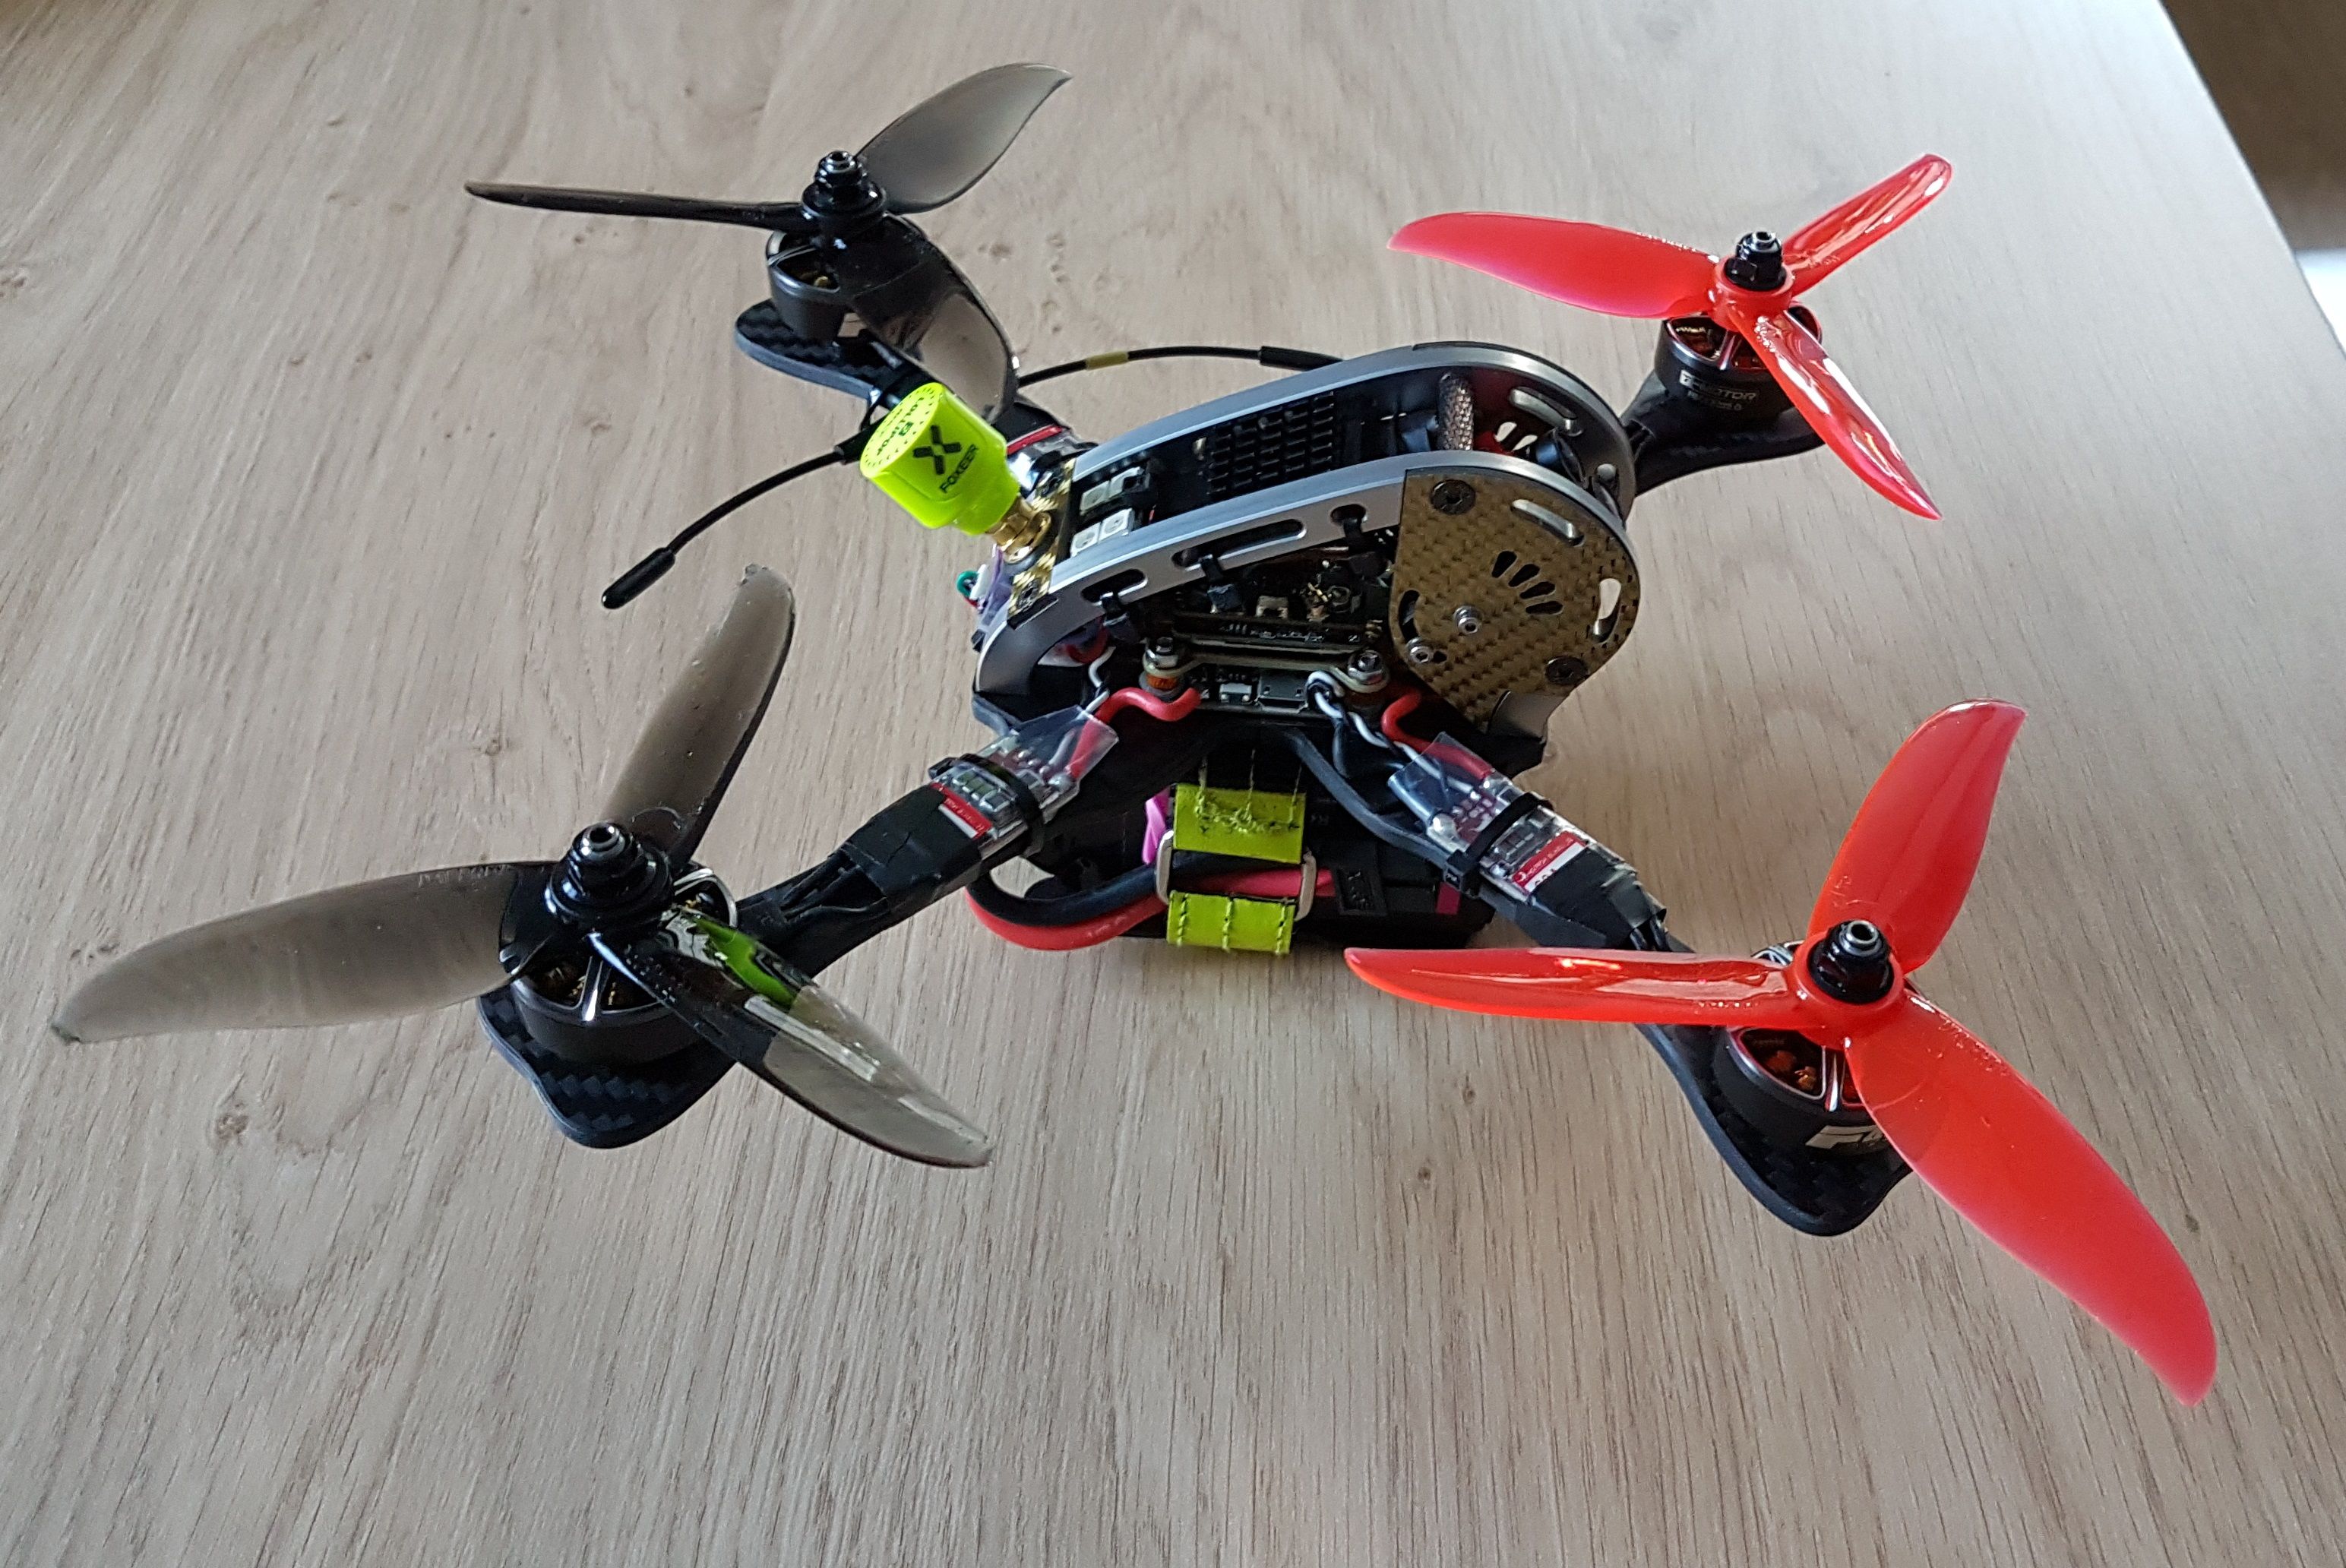
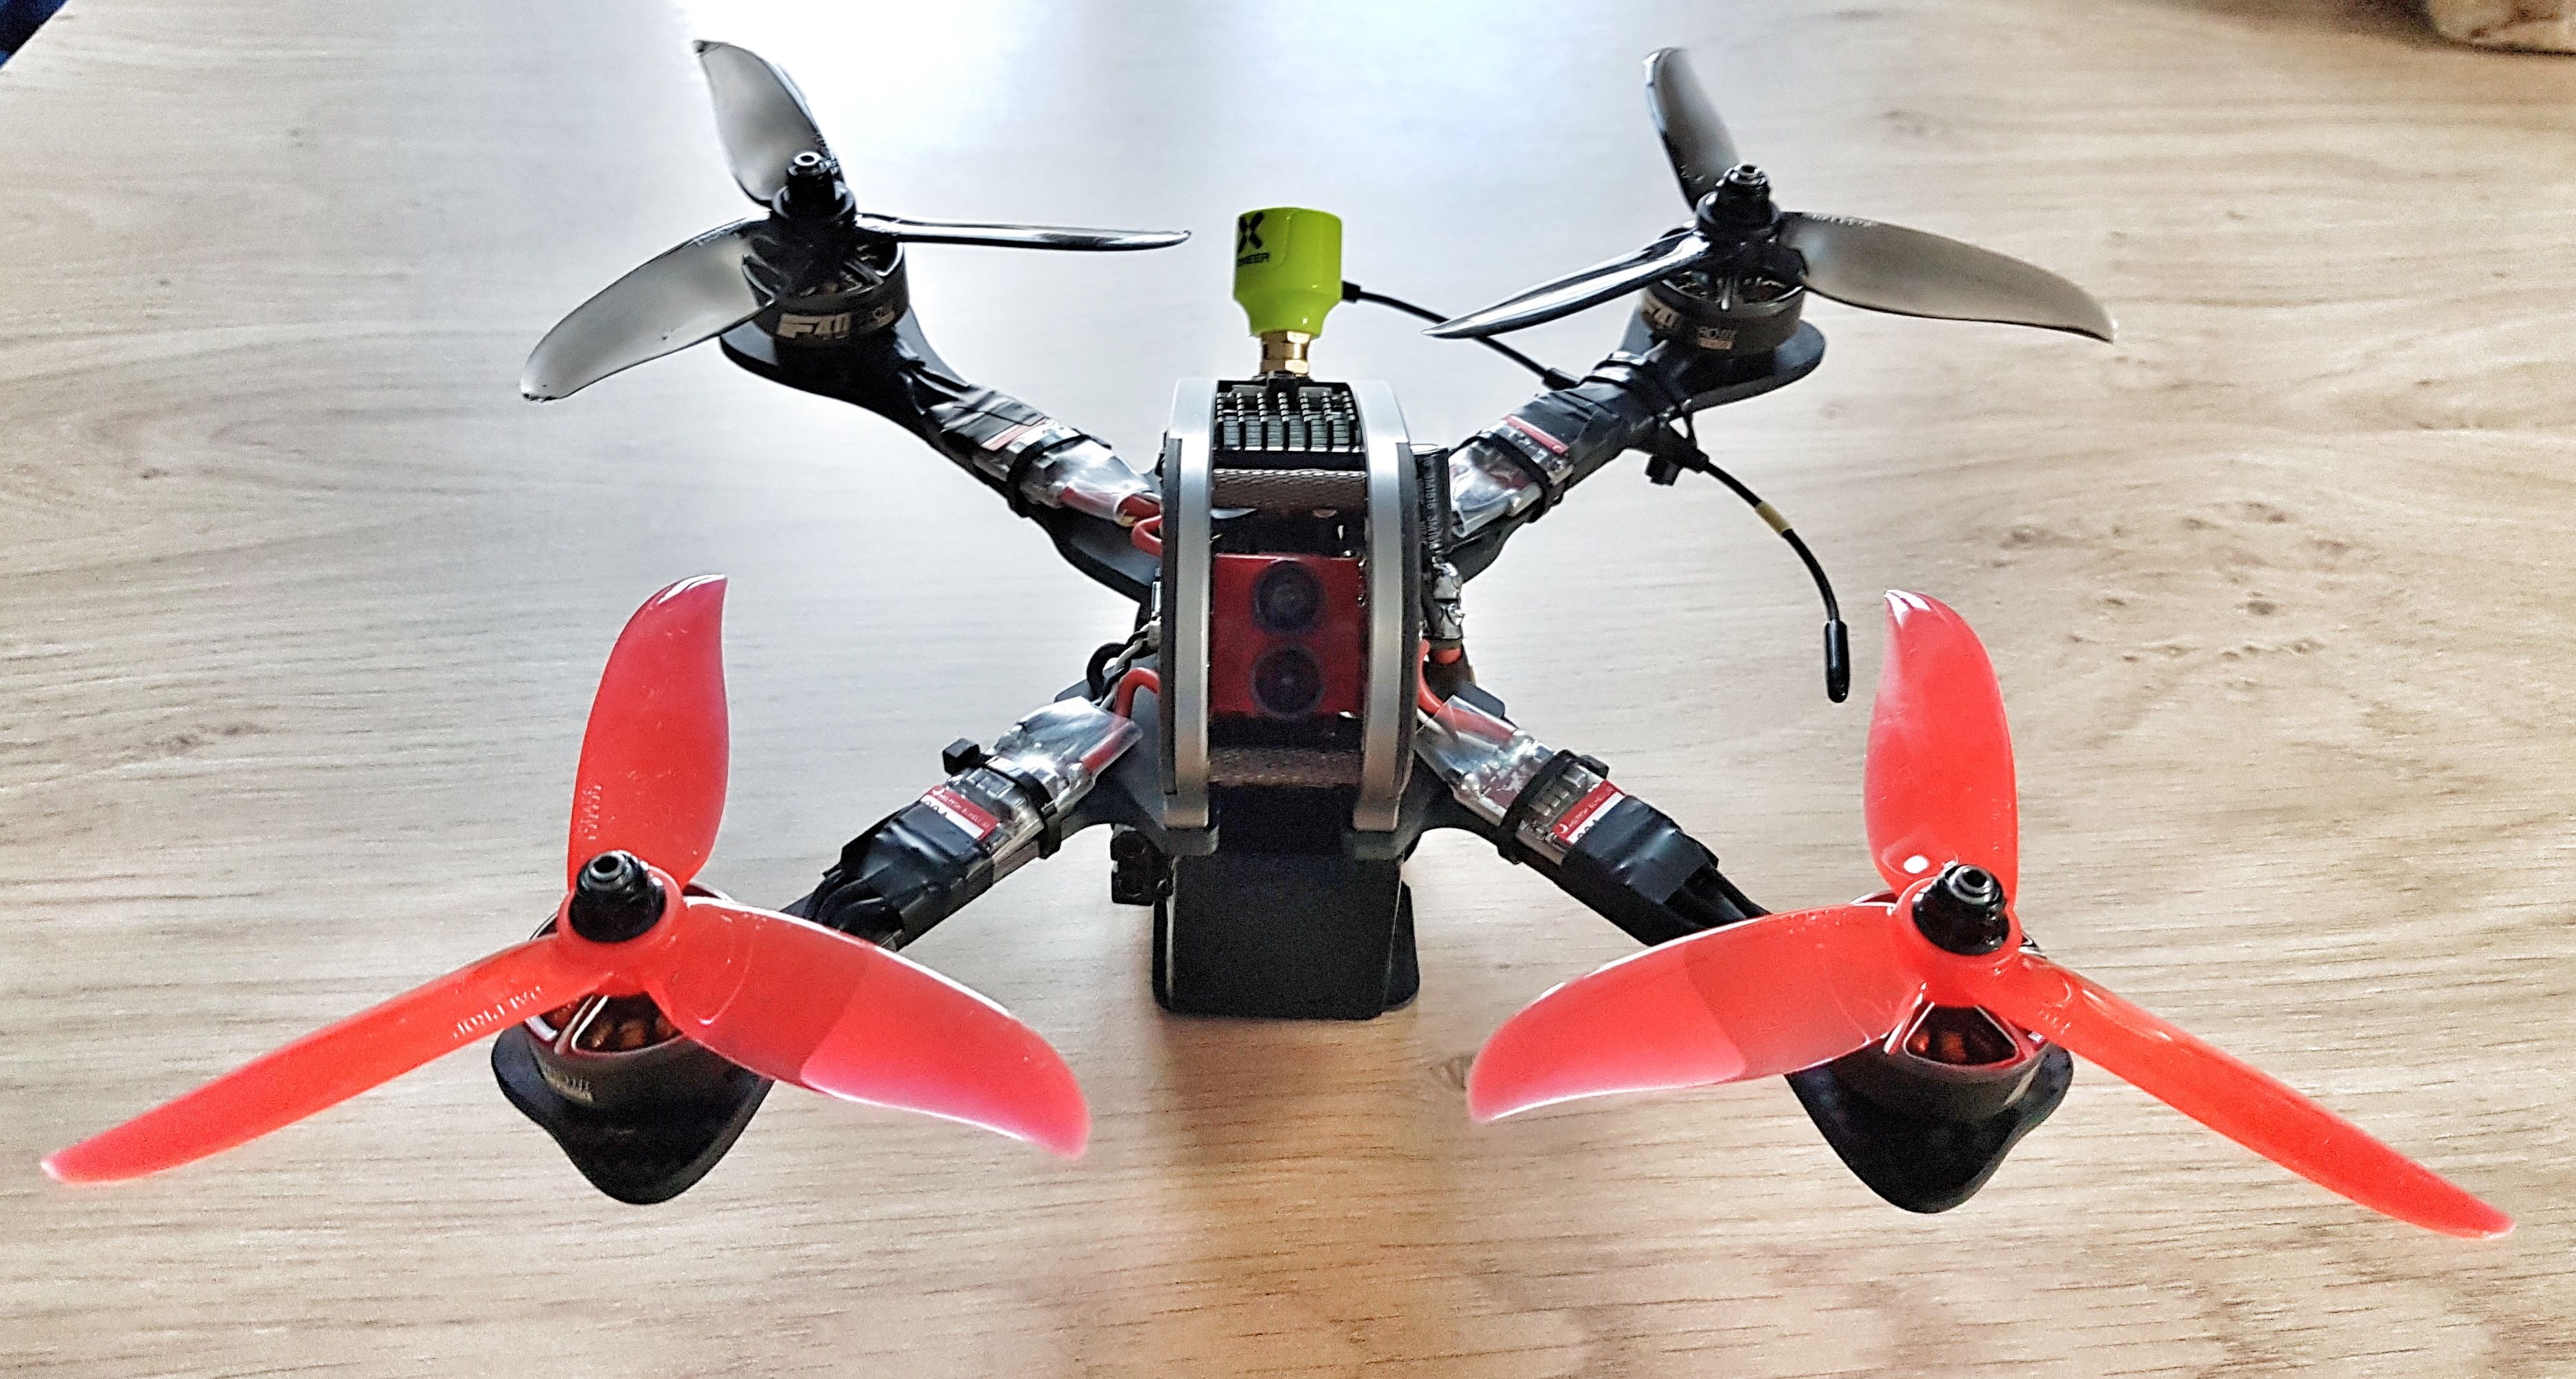
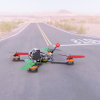
Photos


Part List
Show stores (1)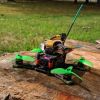
Gorgeous build! So, no props in view?

Guides & Reviews

AirbladeUAV has done it again and this time they've brought long range to the 5" class! Based on the popular Transformer Mini, the new Transformer 5" Ultralight adopts a lot of the same design philosophies with larger props and more payload capacity. It can fly upwards of 20 minutes on a 4 cell Li-Ion battery pack and in ideal conditions it's got a range of over 4 to 5 miles. In this guide I'll walk..
Read more
With the release of the DJI FPV Drone cinematic FPV has become a lot more accessible, but you certainly don't want to crash a $750 drone! The QAV-CINE Freybott is a compact, lightweight cinematic FPV drone that can take a hit and keep going. It's a lot safer to fly indoors and around people. With a naked GoPro or the SMO 4k you can capture some great stabilized footage. In this guide I'll show you..
Read more


Post some video! I'd love to see the camera quality.
I don't have an uncompressed video at the moment, all i can provide is this: https://www.instagram.com/p/B5frY7FlRek/?utm_source=ig_web_button_share_sheet
https://www.instagram.com/p/B_ayiIfj8Kd/