Zip Freestyle
 By elliotdickison on Nov 24, 2019
My first 5" build, but second scratch build. I first got into the hobby with a 3" build - It was a great experience, but I also made a lot of mistakes and wanted to start fresh with a larger platform (easier to work on) and higher quality components (requiring less work). I also wanted to be able to carry a GoPro (my 3" has a RunCam split, but the footage is jello salad).
Key parts
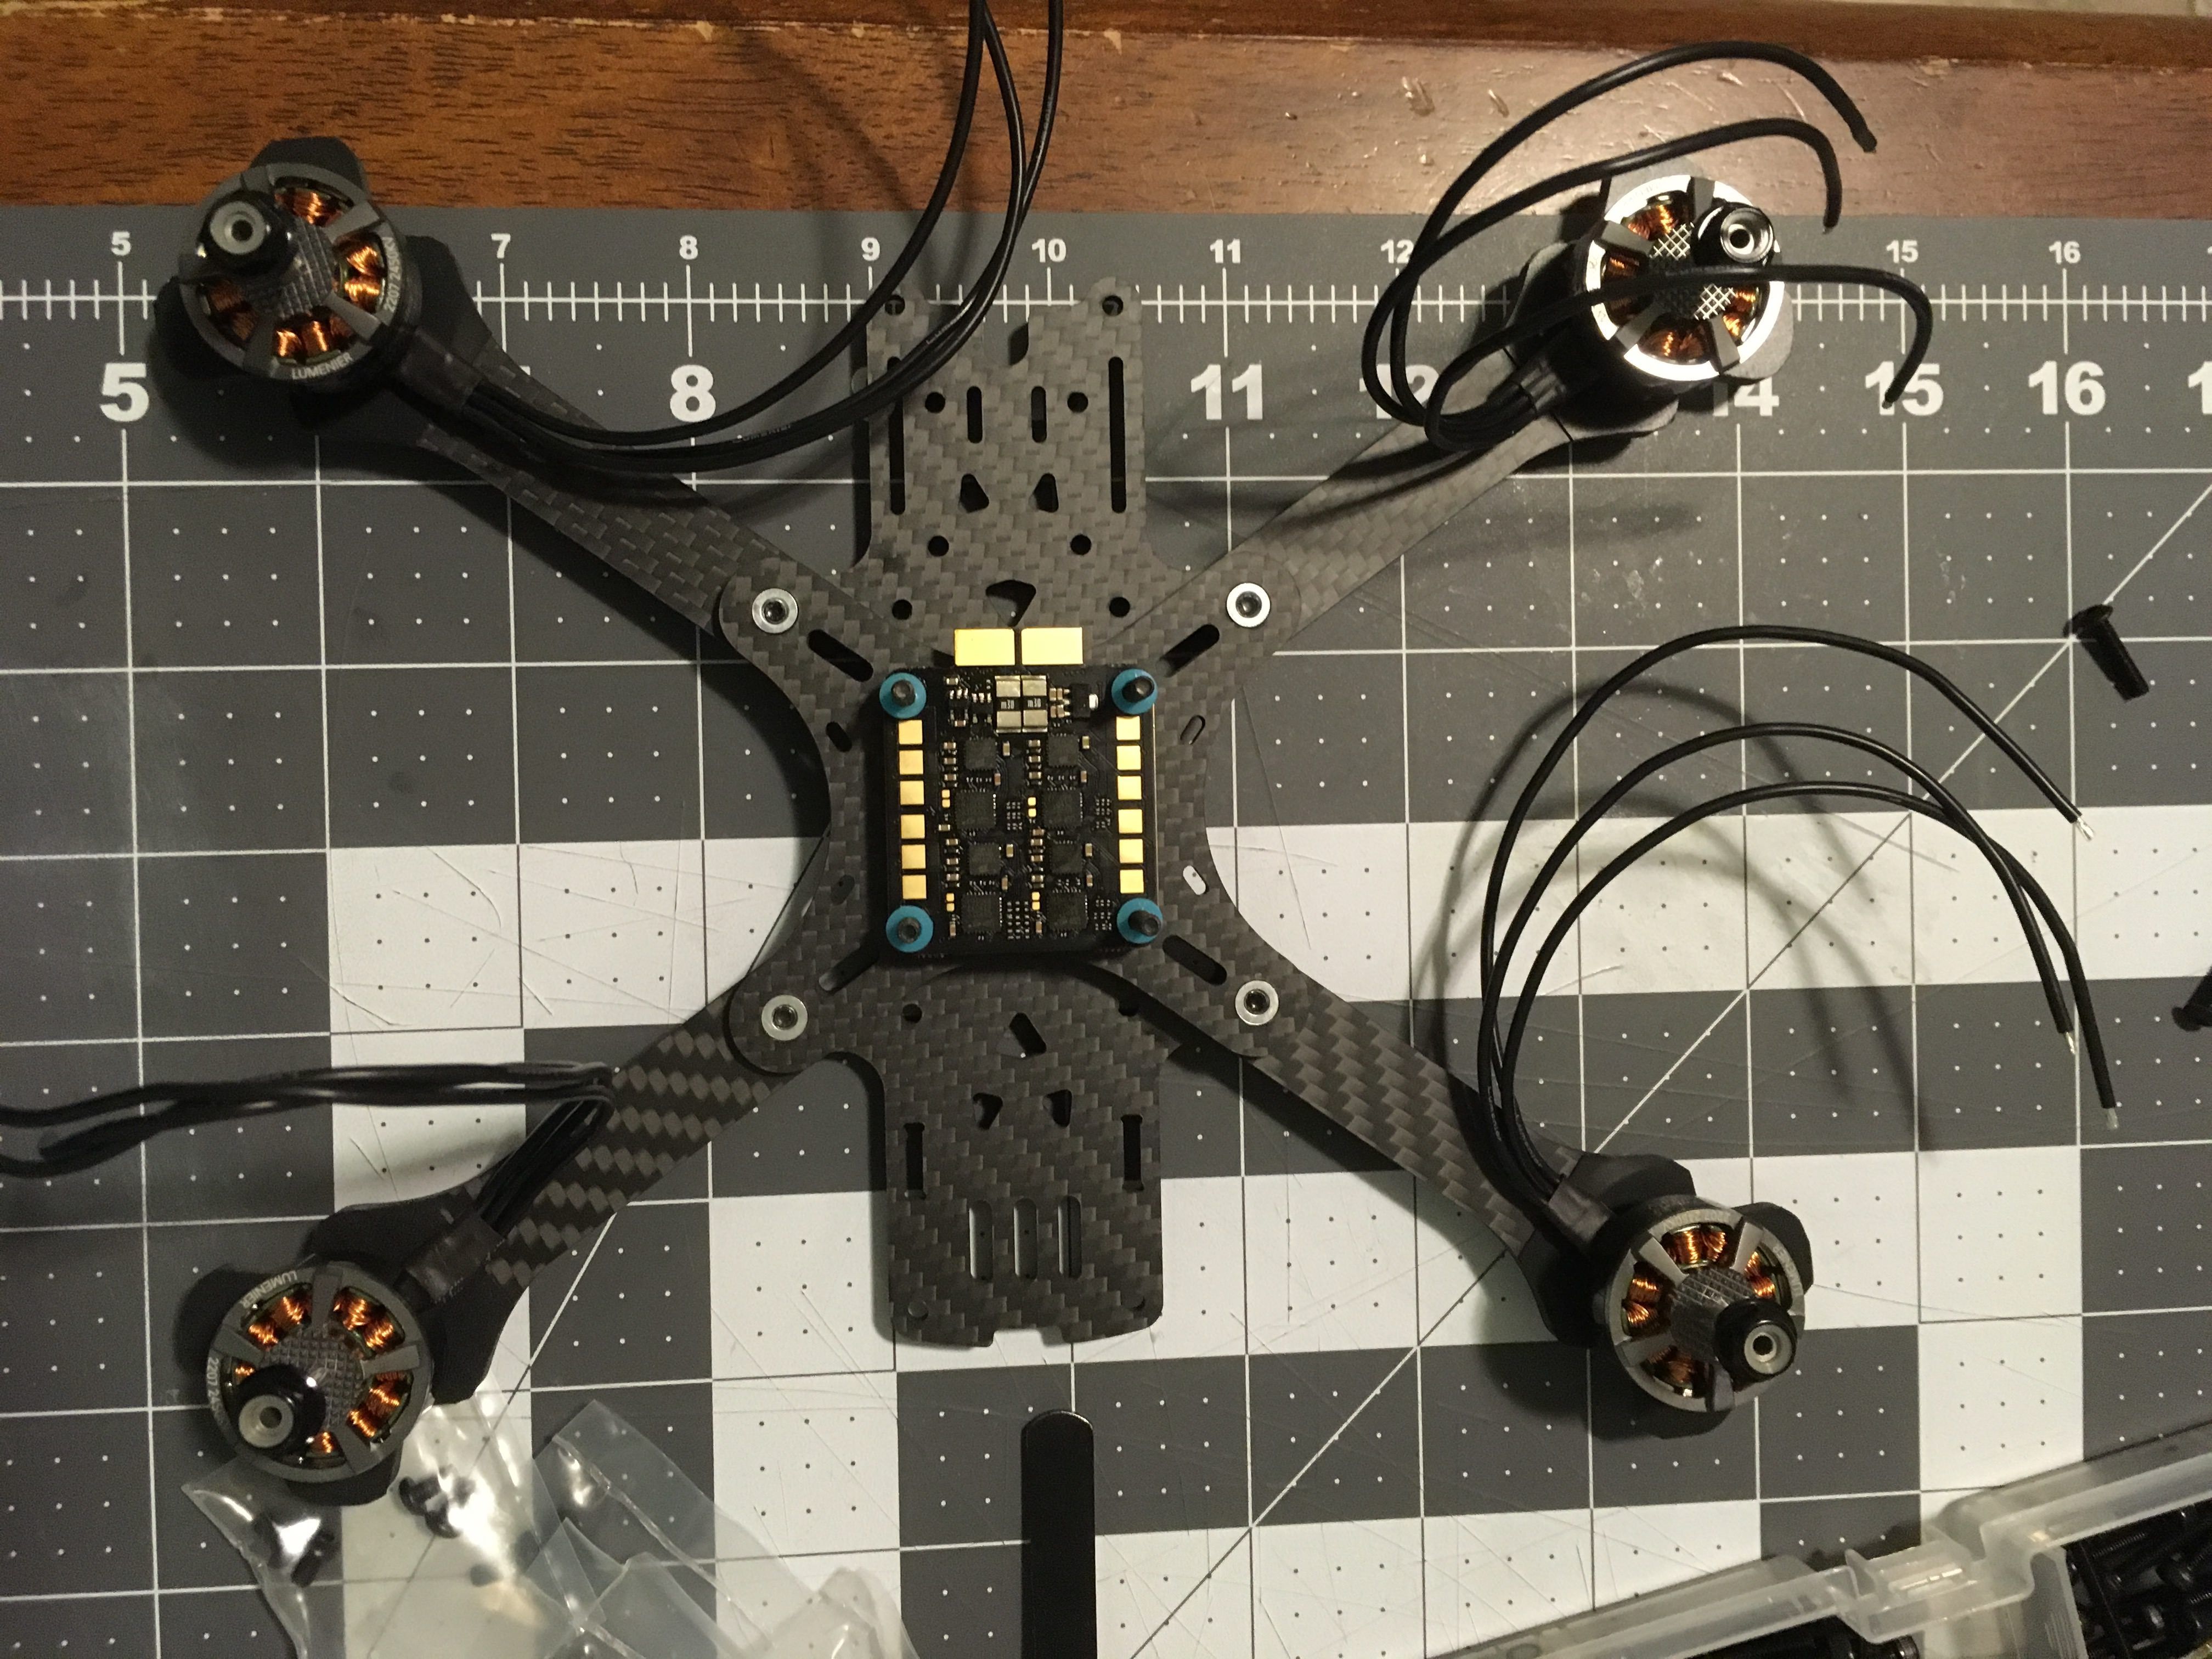
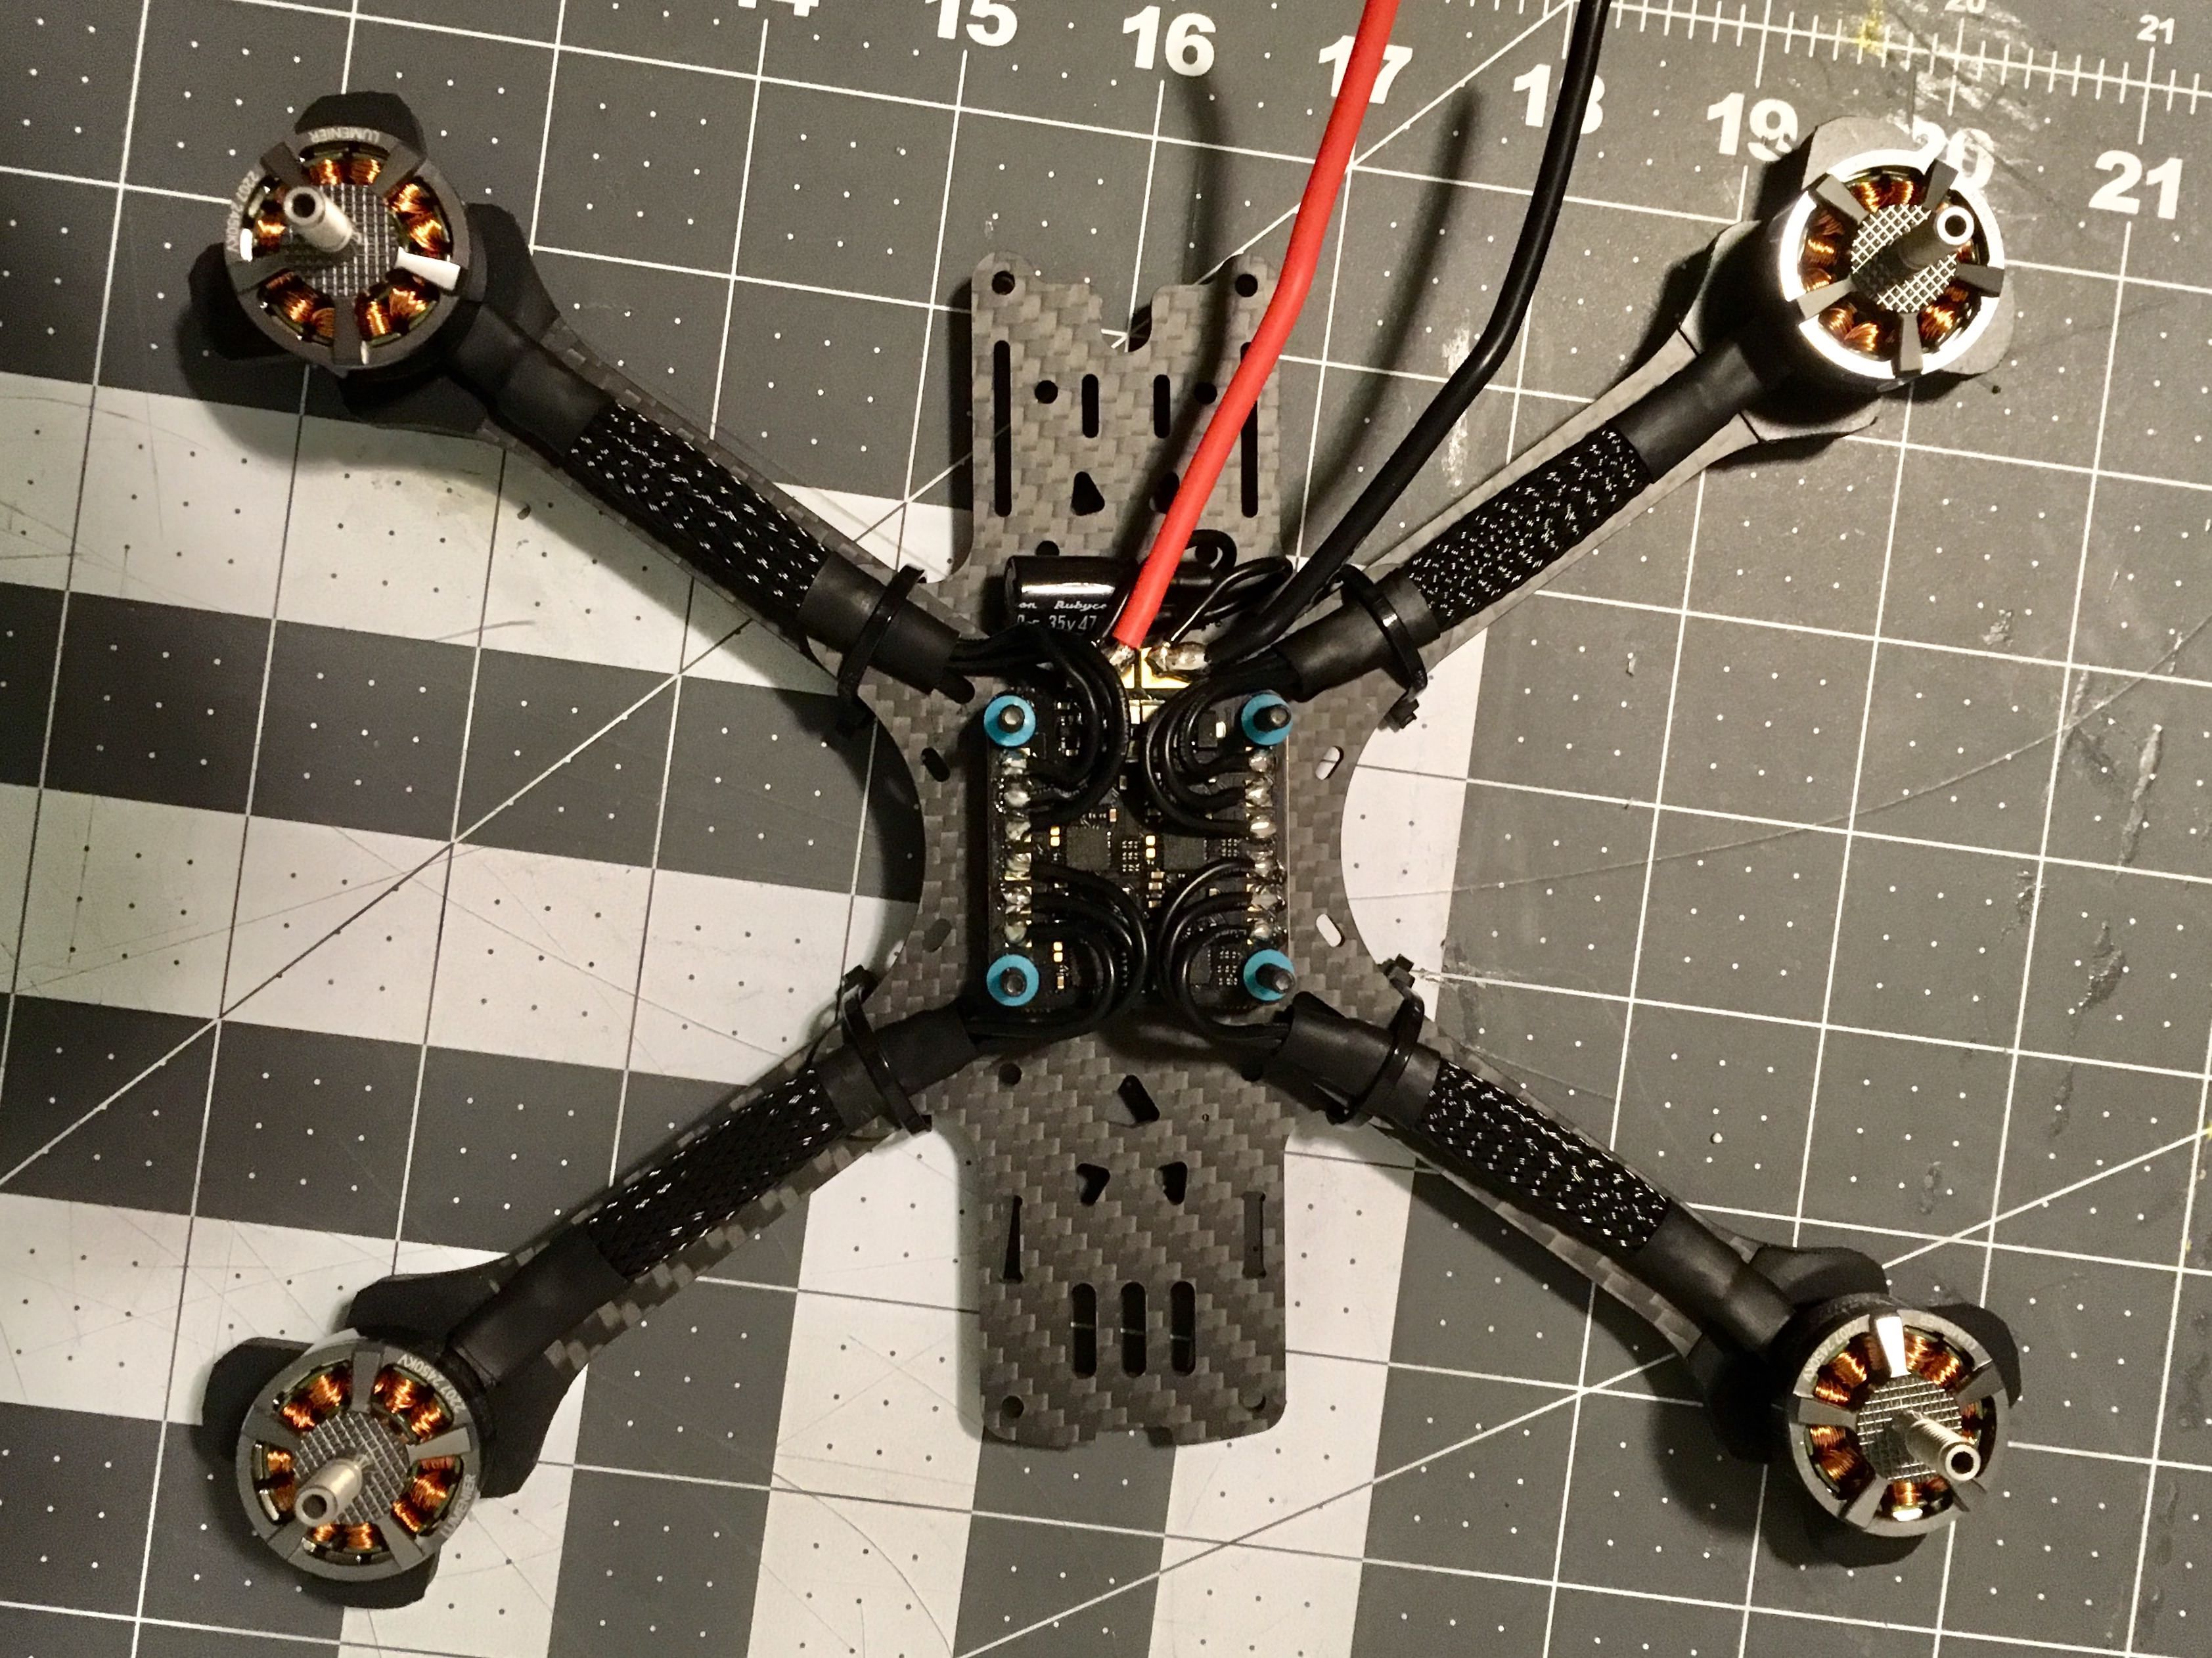
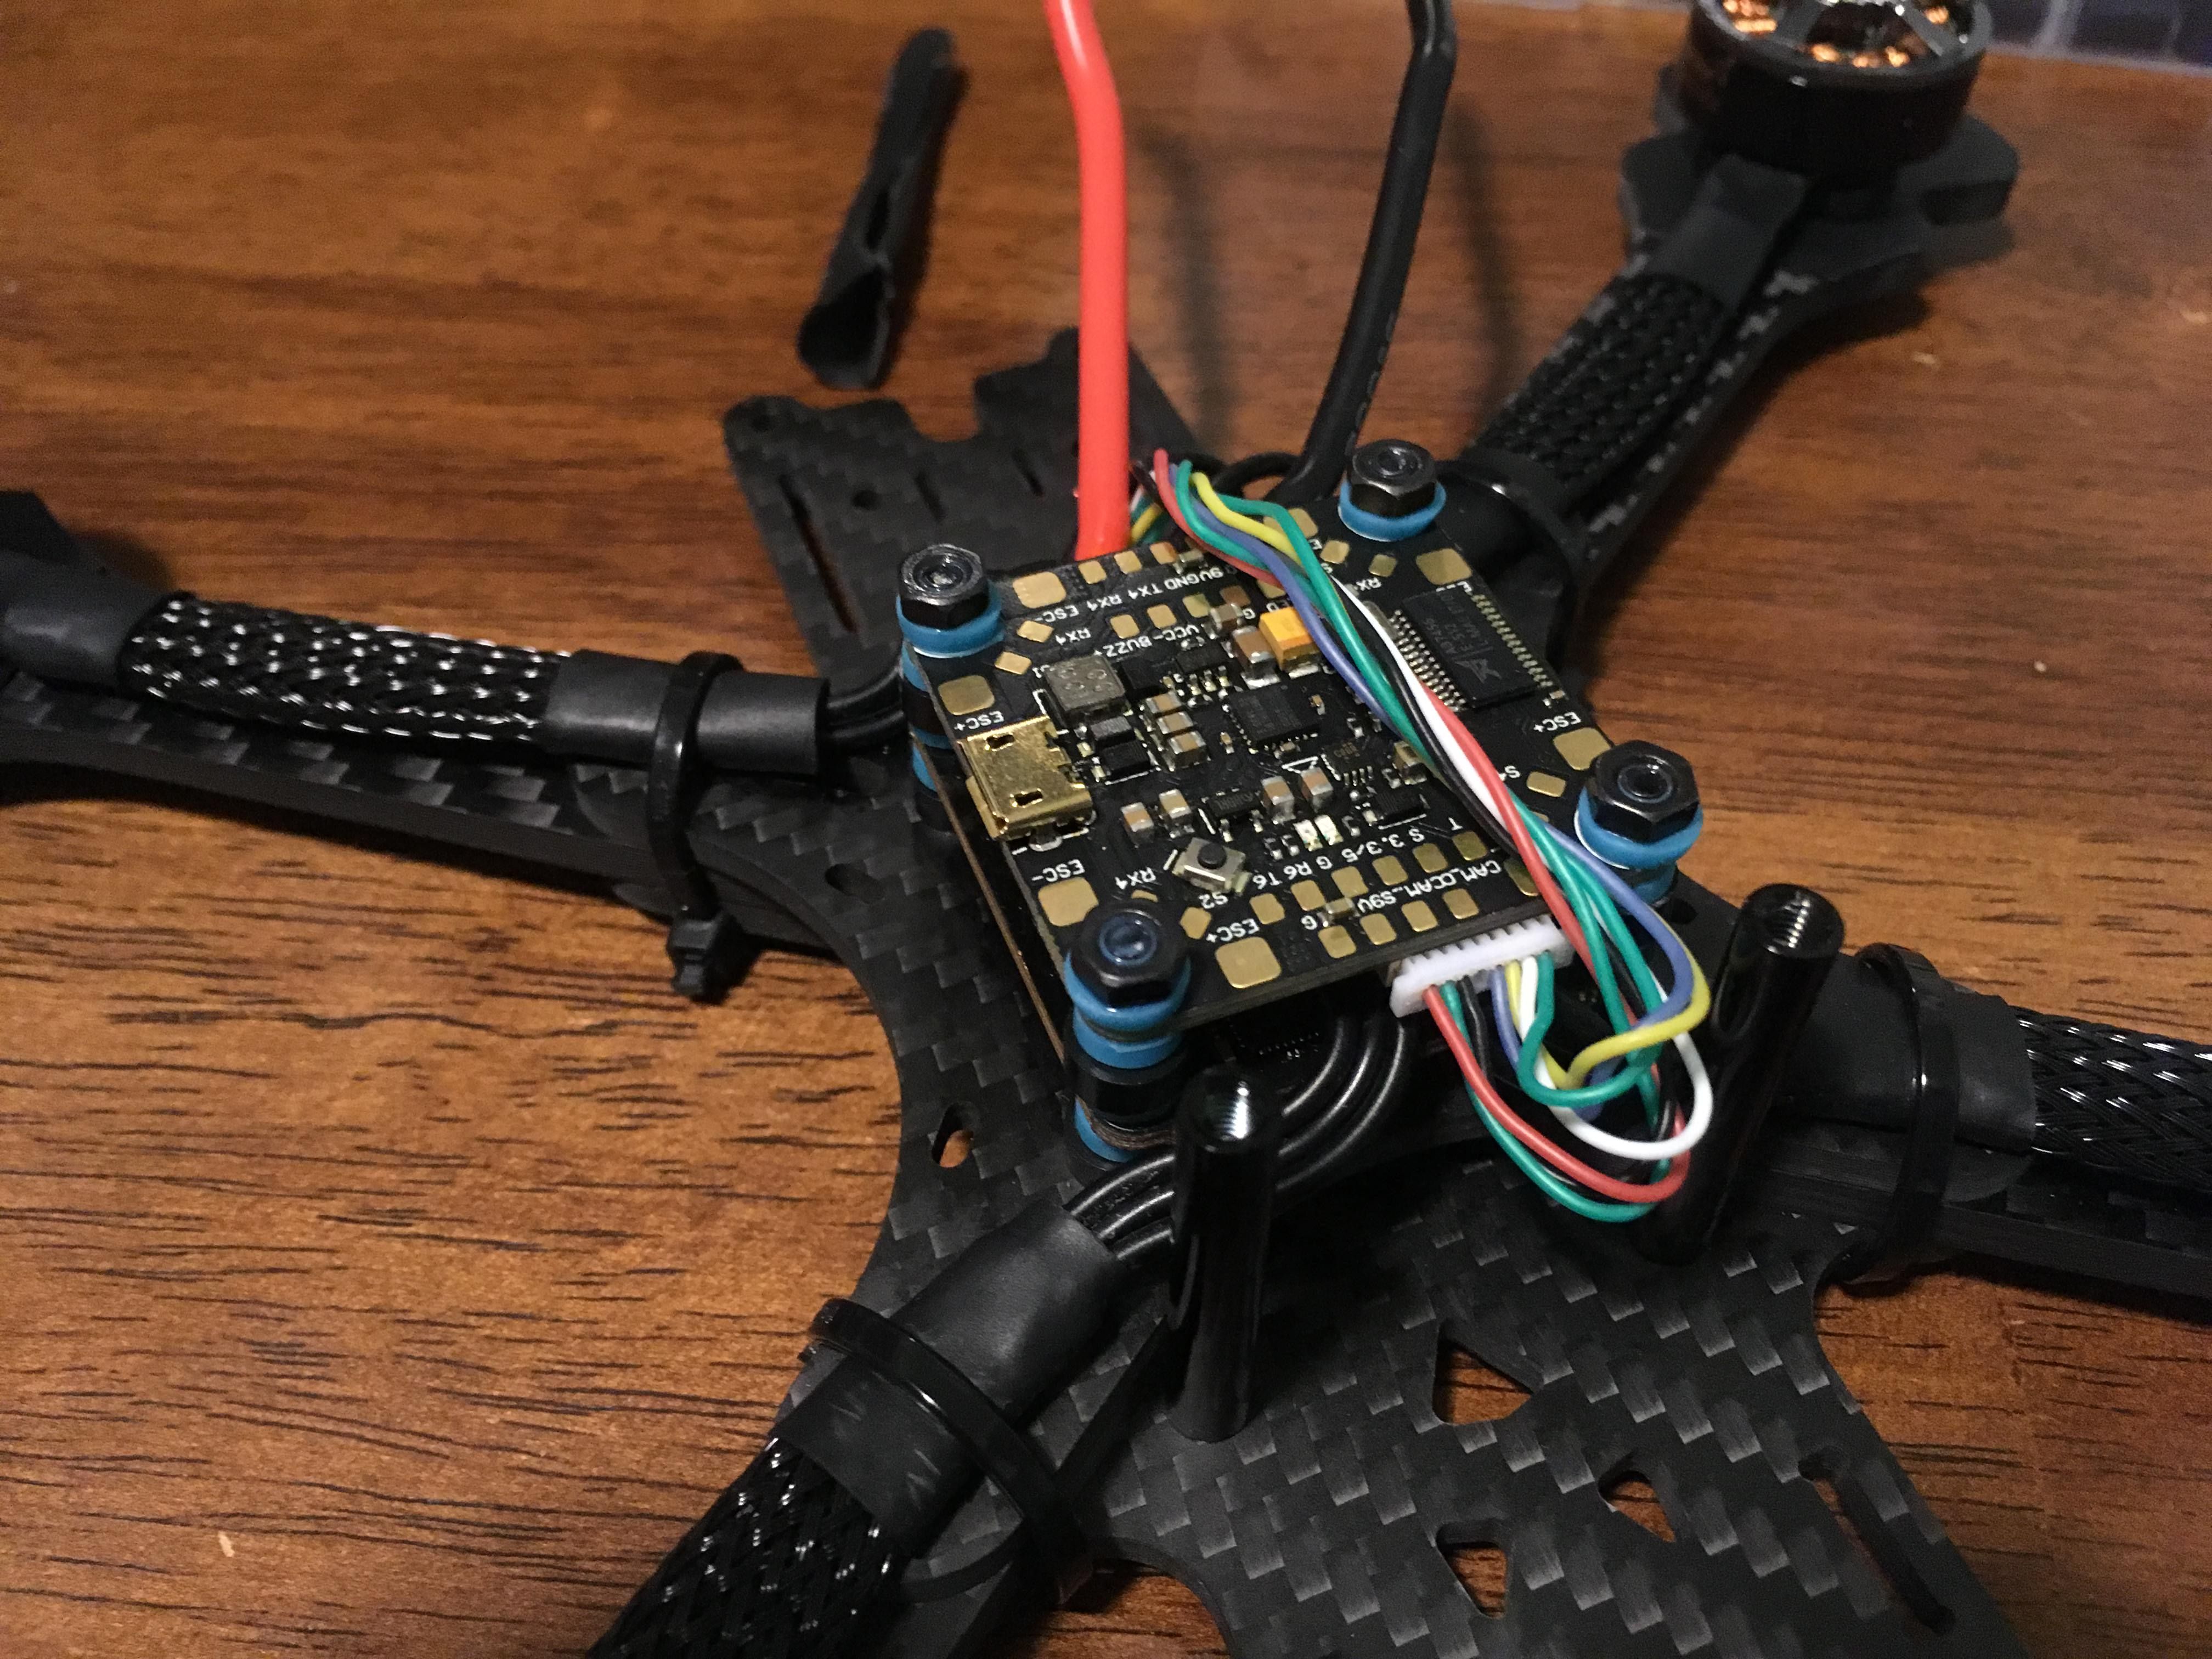
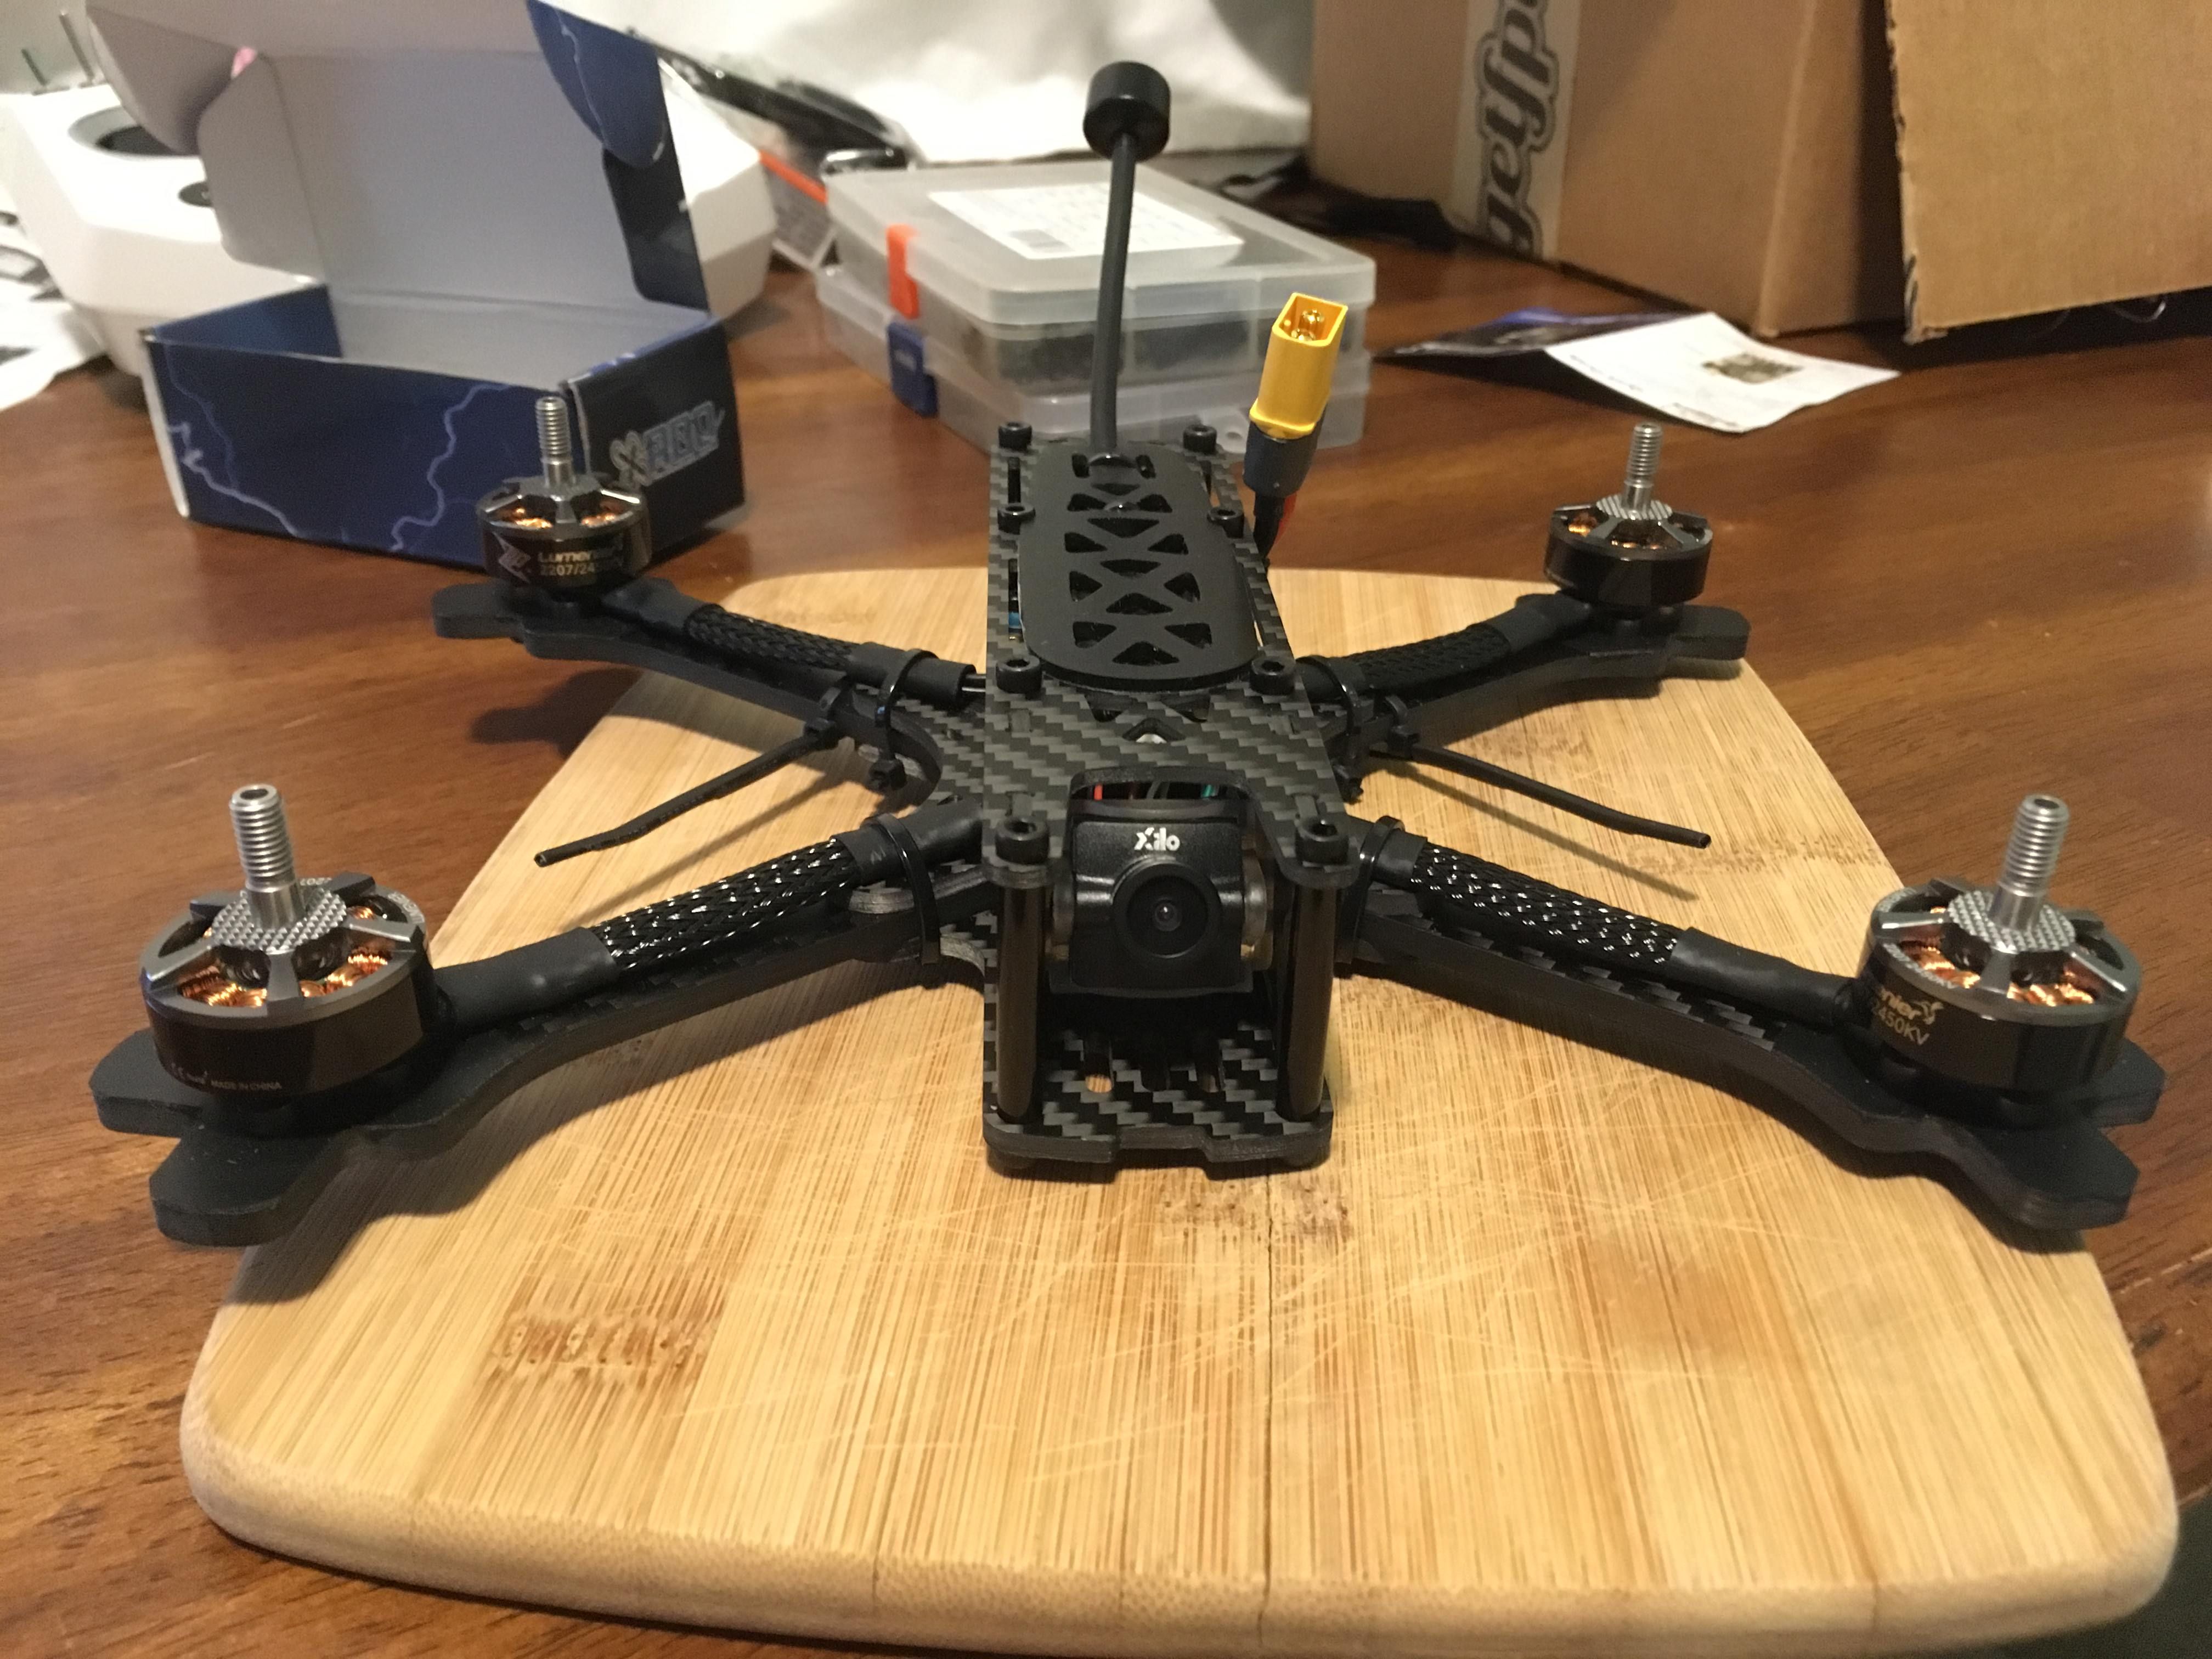
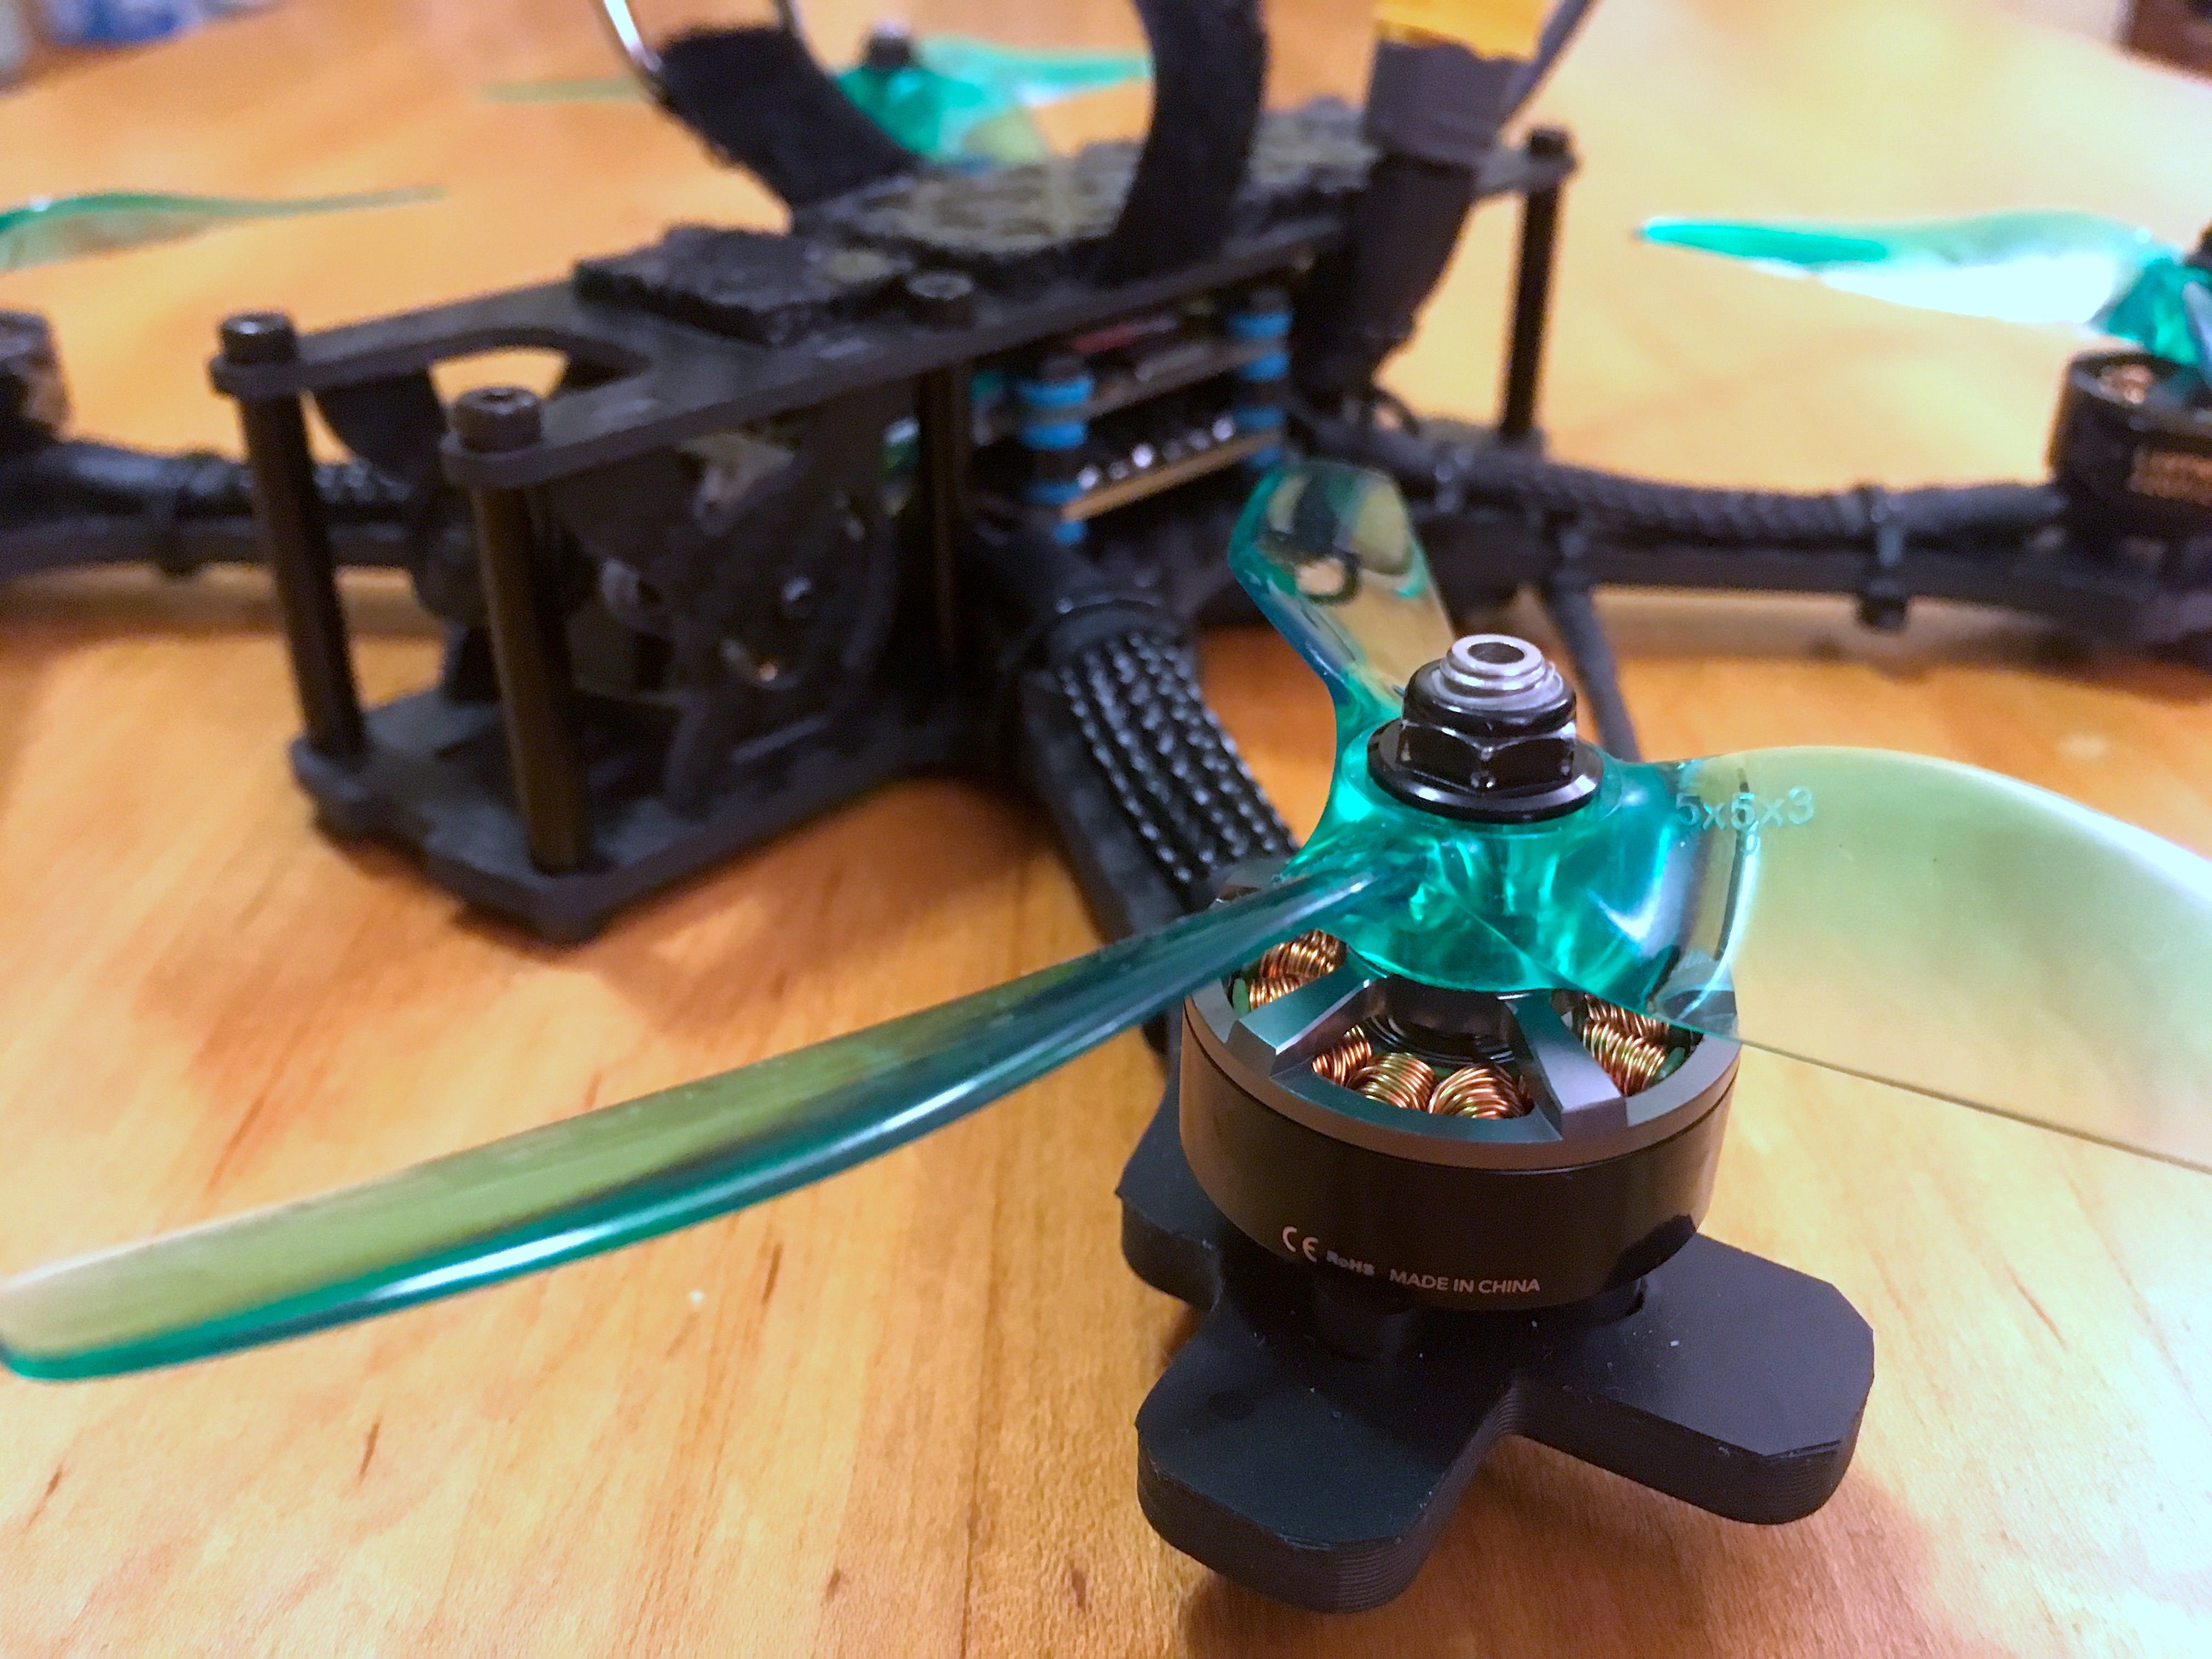
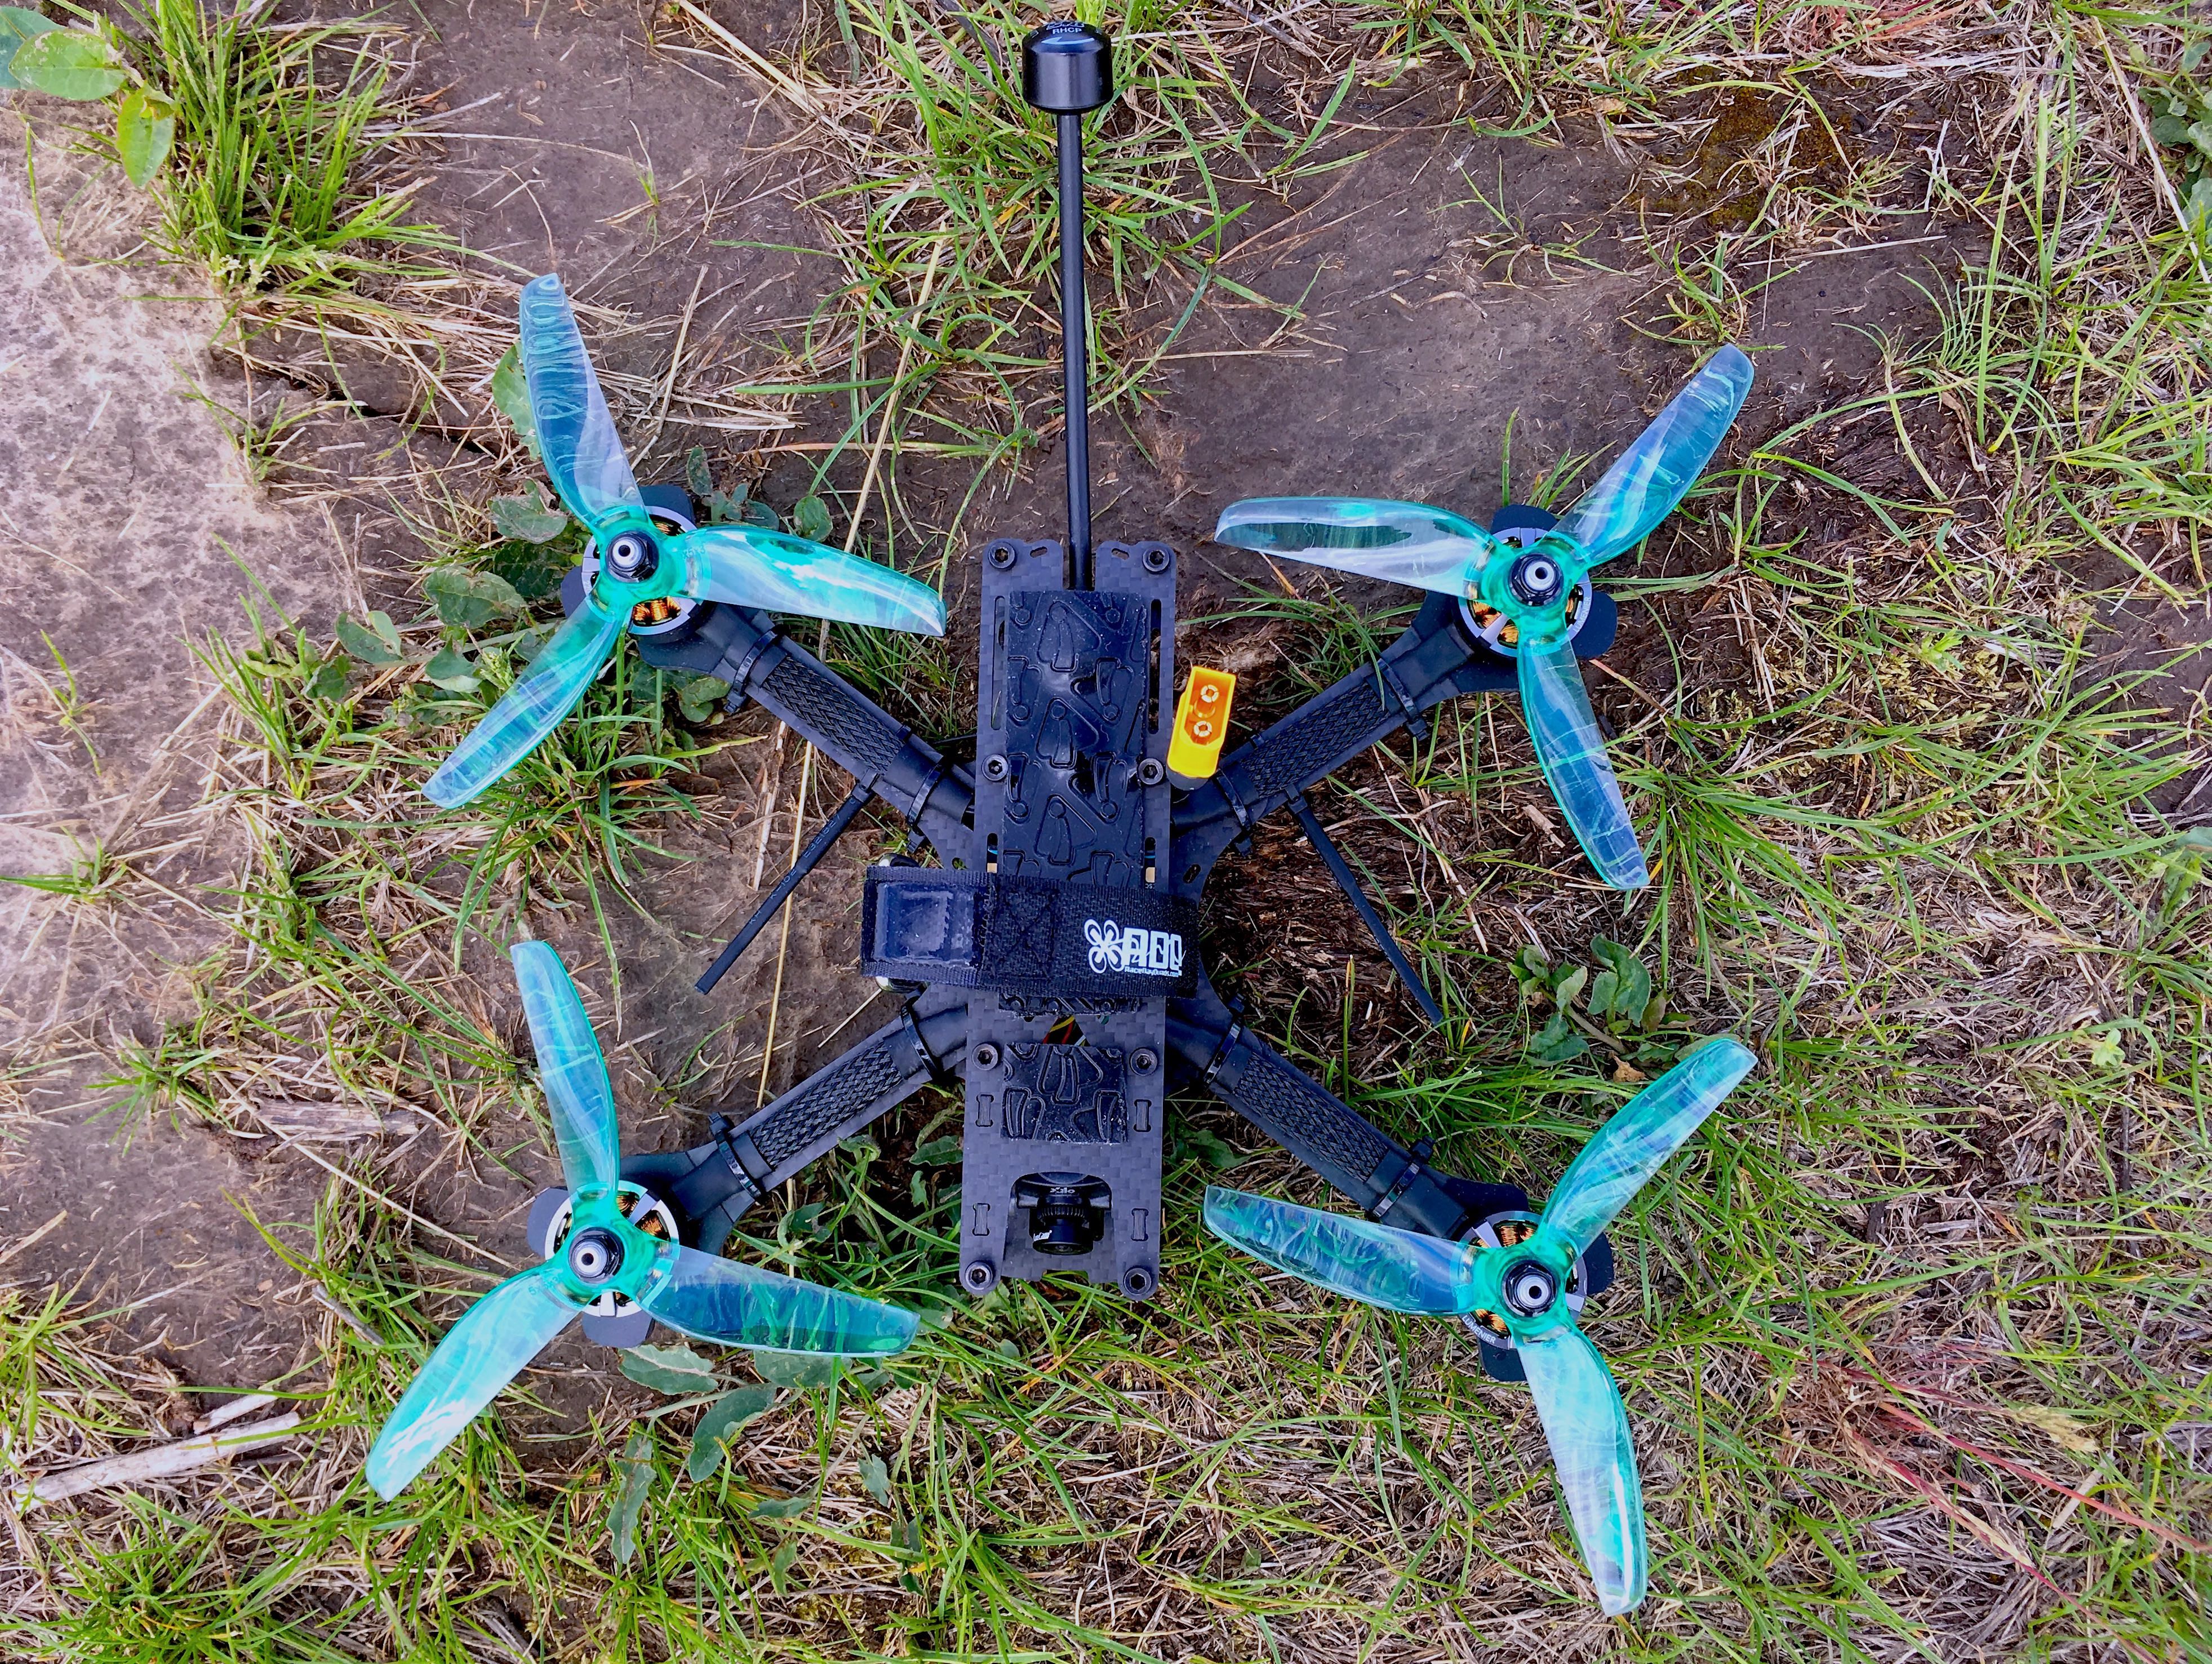
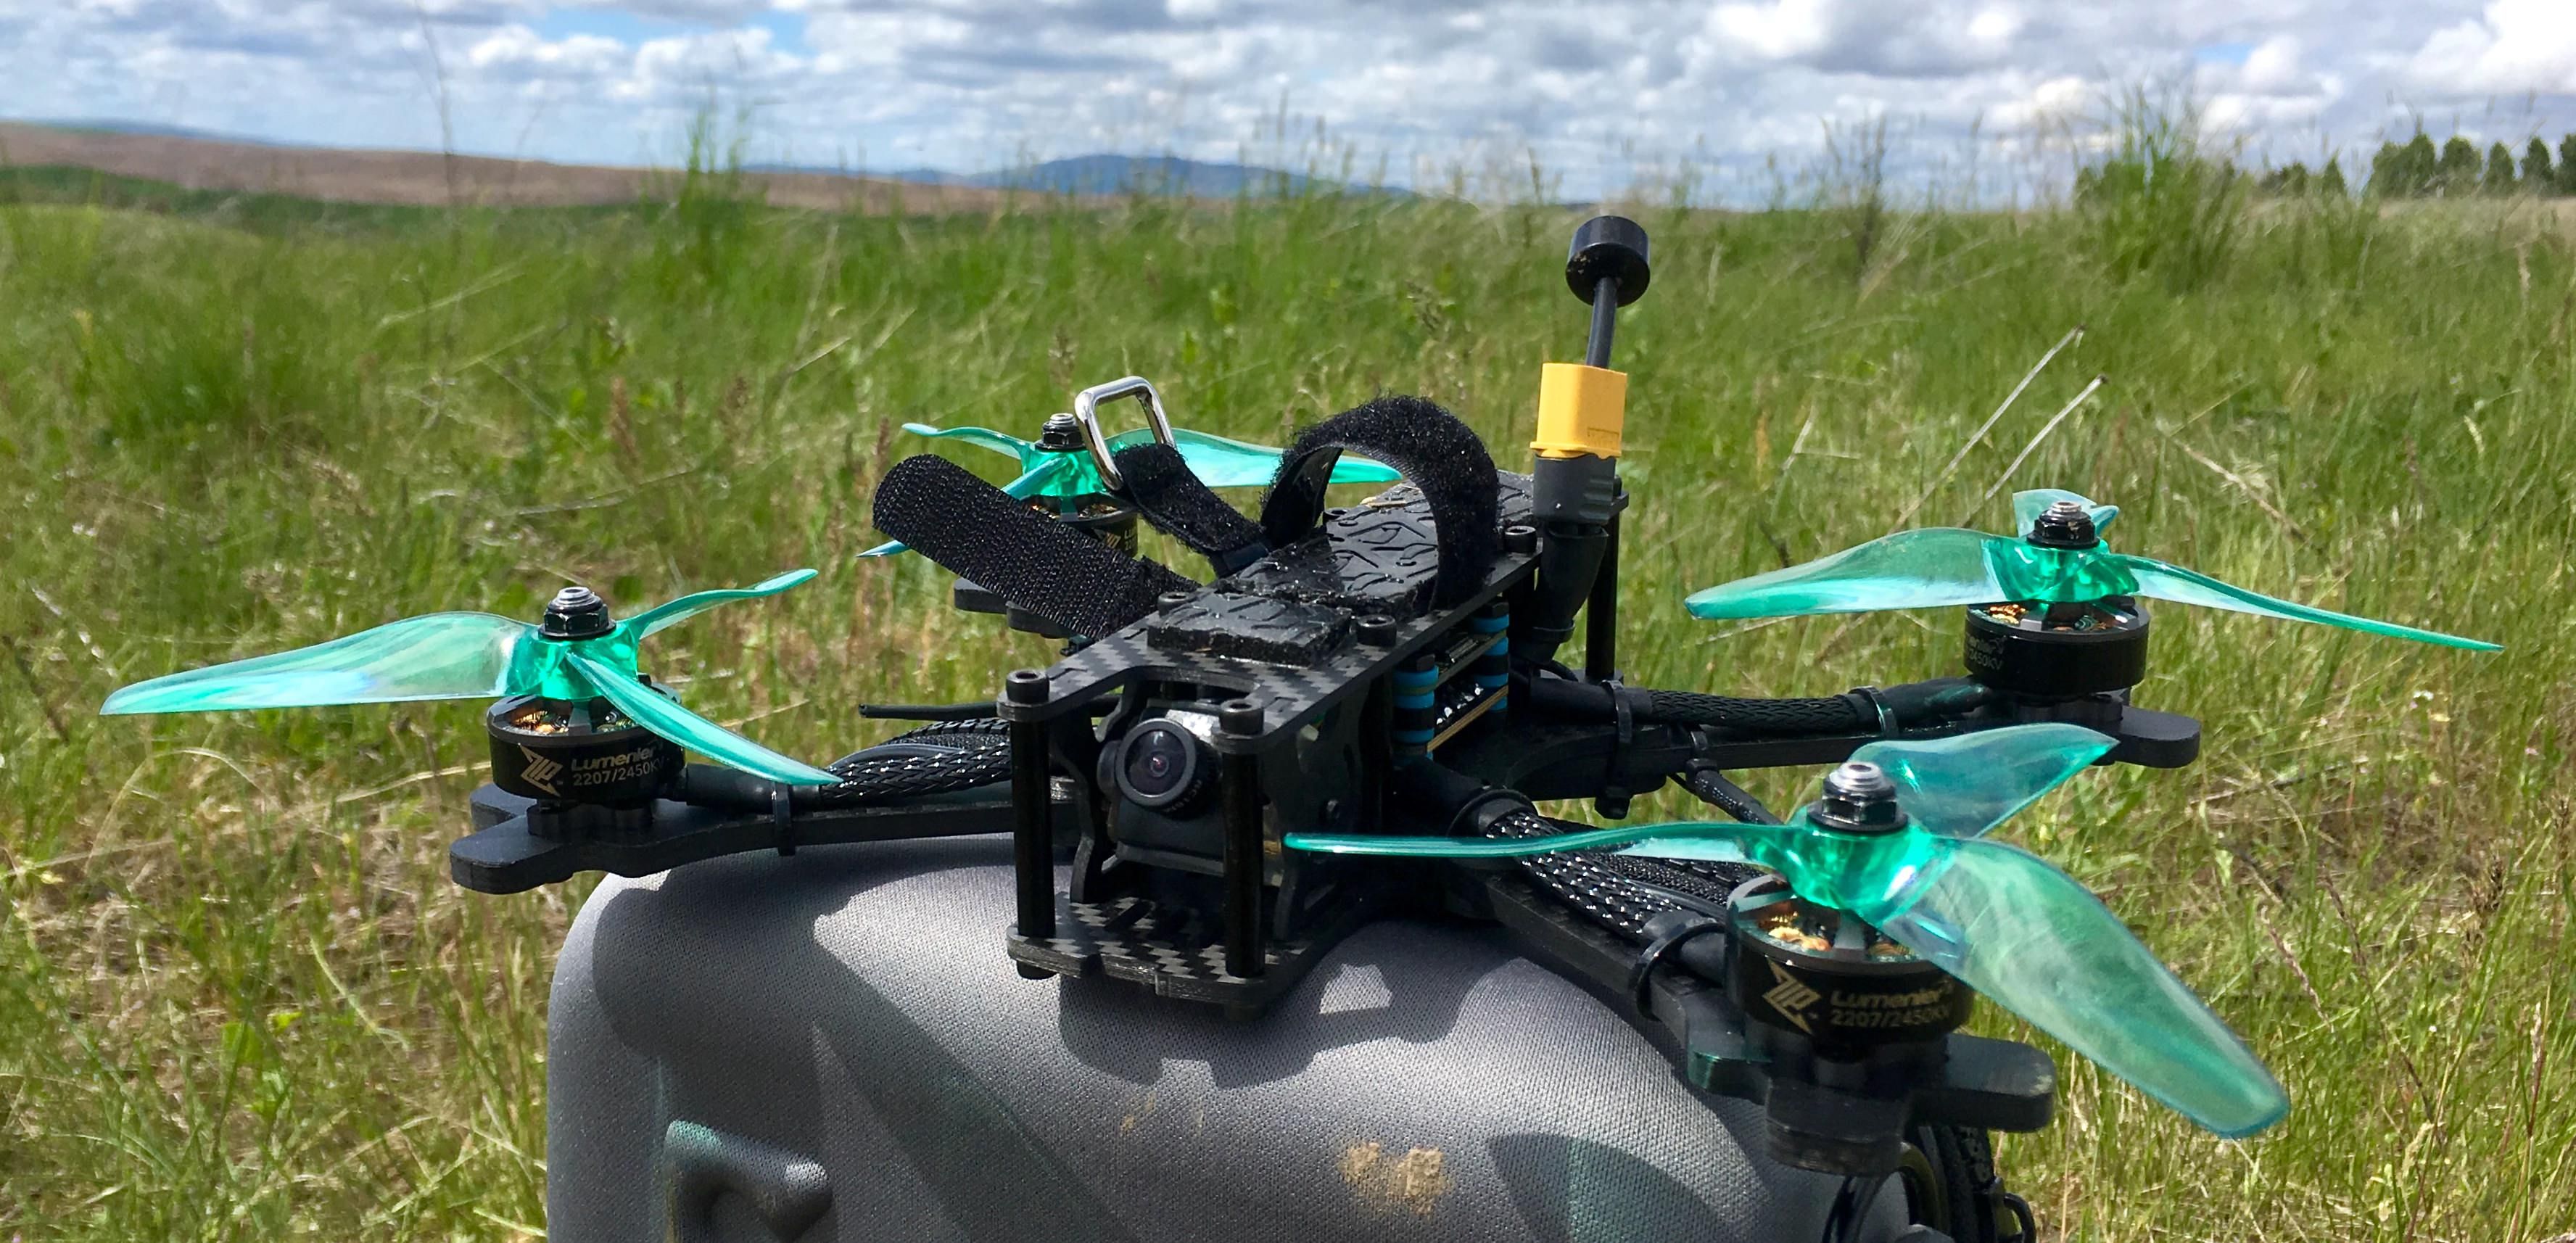
I started with the TBS Source One frame (v2). A sturdy, beginner friendly frame with replacement parts readily available in the US was a priority. I learned quickly with my 3" that relying on Banggood means weeks of downtime between every crash, so GetFPV and RaceDayQuads were my friends this time around. My main splurge was a set of Lumenier Zip 2207 2450kv motors (super pricey at $24 pop, but I really wanted to avoid the motor vibrations that plagued my 3"). I watched a lot of Bardwell videos while doing research for this, and I ended up going with his FC since it's extremely well documented and I like Betaflight. For the ESC the Xilo Stax 4-in-1 felt like a no brainer with 45A for $45, extra-large beginner-friendly solder pads, and a super clean look. I picked up the RDQ Mach 3 VTX, mostly because it was the cheapest thing I could find that boasted 1 watt.
The build process
Putting it all together was a breeze, mostly thanks to Bardwell's FC documentation and the roomy Source One frame. I focused on keeping the wiring as clean as I could and my solder joints looking shiny. I'd seen mesh motor wire wrap here on RotorBuilds before, so I threw that on and was really happy with how it turned out. I added a few layers of electrical tape under the motors for soft mounting because I saw JohnnyFPV do it in a vid, but in hindsight I don't think it was worth the effort.
Things I'd do differently
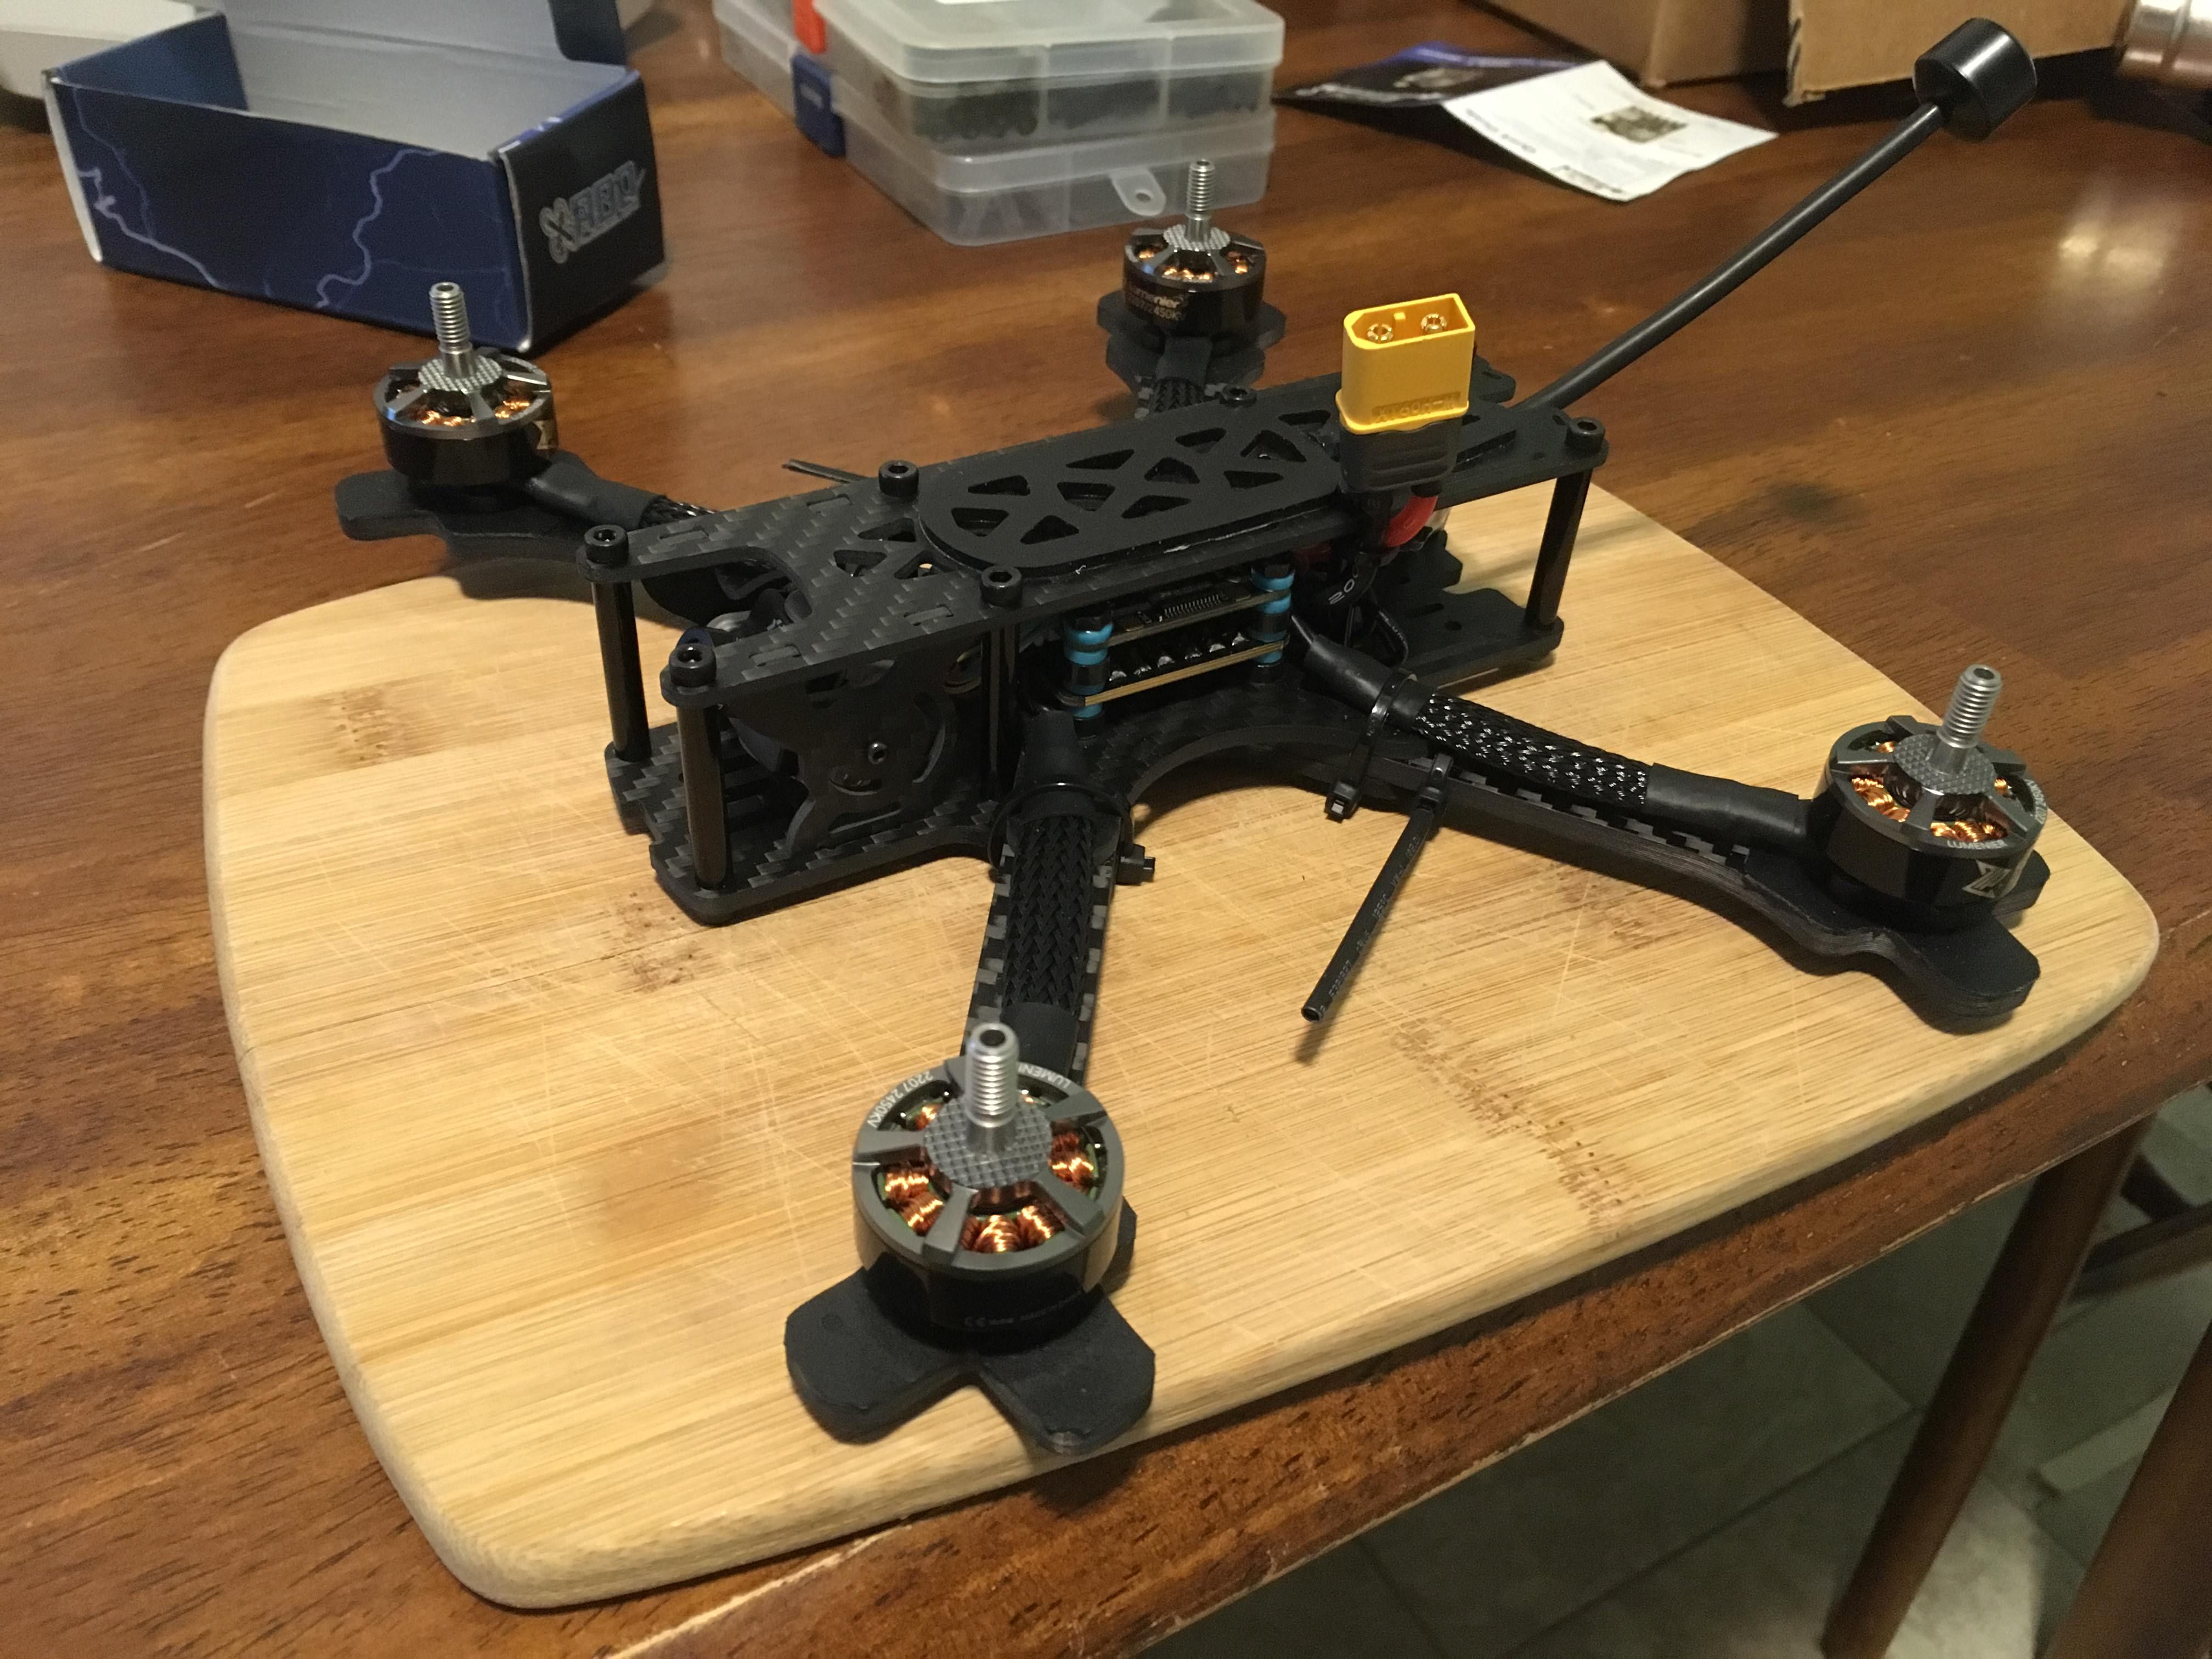
I think a stackable VTX would be nice - I ended up awkwardly stuffing the Mach 3 sideways between two standoffs and zip-tying it there. The Bardwell FC was great, but I realized that you have to solder a tiny jumper right next to a bunch of pins in order to hook up the current sensor signal wire from the ESC. I didn't want to risk ruining the board, so I went without current sensing. Next time I'd get a smaller soldering iron tip or a different FC (current sensing is a high priority for me). Also I probably won't put a goofy looking long range antenna on another freestyle build ;).
P.S. I actually finished this build about 5 months ago. Unfortunately I have since lost it to an enormous pine tree, but I still wanted to document it here. Hopefully I'll be starting another build soon.
Photos


Part List
Show stores (3)Guides & Reviews

AirbladeUAV has done it again and this time they've brought long range to the 5" class! Based on the popular Transformer Mini, the new Transformer 5" Ultralight adopts a lot of the same design philosophies with larger props and more payload capacity. It can fly upwards of 20 minutes on a 4 cell Li-Ion battery pack and in ideal conditions it's got a range of over 4 to 5 miles. In this guide I'll walk..
Read more
With the release of the DJI FPV Drone cinematic FPV has become a lot more accessible, but you certainly don't want to crash a $750 drone! The QAV-CINE Freybott is a compact, lightweight cinematic FPV drone that can take a hit and keep going. It's a lot safer to fly indoors and around people. With a naked GoPro or the SMO 4k you can capture some great stabilized footage. In this guide I'll show you..
Read more


awesome bro!