Squirt v2 Re-Build
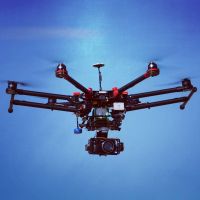
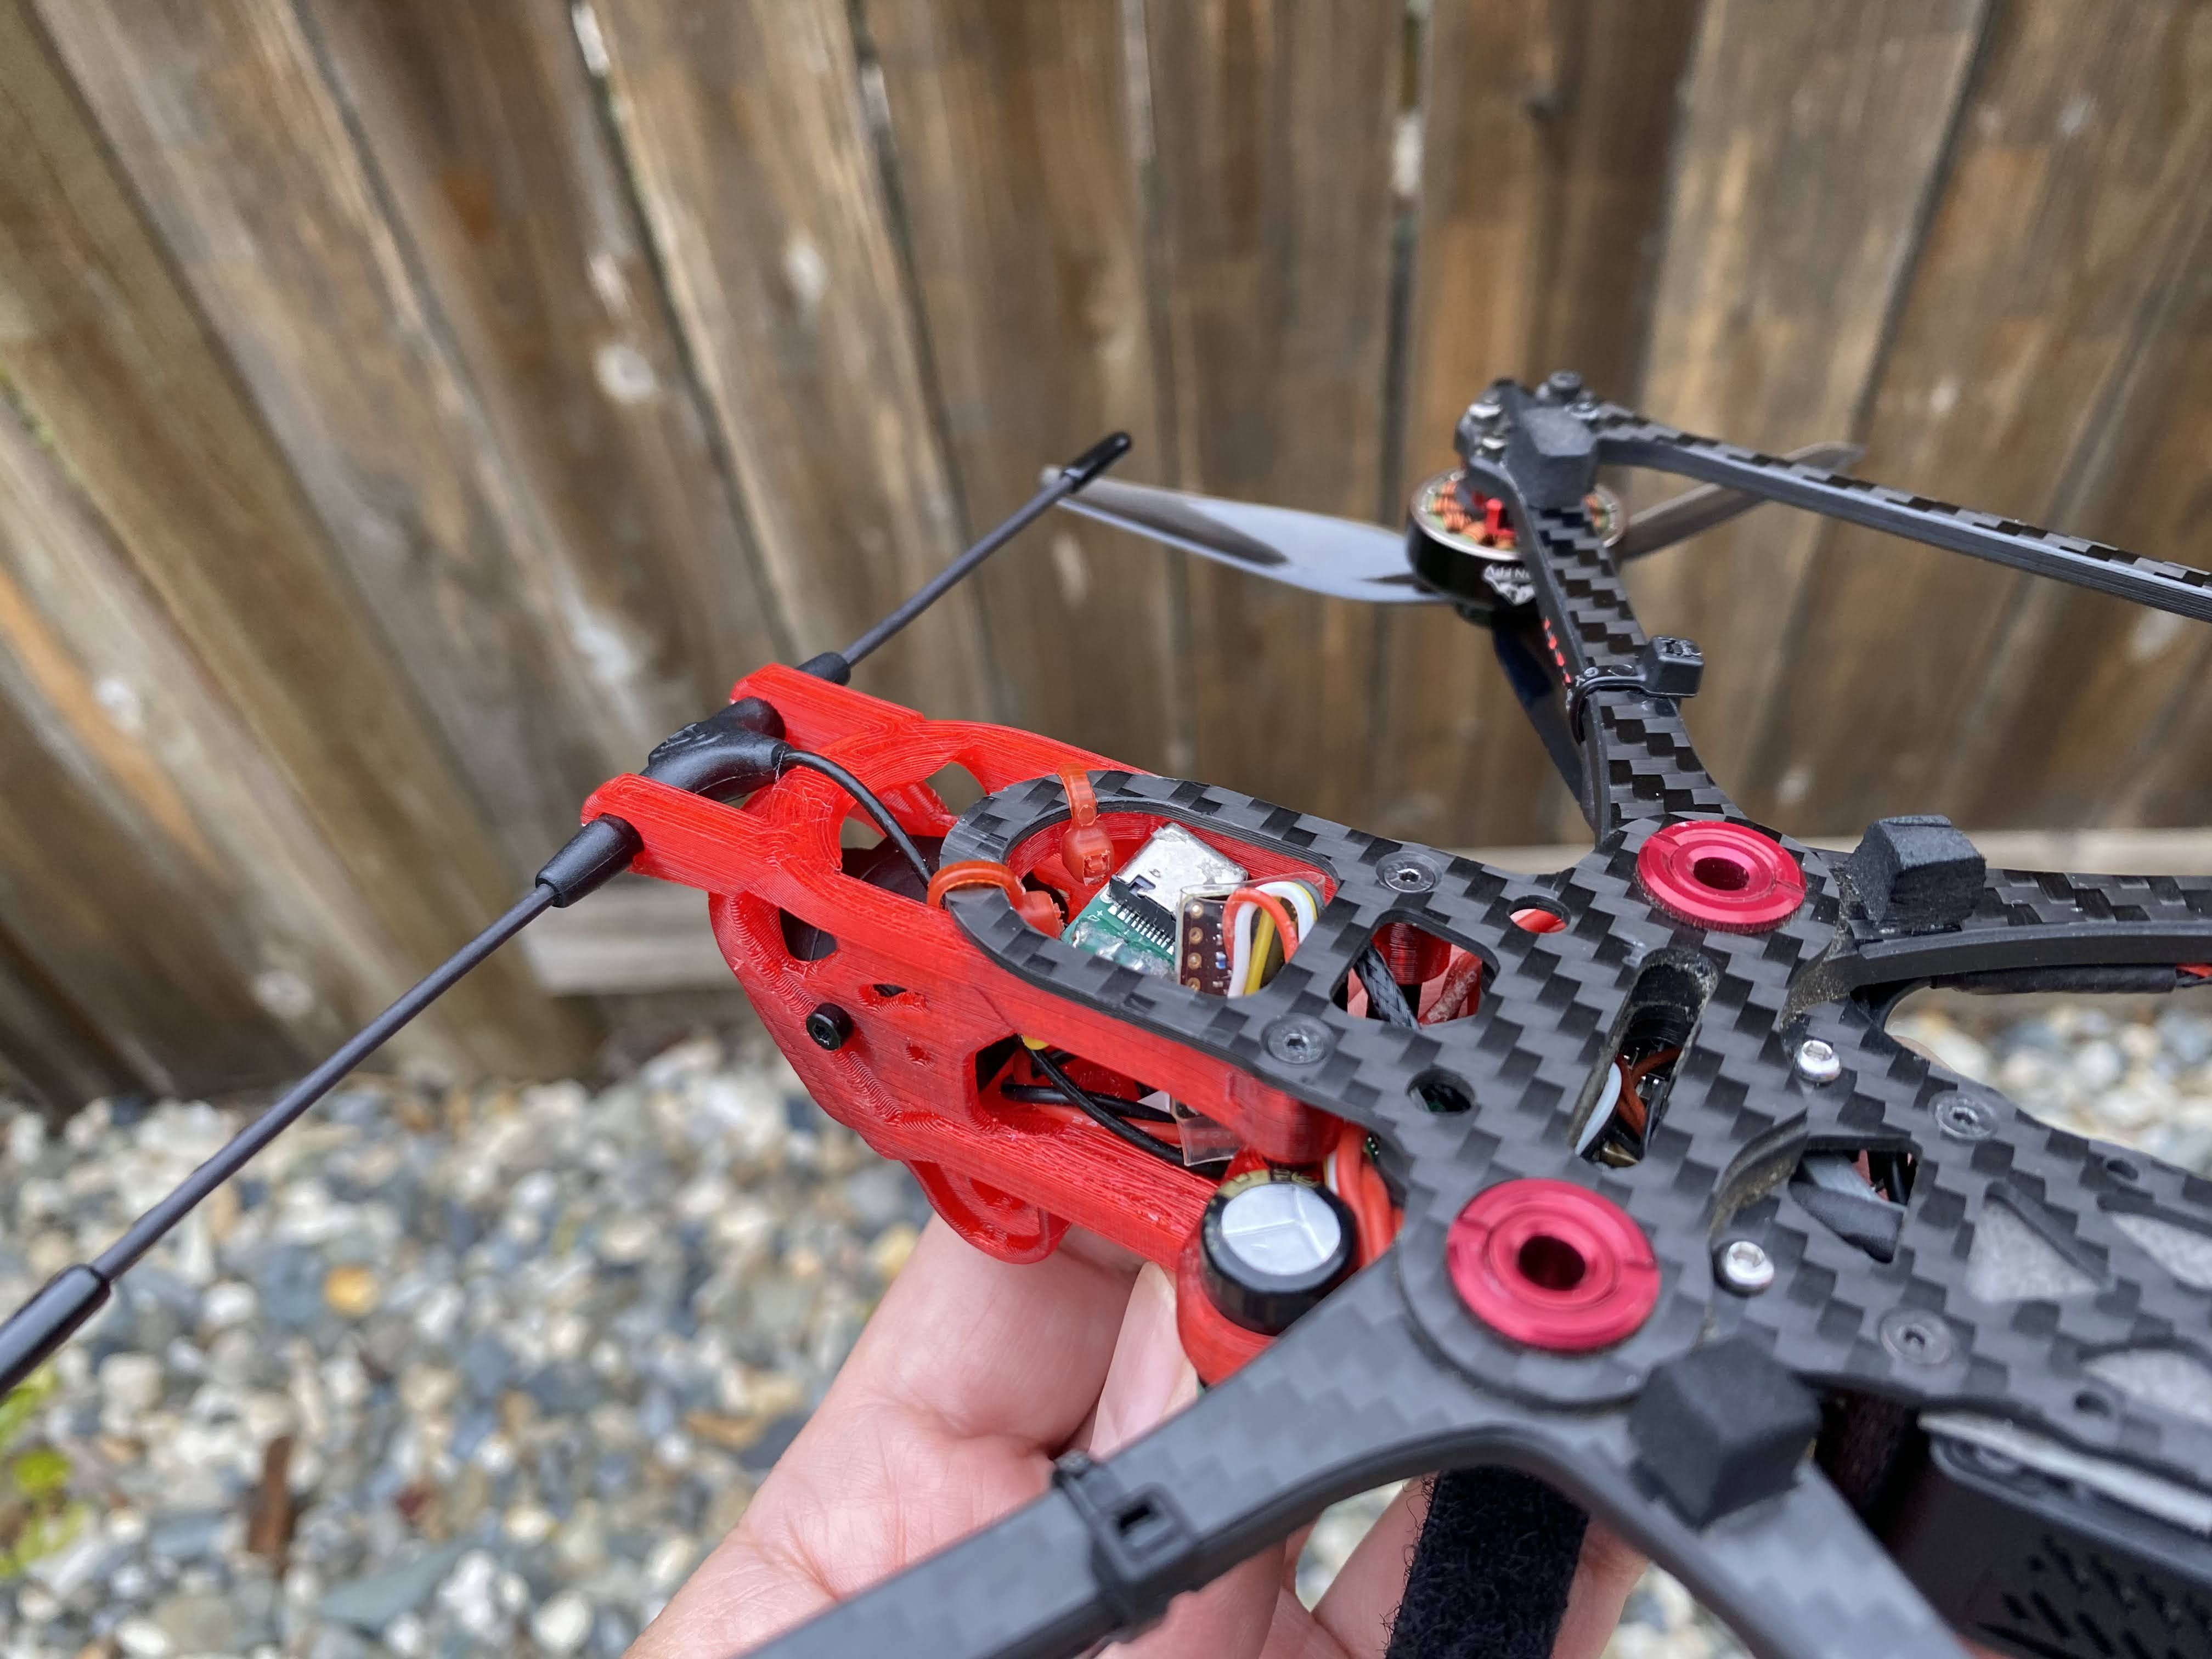
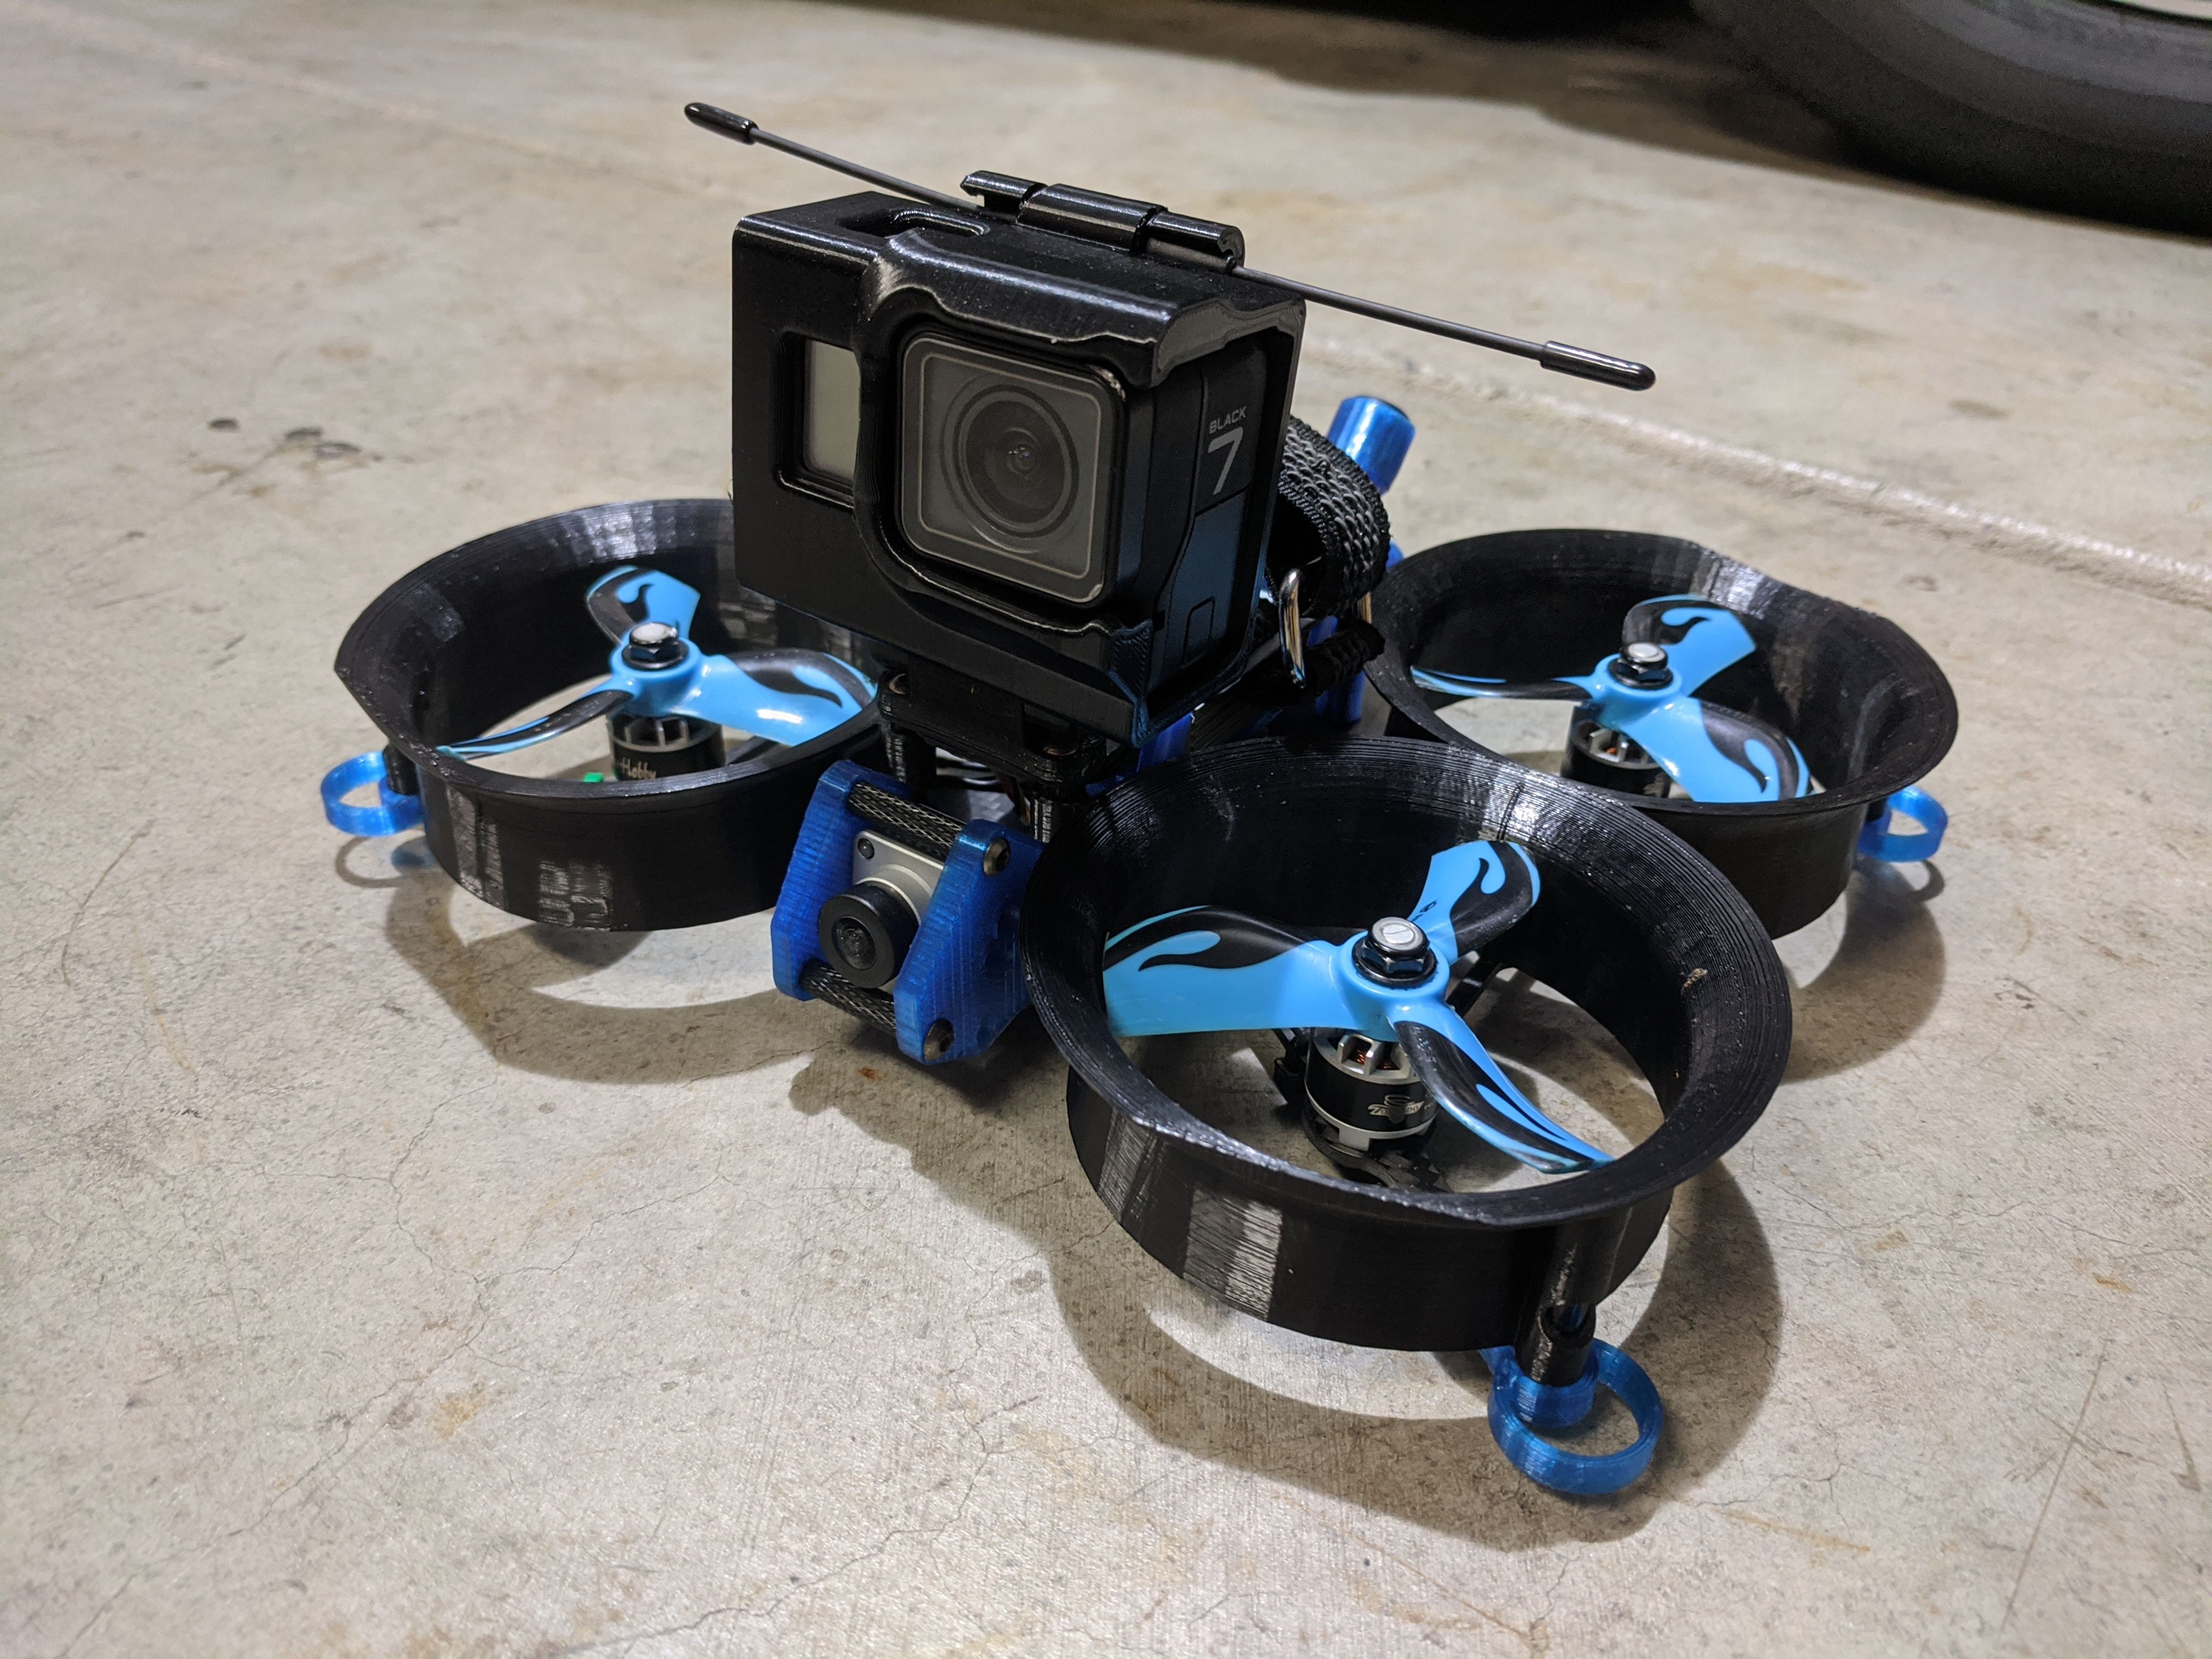
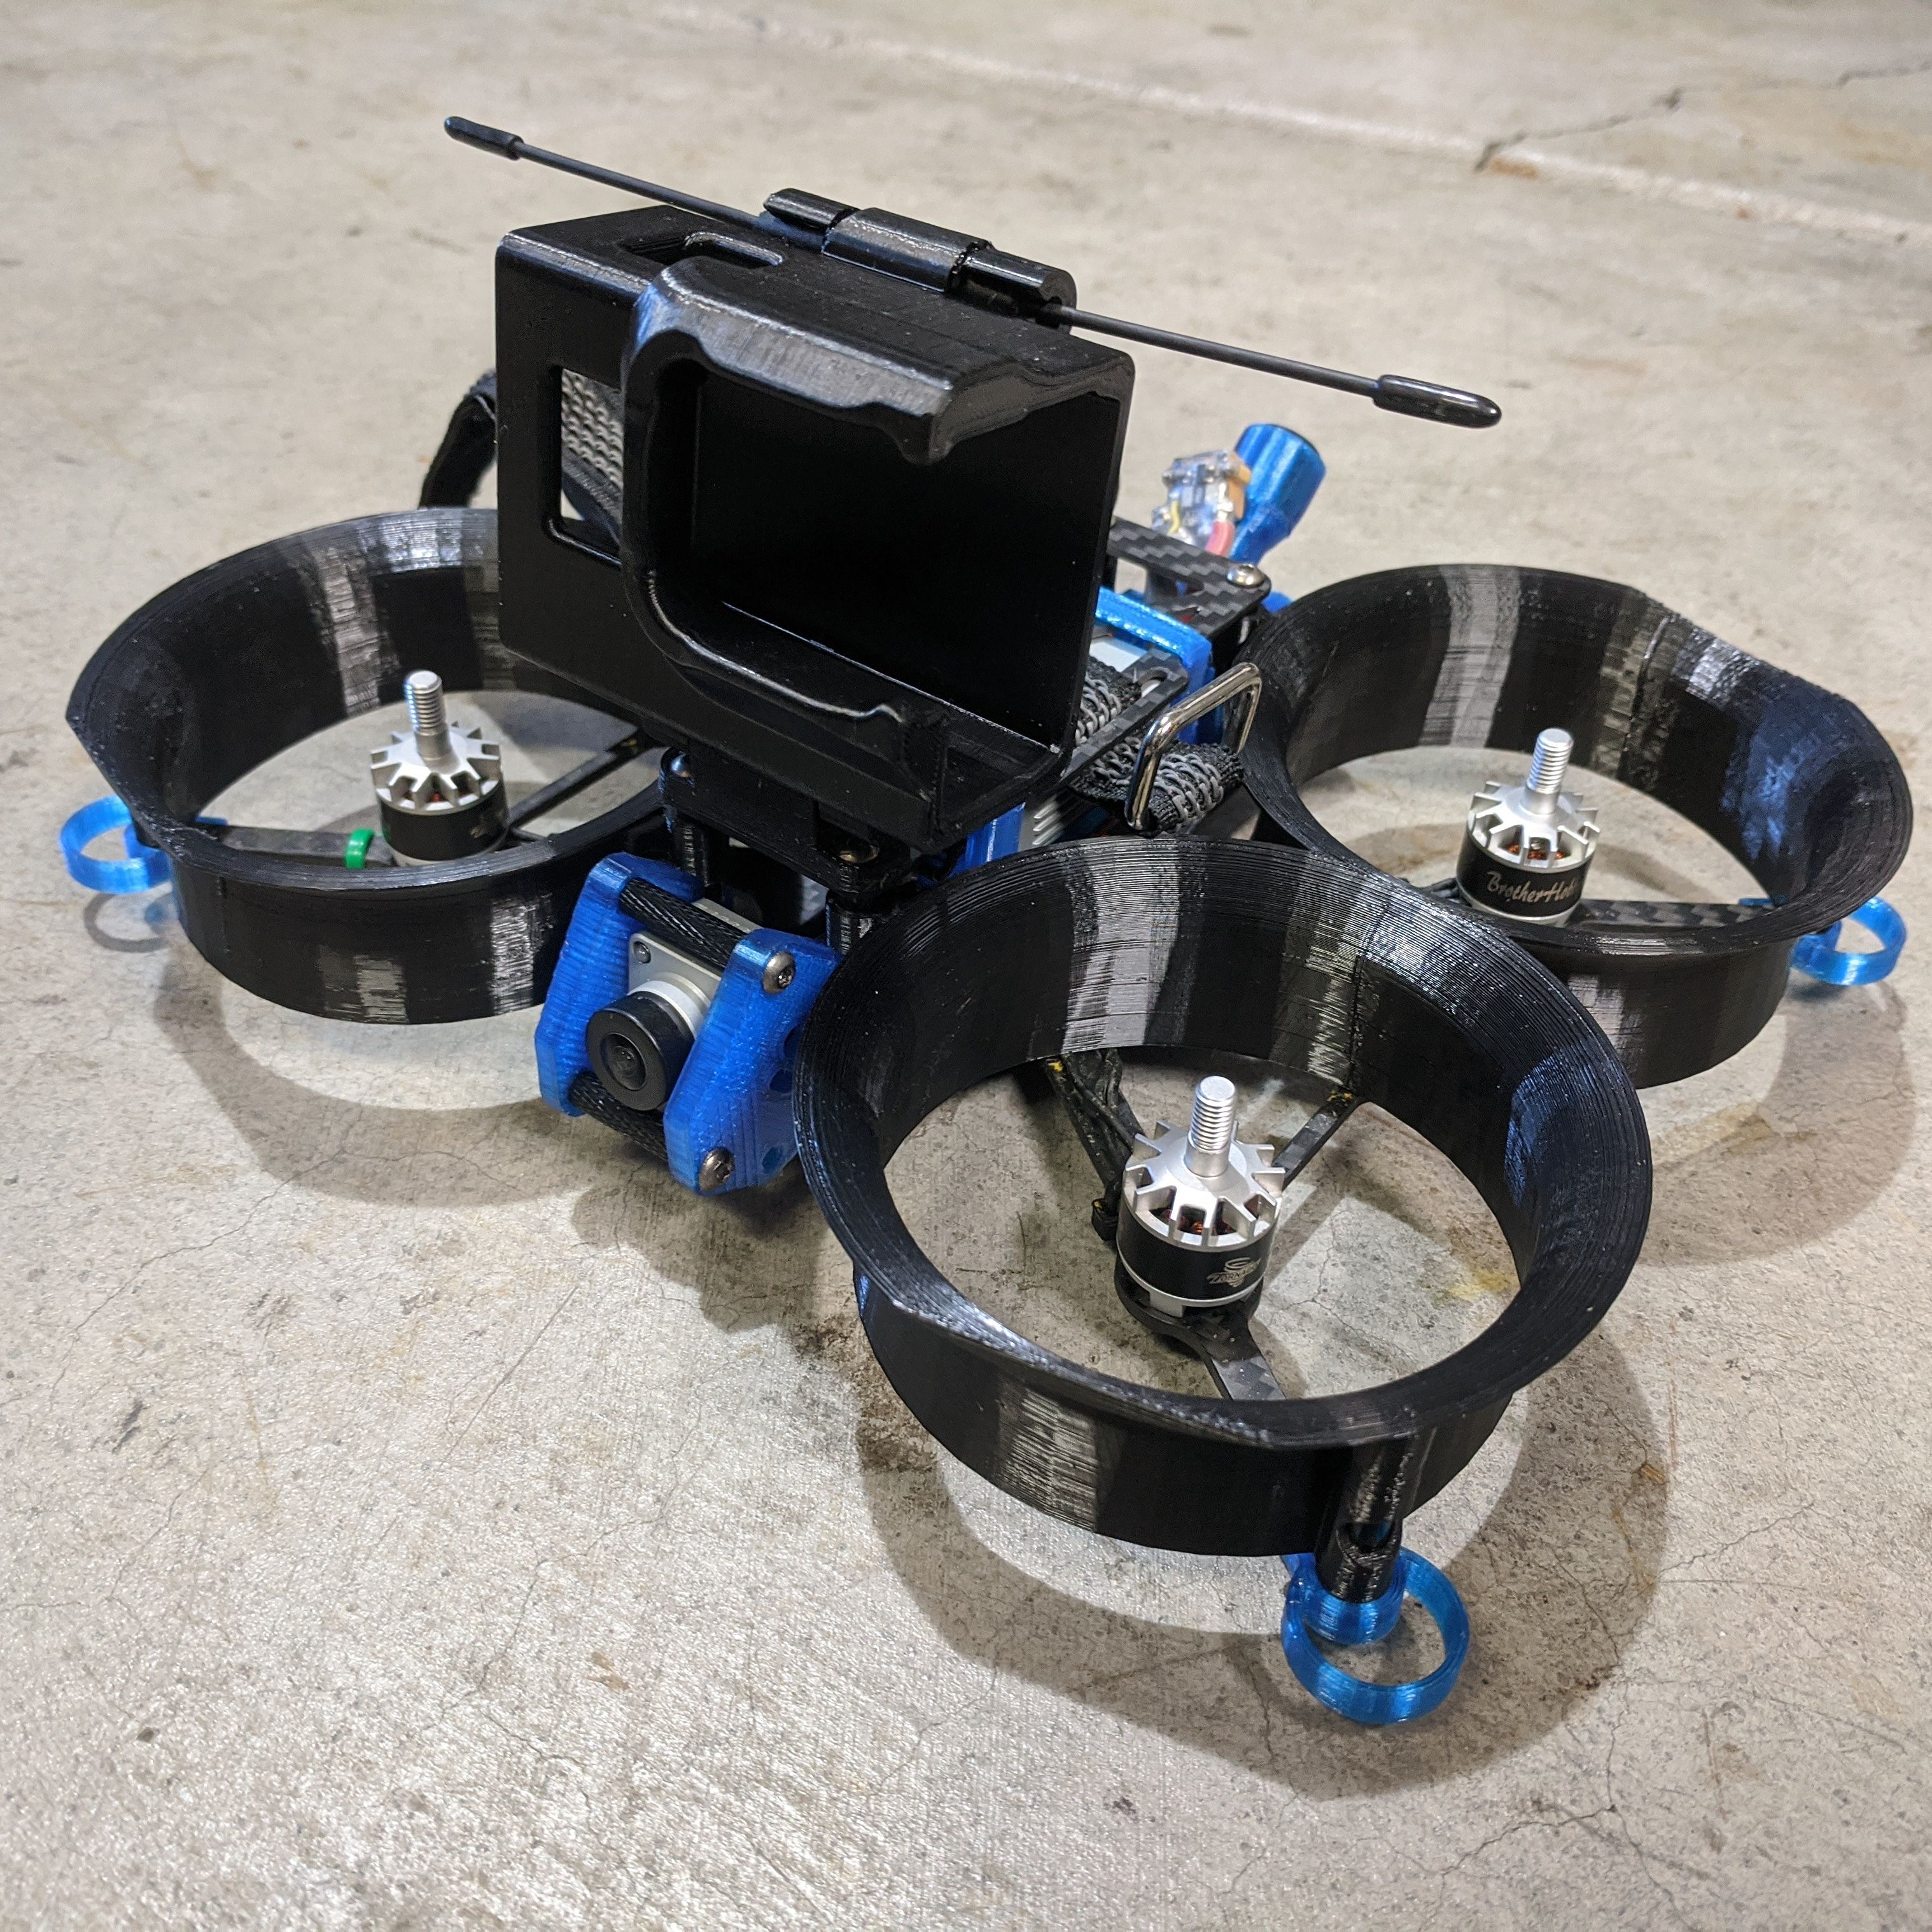
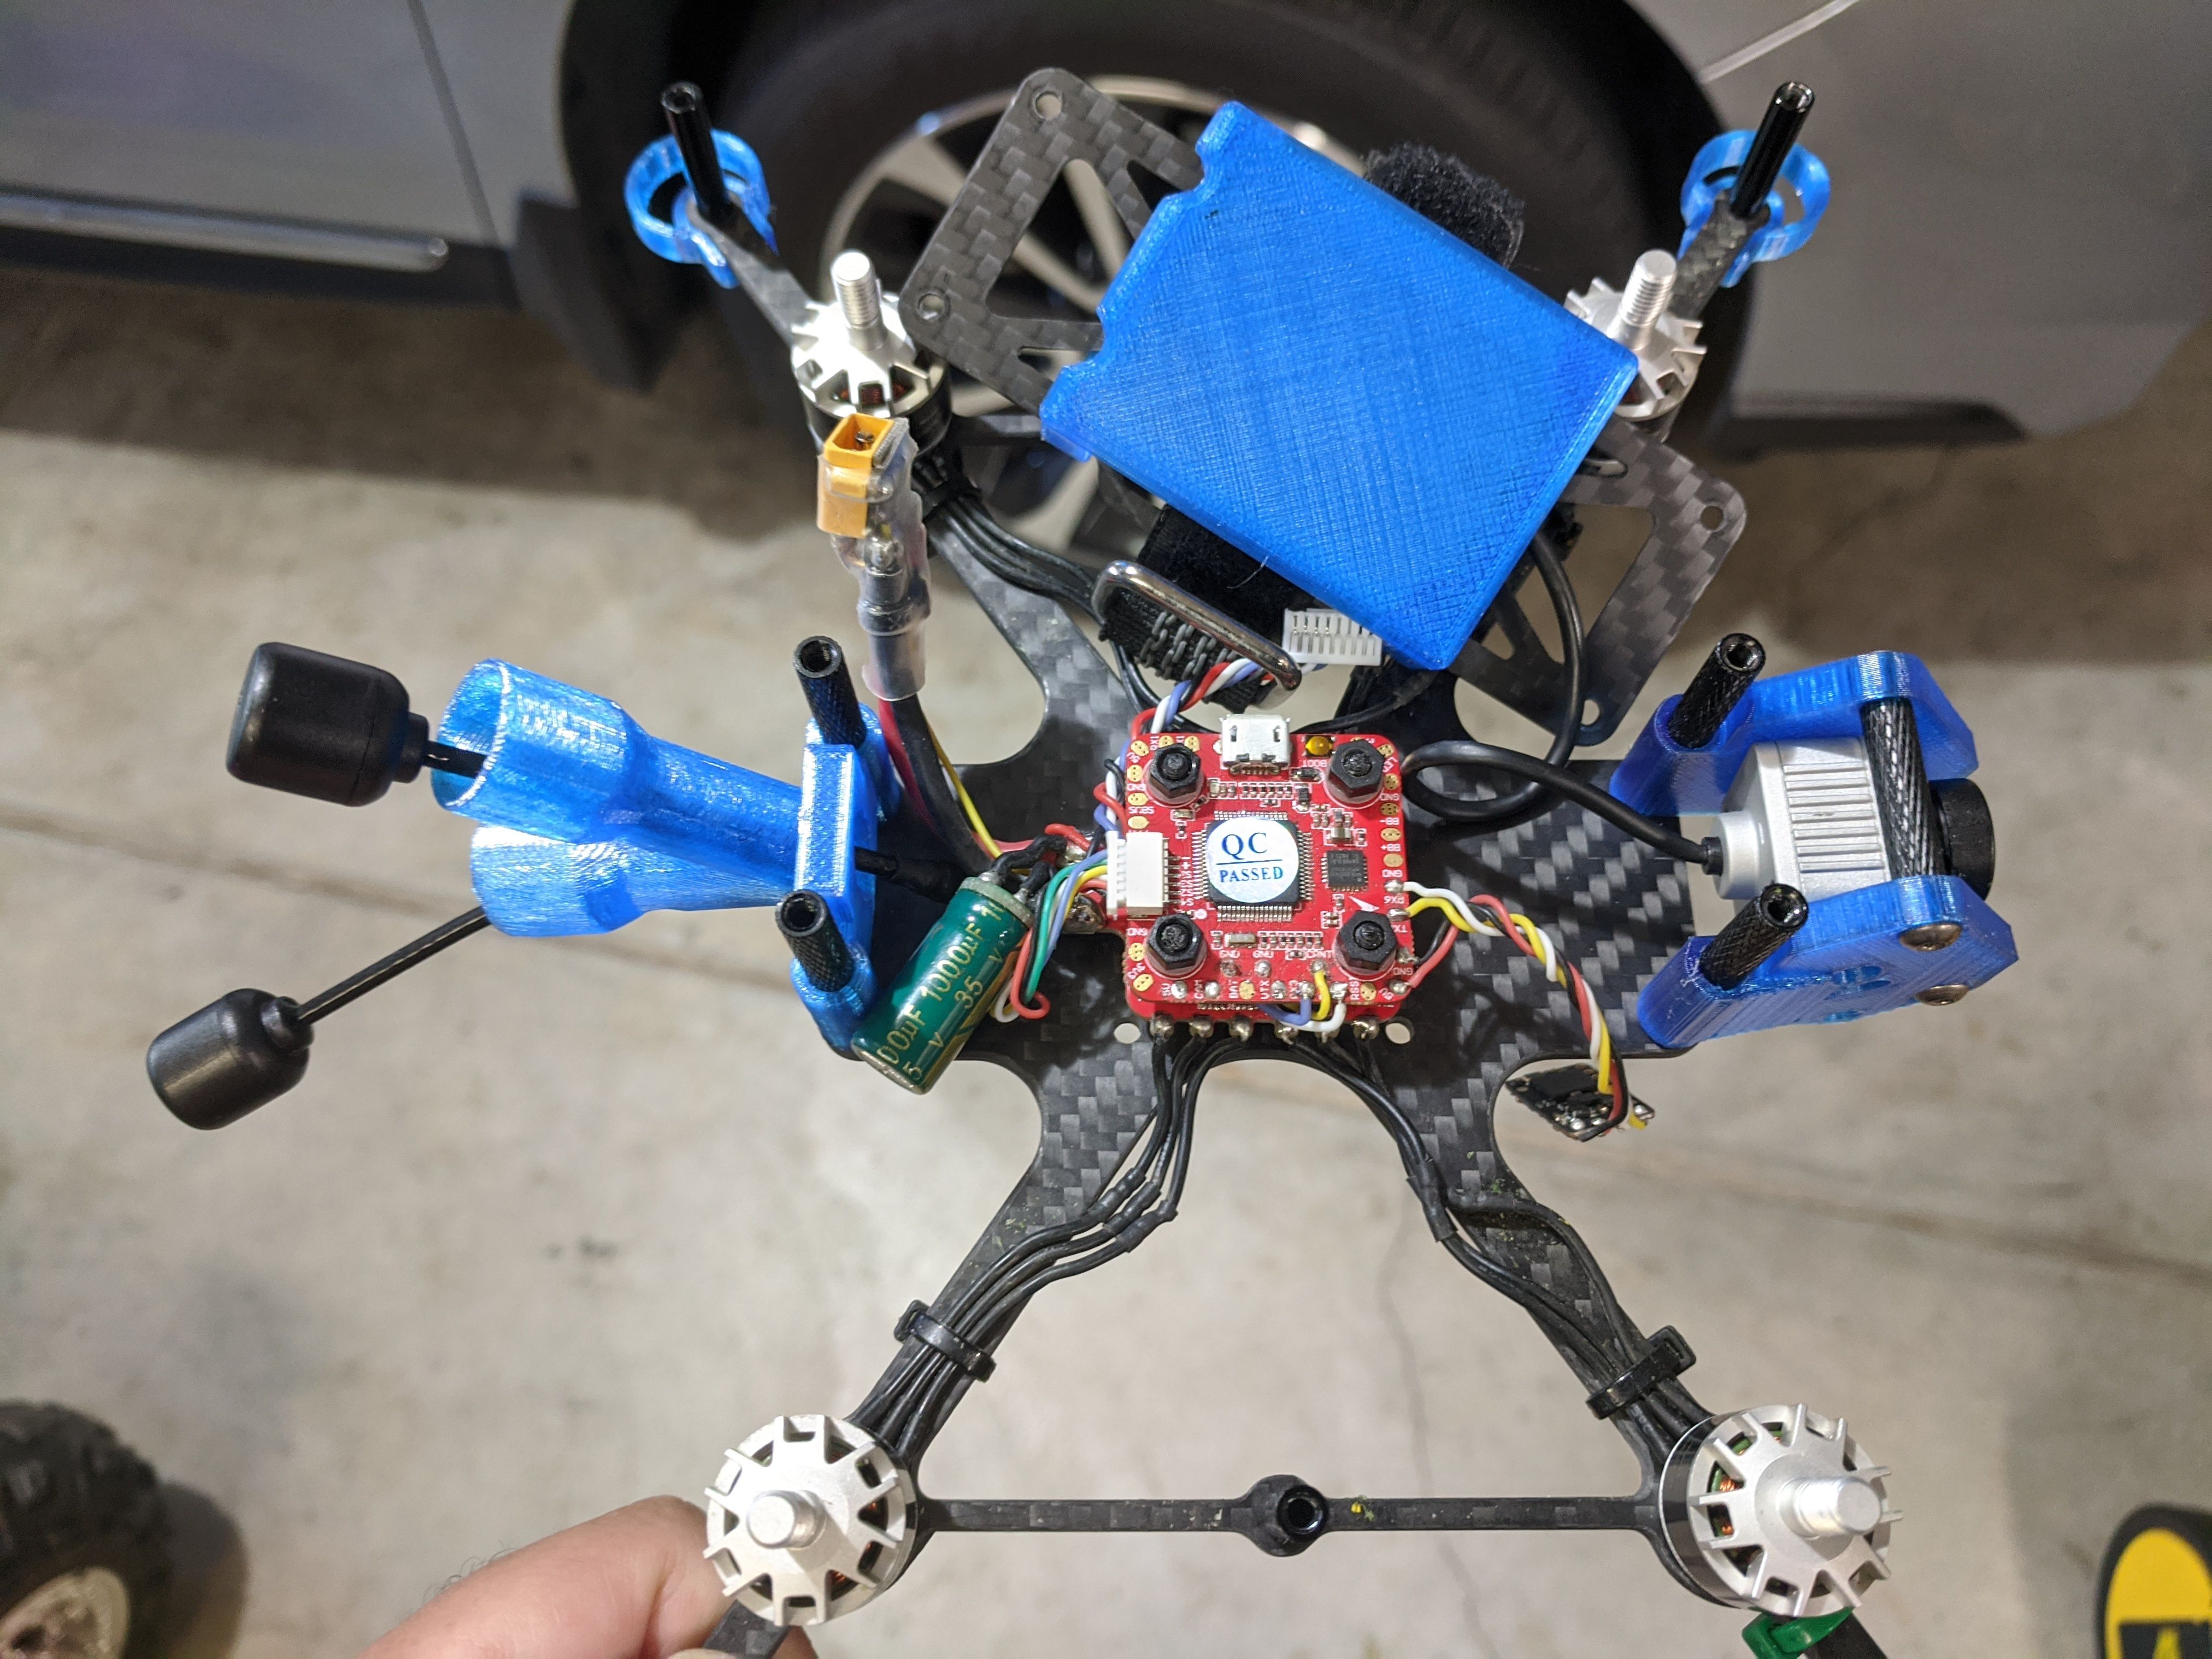
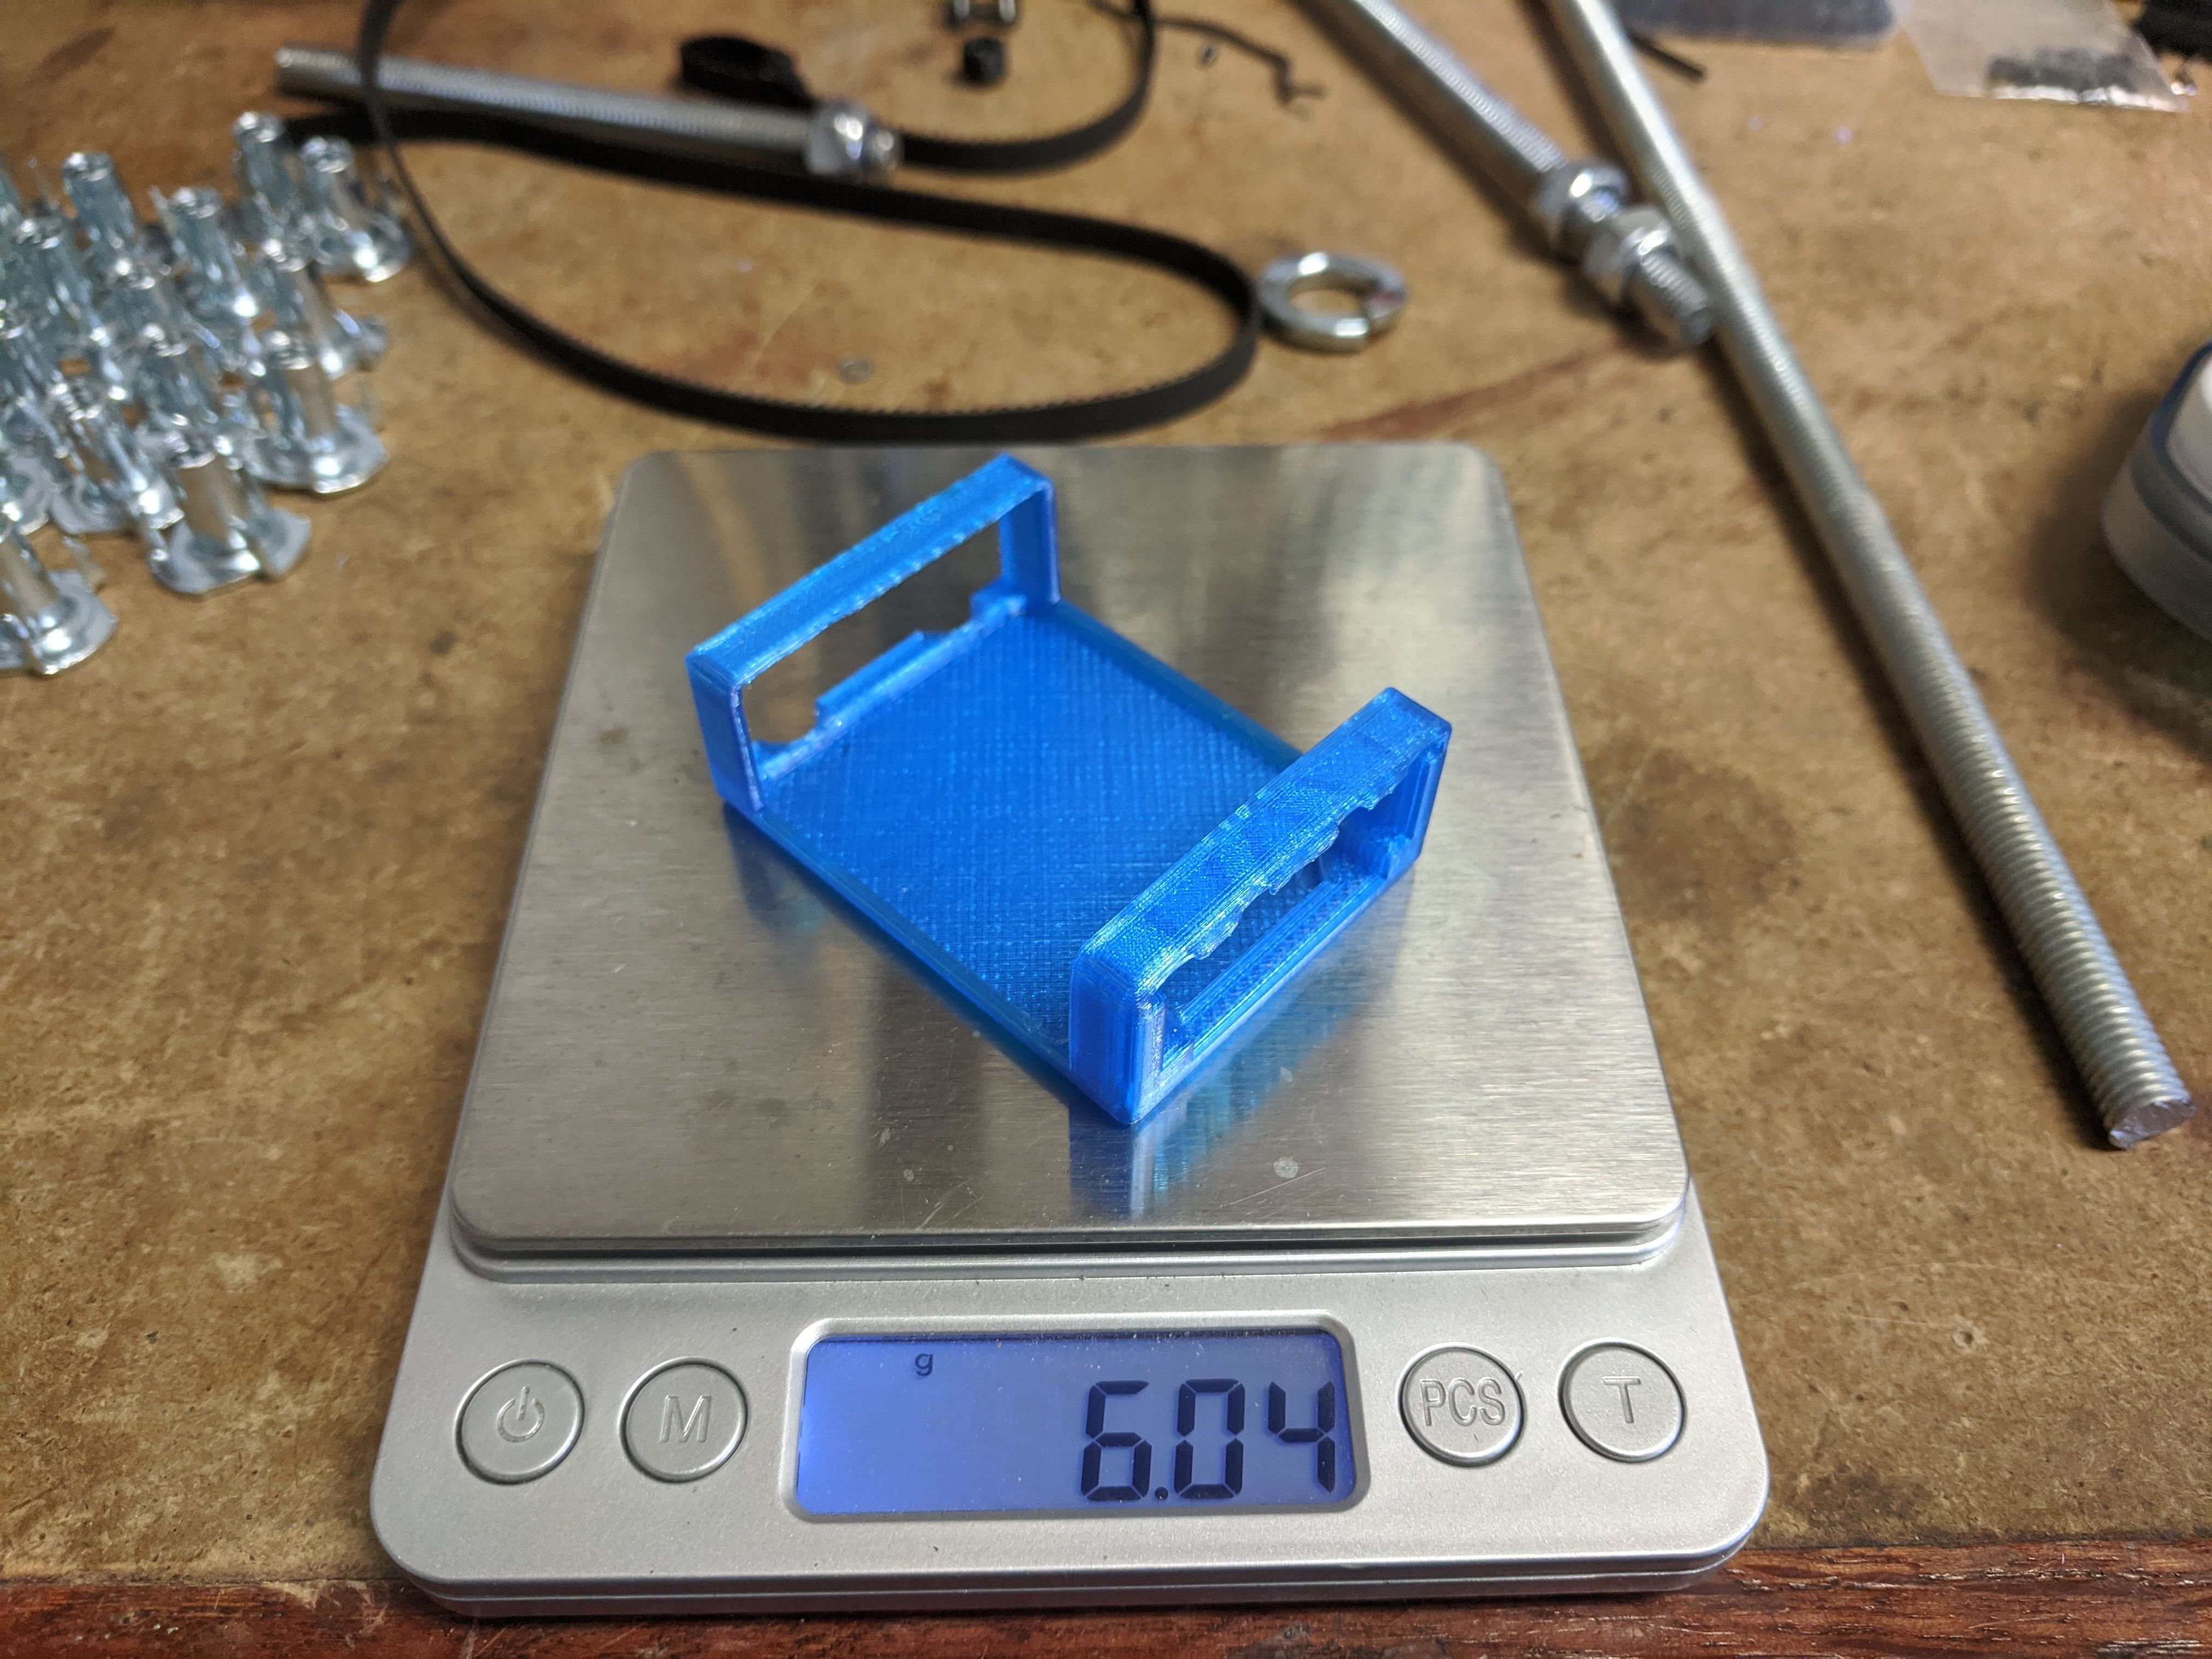
This is my first build using the DJI FPV system. I will be taking my existing Squirt v2 analog video equipment and replacing it with the new DJI digital stuff. But first, I will go to my favorite website Thingiverse to try and find some parts to make my conversion easier. I was lucky enough to find something I really liked. The guy who designed the parts did a really good job and I especially like how the air unit module is hanging under the top plate. Then the camera is moved to forward so ducts are in view.
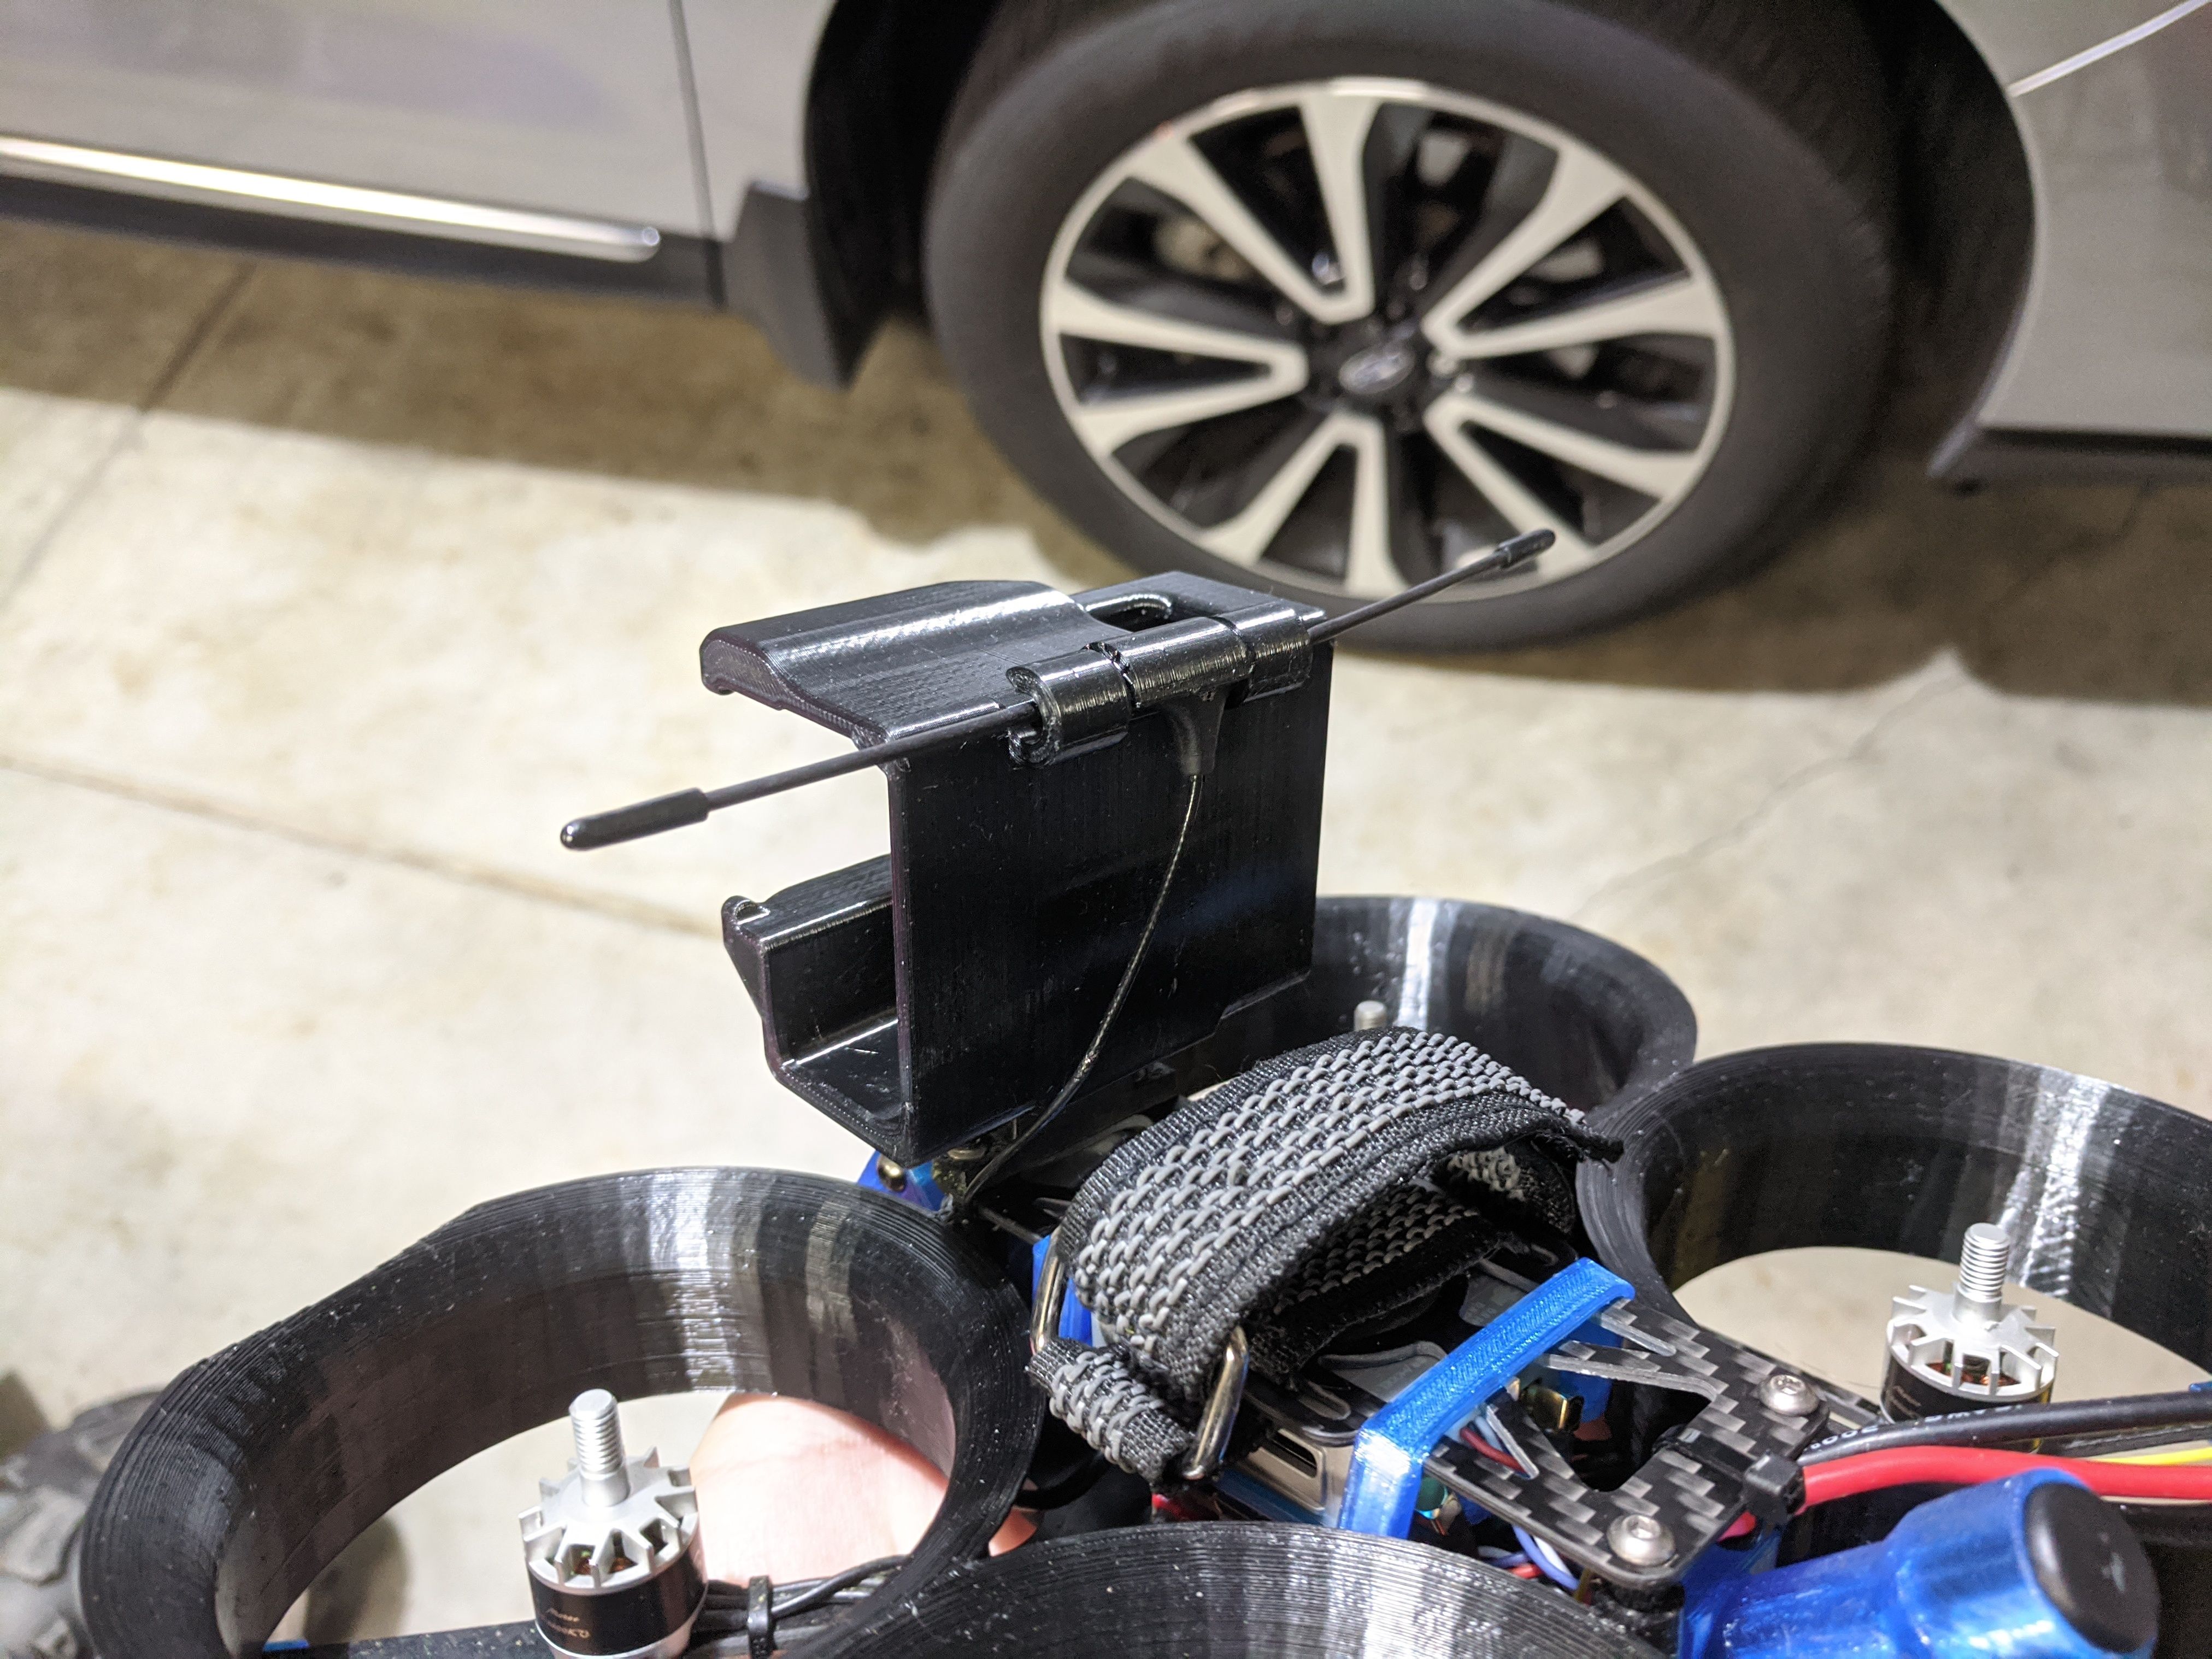
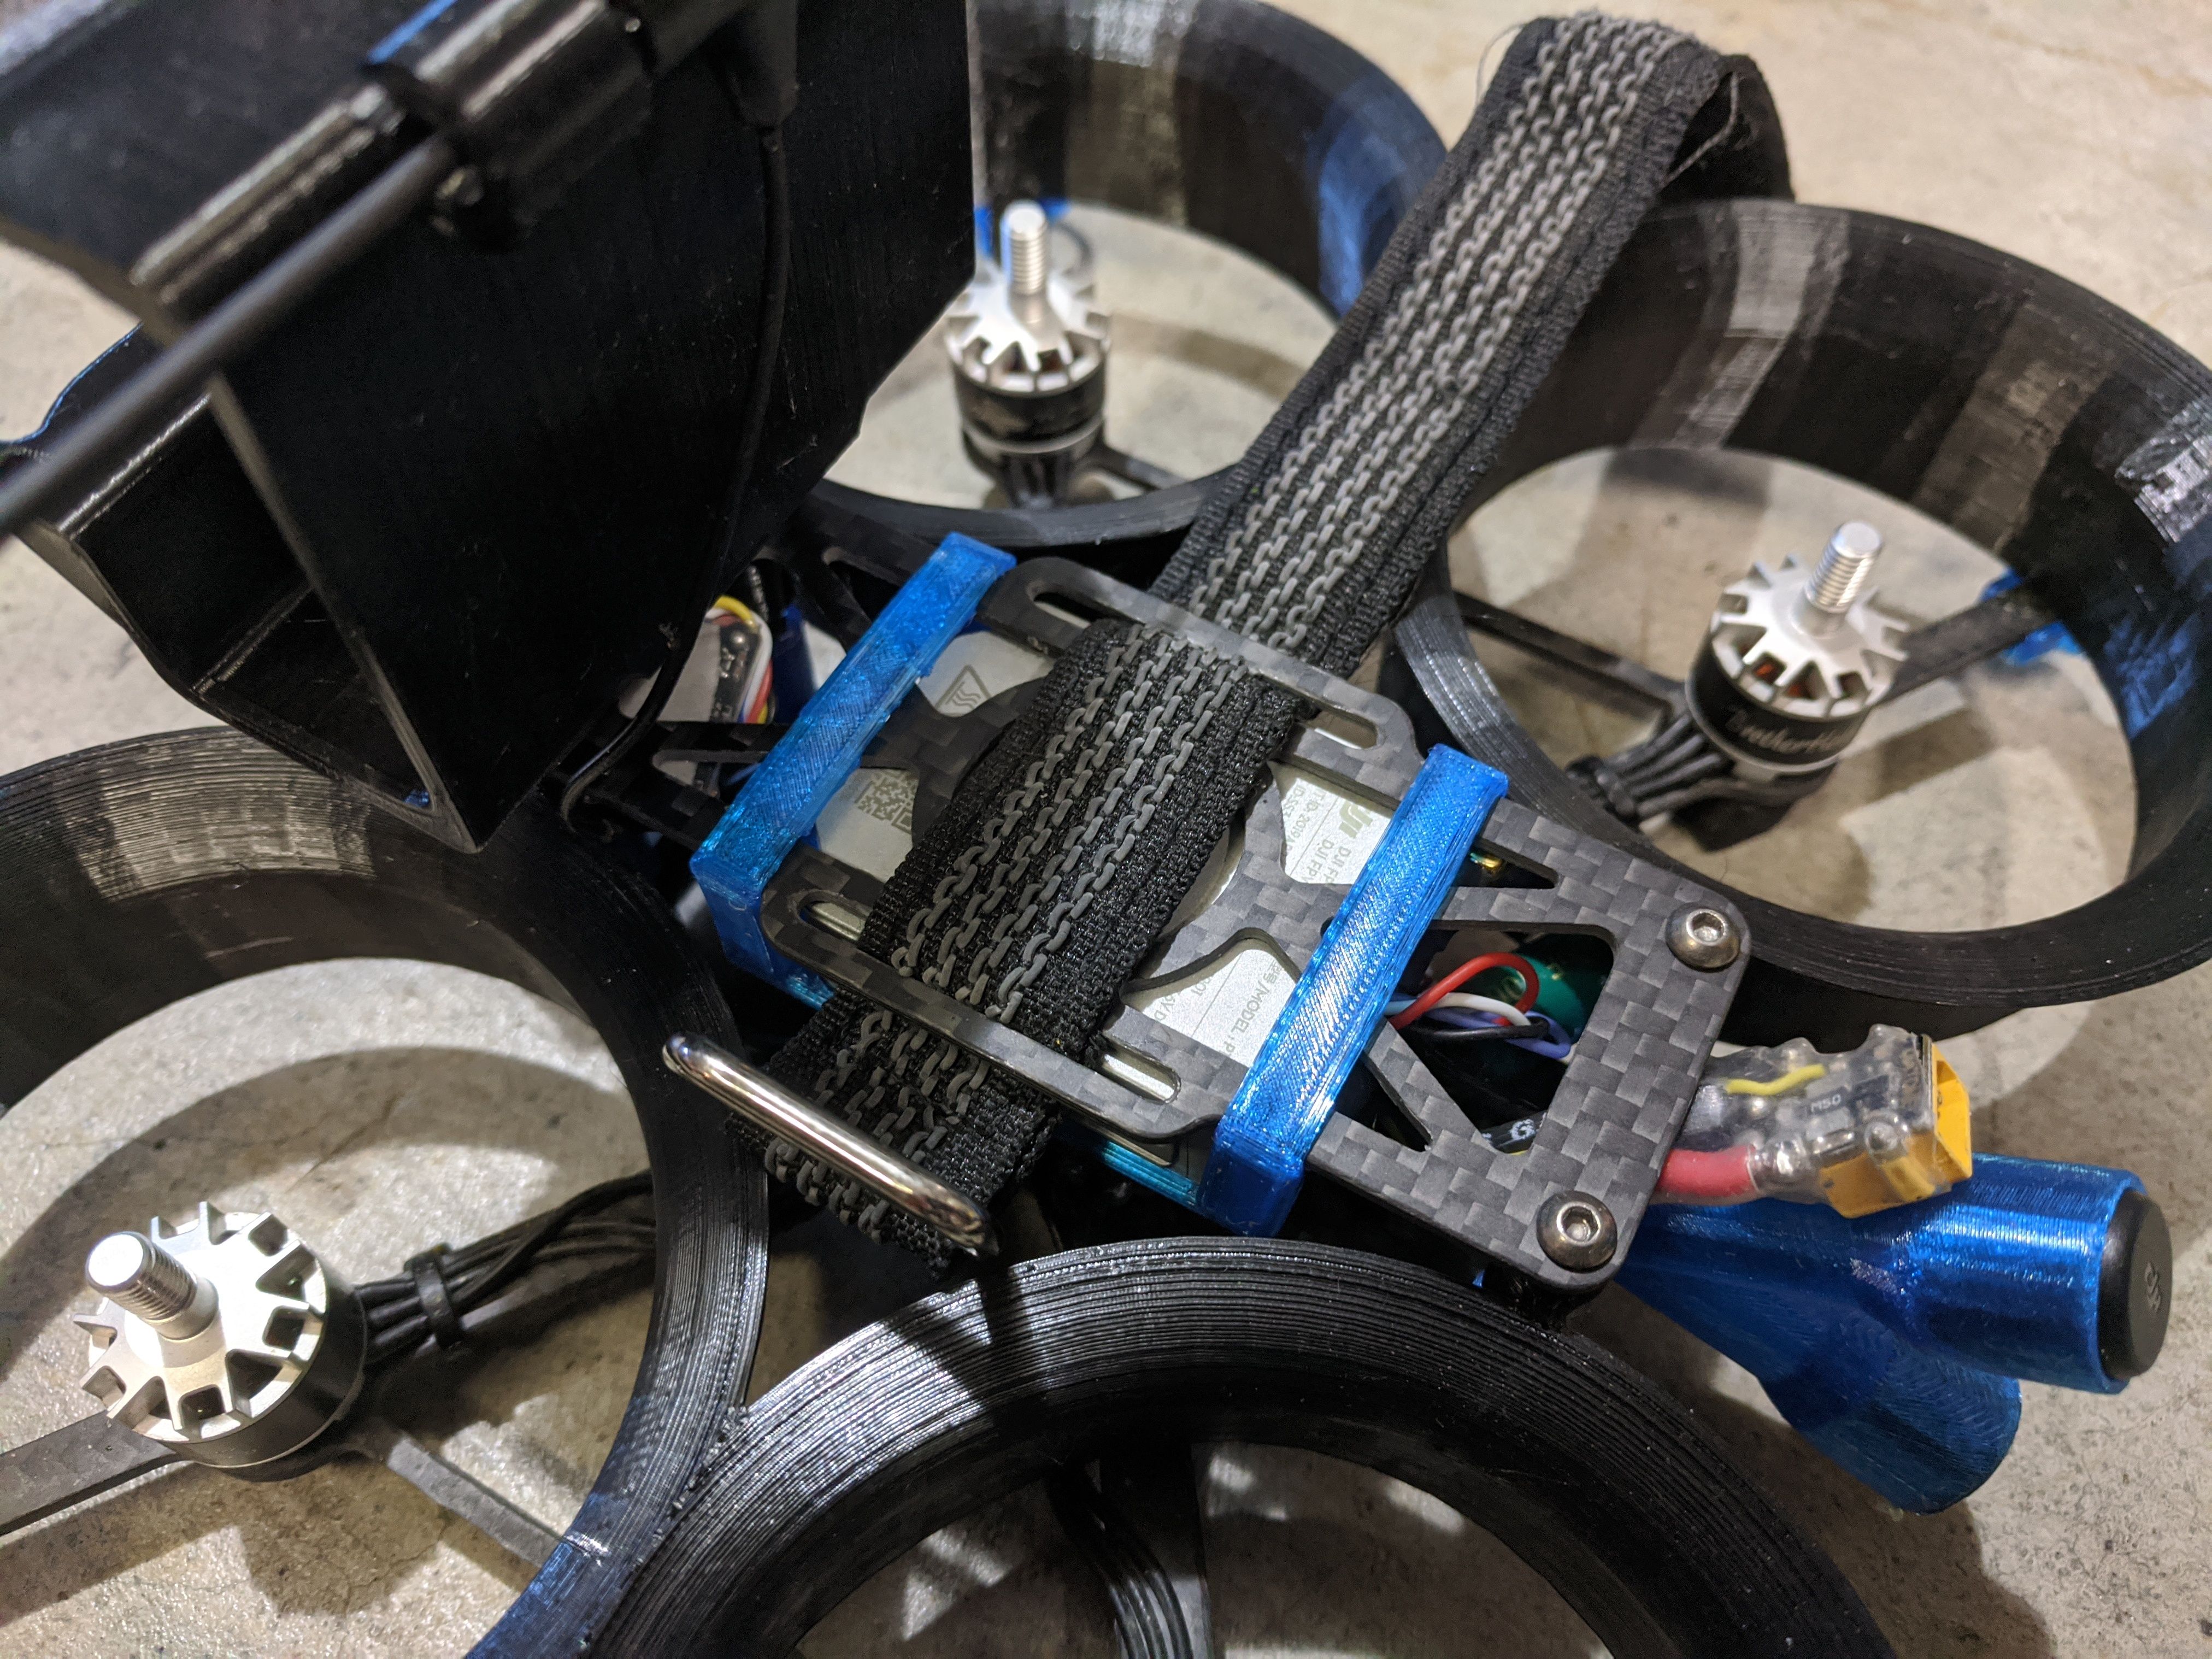
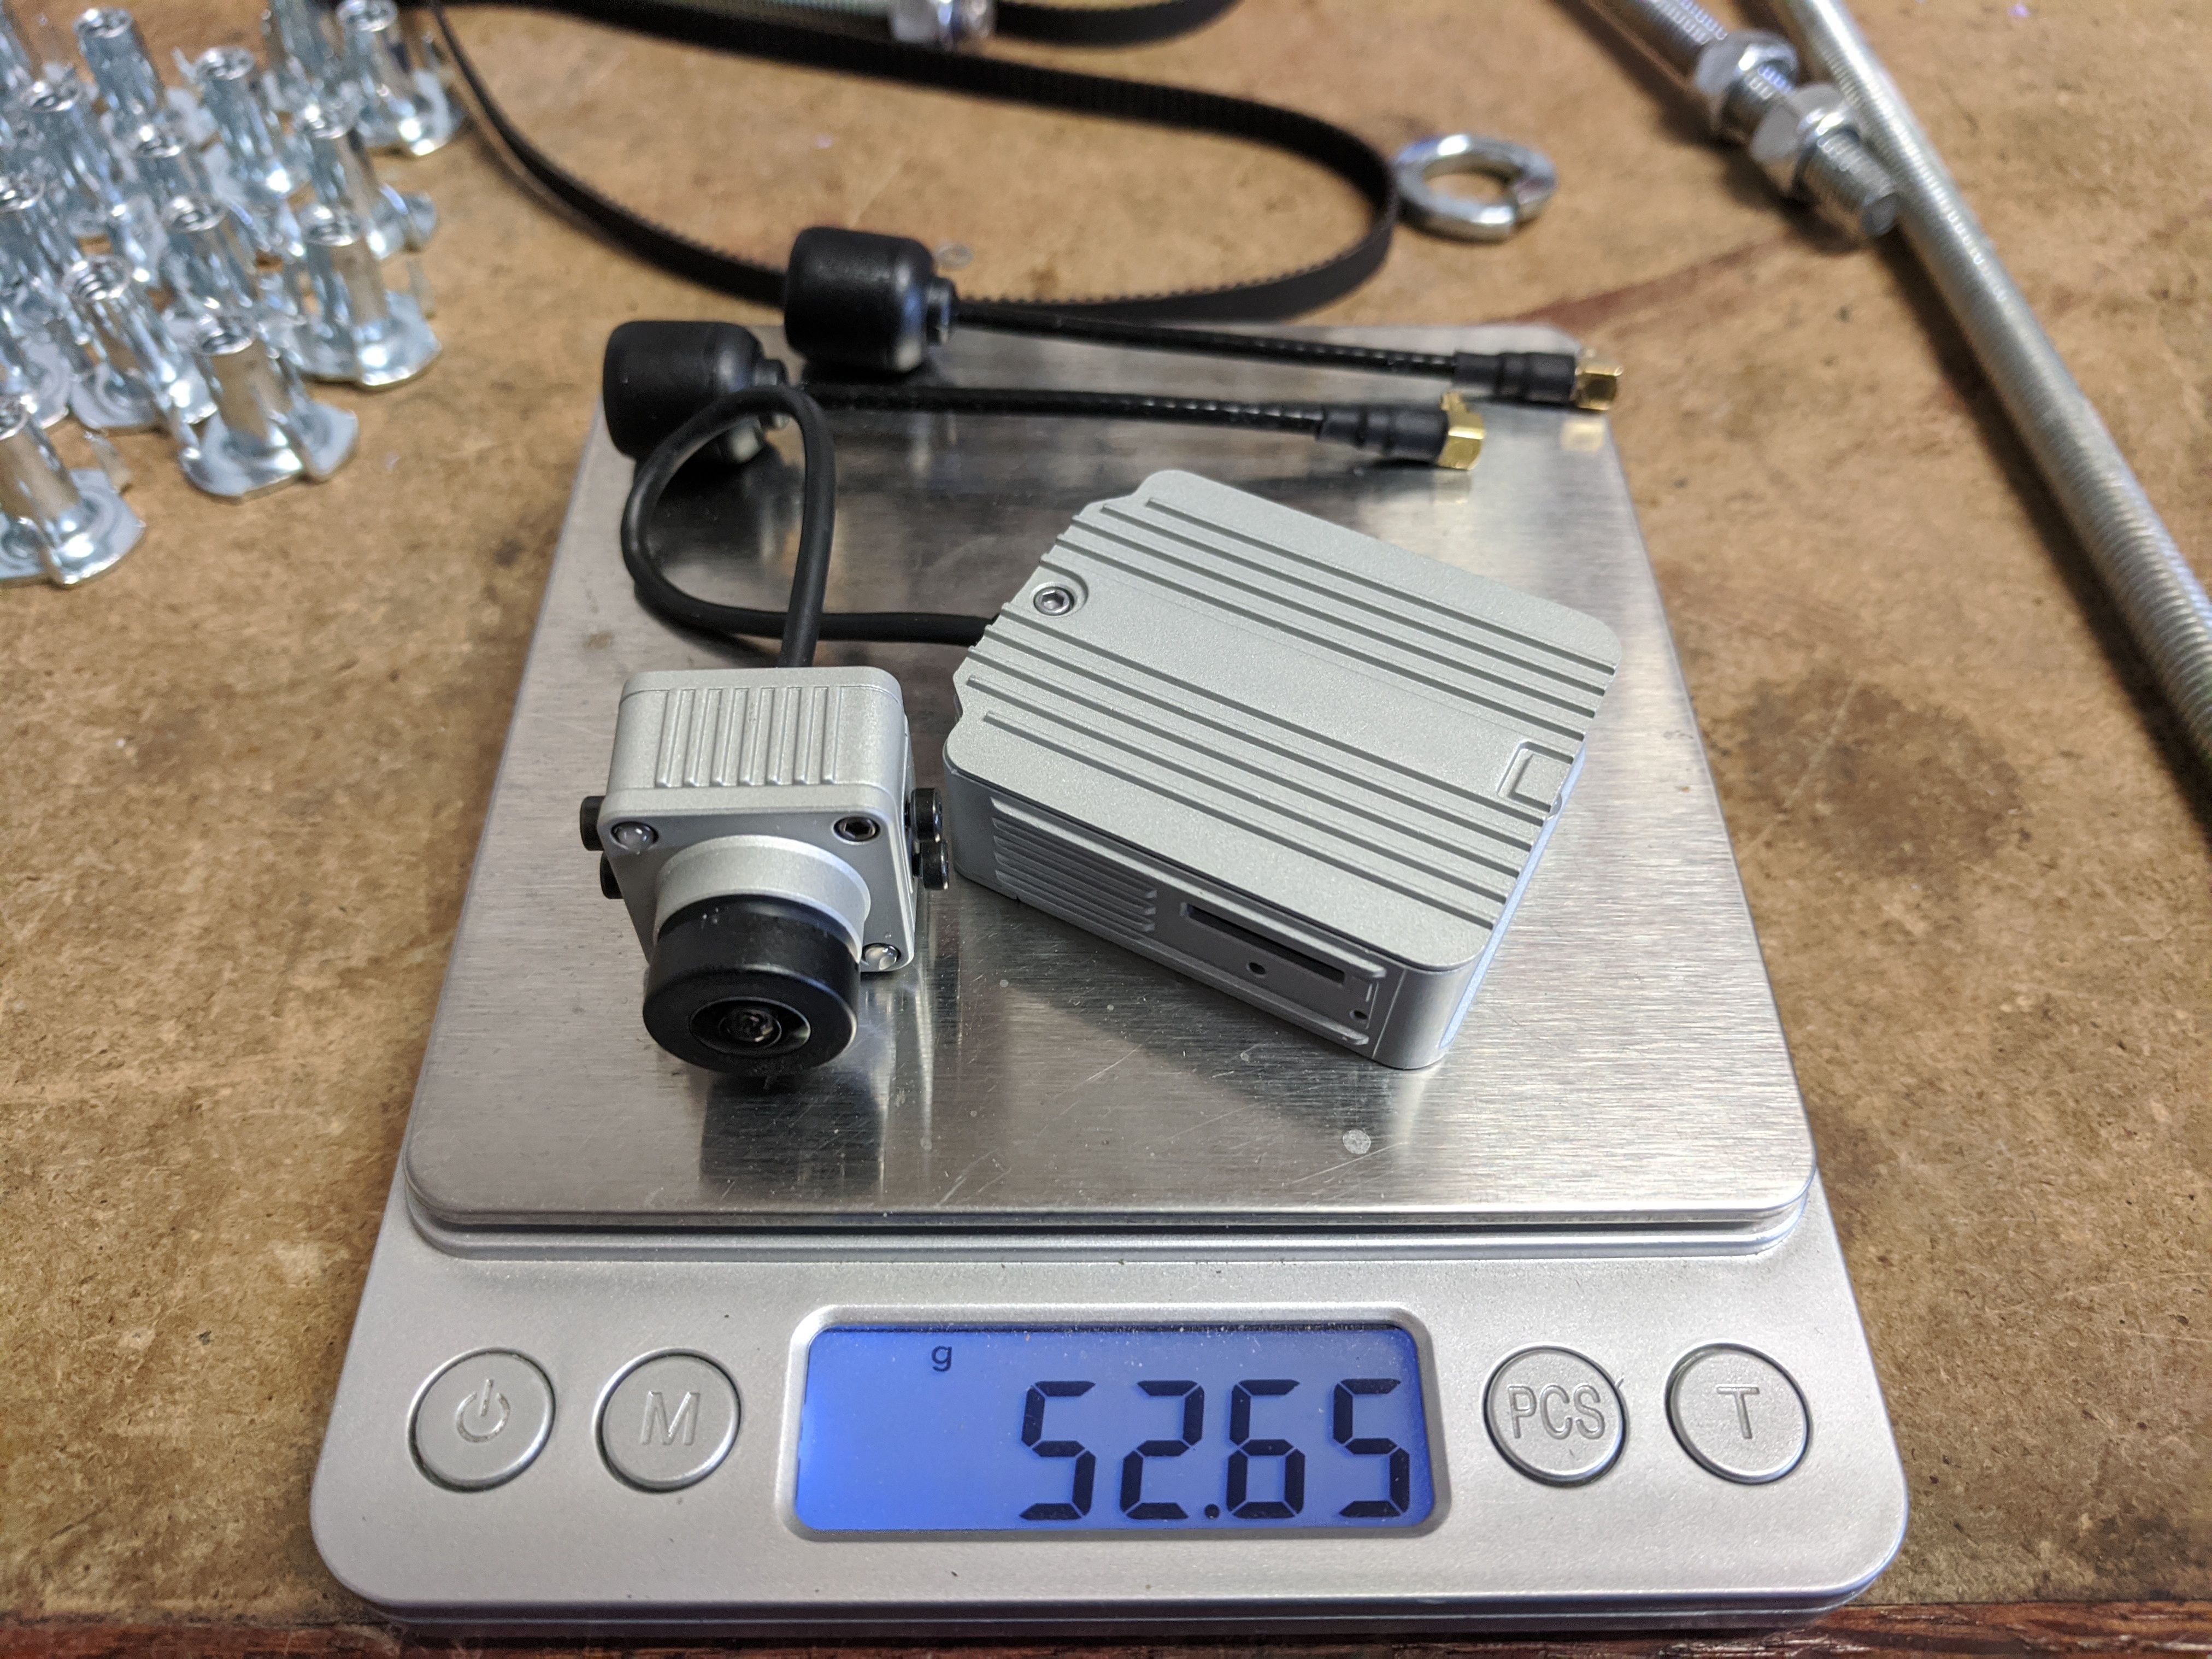
This time around I went with a full GoPro case because my camera took a beating with only a half case. I also moved the crossfire antenna to the GoPro case because it did not seem to have the greatest reception when it was in the rear.
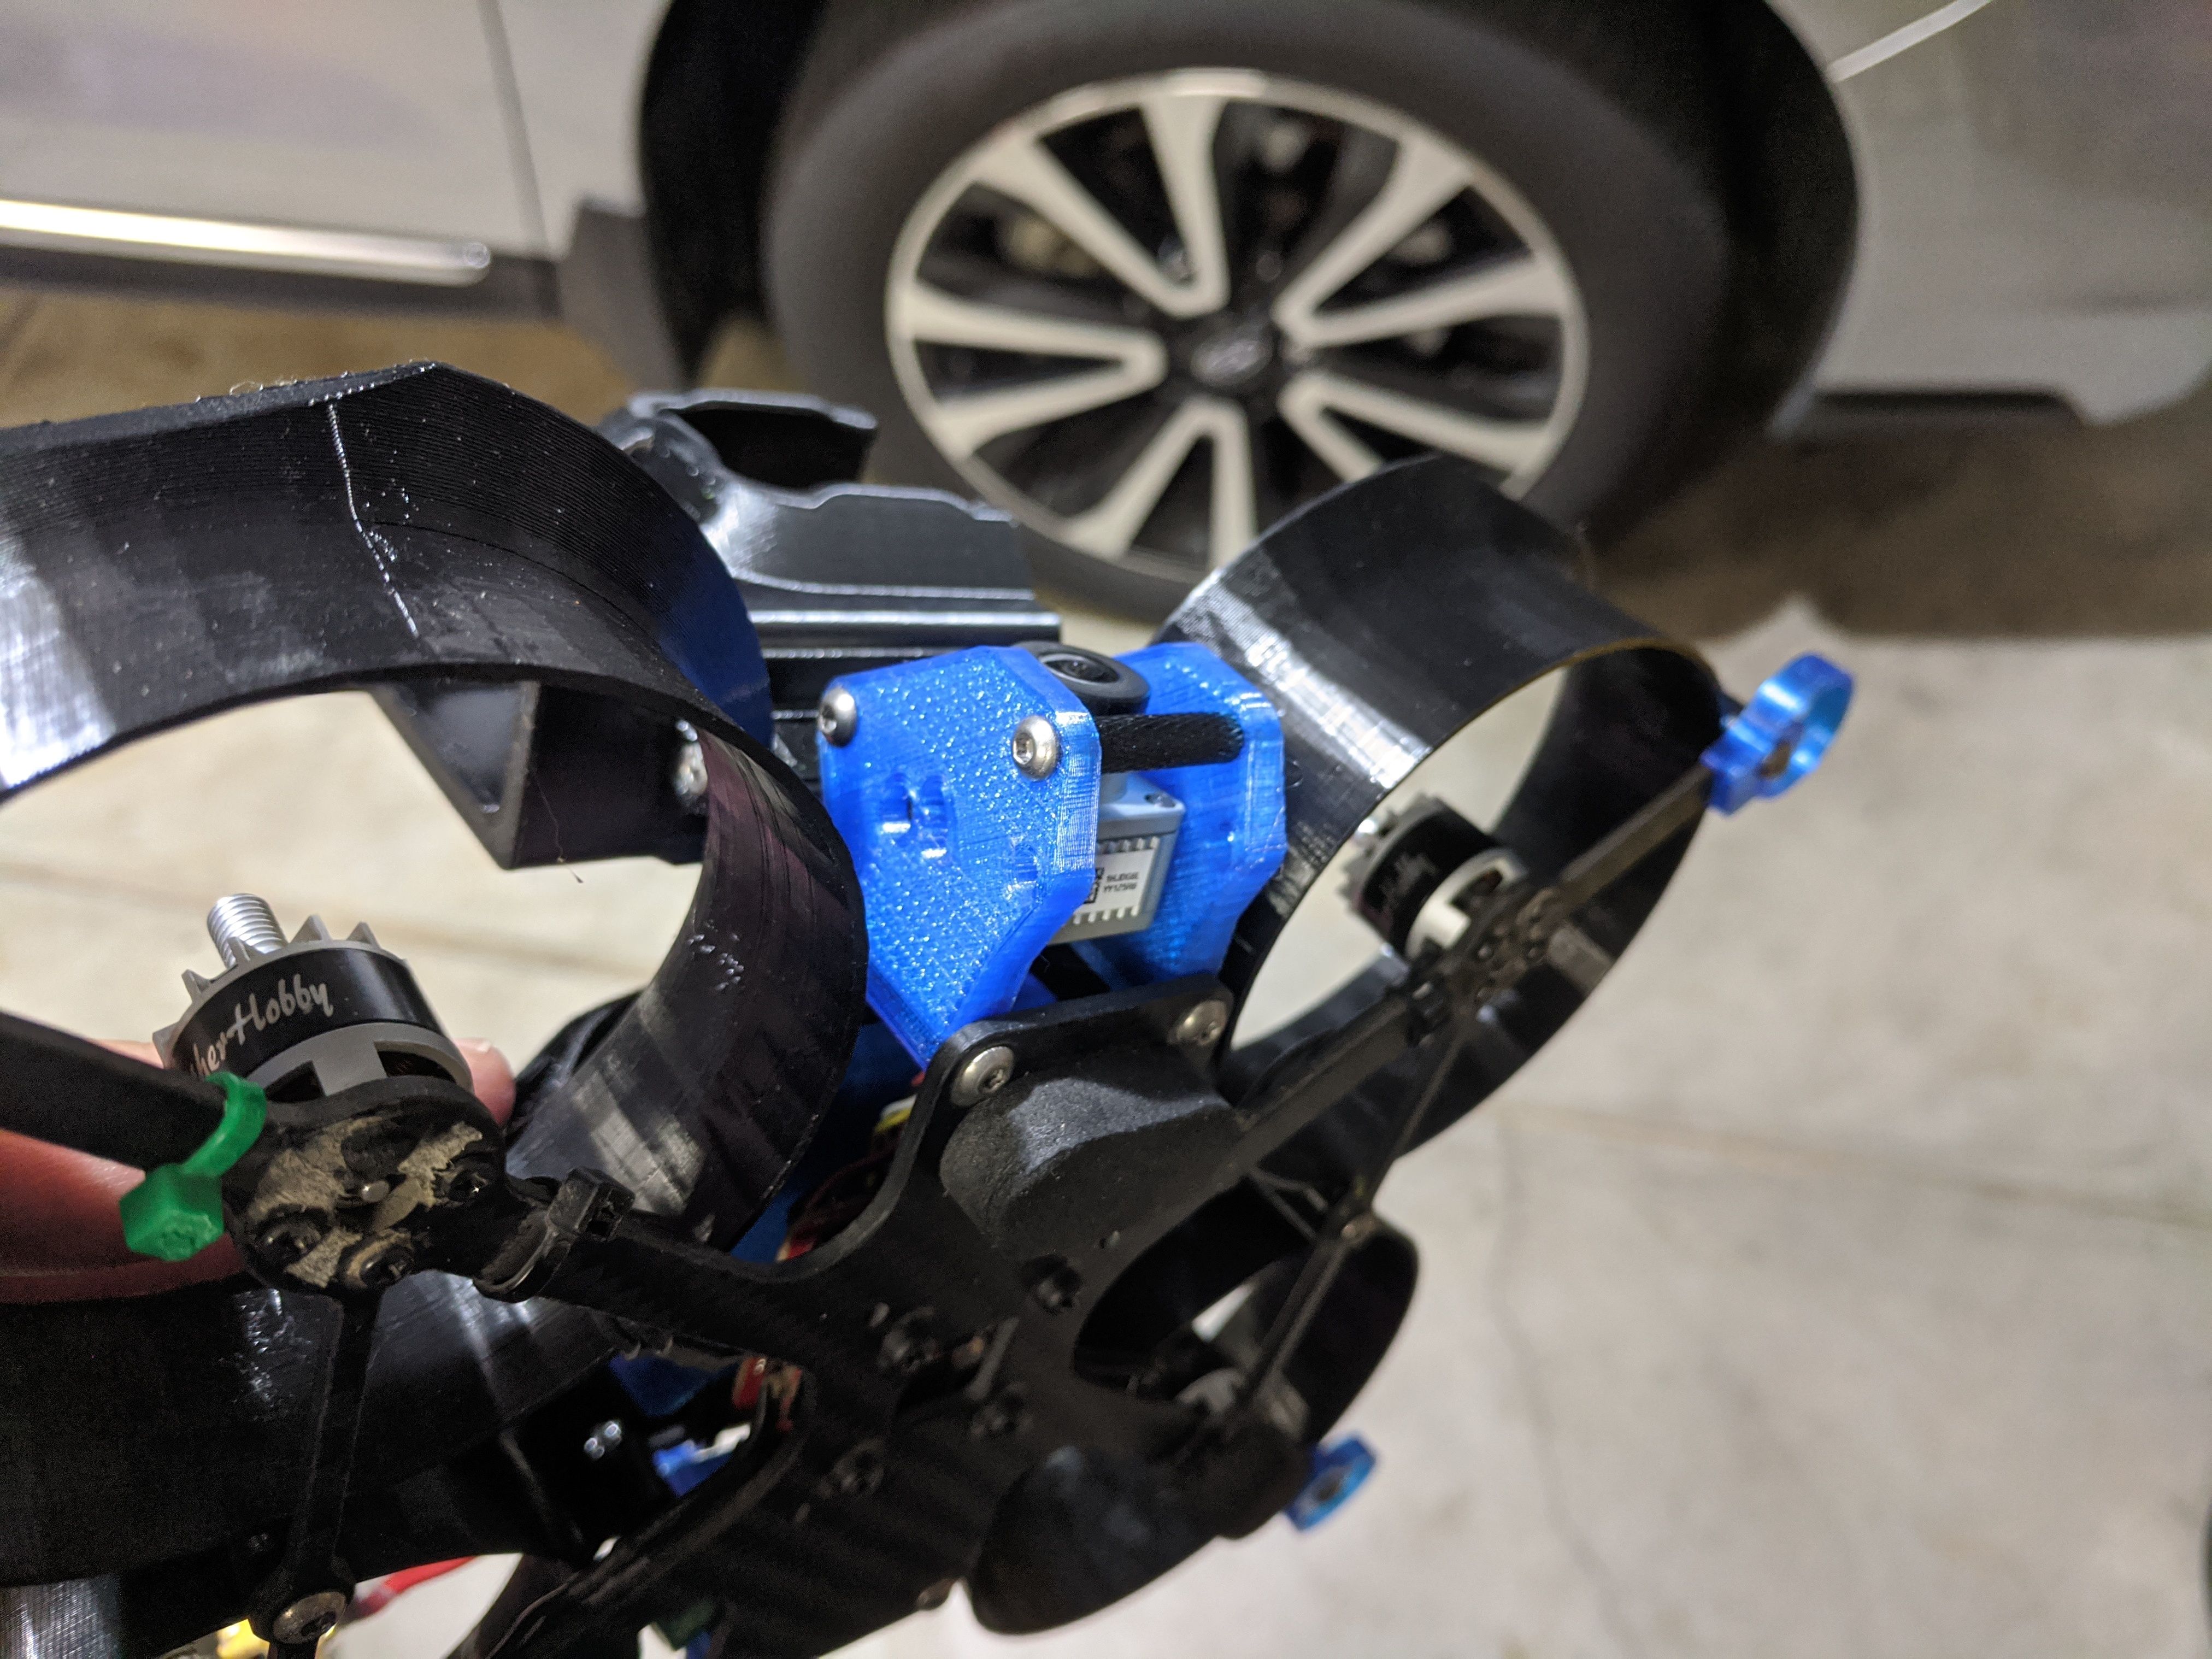
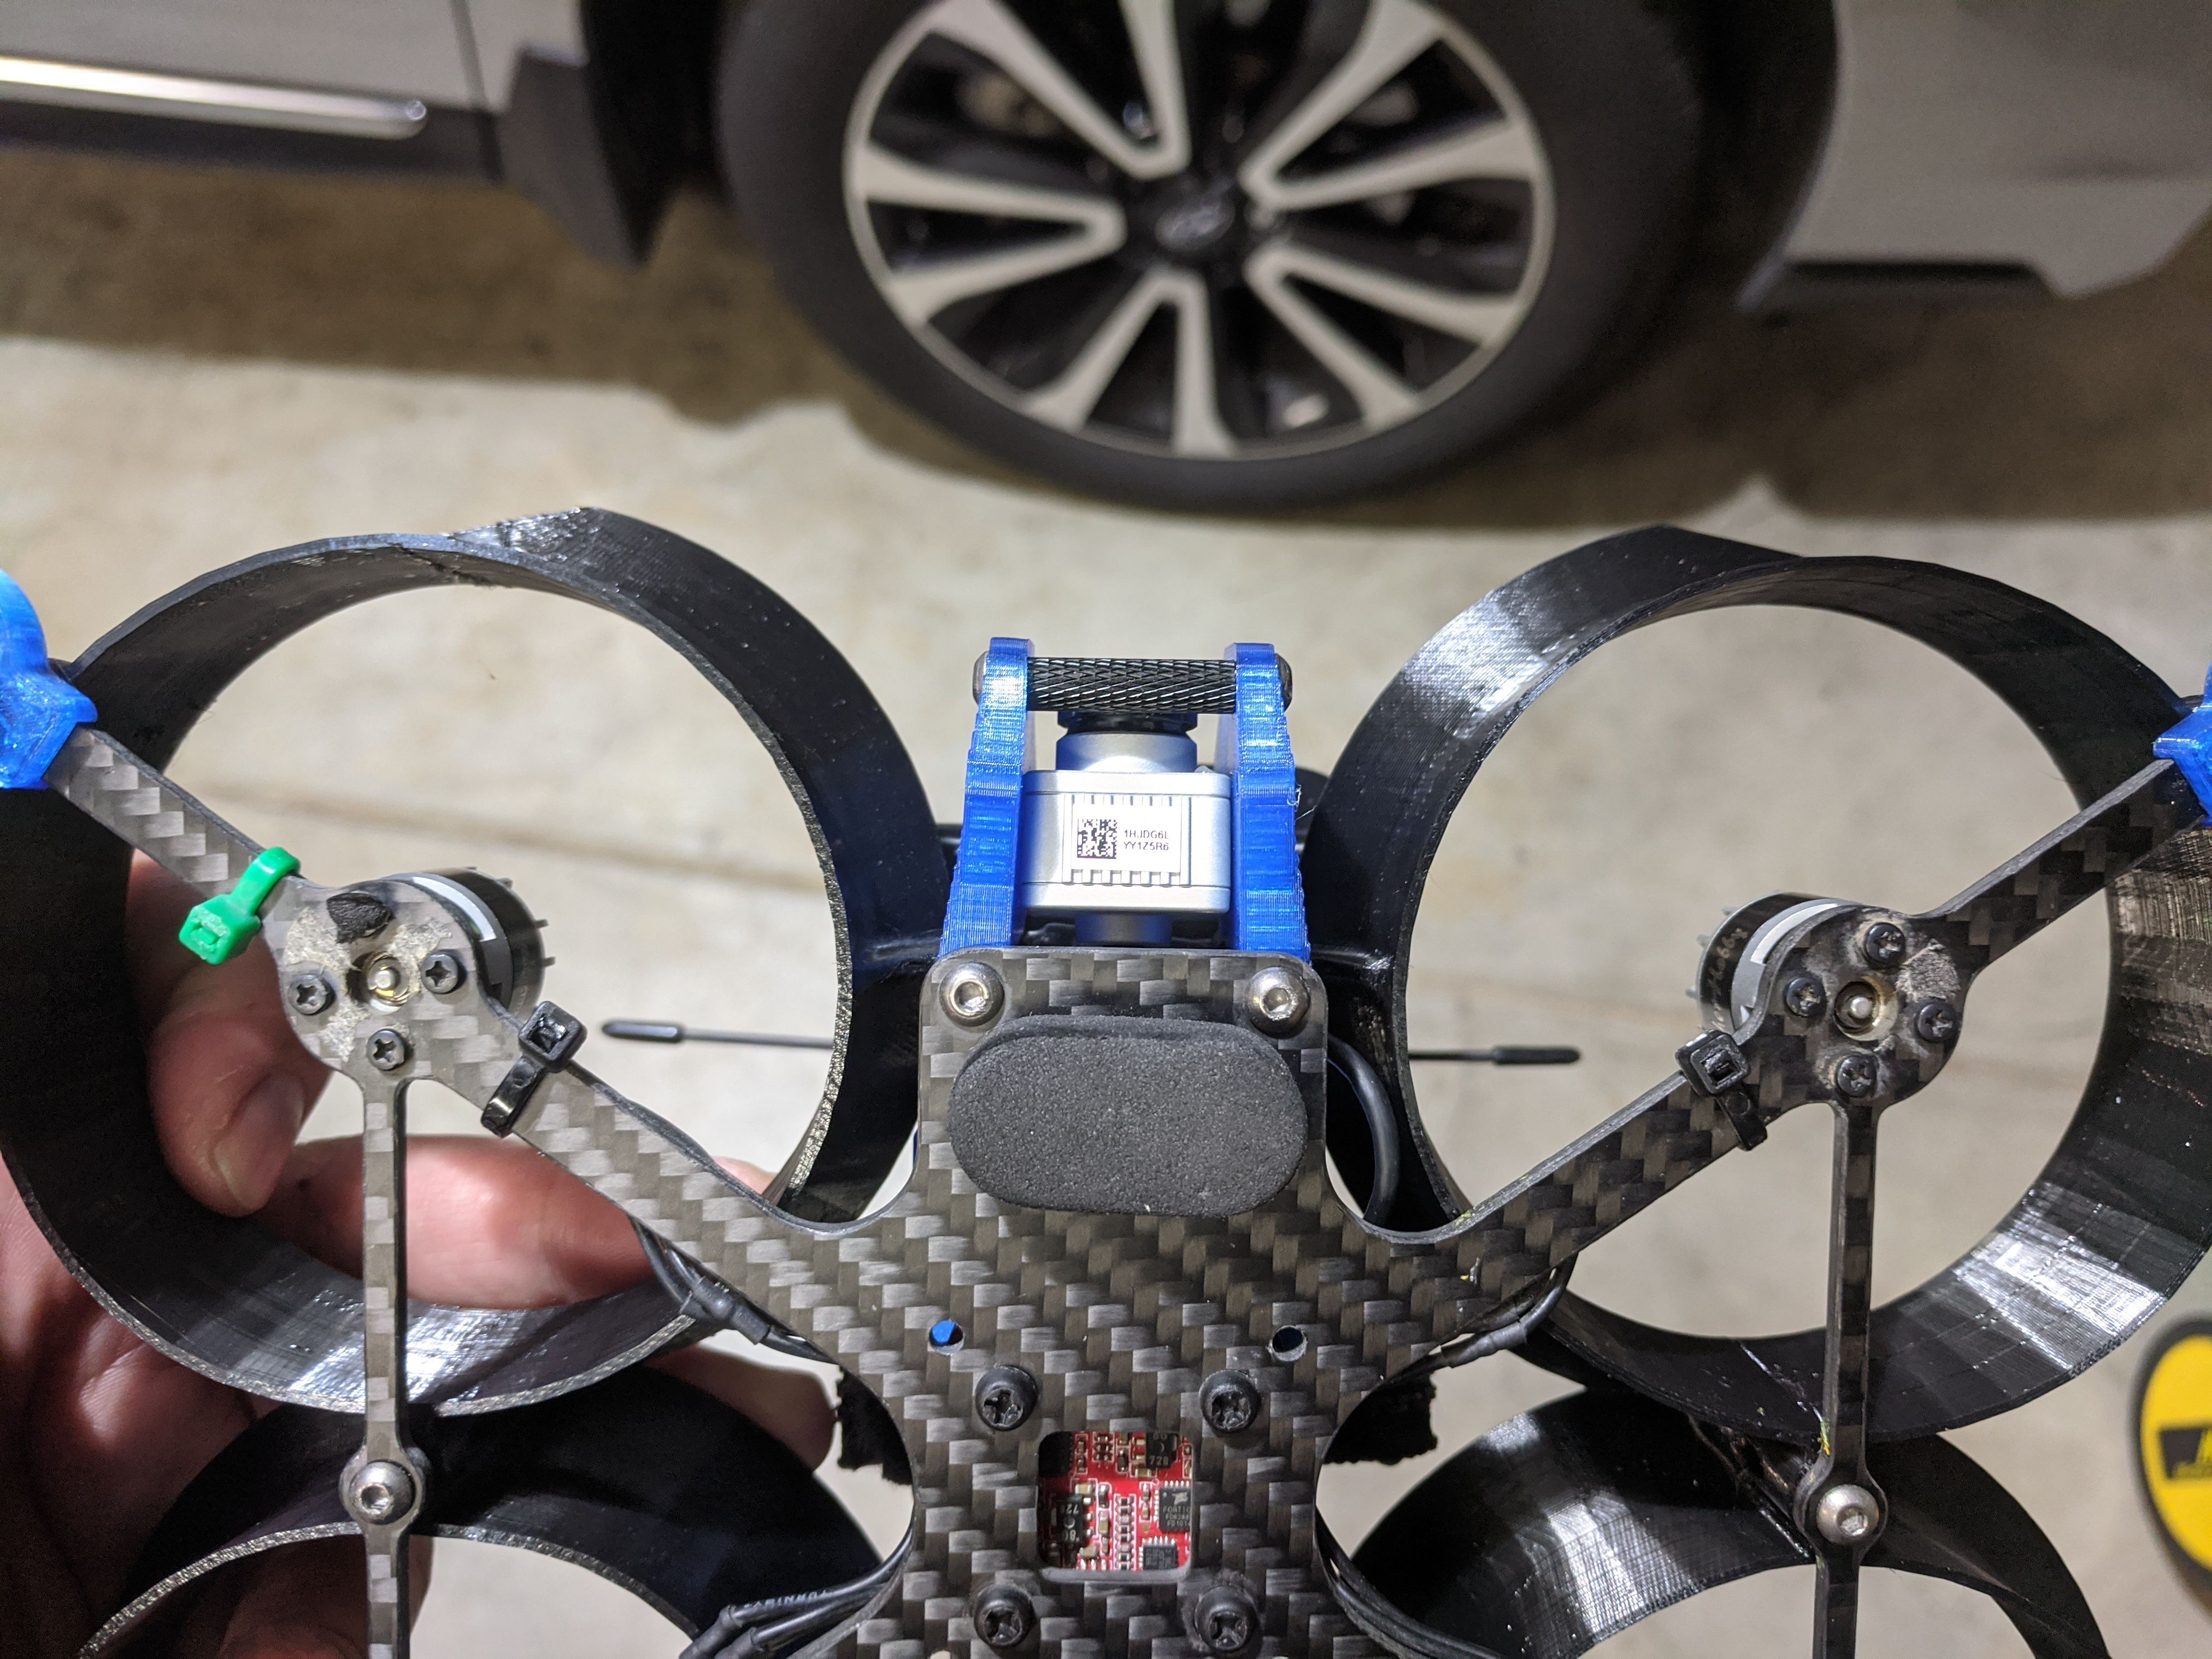
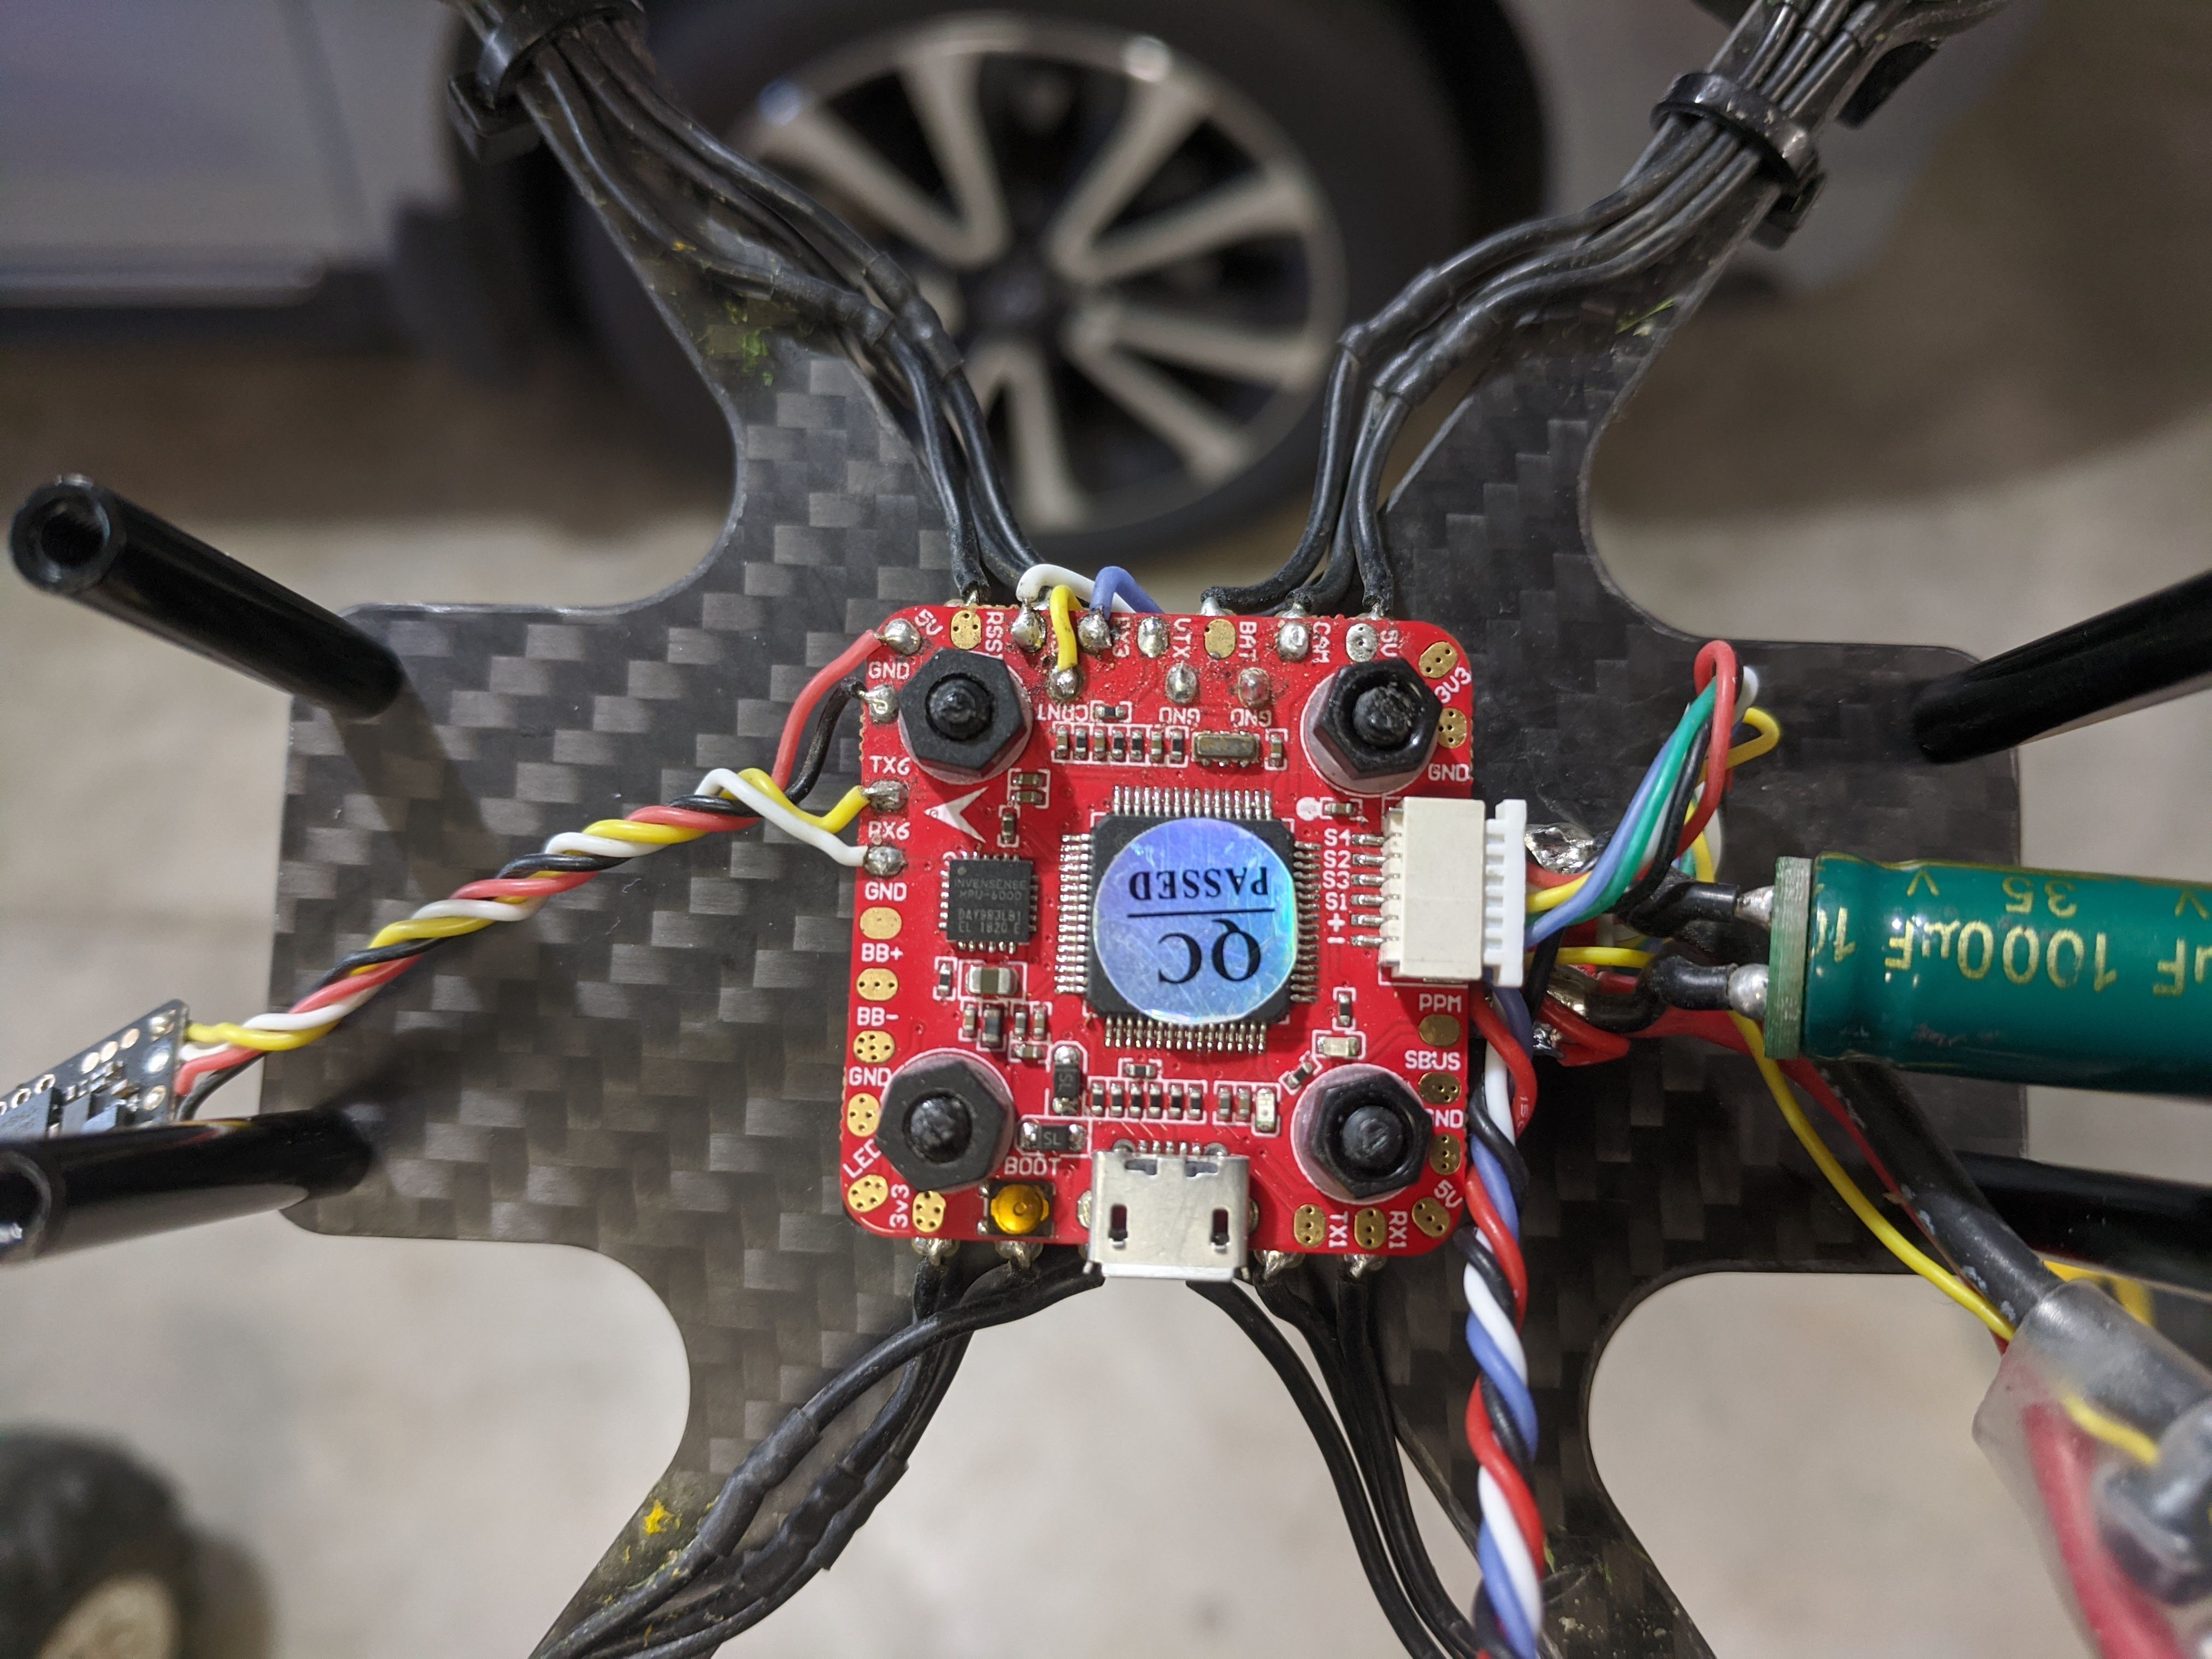
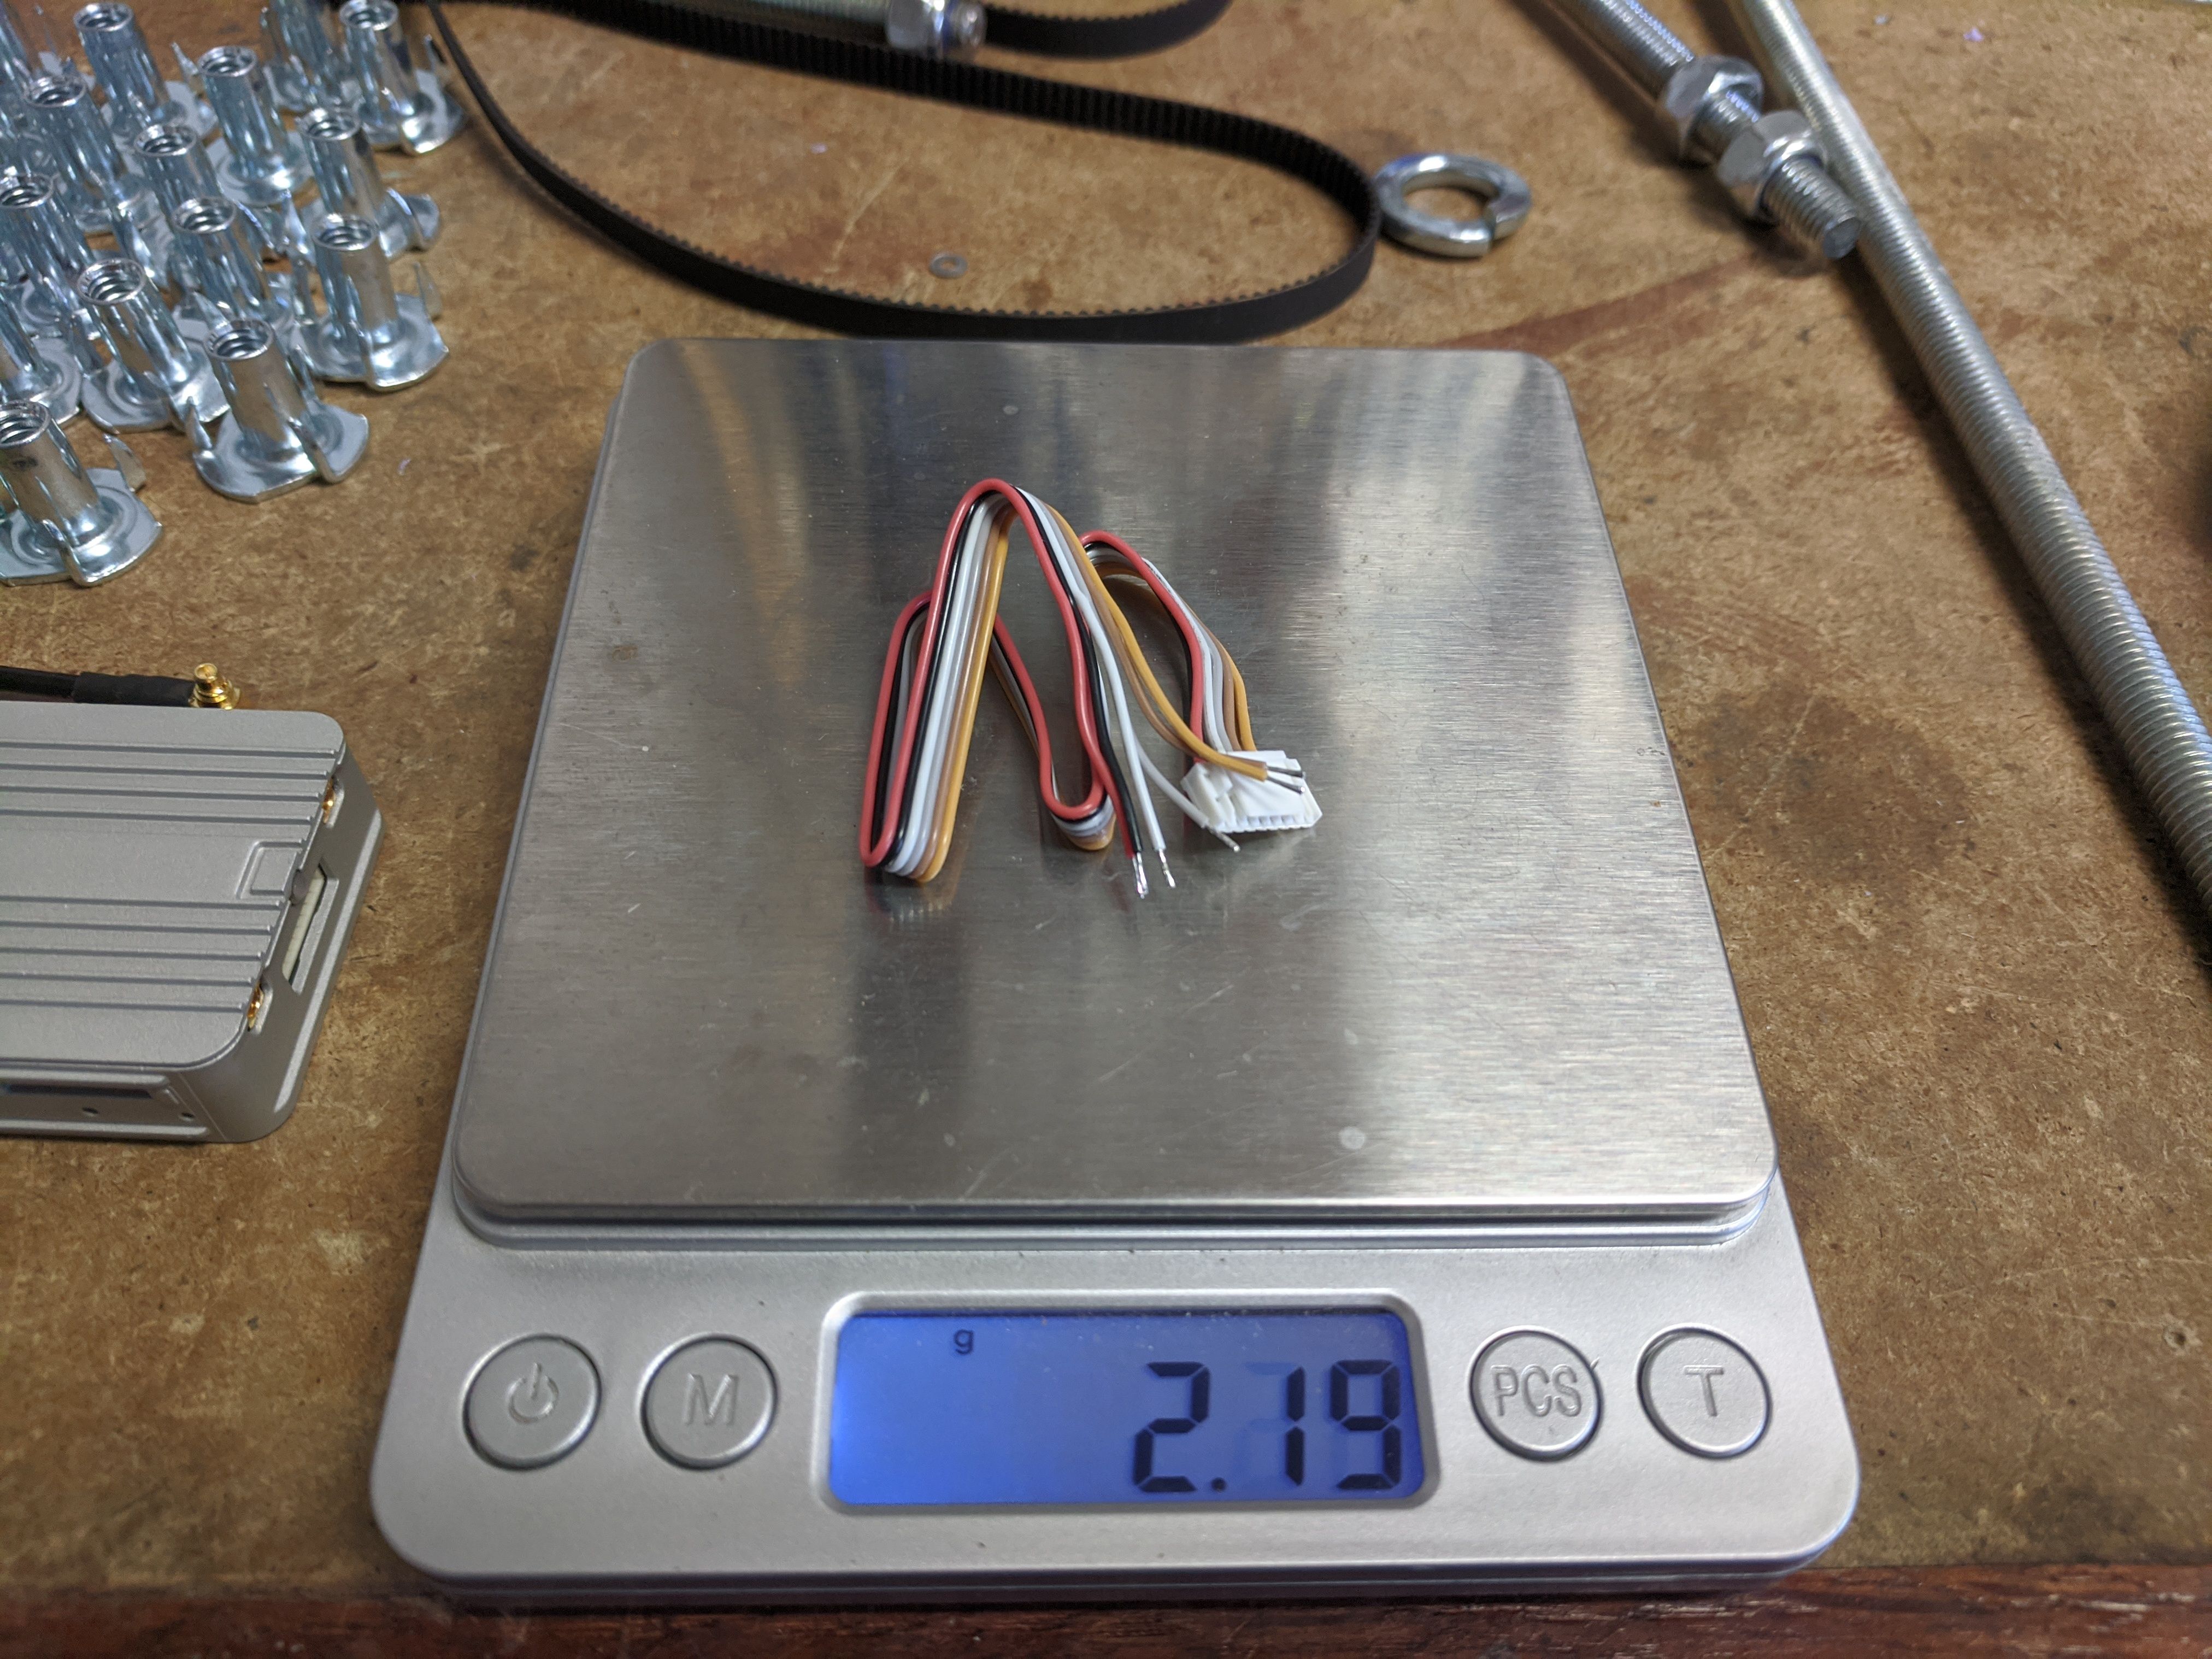
I honestly think that using the DJI system makes the build process a lot easier because there are less wires needed to be soldered to the FC. But it is a pain to figure out where to put the air unit’s control module.
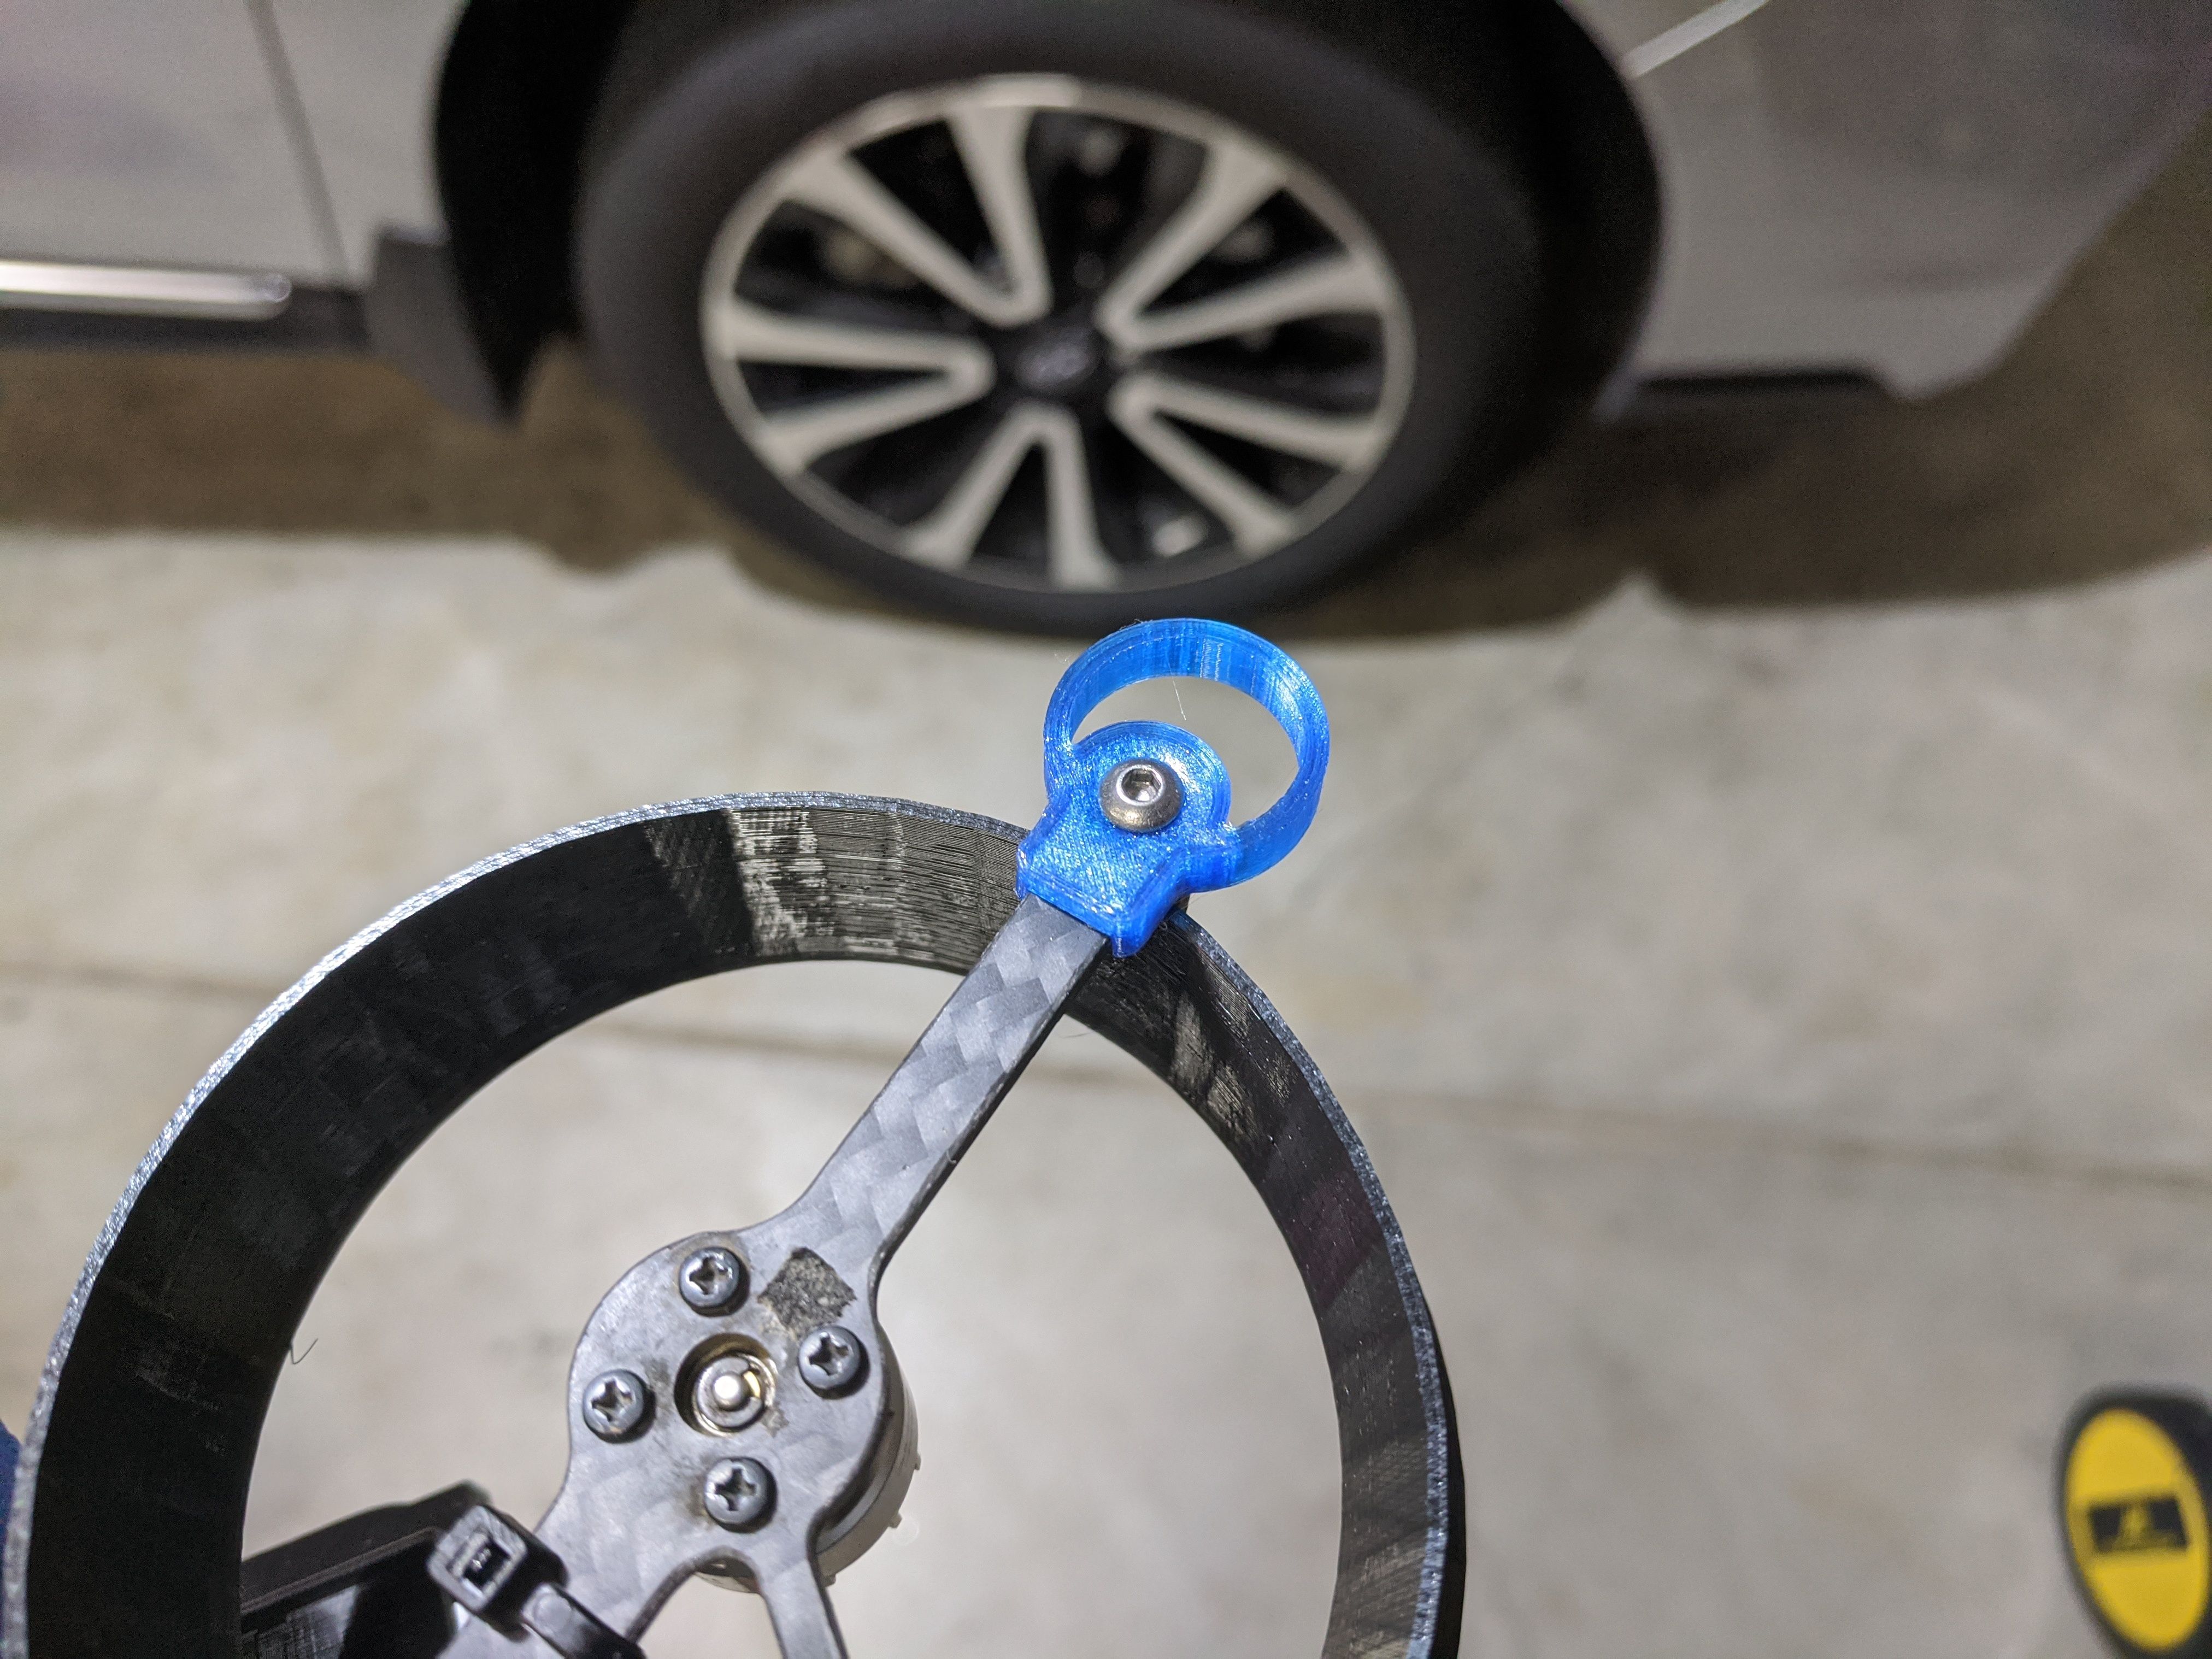
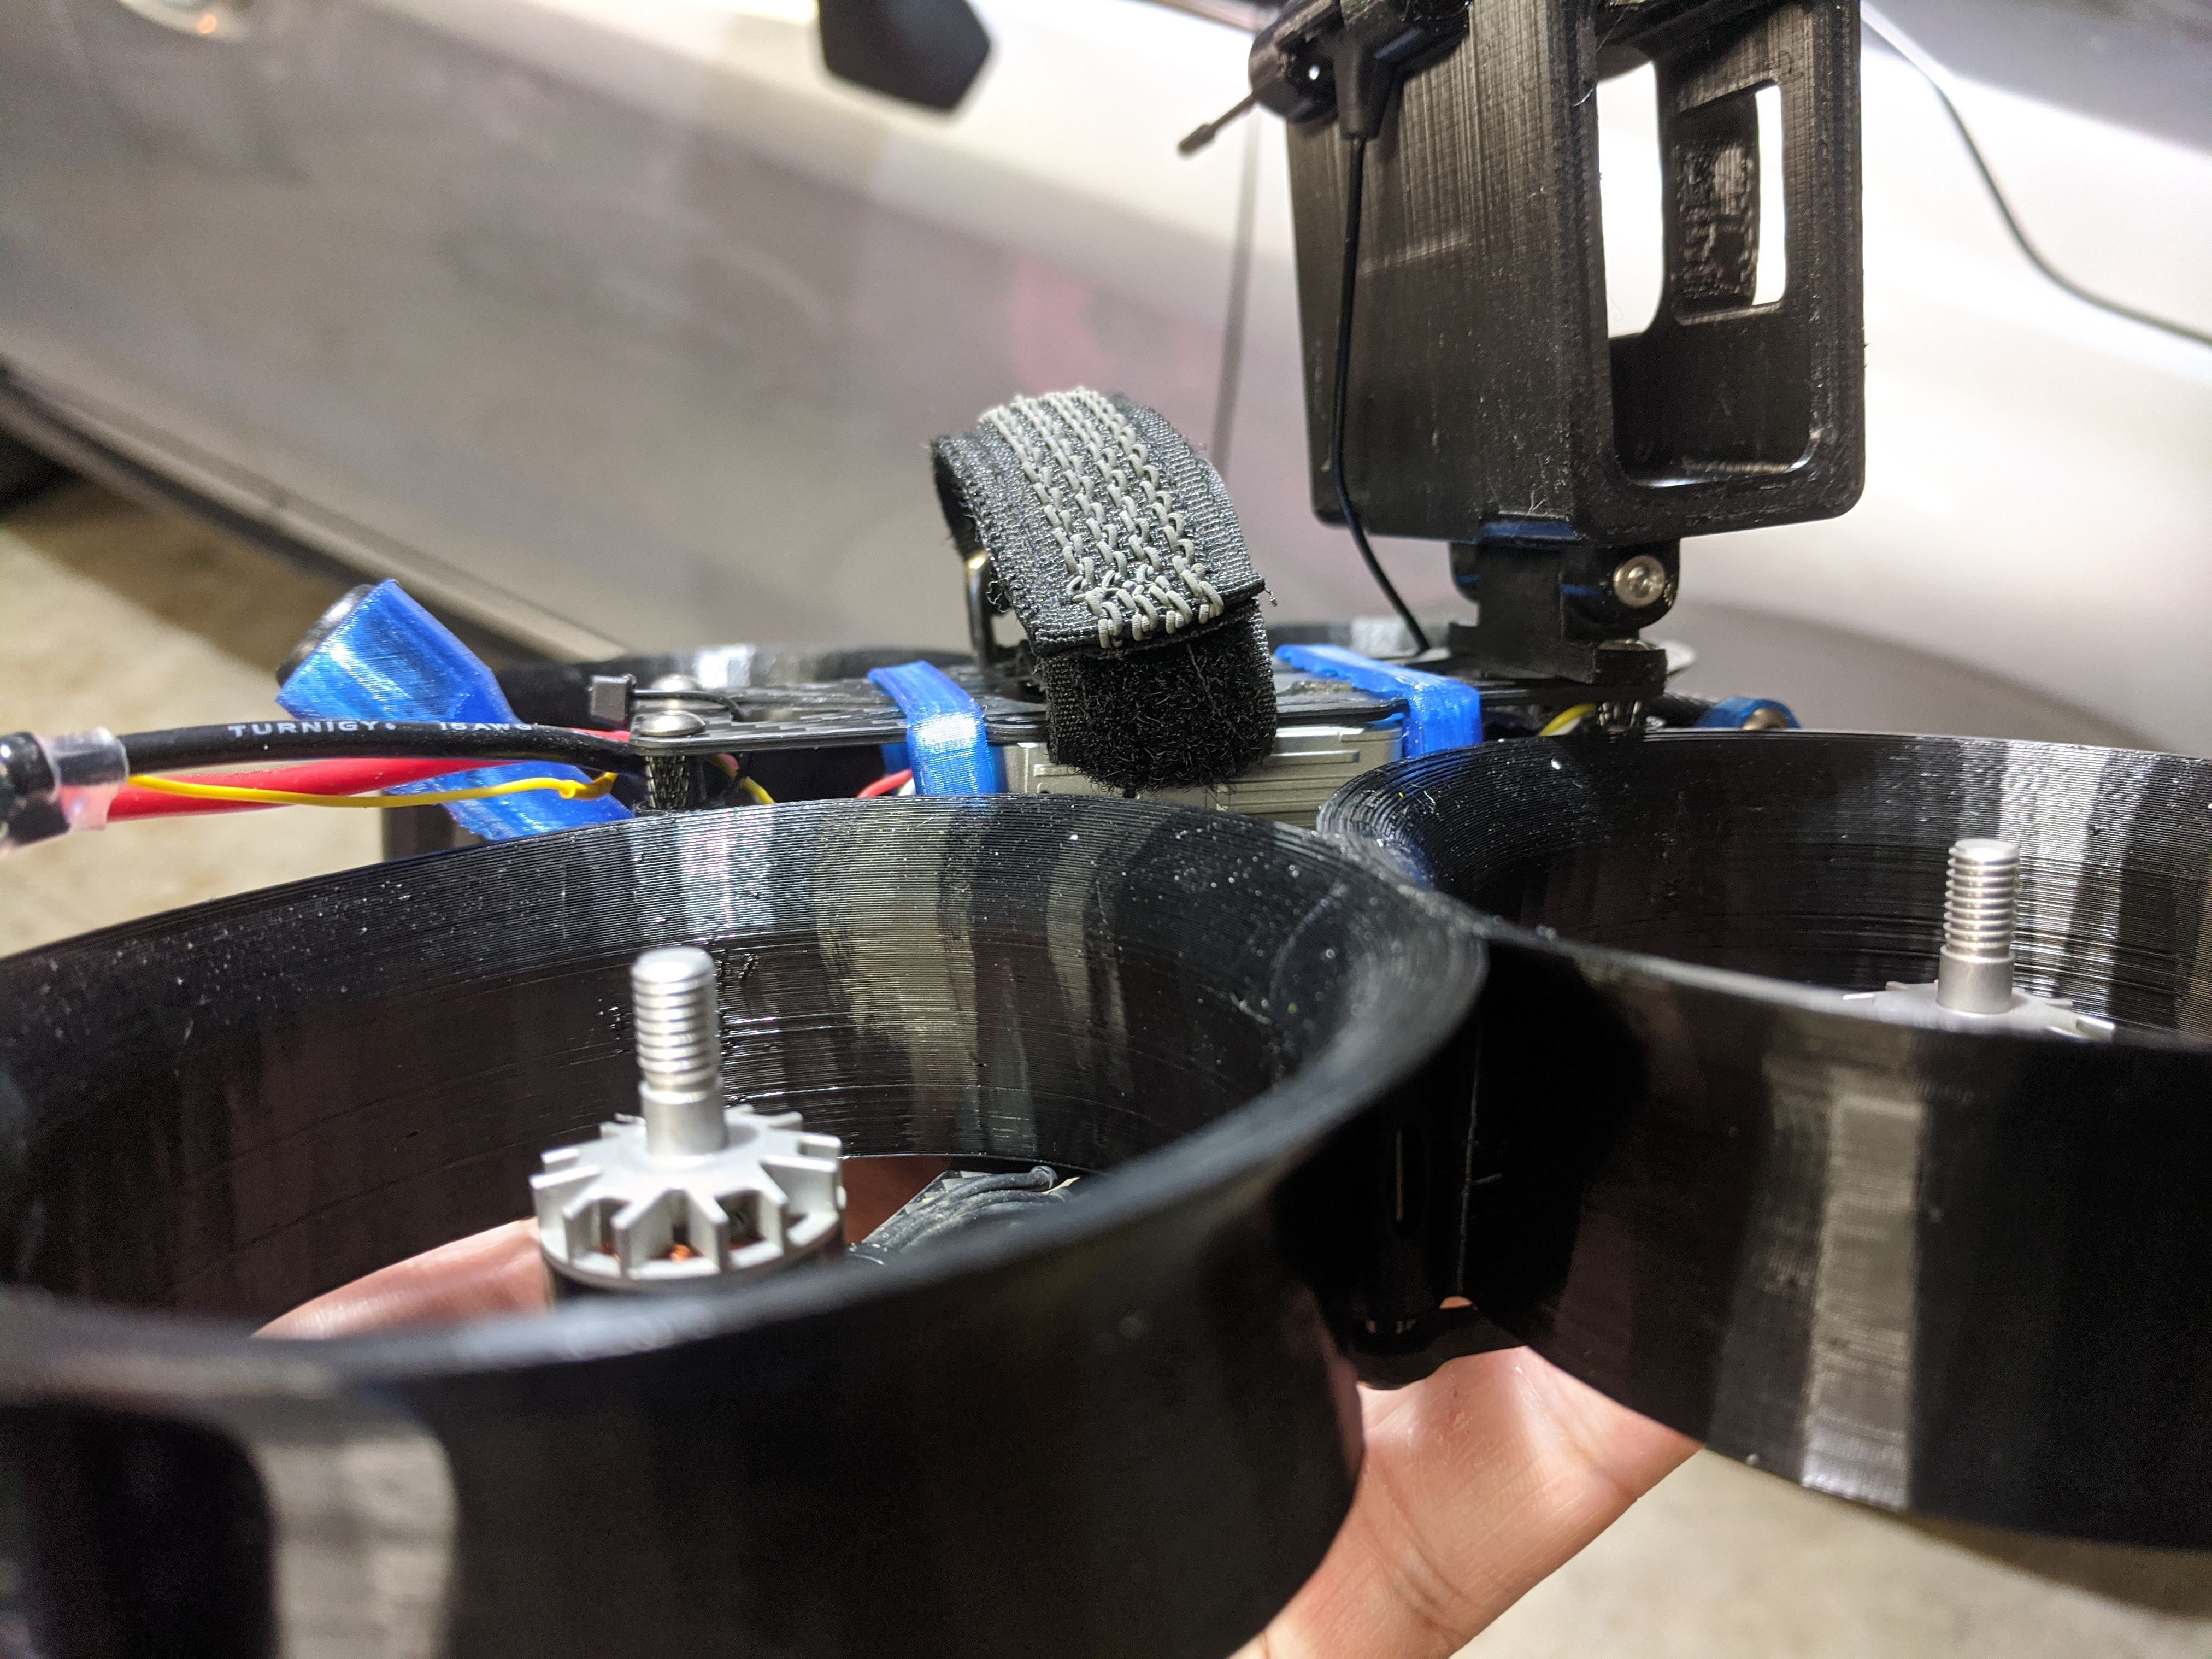
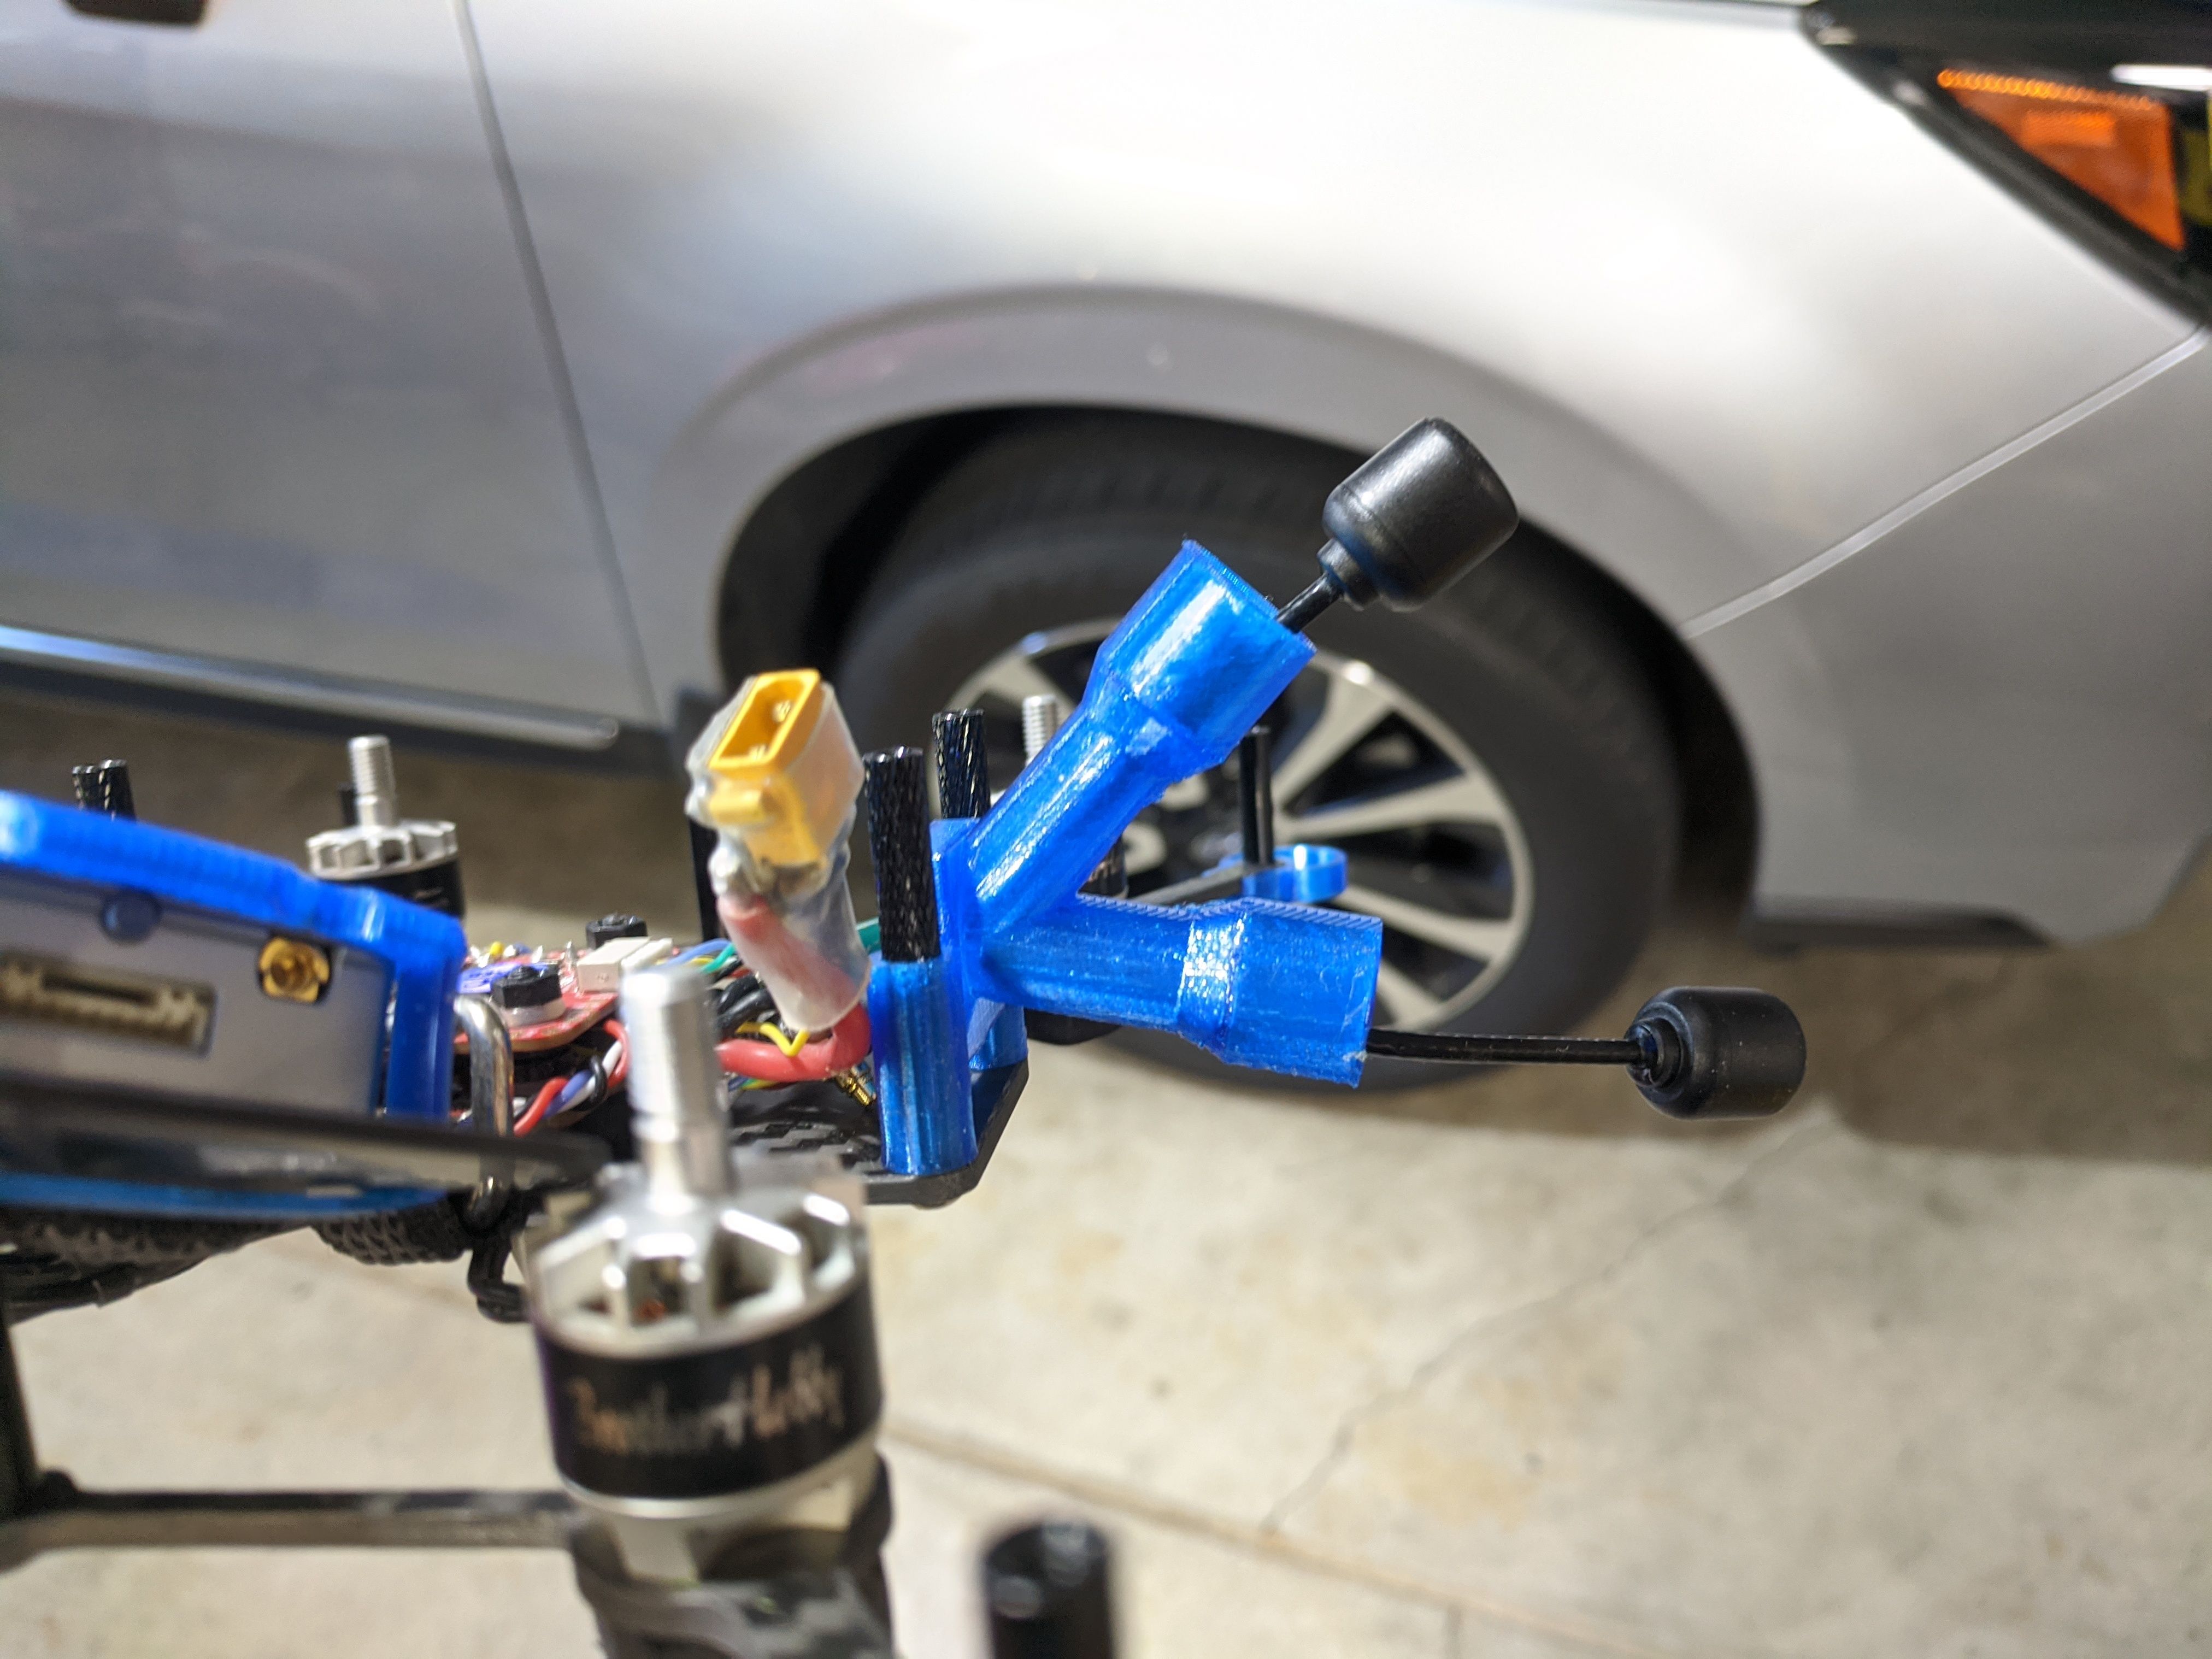
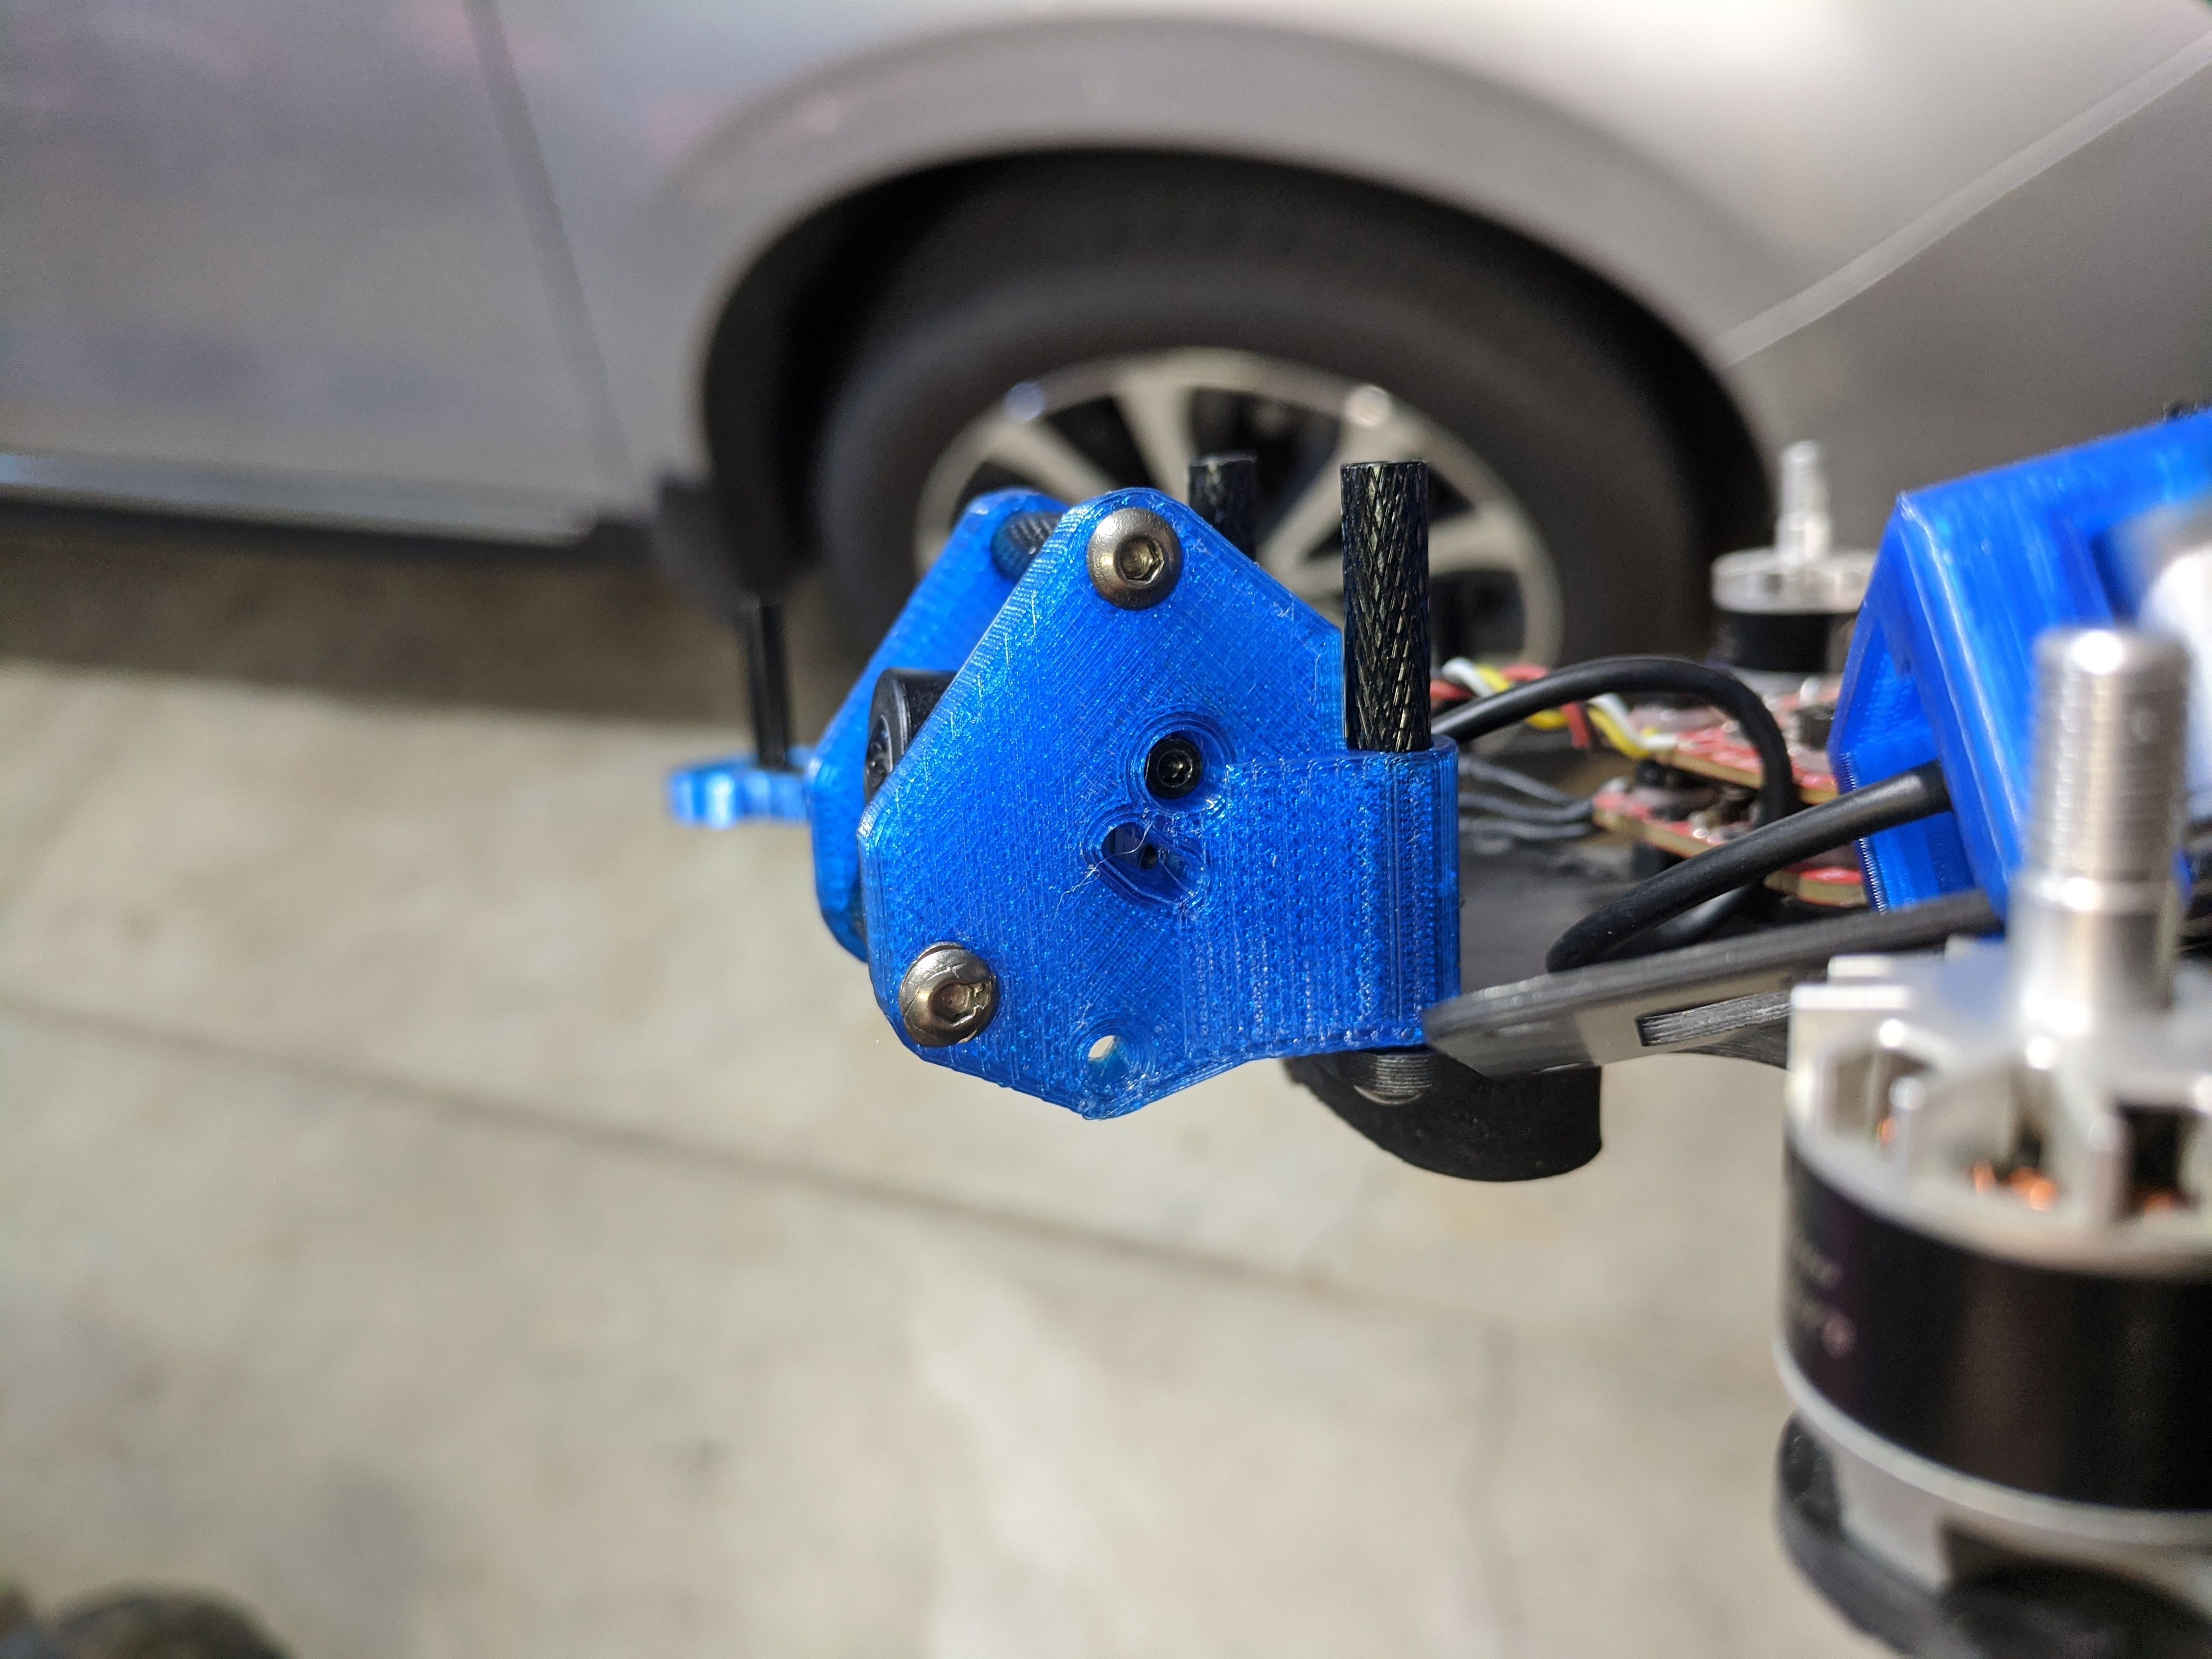
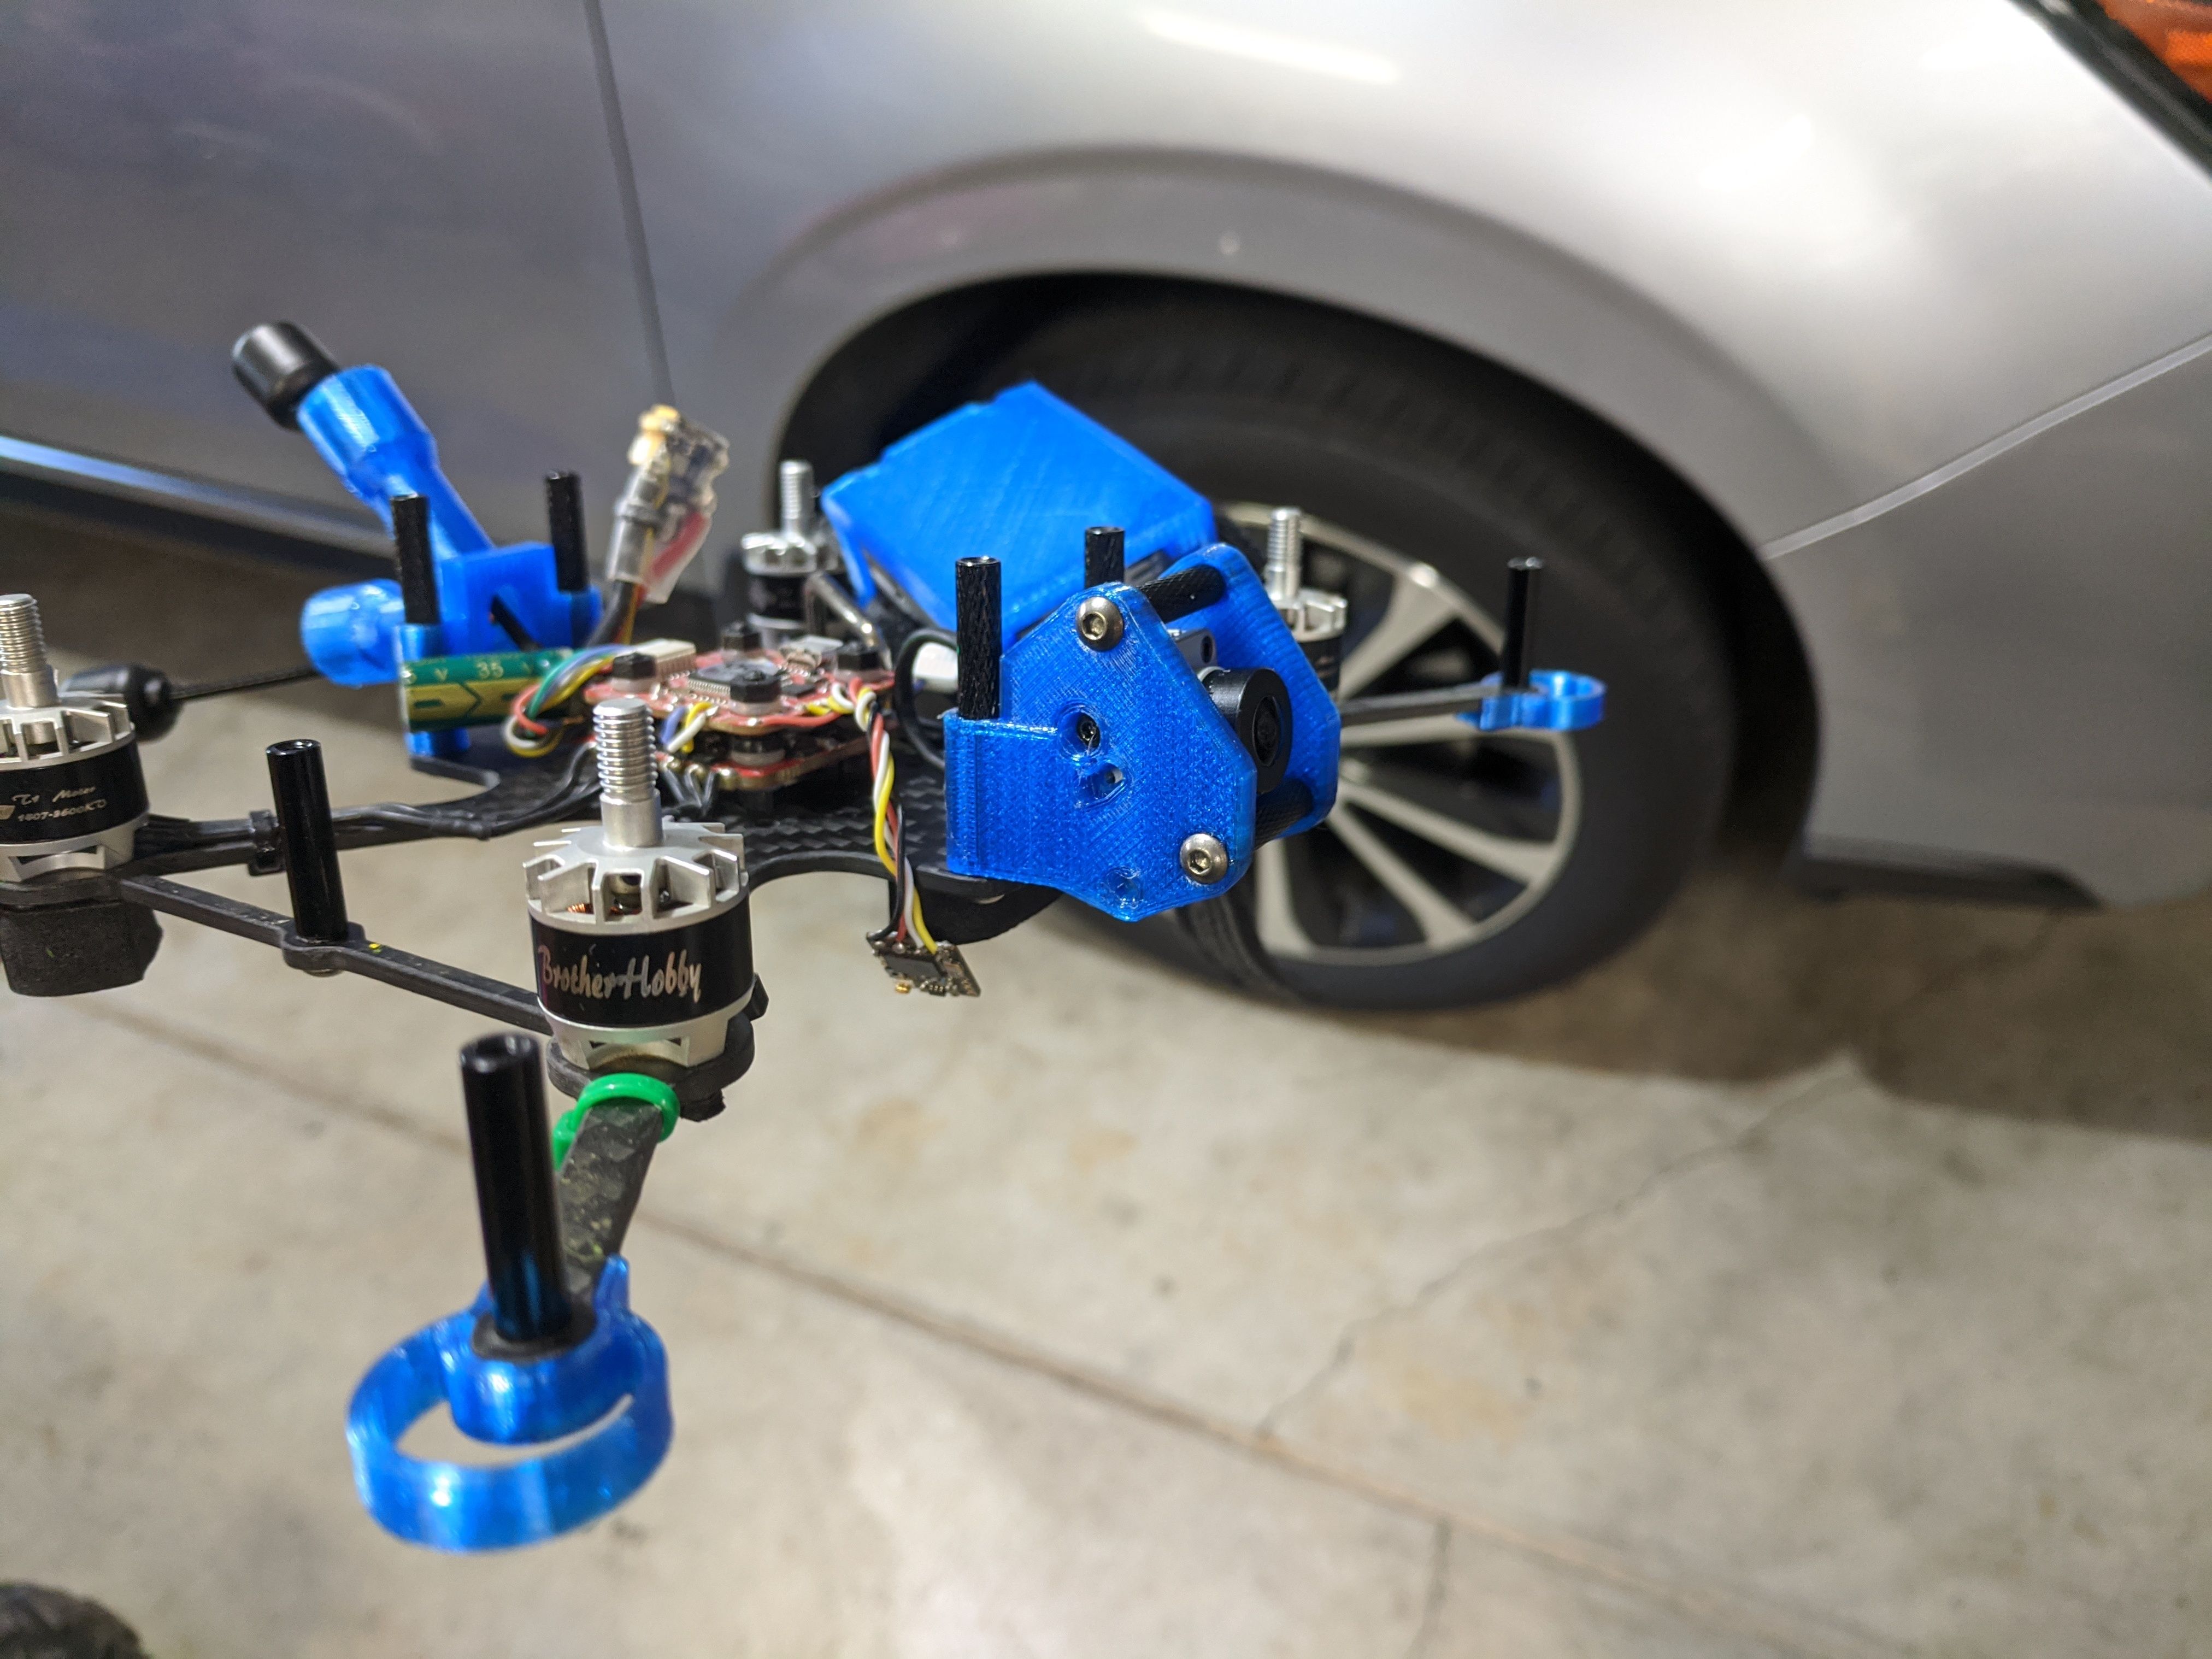
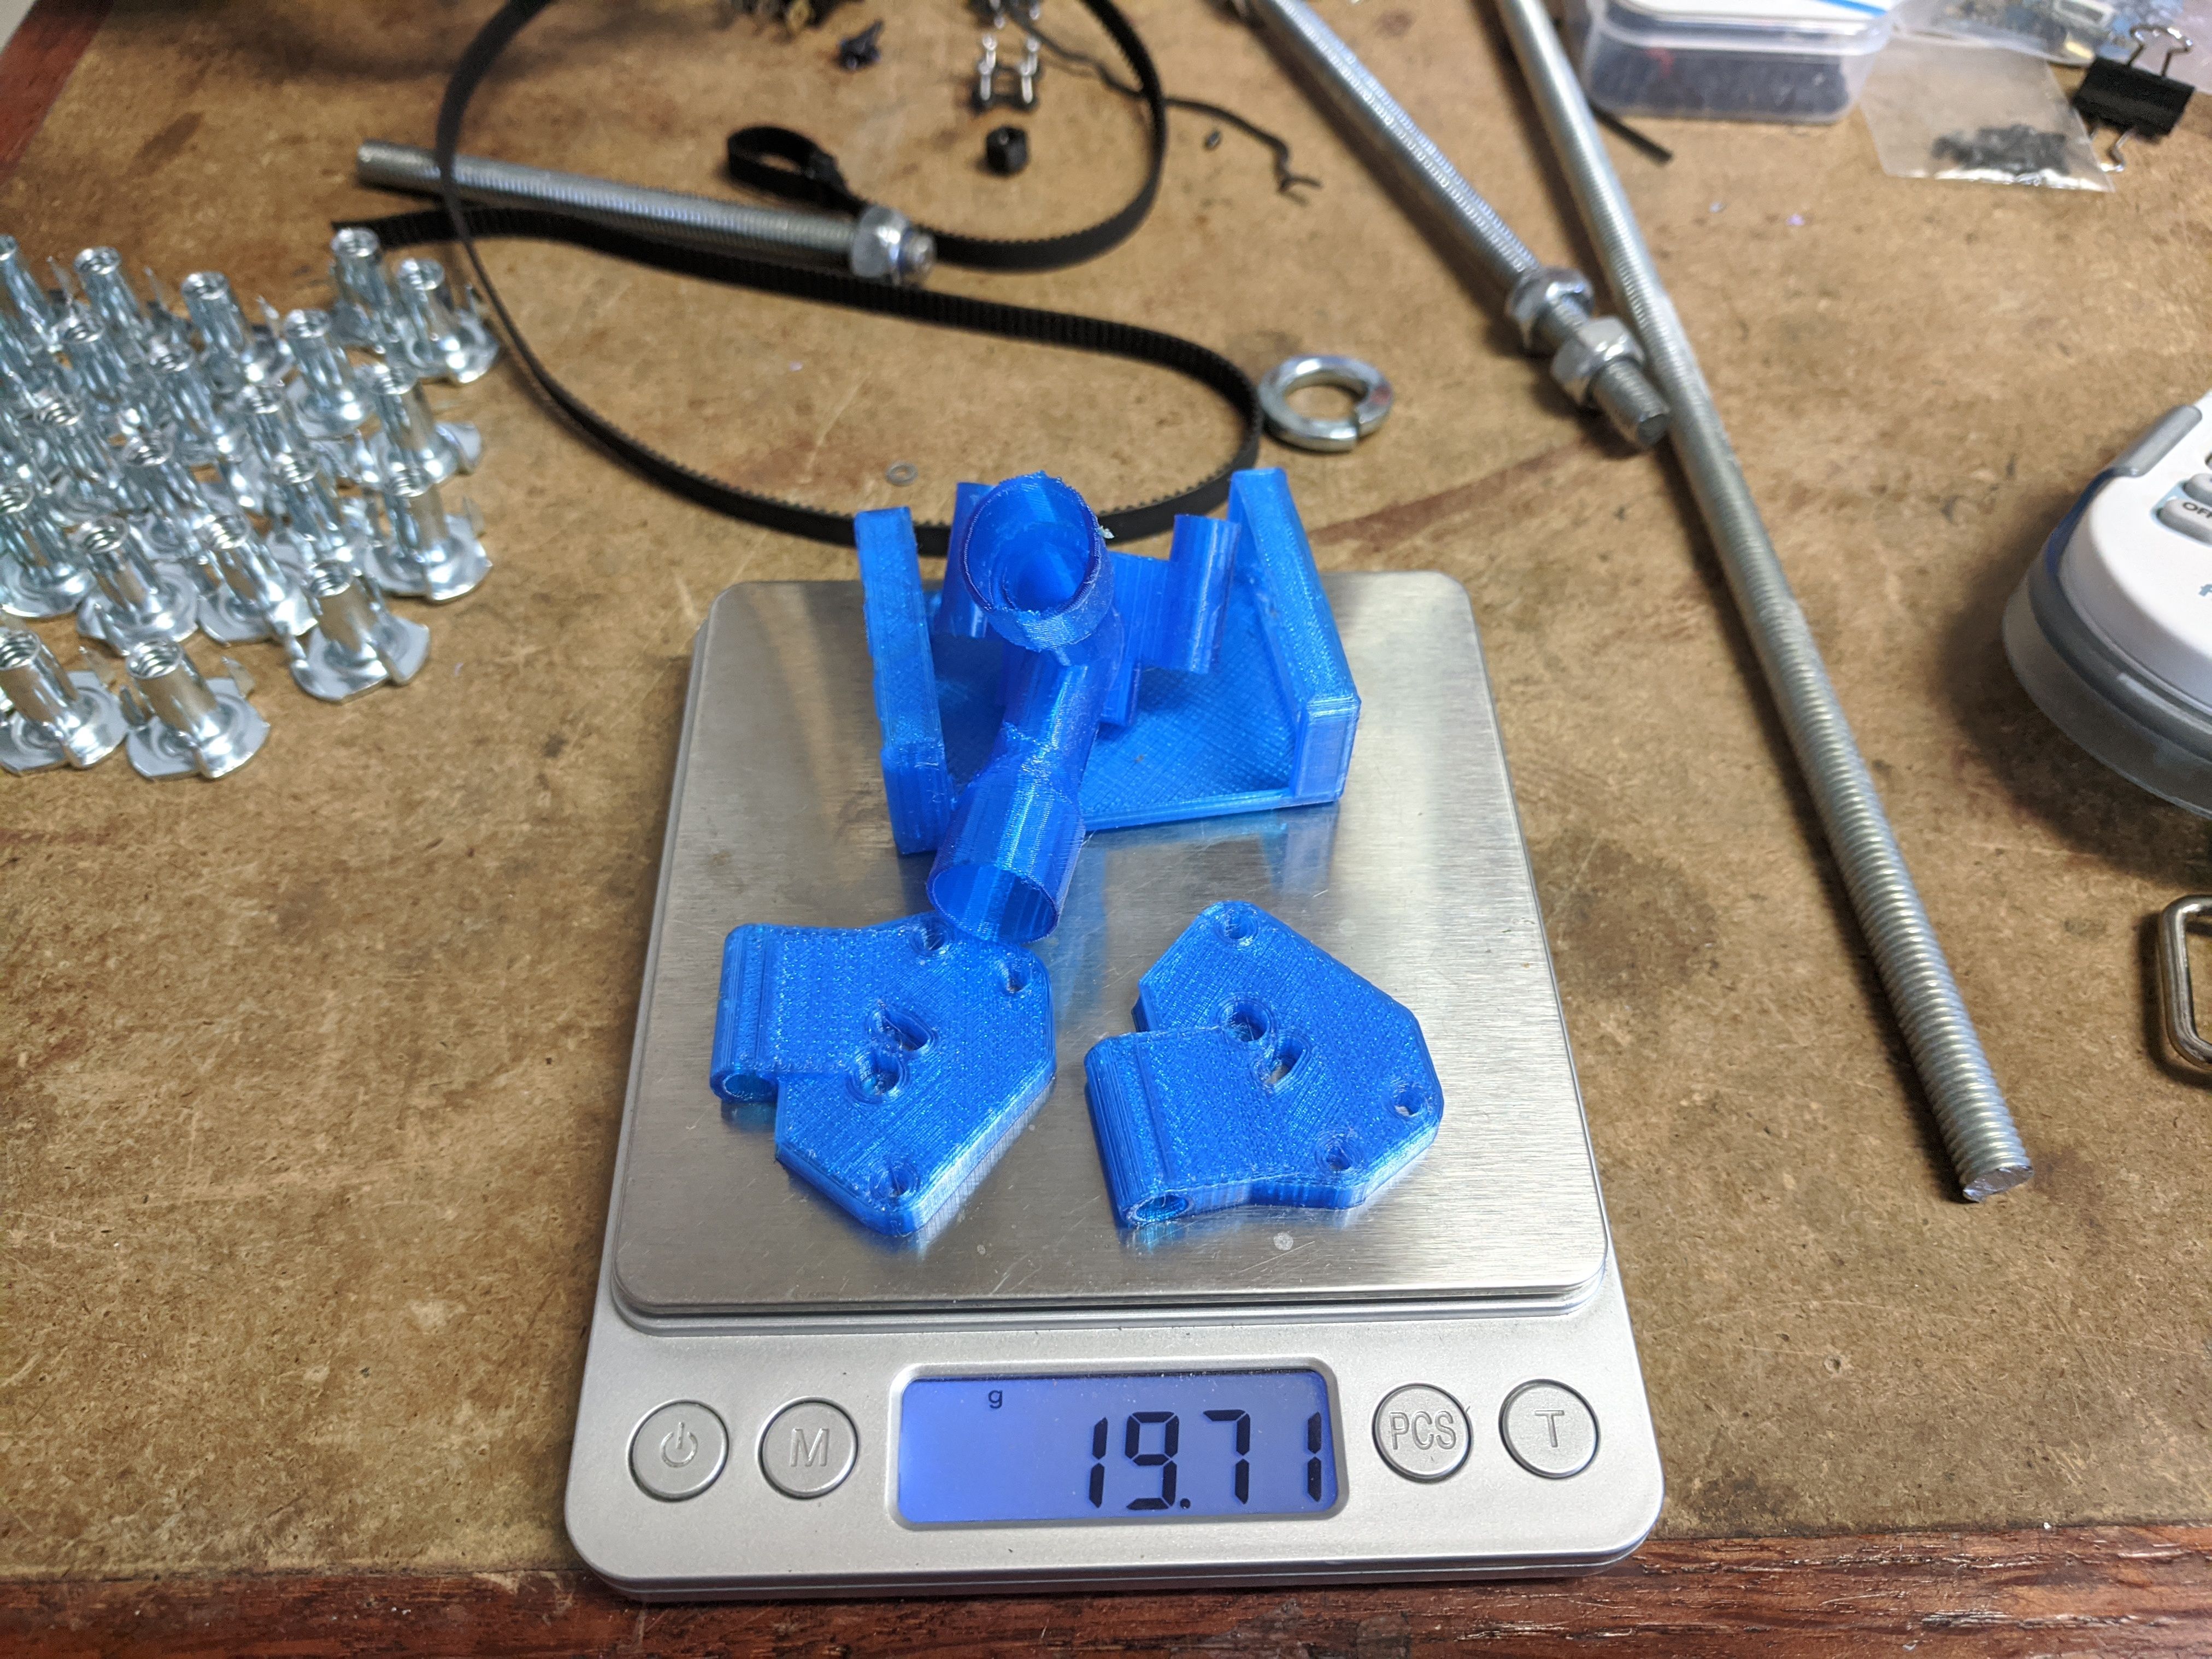
The problems I had when rebuilding the squirt is that I could not get my HGLRC F420 stack low enough where I could use the original 30mm standoffs. So, I end up using a 35mm standoffs instead and it gave me plenty of space to work with.
Next up are the 90-degree MMCX connectors DJI used for the antennas. I had a difficult time plugging it in because the TPU printed mount was in the way. I did not want to modify the 3D model and print and another one, so I just took some cutters and snipped away any excess material that was in the way.
And finially, make sure you install the ducts right before you screw on the top plate because it will block the holes for the camera.
DJI FPV Goggles
Since this is my first time using the DJI FPV system I will a make a few comments about it. I did not know what I needed to do but it was very straight forward and surprisingly the manual outline it very well.
- Fist you will need Activate the hardware (air unit and goggles) via USB and Computer (download and install the software from DJI’s website and the link is in the manual https://www.dji.com/fpv/downloads)
- Then it will update the firmware
- Finally, you link the 2 together.
And there you have it, it was that simple.
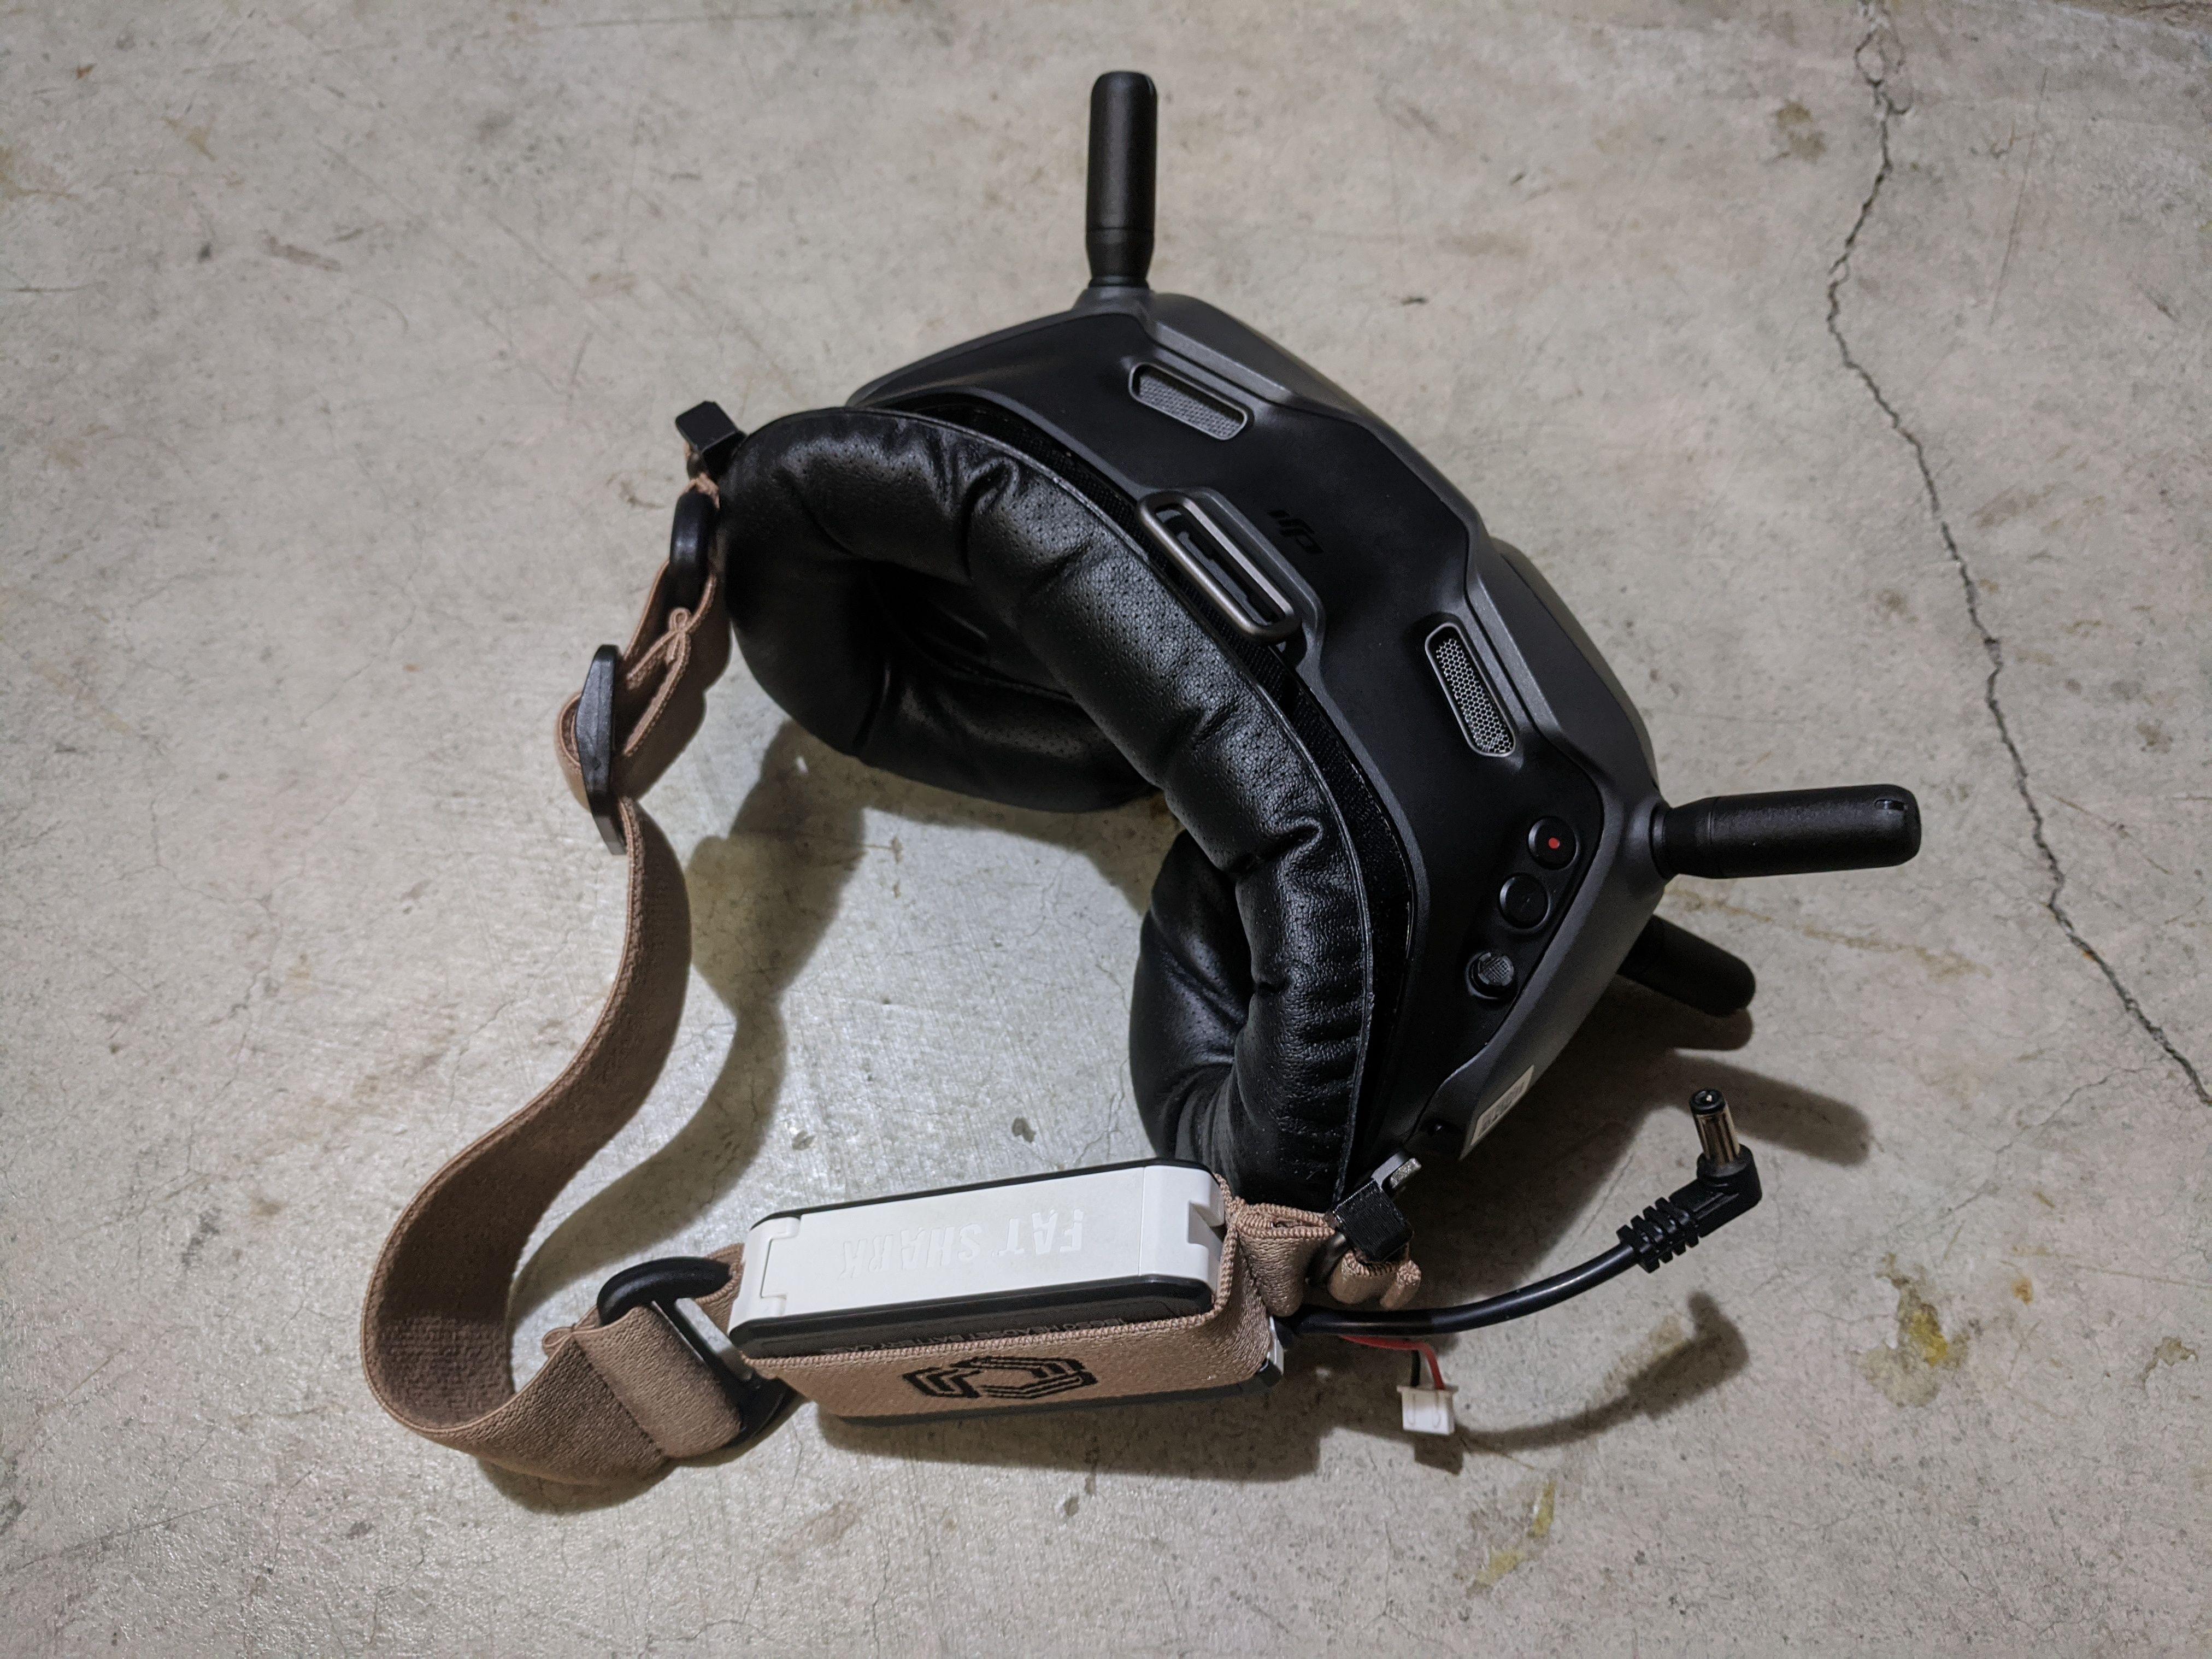
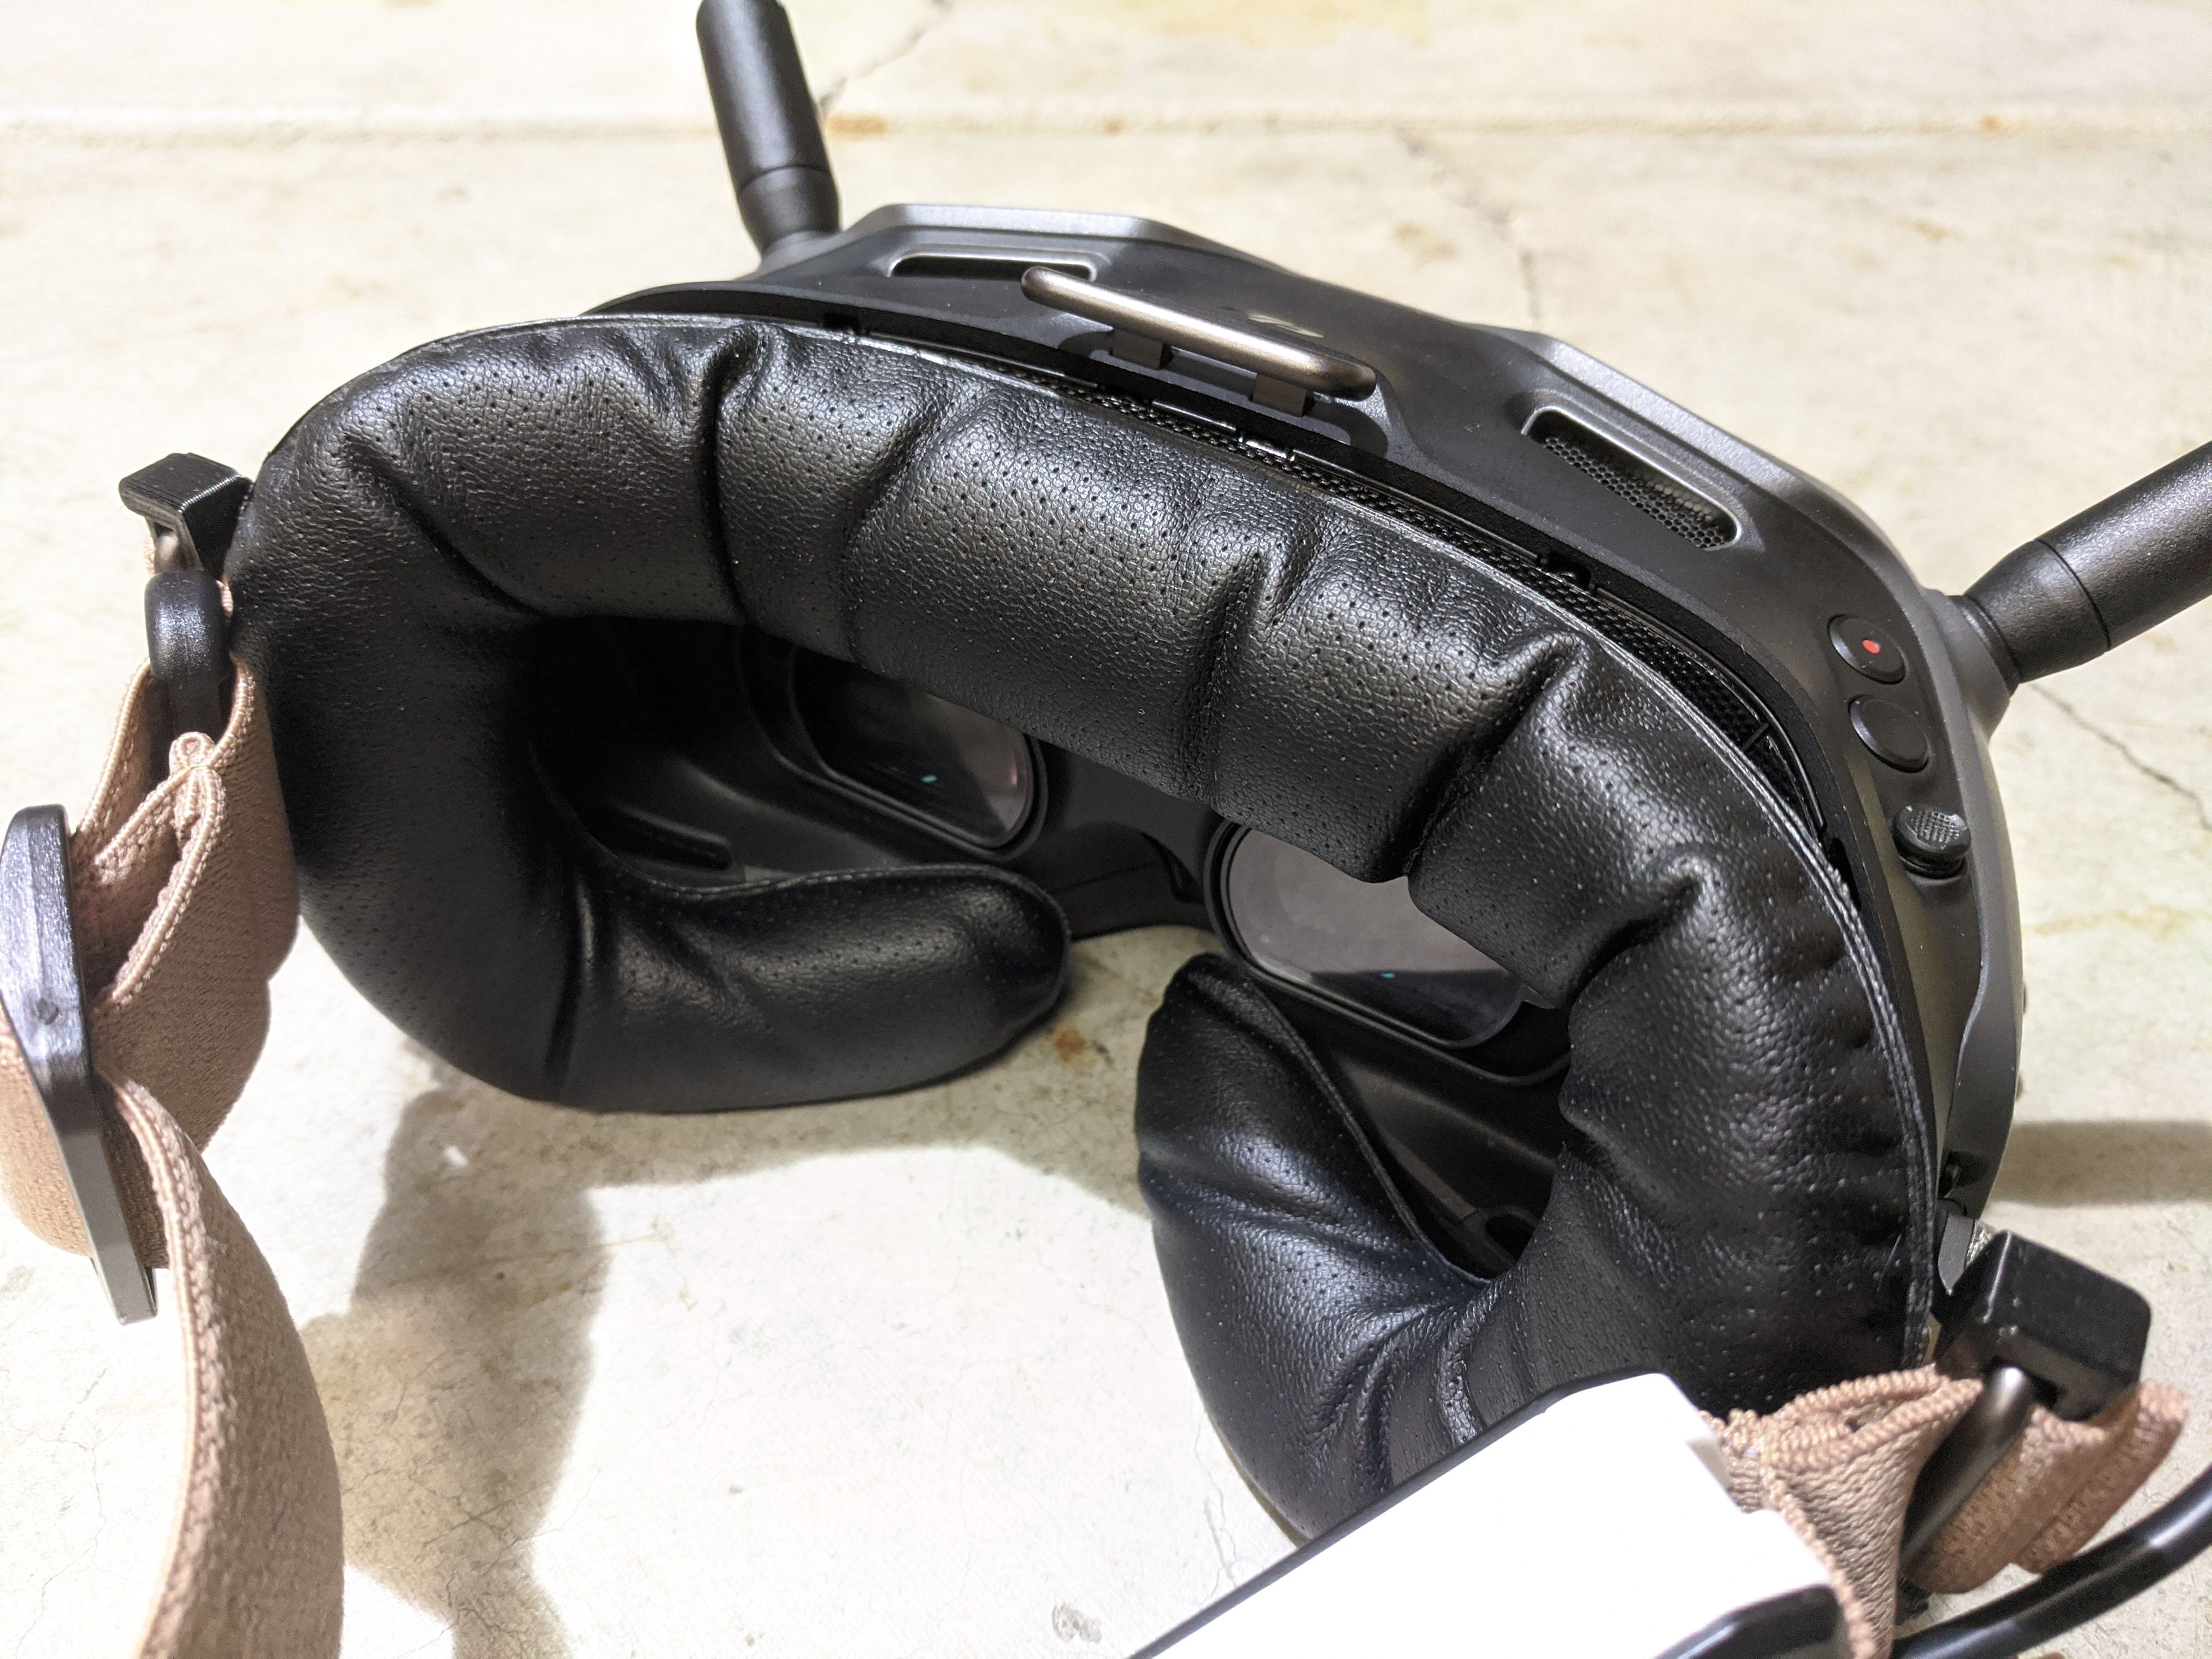
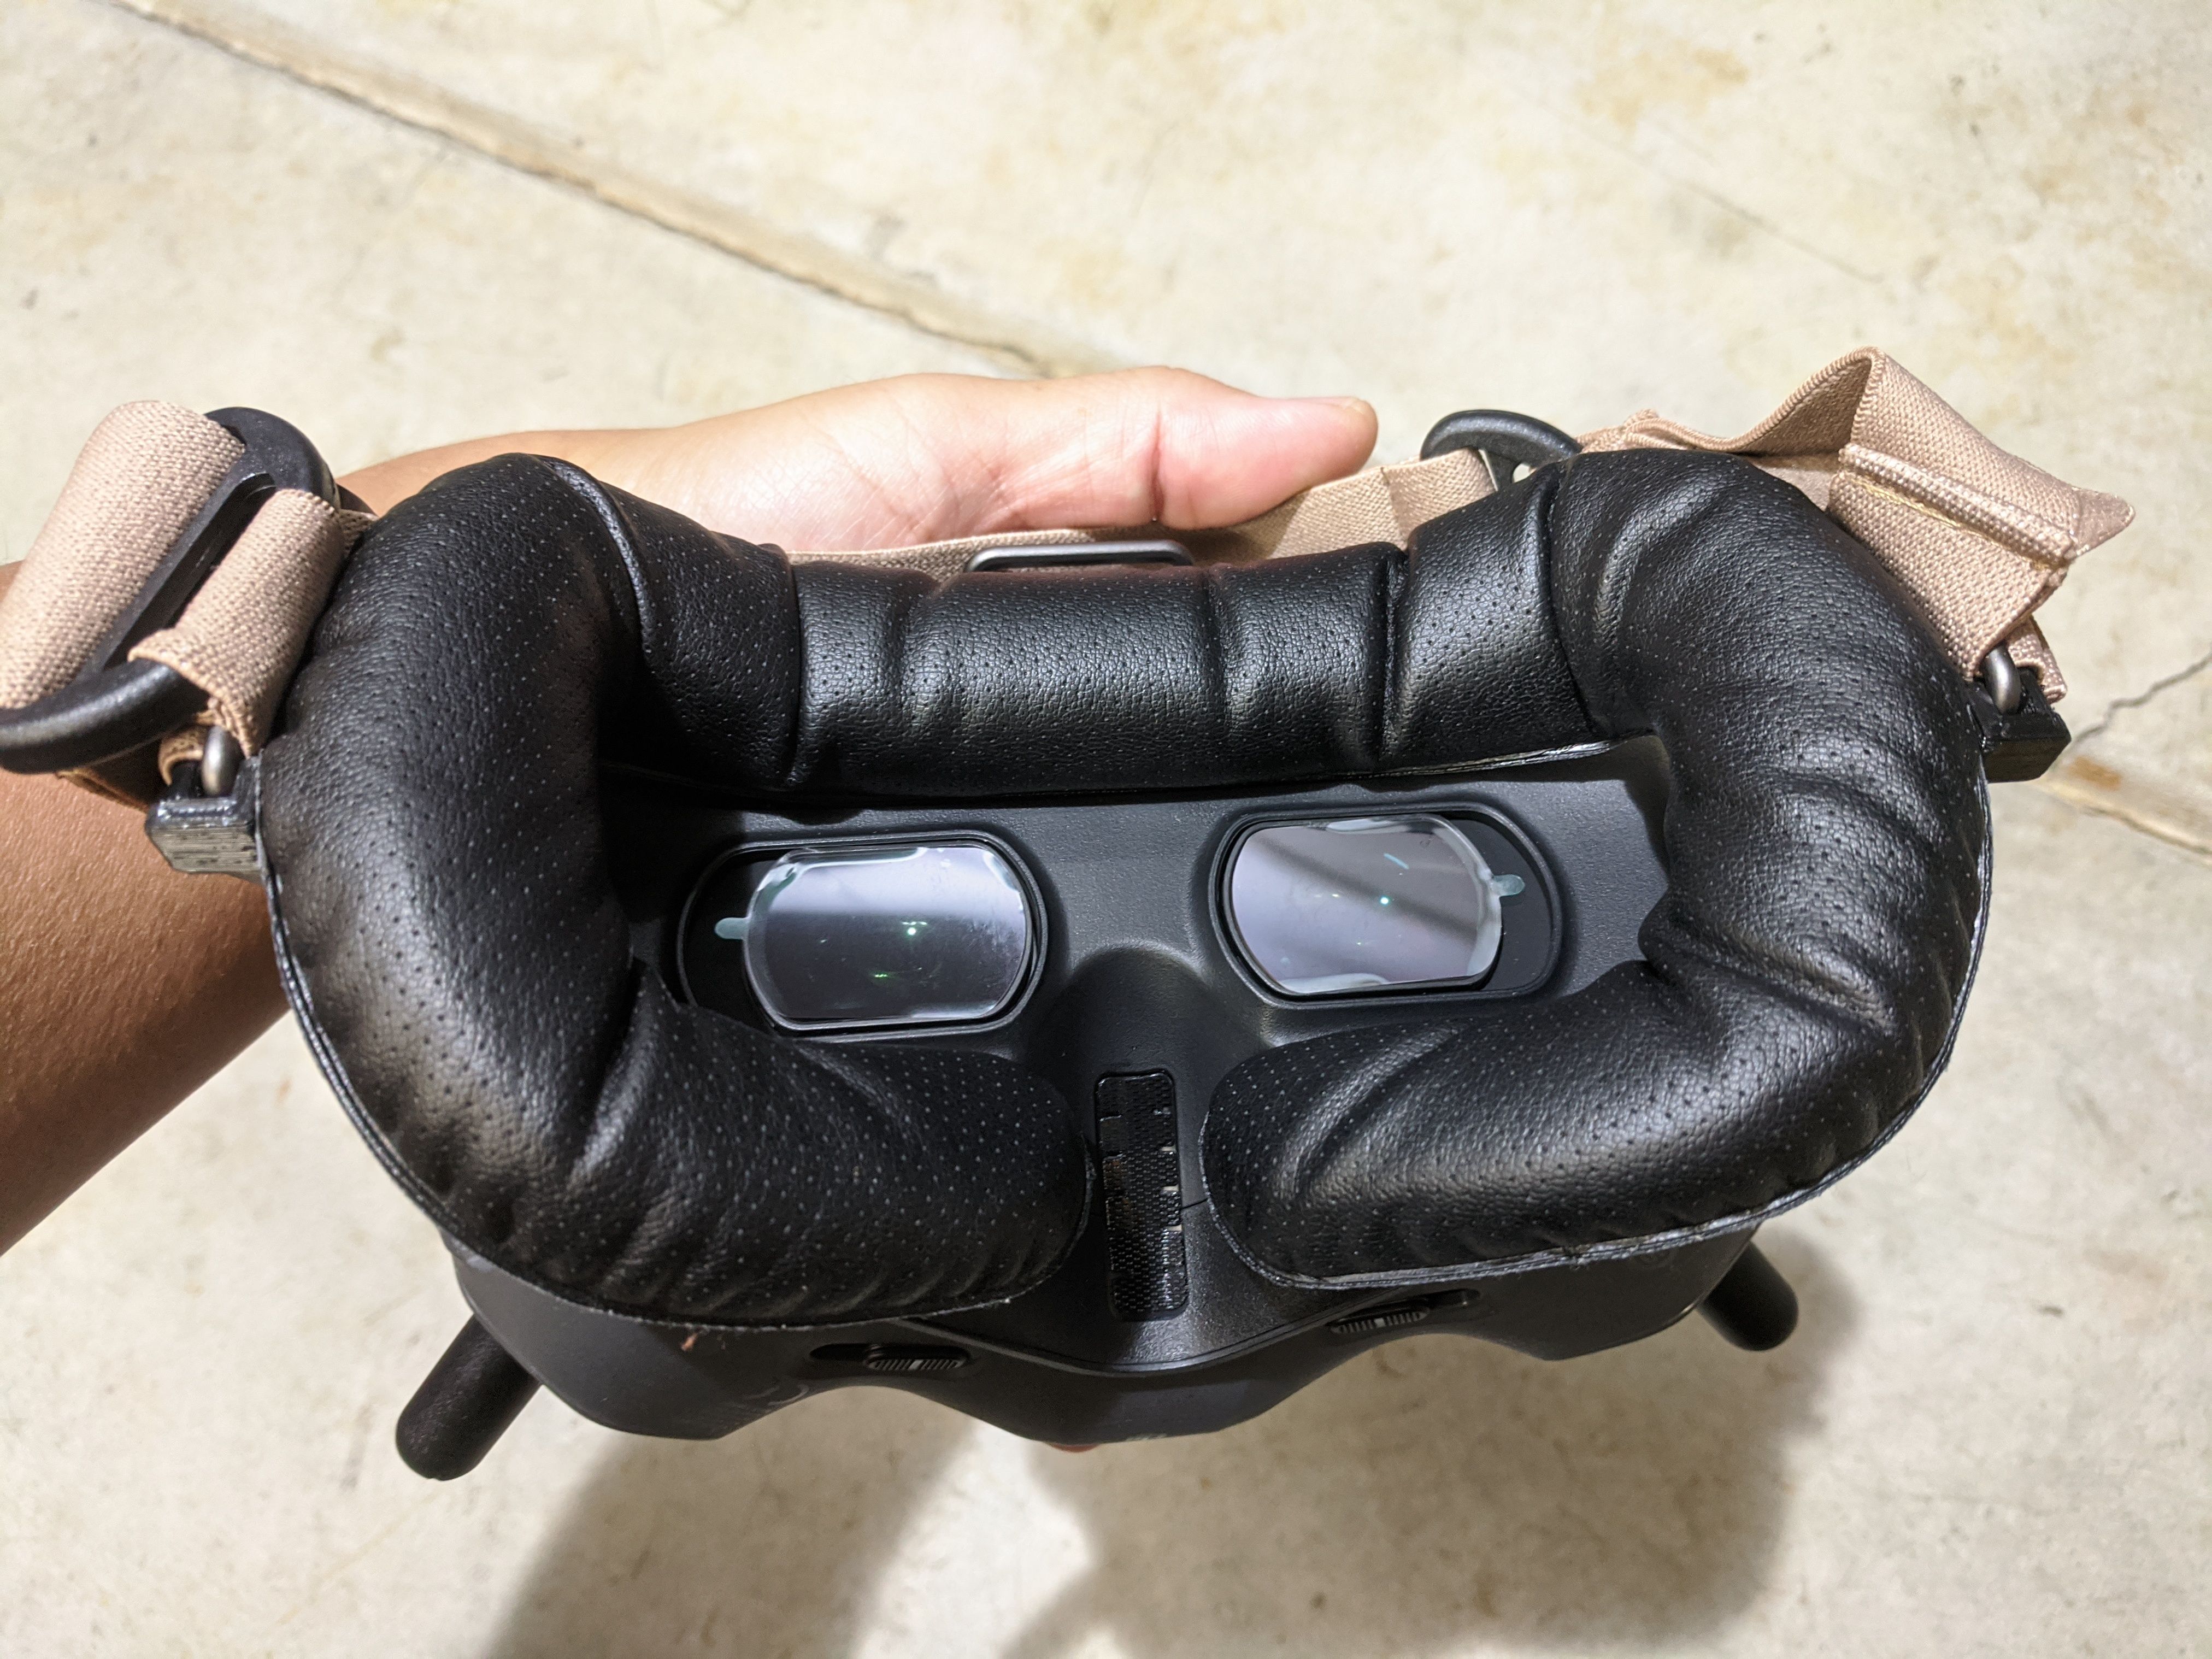
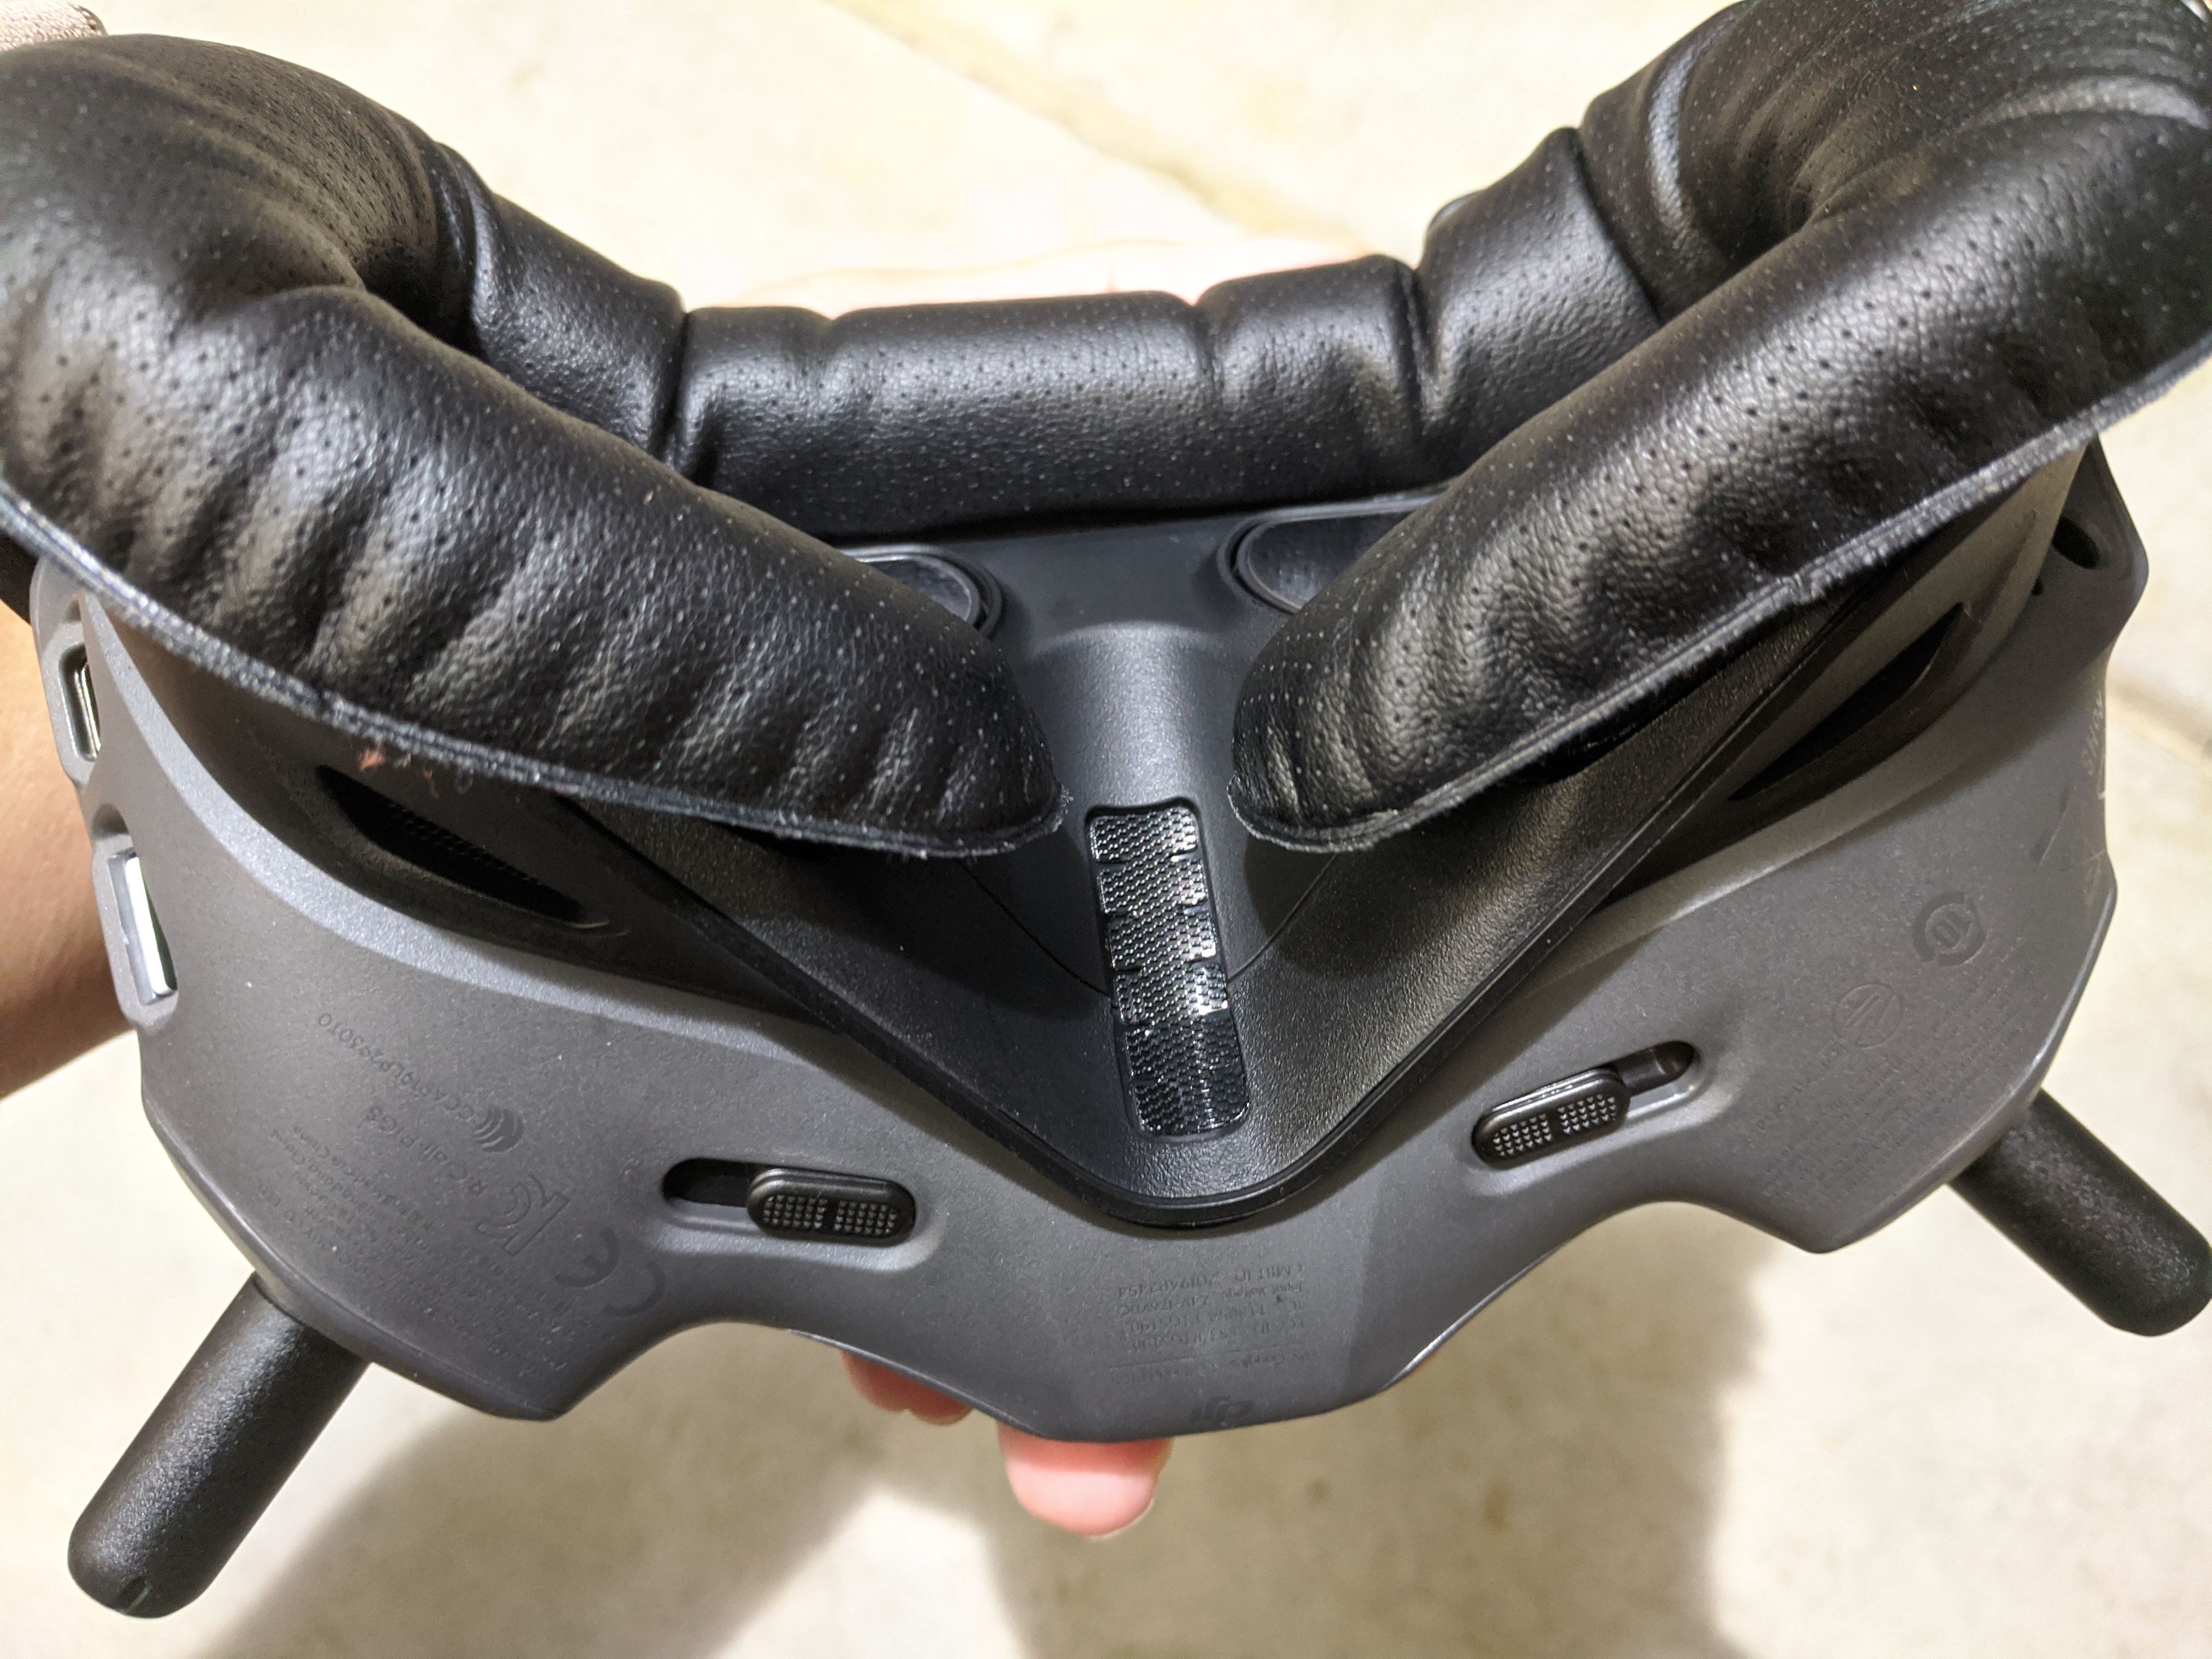
Before I even start using the goggles, I already modified it to fit my needs. First off, both the original and new upgraded foam did not work for me. So, I end up using some other foam that I bought in on Amazon that was meant for the HTC VIVE VR Headset. The fit of the goggle is way better, but I still need to work on the light leak in the nose area. The best part of all is that is not like a sponge that soaks up your sweat. The foam is like fake leather, so it super soft and you can wipe off any oil or sweat with ease.
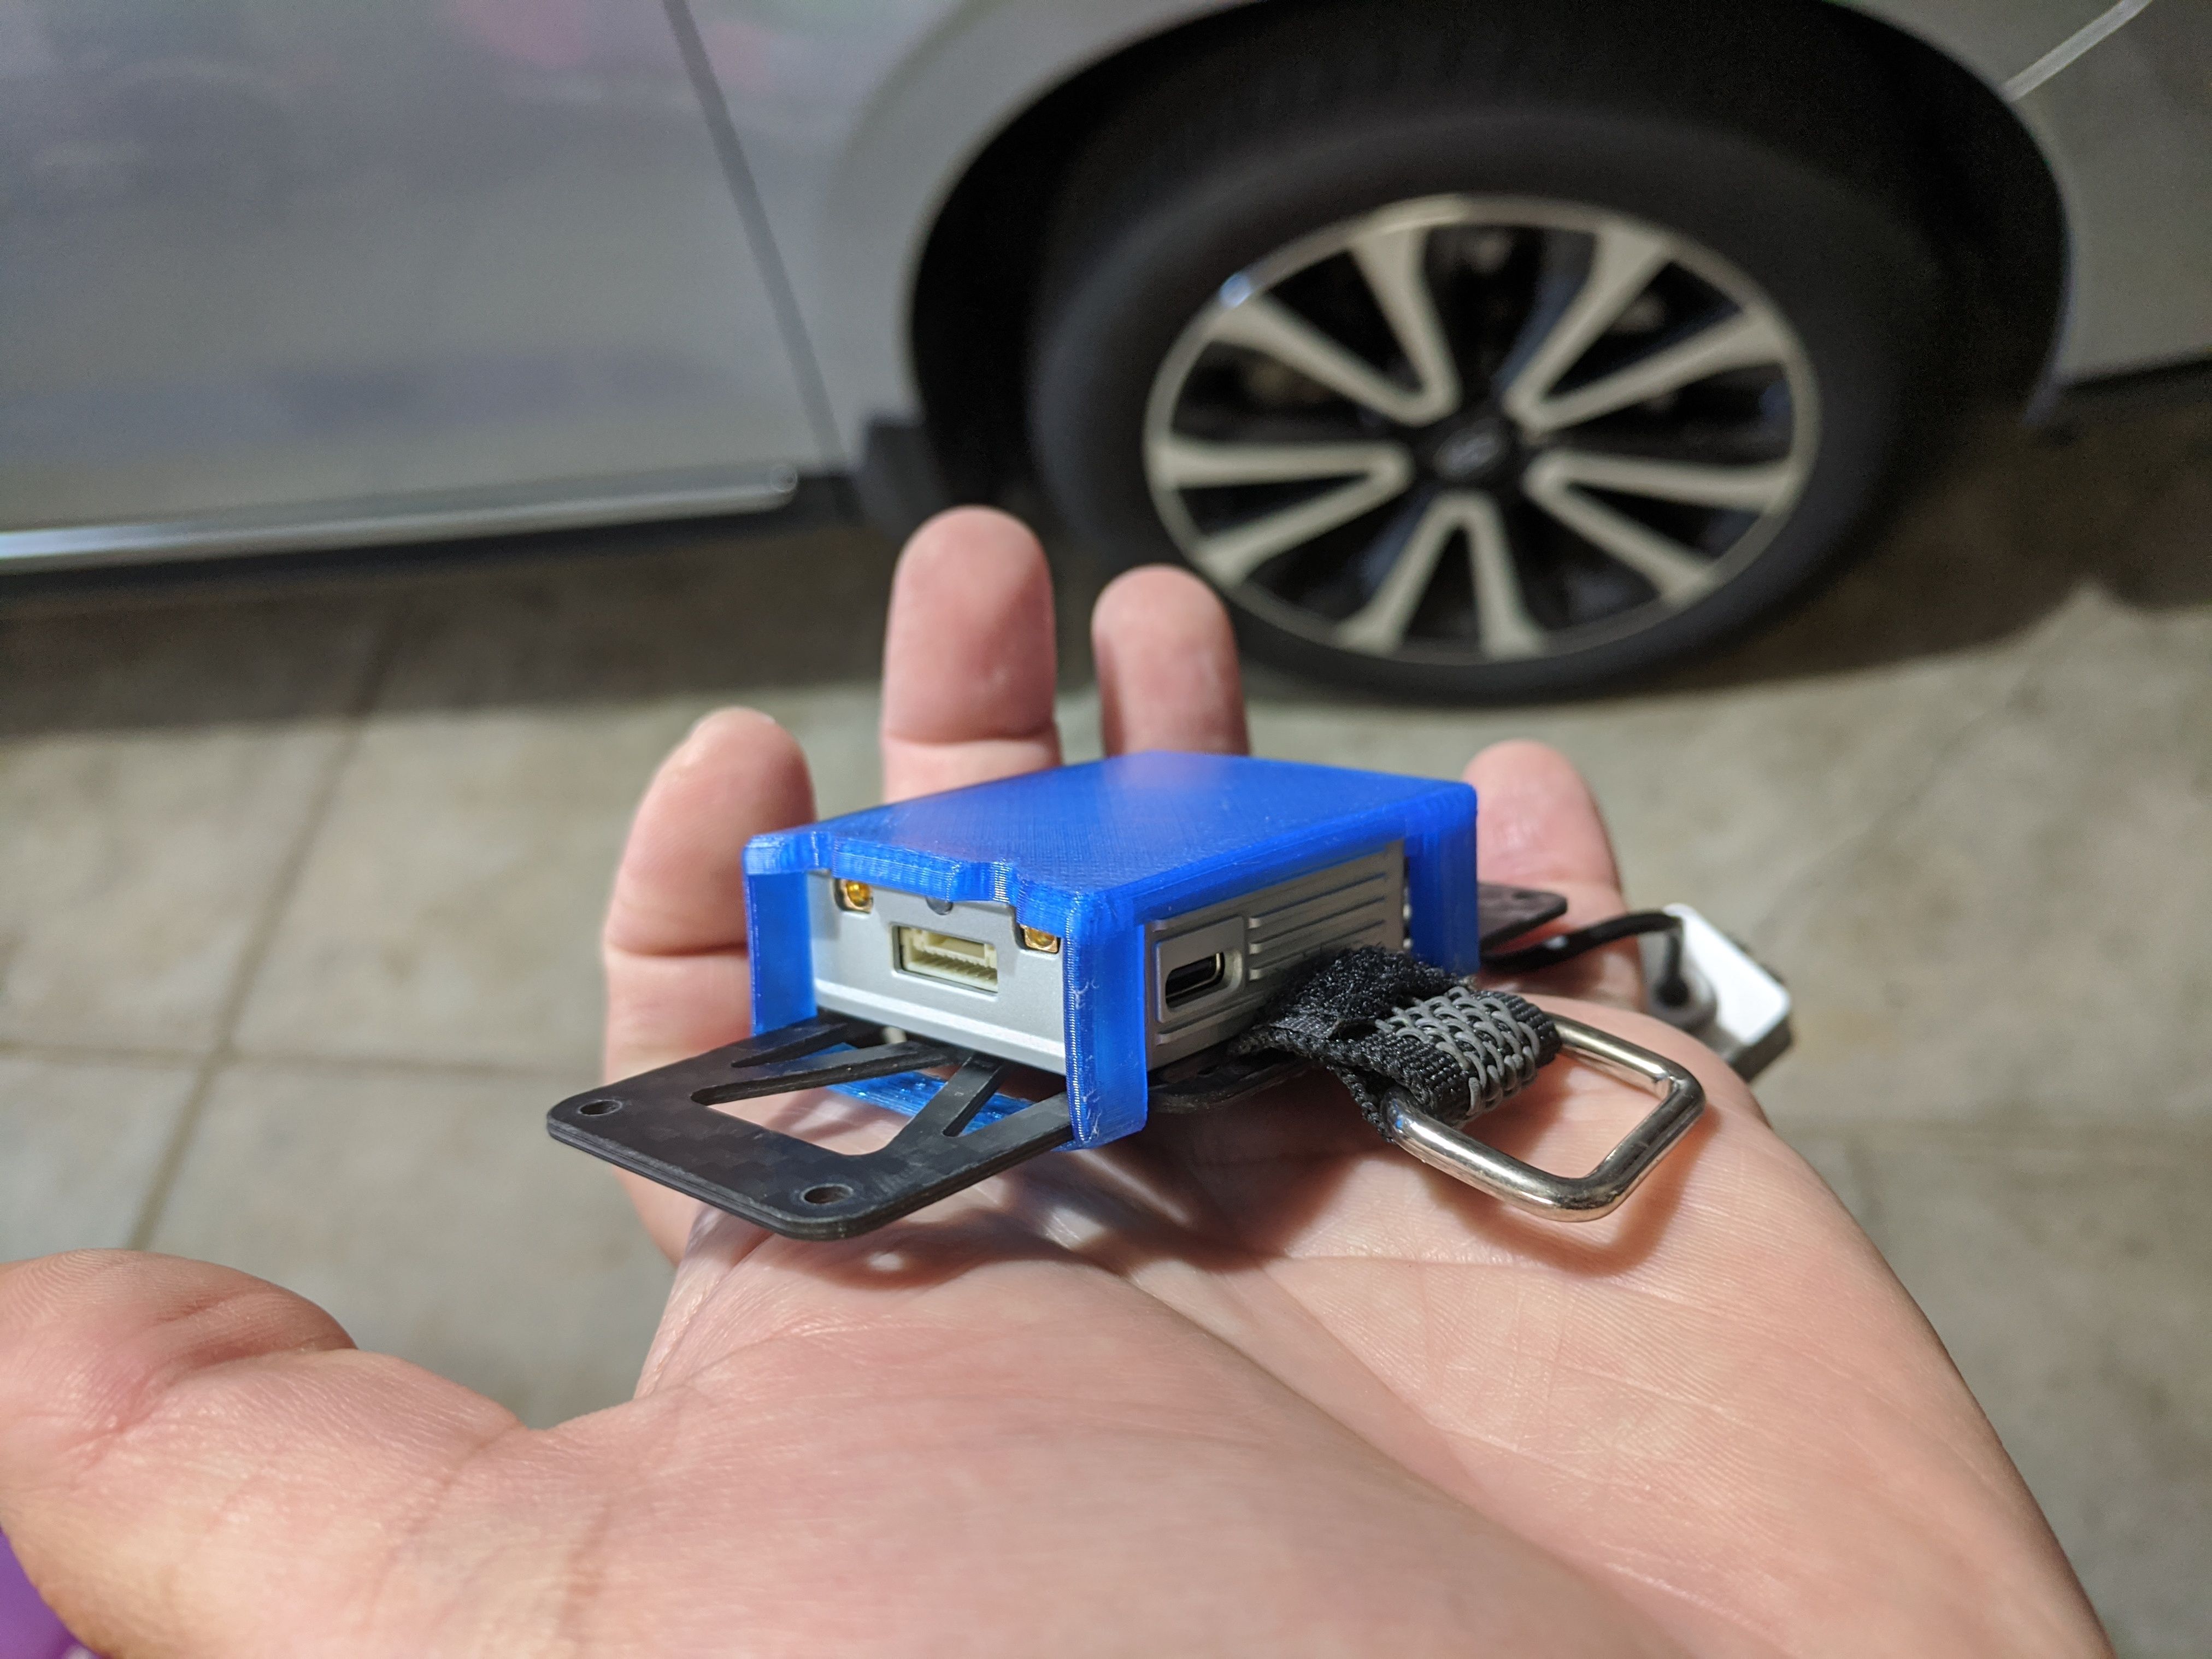
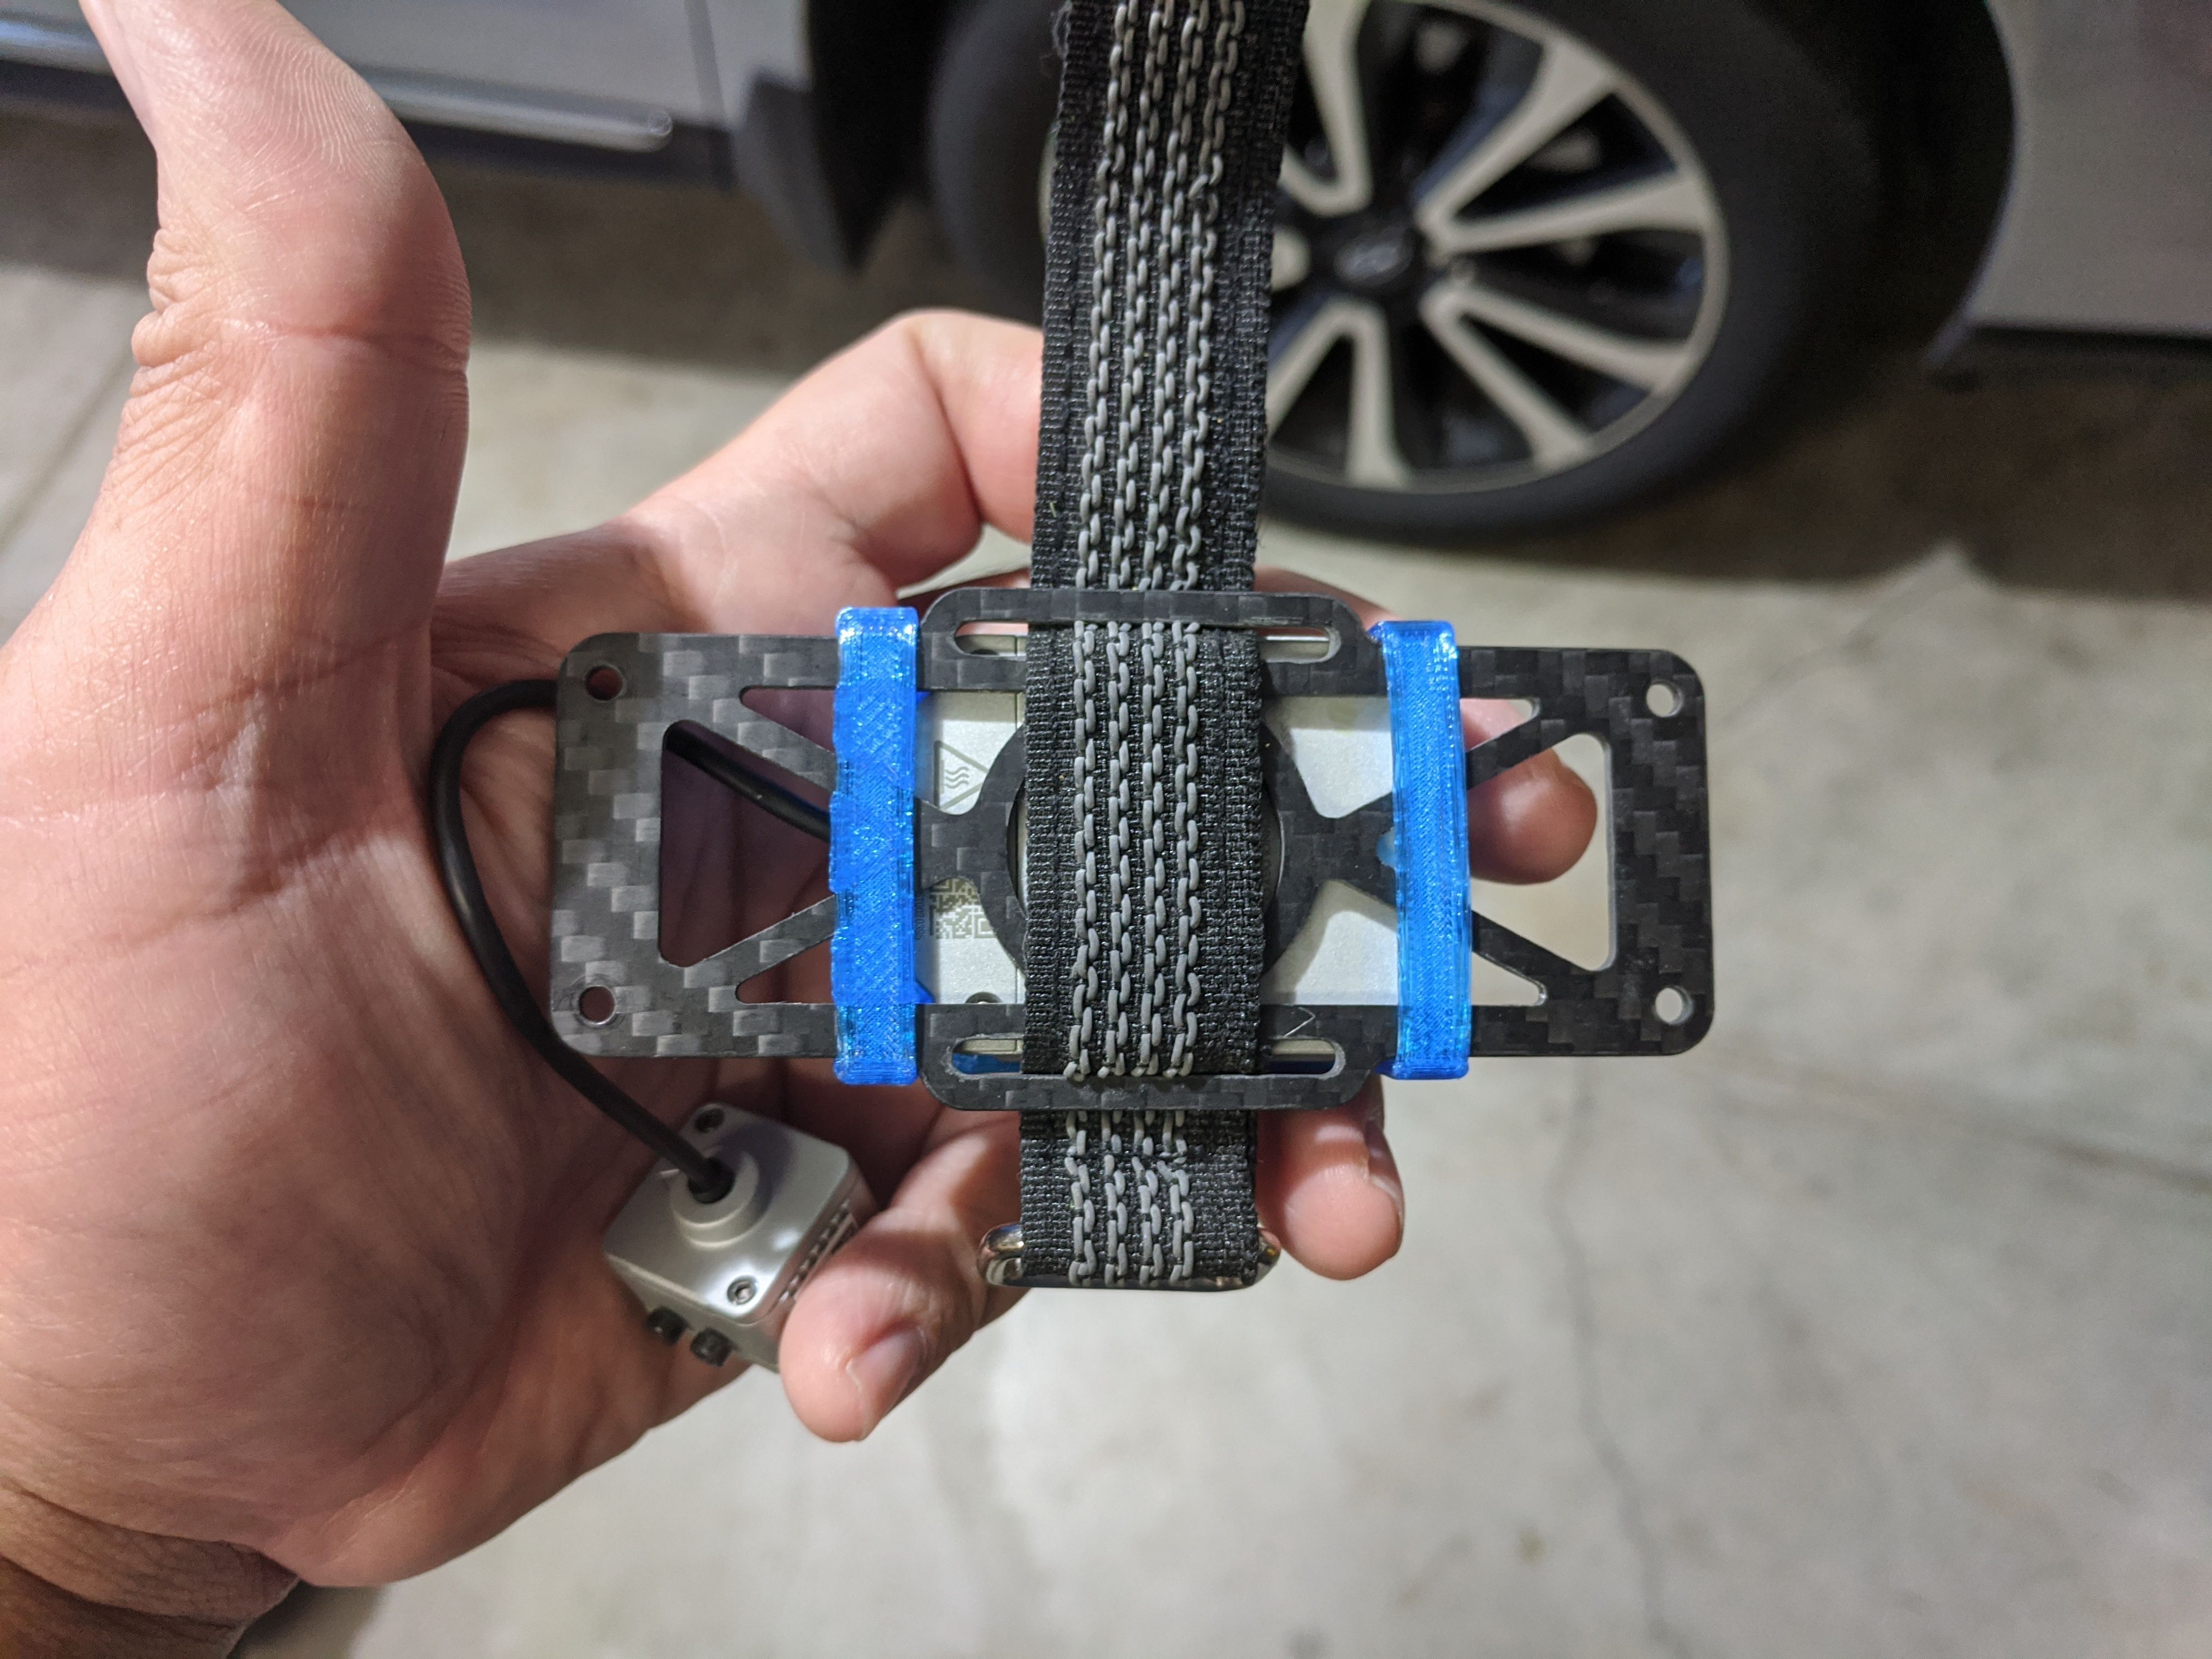
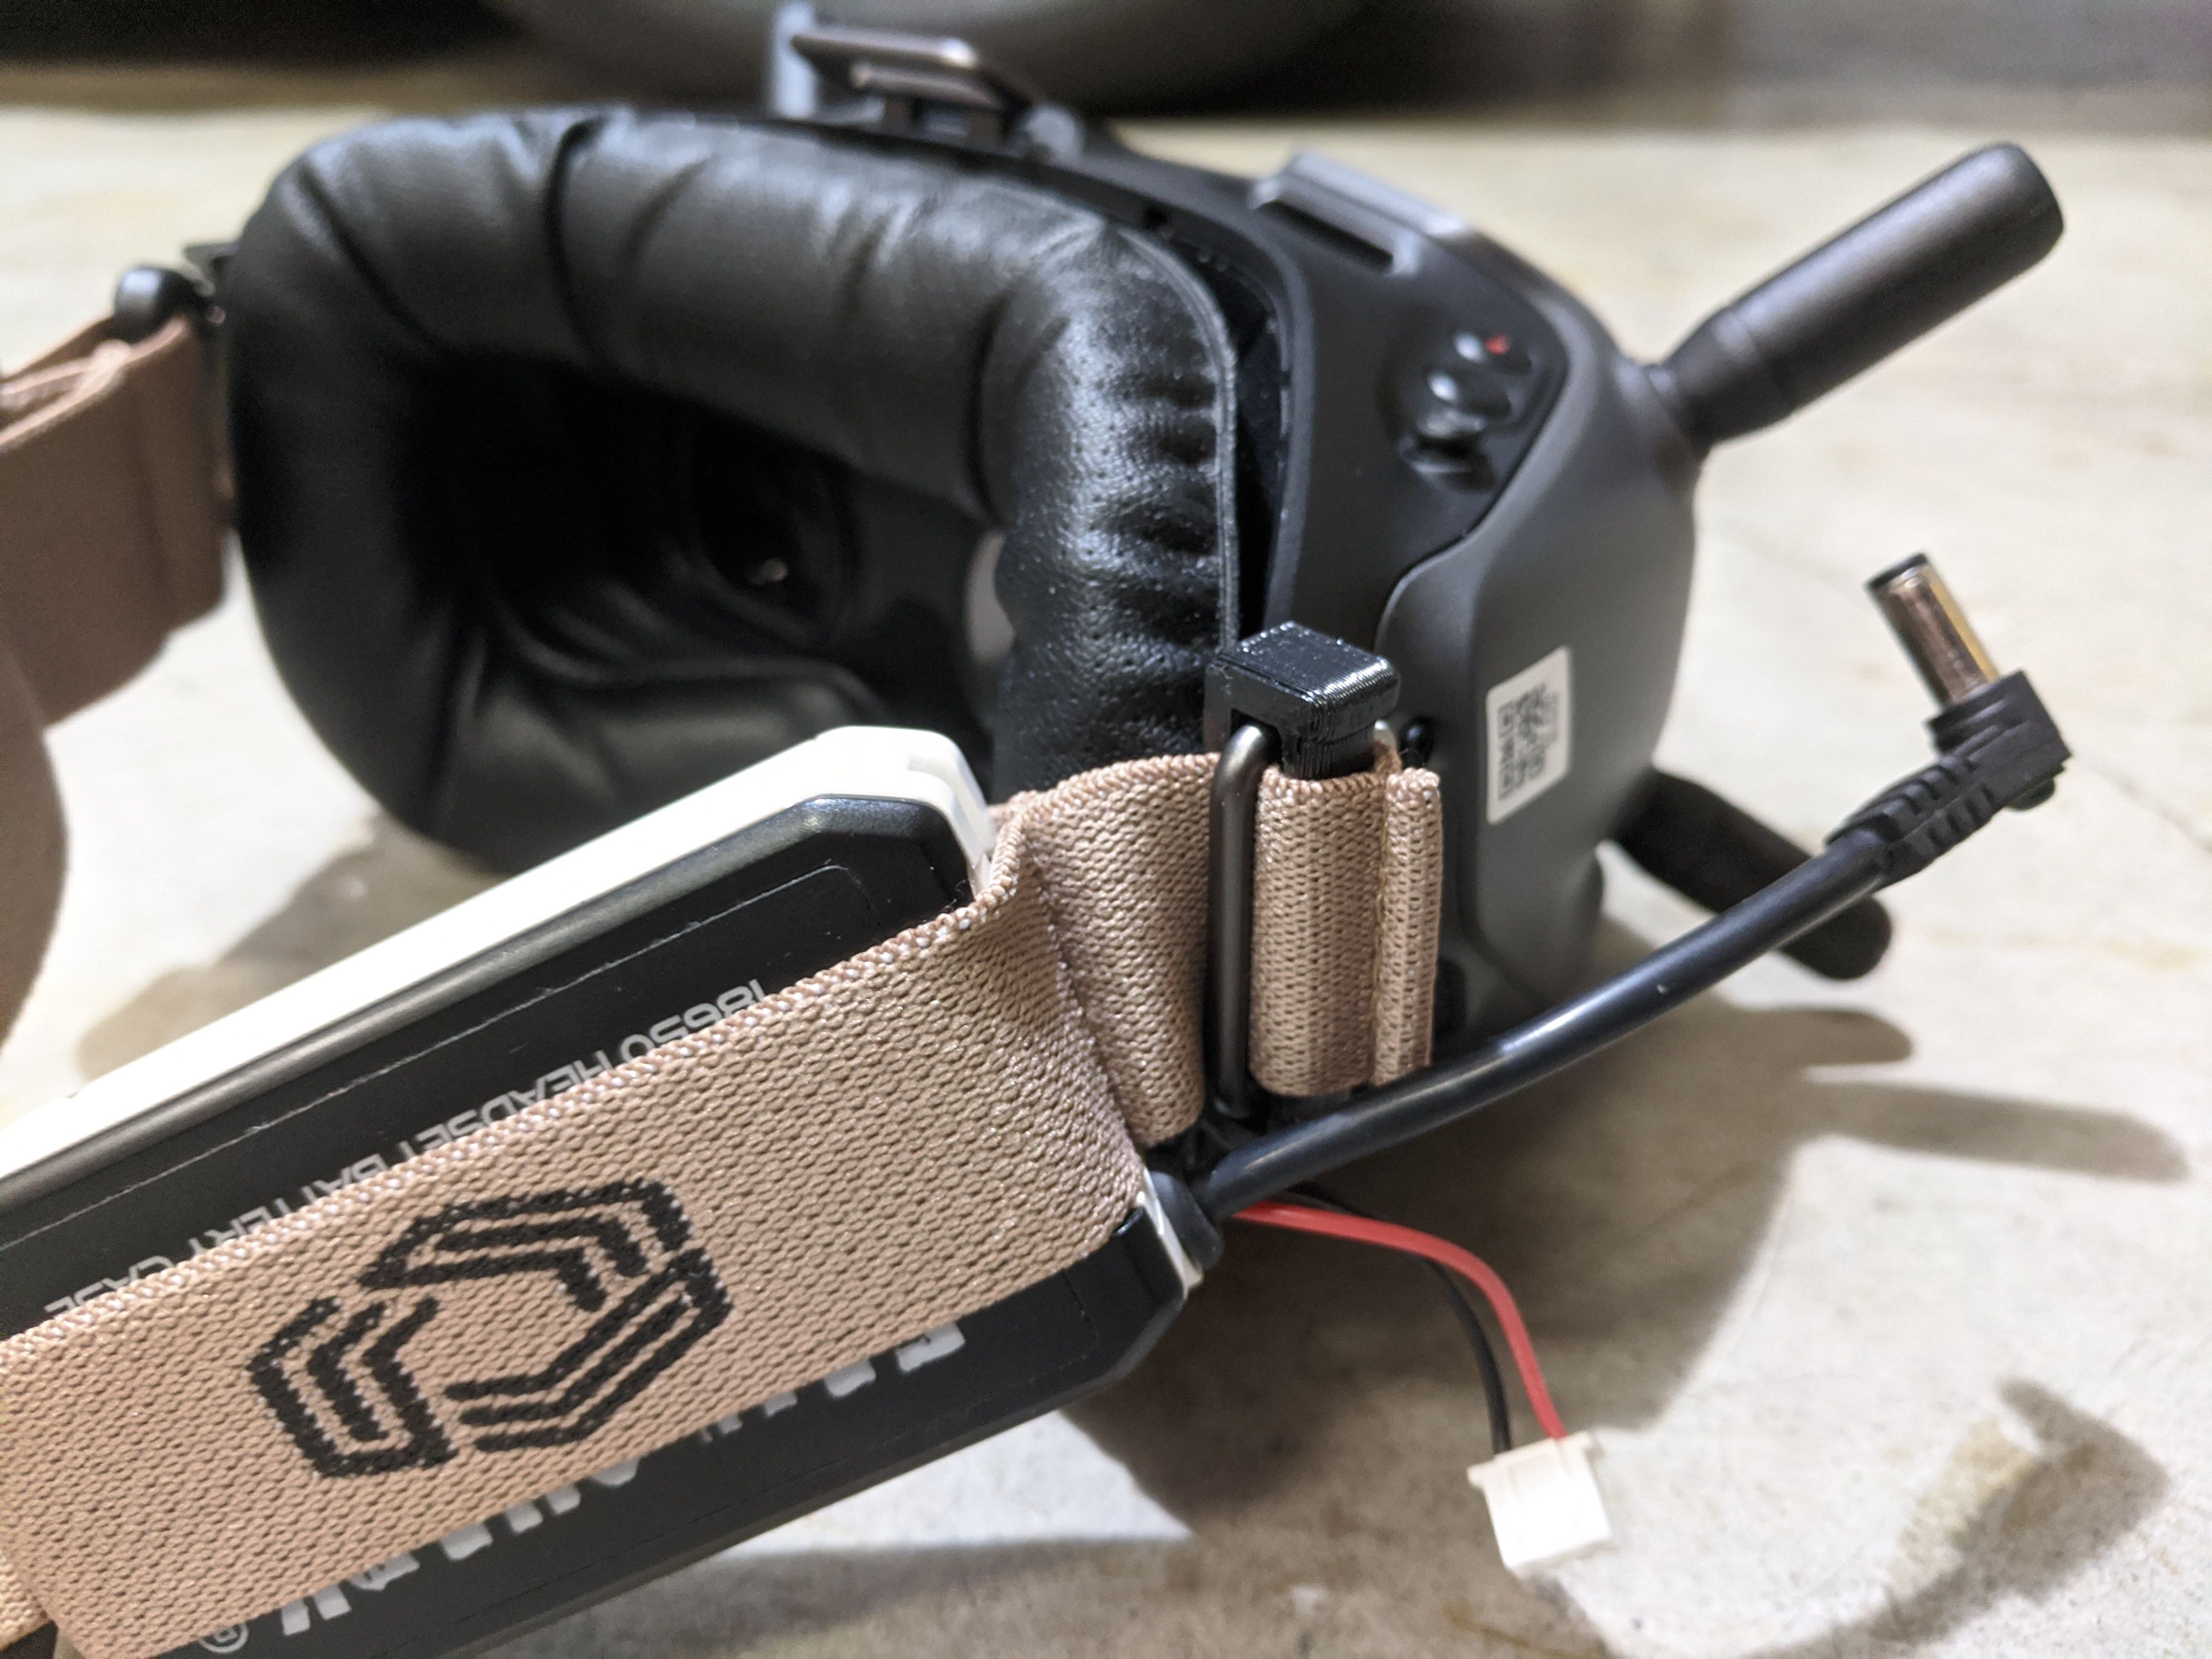
I do not like to carry the battery for the goggles in my pocket because I always forget about the cable connects to the goggle when I take it off. I got use to how Fatshark has their battery on the strap and I wanted to do the same with the DJI. I end up getting the Ethix beige strap and 3D printed an adapter so I do not need to do any permanent modification to use the Fatshark style straps.
Another way to do it is cut a slot in the goggle’s metal ring so you can slide the strap in, but do not want to hack away on my brand-new goggles. So, the next best option would be the 3D printed adapter.
Betaflight 4.1
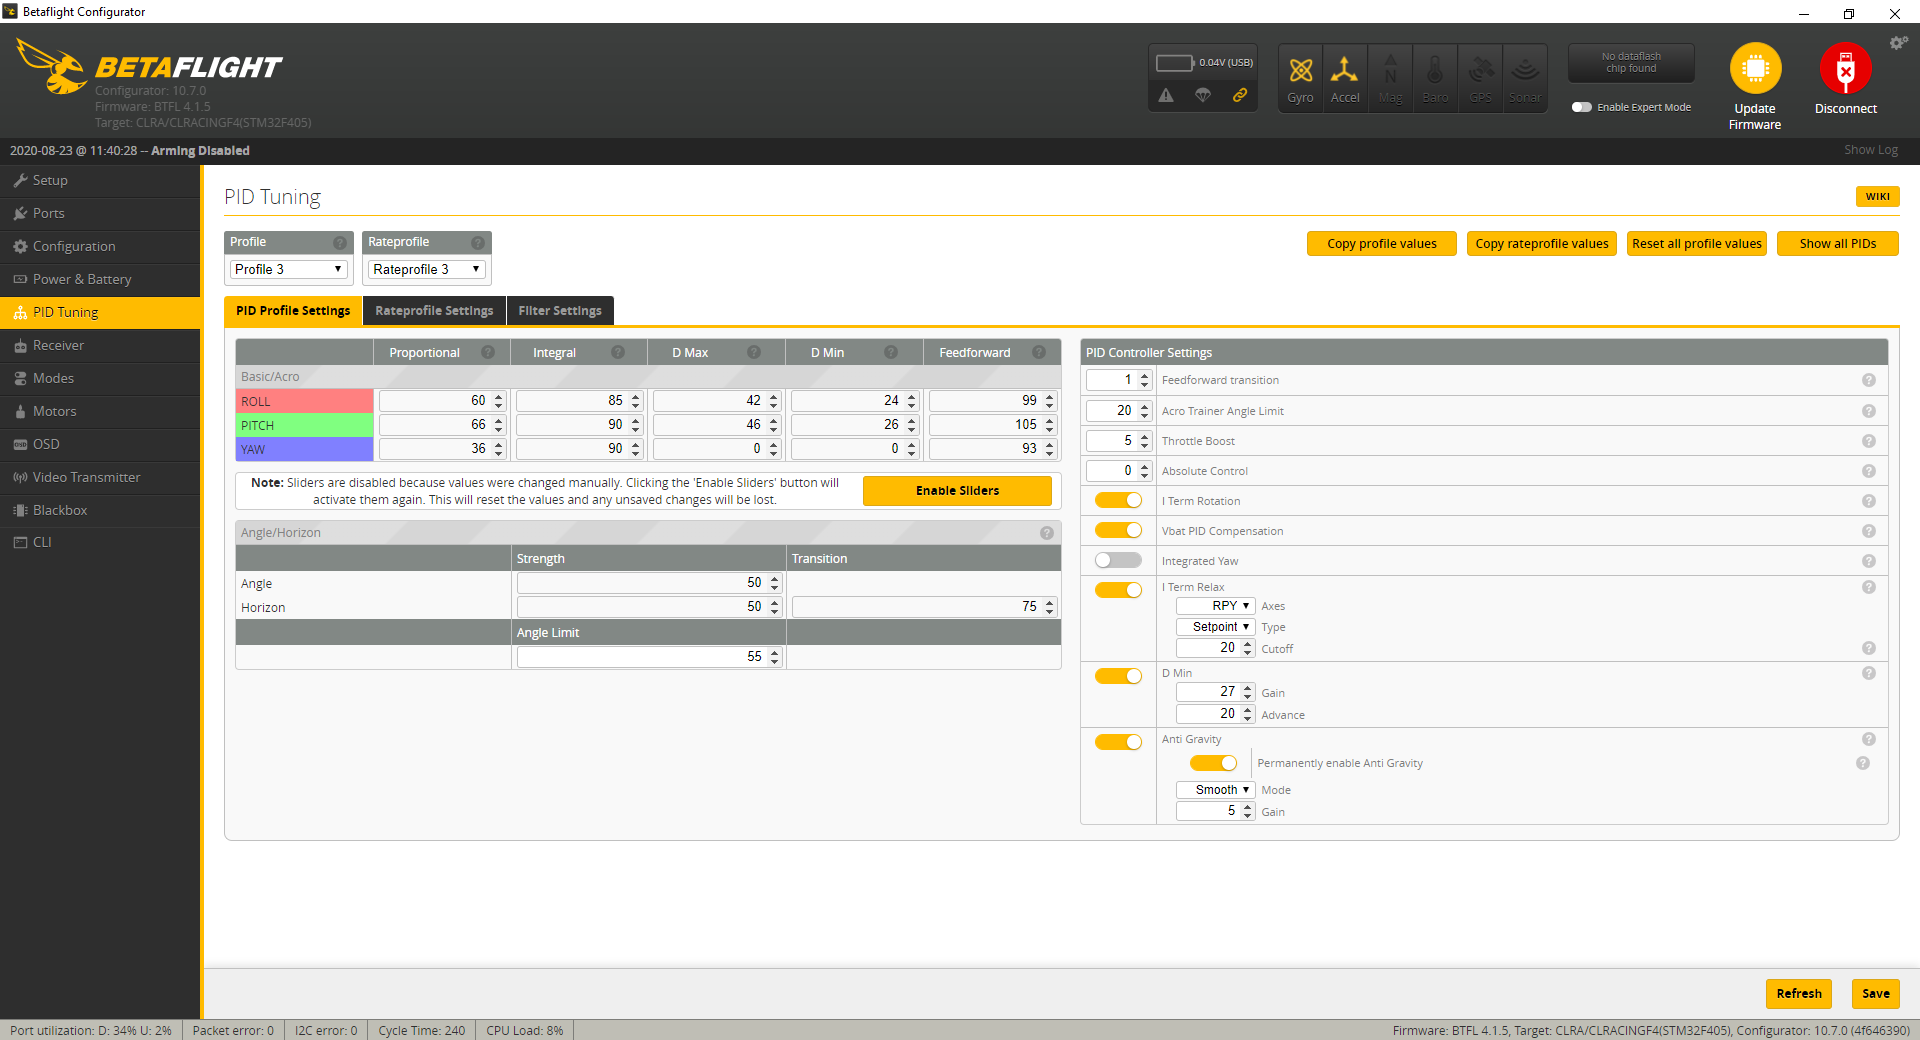
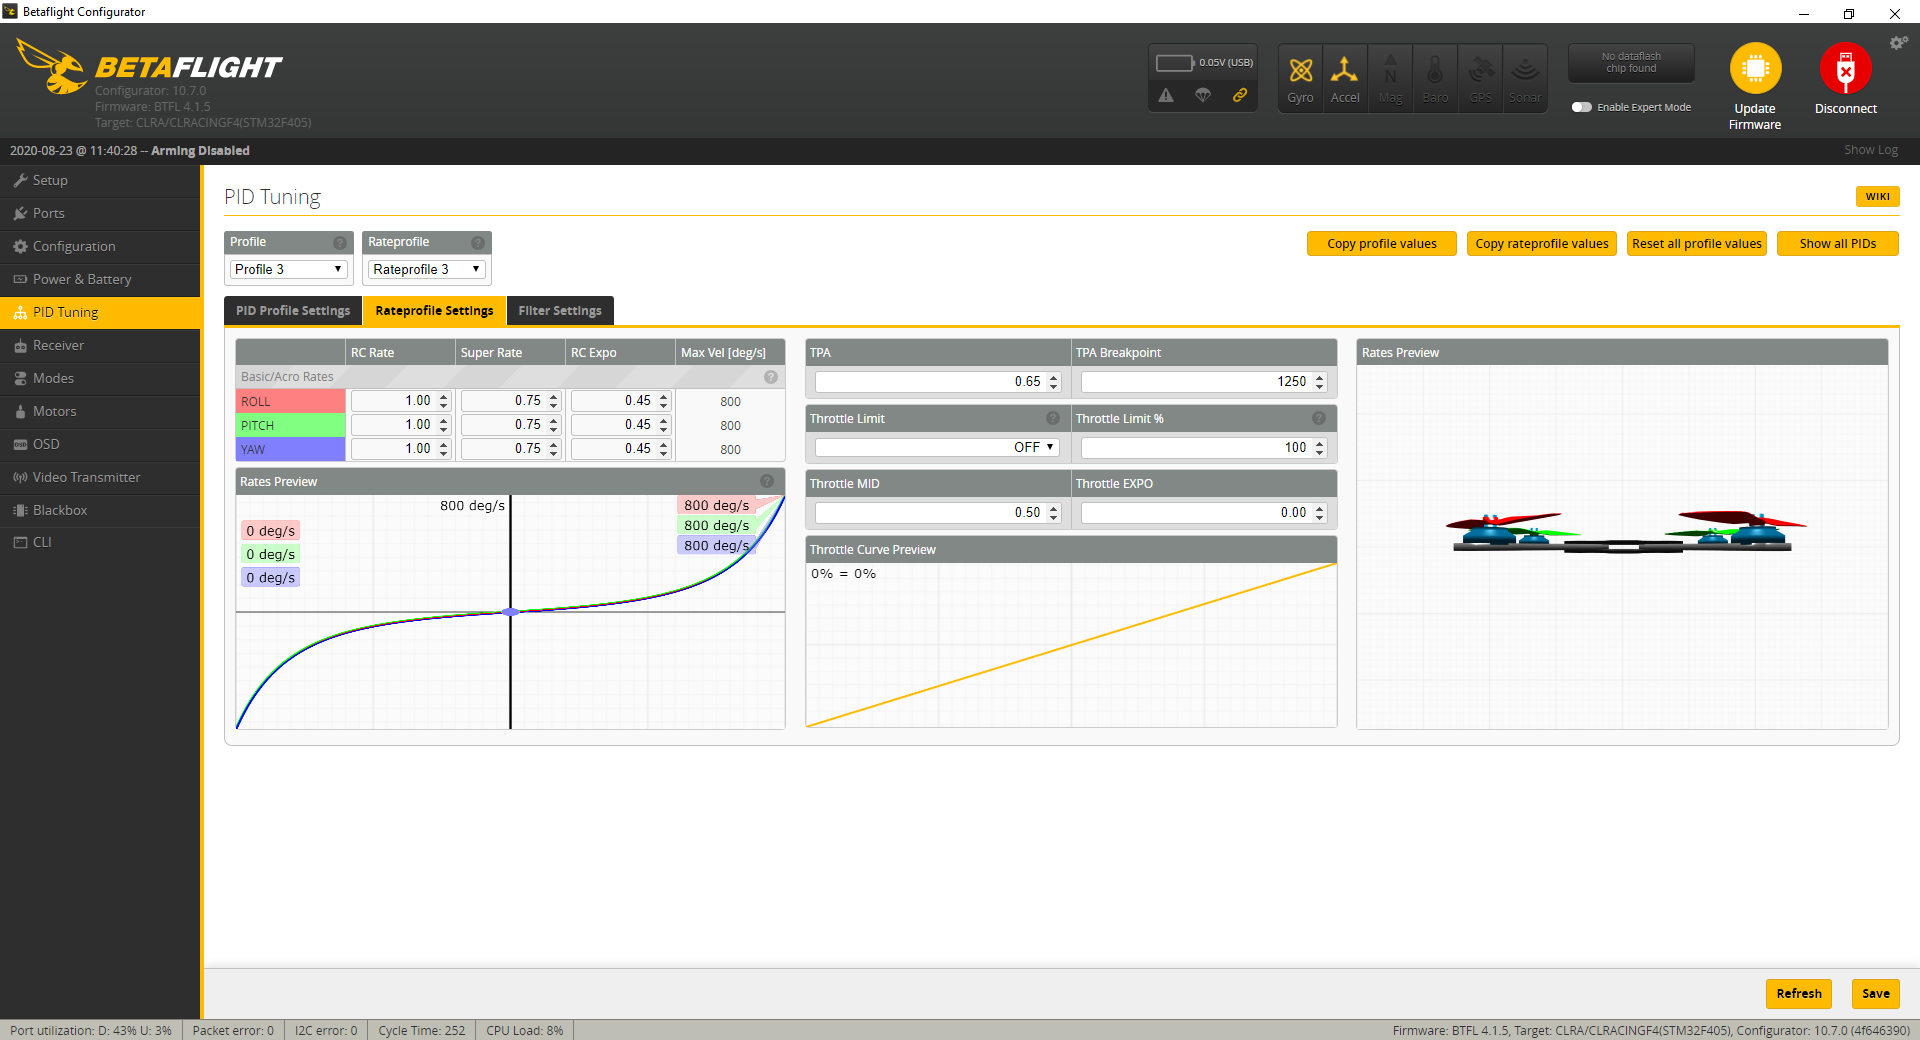
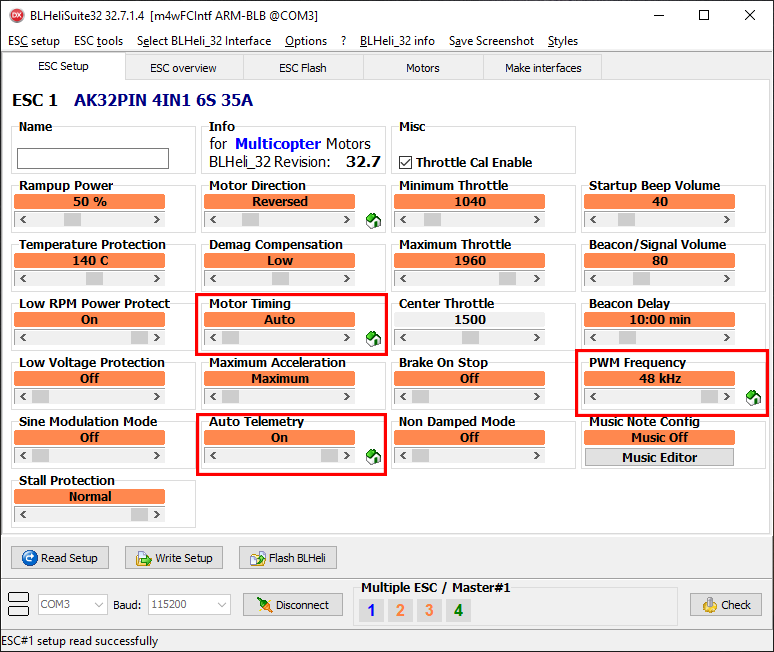
I was kind of worried about switching my firmware to 4.1 because the HGLRC F420 stack is considered an older setup. The last time I plugged it in to do anything, I was still using Betaflight version 3.5.7 and I used the suggest PID tunes that NurkFPV had in his orginal Squirt (Nov 2018). I am glad to say, BF4.1 worked flawlessly with my stack and I was able to get the OSD data to the DJI goggles.
Around the sametime I built the squirt, NurkFPV released a new video on youtube called "How to Build a Cinewhoop Drone for Cinematic FPV Shots in 2020," that was published on March 26, 2020. I did not come across that video until today (March 30, 2020), but in the description of that video he included a link to his website that shows his PIDs. But as of now, I am using stock BF 4.1 PIDs and the rates NukeFPV uses:
RC Rates for Roll, Pitch, and Yaw is: .80
Super Rates for Roll, Pitch, and Yaw is: .80
The reason why I even started with this PID and Rate setup is because that is what Rotor Riot has on their Squirt v2 (Joshua Bardwell's Youtube video "Best Cinewhoop" Jan 29, 2020). I do have to say, the stock PIDs seems to work pretty well so far. I will update this page later when I try out NurkFPV's PIDs.
Flight Times
After doing a bunch of flight test on this rebuild, I have very happy with the DJI FPV system. The FPV video quality is amazing and it is difficult going back to analog now. Without a doubt this is worth the investment, however; it does come with a heavy cost! The flight time have suffered significantly. Now, I only get about three and half minutes of flight time, compared to the five plus minutes that I use to get. At first, I thought it was my old 4s 850mah lipos were getting tired, but then I tried some brand new lipos and still got the same flight times. As of now the only lipos I have tried are:
- Tattu 850mAh 4S 14.8V 75C (~104g)
- CNHL MiniStar 850mAh 14.8V 4S 70C (~110g)
How much flight time will I gain with a larger capacity lipo, if any at all. Here are 2 lipos I plane to use:
- Pyrodrone Graphene 1000mAh 4S 14.8V 95C(~145g)
- Gaoneng GNB 1300mAh 4S 14.8v 120C (~166g)
After my first flight with these brand new lipos, here are my flight times. As a side note, I unknowingly over discharged the lipos trying while I was trying to maximum the flight times.
- 4:50 - Pyrodrone Graphene 1000mAh 4s – 1030mah was charged back in to the lipo
- 5:20 - Gaoneng GNB 1300mAh 4S – 1242 was charged back in to the lipo
This is only a test to see how the Squirt will do with larger capacity lipos and if it is able to carry the extra weight. This is not a scientific test, nor did I stop each flight when it drops to a specific voltage. As you can see I flew the Pyrodrone Graphene lipo beyond the rated capacity.
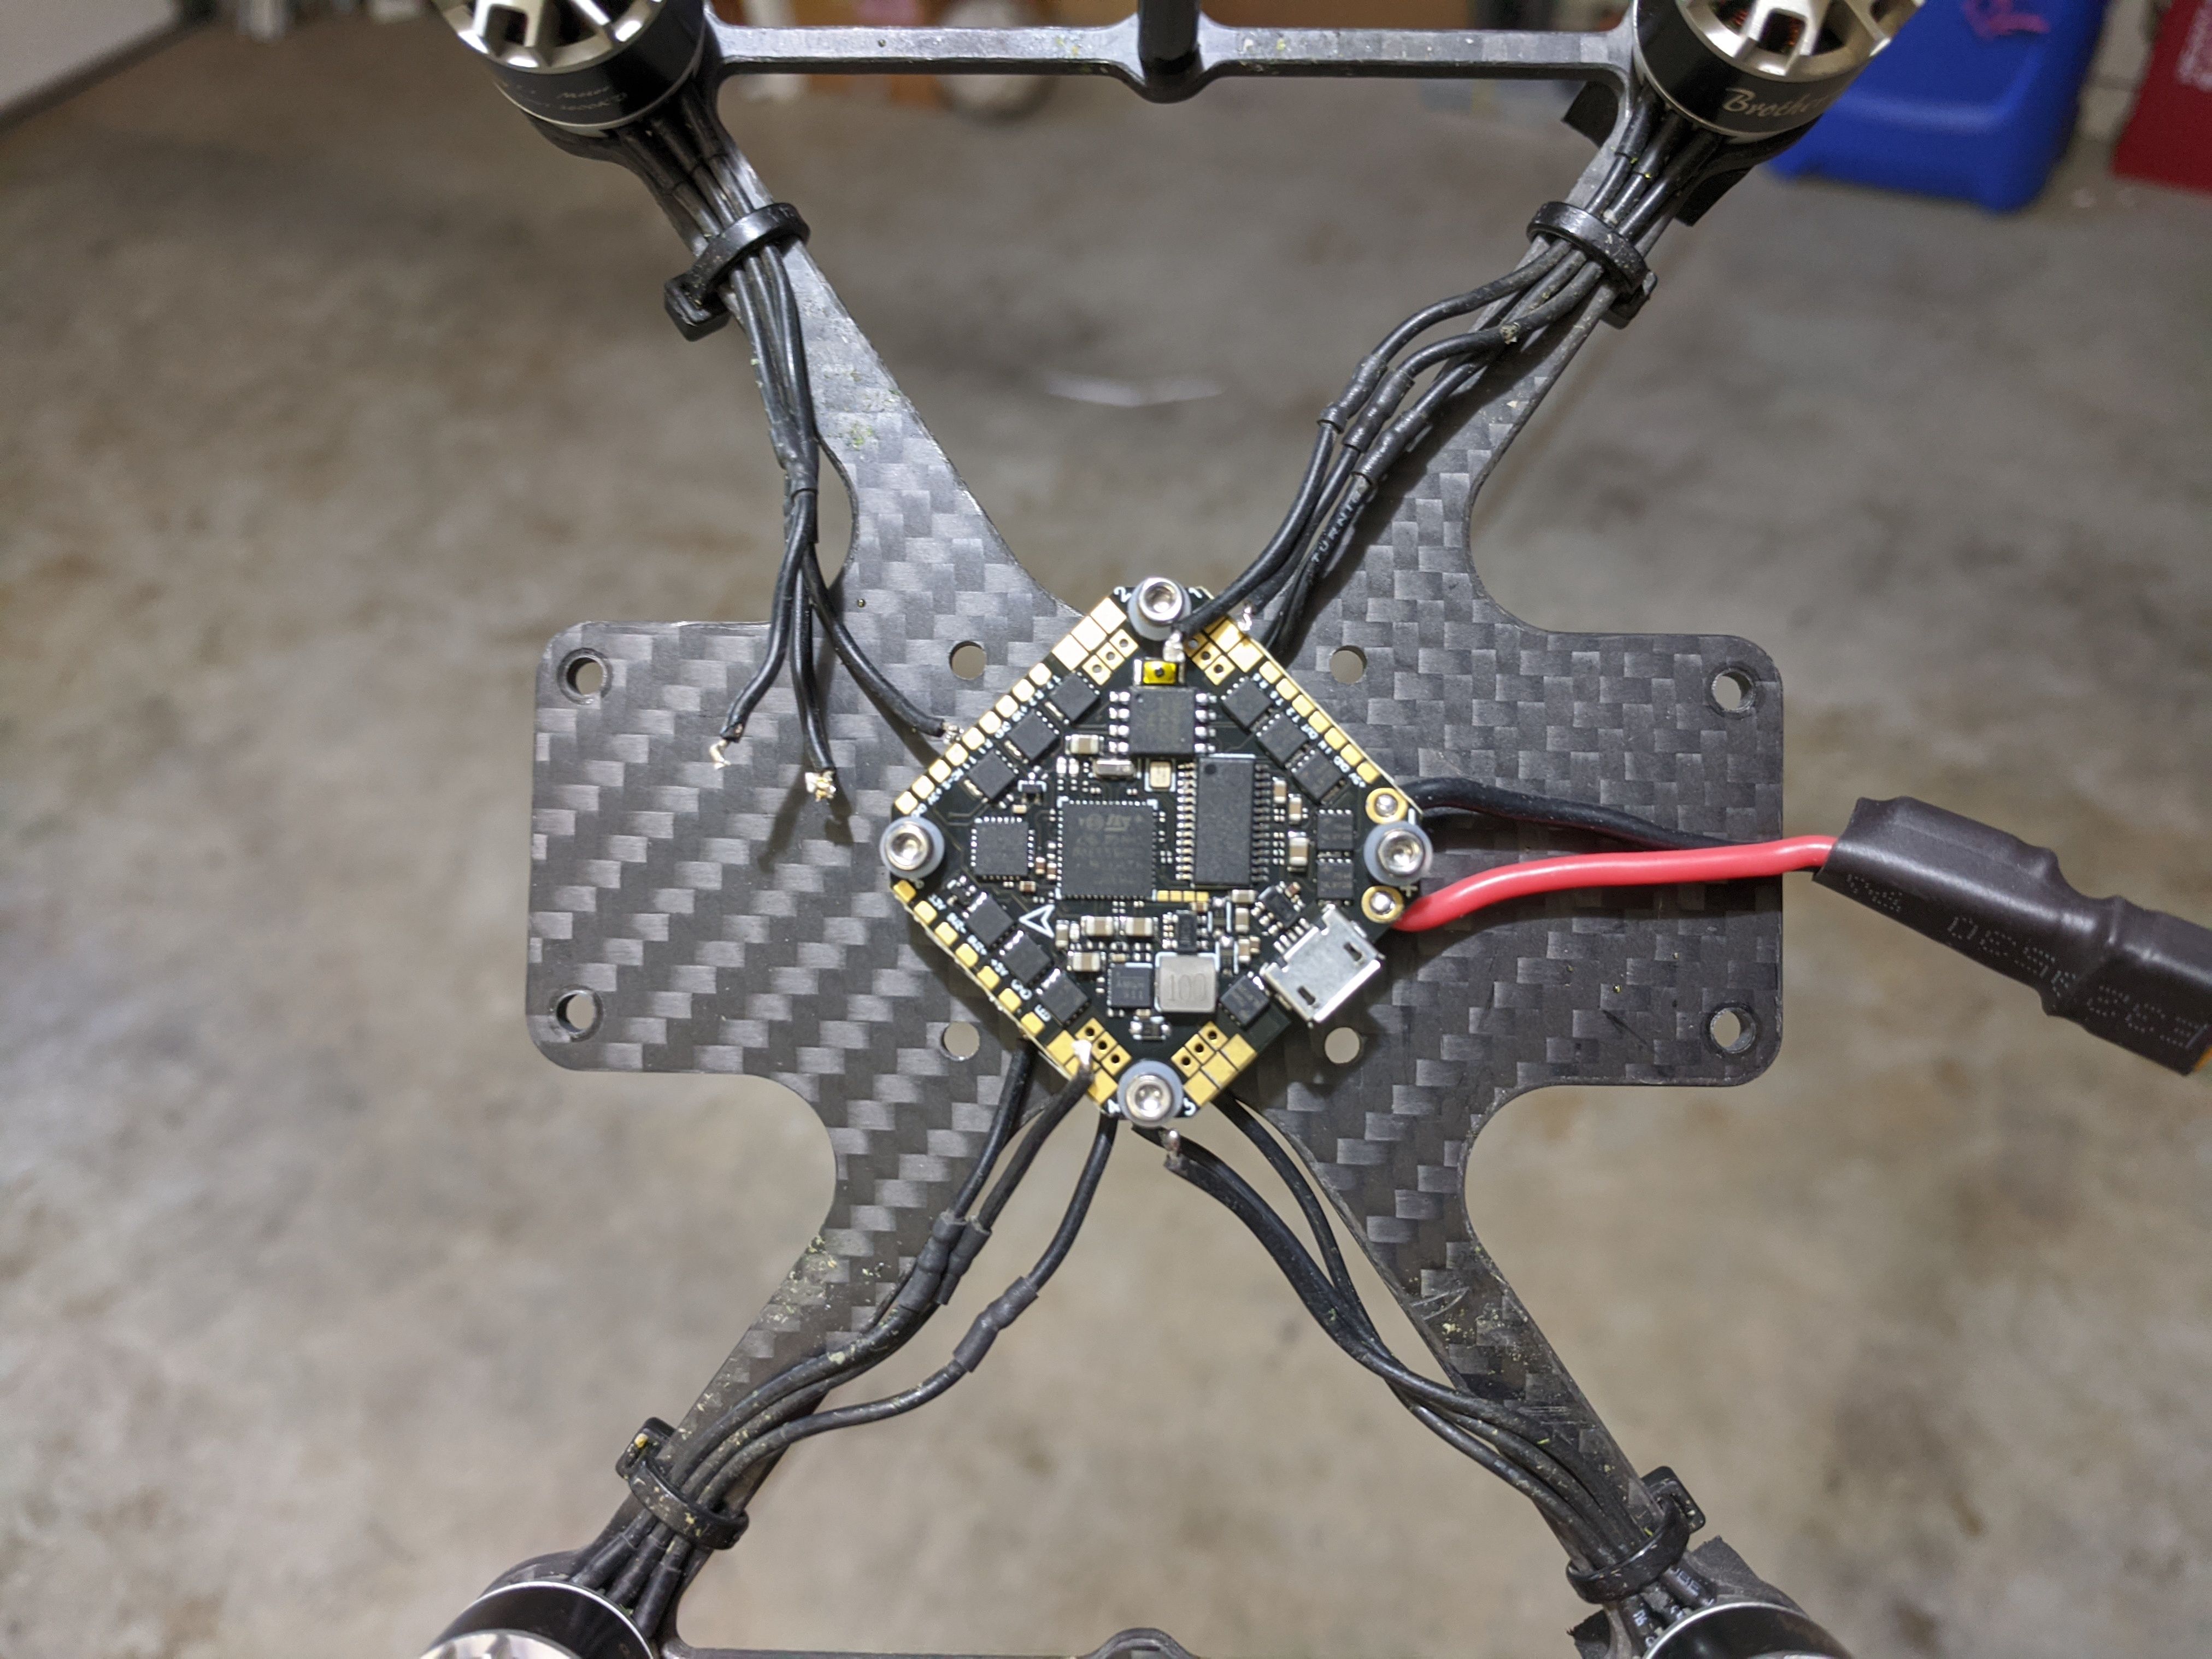
New Flight Stack
After a minor crash I neglected to see that battery wires ended up in the pops. When I tried to take off, it started to slice and dice the wires. Both the positive and negative wire were exposed, and it cut through the current sensor. I am guessing the current sensor wire might have touched the positive lead because the FC is no longer responding. After repairing the wires, when I plug in the battery the start up tones will begin but not finish.
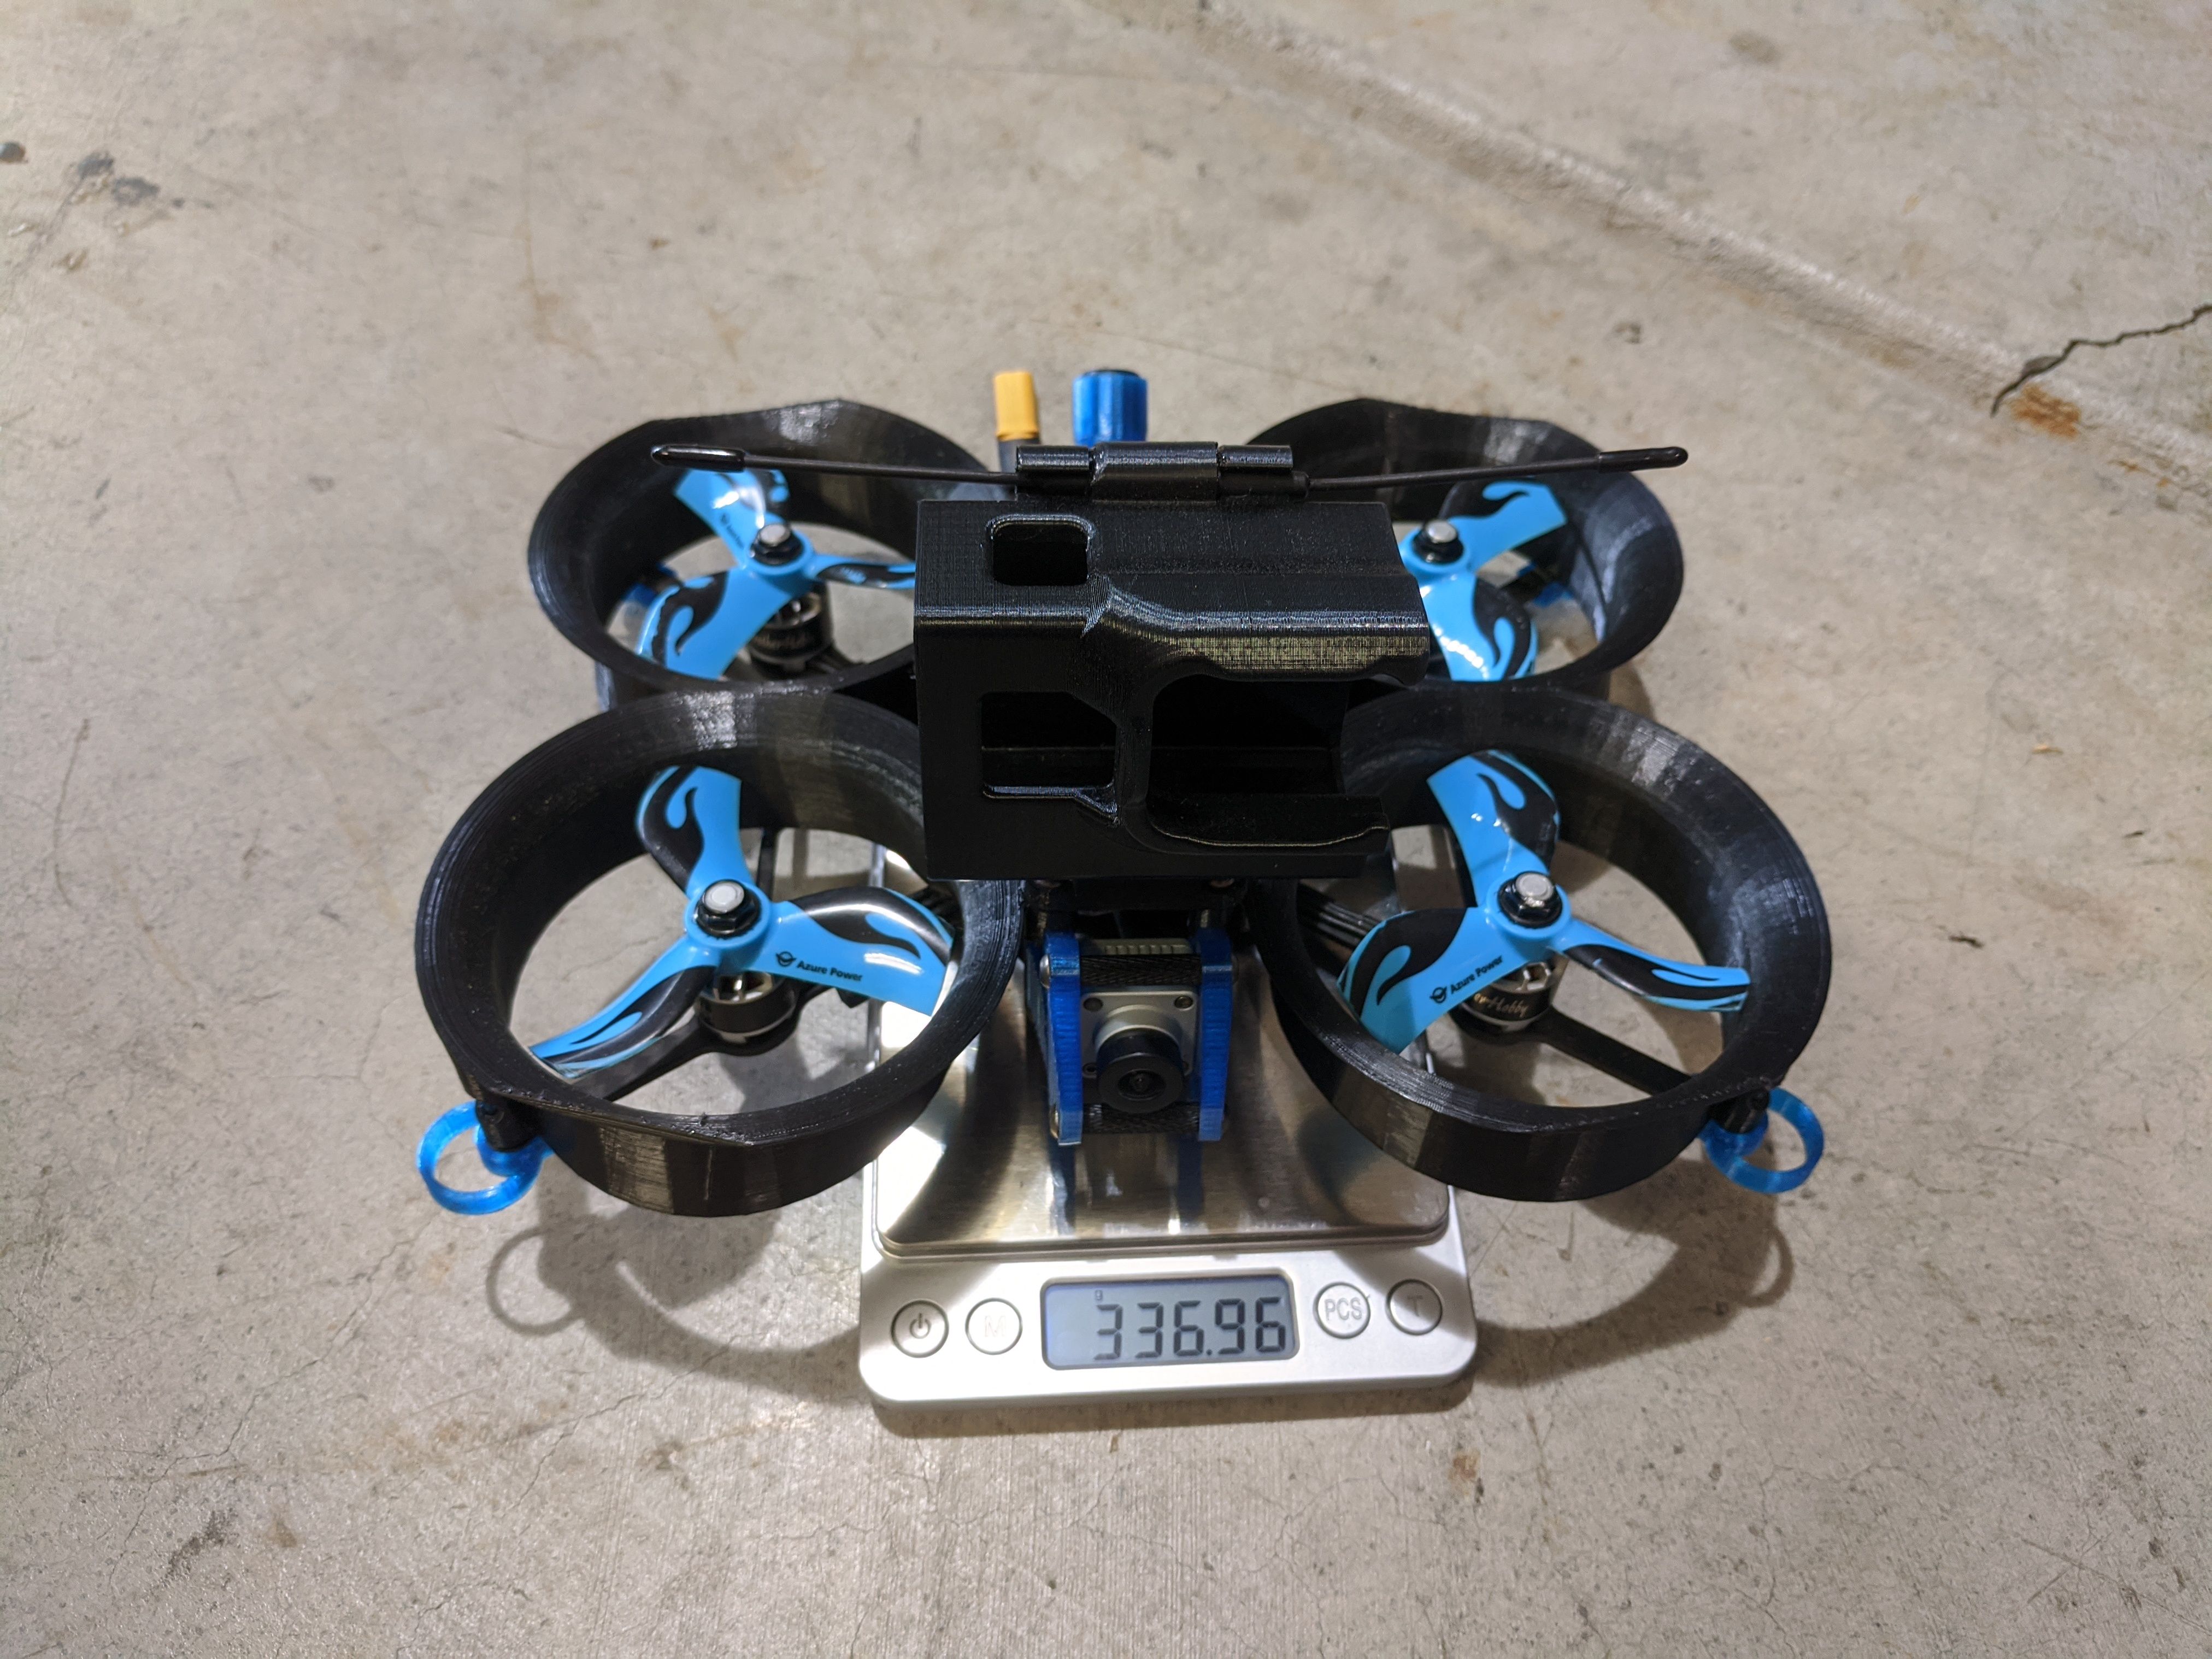
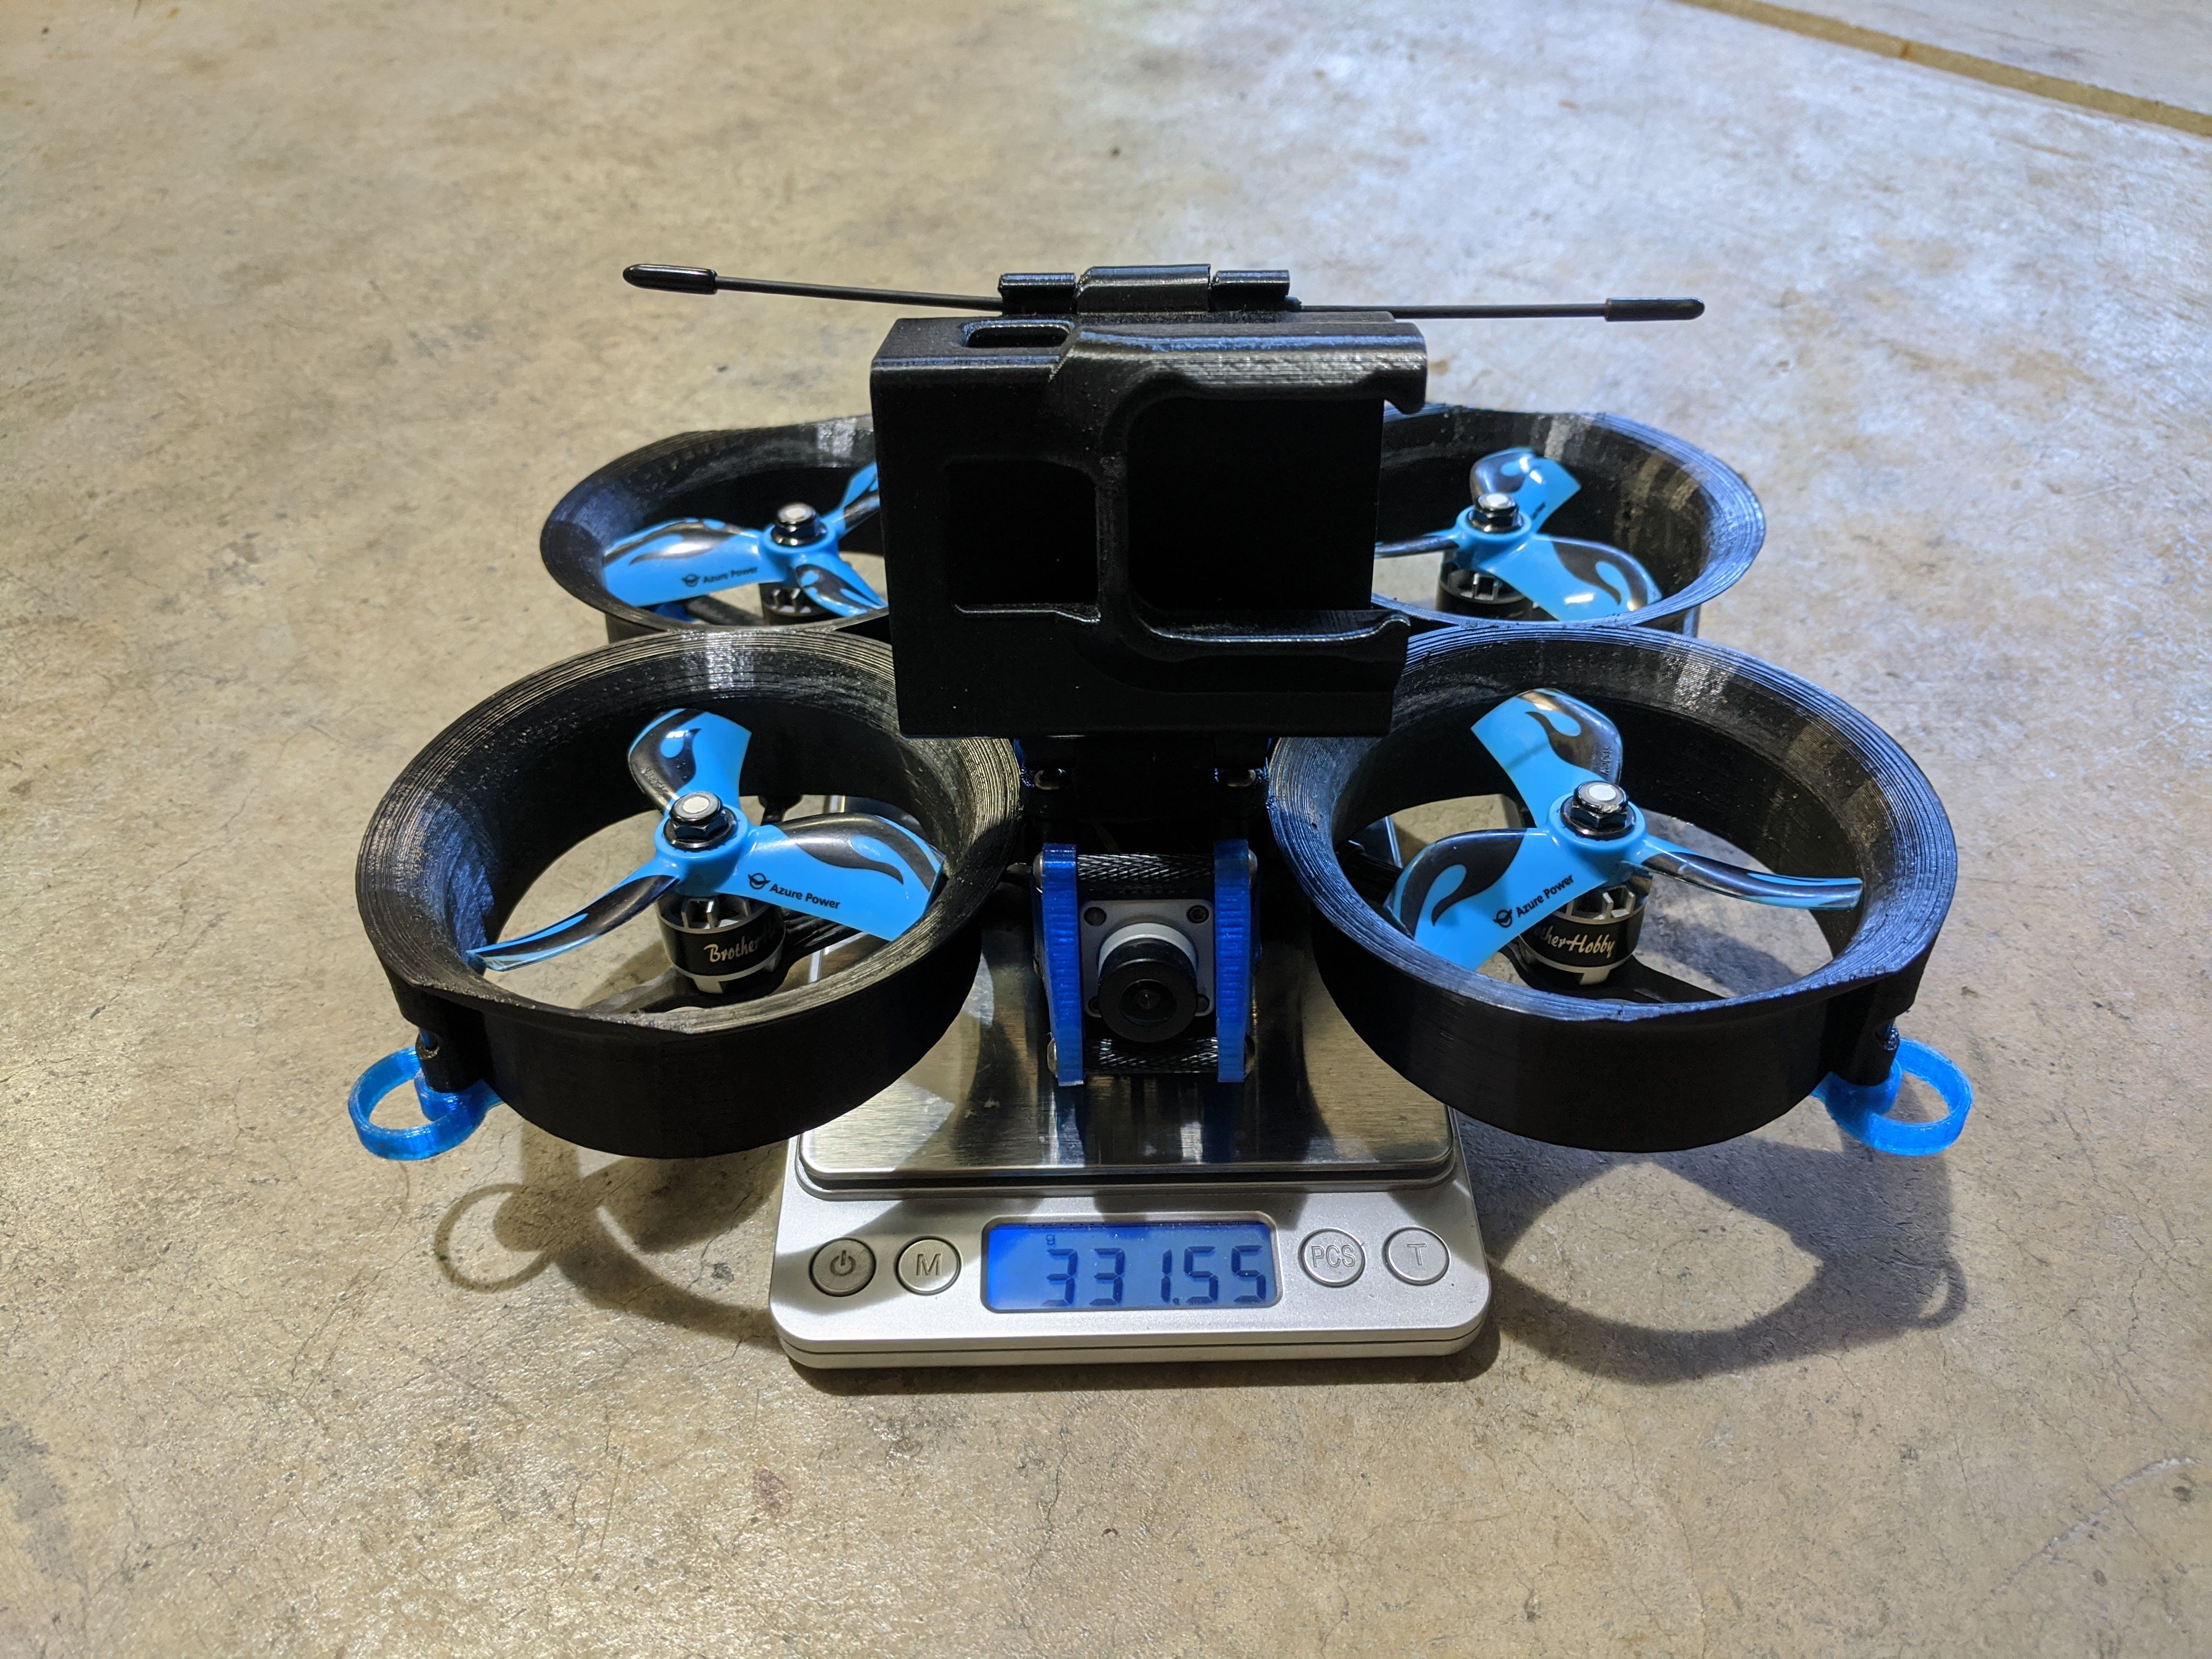
This would be a great opportunity to try something different, like a BetaFPV 20a AIO tiny whoop format board. I 3D printed a 20x20 to Whoop board adapter and everything else was straight forward. After everything was mounted up the total weight ended up being 331g. I lost about 9g with this conversion. I think the weight difference is not from the 20x20 stack but also the shorter standoff. With the HGLTC F420 stack, I used 5mm taller standoff because the 20x20 stack was too tall and the DJI air unit would not fit. So, when I switched to the TW board, I can go back to the original standoff.
This was a short-lived test that I should have given it more time to fine tune it. Overall, it flew fine but it felt kind of awkward because I was having some strange problems that I have not encounter before. The first problem is the voltage reading was off or not working. About 2 minutes into the flight the voltage was stuck at 3.6v and 4 minutes into the flight I started to losing power because my lipo was completely drained. With the default setting from BF version 4.1.5 it was not as smooth as with the HGLRC F420 stack. And finially, it seems to have more latency with the FPV feed than I any of the quads that has the DJI system.
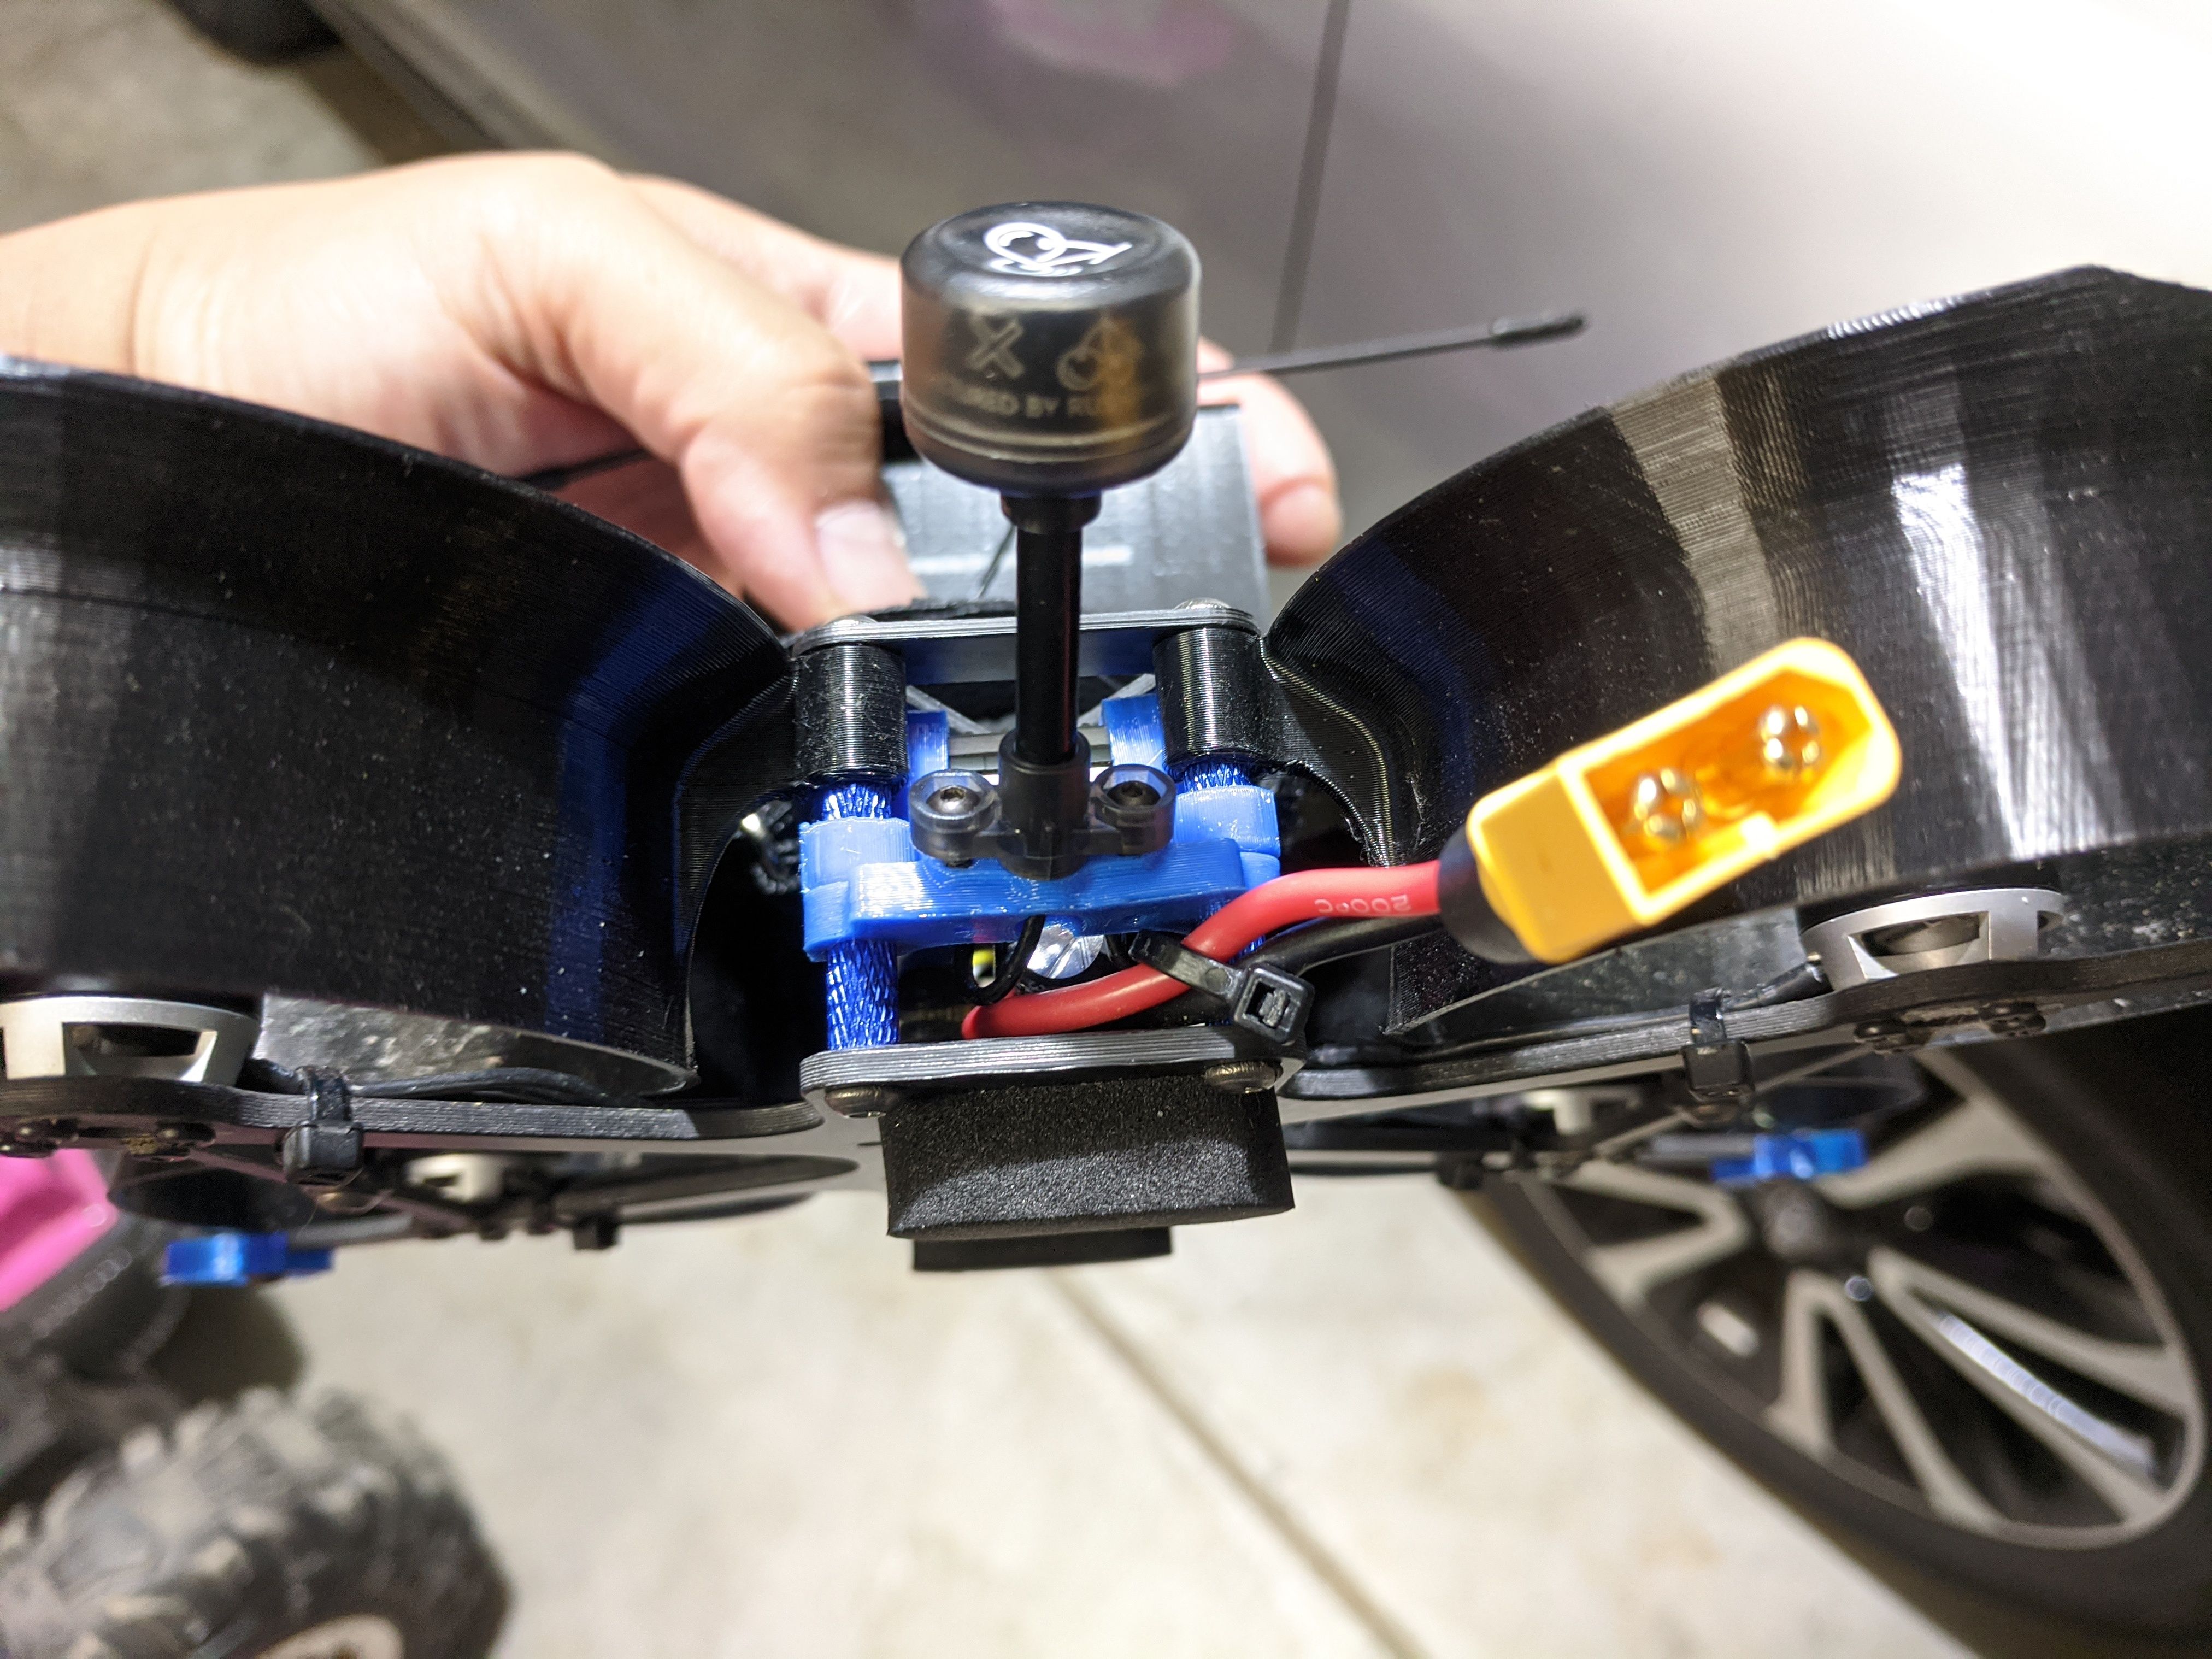
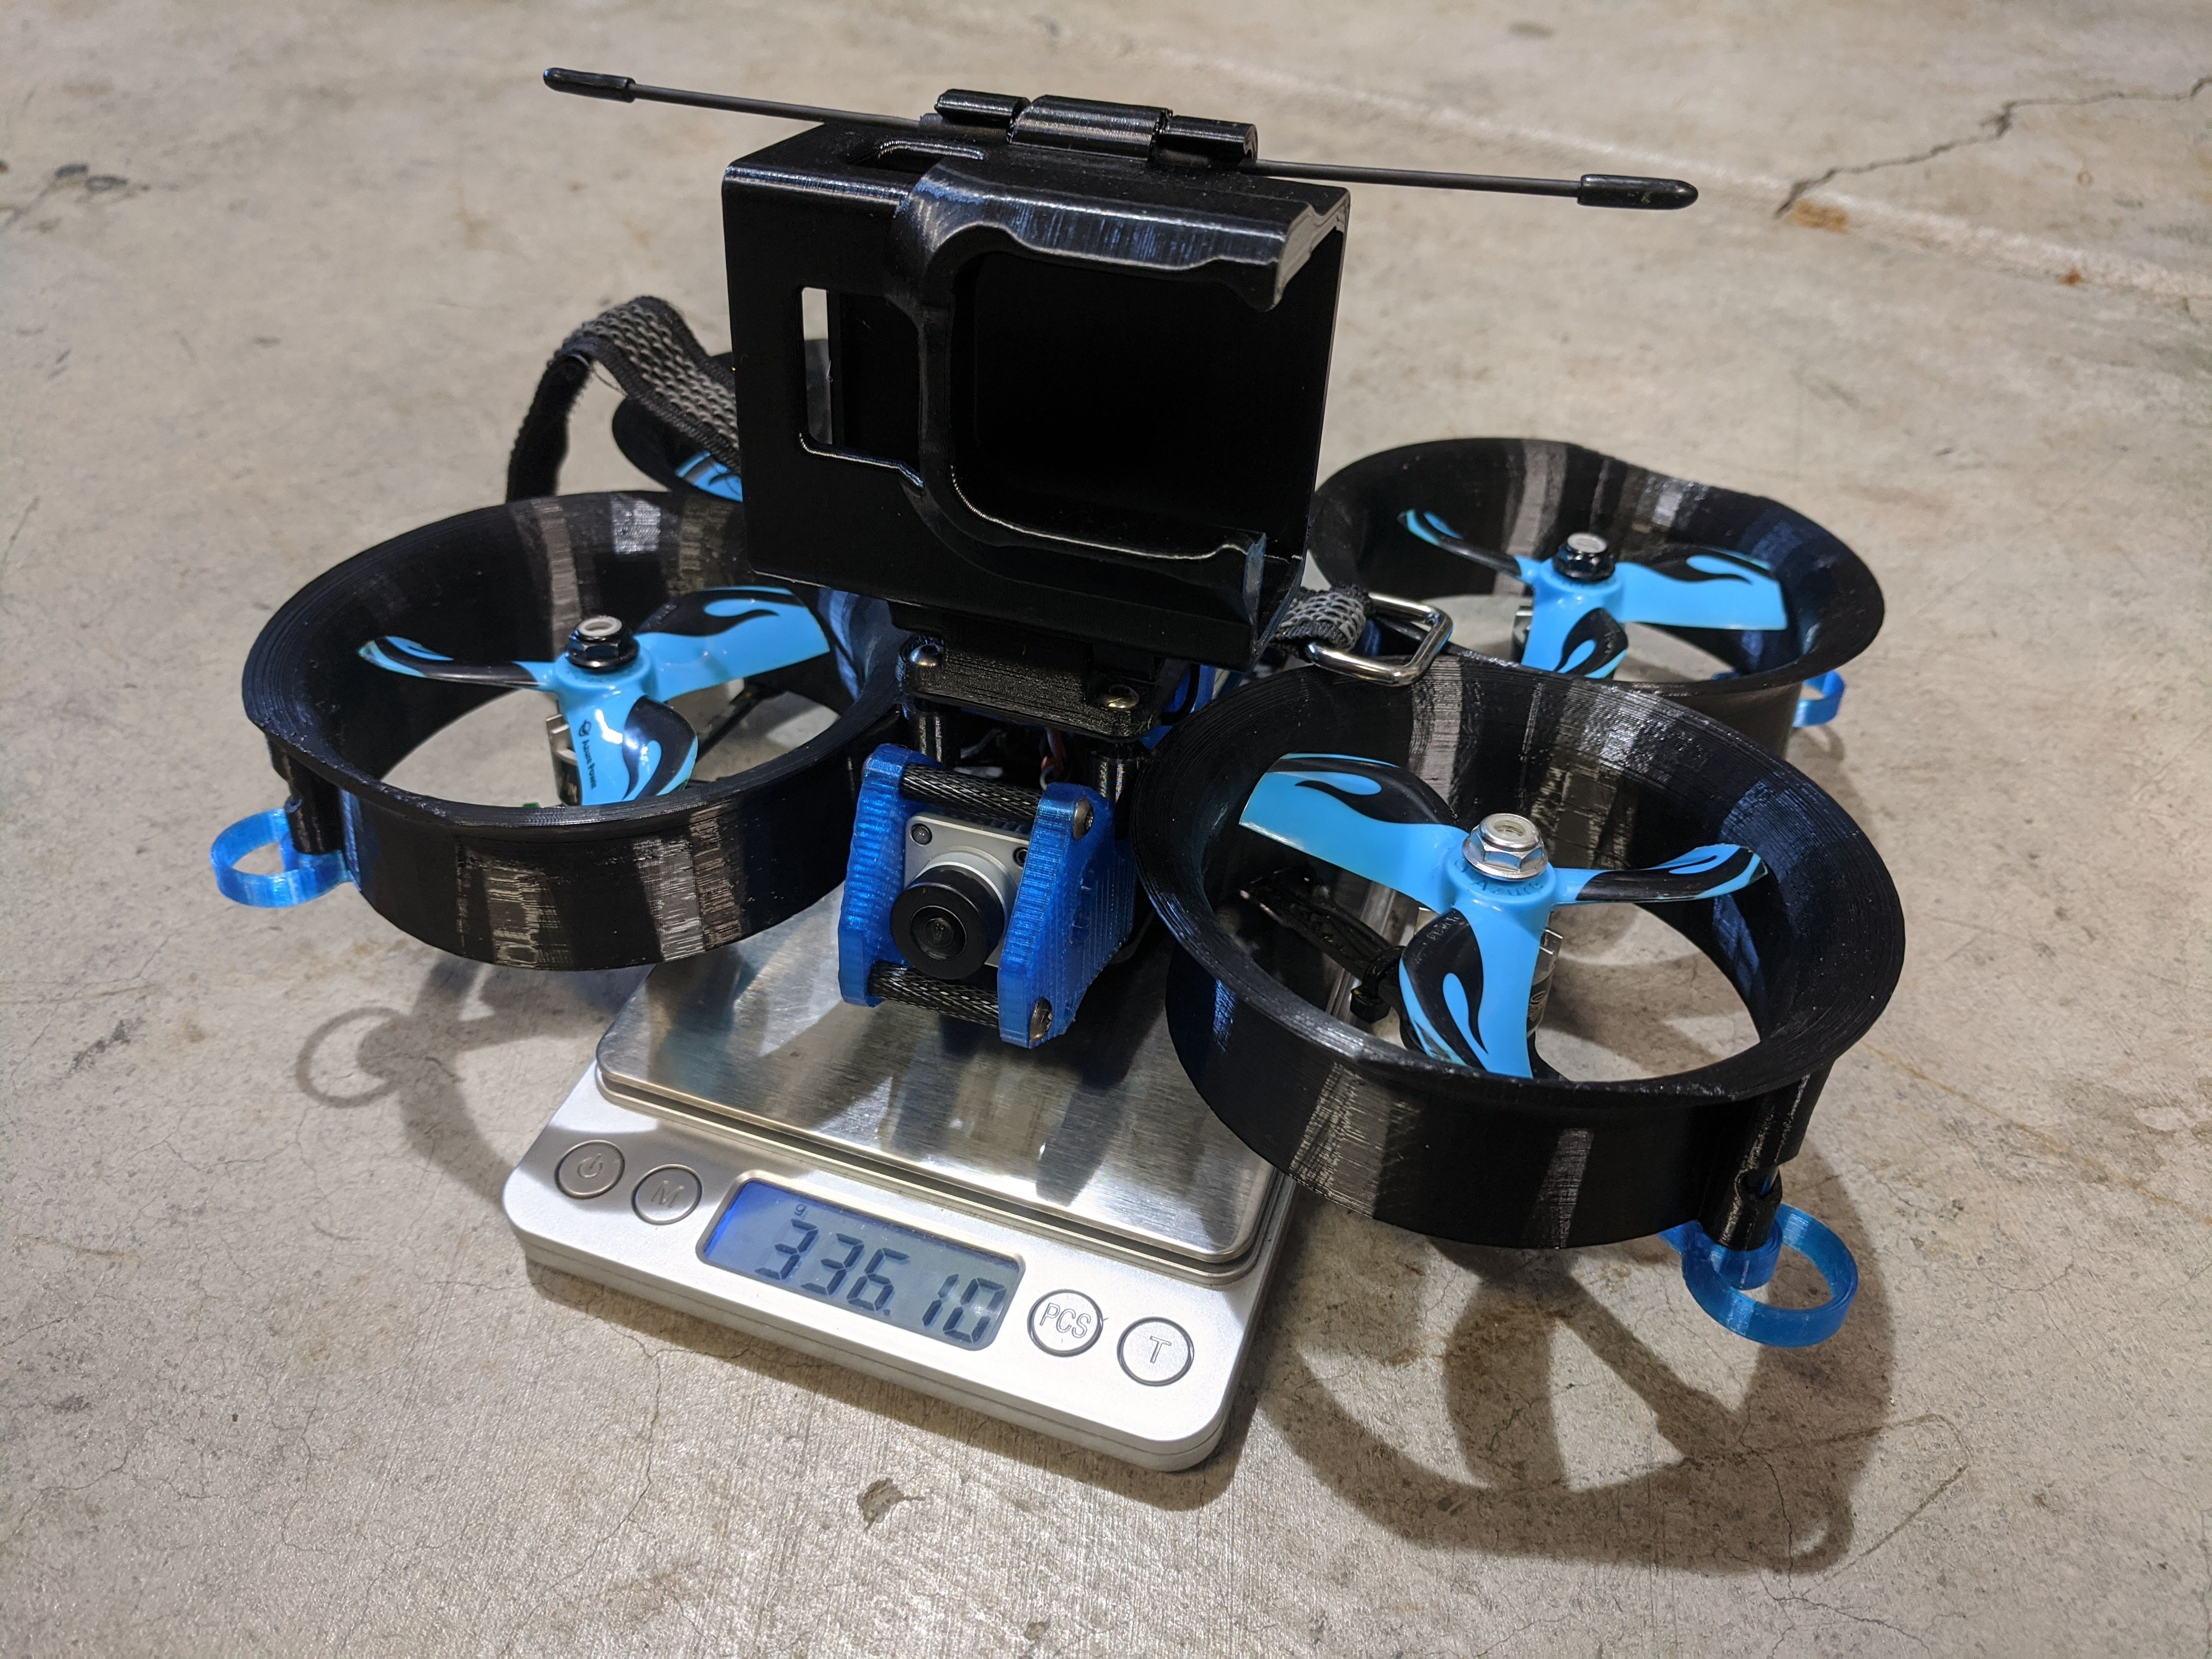
Before putting the TW 20a AIO board in, I originally planned to switch to a Talon F4 v2 and Aikon AK32 35a ESC. Then the TW AIO board arrived in the mail and I thought I would be interesting to try it on the squirt. As you can see, it did not work out so I when back to the Talon and AK32 setup. I was able to keep the stack under 16mm tall, so now I can mount the DJI Air Unit on top of the 20x20 stack without needing longer standoffs. The final weight is now 337g with the Talon F4 v2 and Aikon AK32 35a ESC.
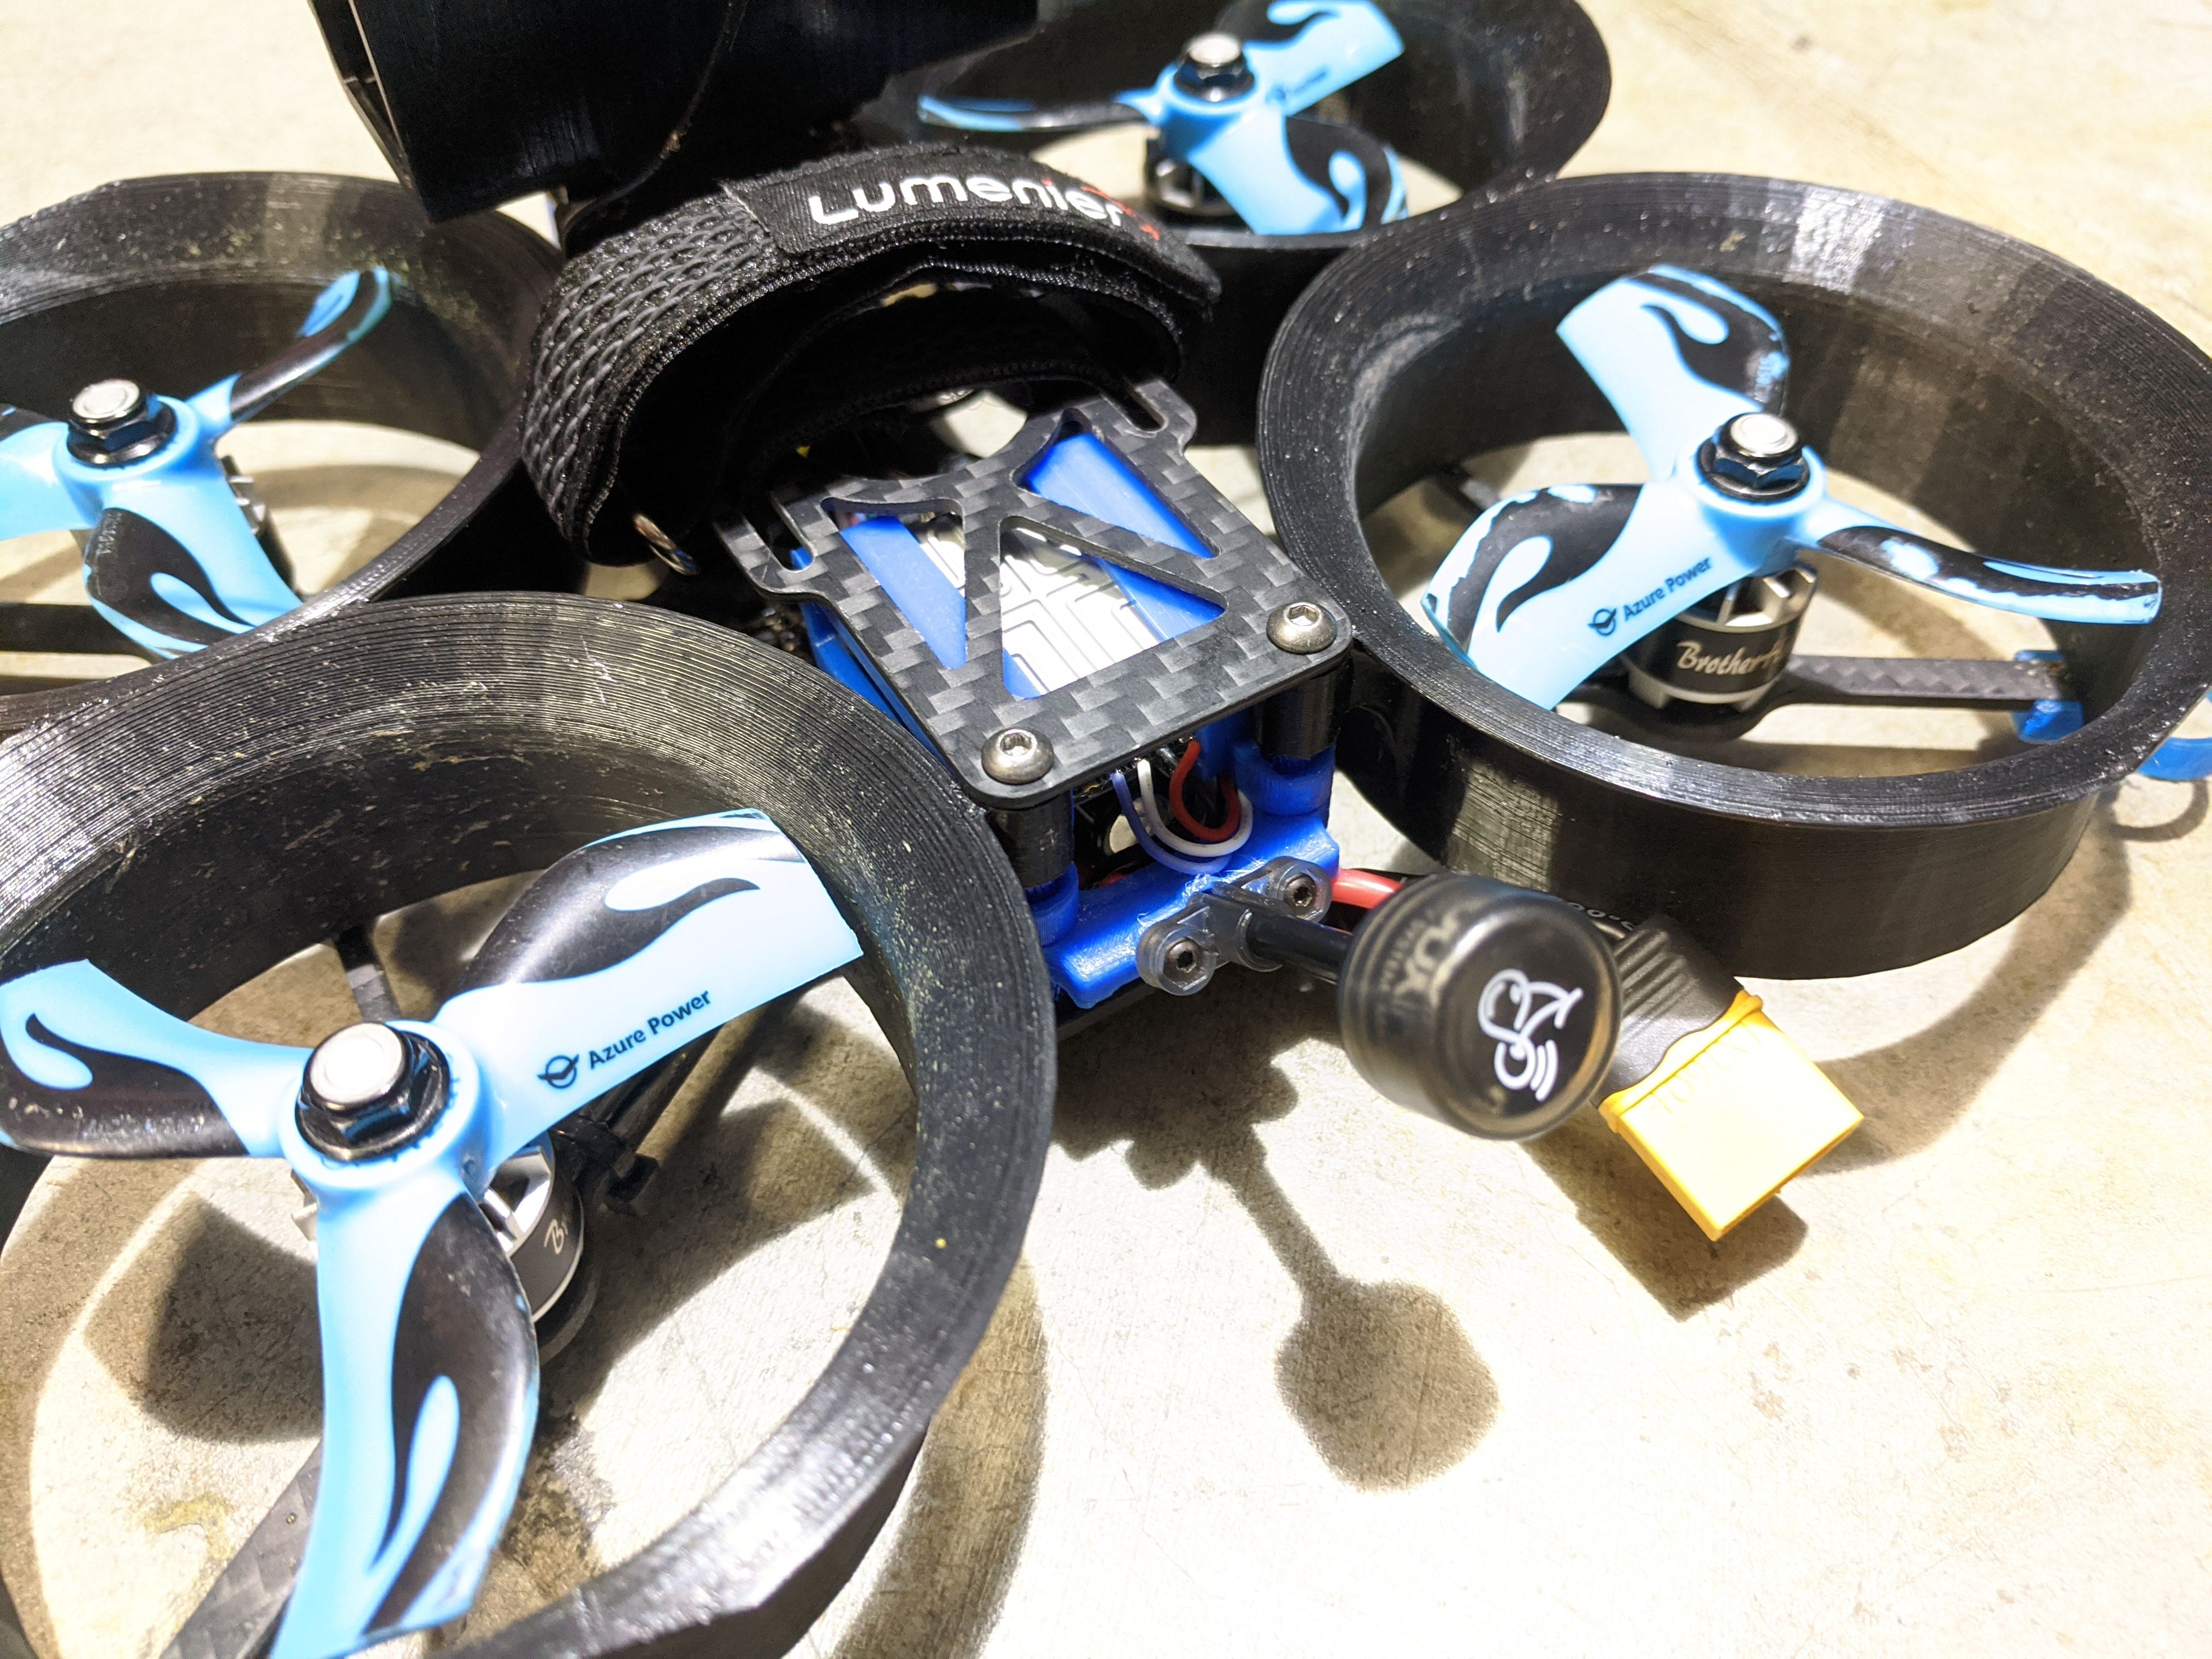
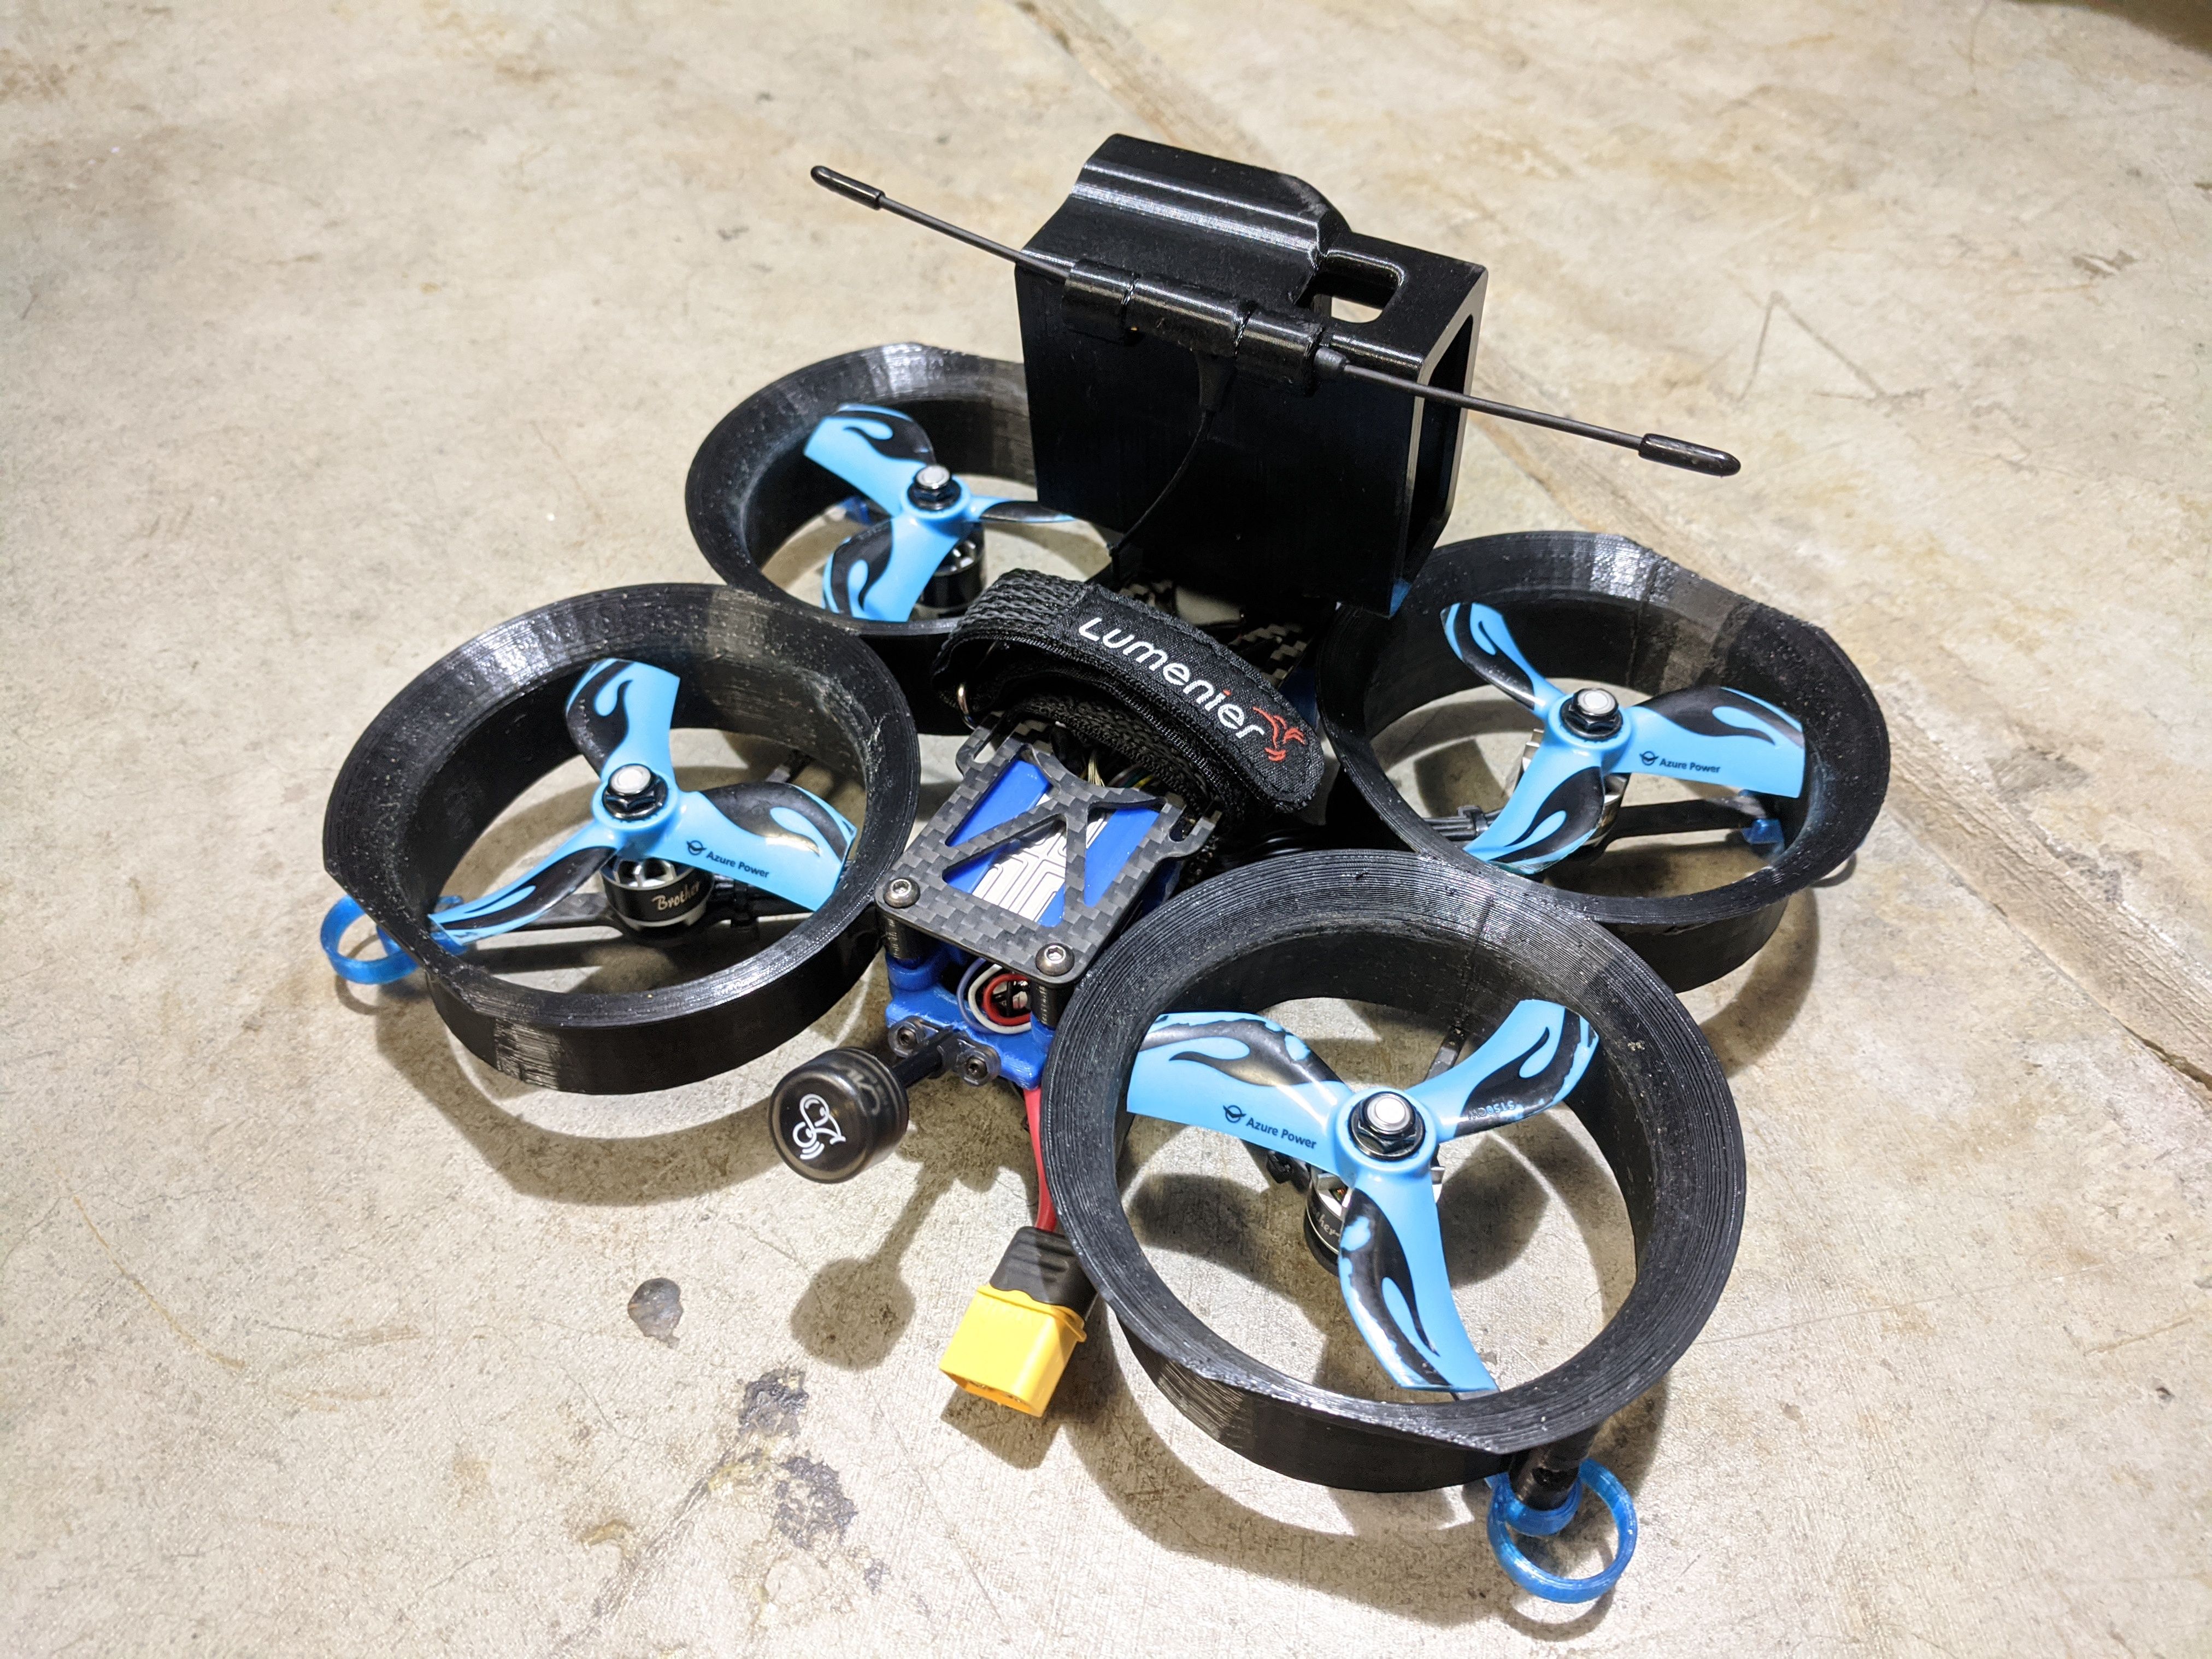
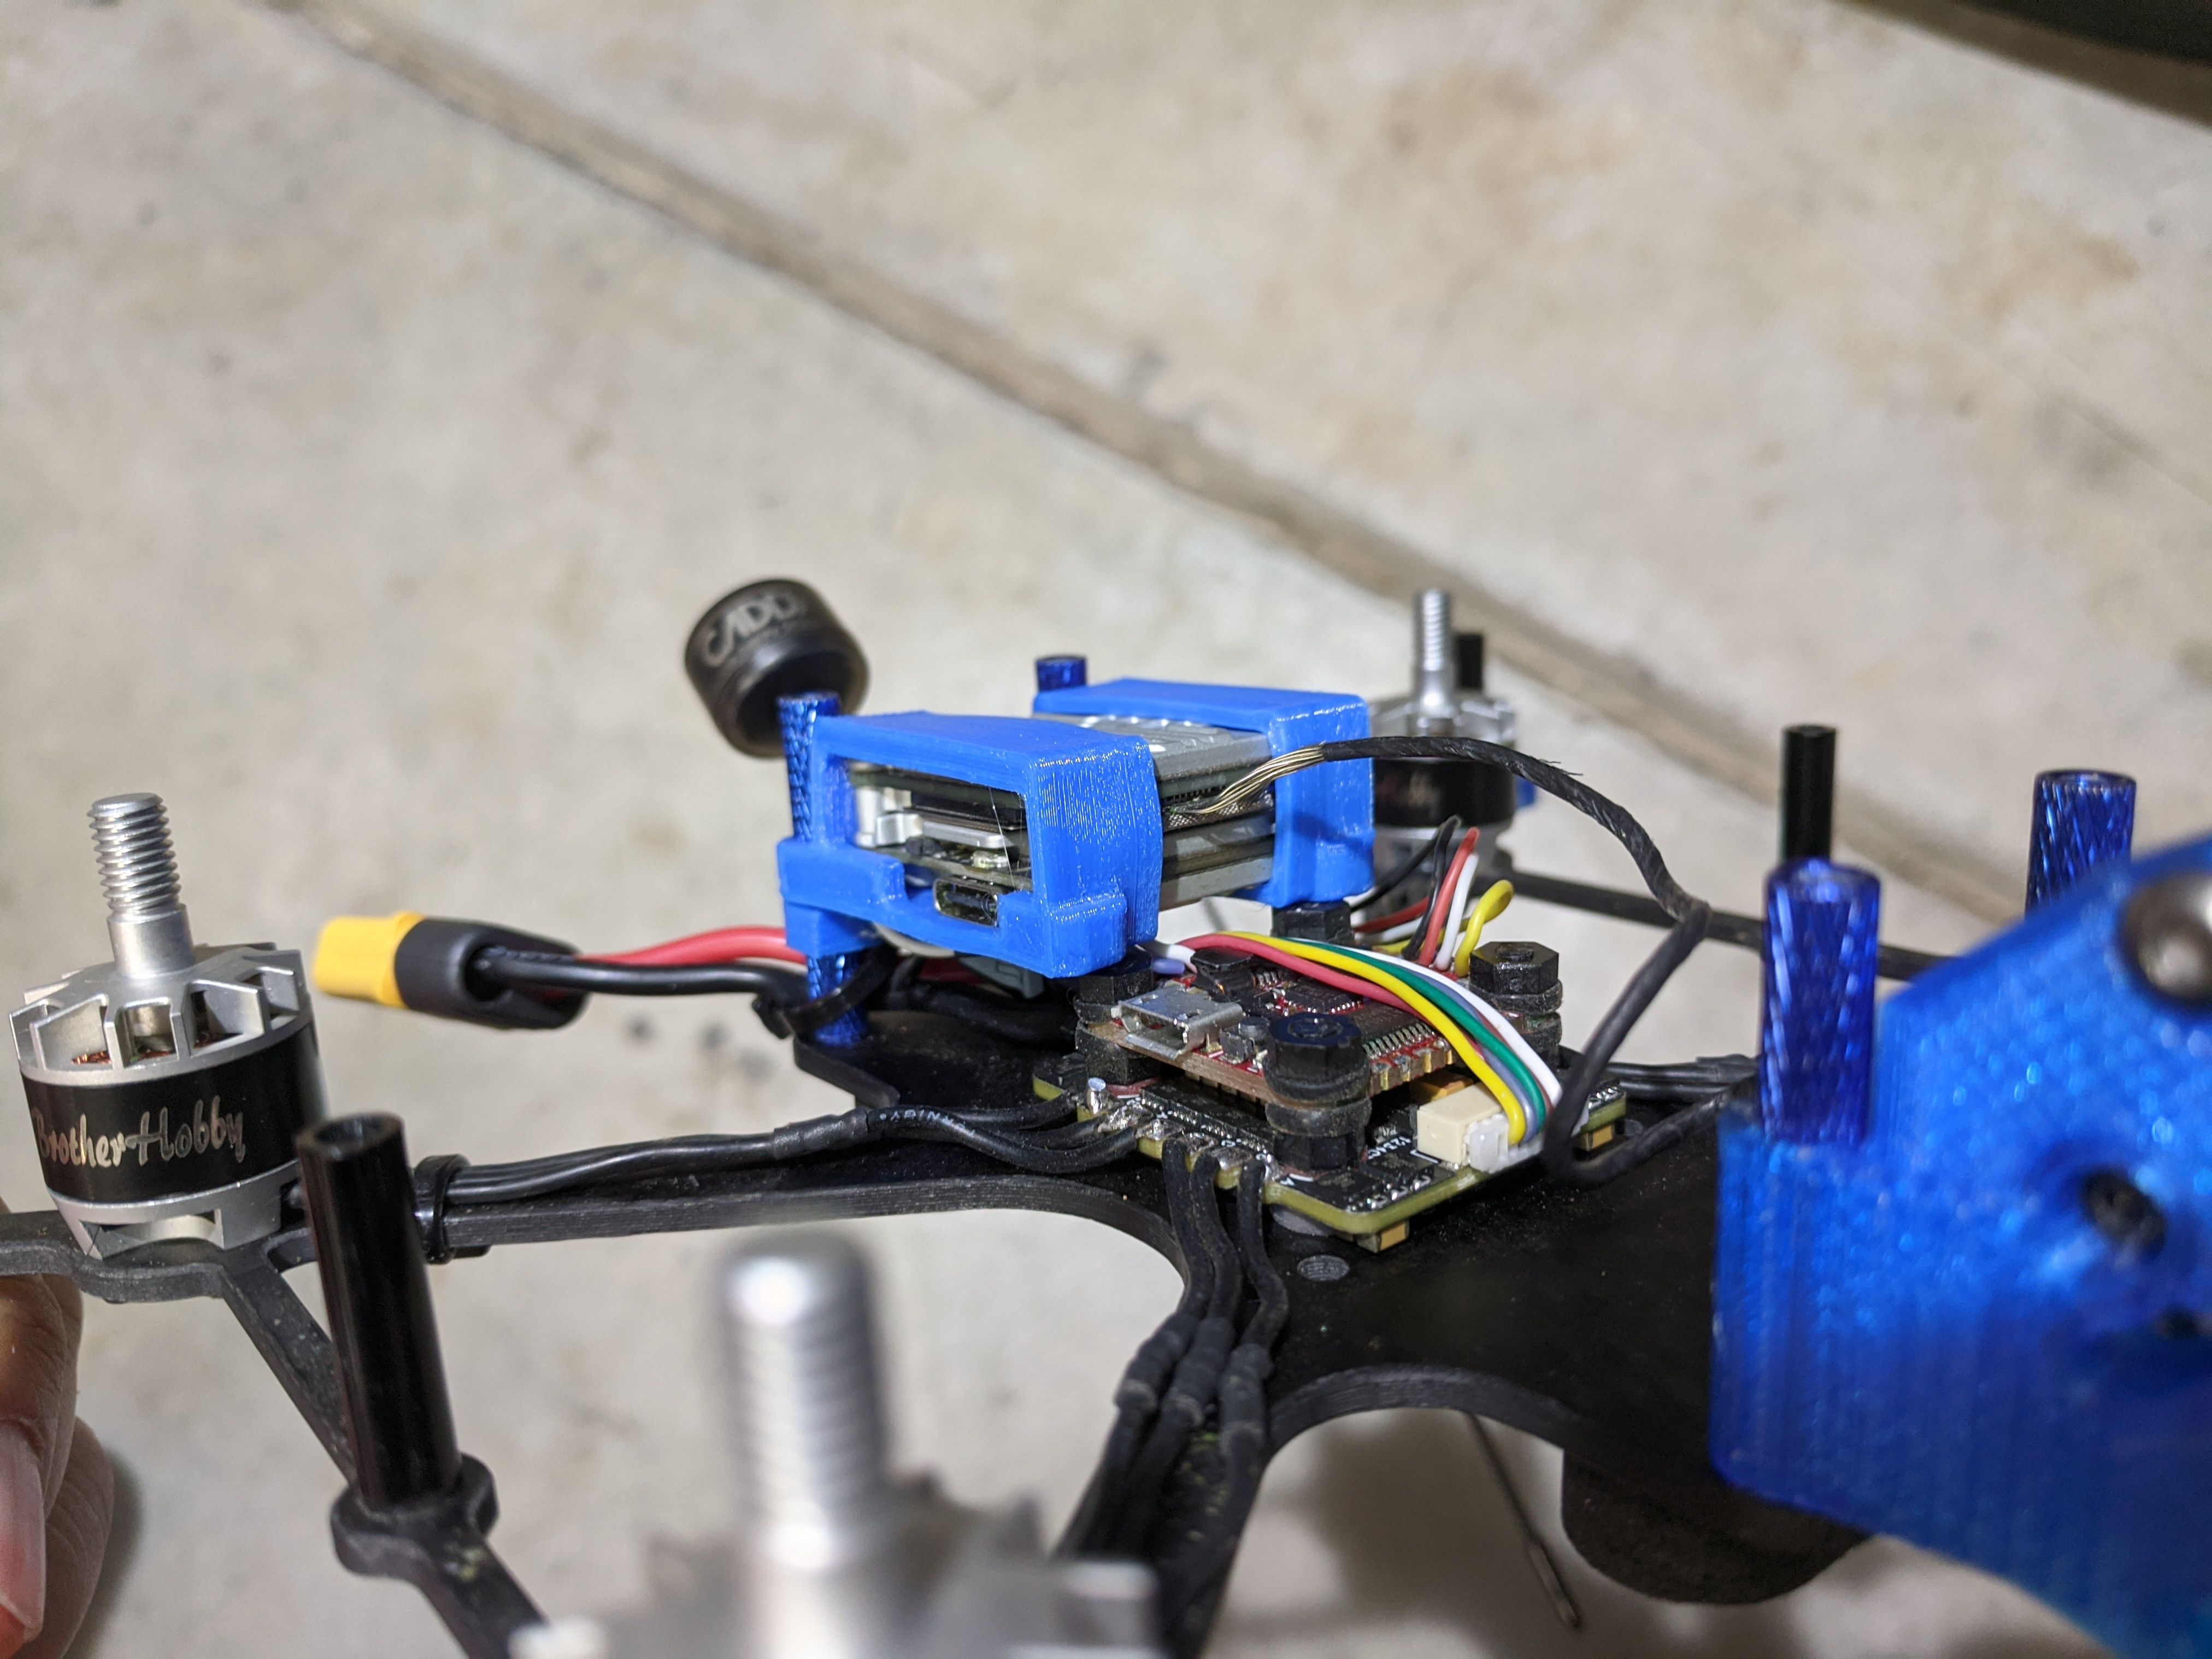
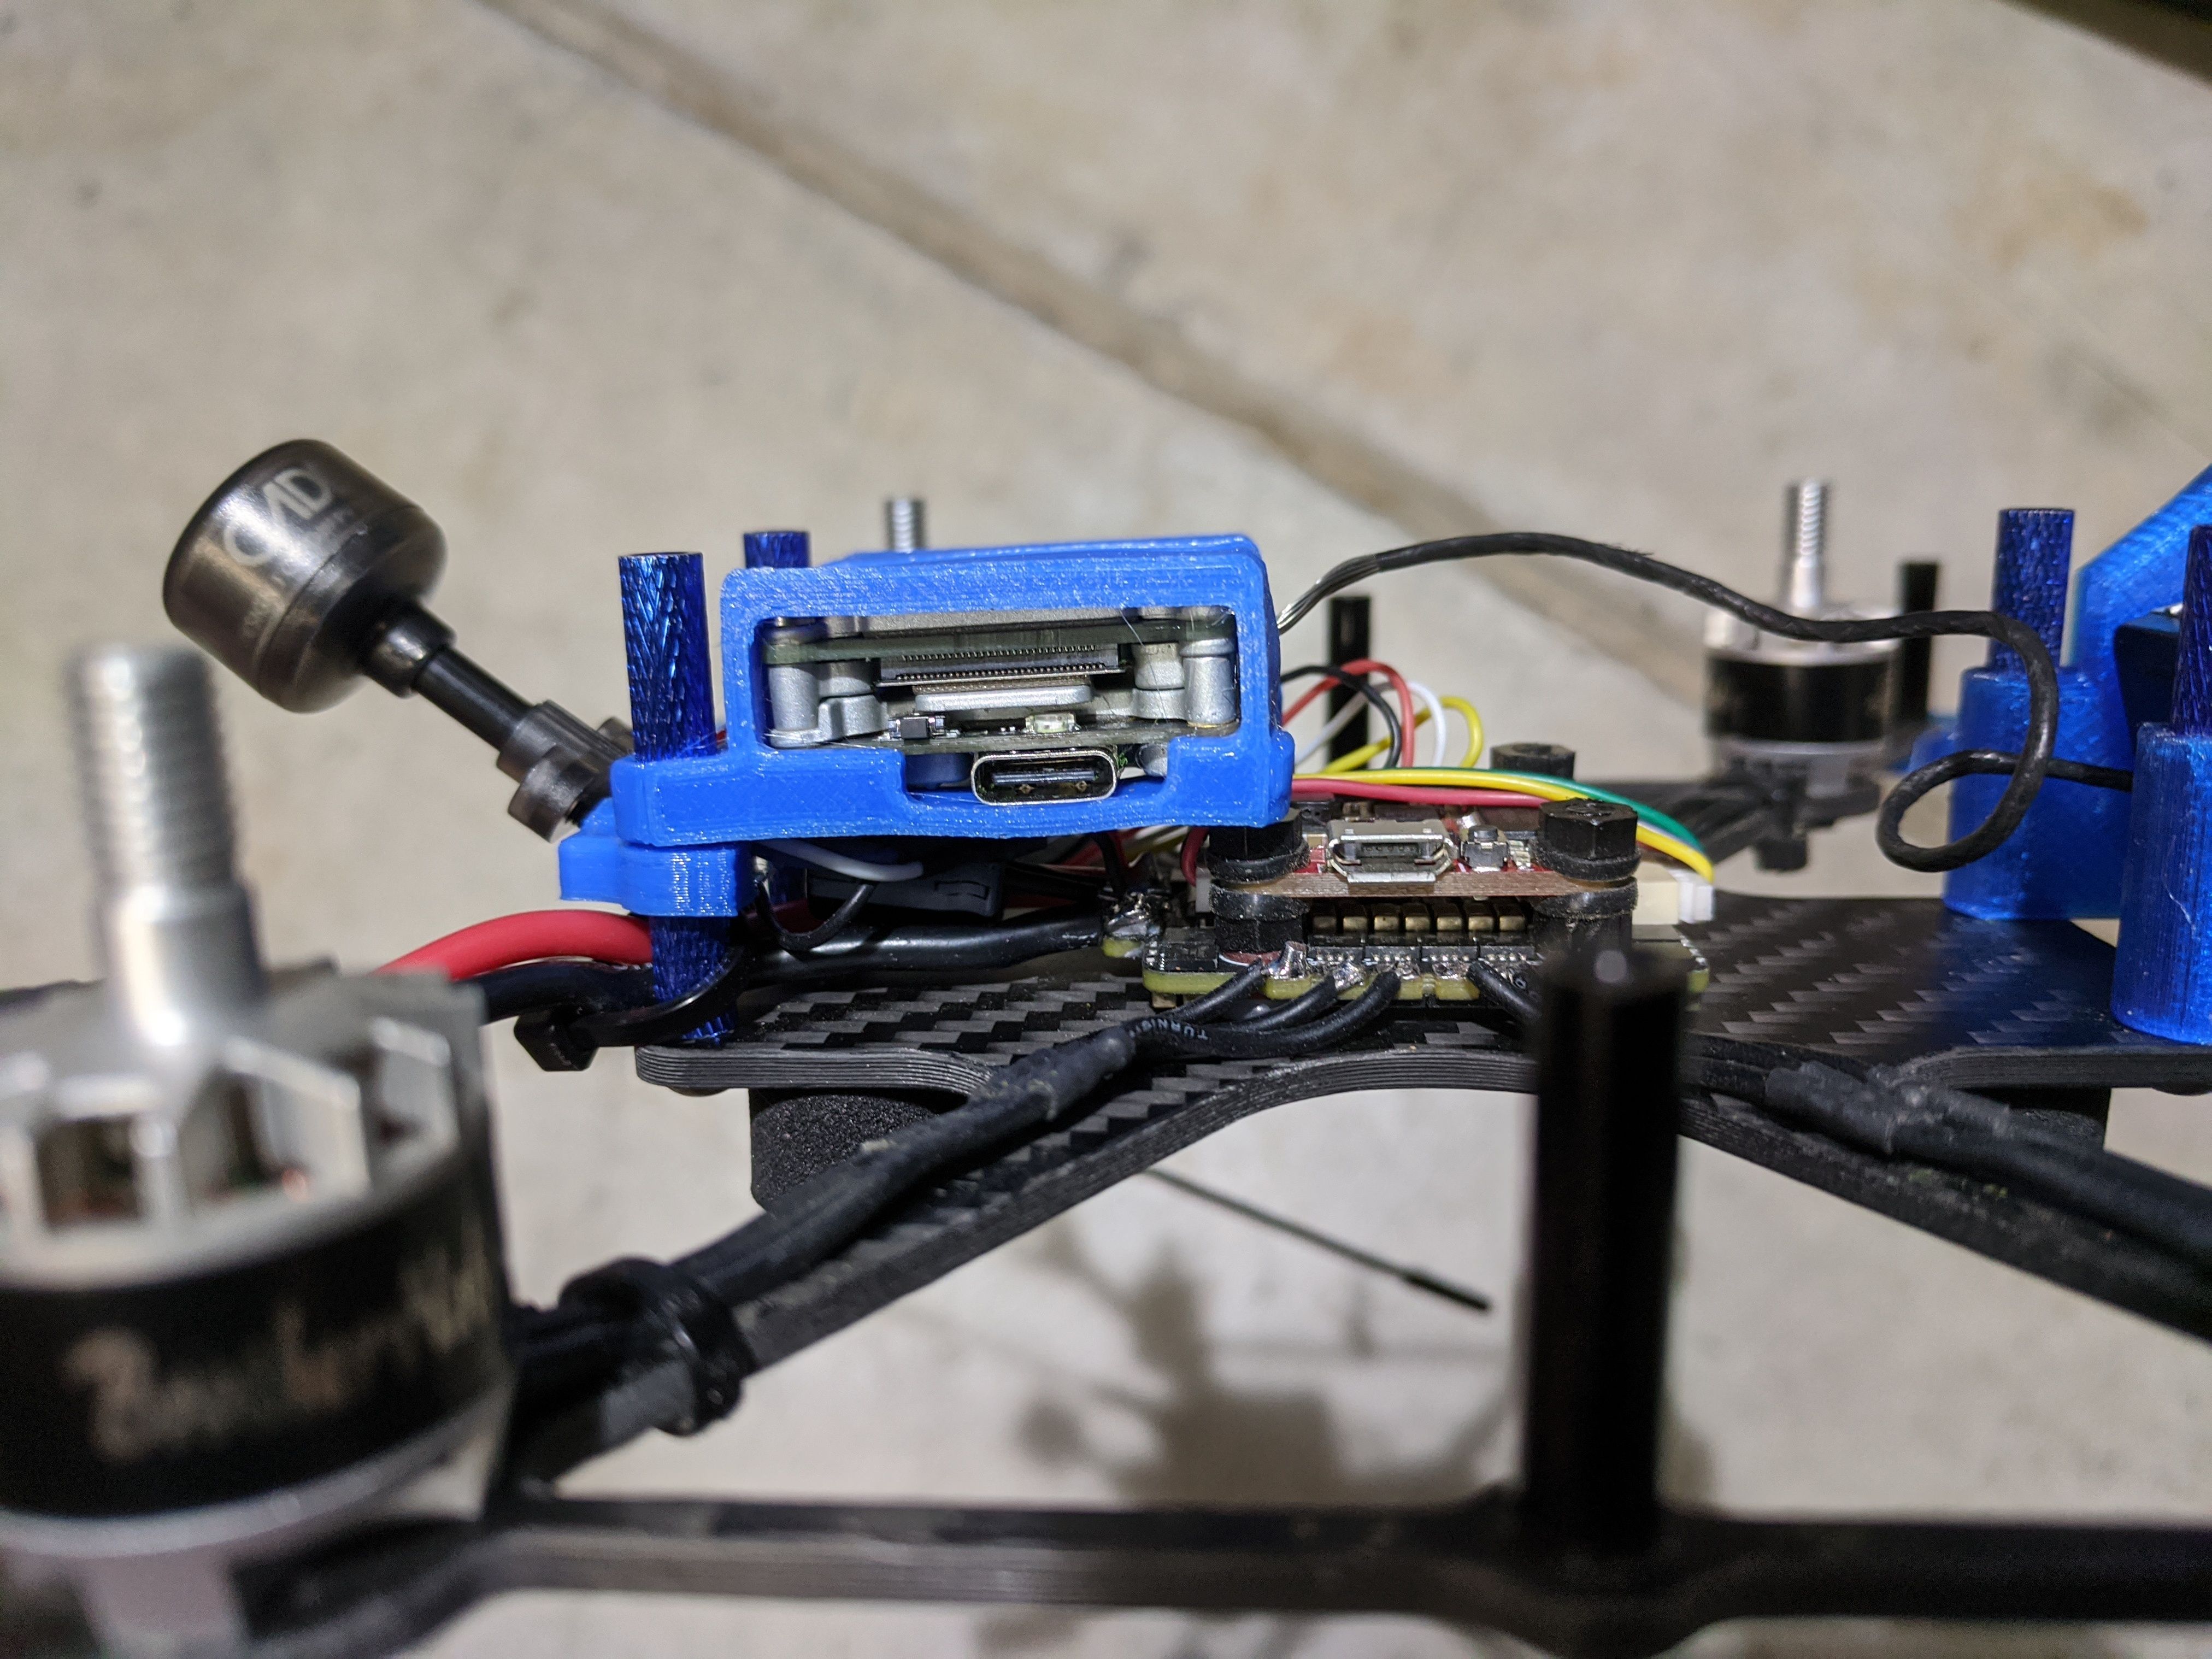
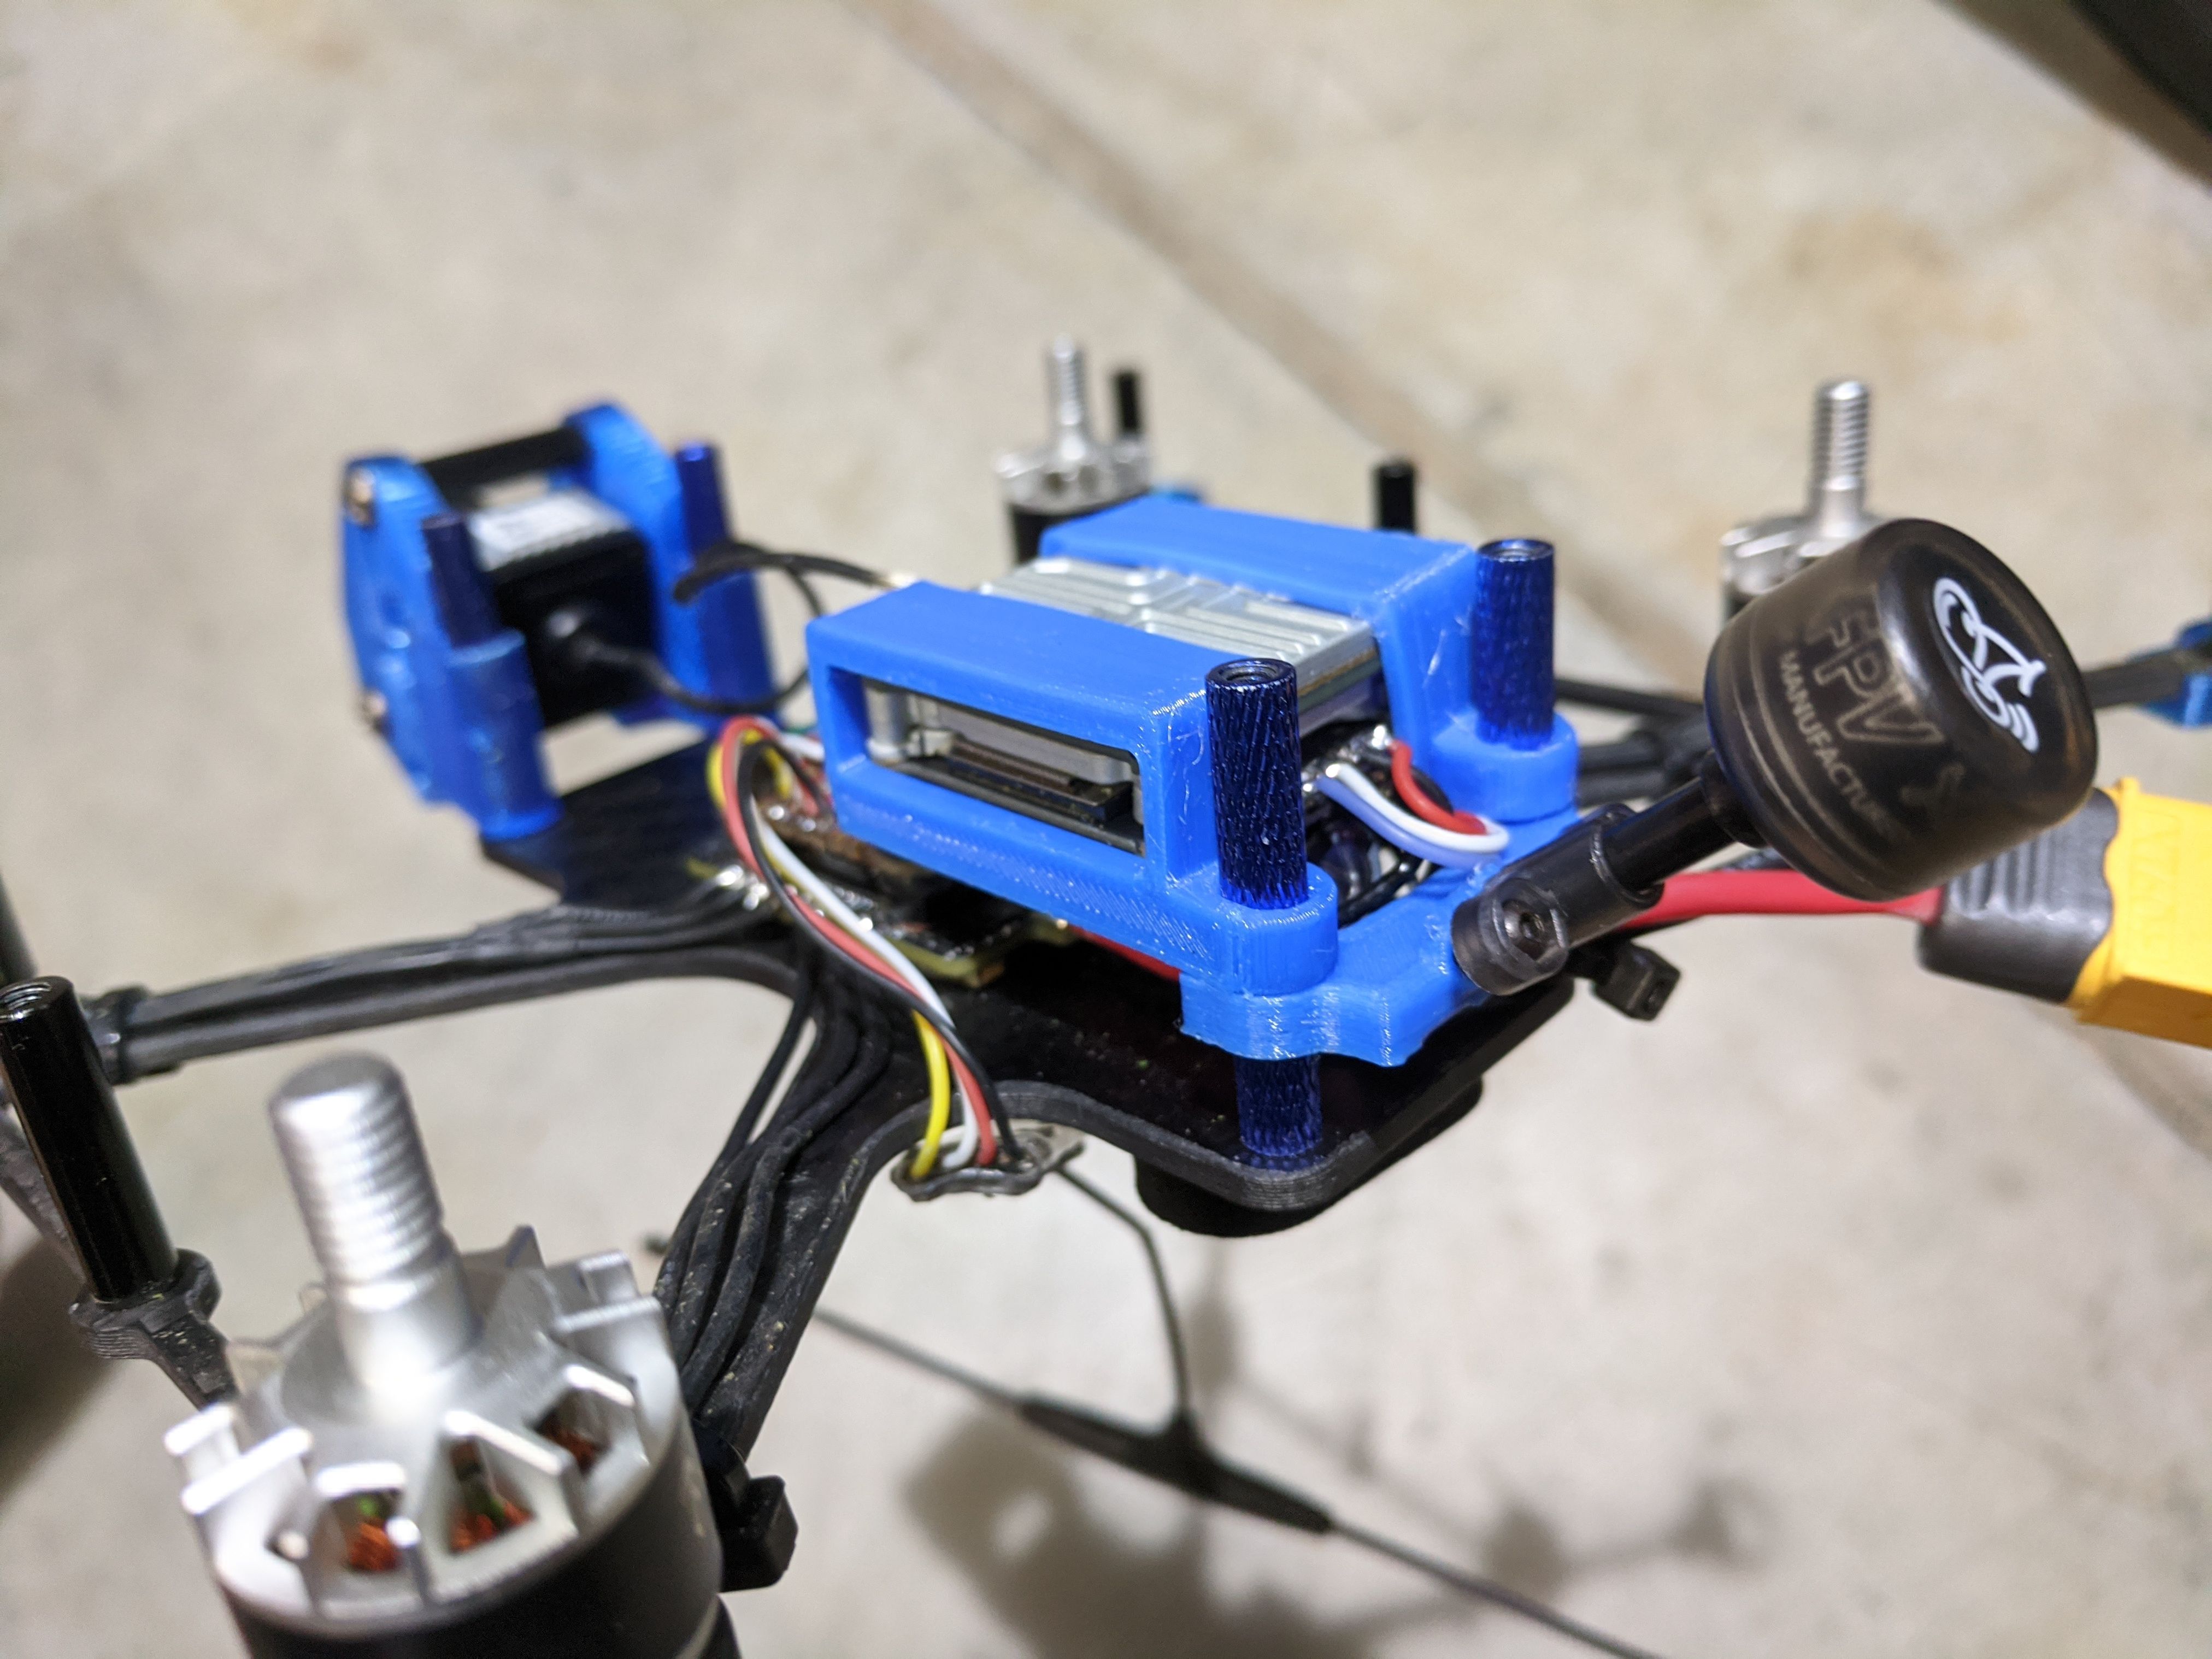
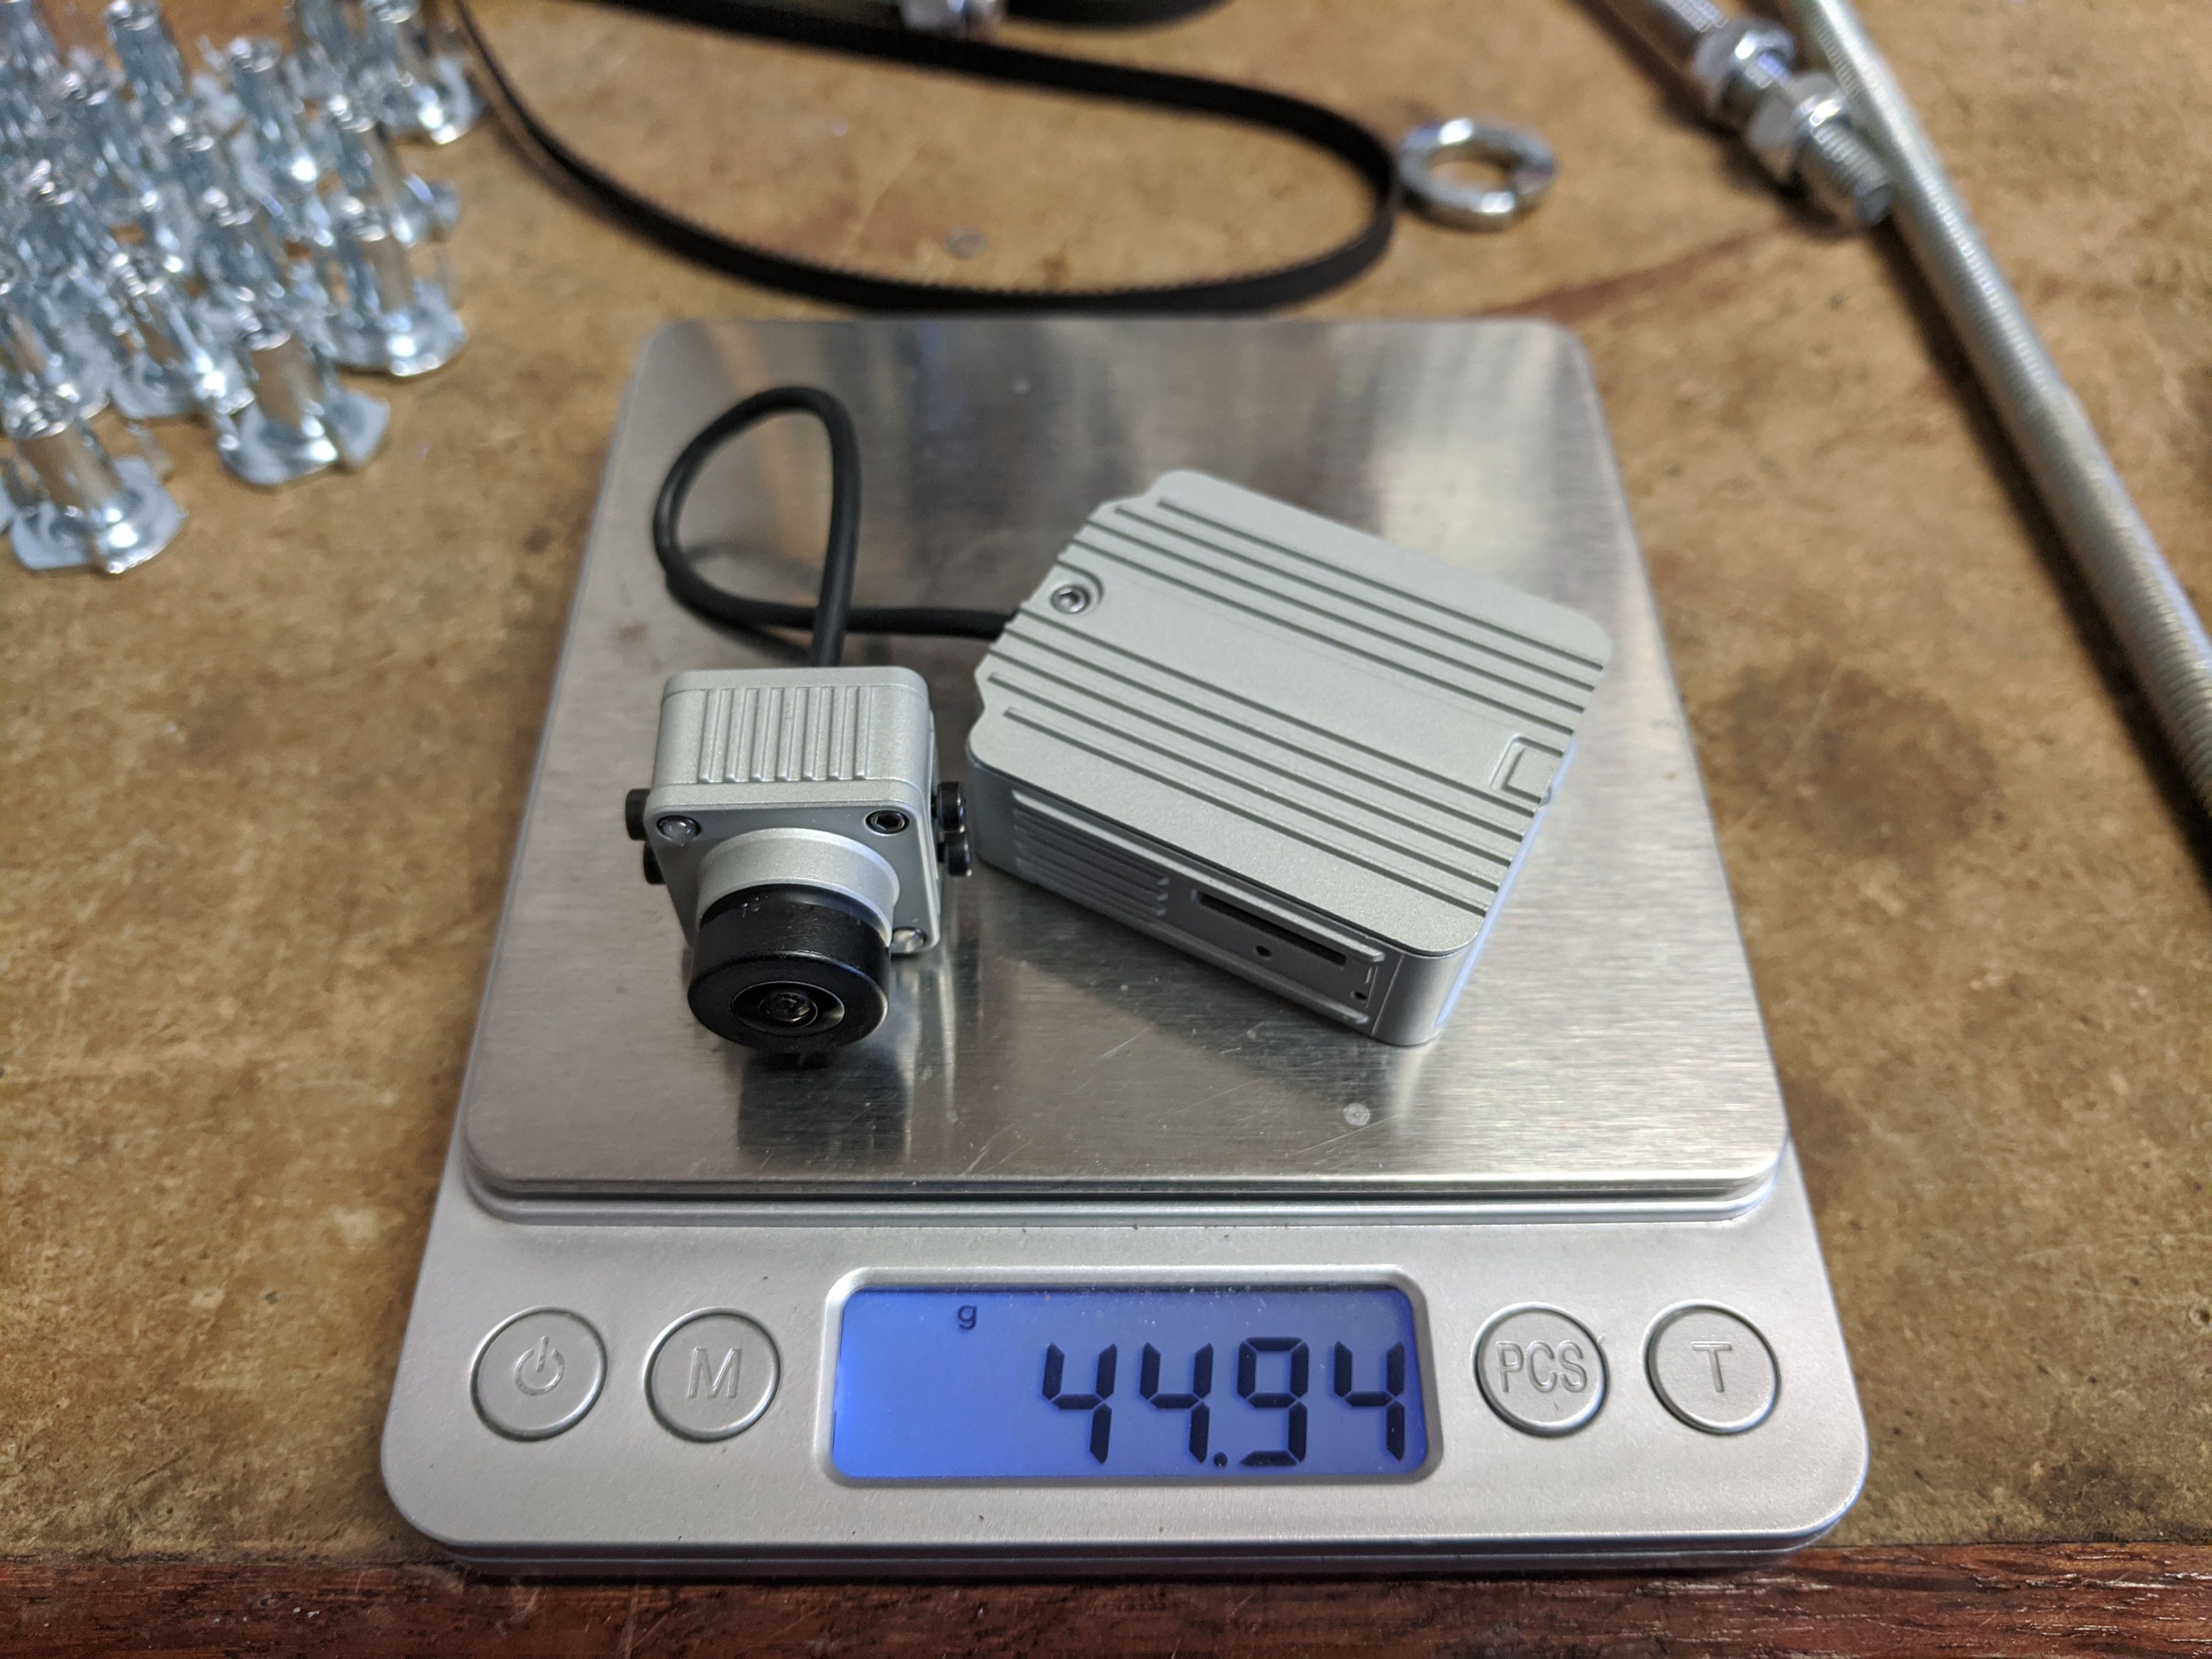
Caddx Vista - June 12 2020
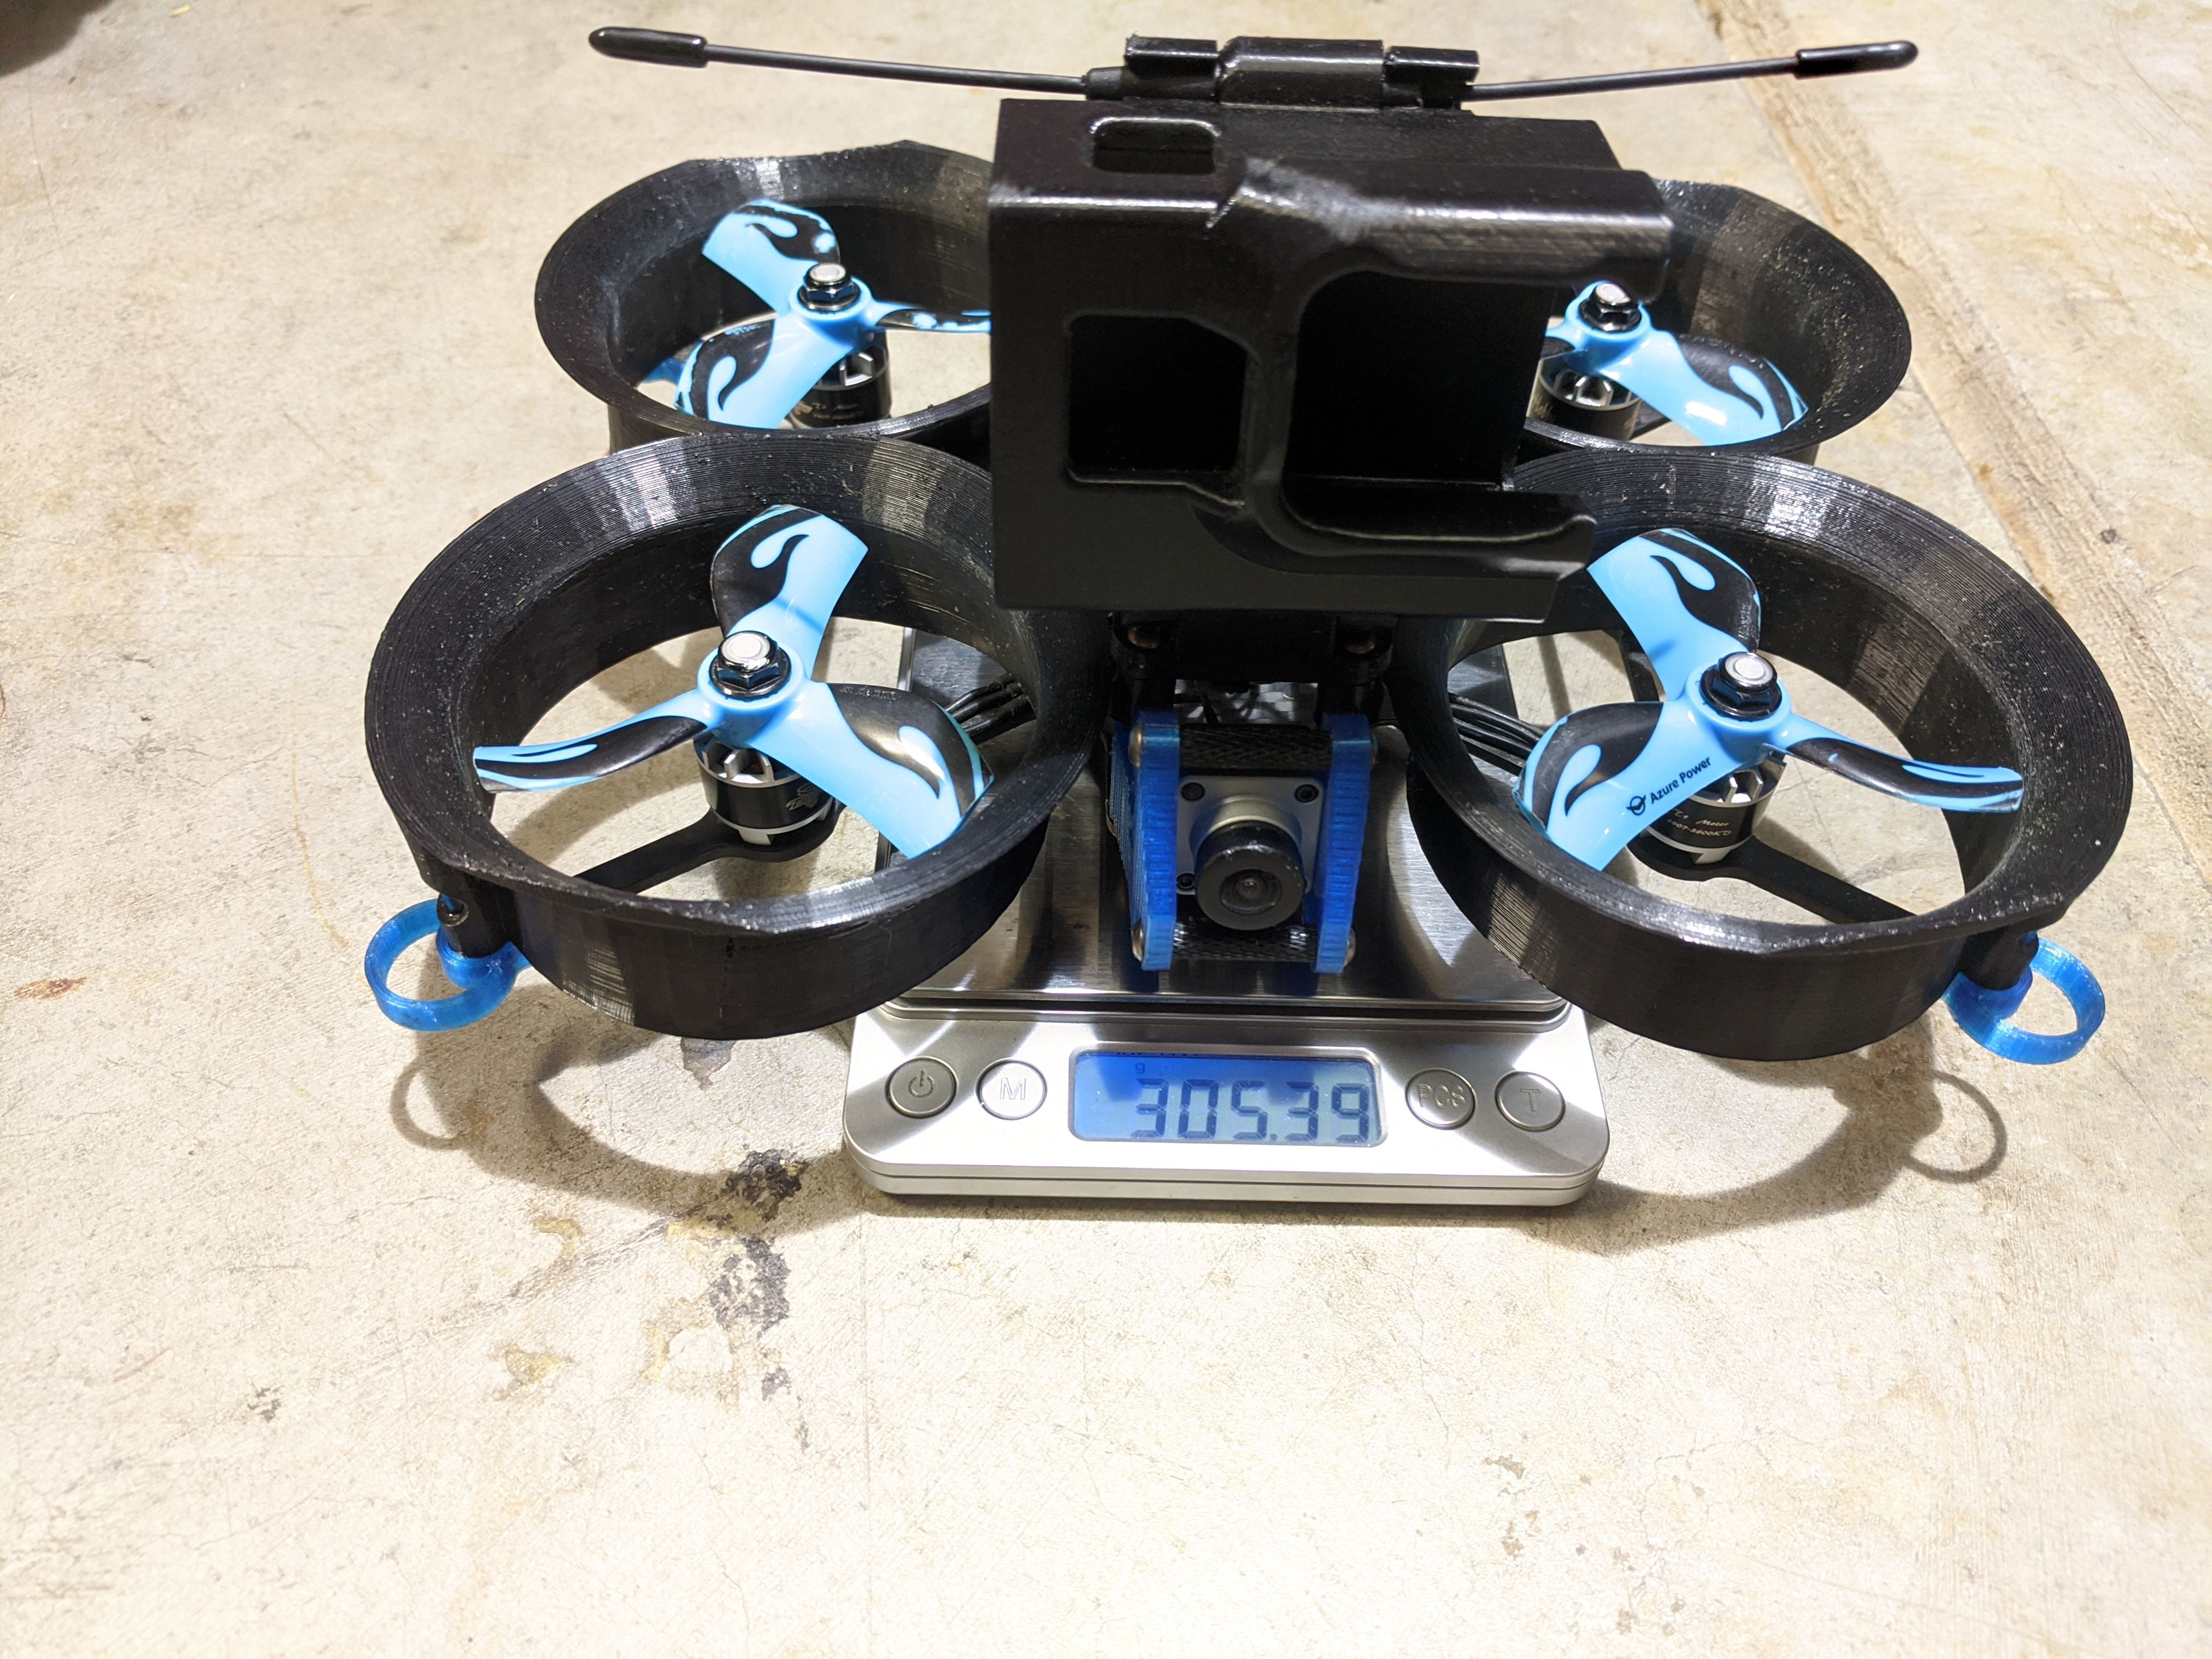
In trying to make the Squirt lighter, I swapped out the DJI Air Unit for a Caddx Vista. Plus, the GoPro Hero 7 Black is recording the video footage, I do not need the Air Unit doing the same thing too. The DJI Air Unit and TPU parts weighs 64g and the Caddx Vista with TPU parts weighs about 36g. So, I should save about 28g by changing to the Caddx Vista. I was also about to save 3g buy switching out the 20mm wide battery strap to 16mm. I was hoping to be under 300g, but I am still 5g short. There are 2 more things that I can do that will lose a lot more weight. First is the GoPro case and the other is the FPV camera mount. I could use a thin and half case for the GoPro, but I will lose a lot of protection. The GoPro has taken the most hits and damage with the squirt than any other quad because I would try to squeeze into places I would not try with a regular quad. So that is why I am willing to take the extra weight for better protection. I like the look of the 3D printed FPV camera mount for the squirt, plus it makes it looks a bit unique from all the other squirts out there. So that camera mount will also stay too. I guess I am stuck at 305g dry weight for the HD squirt.
After the 31g weight reduction (Total dry weight 305g without lipo or GoPro 7 Black) I was able to get about 6m 40s of flight with a Tattu 1300mah HV 4s Lipo (only charged to 4.2).
Photos


Part List
Show stores (8)
Guides & Reviews

AirbladeUAV has done it again and this time they've brought long range to the 5" class! Based on the popular Transformer Mini, the new Transformer 5" Ultralight adopts a lot of the same design philosophies with larger props and more payload capacity. It can fly upwards of 20 minutes on a 4 cell Li-Ion battery pack and in ideal conditions it's got a range of over 4 to 5 miles. In this guide I'll walk..
Read more
With the release of the DJI FPV Drone cinematic FPV has become a lot more accessible, but you certainly don't want to crash a $750 drone! The QAV-CINE Freybott is a compact, lightweight cinematic FPV drone that can take a hit and keep going. It's a lot safer to fly indoors and around people. With a naked GoPro or the SMO 4k you can capture some great stabilized footage. In this guide I'll show you..
Read more


Where can I find a file of that adjustable gopro mount with the immortal-t mount on the back?? Awesome build!
I remixed that file myself. I can put it on Thingiverse, I will post a link when its done.
Here is a link for the GoPro mount: https://www.thingiverse.com/thing:4324964
thank you!! amped to get this printed