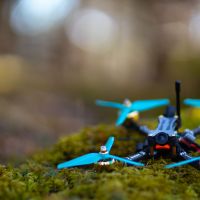
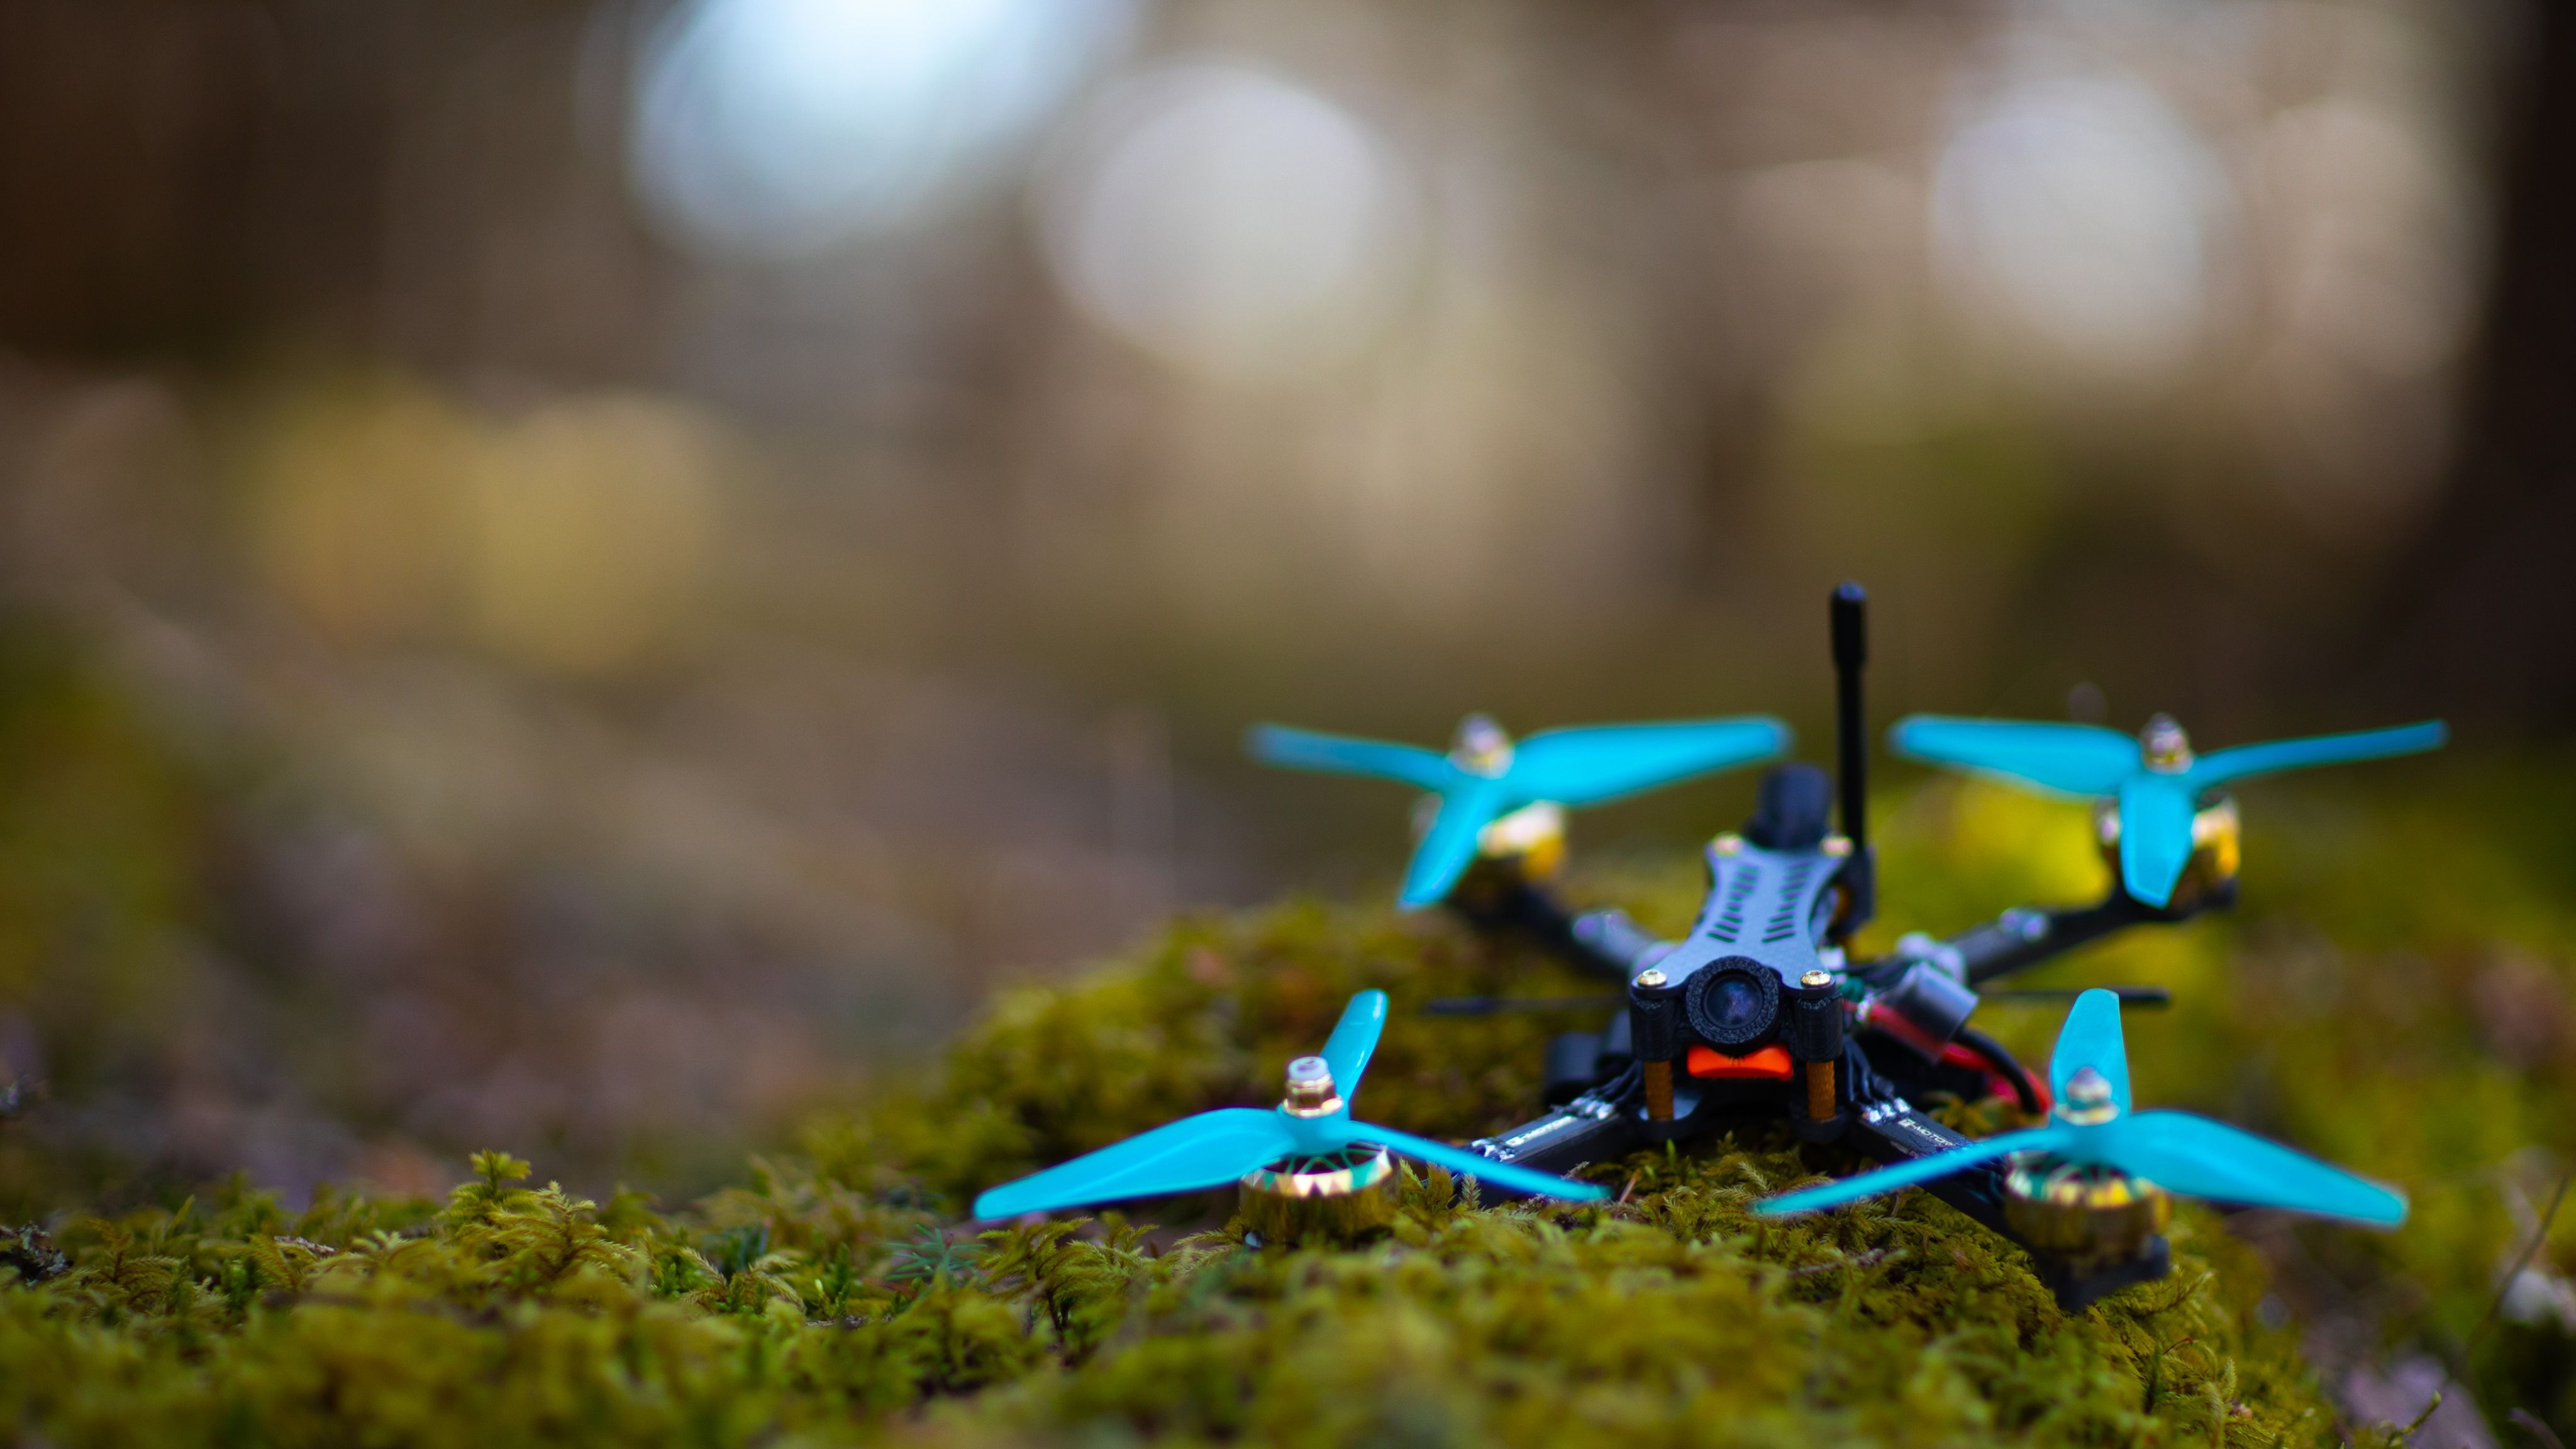
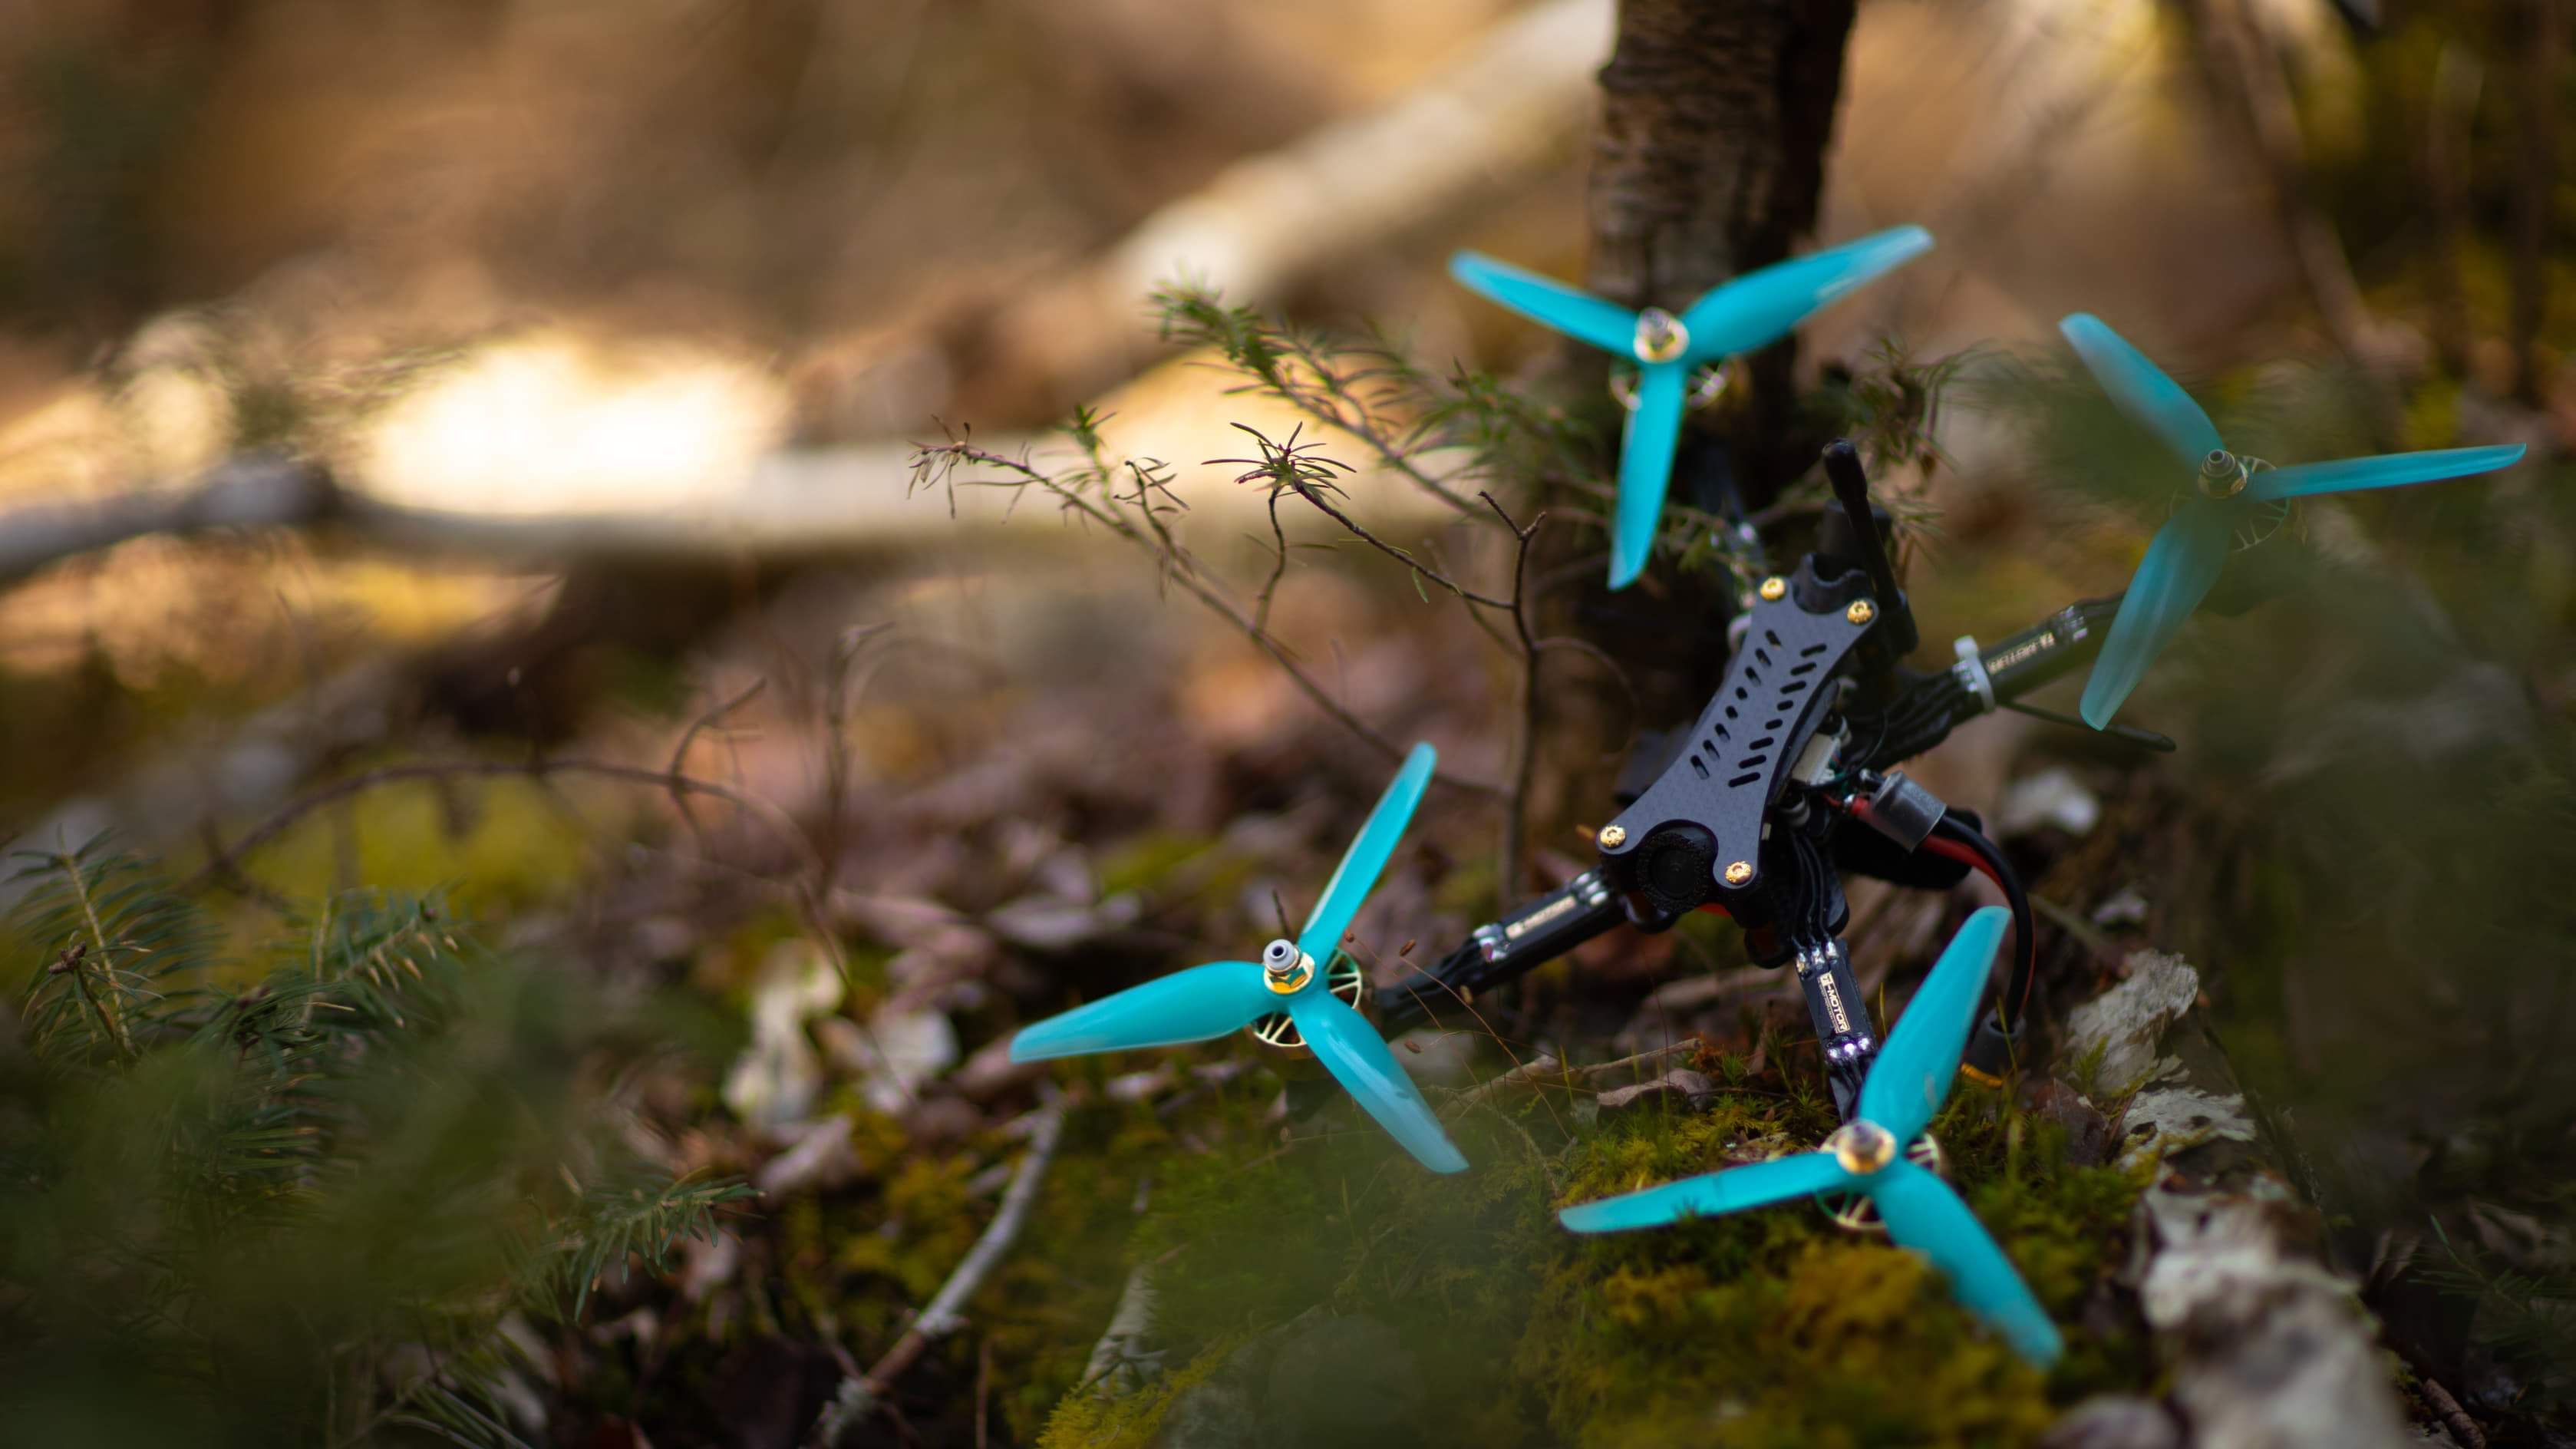
Apexquaddesign Cypress 5" // 4s - 6s Racer
 By Stunny FPV on May 07, 2020
This was a joy to build. I wanted the build to be relatively lightweight (458gAUW with a 4s 1300mah battery) and be able to take voltage for 4s to 6s, since I wanted the maximum flexibility for batteries. I currently run 4s batteries, but I'm sure I'll make the jump to 6s when I can afford it.
The frame itself is very nice. It has the features that you would expect from any other premium frame, like single screw arm removal, streched-X layout, 20x20 and 30x30 stack mounting, 5mm arms, and many other features, all while keeping it under 68 grams, including 3D prints (Camera mount and VTX antenna mount).
There was a lot of thought put into this frame, so it's durable, all the while being super easy to assemble. The frame only uses M3 screws, so no need to use 10 different drivers to assmble it.
The frame has 4 Carbon plates not including the arms.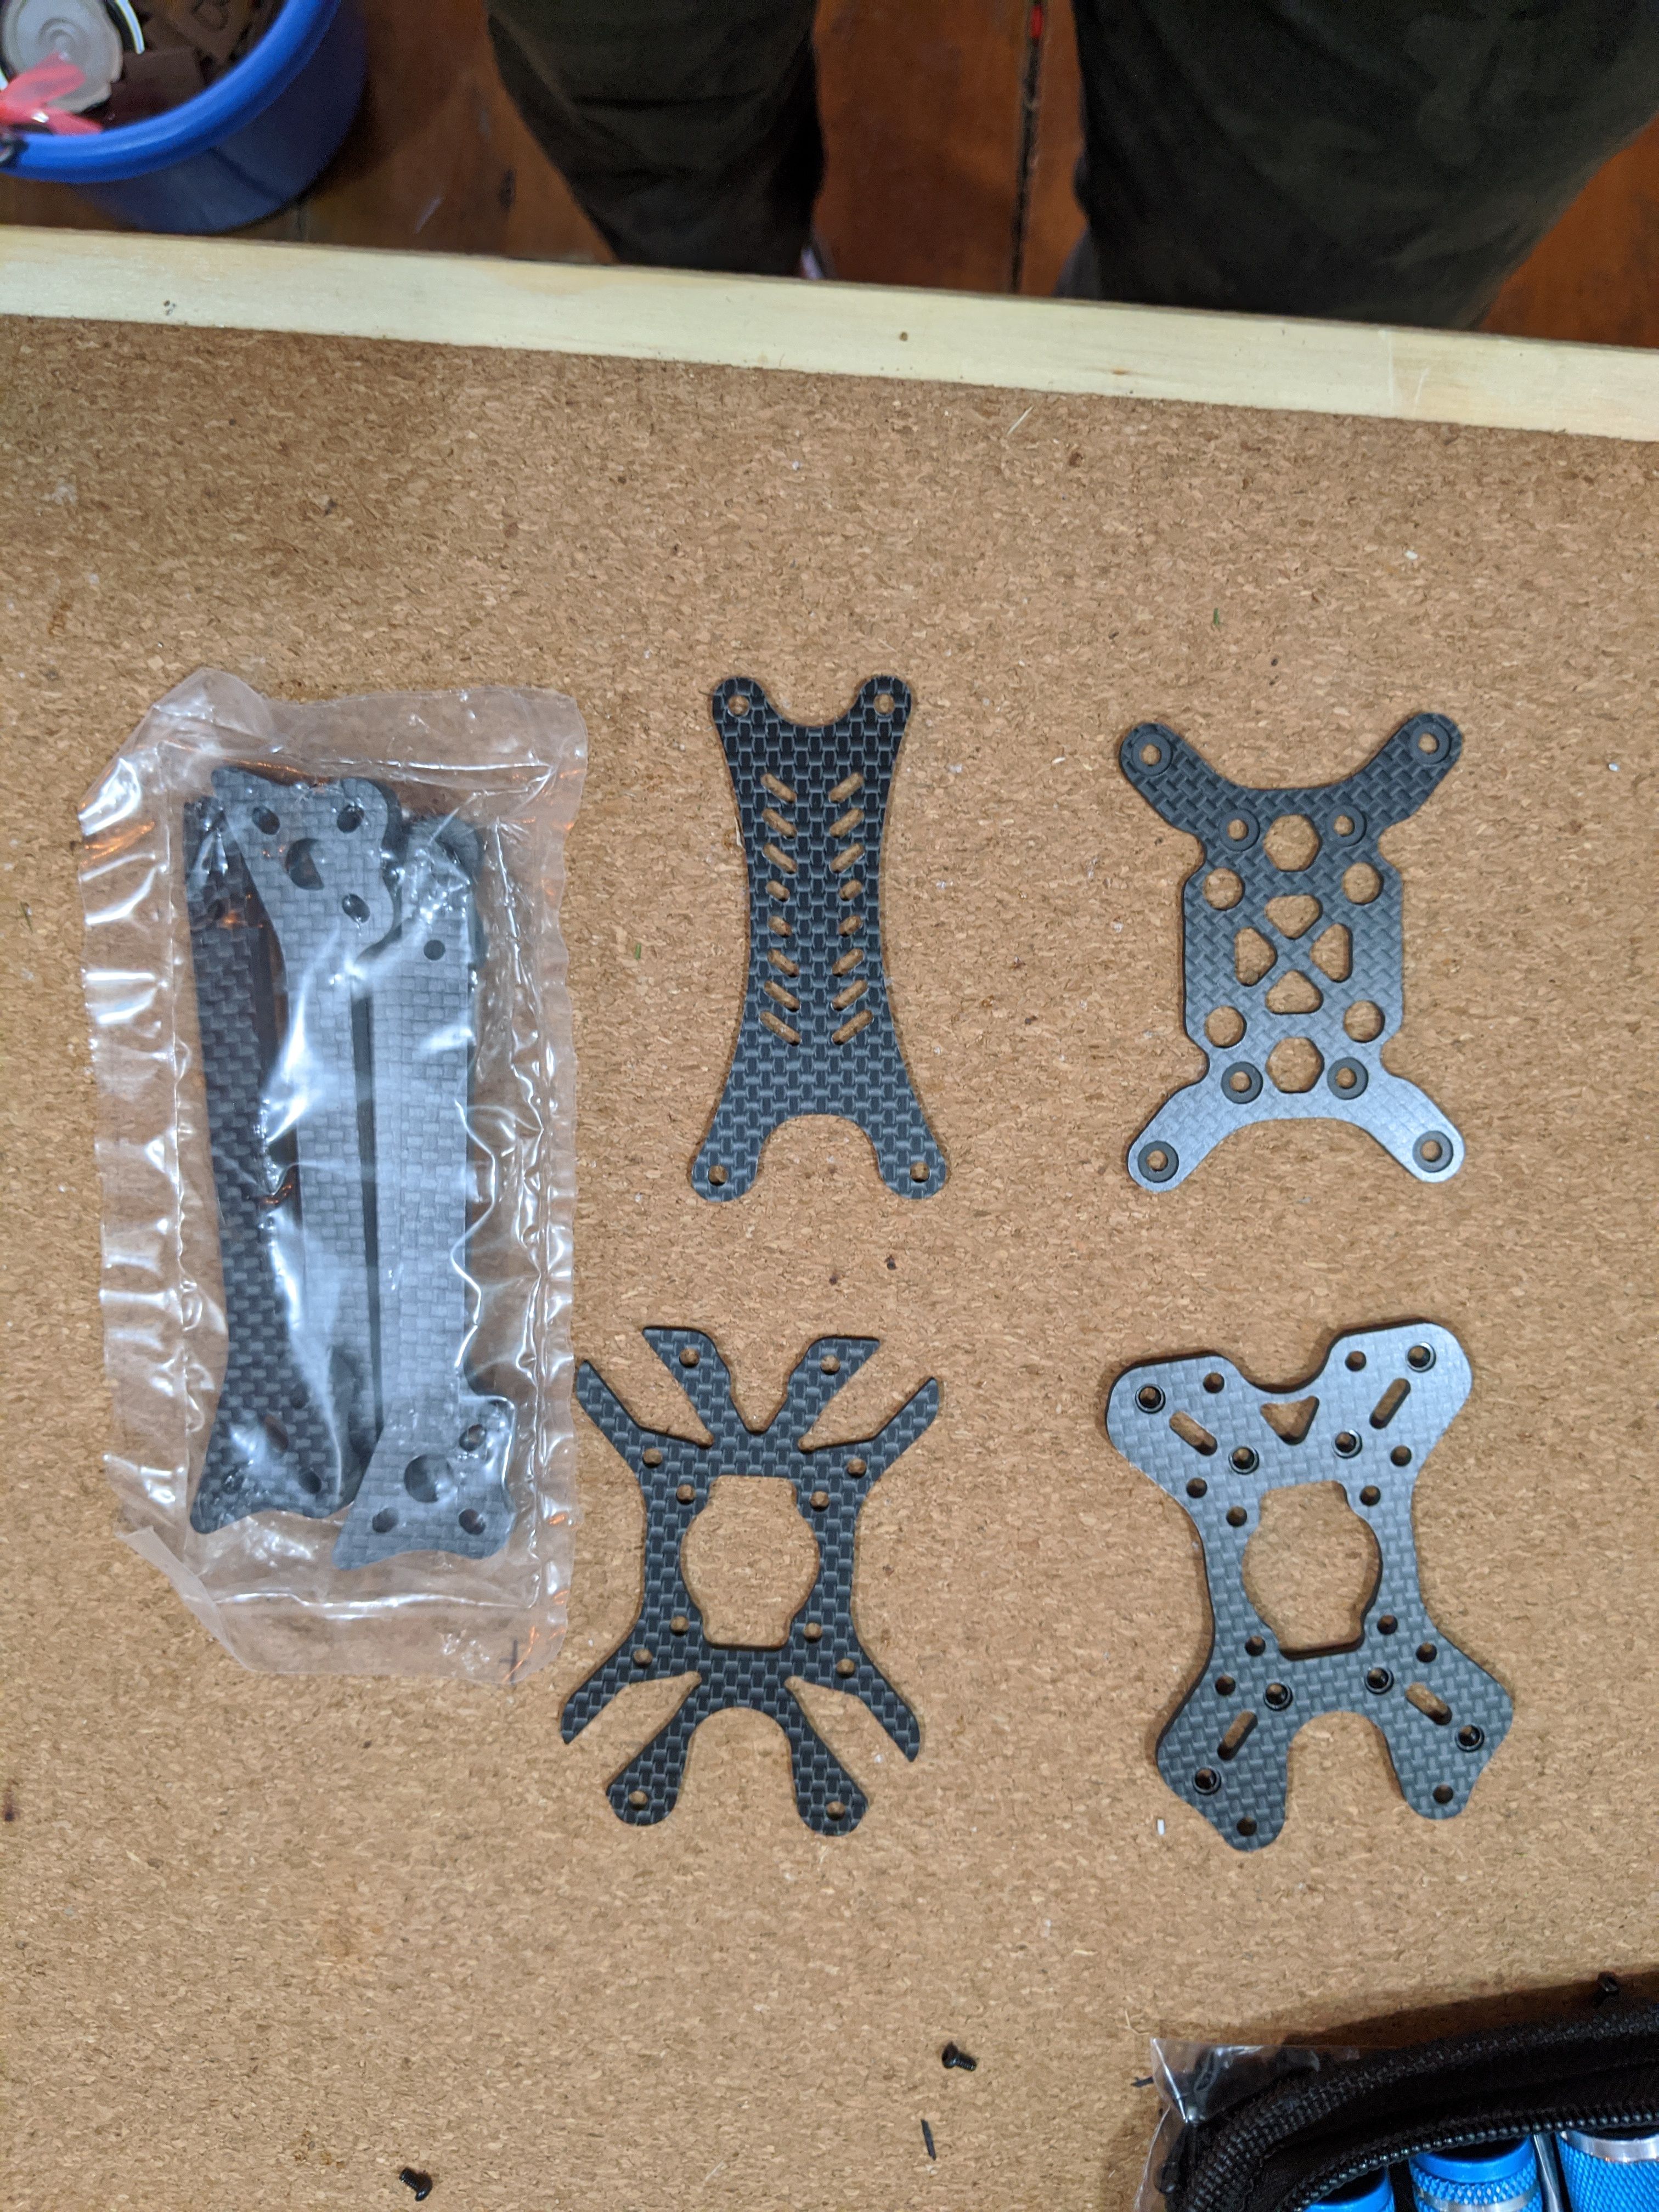
When putting together the frame, you'll notice some little sockets, or indents on the top and bottom plates. Make sure that this is facing the screw head side. This is mainly for aesthetics on the top plate, however orienting the bottom plate properly will help prevent the battery from hitting the screws in the event of a battery ejection.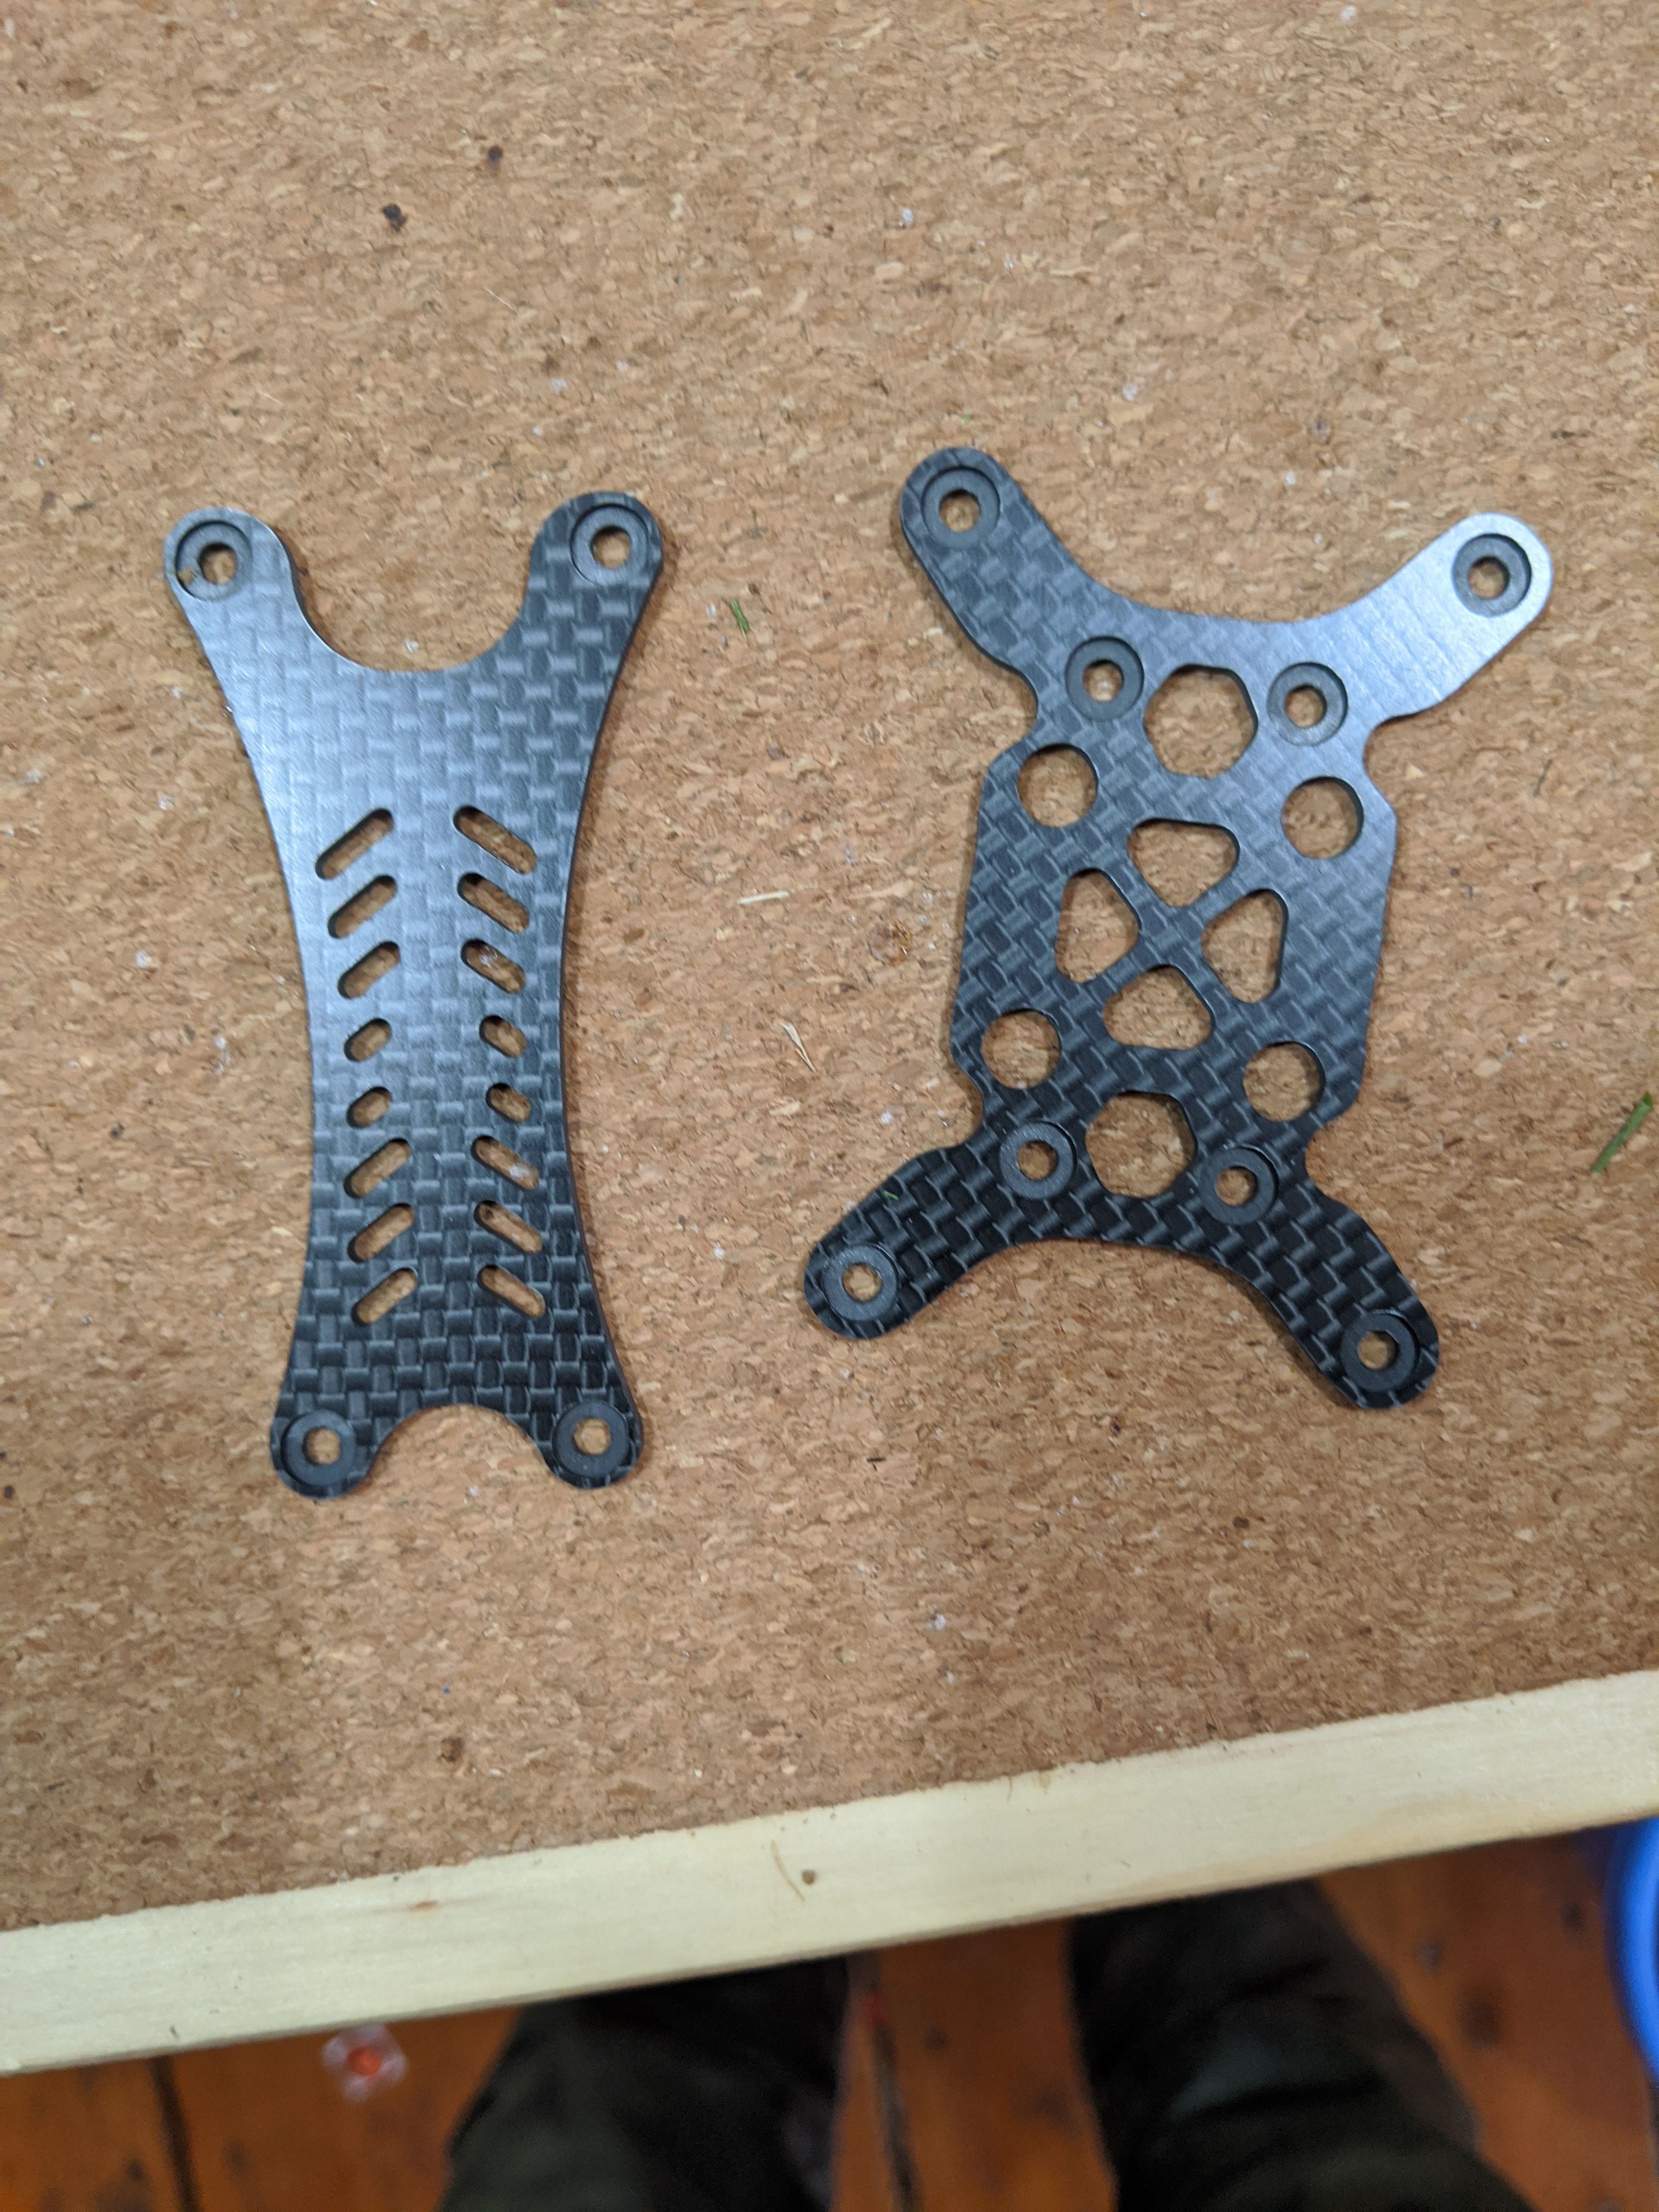
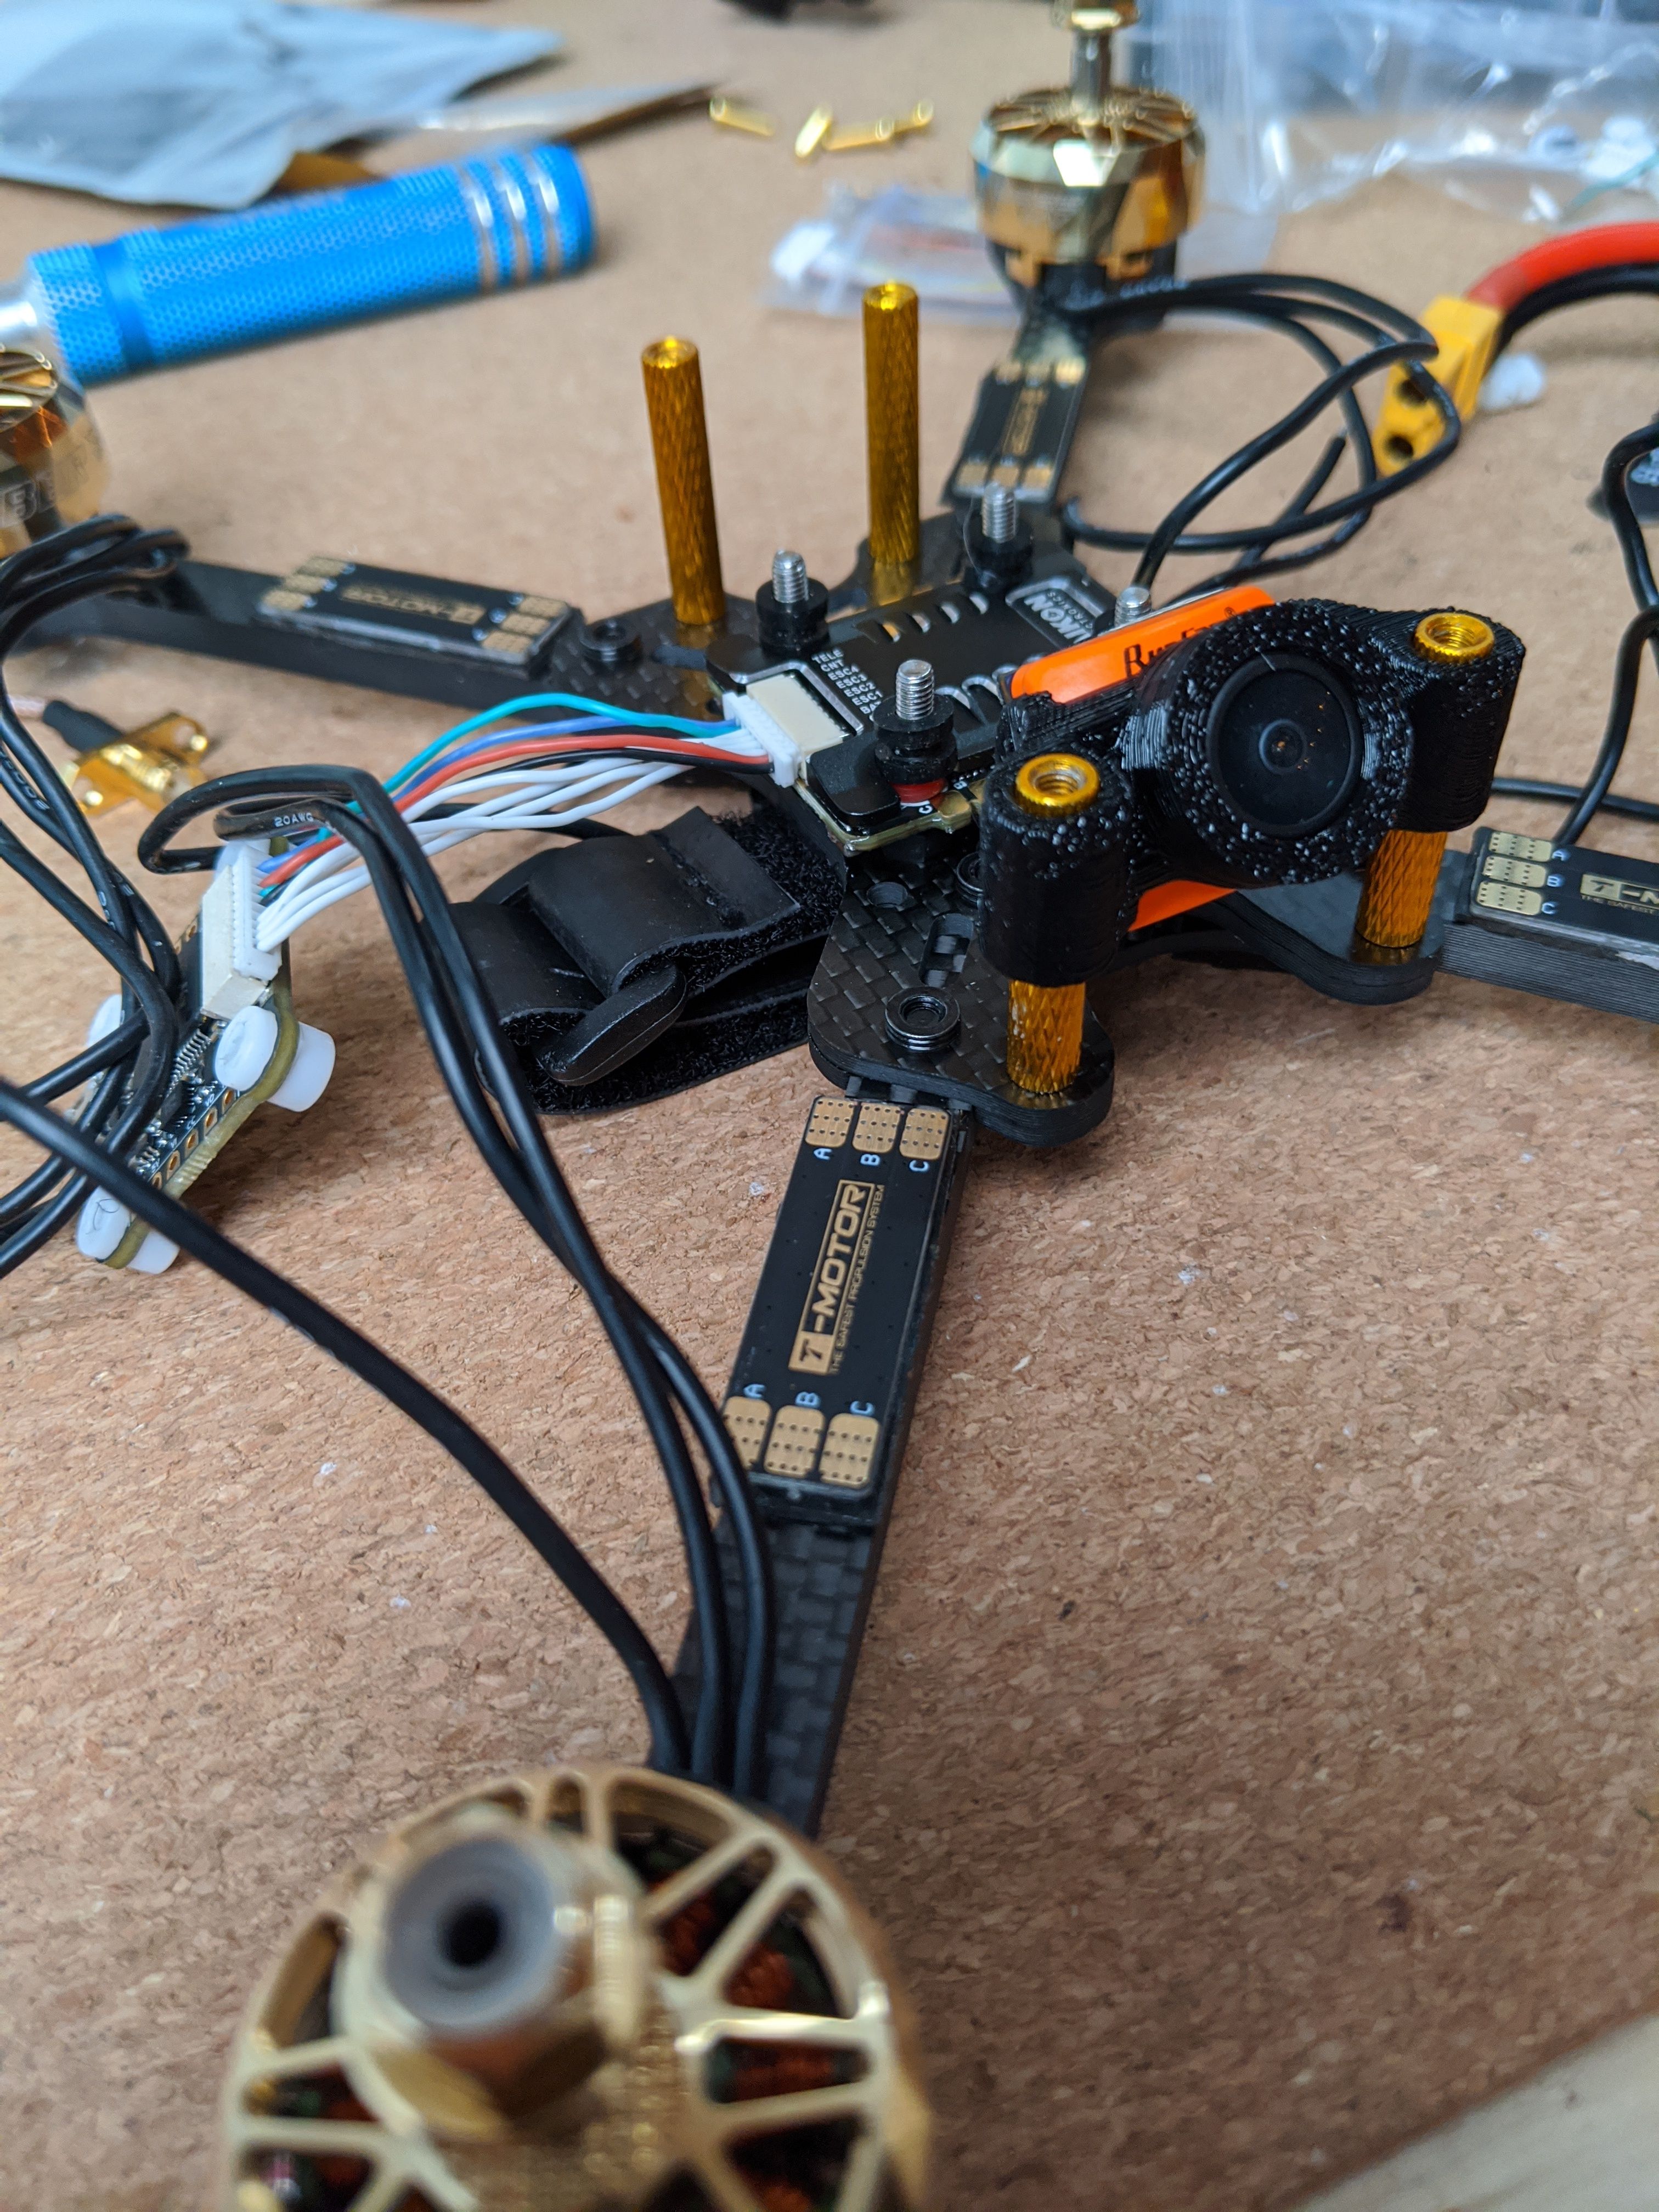
I started by mounting the ESC, motors, and race wire, as well as made a wiring harness for the FC. The stock Hardware is all black, I bought the gold standoffs and screws separately.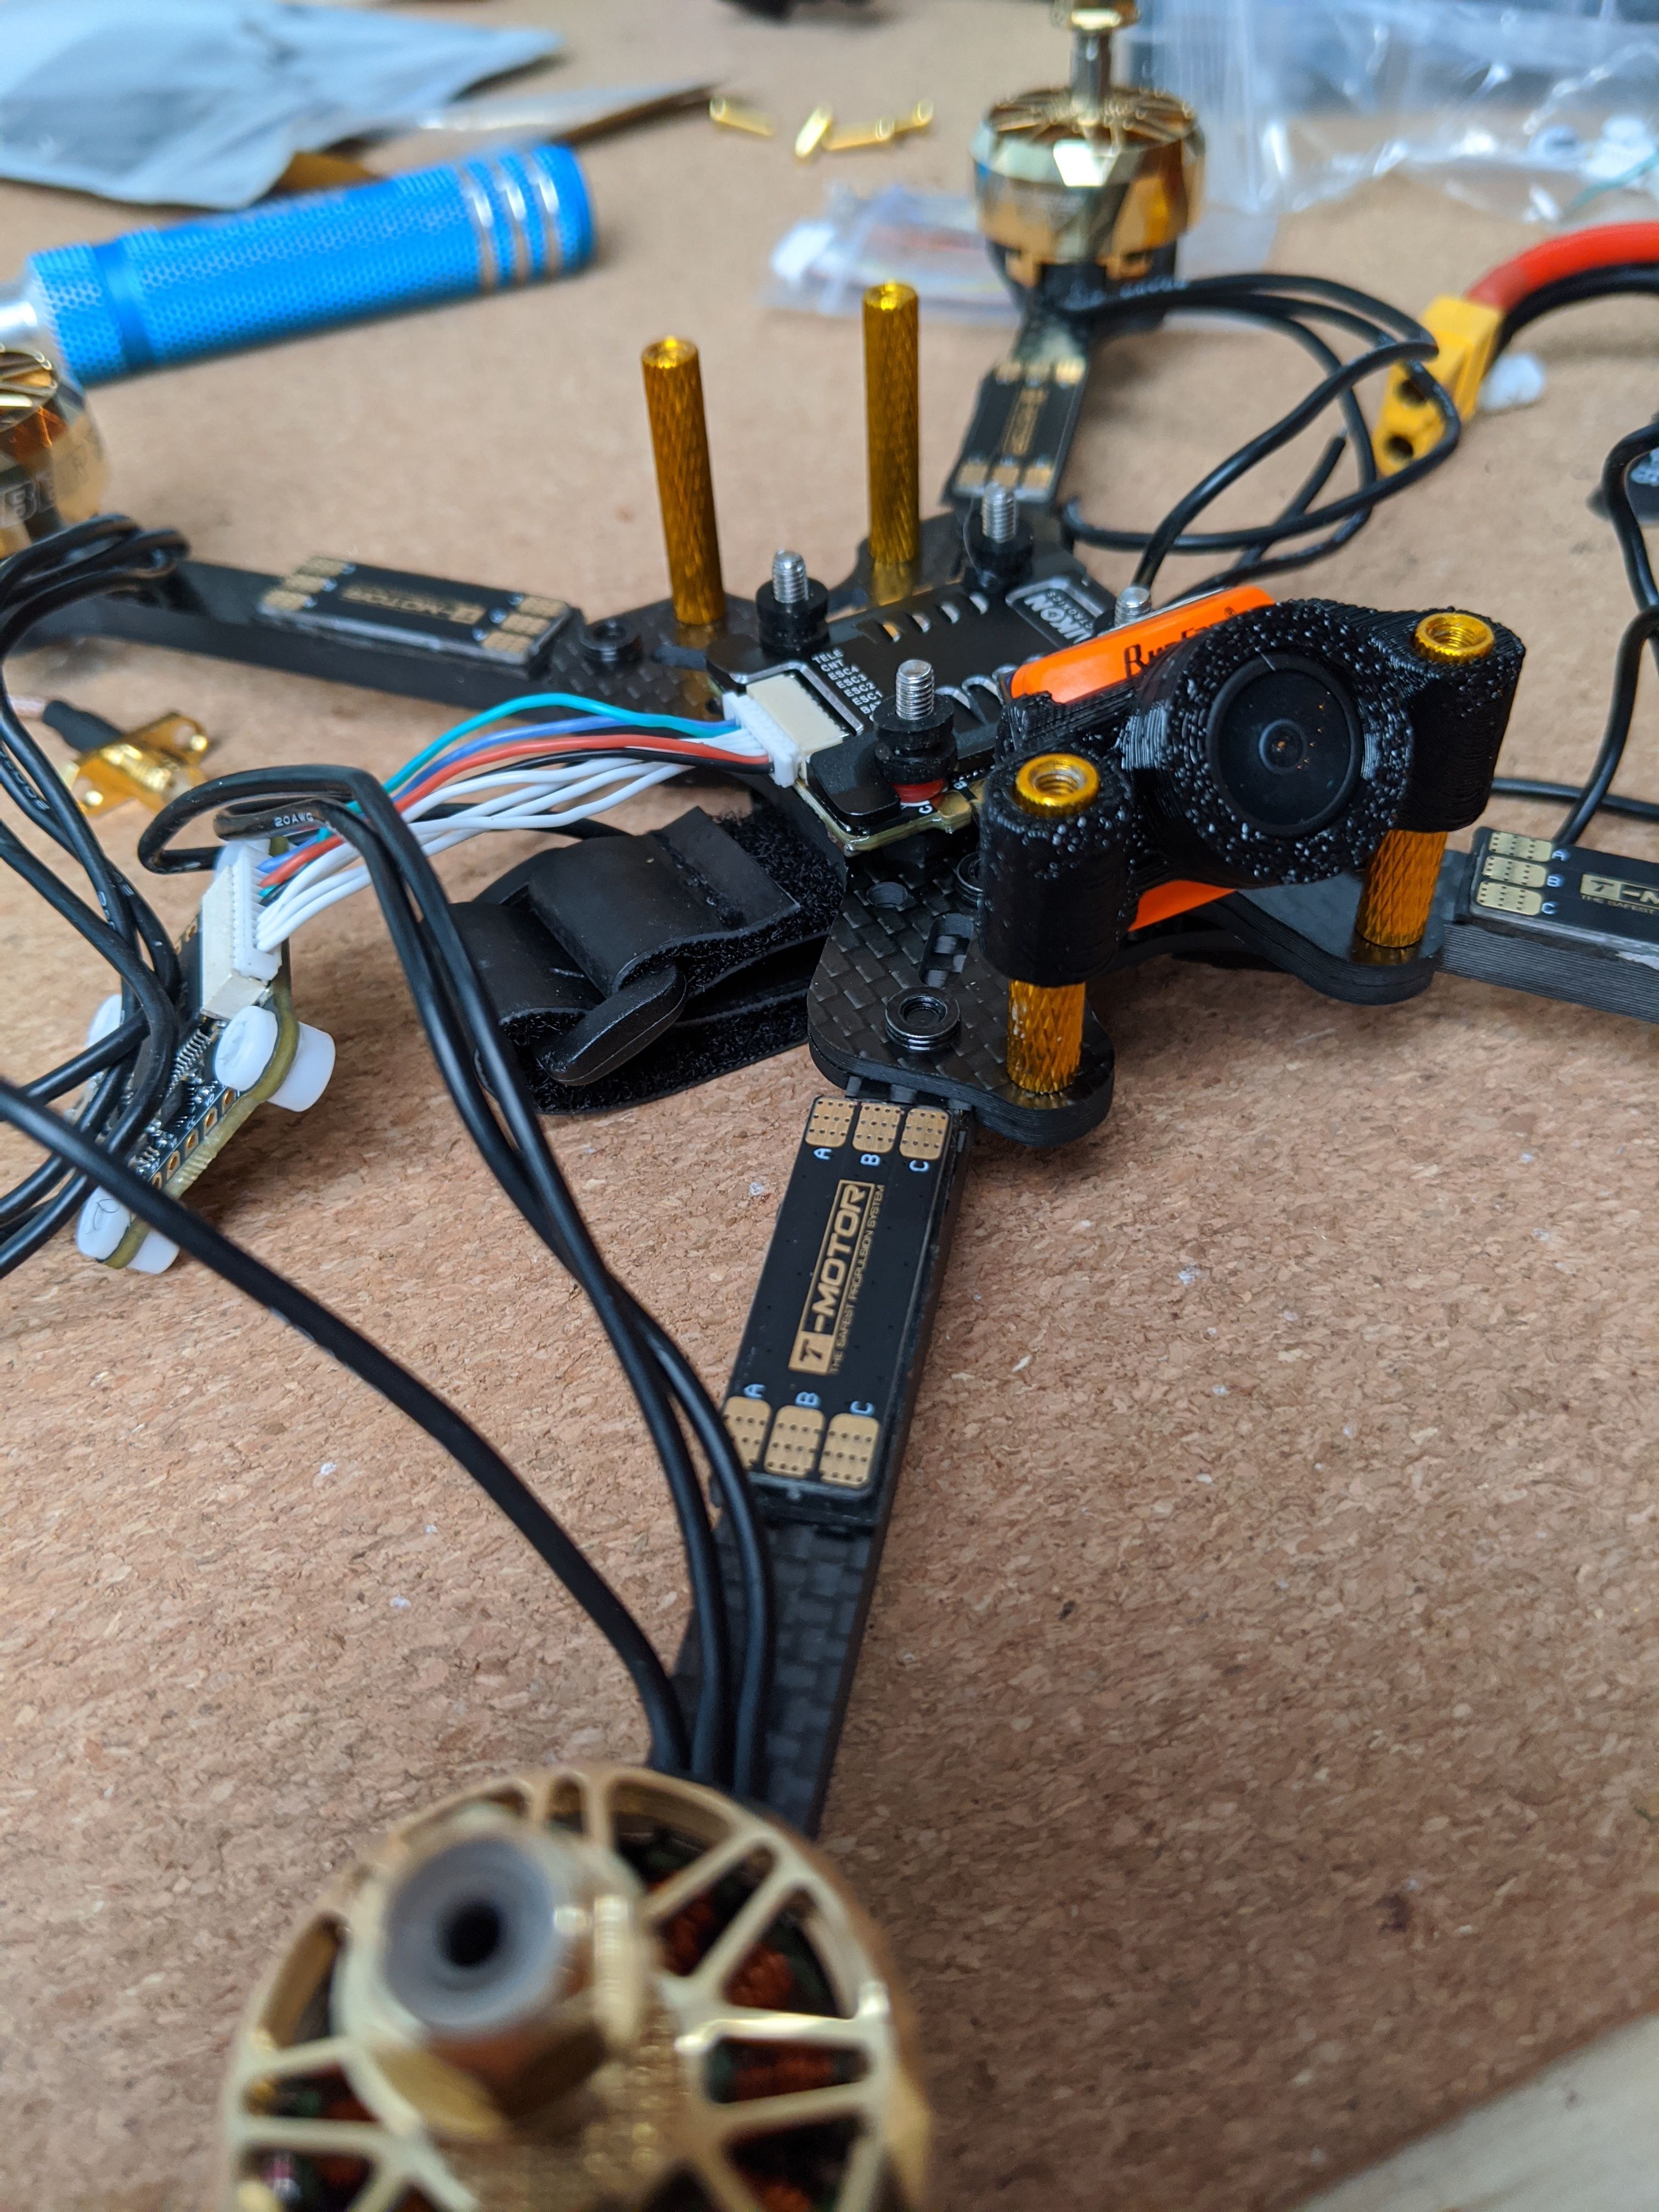
I then proceeded to solder the motors to the racewire. Just to be safe, I covered the motors with some cardboard so I wouldn't accidentally get some solder in them (the cardboard came with the frame ;) )
Next, I soldered the wires from the racewire to the ESC. I also ended up coating the pads on the racewire and the 4in1 (as best as I could at least) with some Kotking to make it water resistant (I forgot to coat the FC though)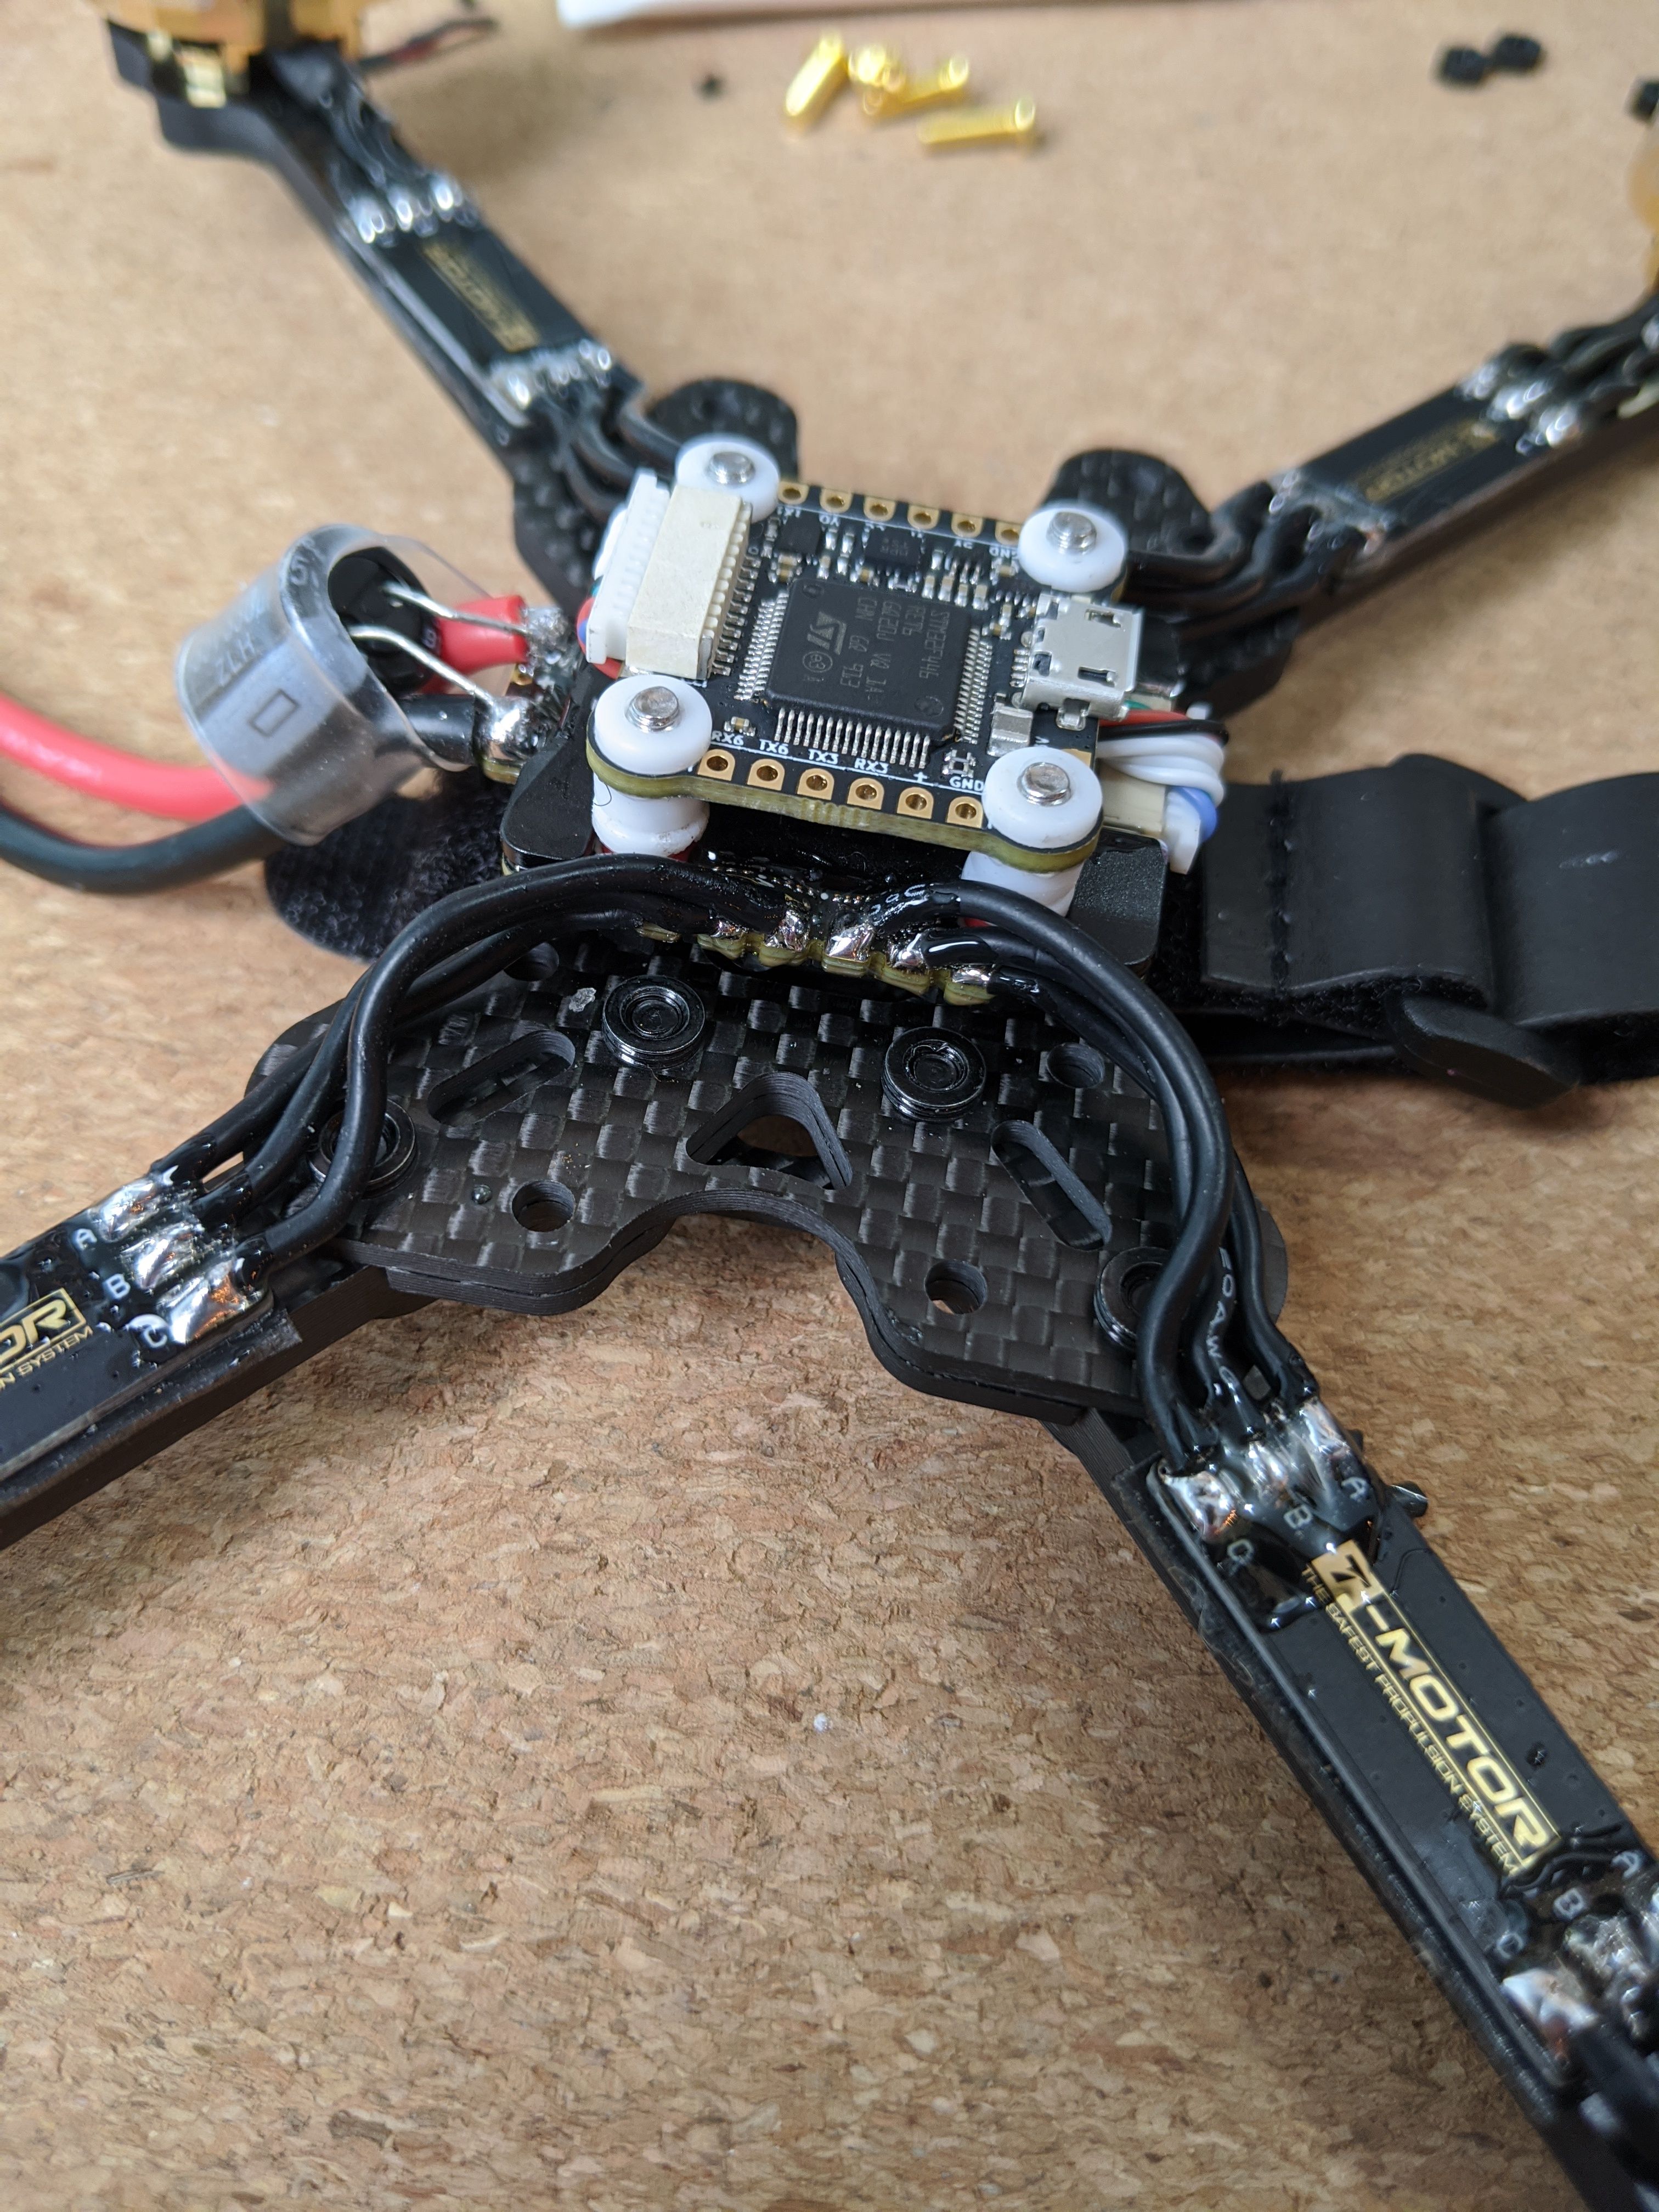
After wiring up the motors, I tried to mount my FC but my stack screws were too short, so I had to cut the radix grommets a bit shorter.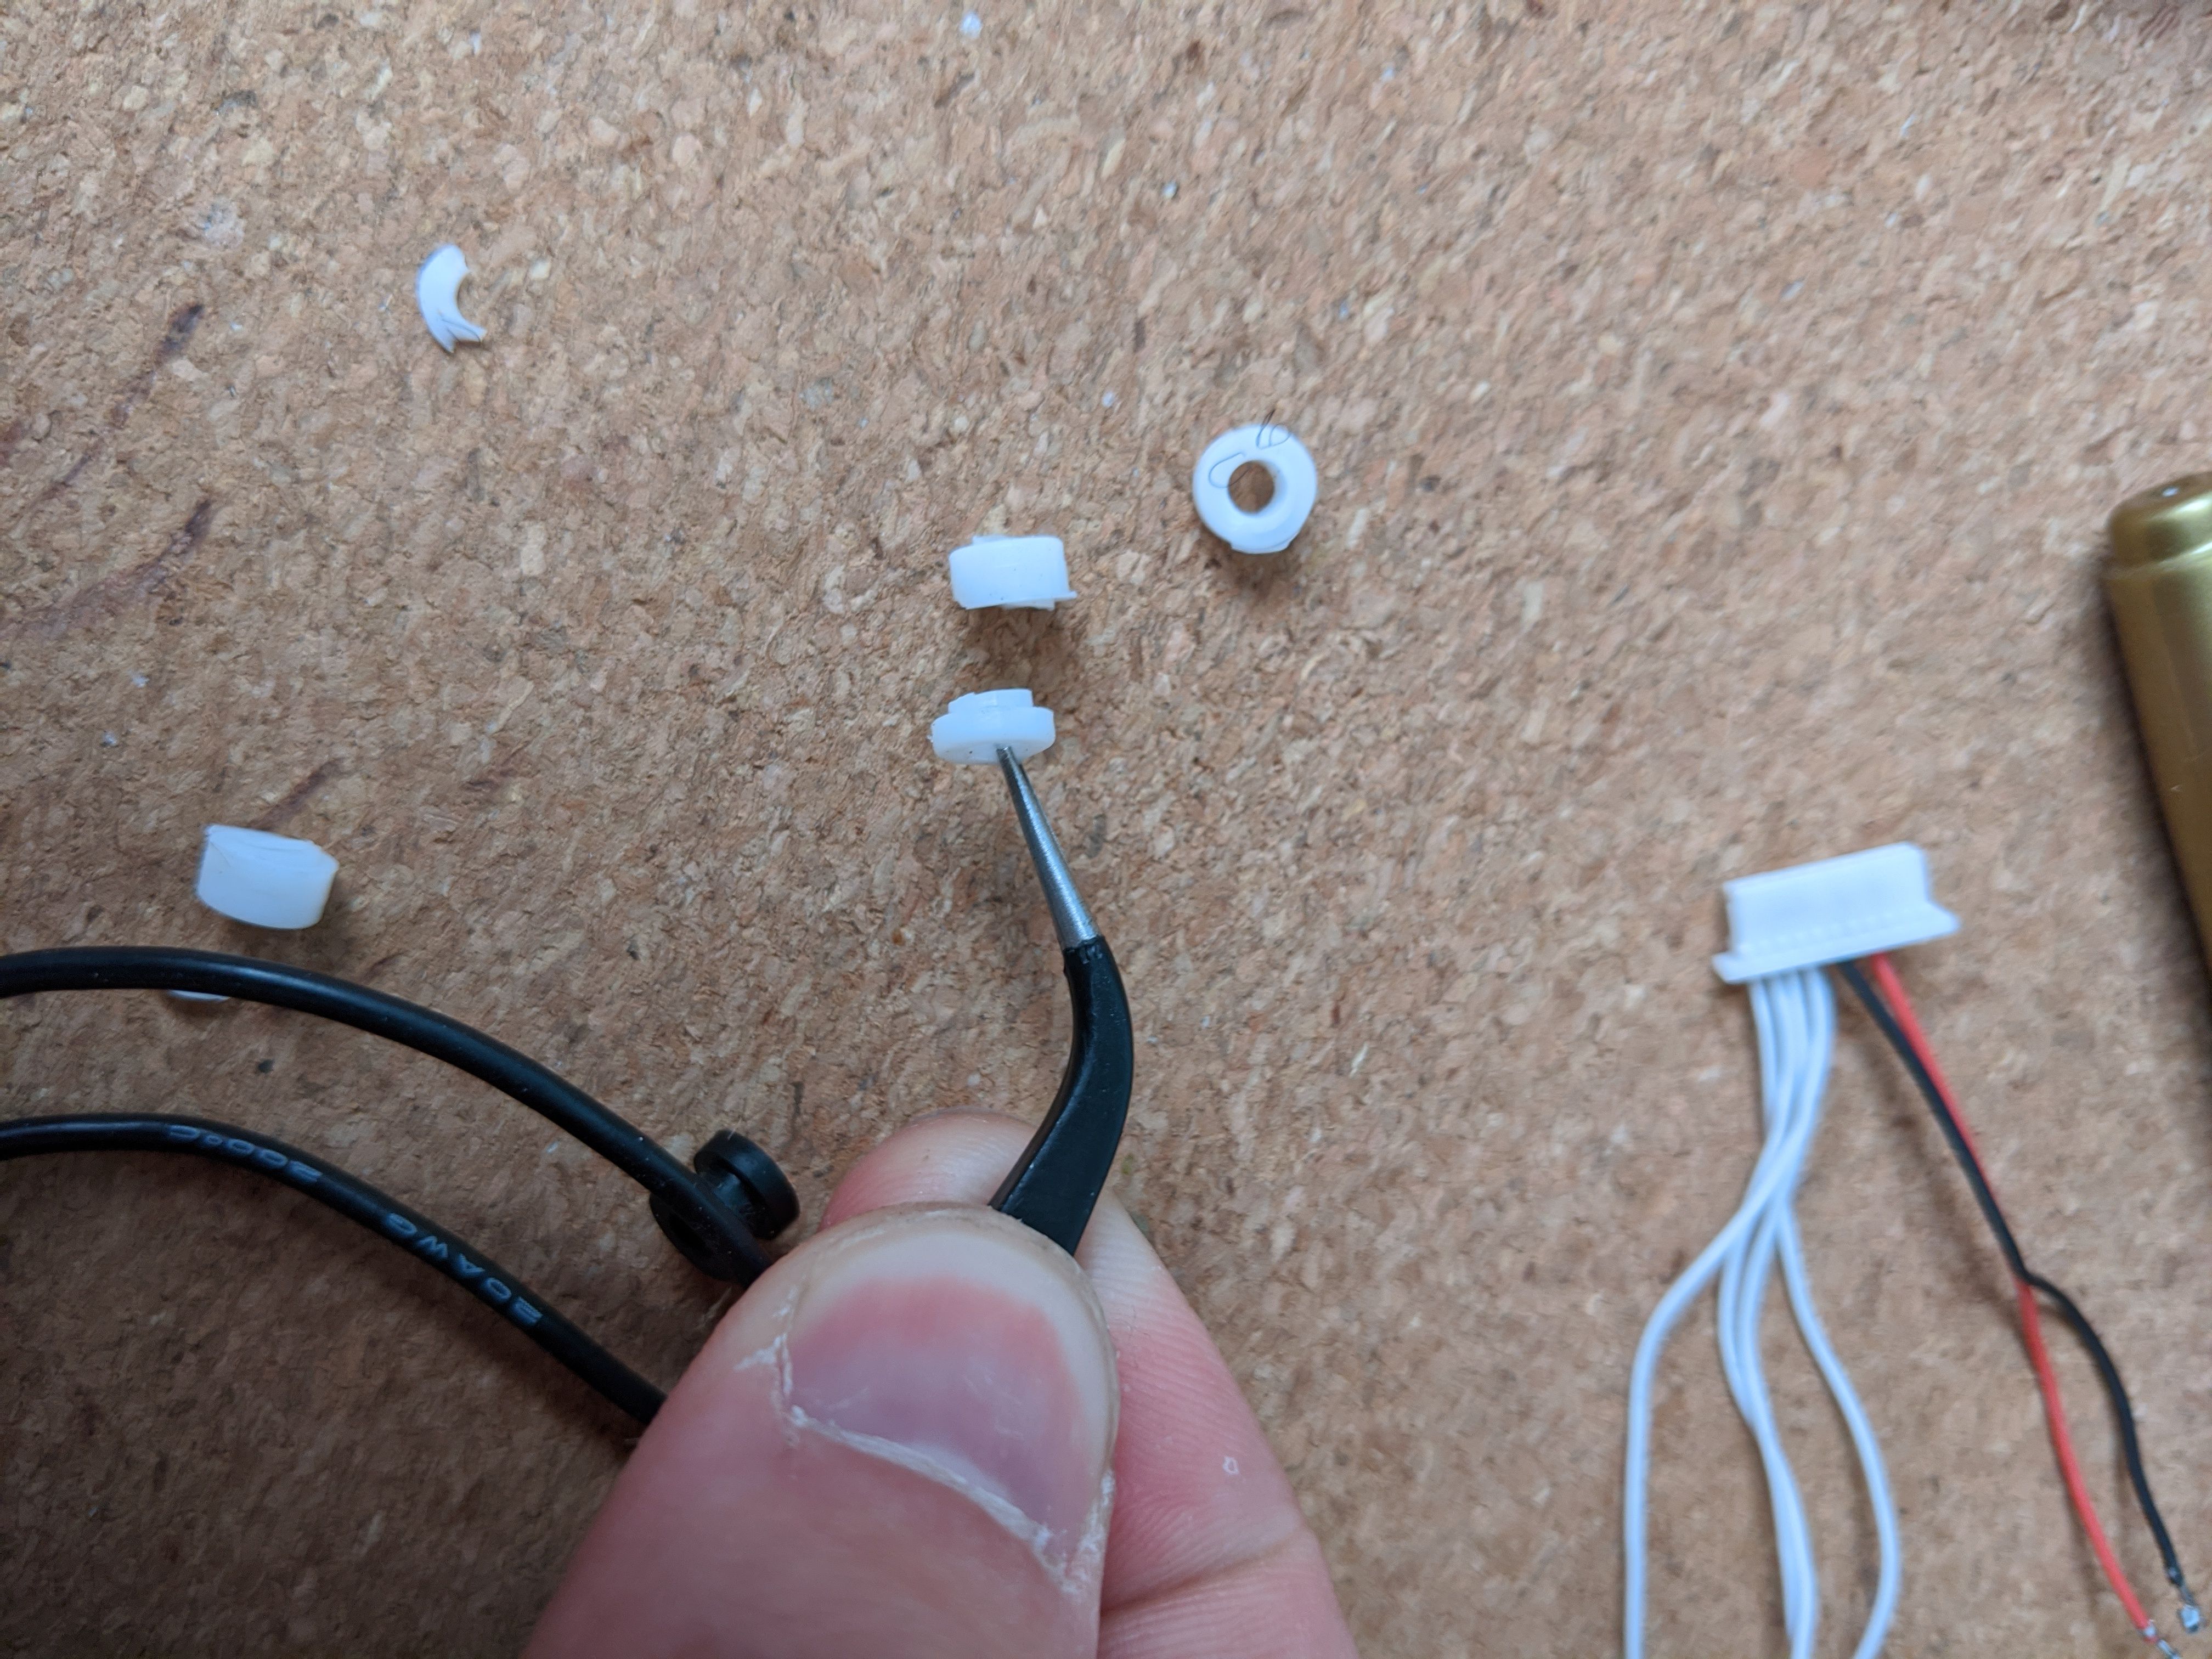
Once I had the FC, I installed my Rx. What's nice about the Radix is that you can hardmount the Crossfire RX using a pin header, making for a very clean build. I also taped the VTX to the top plate, soldered the + and - wires to VBAT, and the video wire to the flight controller. Because the build was pretty much done at this point, I also went ahead and wired up the camera, also taking power directly from VBAT. This means that all I had to solder to my FC was the video wires for the VTX and the camera, And the crossfire RX, which was done with a pin header. This makes the building process very quick. I also wired up Smartaudio to my crossfire RX, since I like to be able to control the VTX without having to wear my goggles.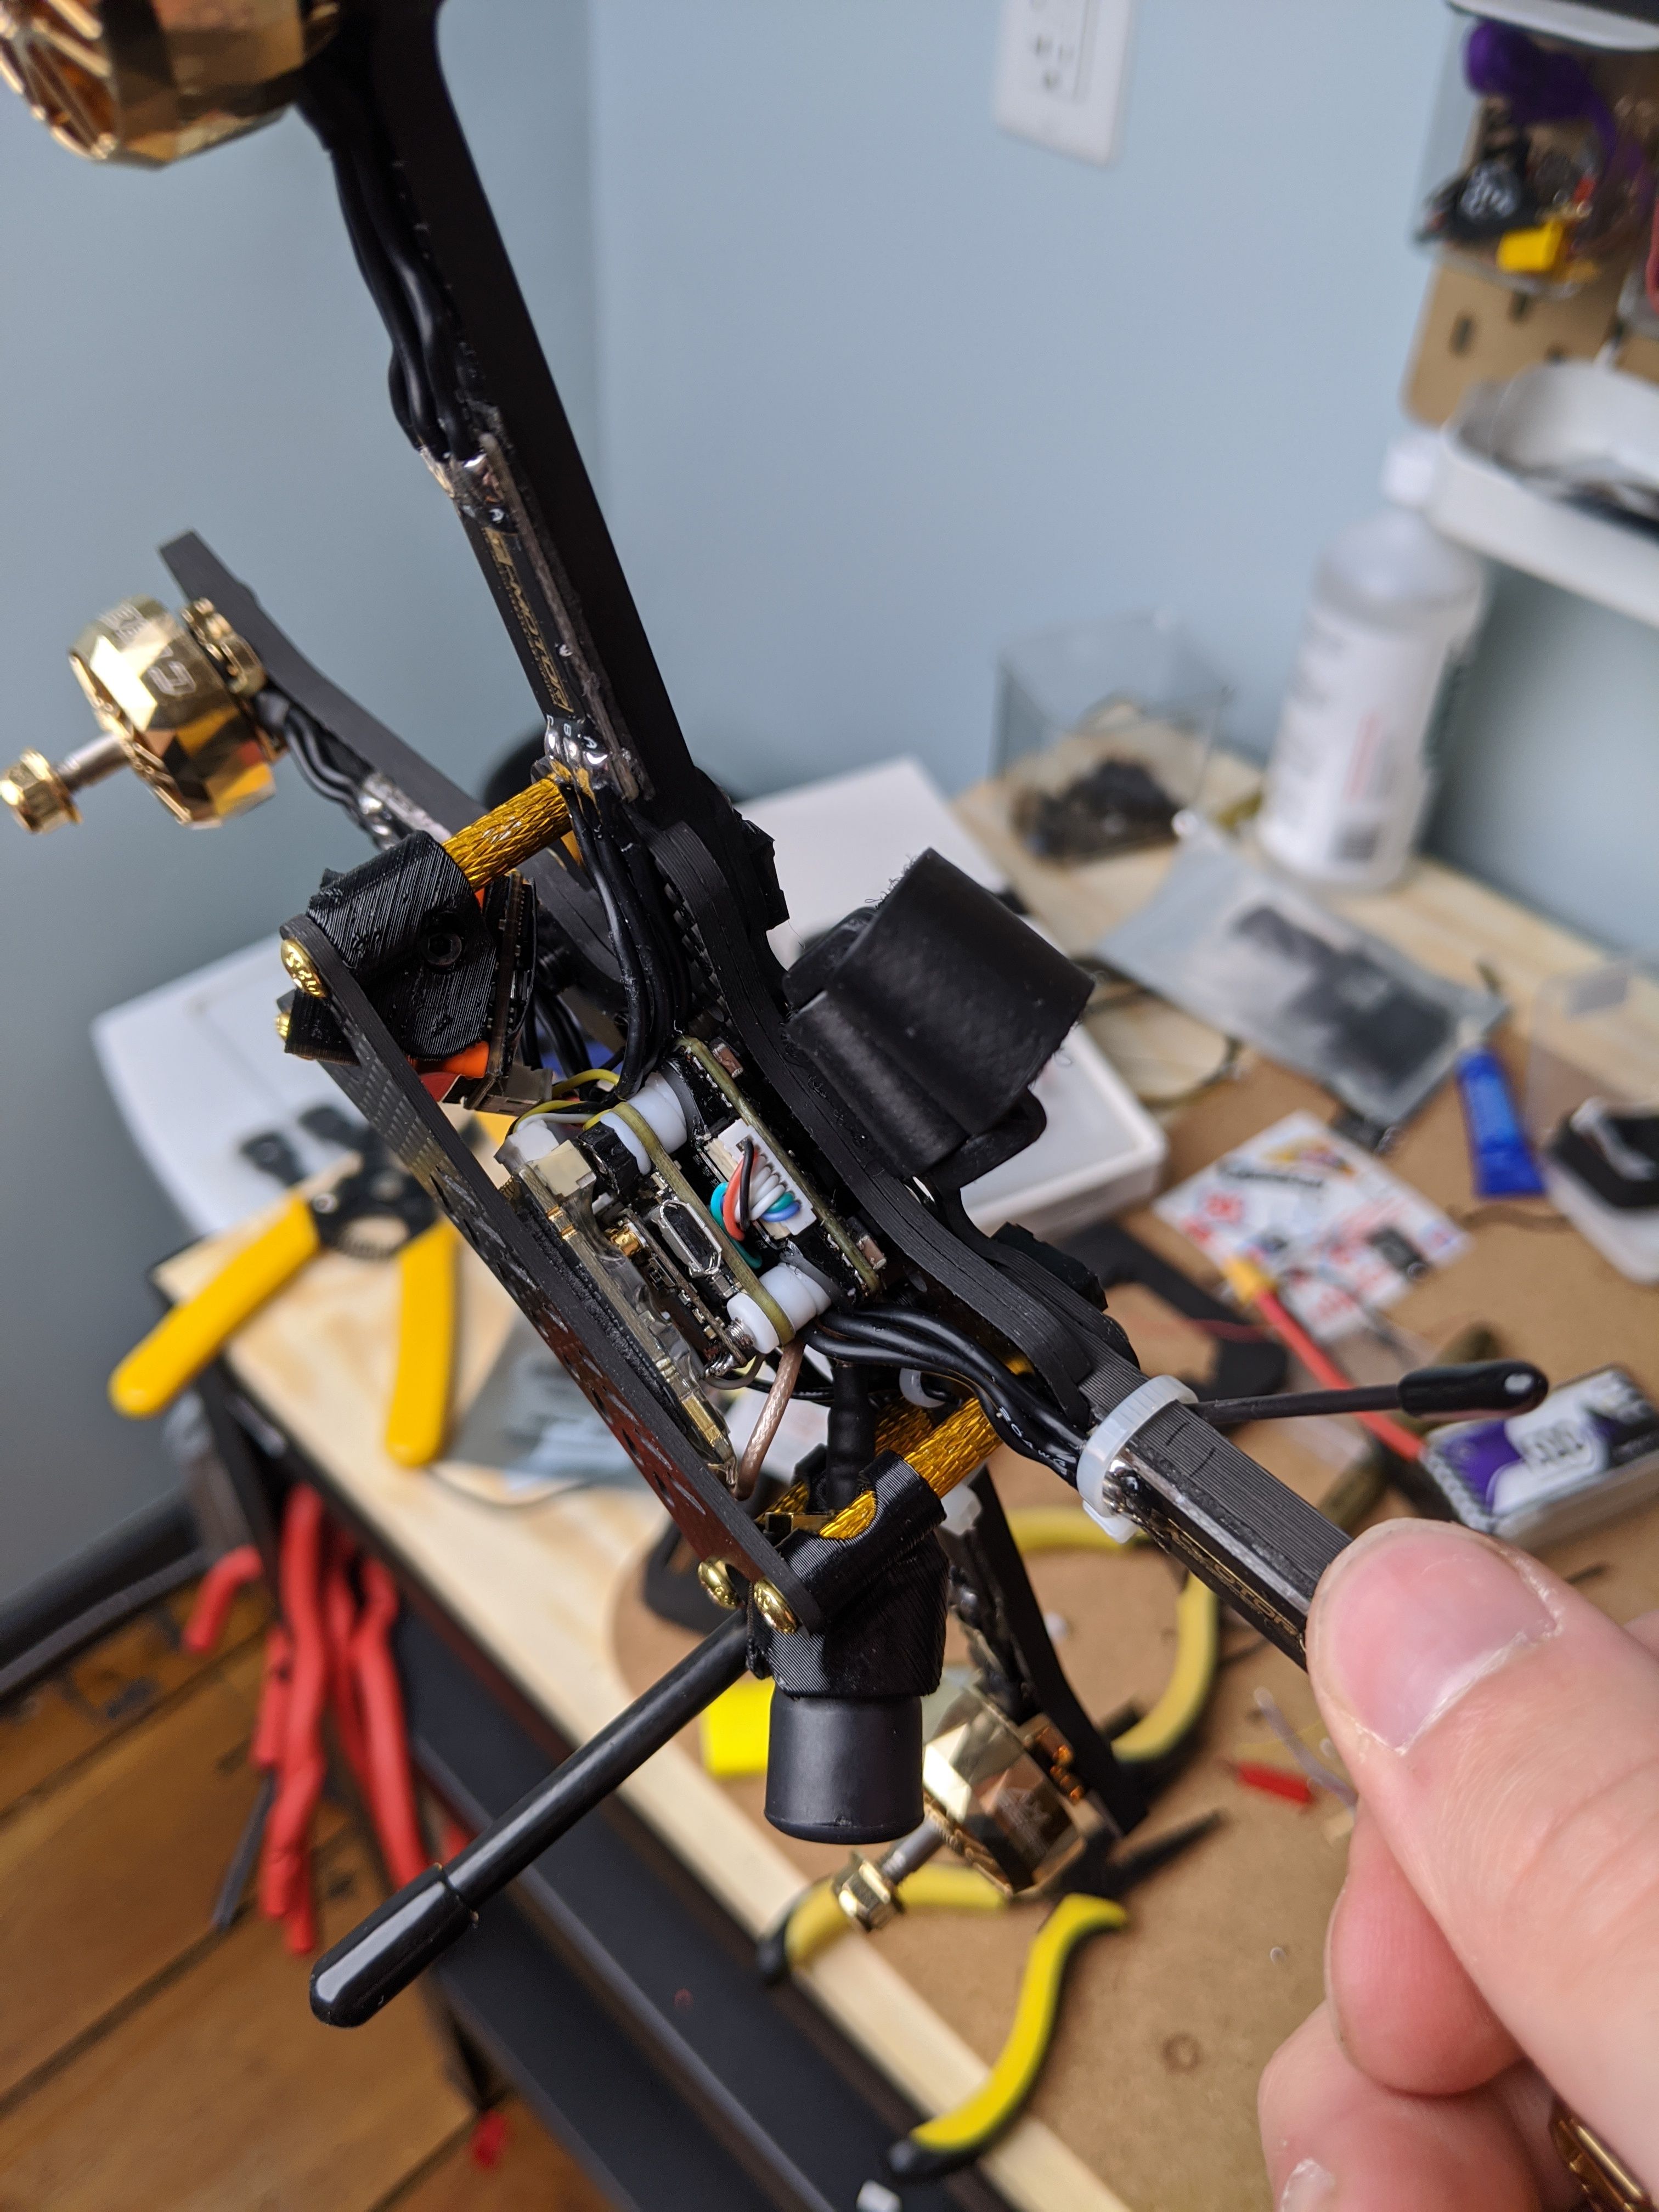
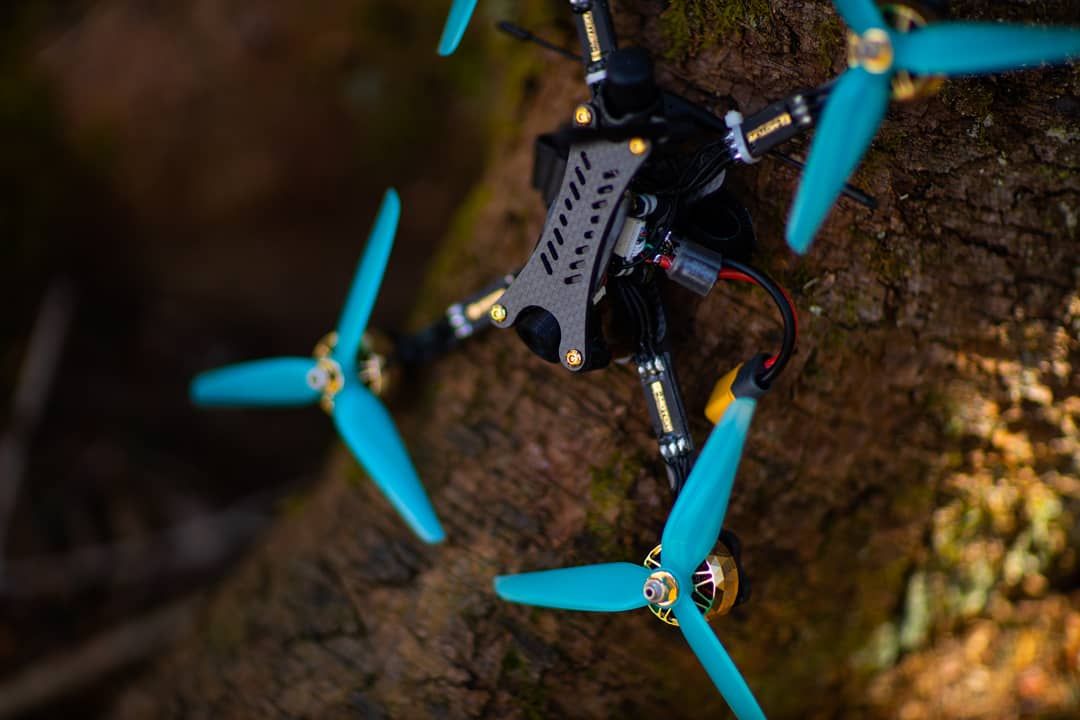
Here's something I really like about this frame... I don't know if it was intentional or not, but theres this gap in the back of the frame that is perfect for mounting the Crossfire antenna. You'd have to be very unlucky for the antenna to bend enough to get it chewed up by the props if you mount it like this.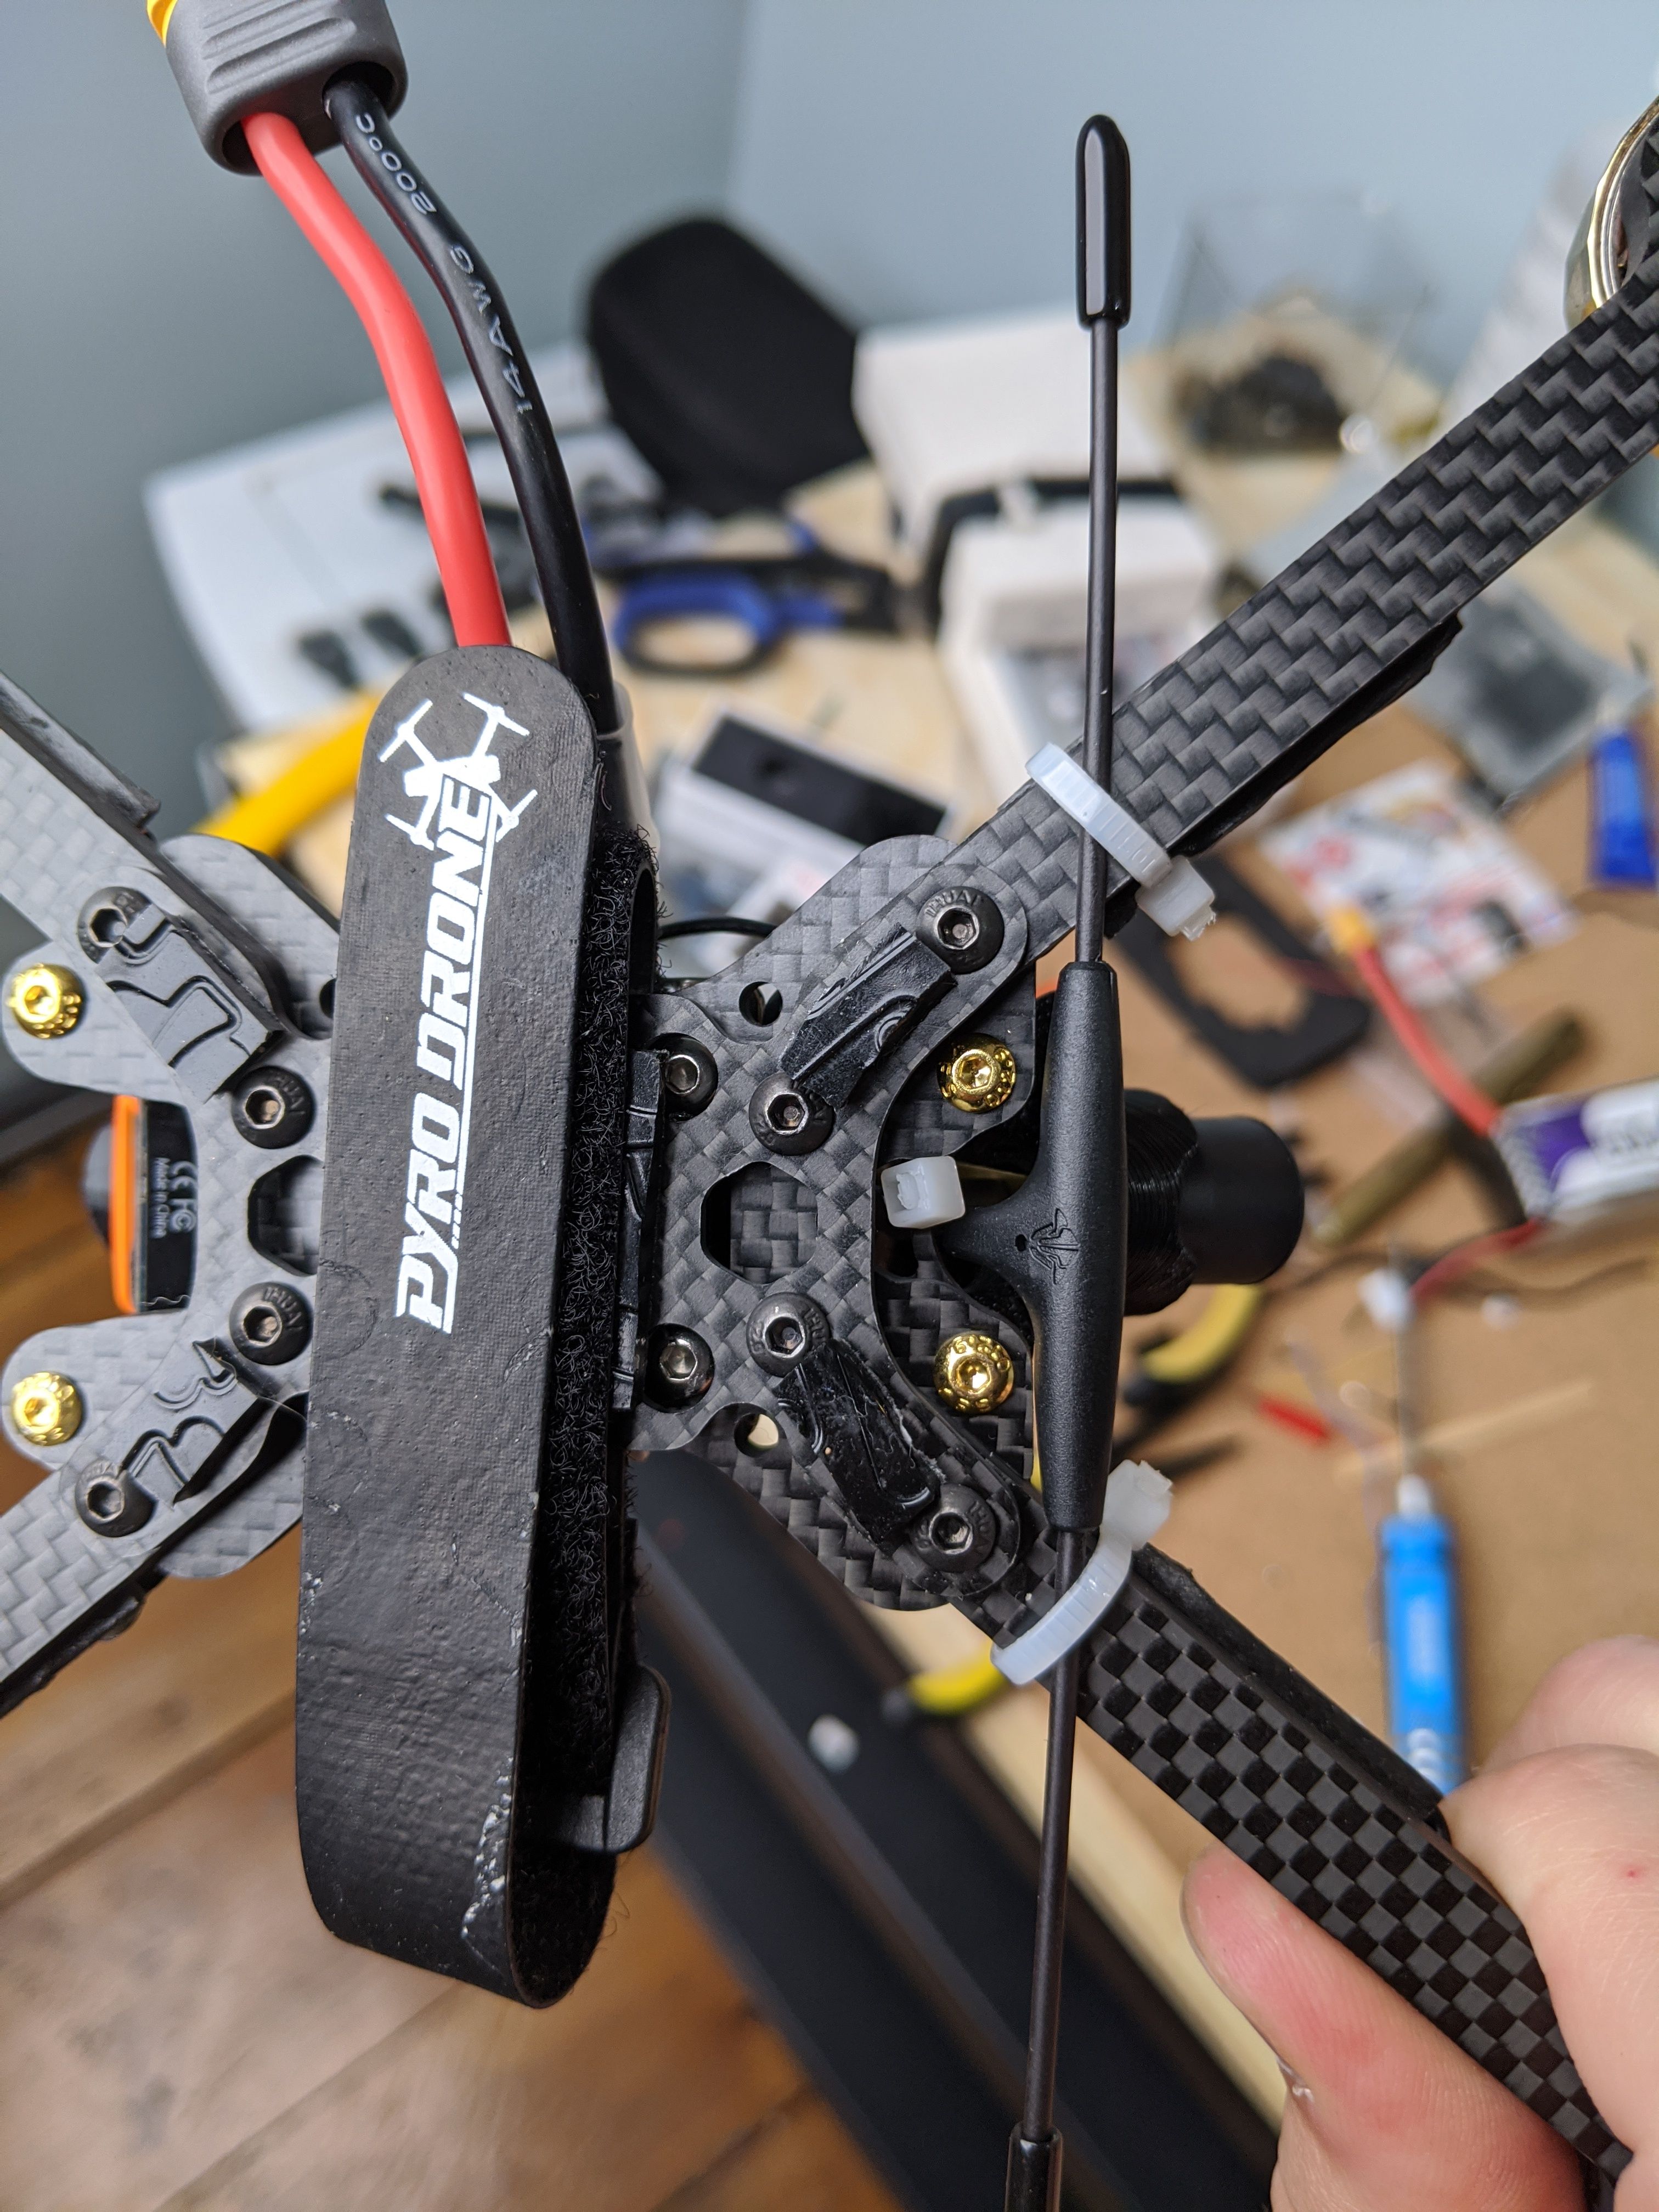
And there it is! Appart from basic BF programming, the build was complete. I've included the CLI DIFF code in the comments. If you are making this build simply copy and paste it into your CLI, type in save, and you should be good to go (props off when testing!!!). running the latest stavle release of BF (as of may 8th 2020)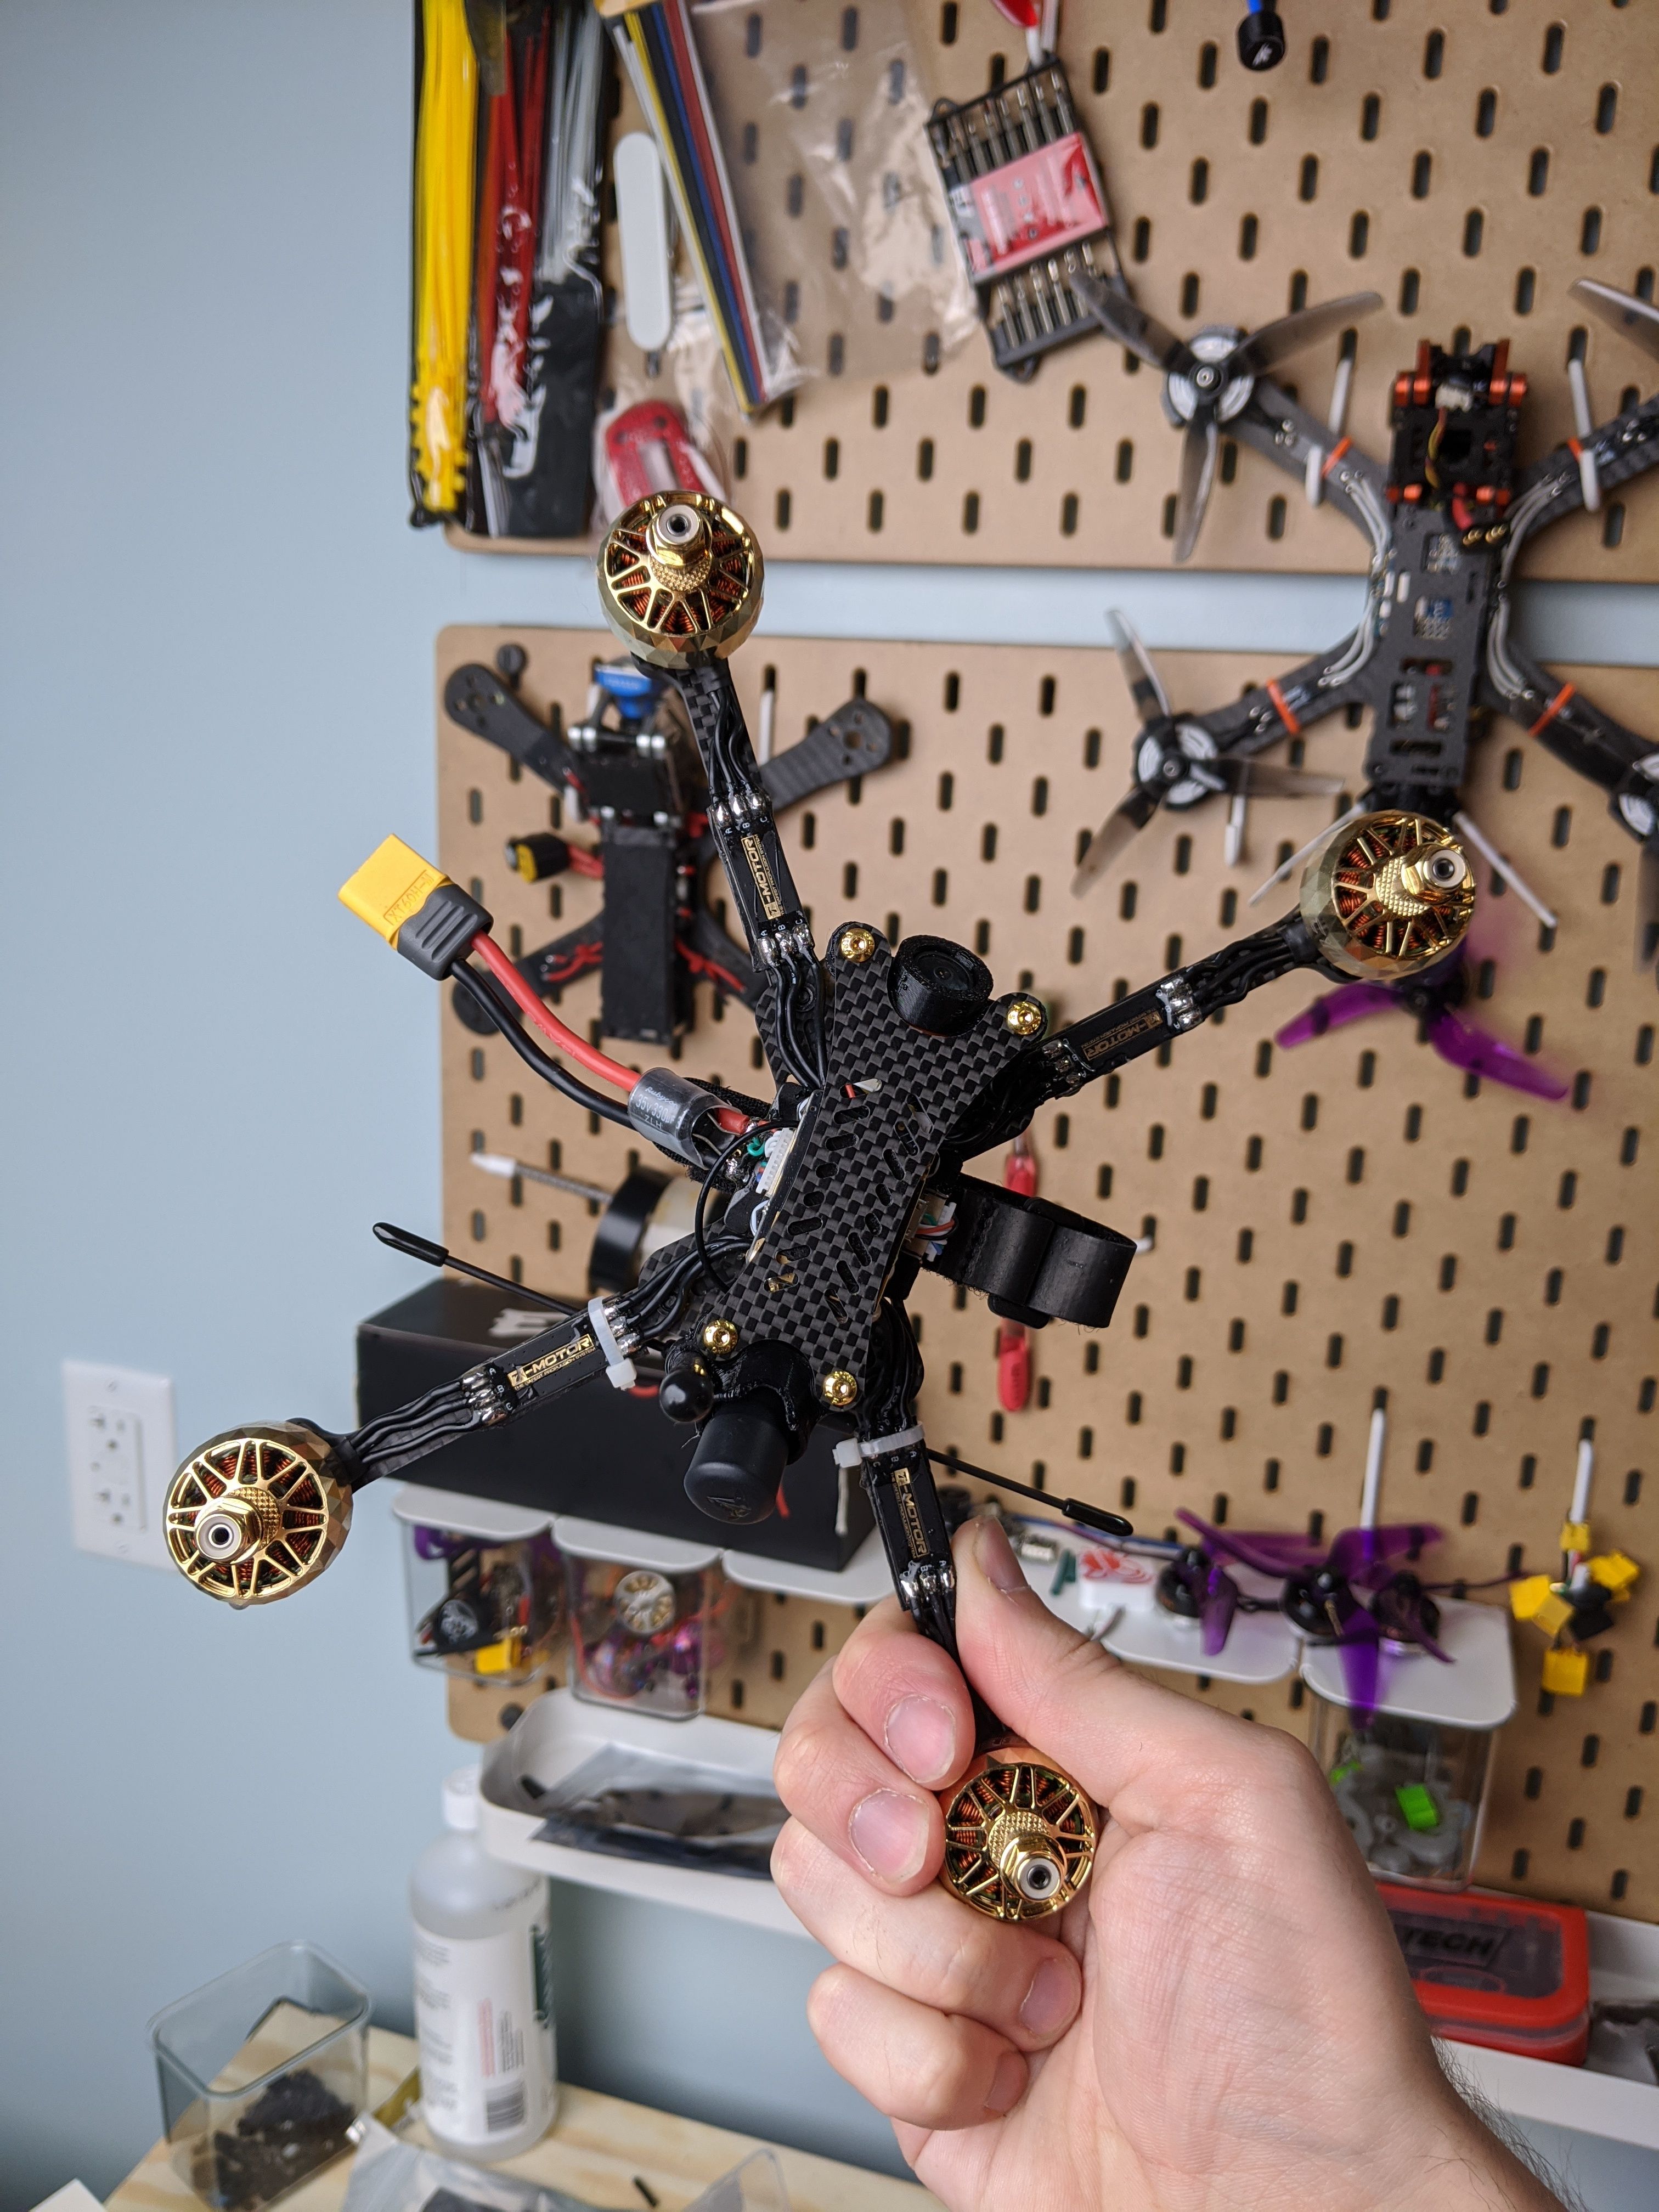
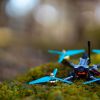
Photos

Part List
Frame |
Cypress 5" Premium Race Frame
Apexquaddesign.ecwid.com
|
$49.99 |
Flight Controller |
RADIX LI Flight Controller - brainfpv
(24 builds)
Brainfpv.com
|
$49.99 |
ESCs |
Aikon AK32PIN 4-in-1 35A 6S 20x20
(55 builds)
Pyrodrone.com
|
$59.00 |
Motors |
4 x iFLIGHT Cyber XING 2306.5-2555KV FPV Motor
Pyrodrone.com
|
$99.96 |
Propellers |
HQ Prop HEADSUP FPV R38 5138 Racing Propeller (2CCW+2CW)
(24 builds)
Pyrodrone.com
|
$3.39 |
FPV Camera |
RunCam Phoenix 2 1/2 CMOS 1000TVL 2.1mm M12 Lens FOV 155 Degree 4:3/16:9 PAL/NTSC Switchable FPV Camera
(47 builds)
Pyrodrone.com
|
$29.99 |
FPV Transmitter |
TBS Unify PRO 5G8 HV Race (SMA)
(555 builds)
Pyrodrone.com
|
$24.95 |
FPV Transmitter |
TBS Unify Pro Nano 5G8
(97 builds)
Team-blacksheep.com
|
$19.95 |
Antenna |
TBS Crossfire Immortal T V2 Antenna
(149 builds)
Pyrodrone.com
|
$5.95 |
Receiver |
TBS Crossfire Nano Rx - FPV LONG RANGE DRONE RECEIVER
(1505 builds)
Team-blacksheep.com
|
$24.95 |

also what is that antenna thing that looks like a big immortal t end, standing straight up on the top plate?
If you have the exact same build (FC is what matters the most, and if you have the ESC mounted the same way. This is running crossfire) you can paste this into the CLI to have all the same settings that I have. Should be a quick copy and paste and you are good to go. MAKE SURE YOU ARM YOU QUAD WITHOUT THE PROPS ON TO MAKE SURE IT ALL WORKS)
name: Stunny C5
resources
resource MOTOR 1 A03
resource MOTOR 2 A15
resource MOTOR 3 A02
resource MOTOR 4 A10
aux
aux 0 0 0 1700 2100 0 0
aux 1 35 2 1700 2100 0 0
aux 2 36 1 1750 2100 0 0
aux 3 49 3 1700 2100 0 0
master
set gyro_lowpass2_hz = 350
set dyn_notch_range = LOW
set dyn_notch_width_percent = 0
set dyn_notch_q = 200
set dyn_notch_min_hz = 90
set dyn_lpf_gyro_min_hz = 280
set dyn_lpf_gyro_max_hz = 700
set acc_hardware = NONE
set dshot_bidir = ON
set vbat_max_cell_voltage = 440
set yaw_motors_reversed = ON
set small_angle = 180
set osd_vbat_pos = 14720
set osd_rssi_pos = 40
set osd_link_quality_pos = 6144
set osd_tim_1_pos = 14743
set osd_tim_2_pos = 14711
set osd_flymode_pos = 65
set osd_crosshairs_pos = 205
set osd_mah_drawn_pos = 321
set osd_craft_name_pos = 14356
set osd_warnings_pos = 14730
set osd_avg_cell_voltage_pos = 14699
set name = Stunny C5
profile 0
profile 0
set dyn_lpf_dterm_min_hz = 98
set dyn_lpf_dterm_max_hz = 238
set dterm_lowpass2_hz = 210
set p_pitch = 45
set p_roll = 37
set p_yaw = 45
set launch_trigger_allow_reset = OFF
set launch_trigger_throttle_percent = 30
set launch_angle_limit = 60
rateprofile 0
rateprofile 0
set yaw_rc_rate = 110
set roll_expo = 1
set pitch_expo = 1
set yaw_expo = 1
set roll_srate = 61
set pitch_srate = 61
set yaw_srate = 61
Guides & Reviews

AirbladeUAV has done it again and this time they've brought long range to the 5" class! Based on the popular Transformer Mini, the new Transformer 5" Ultralight adopts a lot of the same design philosophies with larger props and more payload capacity. It can fly upwards of 20 minutes on a 4 cell Li-Ion battery pack and in ideal conditions it's got a range of over 4 to 5 miles. In this guide I'll walk..
Read more
With the release of the DJI FPV Drone cinematic FPV has become a lot more accessible, but you certainly don't want to crash a $750 drone! The QAV-CINE Freybott is a compact, lightweight cinematic FPV drone that can take a hit and keep going. It's a lot safer to fly indoors and around people. With a naked GoPro or the SMO 4k you can capture some great stabilized footage. In this guide I'll show you..
Read more


post a video of this ripping
Here ya go!
Only difference on this rig are some Xing-e motors
https://www.instagram.com/p/CDeSfOYHQkd/?utm_source=ig_web_copy_link