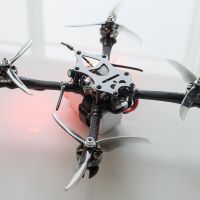
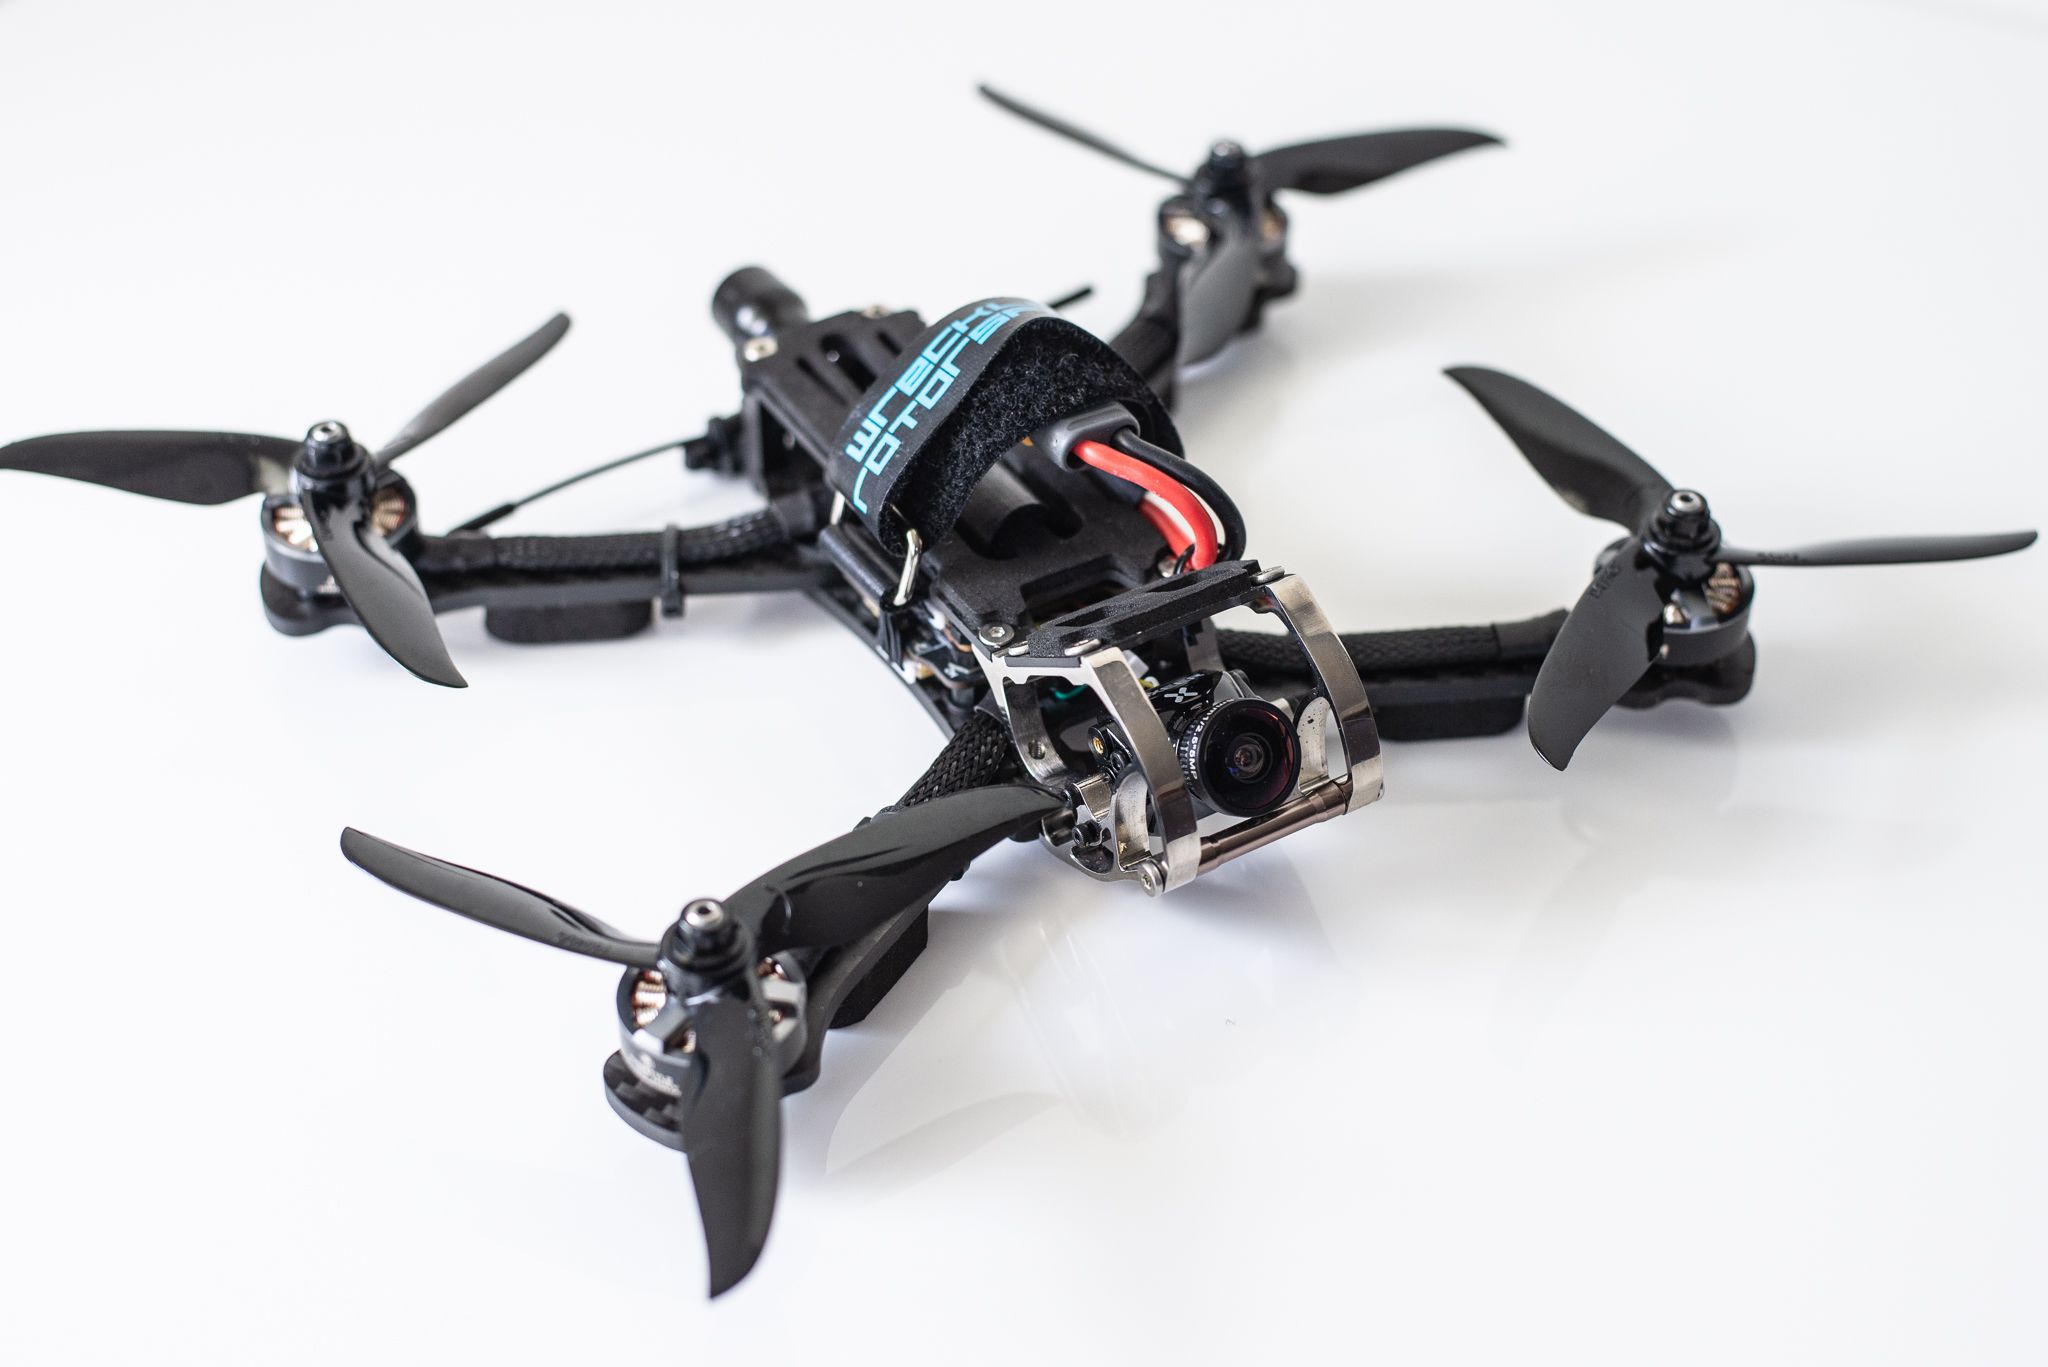
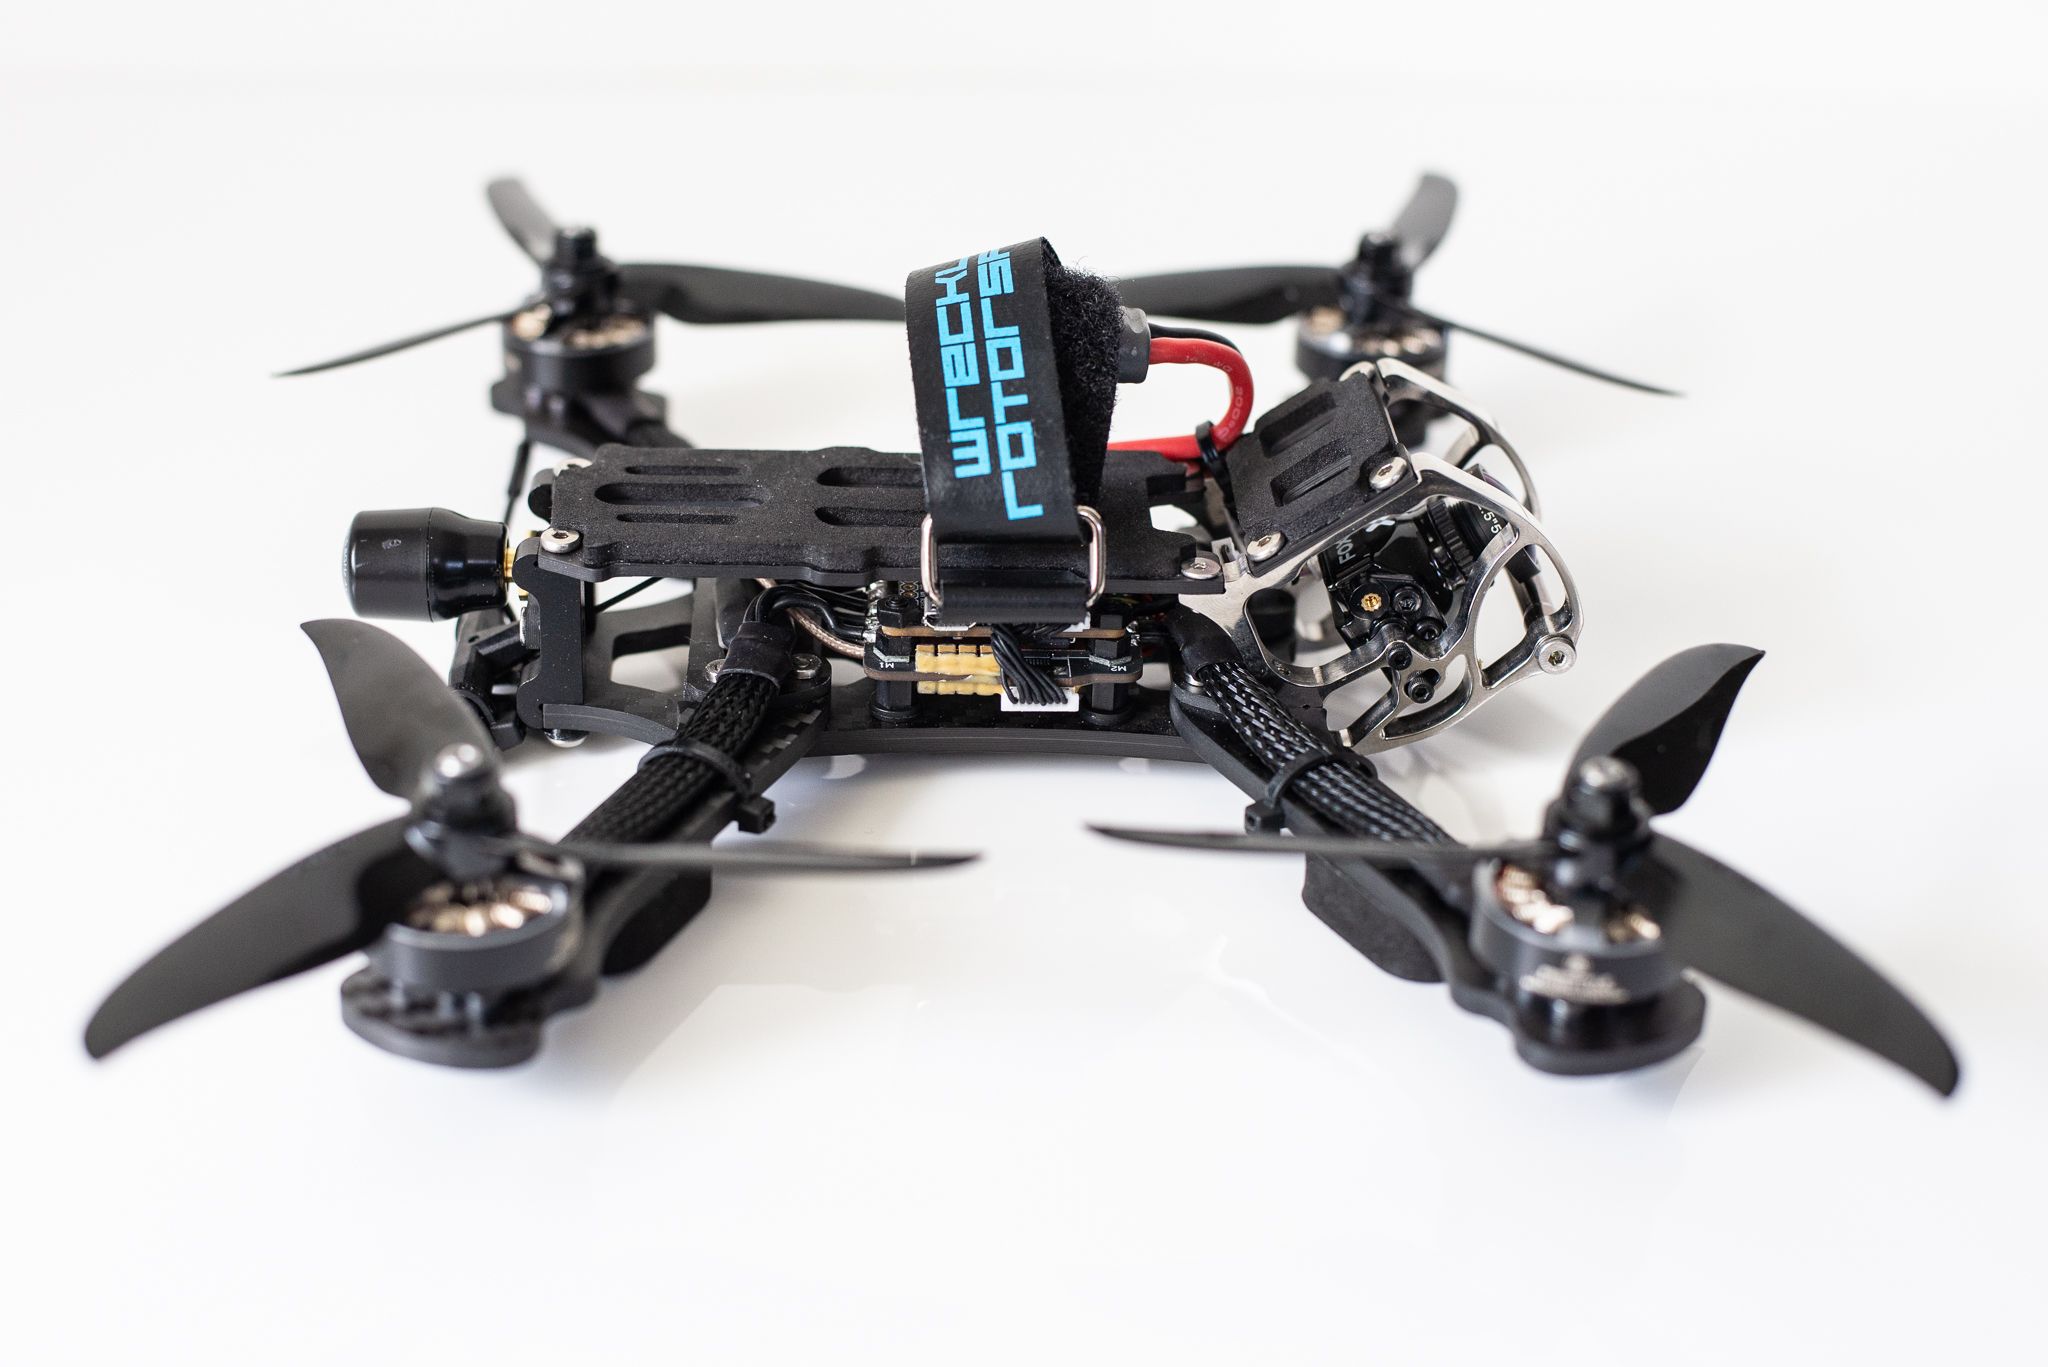
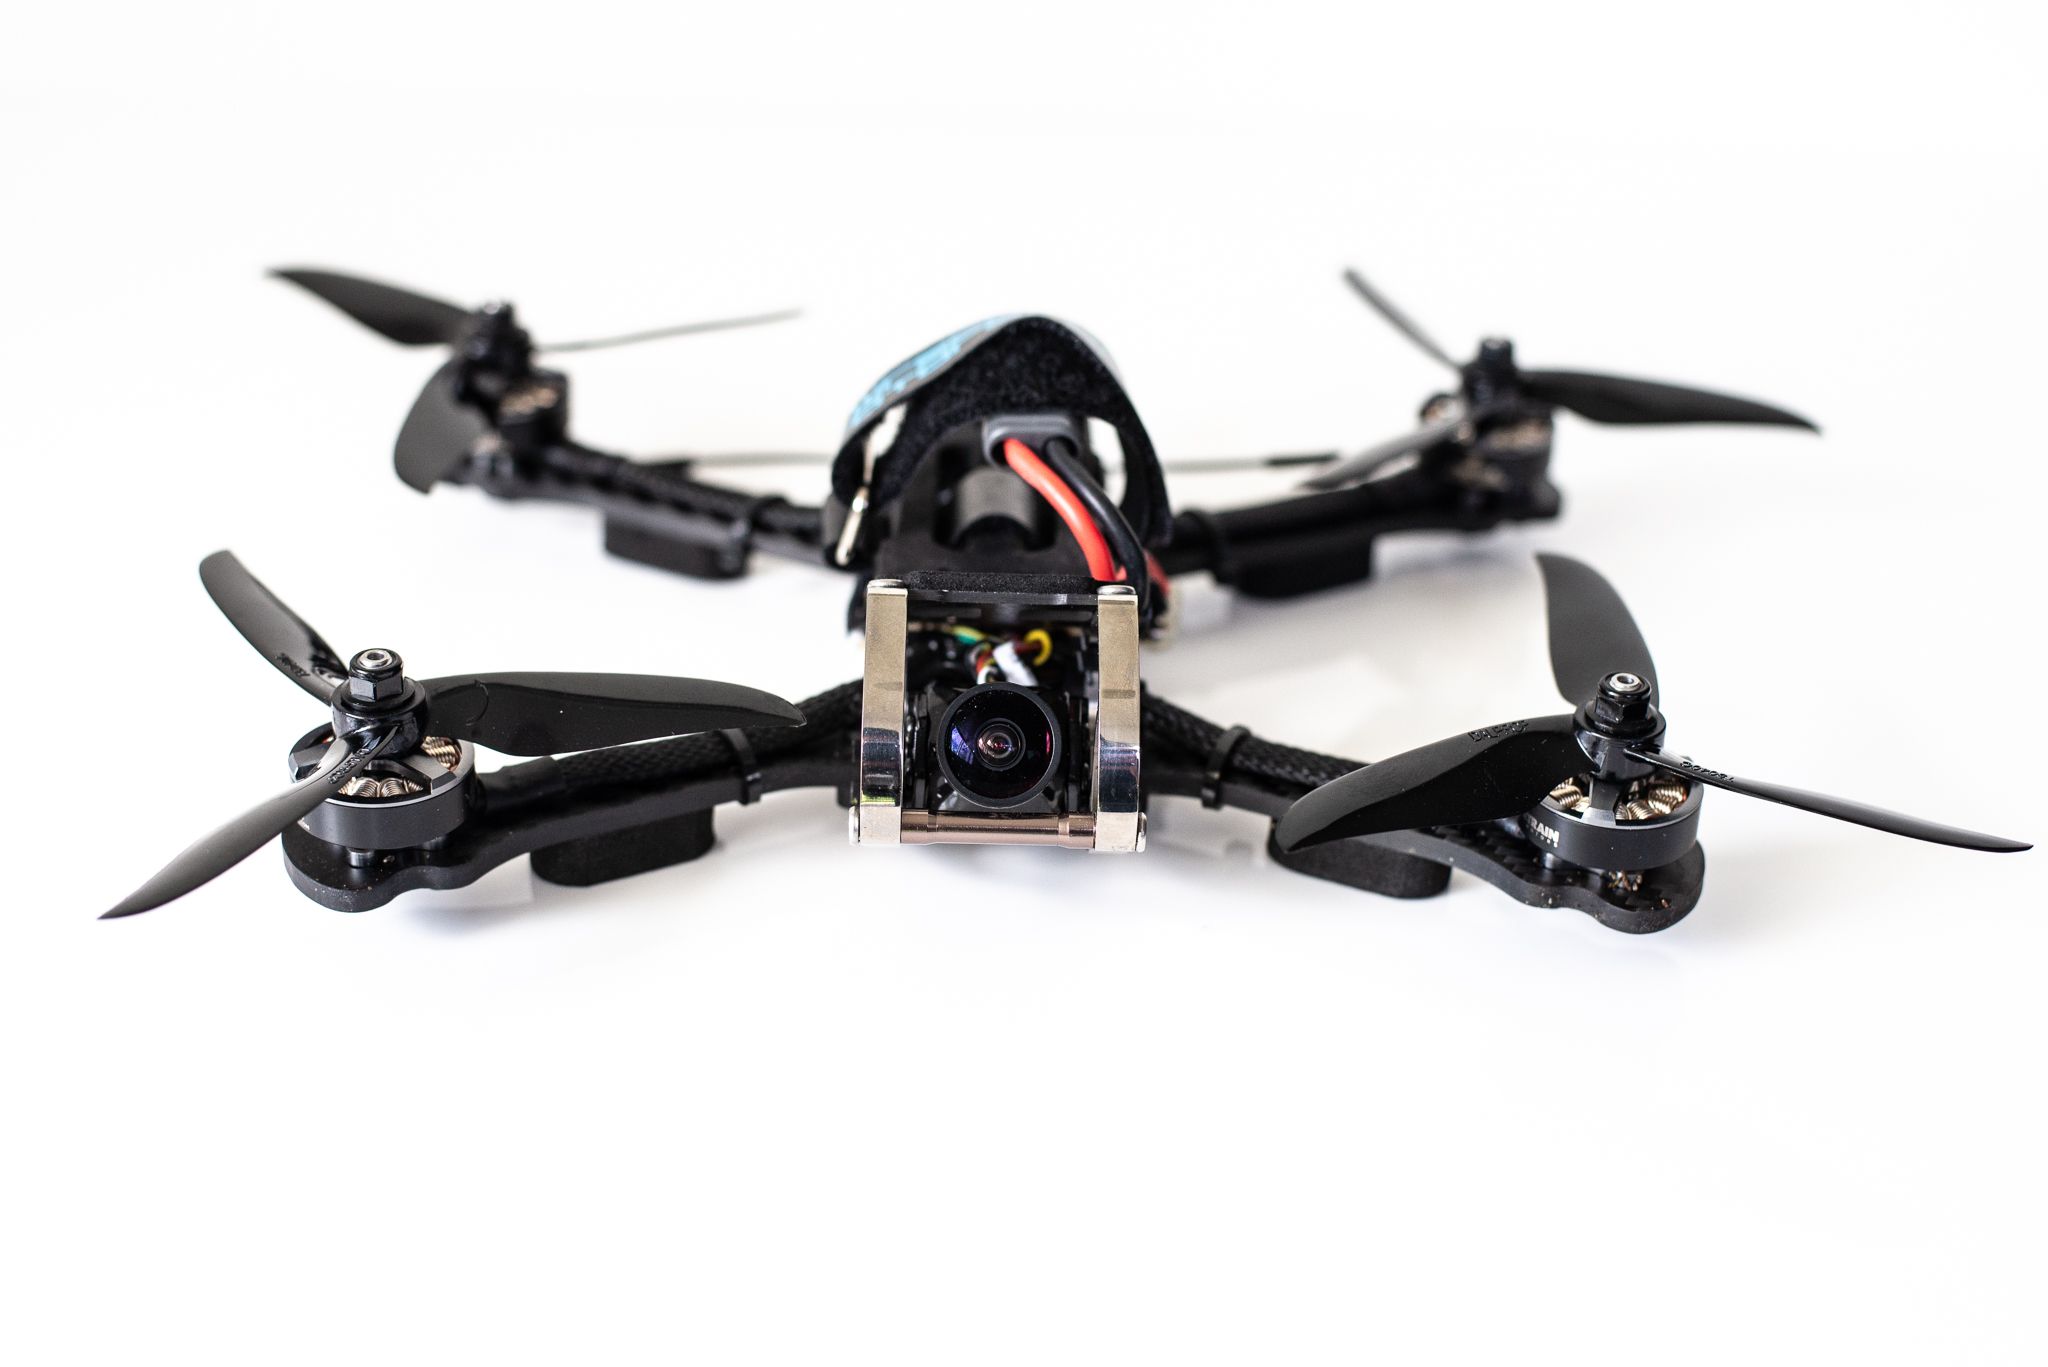
The Armattan Rooster on paper seemed like the perfect frame, replaceable arms, titanium camera cage and a lifetime warranty. However mine was first batch, so the first thing that happened was the bolts all started to strip when tightened, I contacted Armattan and they sent out a replacement set, I had to figure out a way to remove the stripped bolts, I ended up using a hammer and a screw driver to get them to twist. The second set of bolts were just as bad, and Armattan sent out a third batch. At this point I really should have just used my own bolts, some socket head caps would have been better. I still could get the arms to move, I previously had the problem on the diatone 180, so it was a big deal to me, everytime you had a hard landing you would have to move the arms back in place. I was so desperate that I even reached out to Armattan to see if I could get the CAD files to have some bommerang arms cut so there was no chance of movement. I was told no, and that it would void my warranty. Months went by, the frame sat, finally Armattan acknowledged the problem and came up with the bolt saver, a tiny piece of carbon that goes between the arms, such a simple solution, one that the community was doing already with the 3d prints. Once I had the bolt saver, I decided to complete the build, my Dad had bought me the hypetrain motors for Christmas, they are the V1's apparently they have issues, I hear the v2's are much better. For the ESC I wanted the one with the least amount of noise, so I read reviews from Drone Mesh testing and settled on the tekko32. I bought the kakute and the tekko 32 as a stack, however there was one problem, the gyro is soft mounted and the Rooster has a very low profile. The nice thing with the Rooster is that the top plate lets you weave the strap so its not touching the gyro. There isn't much room, I was able to stuff the TBS Unify Pro under the ESC, and the receiver is mounted side ways on top of the rear arms on the bolt saver. In terms of clean build this is it, I only had to cut the motor wires, and solder on some wires for the receiver. The Falkor has a harness which plugs right into the Unify, just had to cut the OSD wire and solder it to the FC. For the immortal T antenna I had rotorvillage print a mount in tpu so it fits right on the back.
Photos
Part List
Flight Controller |
Holybro Kakute F4 V2 STM32F405 Flight Controller With Betaflight OSD for RC Multirotor FPV Racing Drone
(43 builds)
Banggood.com
|
$36.00 |
ESCs |
Holybro Tekko32 35A 3-6S Blheli 32 4 In 1 Brushless ESC support Telemetry for FPV Racing 30.5x30.5mm
(105 builds)
Banggood.com
|
$59.58 |
Motors |
Hypetrain Freestyle V2 2306 2450KV Motor
(96 builds)
Rotorriot.com
|
$26.99 |
Propellers |
2 Pairs Dalprop Cyclone T5040C 5 Inch 3-blade Propeller CW CCW for RC FPV Racing Drone
(79 builds)
Banggood.com
|
$3.34 |
FPV Camera |
Upgraded Foxeer Falkor 1200TVL 1/3 CMOS Mini/Full Size FPV Camera 16:9/4:3 PAL/NTSC Switchable GWDR
(89 builds)
Banggood.com
|
$38.90 |
FPV Transmitter |
TBS Unify Pro 5G8 V3 (SMA)
(197 builds)
Getfpv.com
|
See Site |
Antenna |
Lumenier AXII Stubby 5.8GHz Antenna (RHCP)
(232 builds)
Getfpv.com
|
$14.99 |
Receiver |
FrSky R9MM OTA SBUS Long Range 900MHz Micro Receiver - For At RaceDayQuads
(87 builds)
Racedayquads.com
|
$17.33 |
Guides & Reviews

AirbladeUAV has done it again and this time they've brought long range to the 5" class! Based on the popular Transformer Mini, the new Transformer 5" Ultralight adopts a lot of the same design philosophies with larger props and more payload capacity. It can fly upwards of 20 minutes on a 4 cell Li-Ion battery pack and in ideal conditions it's got a range of over 4 to 5 miles. In this guide I'll walk..
Read more
With the release of the DJI FPV Drone cinematic FPV has become a lot more accessible, but you certainly don't want to crash a $750 drone! The QAV-CINE Freybott is a compact, lightweight cinematic FPV drone that can take a hit and keep going. It's a lot safer to fly indoors and around people. With a naked GoPro or the SMO 4k you can capture some great stabilized footage. In this guide I'll show you..
Read more


Really good looking