DJI Smoov 6s Marmotte
 By Hardboiled on Jun 08, 2020
Hi folks,
I would like to thank everyone that built a quad before me and took the time to post your build or share your experience on Youtube. This can be a daunting hobby to enter and everyone's contributions helped immensely.
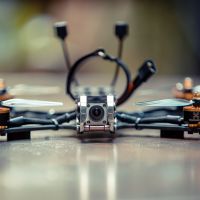
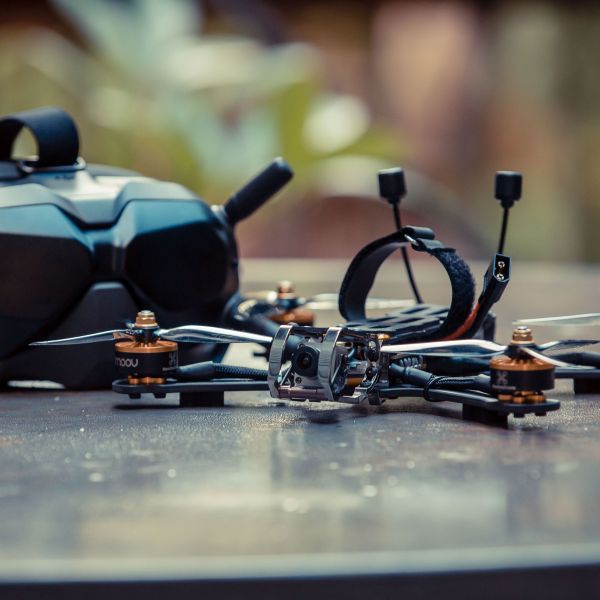
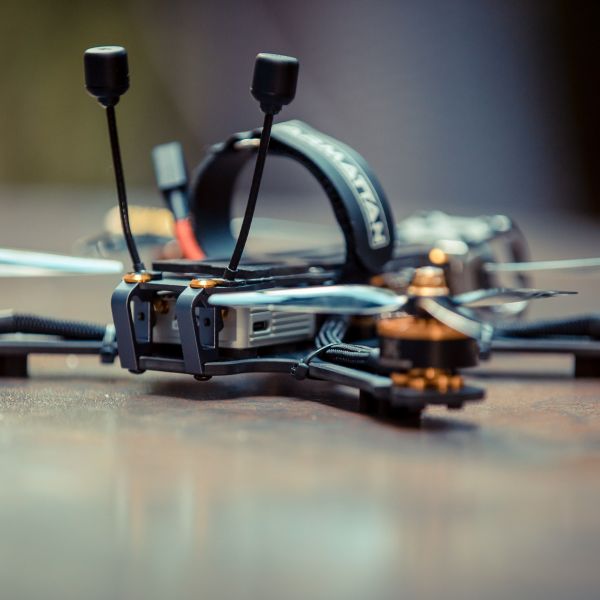
I started with the DJI FPV system as the base of this build. I wanted the better image quality provided and onboard video recorder to remove the need for a GoPro. This seemed to offer the best of both worlds as I can also attach the URUAV analog adapter to my DJI goggles and this is allowing me to train a bit more on a Tinyhawk 2. The analog signal looks great in the goggles. Currently I am using an AKK Diversity RX 5.8G receiver with Menace linear patch and Menace periscope.
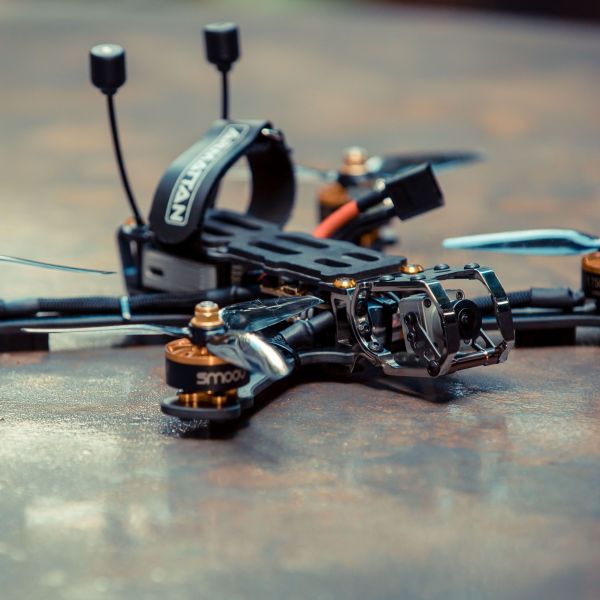
I went with the Marmotte frame as I wanted something sturdy to learn (crash) on. I also think it happens to look really good. I decided on a 6s build simply because online evaluations suggested 6s provides less sag at the tail end of the flight, even though the time in the air is about the same as 4s.
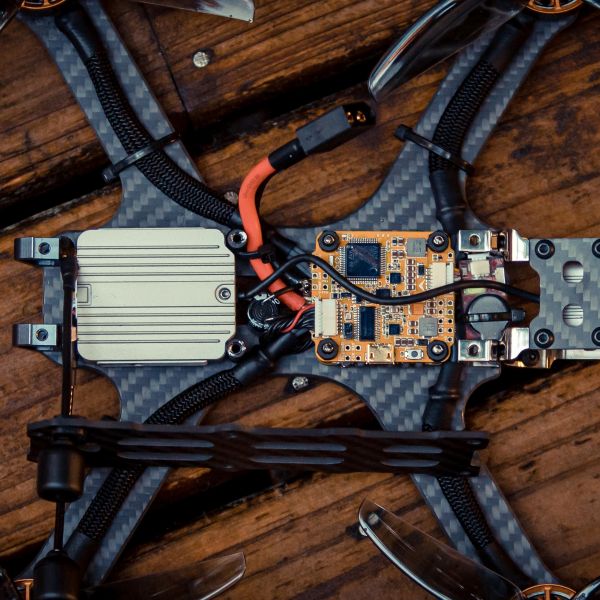
NewBeeDrone offers a bundle that includes the DJI Fly More combo + the NBD Infinity305 Stack. The stack covered all of my needs, so this was the best option for my needs.
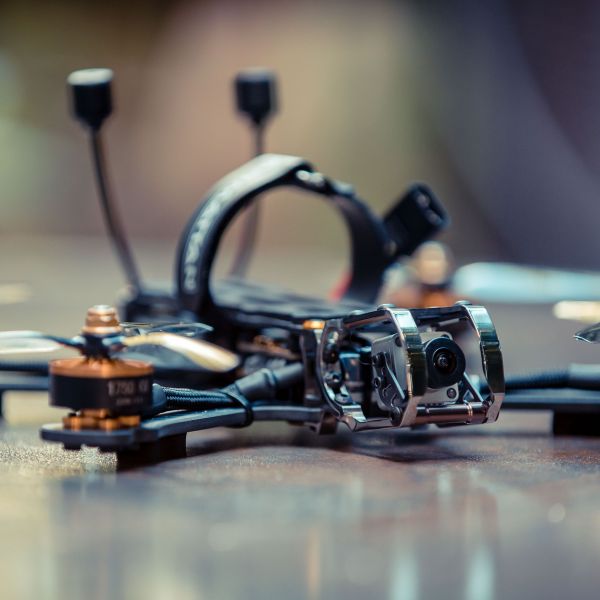
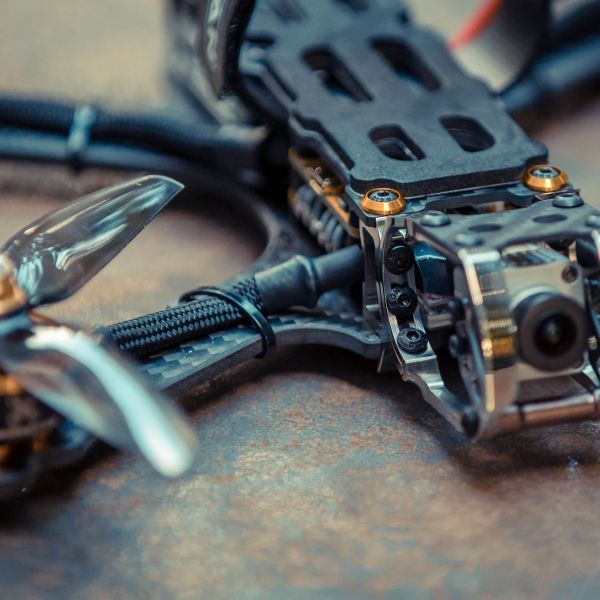
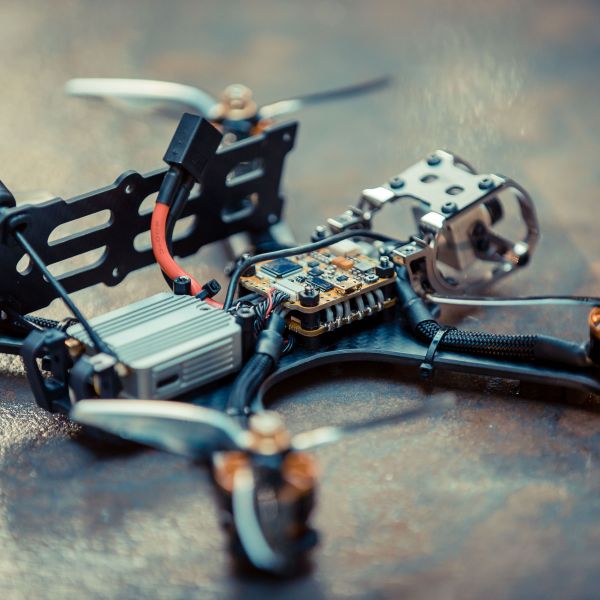
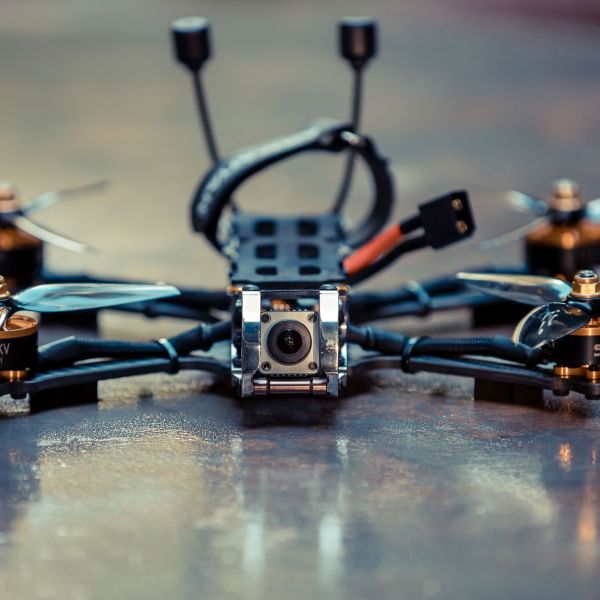
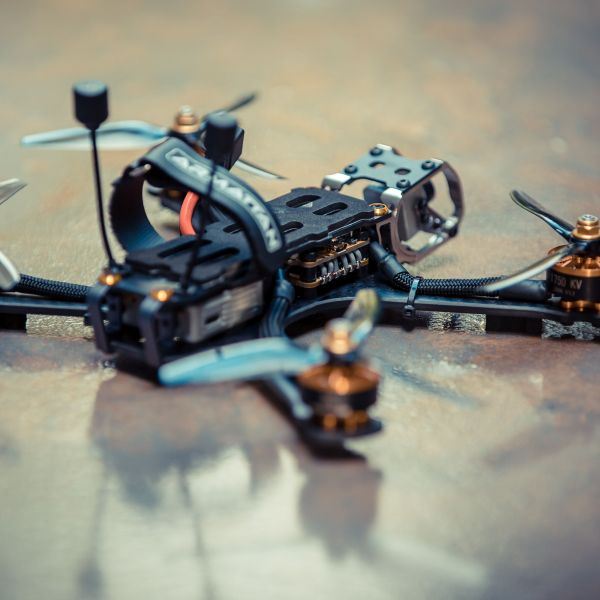
I added the Vifly buzzer to make rescue missions easier. It just barely squeezes in between sides of the camera cage at the front of the quad.
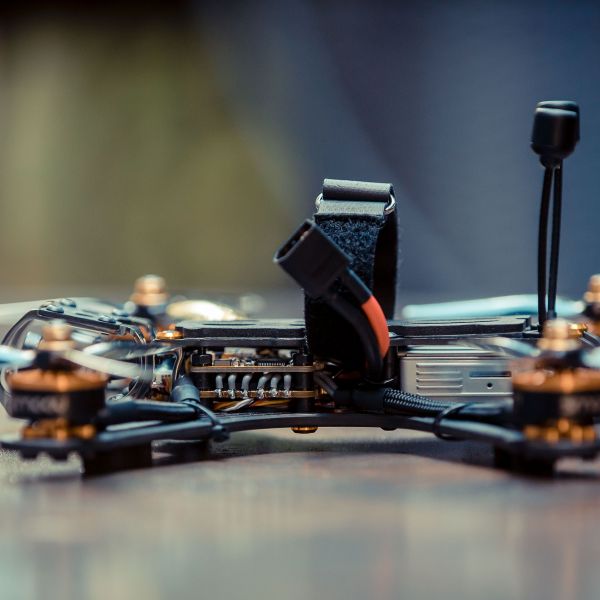
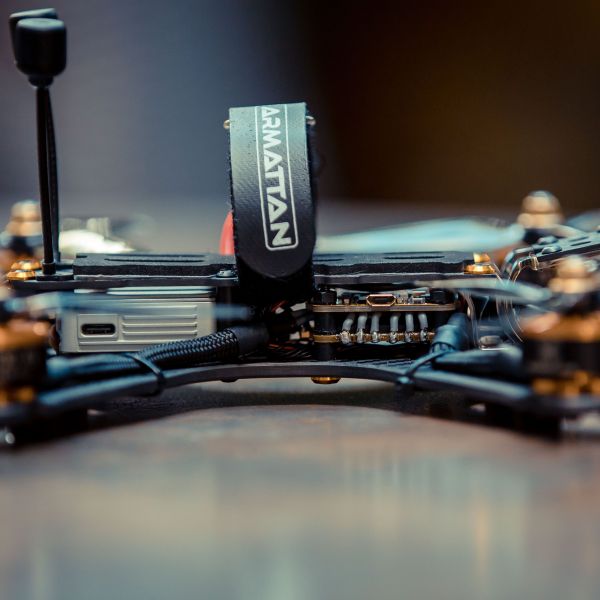
I went ahead and added the 35v 470uf cap to the power pads as their was room in the center of the quad. NewBeeDrone suggests that this is not necessary for a 6s build with the FC+ESC stack, but no harm if unused.
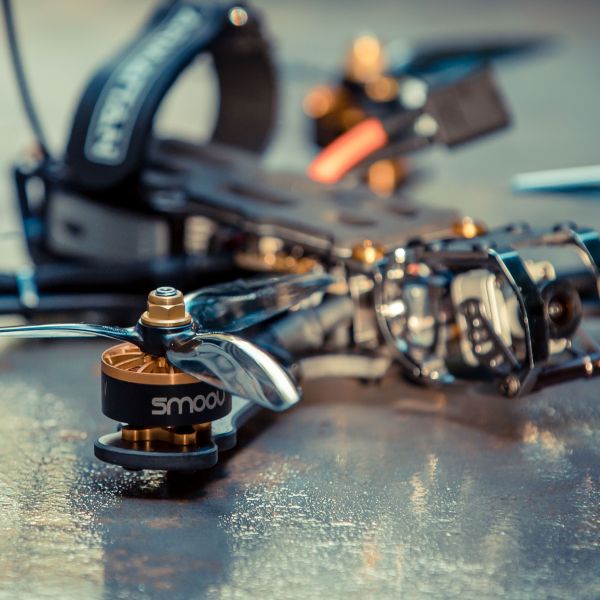
The motor wires are wrapped in paracord and shrink wrapped on the ends. Remember to do all of this before rushing to solder. I replaced the motor screws with button head screws and used a touch of blue locktite on each screw. For the motors themselves, I went with the NBD Smoov 1750KV motors again because racing won't be my focus and I read some good things about their feel. I have also received great customer service and delivery speeds from NDB (and RDQ for that matter) and wanted to throw a bit more business their way. I soldered the motor wires in the vertical position on the ESC vs flat on the surface. This provided the best angle for the look I was going for.
For soldering, I used a Hakko FX-888D. I used Kester 63/37 solder as it sets up quicker as it cools. I never did require the solder wick, but used the solder puller twice when applying too much solder on a few of my ESC pads. I did practice soldering a bit more on a small training kit from Amazon. I linked an example below. I used the Hakko FA-400 Smoke Absorber during soldering.
While I initially purchased a smoke stopper from RDQ, I ended up building 2 of my own. I wanted to make them from 12 Ga wire to match the wires on my Tattu RLine Batteries and the pigtail I was building for the quad. I built 2 smoke stoppers since I am using 6s batteries. Using 2 smoke stoppers inline increases resistance and better protects the quad when using 6s. As a bonus, you get more soldering practice building smoke stoppers and pigtails before working on the expensive stuff.
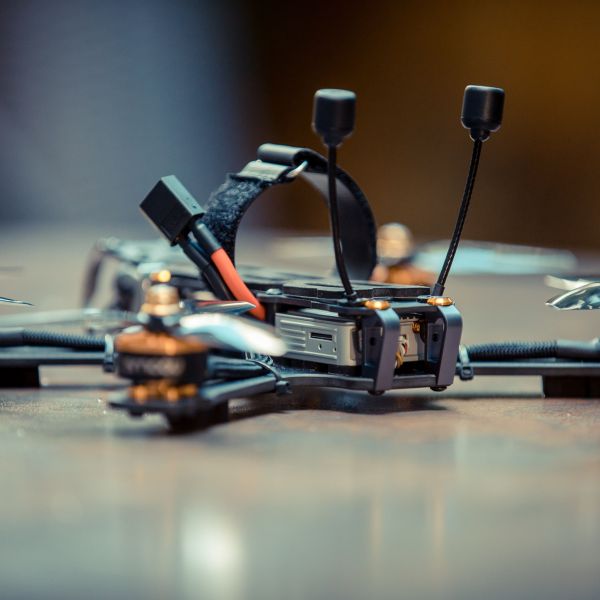
The only aspect of the build that remains awkward are the DJI antennas. The lip on the top back of the air unit wants to push the connectors out. Further, the Marmotte provide antenna holes in the top plate which is great, but the angle doesn't do anything to hold the connectors in place. I added a bit of foam padding between the back pillars of the frame and the antenna connectors that effectively keeps pressure on them so they don't come out as easily, we'll see how that works in practice.
The only changes I plan to make so far is to add Kwad Skidz on the arms in place of the foam pads that seem like they may fail rather soon. Then replace the stock battery pad with Umaggrip sticky pad. I also plan to add a second battery strap.
I have linked the tools and accessories I used to make this build below. The one item I occasionally wish I had also purchases was a helping hands device of some type for the soldering work. I was doing some risky balancing work trying to hold the solder, iron and quad all at particular angles.
Overall, I am really happy with the finished product and enjoyed the building process. Total weight is 404g.
Photos
Part List
Show stores (5)love my marmoutte. good luck if you can actually break it. quick note: you may want to zip tie your dji antennas to your arms ... they'll get mashed up otherwise.


Love this build. I'm trying to choose between Infinity stack vs the iflight succex. Have you maxed out your amps on the infinity stack? The limits are slightly lower than what my 6s batteries put out. Wondering if you've had any issues. Would love to support newbeedrone but the iflight specs are just better...
I can only say I am using the motors, props and batteries outlined above which would contribute to this equation. The ESC has not presented any issues for me after 50 batteries or so. That is freestyle flying at an intermediate level on a good day. I do use full throttle during various parts of my flight. I hope that helps, but I don't have enough experience with the other hardware to make a proper comparison.