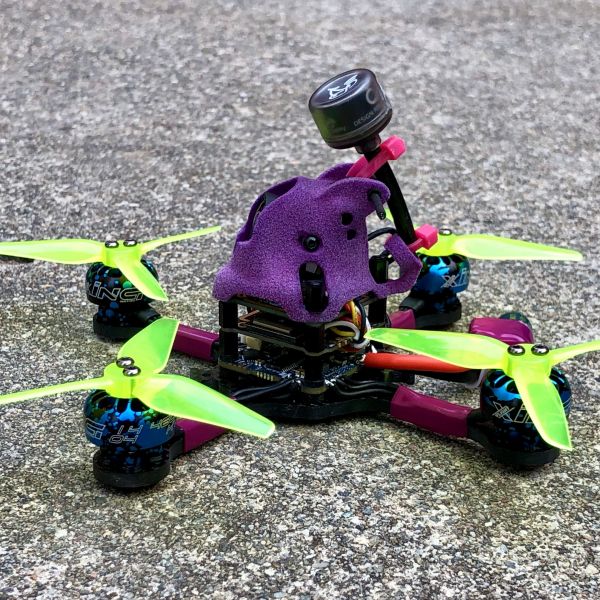
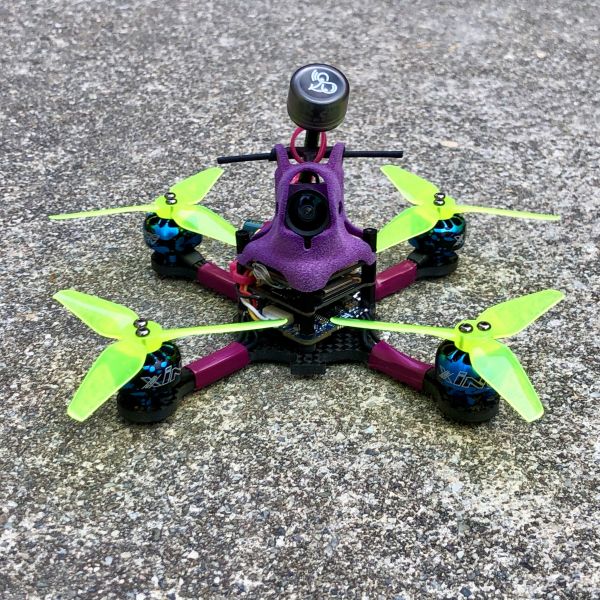
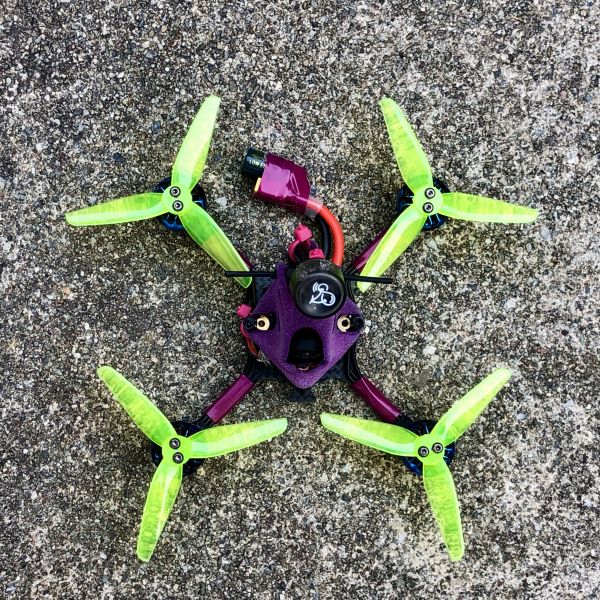
A few months ago I got started in the hobby with an iFlight DC2, a 2.5" micro with DJI air unit. That quad has been super fun to fly and learn on. However, it's fairly heavy for a 2.5", and I was always curious what a much lighter build using the same motors would fly like. So I decided to build this toothpick to find out!
Highlights
- 98g without battery; 159g with GNB 4S 650mah
- De-cased Caddx Vista unit
- Nebula nano camera
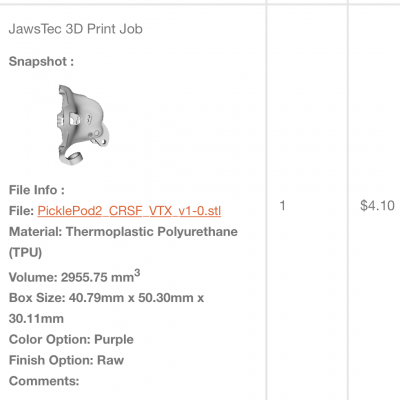
- PicklePod2 canopy (version with Minimortal-T mount) from Thingiverse (thanks @ledrone.club!) & printed in TPU by Jawstec
- FlexRC X-120 frame
- XING 1404 4600kv motors (4S)
- HQ Prop 3.1x1.8x3
- iFlight Succex-D 20A F4 AIO (upgraded ESCs with JESC for telemetry)
Notes & observations
- I de-cased the Vista unit and mounted the two boards directly on the 25.5mm stack using the outer set of holes on the PCBs (had to drill them out a bit in order to use the standard M2 screws for the stack -- that was surprisingly very easy). There's a bunch of thermal paste on the PCBs that I removed using a stiff brush and some isopropyl alcohol. I'm limiting VTX to 200mW and I haven't encountered any issues with the de-cased Vista so far. I can't comment on longer term reliability yet. I feel like there's probably some downside to effectively having removed the heat sinks -- I guess we'll find out :) Also, I'm not exactly trailblazing here -- thanks to @sub250gfpv for the early evidence that de-casing a Vista is feasible.
- This thing is crazy fast (at least to me) with the 3.1x1.8x3 props. I also tried various 2.5" props I had on hand, but ended up liking these lower pitch 3.1" props the best.
- I expected the Nebula camera to be terrible based on the reviews. I find it to be fine for my purpose of ripping around the local park, although there are definitely situations where there's some strange HDR-type visual effects going on (similar what most of the online reviews show).
Update 8/29/20: I've made some tweaks to this quad in the weeks following the initial post. As a result, I've updated the post, including the pictures to reflect the latest. Tweaks made:
- Rotated frame so battery is mounted sideways (makes connecting it easier; also allows access to USB port without removing battery)
- Changed VTX antenna mounting to prevent prop-strikes on hard landing
- Switched to a slightly larger (650mAh vs. 520mAh) battery
- Discovered some great rubber bands for battery mounting at FPV CYCLE (there are two sizes; the small ones are perfect for this frame)
Photos
Part List
Frame |
Simple X-120 FPV Drone Frame
(10 builds)
Flexrc.com
|
$14.96 |
Flight Controller |
SucceX-D 20A V2 Whoop F4 AIO Board (MPU6000)
(4 builds)
Shop.iflight-rc.com
|
$64.99 |
Motors |
4 x iFlight Xing Nano X1404 4600Kv Micro Motor - Camo
(39 builds)
Racedayquads.com
|
$67.96 |
Propellers |
HQ Prop T3x1.8x3 Tiny Prop(2CW+2CCW)
(5 builds)
Pyrodrone.com
|
$2.29 |
FPV Camera |
Caddx Nebula V2 Nano Digital HD VTX Air Unit Kit for DJI
(47 builds)
Pyrodrone.com
|
$134.99 |
Antenna |
MiniMortal T V2 for Crossfire - manufactured by TBS
(30 builds)
Fpvcycle.com
|
$3.99 |
Receiver |
TBS Crossfire Nano Rx FPV Long Range Drone Receiver
(1506 builds)
Pyrodrone.com
|
$29.95 |
Batteries |
Gaoneng GNB 4S 650mah 60C HV Li-Po Battery - XT30
Pyrodrone.com
|
$15.99 |
3D Printed |
Toothpick PicklePod2 : full options Toothpick/TP3 pod canopy by ledroneclub
(15 builds)
Thingiverse.com
|
See Site |
Hardware |
2mm FC Stack Hardware Pack
(2 builds)
Pyrodrone.com
|
$2.99 |
Misc Parts |
Battery Rubber Bands (10-Pack)
(4 builds)
Fpvcycle.com
|
$2.50 |
That canopy is sick - what kind of material & process did you use to print it? It doesn't look like a typical TPU print.
Thanks man. I actually ended up getting the same pod printed in SLS TPU from Jawstec, but went with orange and vapor polish. It came out looking great, but way too soft...like a gummy bear. I get really bad jello over analog FPV because the camera just jiggles around in the thing. You didn't have that problem? I'm getting the print redone in nylon now, should do the trick.
It's definitely on the softer side, but in my case, the canopy seems sufficiently rigid once the camera is installed and the canopy tightened down on the stack. However, it recently cracked at the narrow part where the mounting screws go in after a crash, so I ordered a couple more since that seems to be a weak spot. I'm really curious how your Nylon print turns out -- if it turns out well, I might go that route too for increased durability.
I will let you know! Check out some of daich's latest builds (https://rotorbuilds.com/profile/2745/). He uses the Nylon from Jawstec and reports so far so good.




How do you hold the camera plug to the board?
That particular plug has been staying in place okay for me on its own, although it did come loose once or twice in a hard crash. I'm thinking about making a custom spacer for between the boards that would help hold the connectors in place more securely though, without adding much weight back.
fwiw I put squeezed a small rubber spacer between the cam plug and top board. works like a charm.