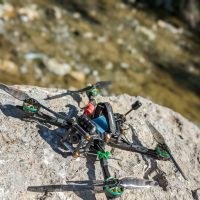
TLDR; I crashed my last Apex build and it caught fire! Frame was fine so rebuilt it using HGLRC F7 FC, 60A ESC and 2306 Plus RCINPOWER SmooX motors and on 6S this thing flies like a dream.
(You can watch my...erm...'non-conventional' build video above)
A few weeks ago I crashed my beloved 4S ImpulseRC Apex build (https://rotorbuilds.com/build/24389) in what seemed like an innocuous collision with the ground, I've most definitely had MUCH more impressive looking collisions, but for some reason the bloody ESC caught on fire!
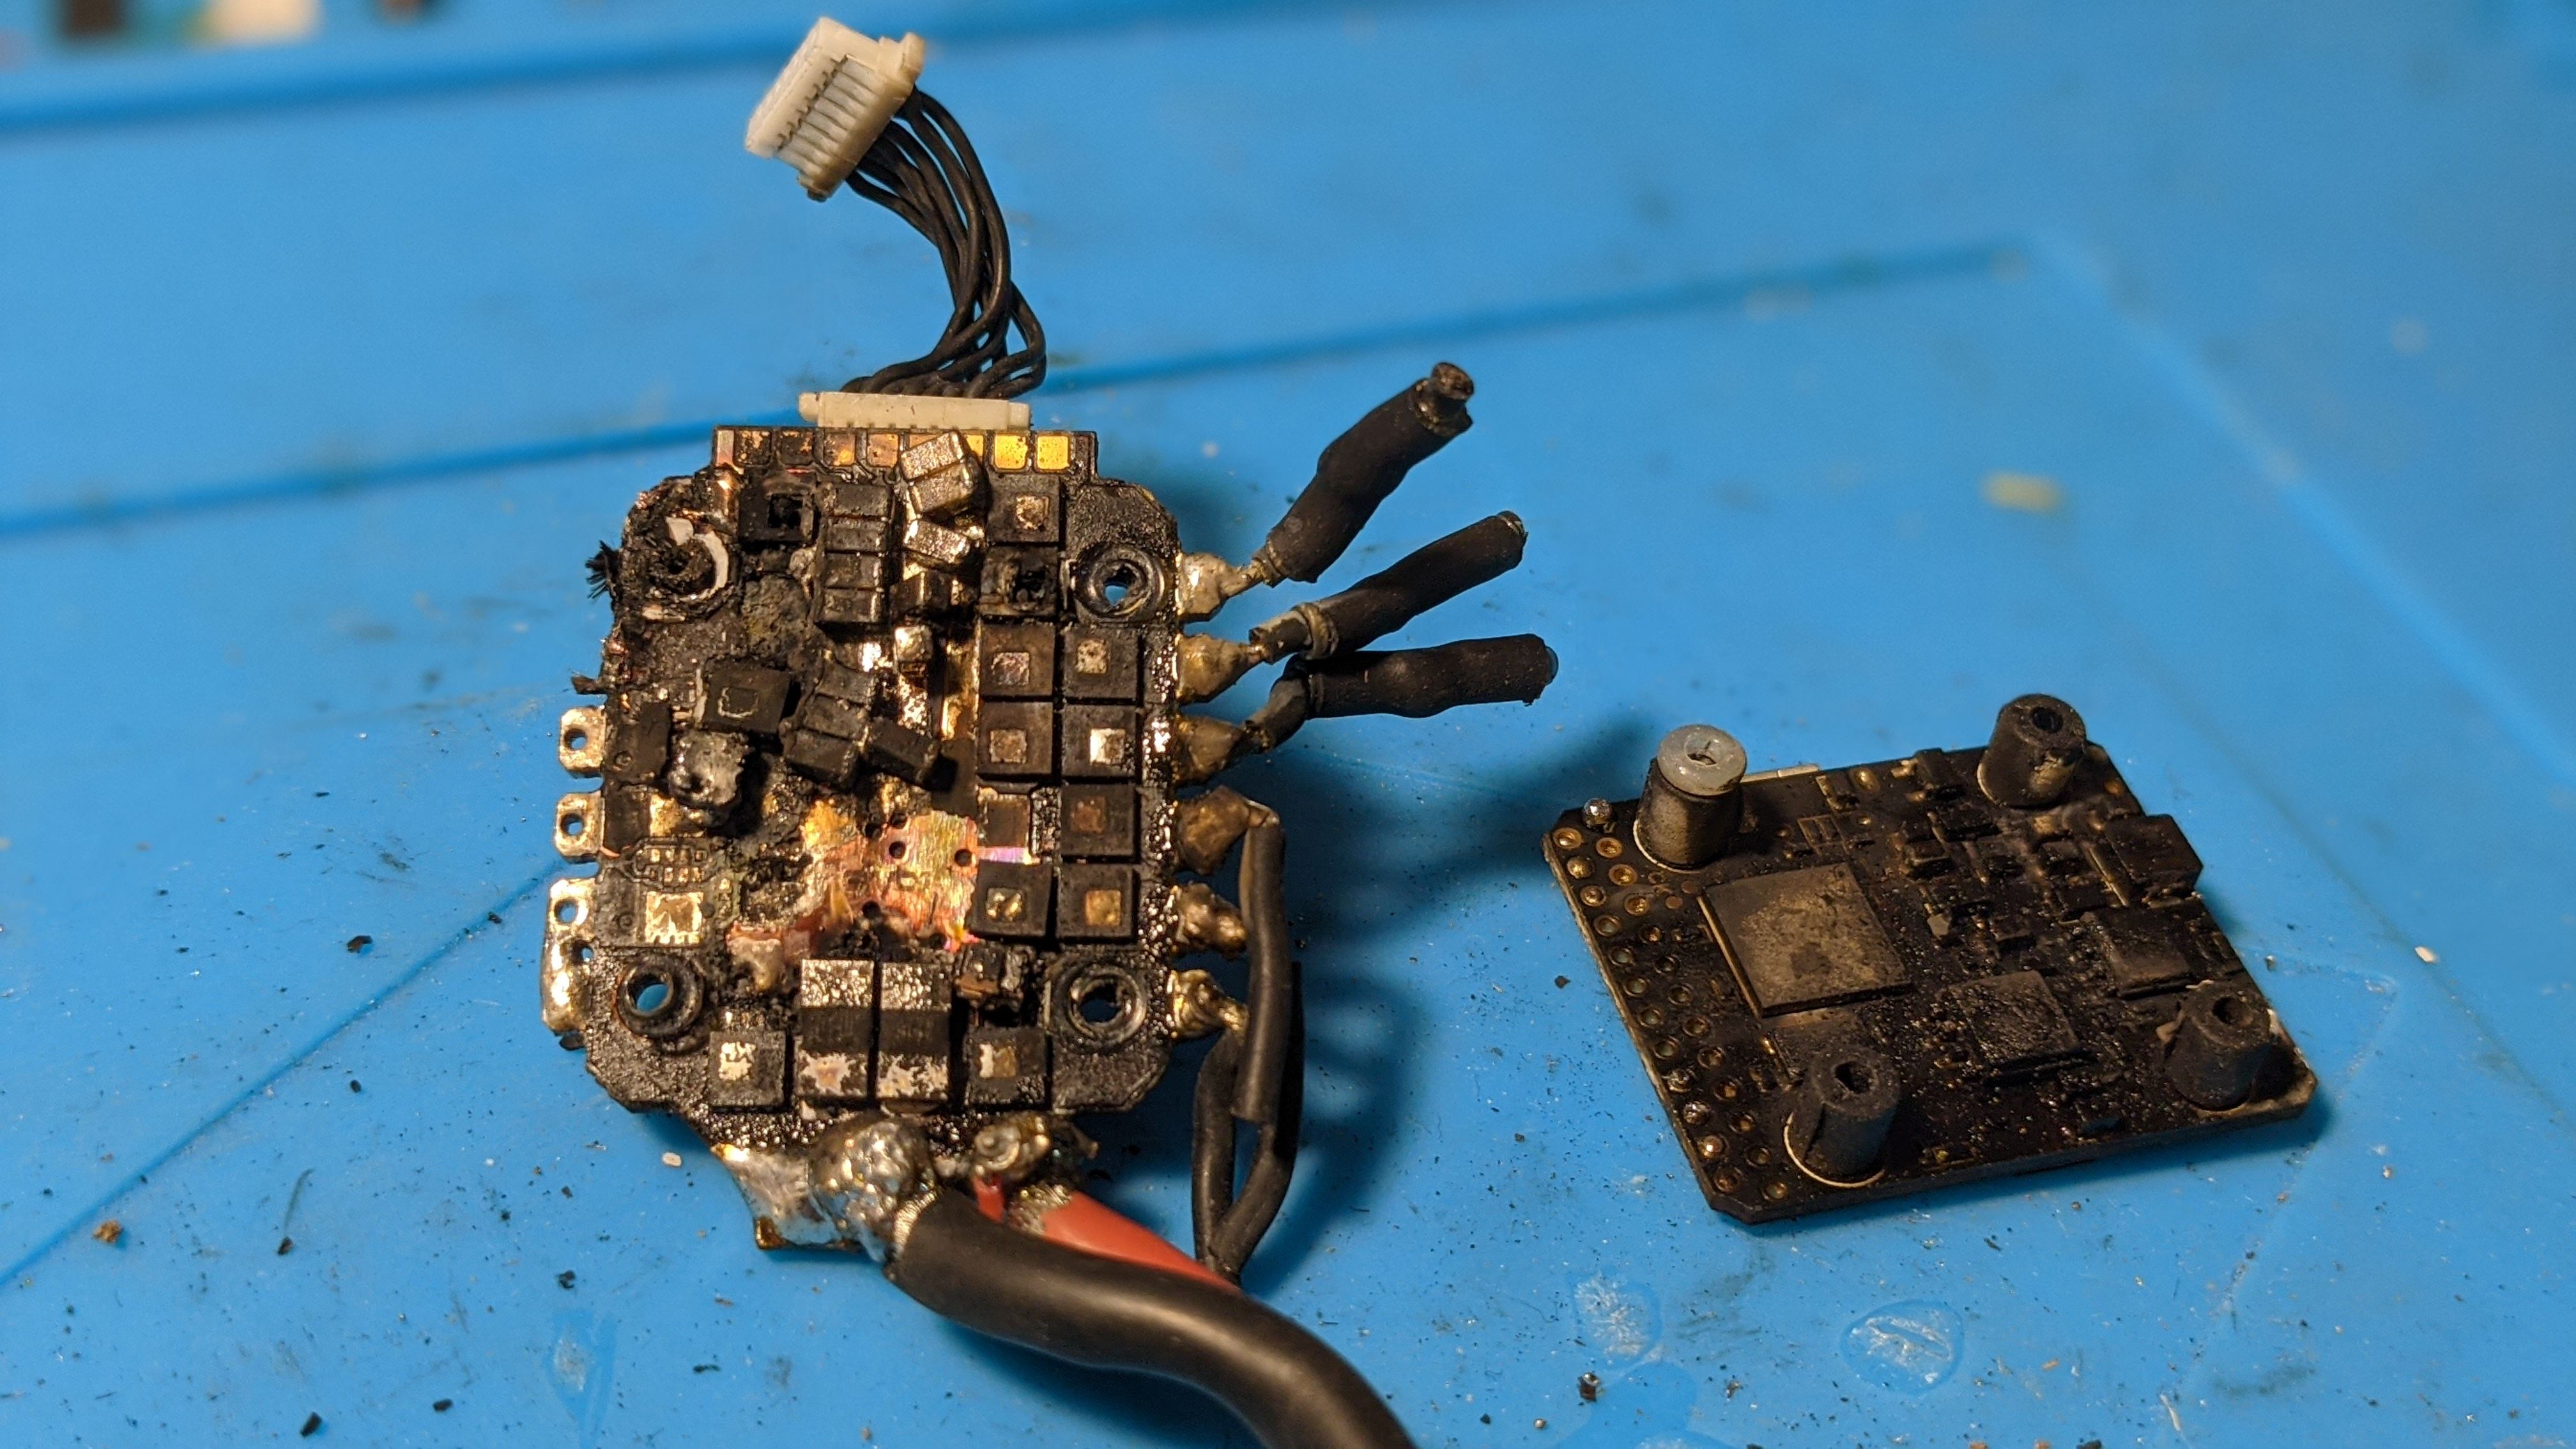
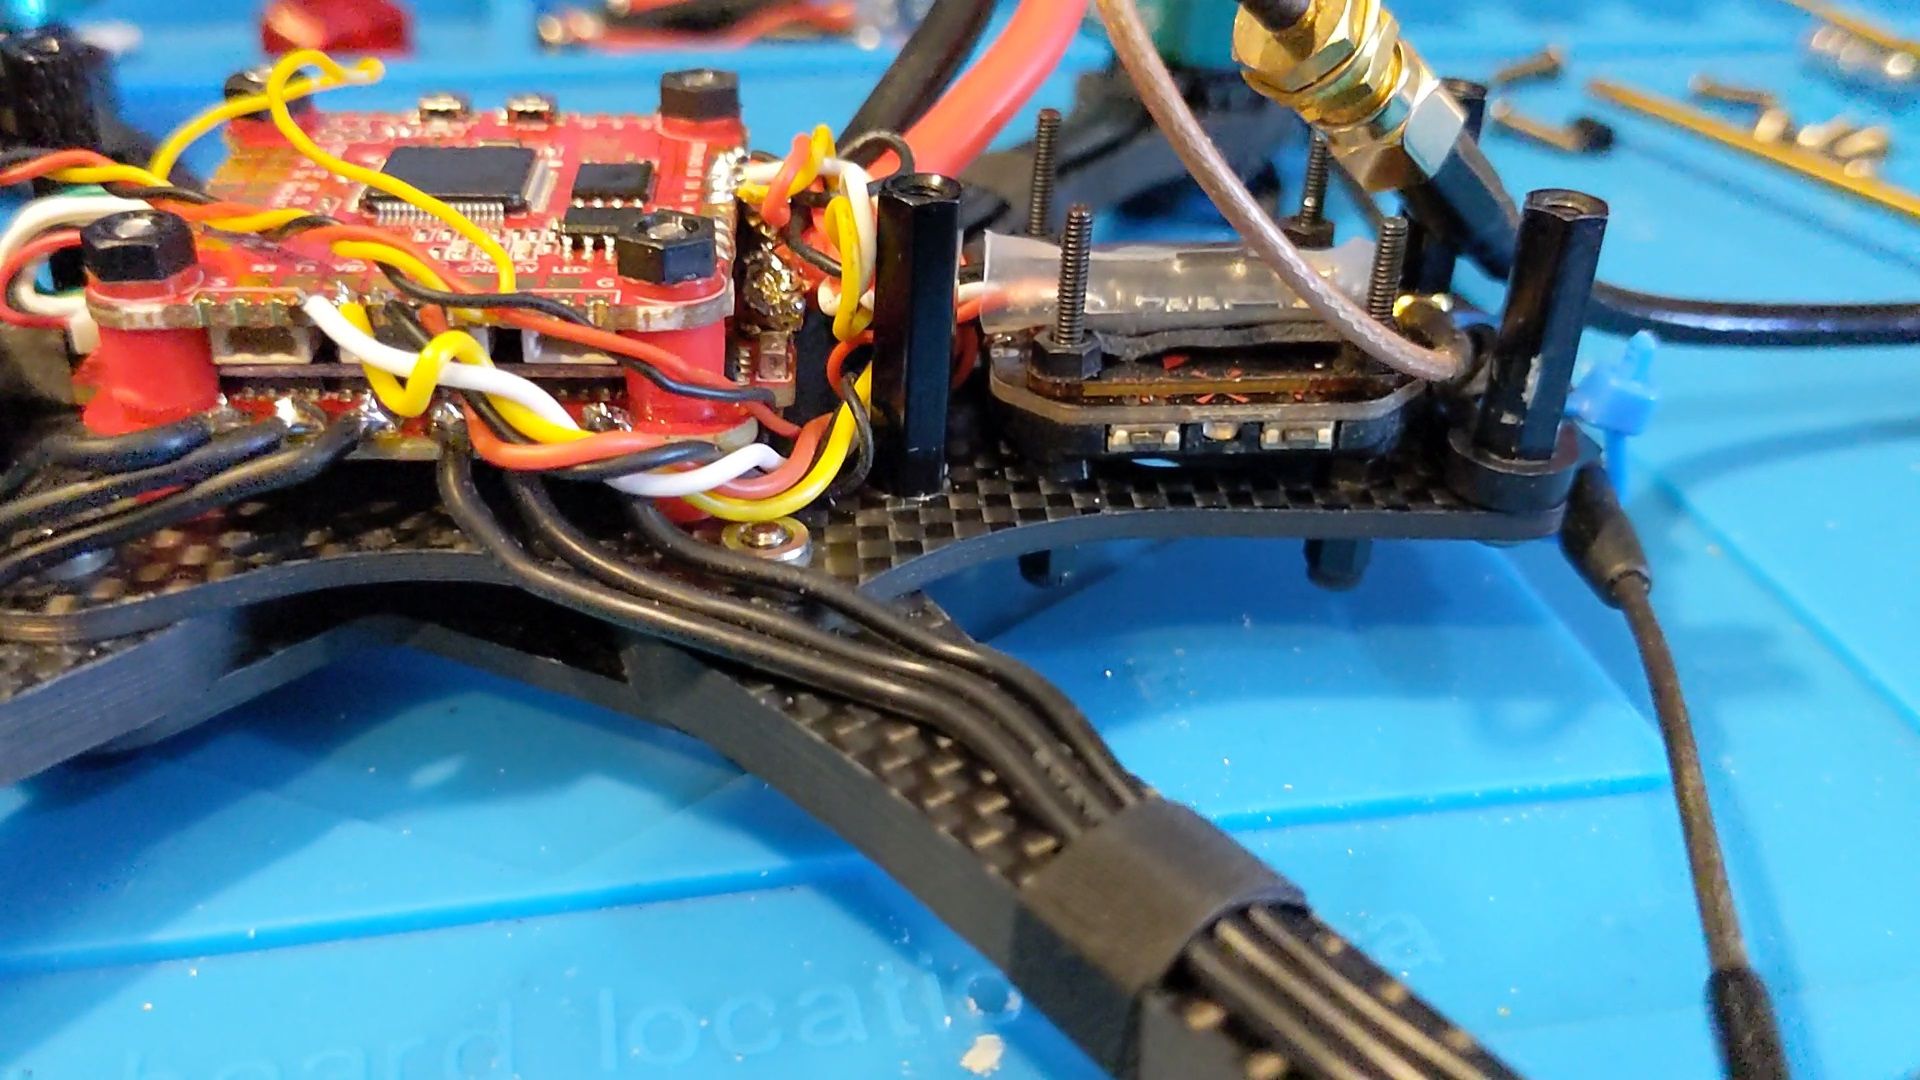
Common things being common it's likely the crash caused a short (if you look at the photo above you can see the bottom two motor pads on the left look fused together after the fire), just very random how it was that fairly low speed collision that prompted it. Anyway, I was able to unplug the lipo fairly quickly and toss it which stopped the fire from damaging anything more than the ESC and the flight controller. And by 'damaging' I mean destroying.
Anyway, the frame held up fine (minor discolouration), as did the FPV camera, the VTX and the reciever - so I was able to re-use these in my rebuild.
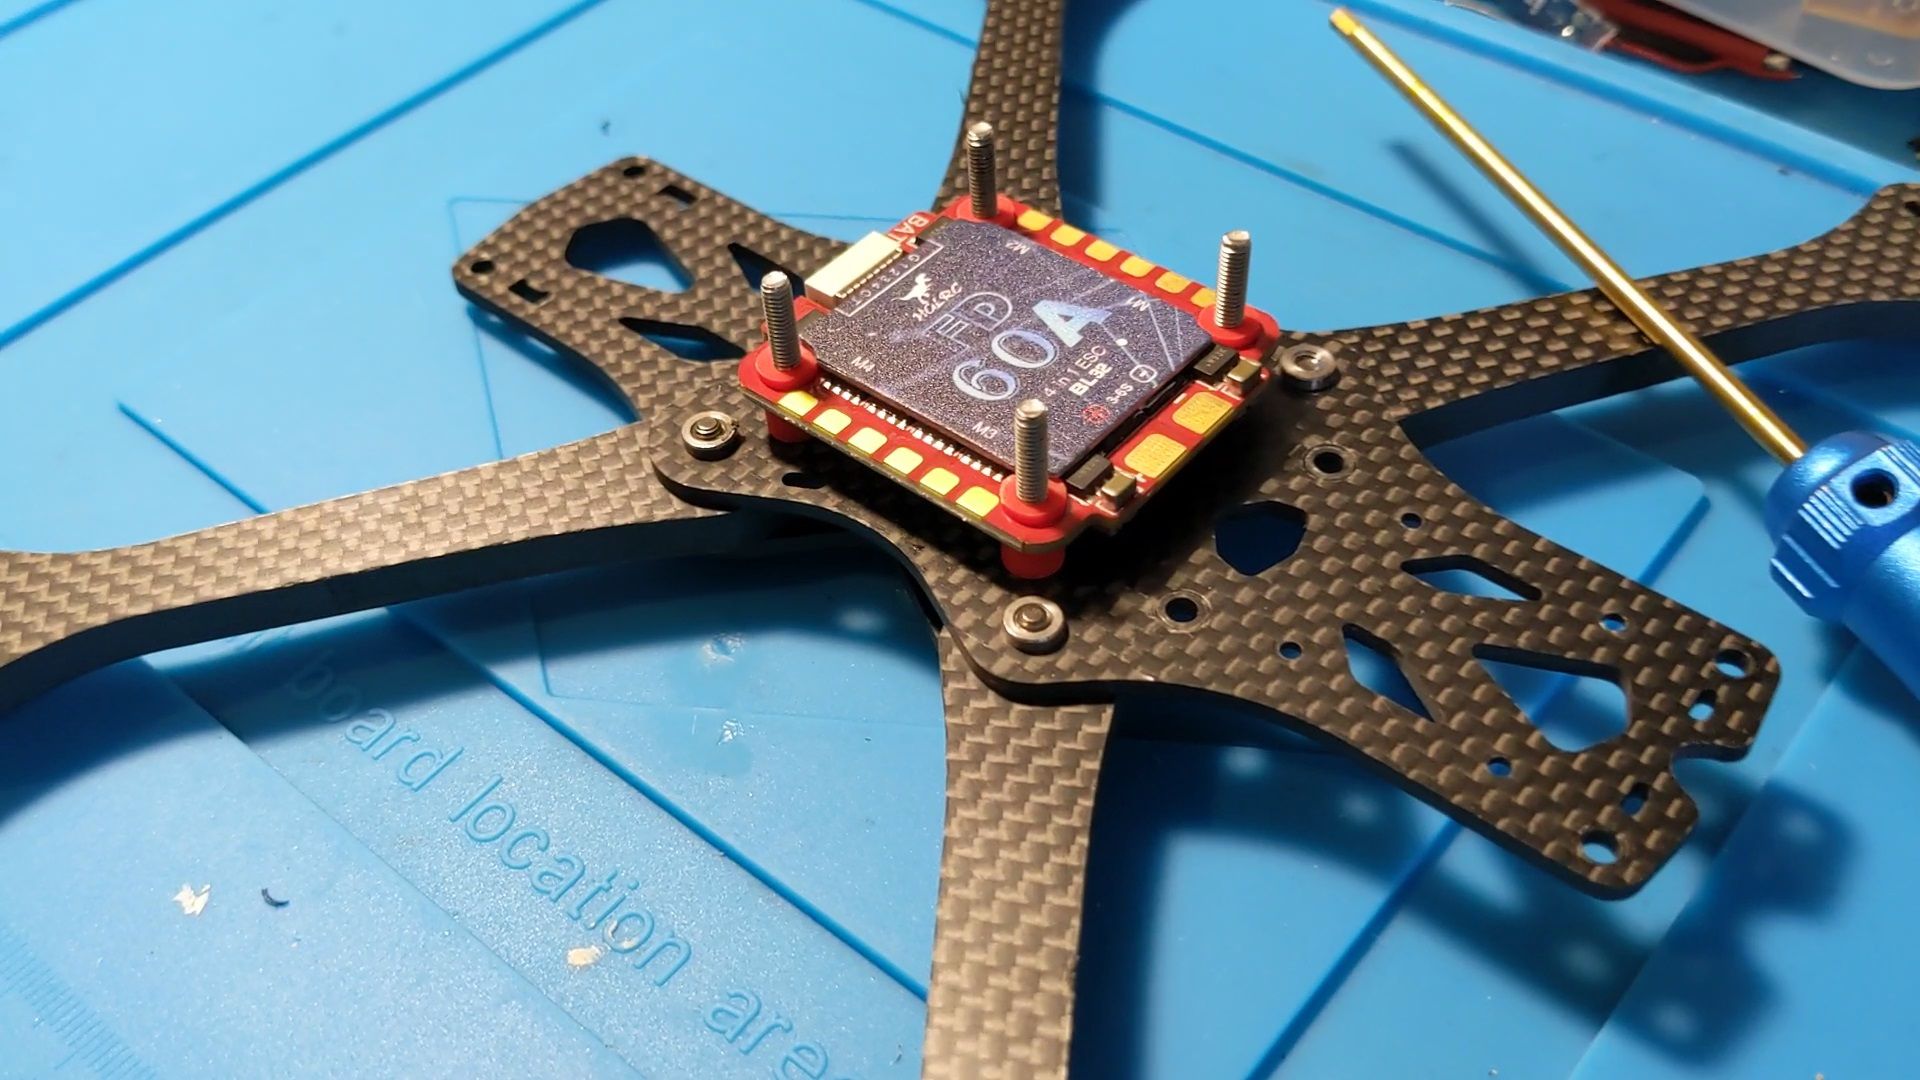
For the new build I thought I would find out for myself what's the big deal about 6S (insert Seinfeld voice; "Whaaat's the deal with 6S builds?!") so I picked up a gorgeous looking HGLRC F722 60A 30x30 stack. The ESC is super-easy to use with massive solder pads for the motors and the XT60. That siad, I do wish HGLRC would include small holes in the XT60 pads for legs of the low ESR capacitor, Holybro does this with their Tekko ESCs and while it's a minor quibble it does make everything just that bit neater.
The F7 FC is similarly easy to use with large pads, cable connectors to the ESC and also a plug for the DJI Air Unit. Alas, I have not yet made the jump to the digital video age (the idea of me destroying a DJI Air Unit or Caddx Vista in a crash would make me fly even more like a grandma than I already do) but the FC has a built in OSD so analog still works fine.
As I mentioned, I was able to re-use the camera (Caddx Ratel Mini - I prefer the image in Caddx cameras, everyone is different), the VTX (RUSH Tank Mini - love the RUSH VTXs) and the reciever (TBS Crossfire Nano).
I love the Apex frame but building/re-building this one did remind me of just how tight things are with regards to space in this frame - moreso this time as my prior build used a 20x20 stack and this one a 30x30. It was a bit of a challenge for me to stuff the 20x20 VTX, the receiver, the low ESR capacitor, and the SMA antenna all in the rear 'compartment' of the frame.
In fact, if you look at the photo below, there's a standoff missing on the bottom right of the frame because I couldn't make space for the capacitor. However, considering the way that I fly (which is poorly) I decided against this approach and was able to fit everything in that rear
'compartment' by turning the reciever 90 degrees/horizontal and shoving it further back (but still on top of the VTX) - I just didn't get a chance to take a photo of the revised arrangement. I also ran the XT60 pads up through the middle and out the back (making them less likely to get chopped up by the props in a crash).
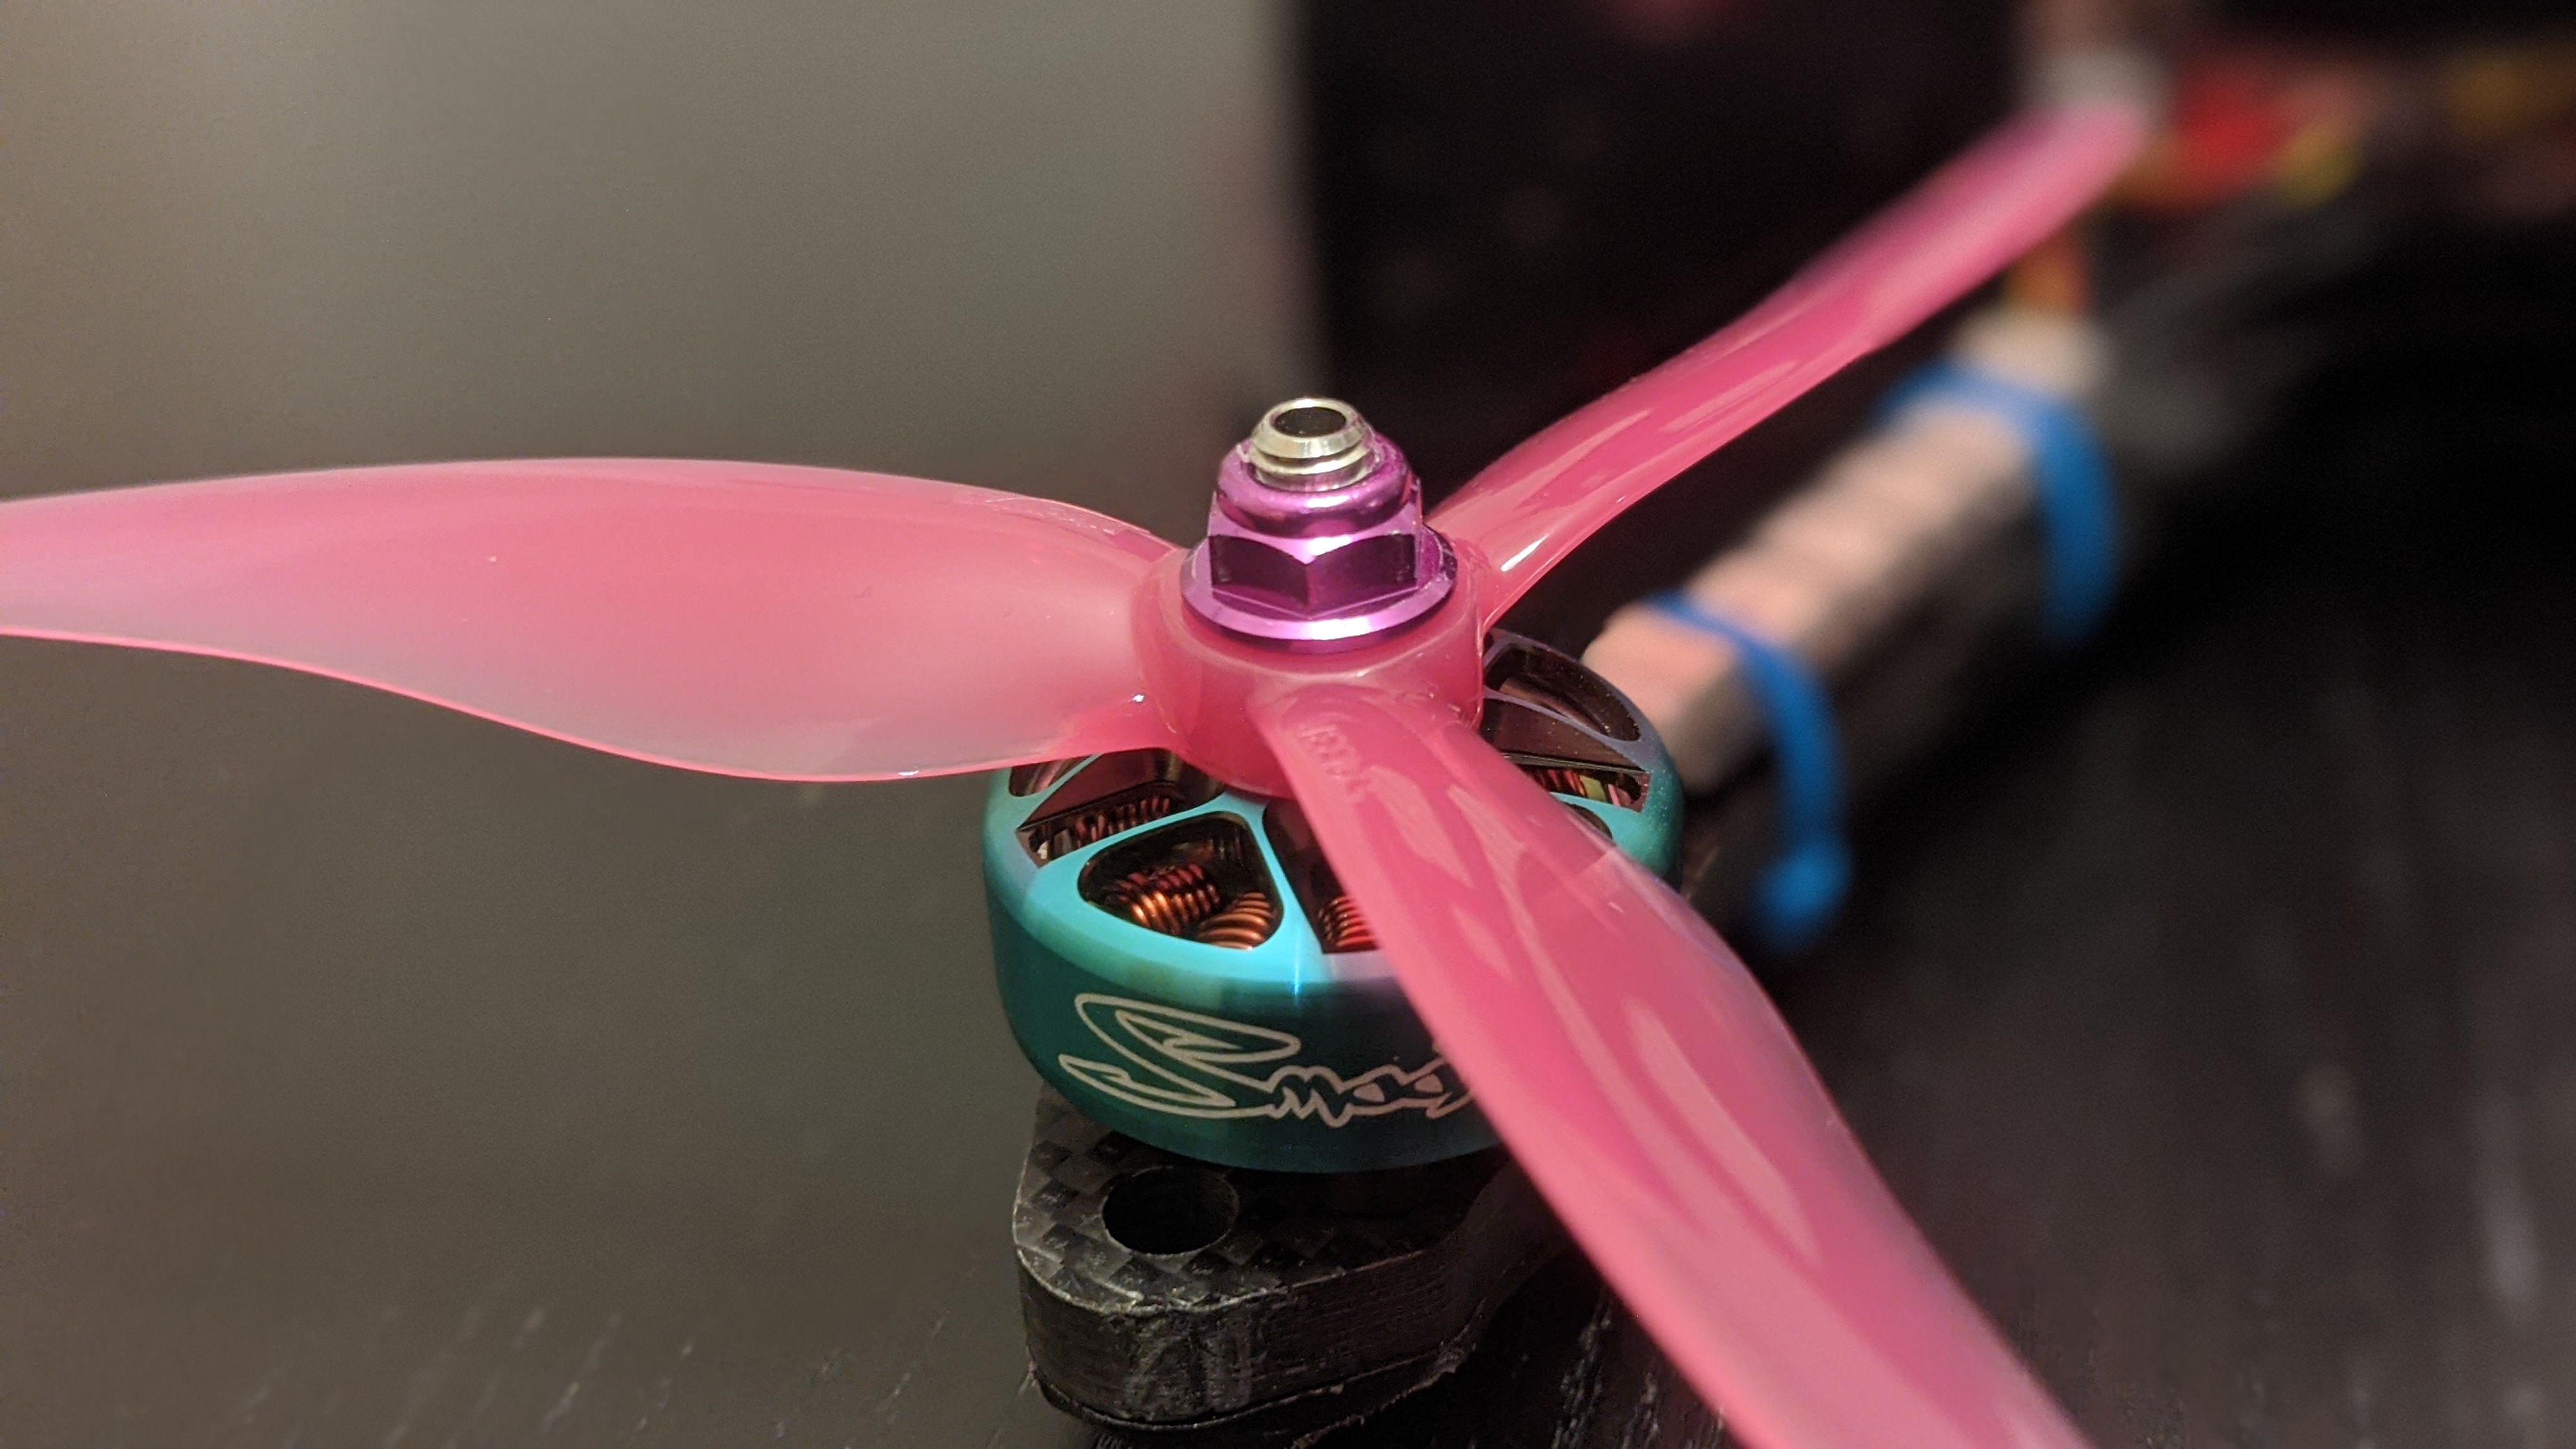
For the motors I used the RCINPOWER Smoox 2306 Plus (2306.5) at 1880kv since I'm running 6S. This is my first time using RCINPOWER motors and colour me impressed - really smooth and responsive.
As I mentioned, this is my first 6S build and along with the noticable lack of battery sag towards the end of a pack (compared to 4S) I was really taken aback with how powerful even the low end of the throttle is. Coming out of a building dive is a much smoother, far less harrowing experience than before!
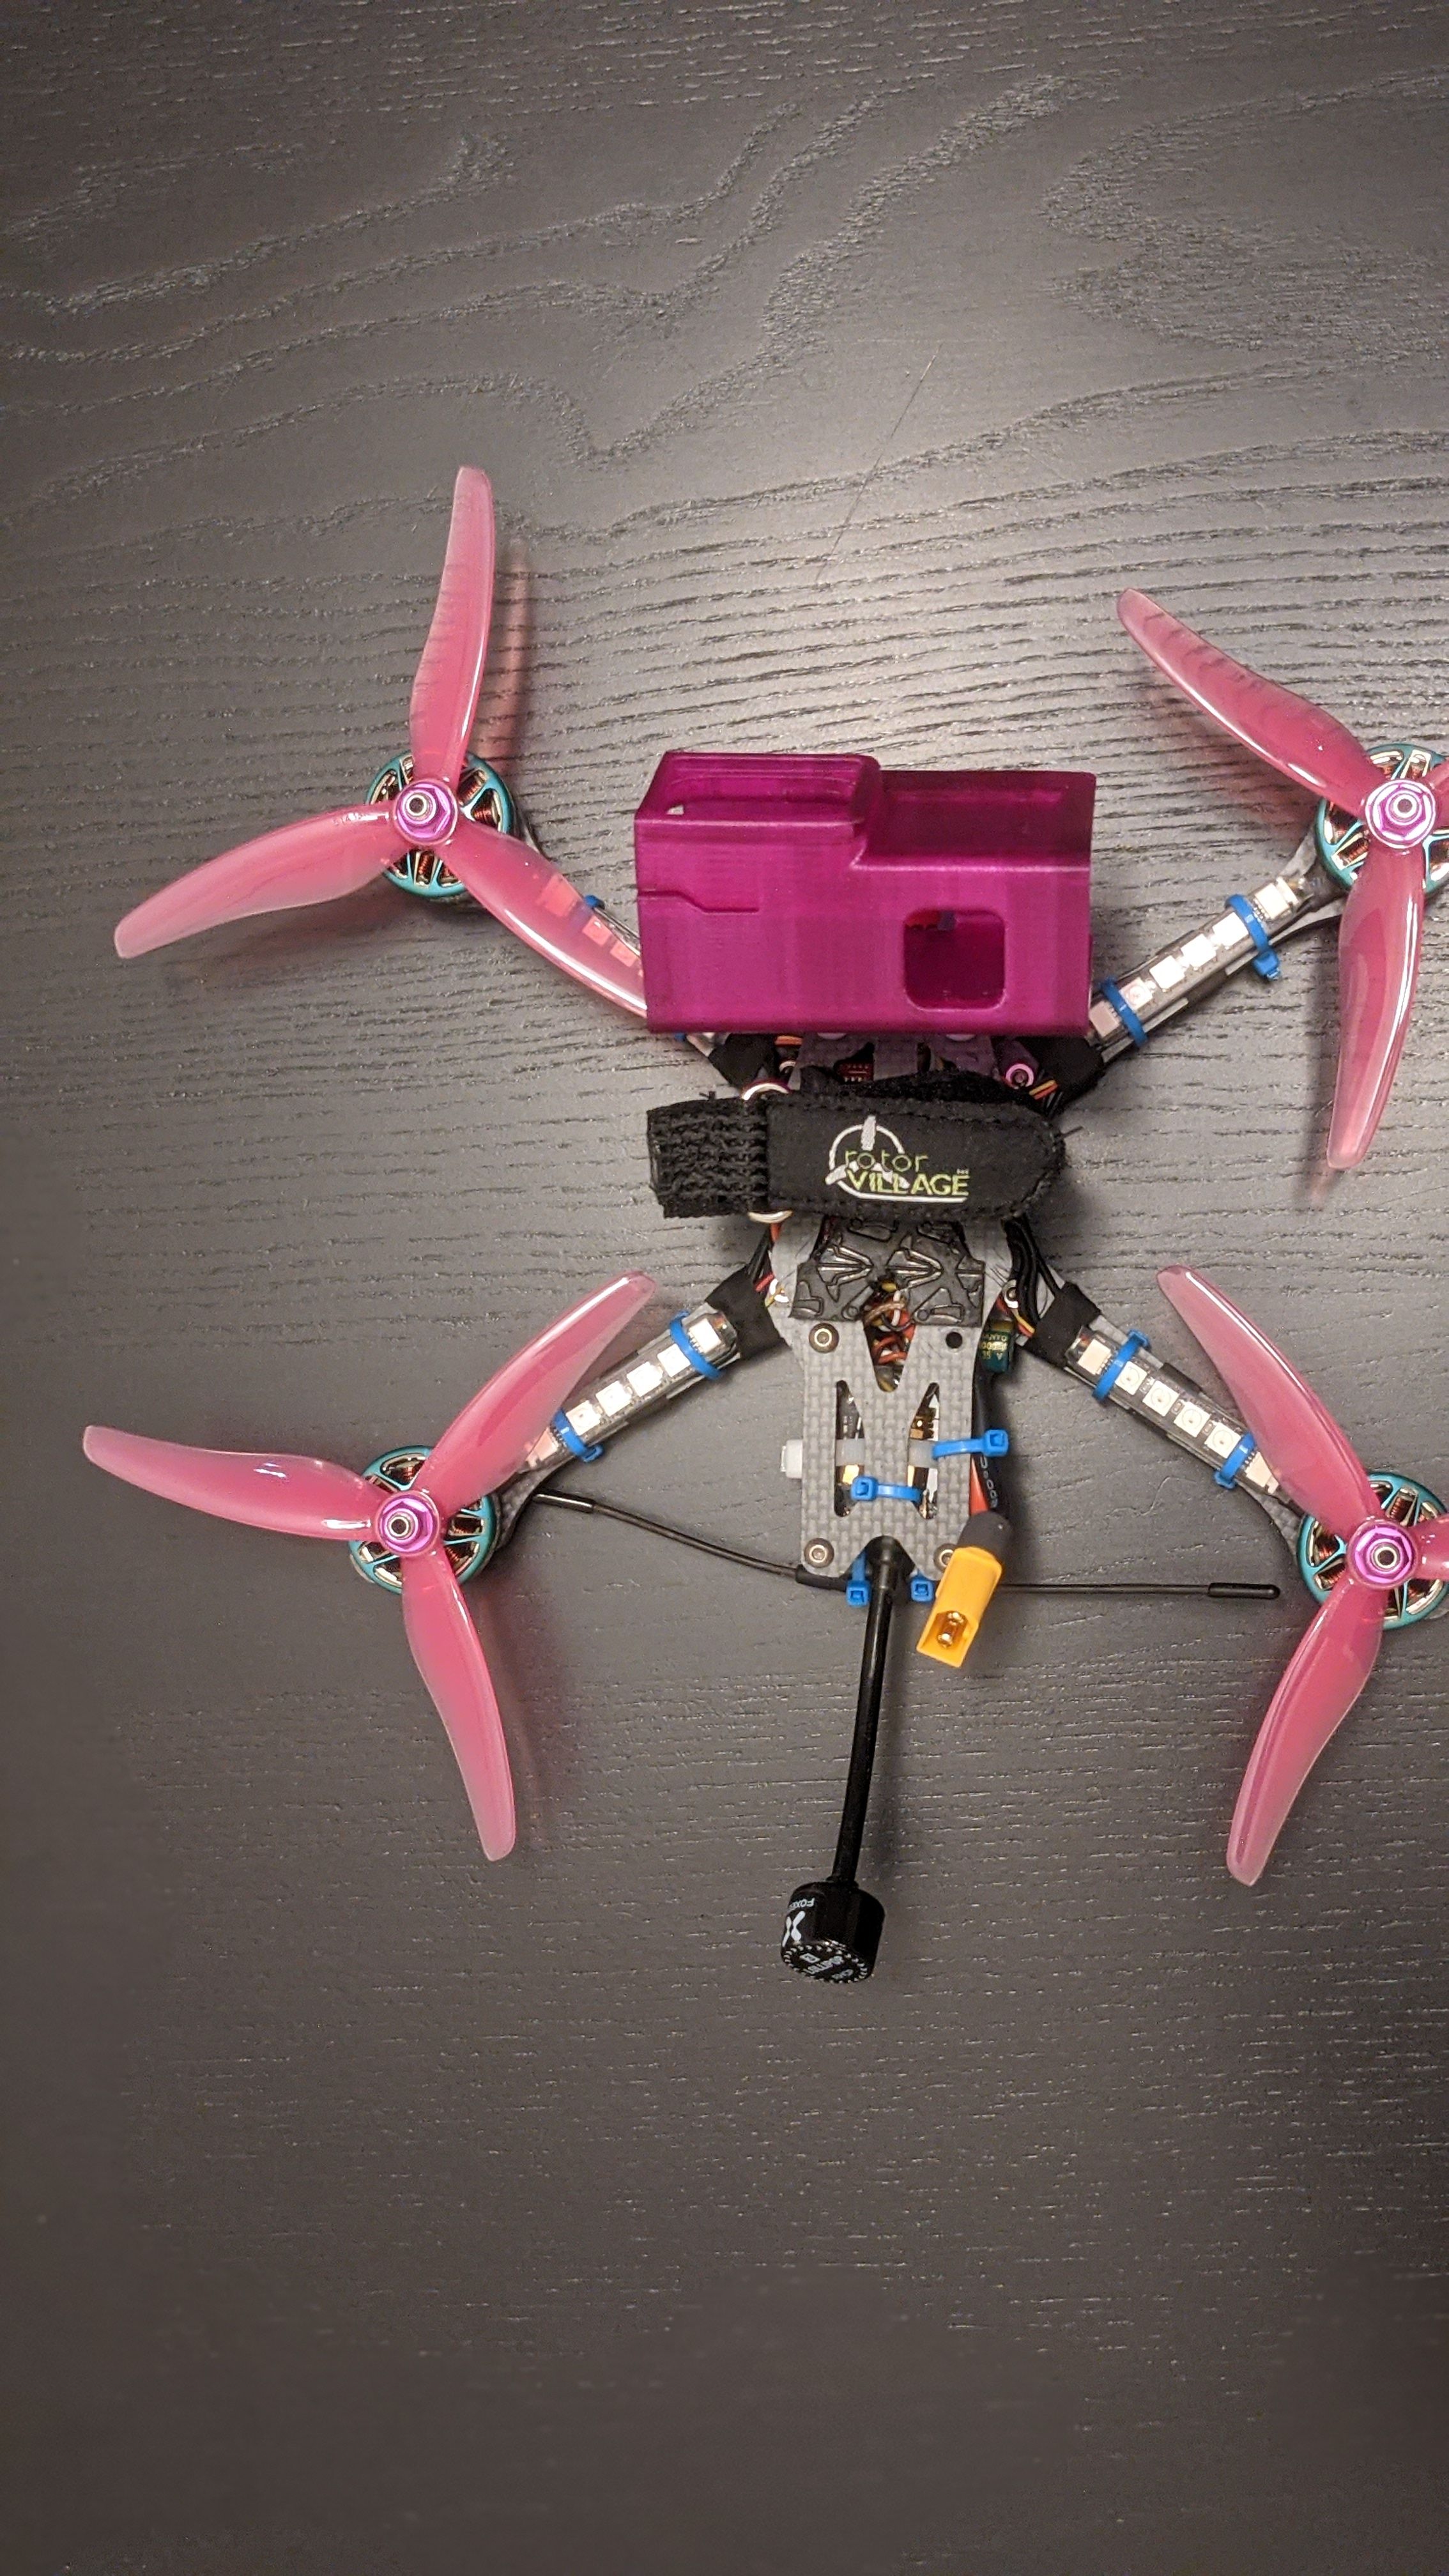
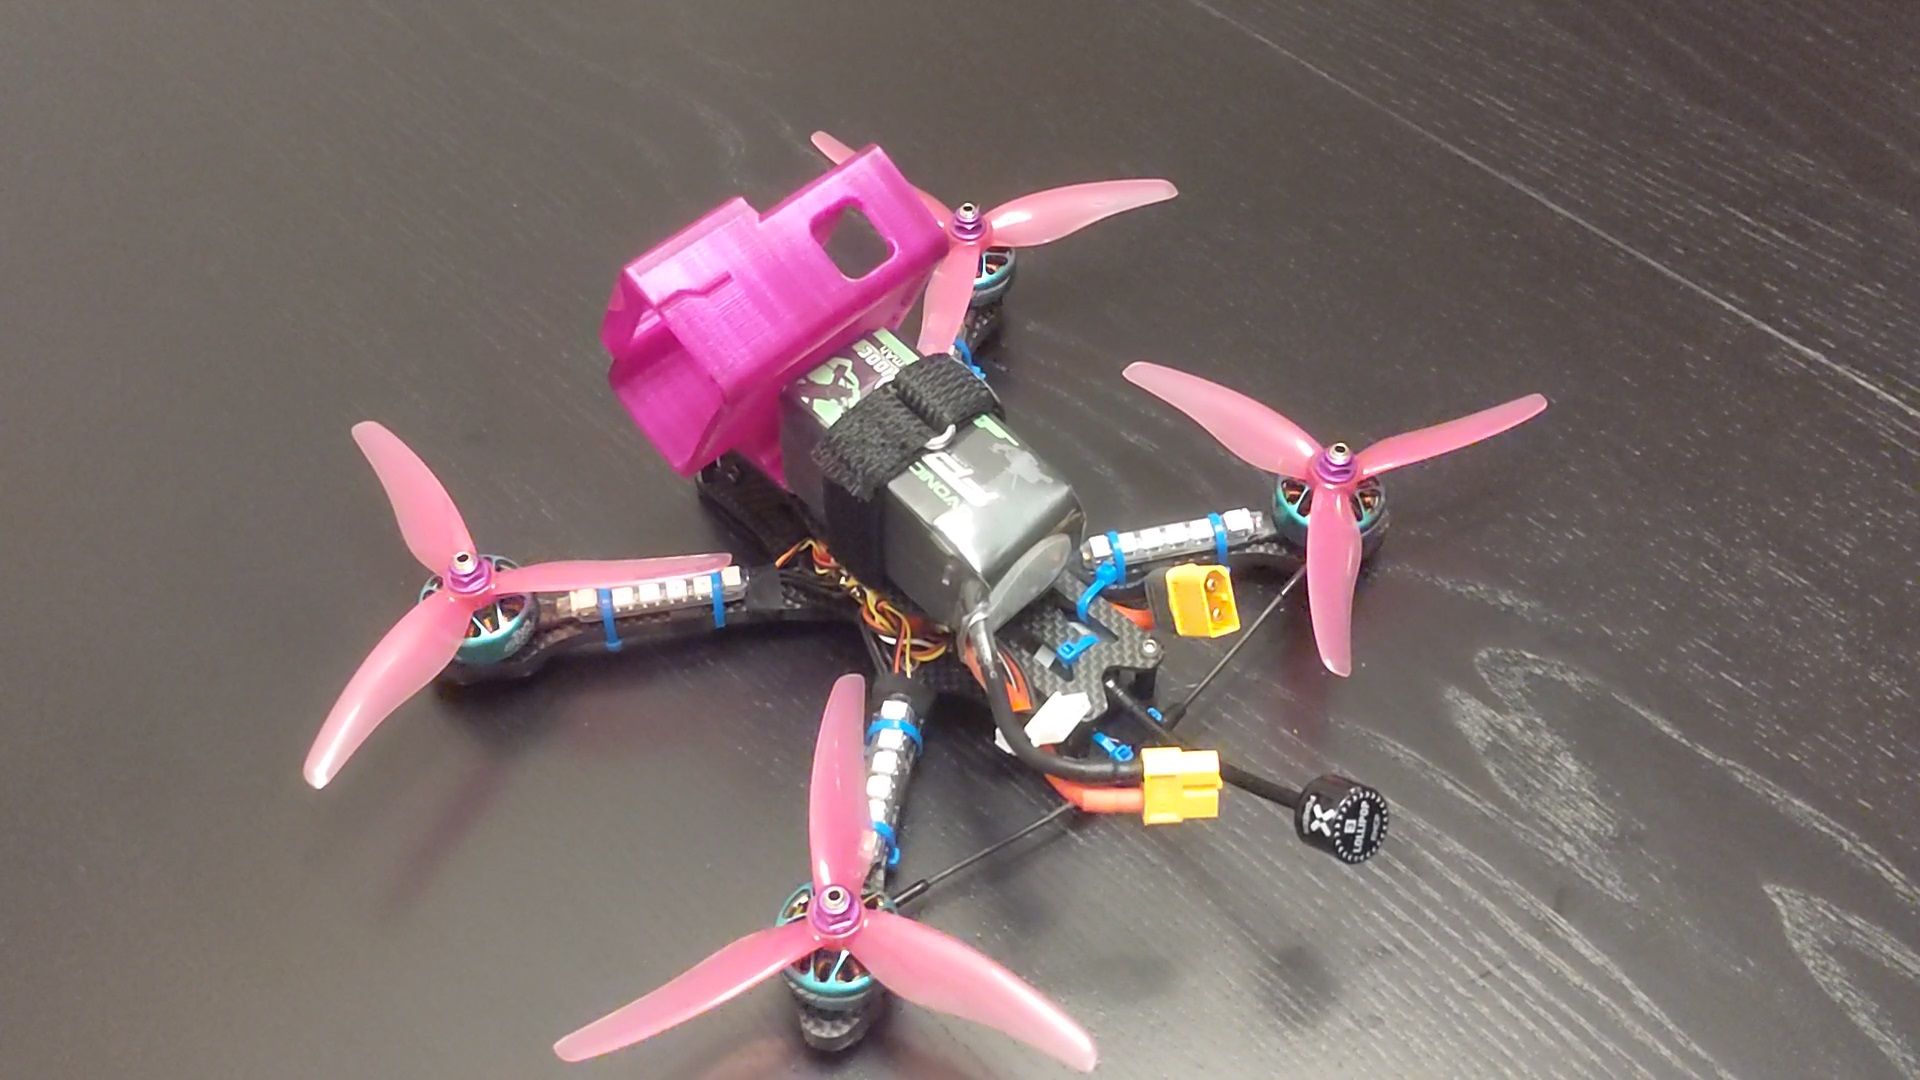
Finally, since the flight controller has 4 build-in connector plugs for LEDs I thought I'd add some bling to by quad with 4 HGLRC LED boards (one for each arm). I was really surprised by just how ridiculously BRIGHT these LEDs are! In fact, if you're the type of person who tends to fly at dawn or dusk, in areas where perhaps you don't want to draw attention to yourself.....cough....you might want to skip these. Another reason to skip them is that, despite the fact they plug directly into the flight controller, you can't actually use Betaflight to configure the LEDs! Instead, they're controlled by a single button on the flight controller which allows you to change colour and mode (flashing, always on, etc).
Overall, this build was a lot of fun and the final thing flies like a dream. Just maybe skip the LEDs...
Photos
Part List
Show stores (10)Guides & Reviews

AirbladeUAV has done it again and this time they've brought long range to the 5" class! Based on the popular Transformer Mini, the new Transformer 5" Ultralight adopts a lot of the same design philosophies with larger props and more payload capacity. It can fly upwards of 20 minutes on a 4 cell Li-Ion battery pack and in ideal conditions it's got a range of over 4 to 5 miles. In this guide I'll walk..
Read more
With the release of the DJI FPV Drone cinematic FPV has become a lot more accessible, but you certainly don't want to crash a $750 drone! The QAV-CINE Freybott is a compact, lightweight cinematic FPV drone that can take a hit and keep going. It's a lot safer to fly indoors and around people. With a naked GoPro or the SMO 4k you can capture some great stabilized footage. In this guide I'll show you..
Read more


New Message for DrMacca