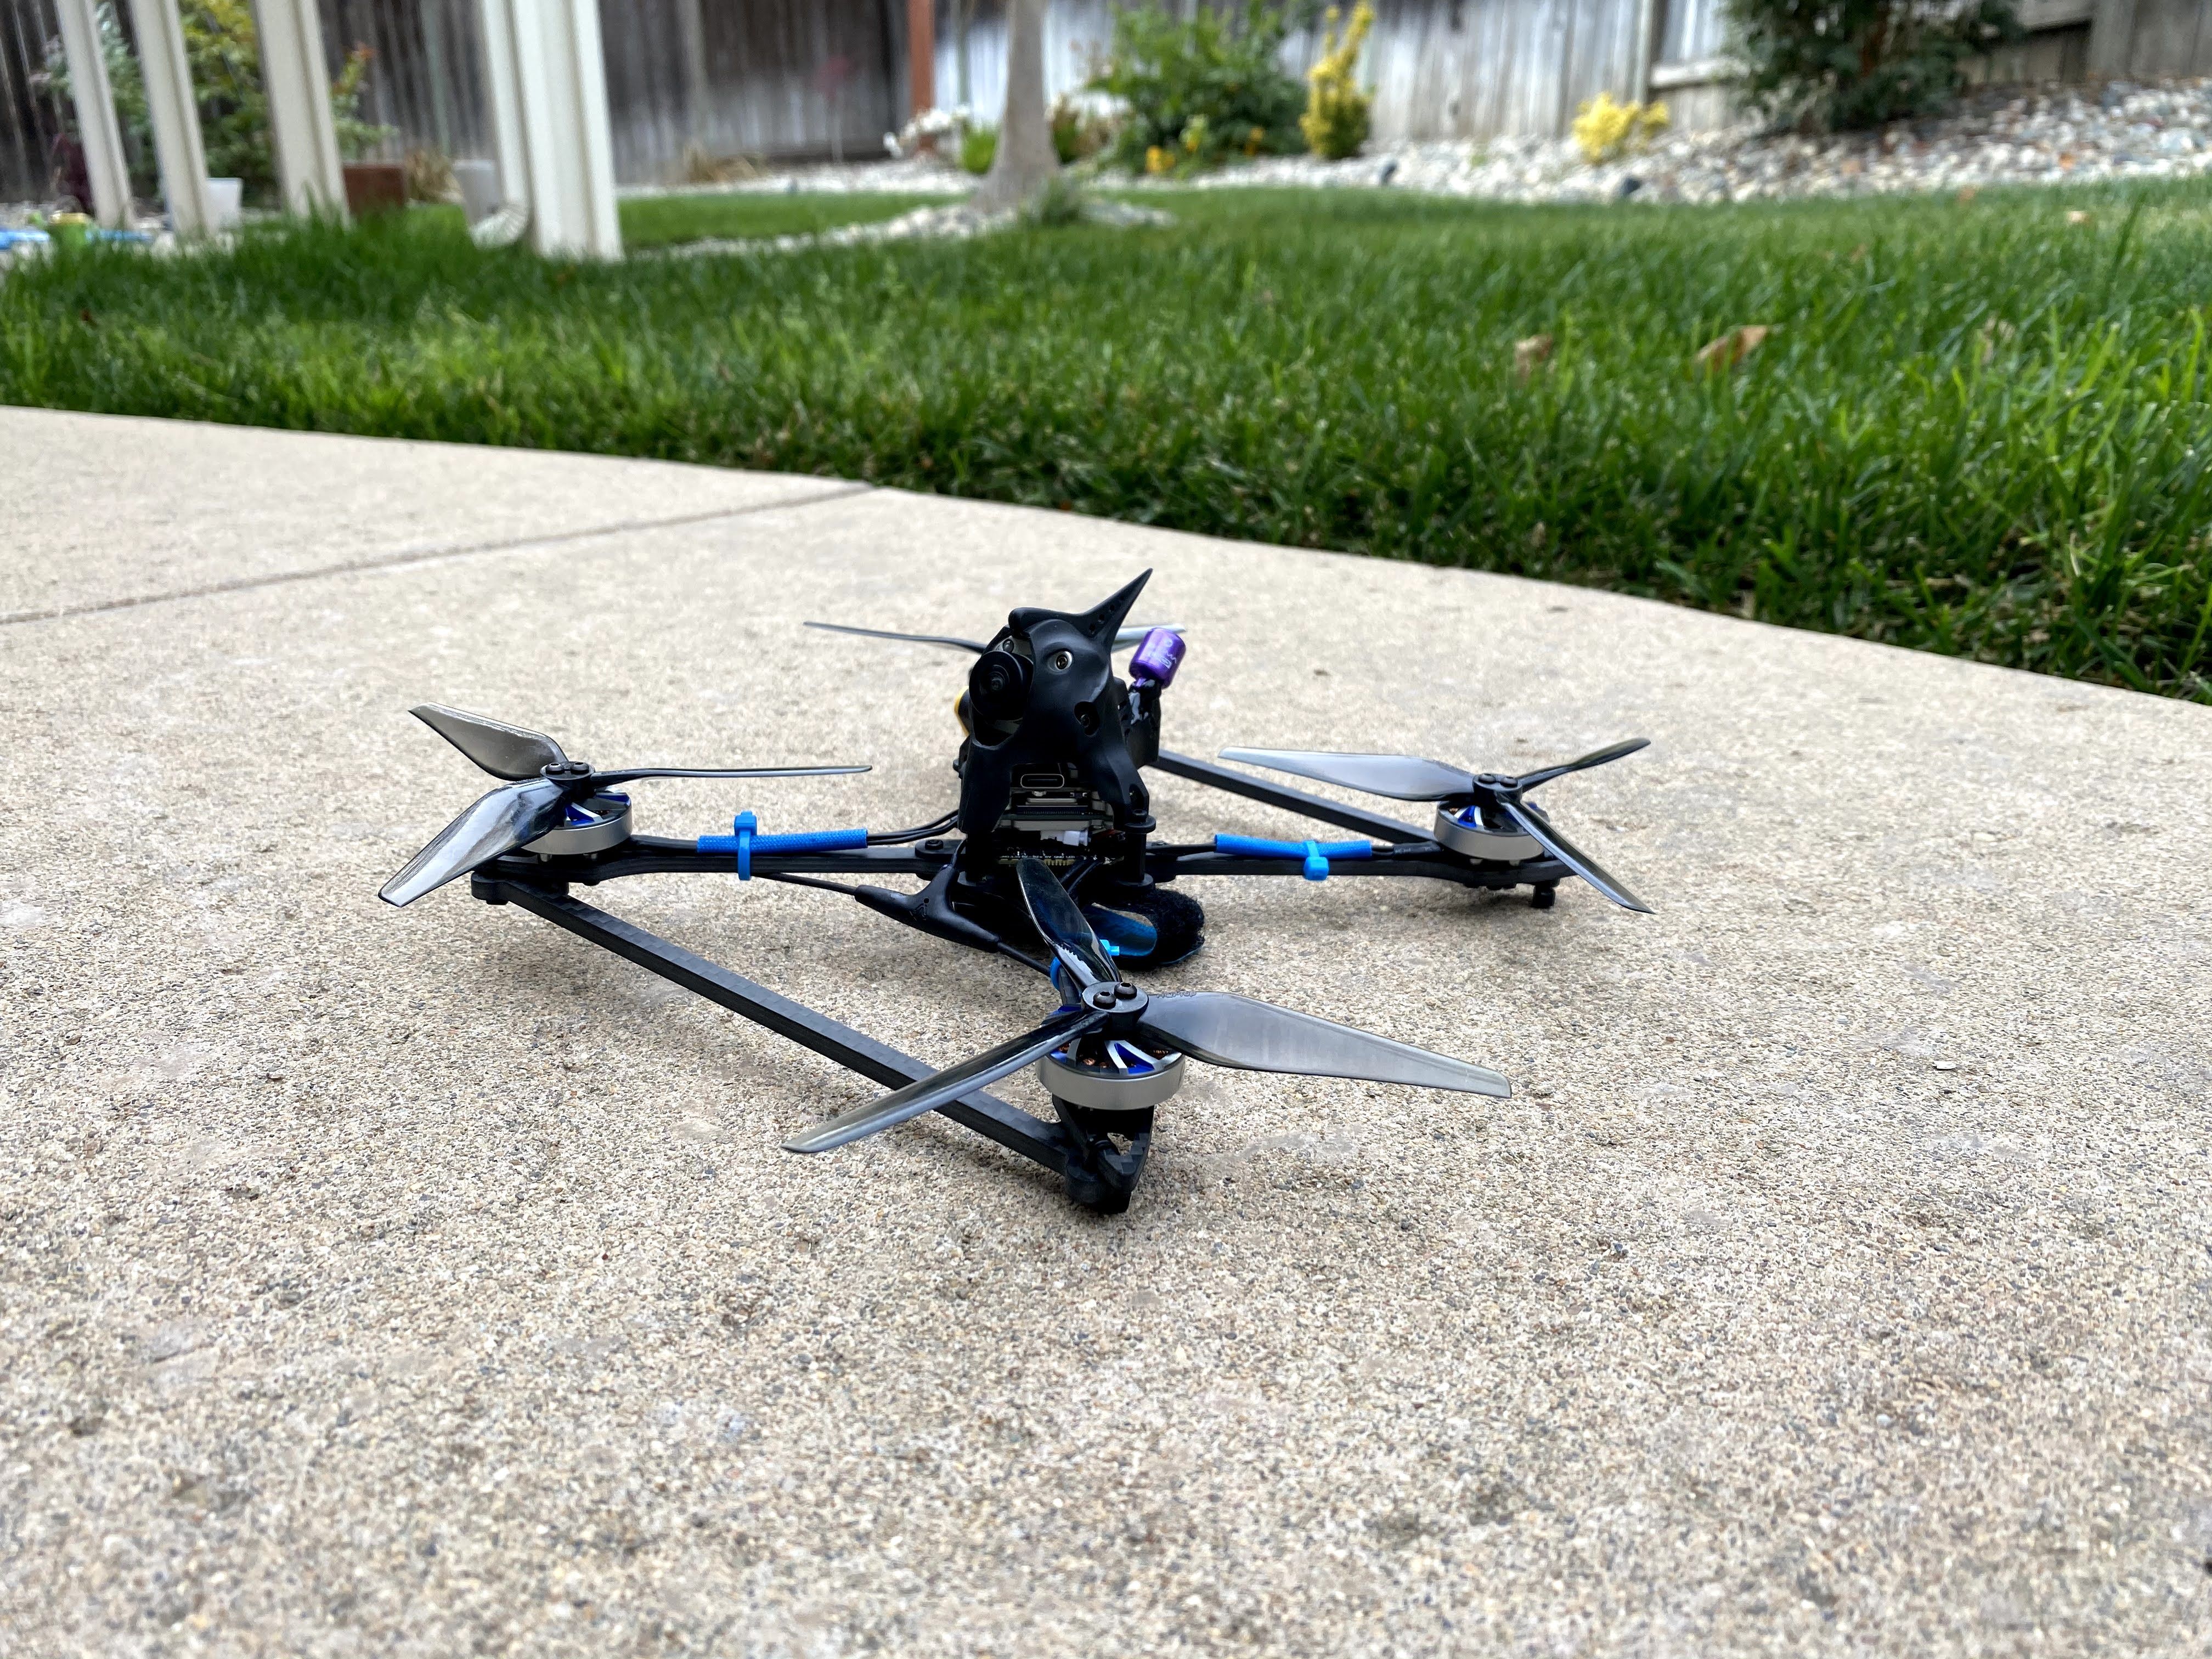
Specification
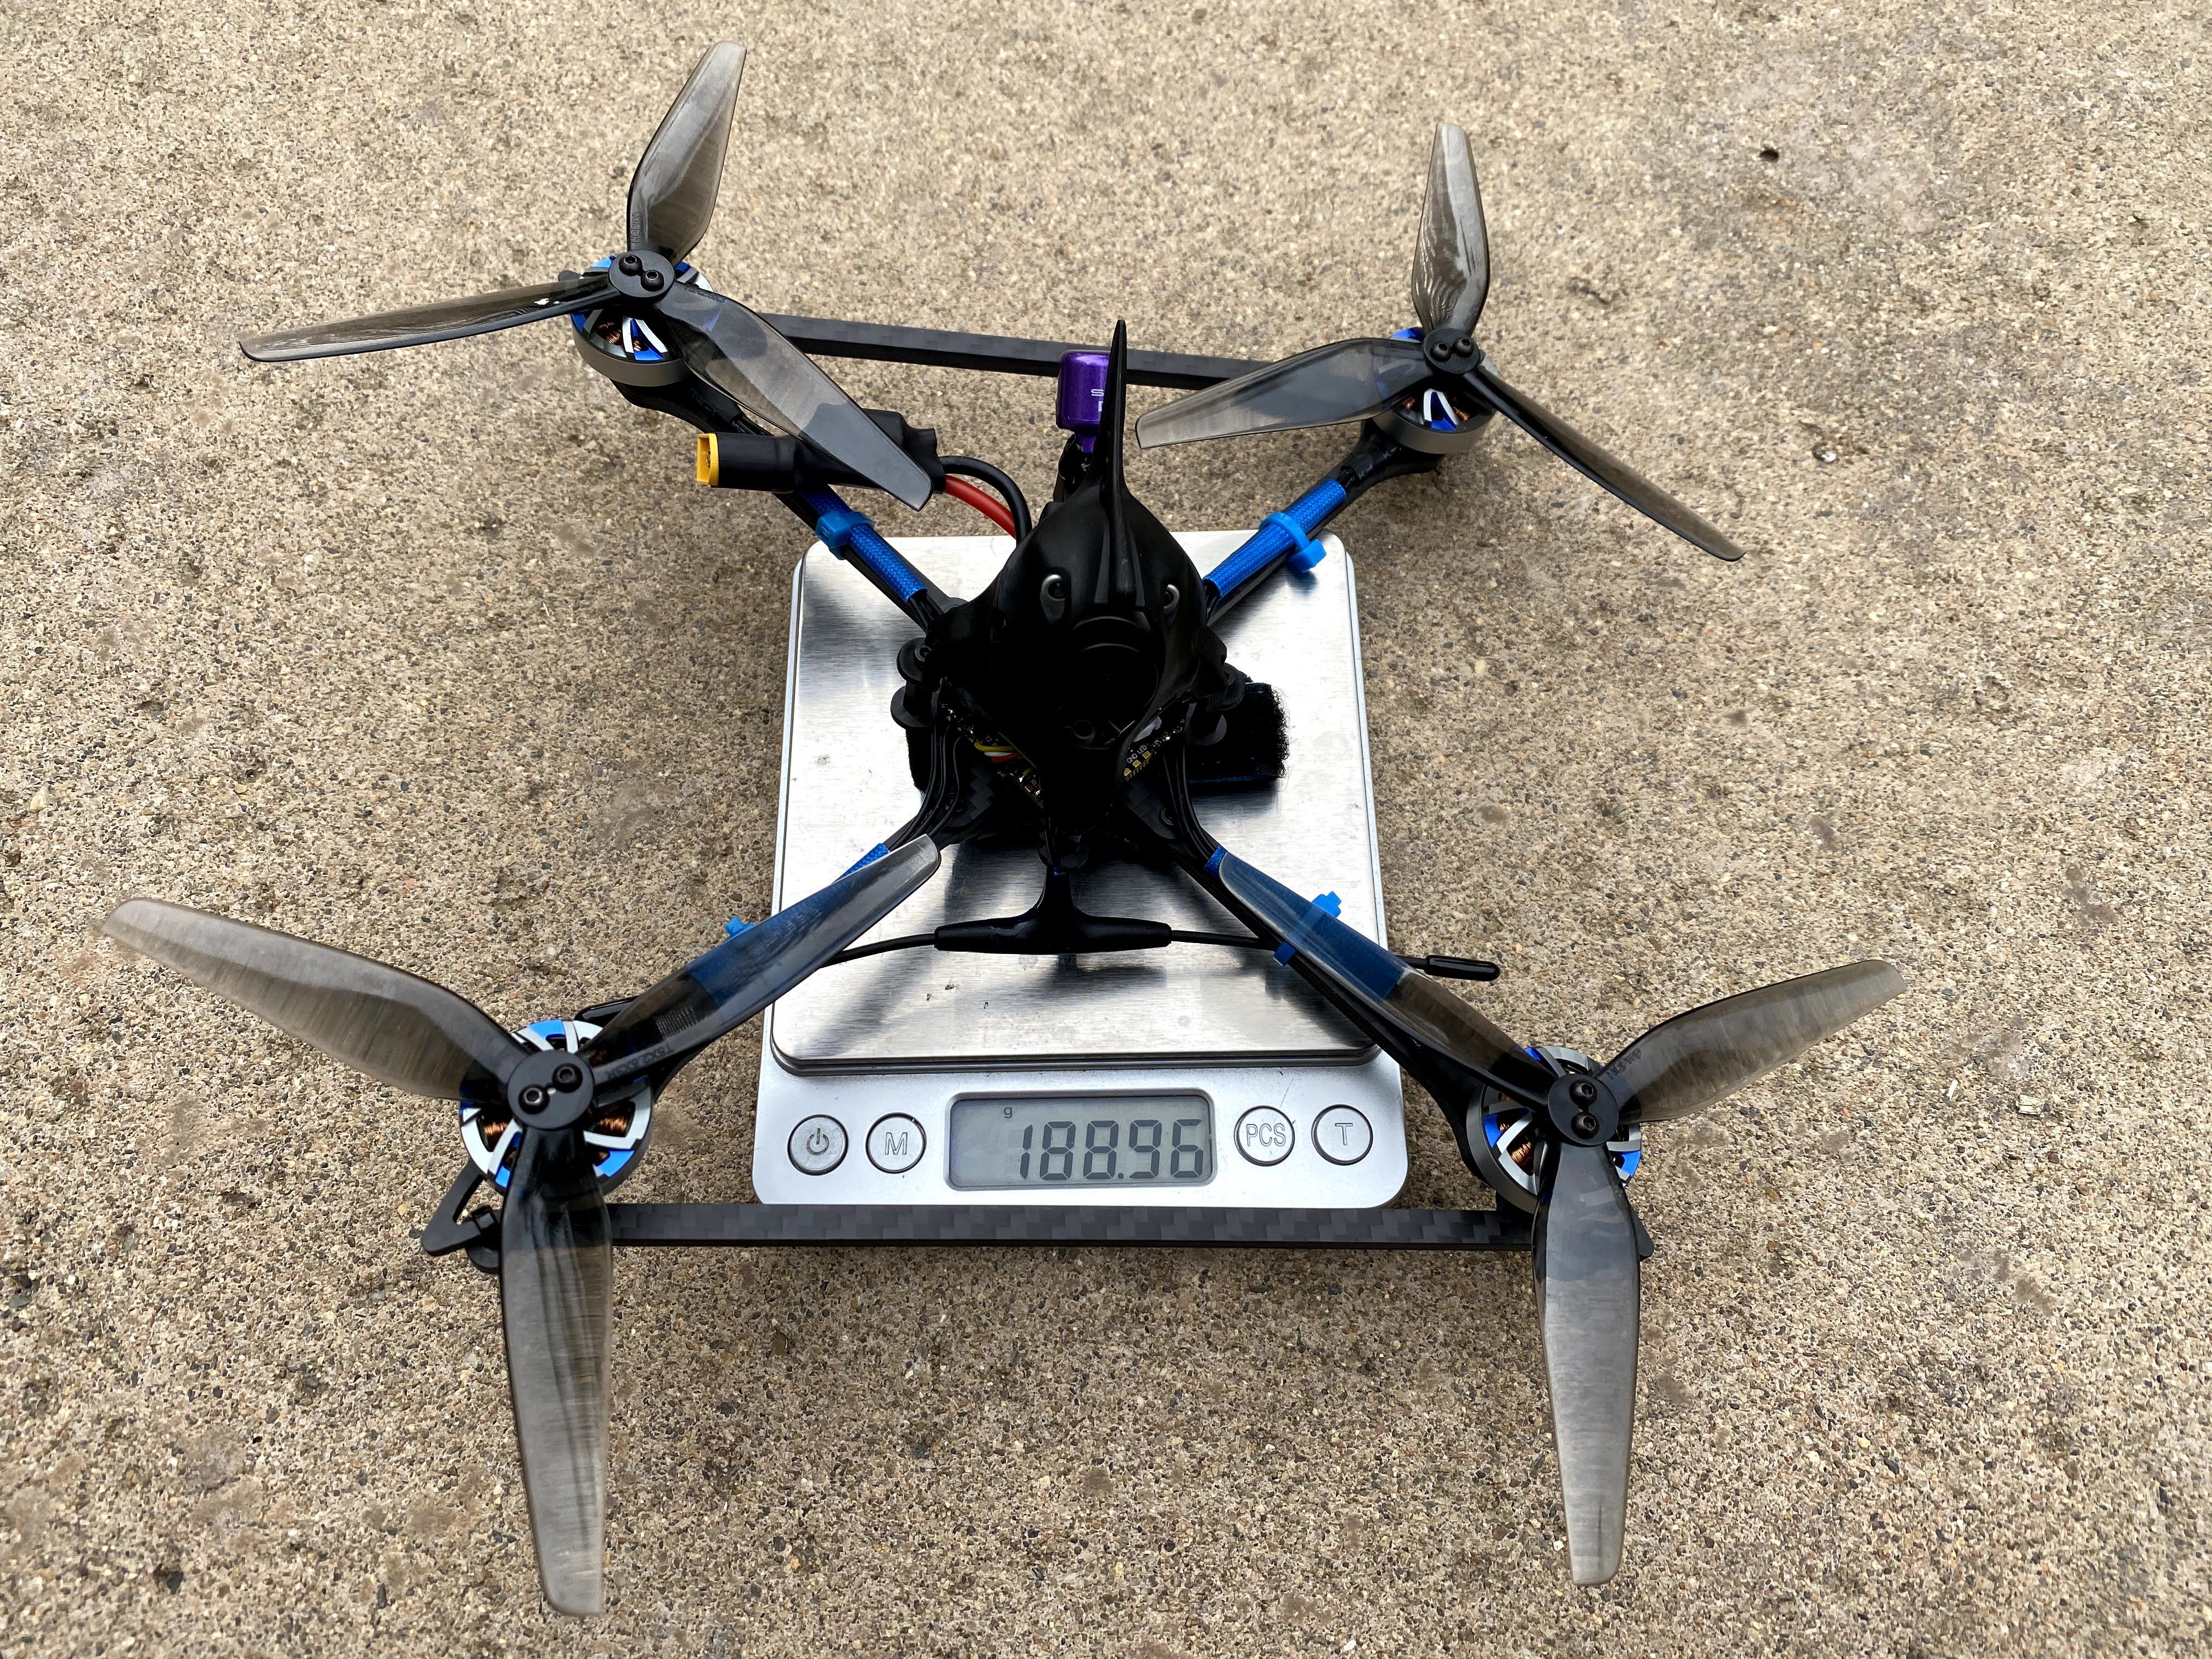
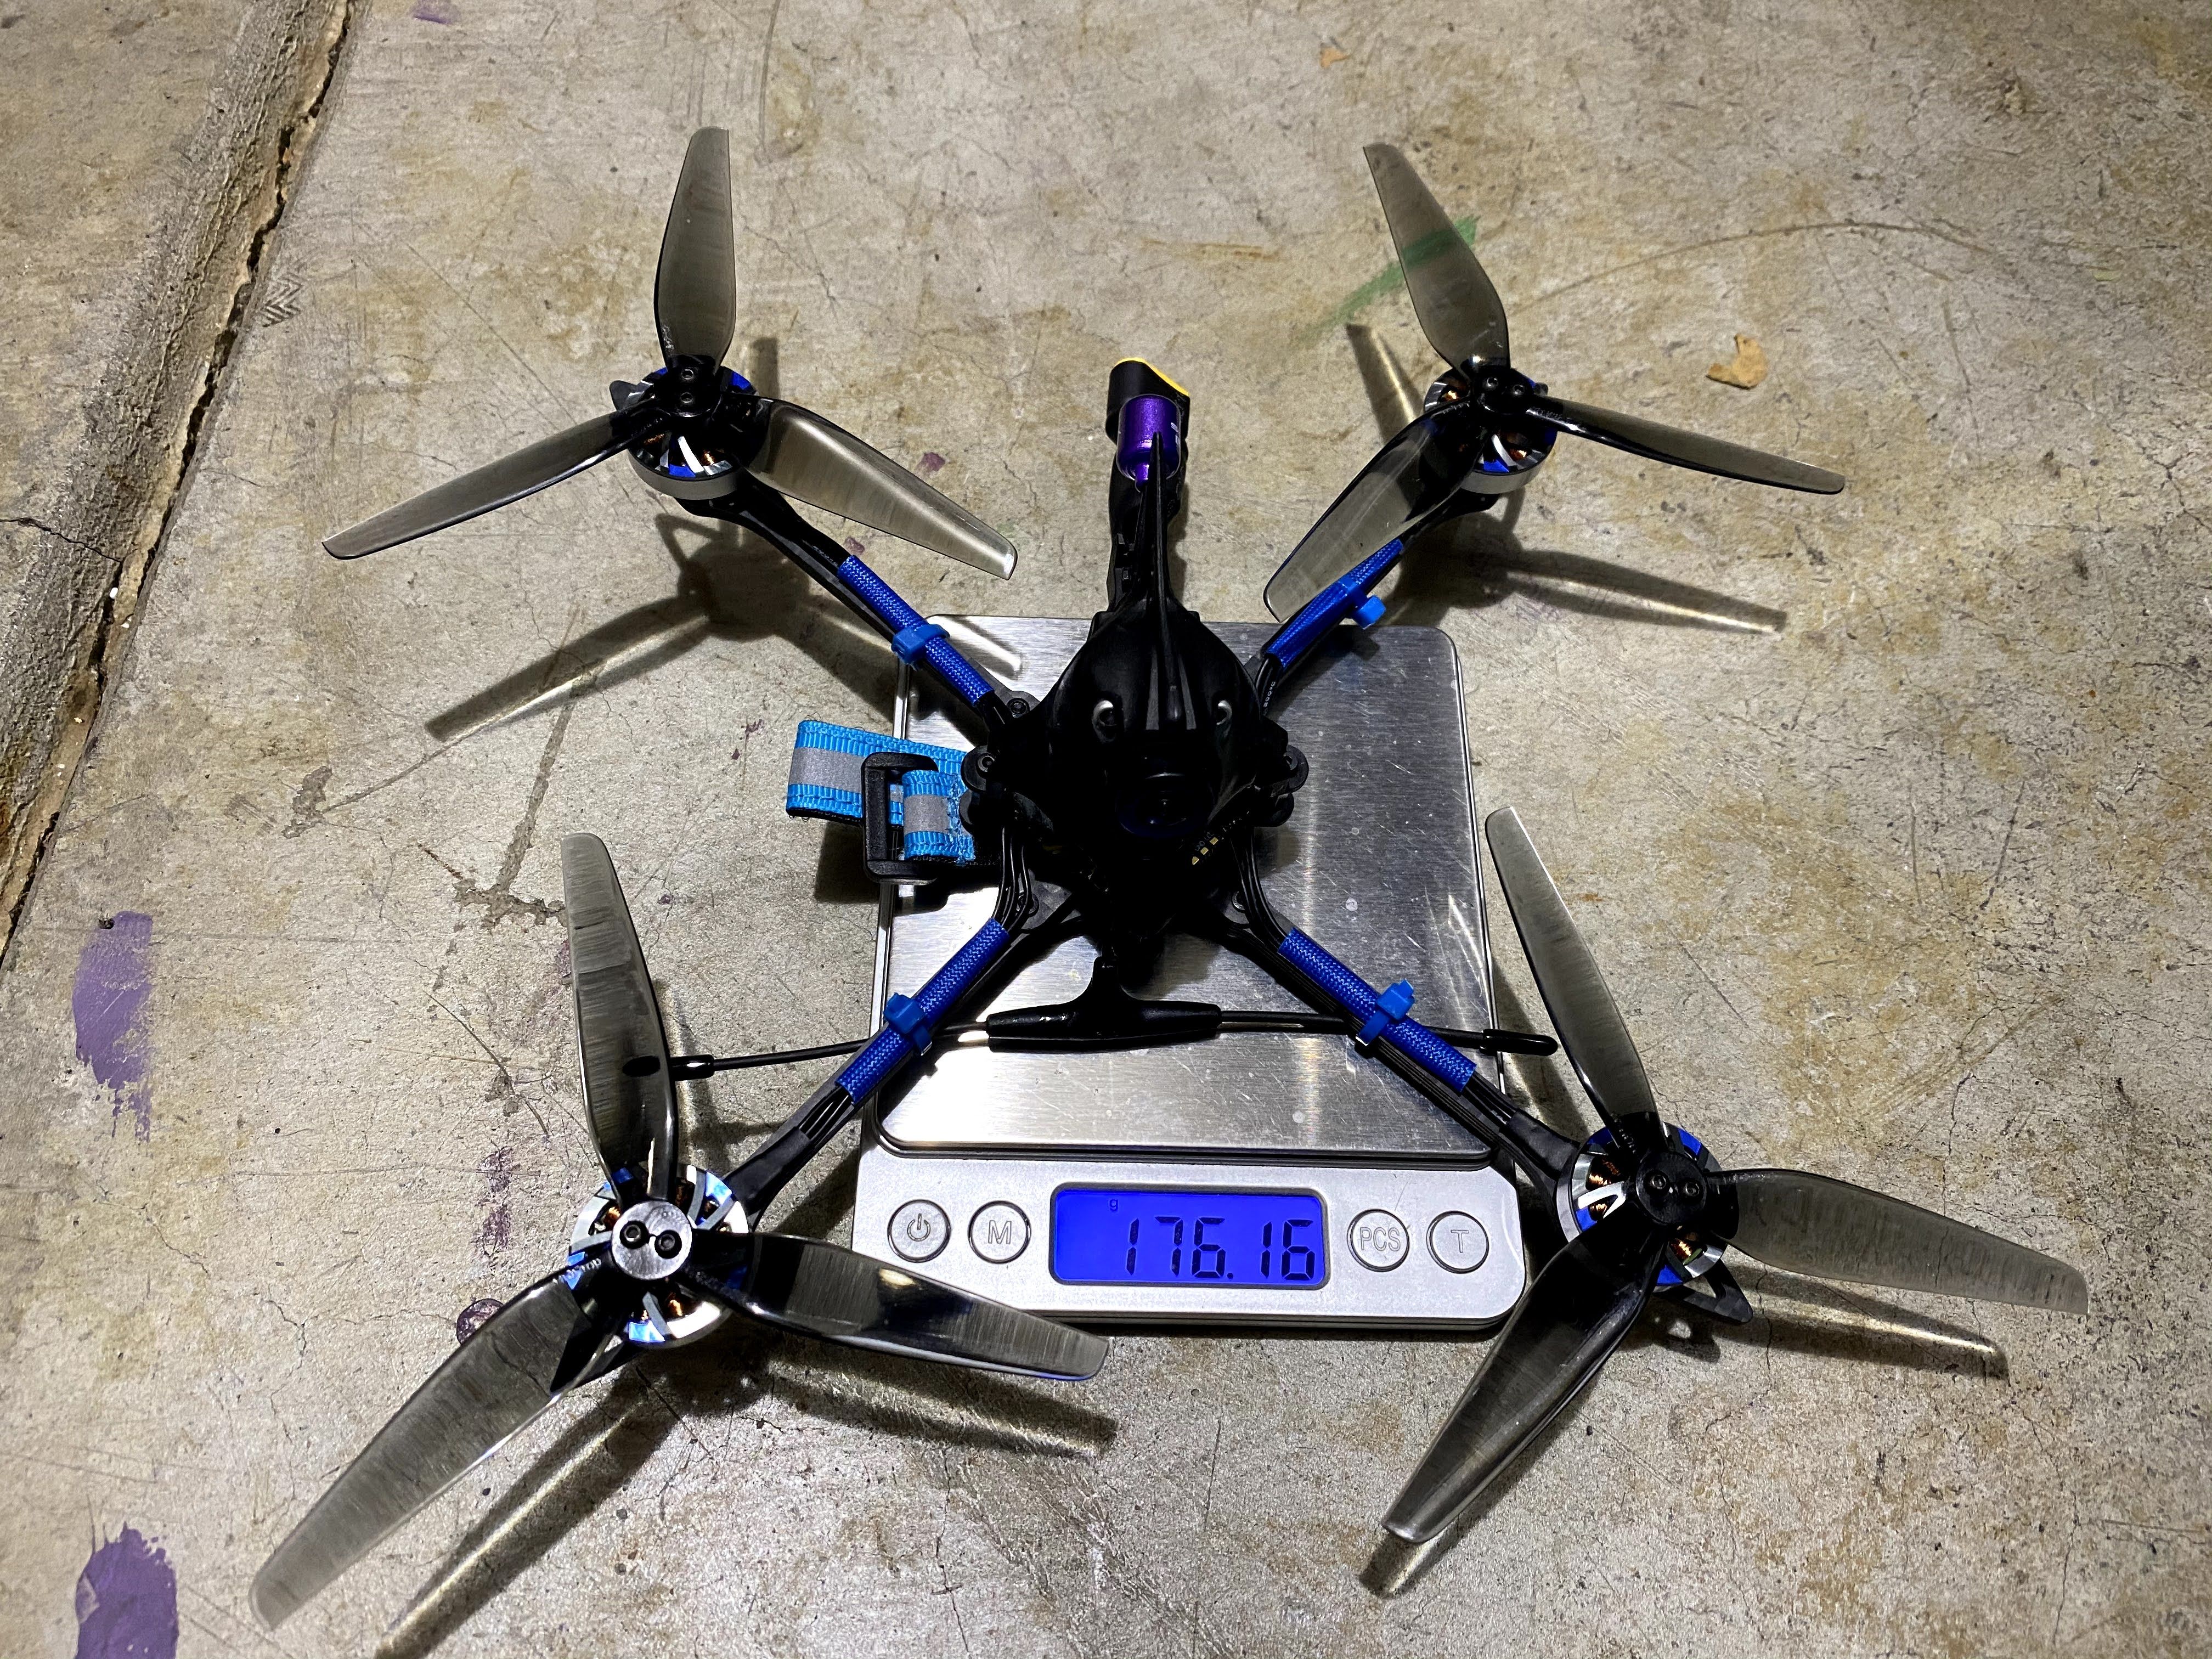
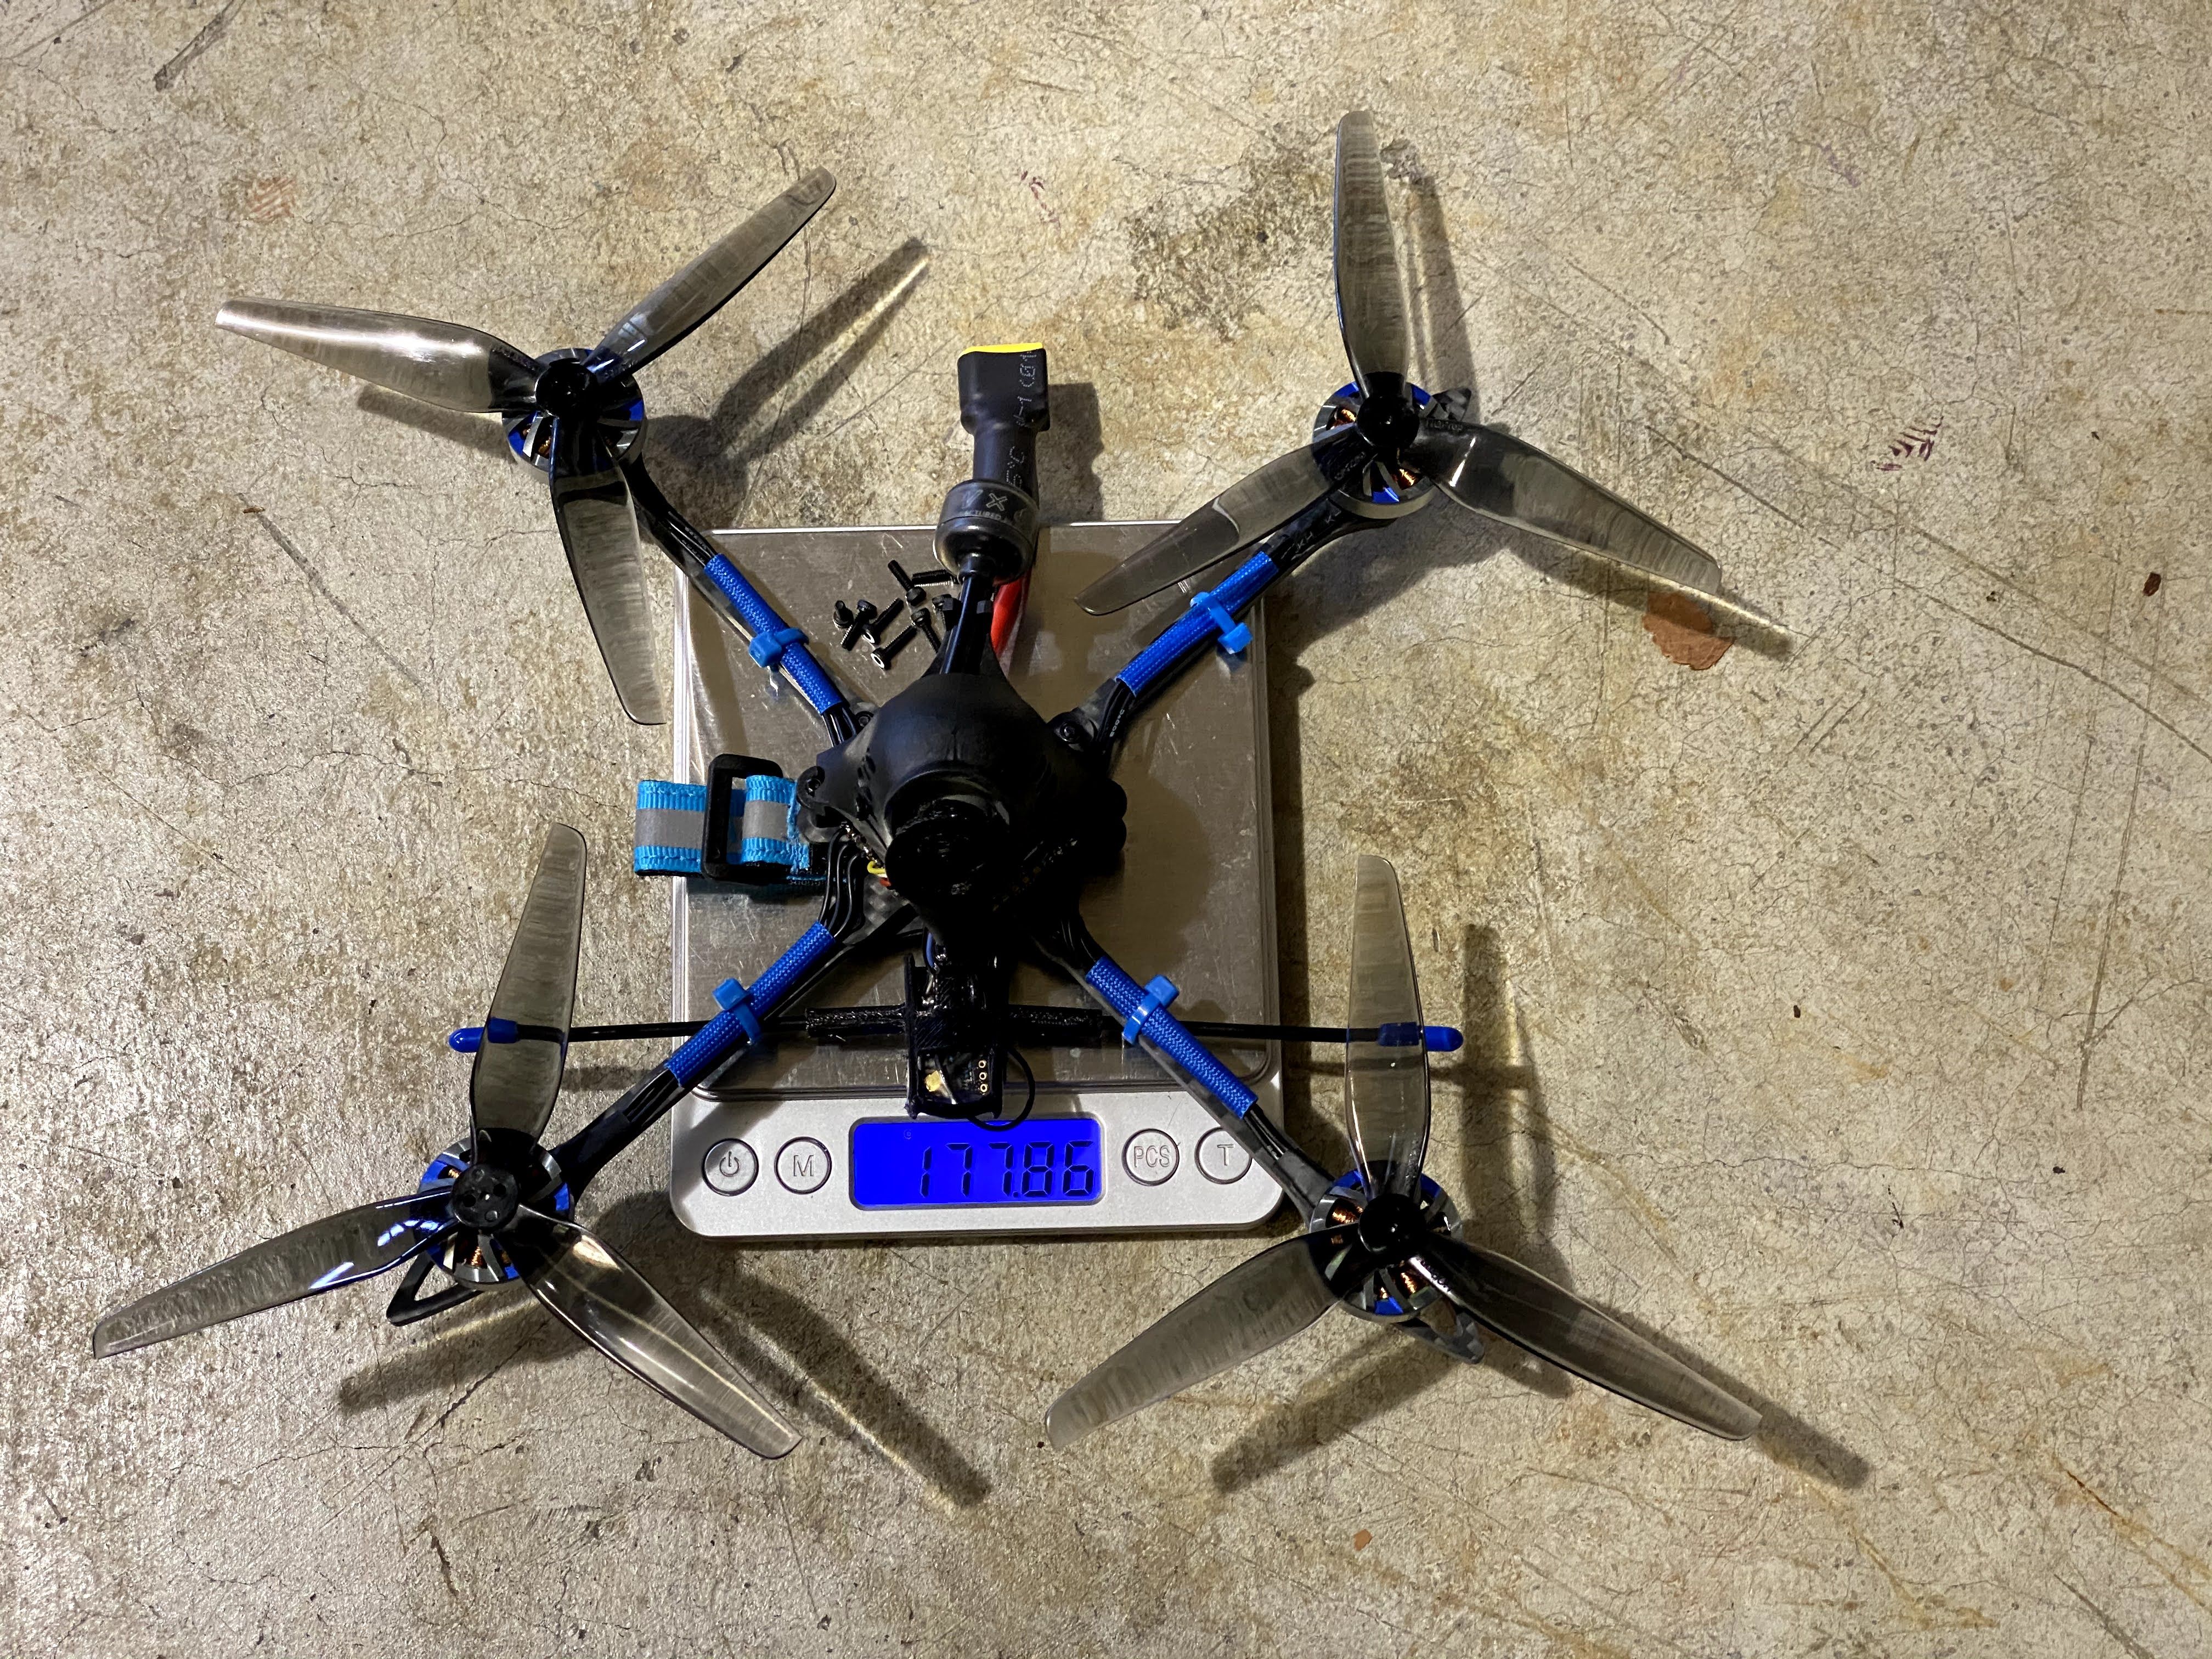
- Weight: 176.8g (without battery)
- Power system: 6S
- FC&ESC: BetaFPV F4 35A AIO Brushless FC
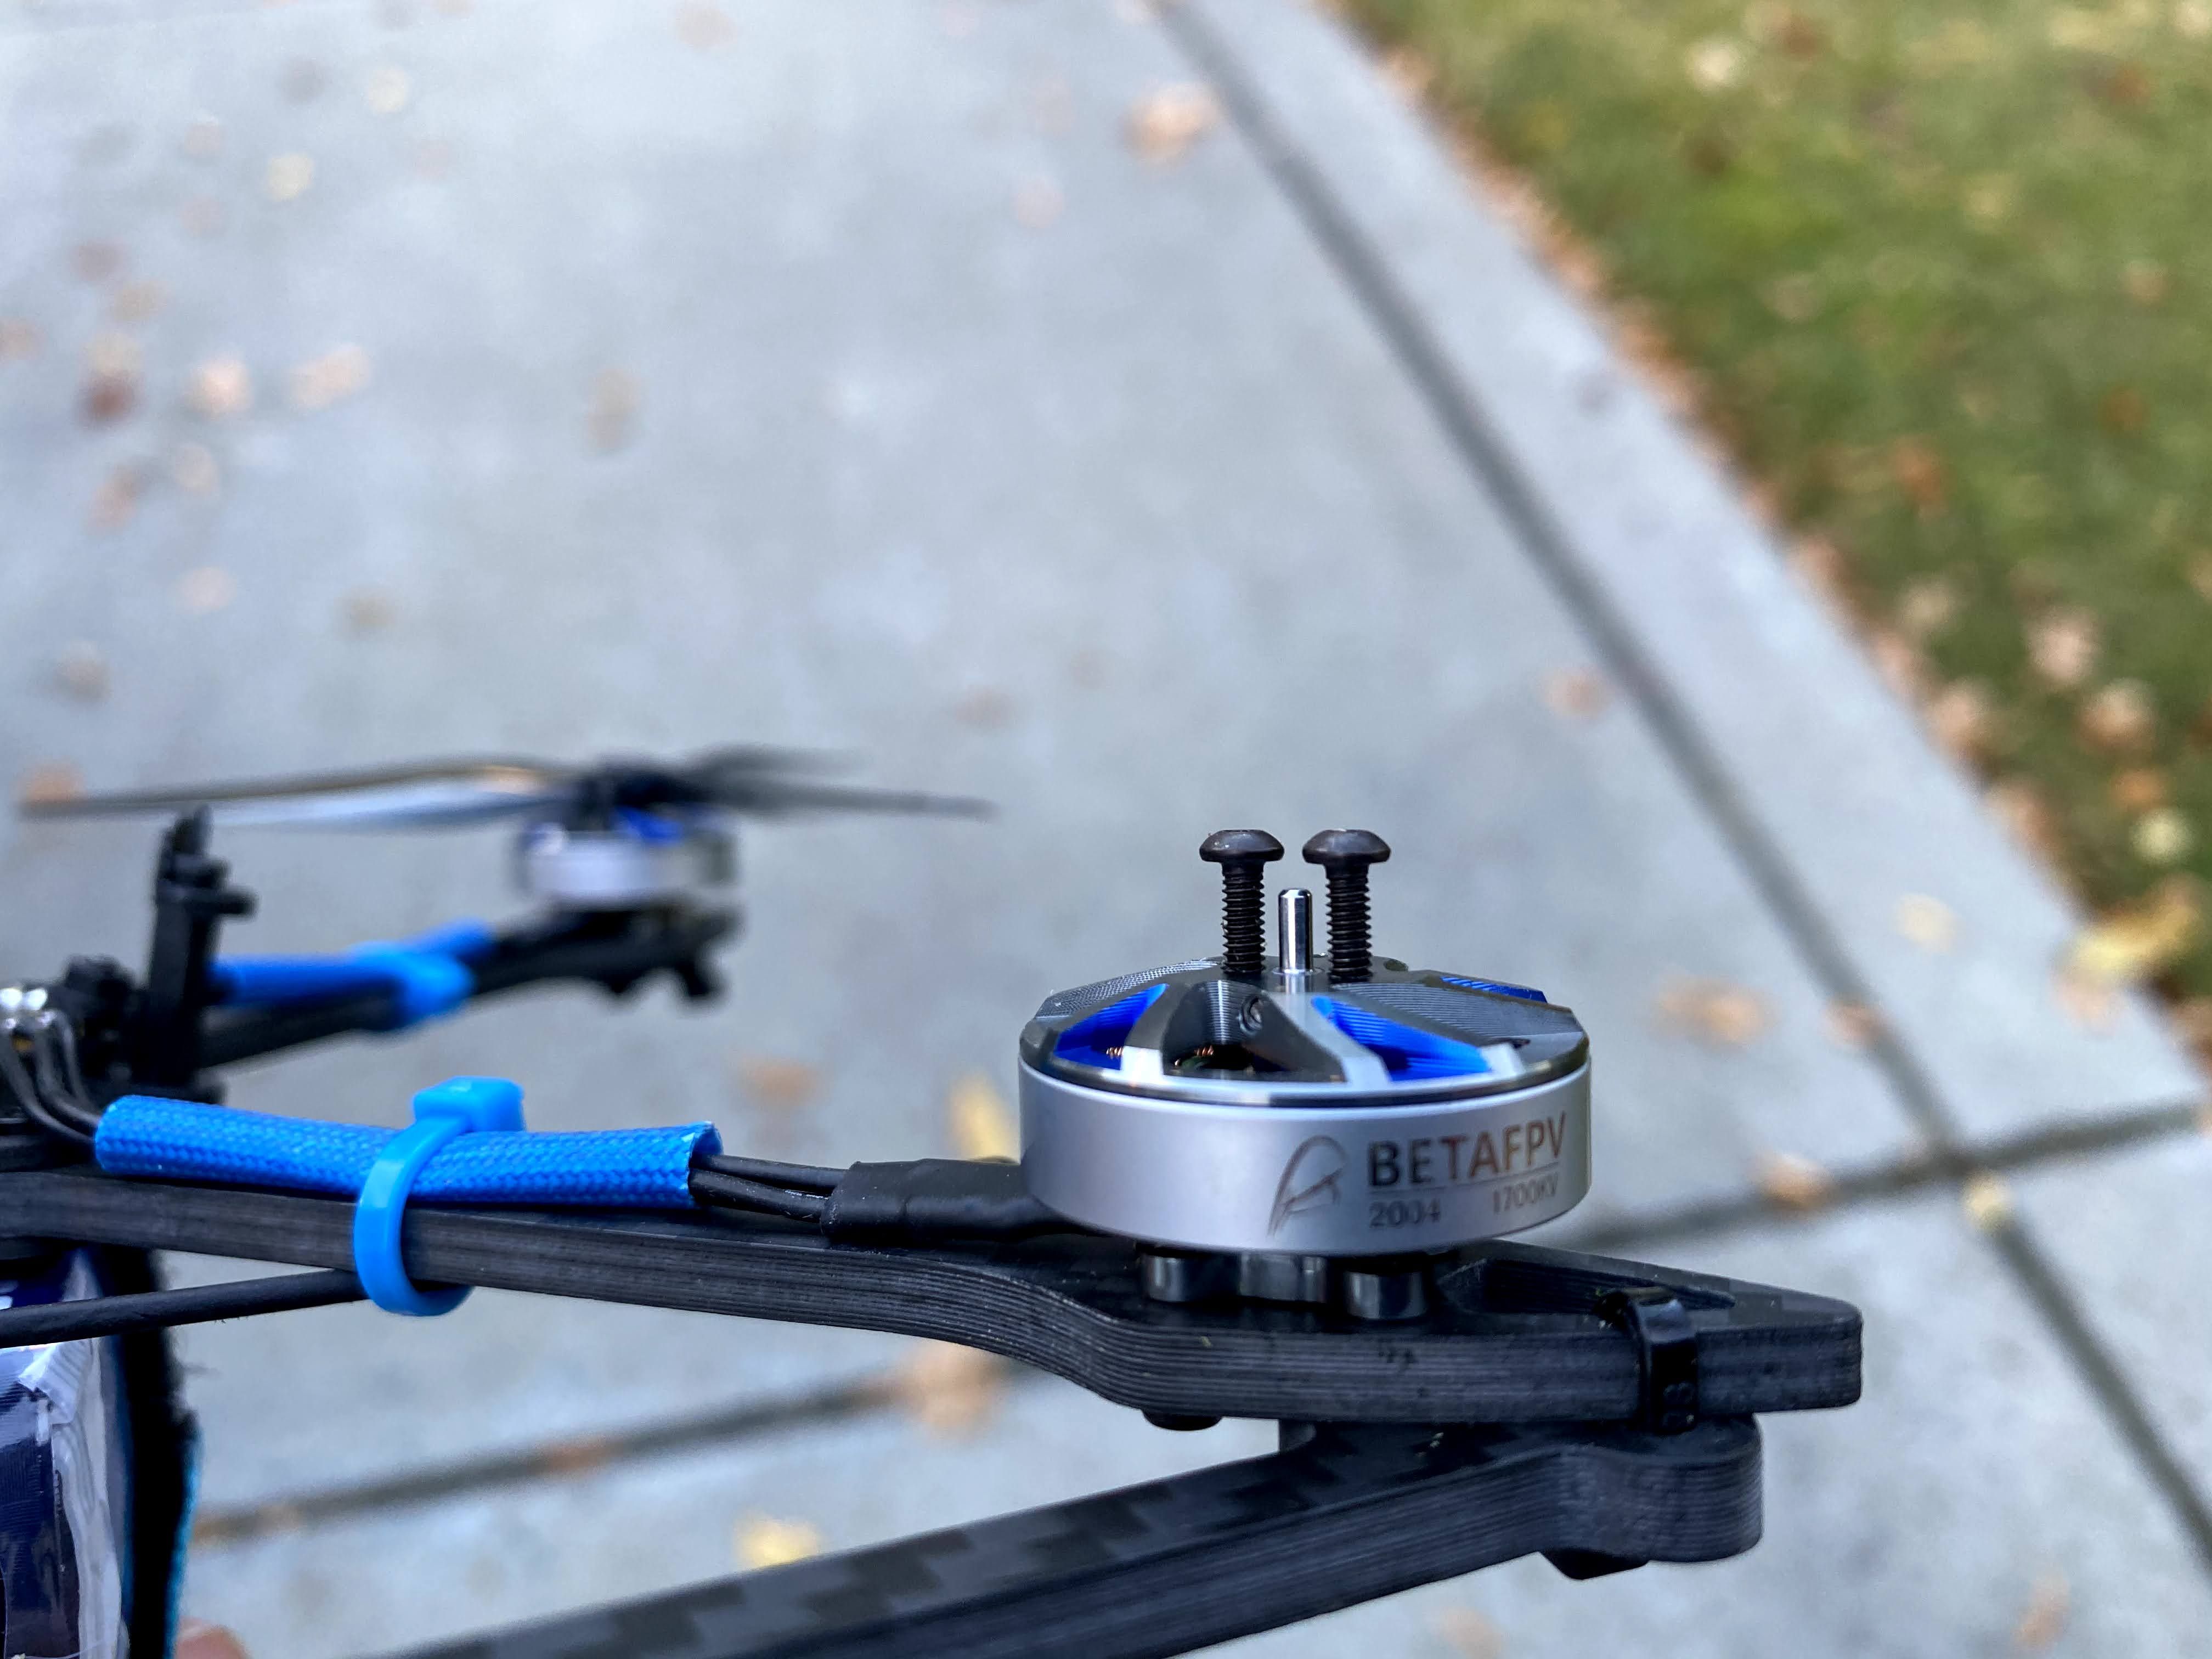
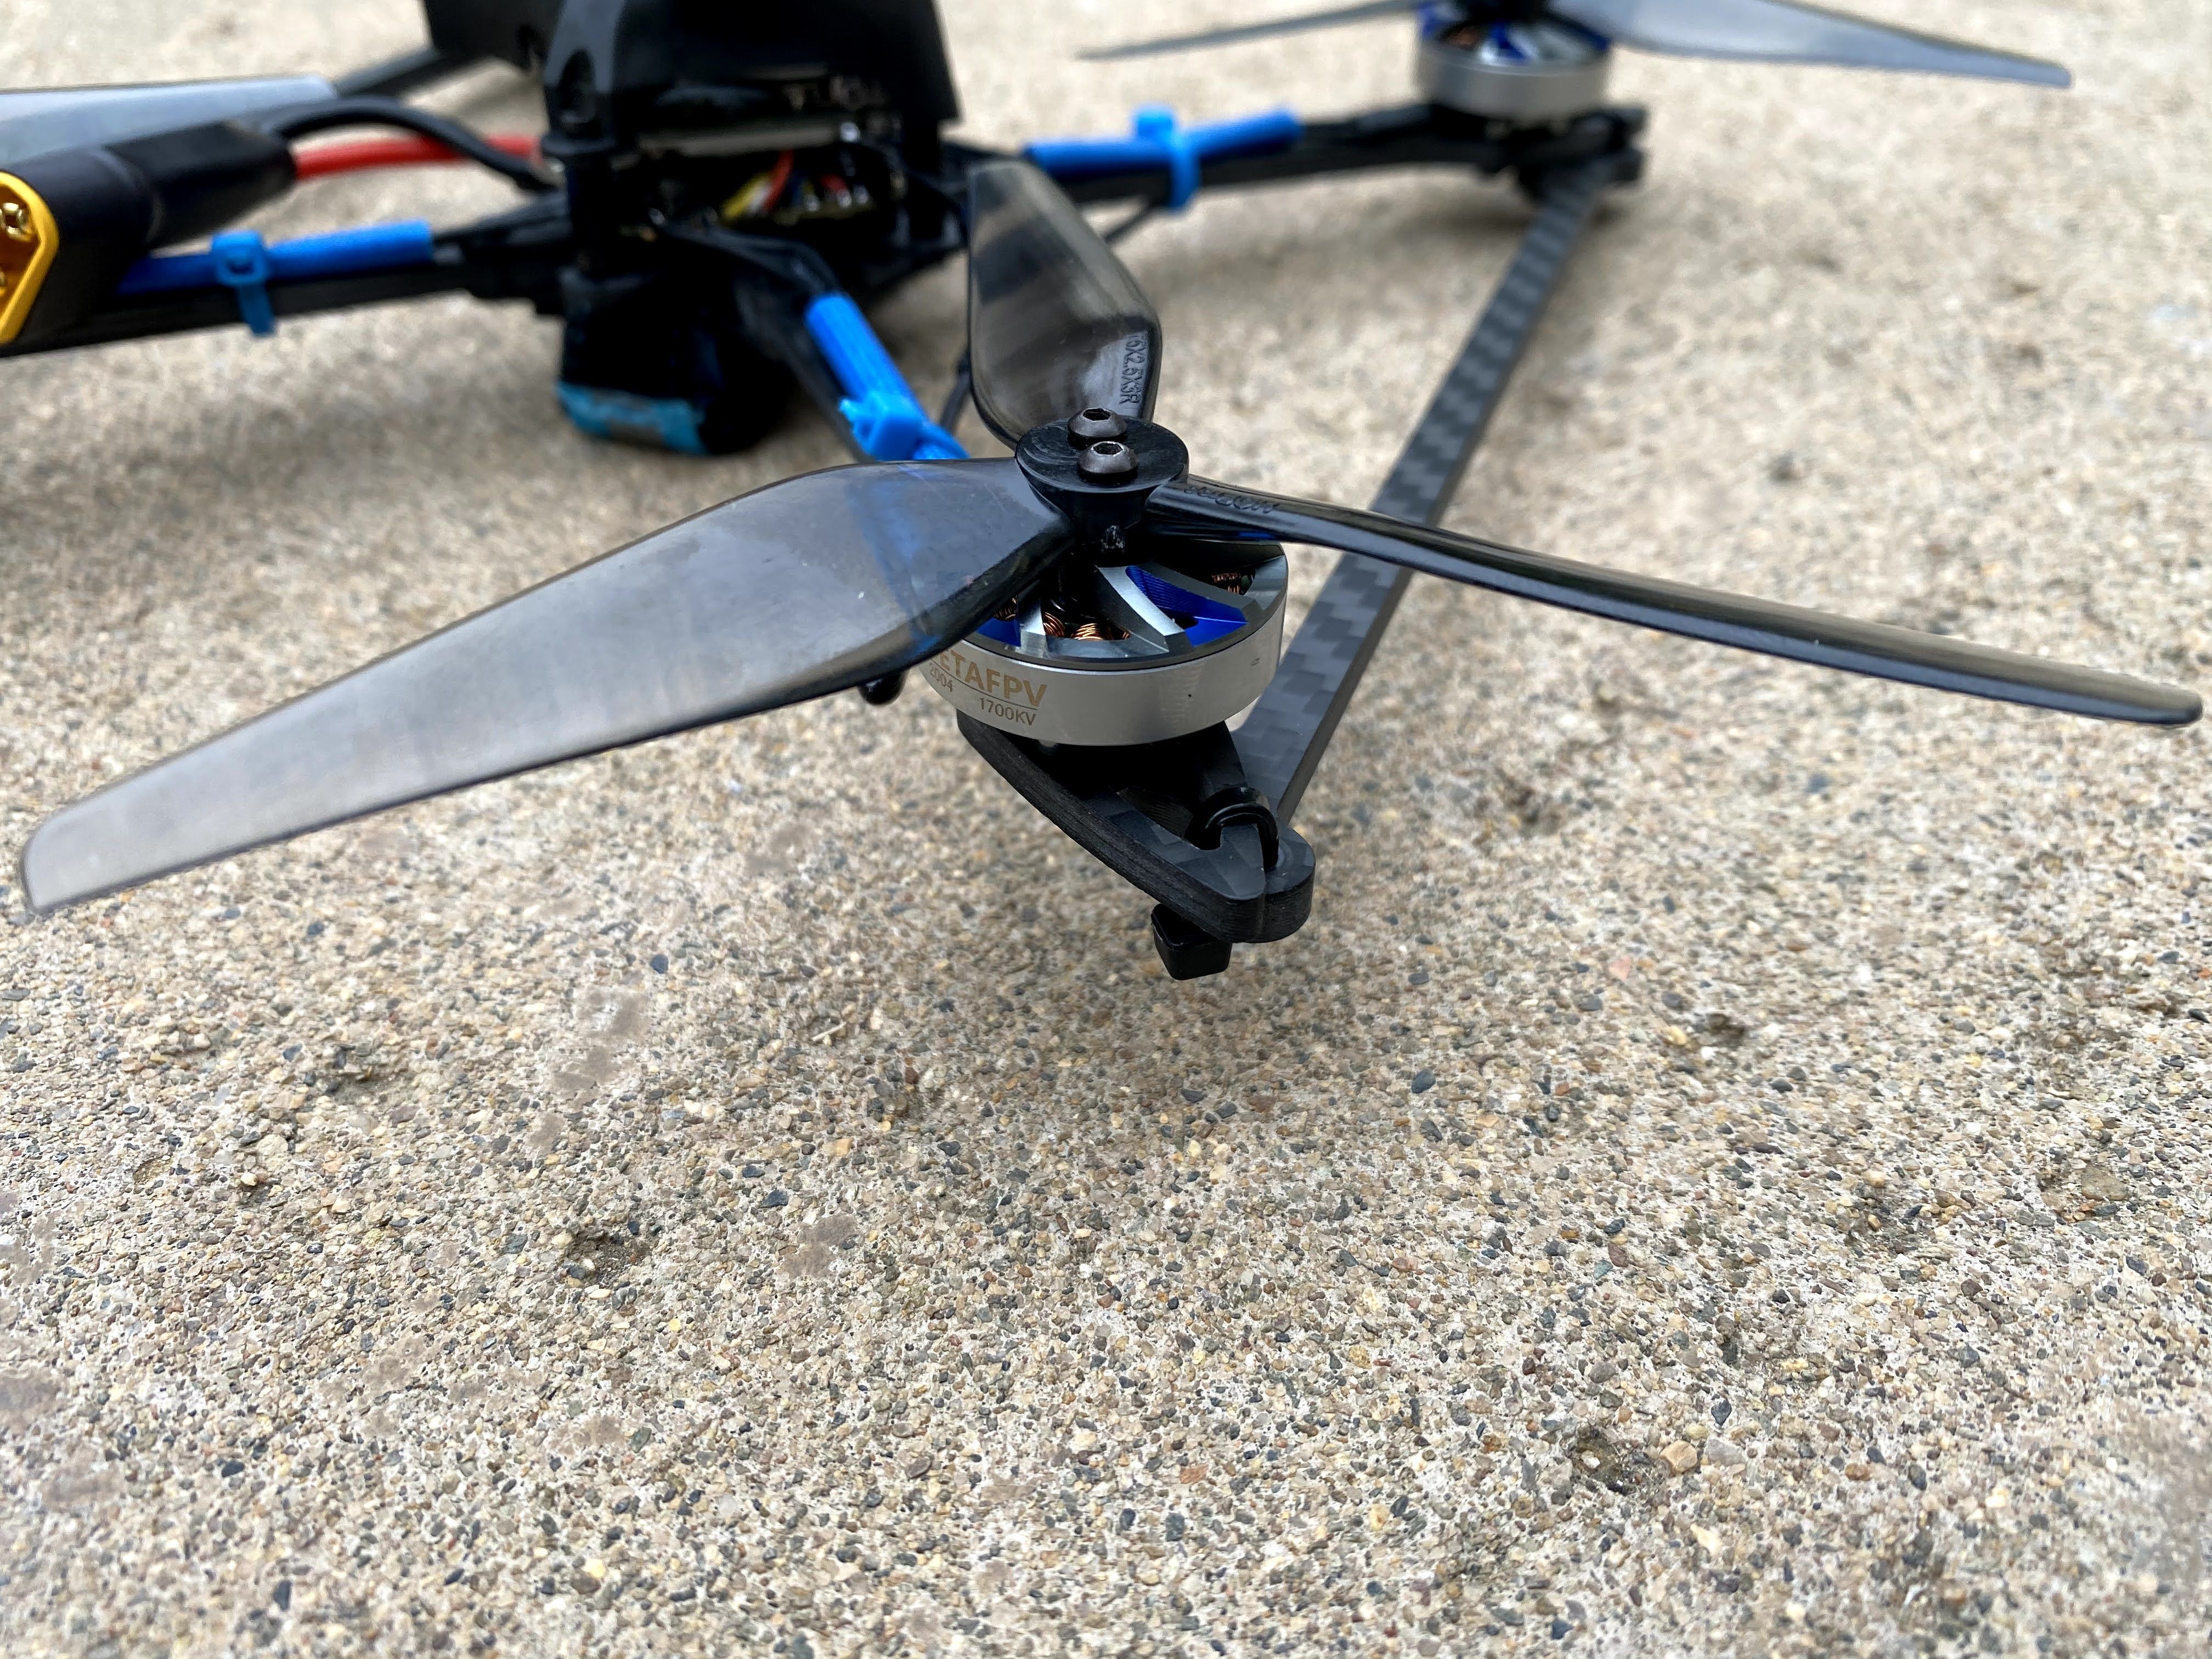
- Motors: BetaFPV 2004 1700KV Brushless Motors
- Props: HQ 5125 3-Blade Props
- HD Digital Camera & VTX: Caddx Vista
- Battery: 550mAh 6S 75C Battery
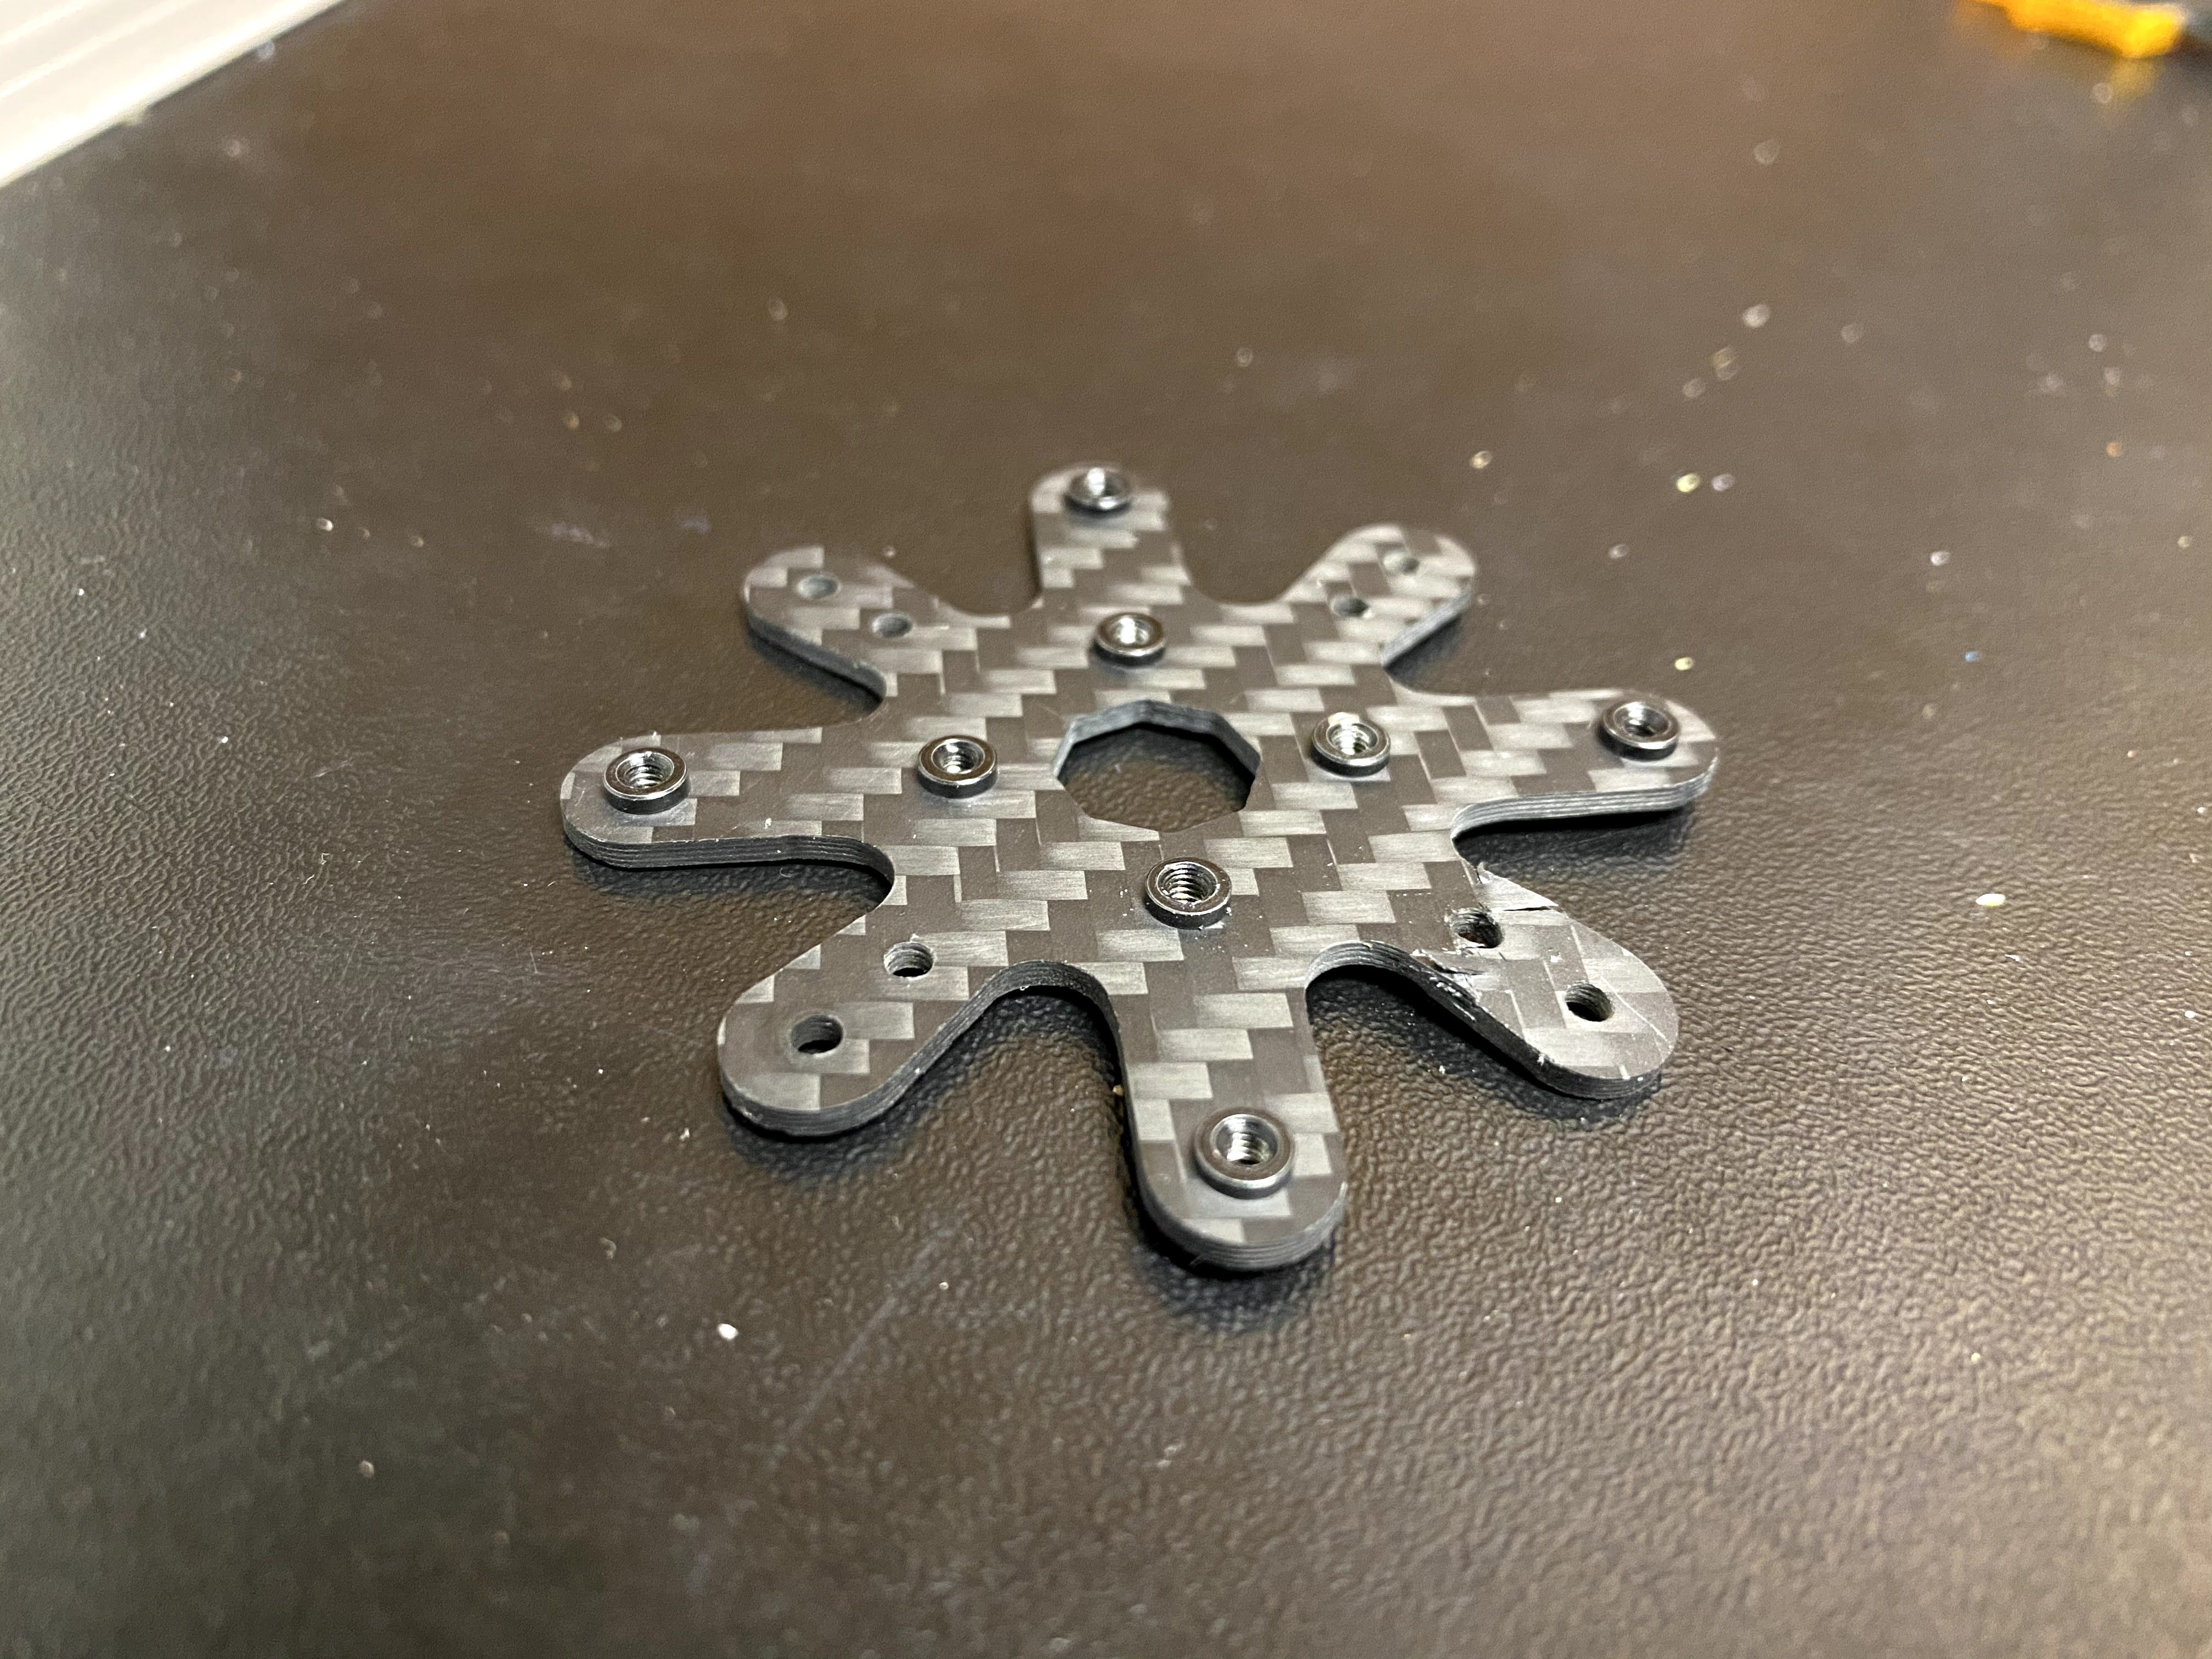
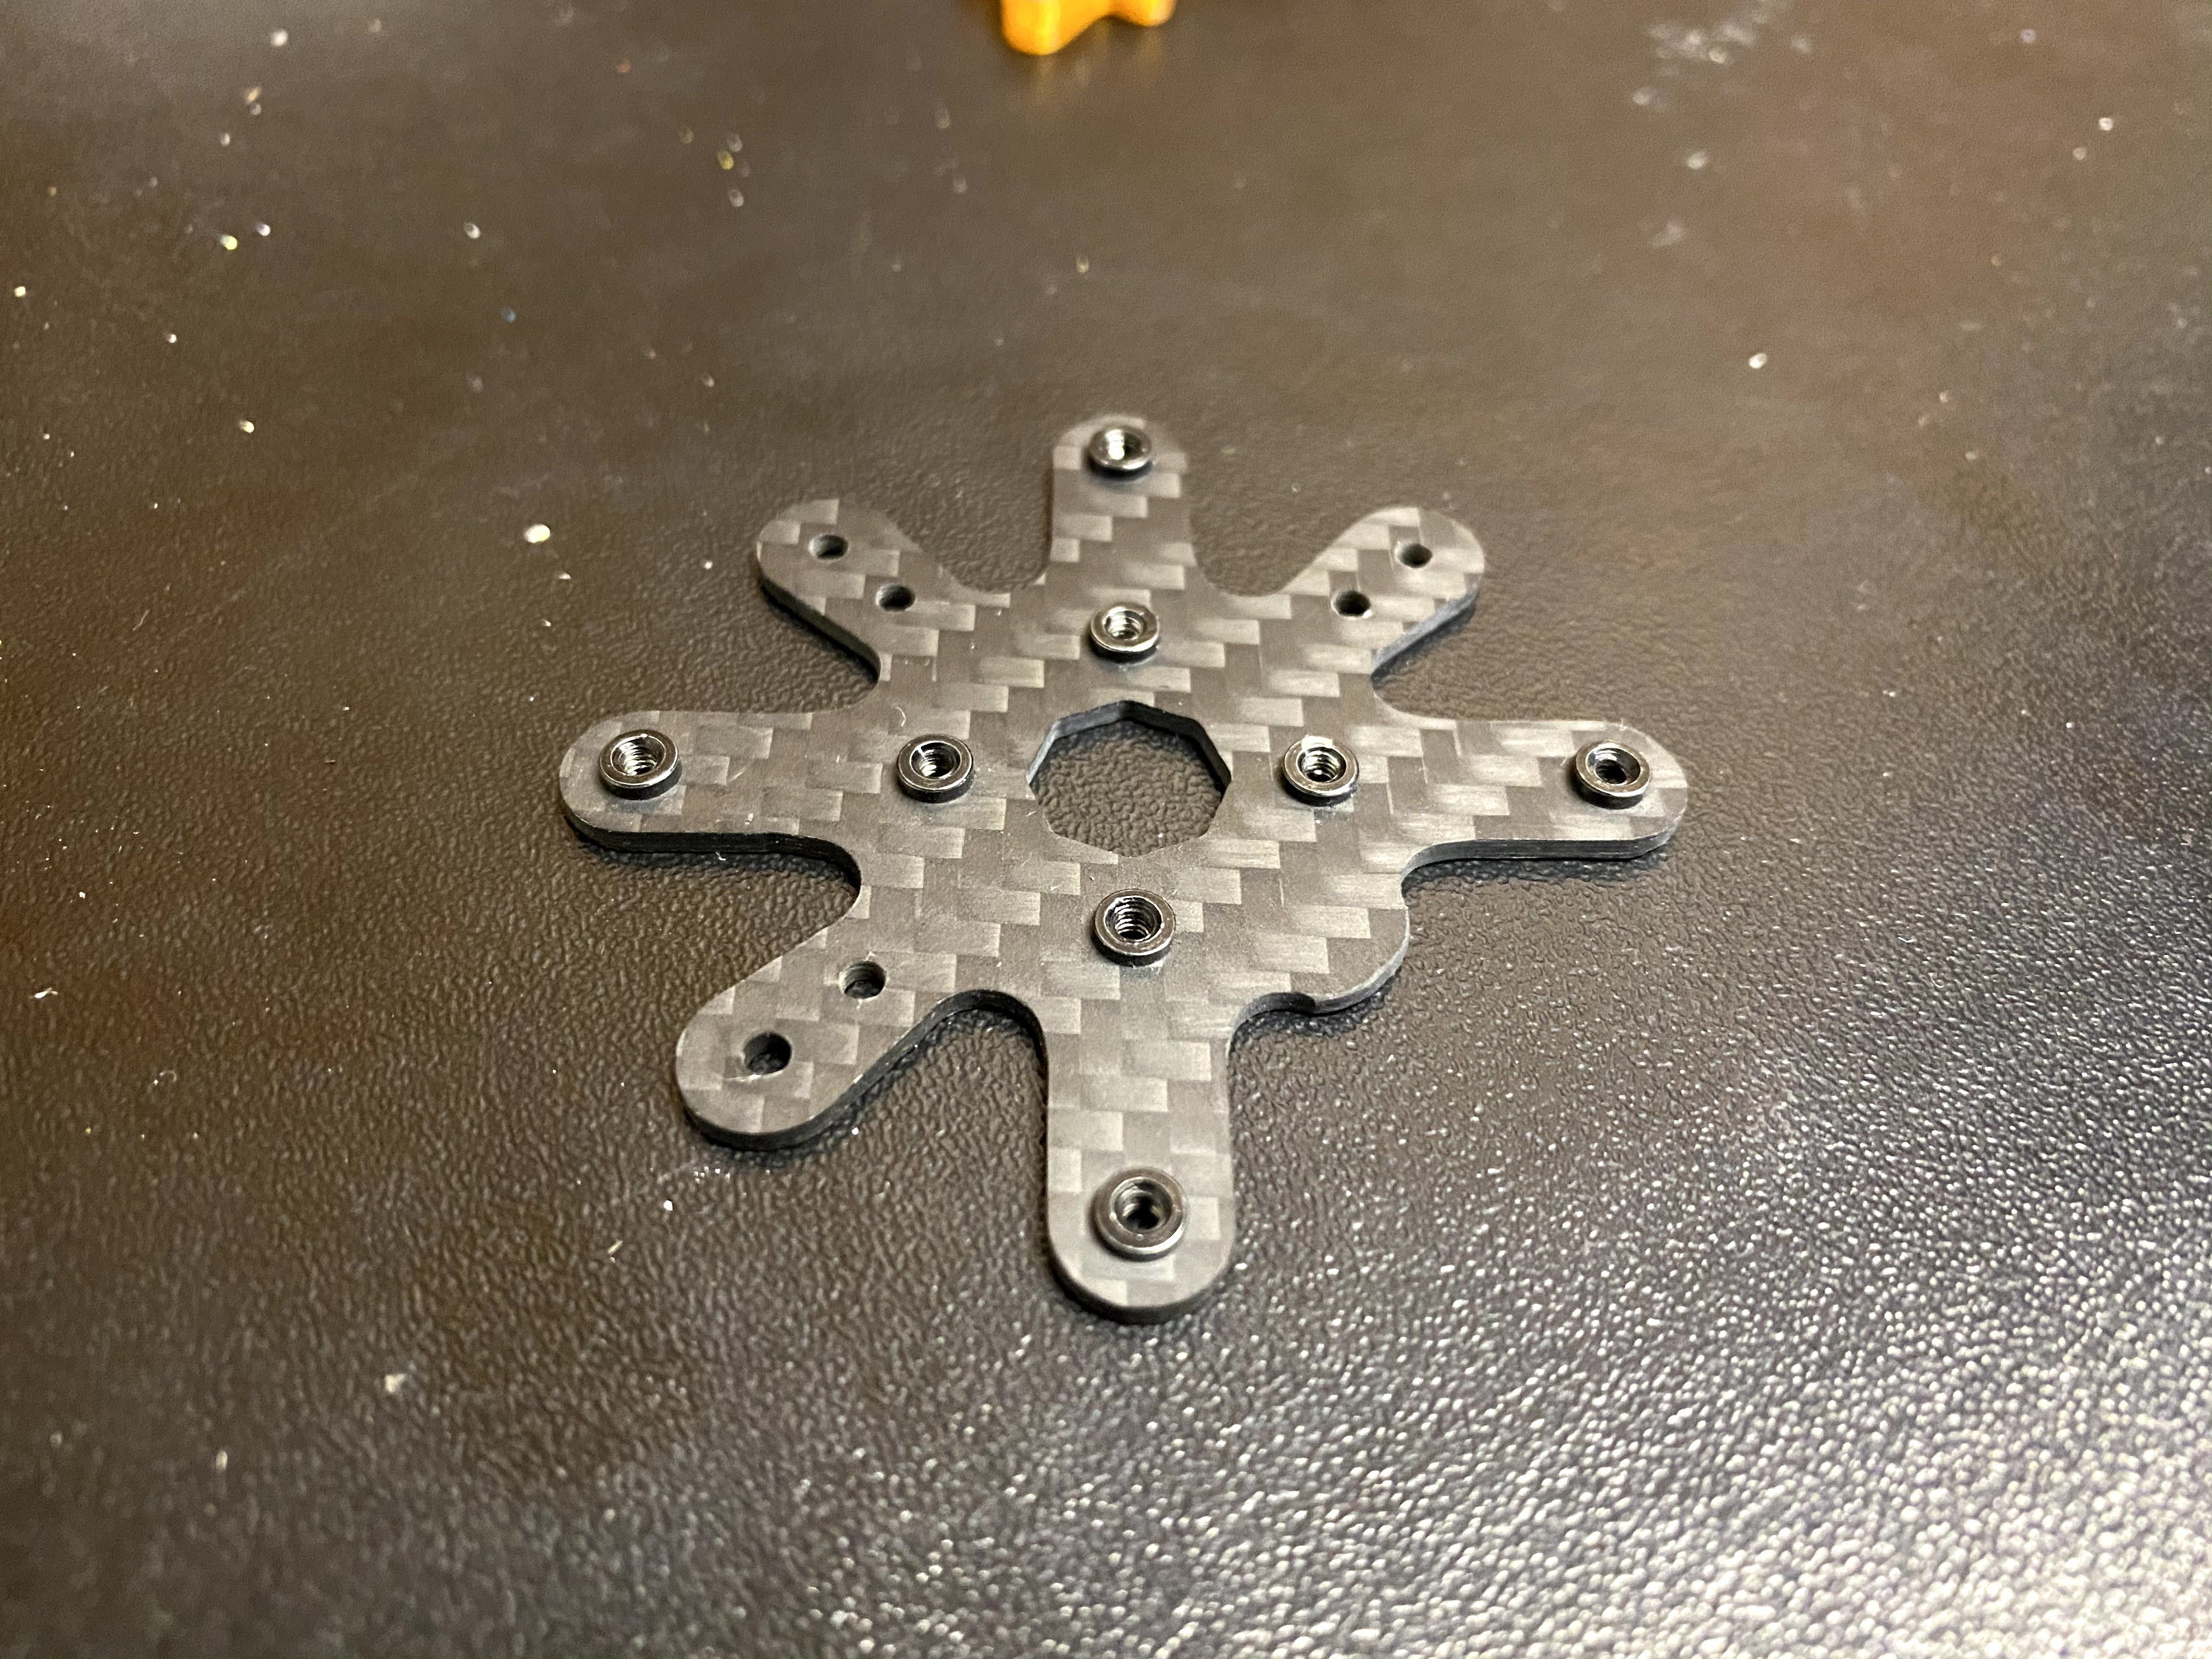
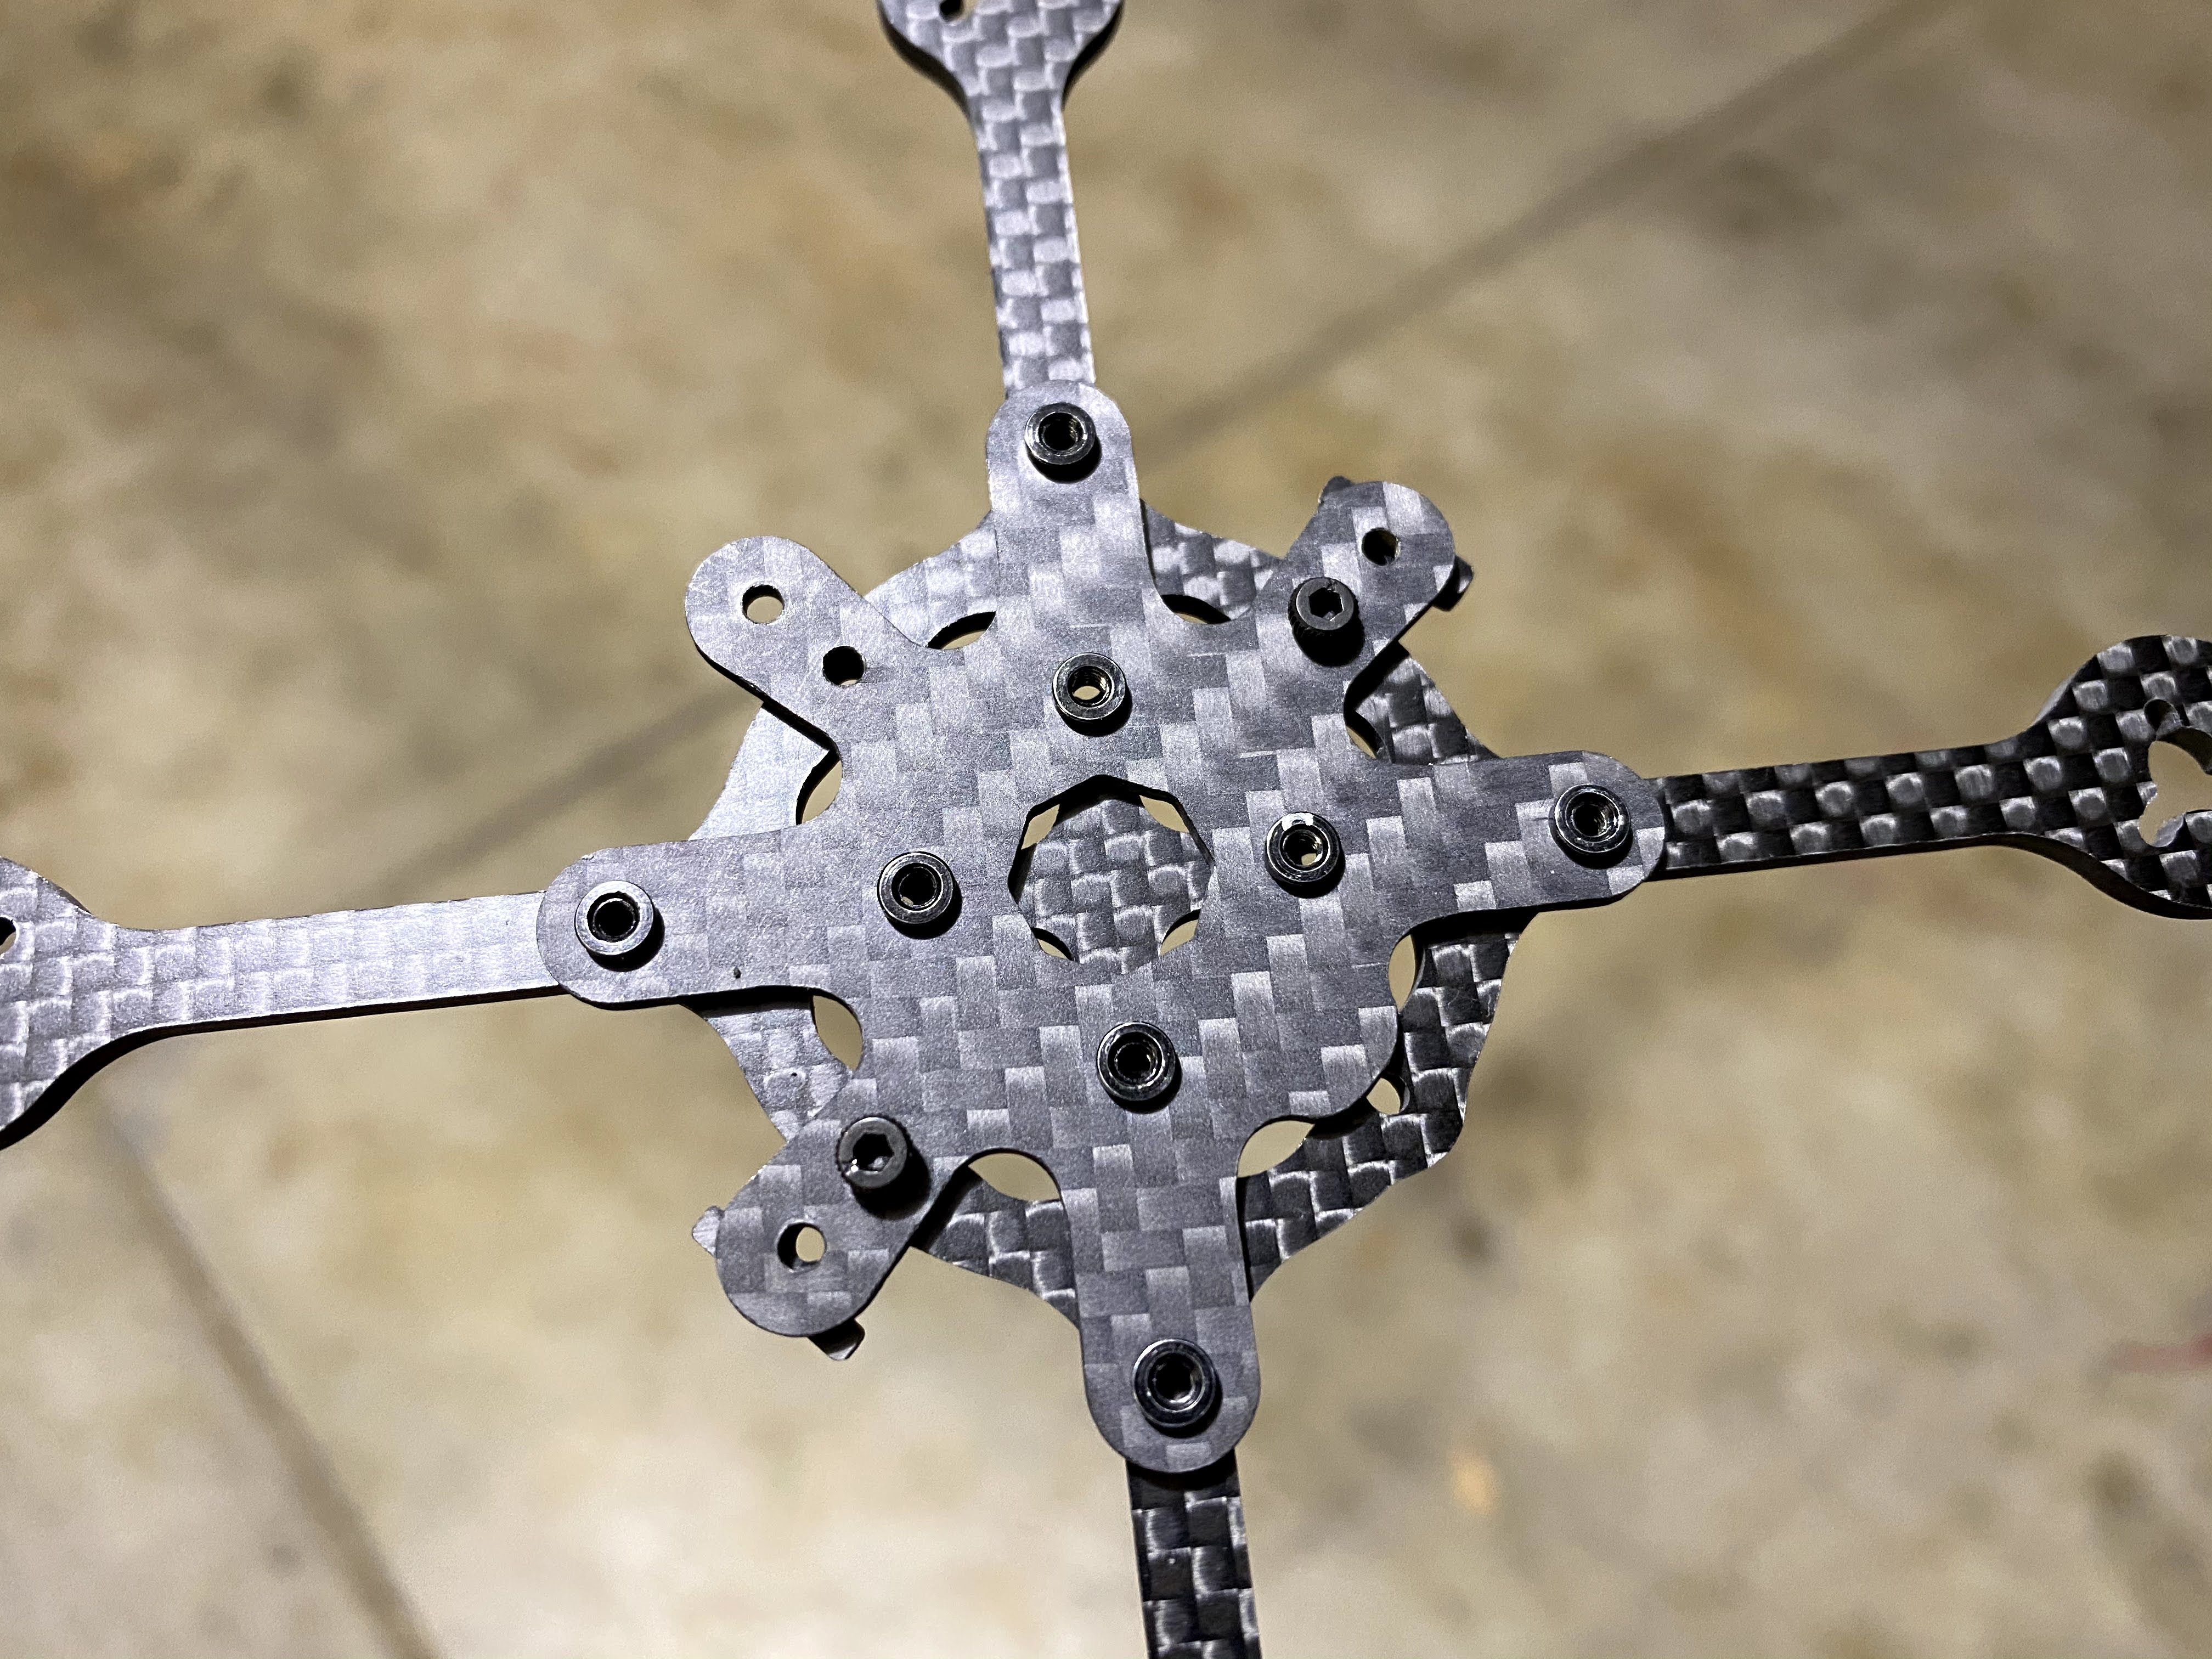
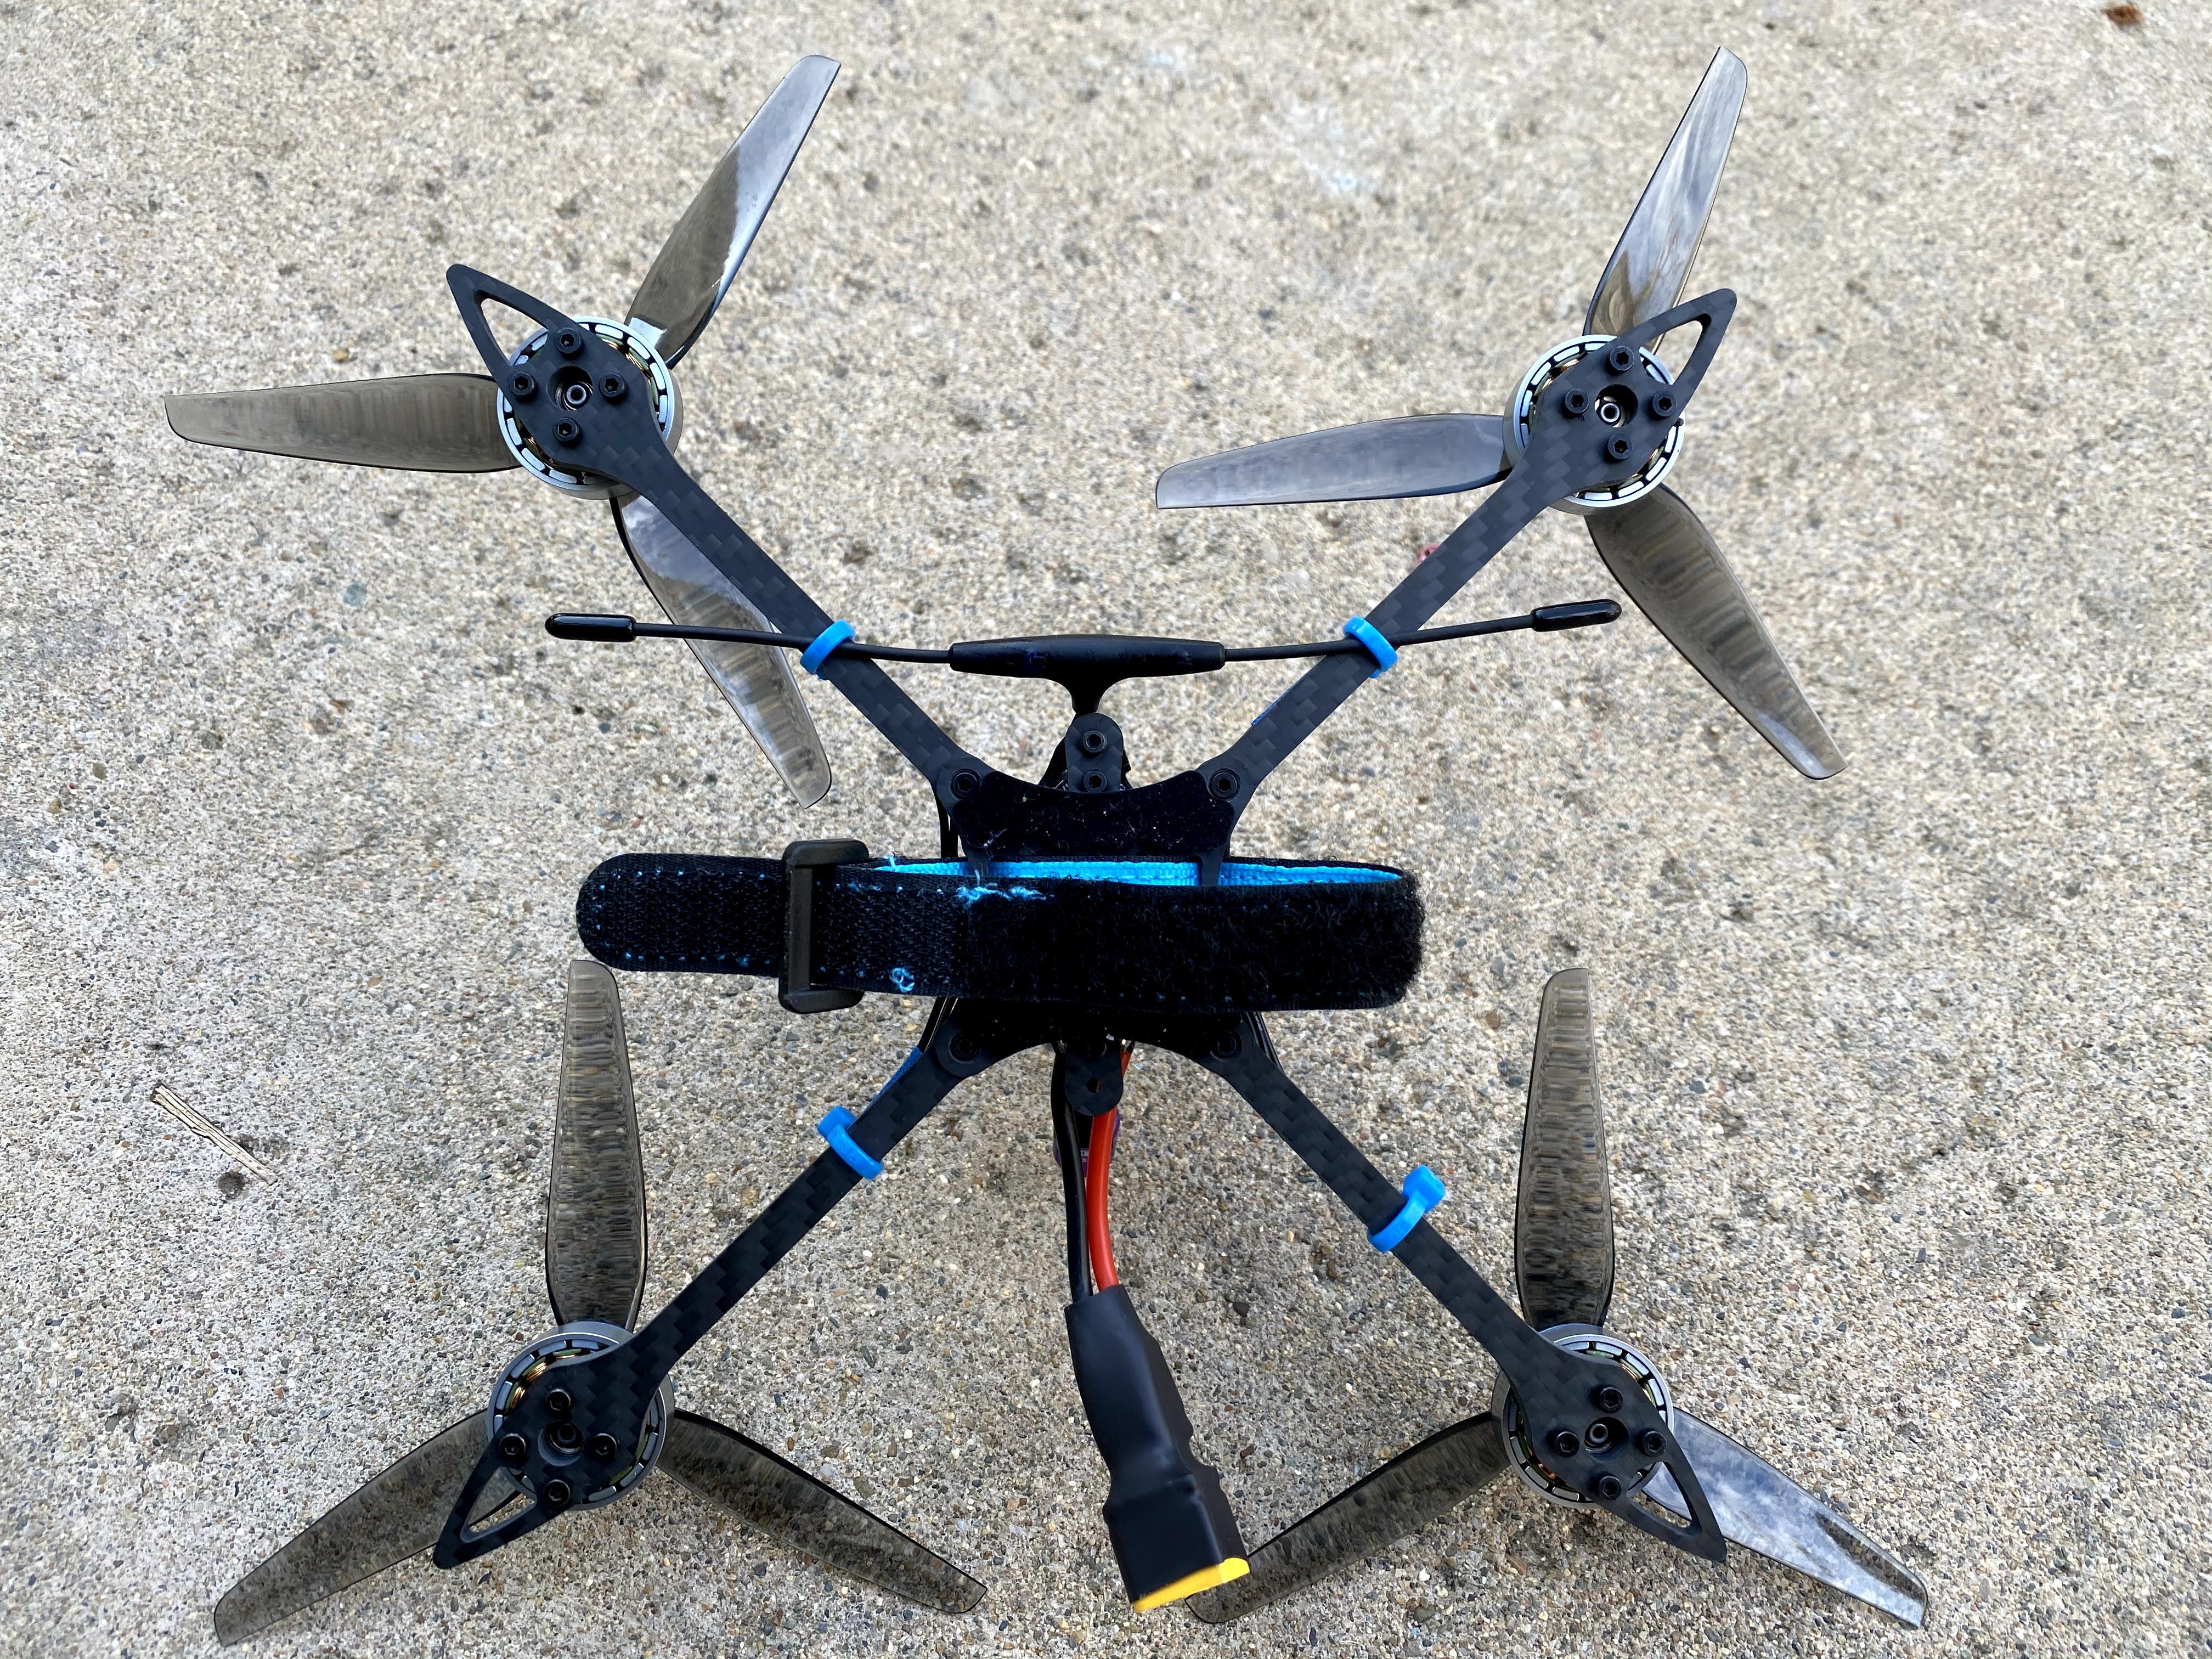
- Frame: X-Knight Carbon Fiber 5'' V2 Frame Kit(T800)
- Canopy: Canopy for Mini Camera V3
- Receiver: TBS Crossfire Nano
- Flight time: 11min smooth flight or 4min flight of FPV freestyle tricks with 550mAh 6S battery (Very good estimate from BetaFPV- I would say they underestimated)
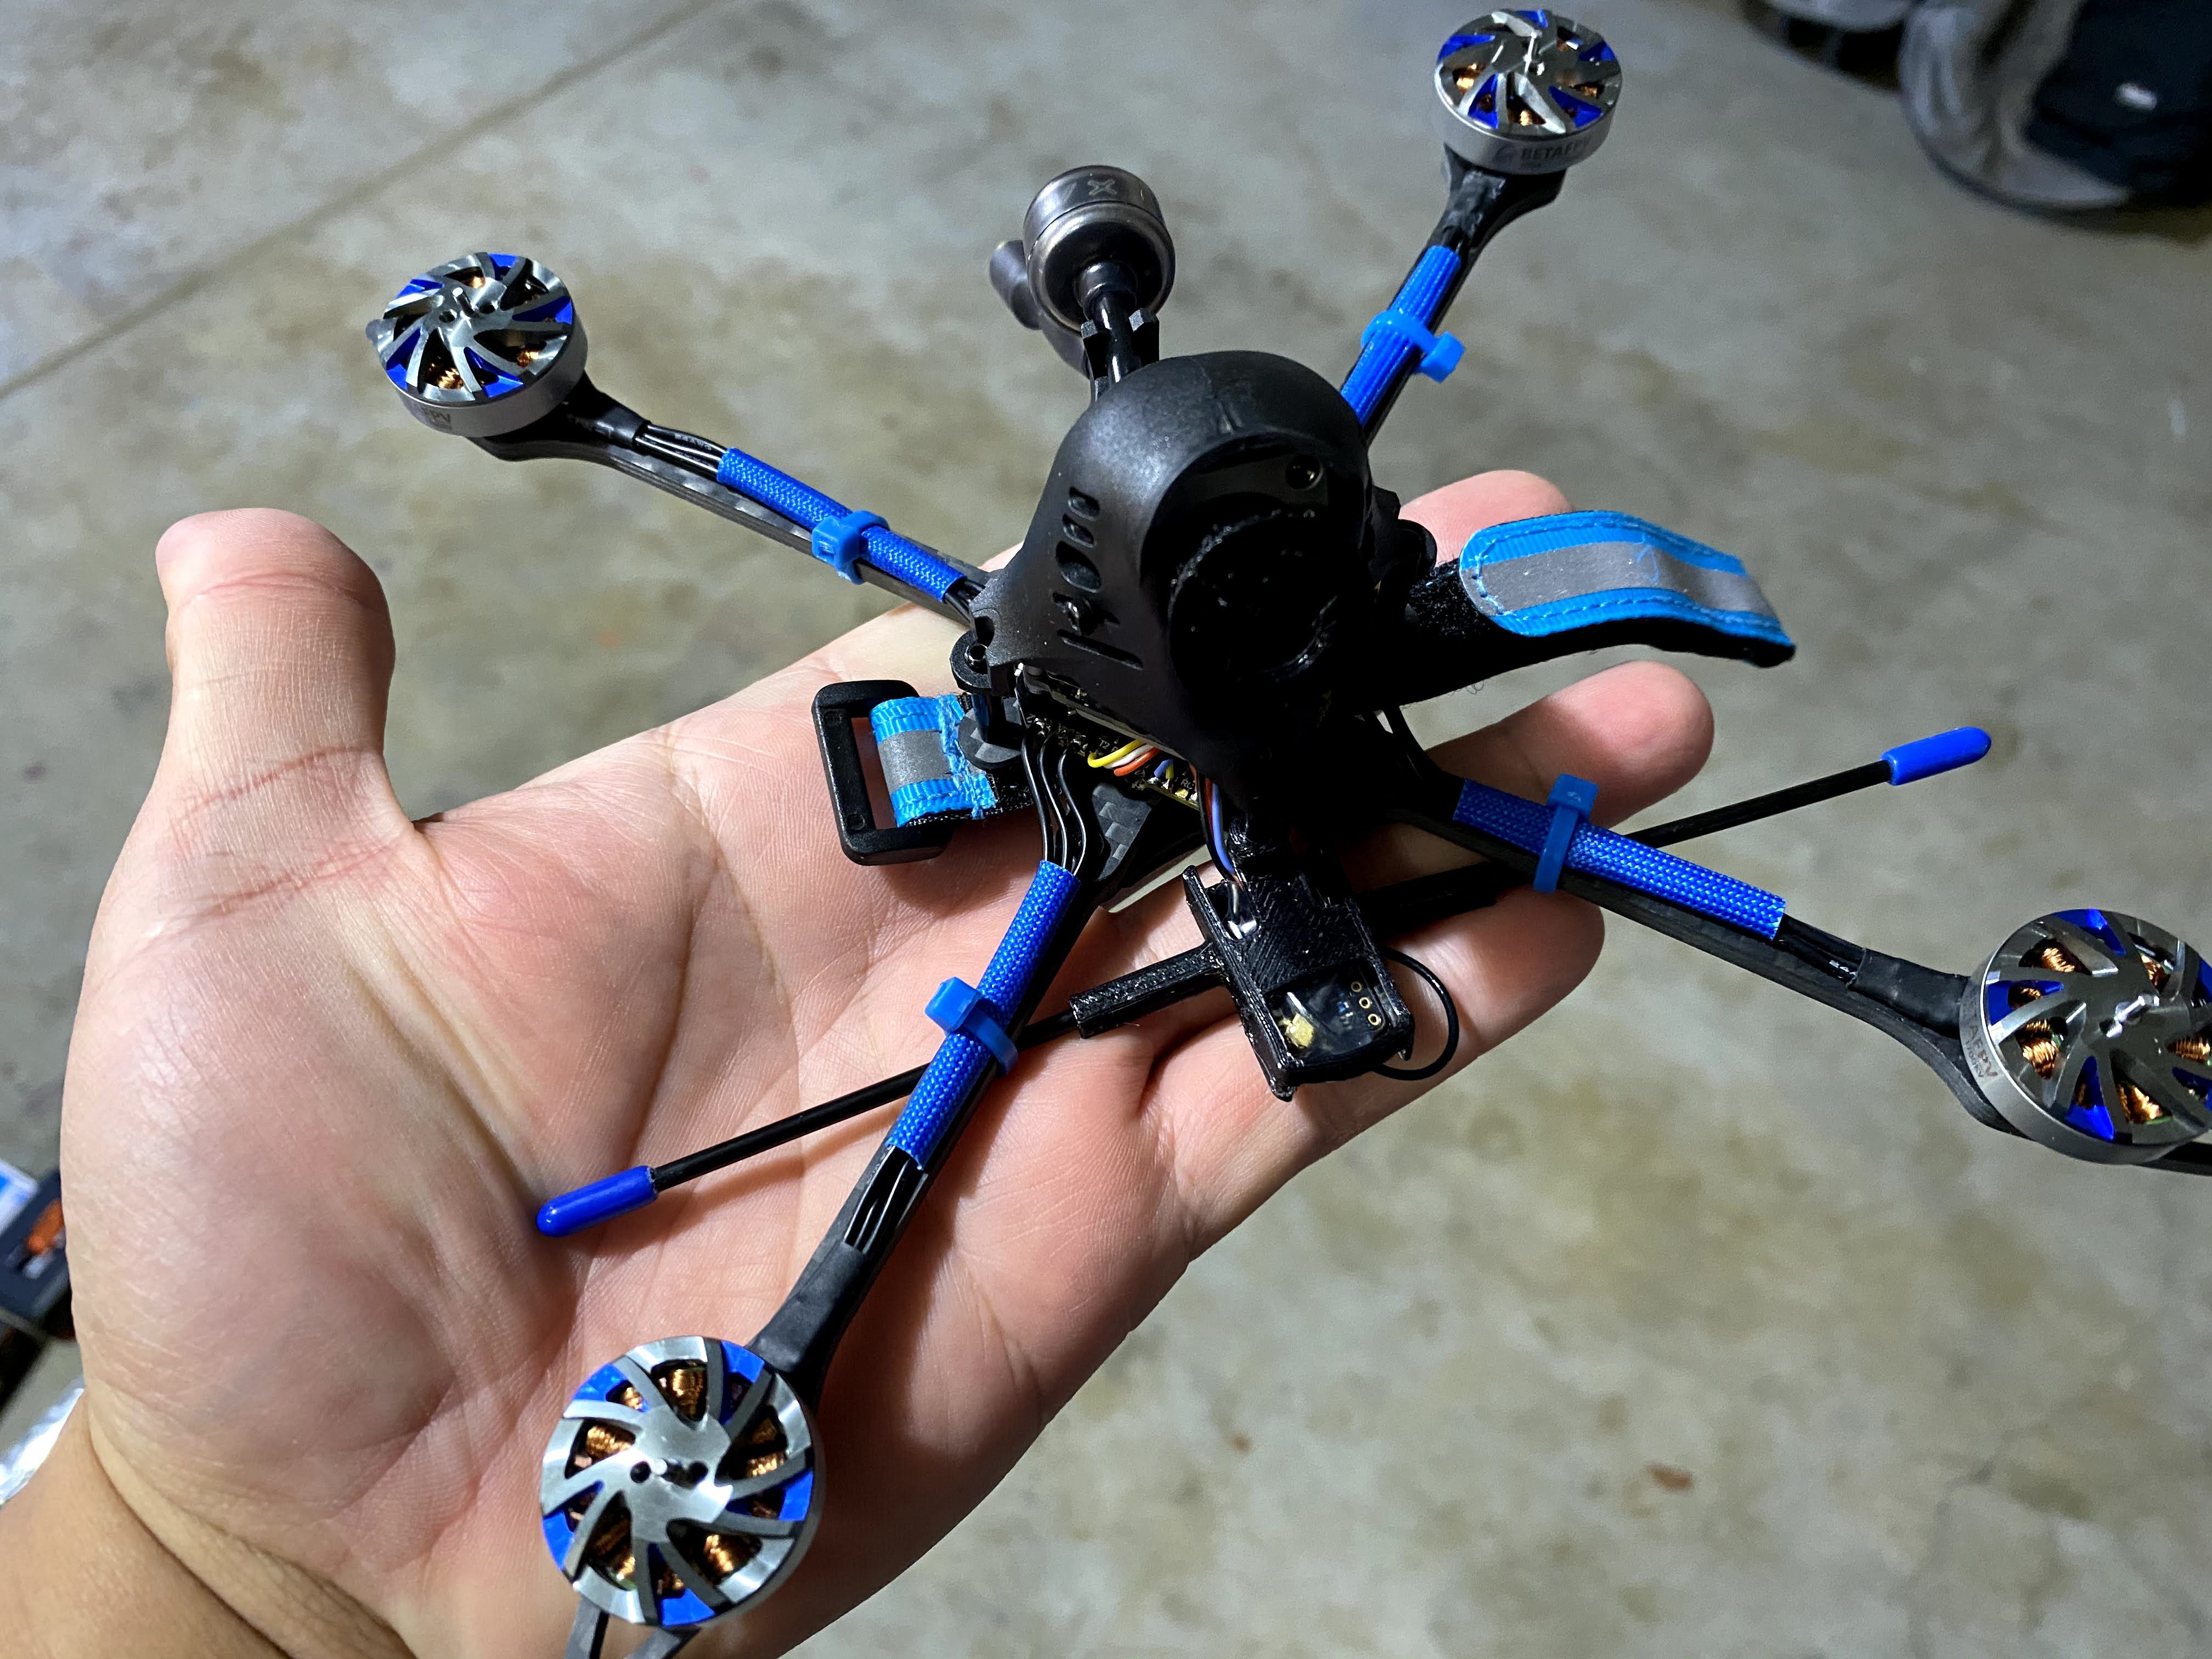
I am a sucker for trying new stuff, and this is the new toy arrived in the mail today. I did not build this quad, but I thought this might be good information about the modification I am about to do. I ordered it directly from BetaFPV along with some lipos and other parts, so it was shipped to me internationally. I do not blame them for the slow shipping speeds, especially during the holiday and pandemic but the Quality Assurance of their product is a whole different story. Before I start telling you about QA issues, I must commend them for the quick customer service.
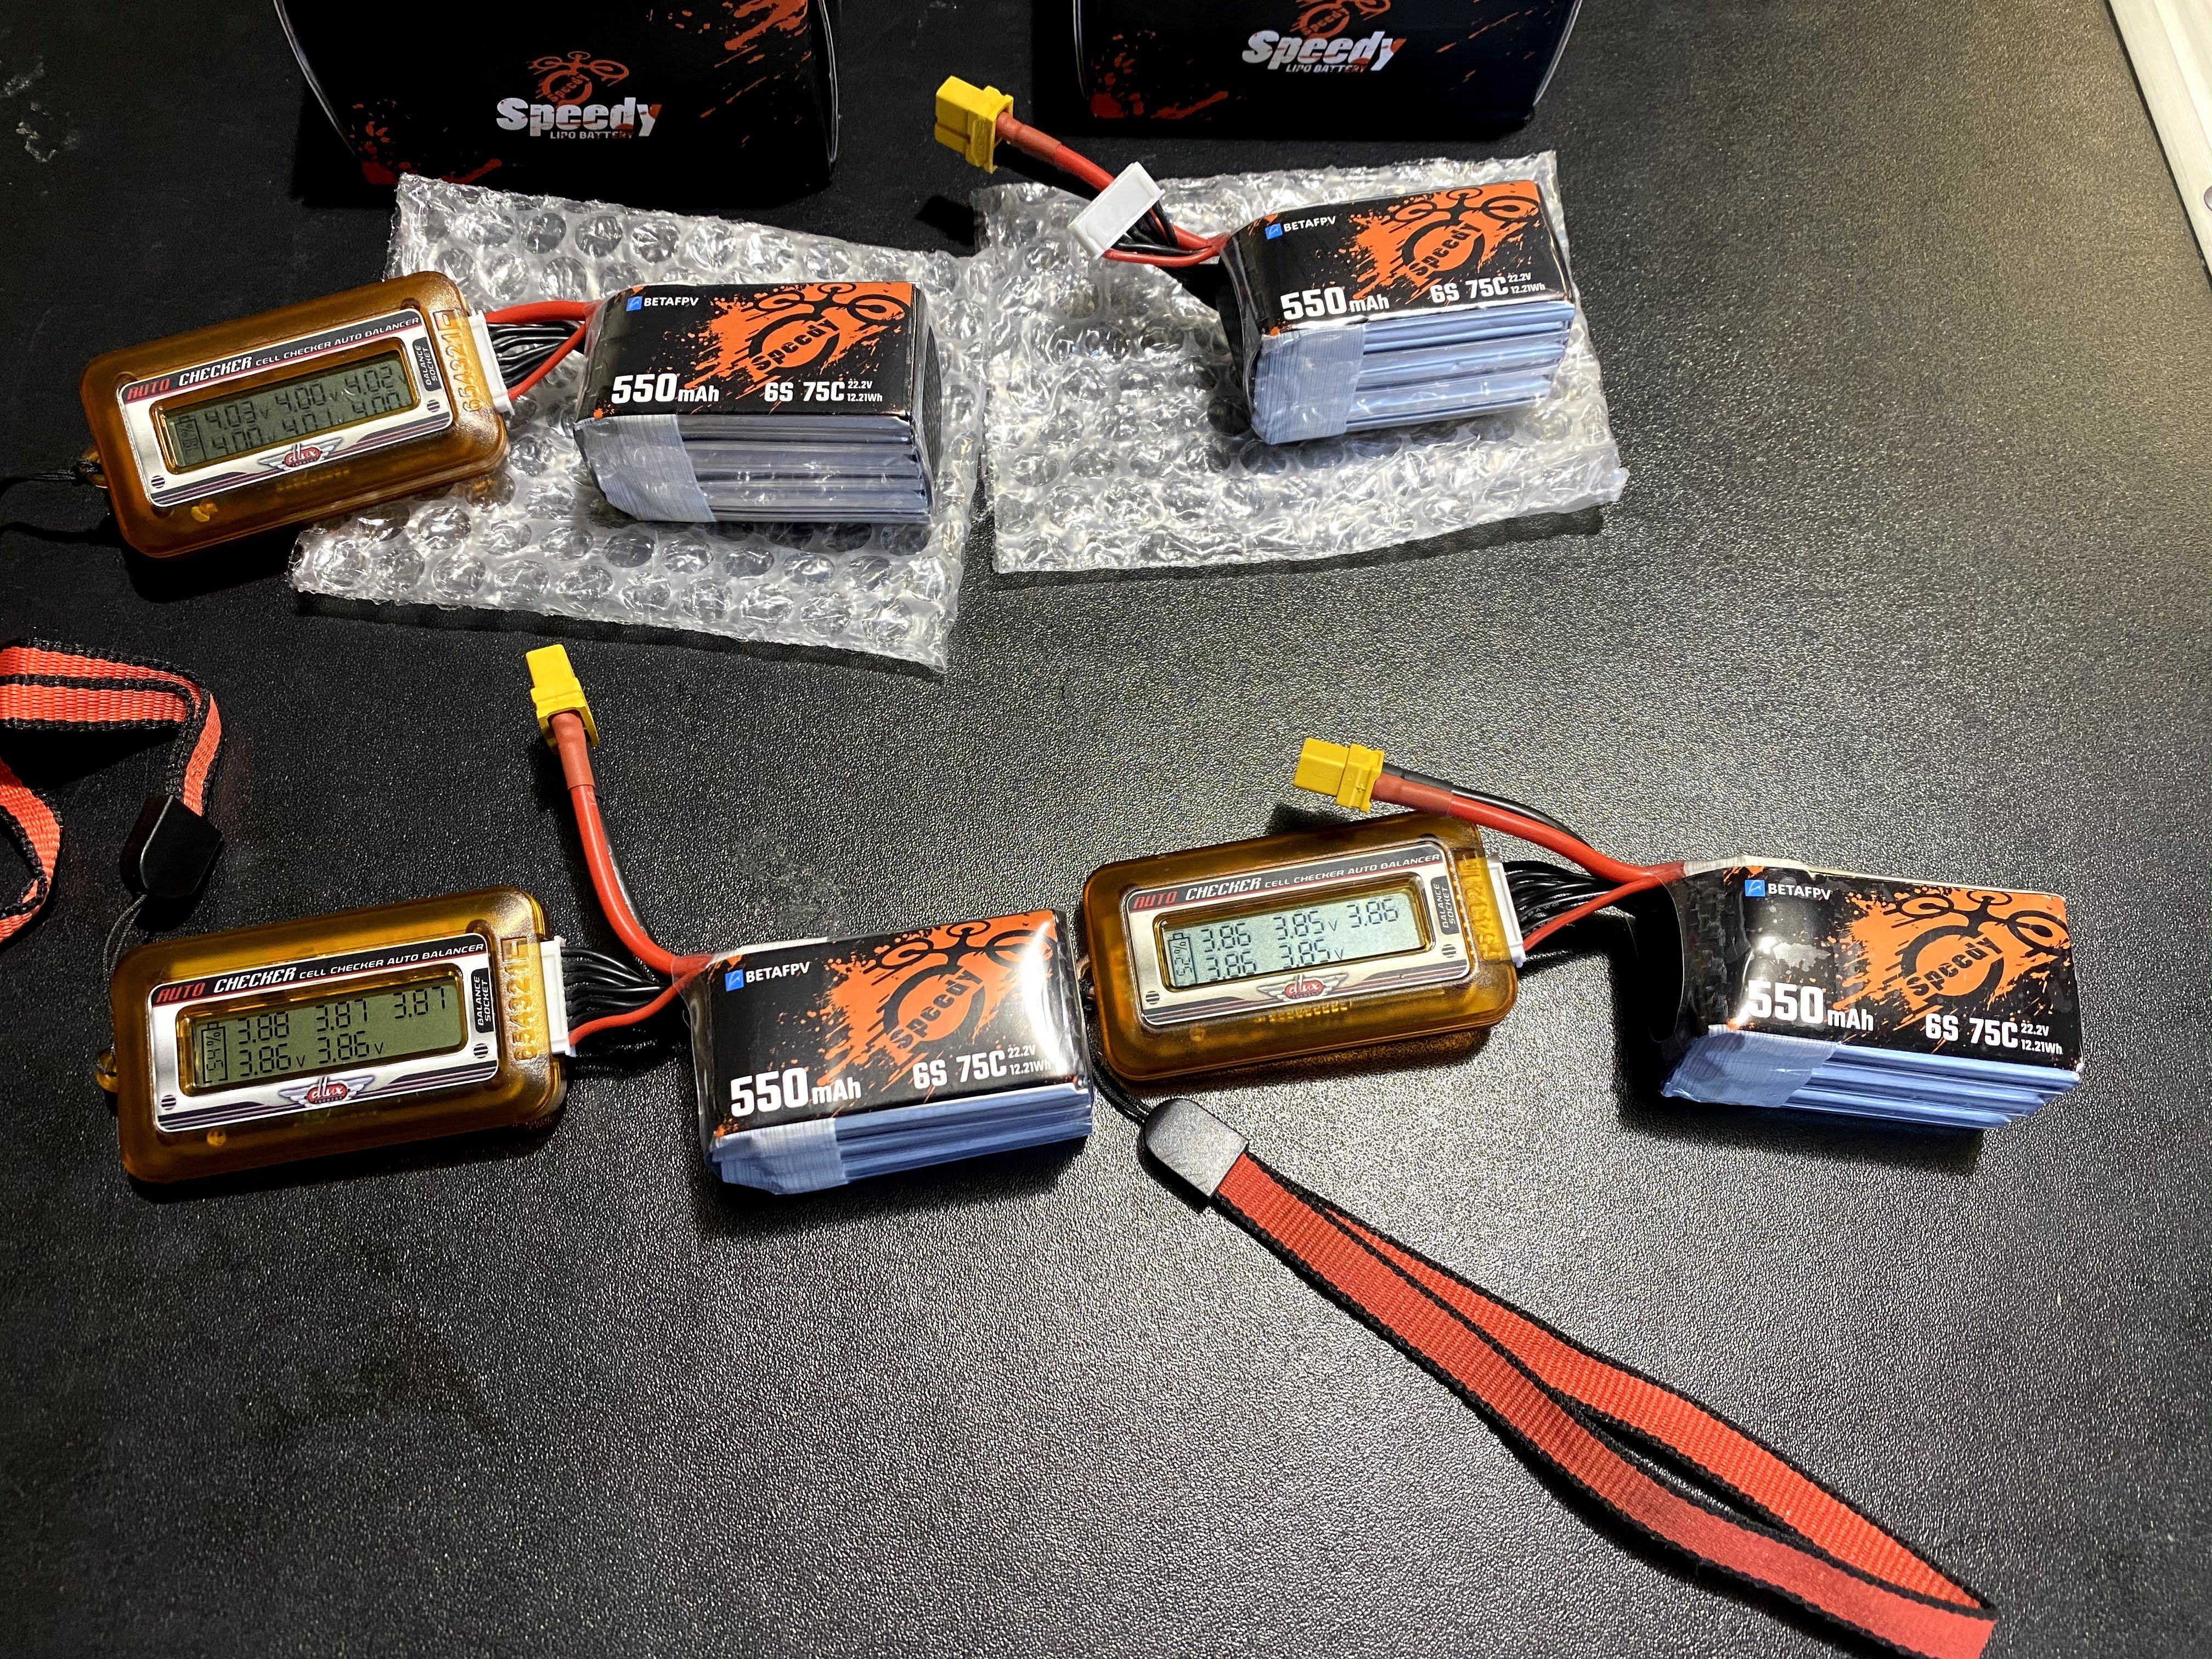
Problem #1: I ordered 2 set of 550mAh 6S 75C Lipo Battery (total of 4 lipos) and 2 of them had a dead cell. This is not my first time receiving a Lipo with a dead cell and I did the same thing that HeliNation asked me to do. I recorded a video plugging in the lipo to a charger showing that is has a dead cell and uploaded it to YouTube. Then I opened a trouble ticket with BetaFPV explaining the situation, attached a picture of the Lipo showing the dead cell with a battery checker and providing them a link to the YouTube video. Within 2 messages, they offered to send me a replacement.
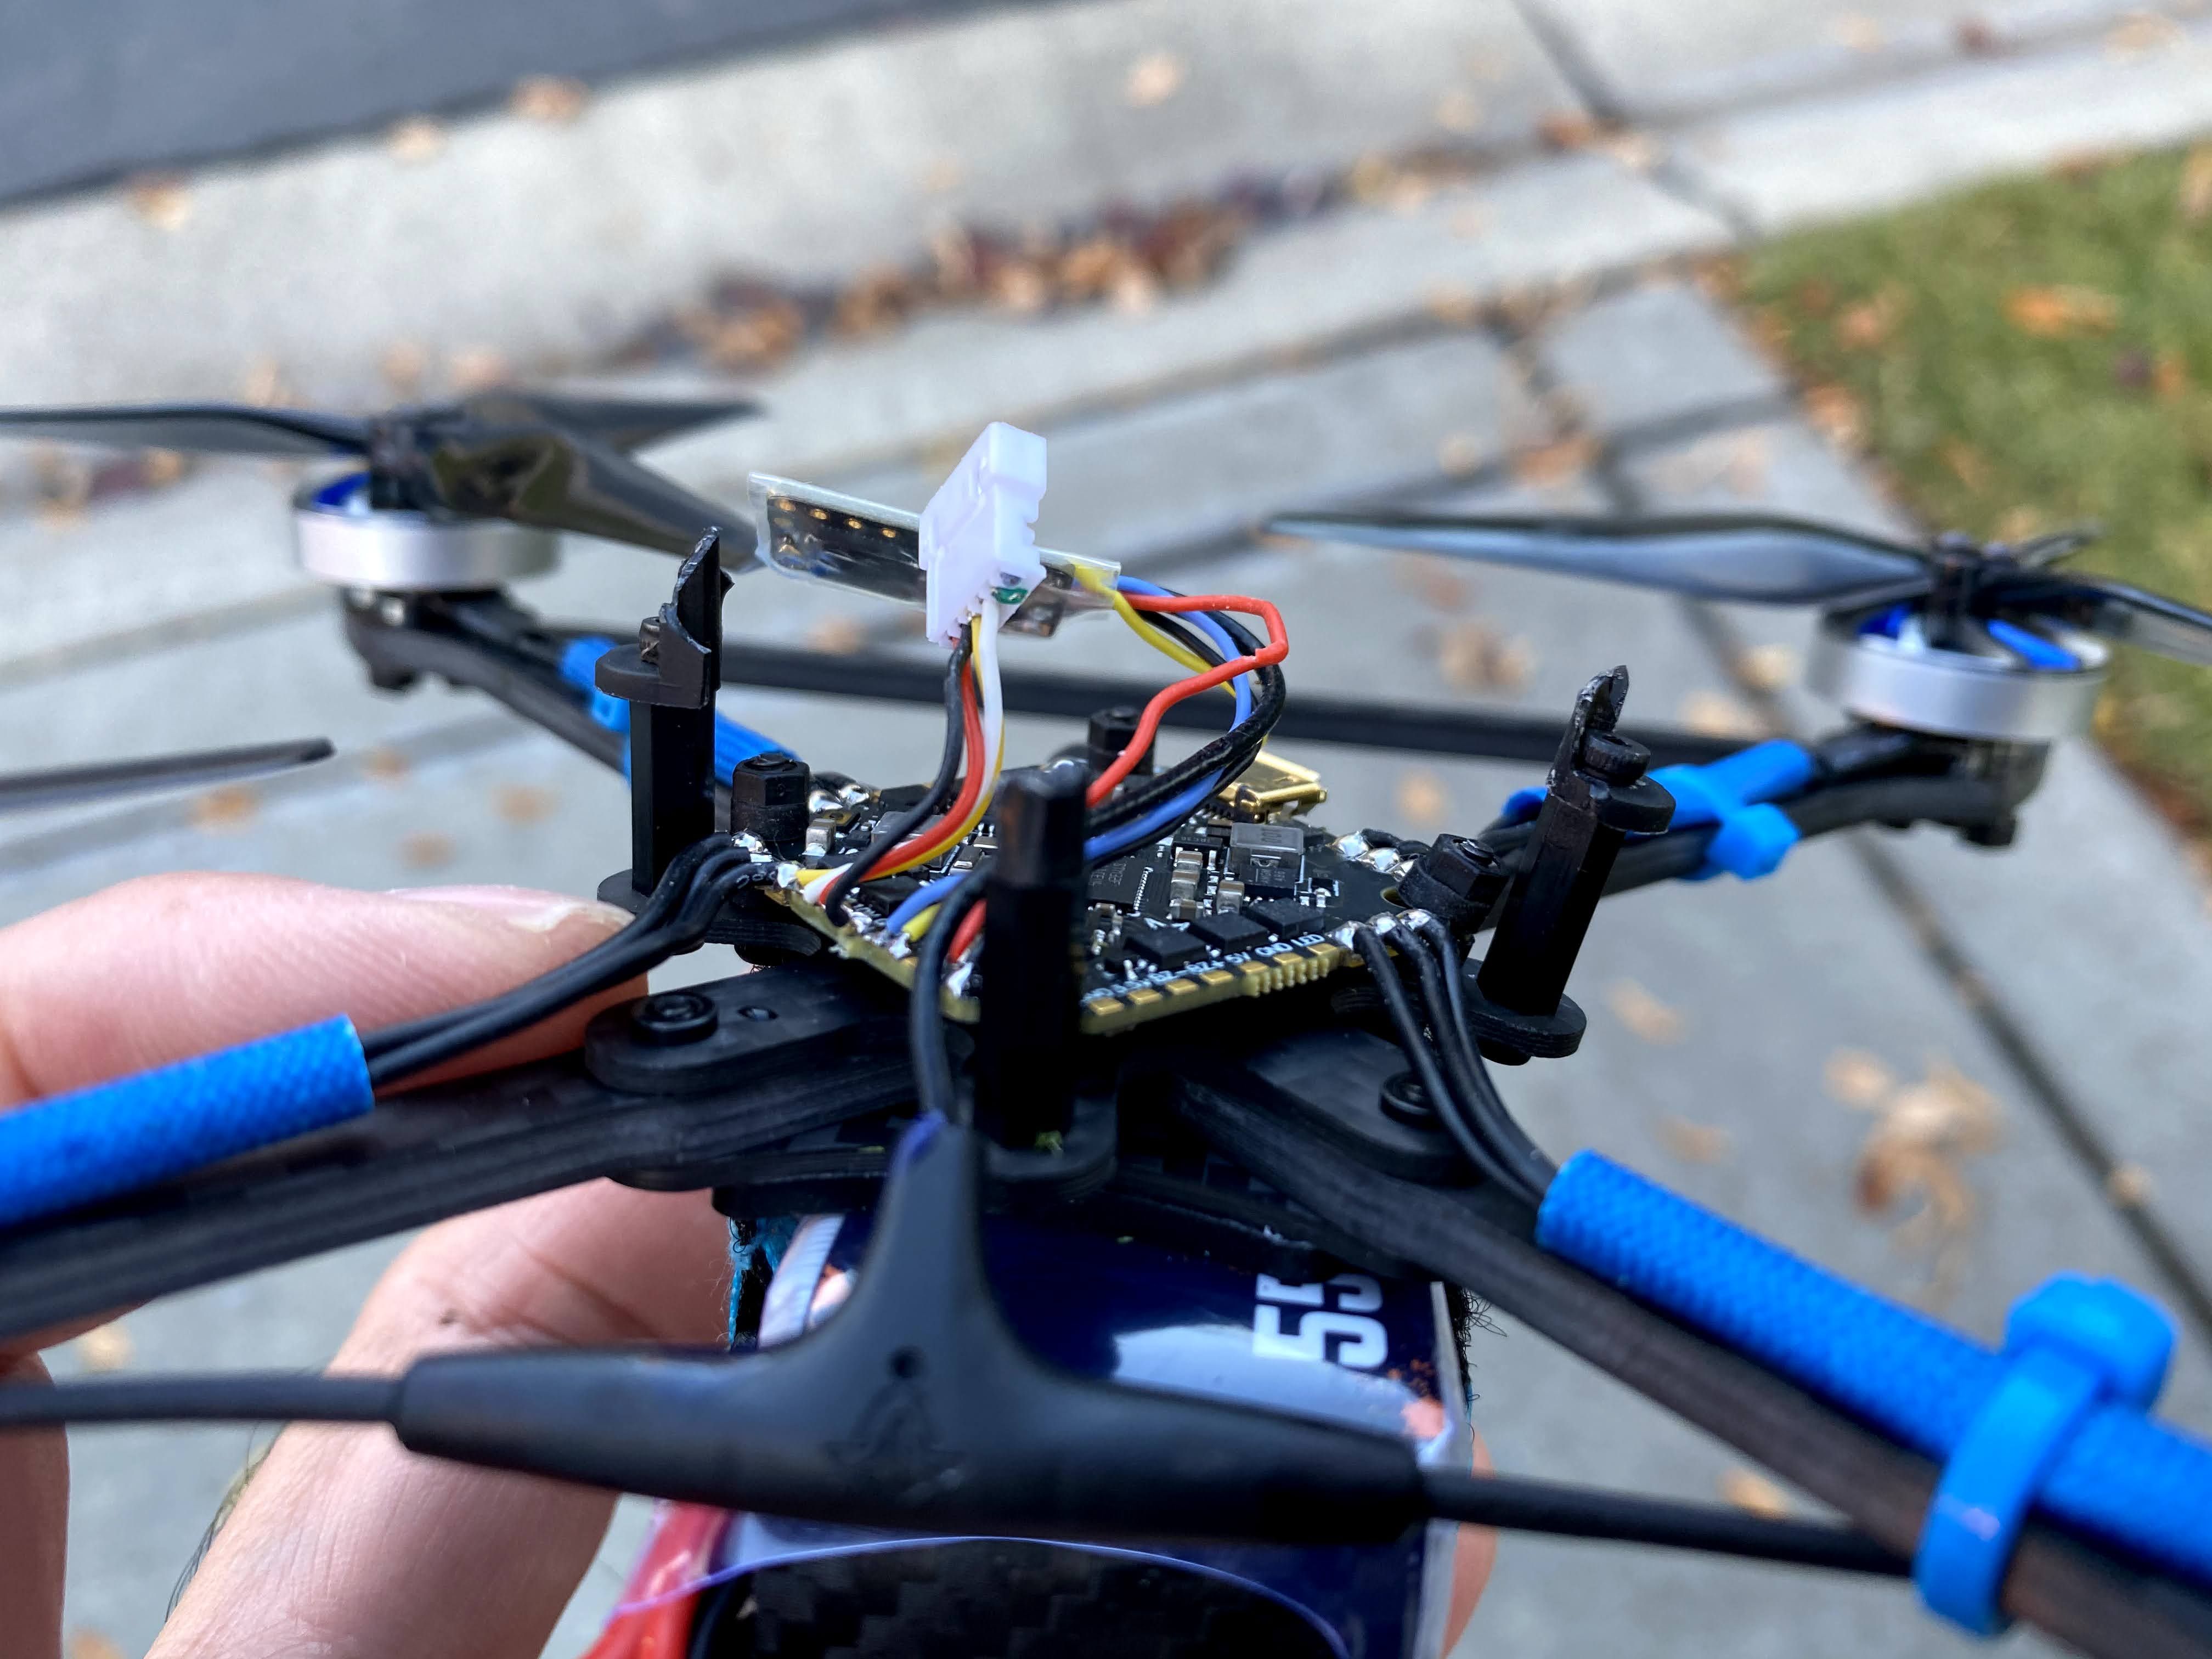
Problem #2: The wiring harness for the Caddx Vista had a pin that was not properly seated. It was not a difficult fix, but I would not have seen that issue if I did not do the mods. I took a close look at the wire harness and it seems fine. But when I try to plug it in the yellow wire always pushes out. I had to forcefully push it back it after I plugged in the harness. I did a continuity test afterwards to make sure it is plugged in correctly. I was able to fix the problem myself, so that is why I did not bother contacting BetaFPV about it.
Custom Mods
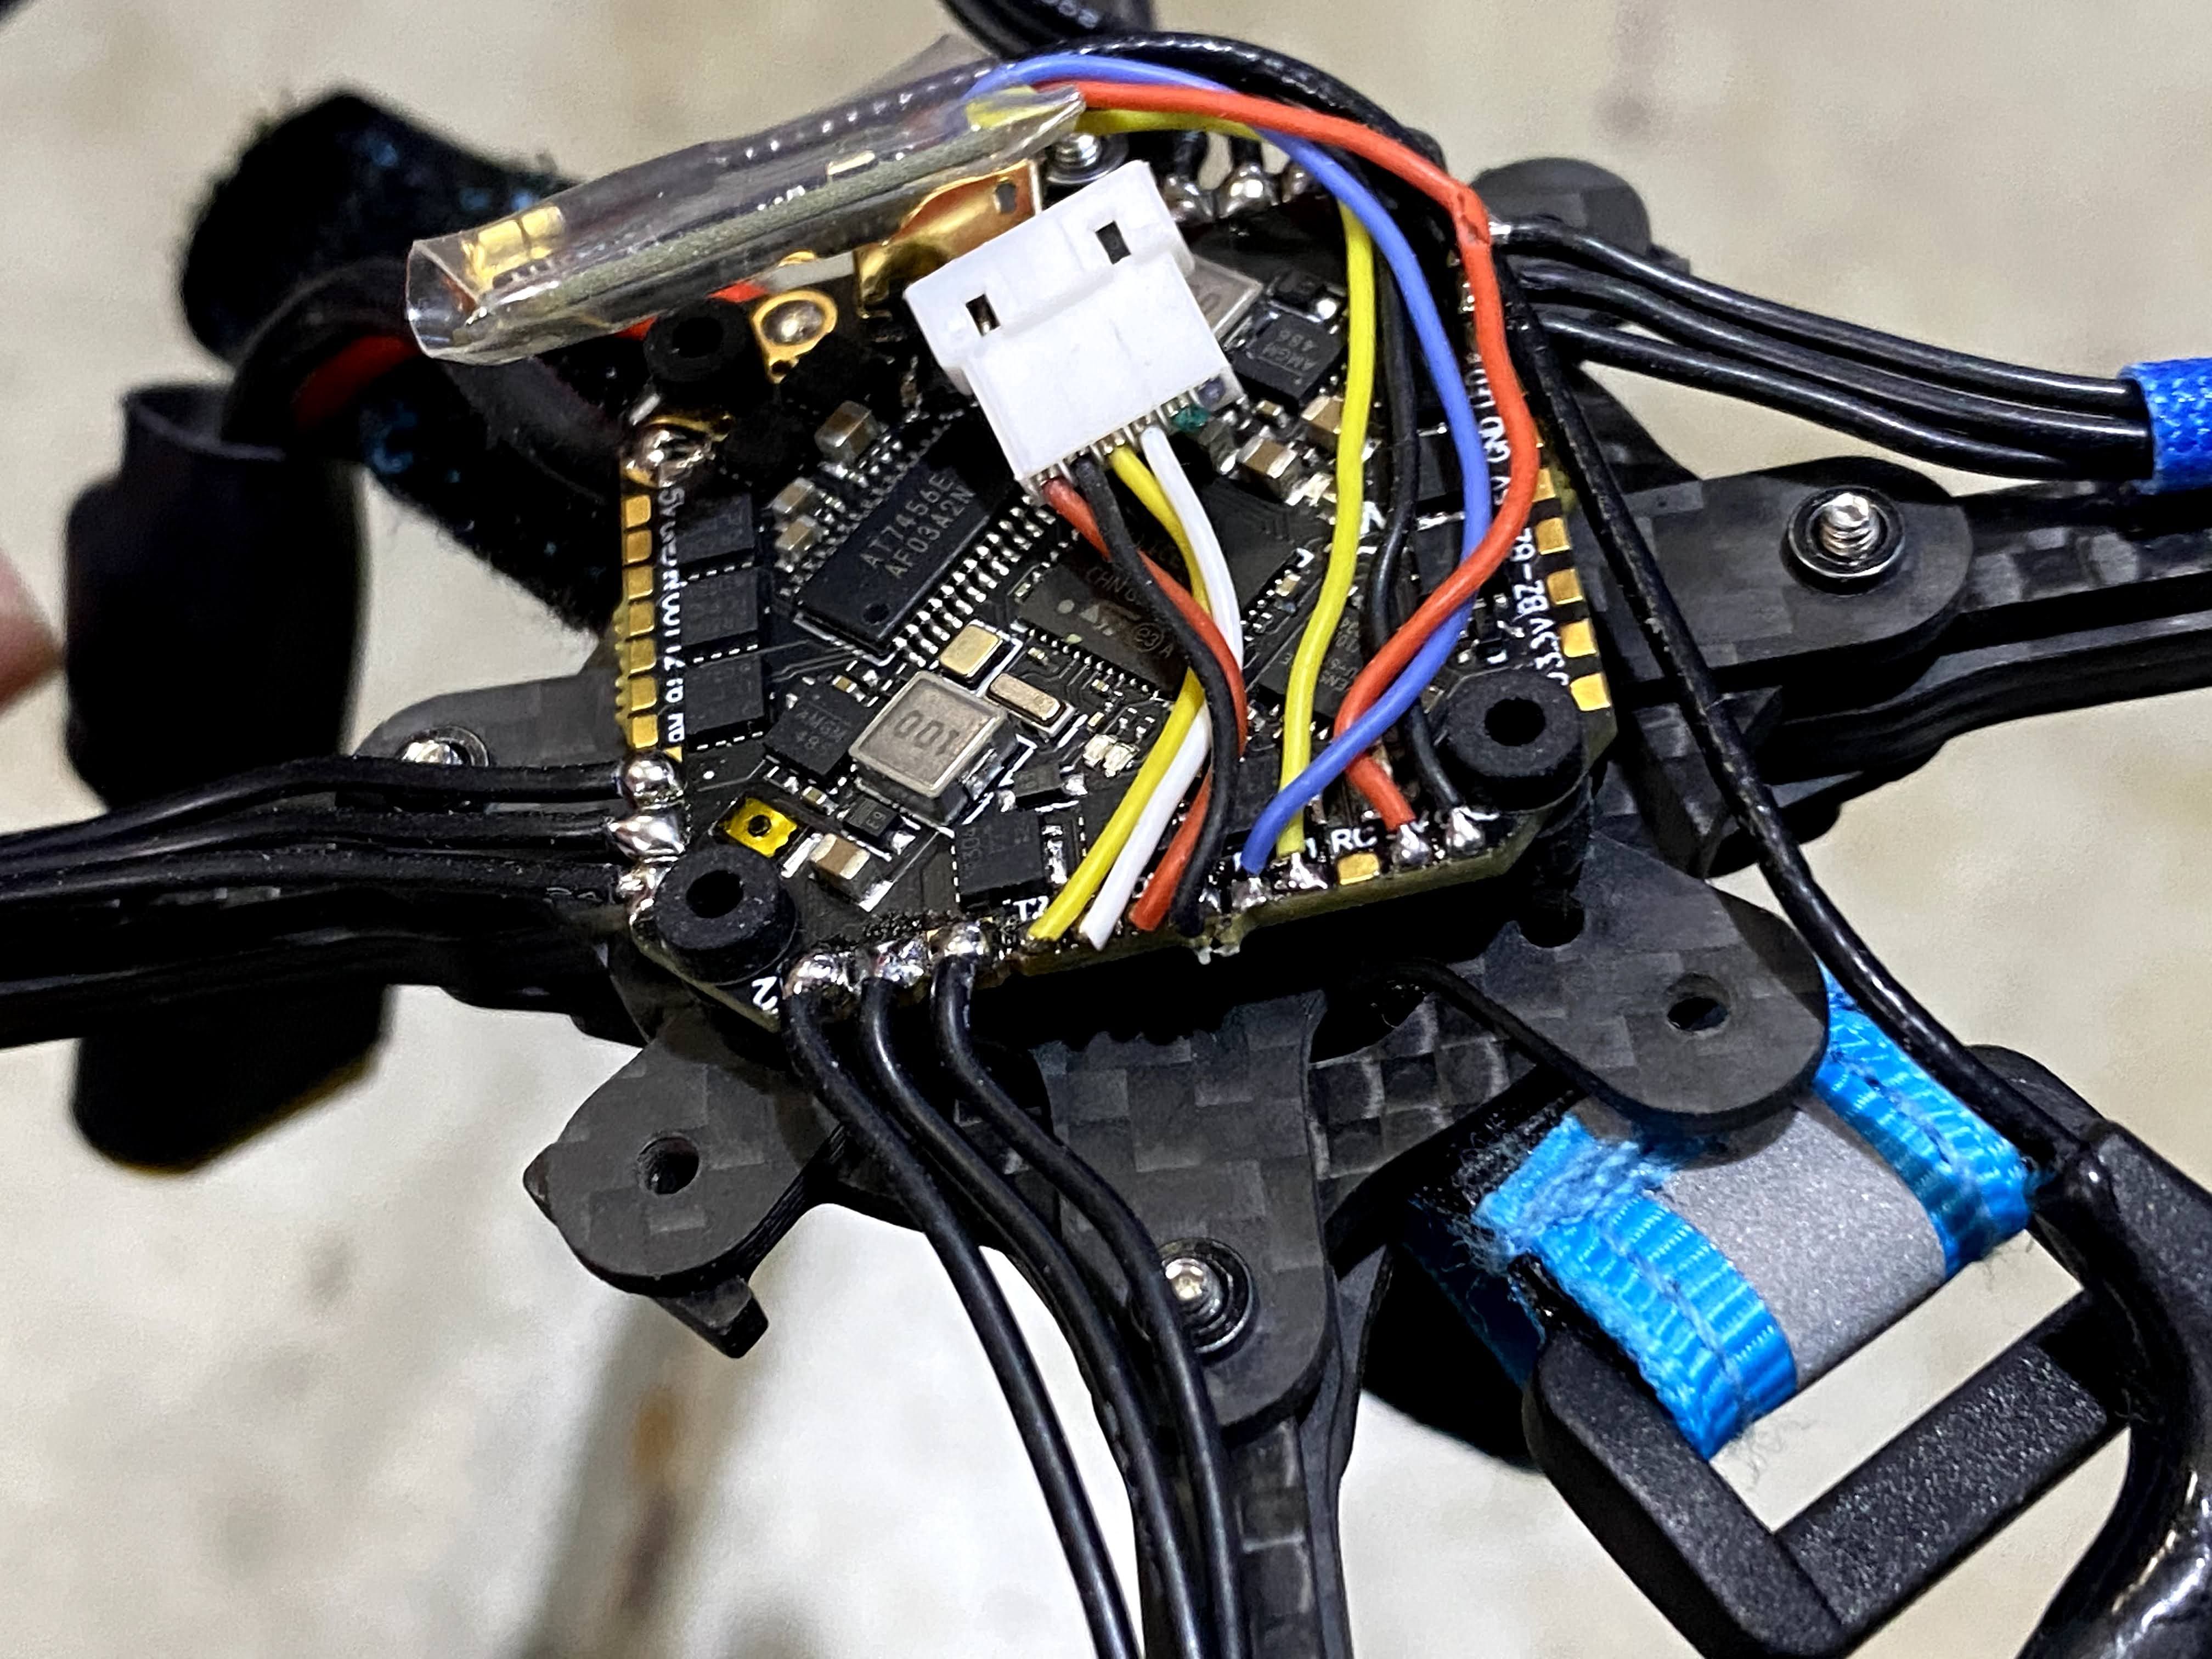
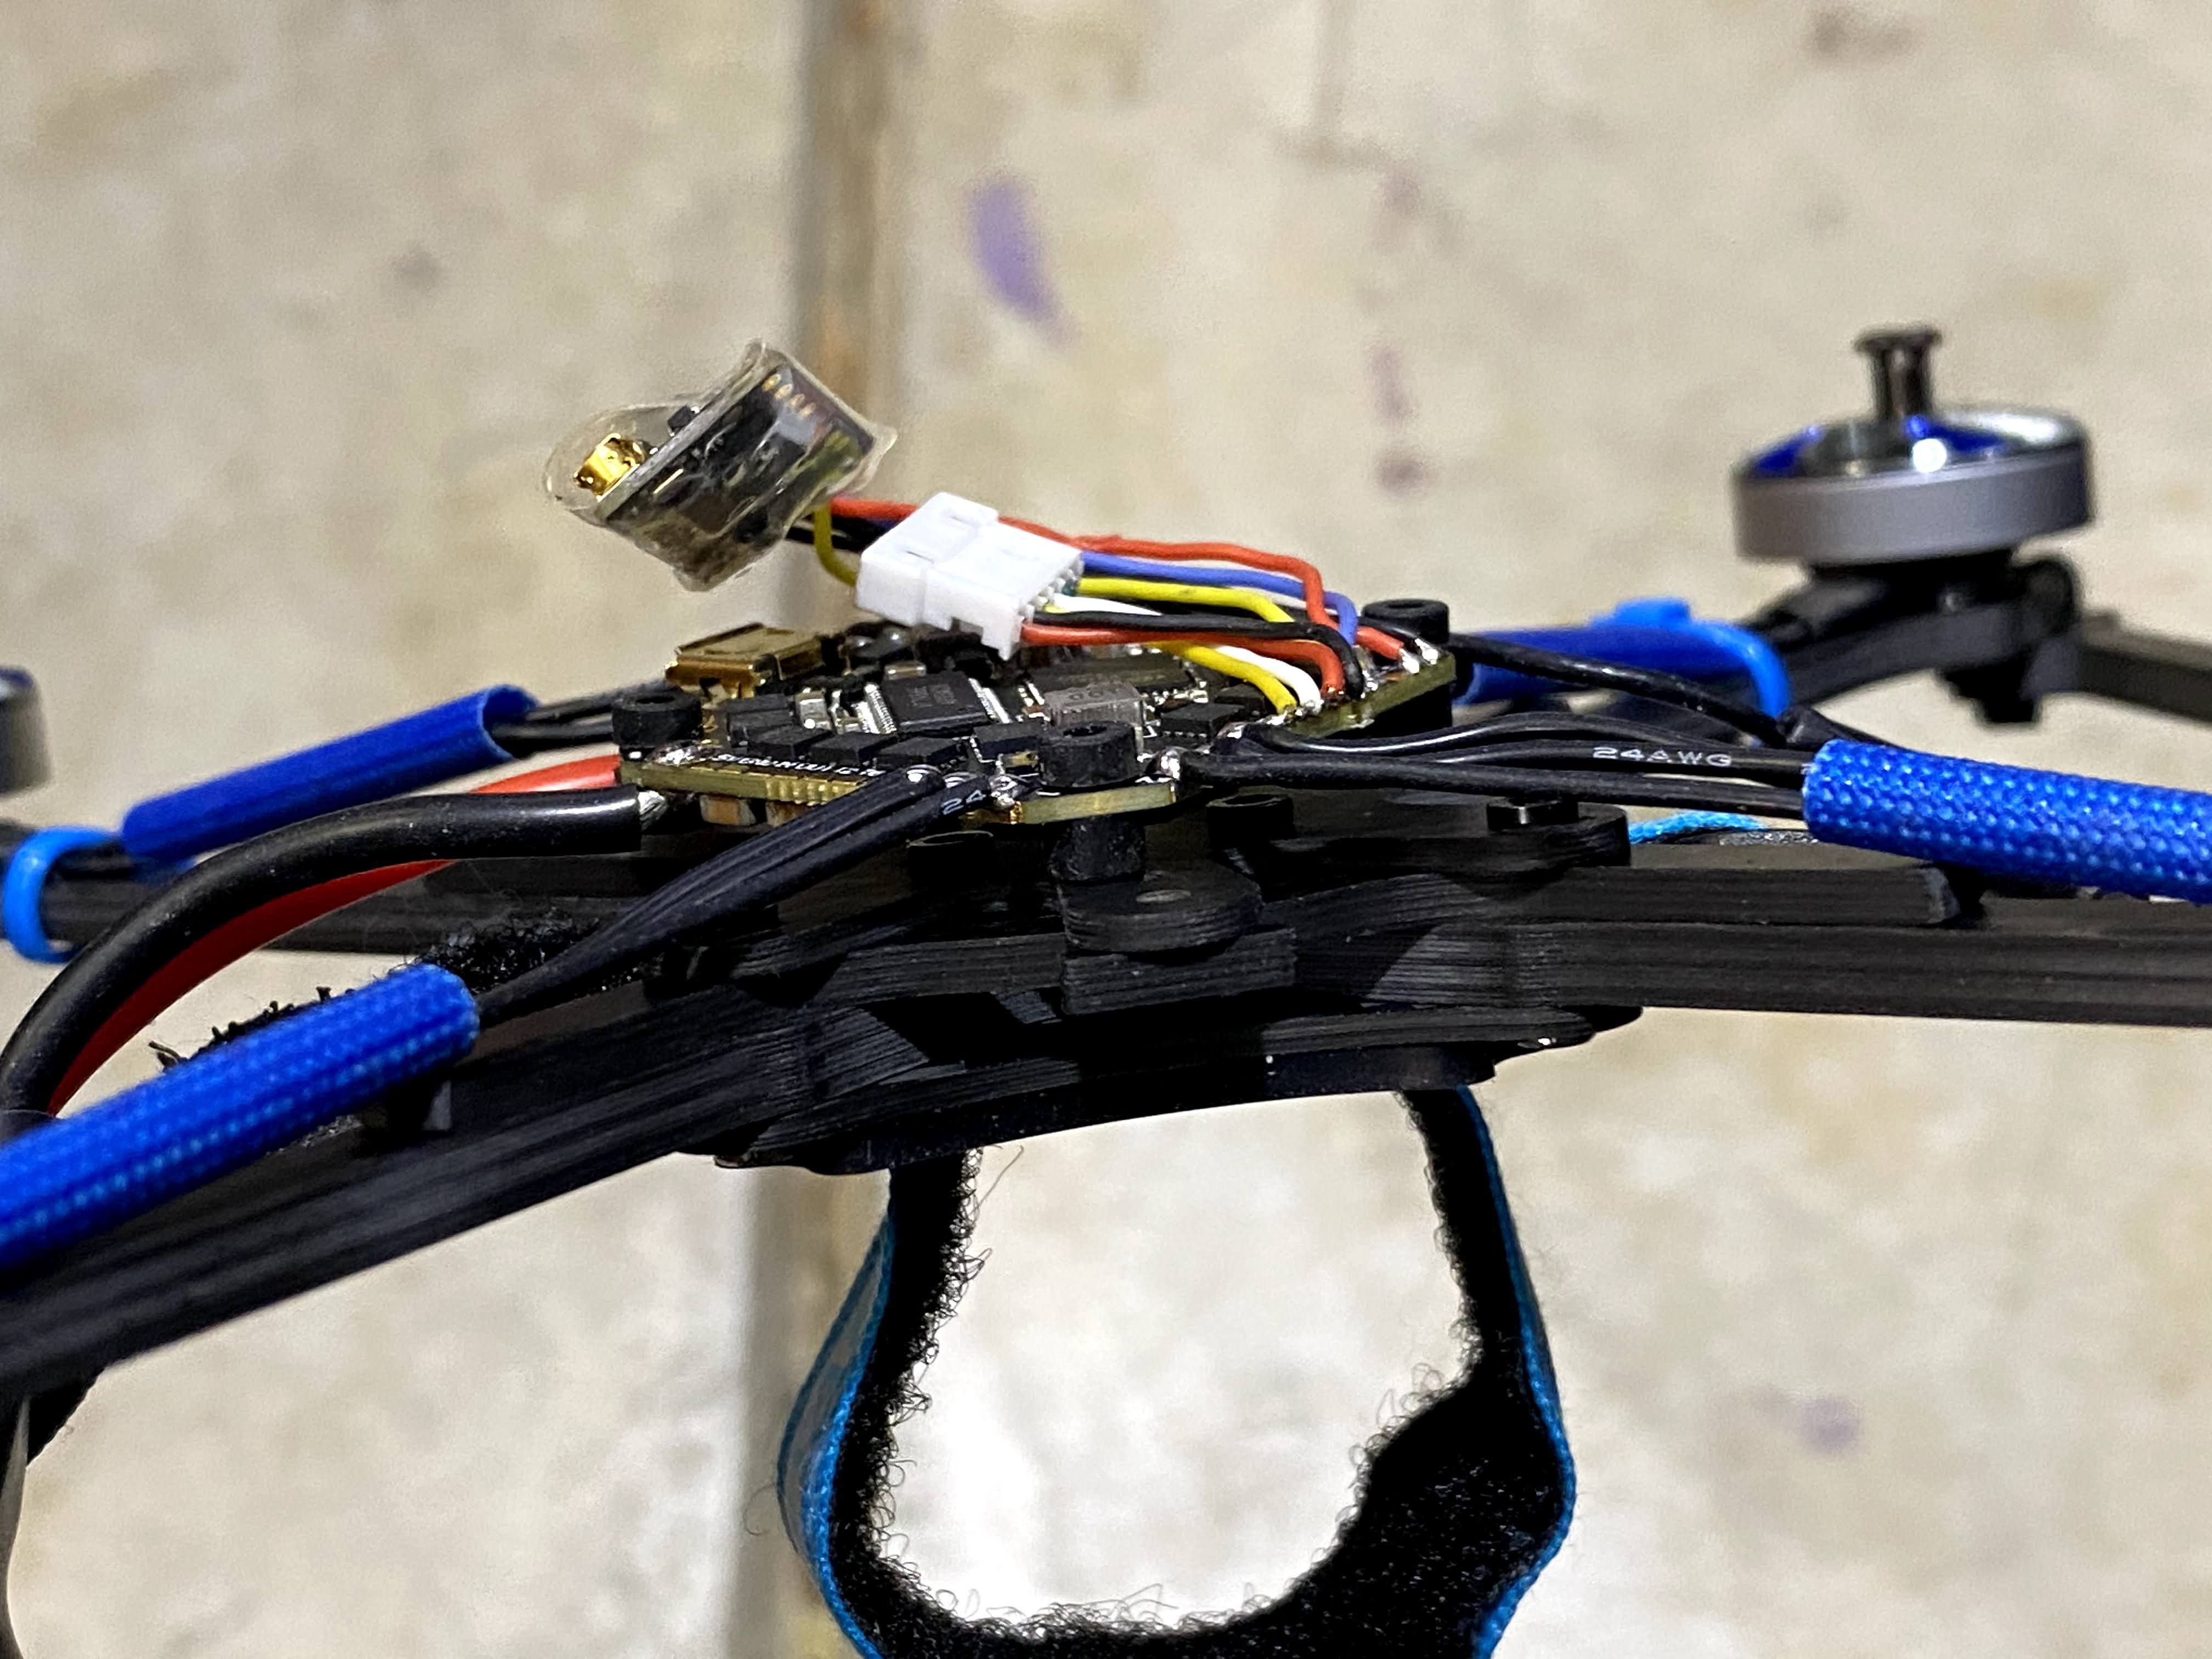
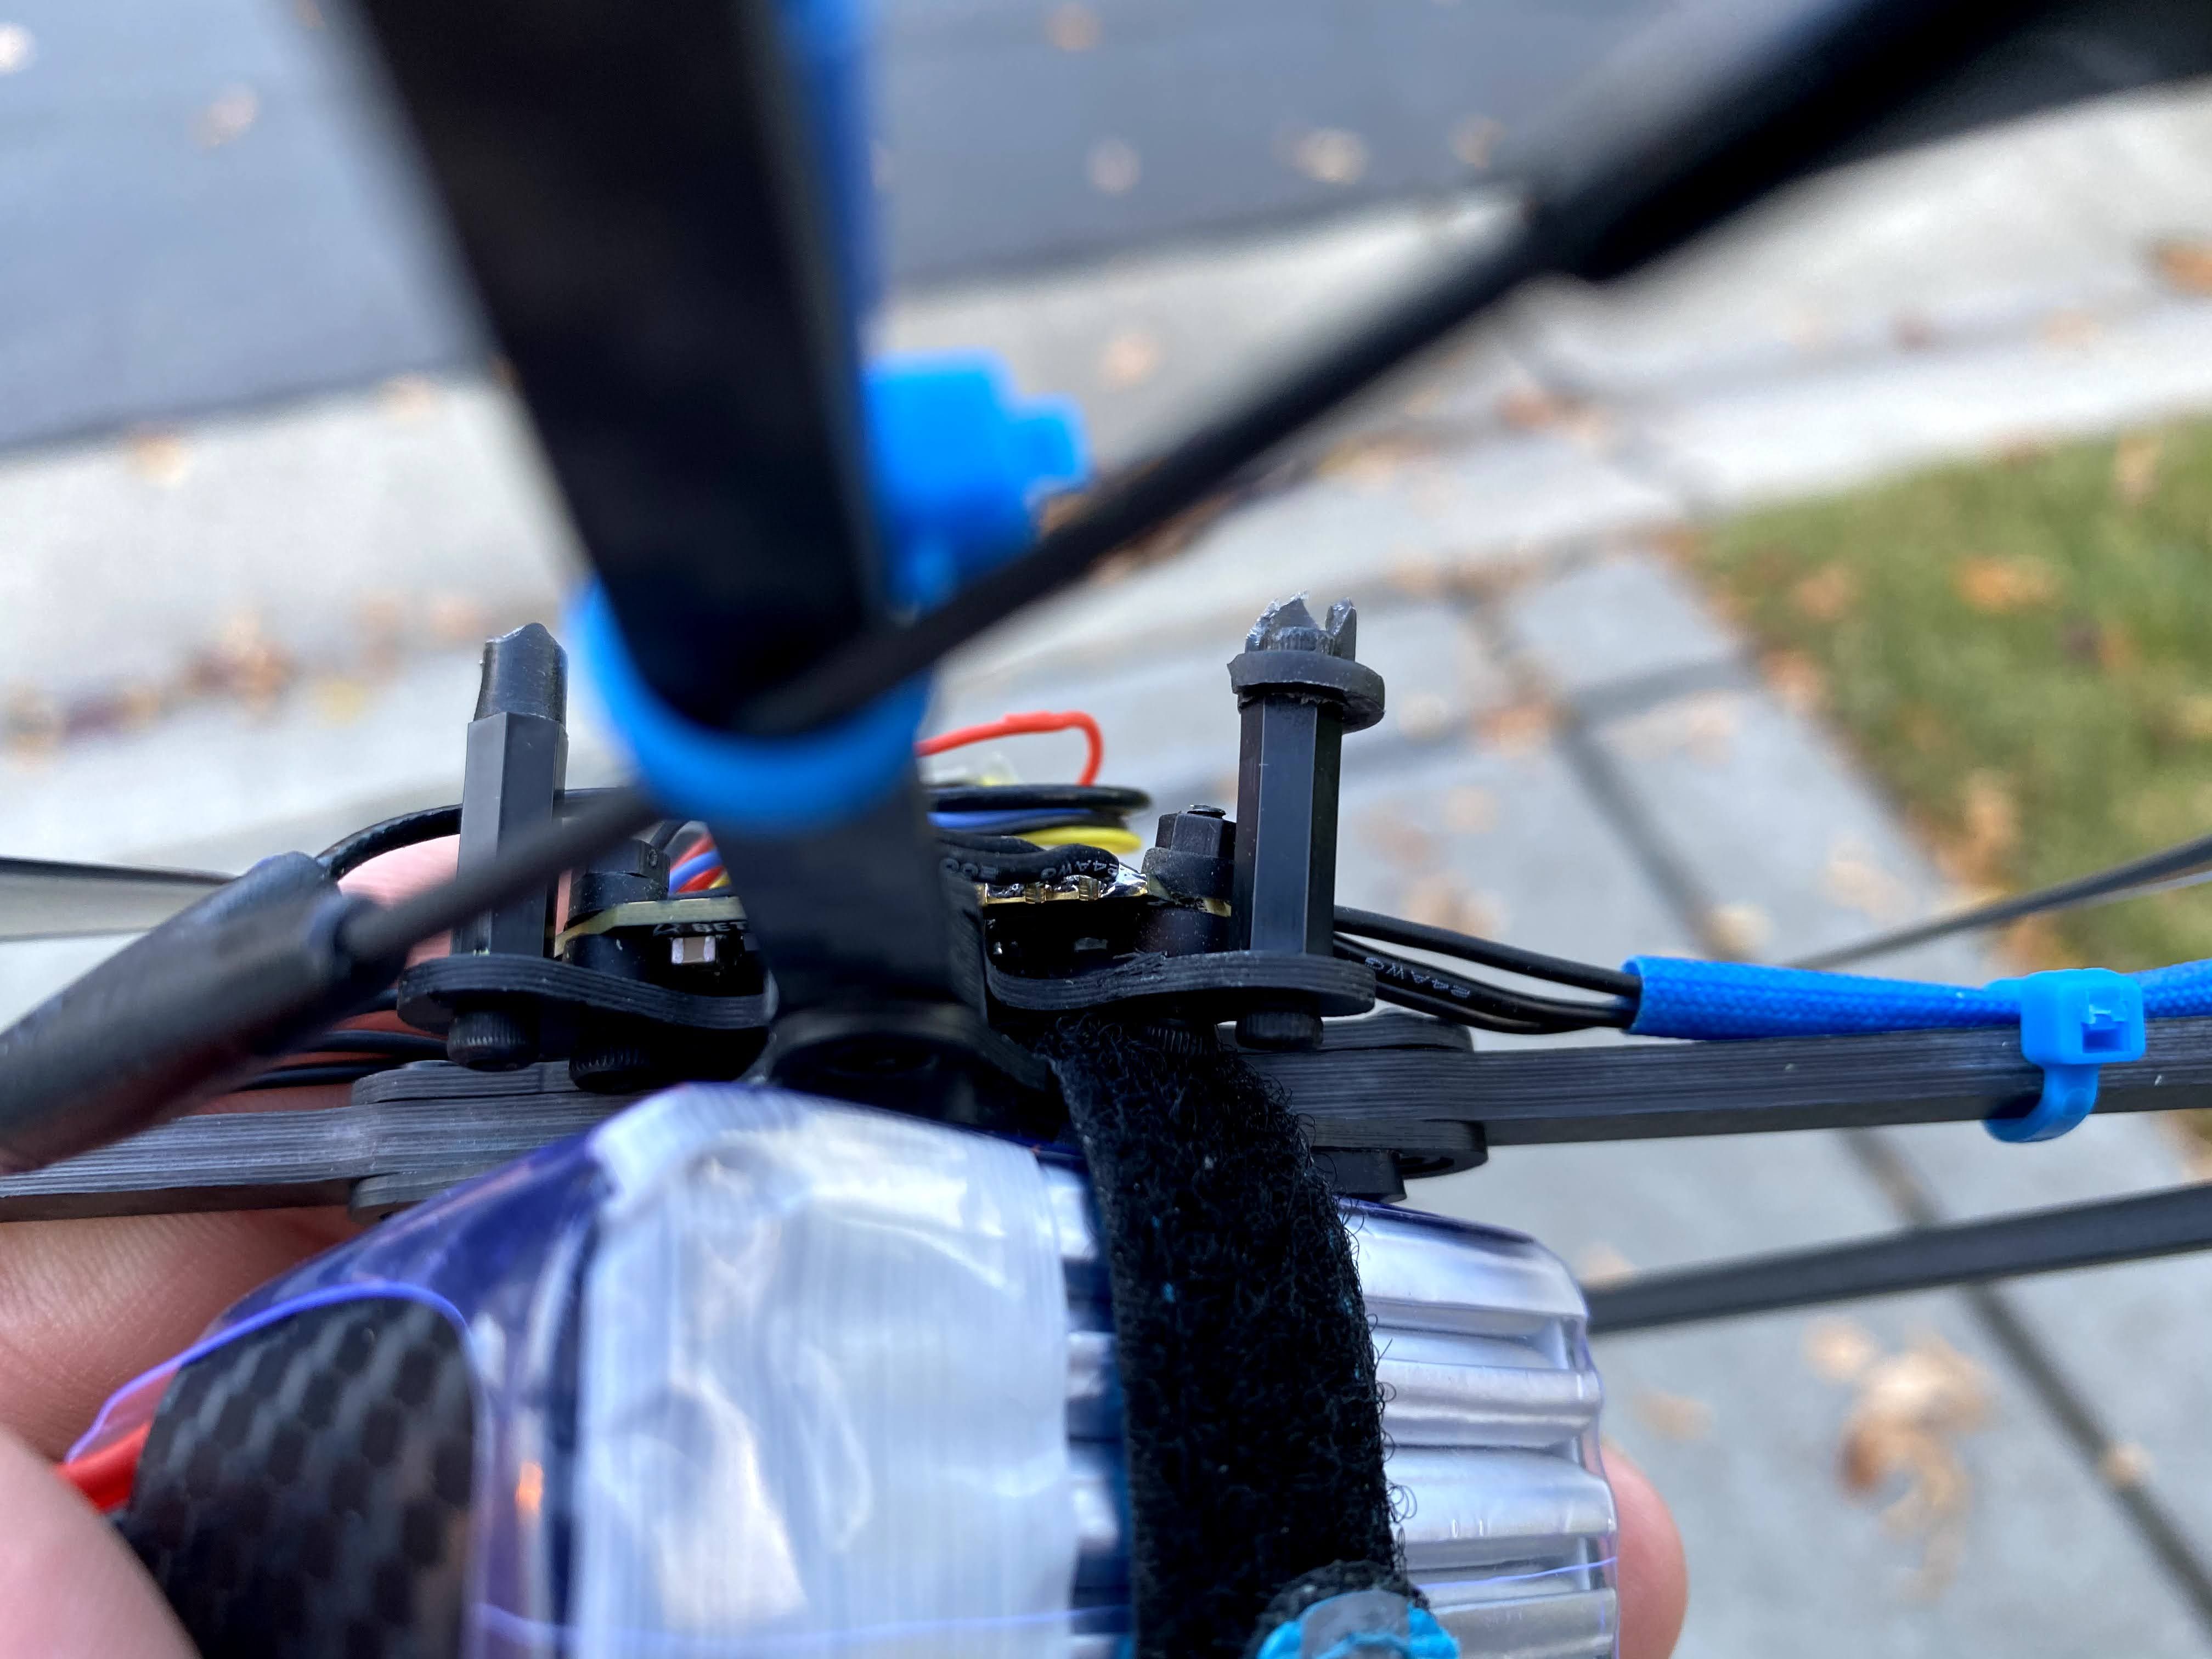
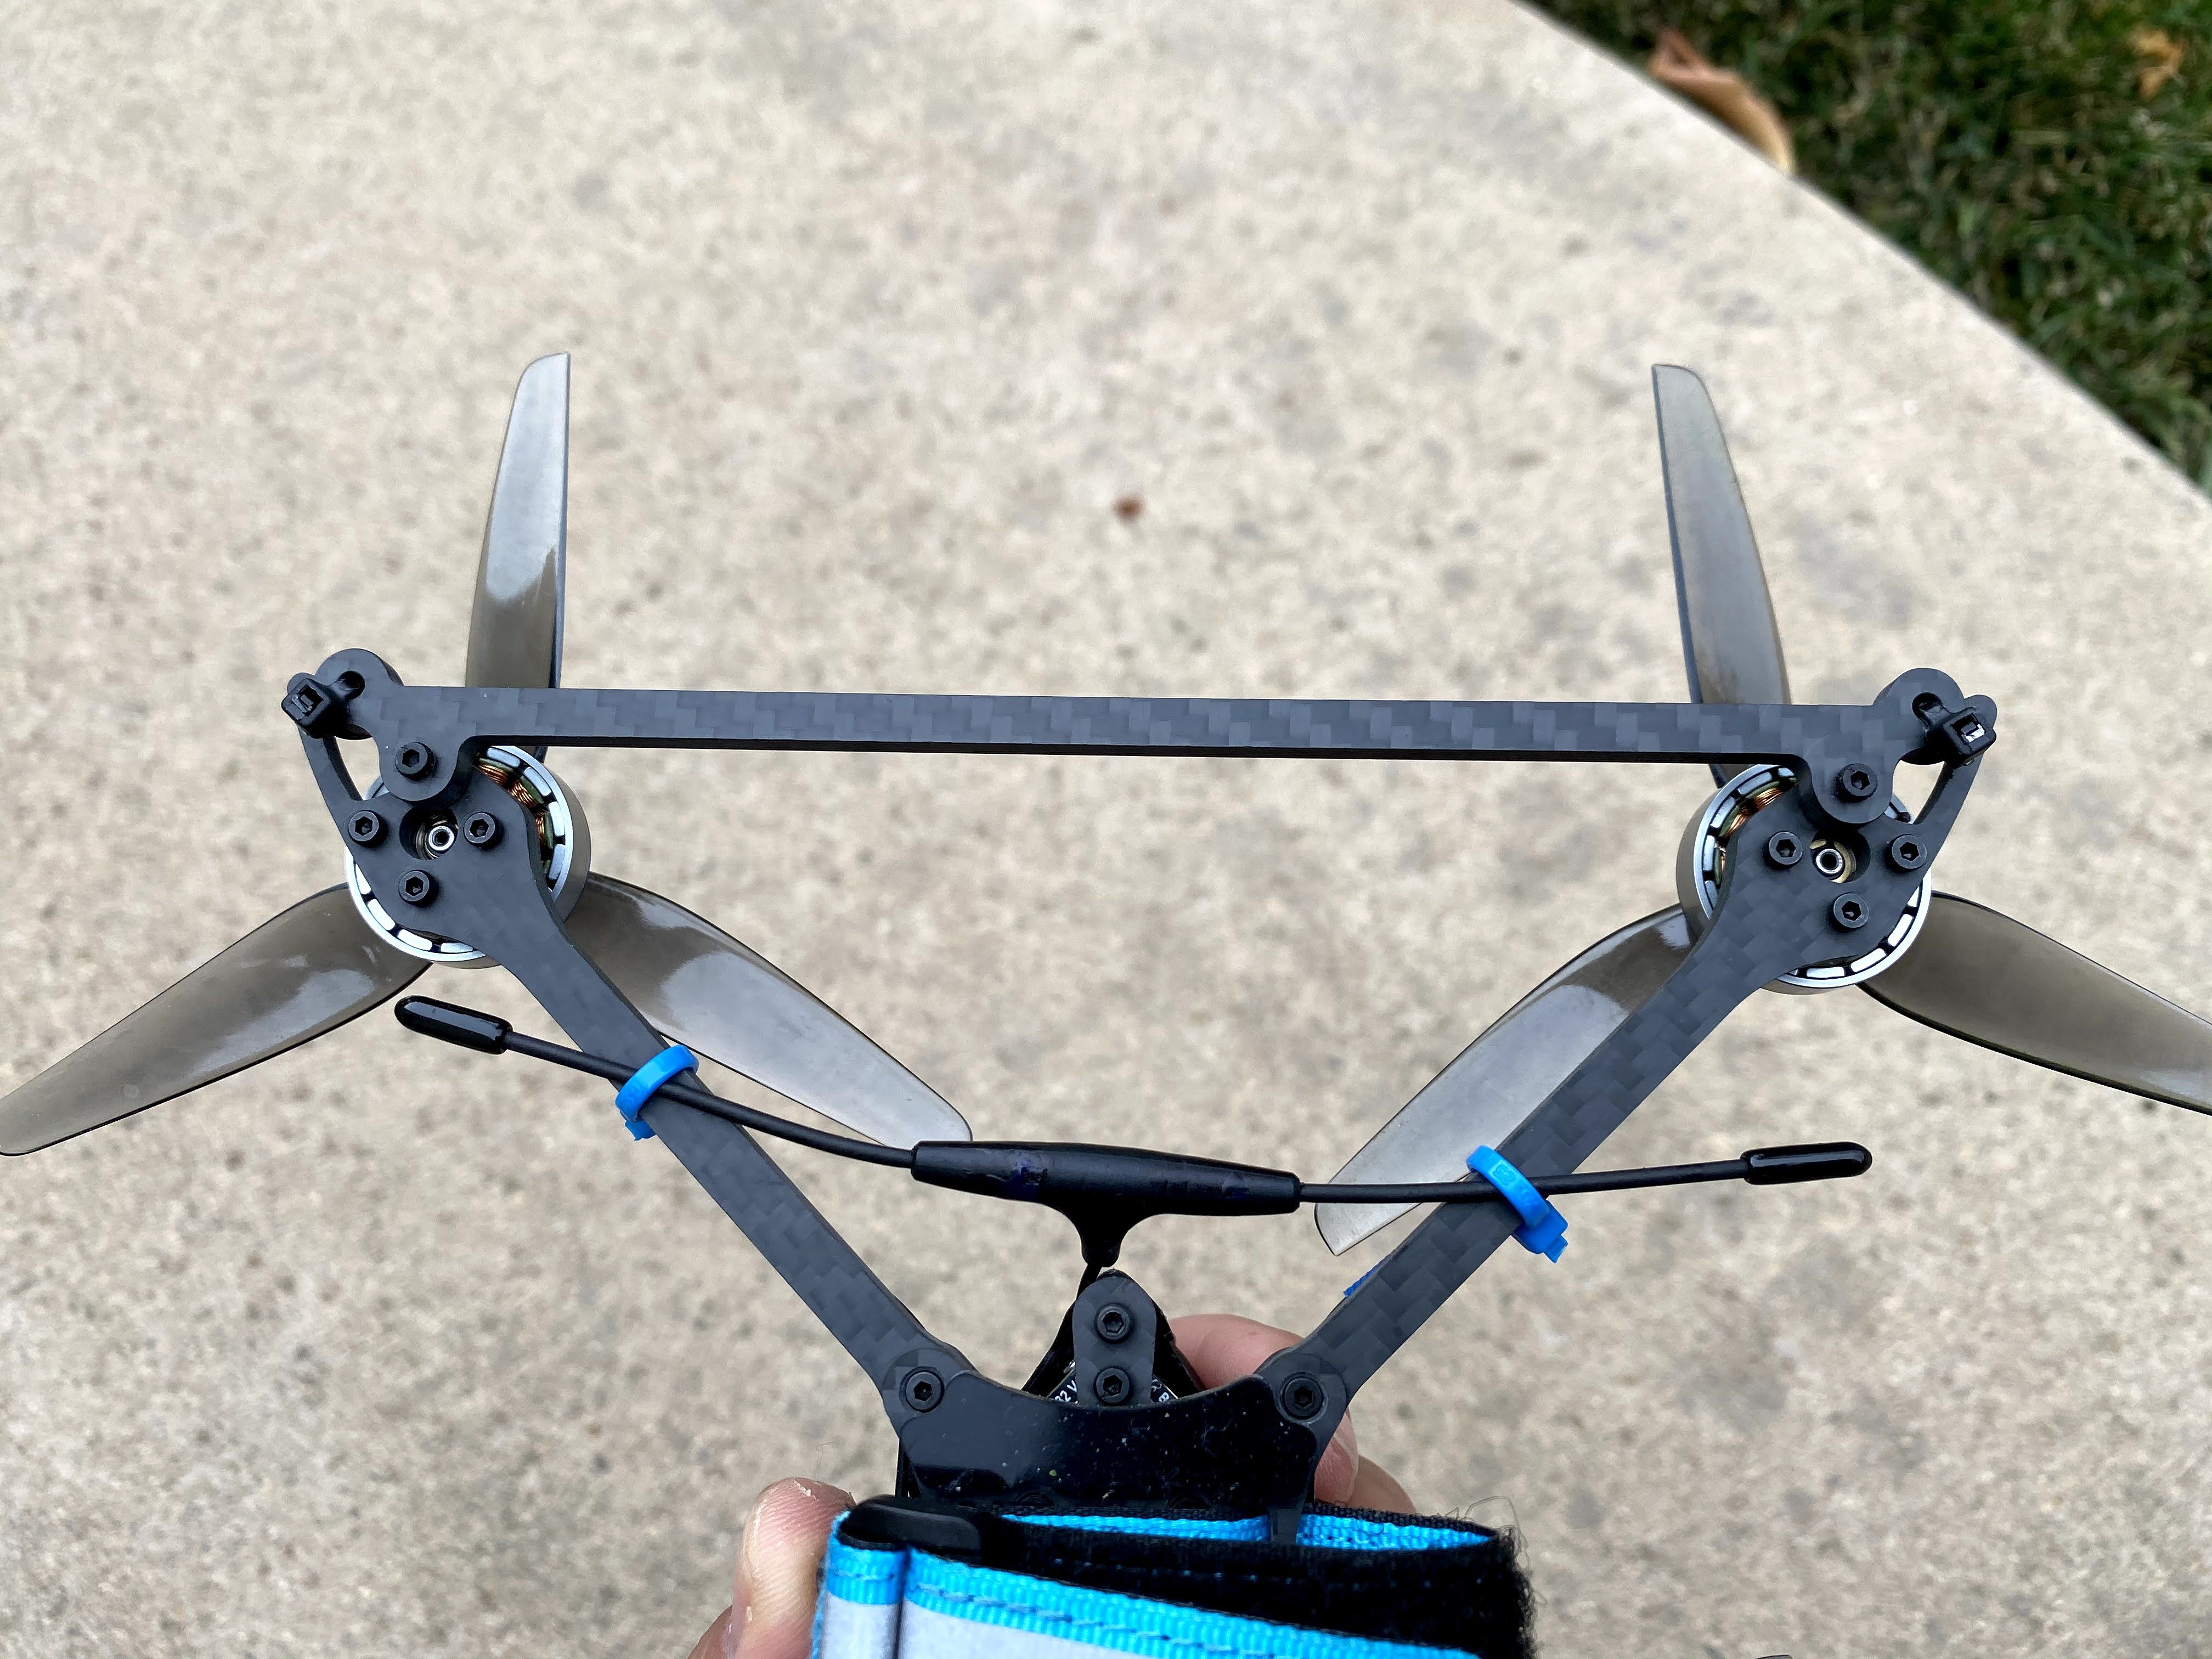
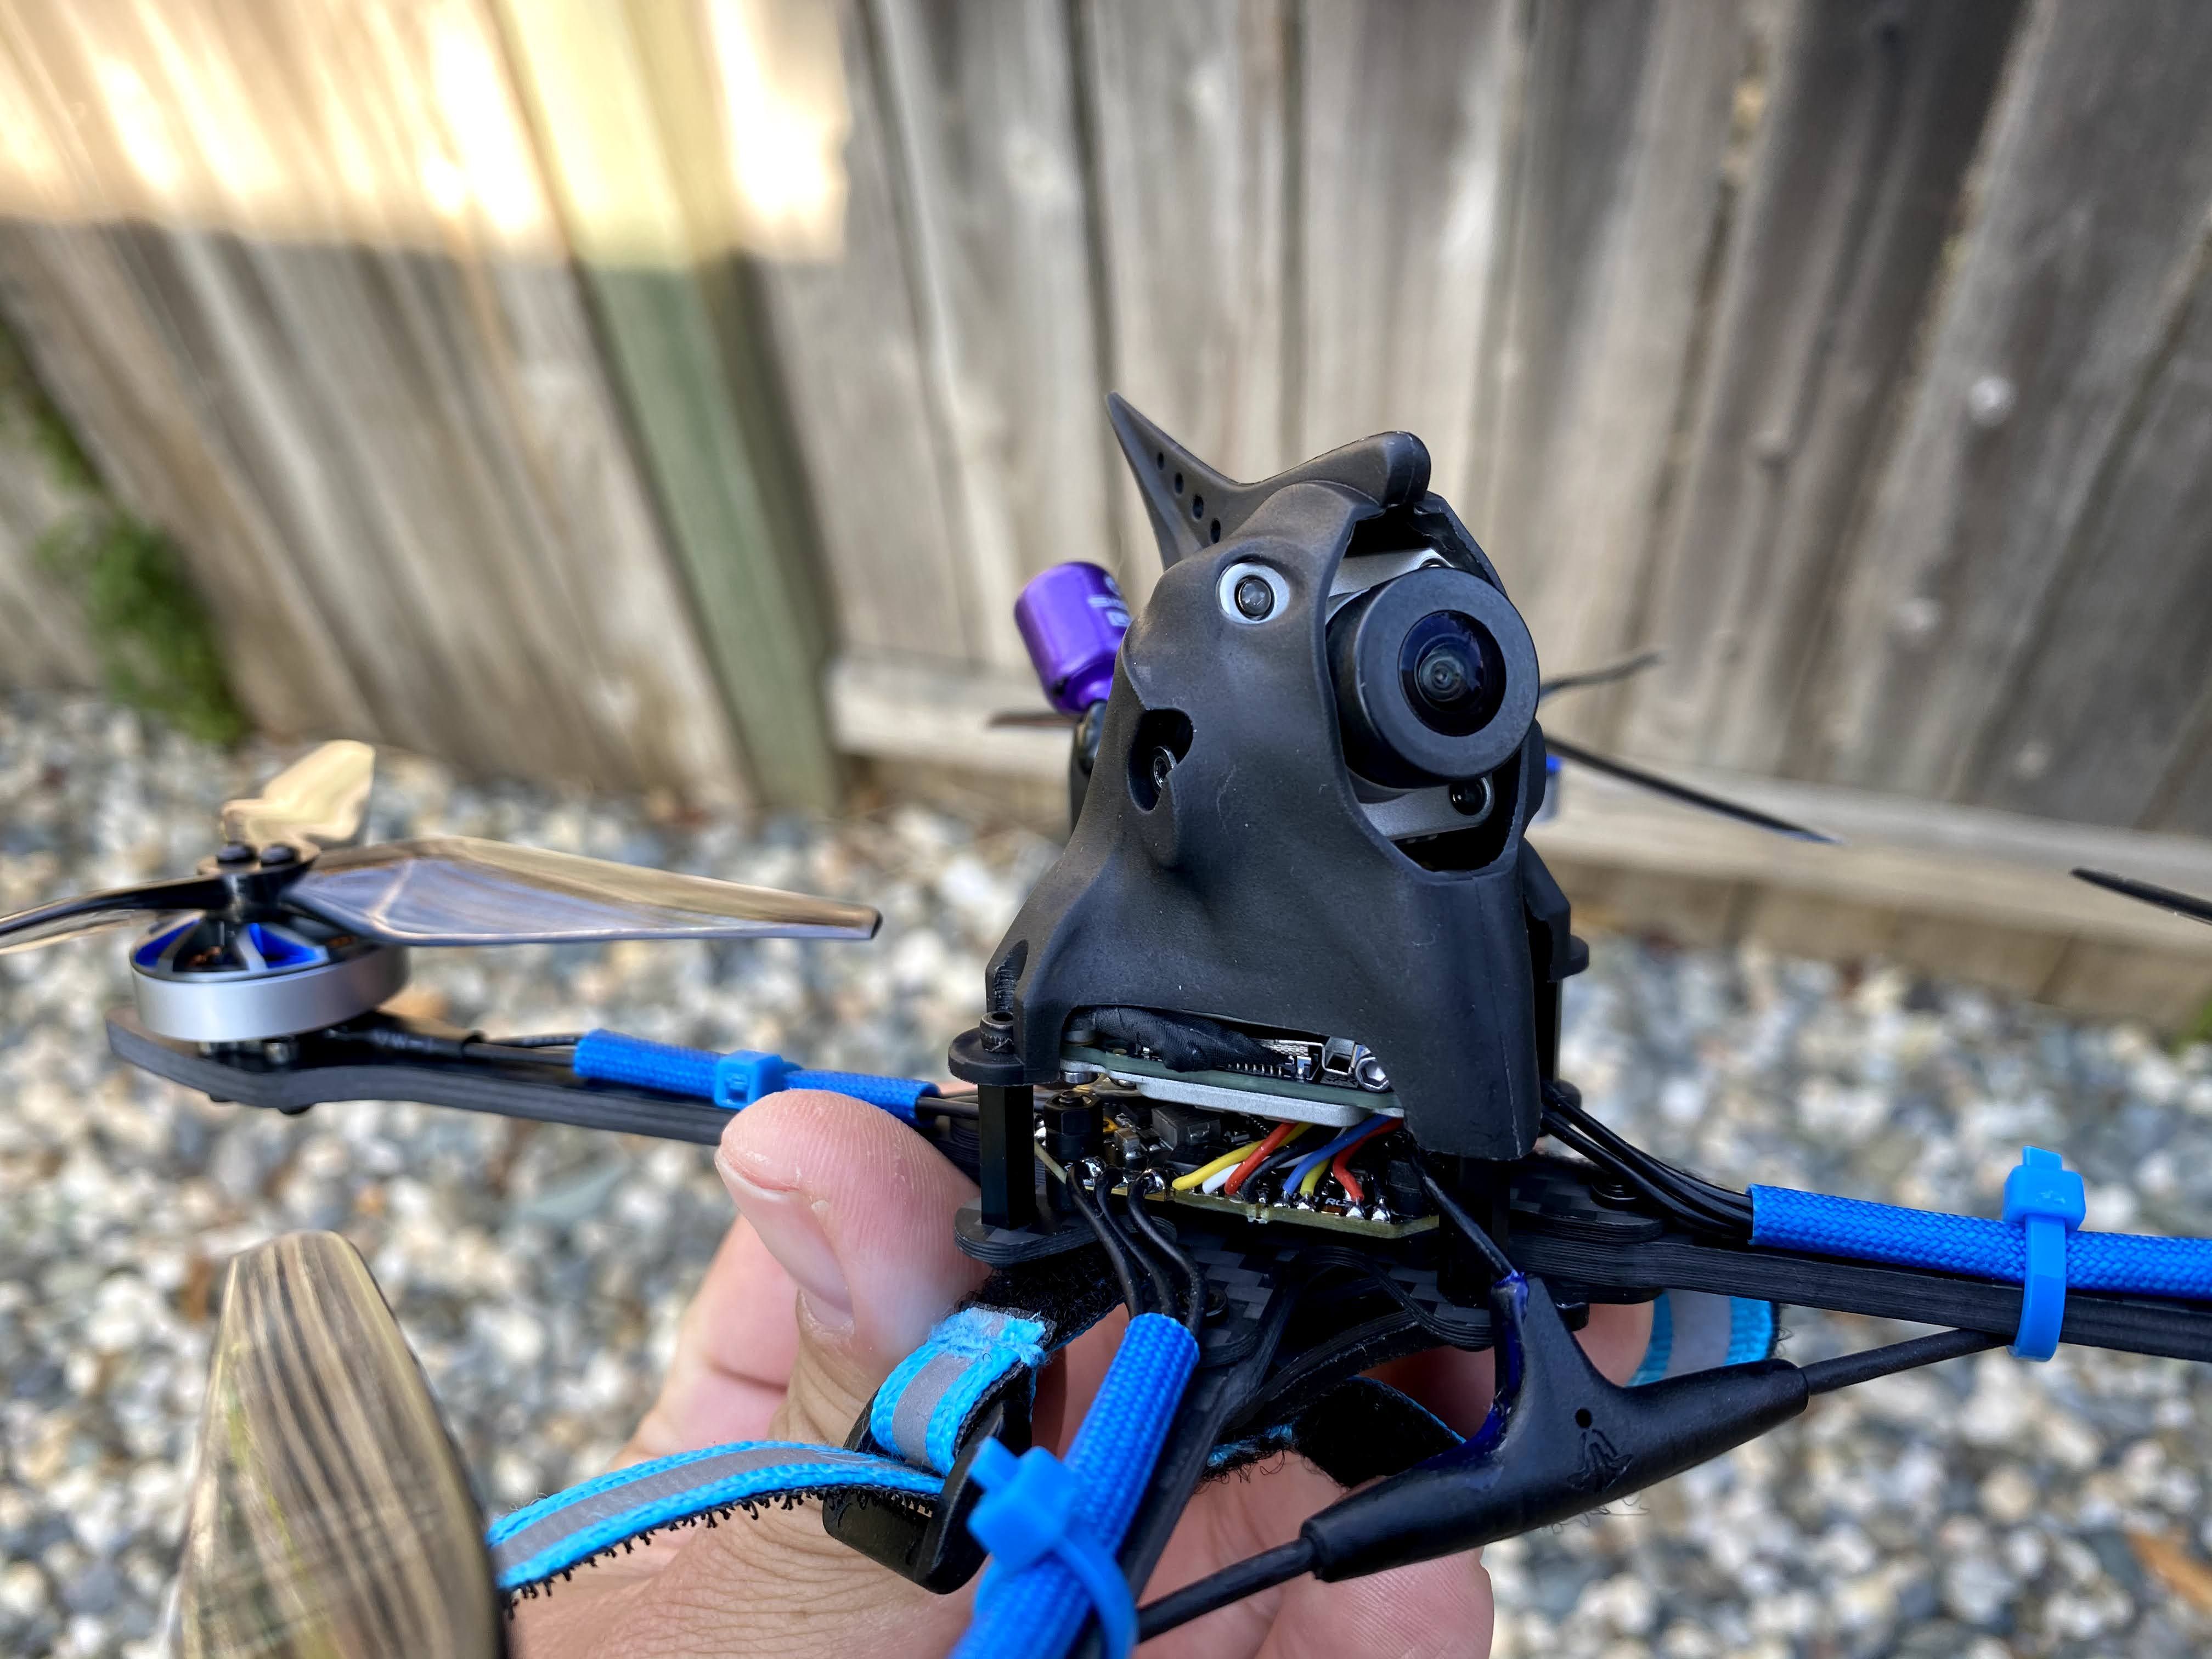
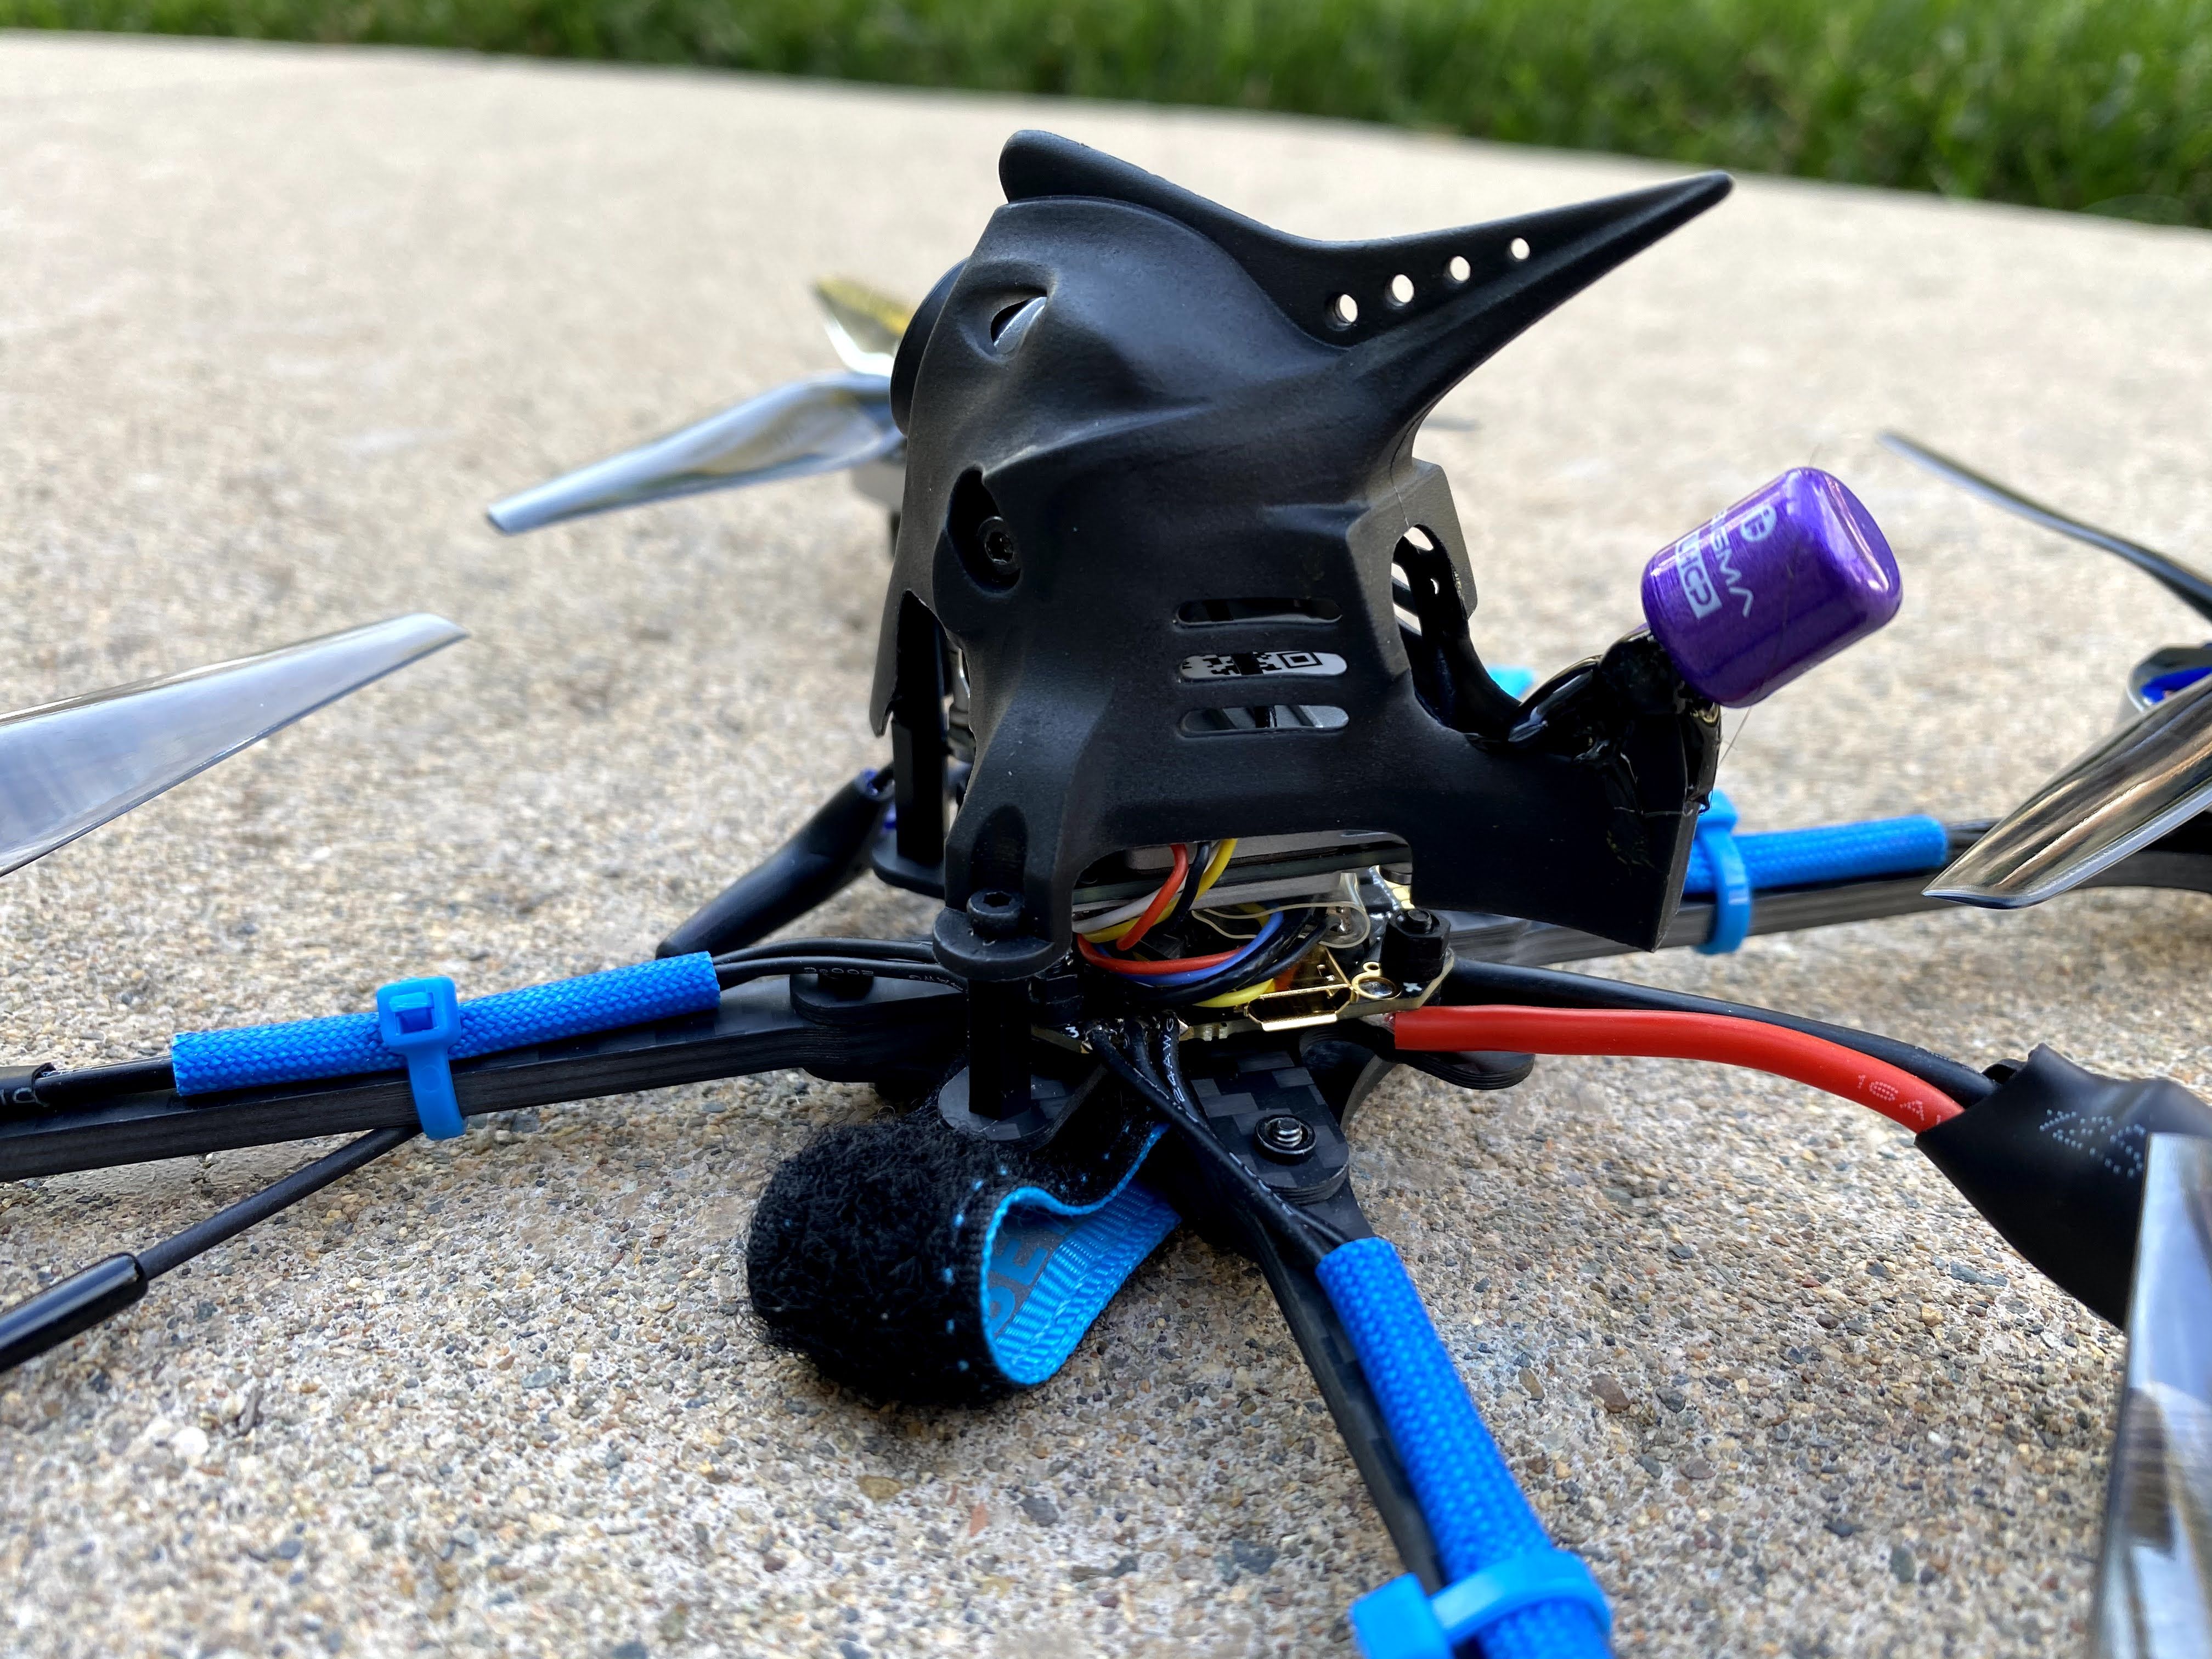
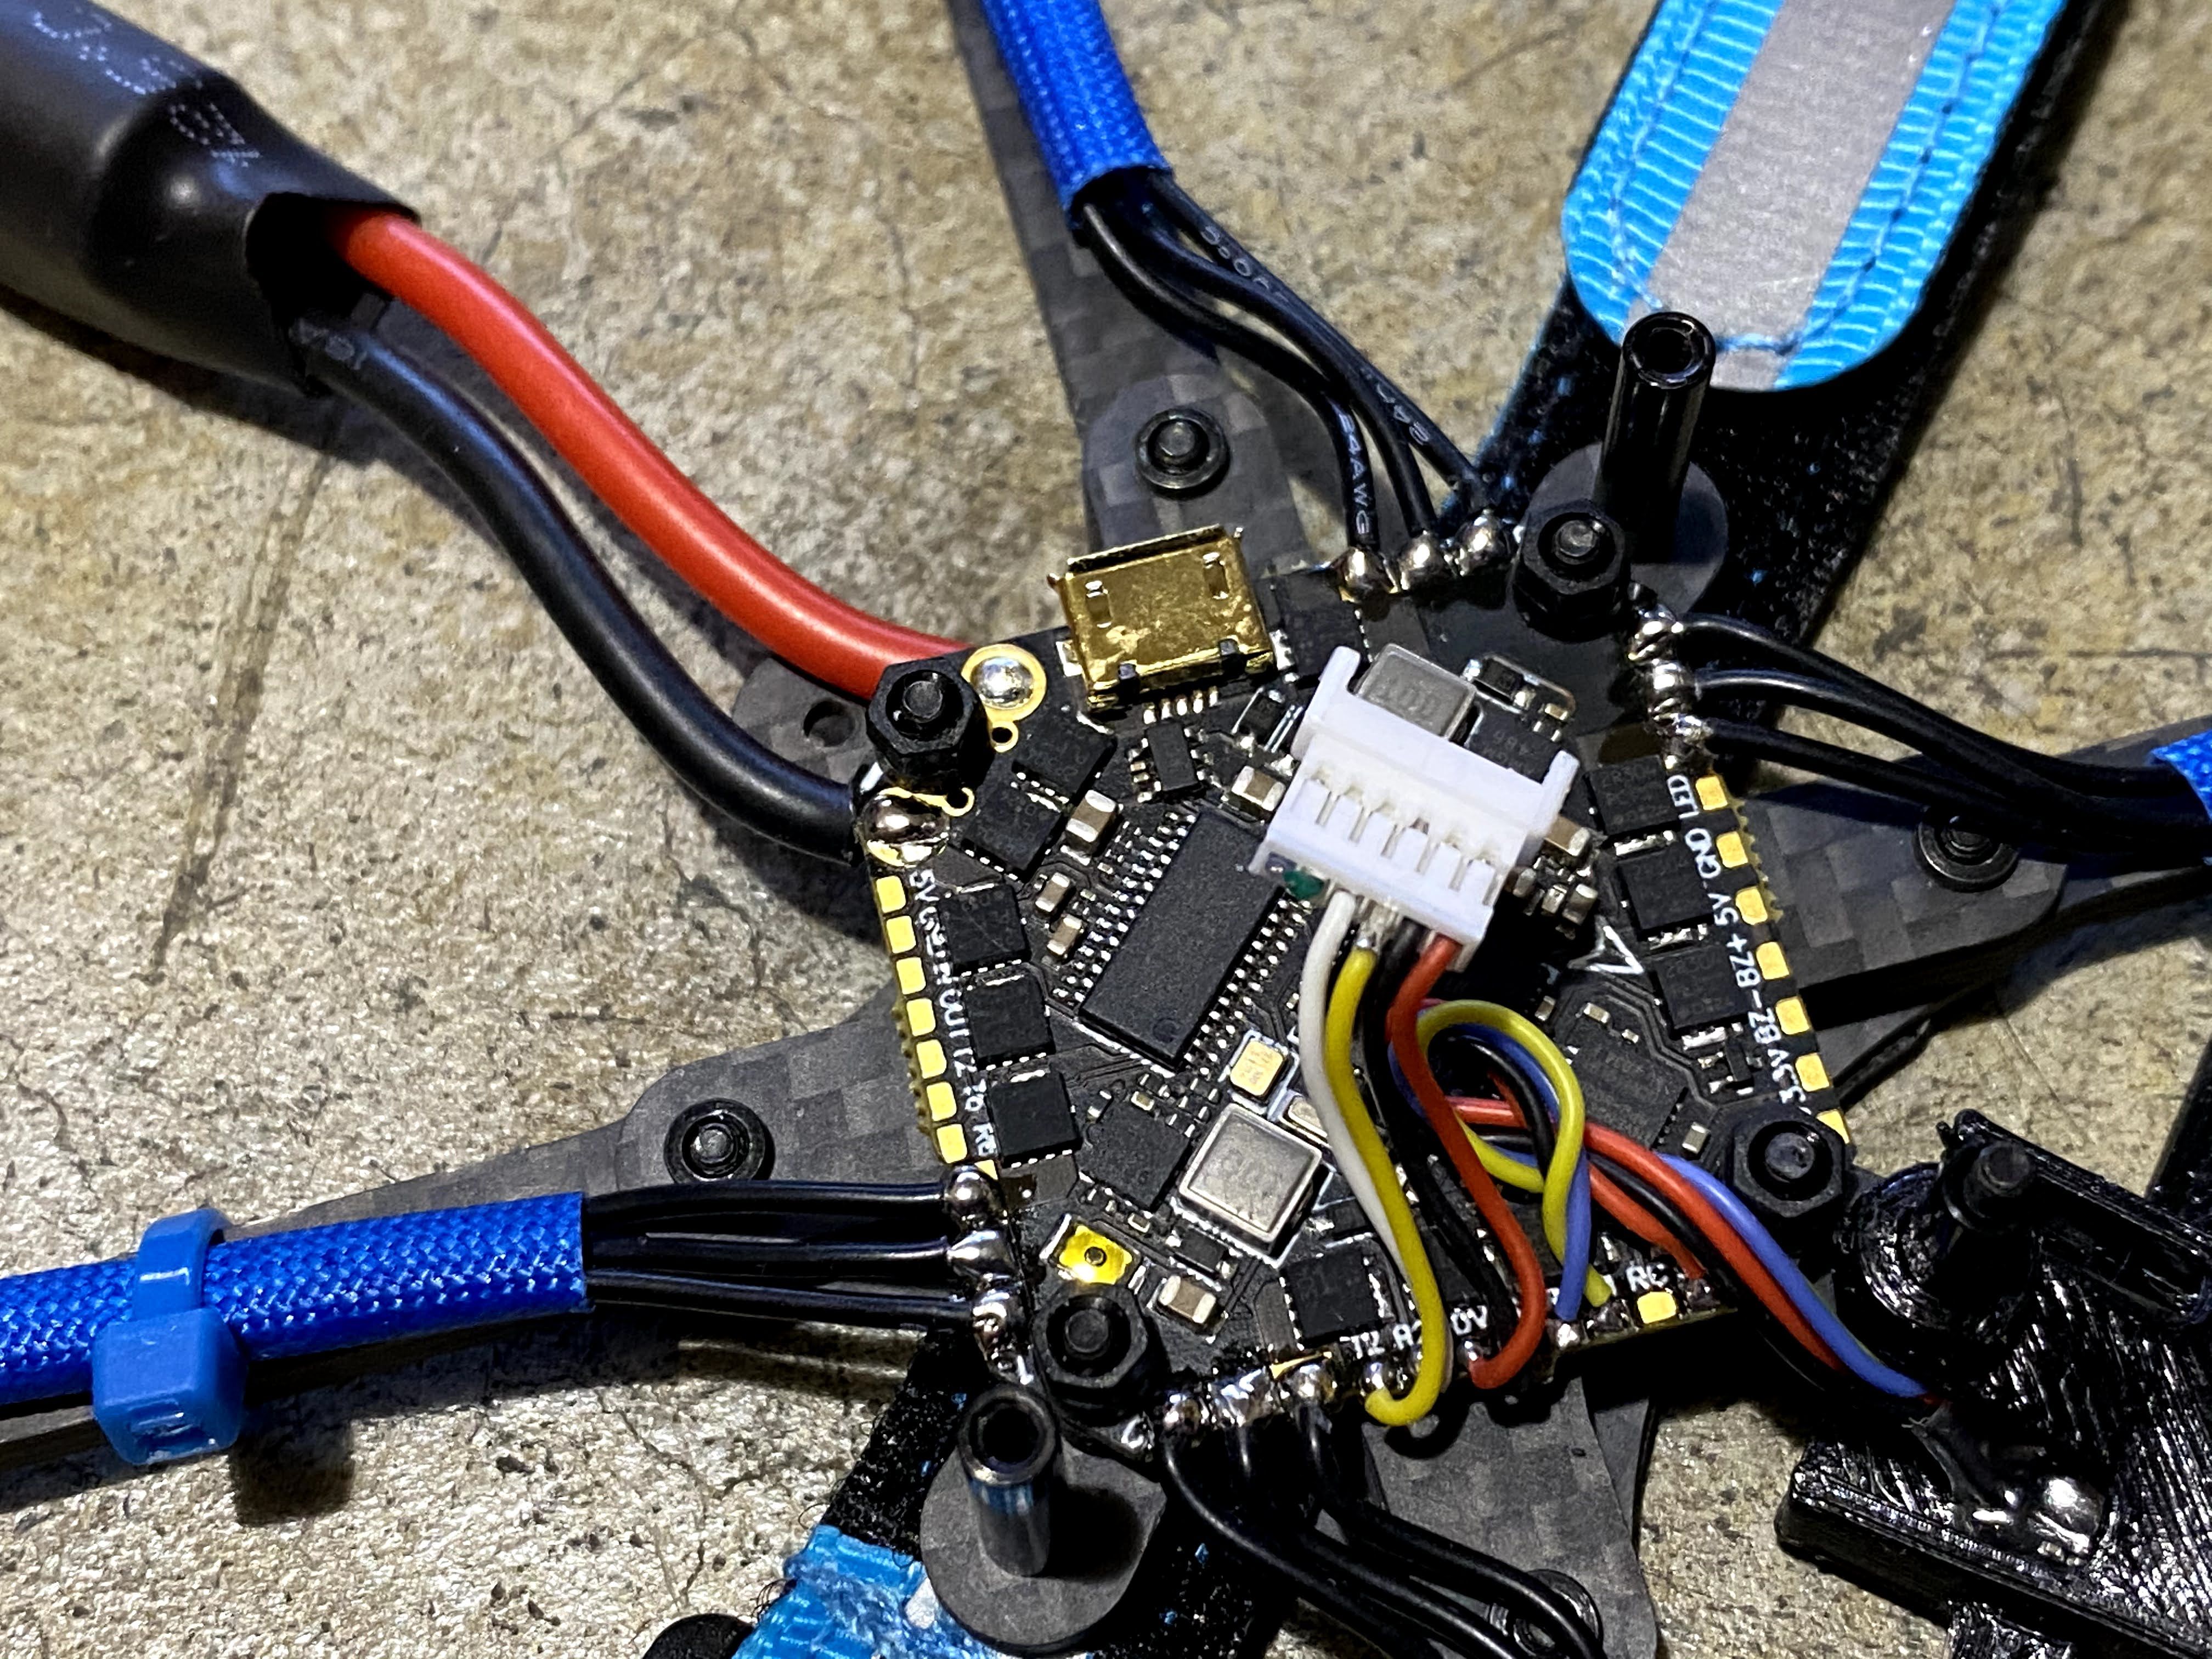
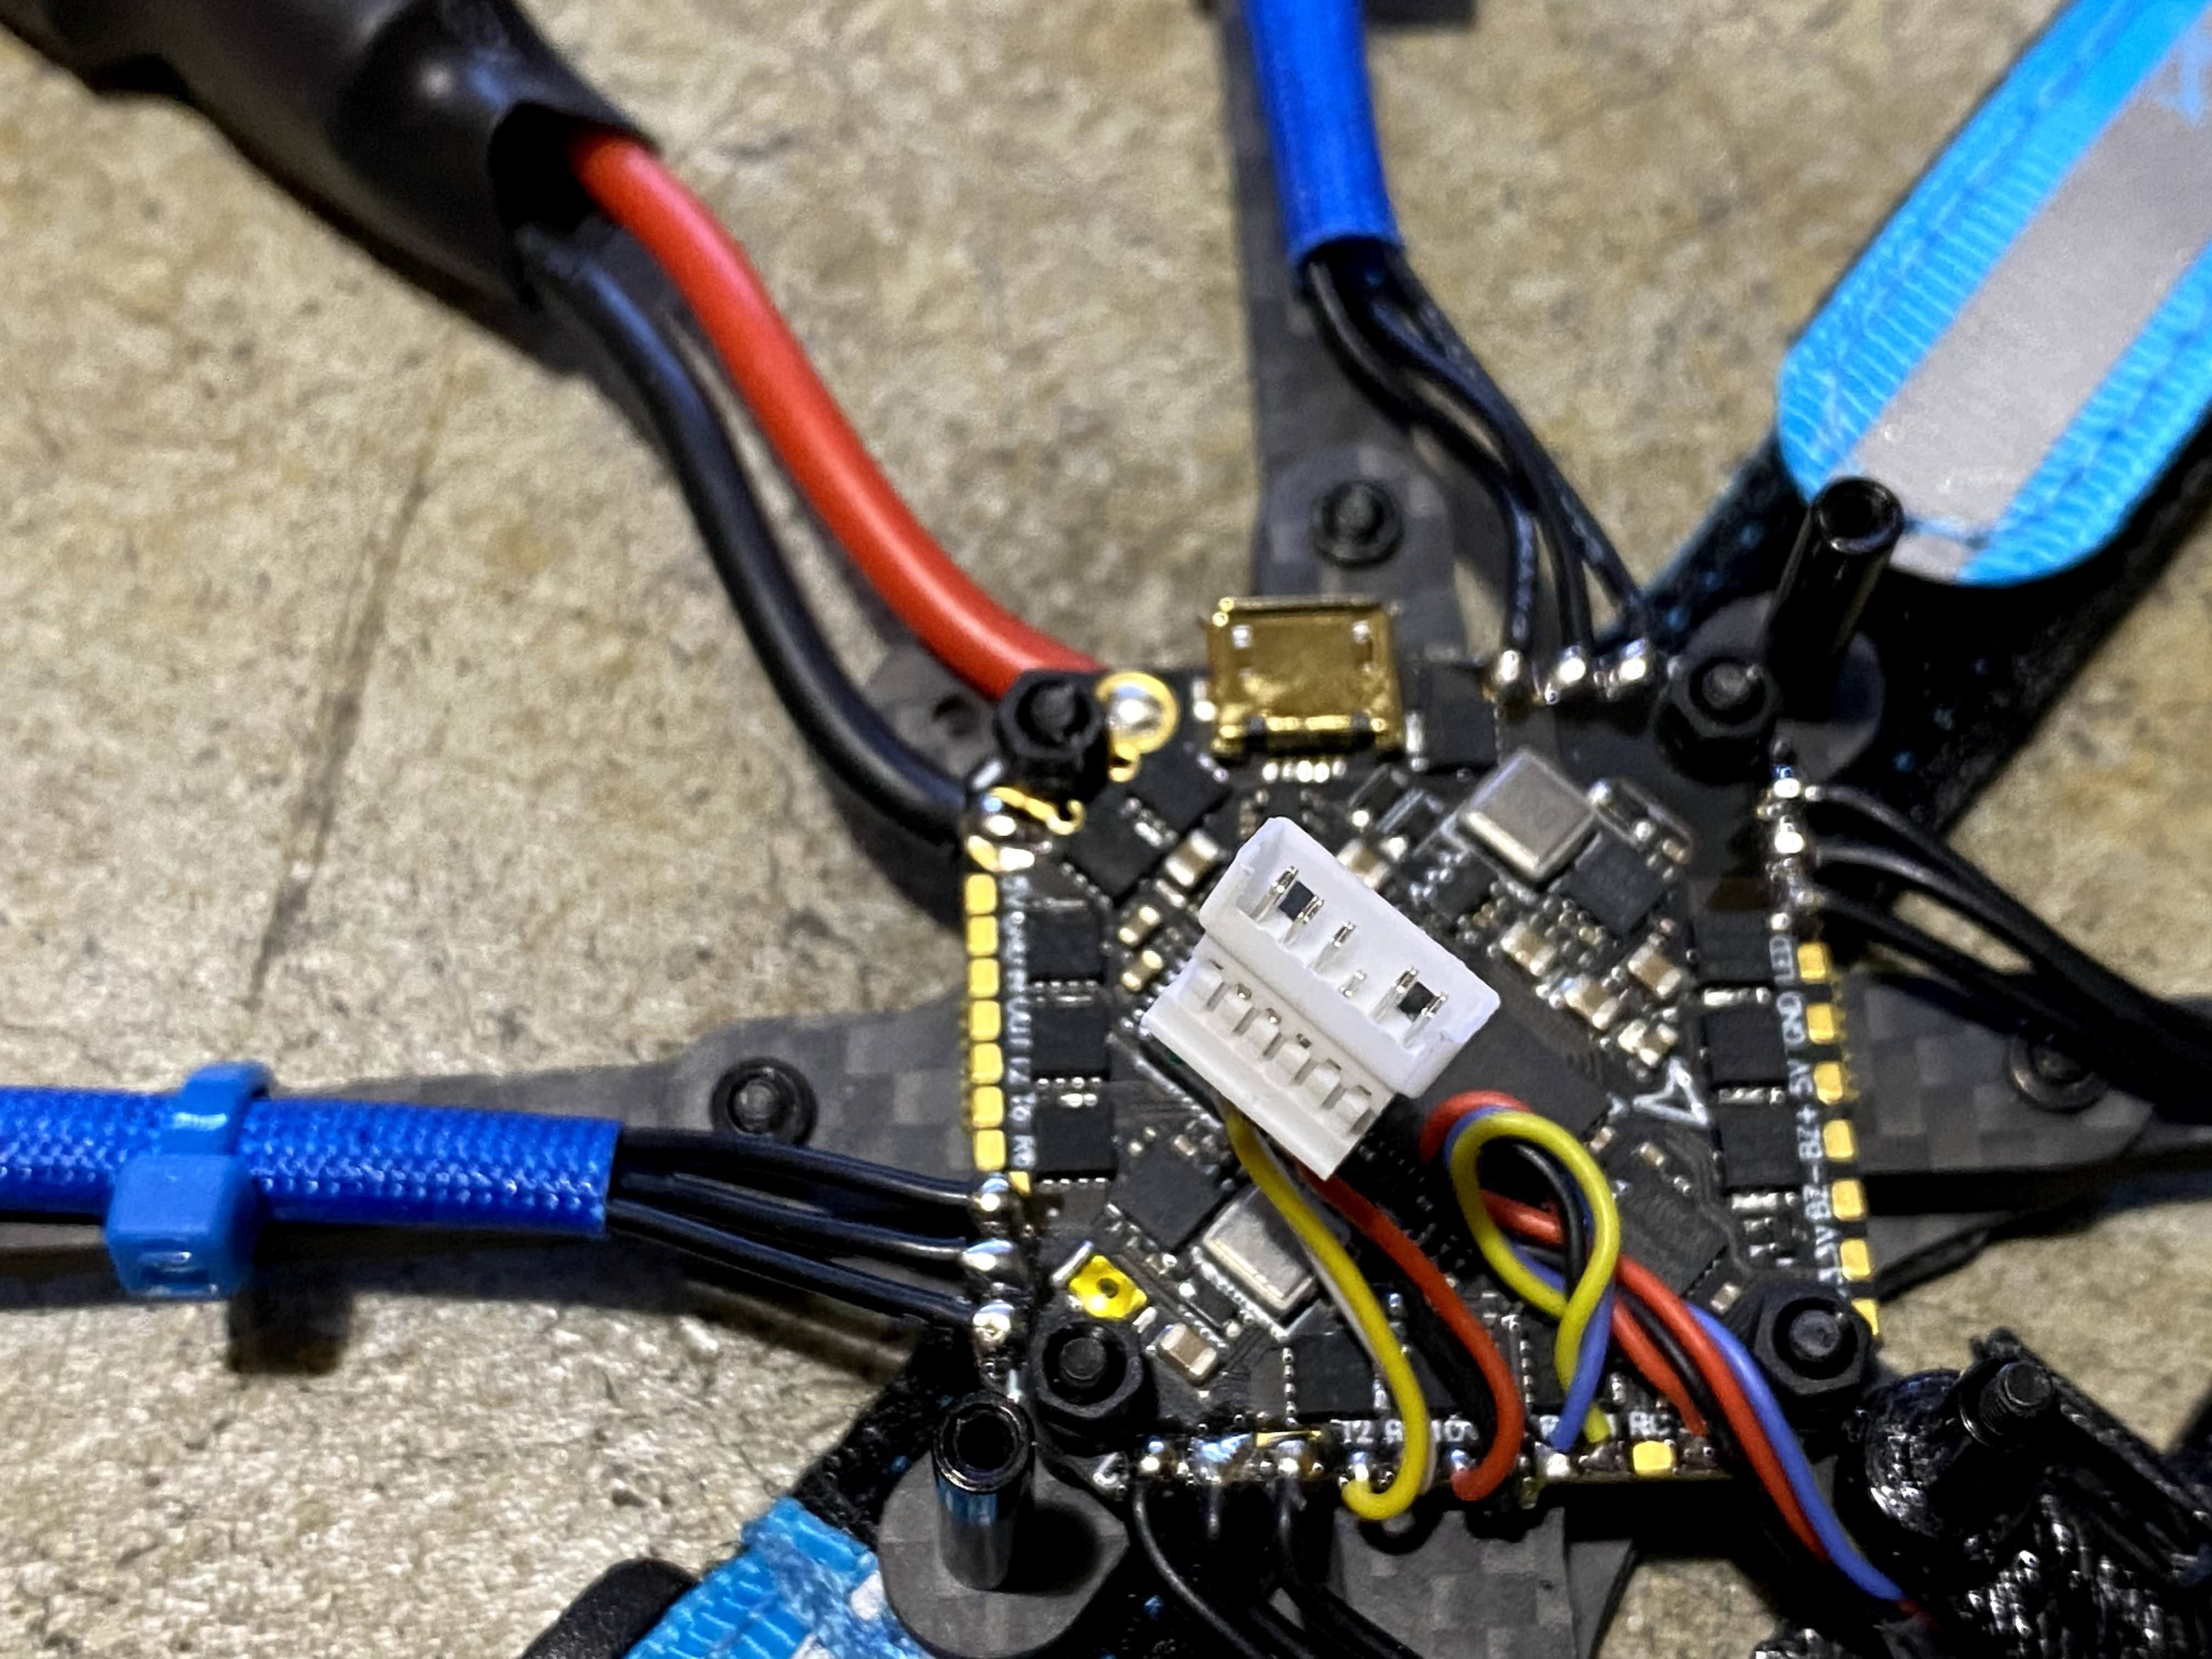
The first mod is the crossfire nano RX placement. The RX is originally placed in front of the quad between the 2 front arms and it seems like an awkward place to put it. I also thought I came with an immortal T antenna too, but I was wrong. It is a 3D printed mount with antenna tubes and standard dipole antenna. I placed the RX in between the FC and Caddx Vista. Then, replaced the Dipole antenna with an Immortal T and placed it in the same location where it was originally.
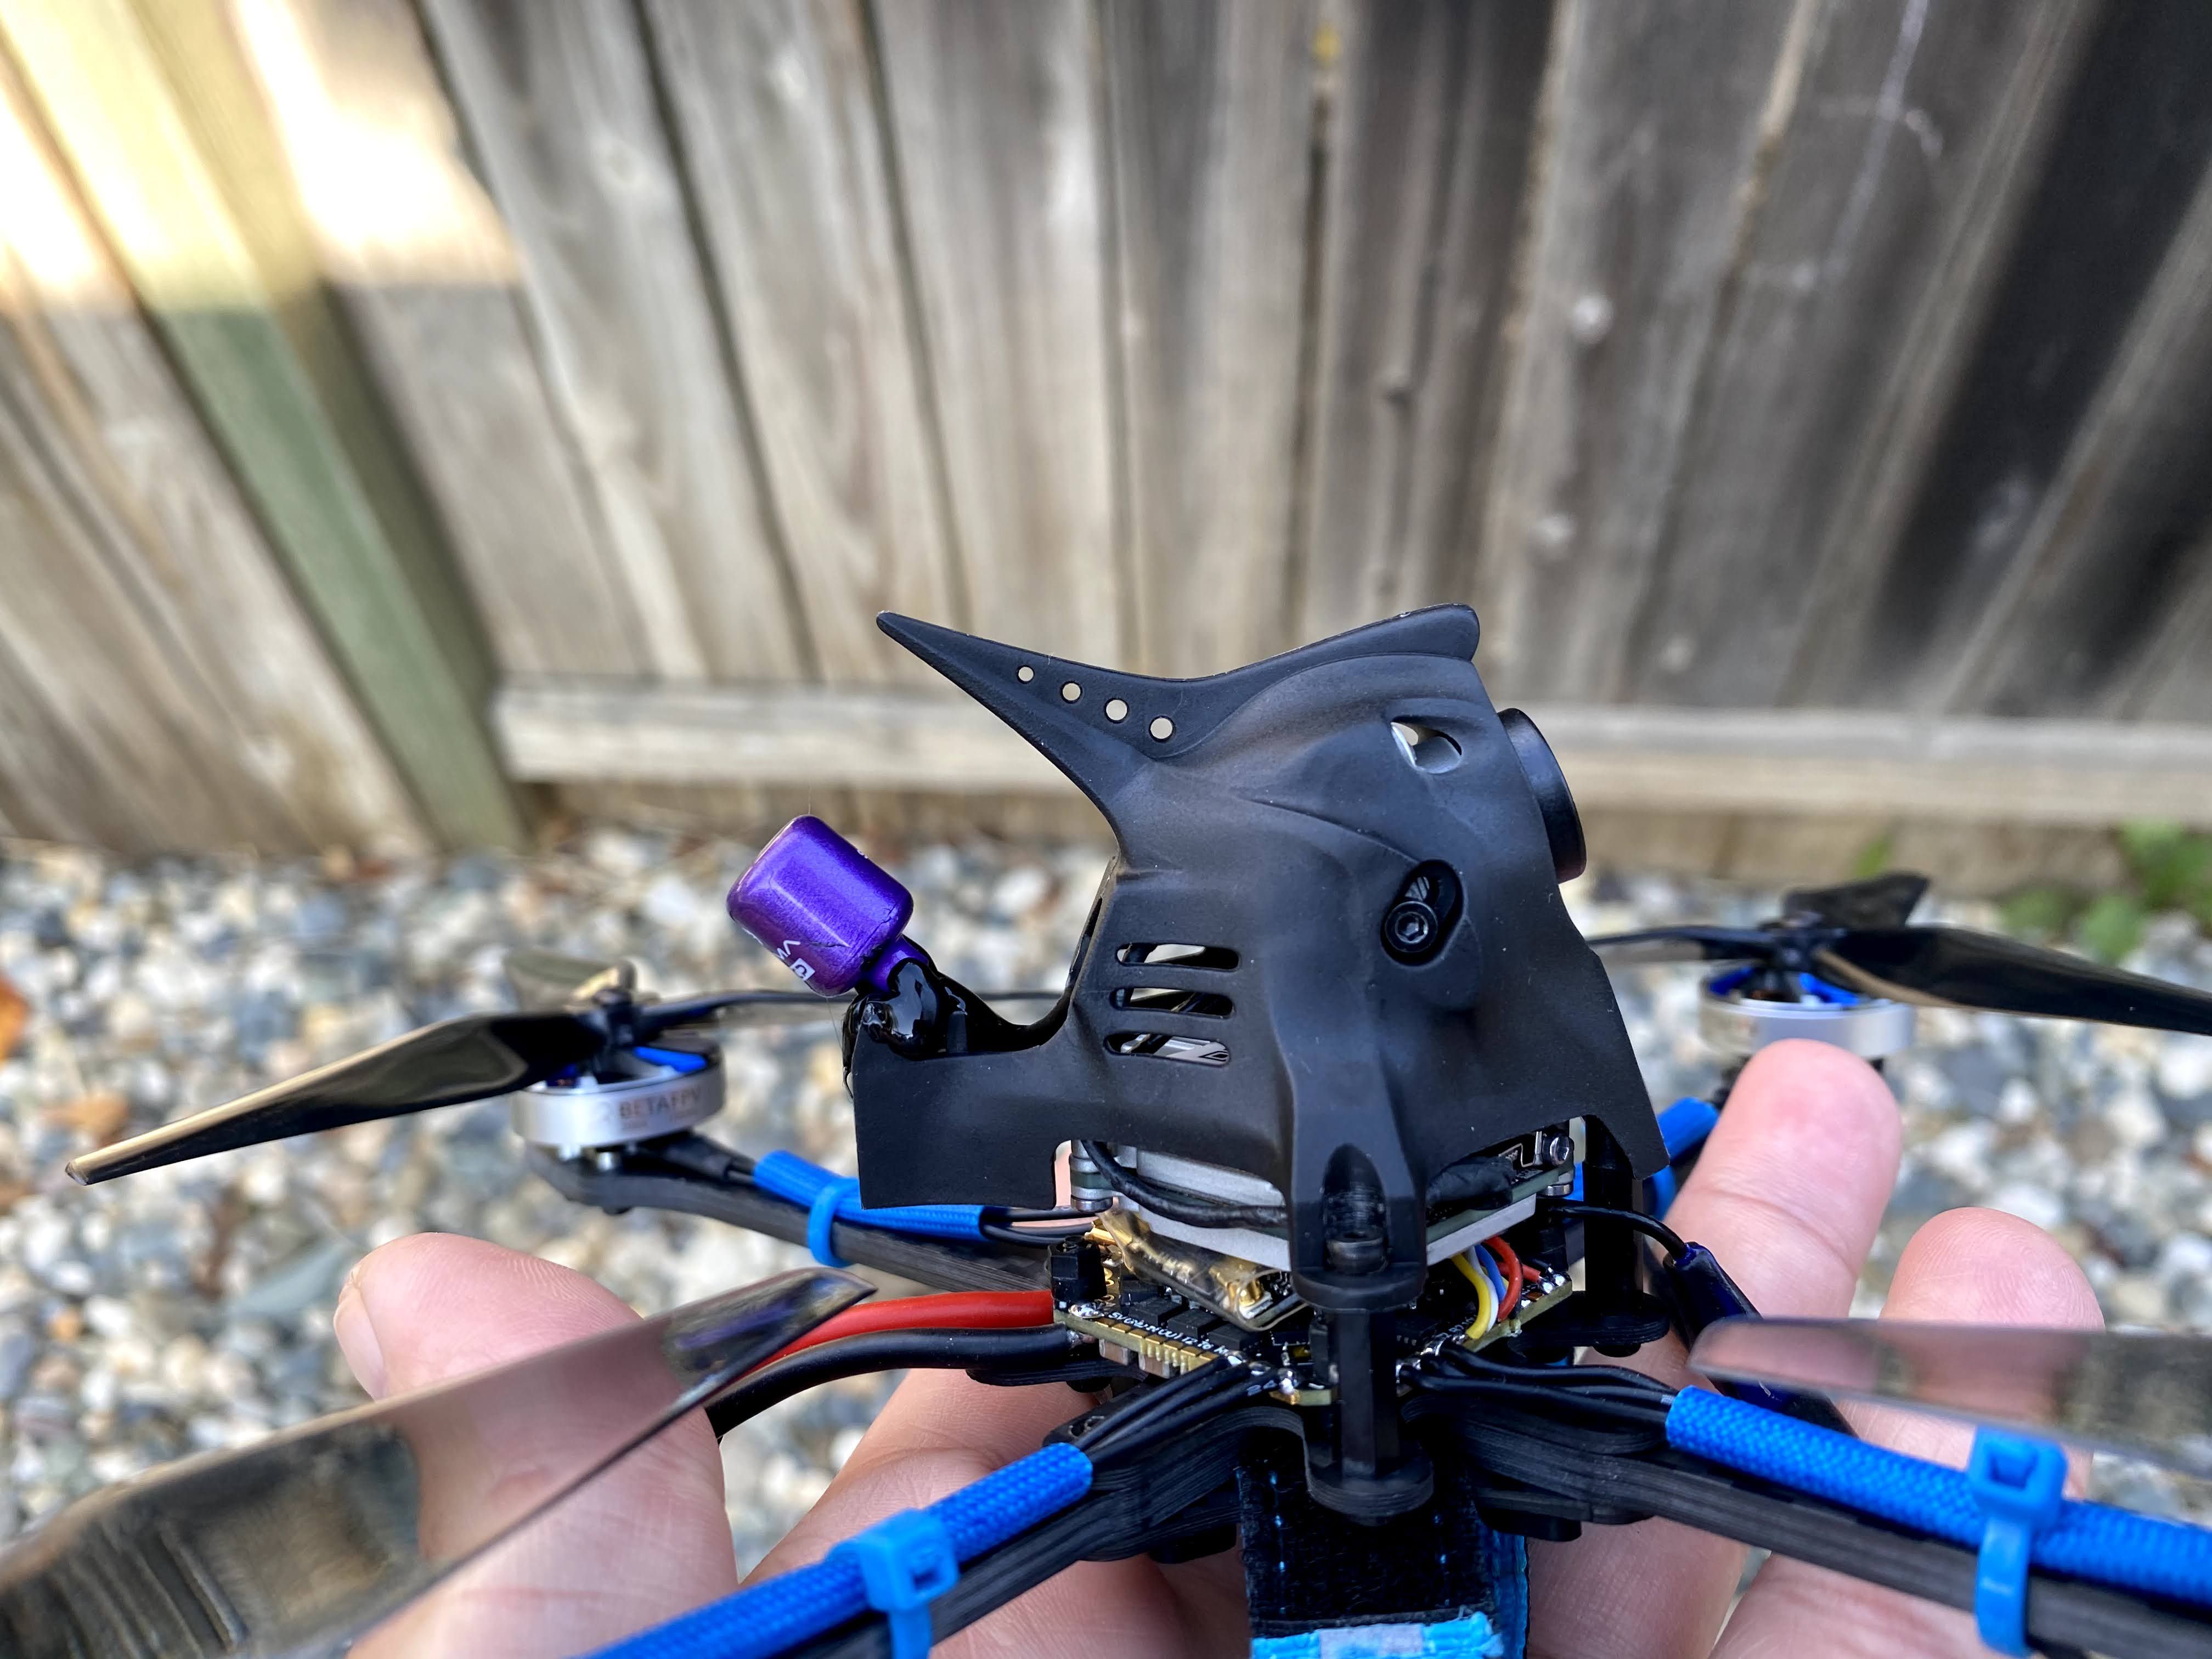
I did not like the dome shape canopy that is comes with, so I replaced it with the newer version canopy that is a tad shorter. Meaning, I am able lower the canopy 2mm and the Caddx vista still have plenty of space to sandwich the crossfire nano RX in between it. With the original canopy I had to use a 14mm M2 standoff but now I can use a 12mm standoff to mount the canopy. If you leave the Nano RX in the front and not move it like I did. I think you can lower the canopy another 2mm, so it is even lower. The difference in weight of the canopy is negligible, because the new canopy is only .04 grams lighter.
Next, I replace the Caddx Vista antenna because the iFlight sigma antenna is only 1.2g. I actually like the purple color but too bad it does not match the blue and black theme.
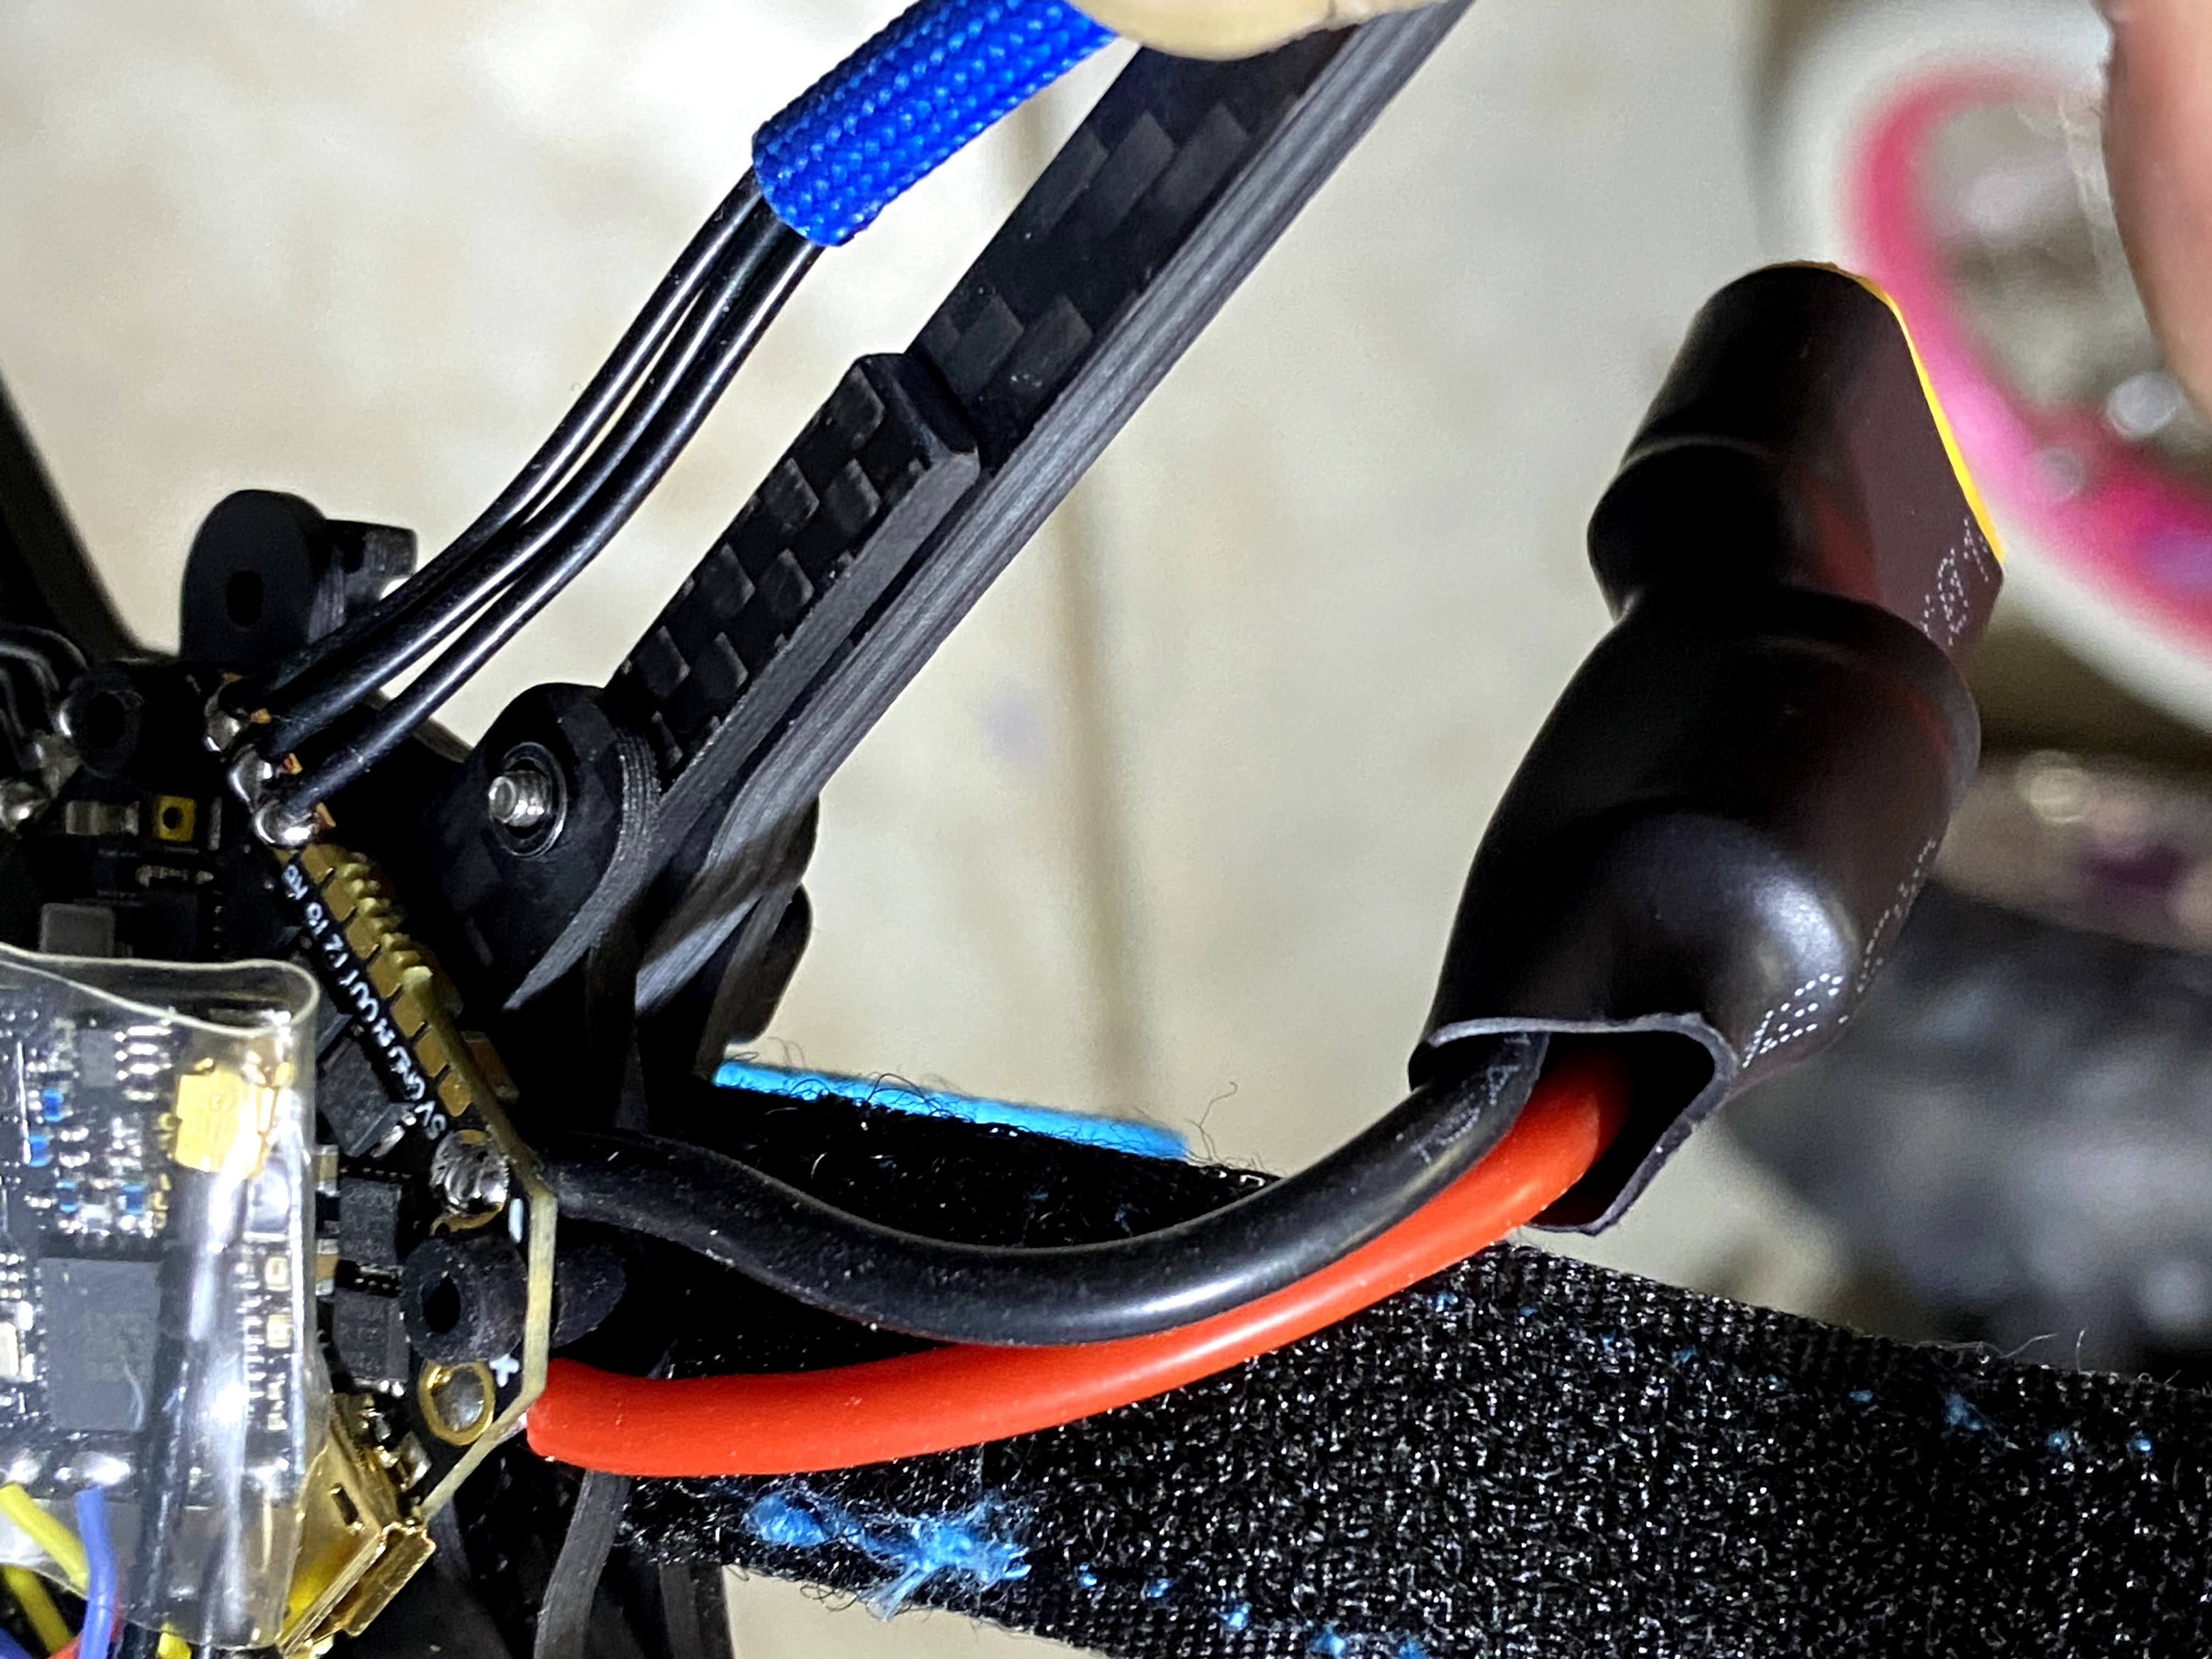
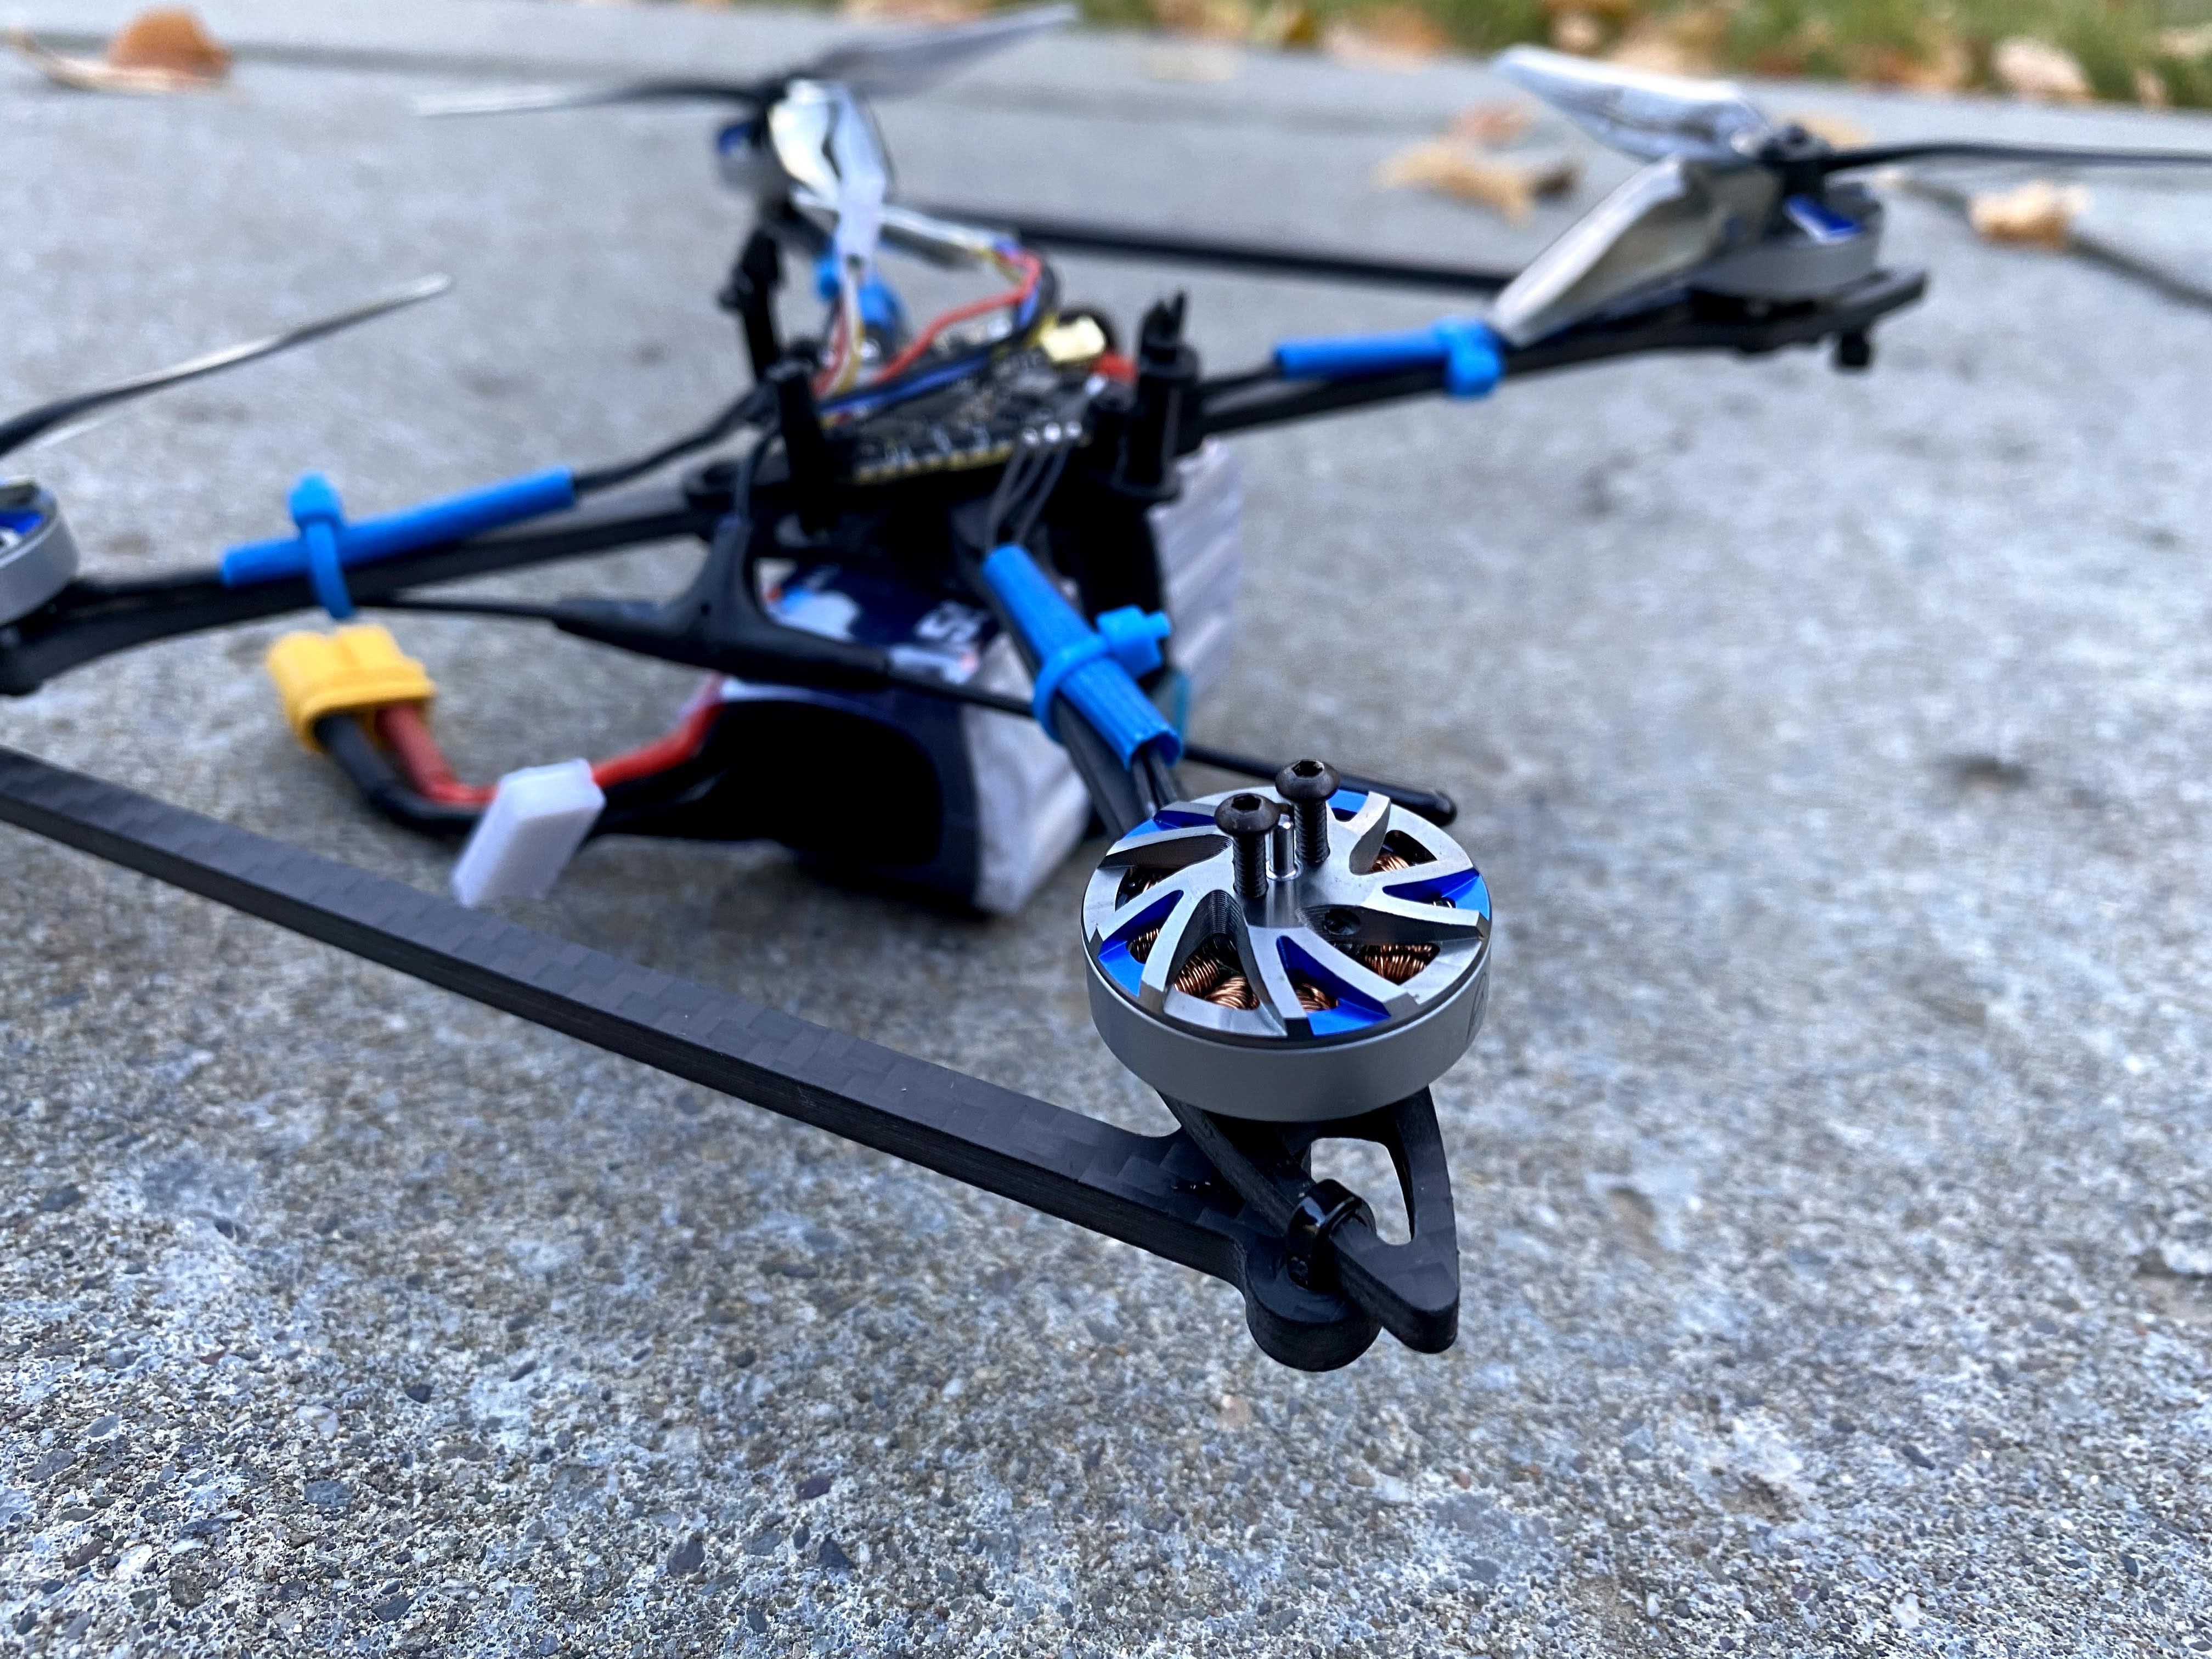
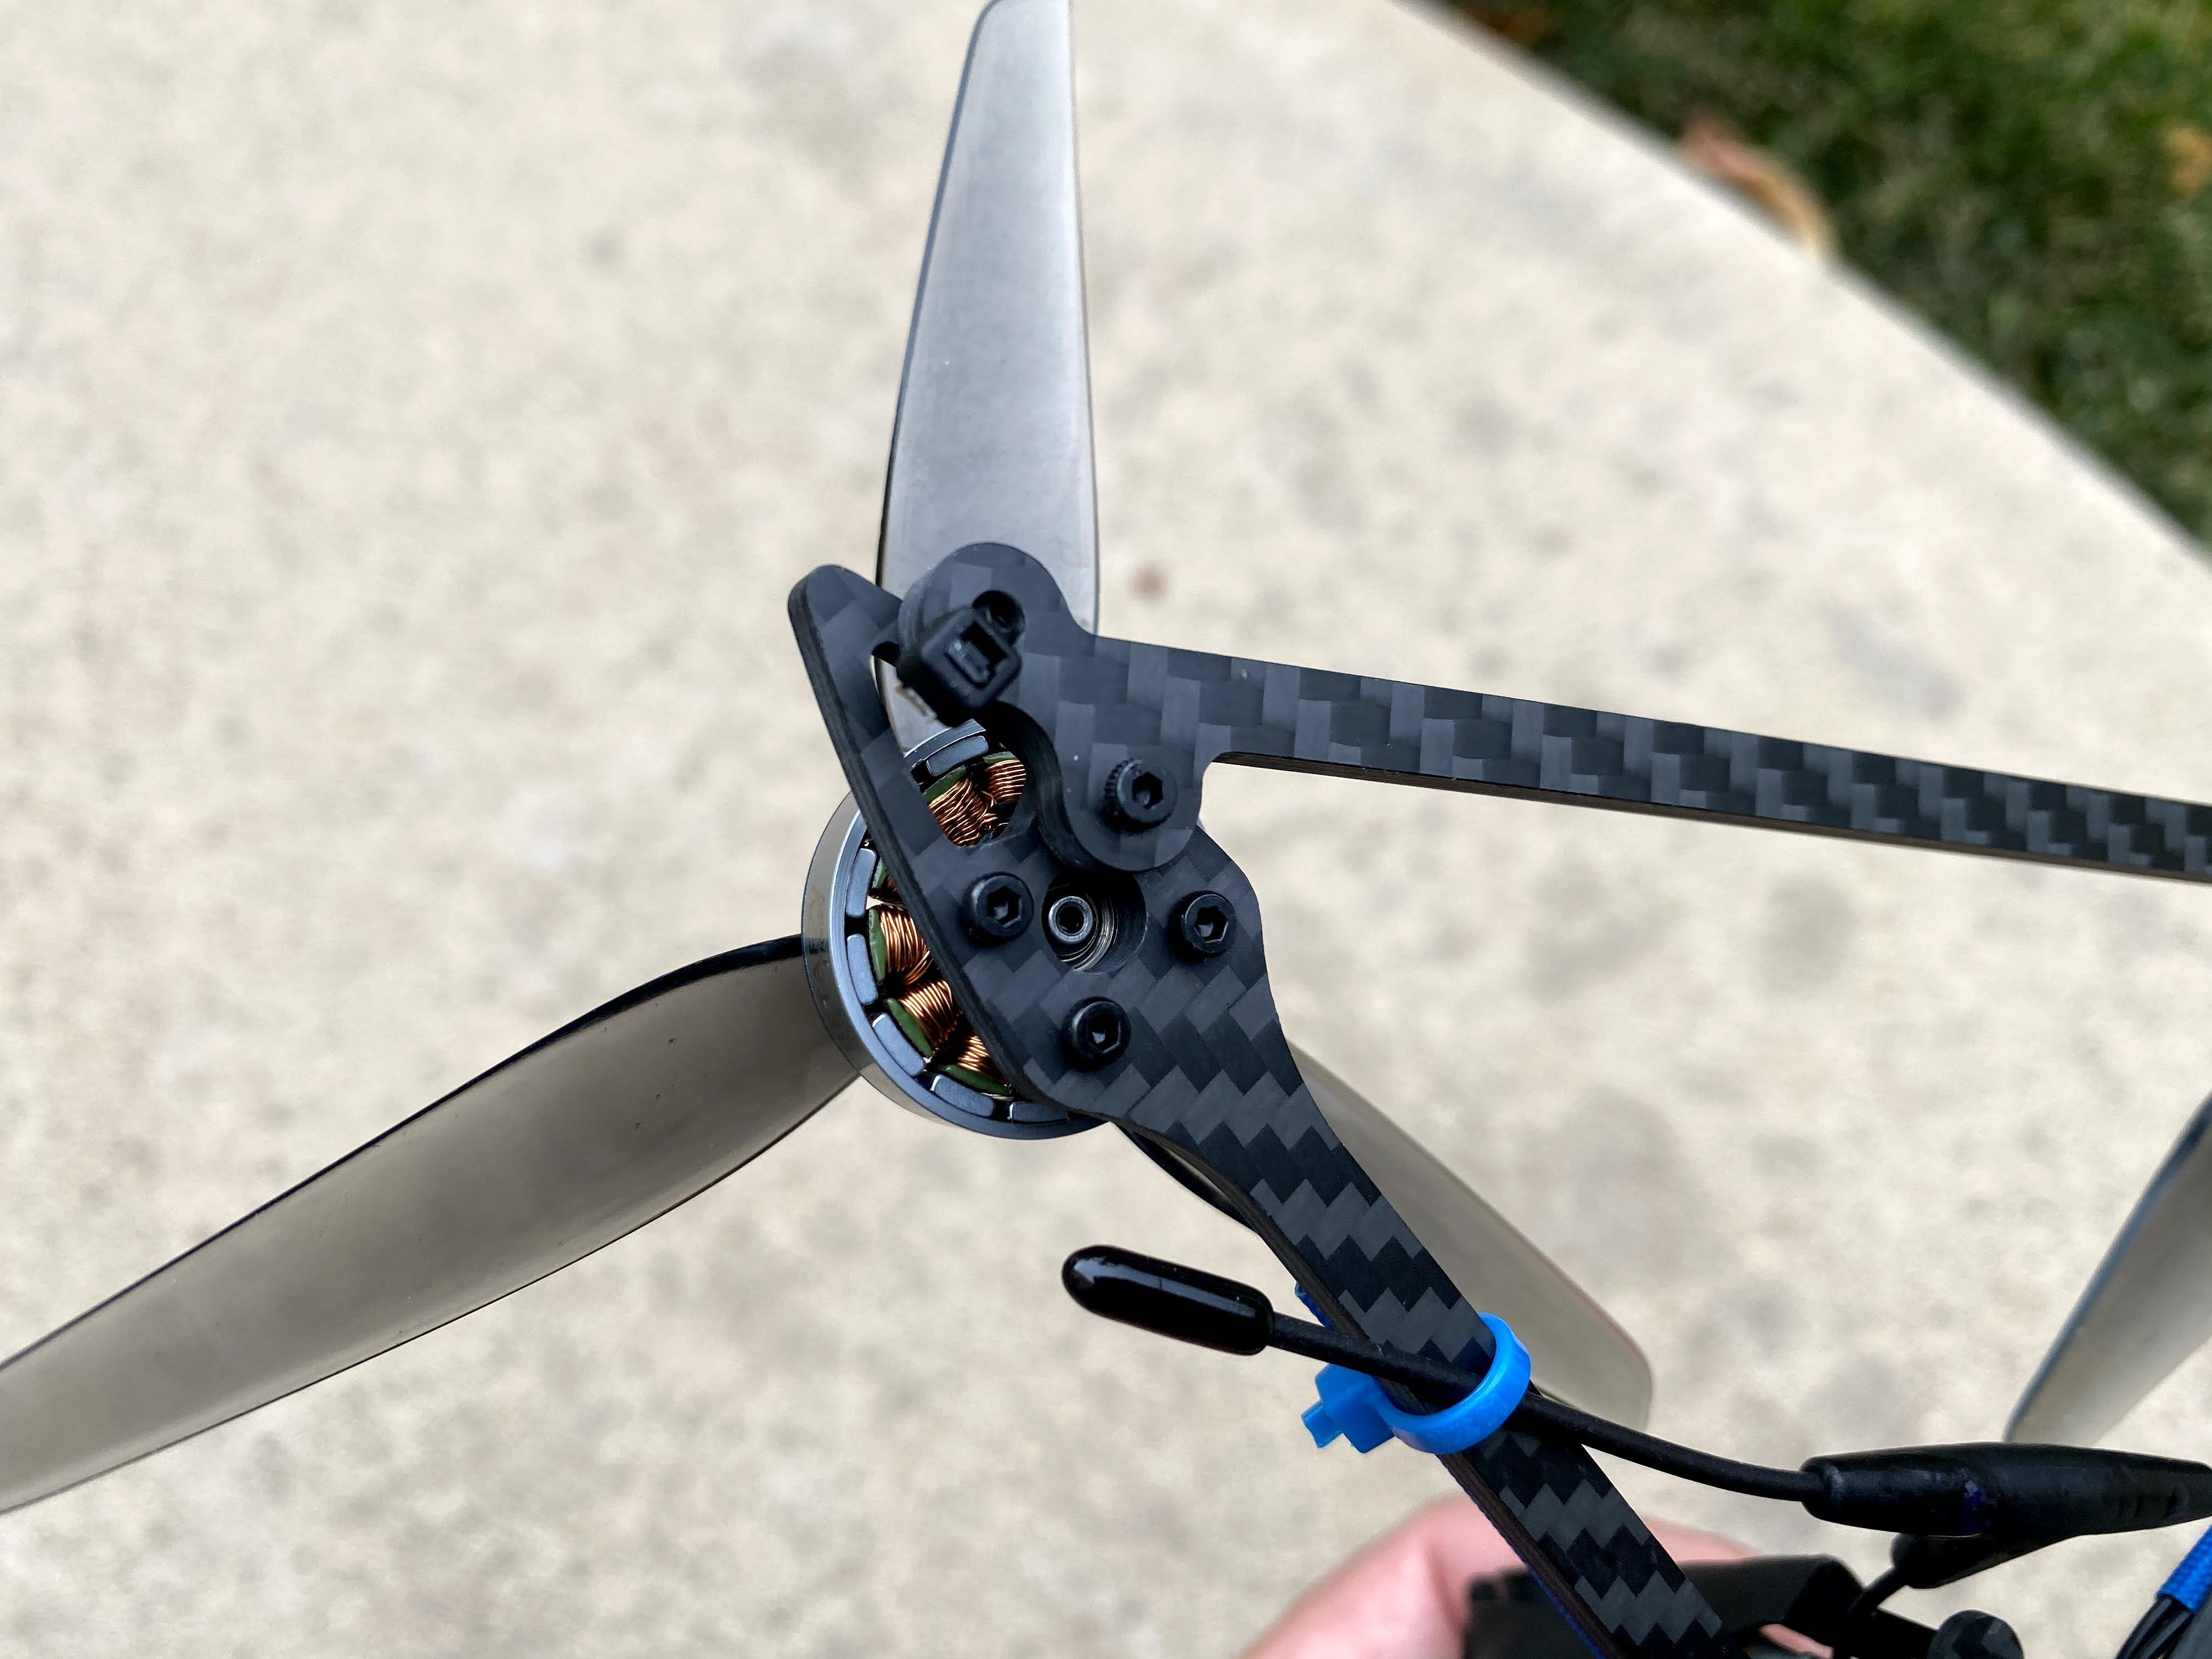
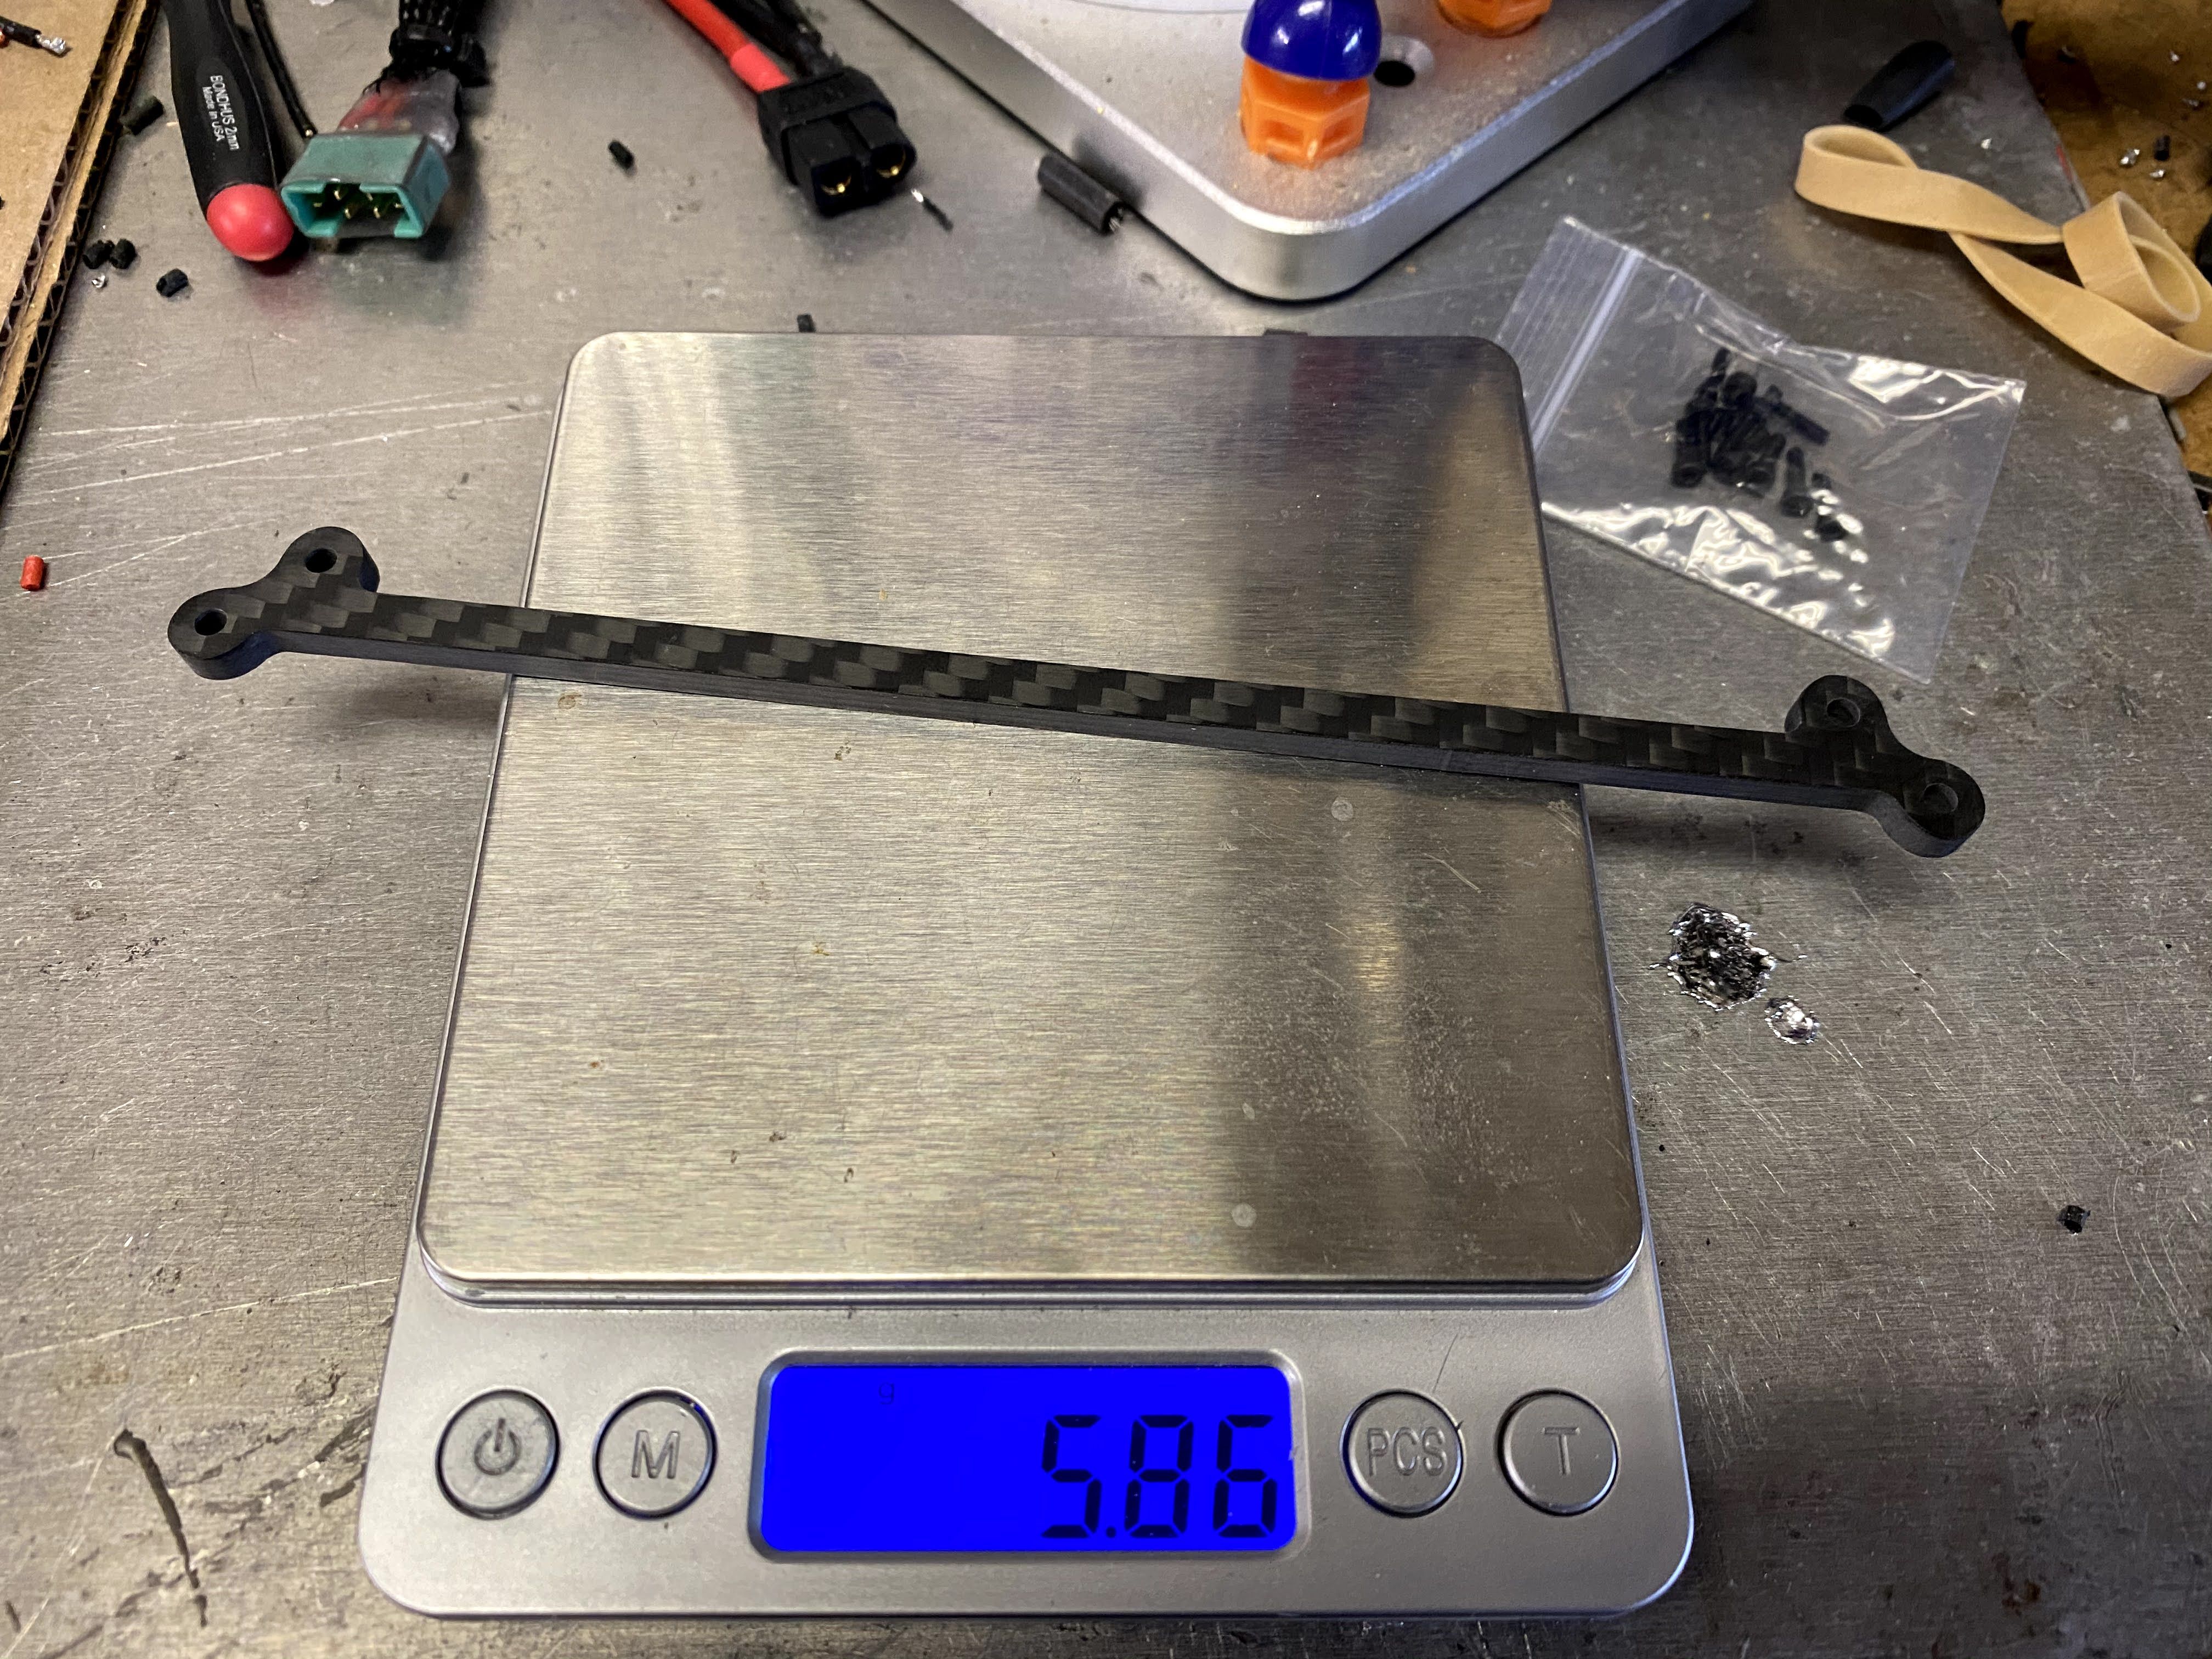
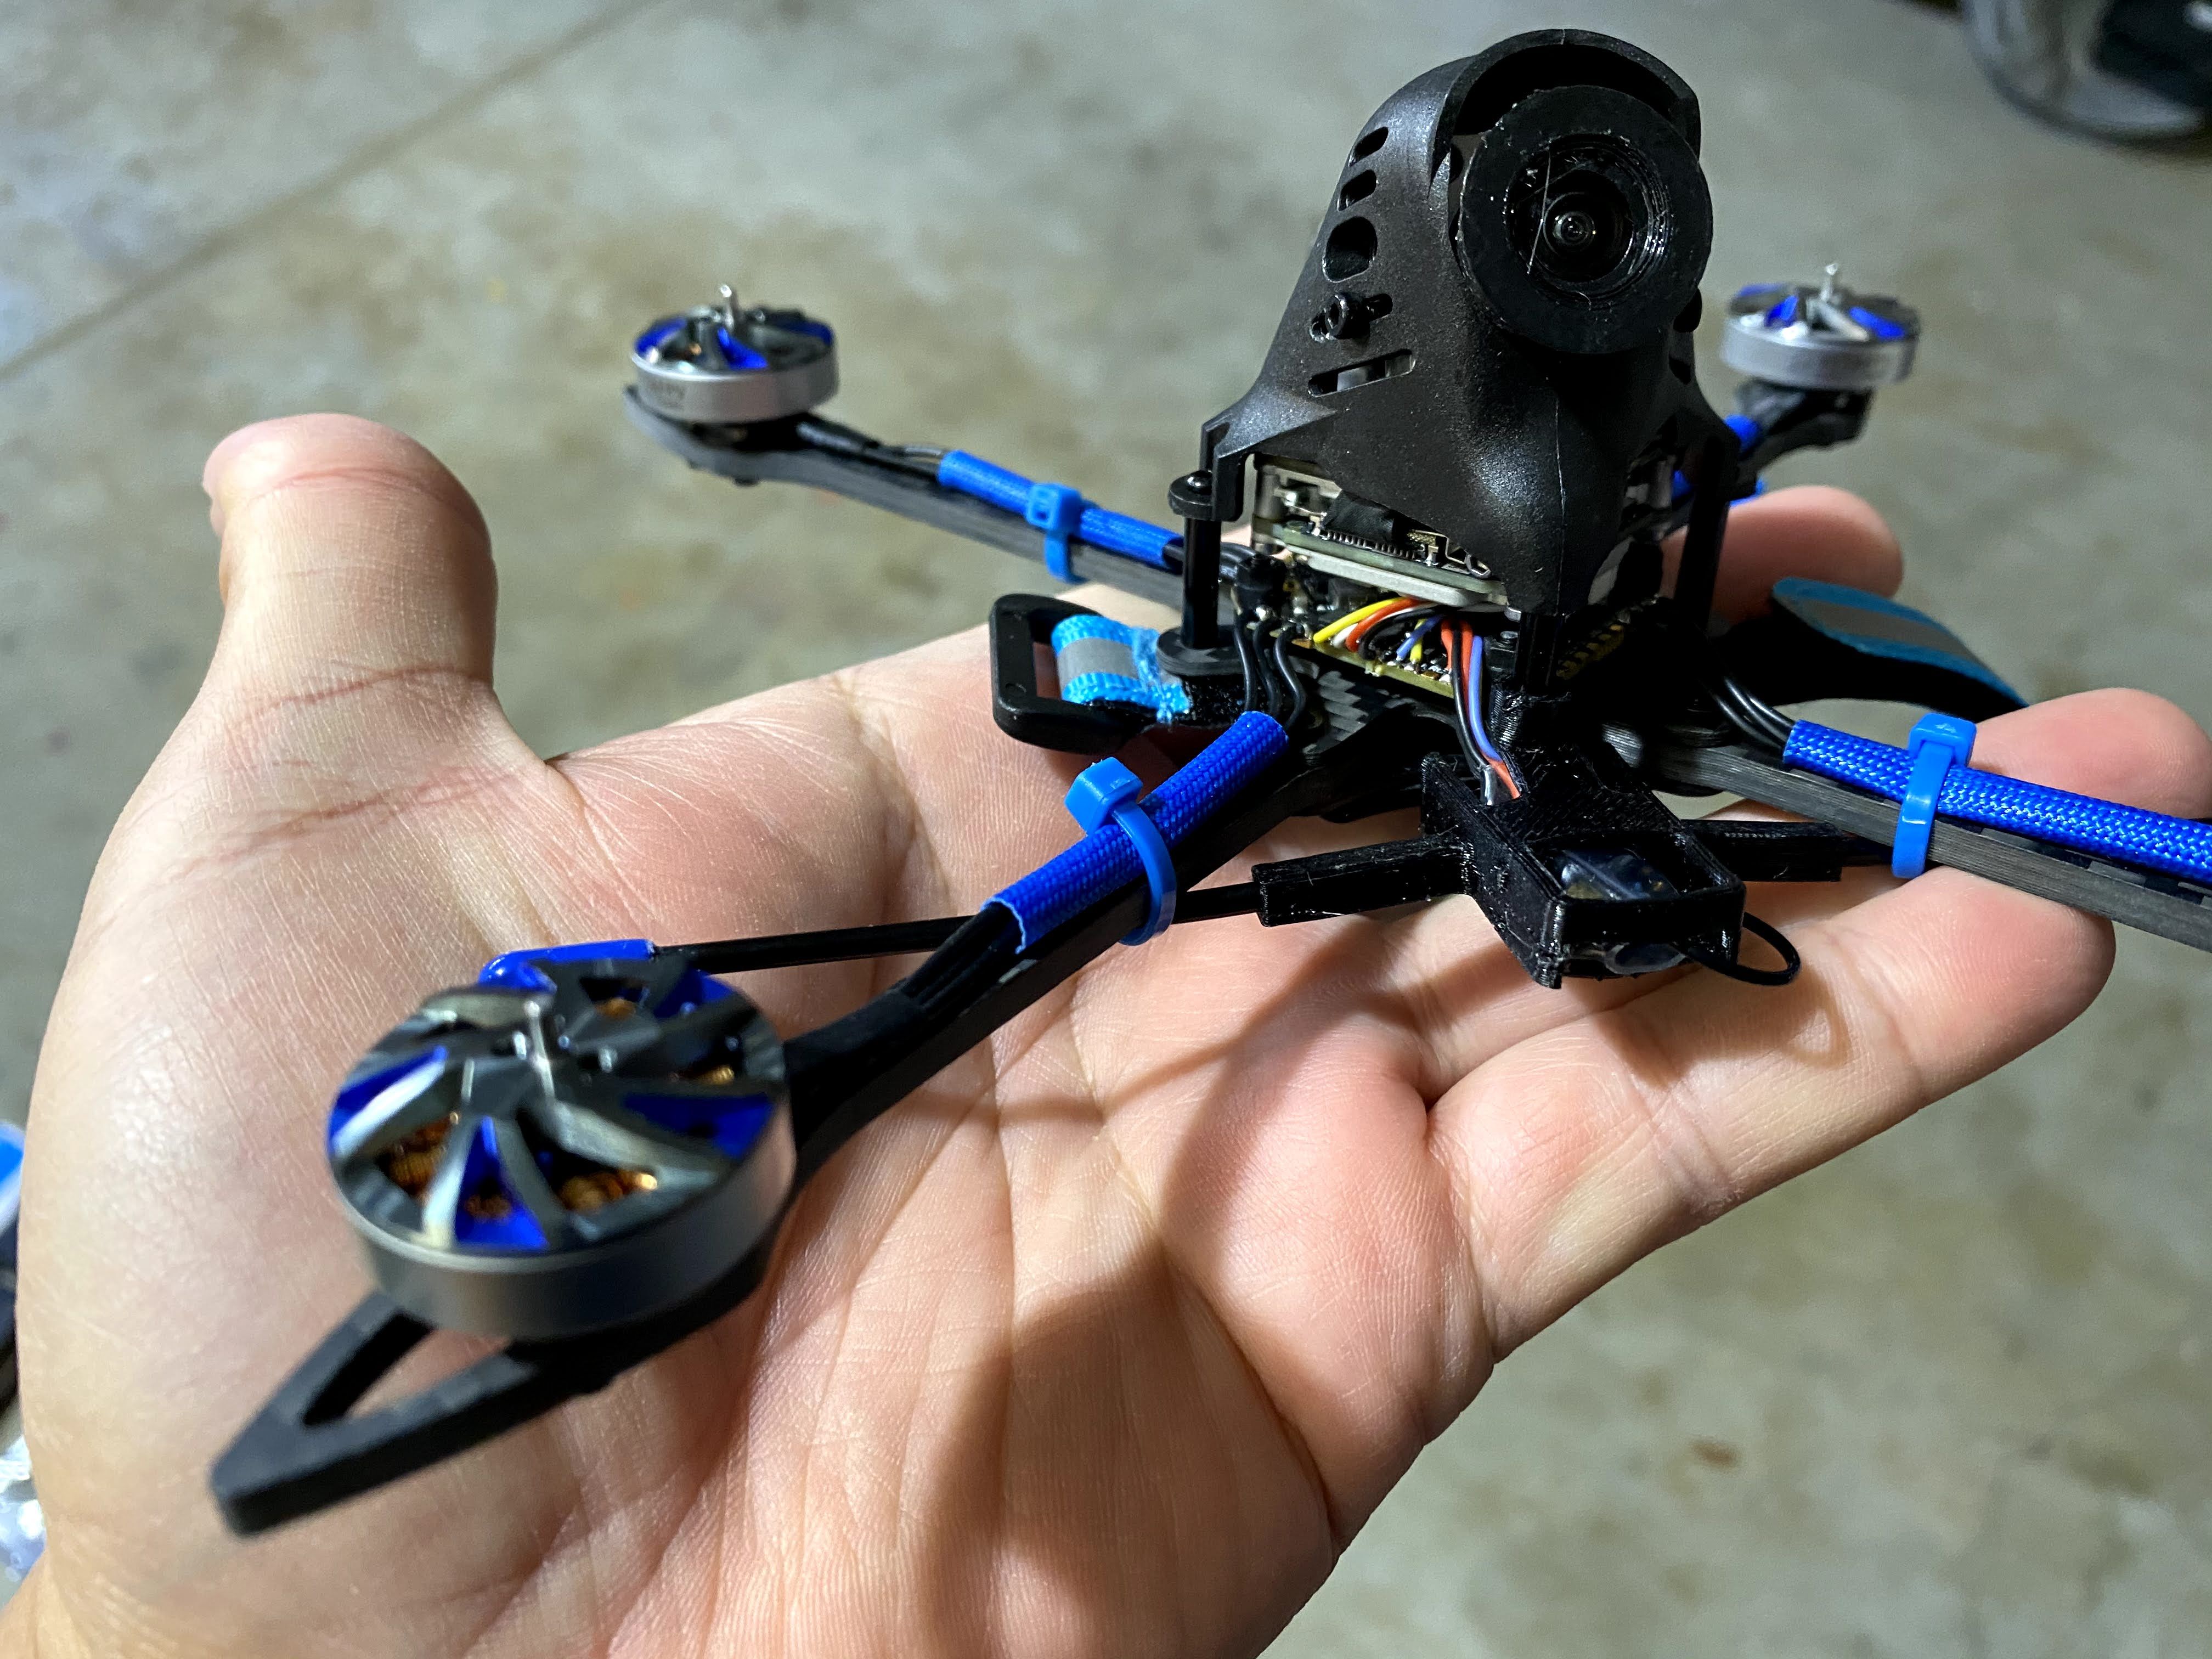
The final mod is the front and rear arm brace. Just looking at the toothpick arms scares the crap out of me. Even though this setup is super light for a 5” quad but I do think it will take much to snap those arms. I want to put some kind of brace for the arms and with my luck the Hyperlite Floss 3 brace kind of fits. Keep in mind, the brace is the 6” version so if you want to go this route, make sure you get the correct on. The holes on the brace are not perfectly match but its 3mm and the screw that goes through it is a M2, so you have some space for imperfection. The 2 inner holes from the brace lines up close enough to the front 2 motor mount screws and I used a zip tie for the remaining hole. I know the zip tie will not do much in a crash, but it might help with the rigidity of the frame during flight.
Betaflight Changes
I could be wrong, but from the videos I watched on YouTube, I was lead to believe that I should be using DSHOT300 because I am using a F411 Processors when running RPM filtering (BiDirectional DSHOT), but BetaFPV has it set to DSHOT600 instead. To be honest, it did fly it with those setting and it was fine, but I was getting oscillation. I did not really see any heavy vibration during flight, but I can hear it when I gave it more throttle. So made a few changes at the same time, so I do not know if any one change could have fixed it.
In the PIDs tab:
I enabled the sliders and moved the P/D Balance = 1.2
Turnerd OFF D Min
Then, in CLI I entered this:
set vbat_sag_compensation = 100
set vbat_pid_gain = off
save
At the same time, I also added the front and rear braces I mentioned early. So, the combination of these 3 things eliminated the oscillation that I was having.
Flight Times
We all know that flight time depends on the pilot but on average I am getting a minimum of 5 to 7 minutes of fast freestyle flying and up to 13 minutes of cruising (around 20 mph) with a BetaFPV 550mah 6s Lipo. I am very impressed with those flight times and it seems like the recommend lipo is a perfect fit.
First Crash
This little guy did not do too well after its first crash. At first, I thought the arms was the weakest points but after putting on the braces and forcefully twisting the frame to see how stiff it is. You can totally tell that all the flex is coming for the center of the frame. When switched out the aluminum standoff to shorter plastic ones I thought that might be another weak point. But after seeing the results from the crash it was the canopy that gave out first.
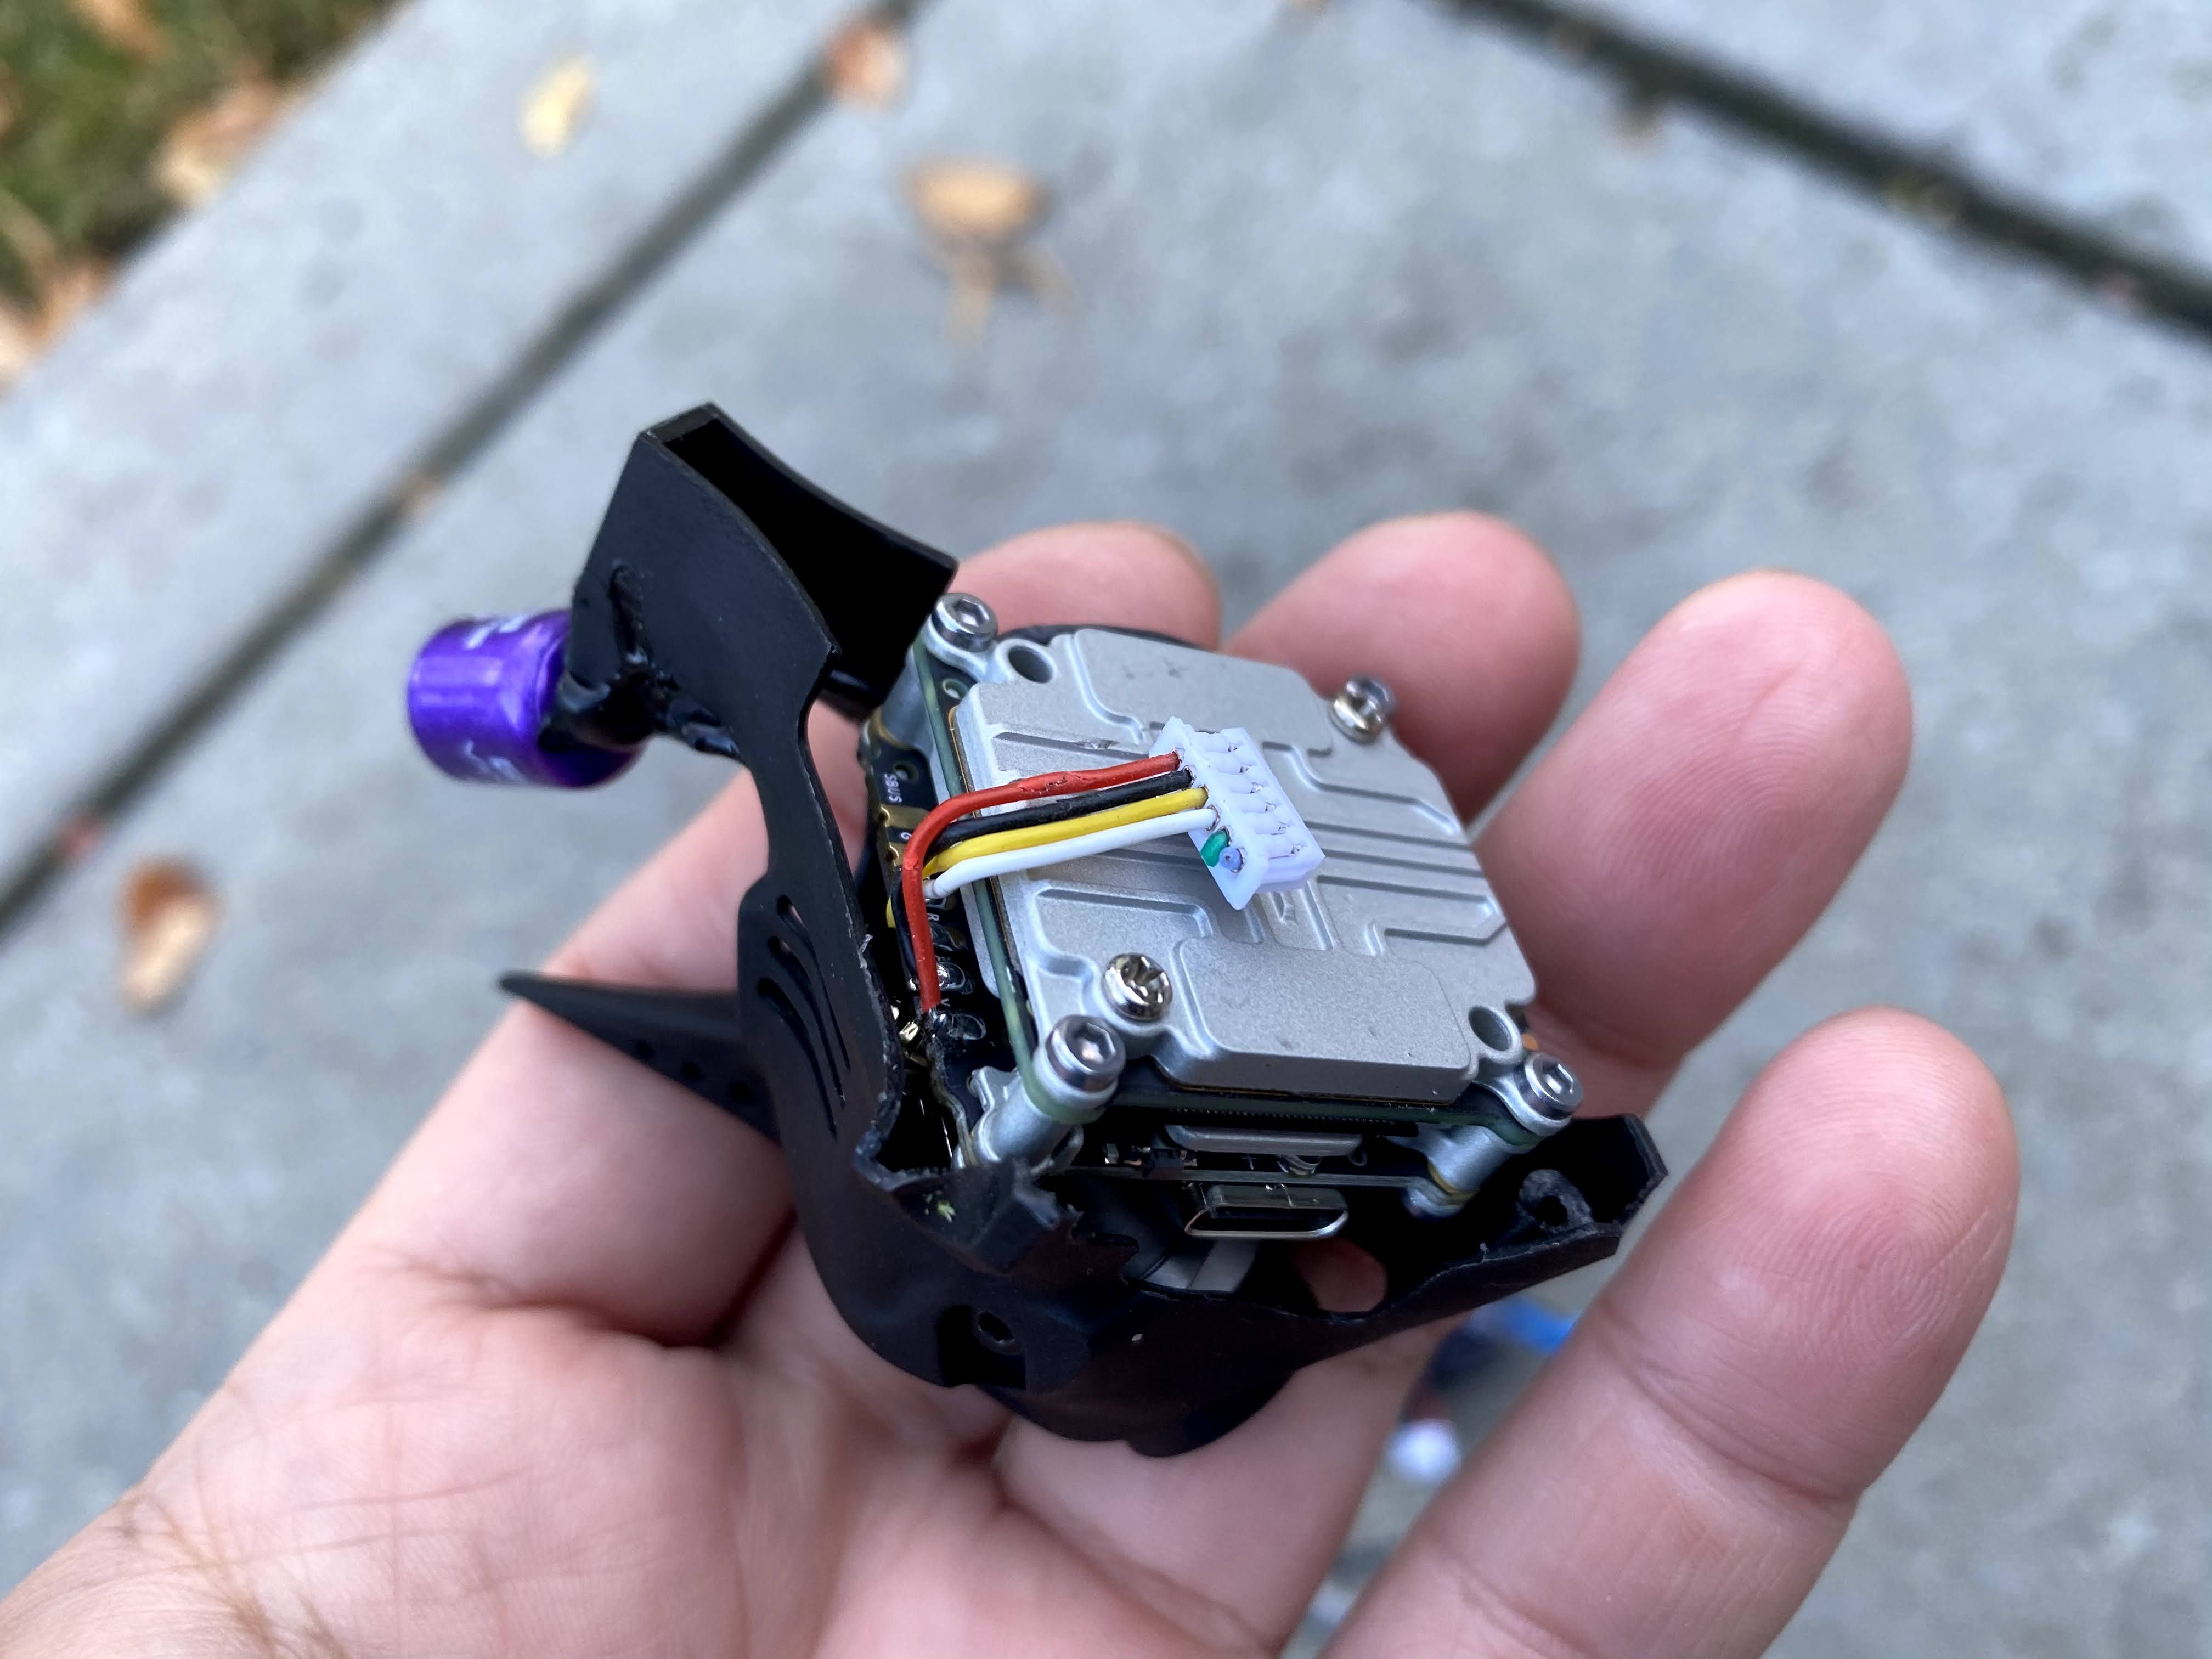
What happen in this crash? I flew directly into a tall tree, I tried to pull up, but I was not able to clear it in time and clipped a branch. There was no chance of recovery because when I hit the branch the front left prop just disappeared, and the only thing left was the 2 screws (at least the motor is still good). Then it spiraled into the ground and the impact separated the canopy from the frame.
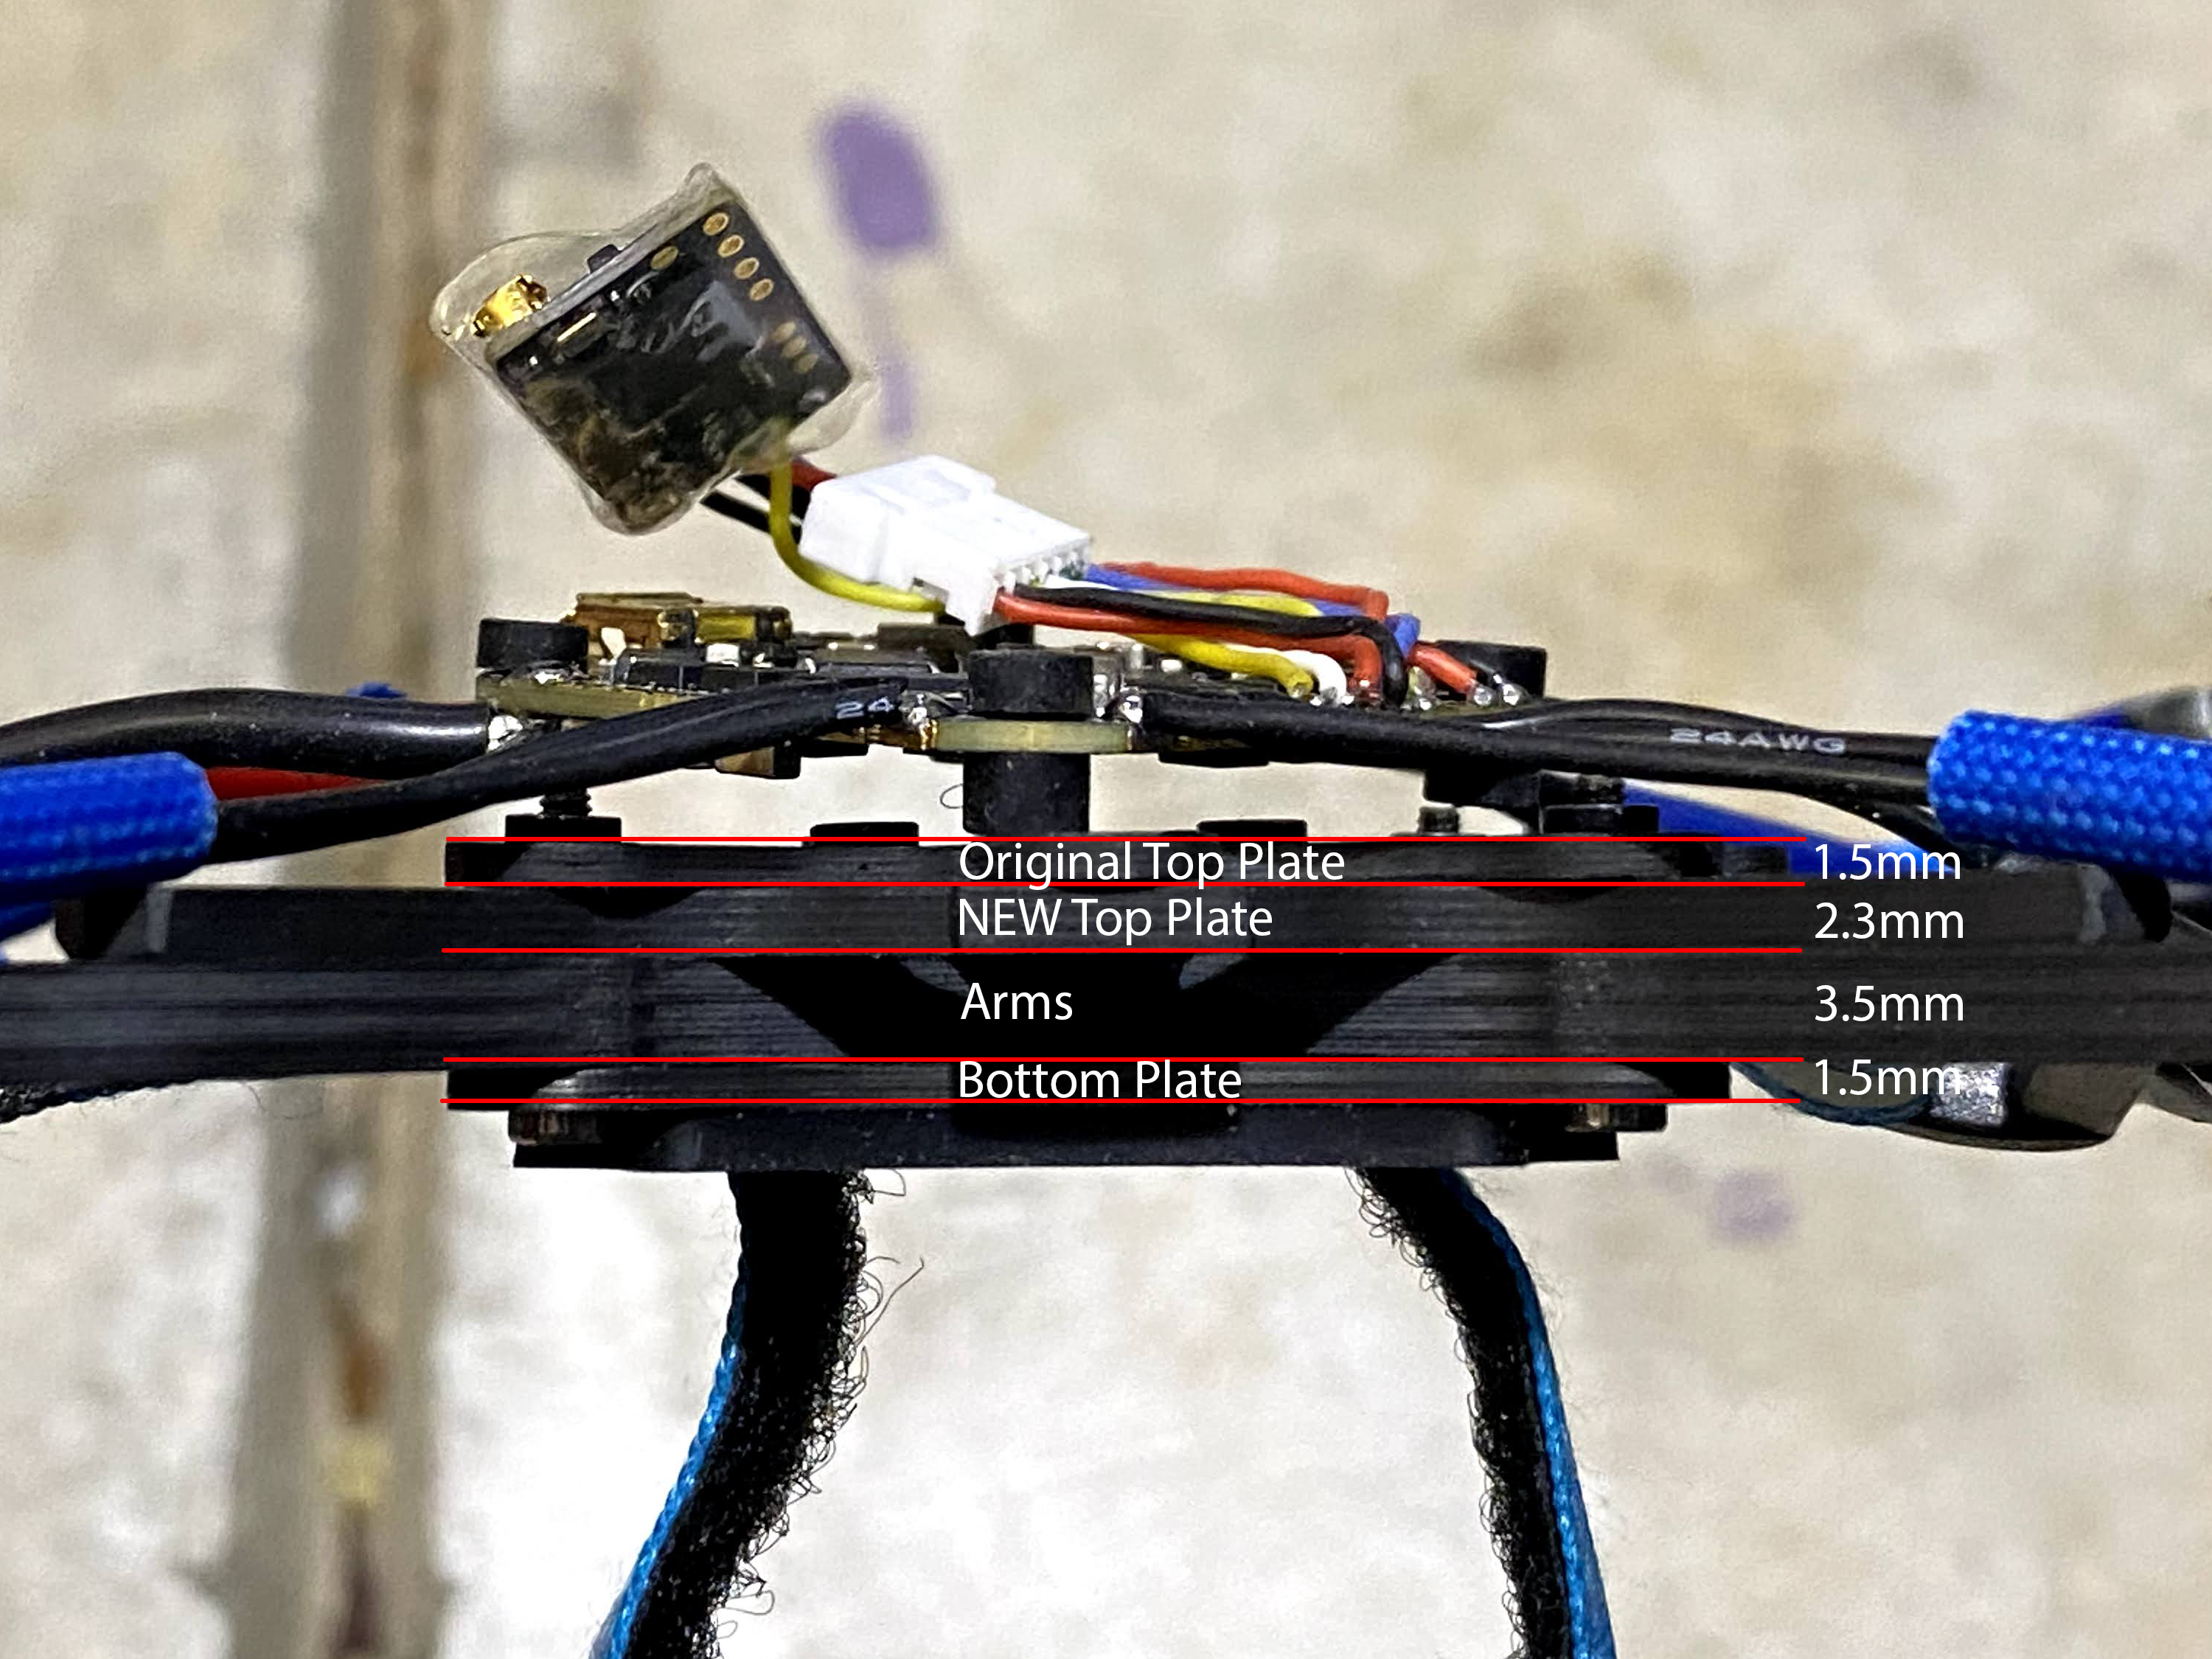
Other than the missing prop the only thing that was damaged was the top plate for the frame. One of the tabs that holds the canopy broke. Good thing I only needed 3 of the 4 tabs, so I cut the broken one off and turned it 45 degrees and it is good to go. However, that is not okay for my standard and I will need to reinforce it before I will fly it again. Unfortunately, I will need to go back to the original canopy because it seems to be less brittle. Also, I am planning to add another carbon fiber top plate that is thicker and hopefully it will be a bit stronger too.
Here is a youtube link to watch the crash.
Repair / Upgrades
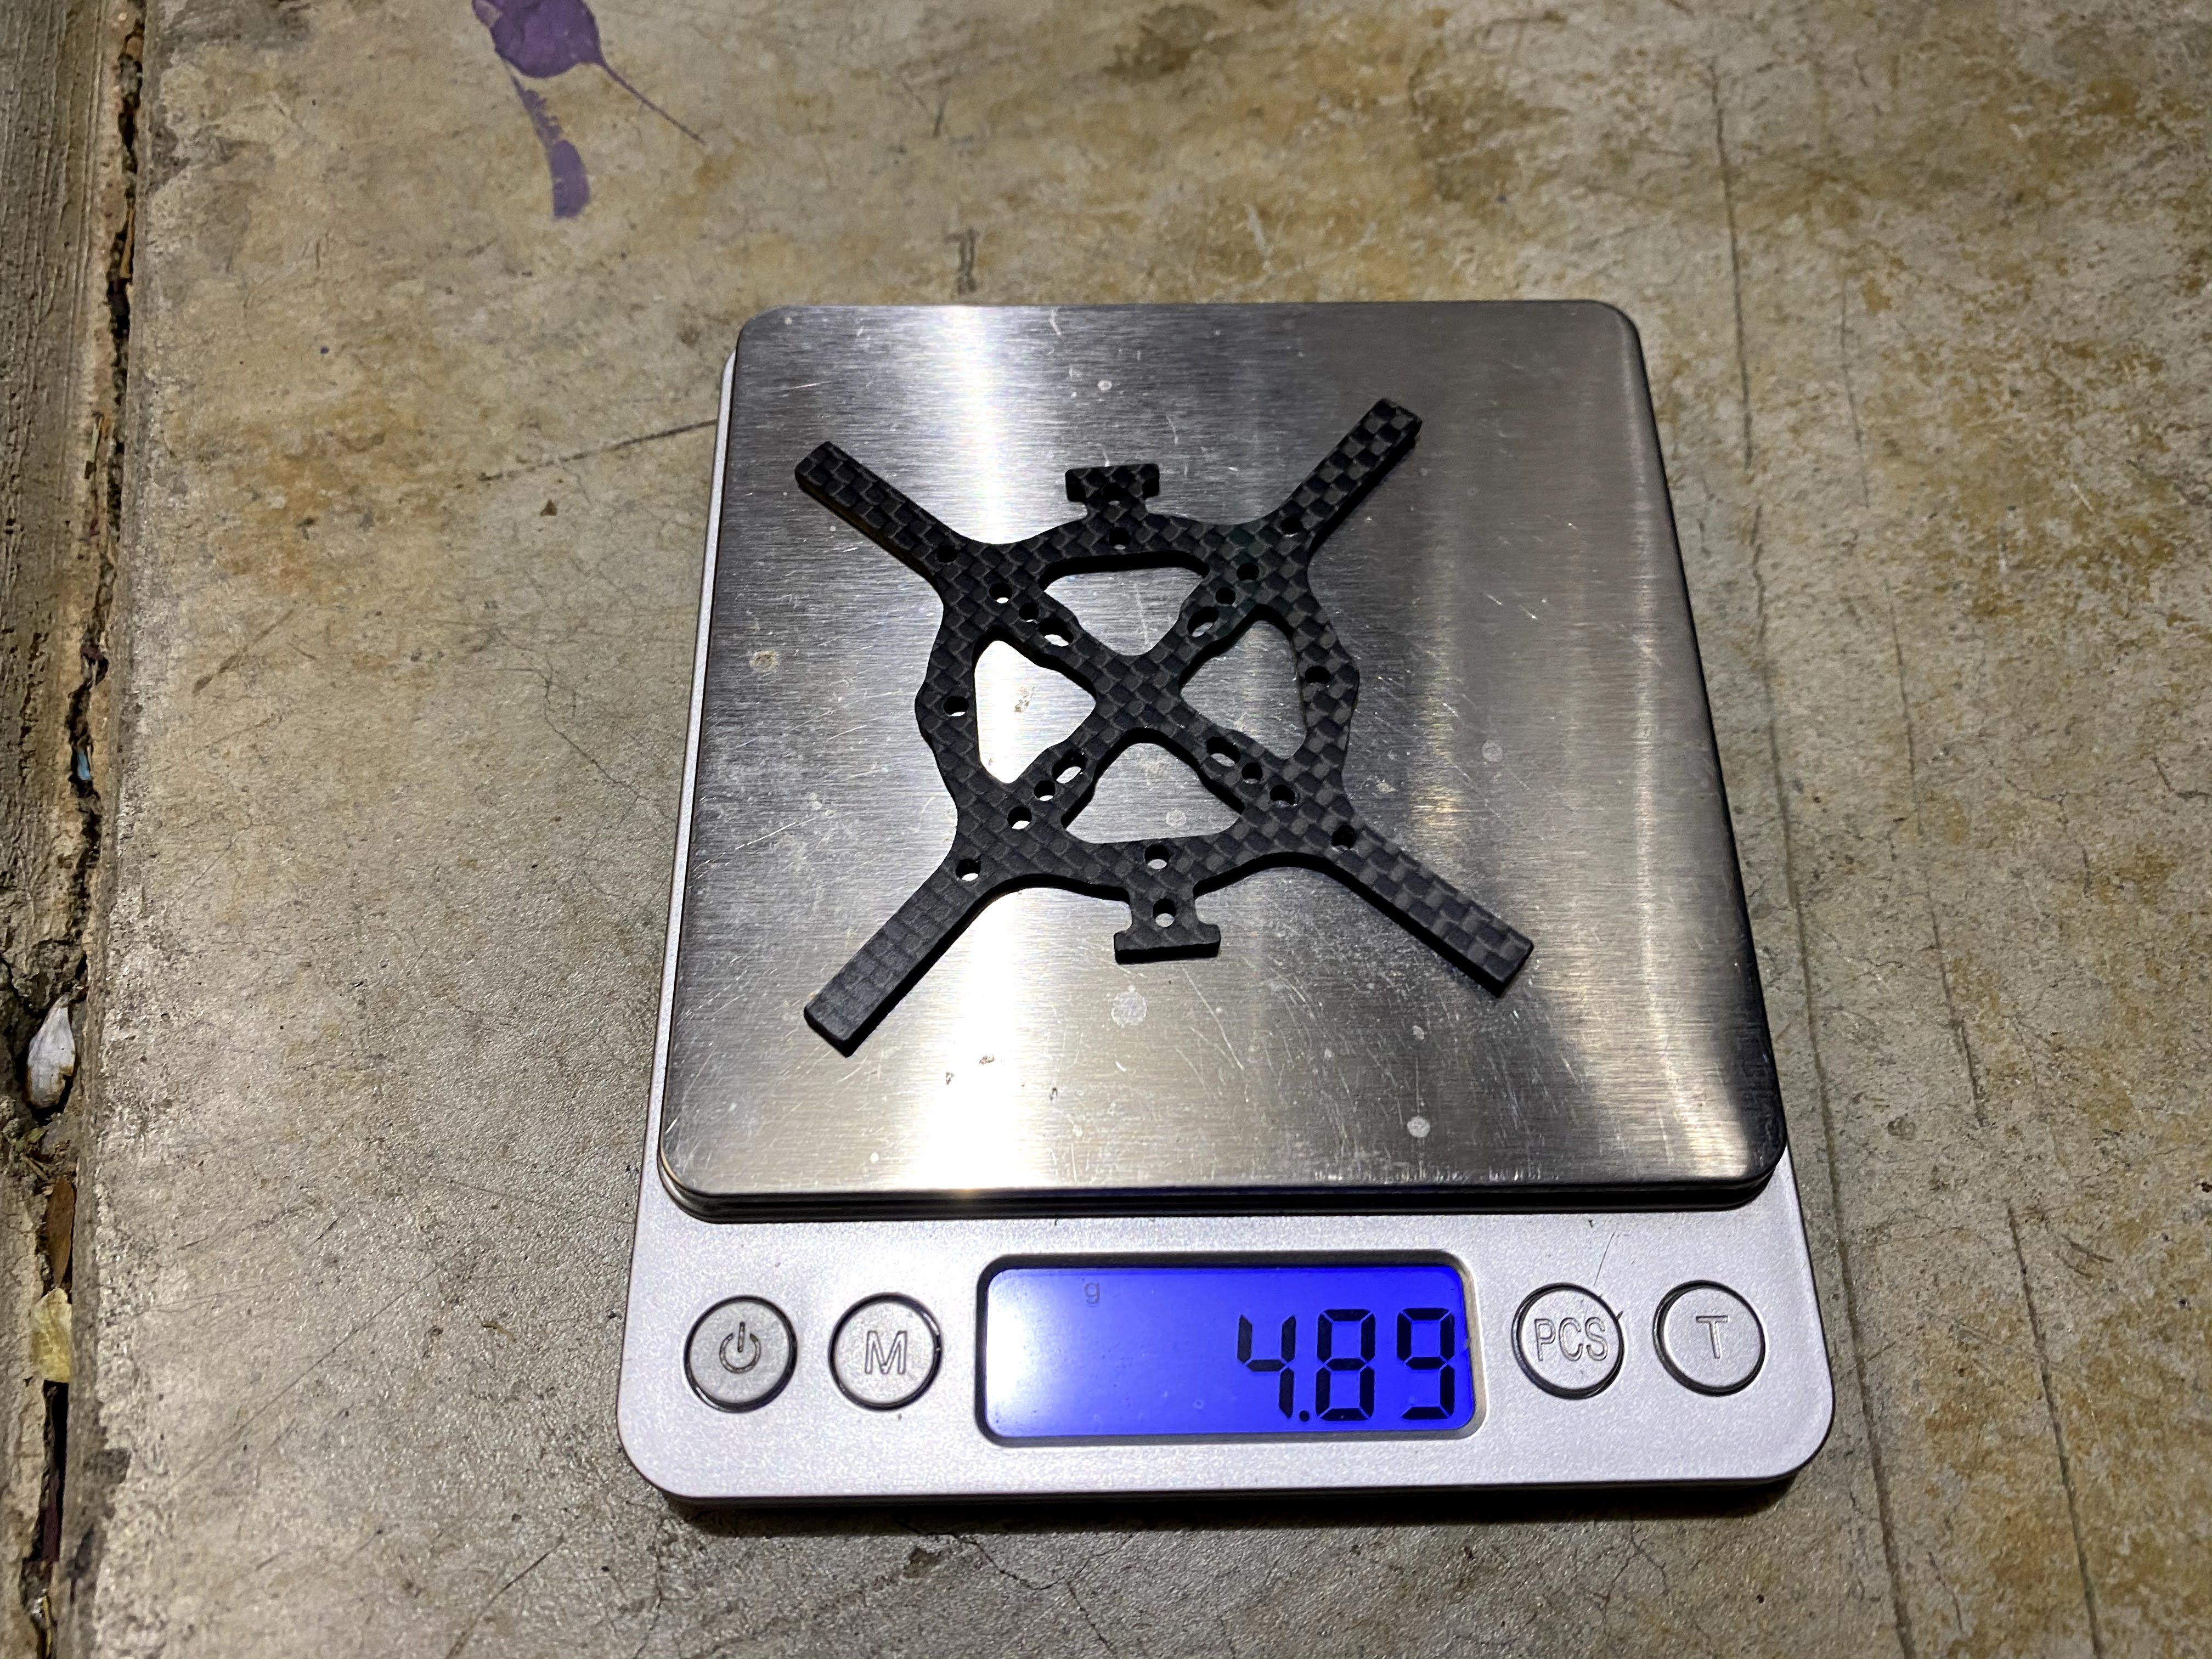
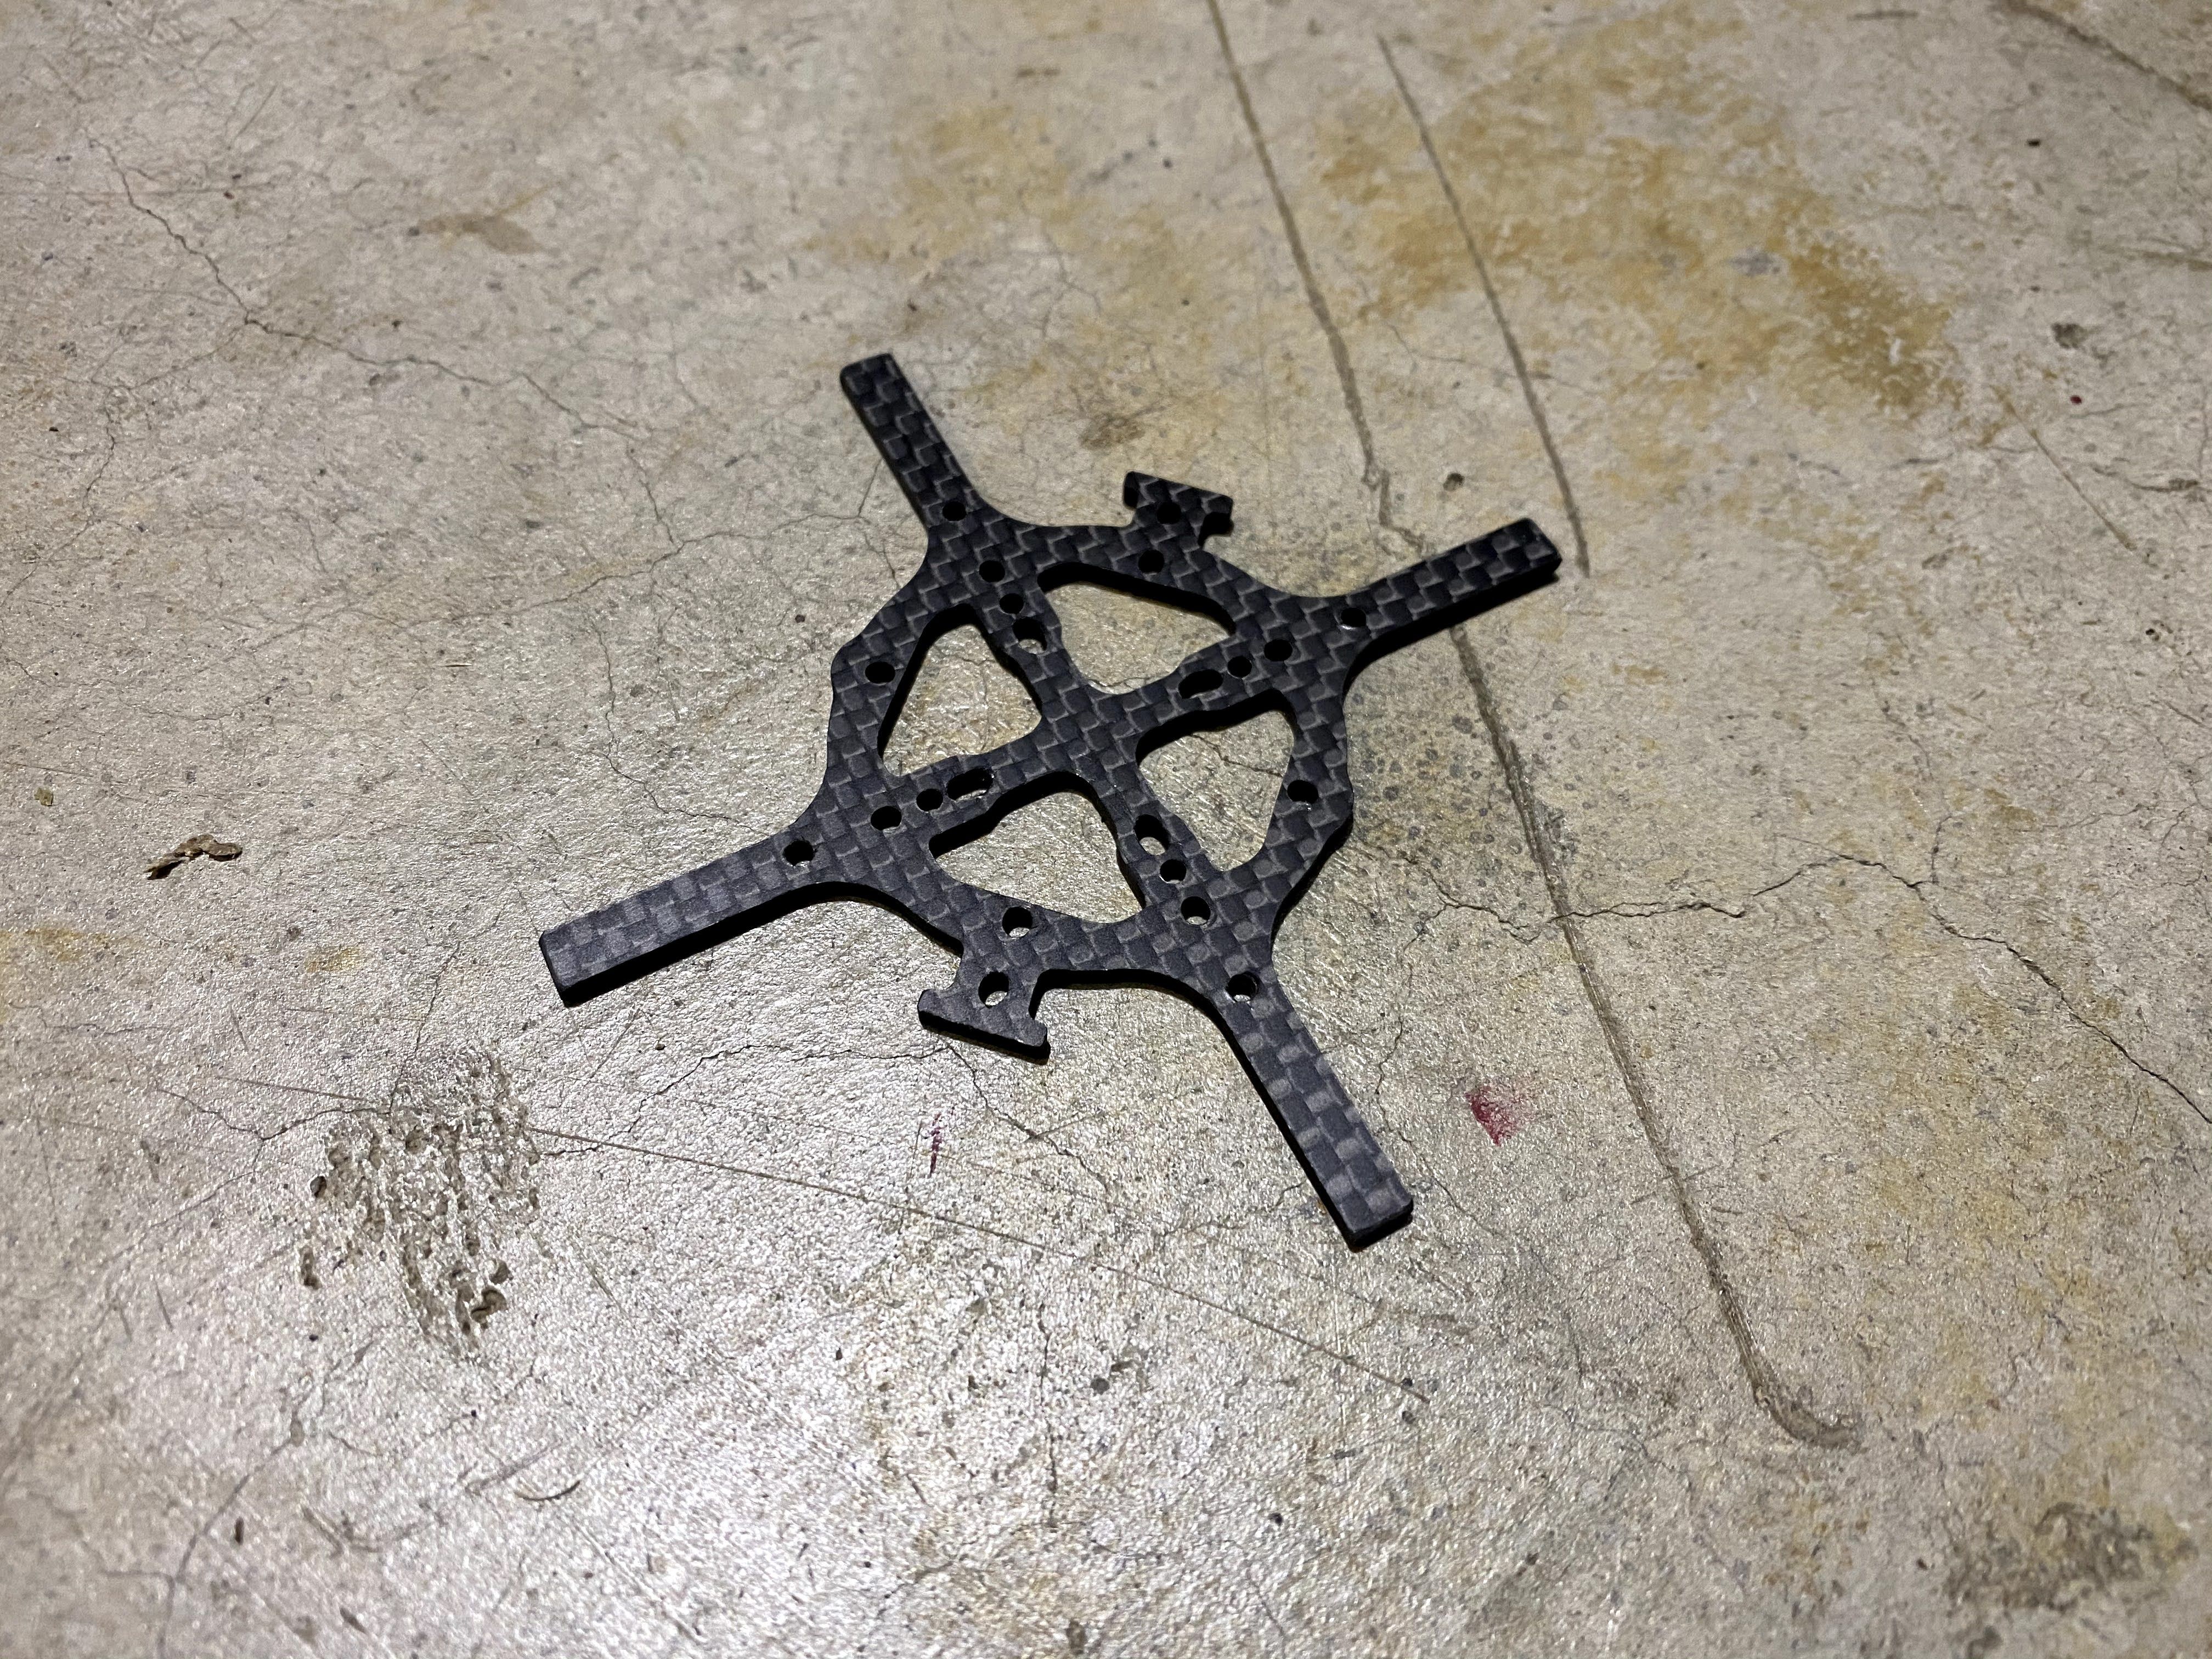
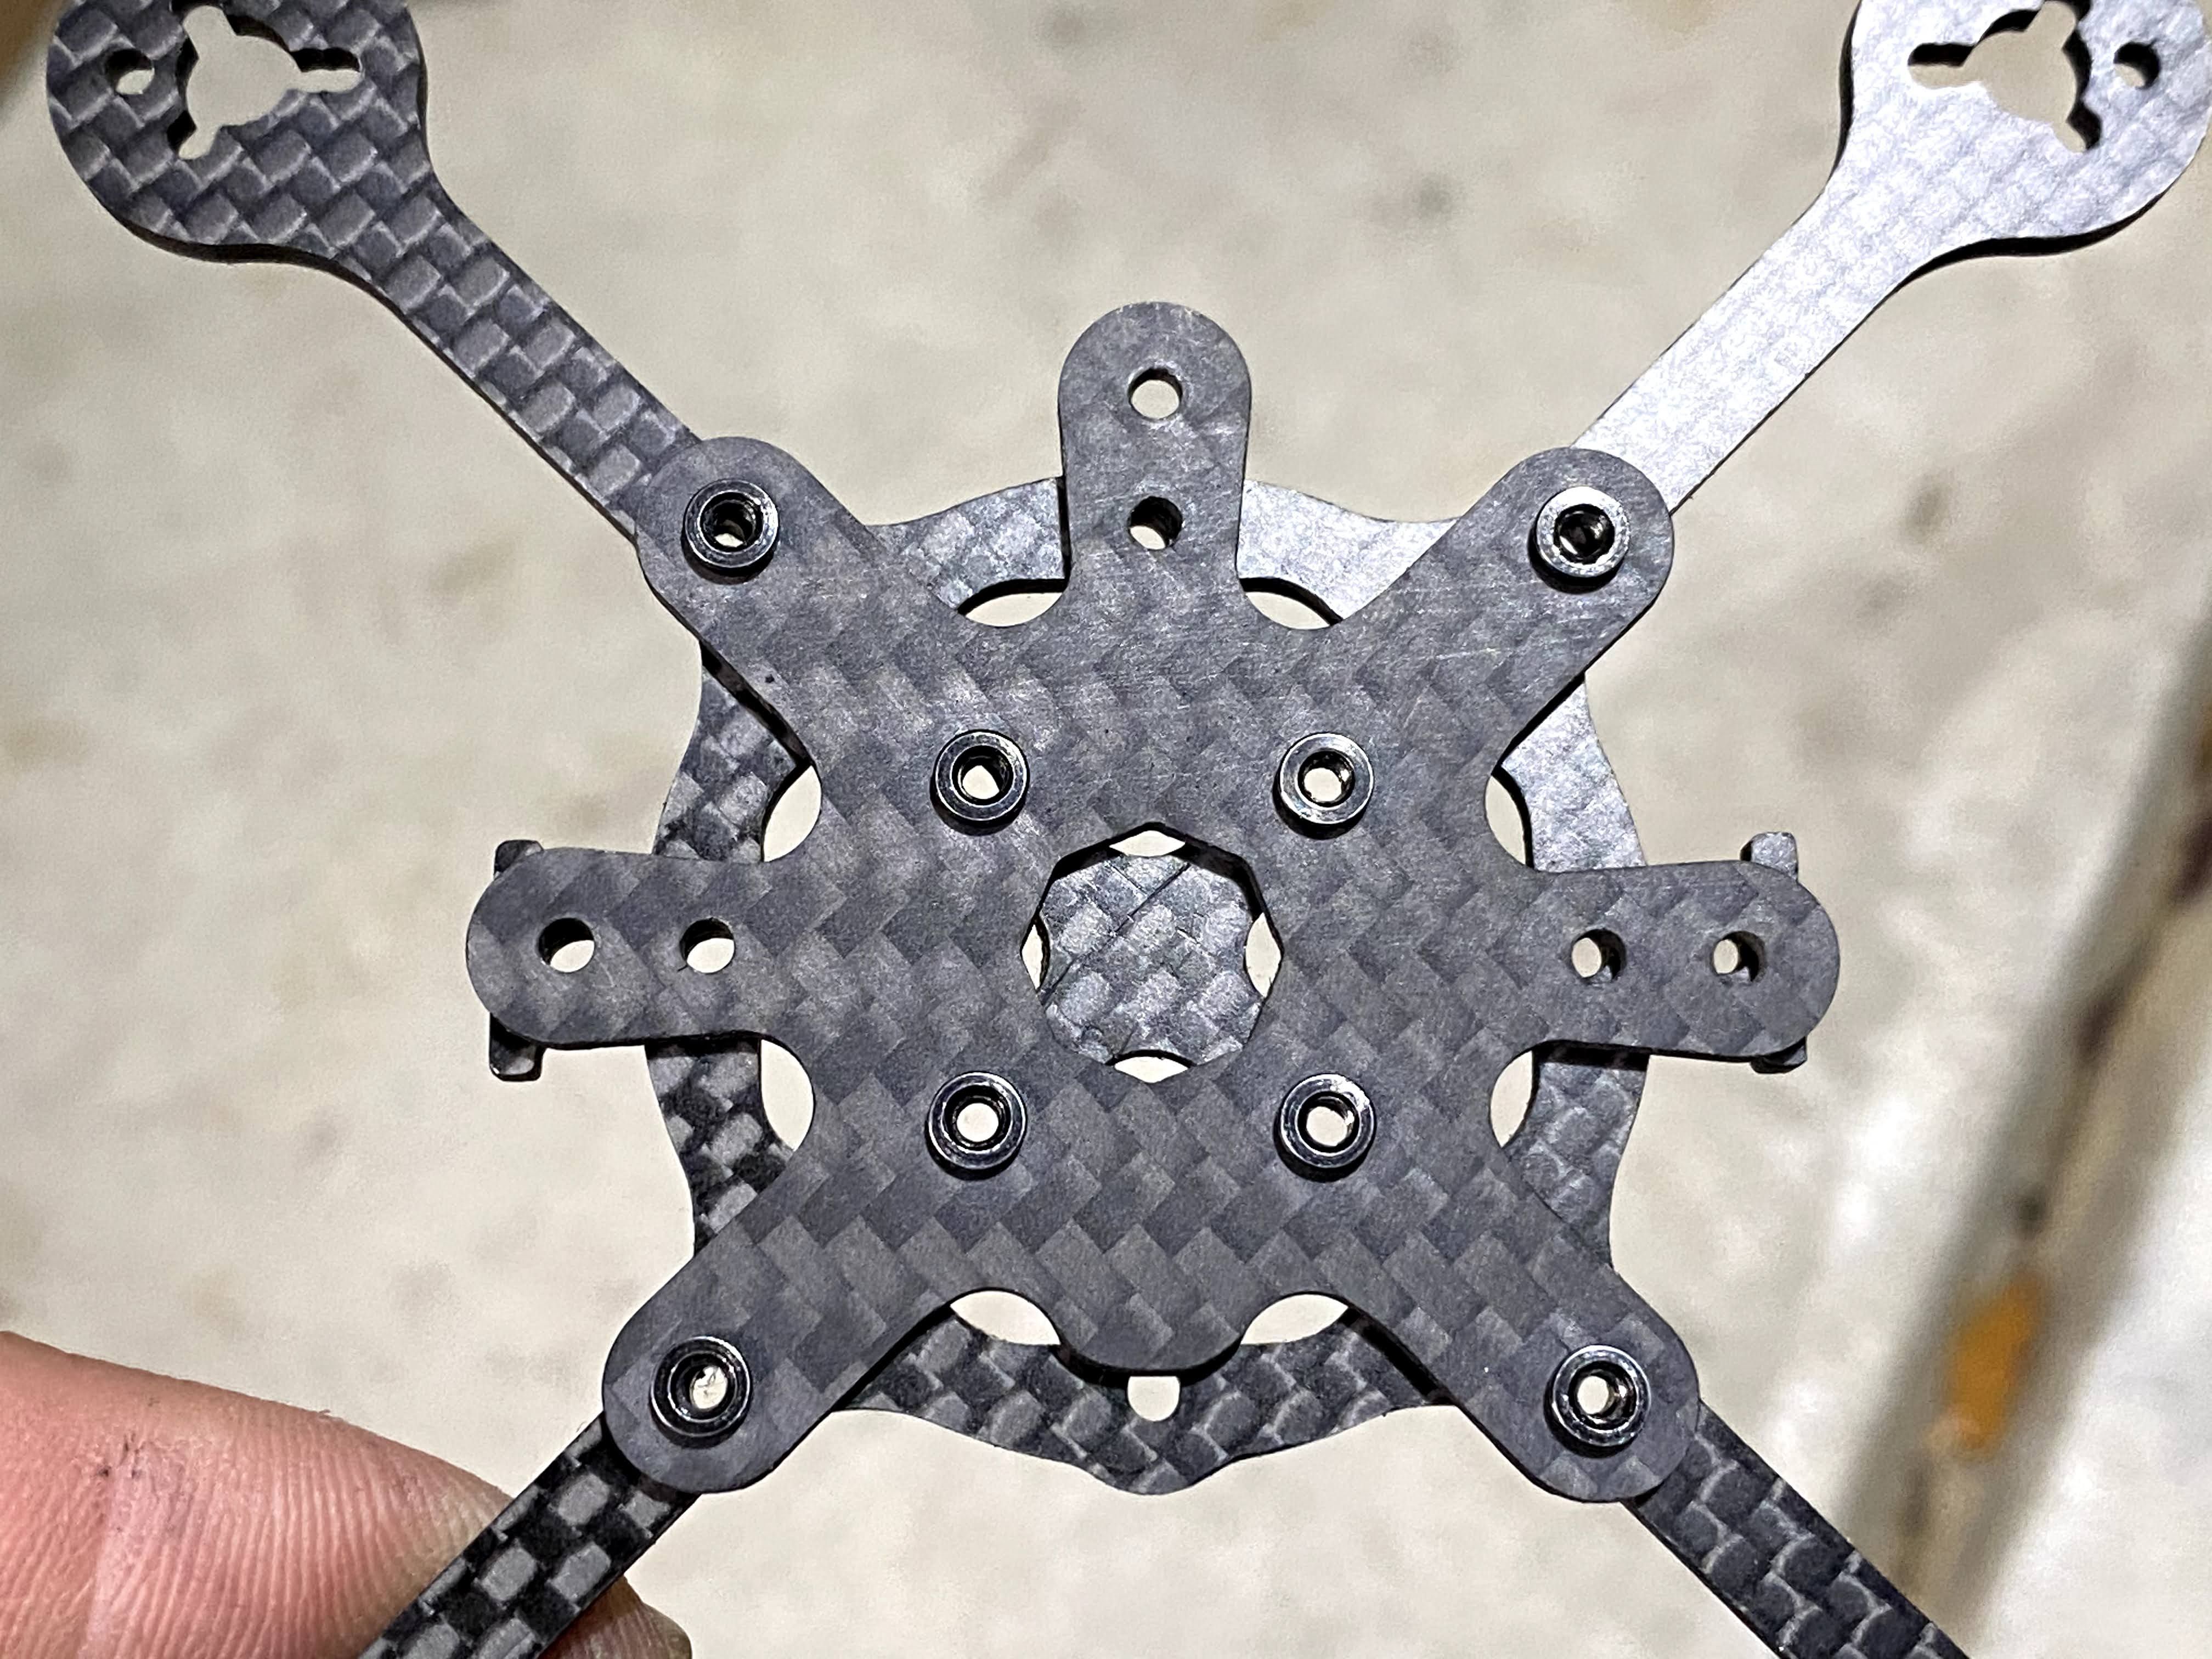
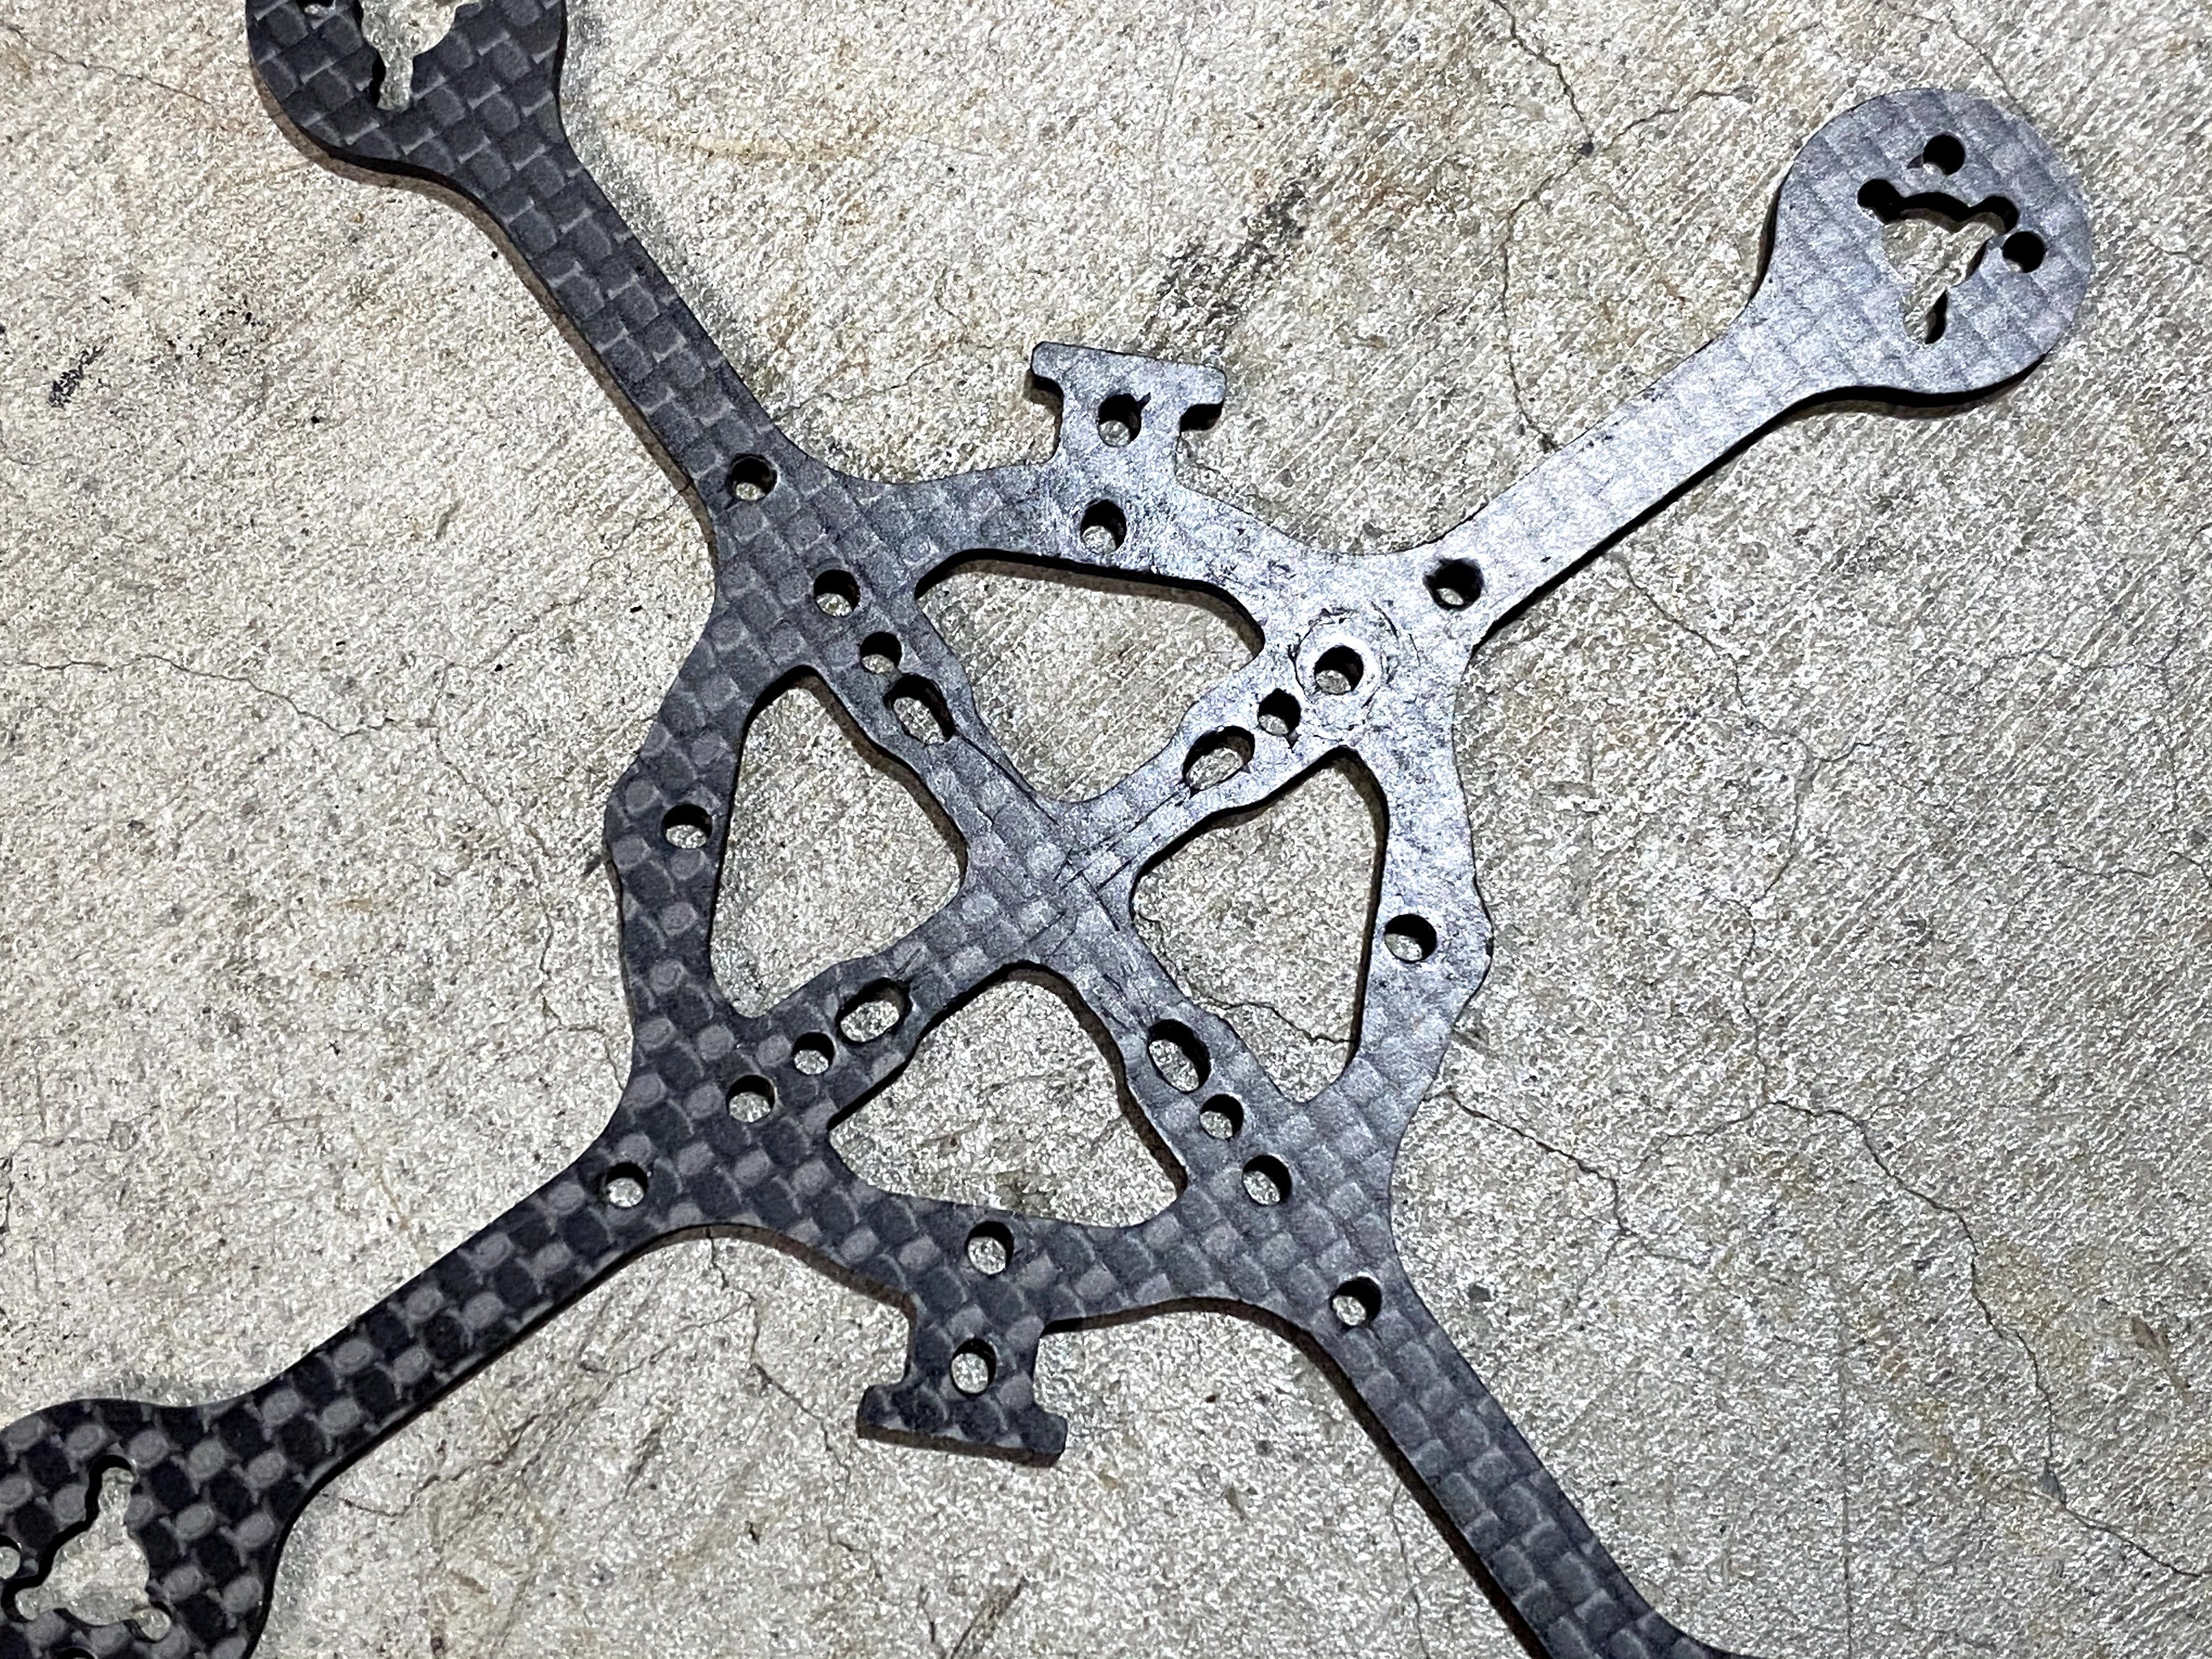
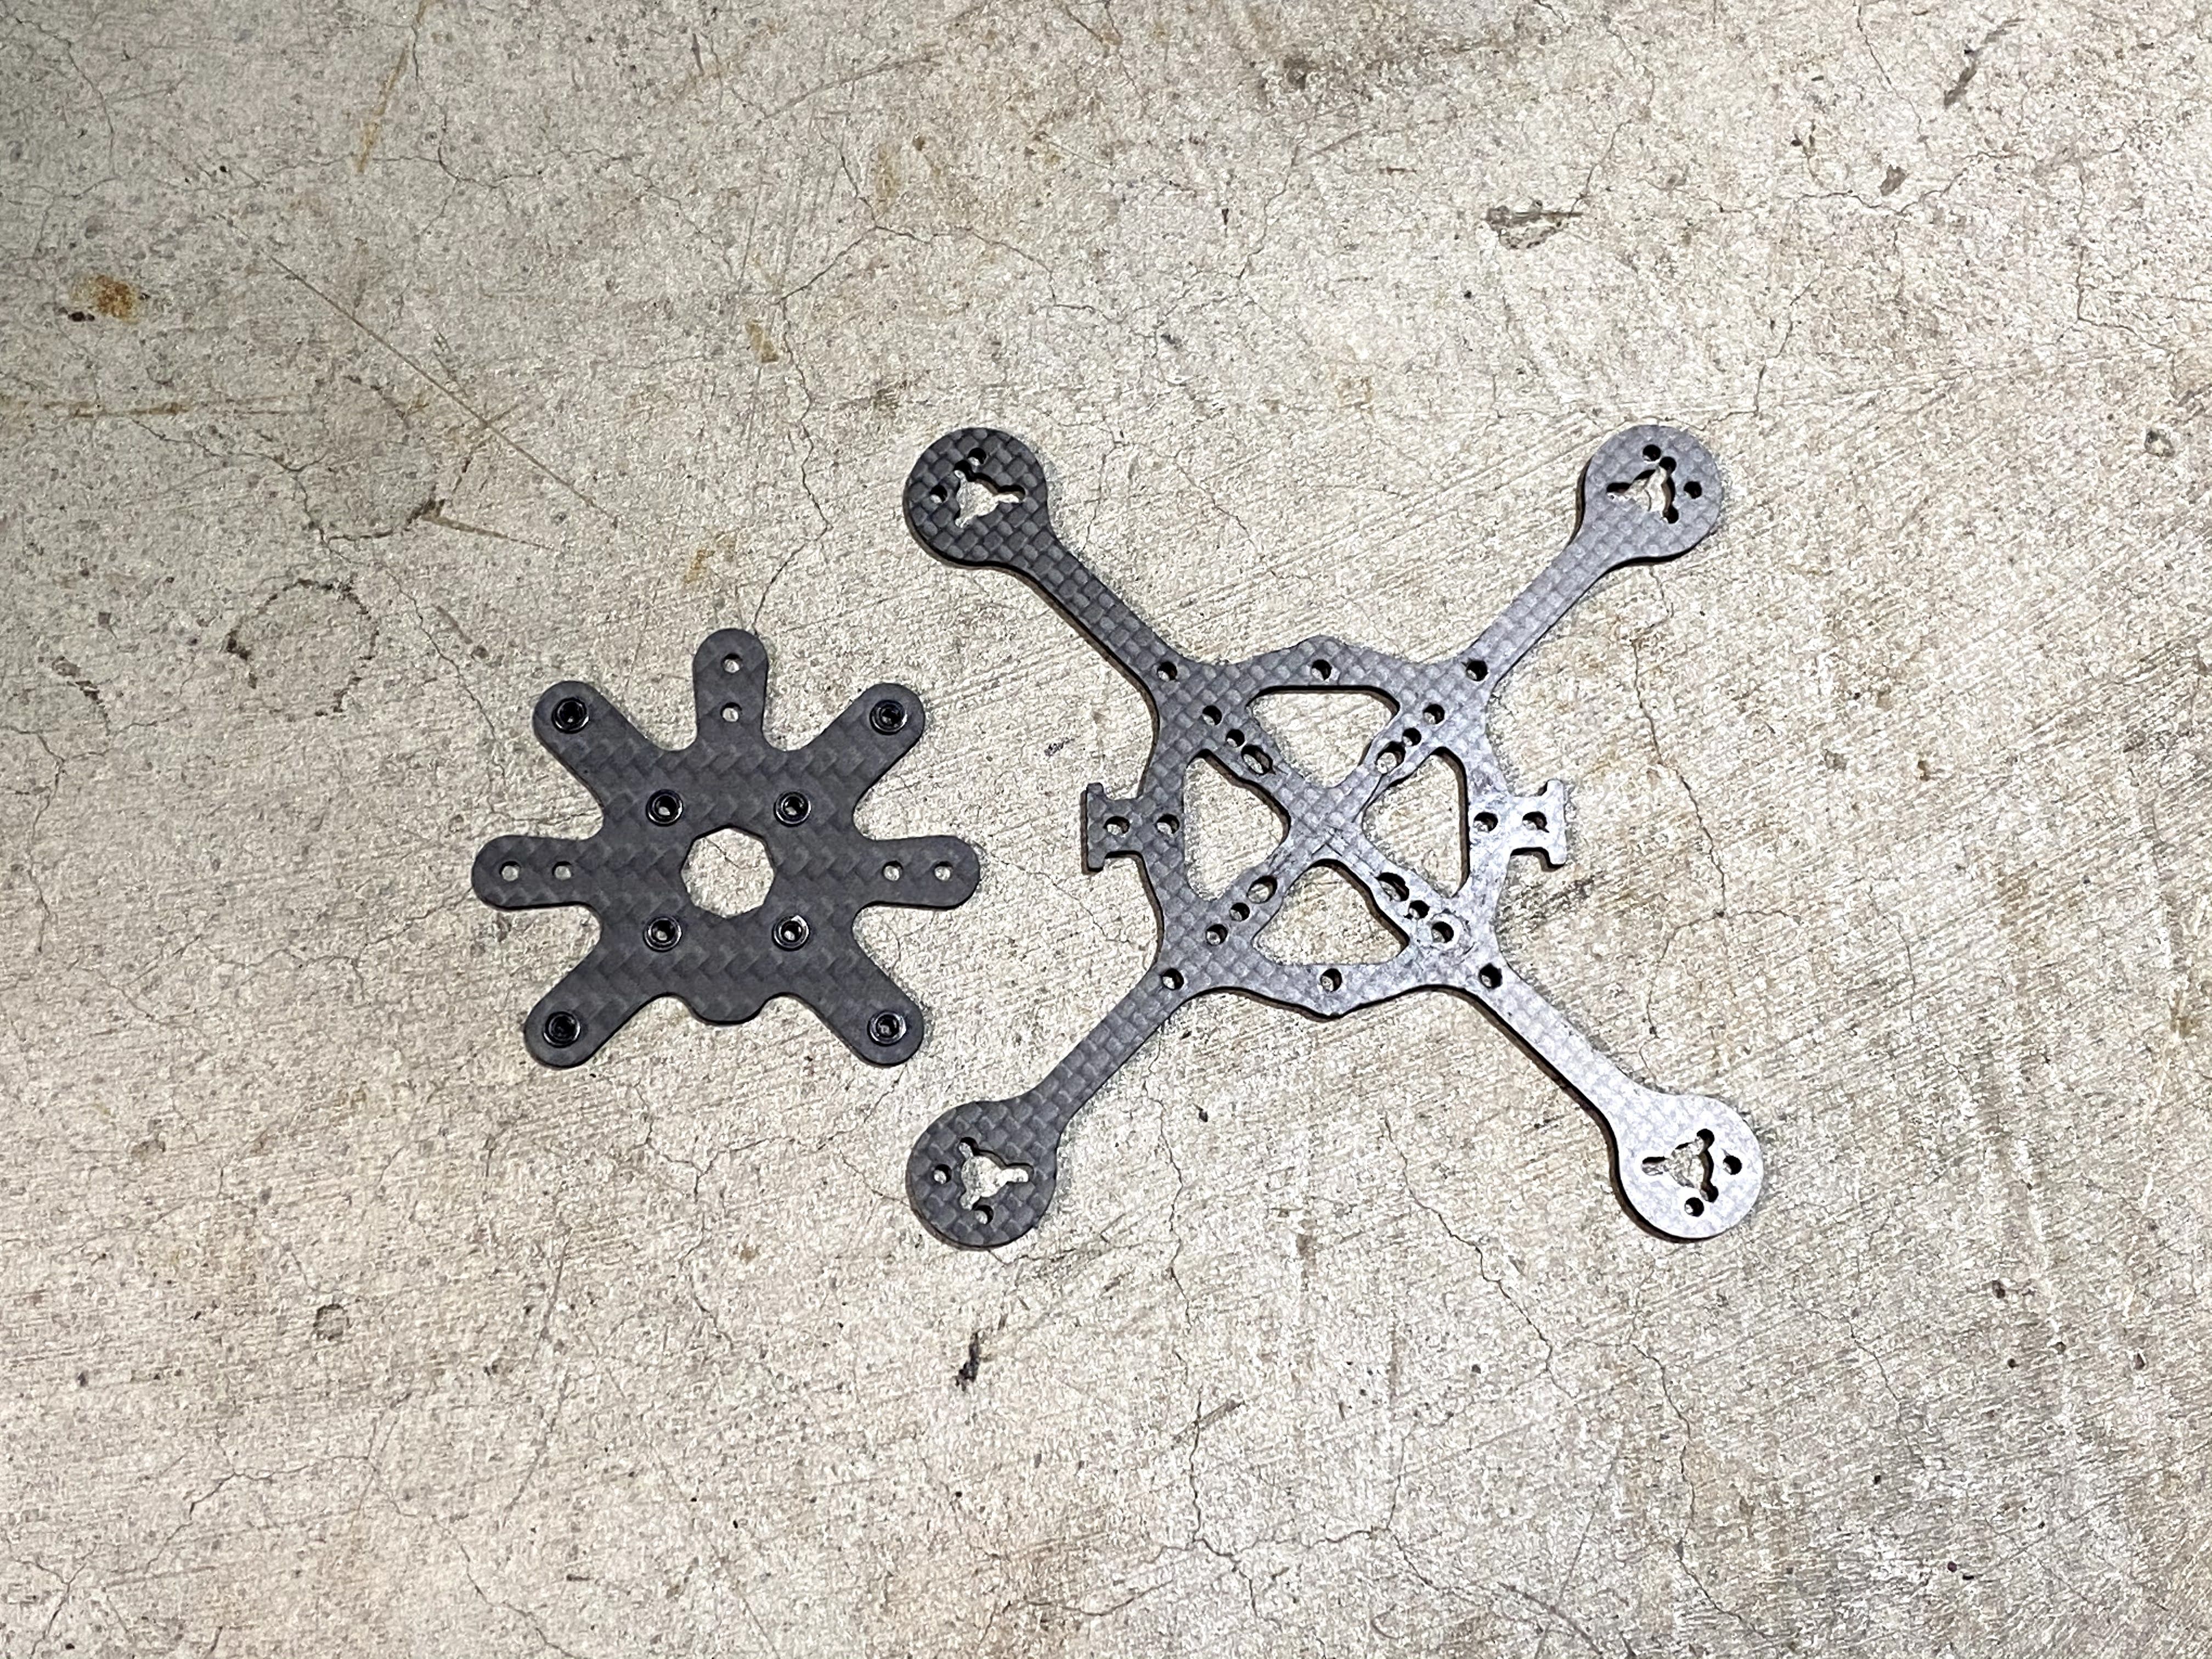
I added a top plate to stiffen up the frame and give the canopy more support. In order for me to do this, I used a FlexRC Simple X frame because most of the holes were very close to what I needed. All I needed to do was enlarge a few holes and cut the ends off. The original top plate is 1.5mm thick, plus the new 2.3mm top plate, which makes the total thickness of 3.7mm. With the added support the frame feels a lot stiffer and with minumal flexing. Because I added a new top plate the original screws are too short. The only thing I have are cap screws and it seems to fit fine.
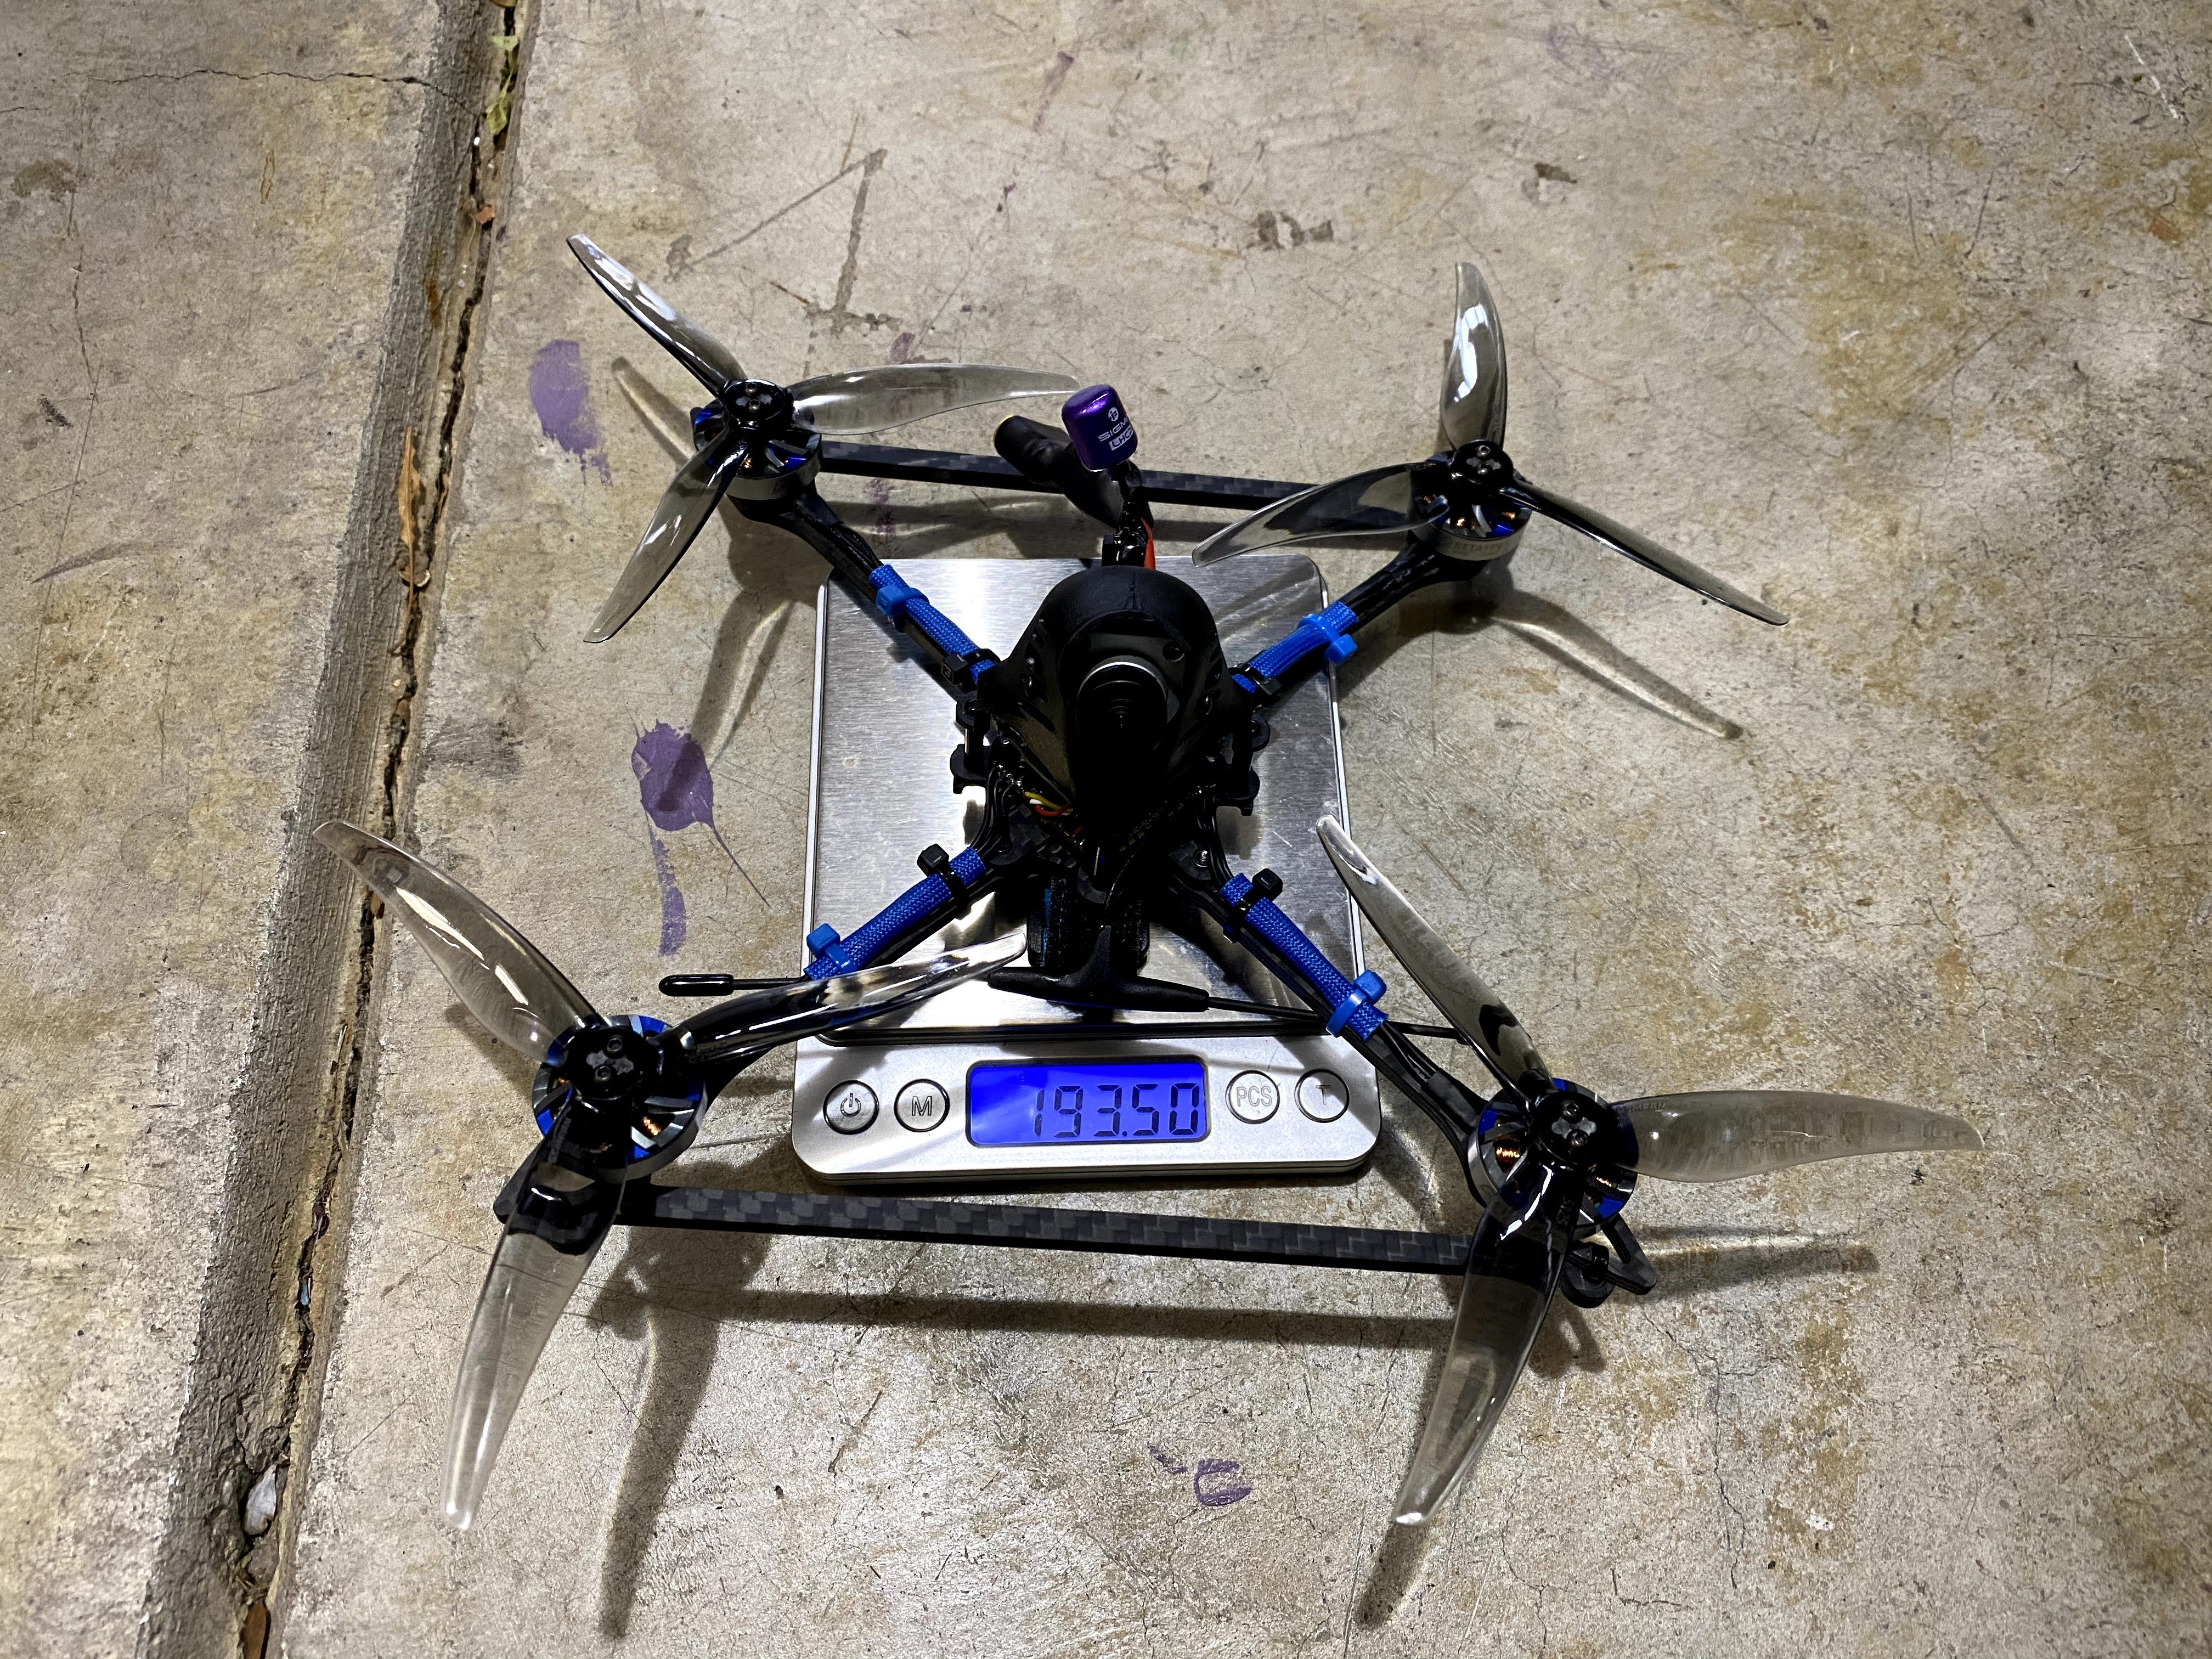
Second pack after the upgrades:
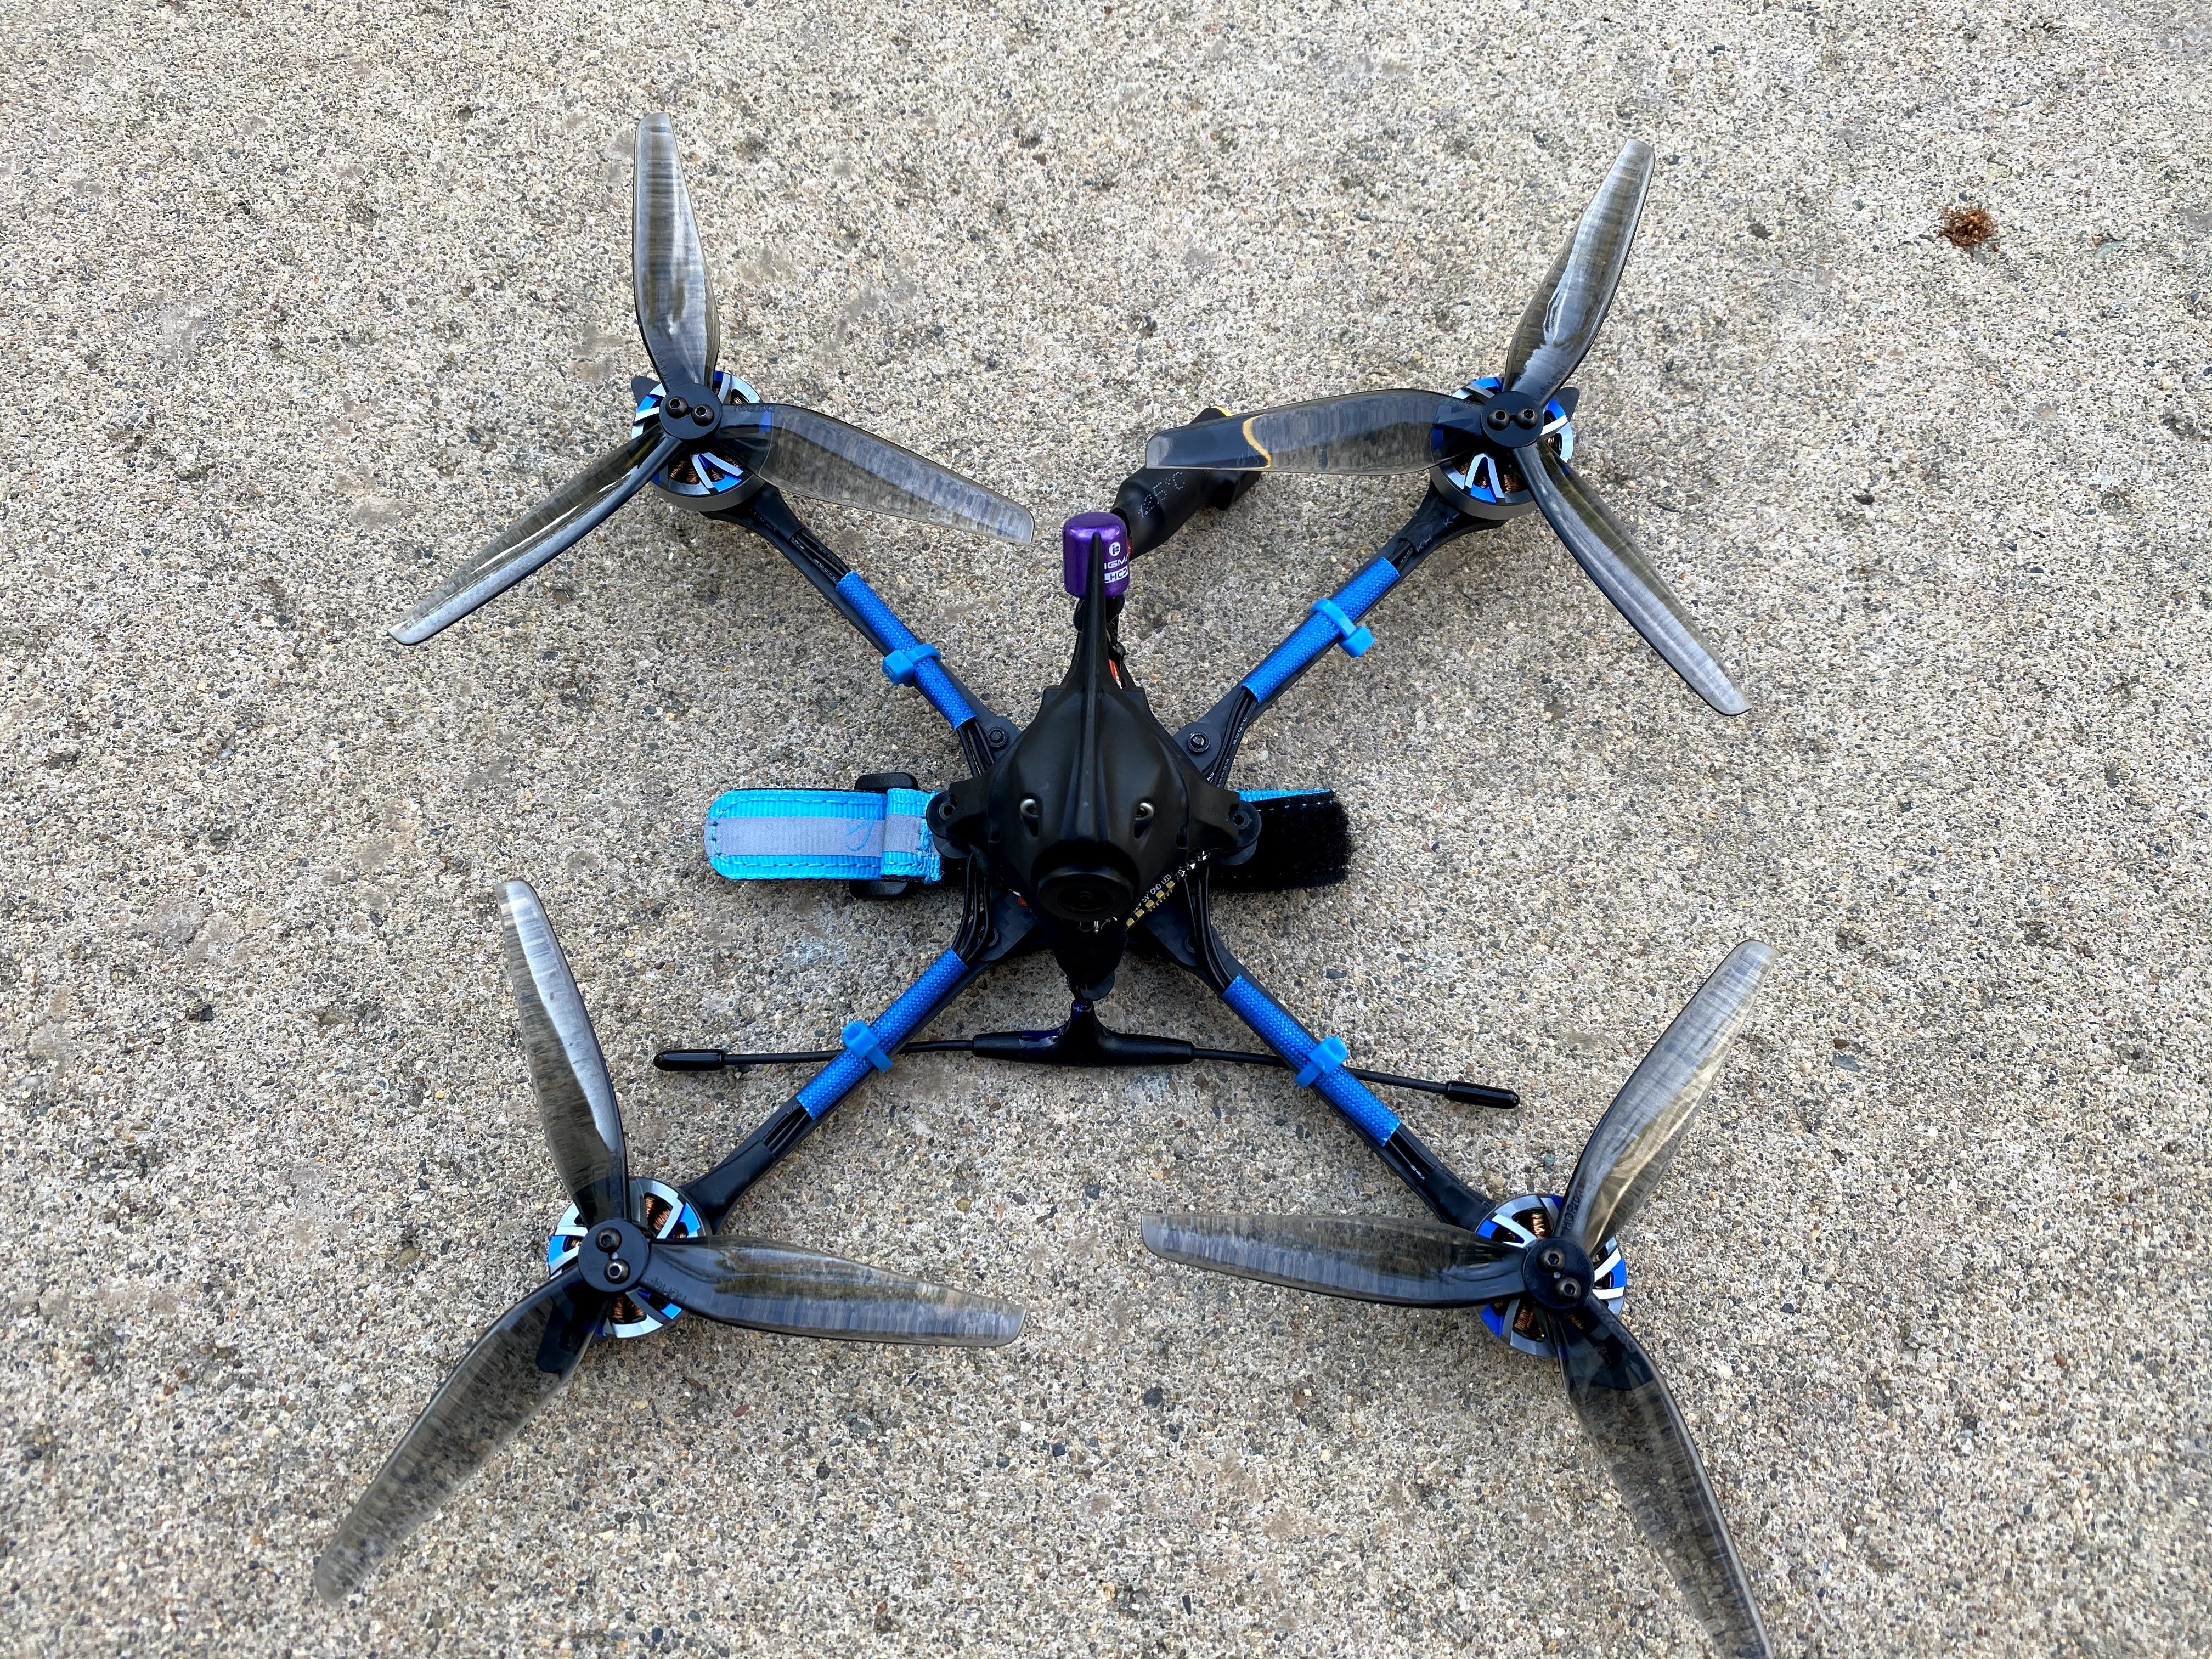
Photos


Part List
Frame |
X-Knight 5'' Toothpick Quad (HD Digital VTX)
Betafpv.com
|
$339.99 |
Antenna |
TBS Crossfire Immortal T V2 Antenna
(149 builds)
Pyrodrone.com
|
$5.95 |
Batteries |
550mAh 6S 75C Lipo Battery (2PCS)
Betafpv.com
|
$41.99 |
Misc Parts |
iFlight SIGMA 5.8GHz 60mm RHCP Cyan FPV Antenna ( ipex/UFL )
(3 builds)
Pyrodrone.com
|
$7.99 |
Misc Parts |
X-Knight Canopy
(2 builds)
Betafpv.com
|
$6.99 |
Misc Parts |
2 x 4MM ARM BRACE FLOSS 3.0 (choose size)
(4 builds)
Pyrodrone.com
|
$7.98 |
Guides & Reviews

AirbladeUAV has done it again and this time they've brought long range to the 5" class! Based on the popular Transformer Mini, the new Transformer 5" Ultralight adopts a lot of the same design philosophies with larger props and more payload capacity. It can fly upwards of 20 minutes on a 4 cell Li-Ion battery pack and in ideal conditions it's got a range of over 4 to 5 miles. In this guide I'll walk..
Read more
With the release of the DJI FPV Drone cinematic FPV has become a lot more accessible, but you certainly don't want to crash a $750 drone! The QAV-CINE Freybott is a compact, lightweight cinematic FPV drone that can take a hit and keep going. It's a lot safer to fly indoors and around people. With a naked GoPro or the SMO 4k you can capture some great stabilized footage. In this guide I'll show you..
Read more


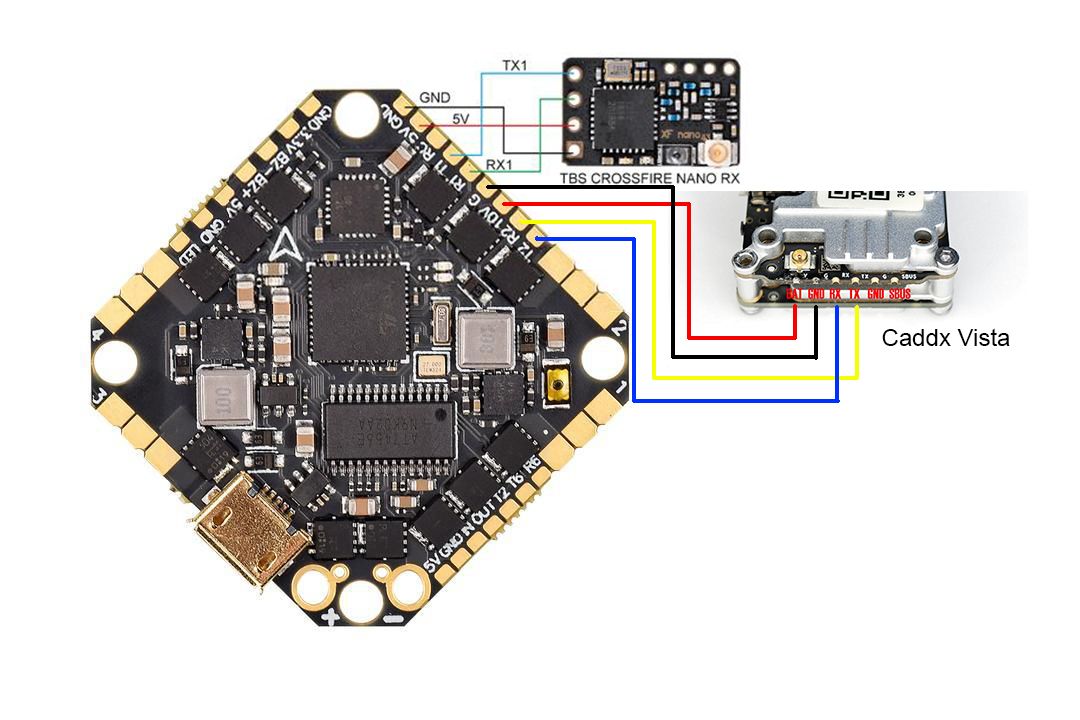
Can i see the wiring diagram caddx vista with rx crossfire? I'm just learning to build
thanks before
Here is how I wired the caddx vista and crossfire nano

Thank you somuch.. I'll try this to my twig