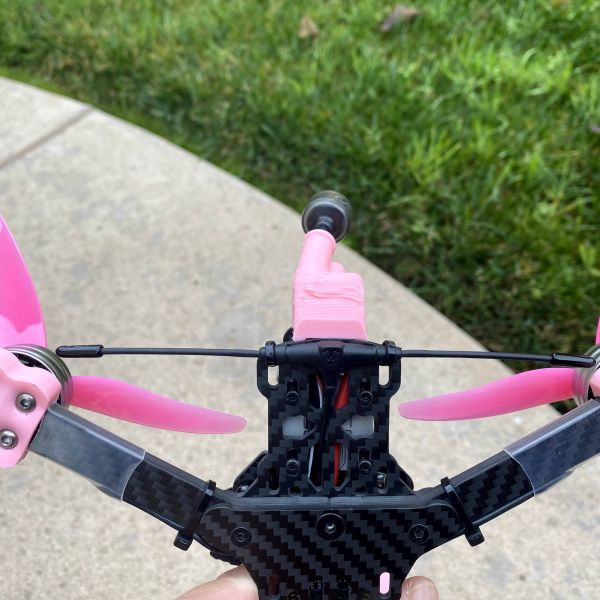
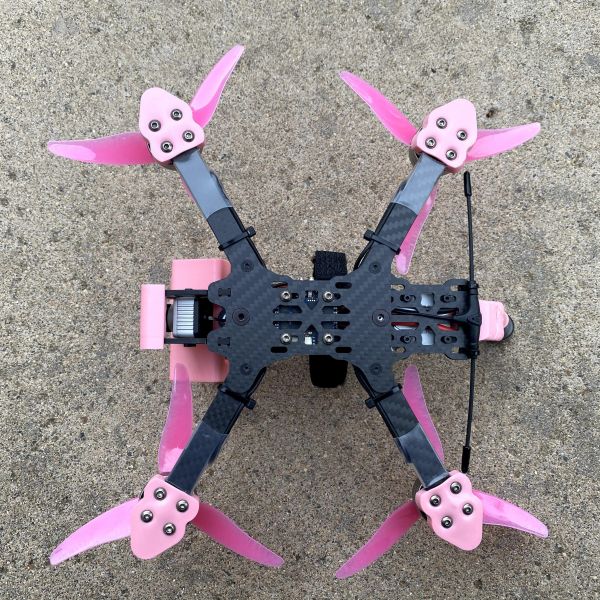
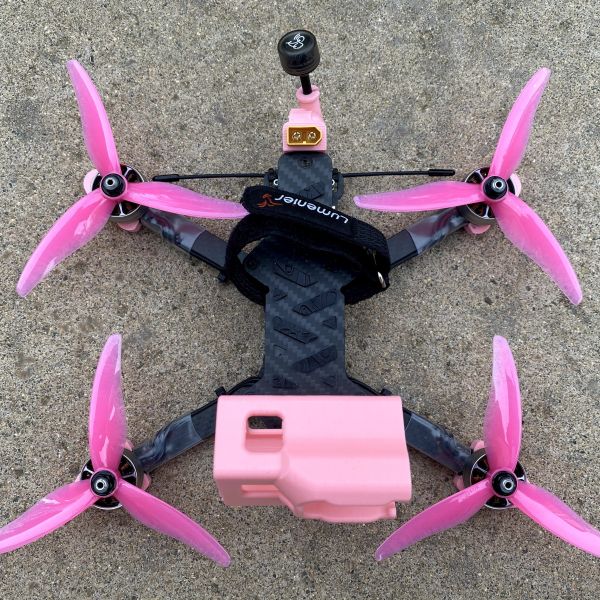
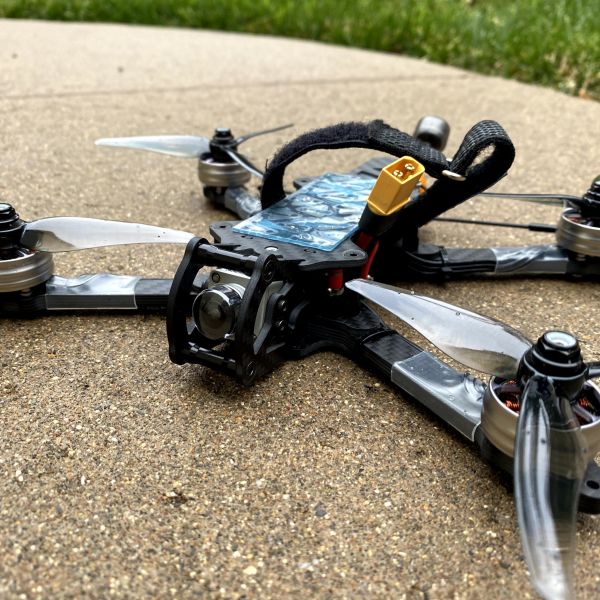
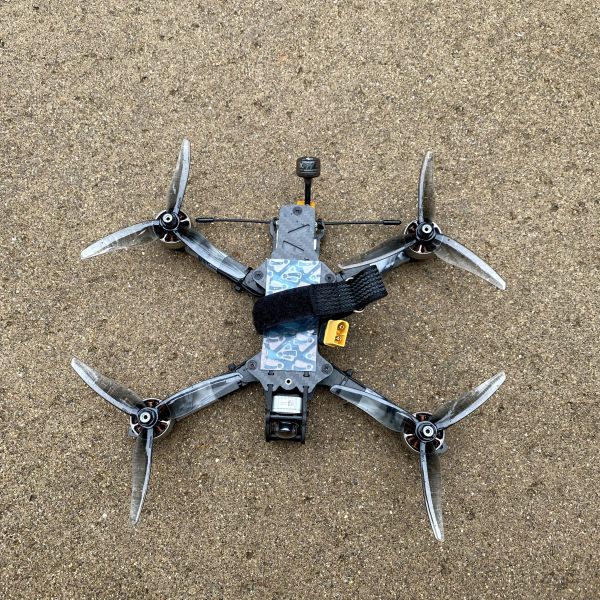
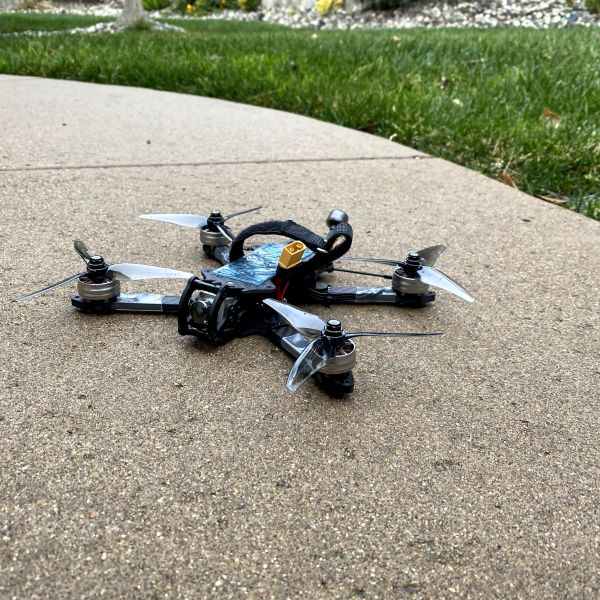
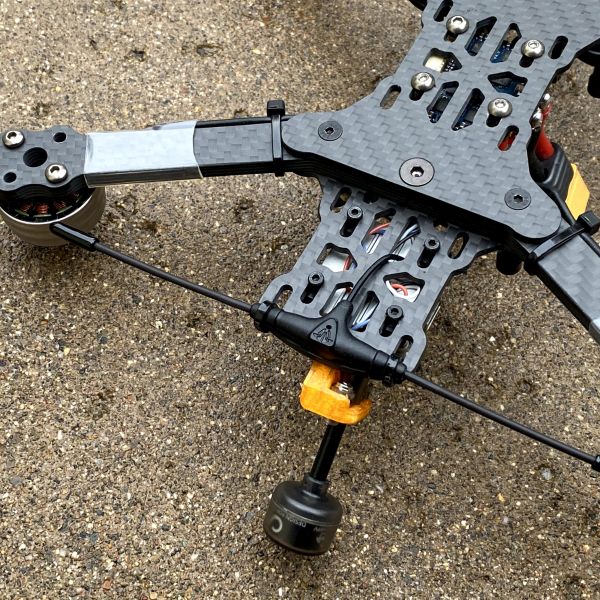
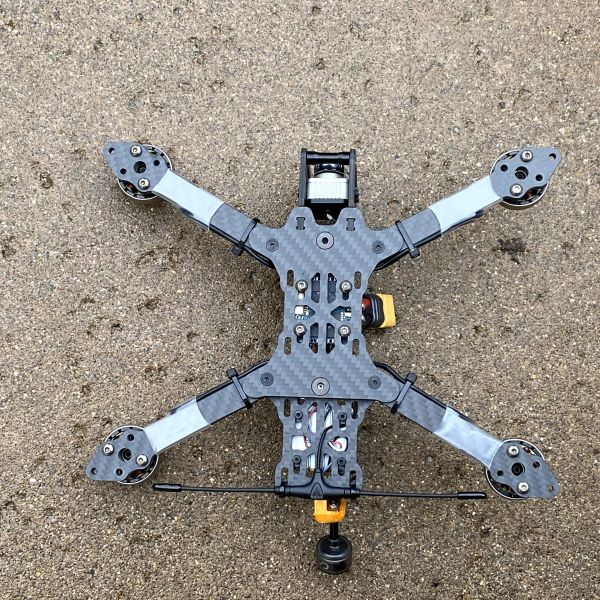
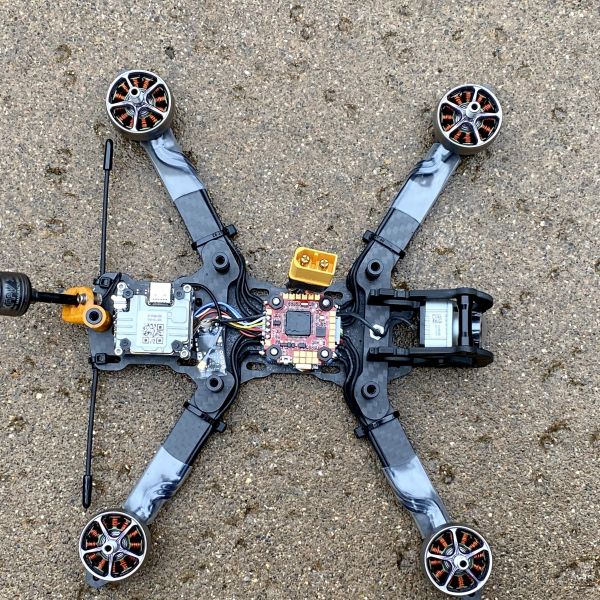
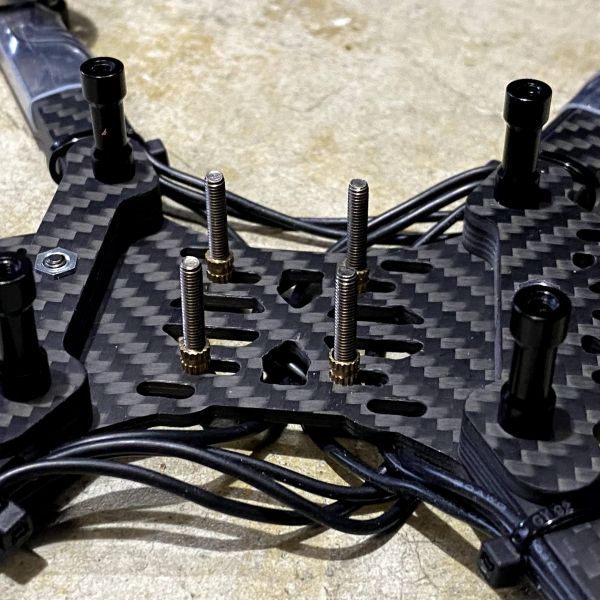
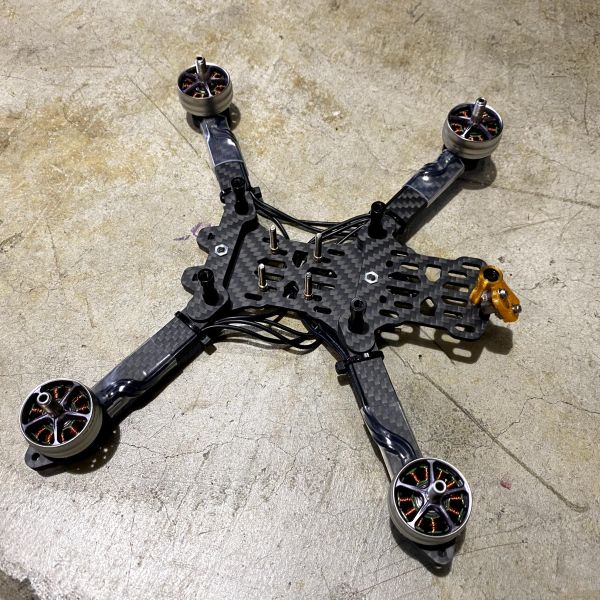
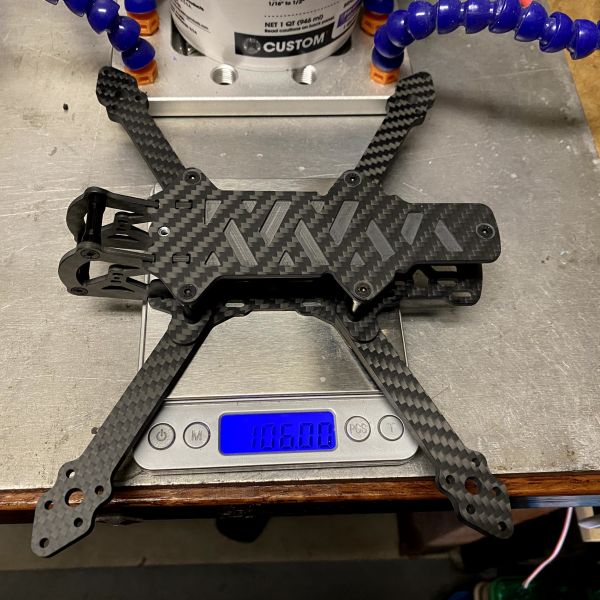
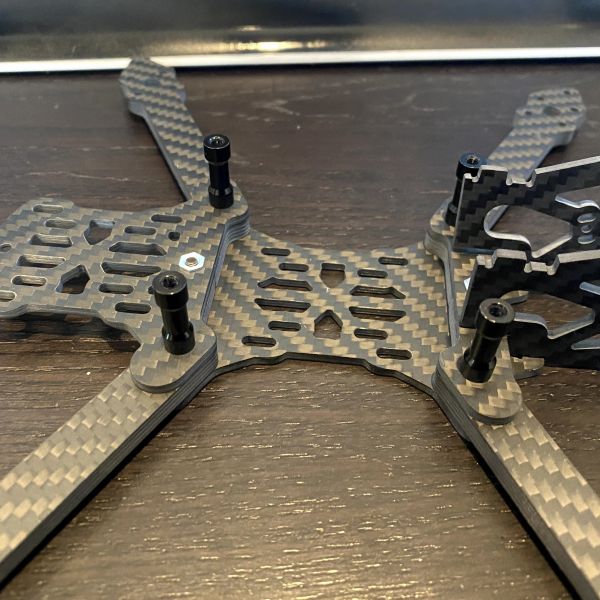
To be honest, I did not know much about this frame and only jumped on the bandwagon because my buddy keeps raving about it. But is it worth the premium price? How does it compare to the sub $30 TBS source one? My initial impression of this frame is that it feels very stiff but without the excessive weight. I am truly impressed with the tolerance of the carbon fiber cuts because everything fits very snug and perfectly. This frame is not the typical layout like the TBS Source One or ImpulseRC Apex Freestyle frame. The Moongoat reminds me a Floss frame with boomerang arms, with a remix from cage and extension plate in the rear for Caddx Vista. I am glad you are able change each individual arm if you happen to break them and the arm’s mounting holes are independent of the flight stack.
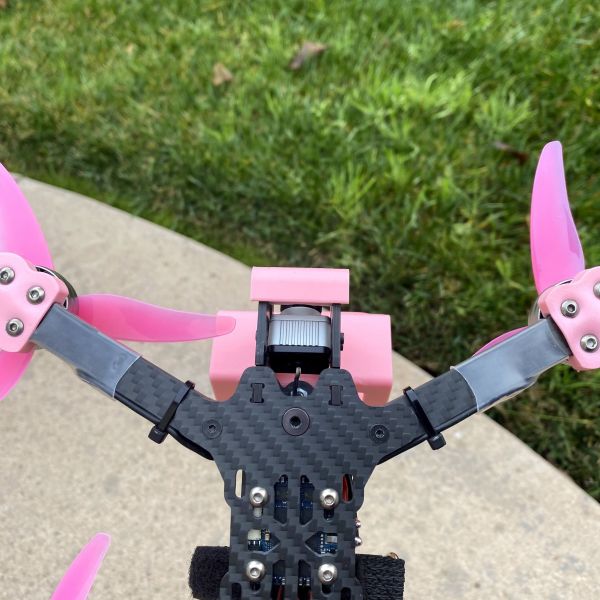
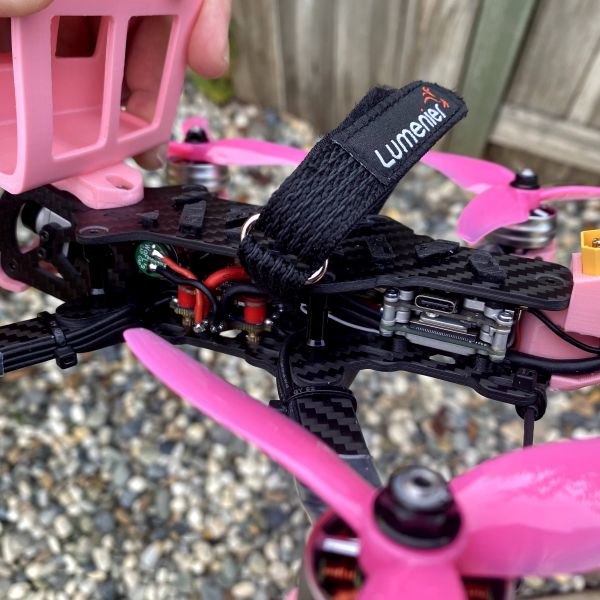
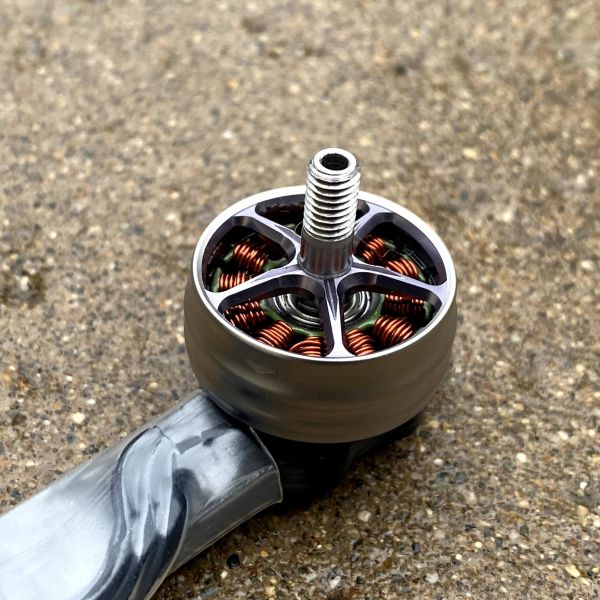
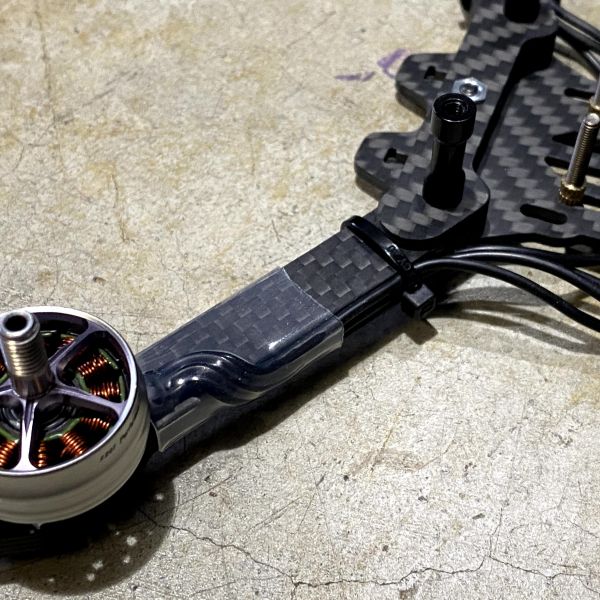
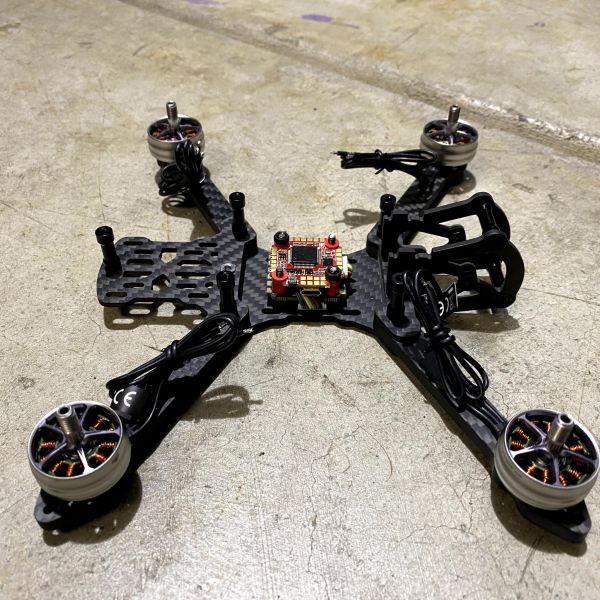
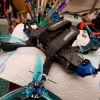
My only complaint is figuring out the best way to route the motors because I am not a big fan of using old props as guards. I typical used a 3D printed cover, buy it is not going to work, nor is a racewire because the tips of the 5.1” props will strike the arms right where the arms meet the mid plate. Because the strike point is right at the joint I am not able to move the wire cover/ racewire any further in. What does that mean…. If I use a racewire, the props will strike right where the solder joints. If I use the 3D Printed cover, I do not have enough room for the wires to bend upward because that is where the prop with hit. So, one of the solutions I came up with is running the wires on the side. Another idea is to model a 3D printed wires cover that has an offset that will cover the wires, but it will be quicker to do the first method I just mentioned. I ran a file on the edges of the arms so it will not cut the wires when it is wrapped around the sides and I used some heat shrink and zip tie to keep it in place.
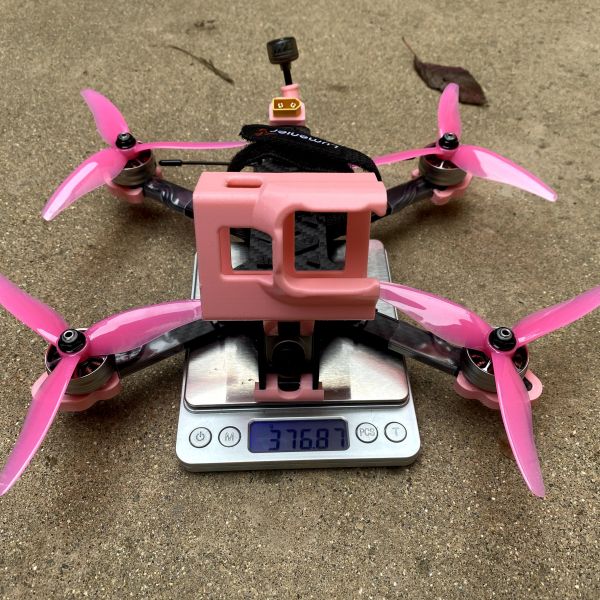
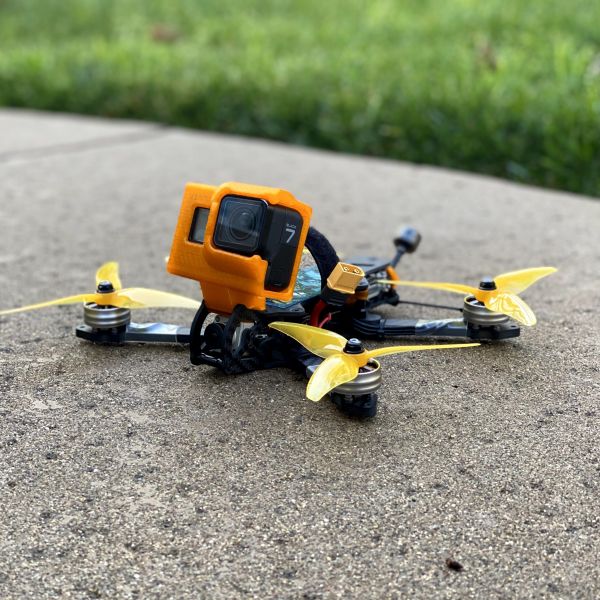
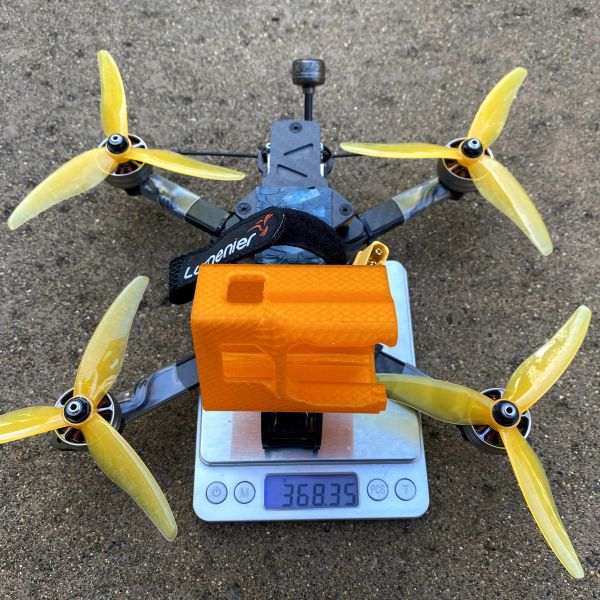
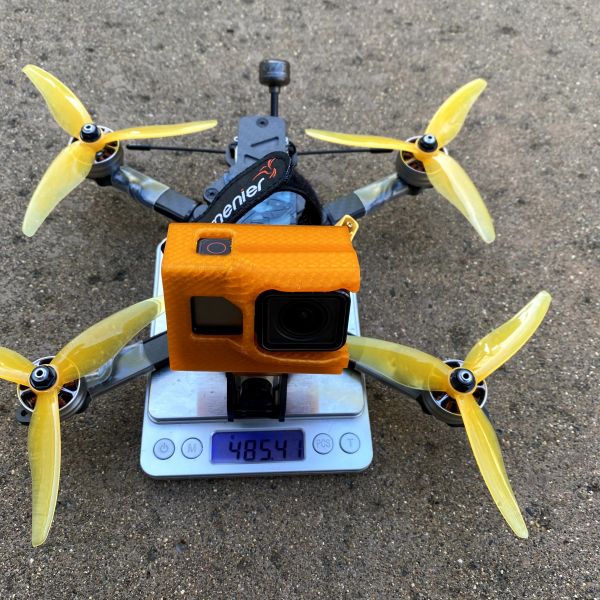
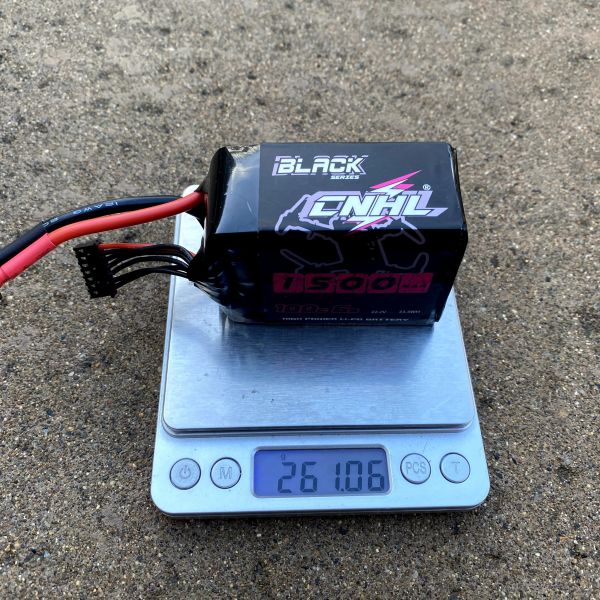
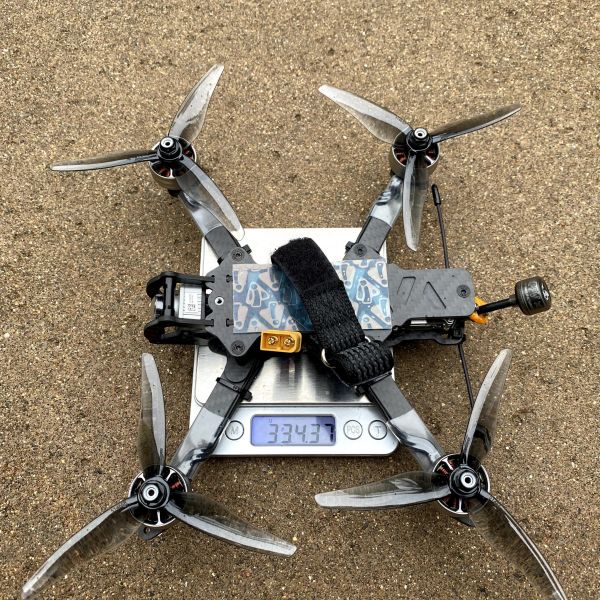
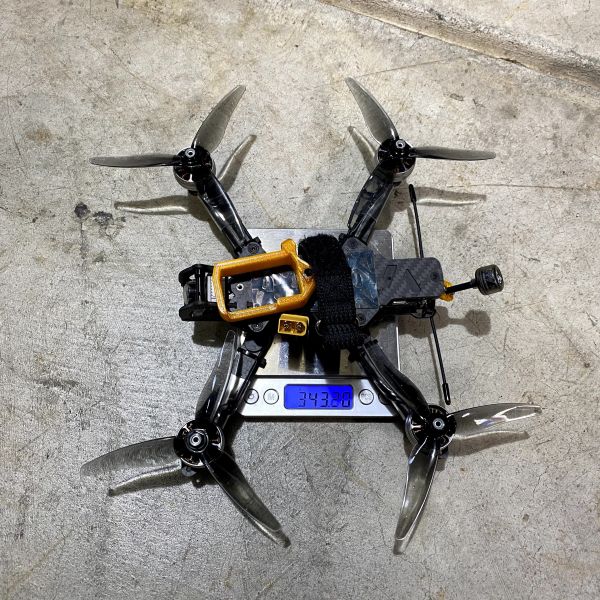
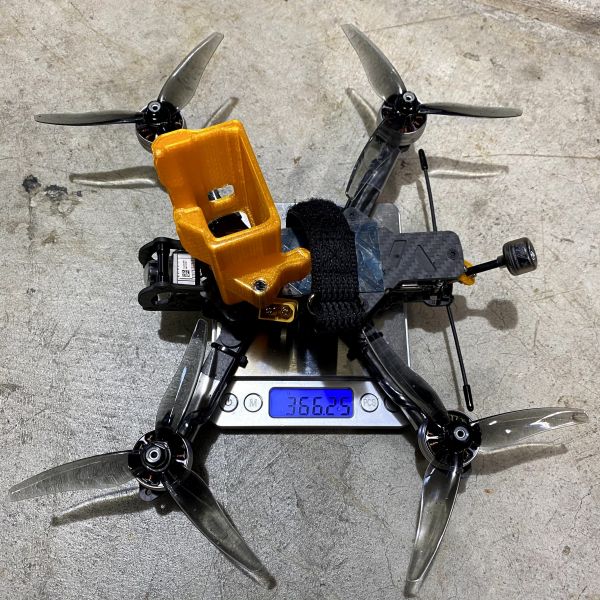
I am very surprised about the final weight of this build, because it not much heavier than the Floss 2.1 and 3.0 I just built. Typically, I would expect a freestyle frame to weight a lot more, but 334g sounds good to me! With the HD DJI FPV system I am more than happy with the DVR recording, but if you want a GoPro mount, it is only 366g for the full protection GoPro mount and 343g for NO protection mount.
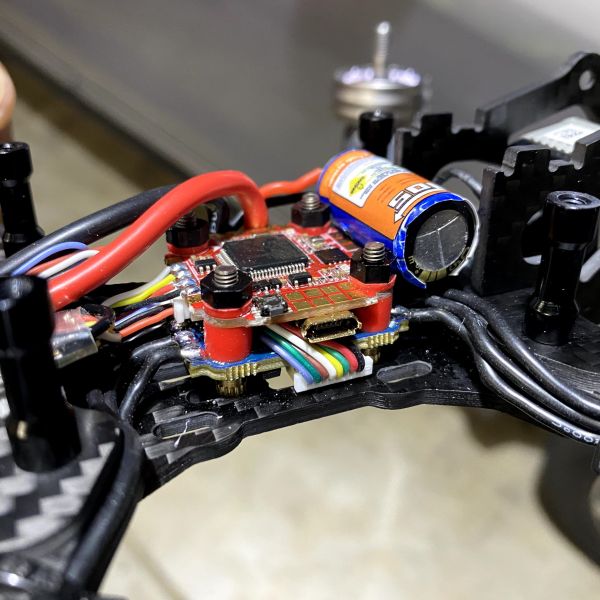
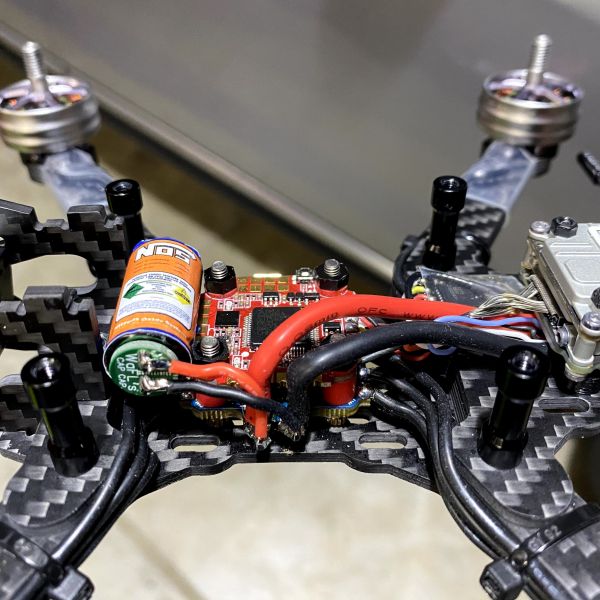
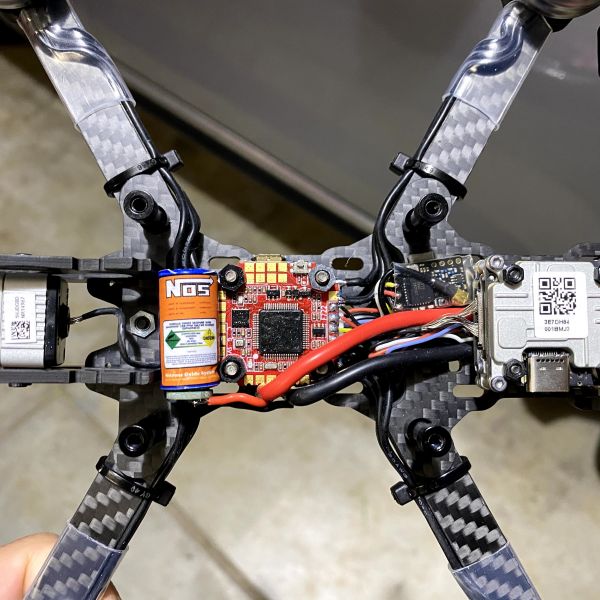
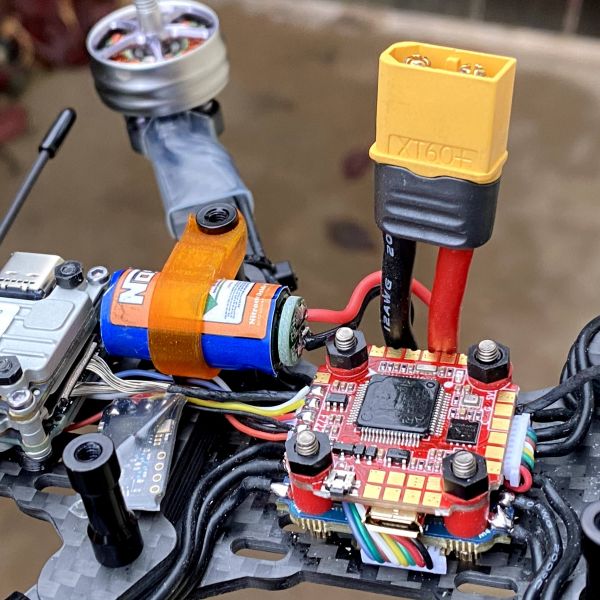
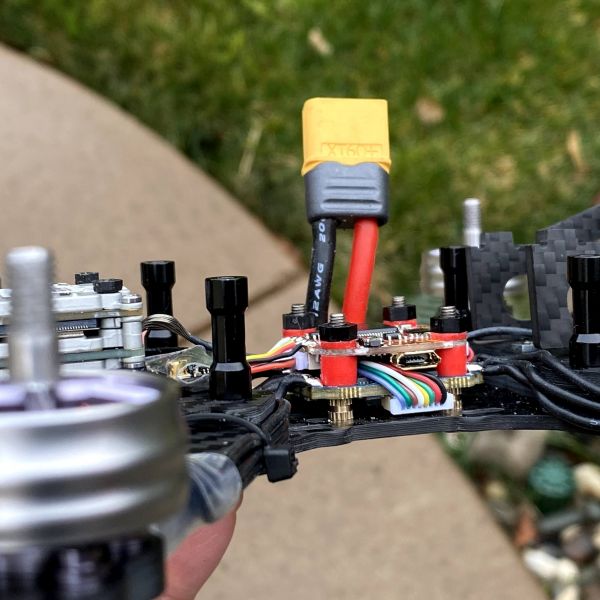
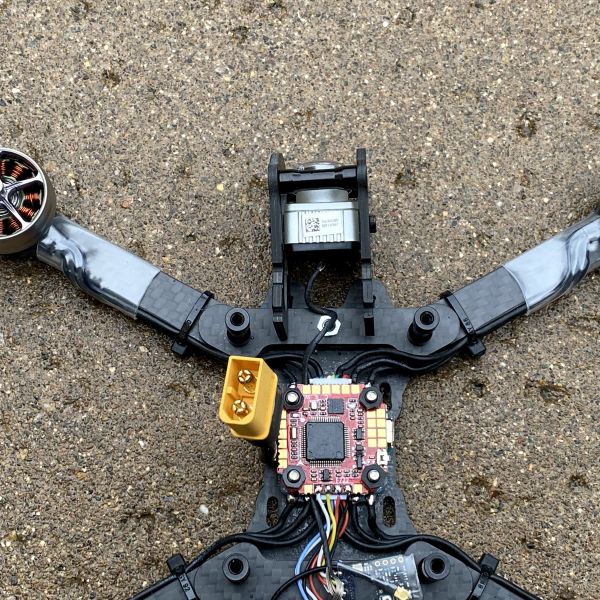
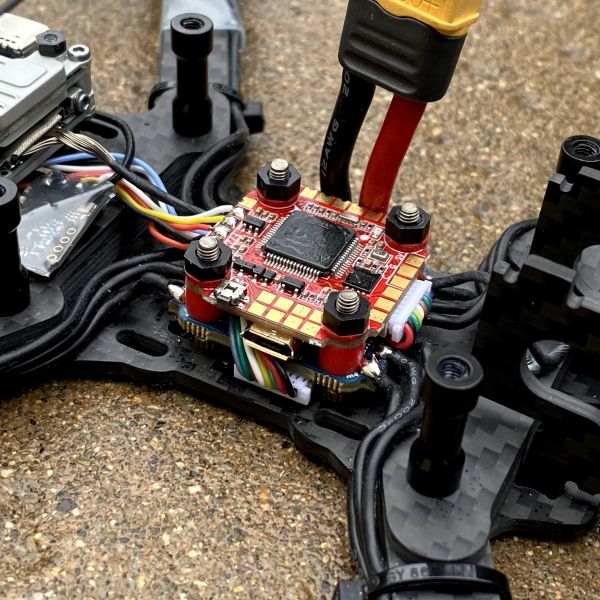
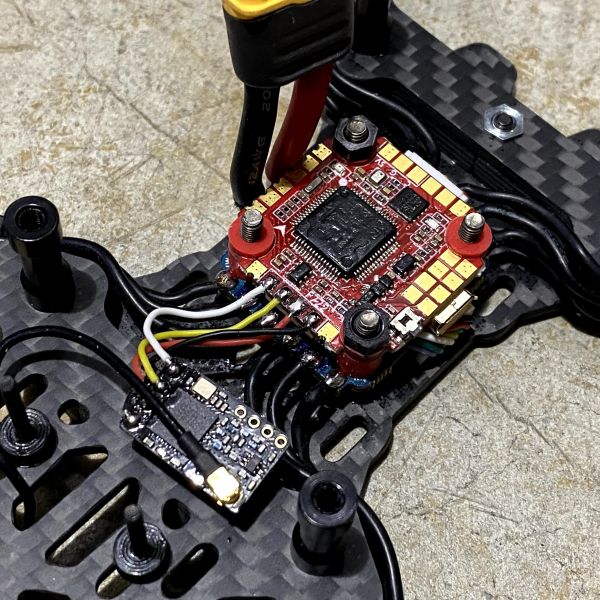
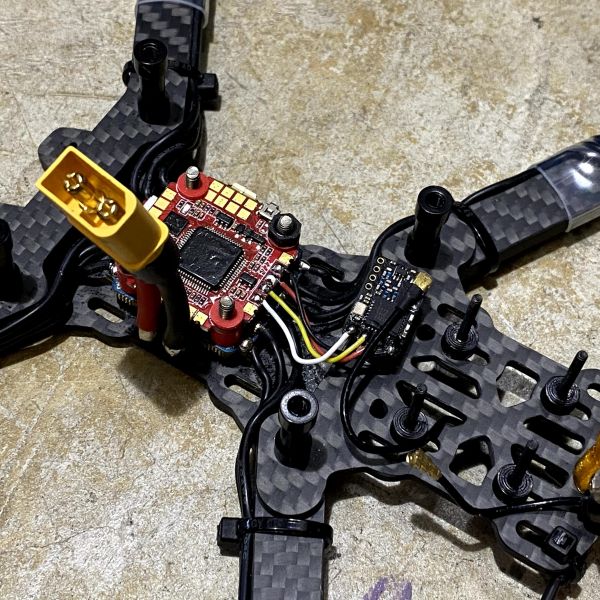
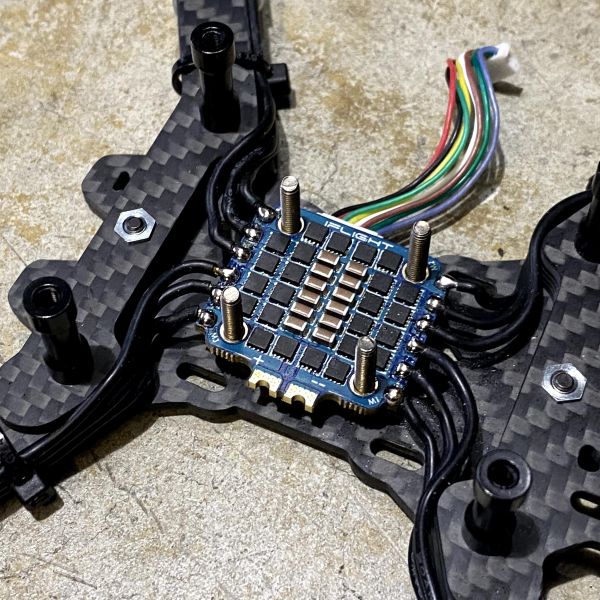
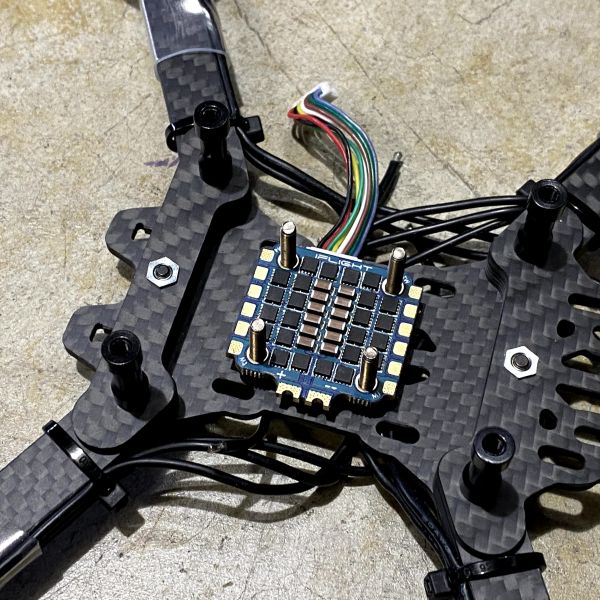
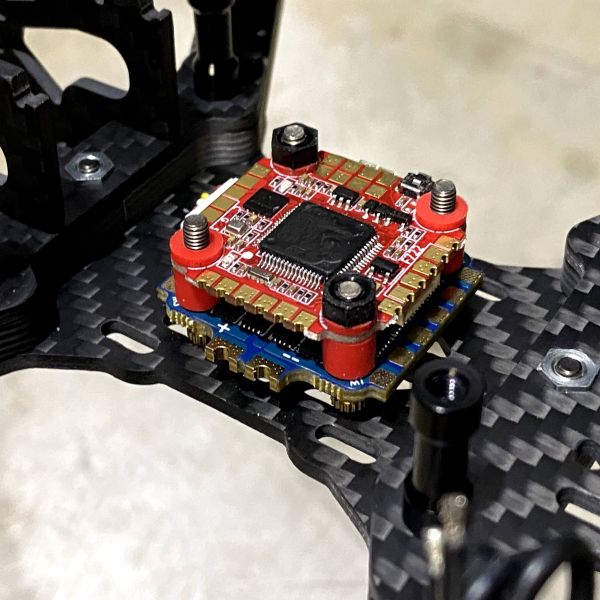
The battery strap that is included with the kit looks cool, but I do not like how it is positioned. It is either too far back in the rear or too close to the front, so I end up using a regular 250mm x 20mm strap instead. Initially I planned to use a T-Motors Pacer 50a 4in1 ESC (20 grams) and the Holybro Kakute F7 HDV 30x30 Flight Controller (8 grams), so that is a total of 28g! Then I weighed the 20x20 stack and it only weighs15g total for both the iFlight 40a 4in1 ESC and HGLRC Zeus F722 FC.
Update (Dec 26, 2020) - Battery Pad
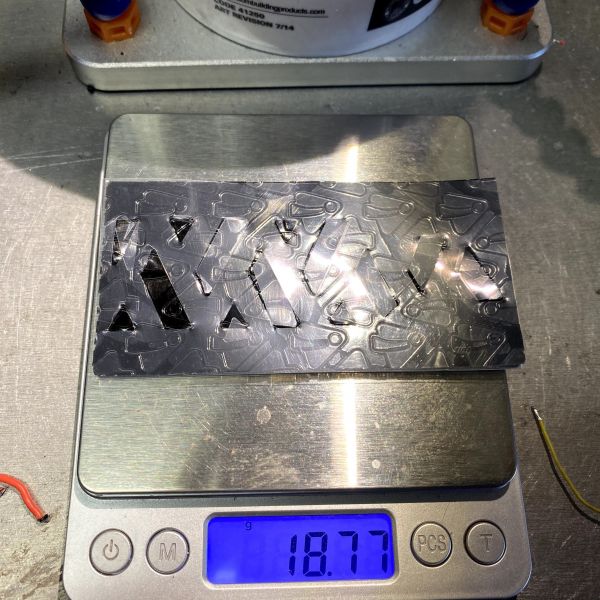
Total user error!!! I did not use the battery pad that came with the kit because It was almost 20g, so I opted for the Lite version that was only 8g. BUT...... that is a mistake, because I weighed the entire battery pad. I did not know I was supposed to use the small cutout from the battery pad and stick it in the notches. Since an already put the other pad on this frame, I am going to leave it as is.
More about the 3D Printed Parts
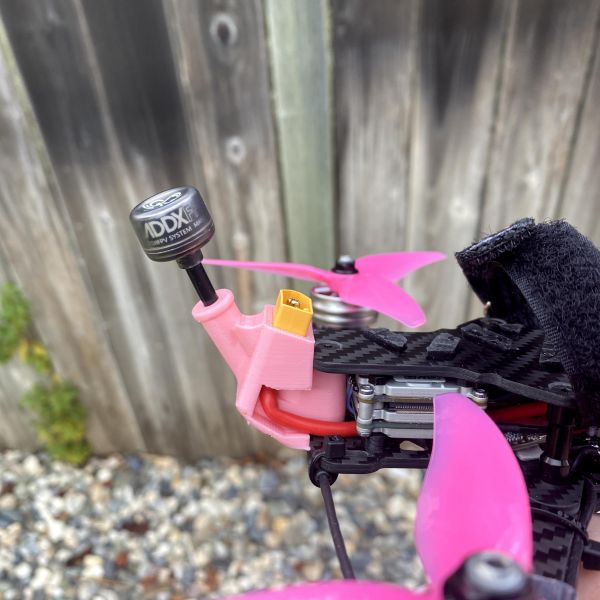
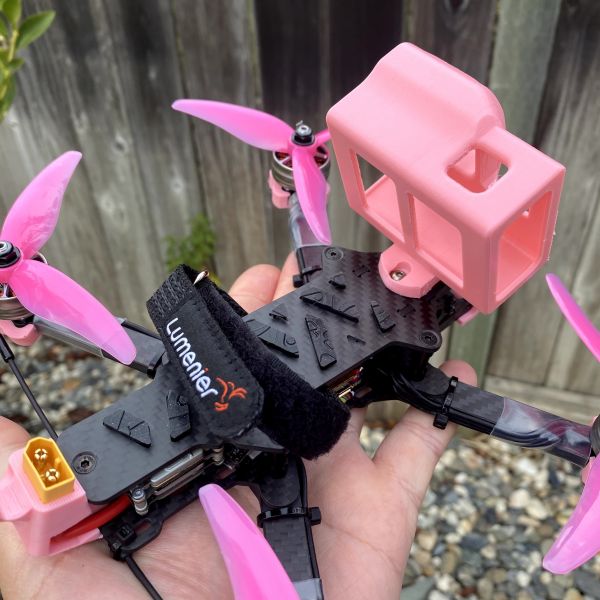
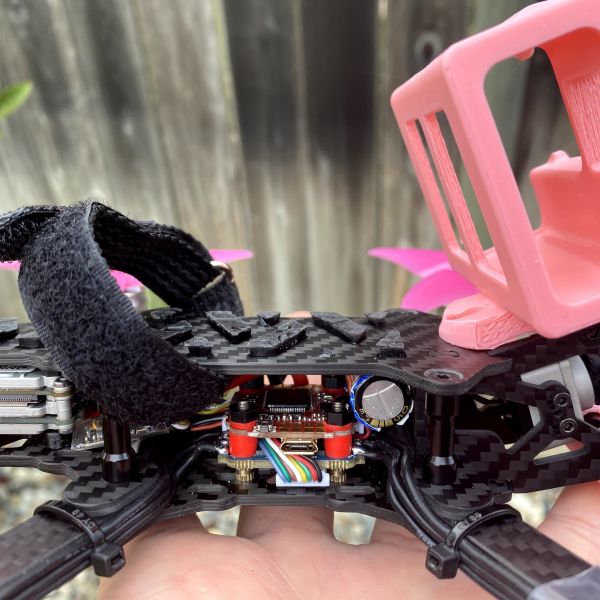
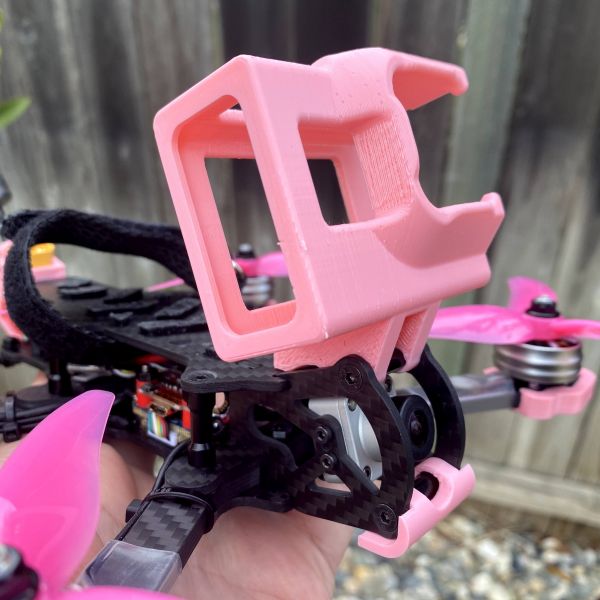
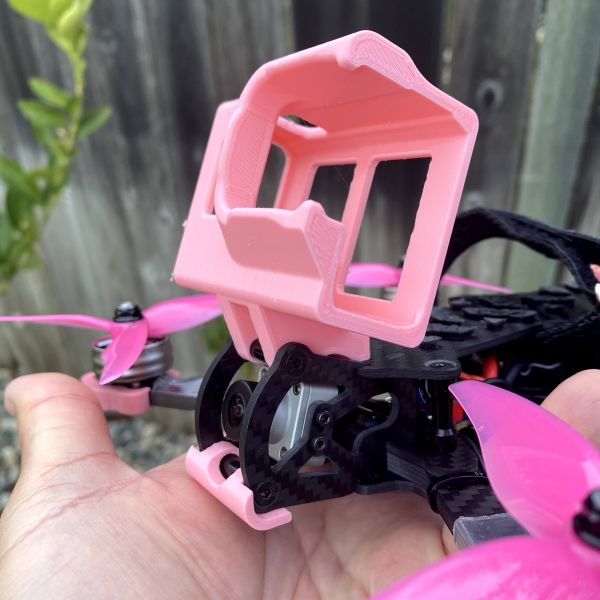
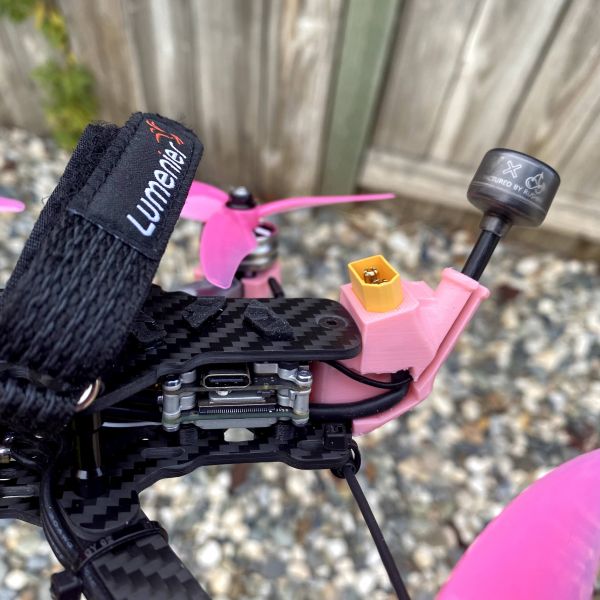
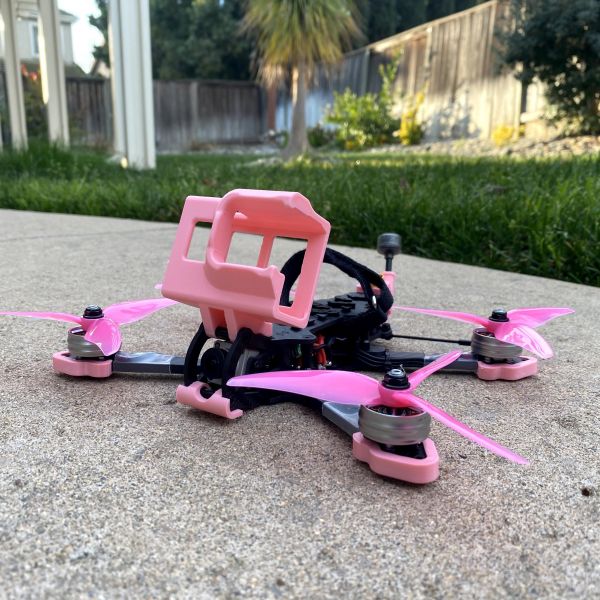
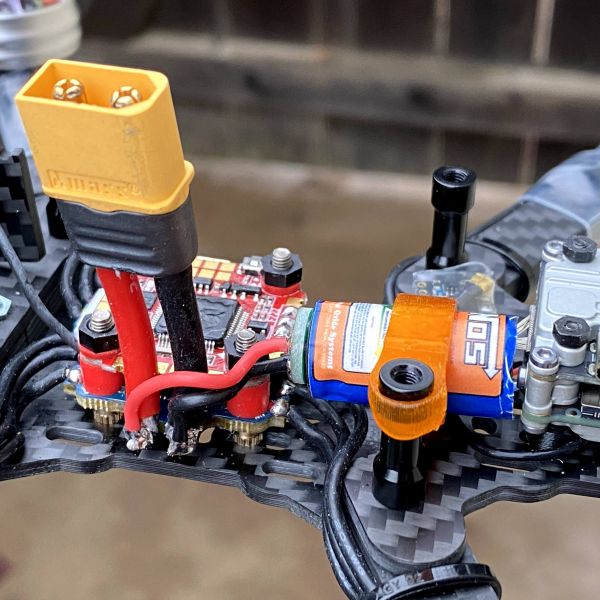
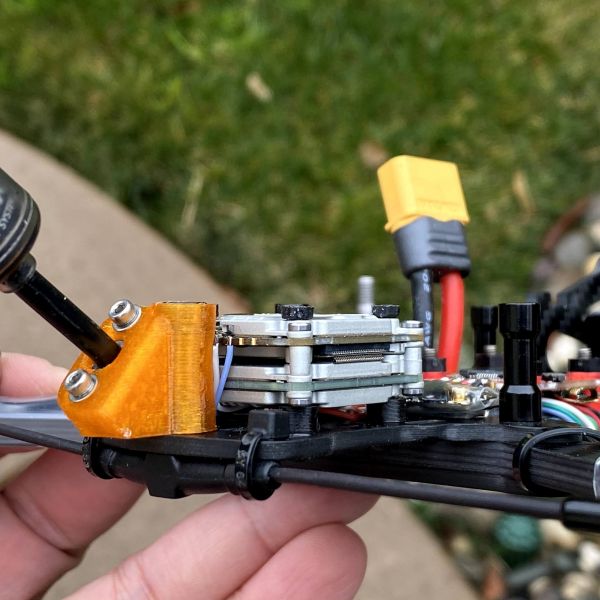
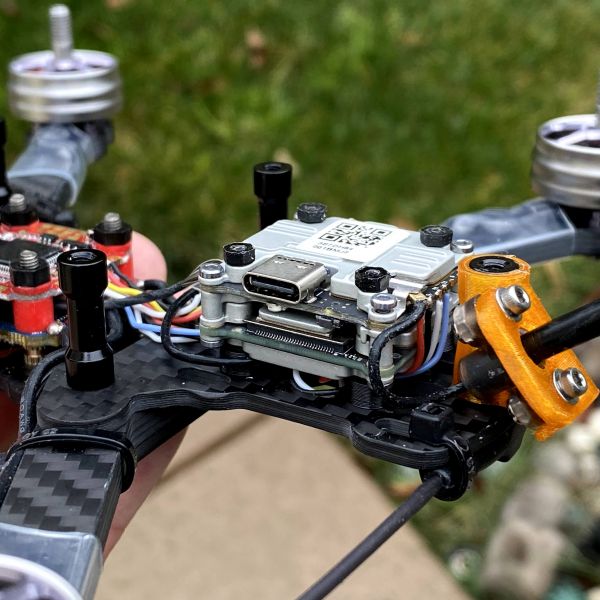
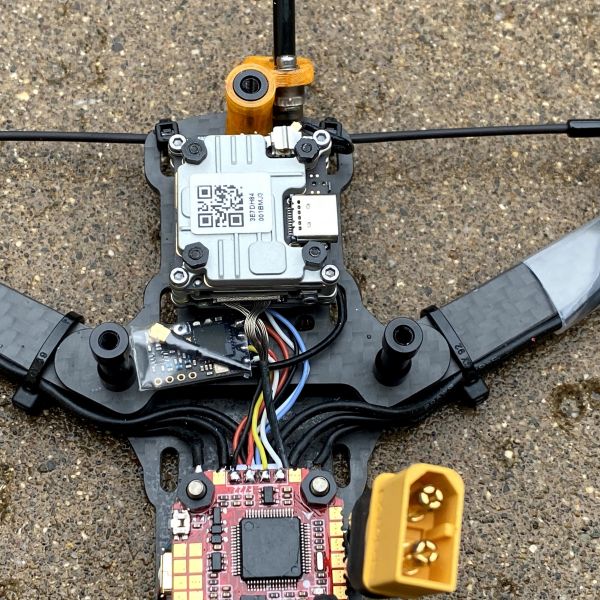
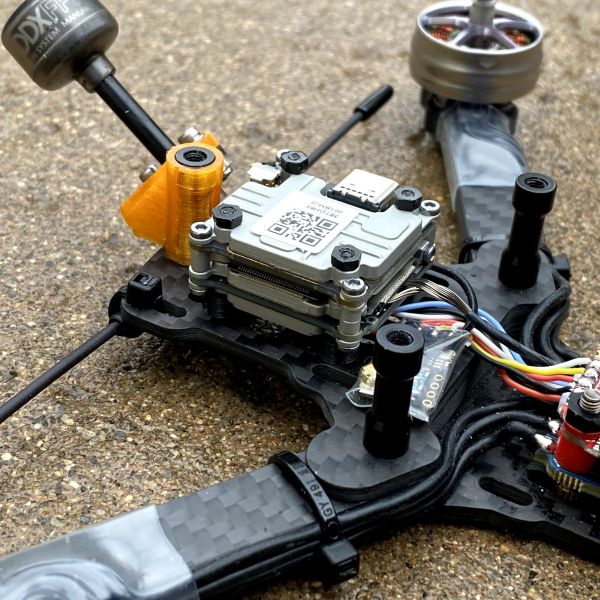
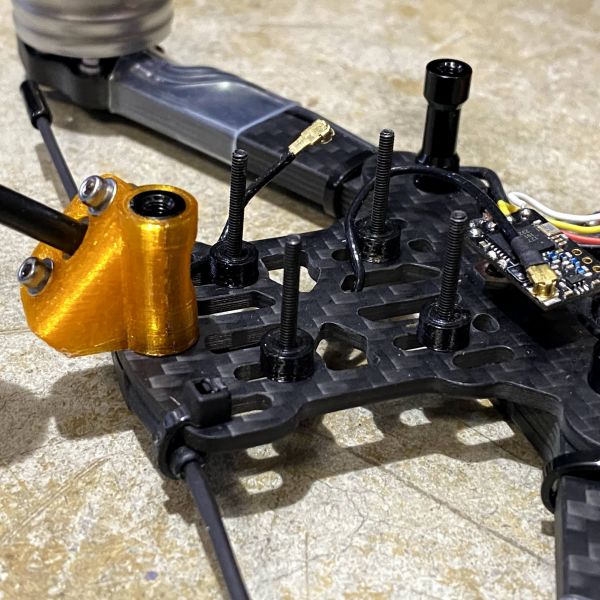
I made a few changes after my initial build and the image gallery reflects the different variations of the build. The pictures towards the end of the image gallery shows the minimalistic build with only one thing in mind, low weight. When that was done, I was very happy with the results, but it was missing the stylistic features. Then you see a slight shift when you start to see more orange and I was planning to go with that color theme. But after my first few flights, I hated how I ran the XT60 plug on the side. It did not work well at all, because it was getting too close to the props. Since the Moongoat is such a new frame, there were not a lot of open source STL files. But I was very lucky because right after I finished the build, someone posted a XT60 mount for the Moongoat on thingiverse. It was exactly what I need and wanted. I wish enrico320i posted this 1 day earlier because it would have totally changed the way I built my quad. For me to change it now it a pain, because I will have to redo all the motor wires too. So, I left the ESC as is and ran a power wire across the flight controller. Around the same time, a brand-new roll of TPU arrived in the mail. I have never printed this softer TPU before, so what better time than now to try something new…. Sainsmart Pink TPU!
The new color theme will be pink, but I need to fine tune the slicer settings because I am having some issues with the new TPU filament. Because it is a bit softer TPU (Shore Hardness 92A) than the stuff I normally use (Shore Hardness 95A), the typical TPU printing profile is not working very well. After making a few setting changes, and many test prints, I finially got it working.
I am not sure what I will do yet… should I keep it lite or leave it Pink ?
Betaflight Setup
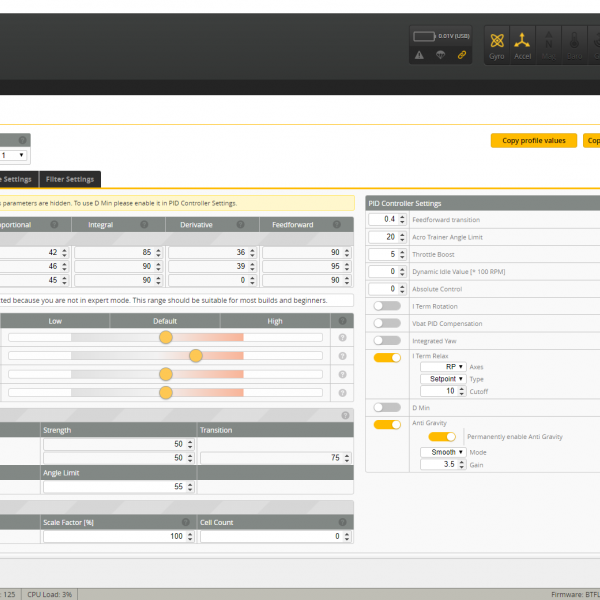
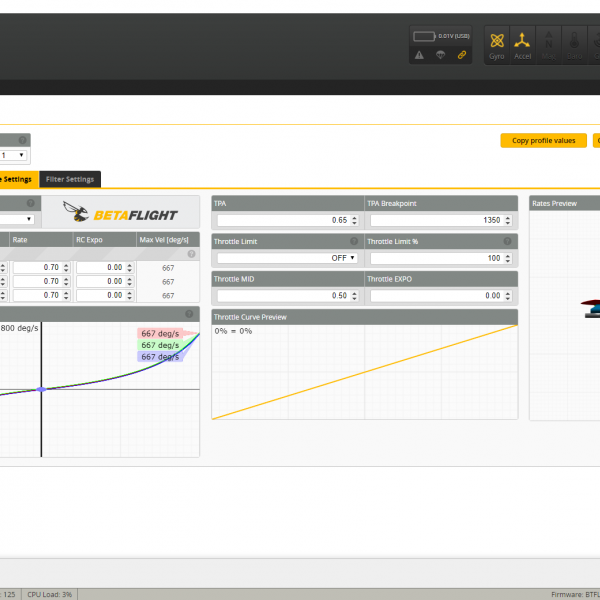
PID Profile Settings Tab
PD Balance: change the slider to 1.2
Turn off = D Min
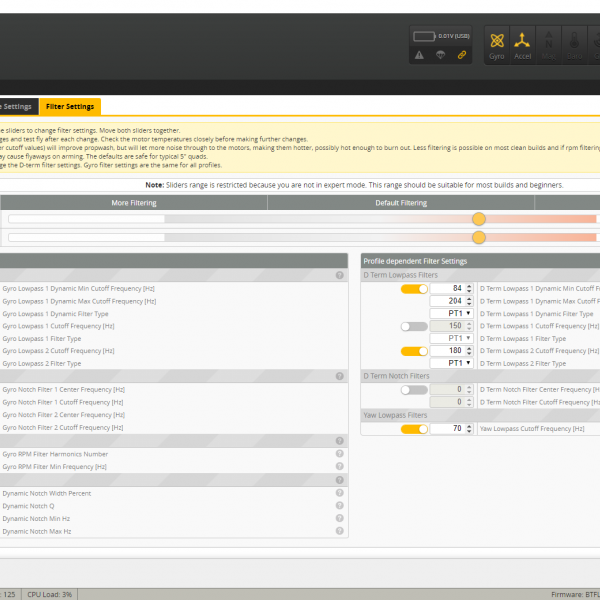
Filter Settings Tab
Filter Slider: both set to 1.2
In CLI, I used the following preset profiles for BF 4.2:
HD (smoothed FF for HD cameras, strong low turn rate smoothness, low iterm relax to minimise bounce back)
set iterm_relax_cutoff = 10
set rc_smoothing_auto_smoothness = 20
set ff_interpolate_sp = AVERAGED_3
set ff_smooth_factor = 40
set ff_spike_limit = 55
set ff_boost = 0
set feedforward_transition = 40
set yaw_lowpass_hz = 70
set throttle_boost = 5
set throttle_boost_cutoff = 10
set dyn_lpf_dterm_curve_expo = 7
set gyro_rpm_notch_q = 800
Vbat Compensation
set vbat_sag_compensation = 100
set vbat_pid_gain = off
Test Flight
GoPro 7 Footage
DJI DVR Footage
Update (Jan 14, 2021) TPU Weightloss
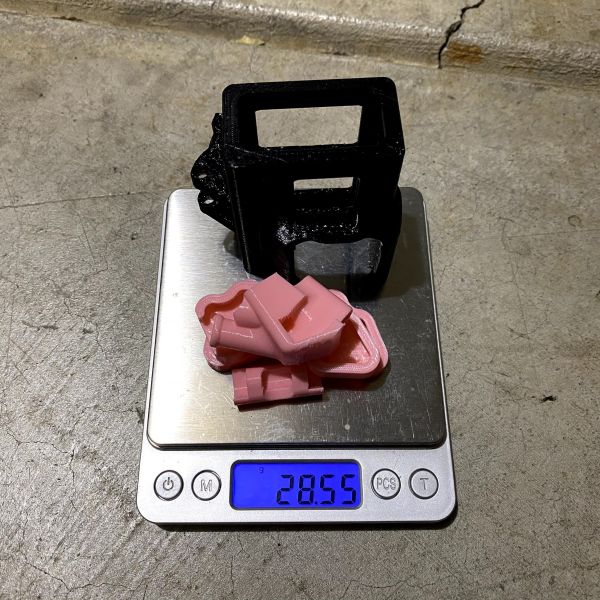
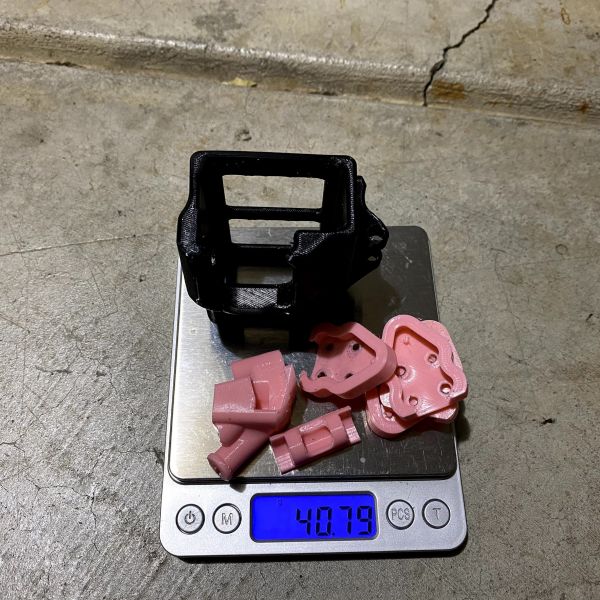
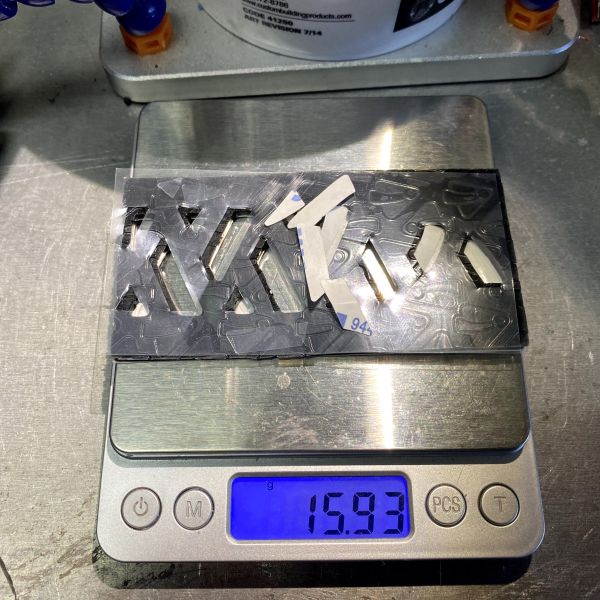
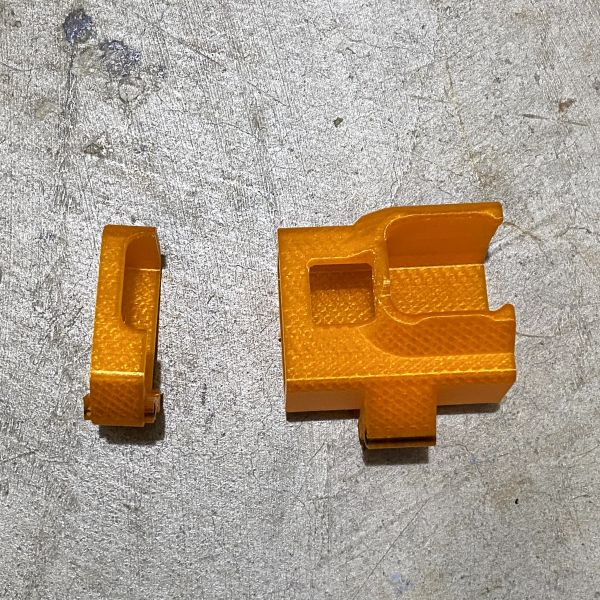
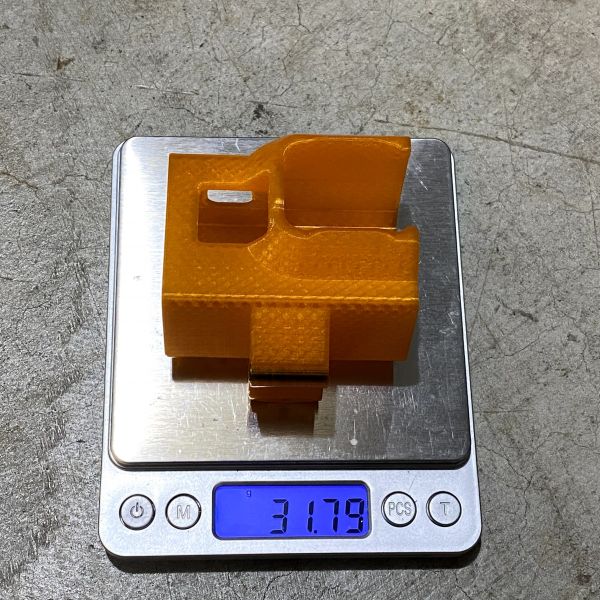
After chatting with enrico320i ( https://www.thingiverse.com/thing:4013341 ), he suggested printing my TPU parts with the following settings: 2 Walls and 15% Gyroid infill. When I used those setting with my GoPro mount, I was able to reduce the weight by half. Depending on your current TPU settings you may or may not get the same kind of results as I did. The first GoPro mount I printed (the orange one you see in the image gallery below) weighed 31g and I think I used 3 wall, 35% Cubic Infill. Then the Pink GoPro mount (2 Walls and 25% Gyroid infill) weighted 24g but the 92A shore hardness TPU was too soft and I felt the GoPro was not secure enough. So, I printed a black one with a 95A shore hardness TPU using the same TPU Profile (2 Walls and 25% Gyroid infill) and that weighed the same 24g. Finially, tried printing at 2 Walls and 15% Gyroid infill to see what happens, and that is when I saw the lowest weight of 15.89g.
Photos
Part List
Show stores (9)First great Build and nice Color Combo!! Second sorry to post the print's a day to late :) I can feel the pain of that really. I also was thinking a long time when doing the Moongoat Build on how to place the XT60 and couldn't find a good position far from the Props. Then i got the idea to have it in the Back from an other picture, but this frame had two standoffs, so i decided to design my own XT60 Mount for the Moongoat. In my opinion it's the perfect place on this frame, clean look and save for the wires (it even has a lip on the back for easy replug the XT60). Also my front bumper is a must for me to have the area closed under the camera. Last Year i had a Catalyst Smooth Operator with also open Camera on underside. I demaged a new Camera from a Soft Landing in Gras on a Small Stone, very annoying .. My Trick to save weight on 3D Prints is only use 2 Walls and 15% Gyroid Infill, so you still get a Full Protecting Part on less weight . If you want try out the New Light Motor Bumper i added to the Thingiverse Link. They came out really nice and have a great Bumper effect when using 2 Walls 15% Gyroid. I added pictures in my build.
I was also flying today and i like the XT60 Mount more and more, so easy to unplug the Xt60. On my other Drones i always have to fiddle with cables but now that is a thing from the past:). Yes on only Protecting parts, it's still more than enough strenght with 2 Walls and 15% Gyroid infill. I also tought to Print the Motor Bumpers the First 5mm with 15% Infill and from there zero infill. So the Bottom has a bit strength and the dampener part is hollow, should bring the weight down even more. Mabey i test it with Cura to set zero infill over 5mm high as next Project!!
@enrico320i Thanks for the printing suggestions because it worked very well.I was able to reduce the weight of the gopro mount from 31g to 17g. I am going to reprint everything to save even more weight. I cannot tell you how much I appreciate the XT60 mount you designed. All my friends use that same mount!
Guides & Reviews
AirbladeUAV has done it again and this time they've brought long range to the 5" class! Based on the popular Transformer Mini, the new Transformer 5" Ultralight adopts a lot of the same design philosophies with larger props and more payload capacity. It can fly upwards of 20 minutes on a 4 cell Li-Ion battery pack and in ideal conditions it's got a range of over 4 to 5 miles. In this guide I'll walk..
Read moreWith the release of the DJI FPV Drone cinematic FPV has become a lot more accessible, but you certainly don't want to crash a $750 drone! The QAV-CINE Freybott is a compact, lightweight cinematic FPV drone that can take a hit and keep going. It's a lot safer to fly indoors and around people. With a naked GoPro or the SMO 4k you can capture some great stabilized footage. In this guide I'll show you..
Read more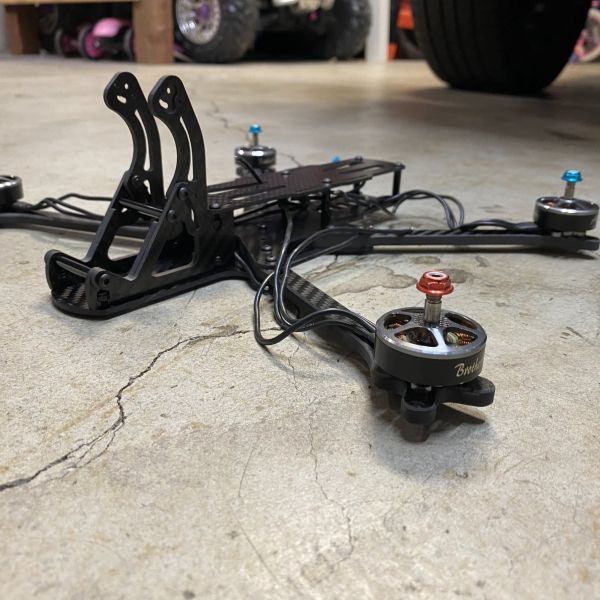
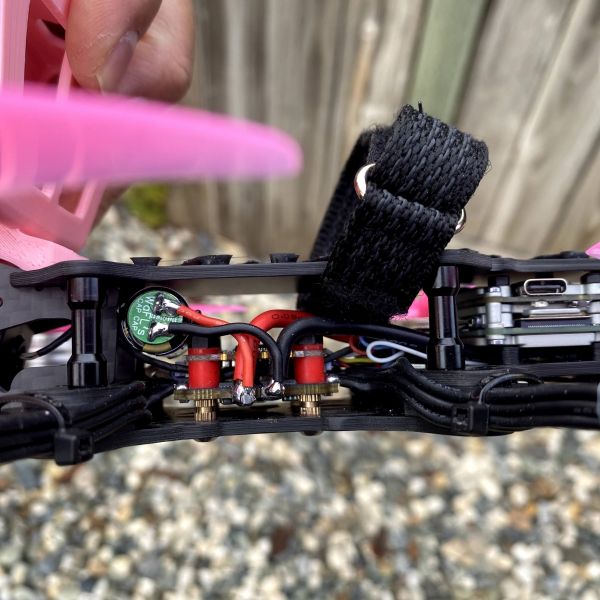


Hey man, are you still running this esc on this build? how is it holding up??
I sold this quad a while back so I do not know how it is doing now. However, I have use this same ESC on a few other builds and NEVER had any issues (Floss 2 5" 6s, Source one v4 5" 6s, and Shendrone Squirt v2 3" 6s).