Prop testing
 By kwadkenstine on Dec 29, 2020
Hi all .
As the debate rages on about prop configureation and power gains/ losses.
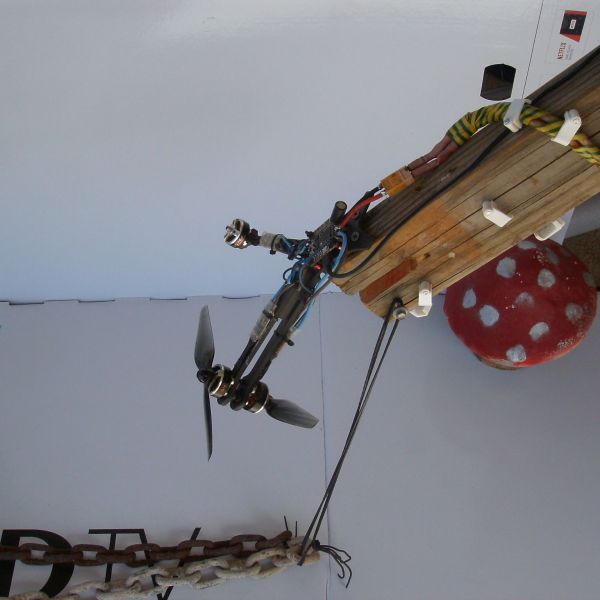
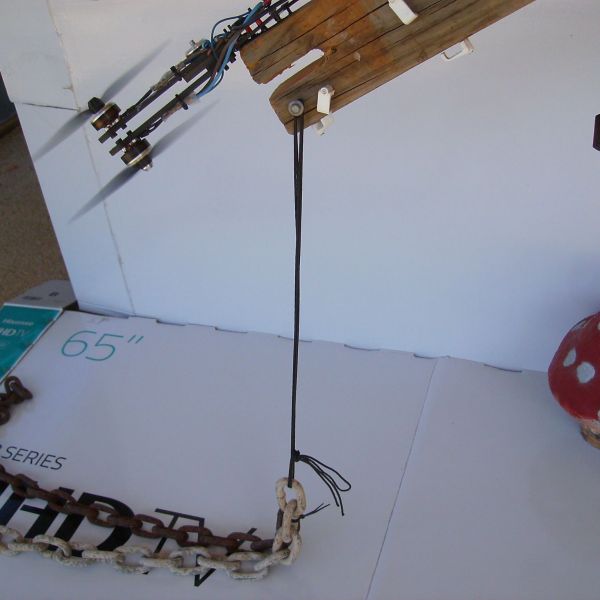
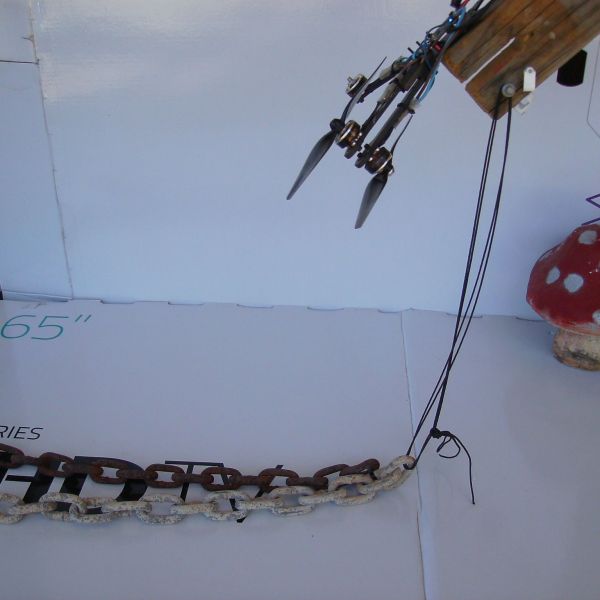
I did some crude testing on my janky rig.
Each run was on a fresh charged 1300mah 4s.
I tested counter rotating and props spinning in the same direction.
Ramped them up to just over 50% t and then pulled it back to 50%, marked the grapf and read the amp draw.
The results were as i expected .
What did you think would have been the result.
I am not going to ainalise the rig or the results ,
Thats your job!!!
Photos
Part List
Frame |
Team-blacksheep.com
(105 builds)
Team-blacksheep.com
|
See Site |
Flight Controller |
MAMBA F405 MK2 Betaflight Flight Controller F40 40A 3-6S DSHOT600 FPV Racing Brushless ESC
(195 builds)
Banggood.com
|
$42.99 |
ESCs |
FLYCOLOR X-Cross 45A 3-6S 4IN1 ESC 48Mhz w/CNC Aluminium Alloy Quick Cooling Shell For FPV Racing RC Drone
(3 builds)
Banggood.com
|
$47.74 |
Guides & Reviews
AirbladeUAV has done it again and this time they've brought long range to the 5" class! Based on the popular Transformer Mini, the new Transformer 5" Ultralight adopts a lot of the same design philosophies with larger props and more payload capacity. It can fly upwards of 20 minutes on a 4 cell Li-Ion battery pack and in ideal conditions it's got a range of over 4 to 5 miles. In this guide I'll walk..
Read moreWith the release of the DJI FPV Drone cinematic FPV has become a lot more accessible, but you certainly don't want to crash a $750 drone! The QAV-CINE Freybott is a compact, lightweight cinematic FPV drone that can take a hit and keep going. It's a lot safer to fly indoors and around people. With a naked GoPro or the SMO 4k you can capture some great stabilized footage. In this guide I'll show you..
Read more


The results I would interprit from this data: the counter-rotating setup is less effecient AND less powerful.
There are a few things i'd like to see:
It's hard to trust that your paper was in the same place on both tests when the starting point for the marker is not the same. Maybe just a redo.
The chain is a good weight in that it doesn't swing, but a bad one in that it gets heavier every link you lift: maybe just one or two heavy objects in the middle of a cord, so part of it can still be attached to the ground, but it doesn't get so heavy that it overtaxes your setup and you can't reasonably take the throttle up very high. I'd like to see you test at a few different throttle points. In a perfect world i'd like to see 25%, 50%-80%, and a full throttle test. I can almost assure you that you will see different effeciencies and power values at these throttle values,
I would like to see the effect of higher blade count props, I wonder if counter-rotating does more or less to 3 or 4 prop setups?
I love that you set this up, and shared it with us!
Hi jodi .
We would all like to see things in greater depth but i will have to be verry motivated to do more.
But just a few points. the chain was supposed to get heavier as it lifted , thats how load was applied . and force measured , The test is basically static so i do not see how a smaller load would tax it less.
But from playing with the rig for some time i have gained a feel for how these things behave in the real world and i am satisfied that my approach , running the props in the same direction , has benefits above counter rotating.
Cheers
In response to your statement of motivation: Why even bother to post such results here if your not really interested in doing it right?
Also while your load is static, your test results are not accurate because of the following:
-Input power is not consistent.
-The amount of thrust, current and RPM's can not be accurately / precisely measured.
For a proper thrust-stand what is needed:
-Kitchen / Bath scale with a max range greater than the output of the setup being tested. (ideal is max prop output at 50 % of the scales range)
-One Digital-Multi-Meter to monitor the battery voltages as the FC / ESC current-shunts are anything but accurate. (voltages in parallel remain the same)
-Two current meter C-Clamp's held across the incoming voltage to the ESC's. This would mean having one across each ESC.
-Constant current source to prevent Voltage sag as the current draw is increased. Besides recharging the LiPo's after each cycle is not only a pain but the max potential output gets lower after each recharge.
-RPM Gauge, maybe a hand held unit with a pistol-grip.
Apply a bit of Ohms law such as ( I * E = P) to get the overall Wattage and compare this to the scales readings to get the amount of Thrust vs the Power required to create it. Obviously the higher the output Thrust for the same amount of input power equates to better efficiency. However for this to work you need a constant current source not a battery. The prop RPM's need to monitored ensure that each test has the same level of consistency from one measurement to the next.
So from each test run you should have three test points that are evenly spaced. (33, 66, 100% throttle) From this you'll want the following results.:
-Input voltage (should always be the same if using an external PS)
-Current draw per each motor at each test point.
-RPM of both props at each test point.
-Mass readings in Grams from each test point.
Side note: I expect that during testing that the leading propeller will always have a higher RPM than the counter-rotating one due to losses incurred from prop-wash.
https://www.rcbenchmark.com/
All points noted,
Tests were done with freshly charged batts,
As for the rest of the concerns , i wanted to see in a comparitive way if there was any notable difference , and as slipshot snd un scientific way i presented the resulte are , i was not after precice figures , because a comparison is all i wanted thats all ,
As for differing rpm , I think the rpm is the same top and bottom , just one will draw more amps to do it,
As strange as this may sound, one on my many Jobs while working for the Naval Laboratory was one of jet engine Test-Cell instrument certification. Its a huge version of what I just described for you for testing out rebuilt turbo-jets. (Clarification: The instrumentation not the engines)
Here is what testing looks like at a dedicated engine facility: https://www.youtube.com/watch?v=Oj4w7i-TqsE&ab_channel=GungHoVids
Example of Ship-Board testing:
For a team of 2-3 it would take about a week to test and calibrate the entire stand. Which consisted of Voltage, Current, RPM, Vibration, Temperature and wiring checks. Most of this would be testing the instrumentation from the control booth to the engine stand and then saving the calibration constants to a computer for later reference.
You win , your test stand is bigger than my test
That wasn't the point... was trying to help you as after all this is the 2nd or 3rd build you've done to test this out. Besides, it's not about perfection as thats like chasing the dragon but instead finding a balance between what we desire and what we are currently capable of.