Babytooth 3" 1S Ultralight - Updated - Modified Crux3 Canopy
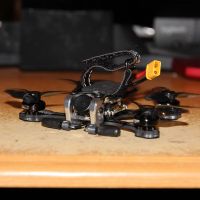 By outcastfpv on Feb 14, 2021
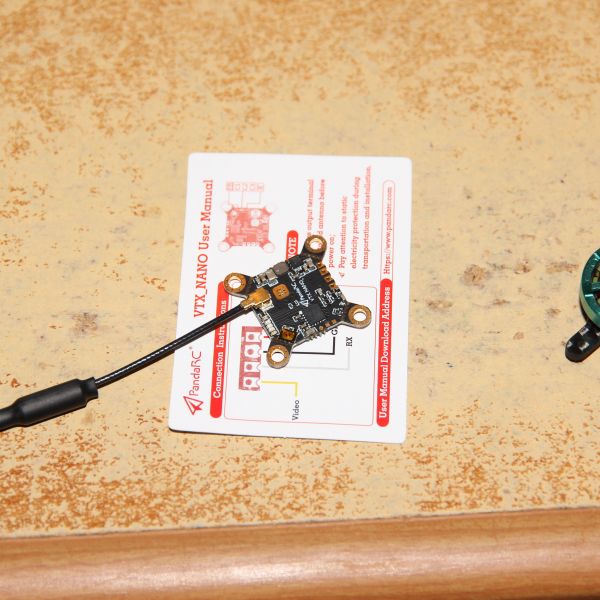
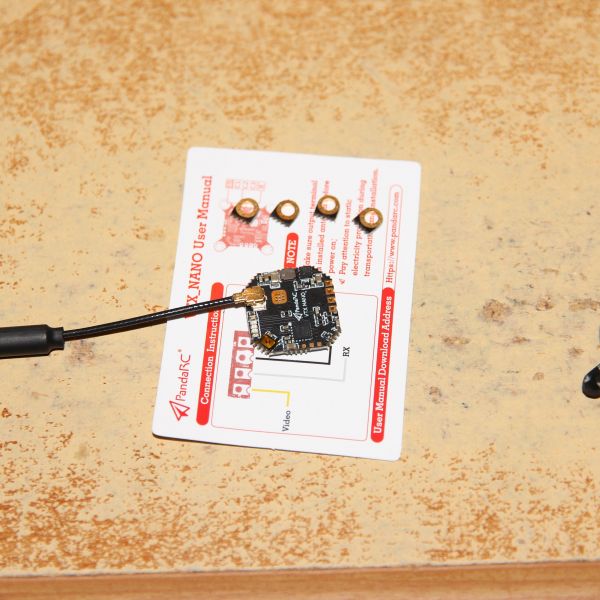
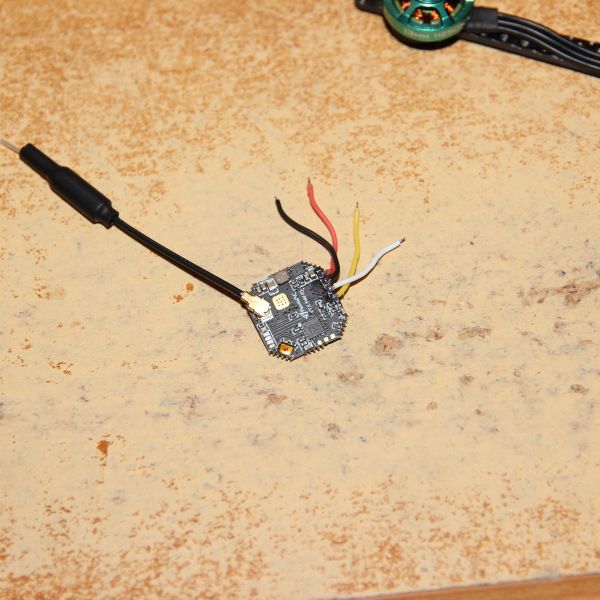
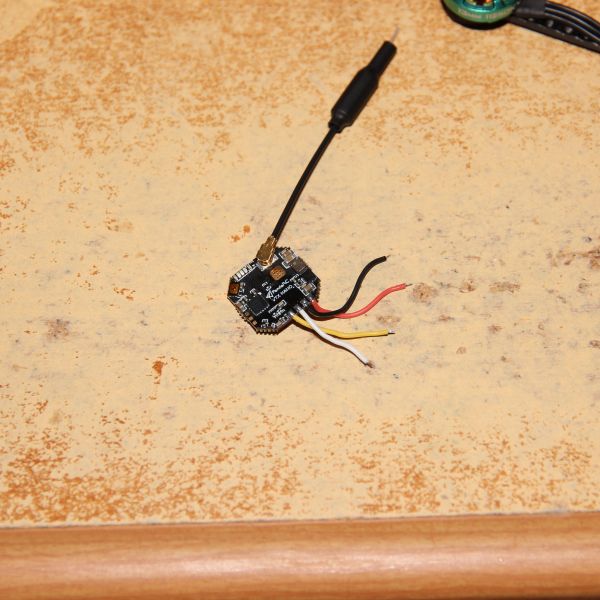
FPVCycle Babytooth, FPVCycle 1S AIO (no Rx or vTX), PandaRC Nano VTX, FPVCycle Light 13mm 1S-2S Motor
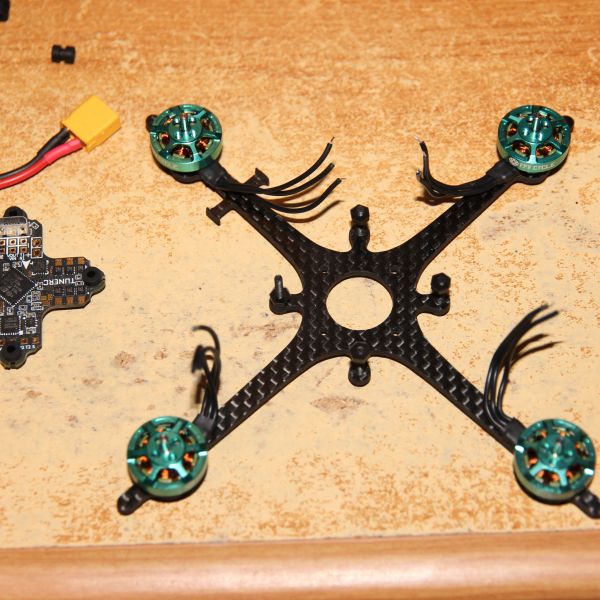
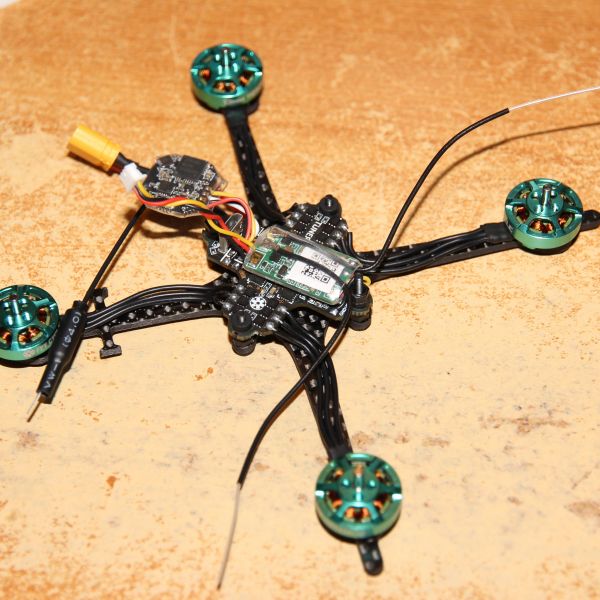
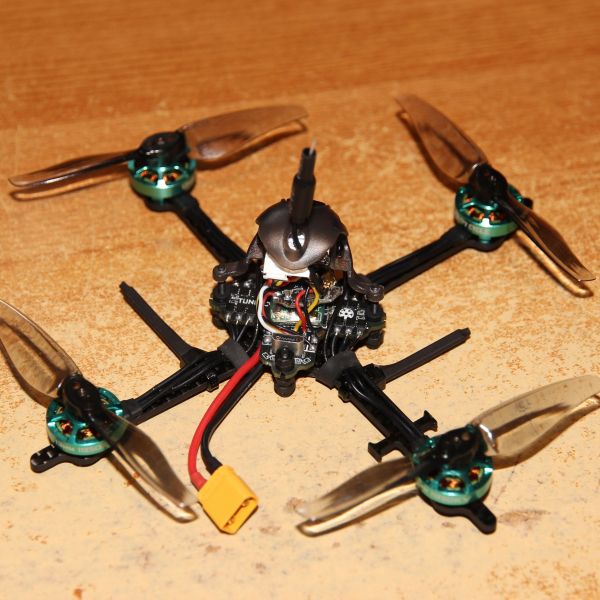
Some disapointments with this build. First the screws dont go through the frame without having to self tap them with the screws themselves, which is an issue for later tightening the screws on the canopy and getting the motors completely flush with the frame, as screwing through the frame and then into the motors results in a very slight lift at one of the mount points on some of the motors from the frame (but this is the nature of double tapping with screws, its not a good idea under normal conditions and it tends to push the other coupler away). I tried filing them out with a very small round file on both sides but got no where as i ended up with a good bit of carbon dust everywhere and still had to thread them.
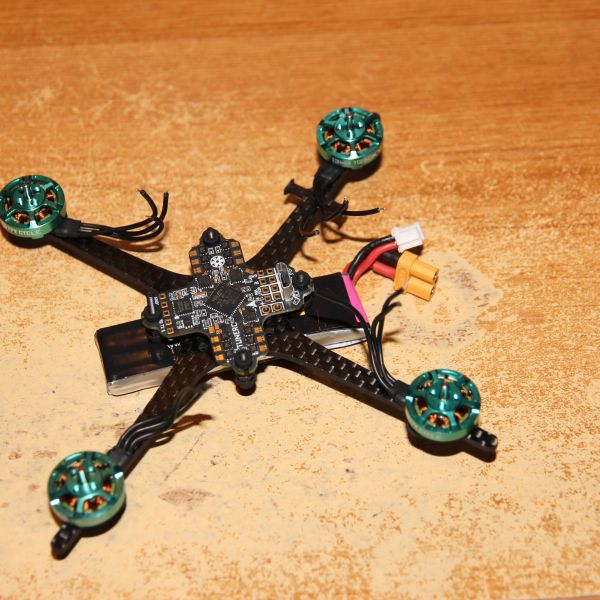
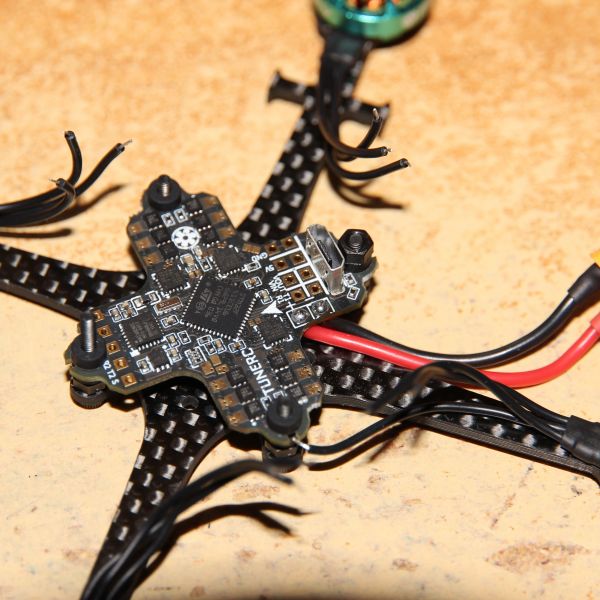
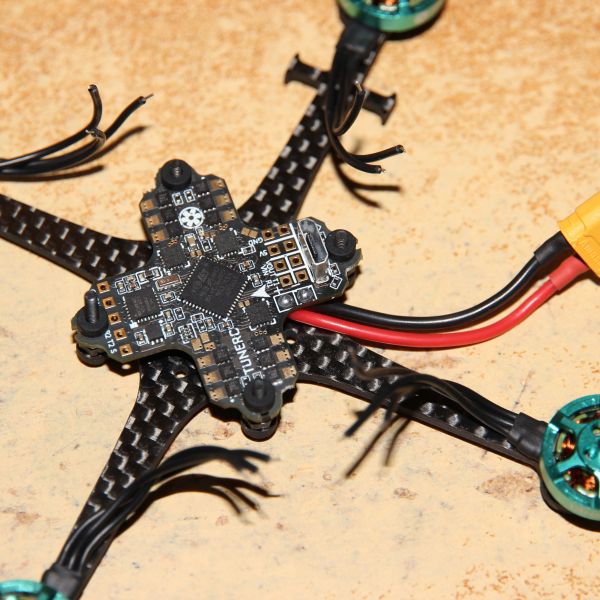
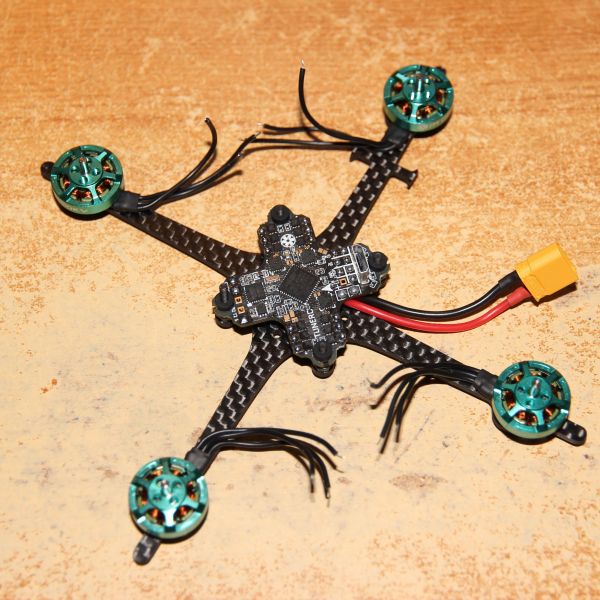
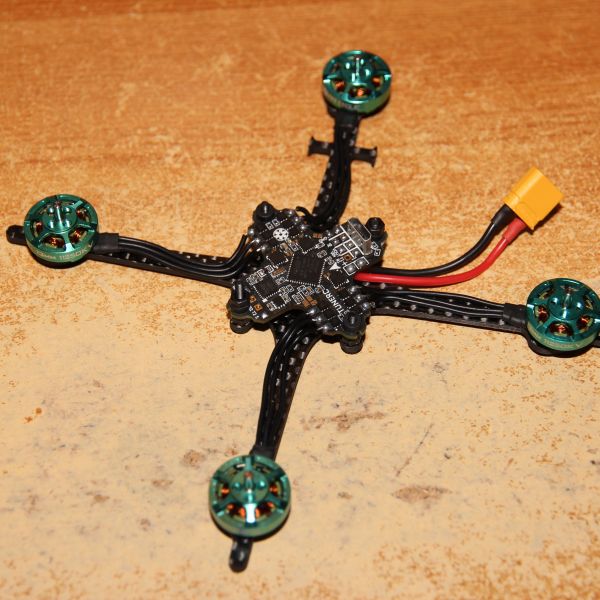
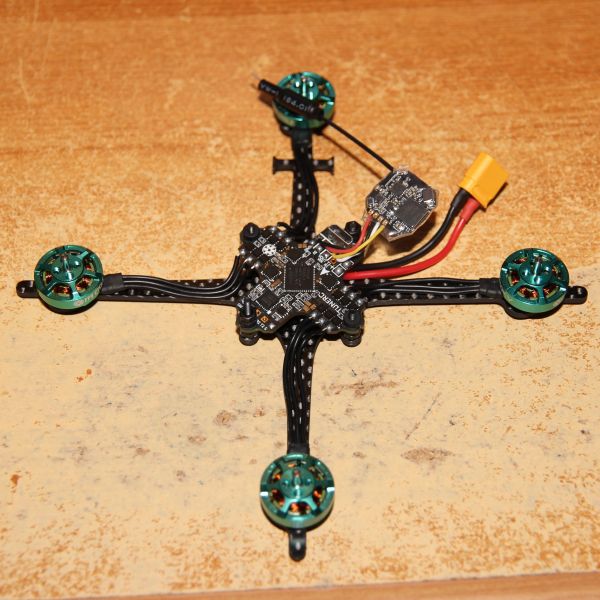
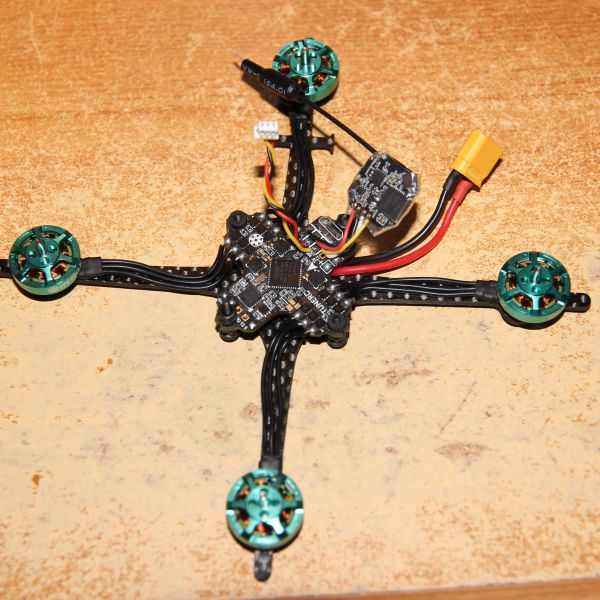
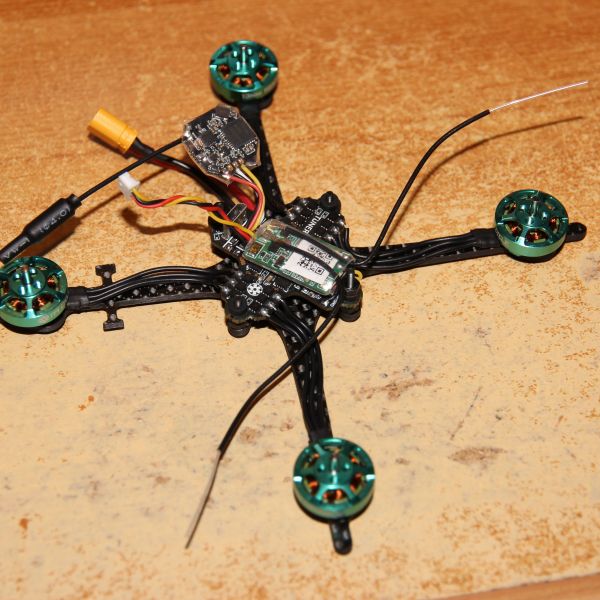
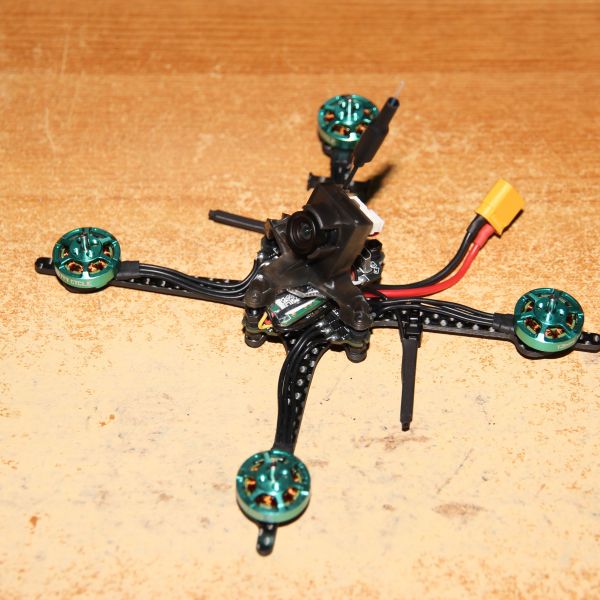
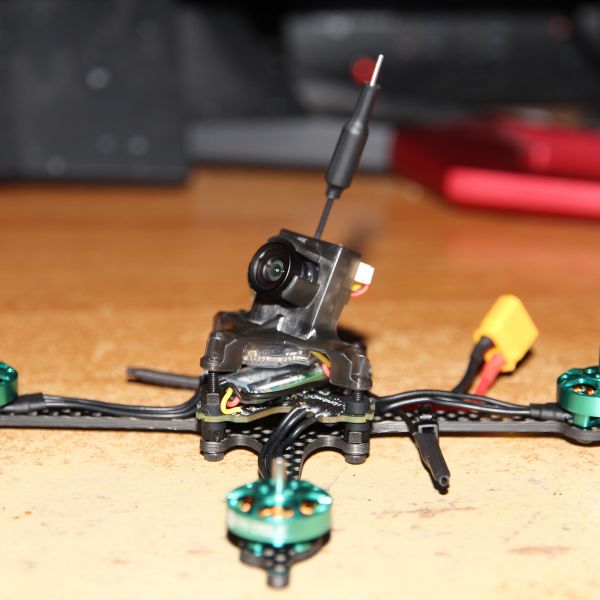
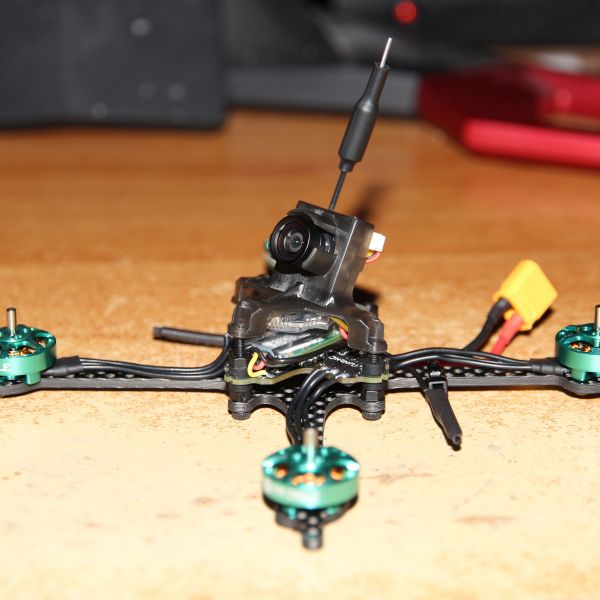
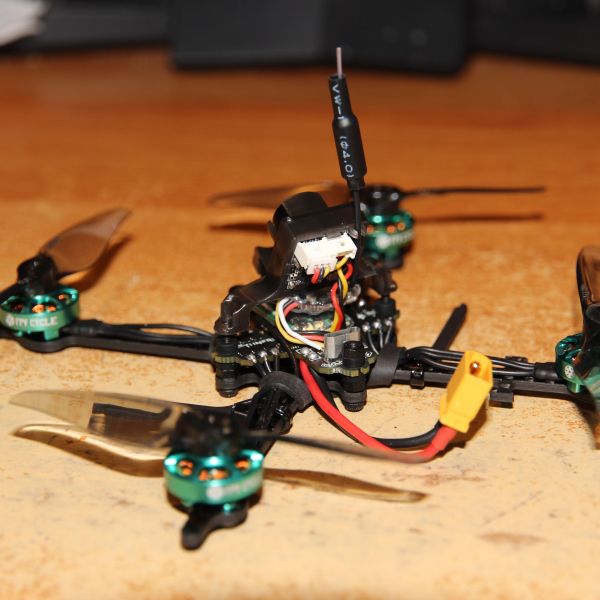
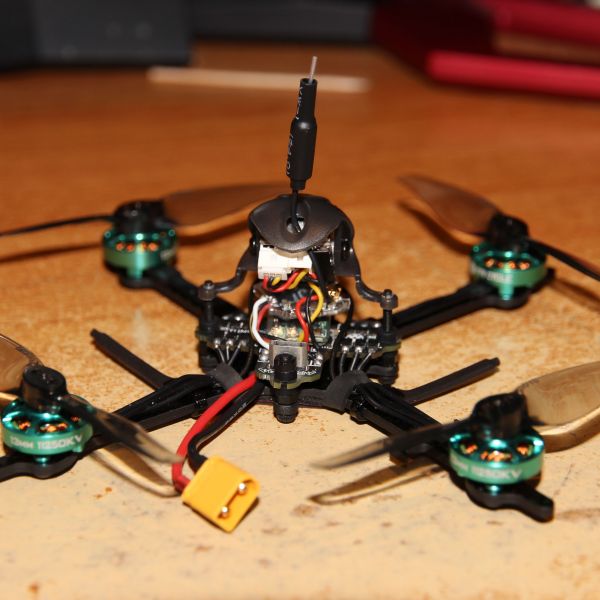
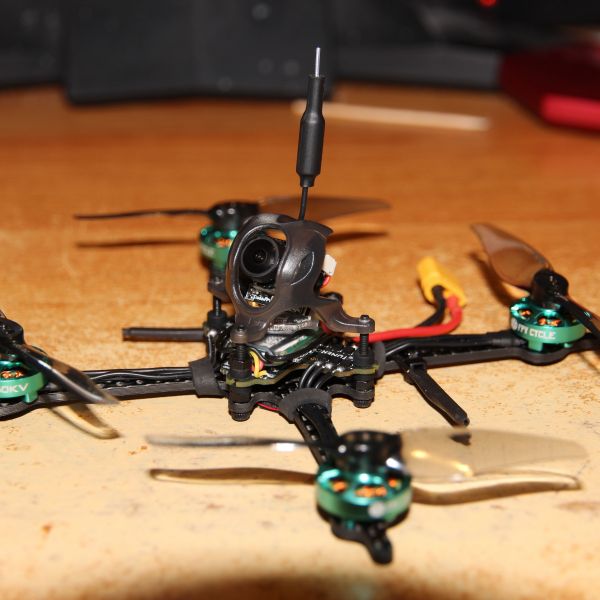
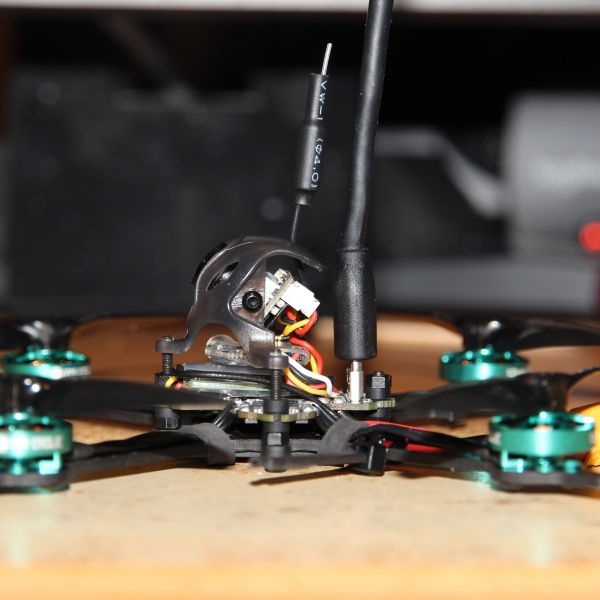
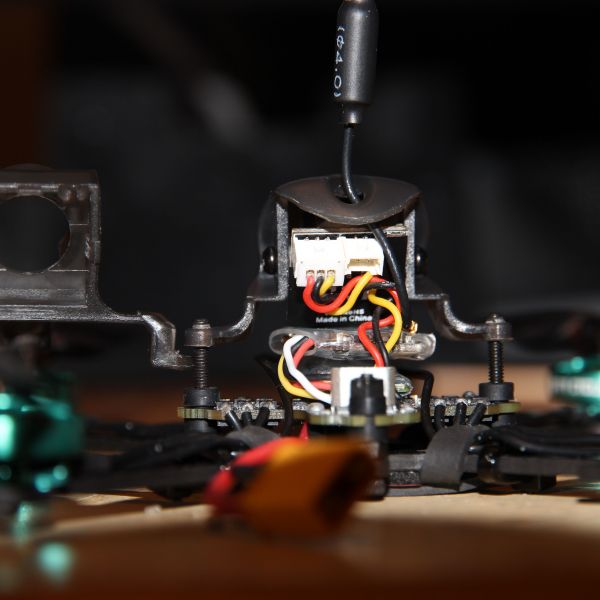
The second is the motor wires are very short and on one of the motors one of the wires are so short it barely just reaches with no slack, so doesnt sit flush along the frame so pressure on that individual wire towards the frame will likely rip the pad off with it. This can be seen in the included images. Also with this canopy on even with the canopy on level with no extreme angle I find I cant plug in the usb cable without having to take the canopy off, which is a hassle since the screws are threaded through the frame as typically i have used a nylon nut on the other side of the frame for fc clearance.
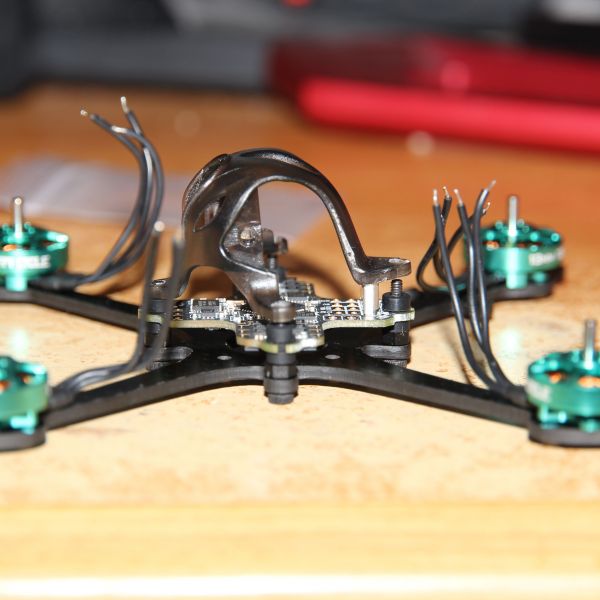
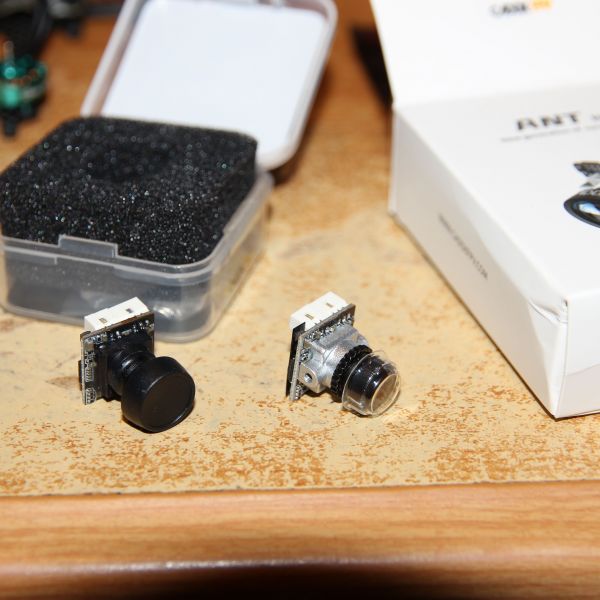
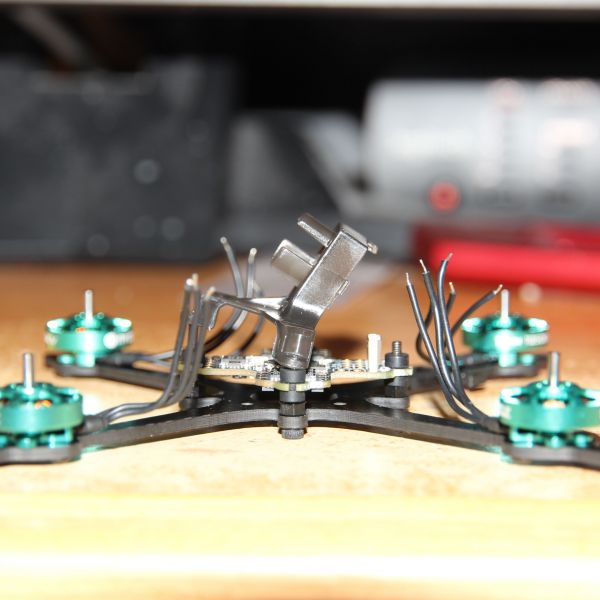
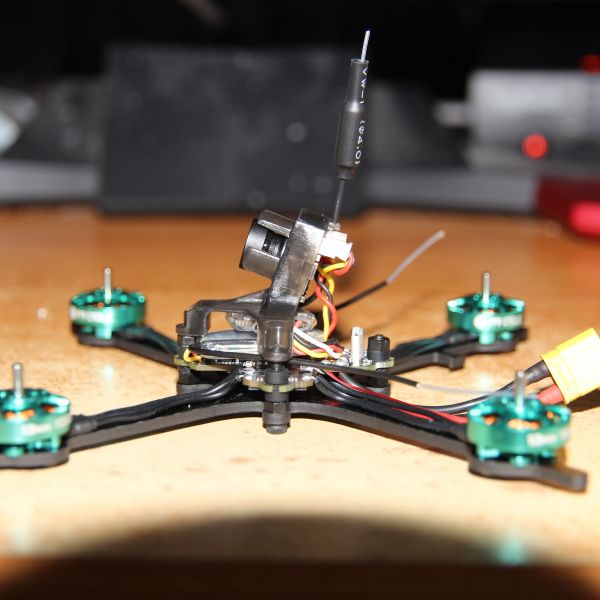
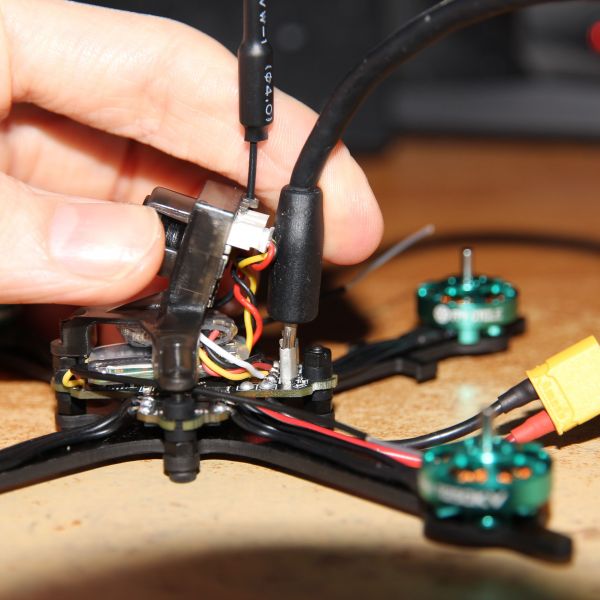
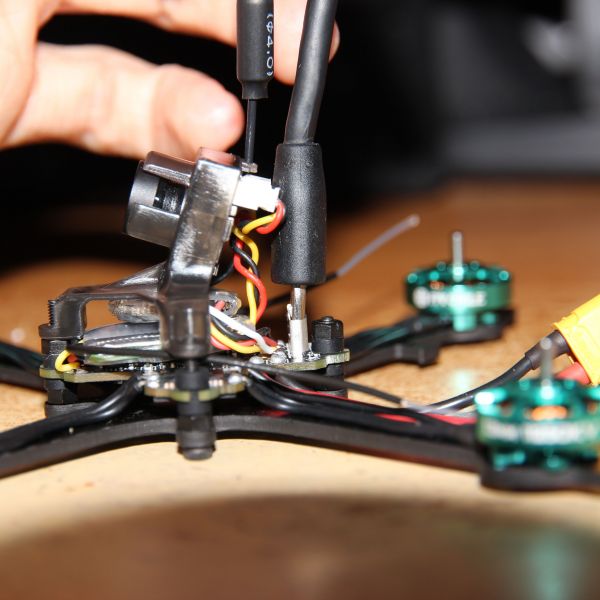
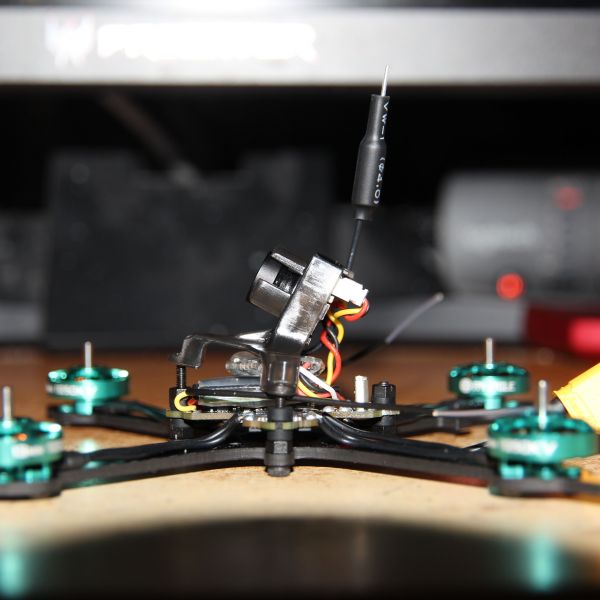
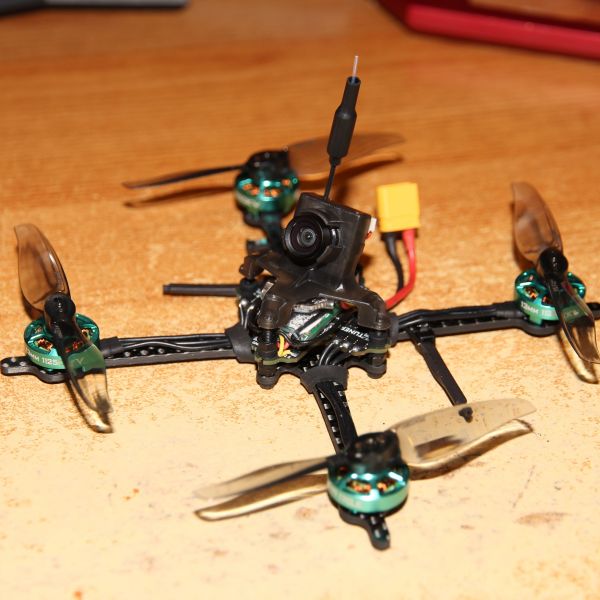
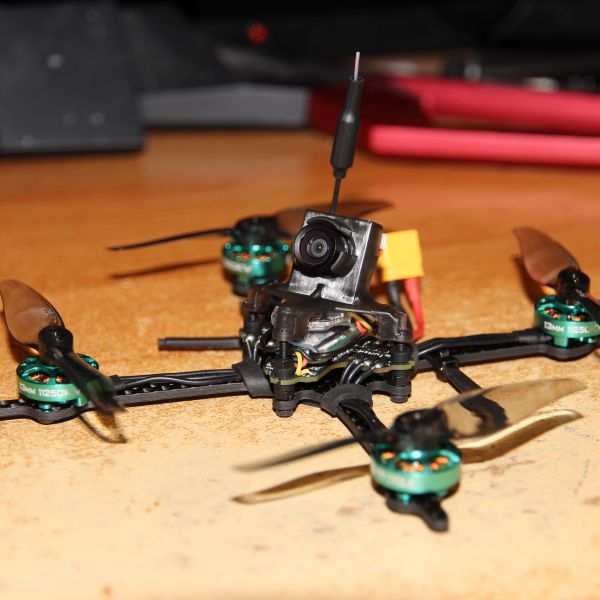
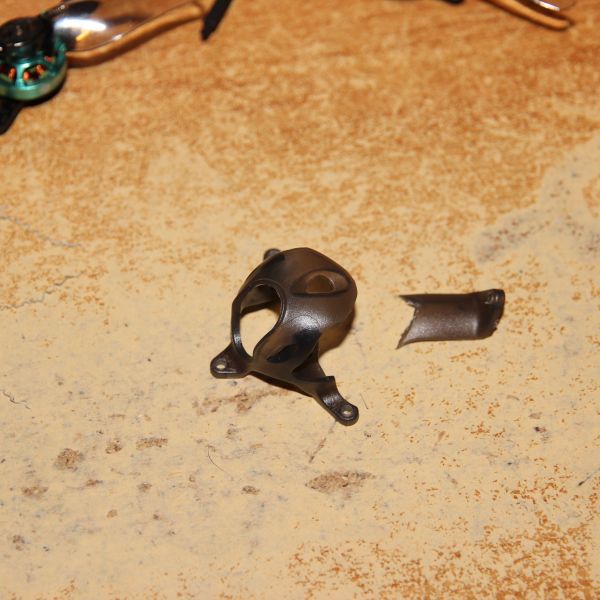
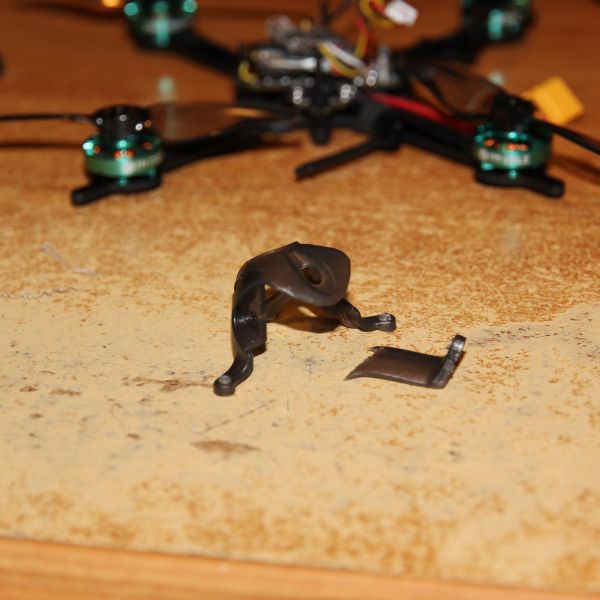
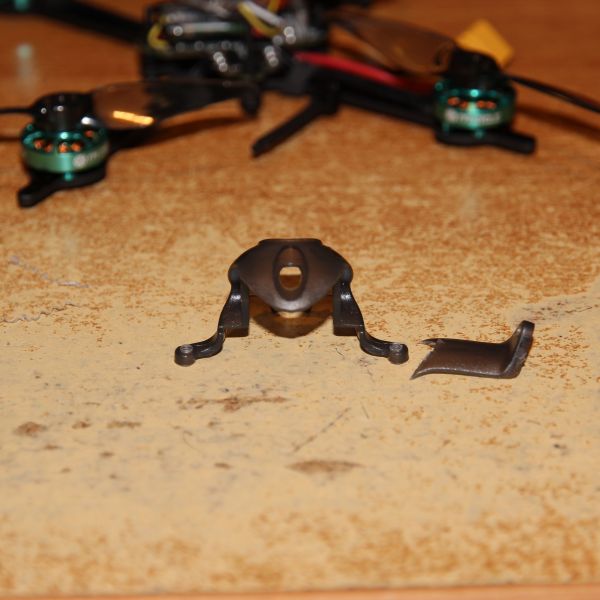
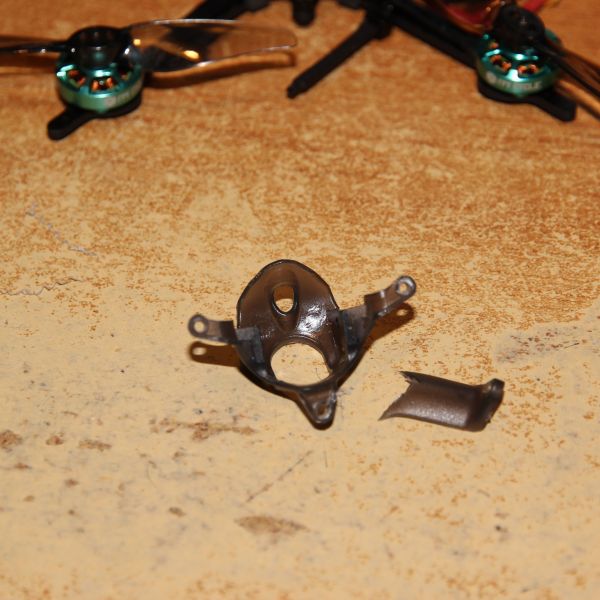
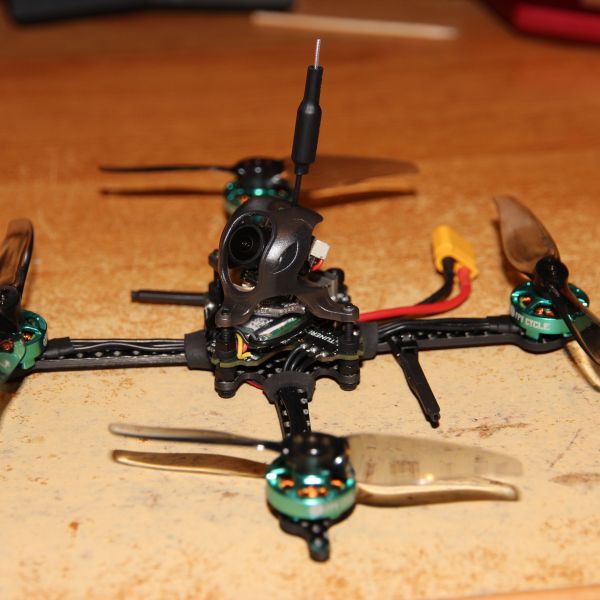
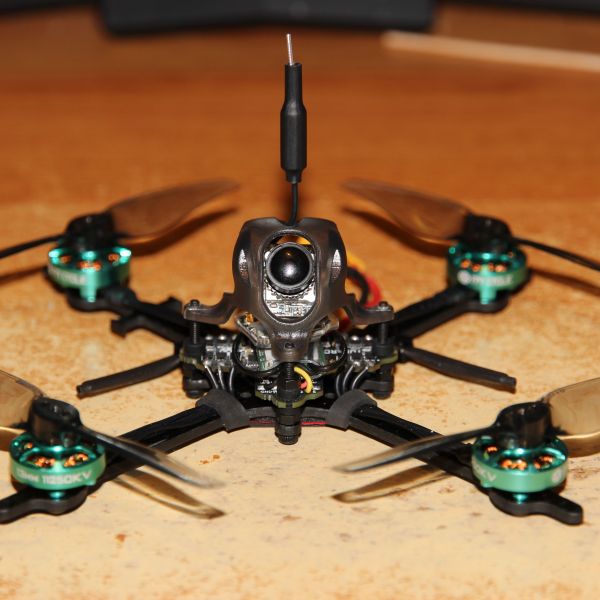
And as you might see from the pictures i tried the Canopy from a Crux 3 (Great quad, highly recommend it by the way) but the back support wont fit due to the USB port placement on the FPVCycle 1S AIO board. Since i dont like the idea of having to remove the beebrain canopy everytime i want to plug in USB i ordered another Crux 3 Canopy which i am going to cut the back support off and test how solid it is in flight, I think it should be fine as that canopy seems solid. I would then use the Ant Nano cam which i pictured next to the Ant lite (FPVcycle edition). The Crux 3 canopy will also allow varying camera angles by adjusting the 2 screws as is traditional with camera mounts. Unlike the beebrain mount which has to be angled more on the mount screws for the flight controller to overcome its fixed angle as you can see from the pictures.
When I first received the flight controller before building I just plugged it into betaflight to check if the accelerometer responded appropriately as i usually do, i checked other settings also, And I noticed that reverse props were set so I thought everything was already set up. I assumed since its an AIO if reverse props were set motor direction in blheli would also be set, later i found this wasnt the case as 3 of the motors were spinning the wrong way for reverse props. (Plugging in the battery is not a requirement to connect to blheli to adjust the settings)
On to the Motors they sound rough, 2 more so than the others. I get a kind of a ticking sound when they're spun up. The motor bells i also noticed are loose and can be slightly rocked back and forth. Anyone else with these motors noticed the same thing out of the box? Upon spinning them up in my hand they do produce noticable vibrations which i have a short clip of. You do get the correctly sized 3mm screws with the motors if you are using the 2.0mm frame, which is what i choose. They are a little short and do not come up flush with the top of the motor mount but when i just tried 4mm they are a little to close to the windings for my liking.
Update: Motor Replacements are on their way!
I later added a piece of double sided tape to the underside for battery clearance from the flight controllers screw heads, i left the other side's peel off layer on as it serves to easily slide the battery in while pulling up on the elastic.
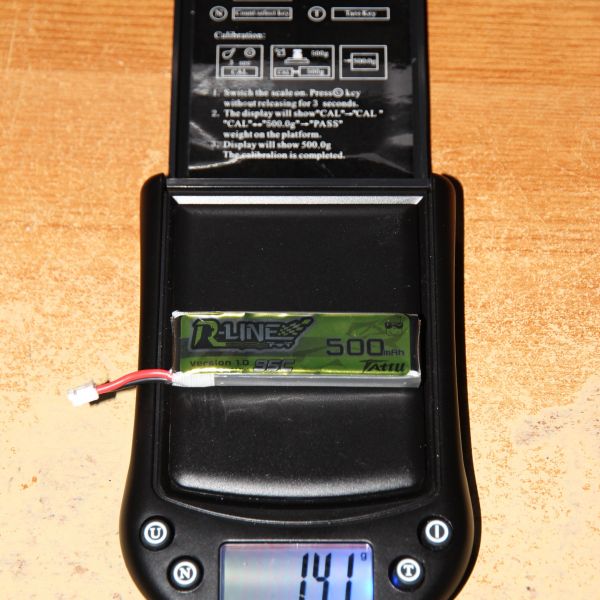
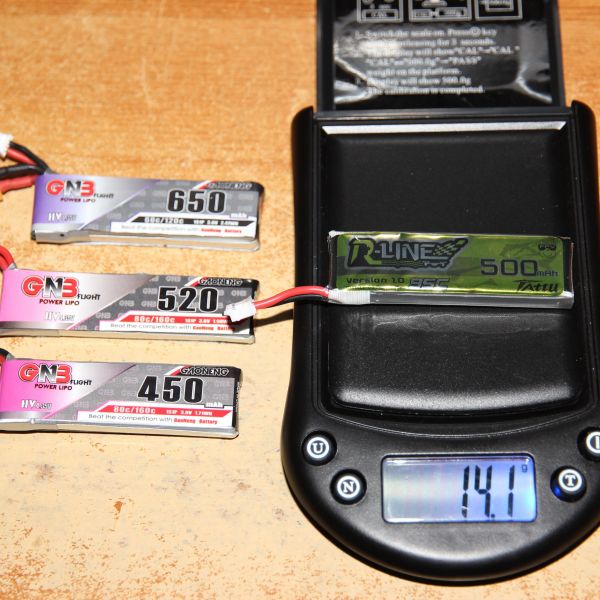
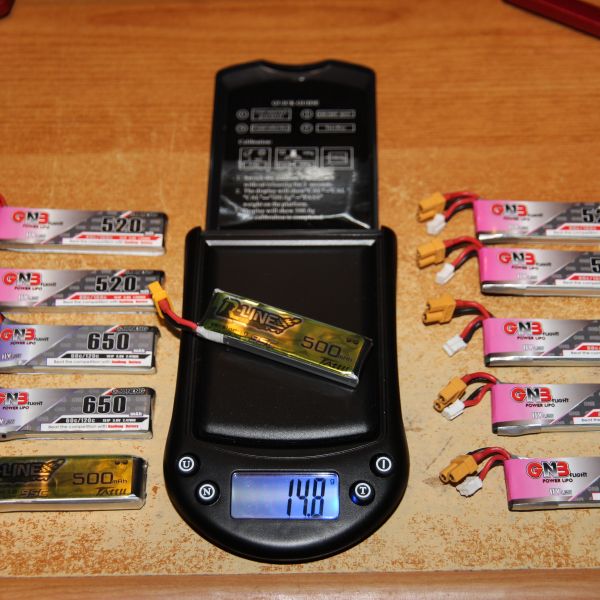
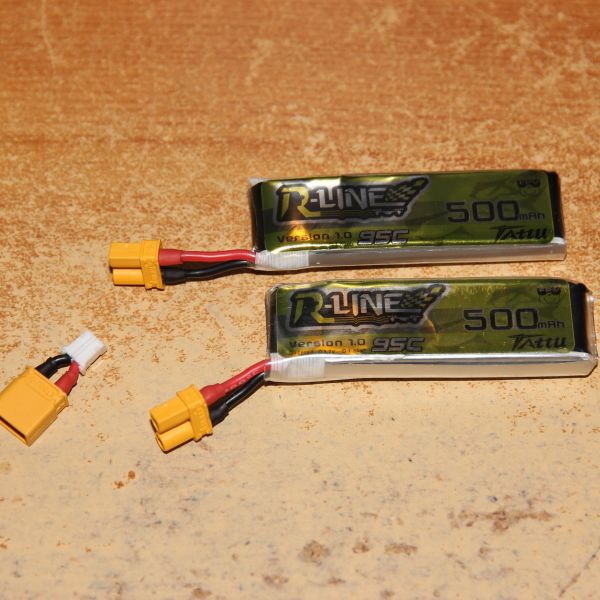
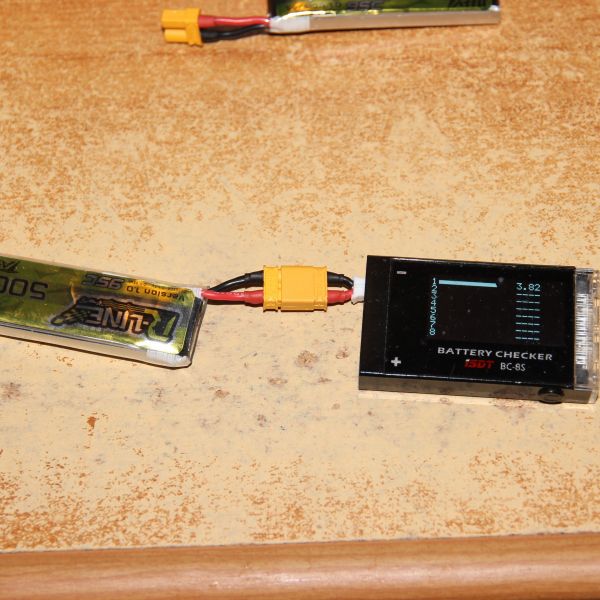
On a seperate note regarding modifying my PH2.0 batteries to XT30, i got tired of dissasembling the packaging on the lipo's for adding a seperate XT-30 as i find its useful to still have the PH2.0 to quickly check voltage with a iSDT BC-8S Battery Checker, I just created an XT30 to PH2.0 Adapter for this purpose. Its just the quickest and less hassle way of doing it. Added pics of this to the end. I have also just received 2x 1S Tattu R-line 500mAh 95C for testing, this is why i just made the adapter and cut the PH2.0 off the new Tattu's.
Havent had a chance yet to fly it to see if the motors are going to cause much oscillations due to the vibration. Weather has been terrible for a while, when its not snowing here its very wet and extremely windy, and has been like this for a while now unfortunately. The usual FPV winter flying struggle
Update: Crux 3 Canopy Mod
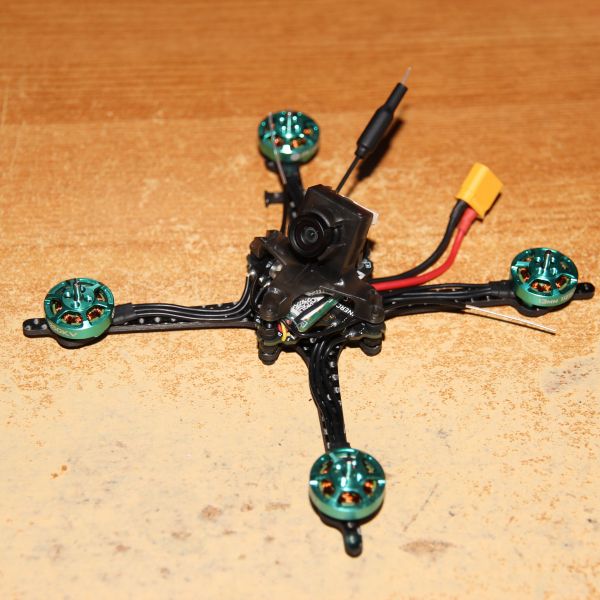
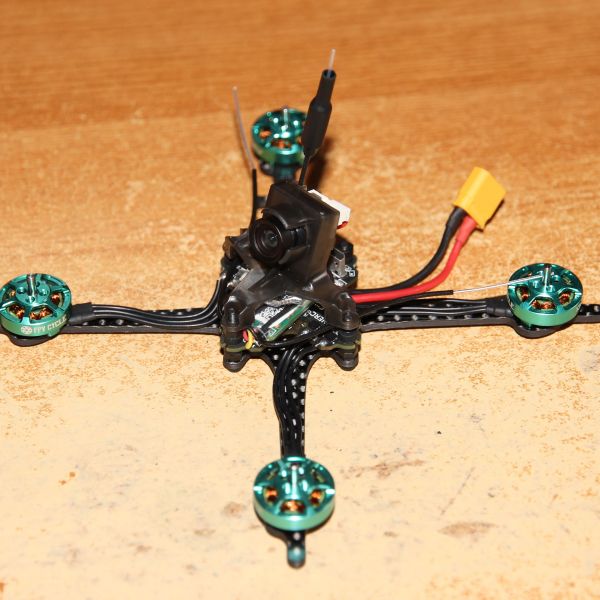
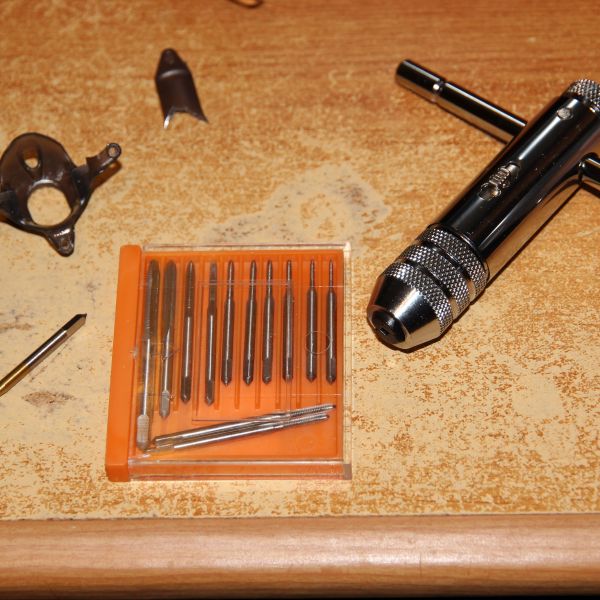
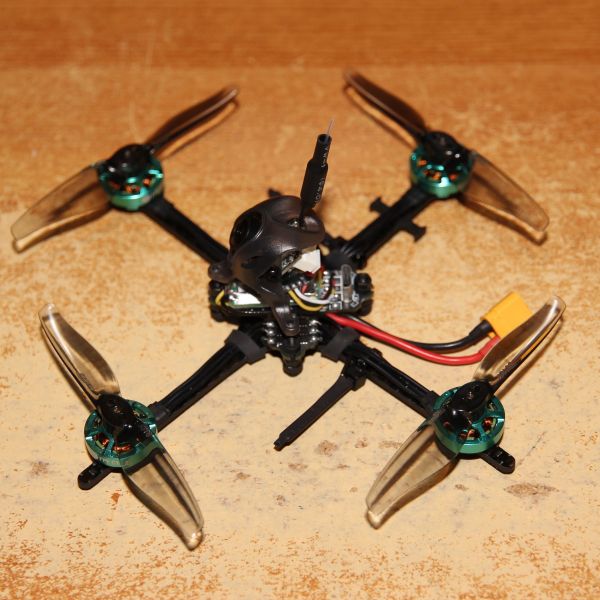
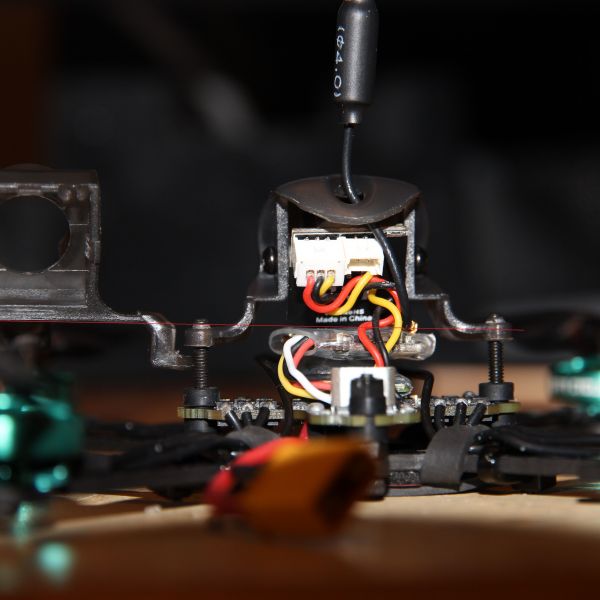
The Crux 3 Canopy arrived already. It came with tiny pin holes which had to be drilled out to fit around an M2 bolt but this was a good thing as i drilled them out with a 1.4mm drill bit and then used an M2 tap to thread them so i wouldn't have to use nylon nuts to secure it (the beebrain mount didnt need nylon nuts to secure either). I then clipped off the back leg with a snips and filed it so it was rounded off, it came out nicer than i was expecting. Now i can use an even more extreme angle if i want and can later change it easily by just tilting it up or down. And have complete access to the USB port now. As you can see from the pictures, the Crux 3 mount is shorter and its legs dont protrude out and further down the M2 bolts as the beebrain mount did. so i need longer bolts but with this Canopy the quad is still slightly shorter than with the beebrain mount. And finally the Antenna can be fed through the hole in the Crux 3 Canopy as pictured.
The last two images are a copy with one edited with a red line across to compare the respective canopy height for each one. Its not level but it gives you an idea of where the beebrain mount would rest on top of the vtx as i noticed i was holding it at an angle once i drew the line across the top of the vtx to compare.
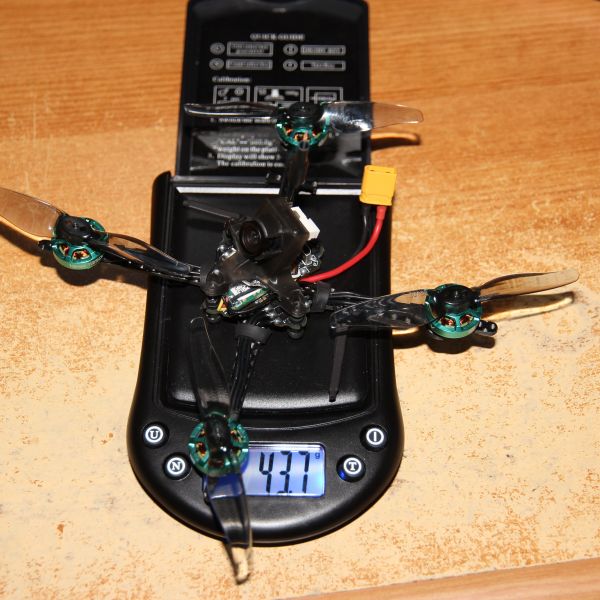
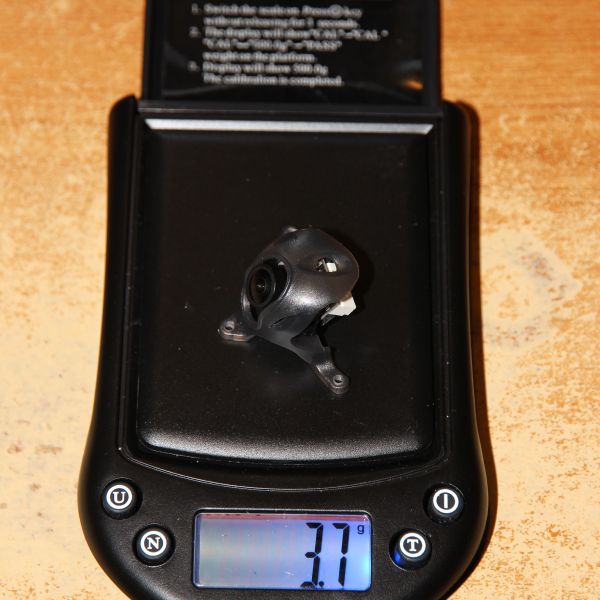
Weight:
Modified Crux 3 Mount /w Ant nano: 3.7g
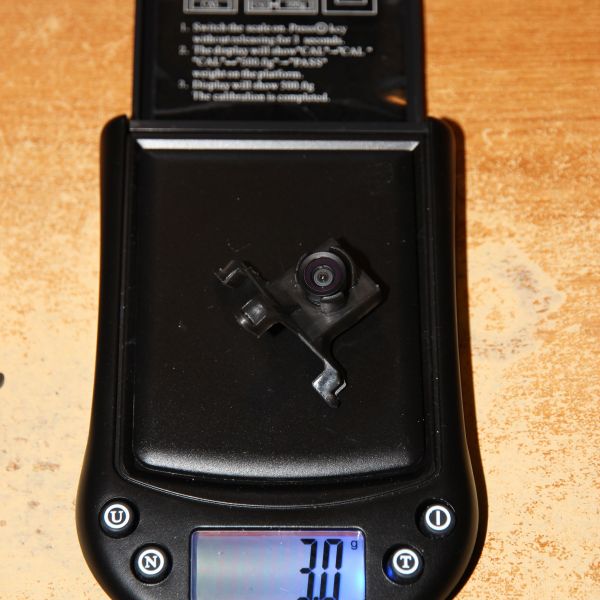
Beebrain mount /w Ant lite: 3.0g
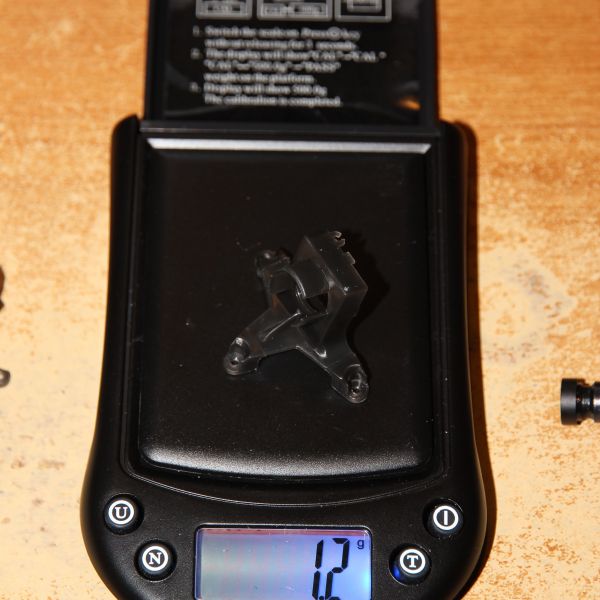
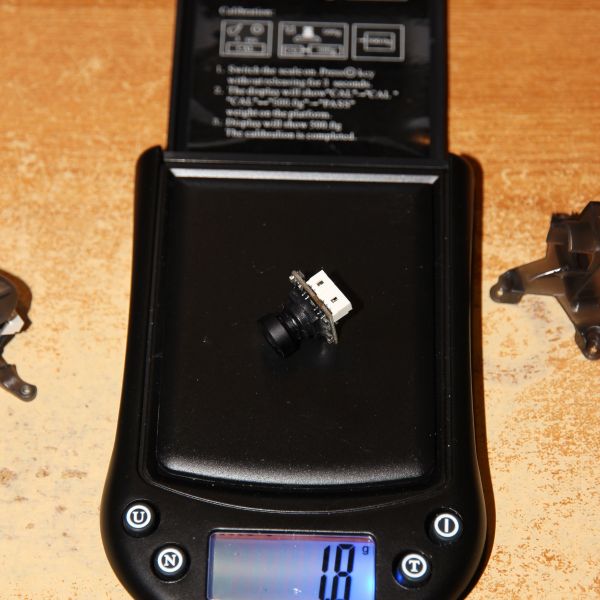
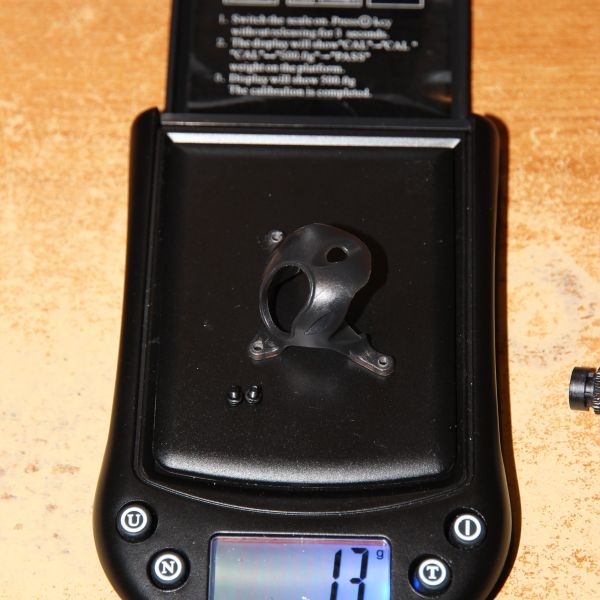
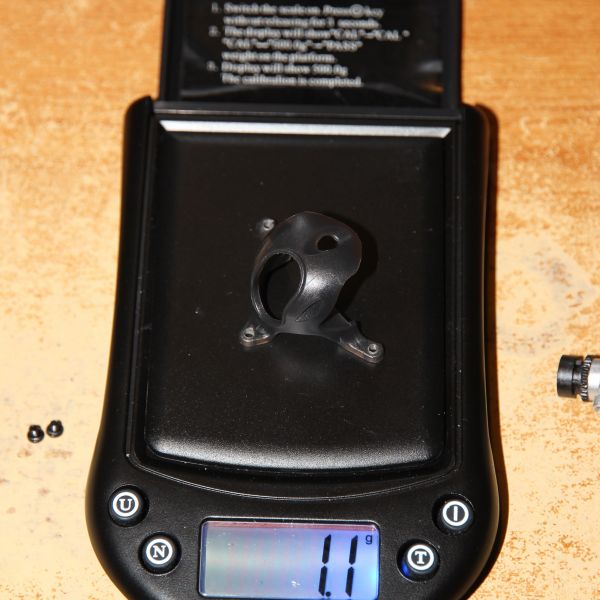
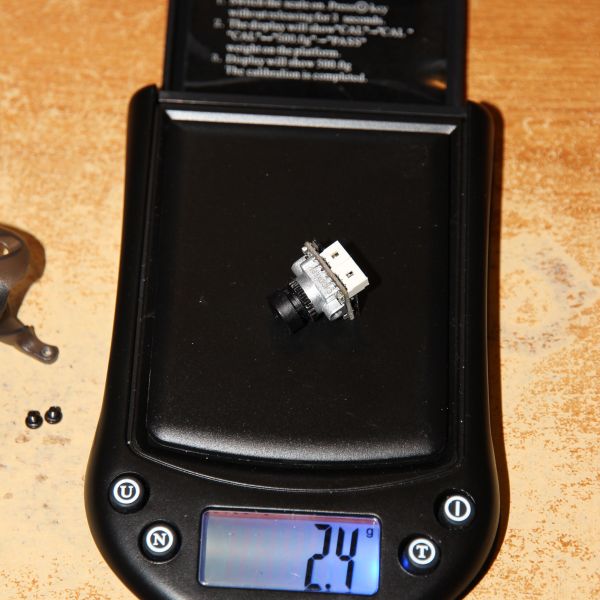
Canopy & Cam Weight Breakdown: (Pictures Included)
Modified Crux 3 Mount: 1.1g
Camera screws: 0.2g
Ant nano with mount holes: 2.4g
Beebrain mount: 1.2g
Ant Lite (FPVCycle Edition) no mount holes: 1.8g
Update 2: 4x Replacement Motors Arrived
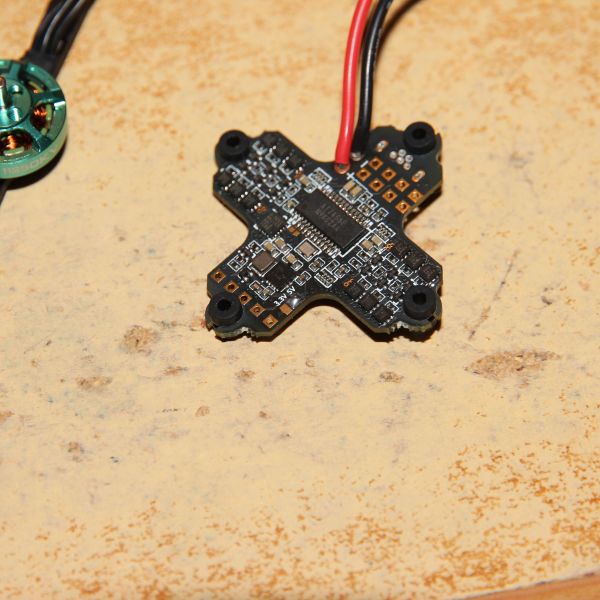
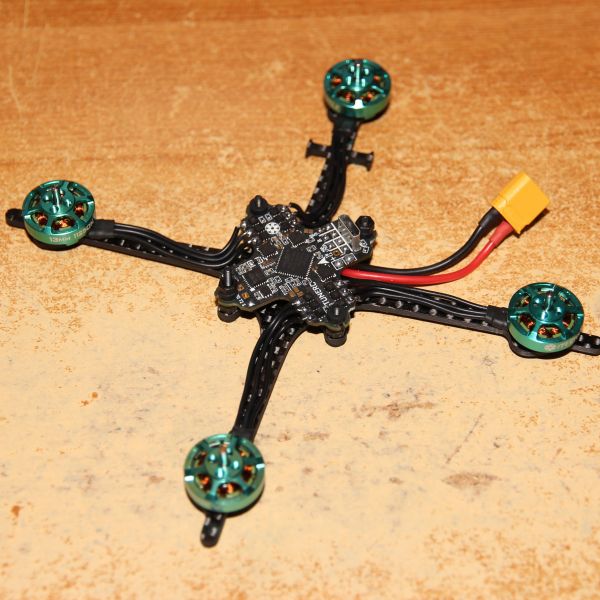
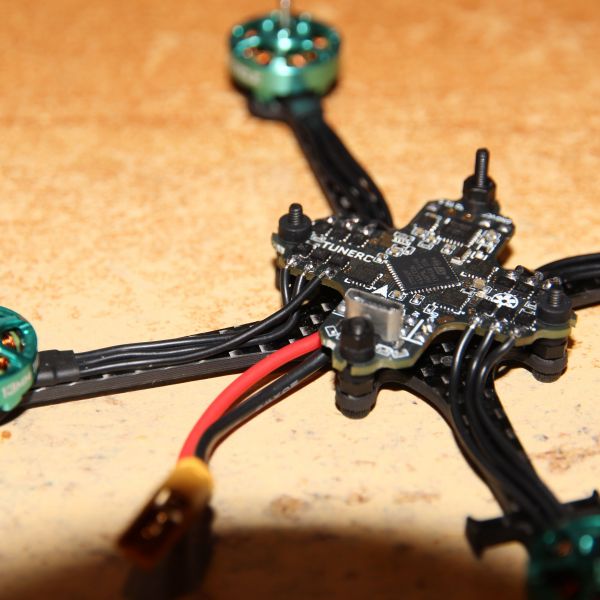
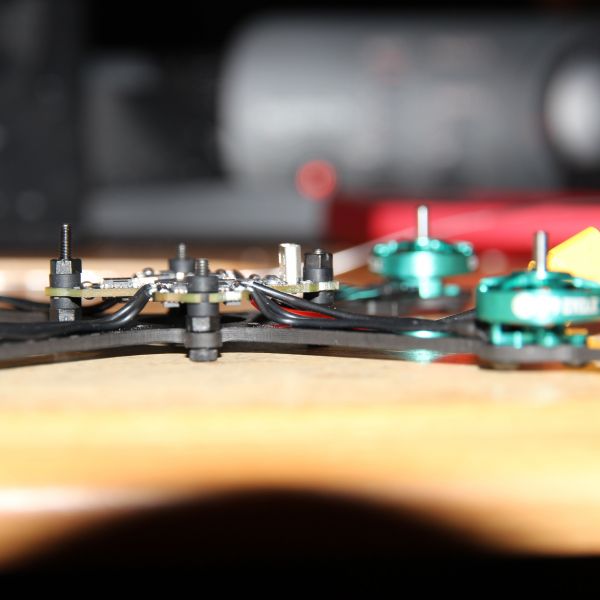
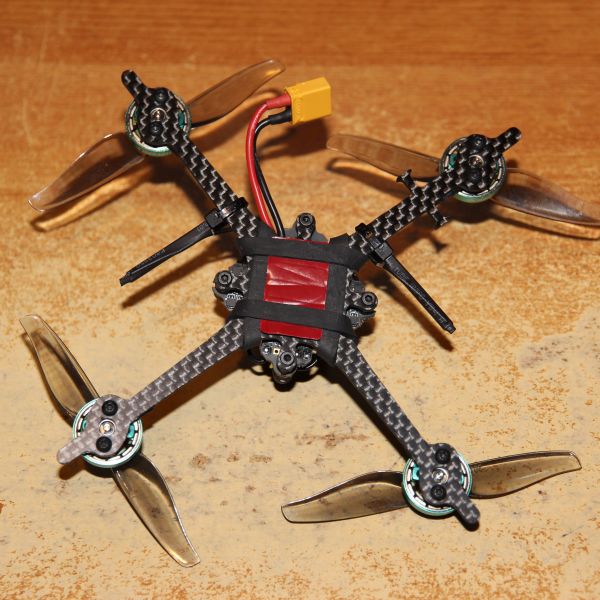
The 4x Replacement Motors just arrived (01/03/2021) and i have soldered them up, they all sound smooth this time and all the motor wires were long enough to reach with some slack.
Thanks for following and sorry for the mountain of text and images!
Photos
Part List
Frame |
FPVCycle BabyTooth Frame (CHOOSE THICKNESS)
(56 builds)
Fpvcycle.com
|
$11.99 |
Flight Controller |
FPVCycle 1S-2S AIO
(18 builds)
Fpvcycle.com
|
$55.99 |
Motors |
4 x FPVCycle Light 13mm 1S Motor- 2mm prop shaft
(40 builds)
Fpvcycle.com
|
$53.96 |
Propellers |
Gemfan 3018 Props (4CW + 4CCW) - 2mm
(47 builds)
Fpvcycle.com
|
$1.29 |
FPV Camera |
Caddx Ant Nano Analog FPV Camera
(158 builds)
Newbeedrone.com
|
$17.90 |
FPV Camera |
Caddx Ant Lite 4:3 FPV Camera - FPVCycle Edition
(73 builds)
Fpvcycle.com
|
$13.99 |
FPV Transmitter |
PandaRC Nano 16x16 5.8GHz 25-400mW VTX - U.FL
(12 builds)
Fpvcycle.com
|
$20.98 |
Receiver |
FrSky XM+ 2.4GHz Micro ReceiverDefault Title
(1158 builds)
Racedayquads.com
|
$15.99 |
Misc Parts |
BeeBrain V2 Camera Mount and Canopy
(38 builds)
Fpvcycle.com
|
$2.99 |
Misc Parts |
Happymodel Crux3 Replacement Canopy
Getfpv.com
|
$2.99 |
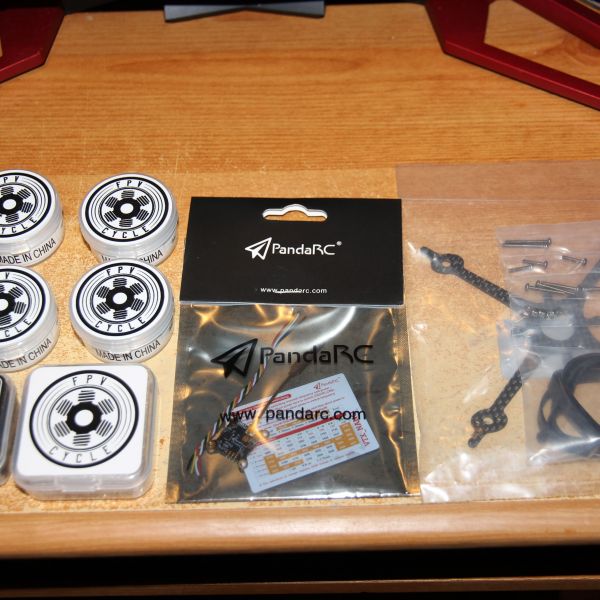
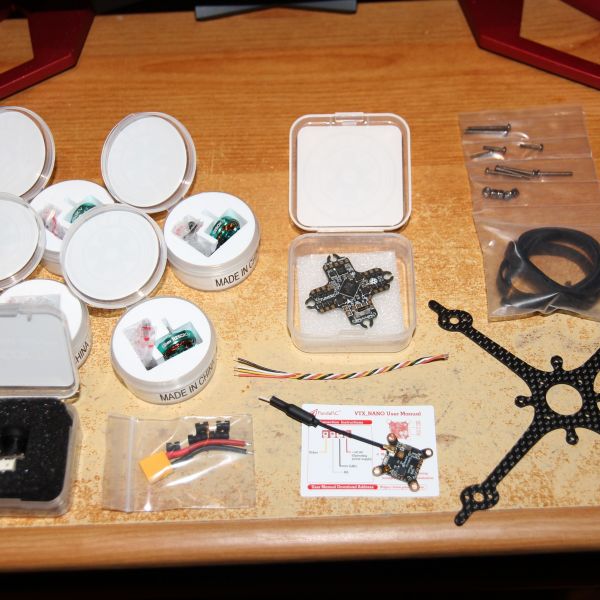

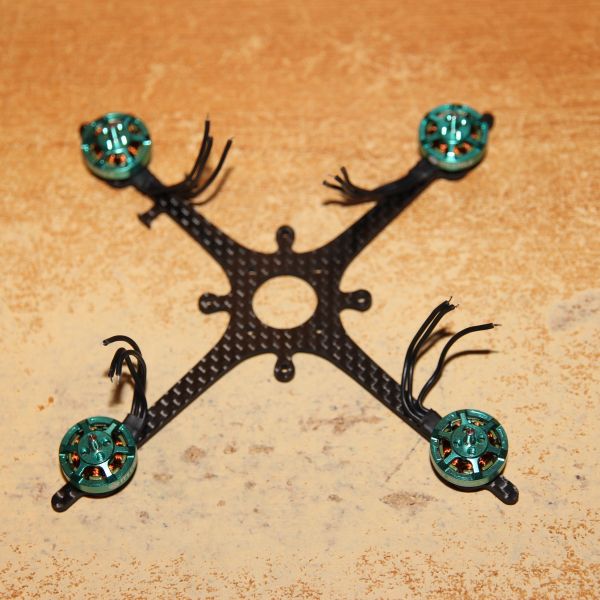



Update 2: 4x Motor replacements arrived and are all smooth now