Hyperlow Airshot - Flat arms
 By MartinBKLYN on Apr 02, 2021
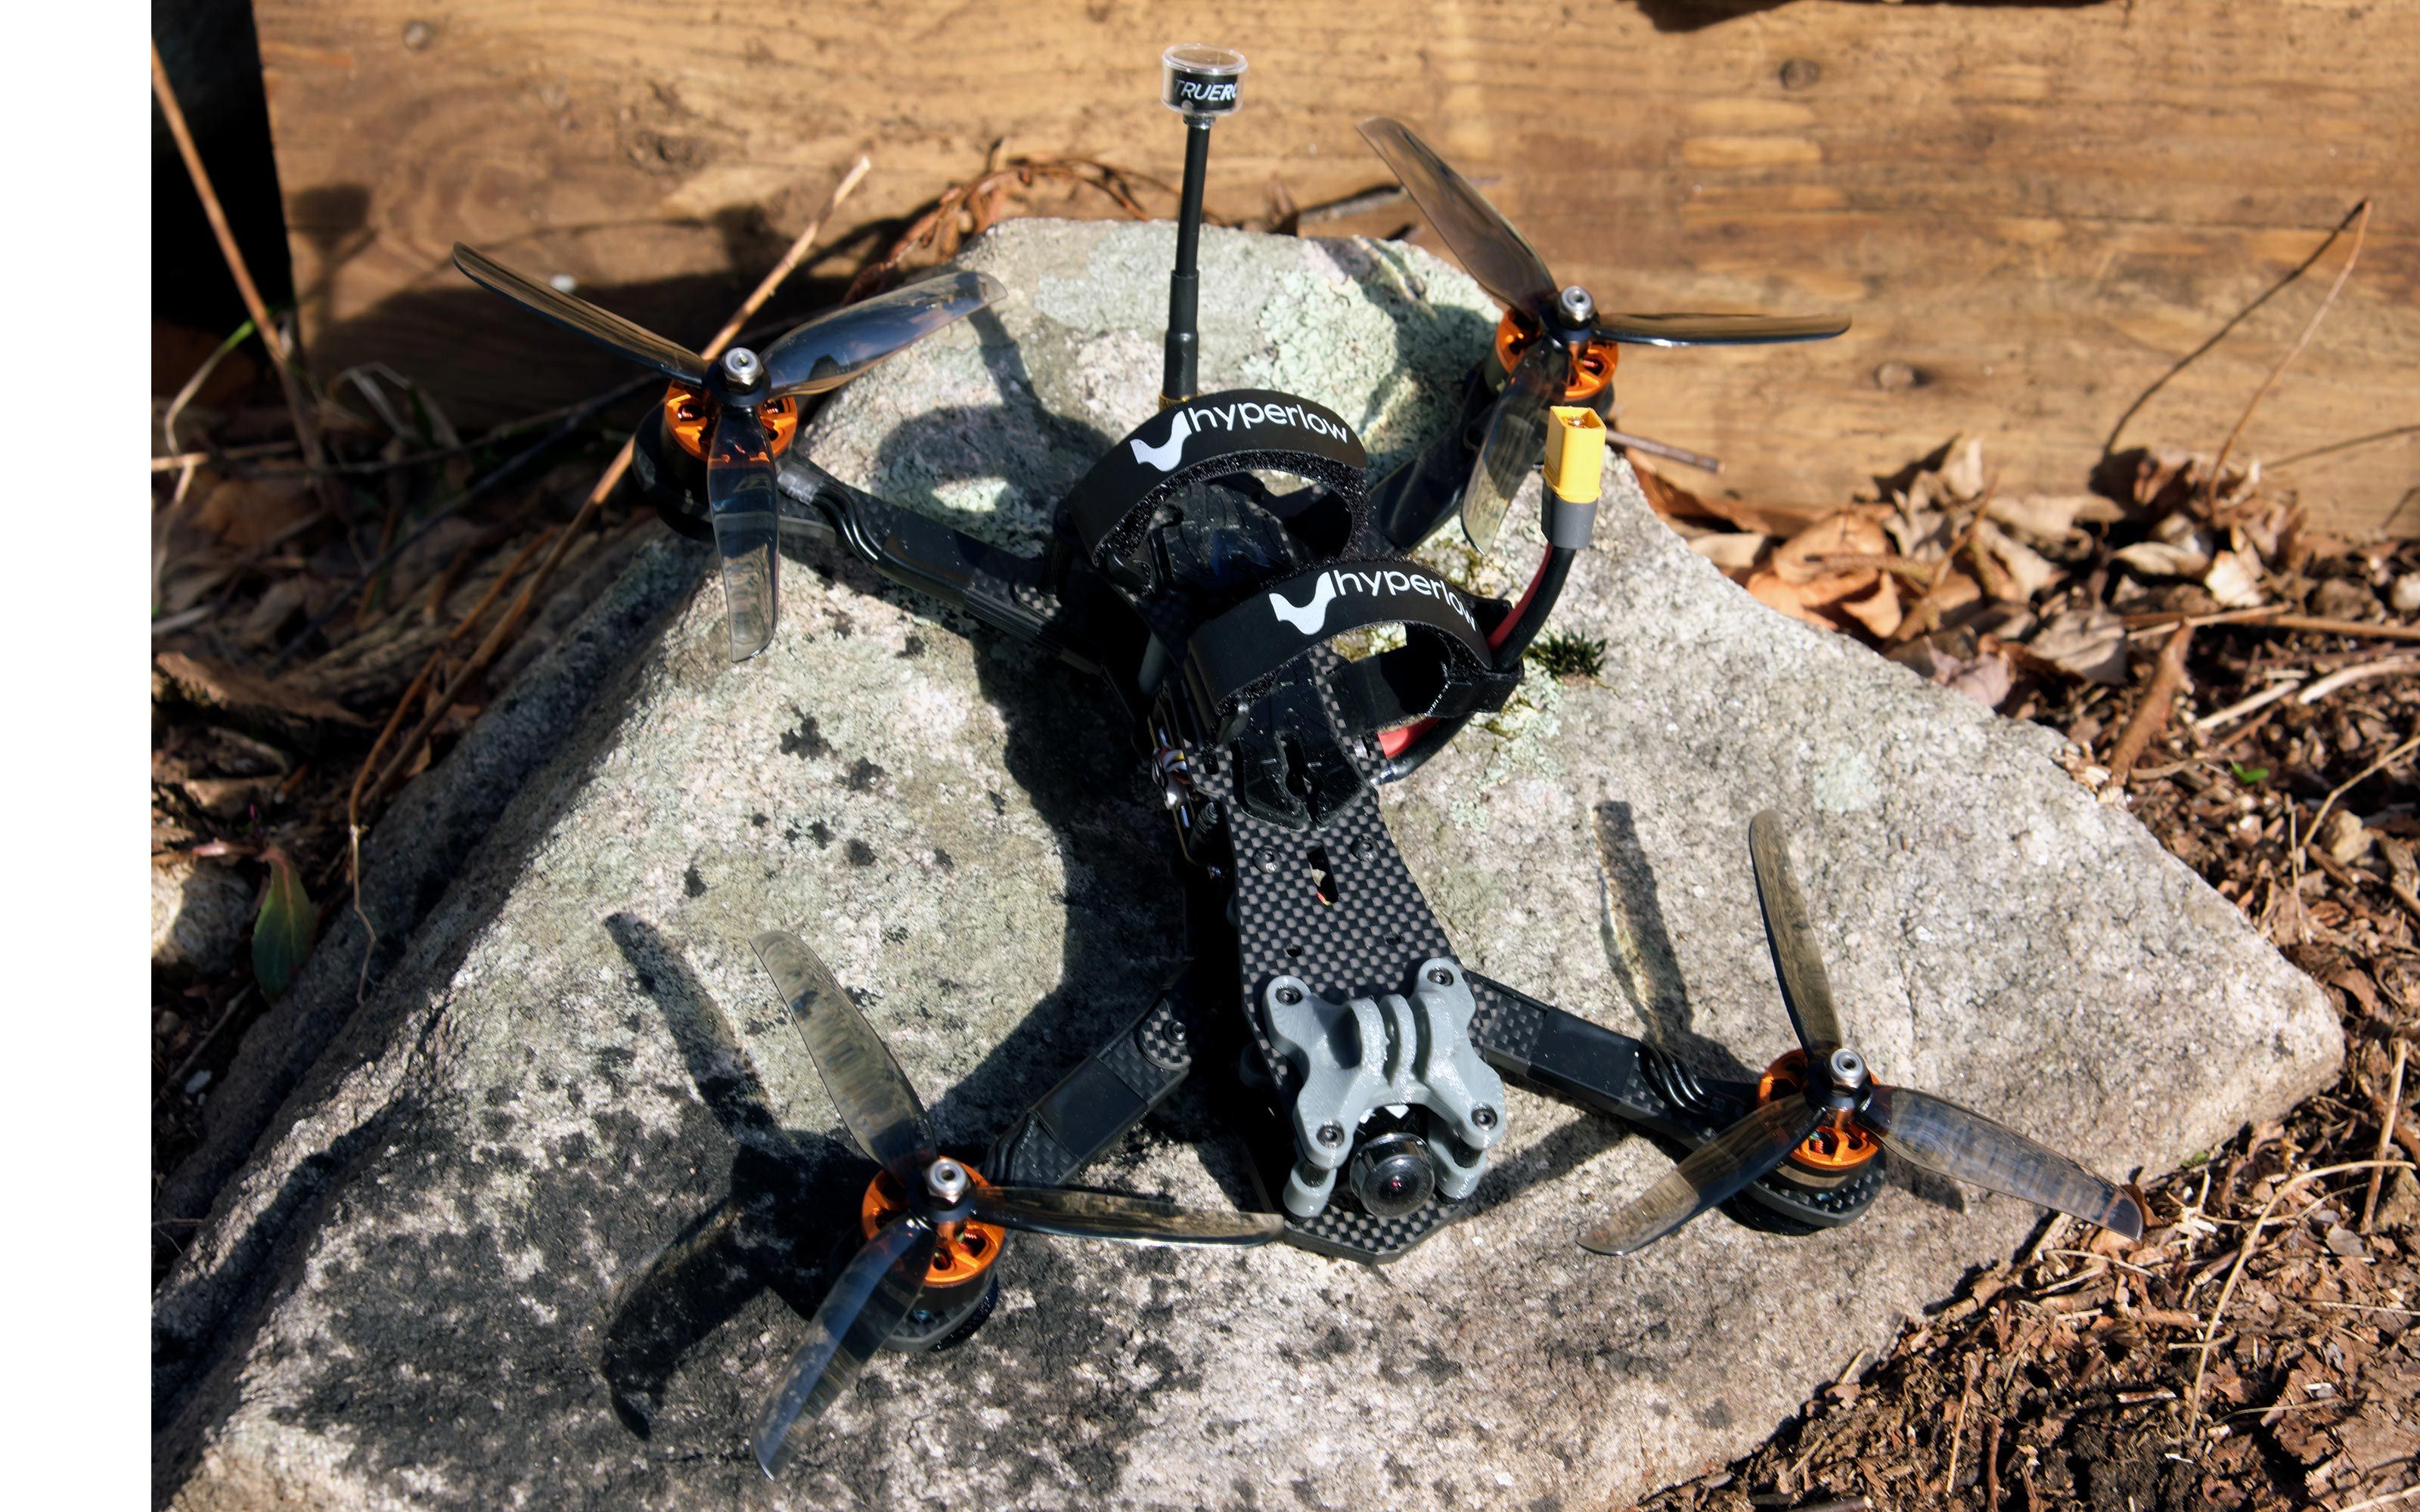
I was intrigued by the Hyperlow Airshot's design as a cinematic and freestyle platform, by the various GoPro mounting options it provides (both above the FPV camera and below the frame at the rear) and the availability of a ton of 3D printed add ons. A really clever design and well thought out by Richard from Hyperlow Frames. So the Airshot it was for my first 5" build.
While there is an option for using the original DJI Airunit, I went with the Caddx Vista instead to save some space and a little weight.
Here is the process I went through including some elements which I will do differently, either on the next build or when I re-build this one. Thanks to Richard for answering a number of questions I had along the way.
Frame Assembly
The frame assembly was pretty straight forward. The frame is beautifully produced and comes with various press nuts installed. I simply followed Hyperlow's assembly guide. While the frame kit comes with the screws needed, I did choose to replace some of the button head screws with cap head screws.
Motor installation
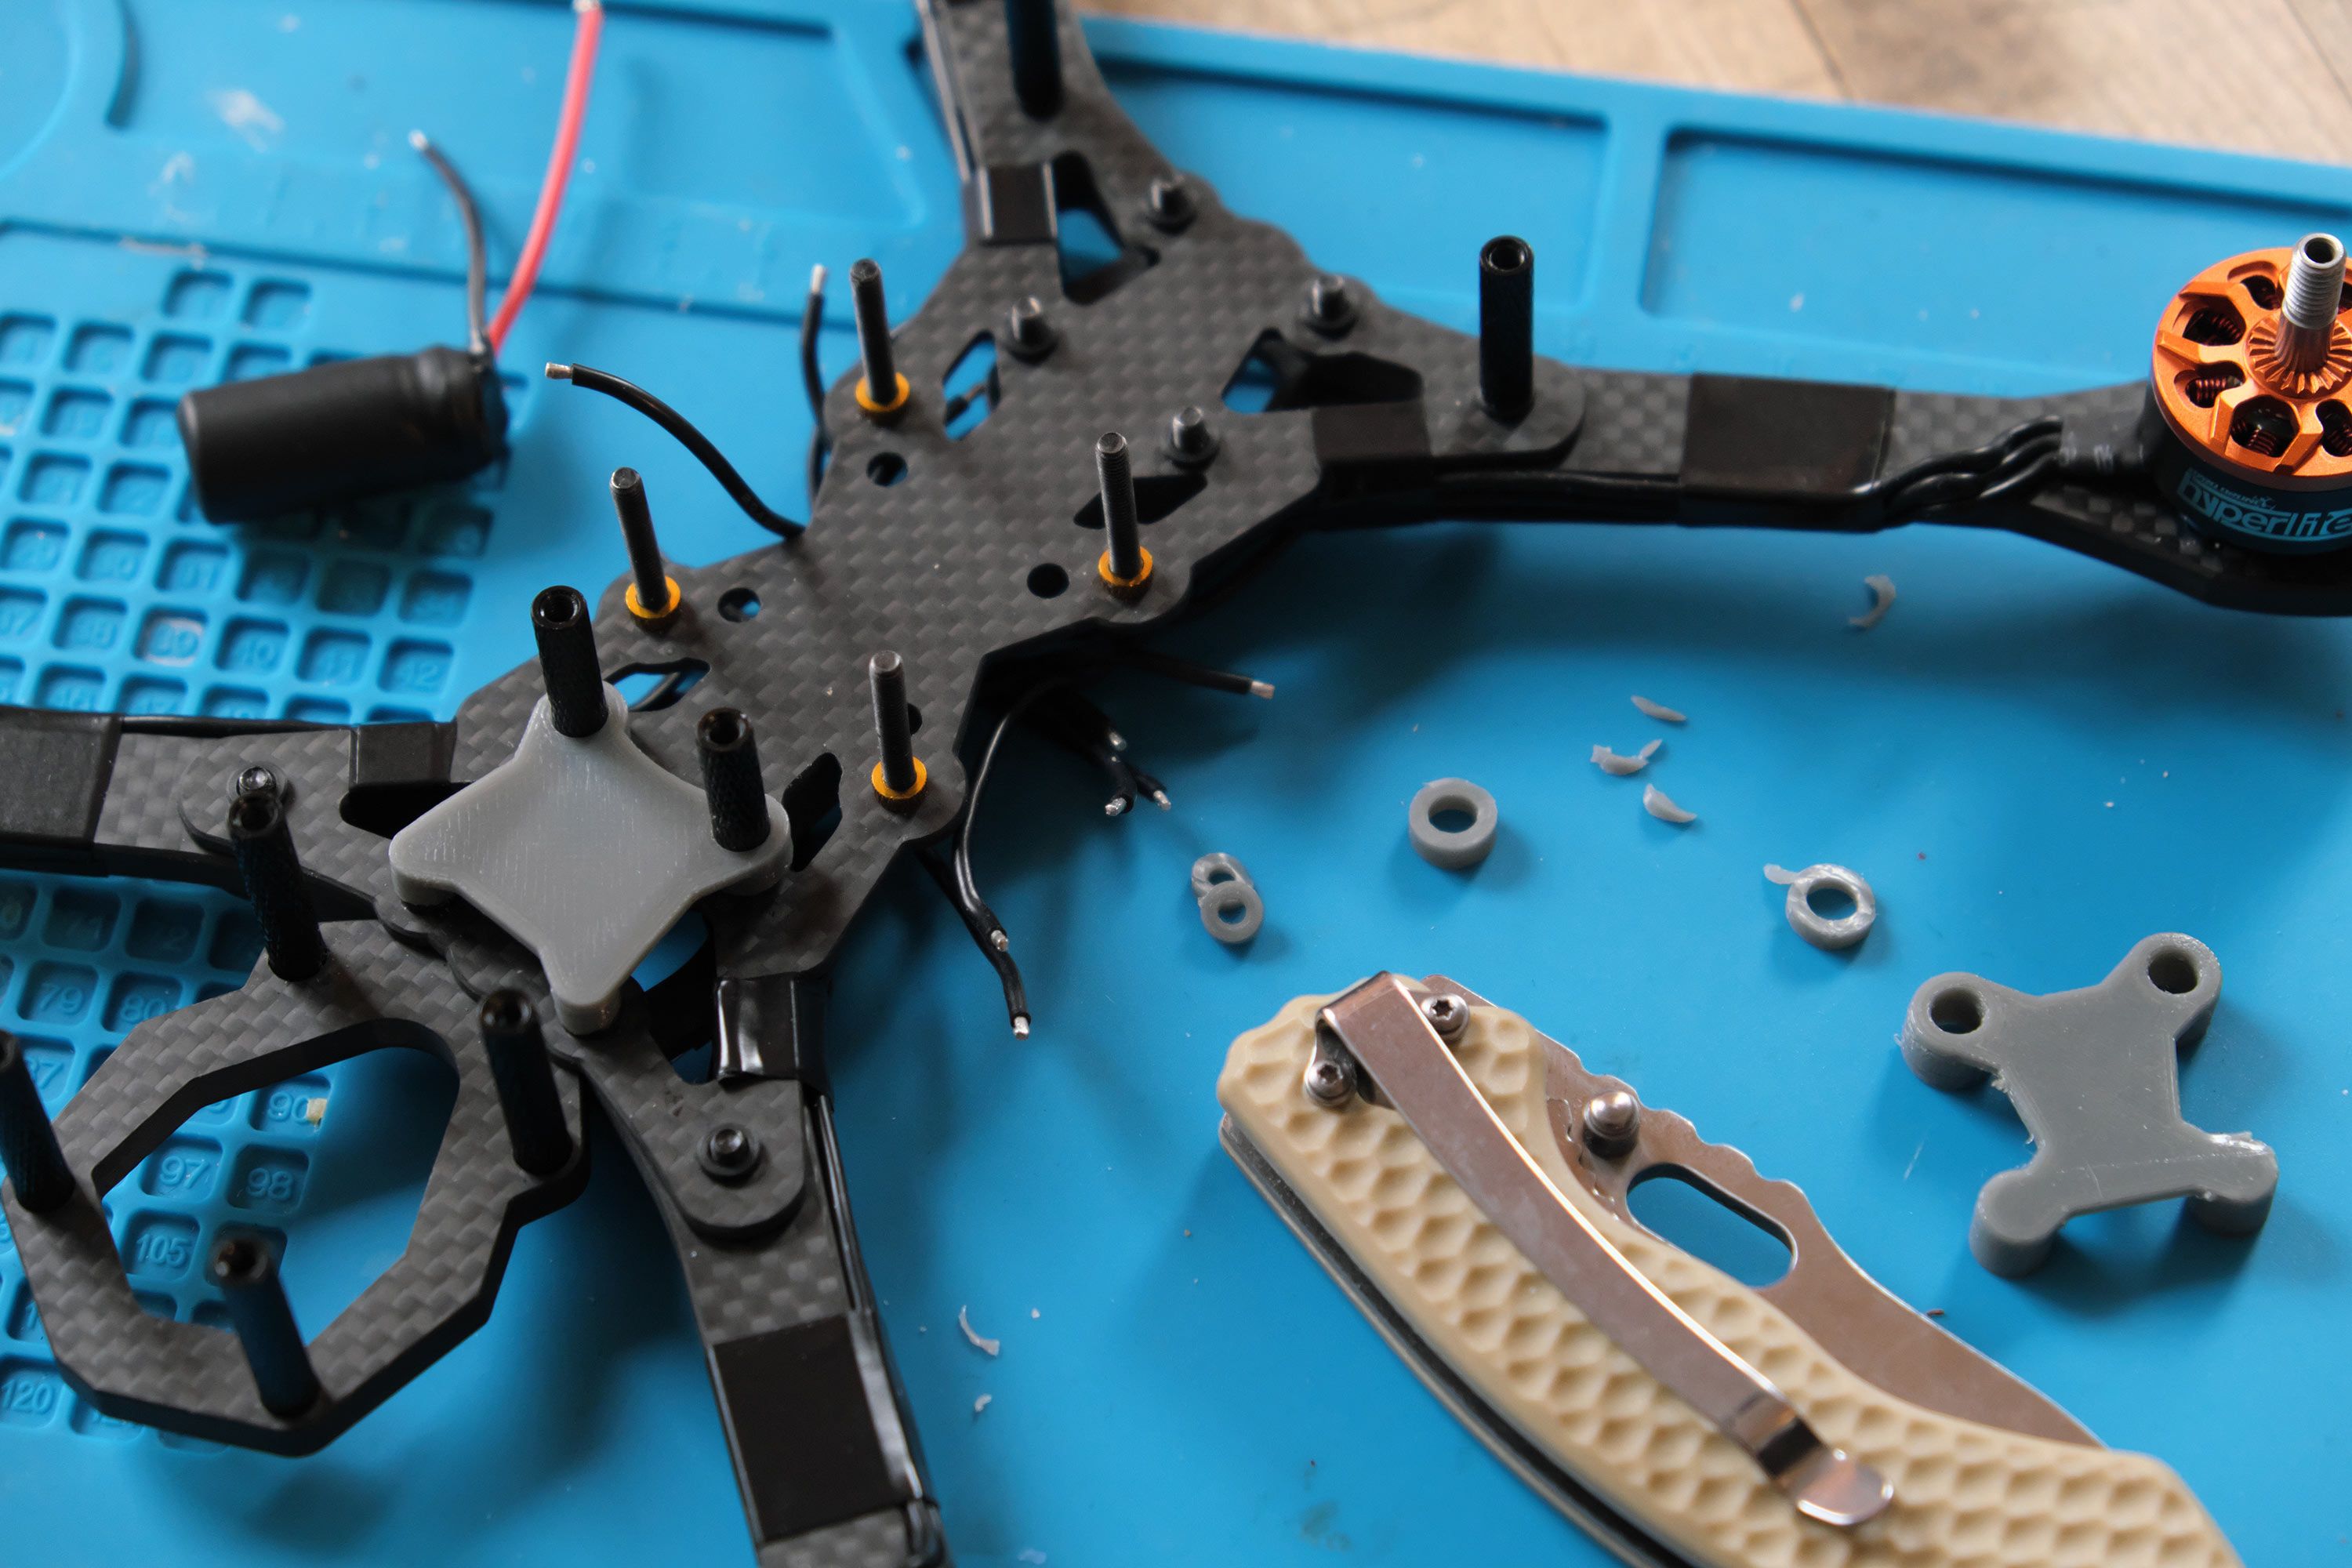
Once the frame was assembled I installed the motors. I initially used cap head screws for the installation for better durability but later added 3D printed landing skids and used regular button head screws again because the screws were no longer exposed.
I considered using race wire on the flat arms to protect the motor wires in case of bent props after a crash but realized that even with race wires the props would be bent exactly at the furthest possible point where the race wires would end due to the frame construction, possibly exposing the wires to be cut by the blades after all. So I decided to run the motor wires on the outside of the arms, securing them with electrical tape, then running them up into the frame through the bottom plate.
Mistake 1: I did not consider the fact that I run my props out instead of in and should have placed the motor wires on the opposite side of the arms to protect them.
If you use the vertical arms (are also available from Hyperlow) instead of the flat arms I used, you can get 3D printed arm wire guides for those, making the build cleaner and properly securing your motor wires. When I re-build this I may use wire guards instead.

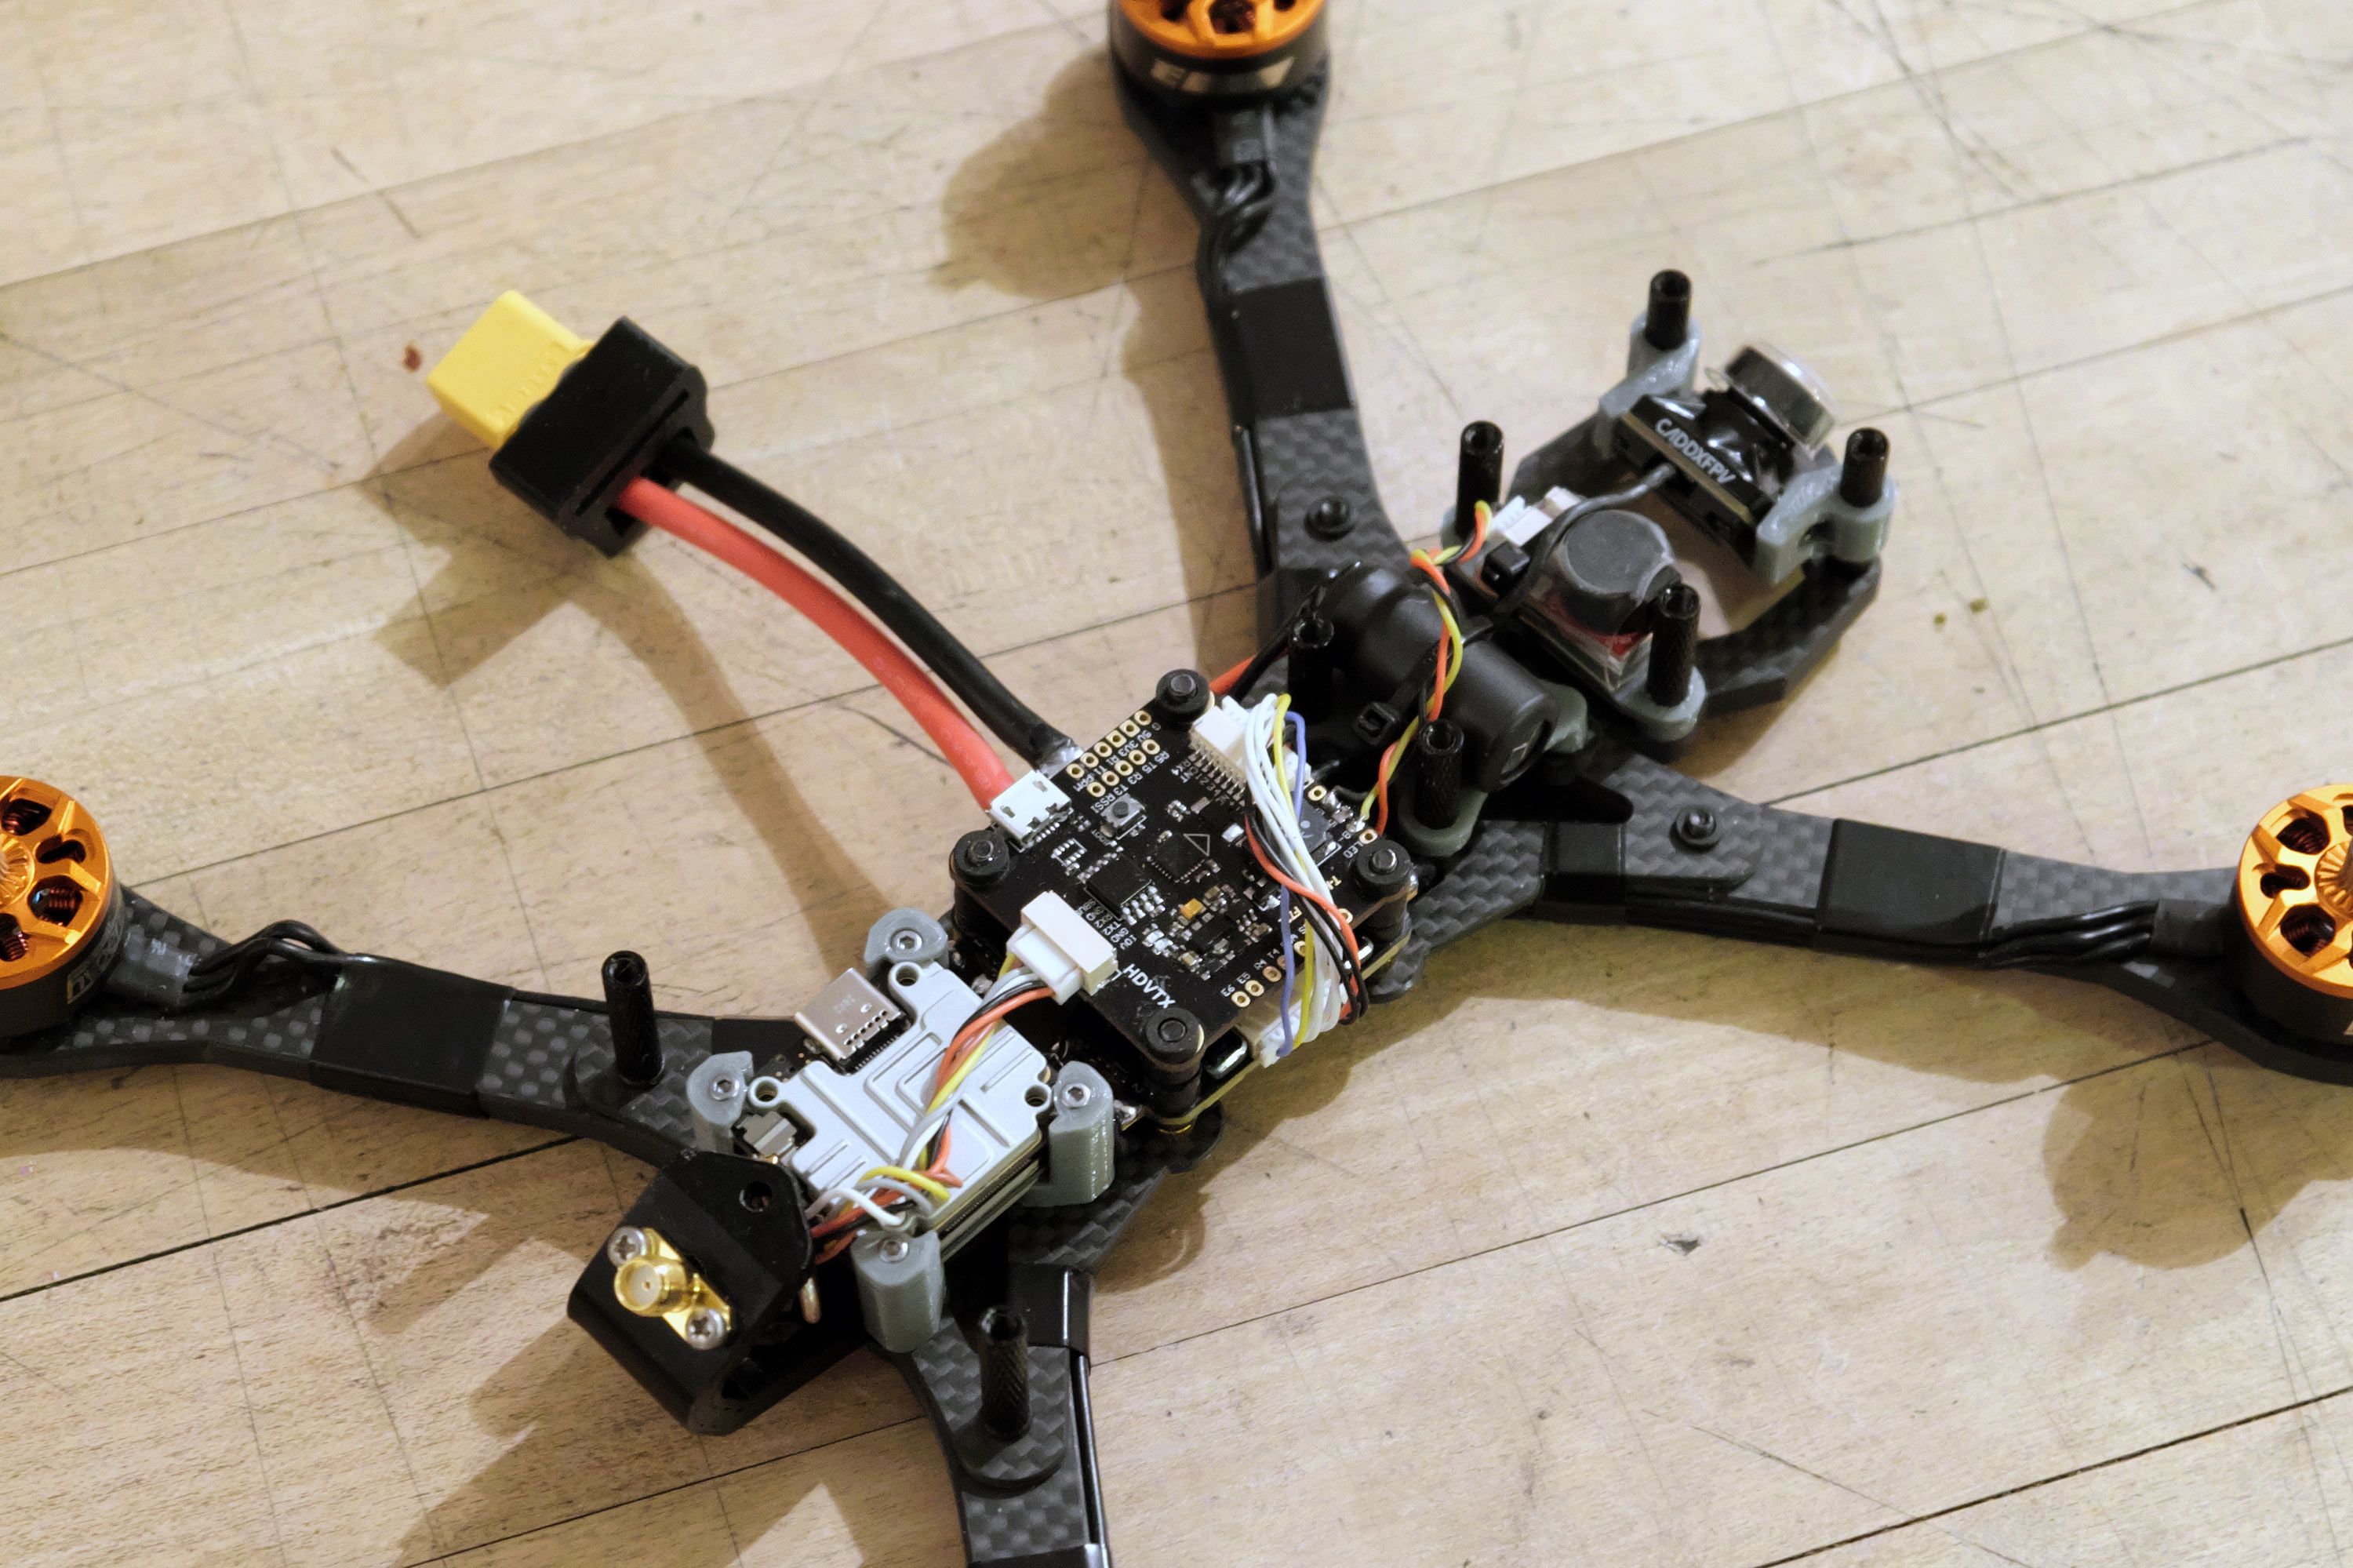
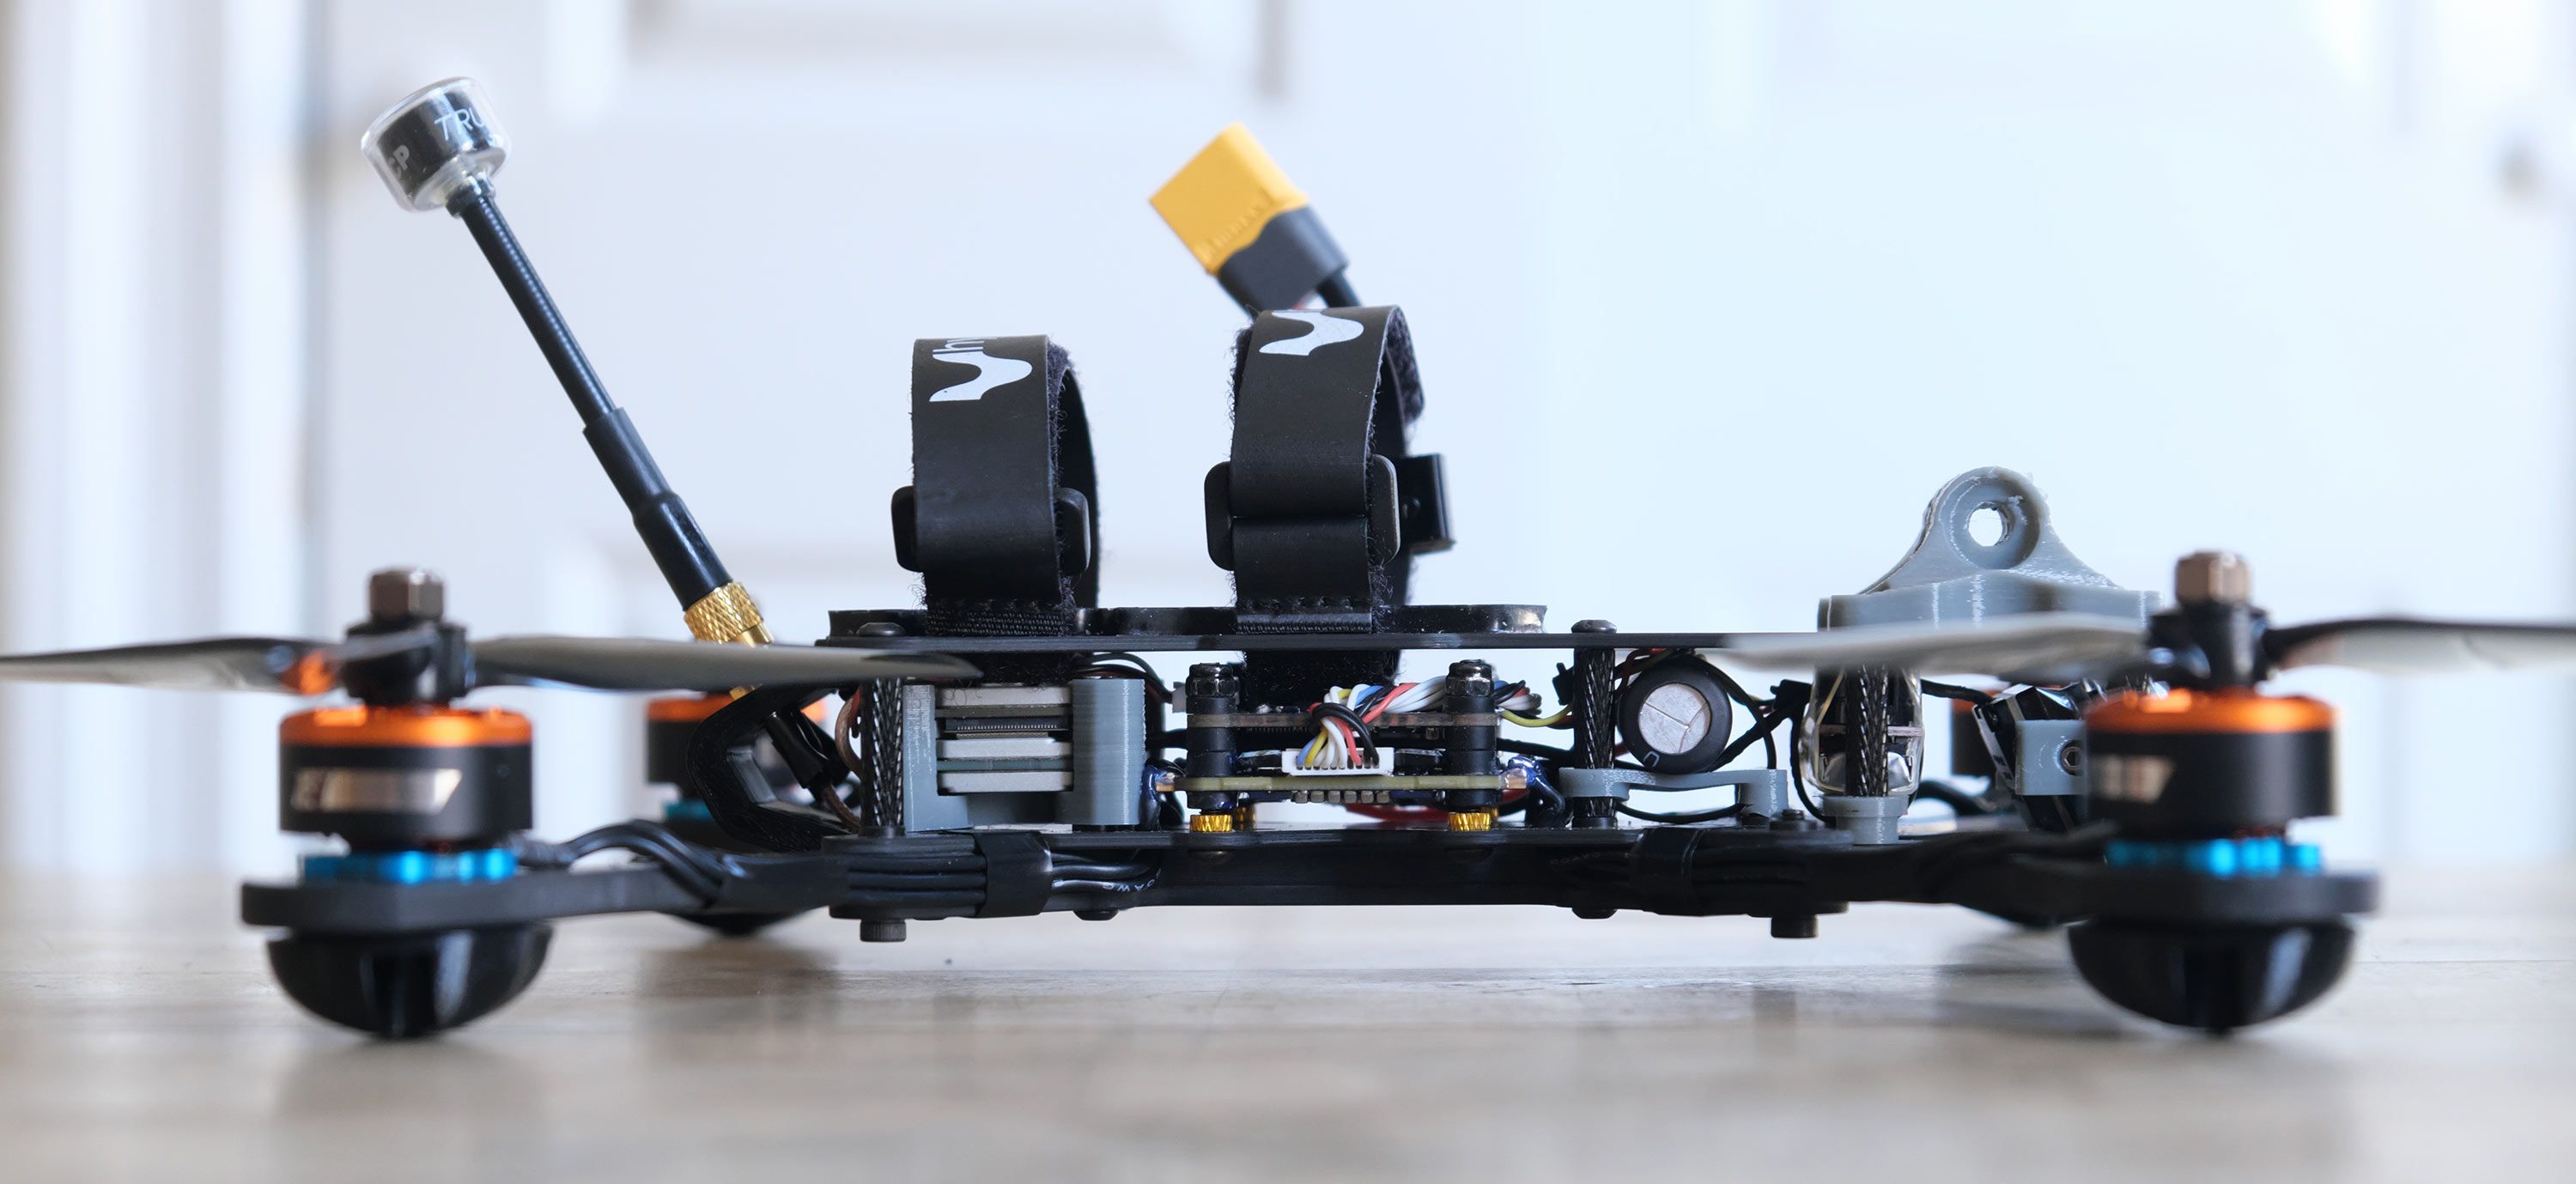
XT60 pigtail and capacitor
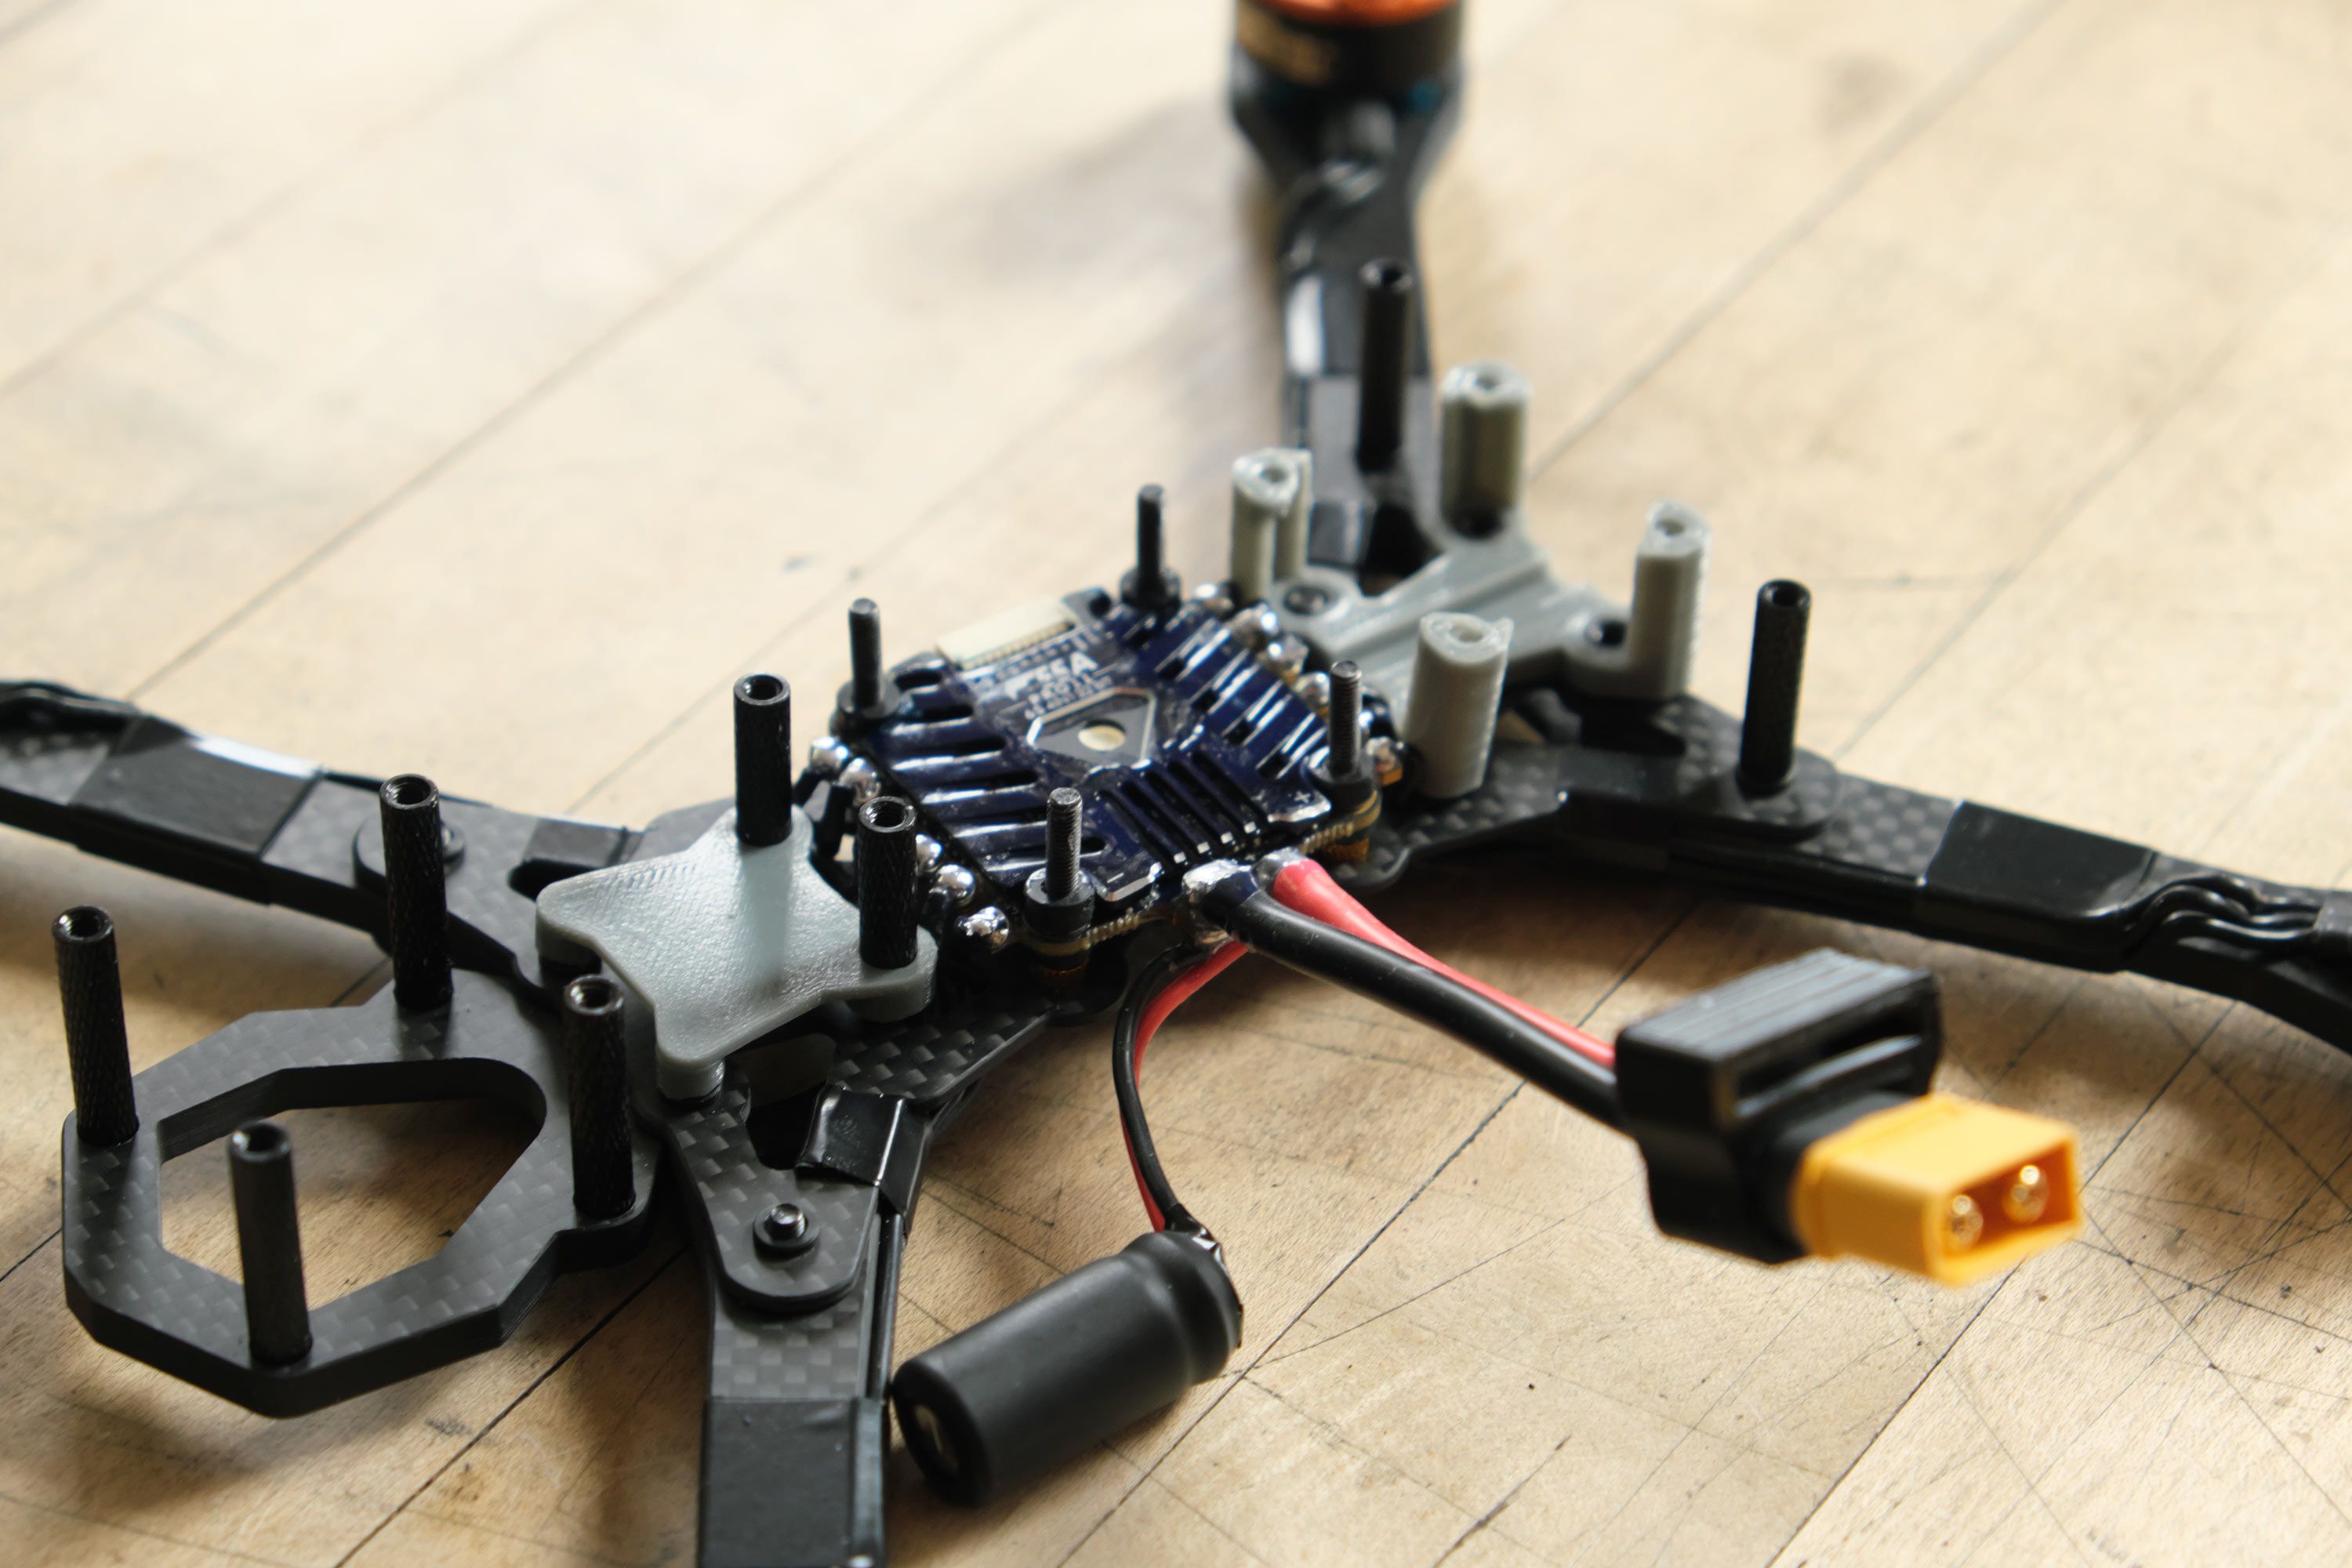
Installing the 30x30 ESC in it's regular orientatation and putting the Caddx Vista in the back didn't really give me enough space for the XT60 pigtail and I would have had to extend the capacitor wires more than I wanted. I decided to turn the ESC sideways and place the capacitor on one of the component shelves next to the ESC so that I only had to extend the capacitor wires by about an inch and a half.
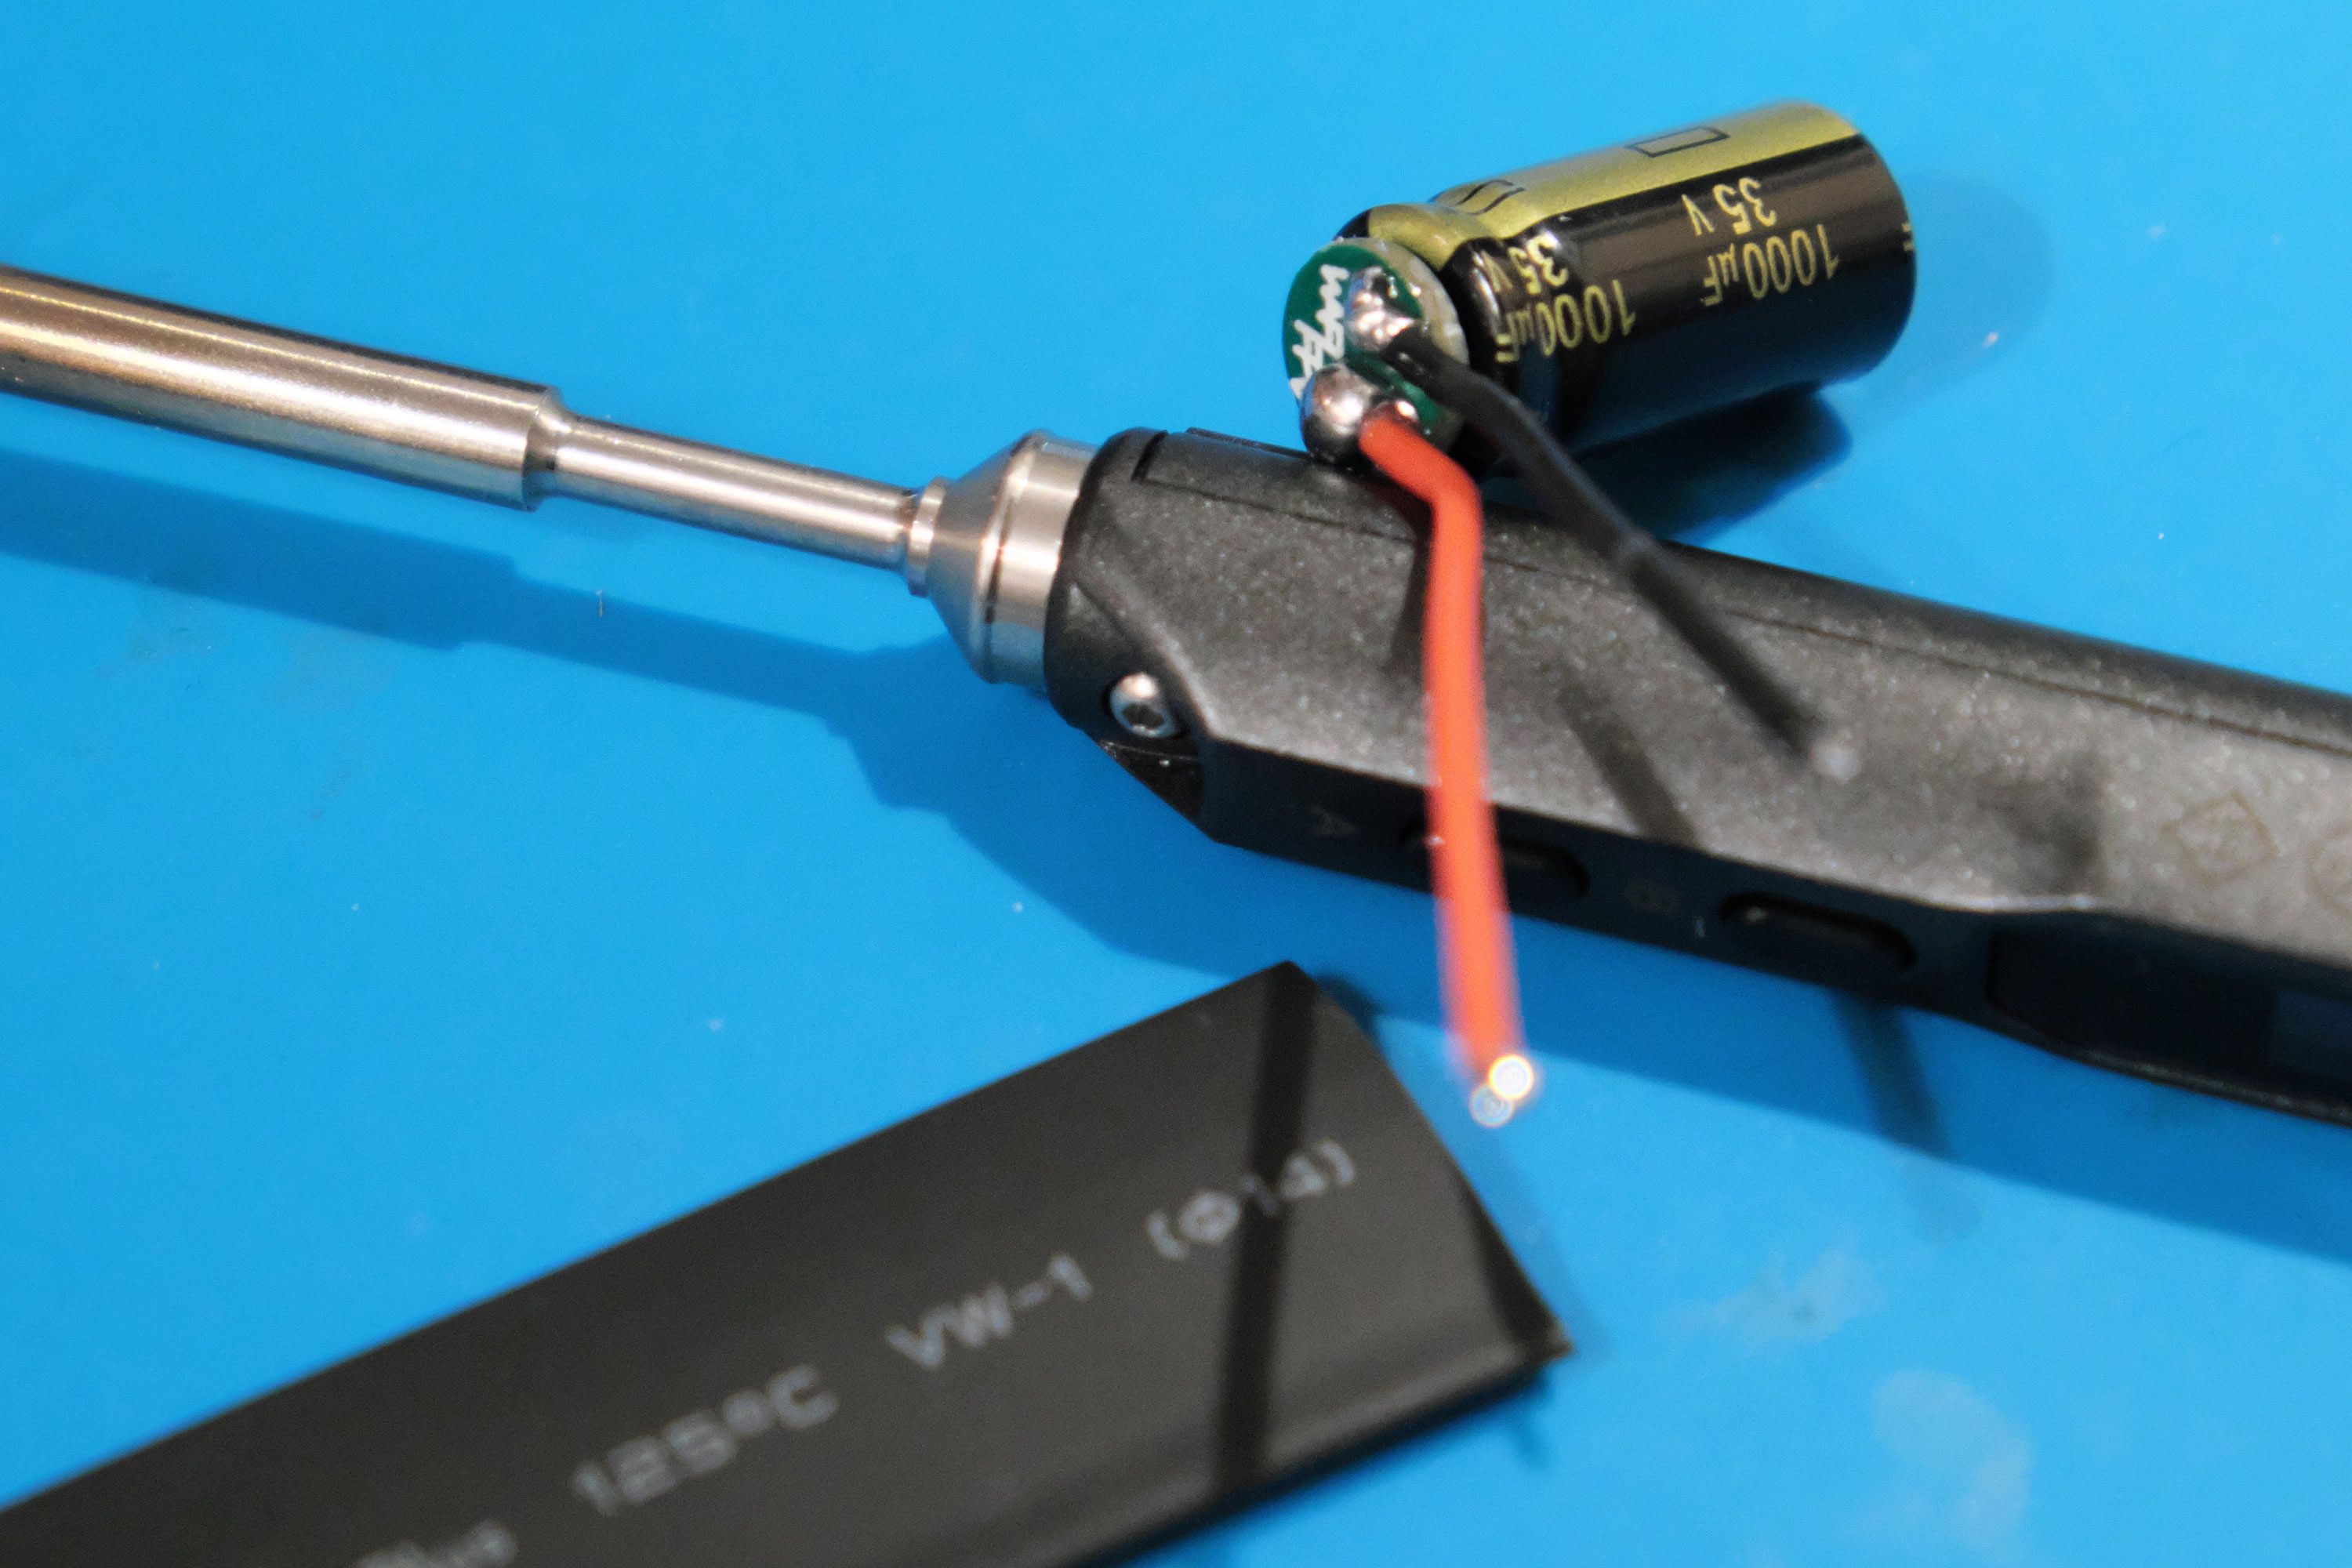
I soldered a WaFL’s Cap Cap to a 1000uF capacitor, used 20 gauge wire to extend the capacitor leads by about an inch and a half and then conformal coated the soldering points on the capacitor. I added a piece of black electrical tape over the end and used heat shrink over the capacitor for a little bit of protection and to make it look cleaner. I slipped a XT60 strap mount over the pigtail and soldered it to the battery pads, turned the ESC over and soldered the extension wires of the capacitor to the underside of the battery pads. Because the 1000uF capacitor is a bit too high to fit on the component shelf of the Airshot I used a knife to shorten the shelf's legs a bit.
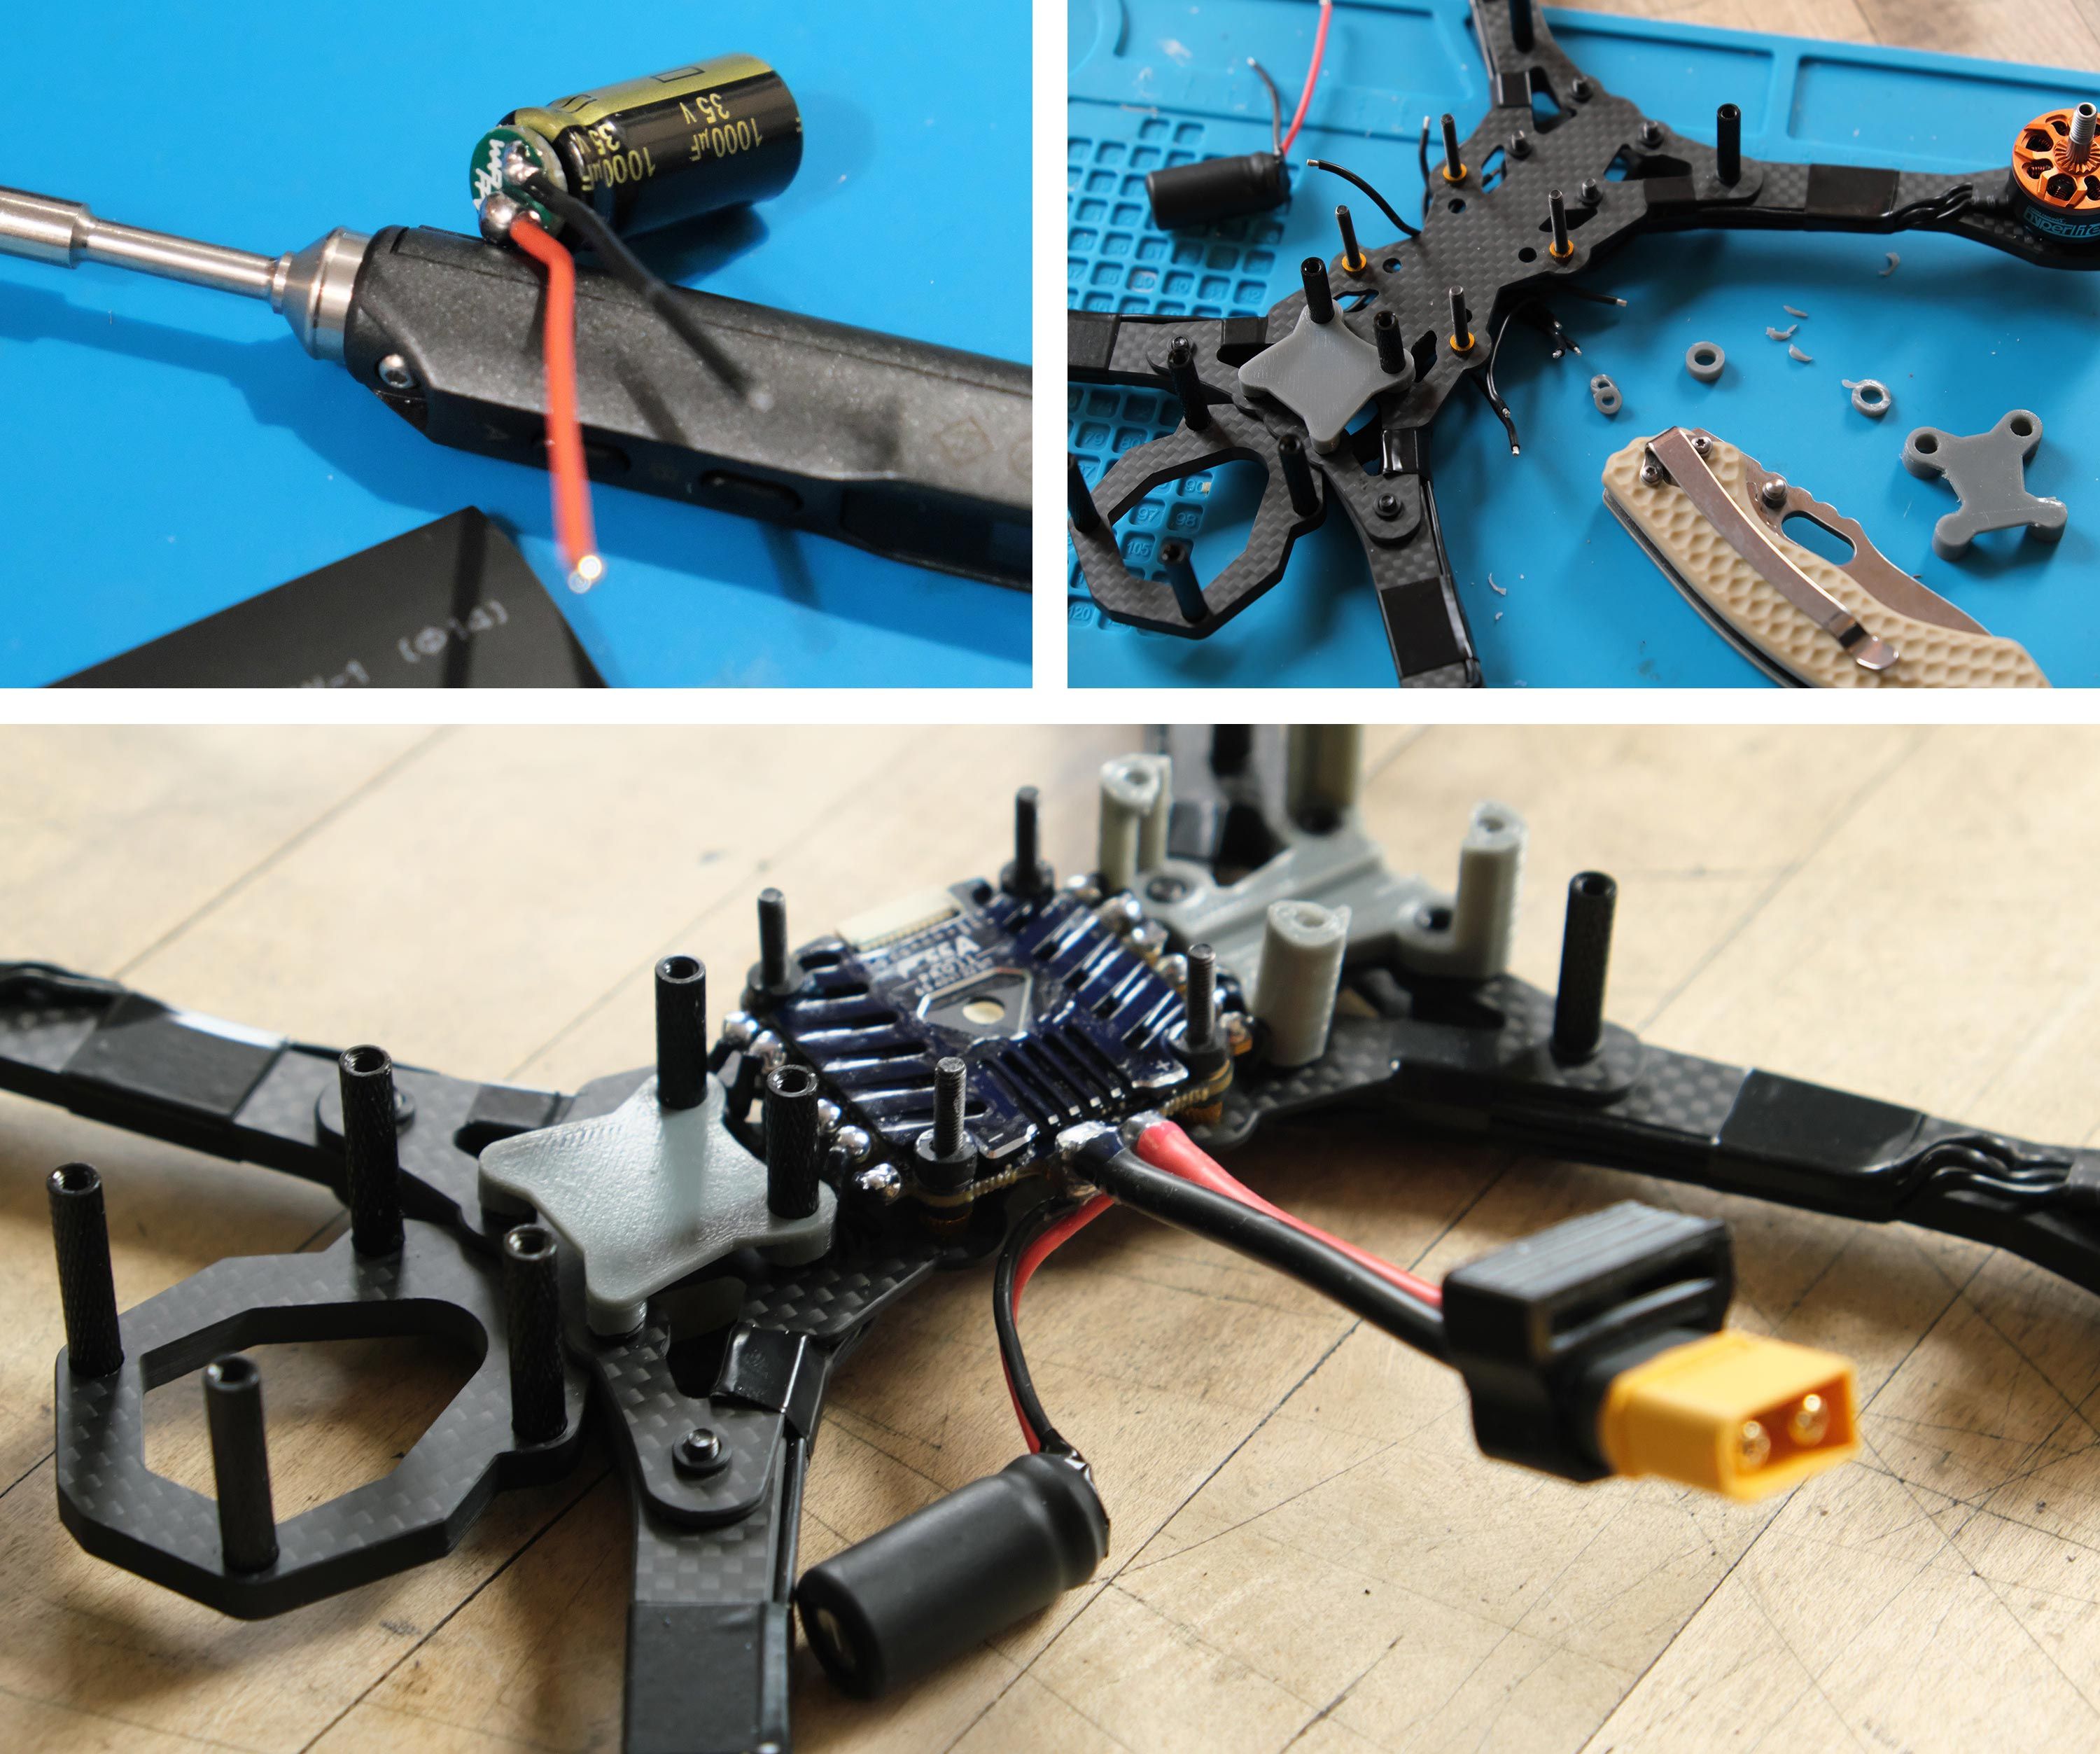
Motor wire soldering
I tinned the motor pads before conformal coating the underside of the ESC, placed the ESC on the stack screws and cut the motor wires to length before tinning the ends. Using tweezers I soldered the motor wires to the pads and then conformal coated the top of the ESC and all soldering joints.
Mistake 2: I tried a little too hard to cut the motor wires to the exact length needed and while I was able to solder them on, I really cut them too short and would have wanted them to be 3 or 4 mm longer for ease of use and to give them a little bit of slack.
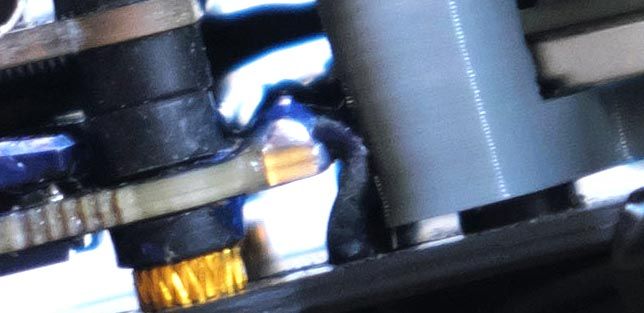
I also realized that the T-Motor F55A Pro II ESC is less than optimal for this build because the battery pads are quite large and stick out the side of the ESC, barely leaving space for the motor wires. You can see how squeezed in they are between the ESC and the Caddx Vista...
Mistake 3: Next time I will use either a 30x30 ESC which has the battery pads on the inside of the mounting holes or a 20x20 stack.
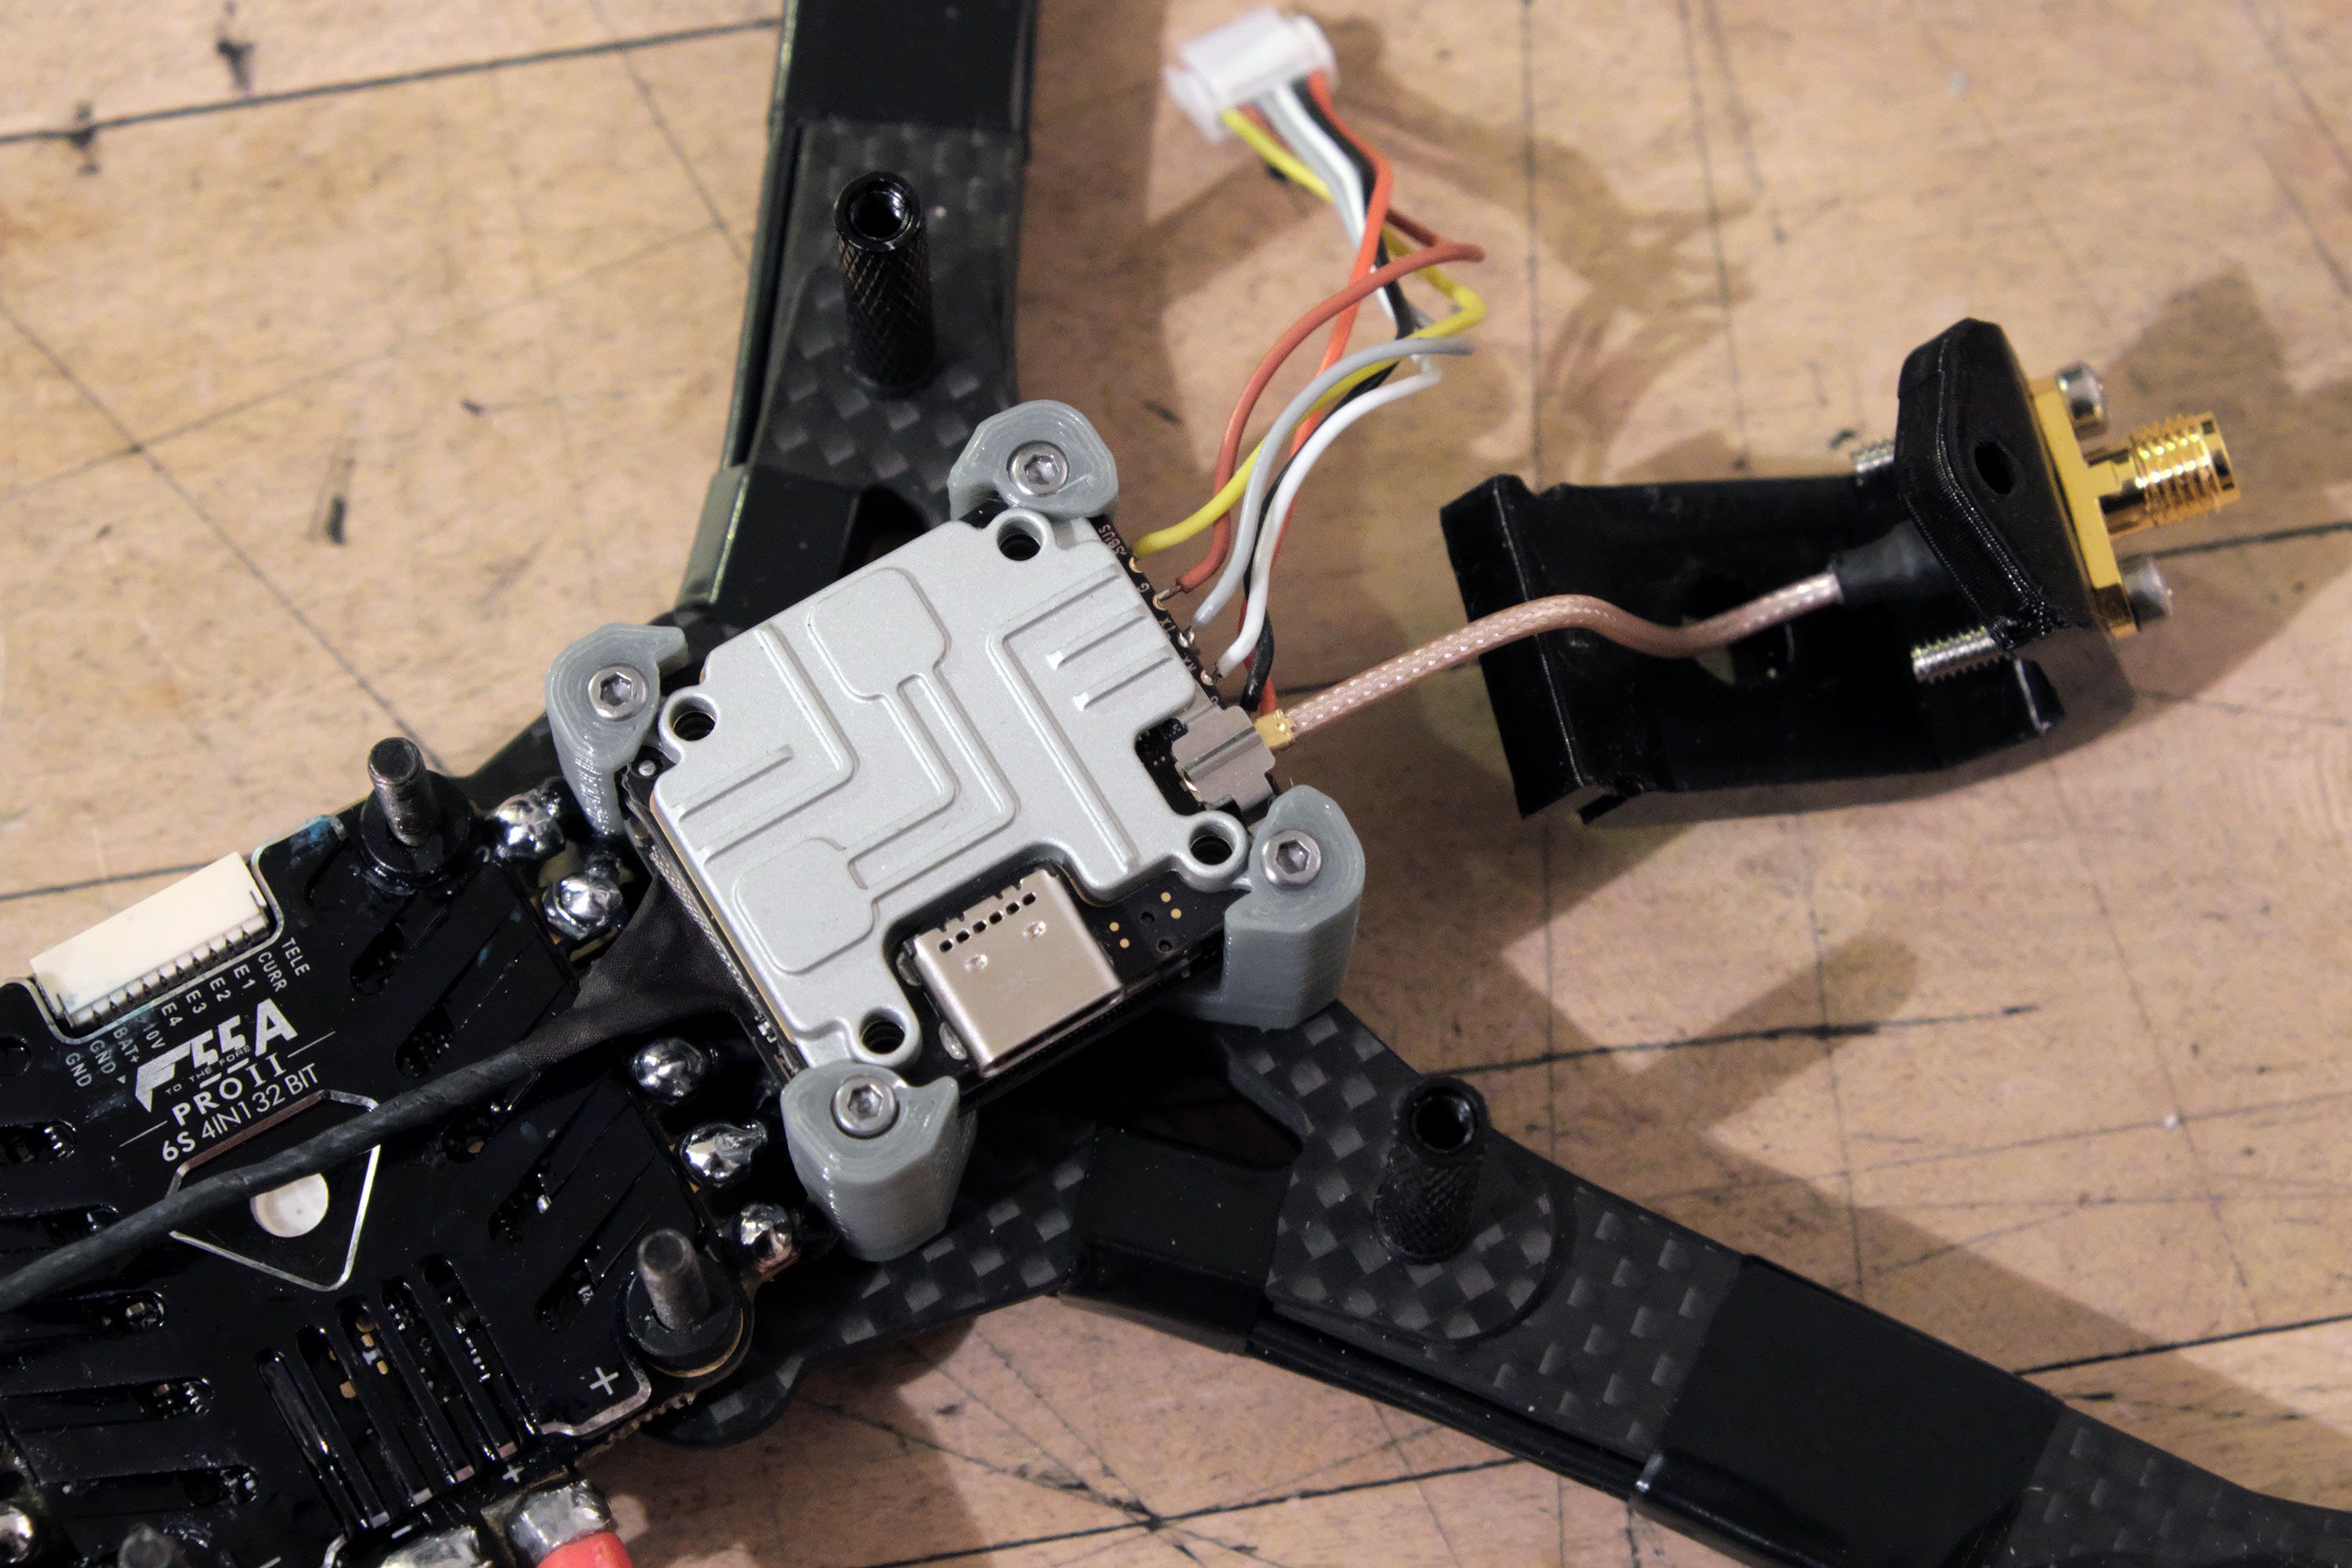
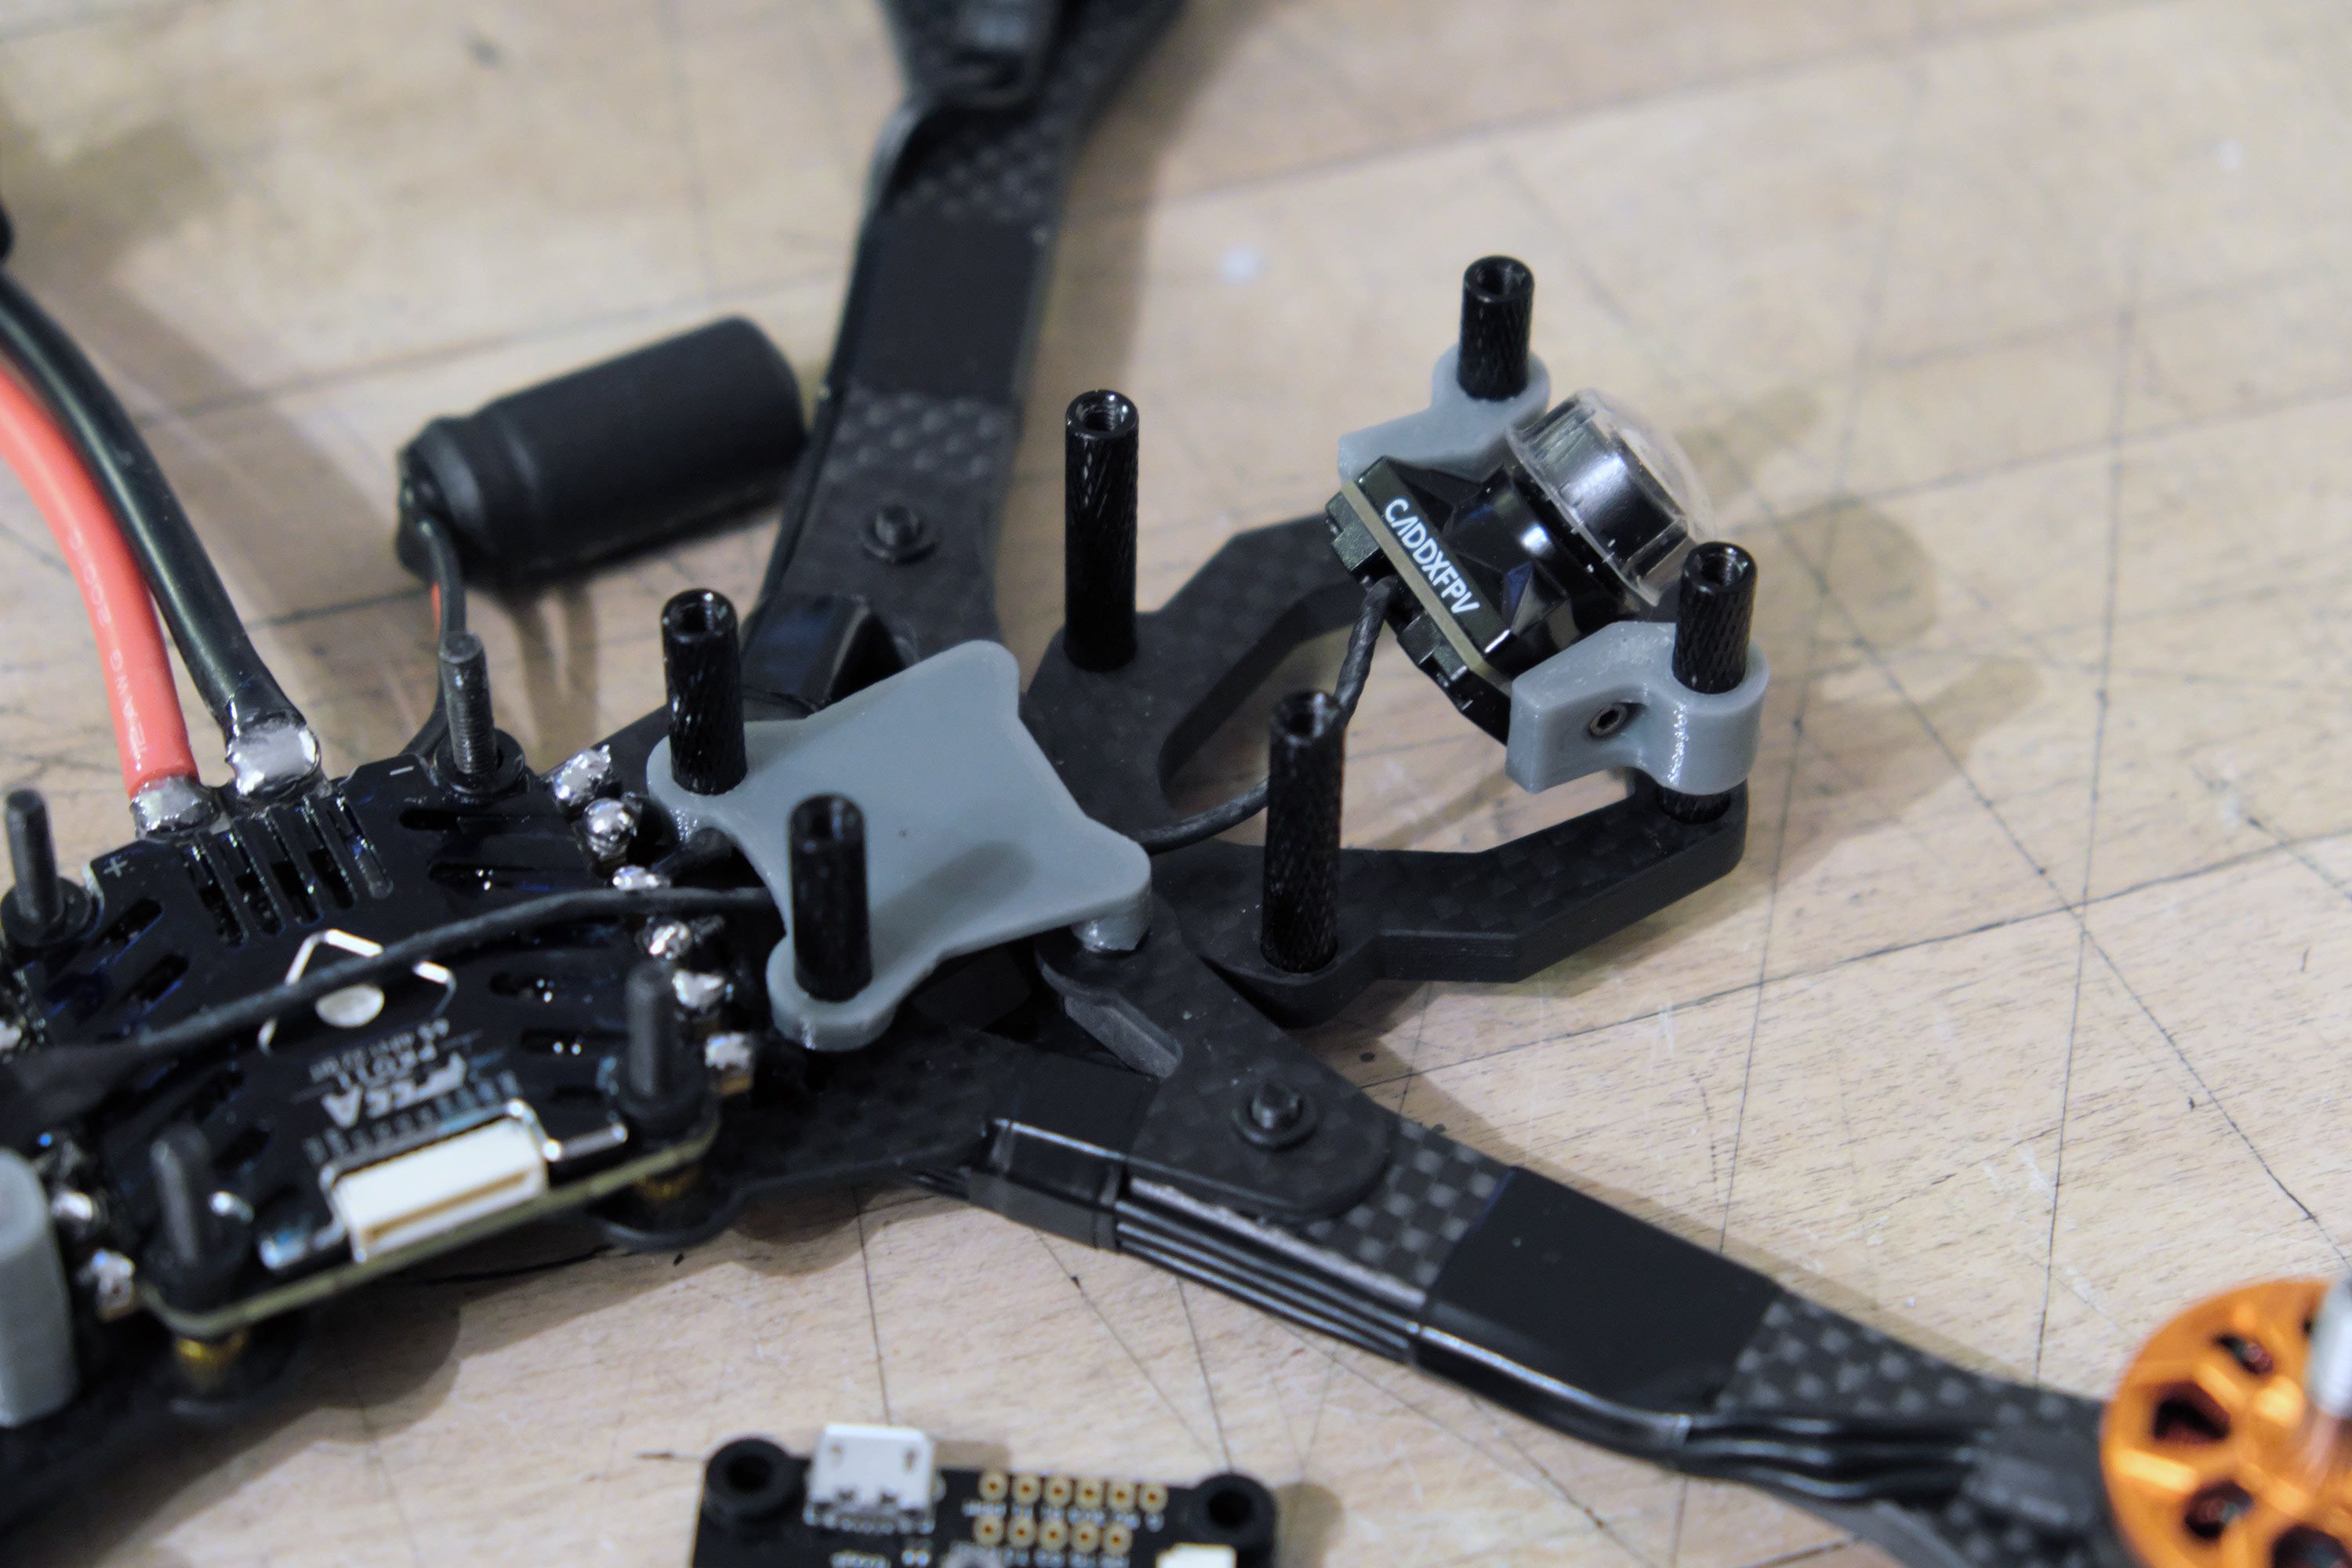
Vista installation with U.FL to SMA
The Airshot frame kit comes with a Vista holder that screws into the rear 20x20 holes via press nuts. The vista itself is secured to the holder with the Vista's own heatsink screws. I wanted a removable antenna and after soldering up the Vista's cables I added a u.Fl to SMA adapter and used the Hyperlow SMA mount to screw the SMA connector into it.
Mistake 4: While the Vista mount has a convenient channel at the bottom through which to run the connector cables, mine were too short and I had to run them on top of the Vista. It works but is less elegant.
I ran the camera cable over the ESC and under the component shelf I'd use for the capacitor. For cable length reasons I decided to mount the camera upside down and later just turned the image 180 degrees in my DJI goggles.
FC, Capacitor and Buzzer
After adding the FC on top of the ESC I used a smoke stopper before connecting the battery for the first time to make sure everything worked out. Then I zip tied the capacitor to the component shelf and soldered the buzzer's wires to the FC, running the cable over the capacitor because the cables weren't quite long enough to run them below the shelf. I secured the FC with some M3 lock nuts and ran through the Betaflight setup.
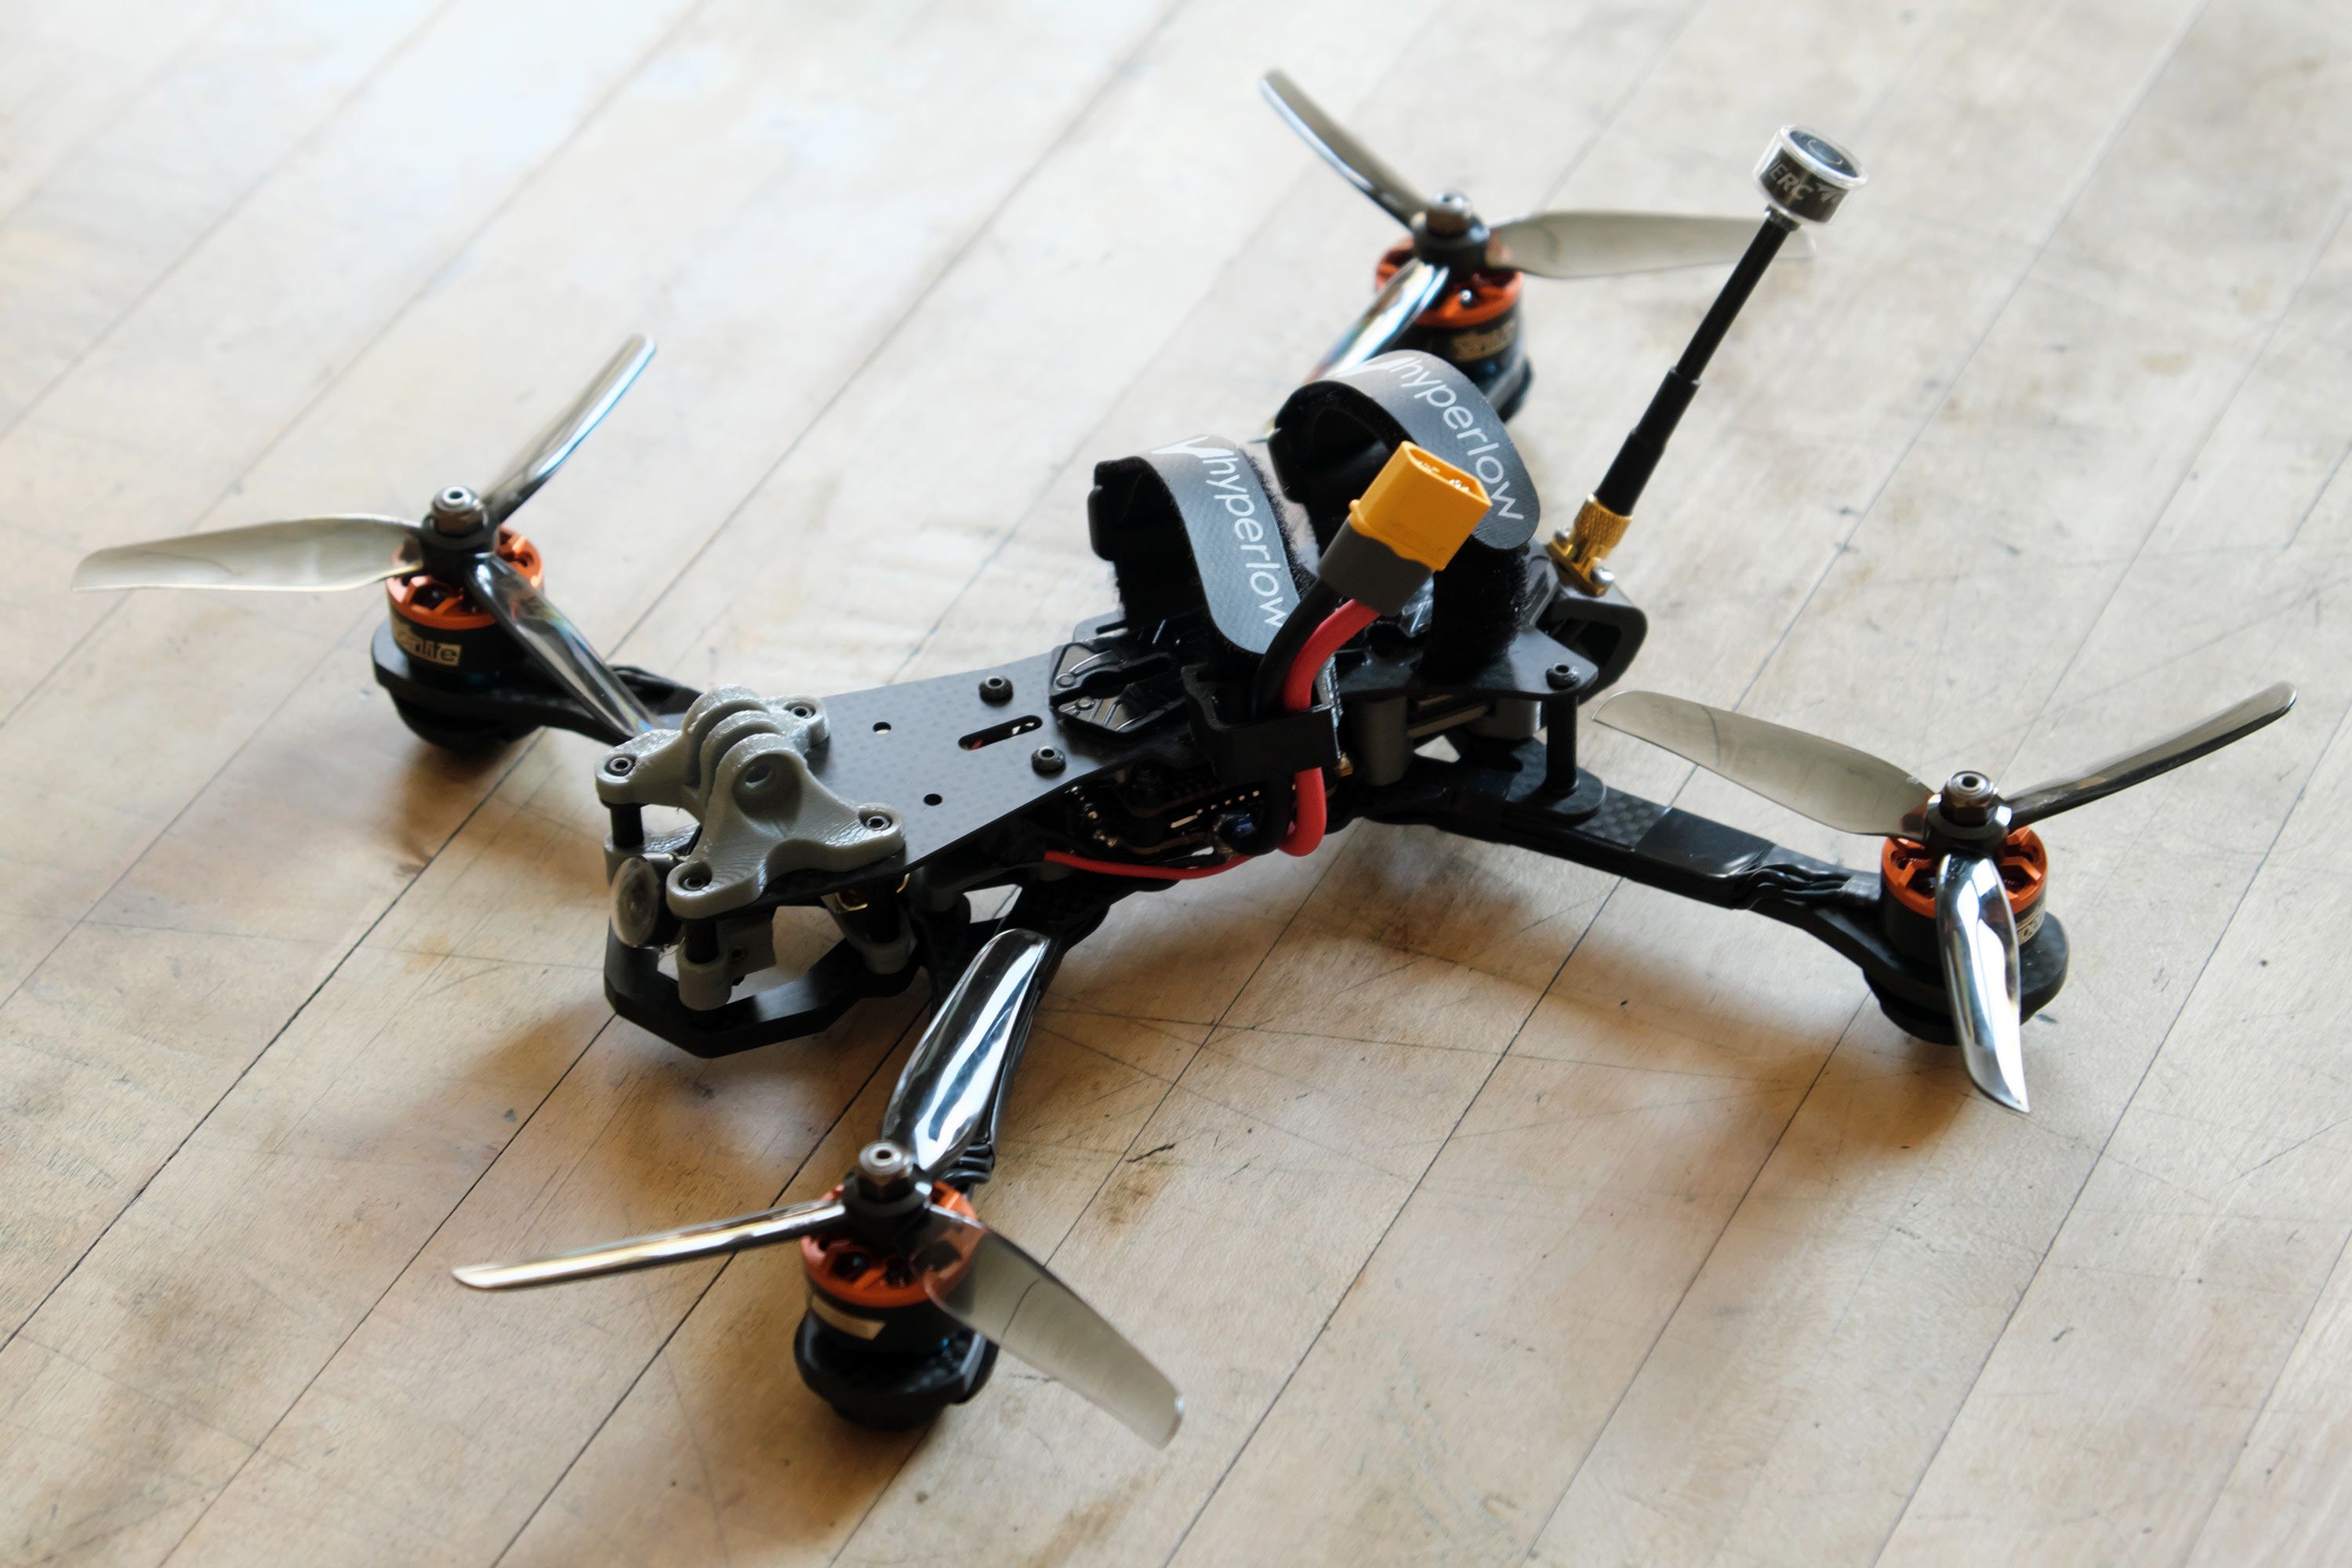
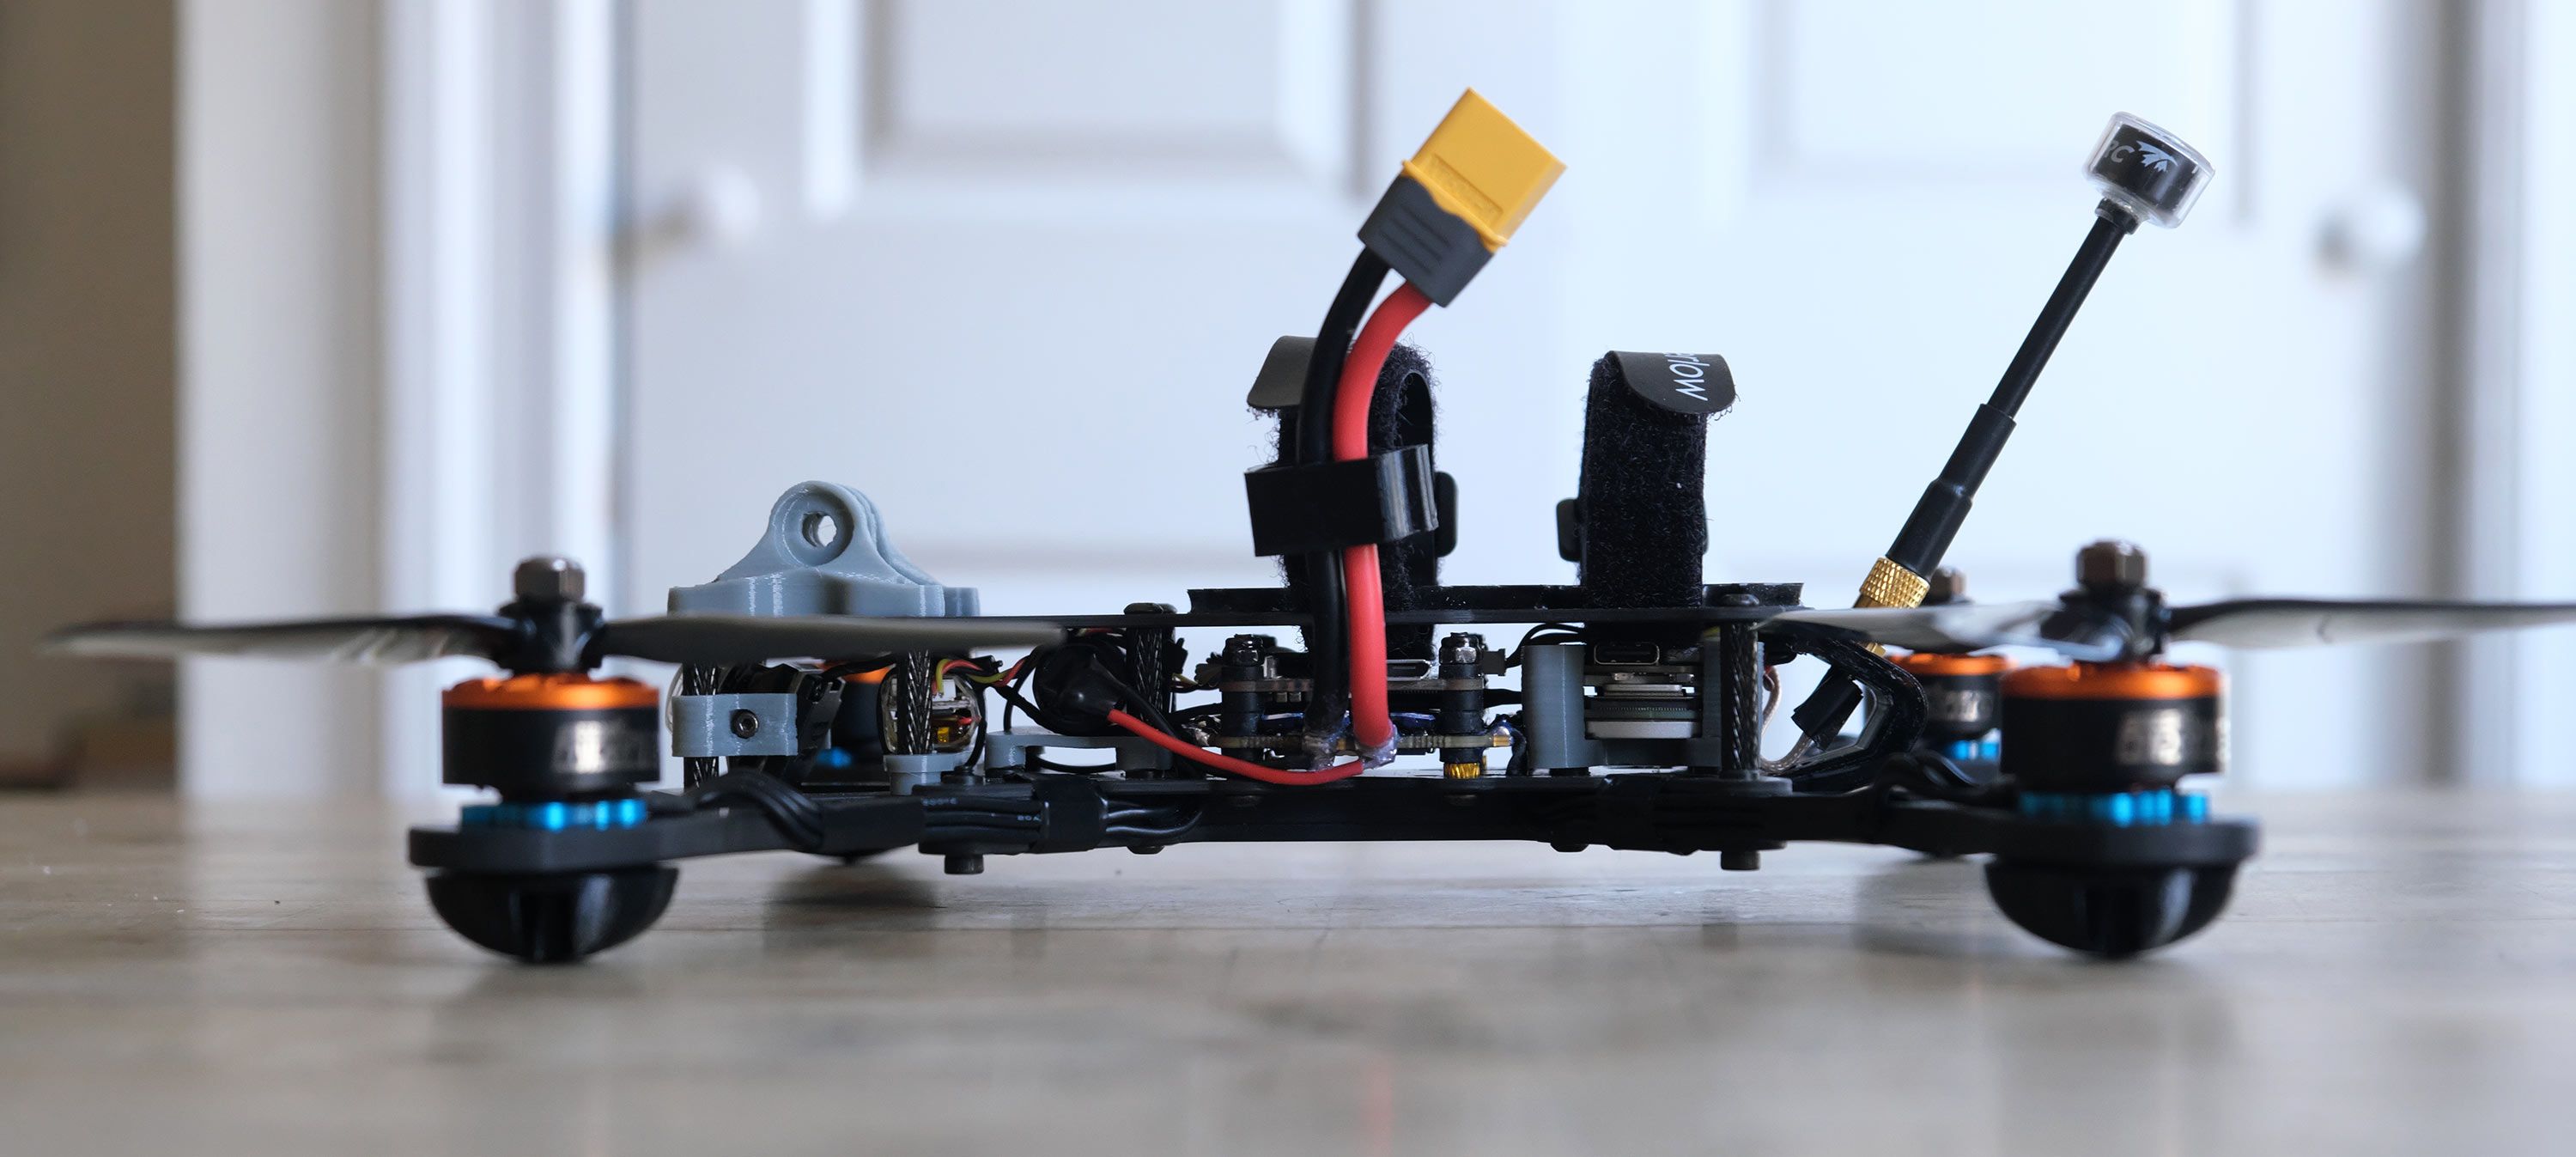
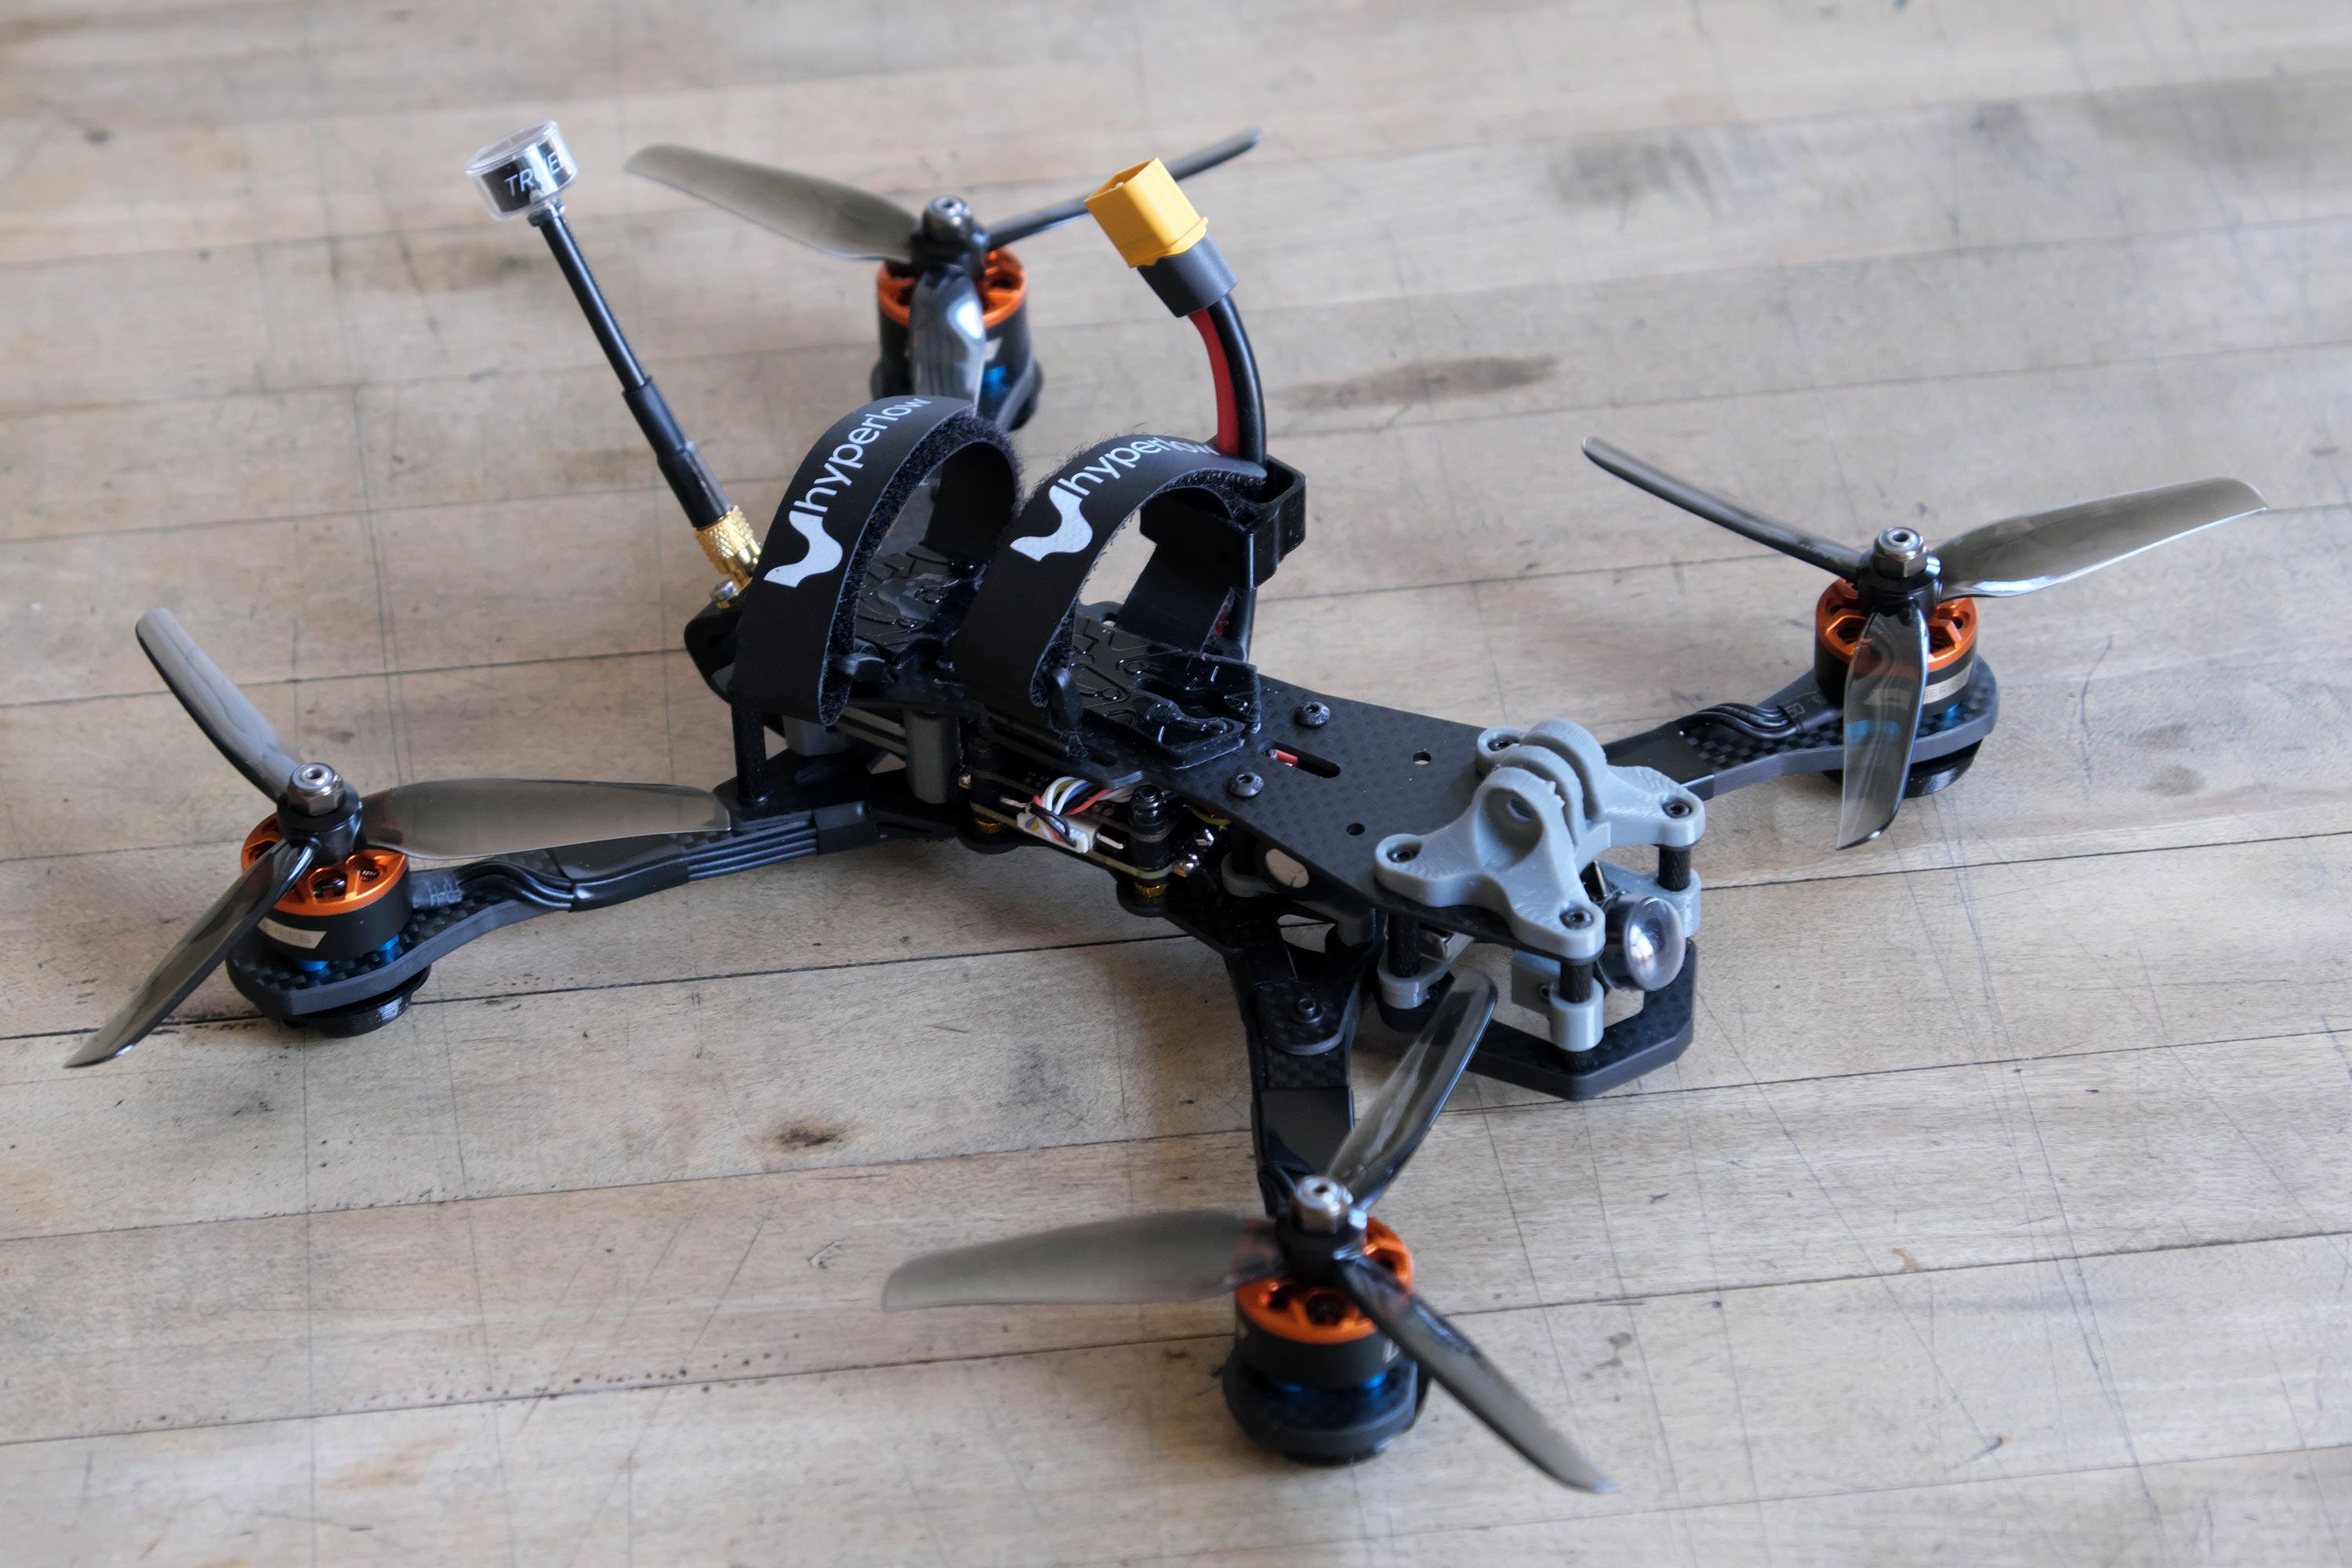
Final assembly
Once everything was set up I added two batter straps to the top plate and the custom Ummagrip battery pad which fits perfectly. Then I screwed the top plate on and realized that I made one last mistake.
Mistake 5: The Hyperlow's SMA mount is designed in a way which allows you to secure the top part of it into the frame's top plate using a screw from the bottom and securing it with a lock nut. But because I had already installed the battery pad I didn't have space to hold the lock nut in place while screwing in the M3 screw. Everything still fits snuggly and securely.
Photos


New Message for MartinBKLYN