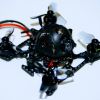
HD Squirt v2 with Caddx Vista Nebula Pro - Slammed
 By MartinBKLYN on Apr 15, 2021
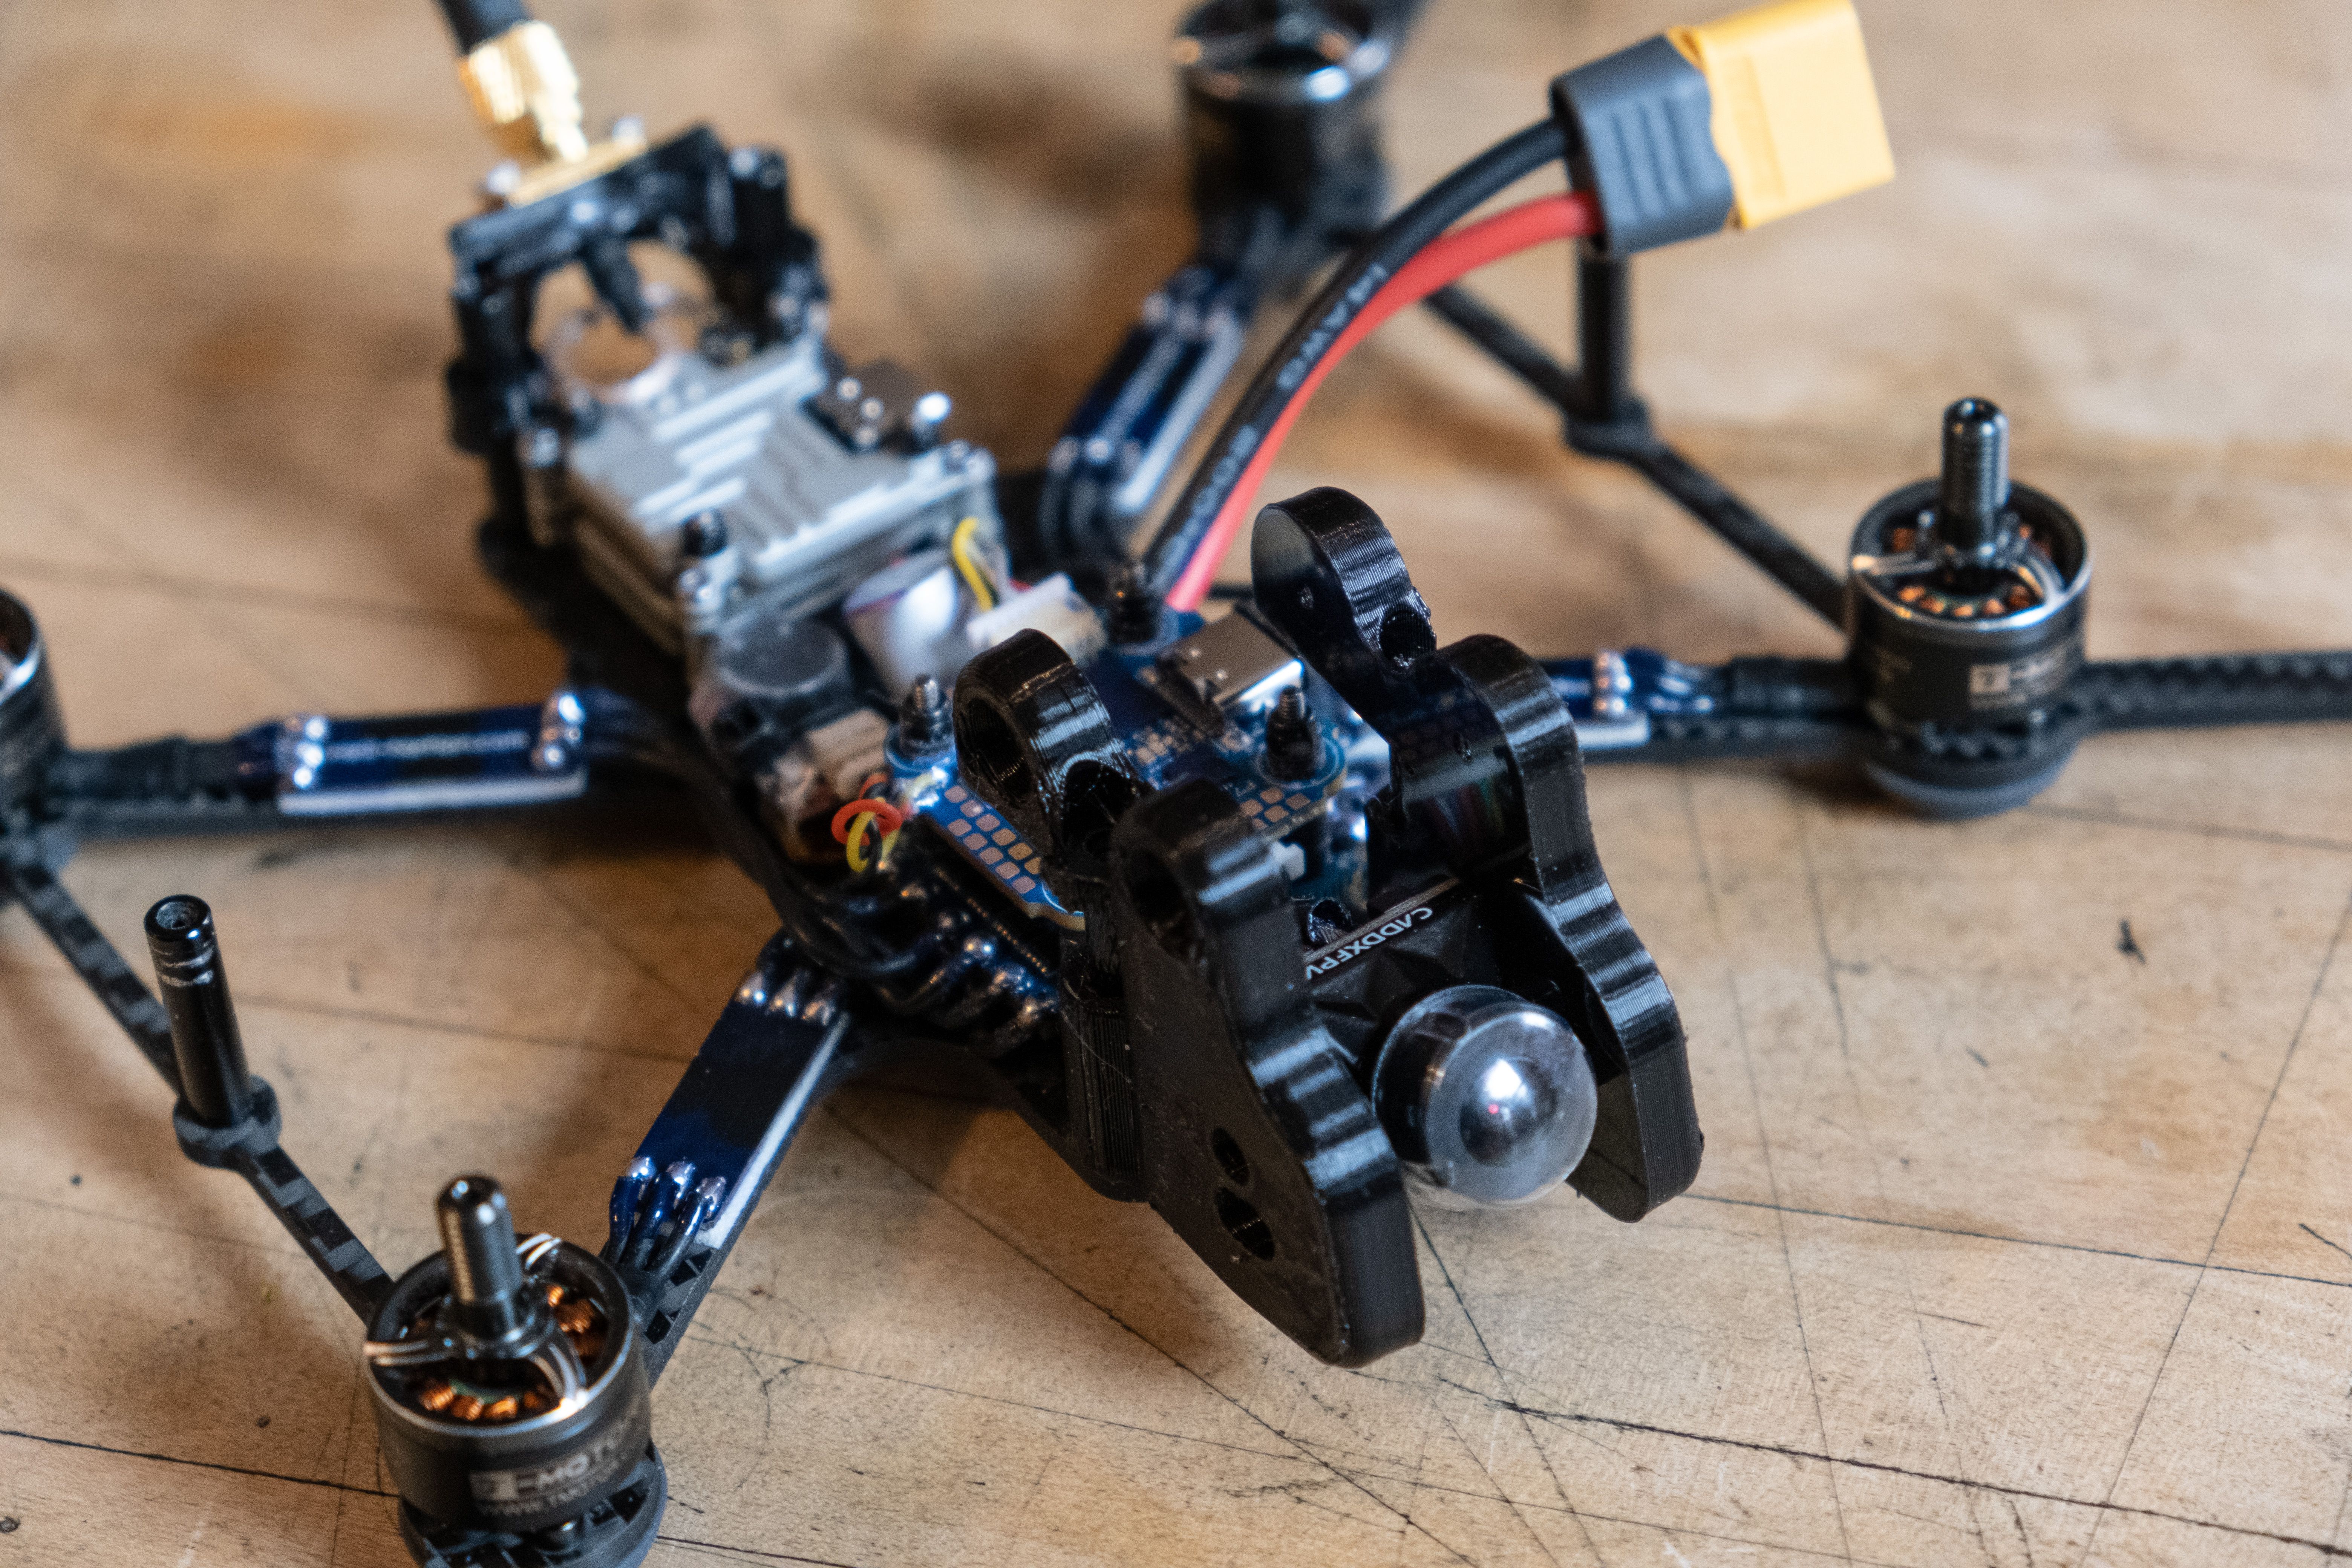
I decided to rebuild my Shendrones Squirt V2 using a Caddx Vista instead of the original DJI Airunit and some 3D printed parts from Drone Co Production for a slimmer design and a bit less overall wind susceptibility.
Frame Assembly
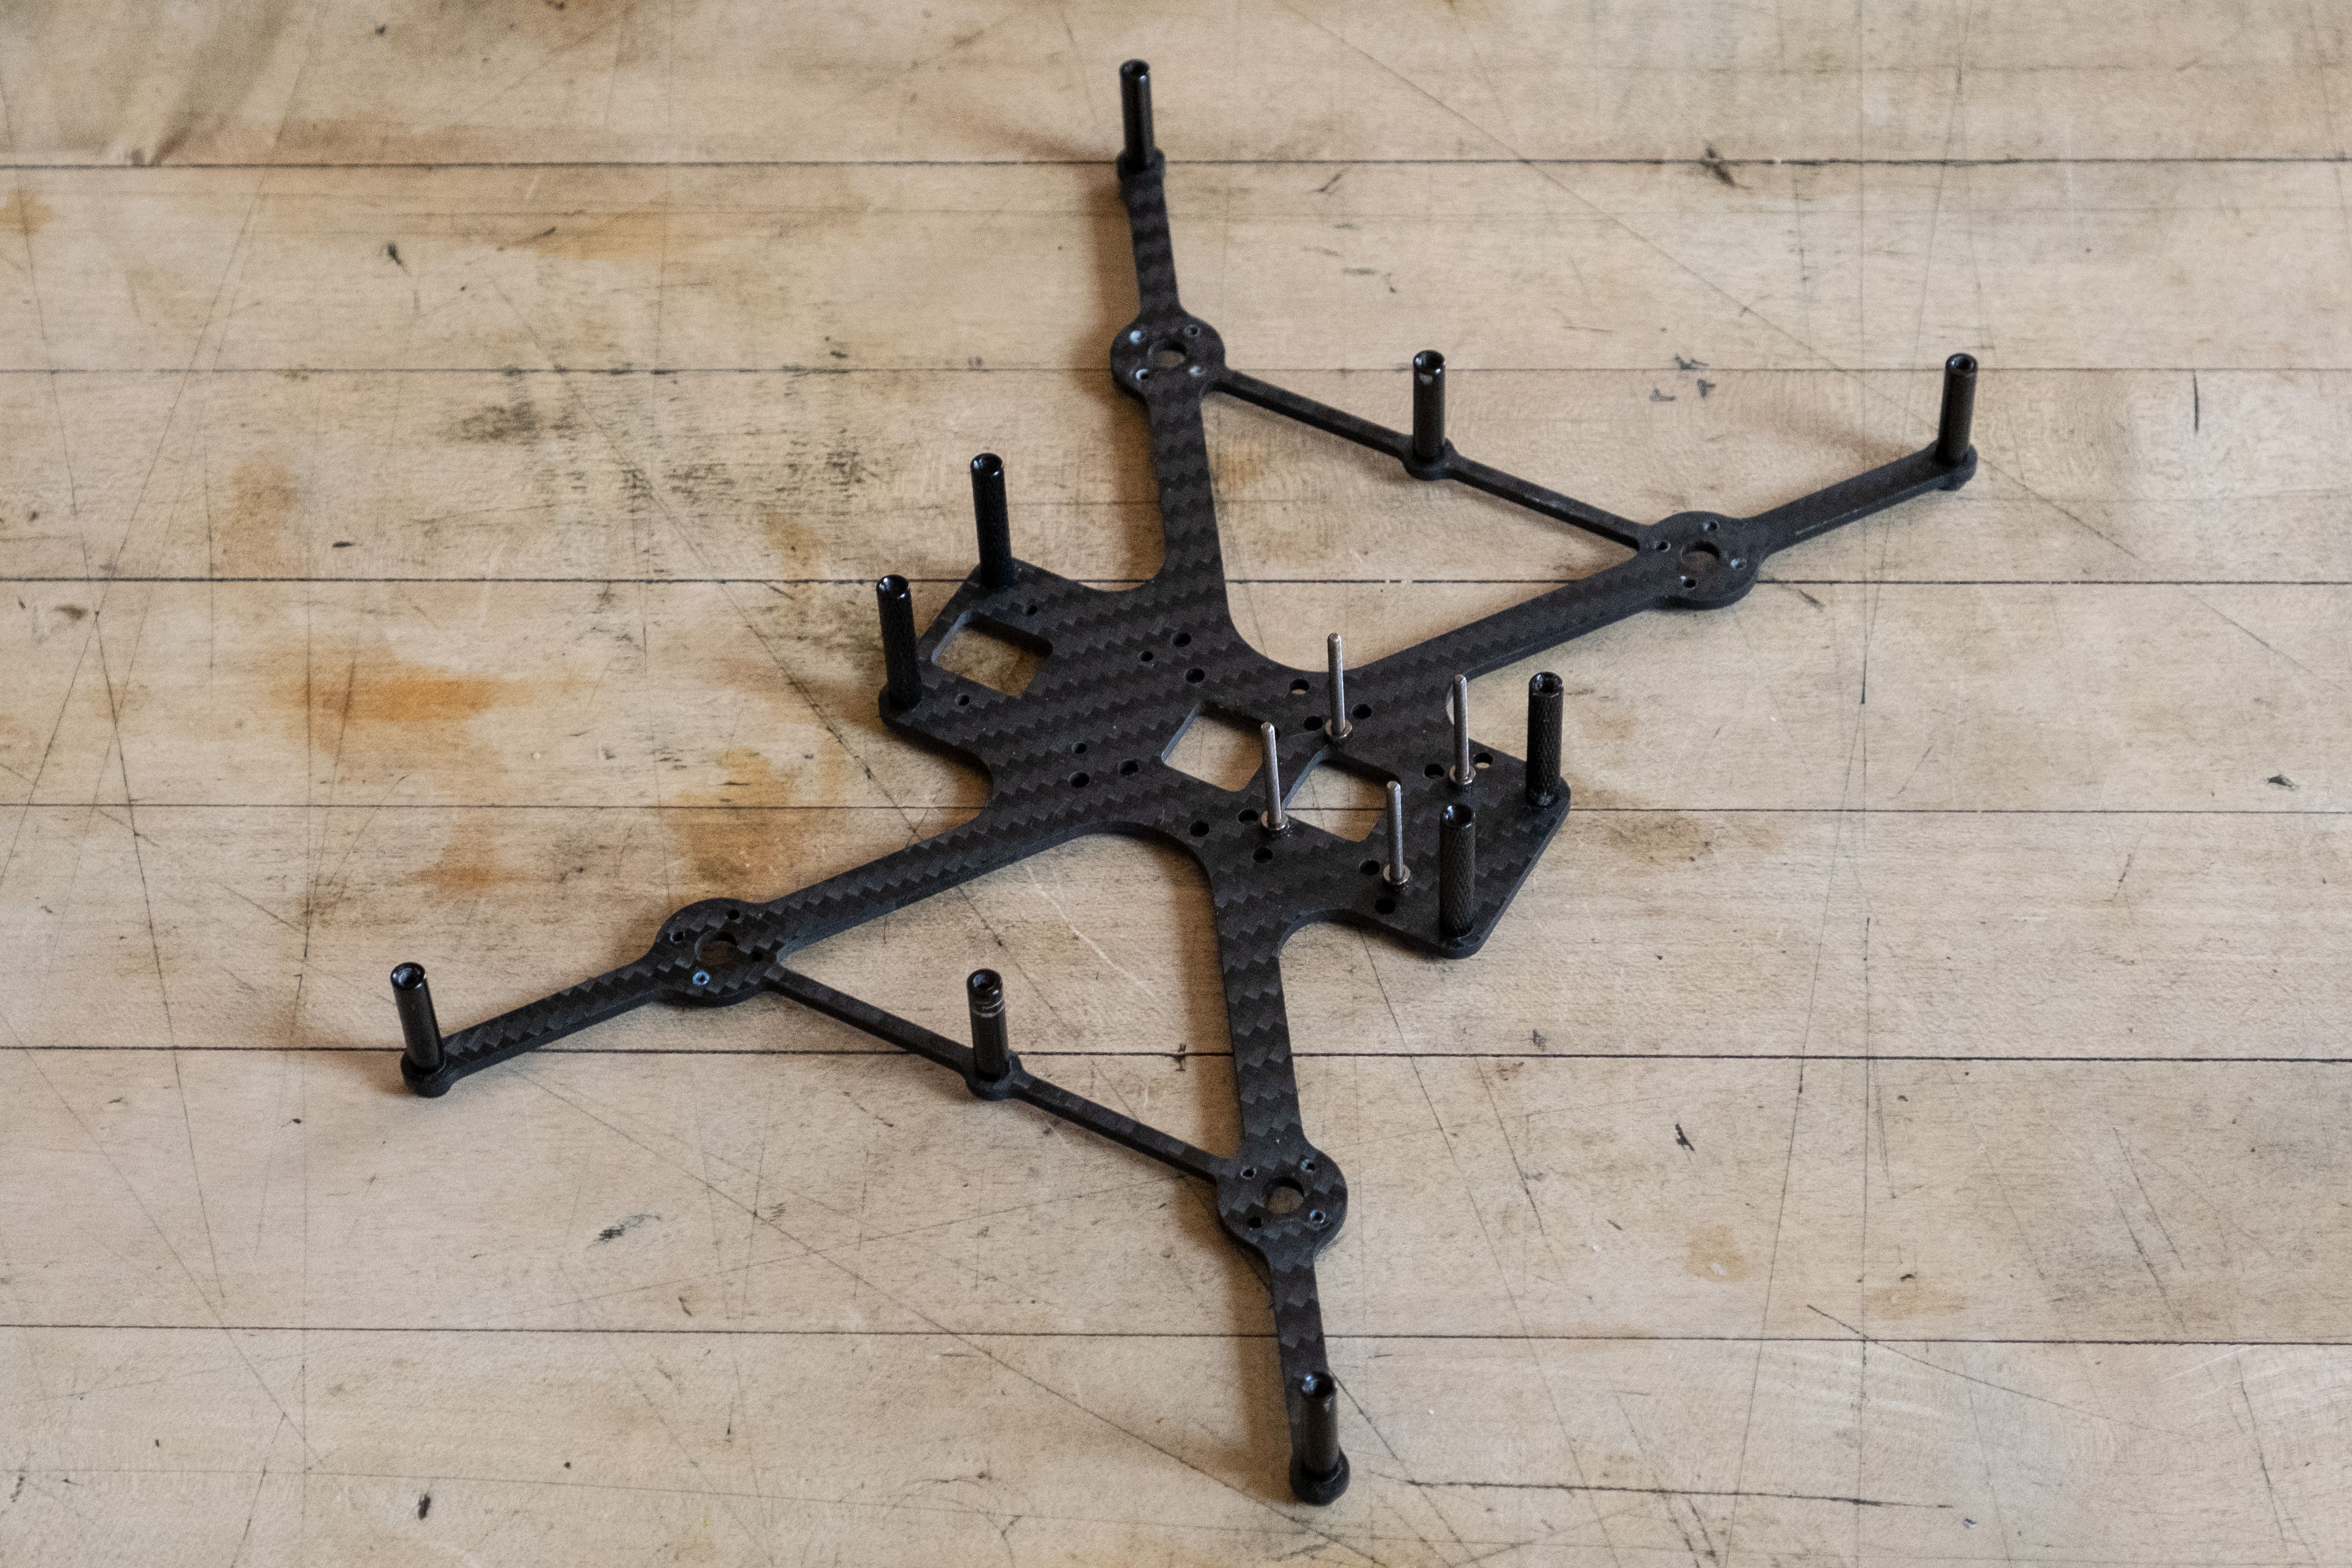
The frame couldn't be easier to assembl because you only have to screw in some standoffs. The slammed design uses shorter standoffs than the original design while the duct standoffs remain the same. I also added stack screws for the 20x20 stack I was going to use.
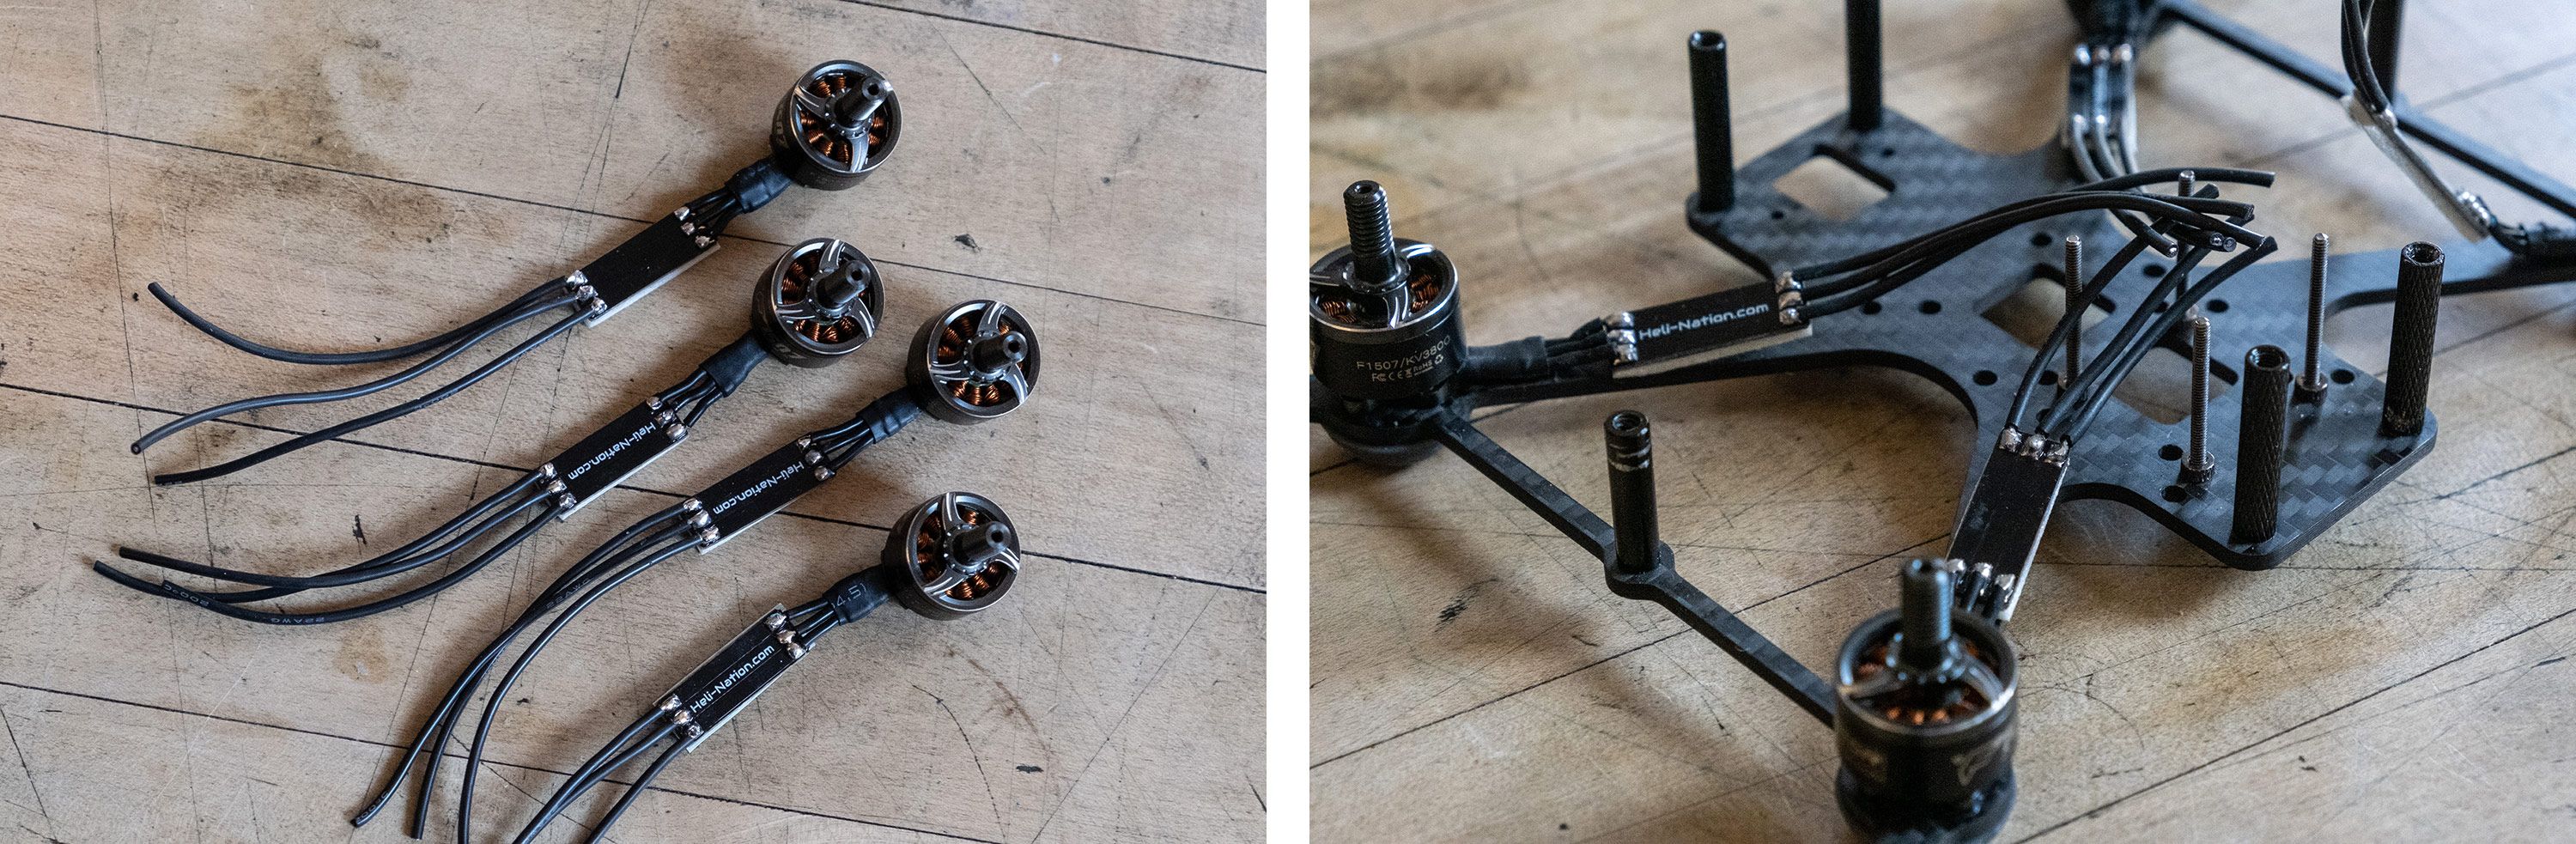
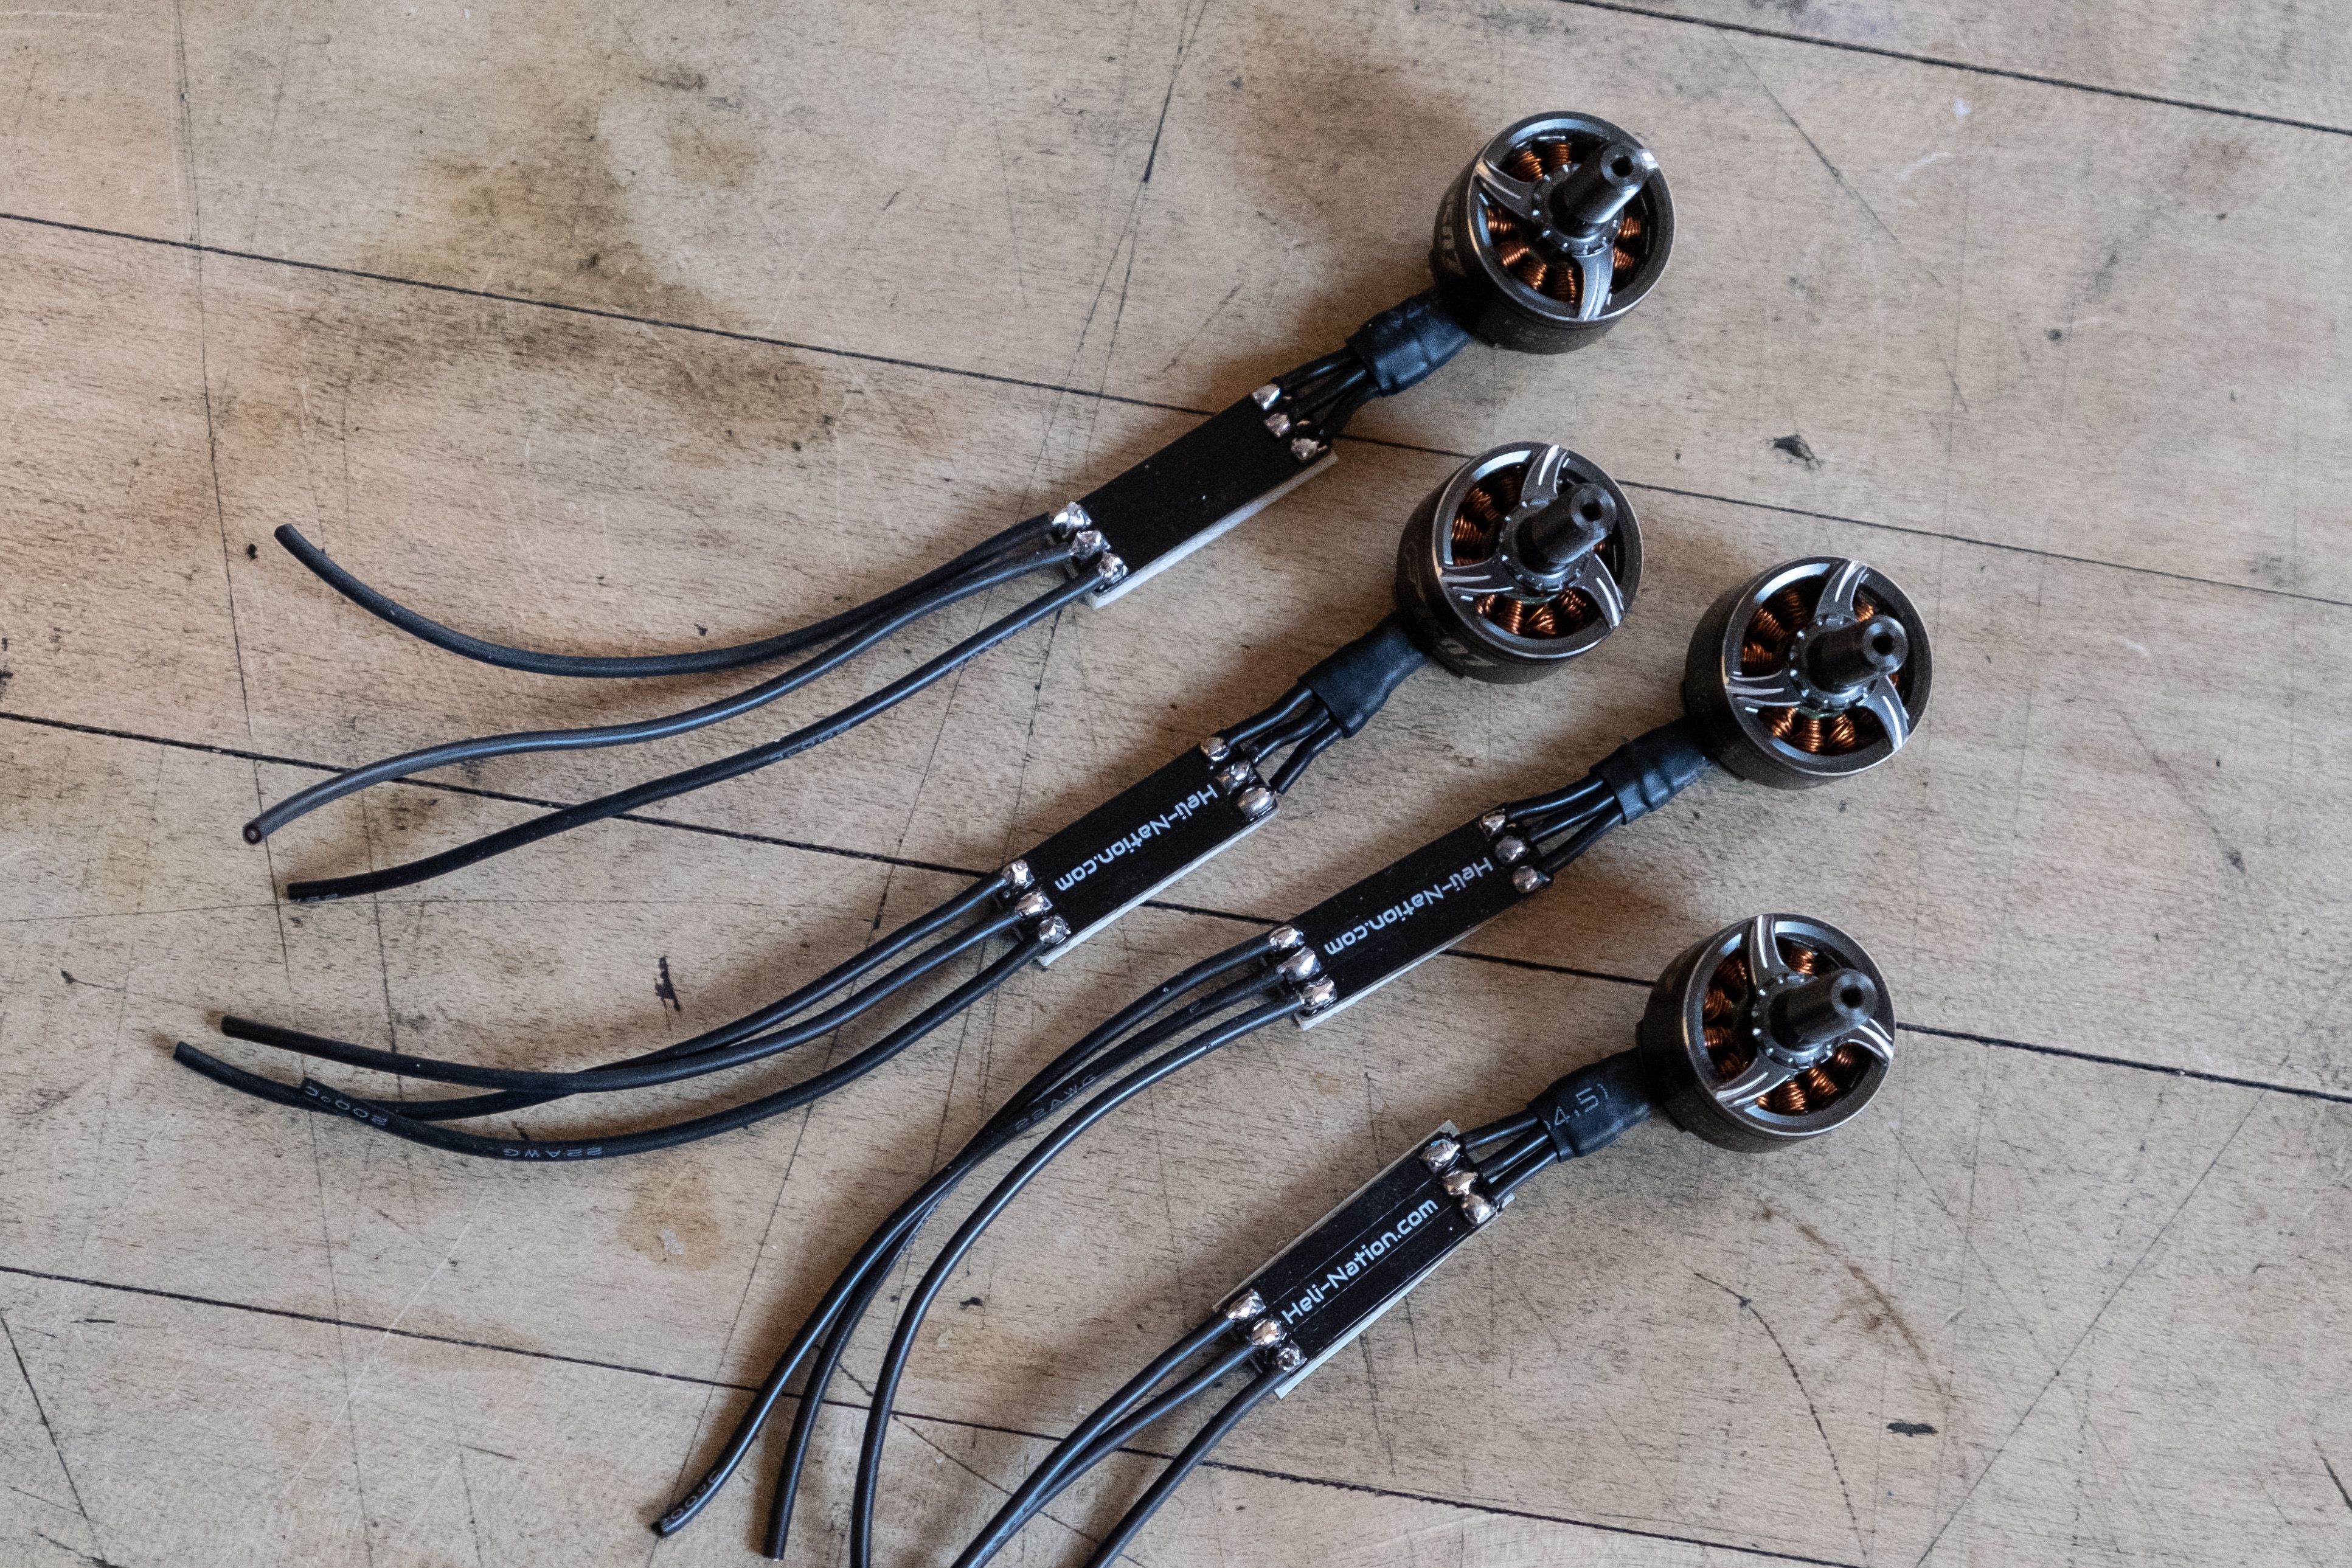
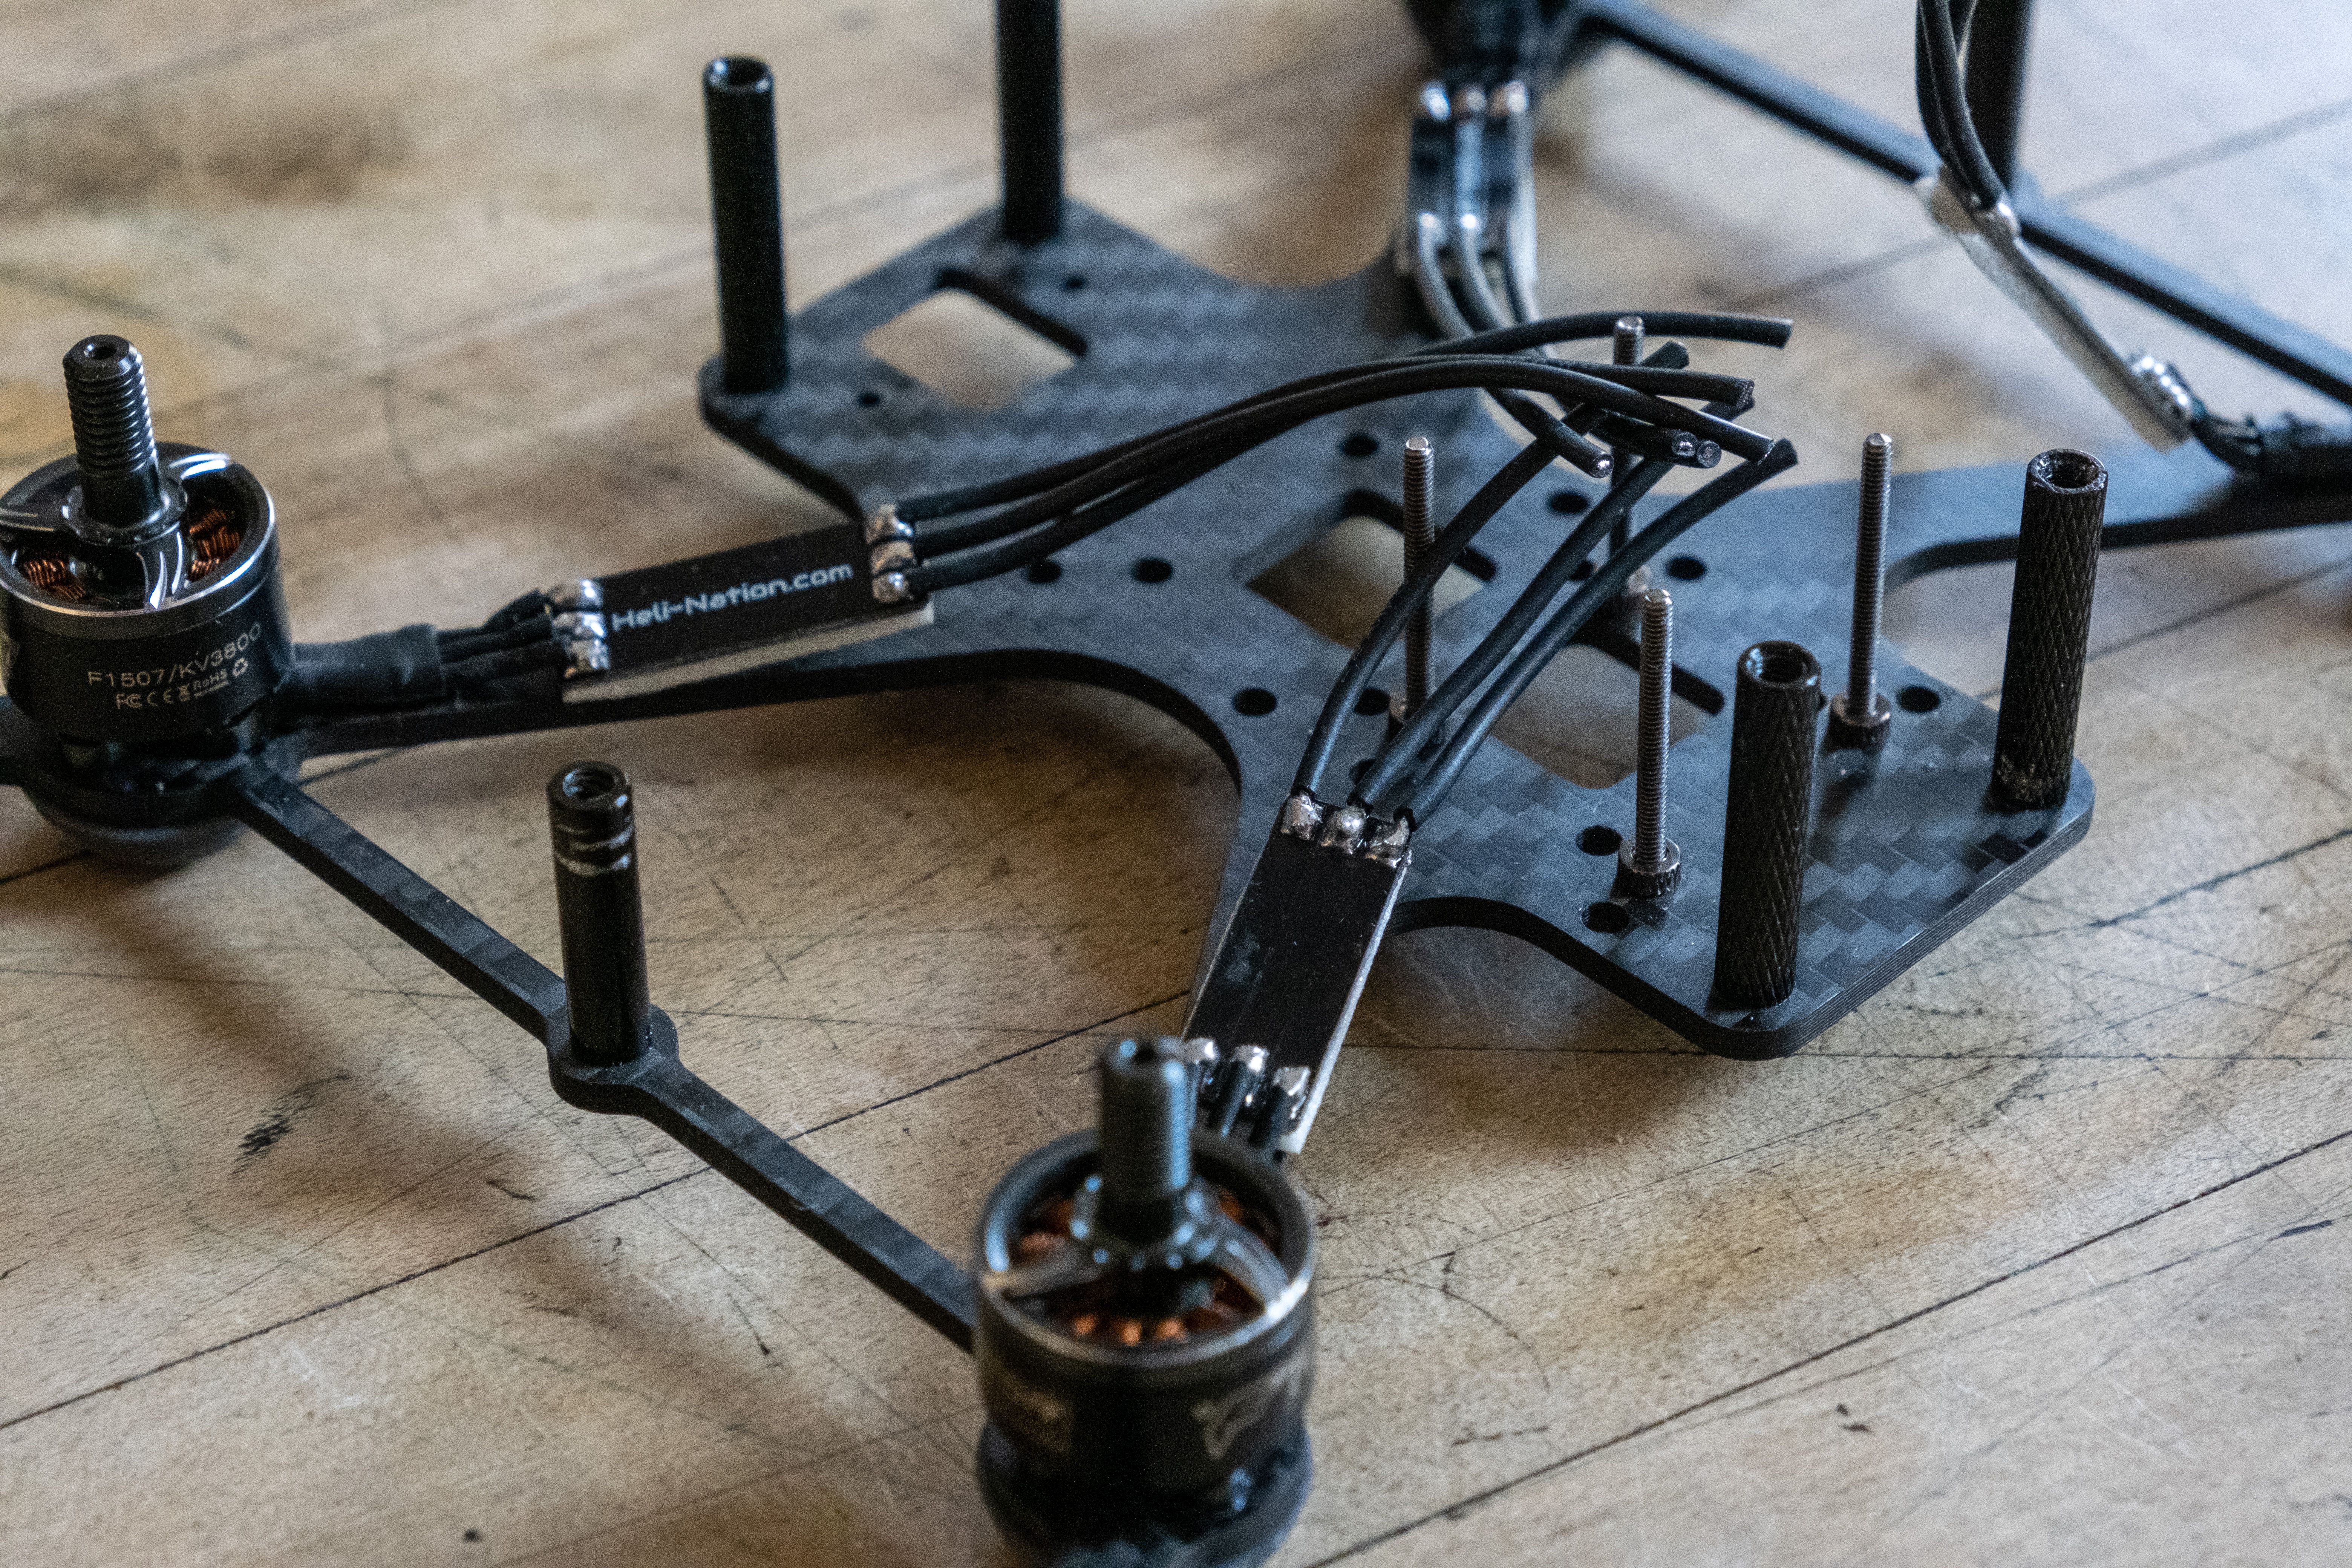
Motor installation & Race Wires
Because I used a larger 30x30 ESC in my previous Squirt build the motor wires were too short. Instead of extending the wires I decided to use race wire instead. In hindsight I probably wouldn't do that again. The race wire turned out to be rather tricky to solder to with my limited soldering skills. So next time I will just extend the wires instead. I added 3M double sided tape to the underside of the race wires to insulate them from the carbon.
I used the landing skids included in Drone Co Production's slammed Squirt conversion kit under each of the motors. Be careful when screwing your motors in through the skids. One of the skids cracked when I did that but thankfully a fifth one was included.
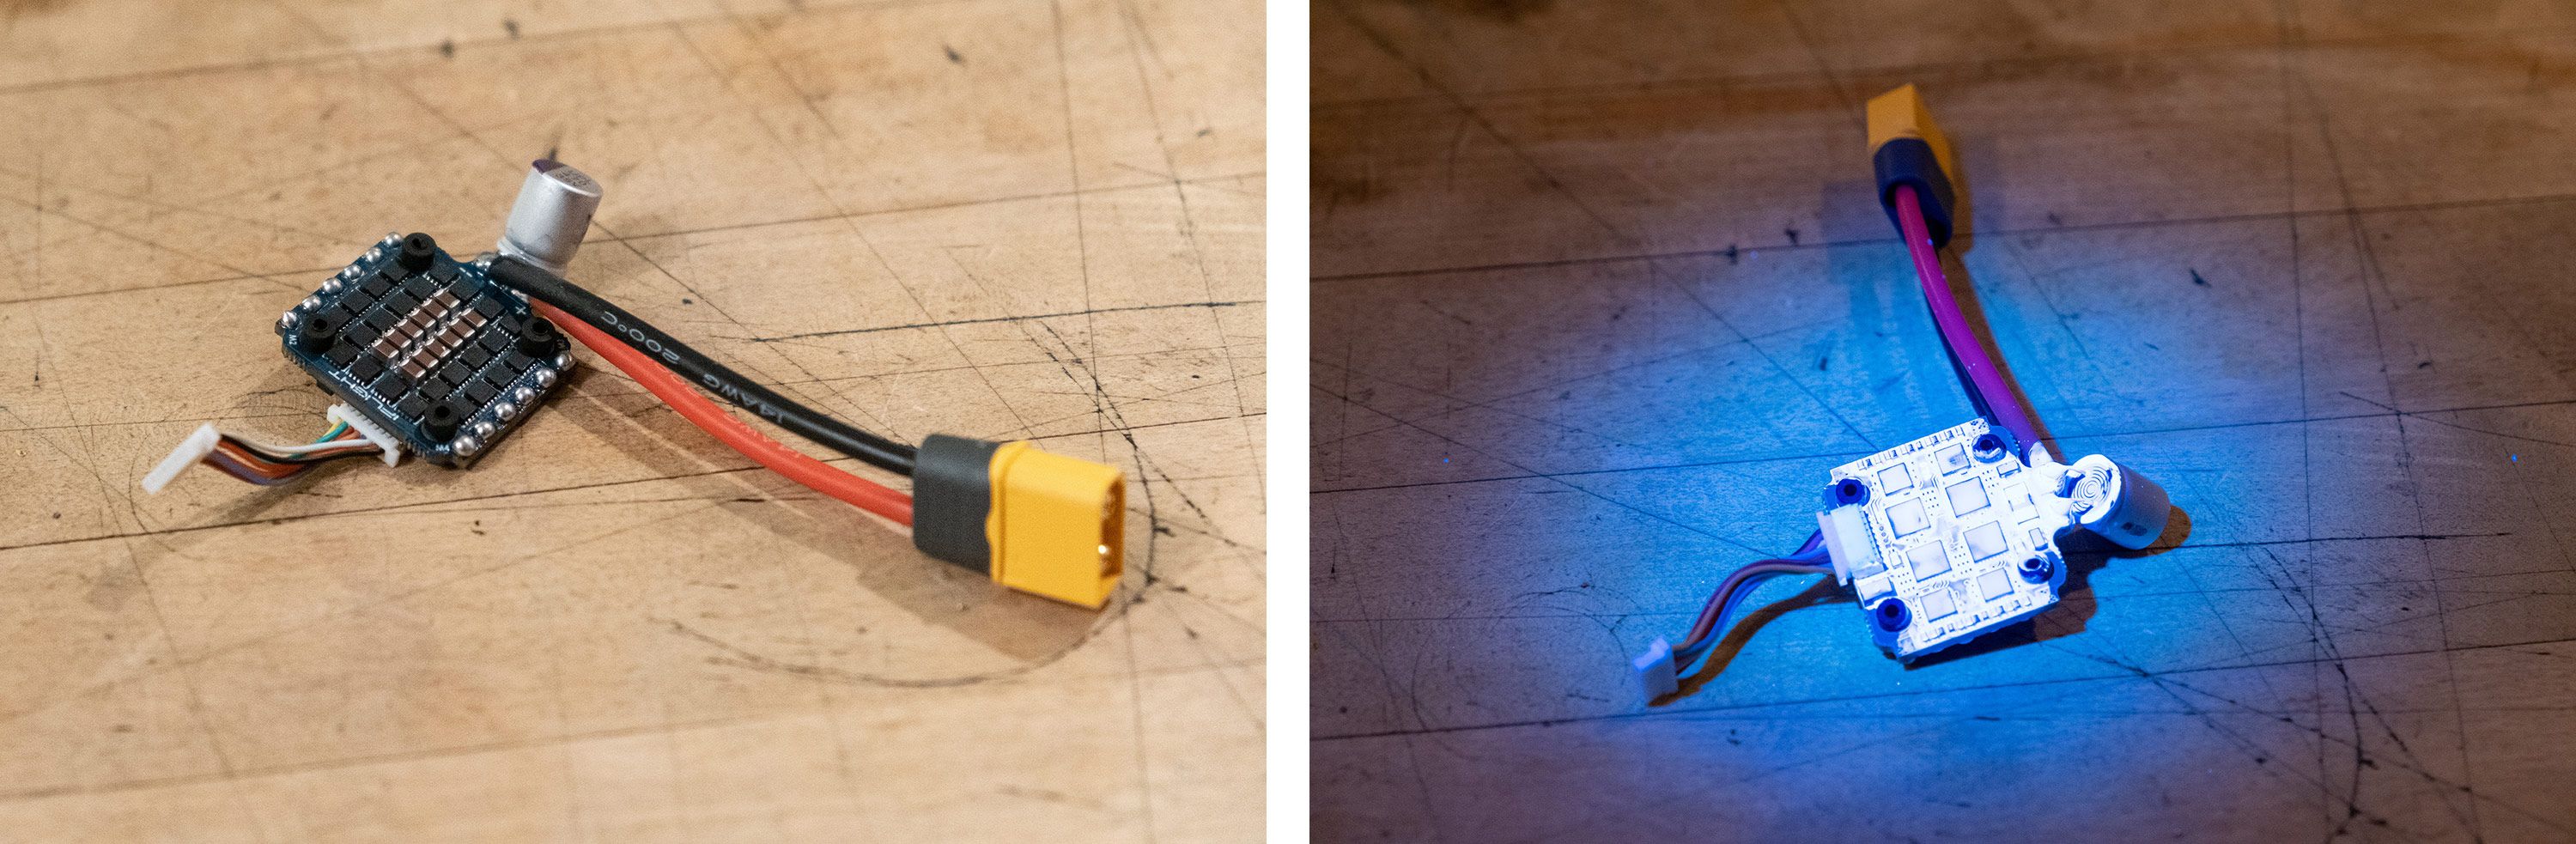
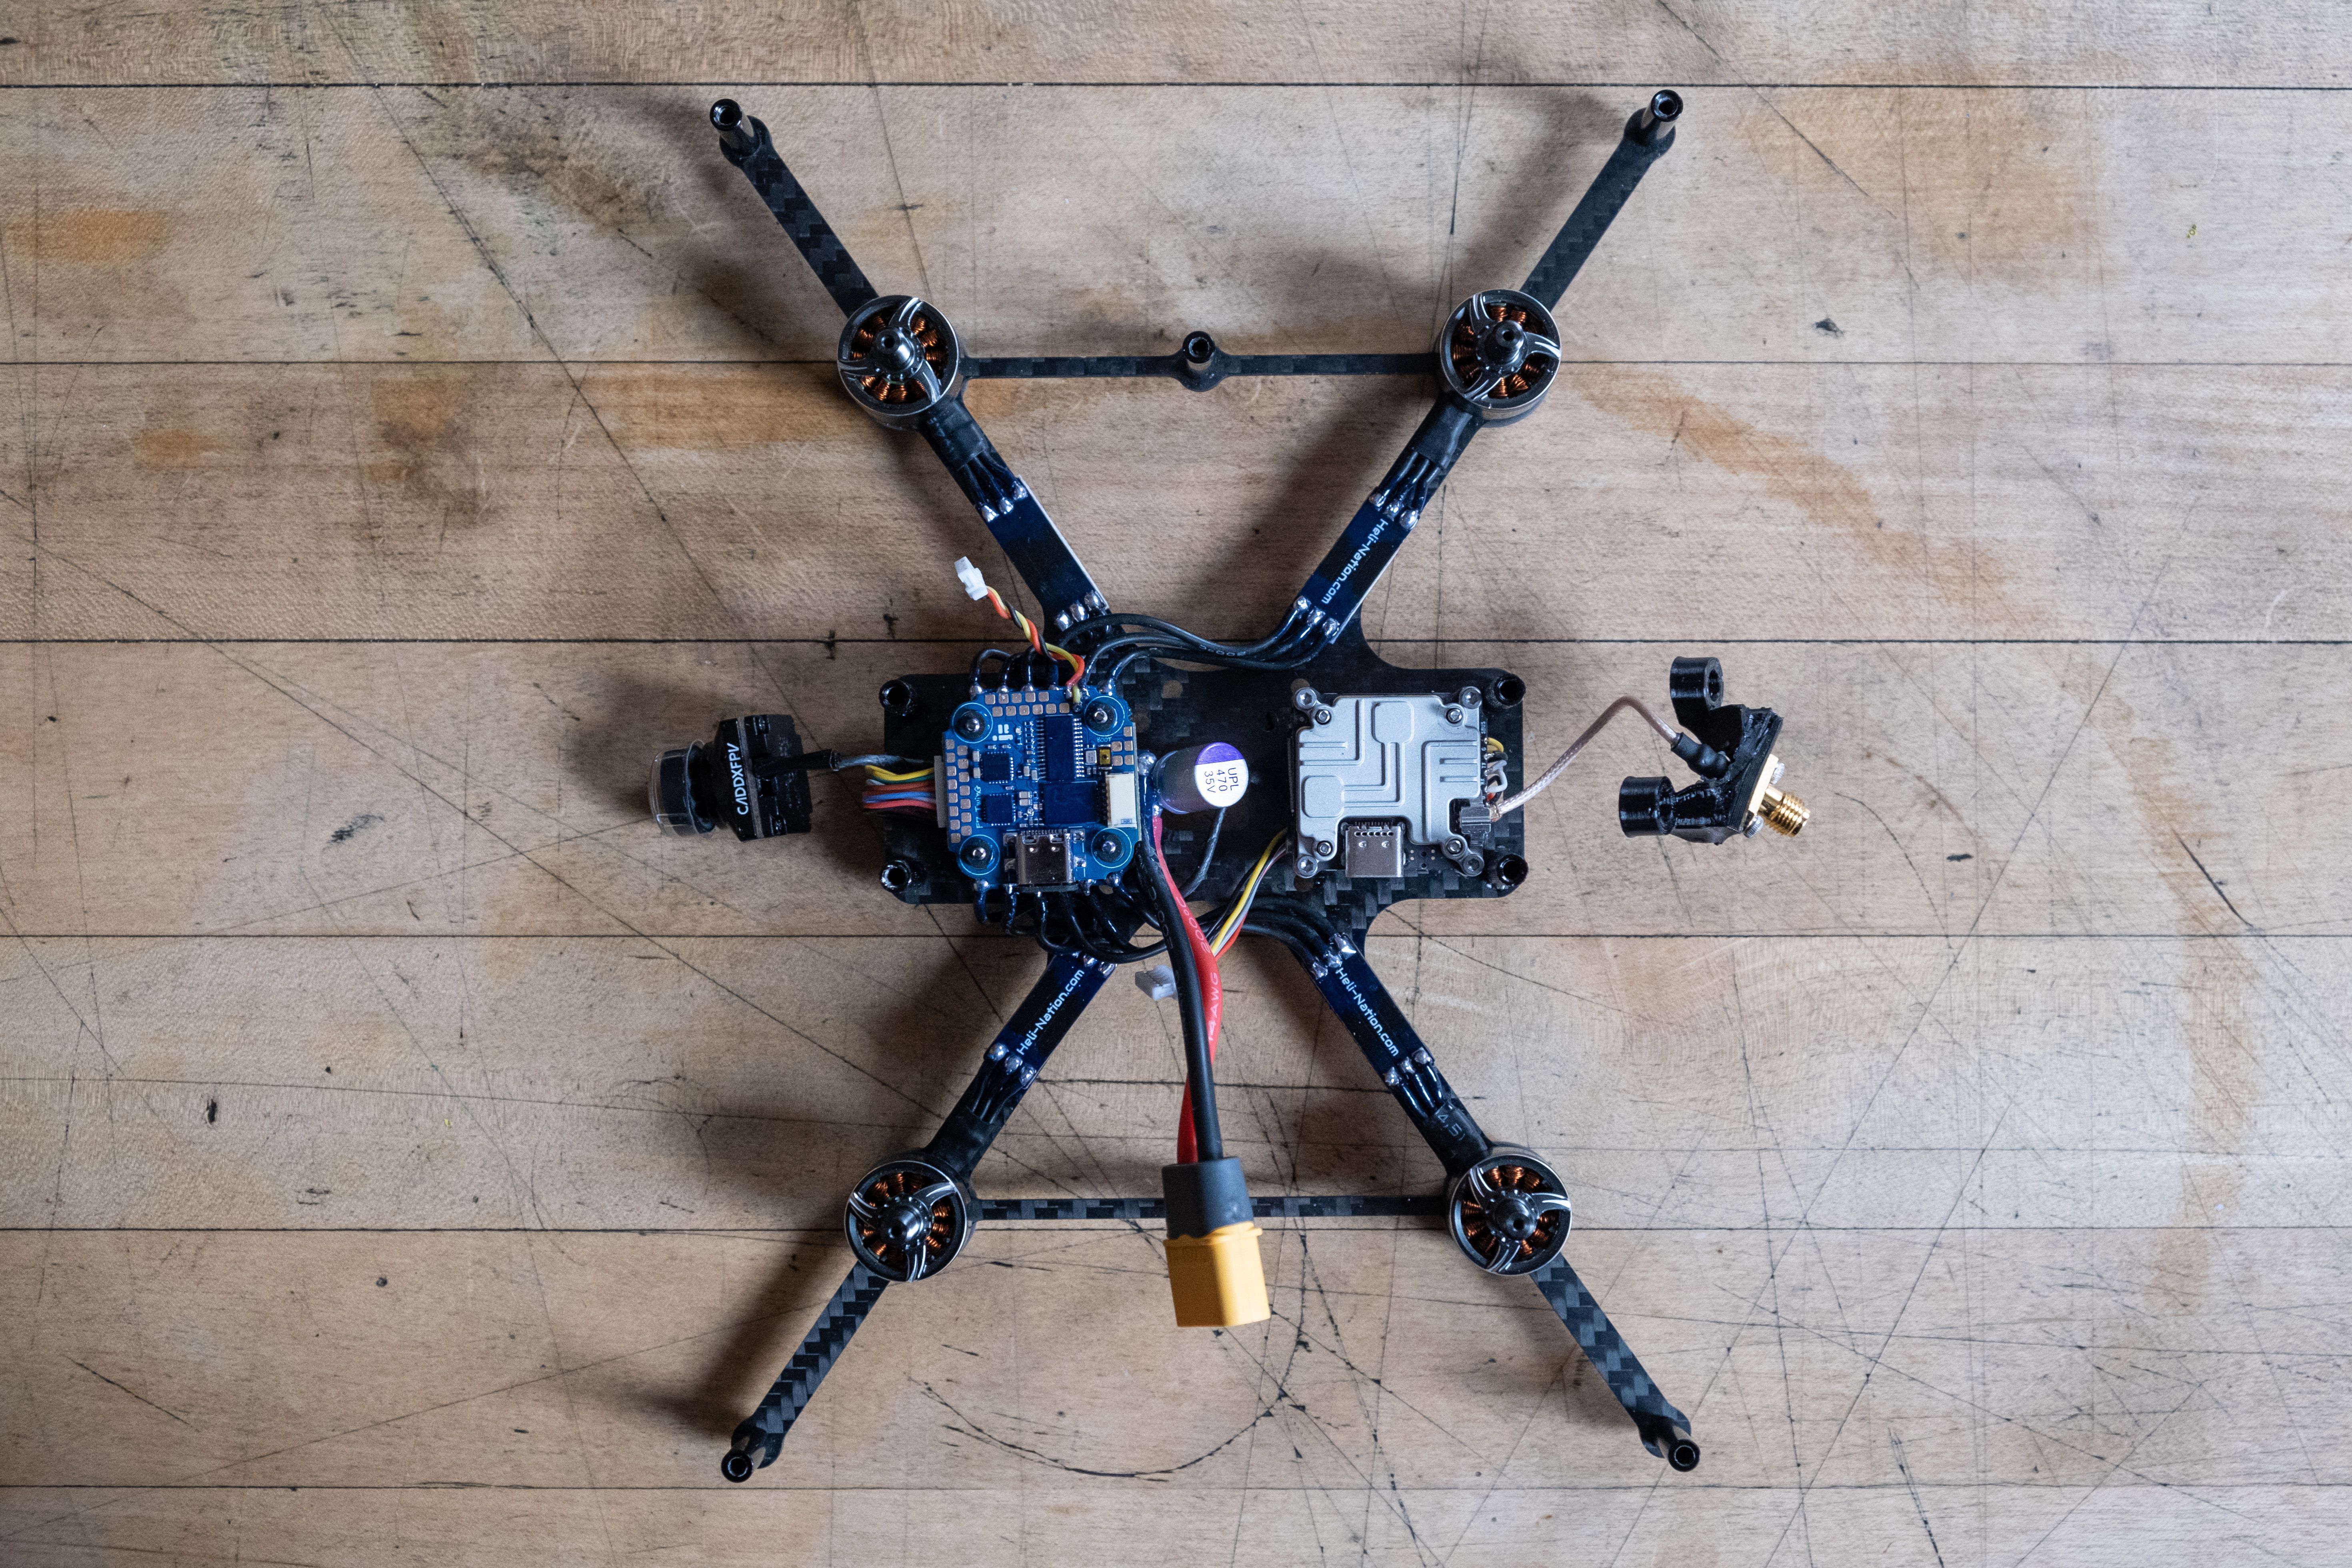
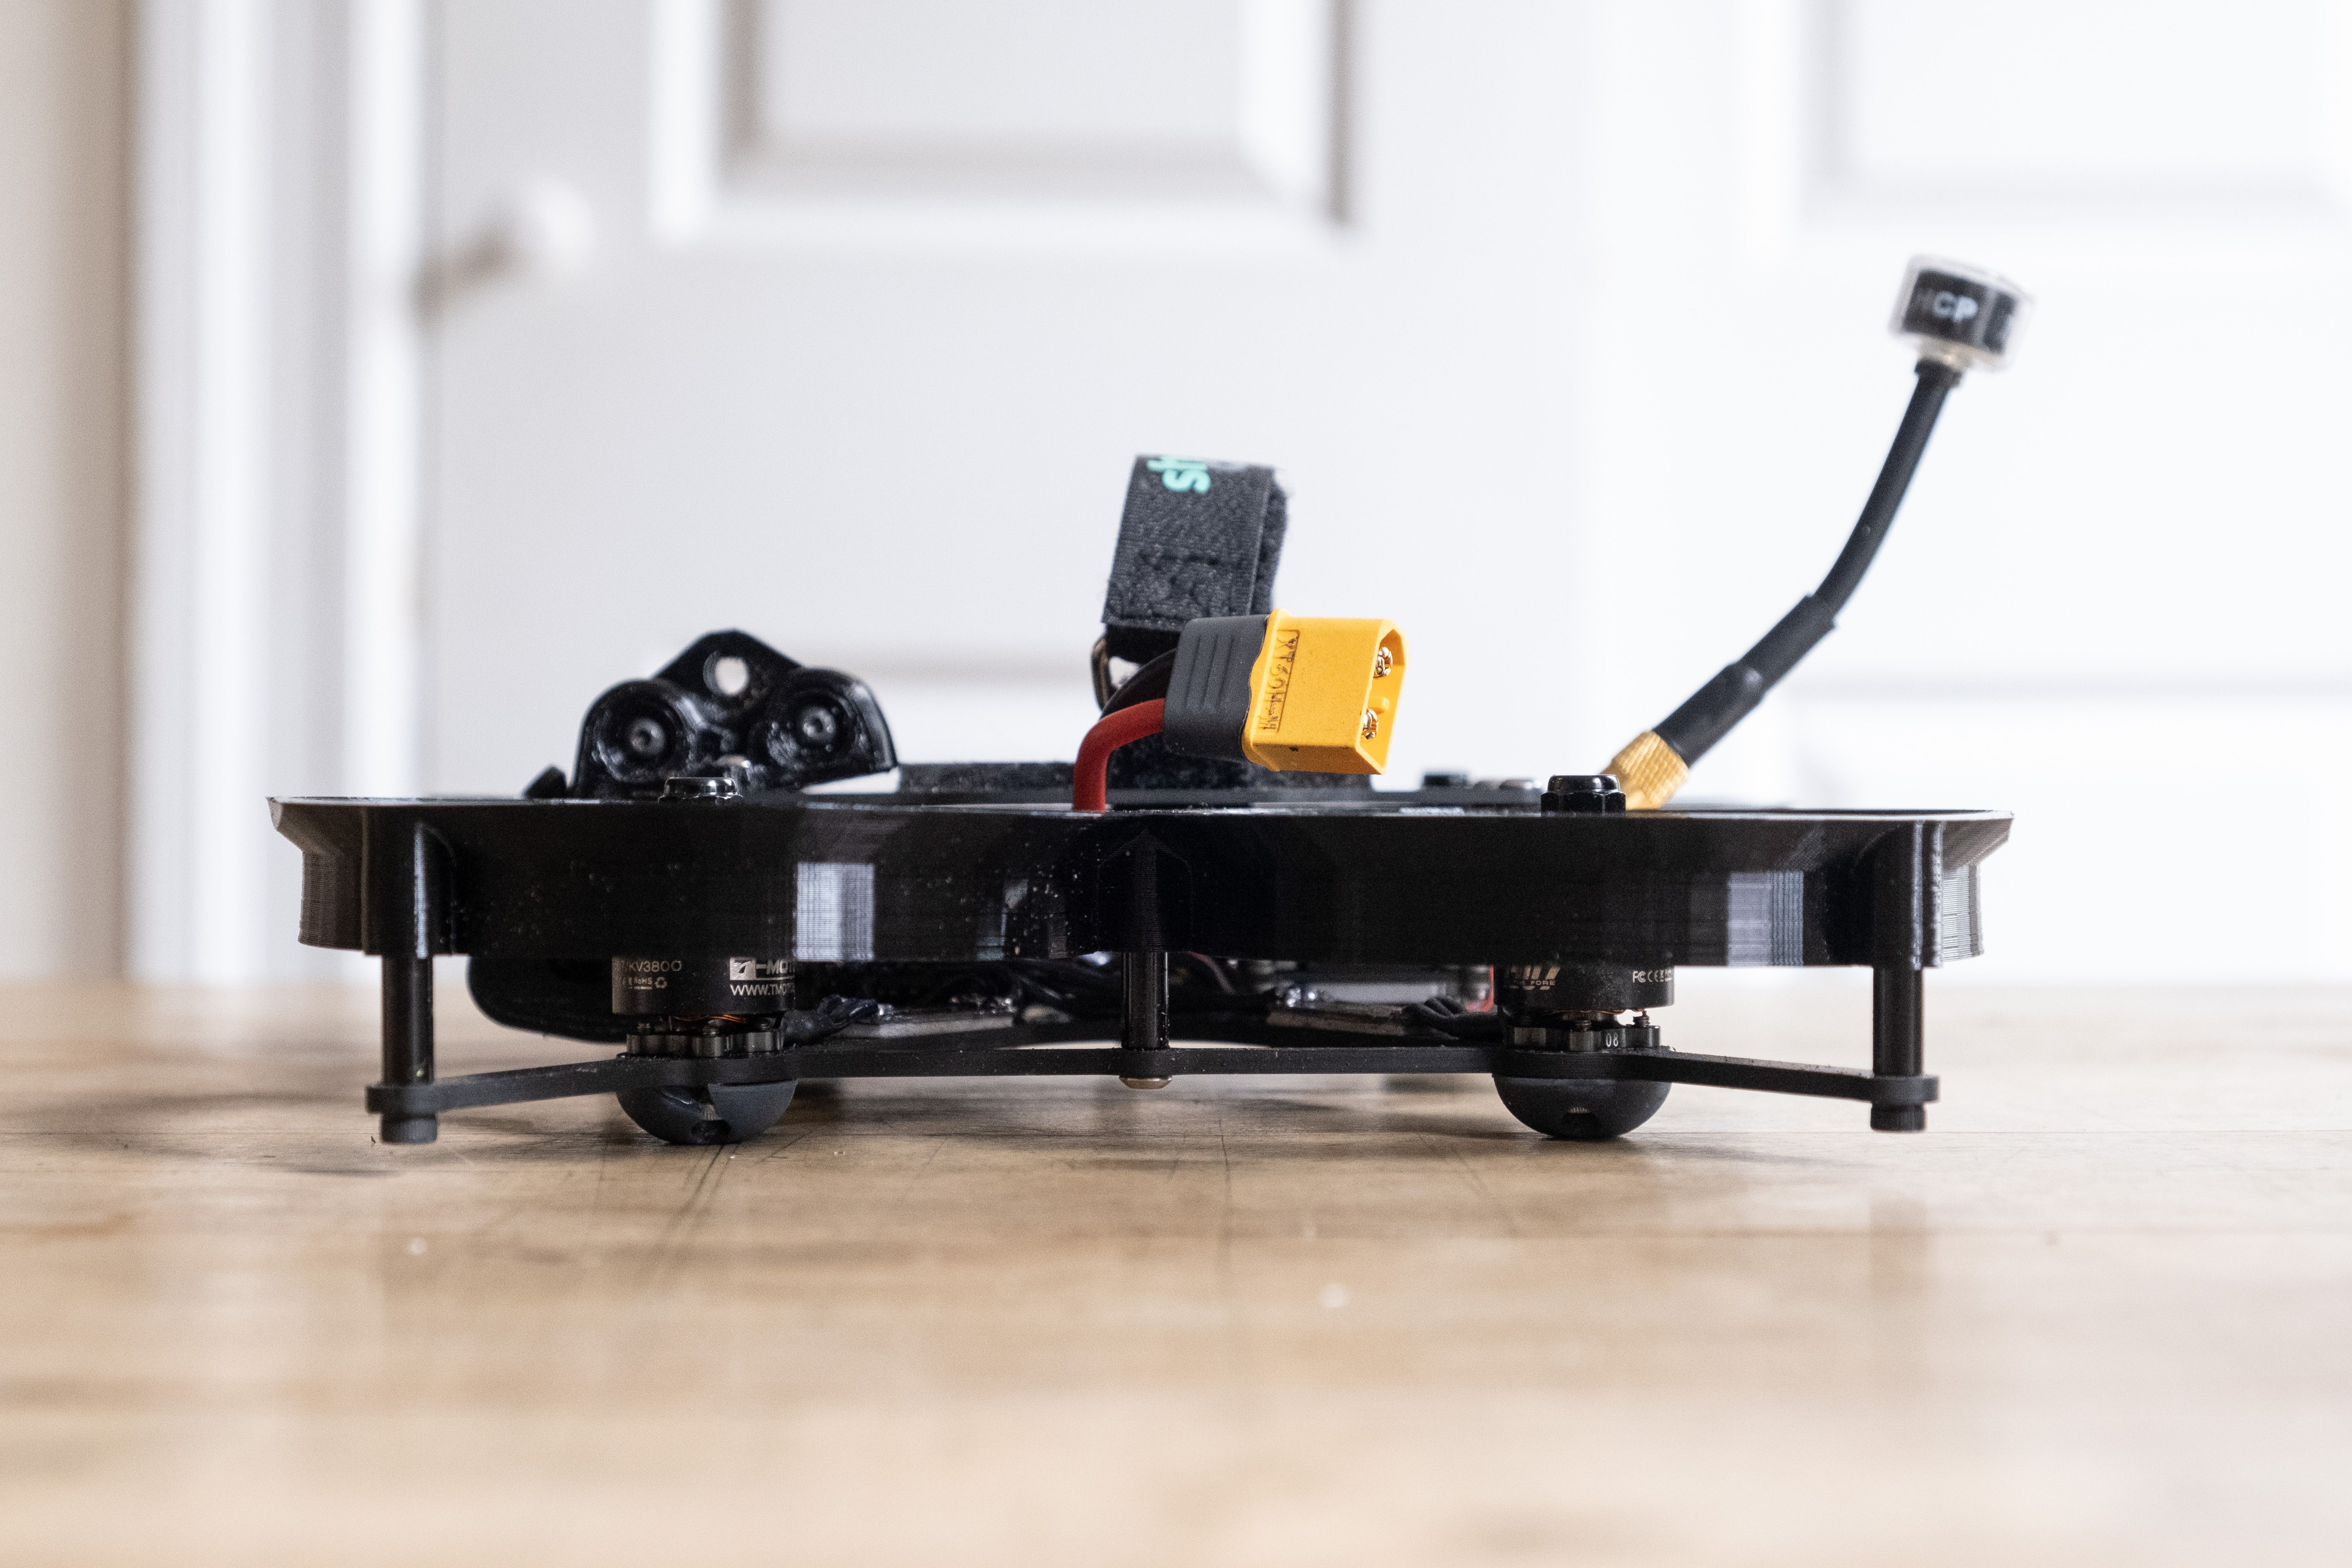
XT60 pigtail and capacitor
After dry fitting everything I saw that I had plenty of room between the ESC and the Vista in the back for a capacitor, so no need to extend it via wires. I wanted the XT60 pigtail to come out the side of the Squirt and soldered the battery wires on accordingly. Turned the ESC over to solder the 470uF capacitor (included with the iFlight stack) to the bottom of the battery pads, angling it a bit upwards. Also tinned the motor pads.
Then I conformal coated the underside of the ESC to prep it for possible rain or moisture. I couldn't really do that once the motor wires are soldered to the ESC.
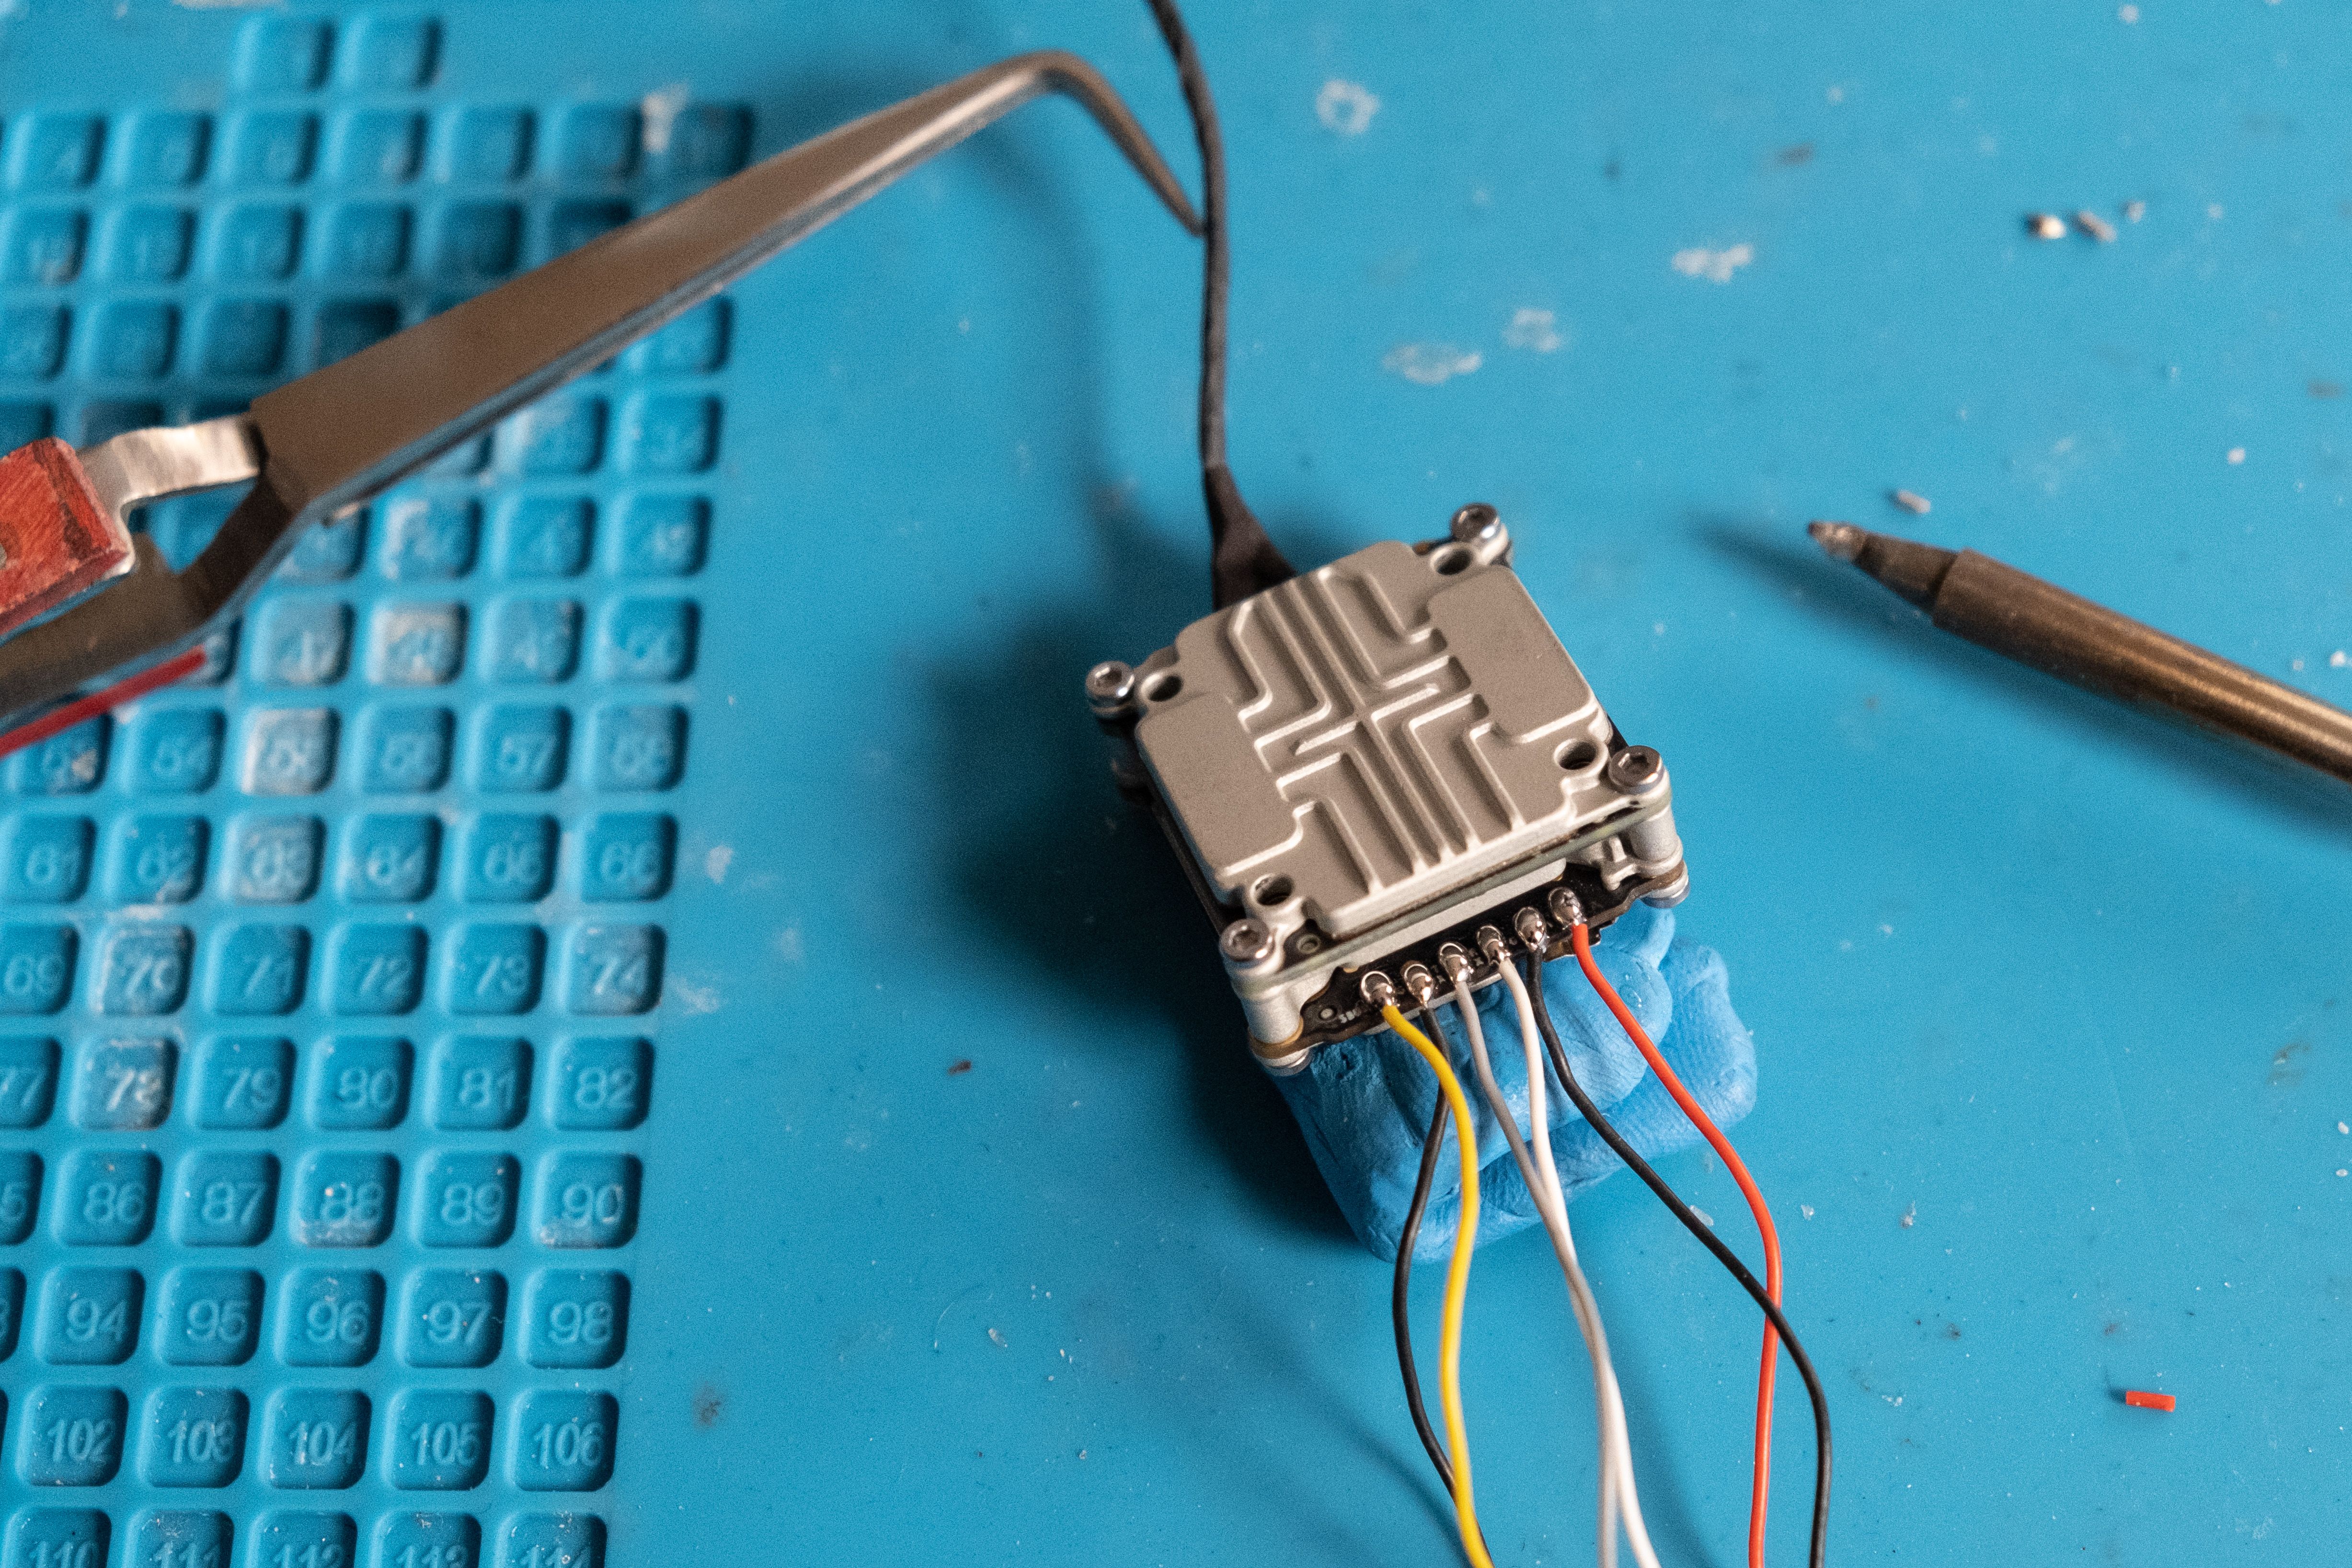
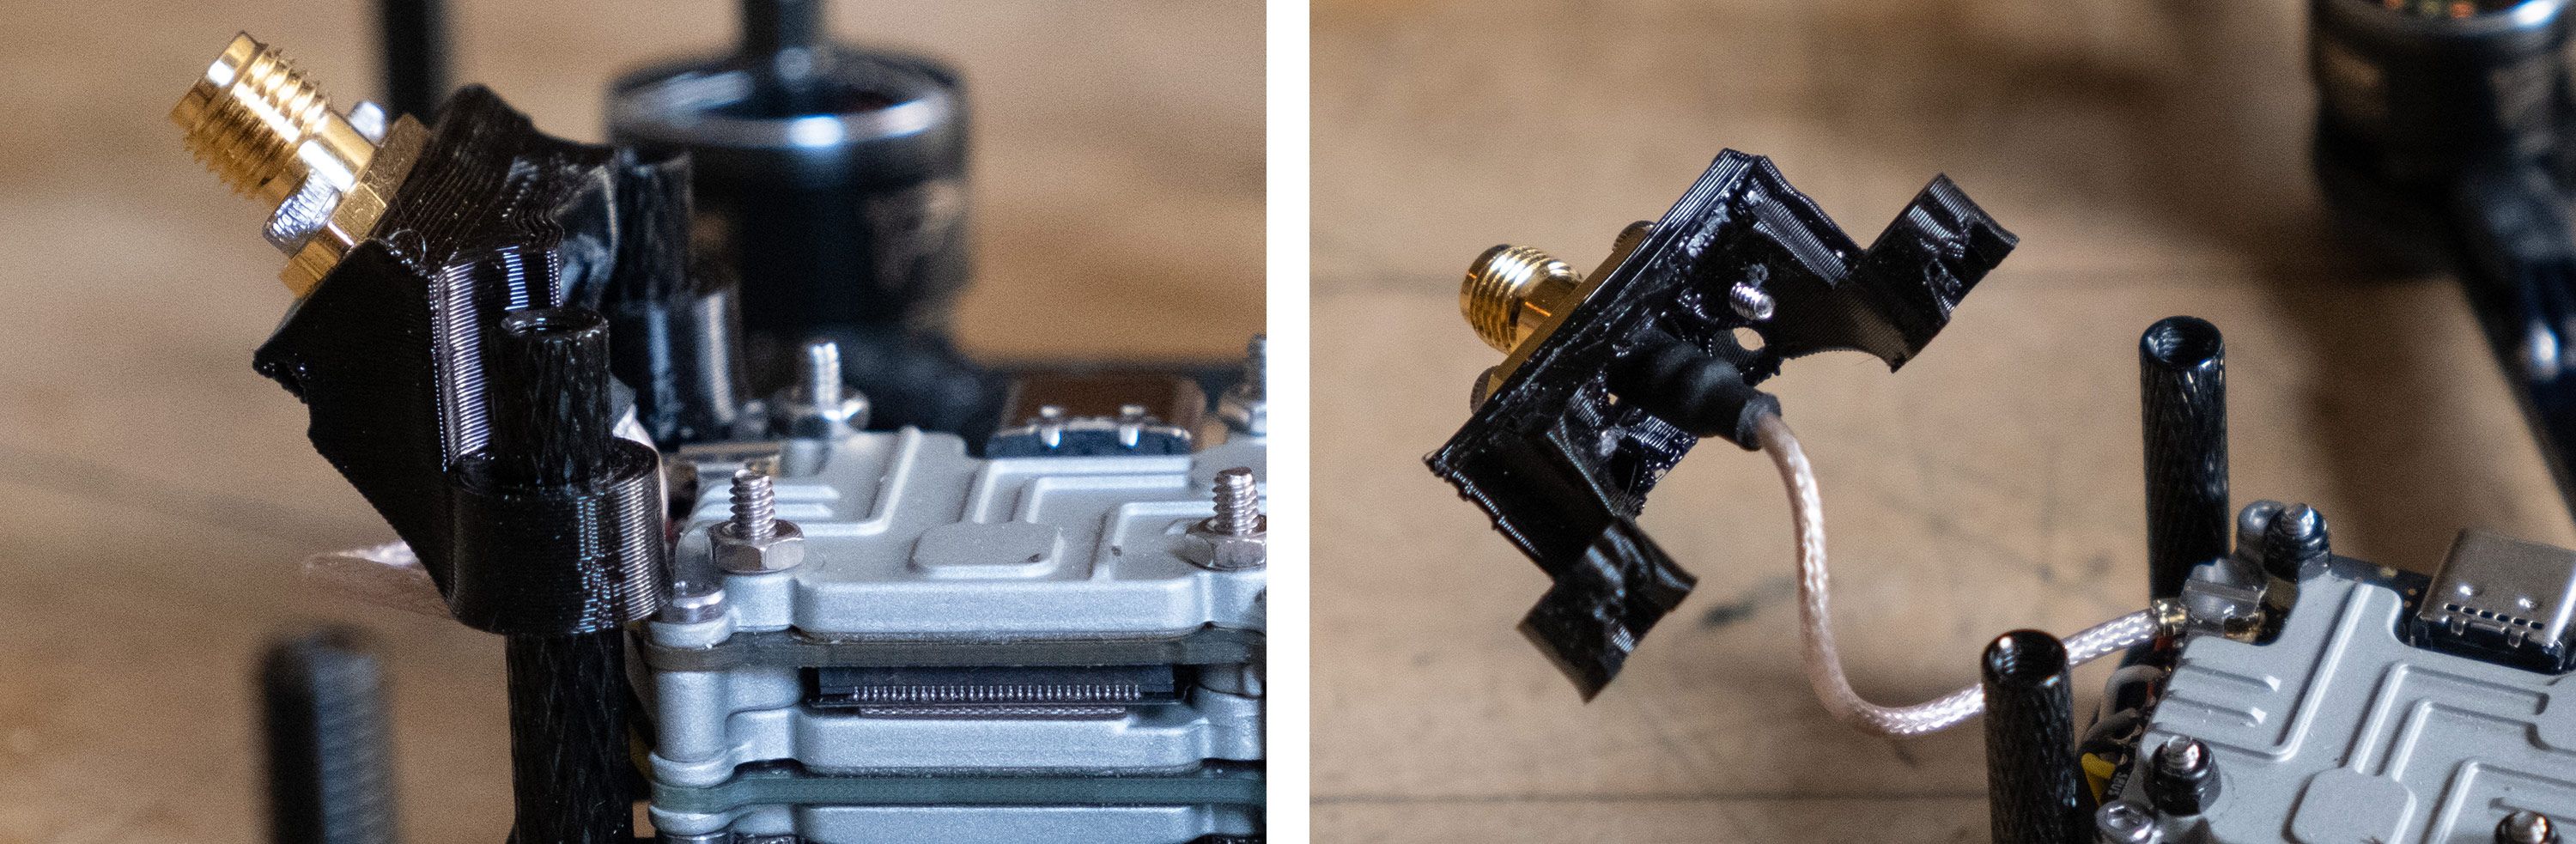
Vista installation with U.FL to SMA
Next up I soldered the connector wires to the Vista so I could place it in the build and run the camera cable under the ESC before soldering the motor wires to the ESC.
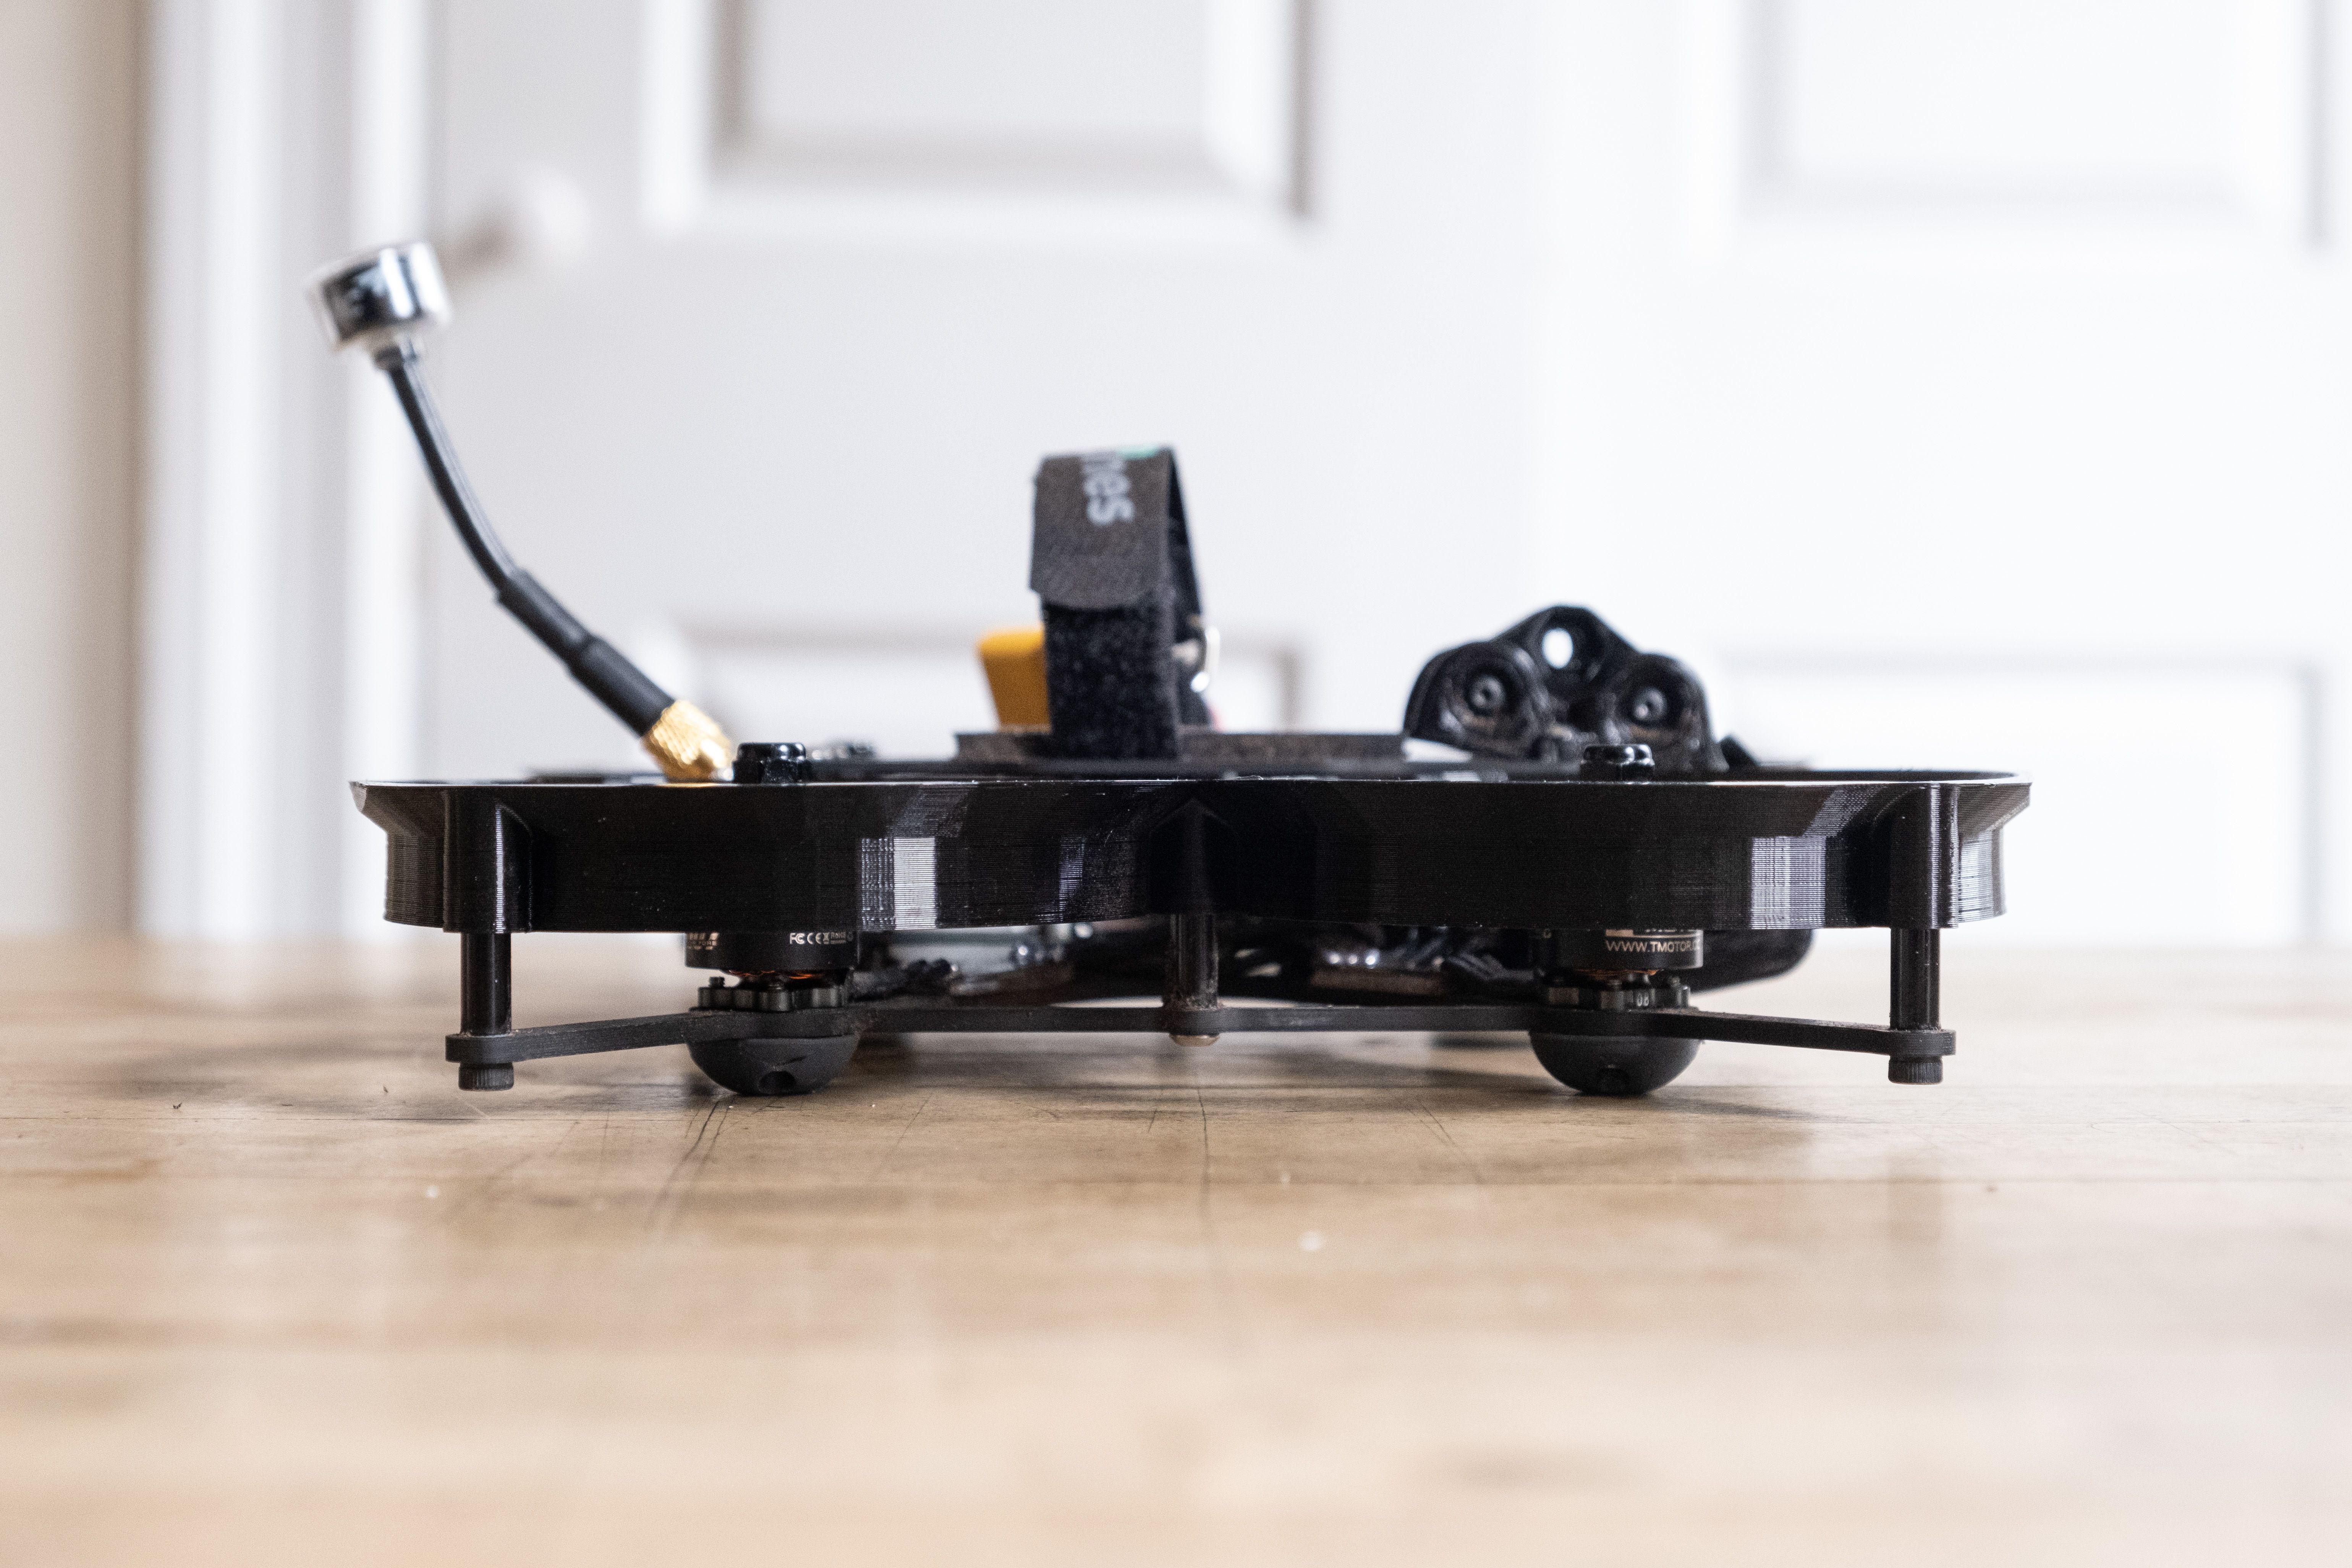
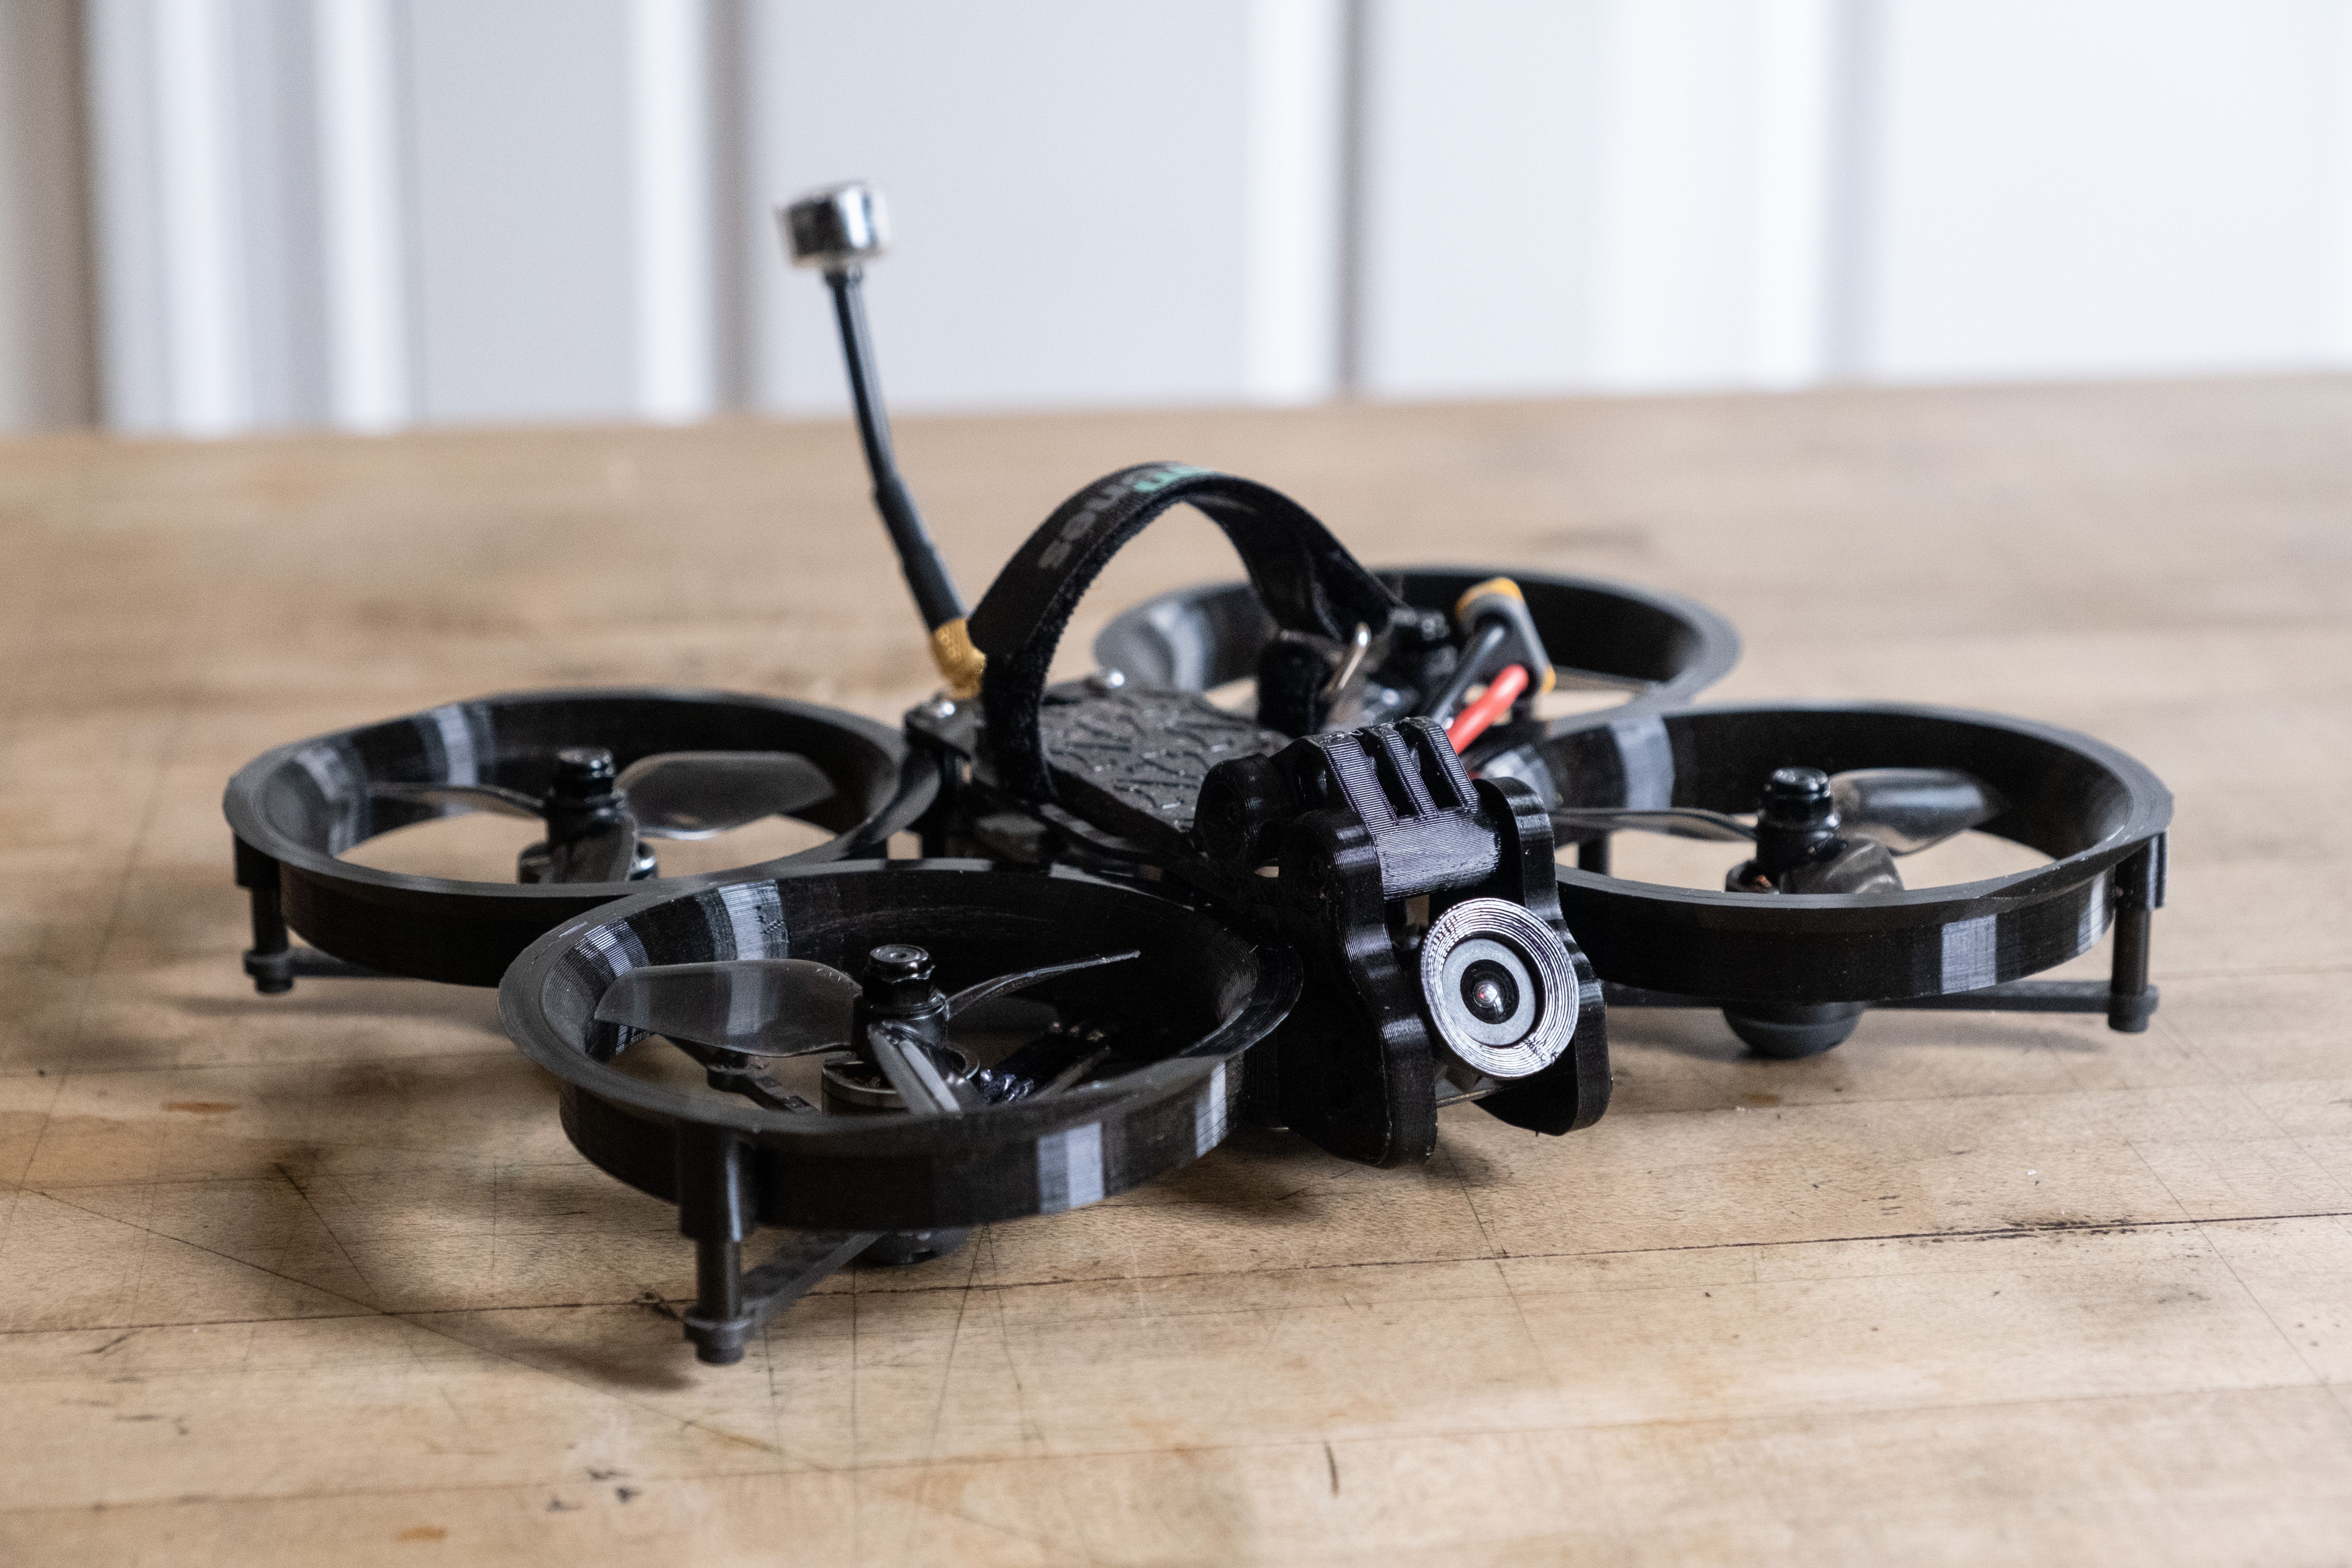
The slammed Squirt conversion kit comes with a 3D printed Vista holder but I chose to screw the Vista directly onto the frame using the Squirts 20x20 mounting holes in the back. I added a small stack spacer to the bottom for better air flow and so I could run the Vista connectors to the FC under the Vista instead of over it. I also wanted a removable antenna and added a u.Fl to SMA adapter which I screwed into the 3D printed SMA holder. Drone Co also makes a holder specifically for the TBS u.Fl to SMA adapter but I didn't have that and this one seems to work just as well.
However, because I mounted the Caddx Vista to the frame directly it sits very close to the rear standoffs. And there isn't enough room for the antenna holder to slide far enough down for there to be enough space left for the ducts to stack on top of it. So I just carved a few millimeters out of the two parts which slide over the standoff. That gave me enough room to eventually put the ducts over.
Motor wire soldering
After putting the camera cable under the ESC I soldered the motor wires to it and conformal coated the top of the ESC, the motor wire connections on the ESC as well as all solder joints on the race wires.
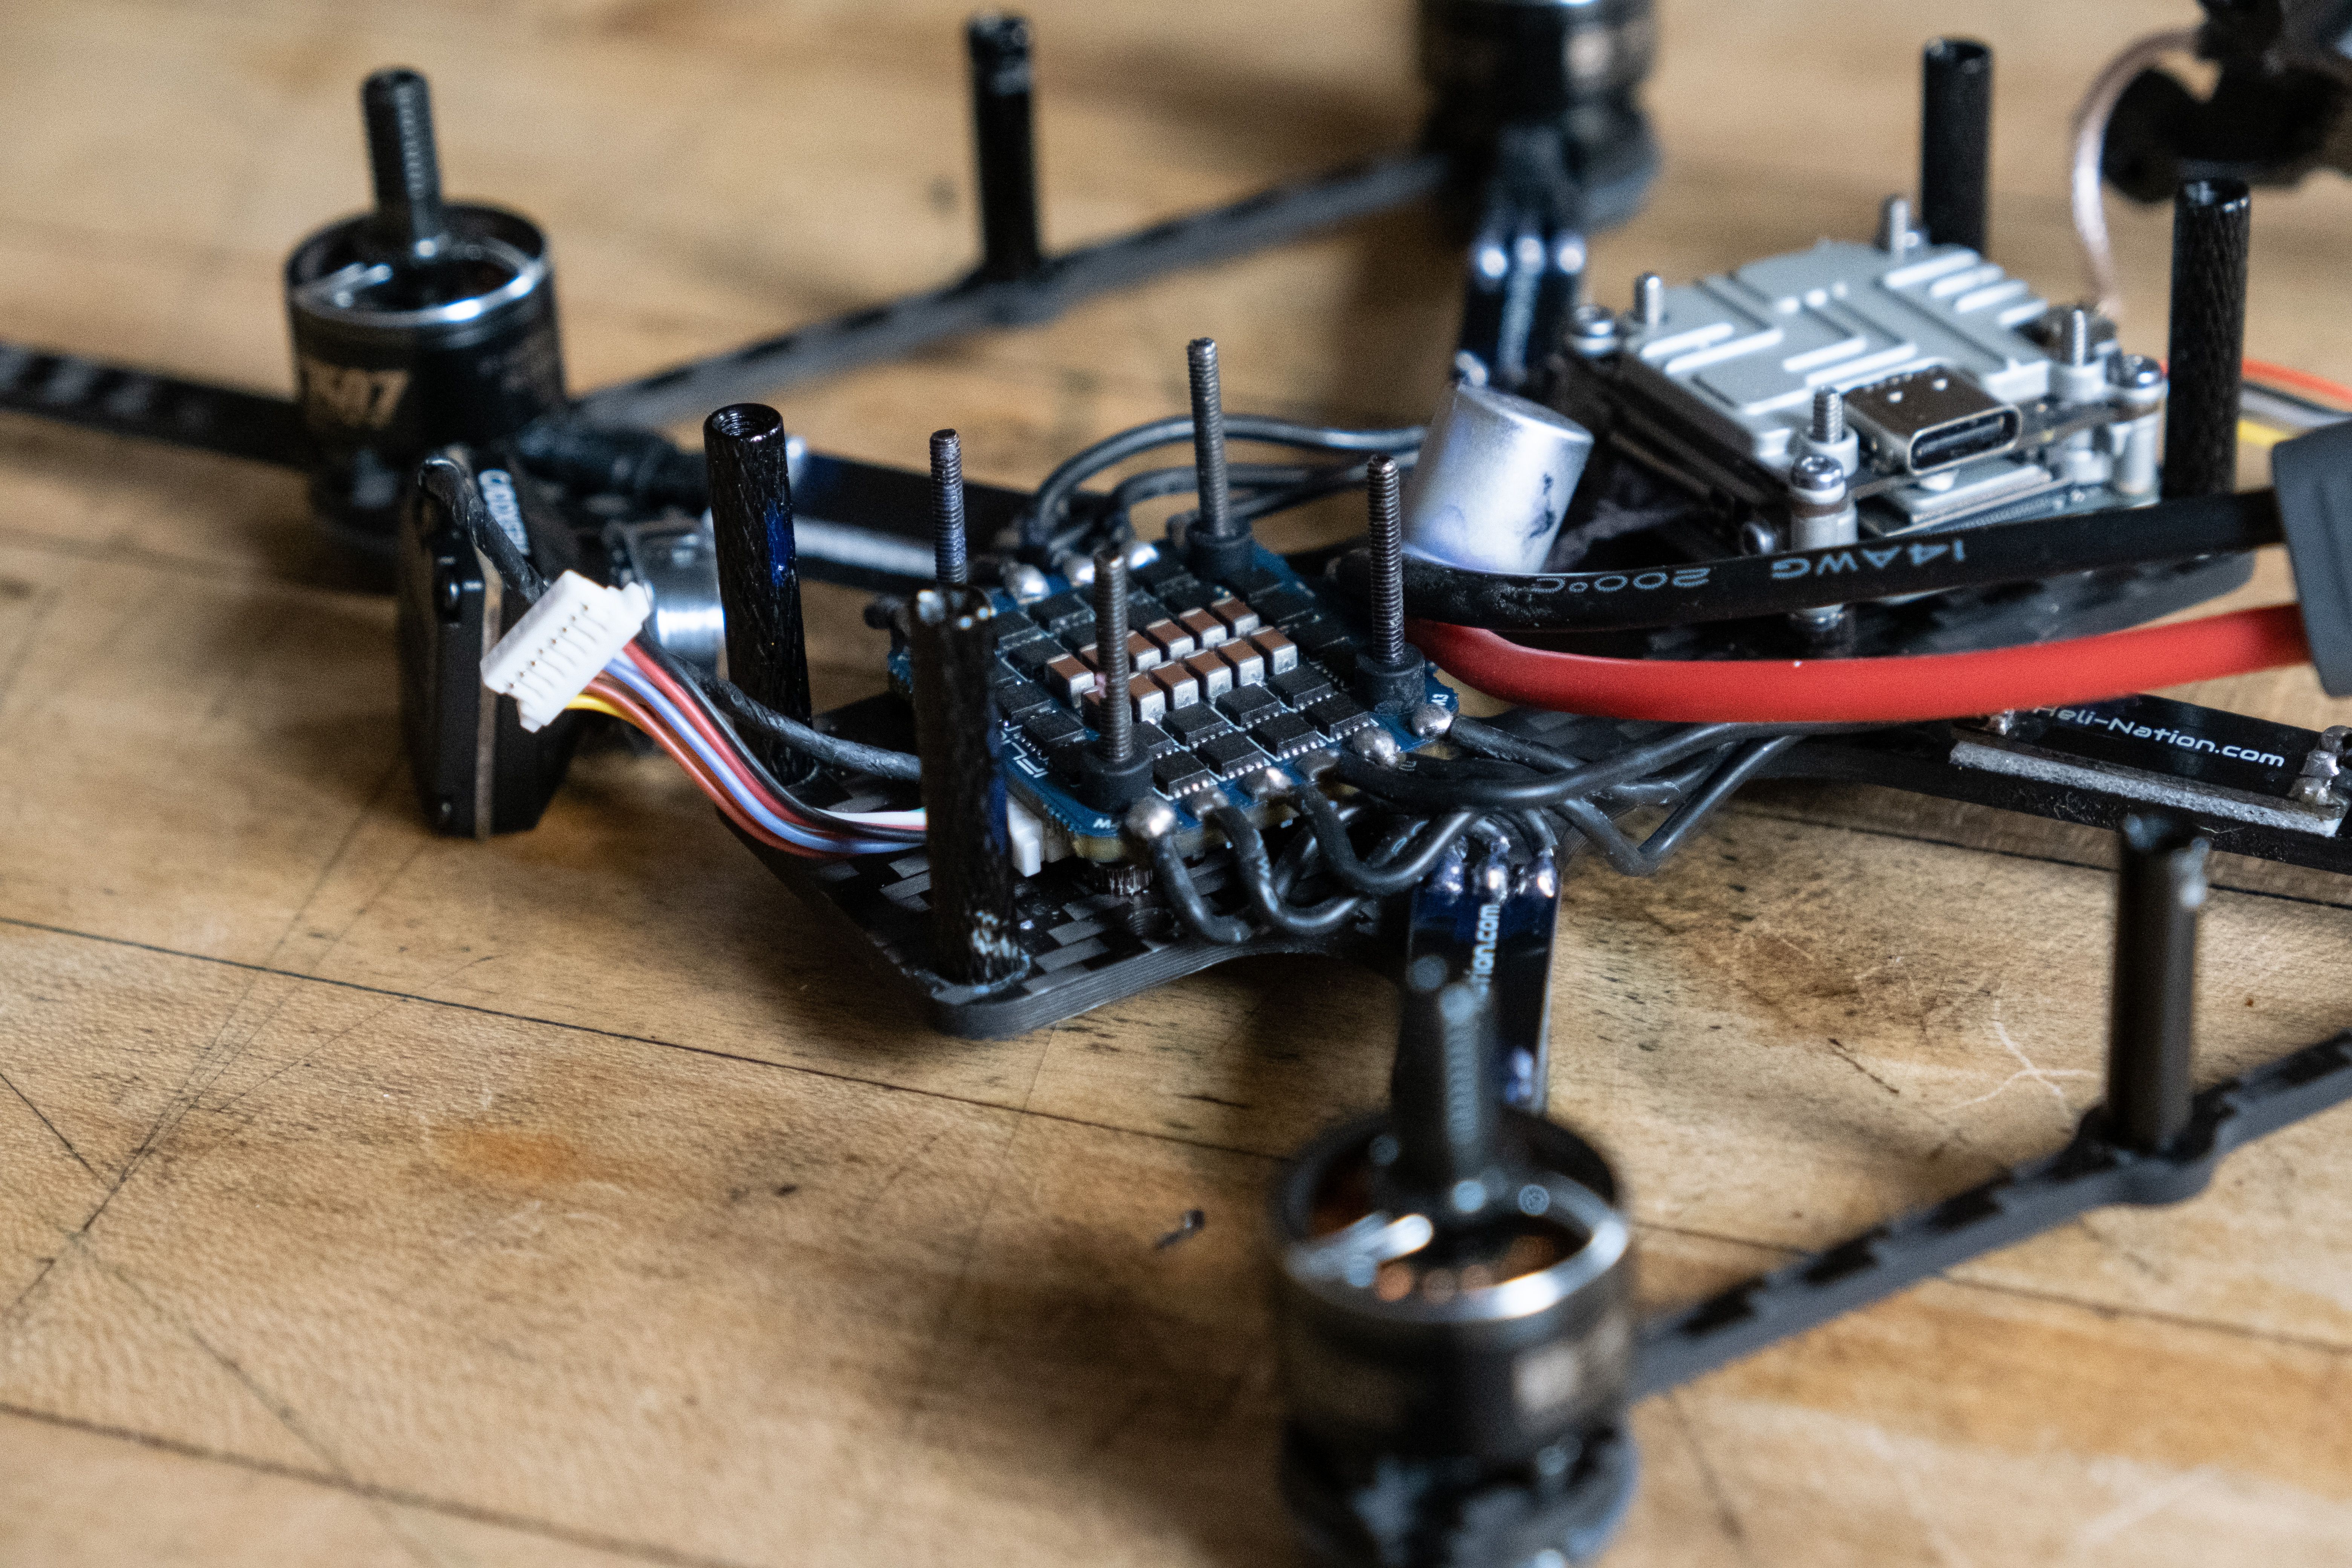
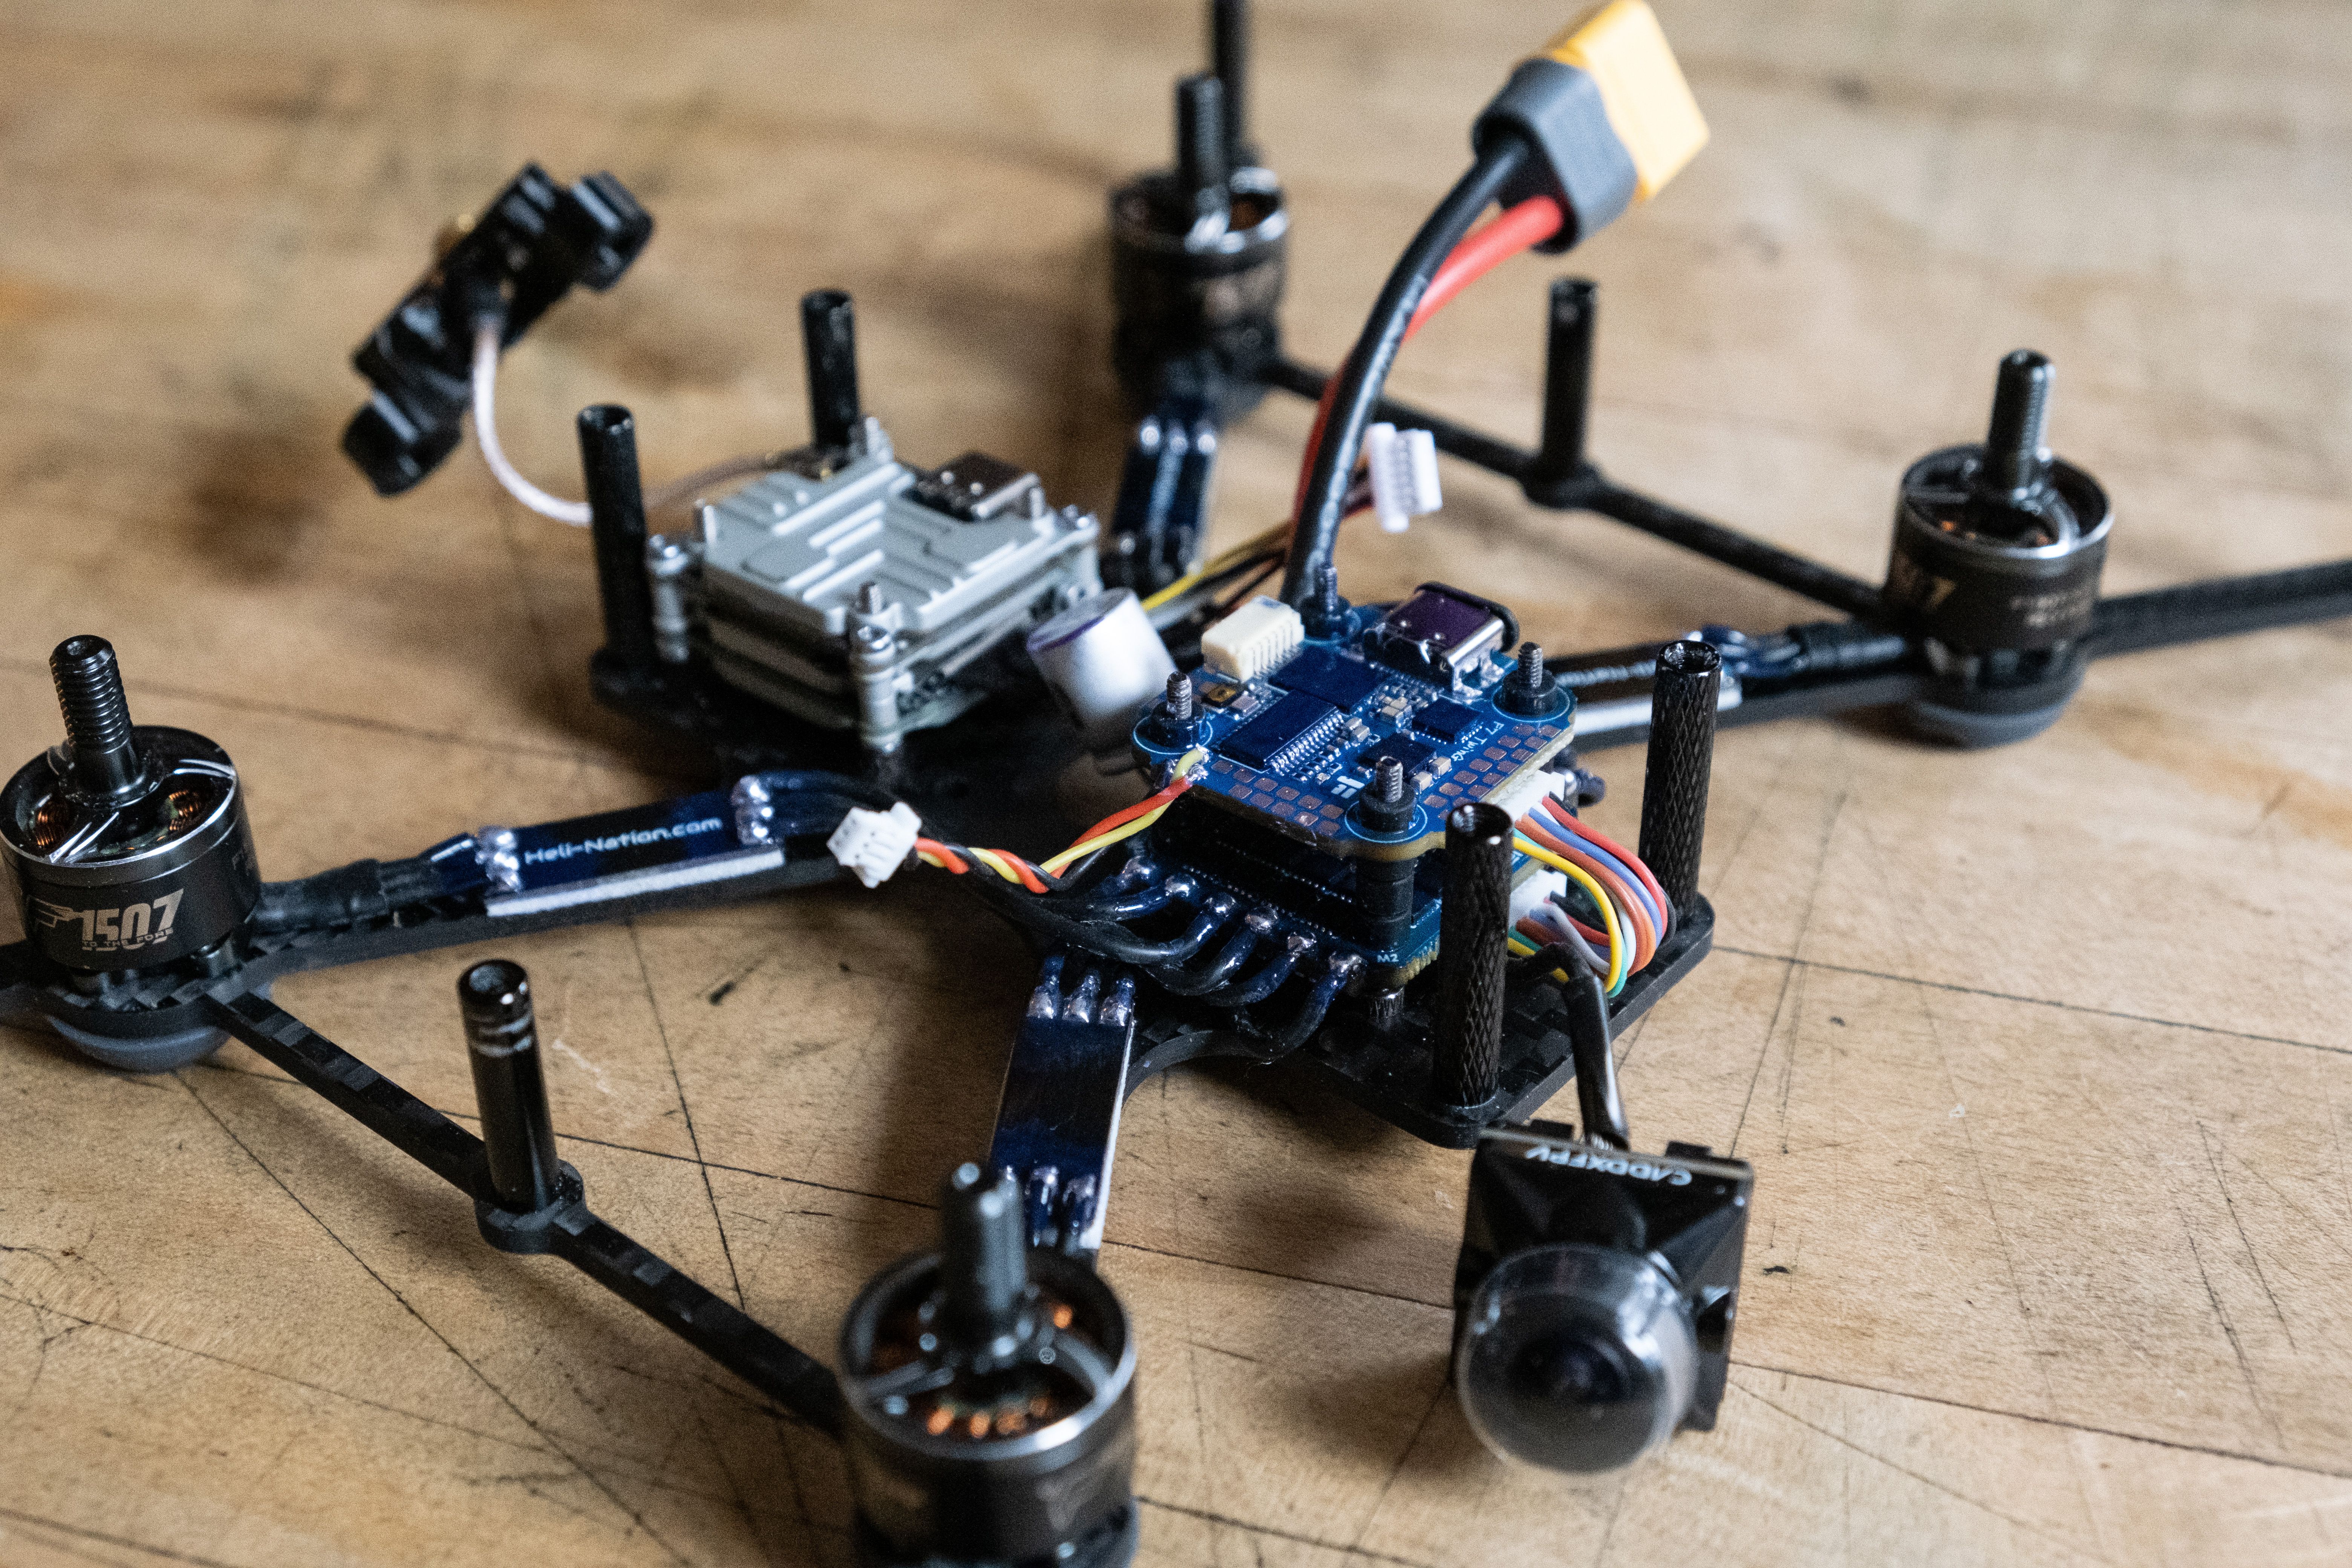
FC and Buzzer
After adding the FC on top of the ESC I used a smoke stopper before connecting the battery for the first time to make sure everything worked out. Then I soldered the buzzer's wires to the FC, zip tied the buzzer to the frame and secured the FC with some M3 lock nuts before going through the Betaflight setup.

Final assembly
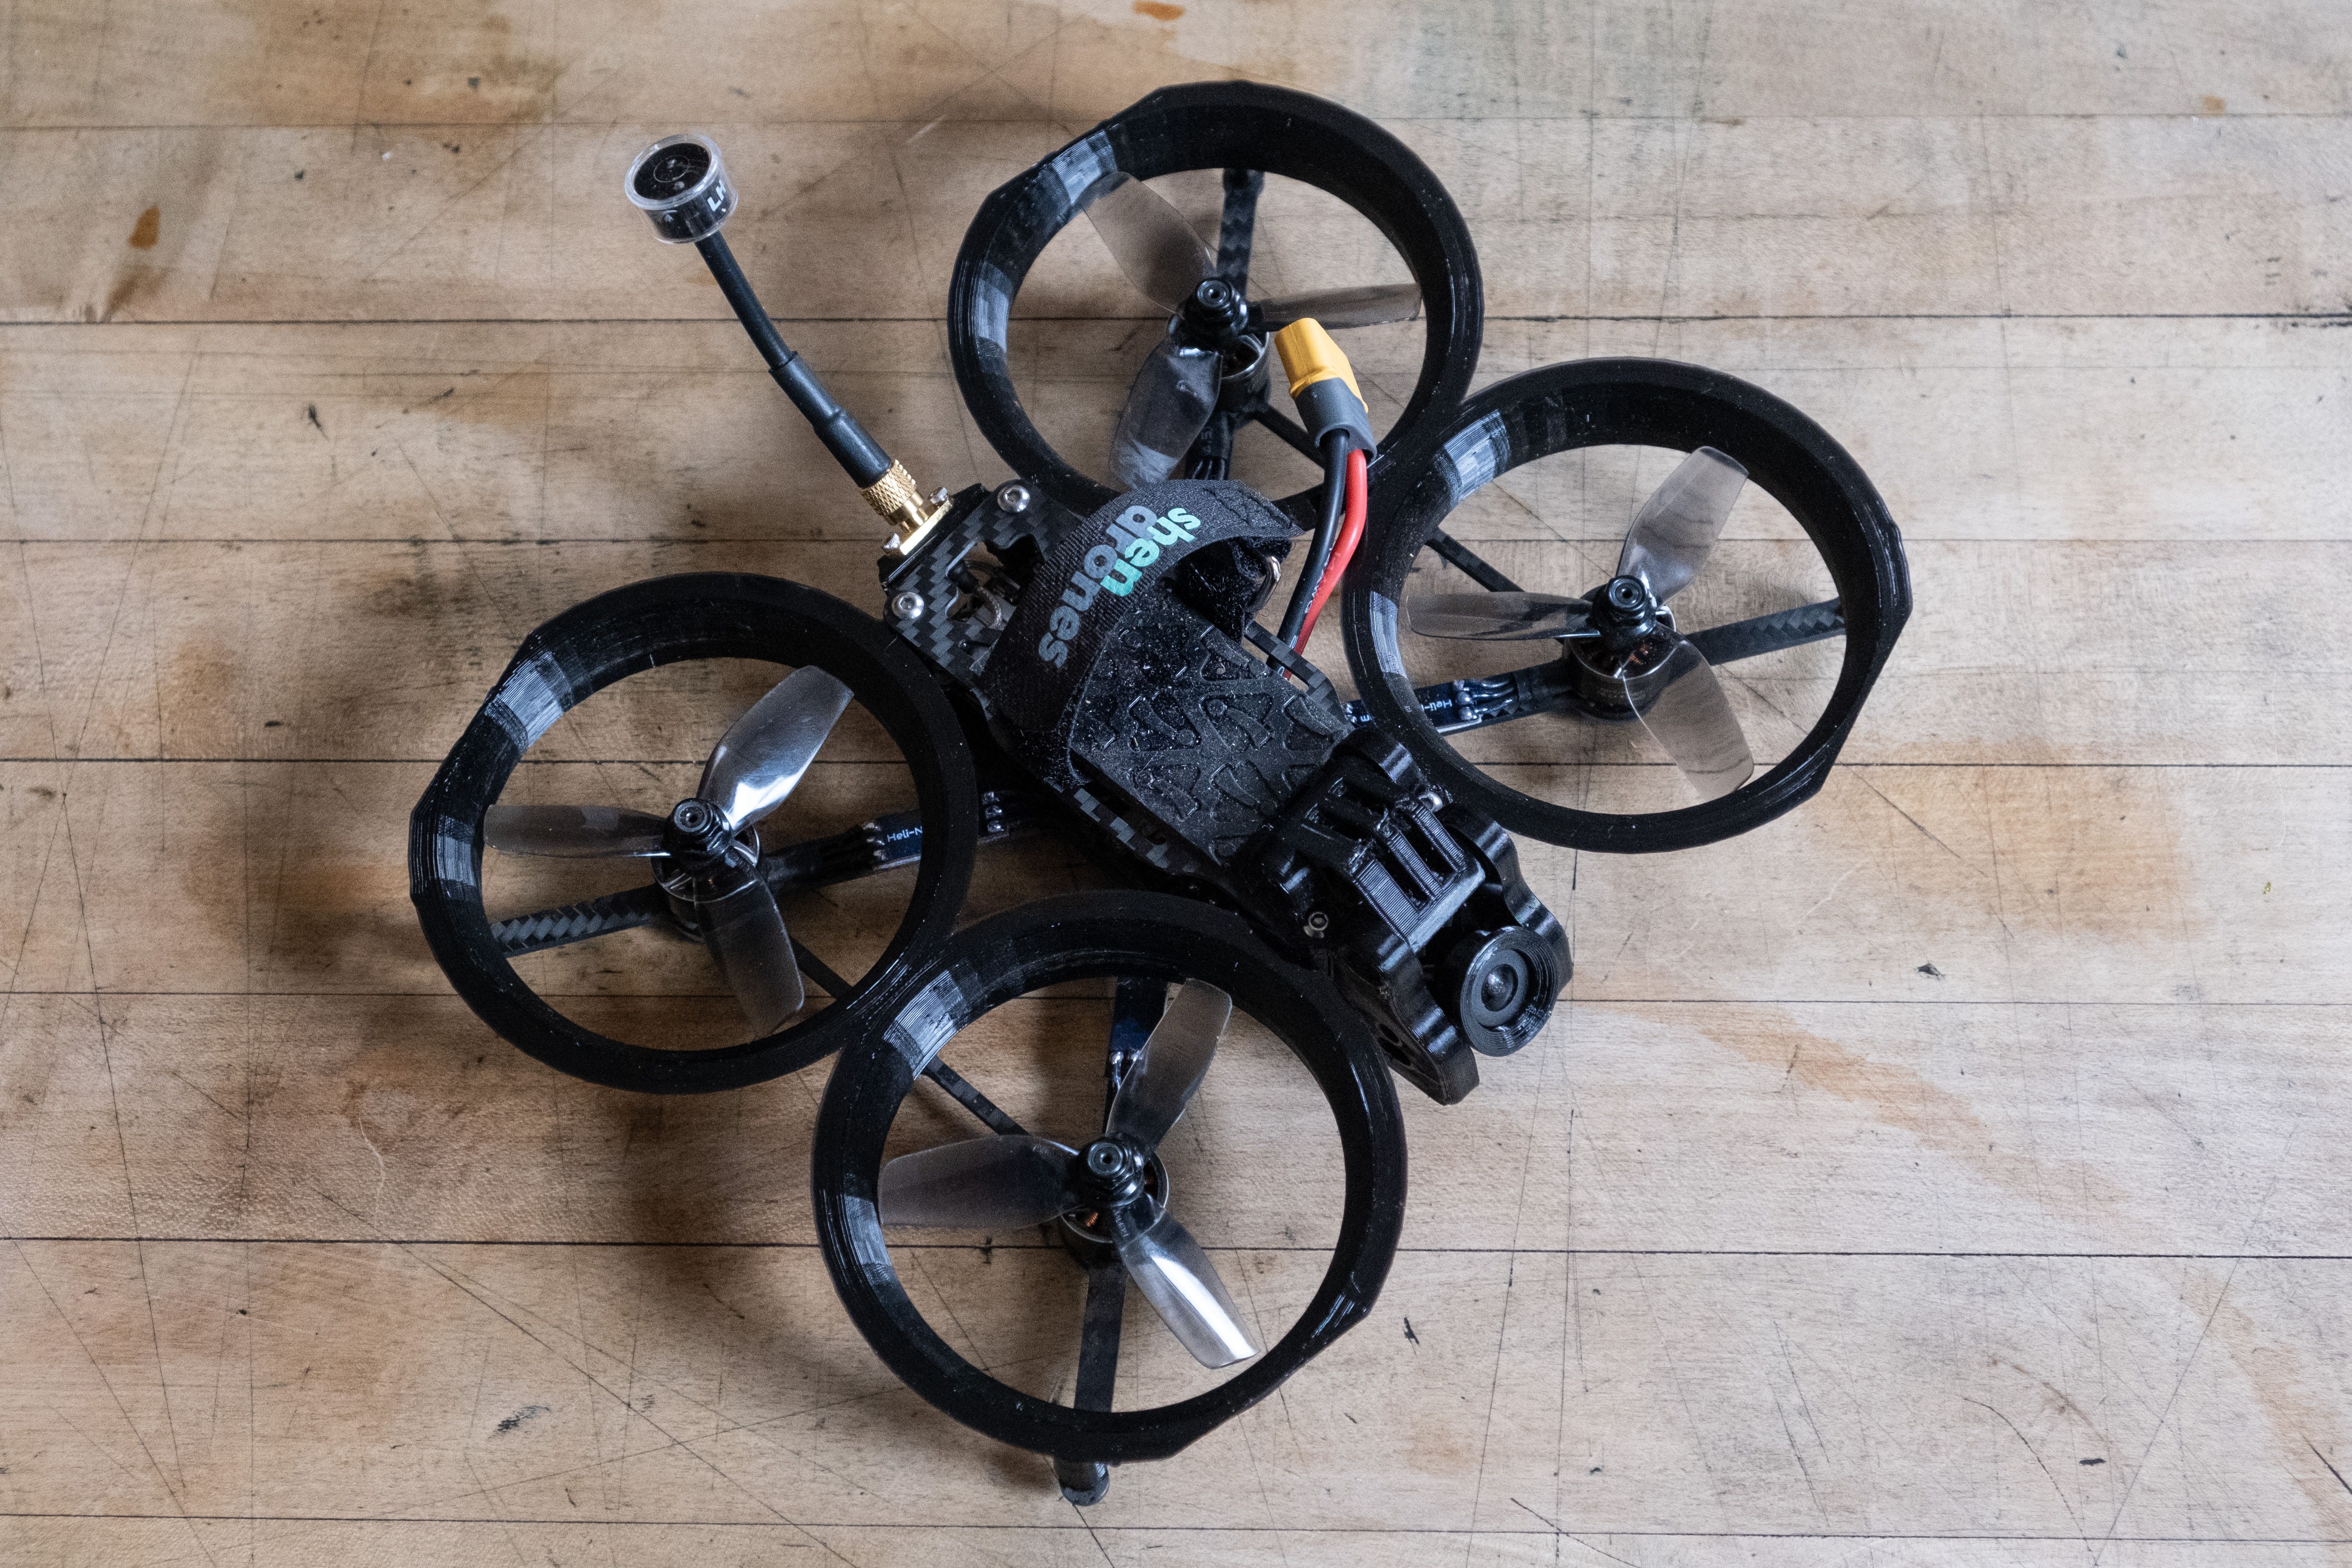
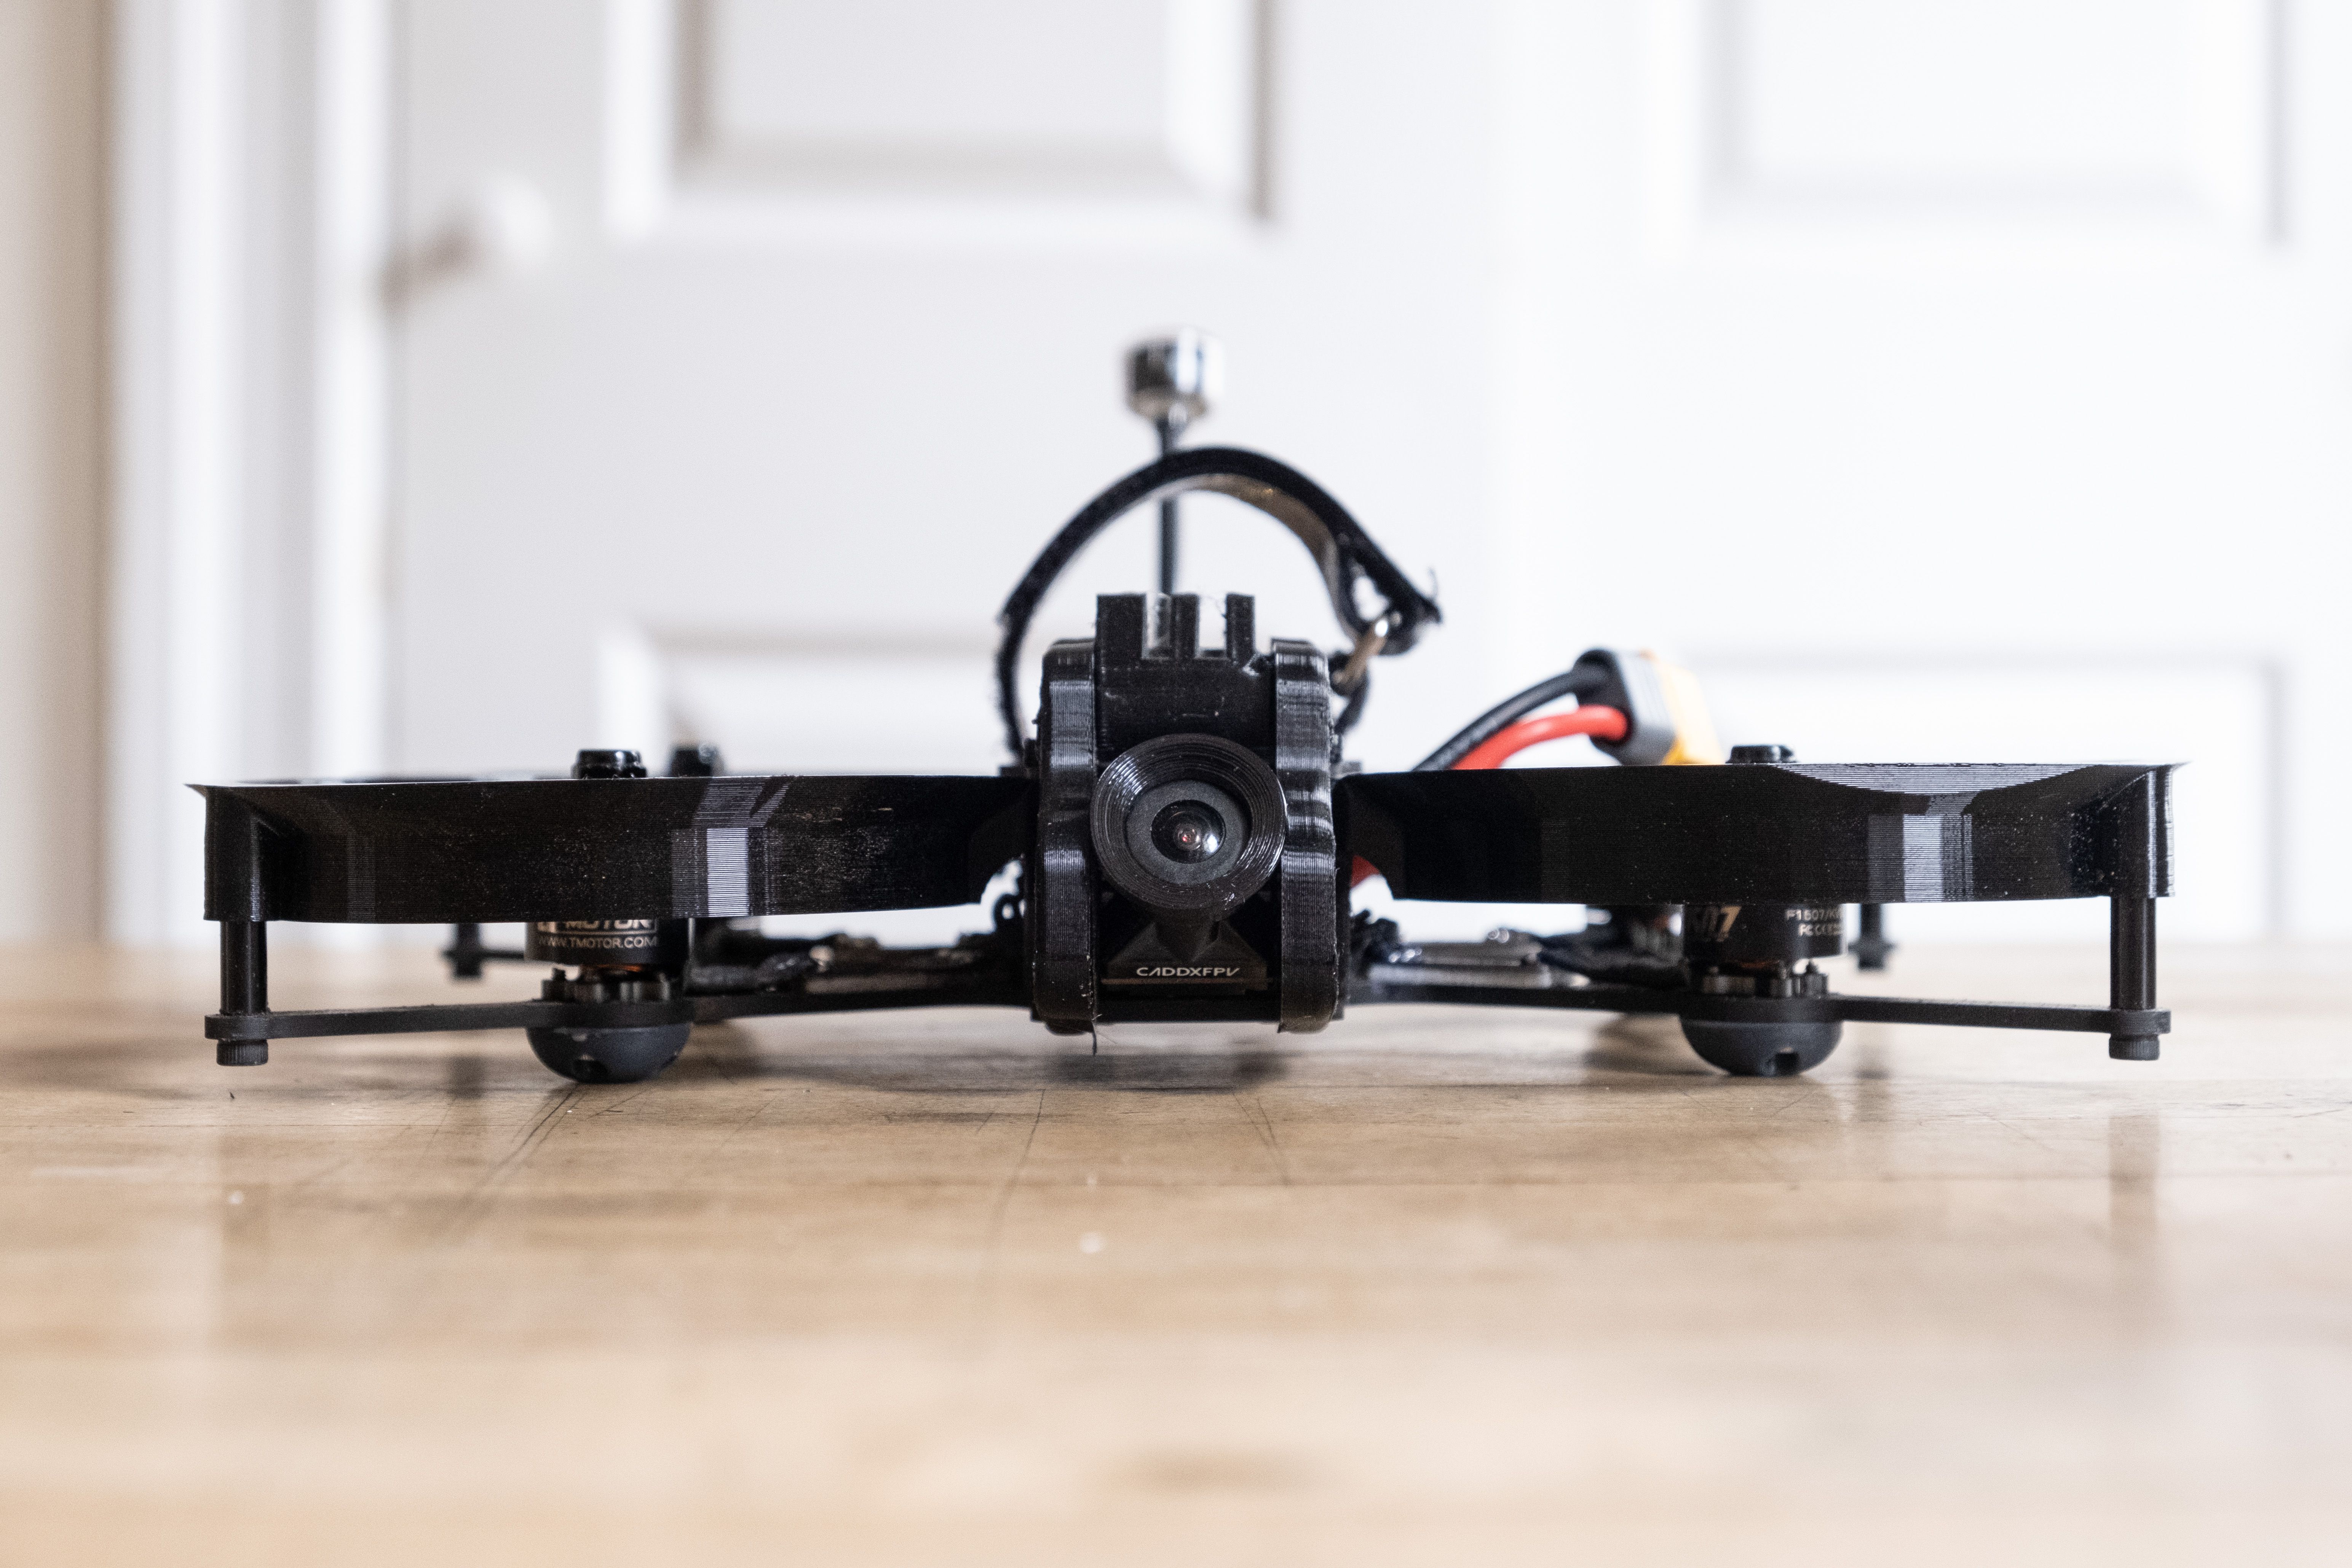
I added the camera holder over the front standoffs, screwed the camera between and added the top plate. Adding the top plate and pushing it far enough to the front so you can screw it in through the camera holder was rather tough. I wish the print had a little more room there but it ended up working out. Added an adjustable Go Pro mount and battery strap: Done.
Photos
Part List
Show stores (6)
Nice build, very clean. Minor criticism: you should try to export the STL file for the ducts at a slighltly higher resulution. This will eliminate the edgy characteristics of the ducts and make them look completely round.


hey!
I've just bought a V2 frame, but my mounting holes seem to be too close to the end standoffs to mount the nebula pro air unit.
you said you have re built your squirt, how long have you had this frame and does that mean it's the original v2 frame, or is yours the v2.1?
I'm struggling to find any info online to know whether or not the m2 20 x 20 holes have been adjusted between versions.
so i don't know if it's a manufacturing error or an amendment...
Cheers!
sam
I have built several by now and the carbon was always the same. There is only about 1mm of space between the standoff and the Vista. See the attached photo. Do you have a photo of yours that you can send?
Seems like the photo did not attach. See here: https://snipboard.io/UBEZOa.jpg
Check it out, here's how far off mine seems to be.
Ahh, I don't seem to be able to upload links yet, and the photo upload seems not to work.
But yeah, mine is way way closer to the standoffs than yours, it won't even slide into place it's so bad.
But thanks, knowing that your frame is just the standard v2 frame helps!
Seems like mine is a defect.
Can you send a link to an image of yours online? If you can't paste in a link maybe try to do it without the https or so?