ImpulseRC Apex Micro 4" 6S FETtec
 By SierraWave on May 01, 2021
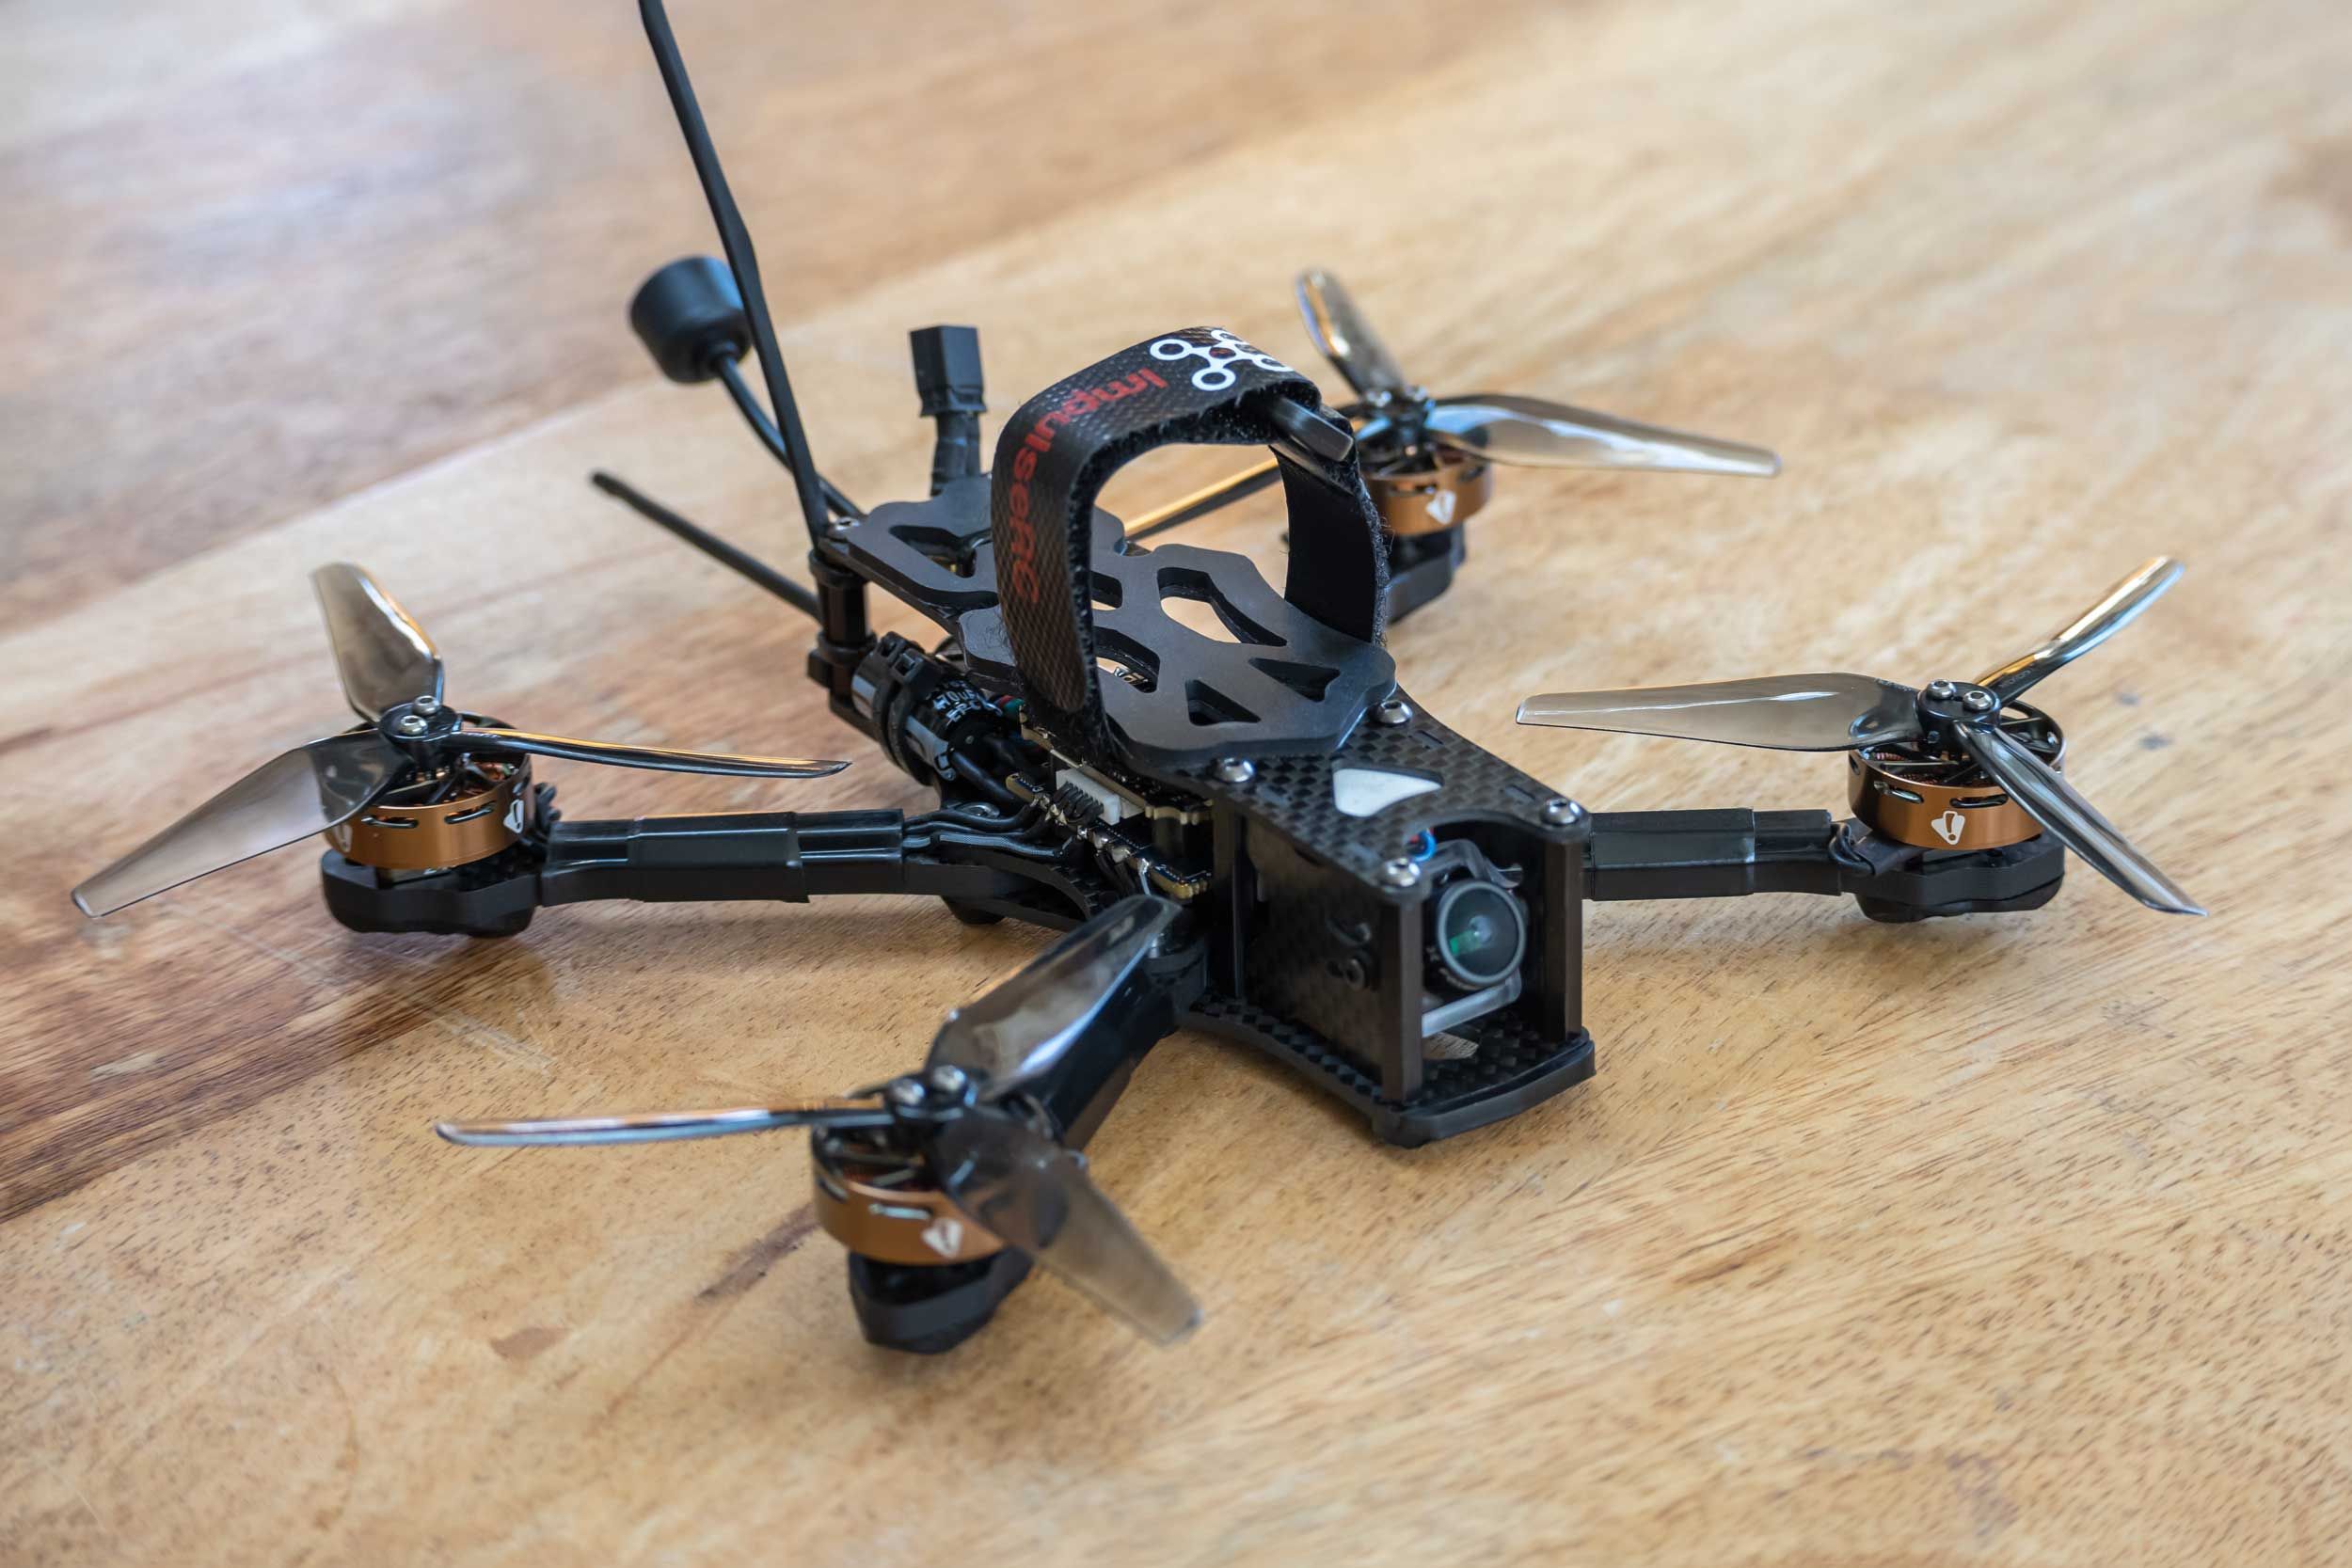
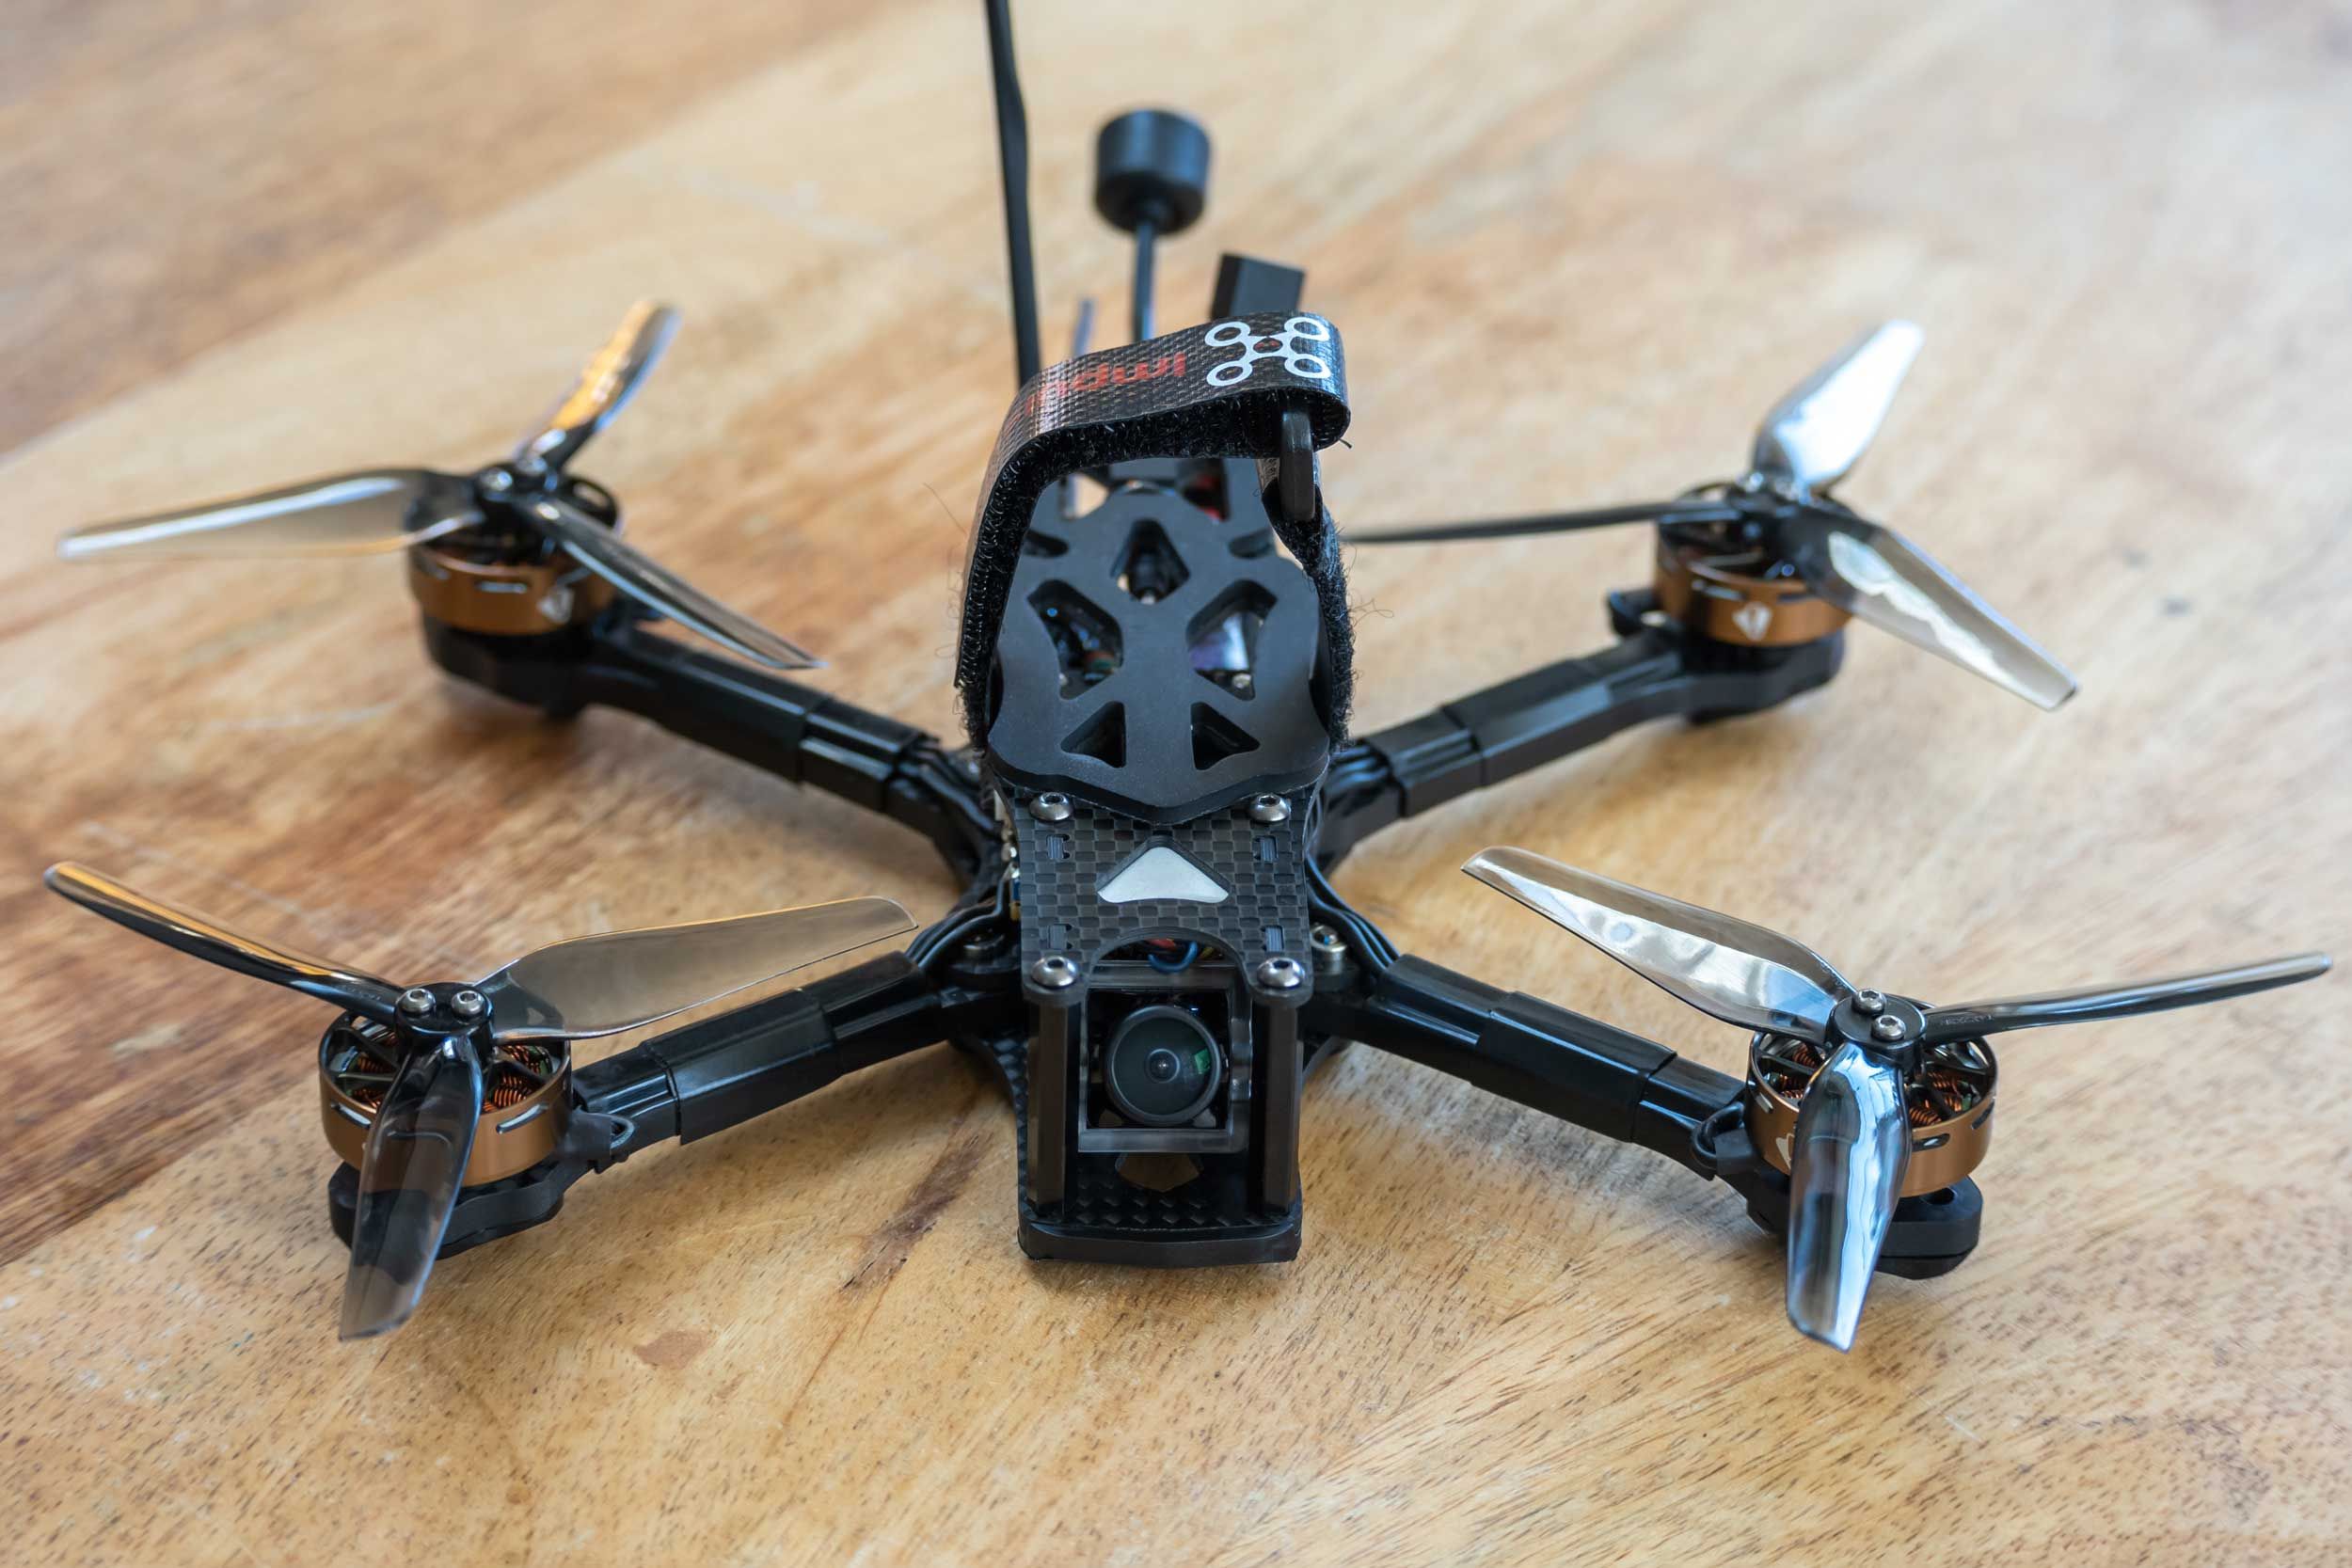
The ImpulseRC Apex Micro 4" was chosen as a smaller, lighter, high quality, not 5" platform to begin a 6S FETtec build. Previously I have only built 5" Betaflight quads and was never totally happy with Betaflight FC's. I'm interested in building lighter-weight quads in the quest of better performance and longer flight times and this seemed to be a good starting point.
THE FRAME
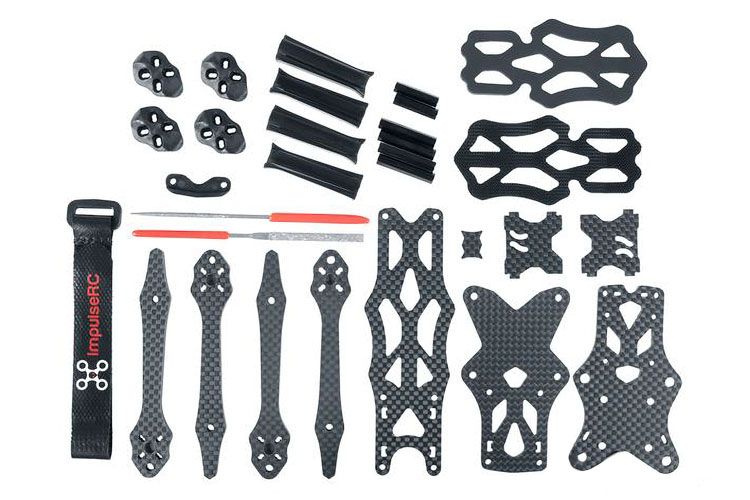
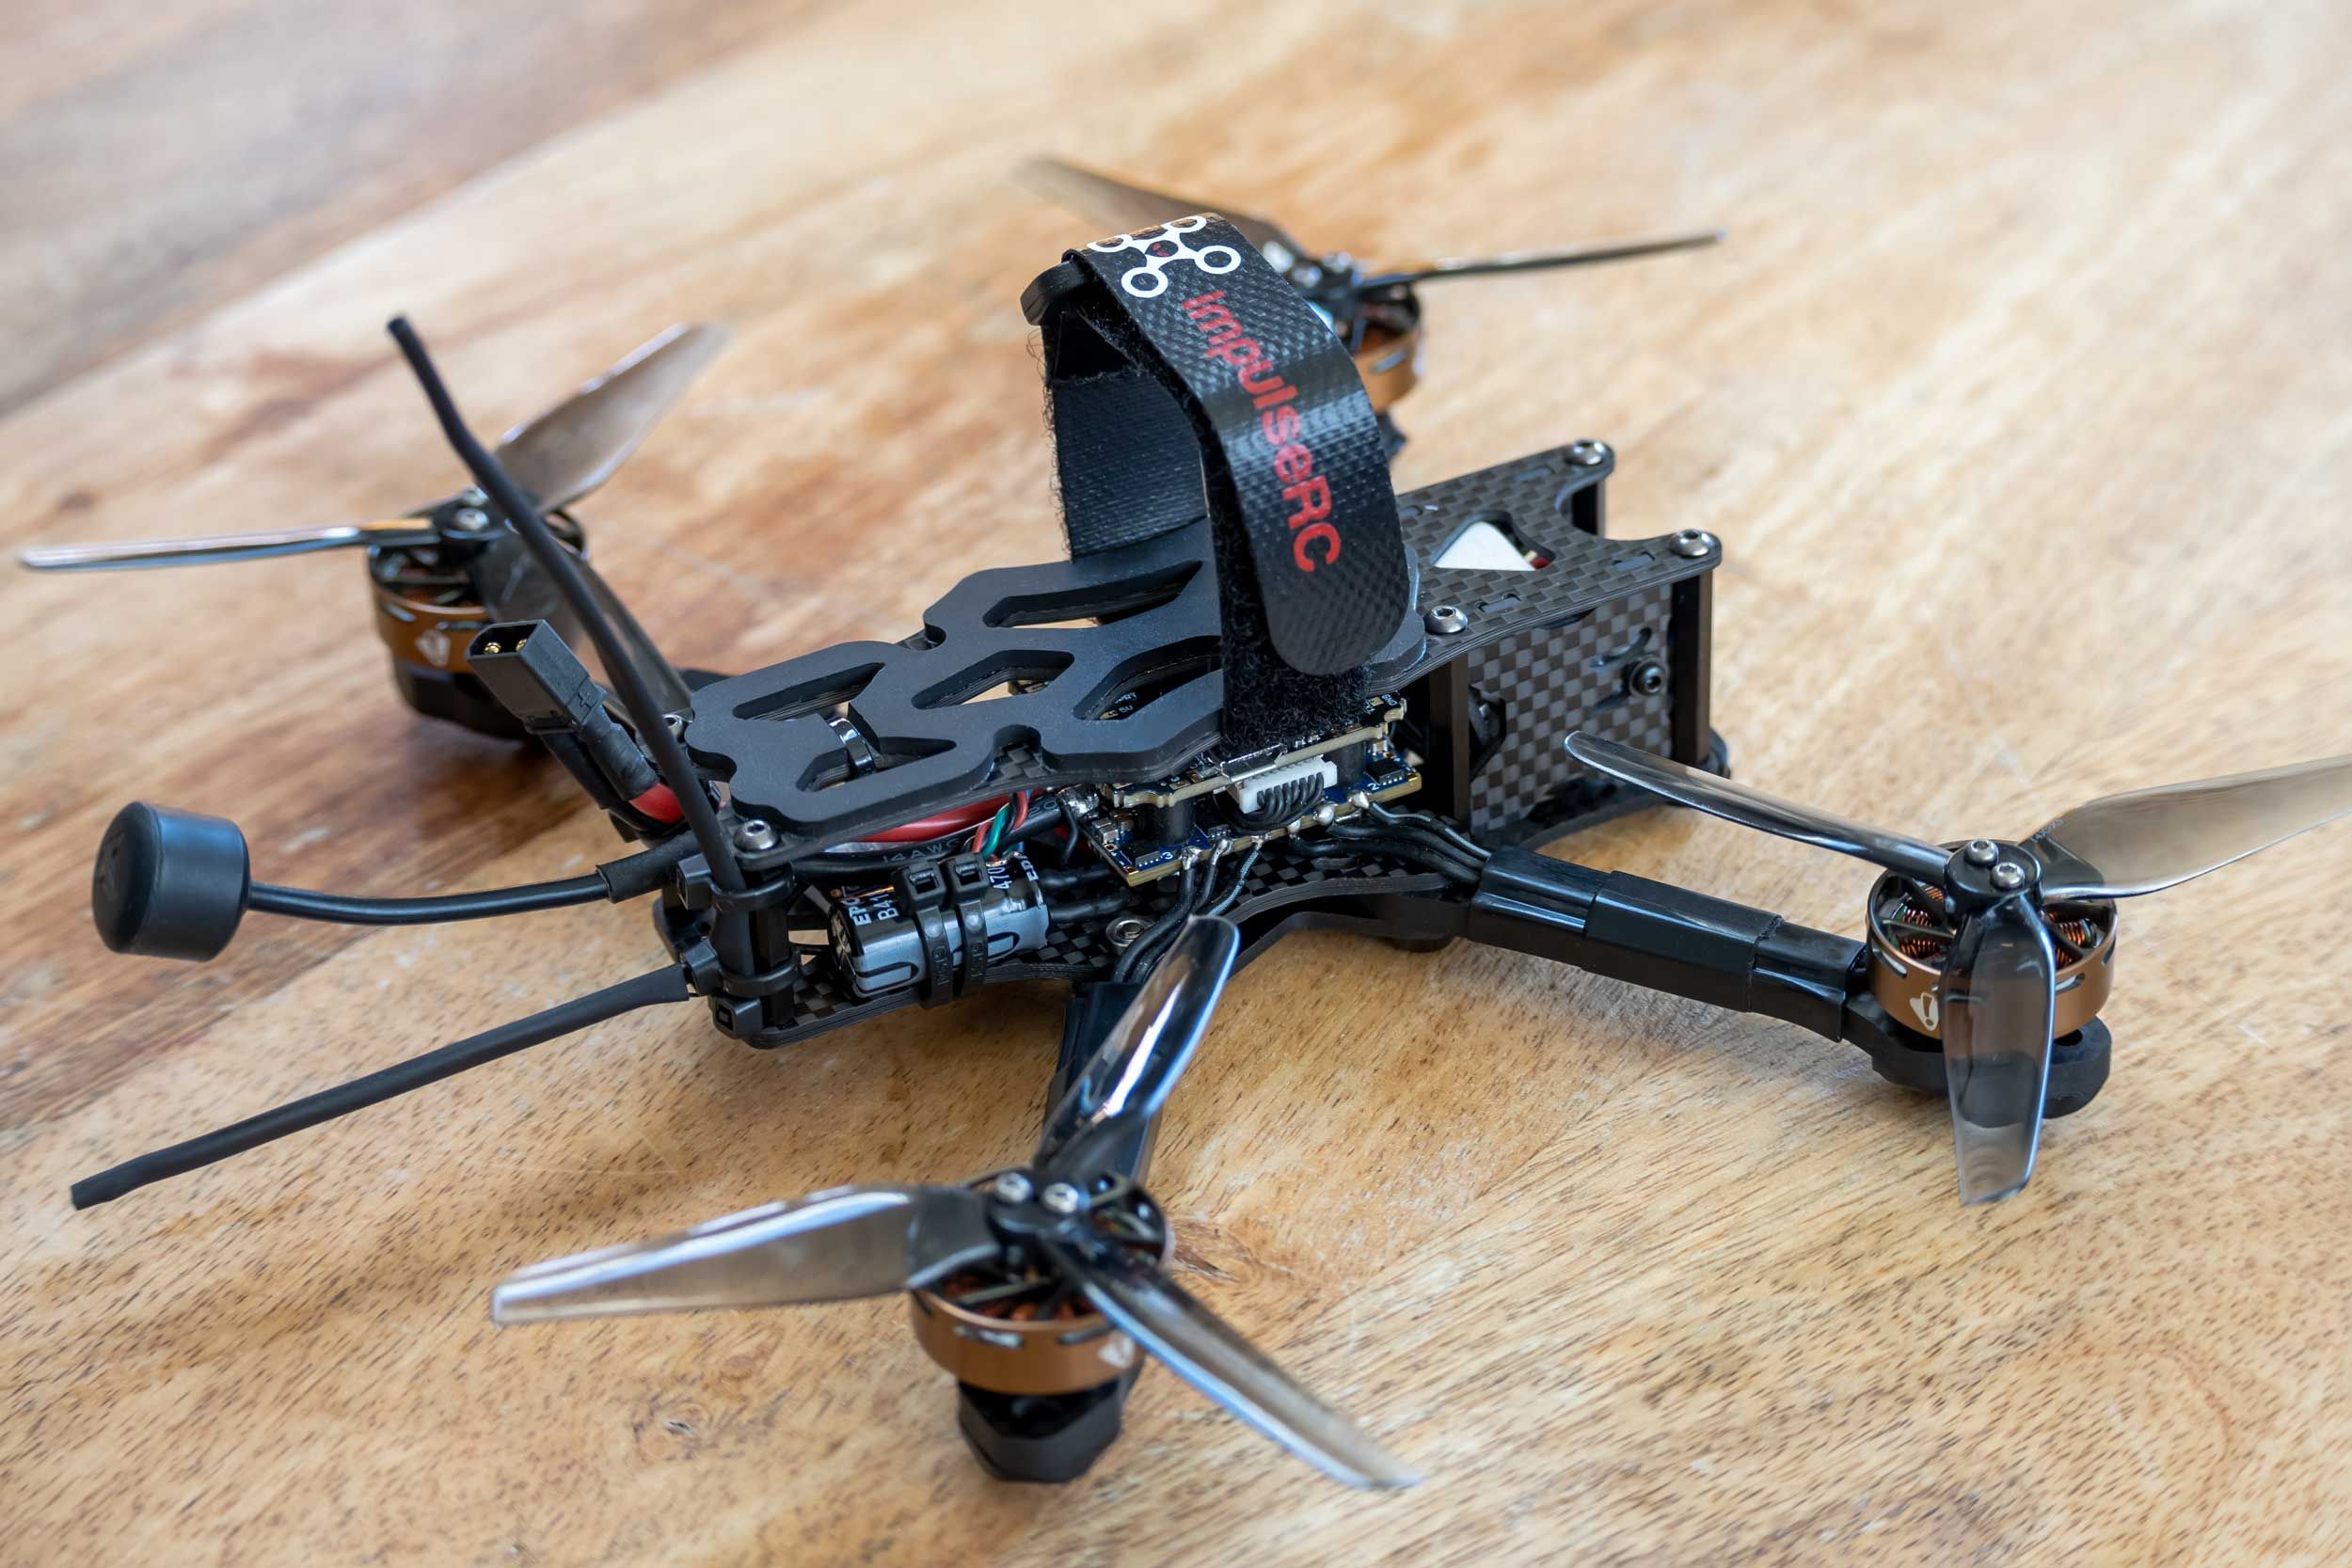
The frame is well thought out and comes with extra hardware and even a set of small files. The assembly is not difficult, but might be challenging for beginners. I'm sorry I did not document the frame build with photos. The only disappointing and frustrating part of the frame build was the flat head screws for the FC/ESC stack.
The heads of the 4 flat head M3 screws are sandwiched between the arms and the front, lower plate of the quad. This means that they need to be perfectly flush with the front lower plate, which they were not. The carbon fiber was countersunk nicely but the heads of 2 of the screws were larger than the depth of the counter-sunk areas of the carbon plate. I luckily had the correct countersink bit on hand and carefully added depth to the already countersunk areas and now the screws were flush with the surface of the carbon plate.
This problem could possibly be solved with another set of flat head M3 screws, but I did not have any that would fit the job so...
THE ELECTRONICS
This is my first time building a quad with KISS and FETtec. FETtec provides good online manuals for their FC, ESC's and OSD, but coming from Betaflight there were some confusing moments and I could not easily or clearly find the answers online. To help I have provided a wiring diagram and some helpful steps below.
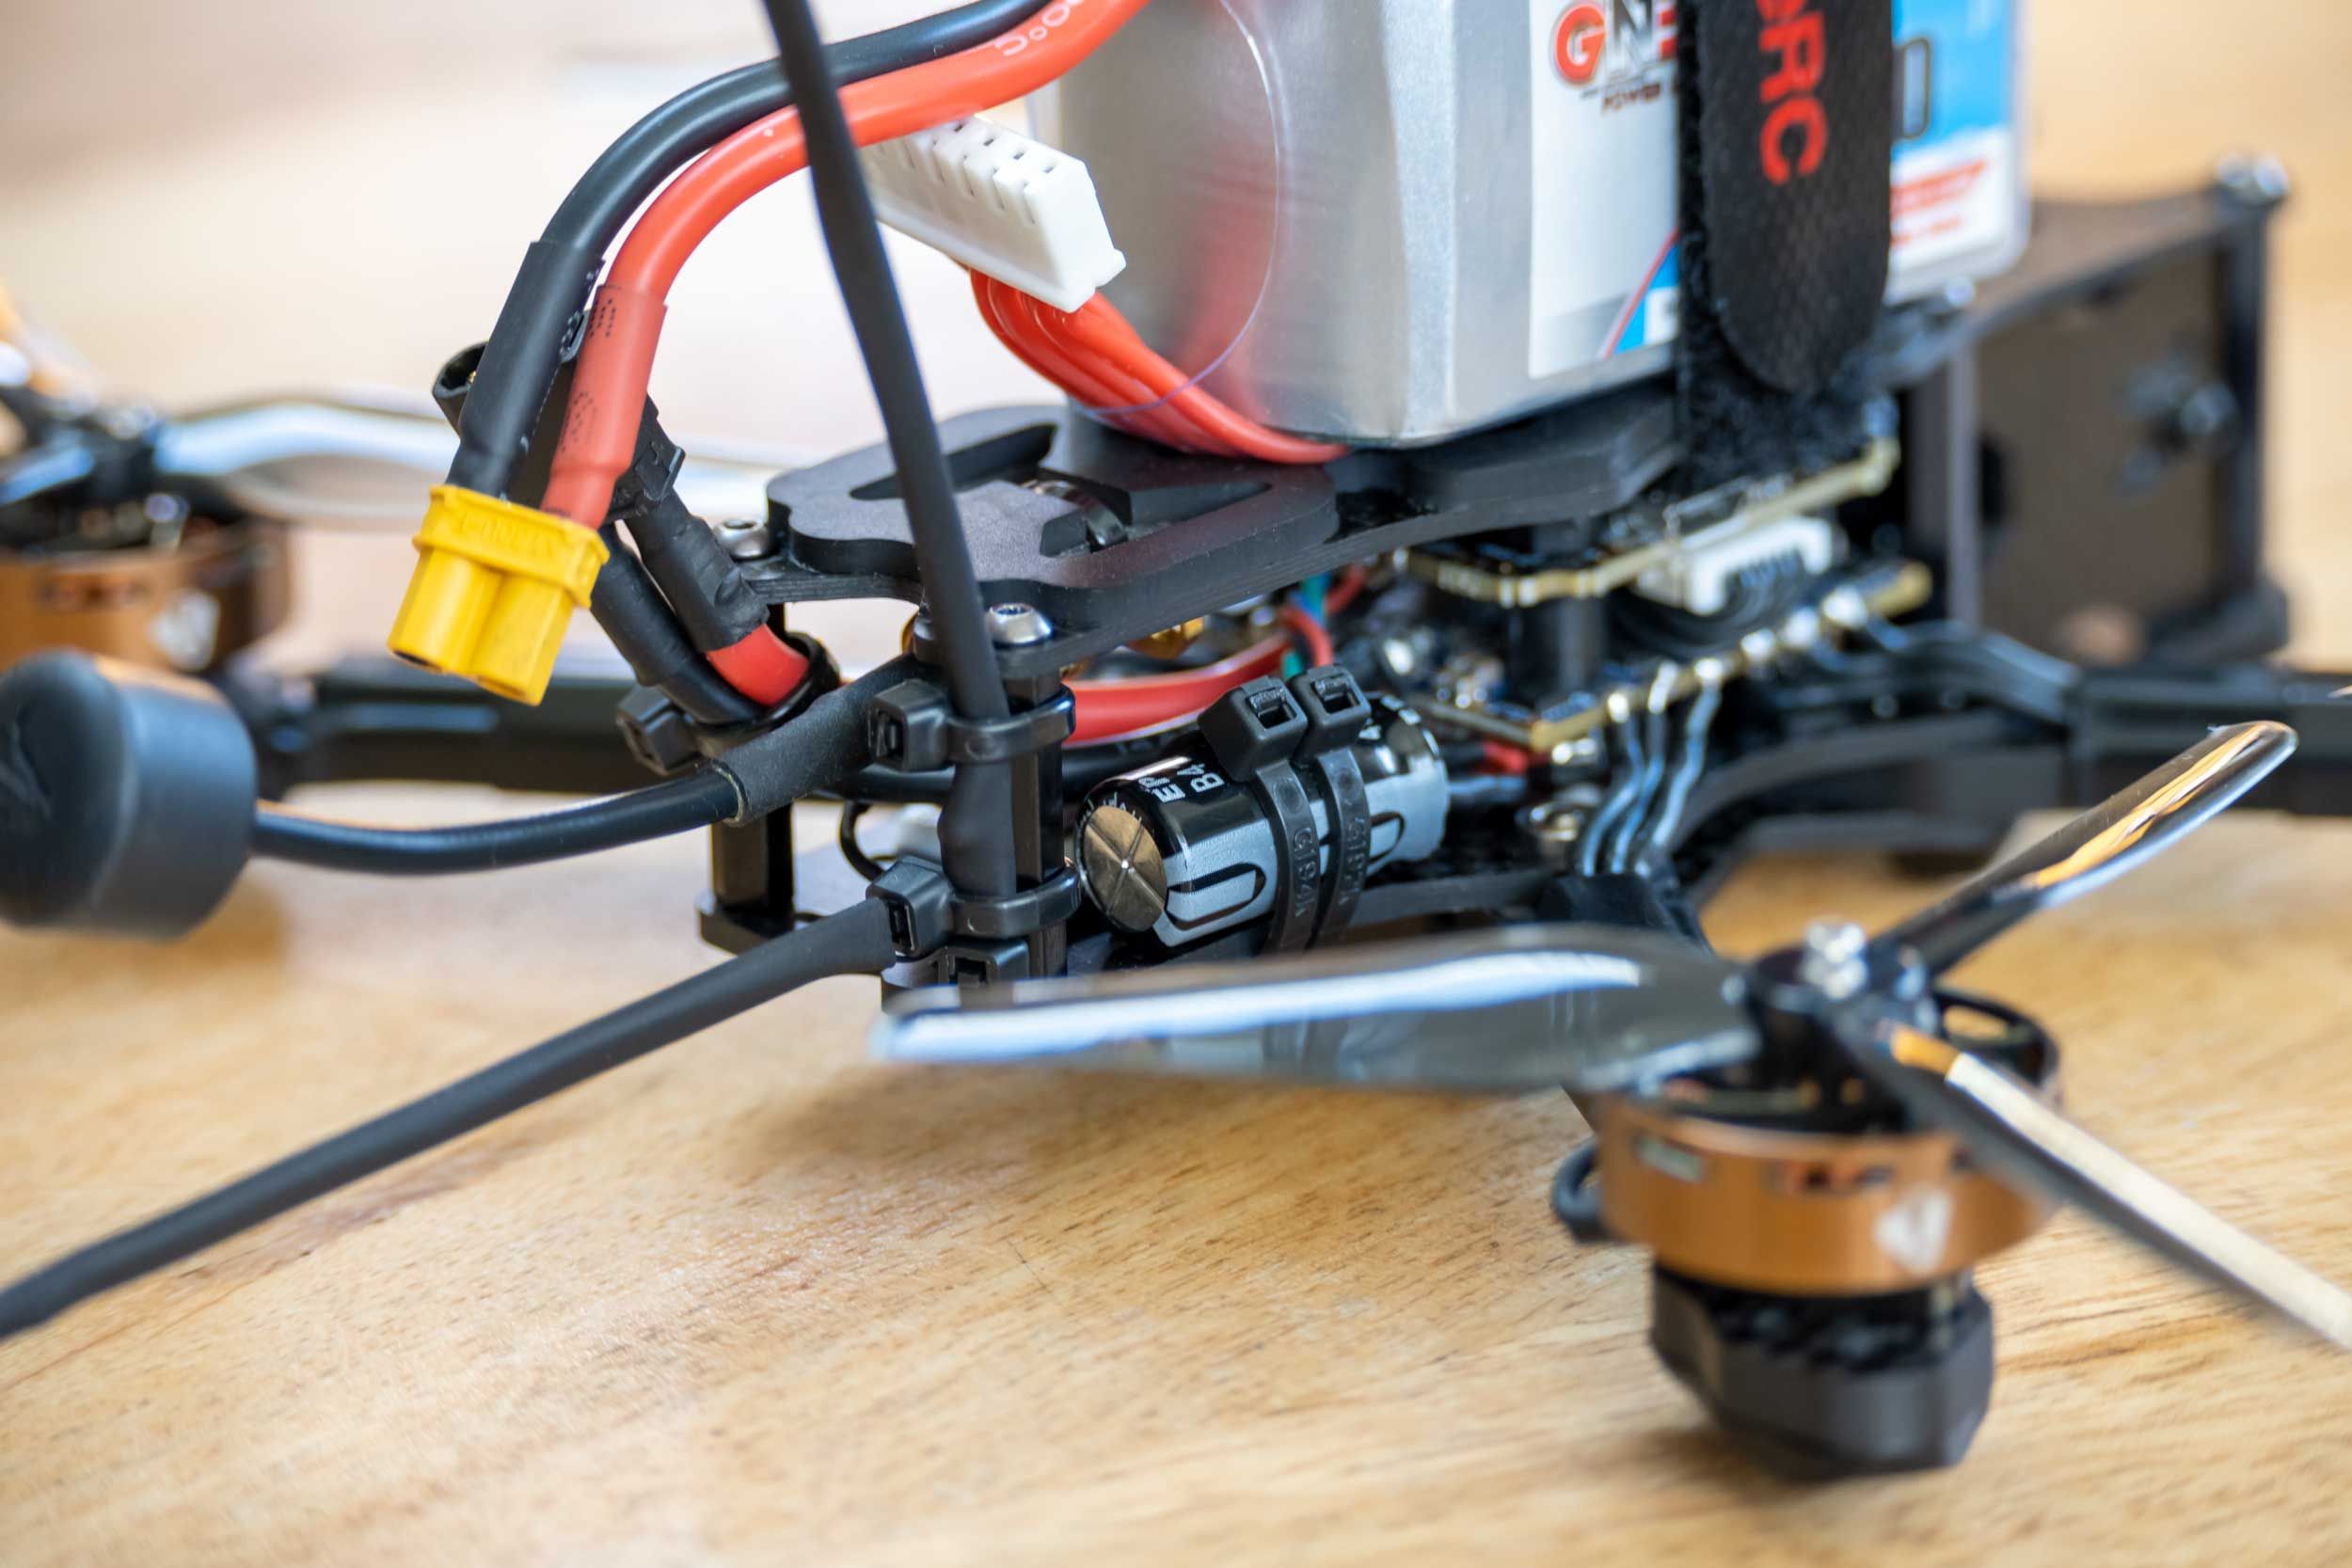
I first soldered the battery leads to the ESC's. I was not sure where the leads would be routed and where the connector would be soldered so I added extra so it could be cut down to length after the ESC's were installed. I also planned out where to solder the cap. I chose to add some leads and strap the cap down to the frame (pic below), but you can mount the cap anywhere you would like, the board provides plenty of soldering locations. Everything about preparing and mounting the ESC's were the same as a Betaflight quad.

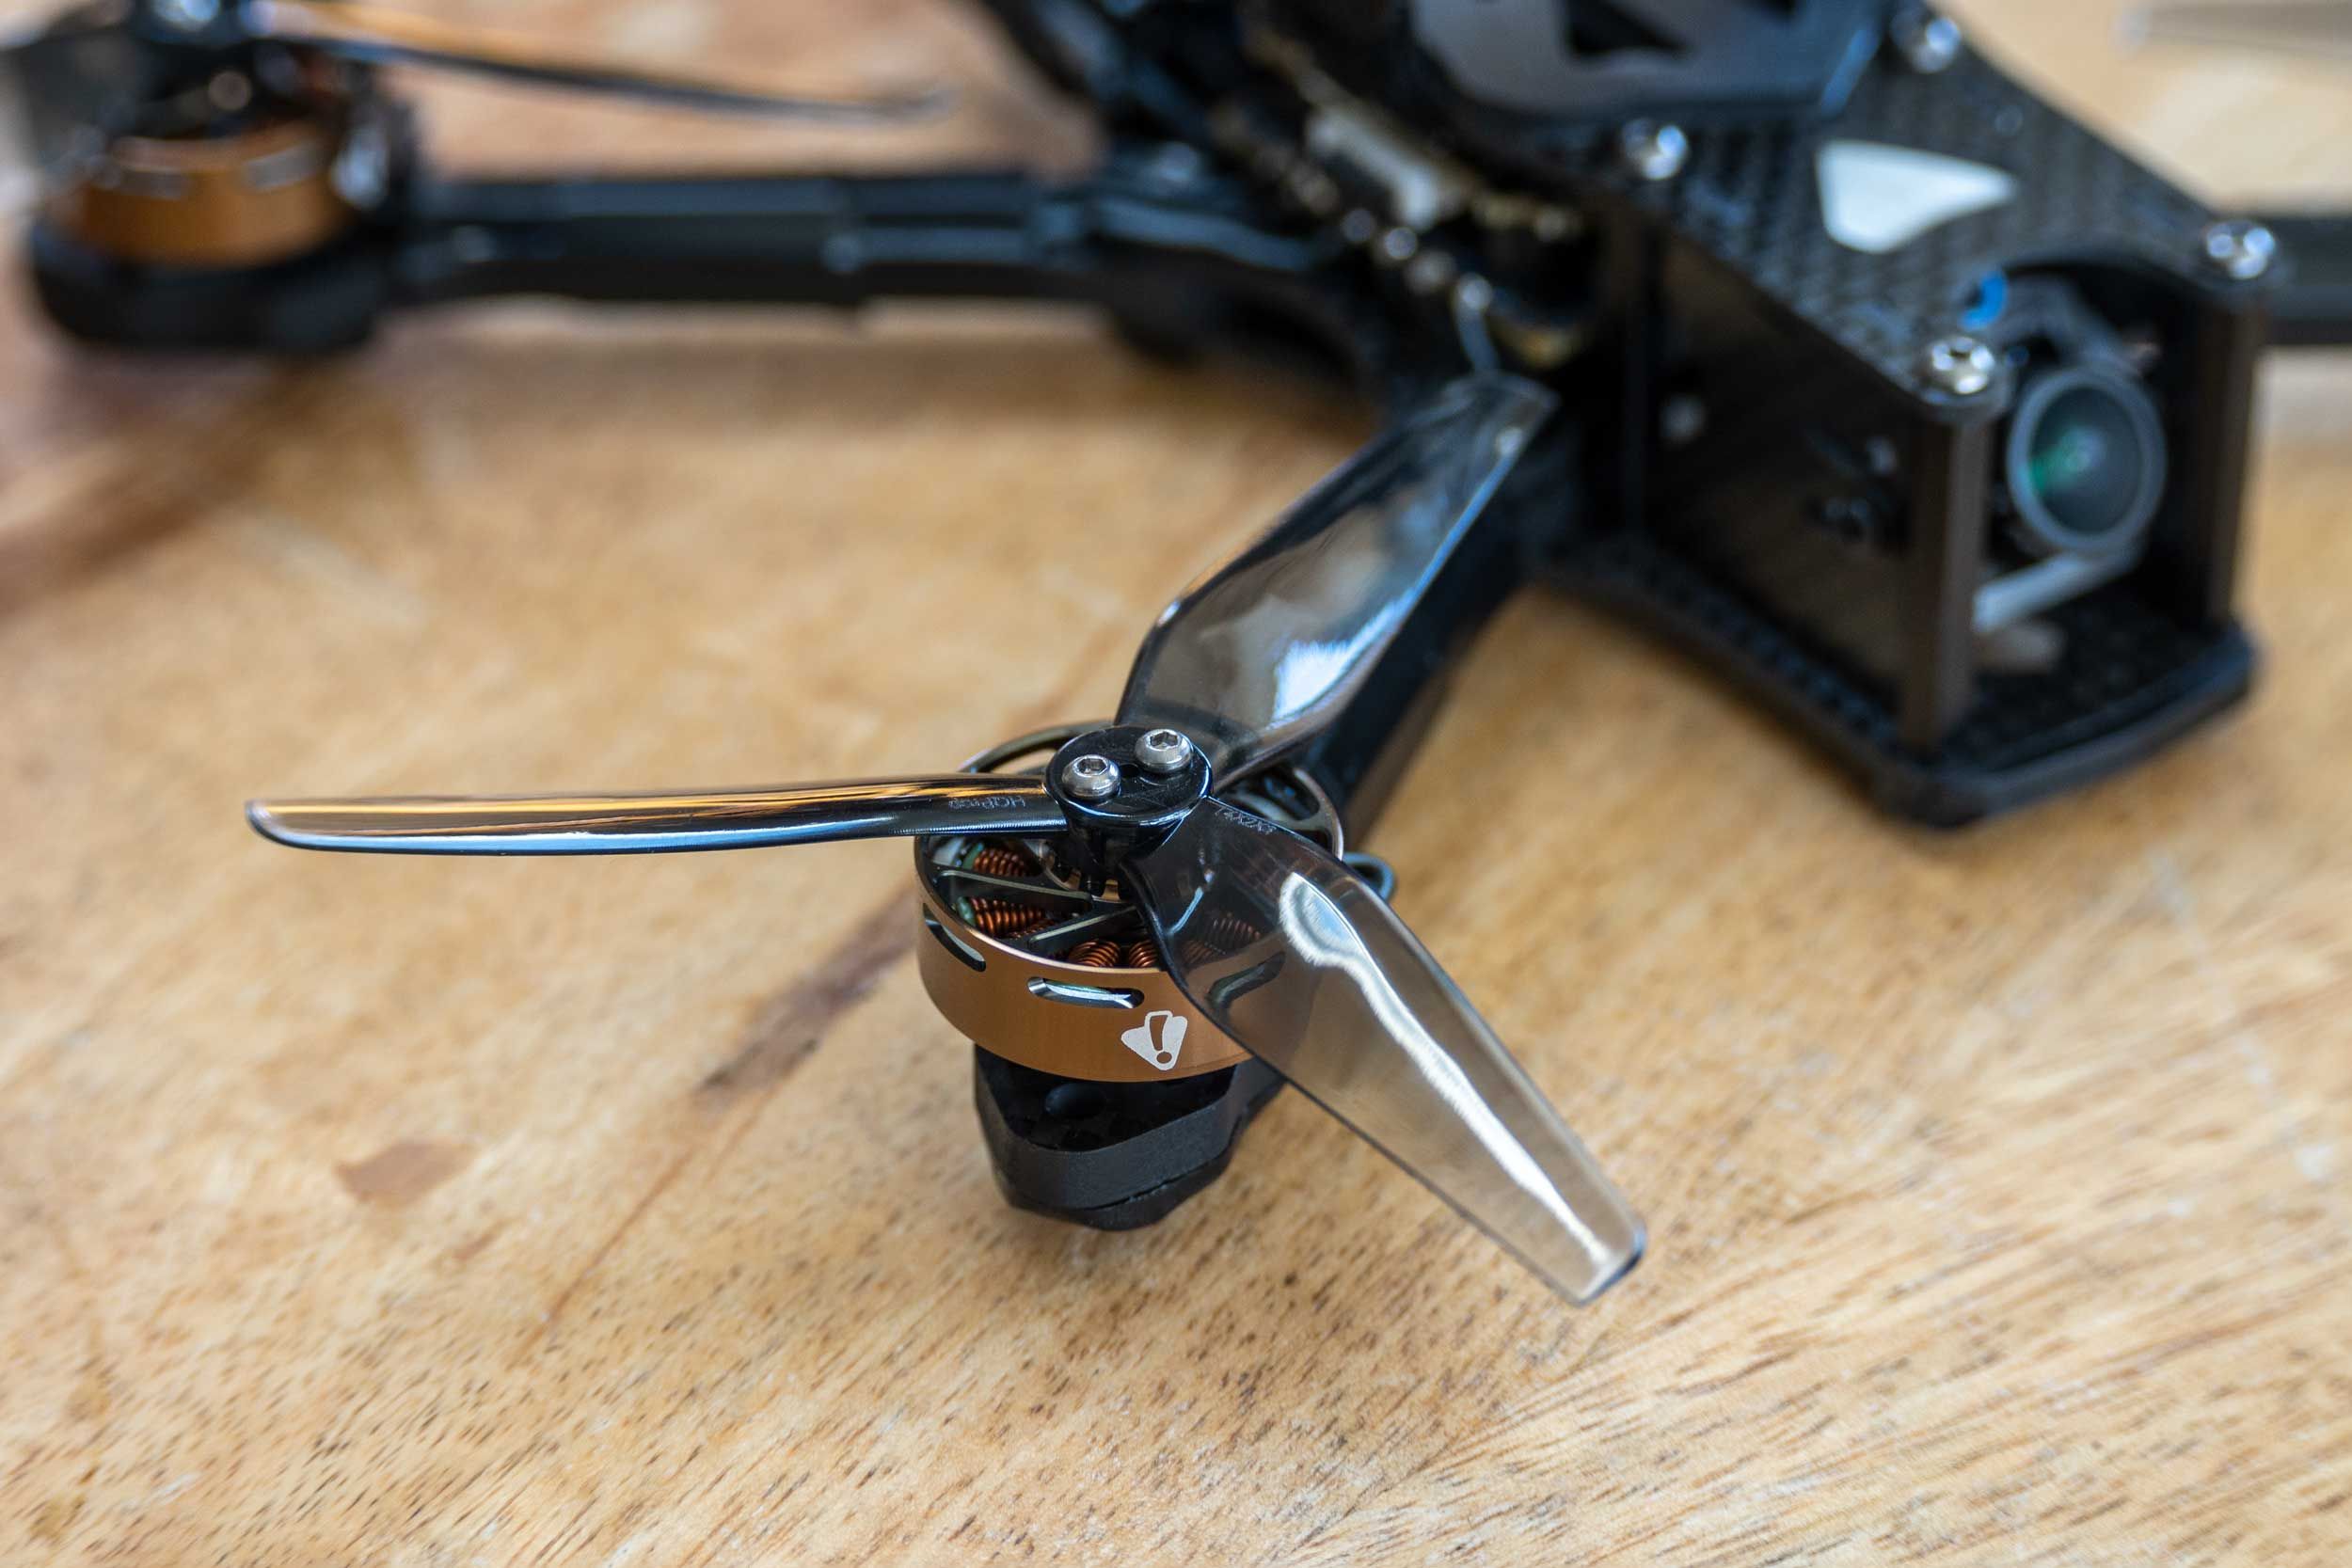
NOTE the FETtech 35A can use M2 or M3 hardware to mount to a frame. if using M3 hardware you will need to file out the mounting holes on the board. This is very easy to do, the board is designed this way. You can see the break away tabs in the 20X20 mounting holes of the FC and ESC boards. I used the round file that came with the Apex frame for this task.(see pic below)
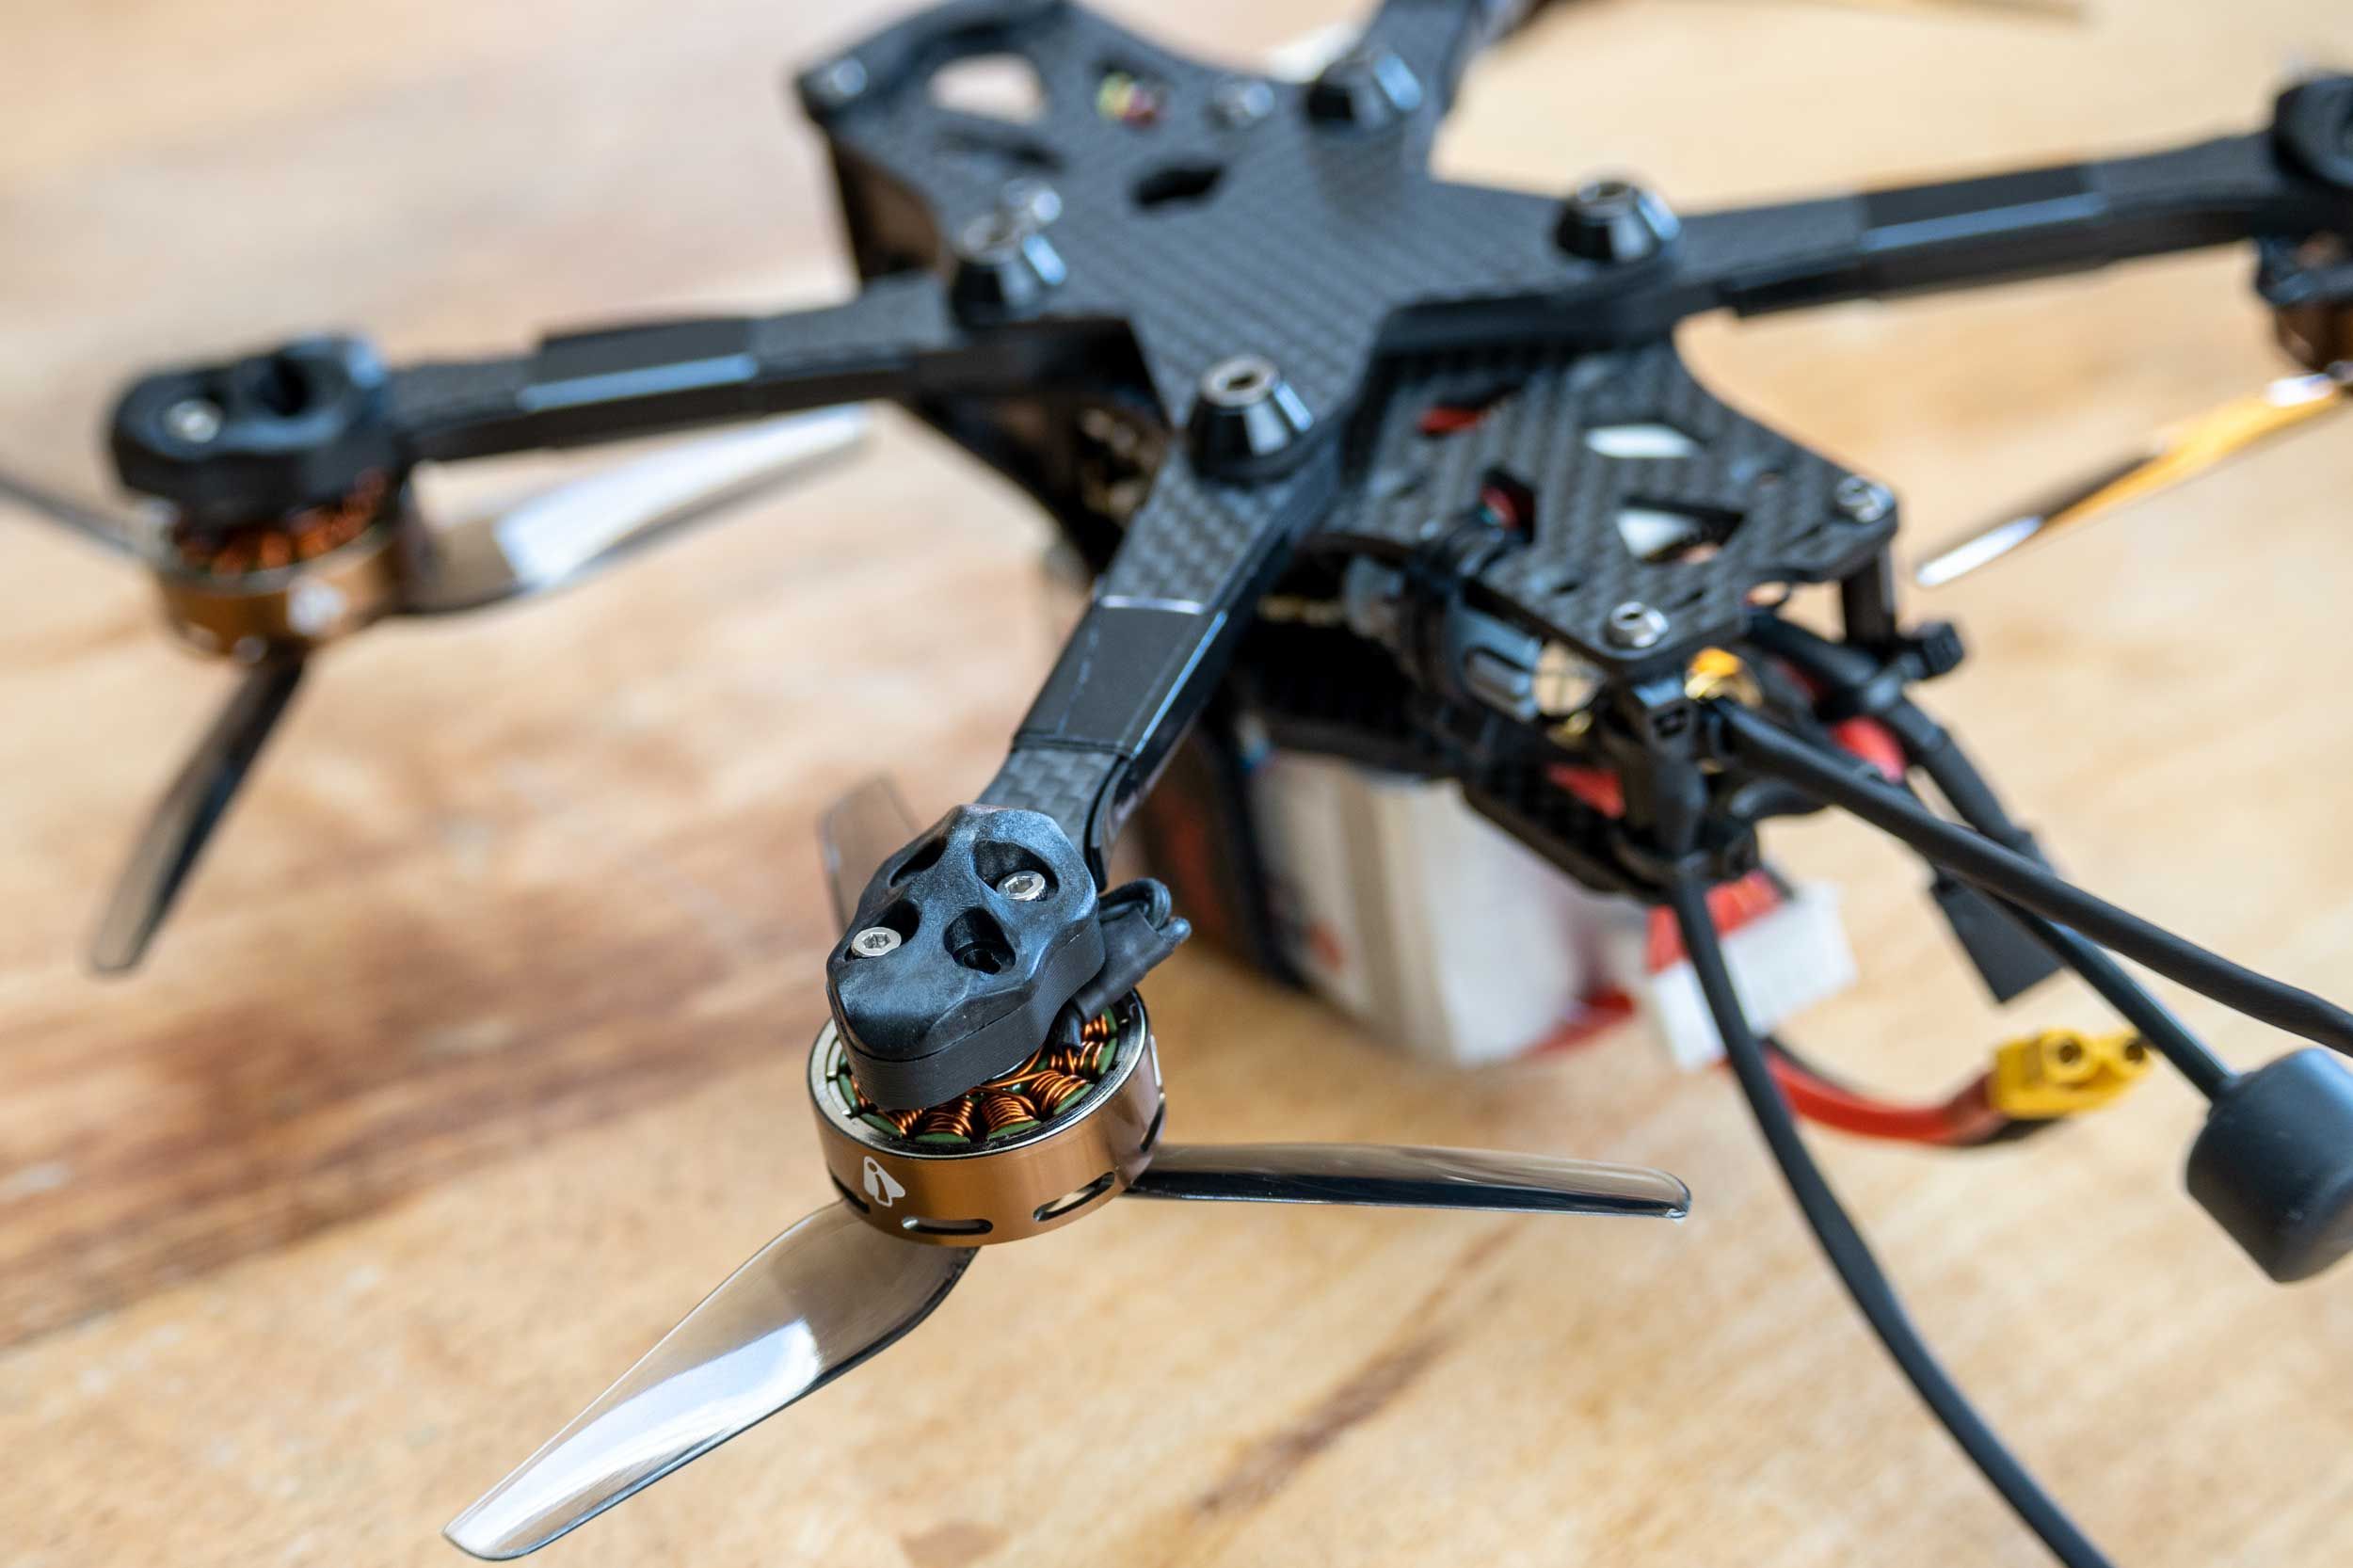
Connecting the FC to the ESC's is easy. I used the supplied 8pin wiring harness and connected the FC and ESC's, done!
Now the difference between FETtec and Betaflight is the OSD board. FETtec does not have an OSD built into their FC, it's on a seperate board. This is where I found some confusion. The wiring diagrams I found online were overly complex and had added features, I just want simple. I have created a simple wiring diagram below for my setup. Hopefully this will help others too. The OSD board was connected to the FC using the supplied 6pin cable, all other connections are soldered.
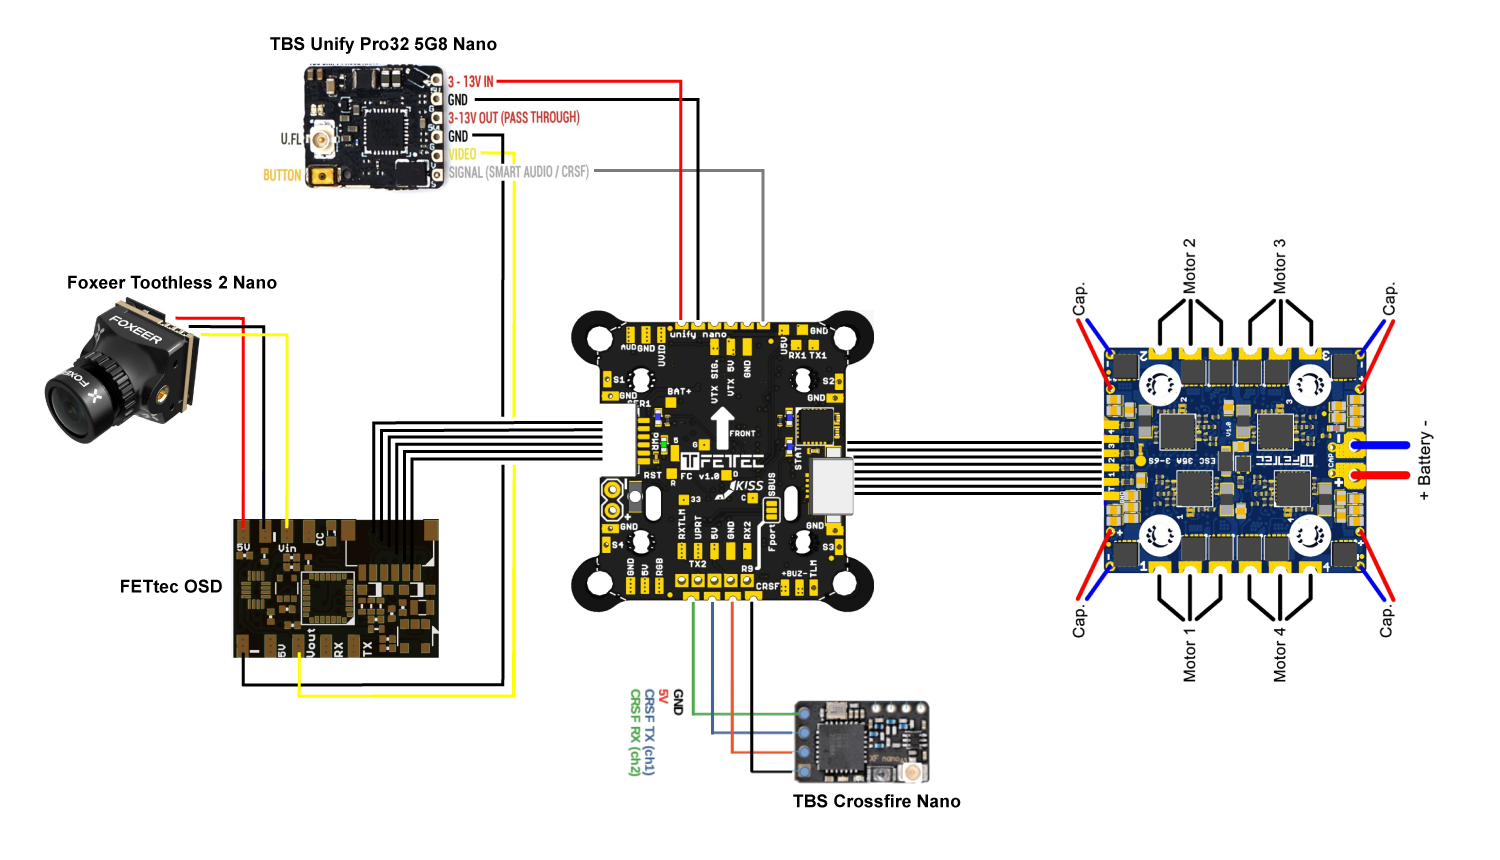
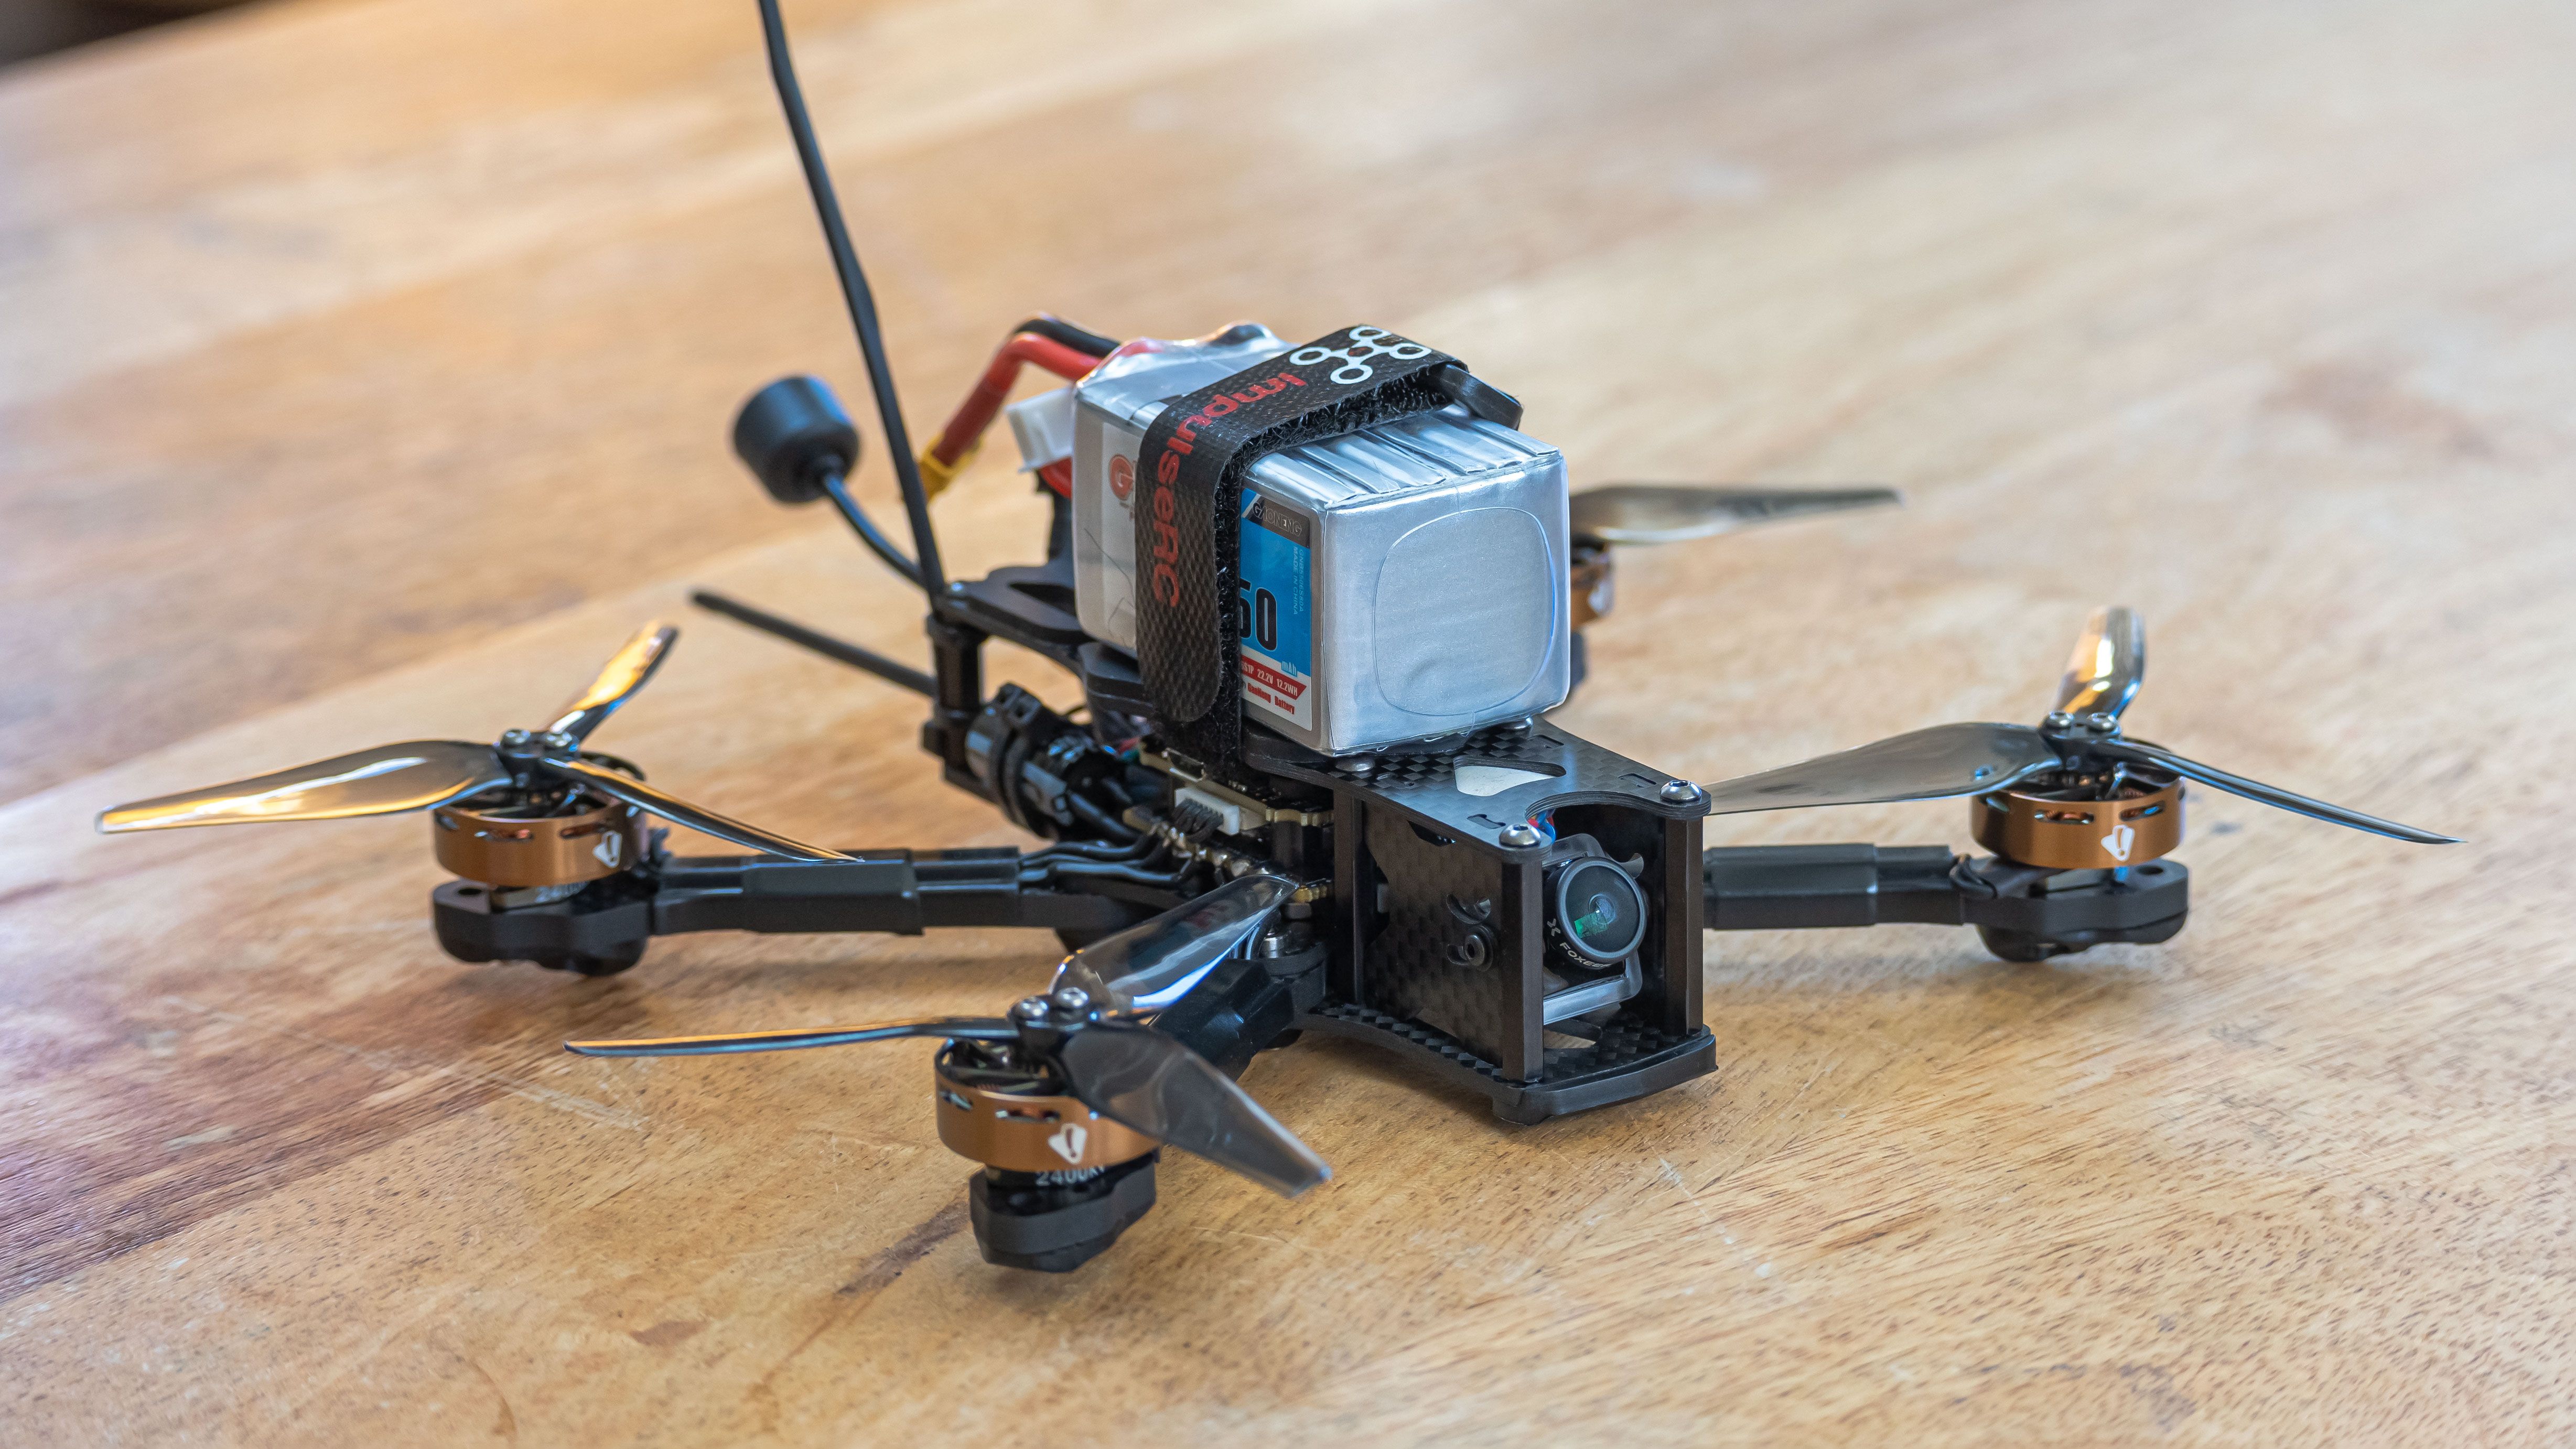
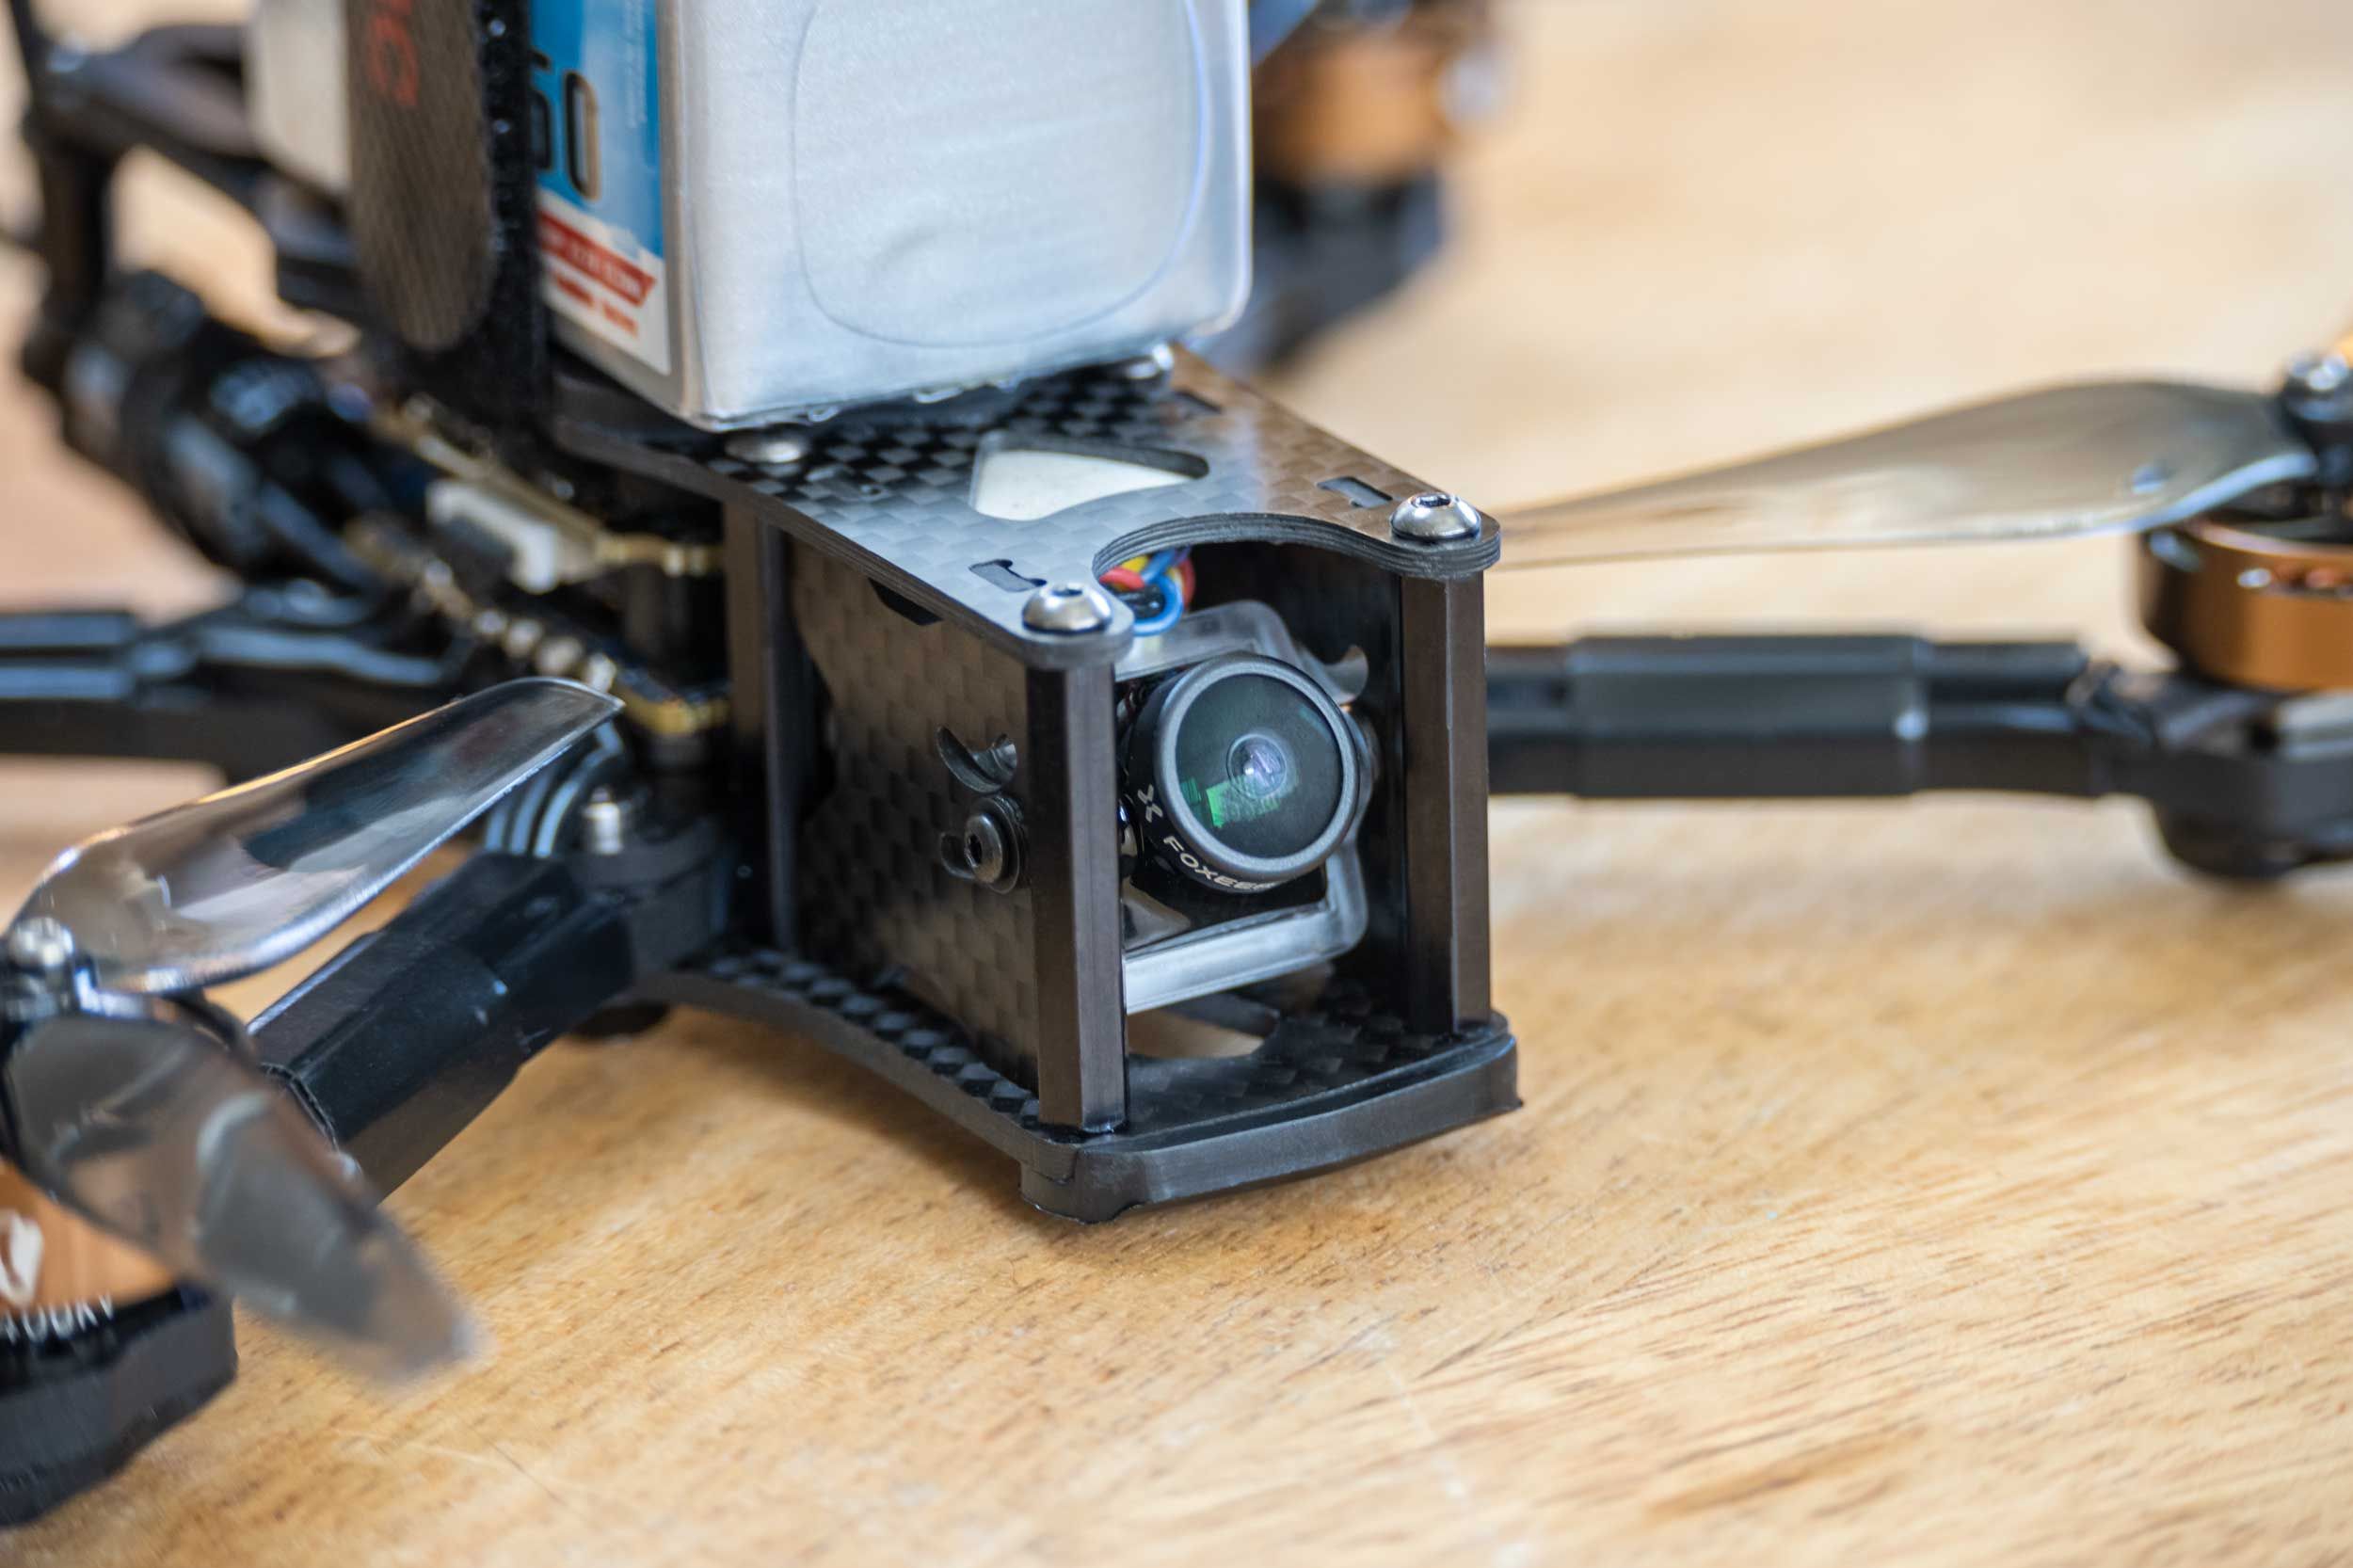
The TBS Crossfire Nano receiver and TBS Unify Pro 5G8 Nano can be connected to this FC with a pin header but I did not choose that option because of limited space above the FC. Plus, wiring this way allowed me to move the mounting locations around to better suit my needs. The OSD board was placed behind the camera and the VTX was attached to the bottom of the top plate just back from the camera. All of the video bits are right behind the camera so wires are short and neat and tucked away. The receiver was mounted next to the cap in the back and that's basically it.
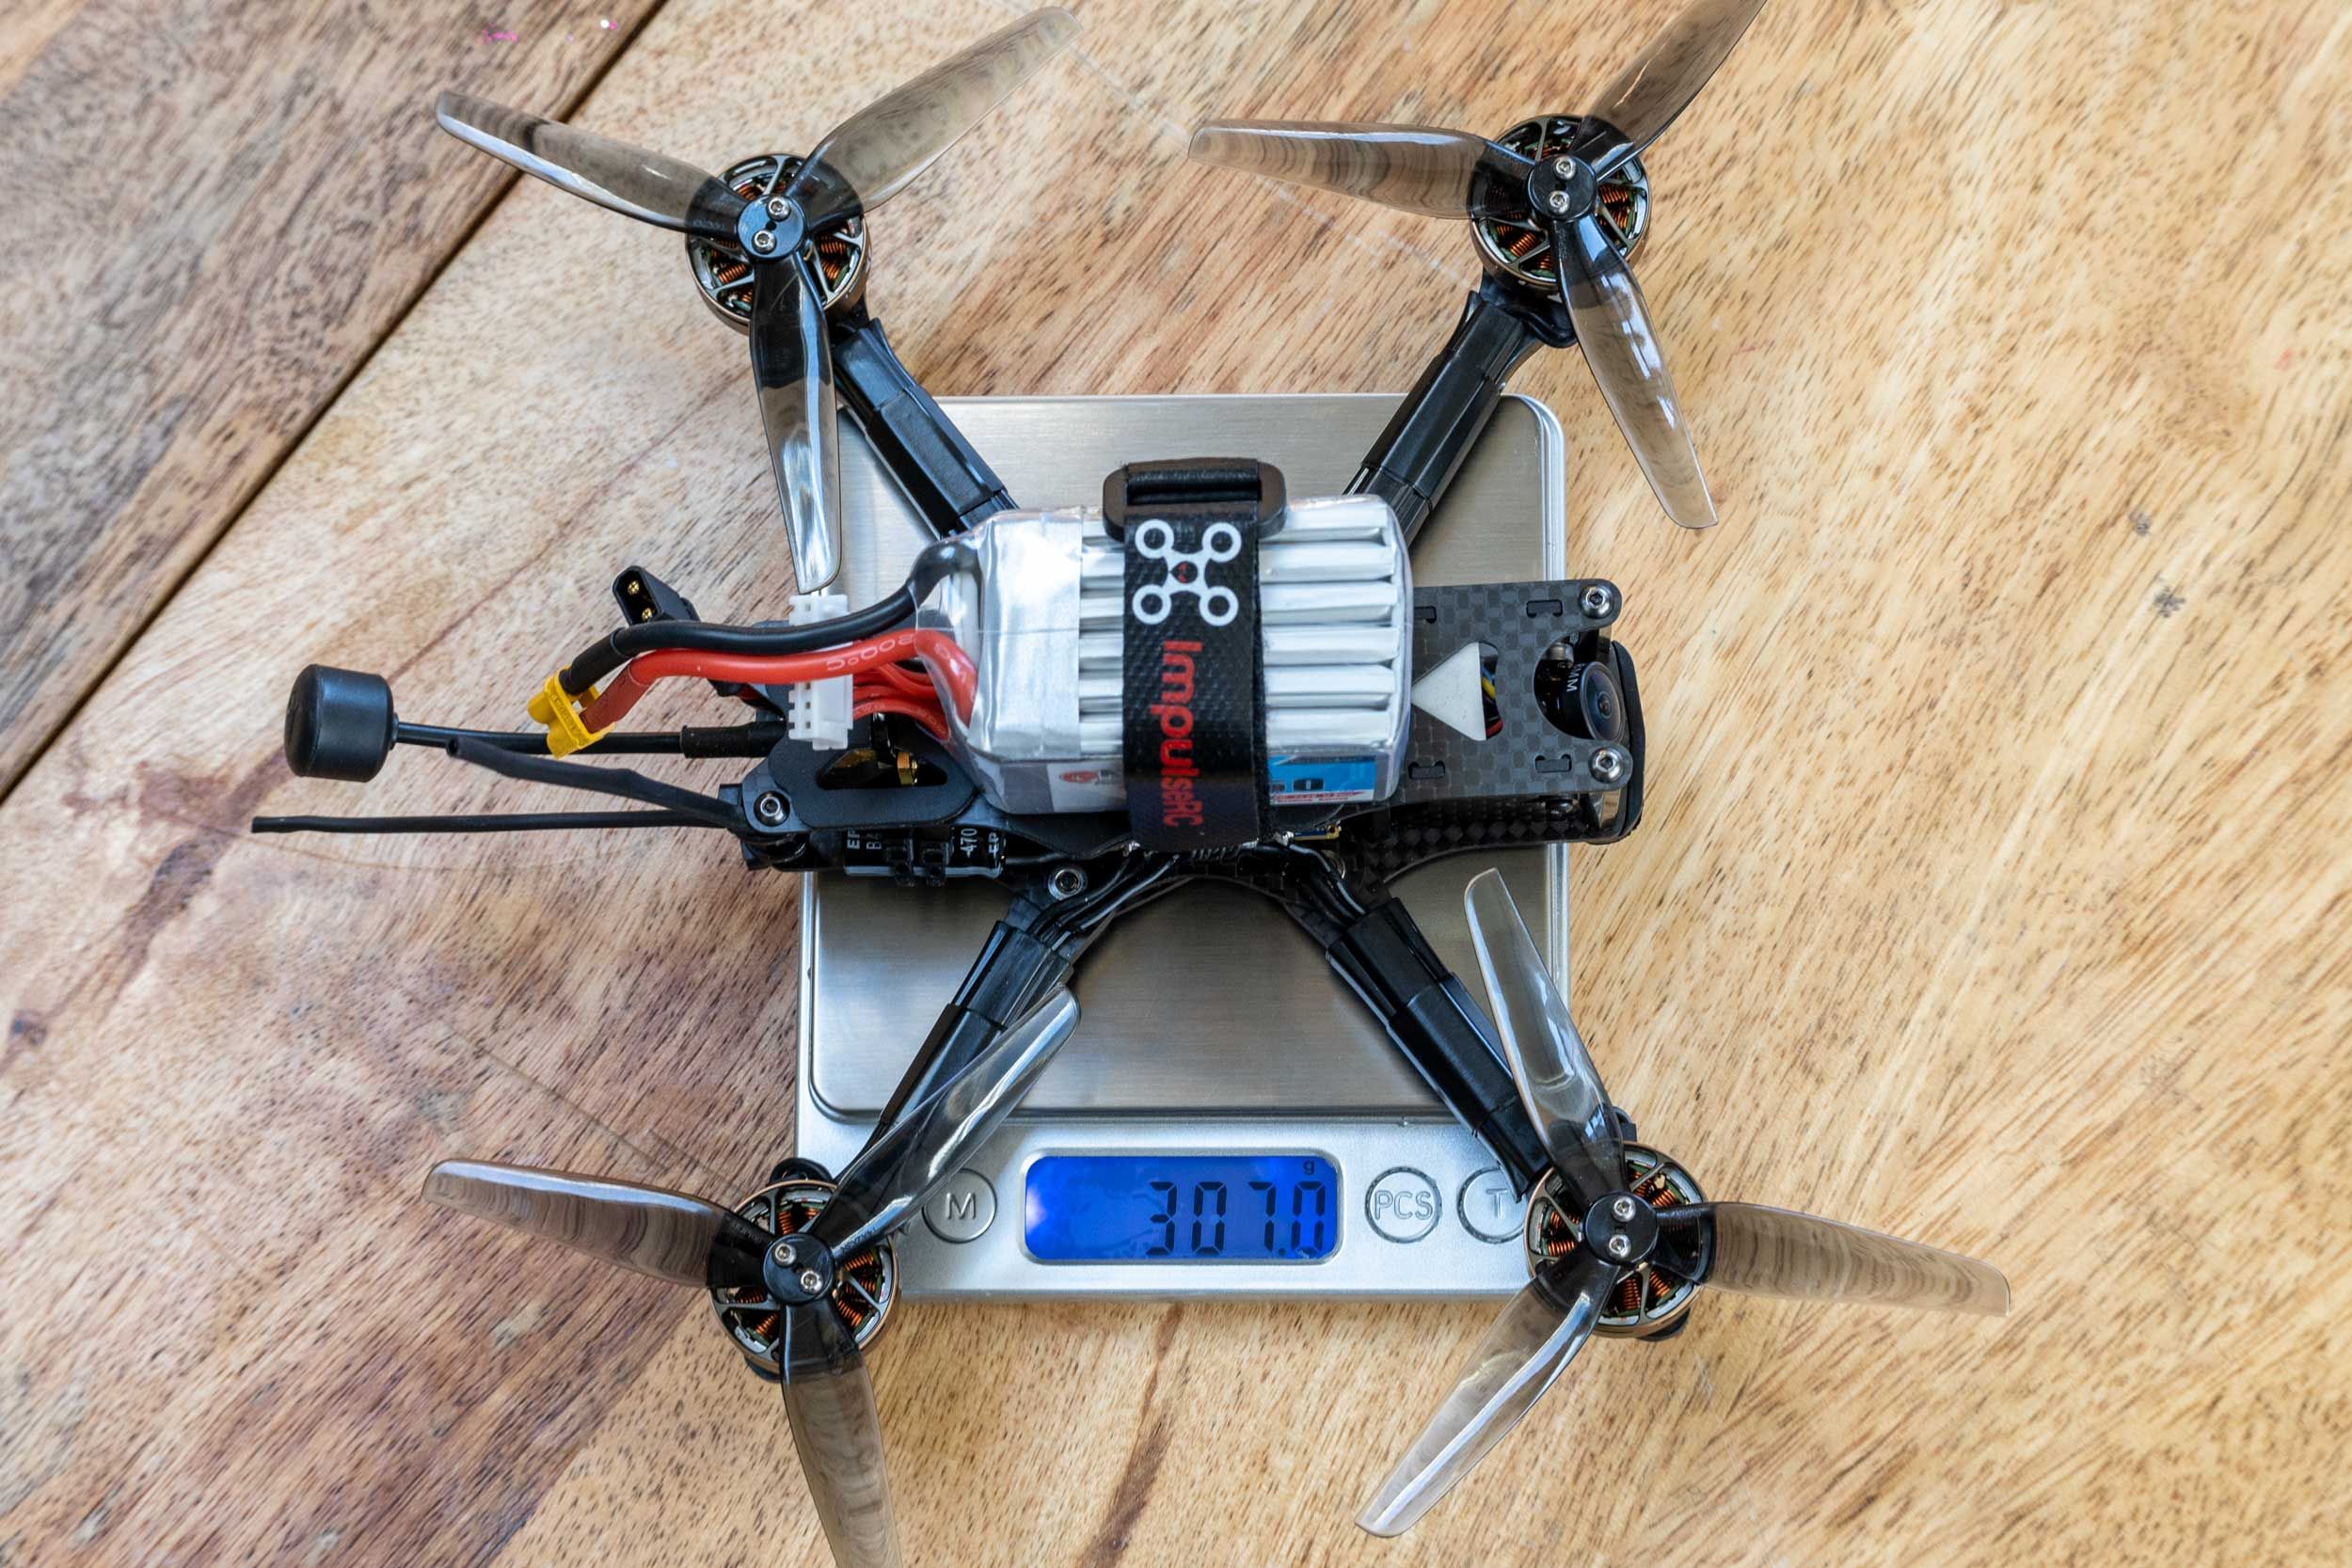
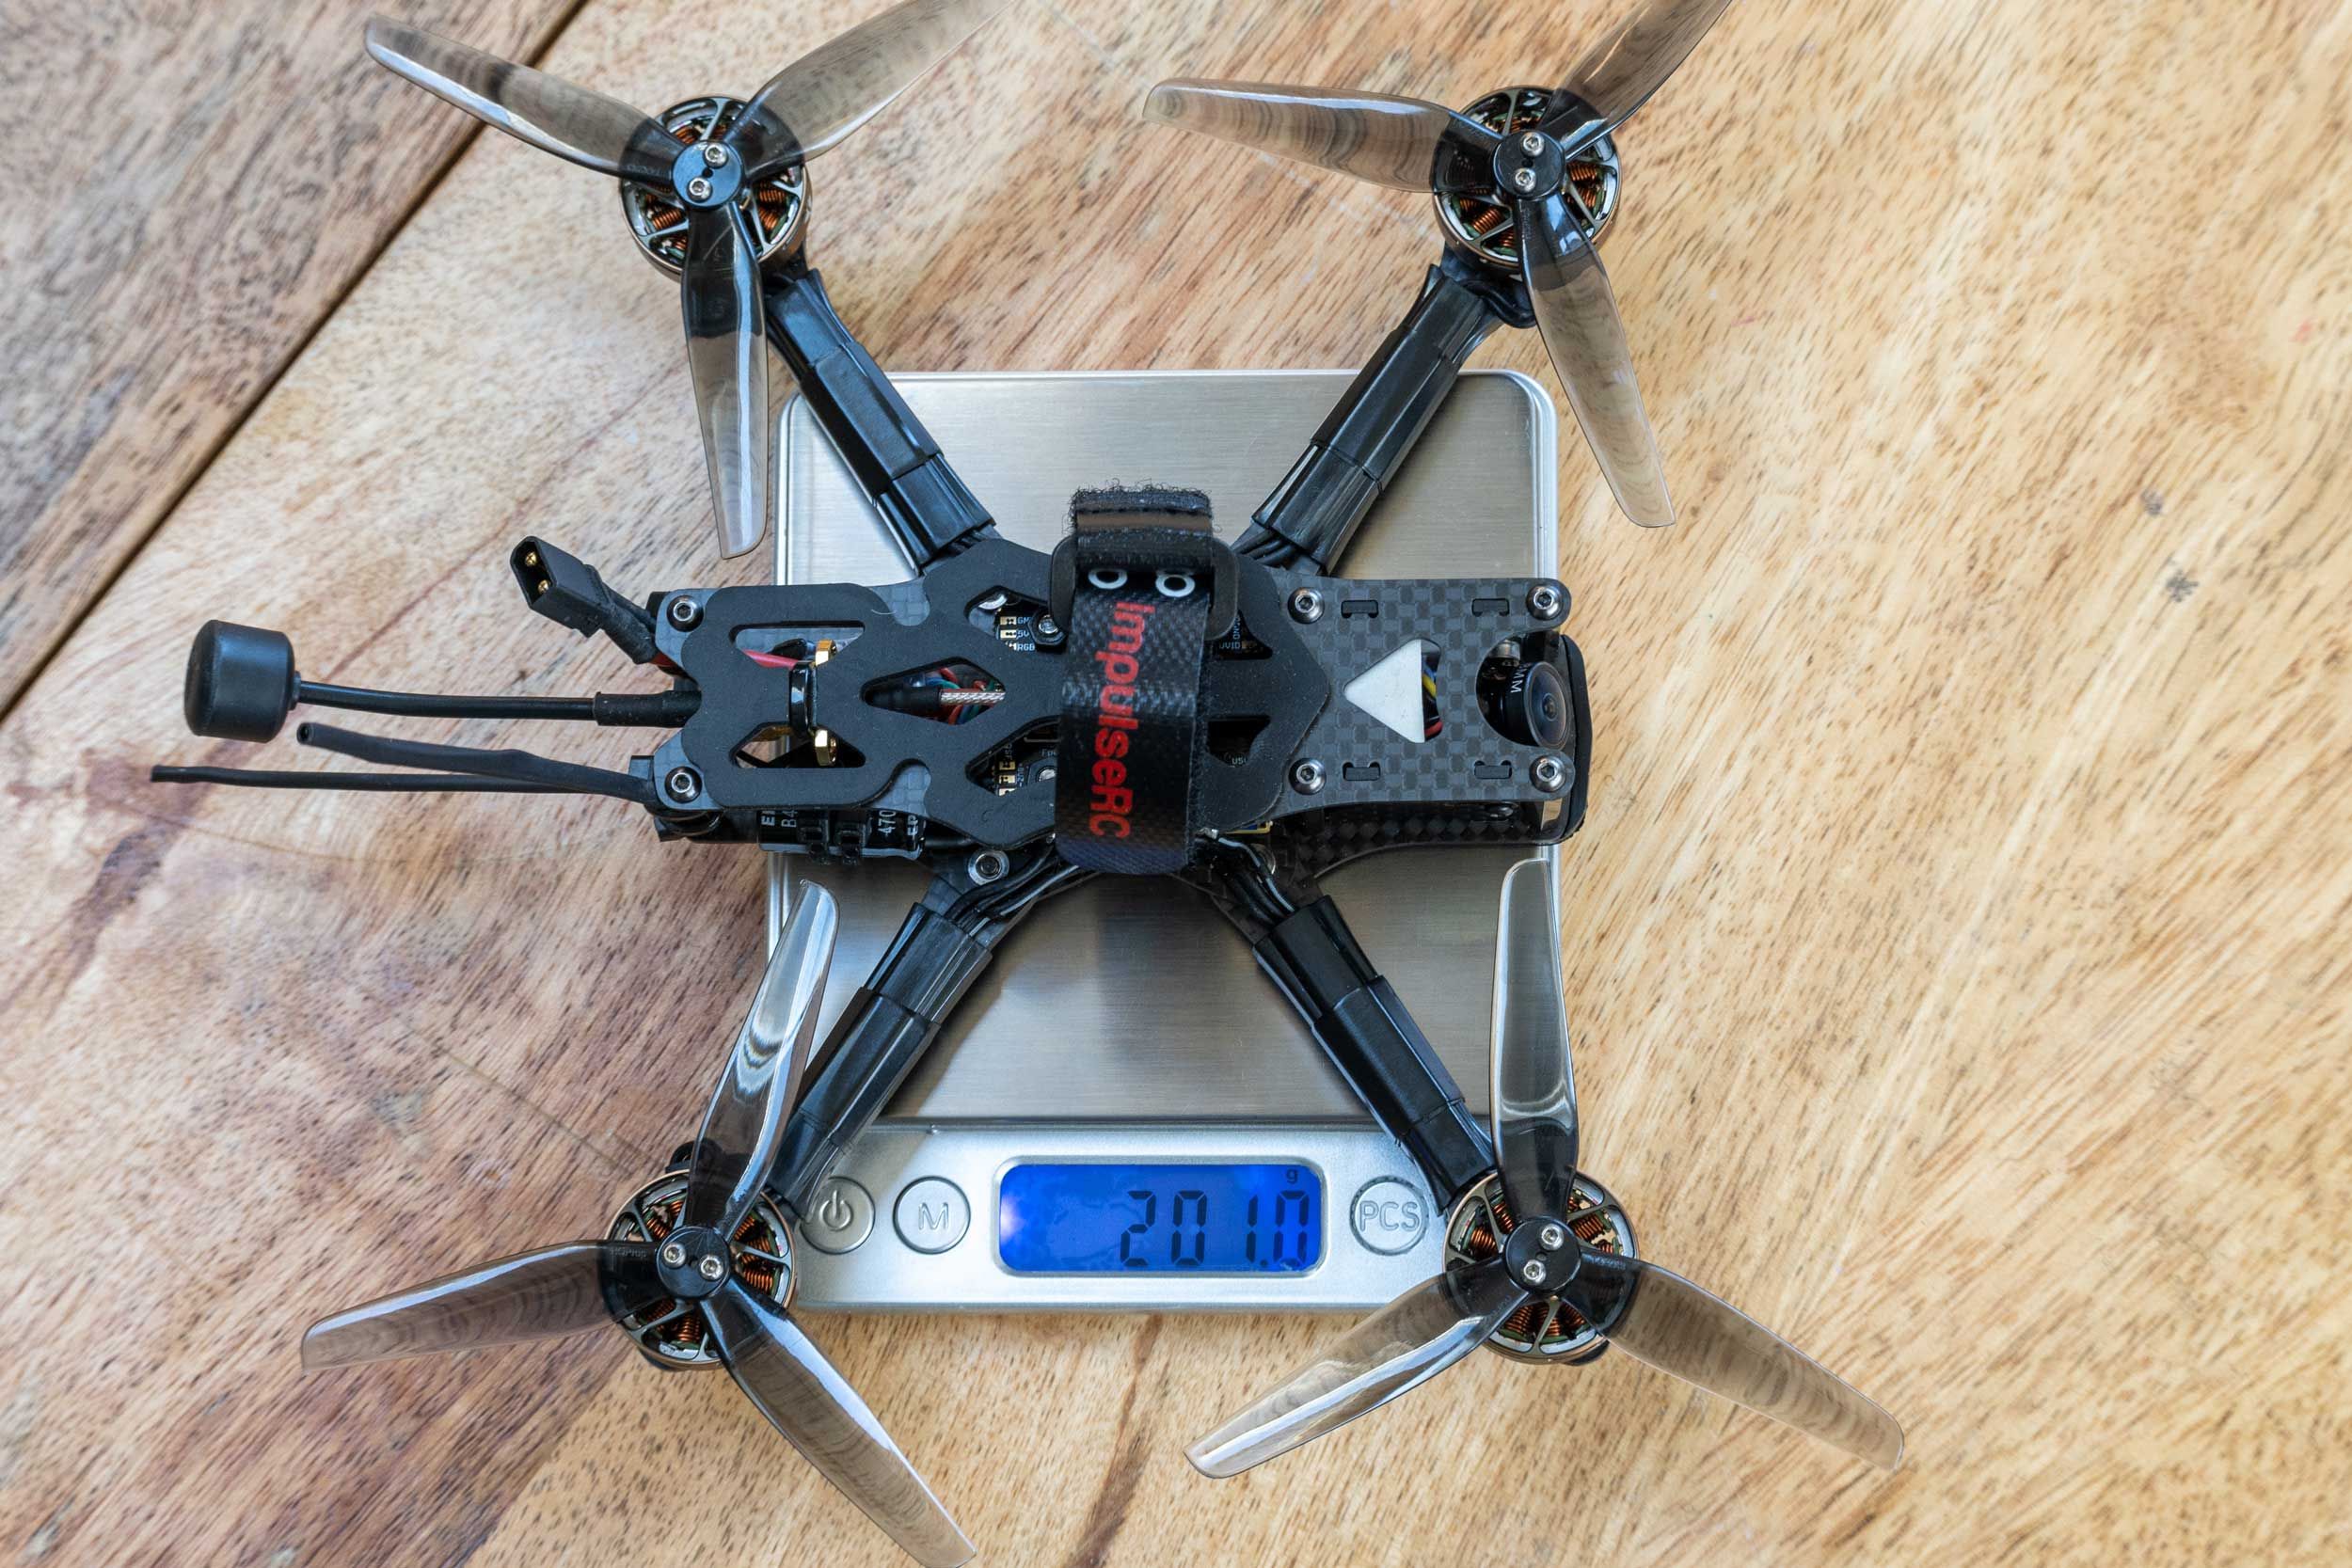
THE WEIGHT
The quad is a robust little 4". All of the parts used were of the lighter-weight designs. The battery could be smaller and lighter, maybe some hardware could be replaced with lighter-weight hardware. If you are trying to get to 250 it might be a struggle, but if you want a nice lighter-weight quad, it's fantastic.
I will keep adding to this post as I test and tune. If you have info you want to see me add to this post comment below and let me know!
Test hover in the garage was a success and seems very smooth and powerful. Once the rain stops I'll get some proper test filghts.
First test flights finally happend. The stock PID's flew smooth and there were no issues. Once I tune a bit I'll post up the screenshots.
Photos


Part List
Show stores (9)
I'm after this same build, kinda arrived at it, and then found this page. So, how does the high KV motors work for you? Are you setting some throttle limiting in the FC and or some curves on the RC?

Guides & Reviews

AirbladeUAV has done it again and this time they've brought long range to the 5" class! Based on the popular Transformer Mini, the new Transformer 5" Ultralight adopts a lot of the same design philosophies with larger props and more payload capacity. It can fly upwards of 20 minutes on a 4 cell Li-Ion battery pack and in ideal conditions it's got a range of over 4 to 5 miles. In this guide I'll walk..
Read more
With the release of the DJI FPV Drone cinematic FPV has become a lot more accessible, but you certainly don't want to crash a $750 drone! The QAV-CINE Freybott is a compact, lightweight cinematic FPV drone that can take a hit and keep going. It's a lot safer to fly indoors and around people. With a naked GoPro or the SMO 4k you can capture some great stabilized footage. In this guide I'll show you..
Read more


hy i love this build but my only issue is, i have always the message "WAITING FOR FC"
do i need smartaudio for this? i use a tbs sixty9 and like u the same fc, esc and osd board. any suggestions ^^