Five33 Tiny Trainer - Nighthawk
 By Freshbread on May 09, 2021
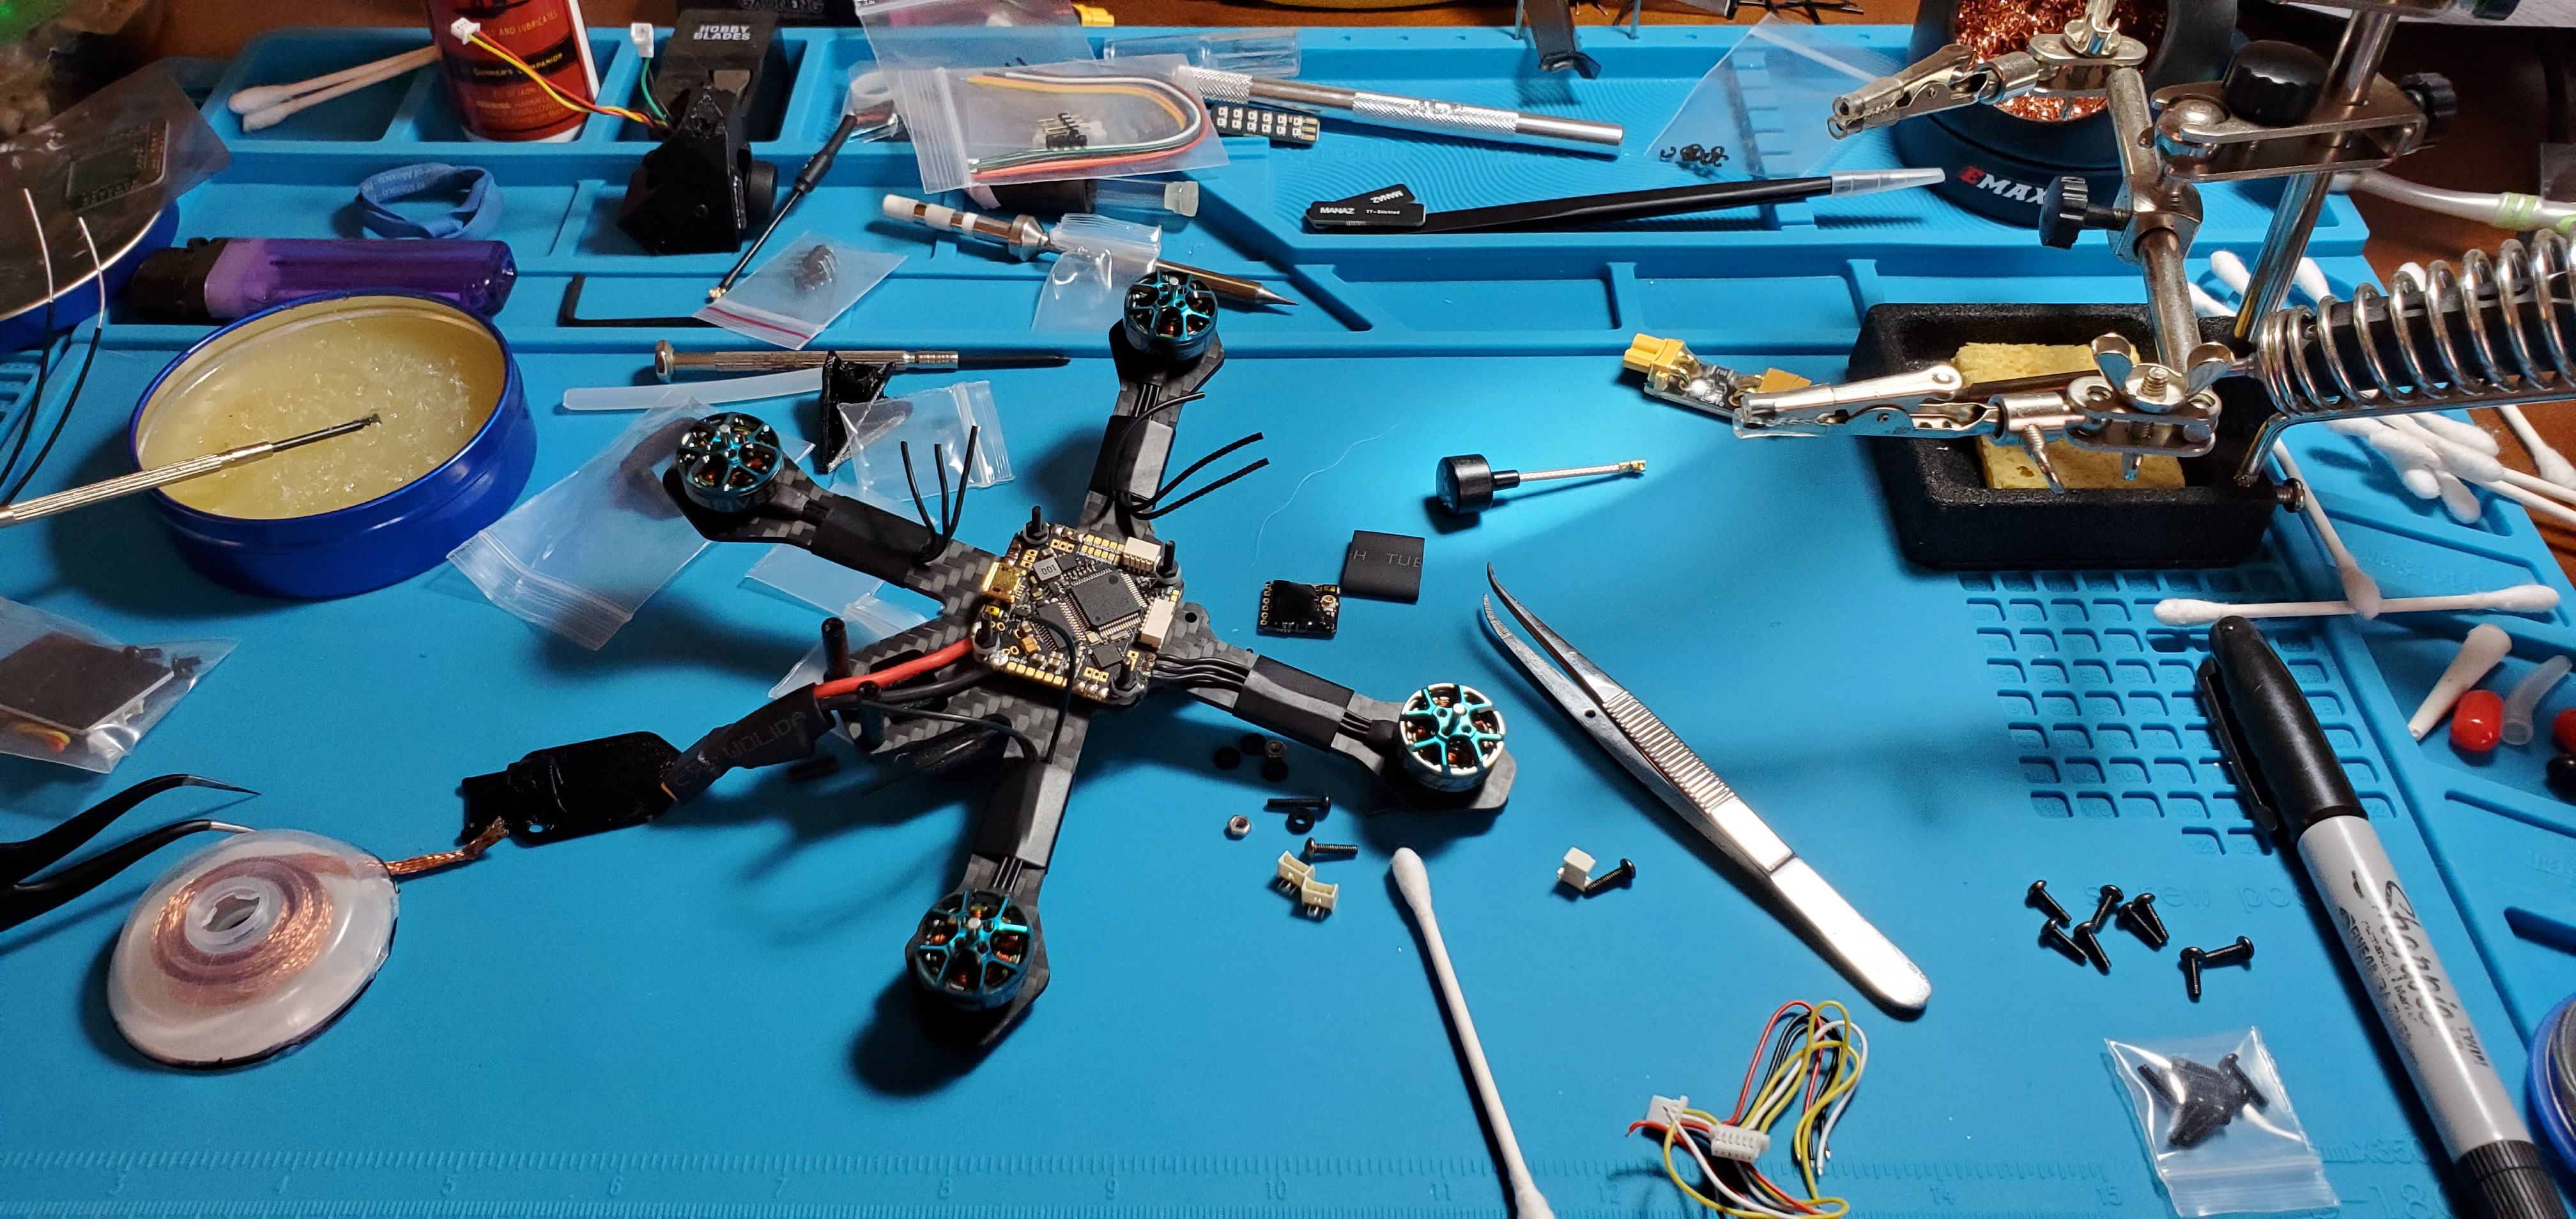
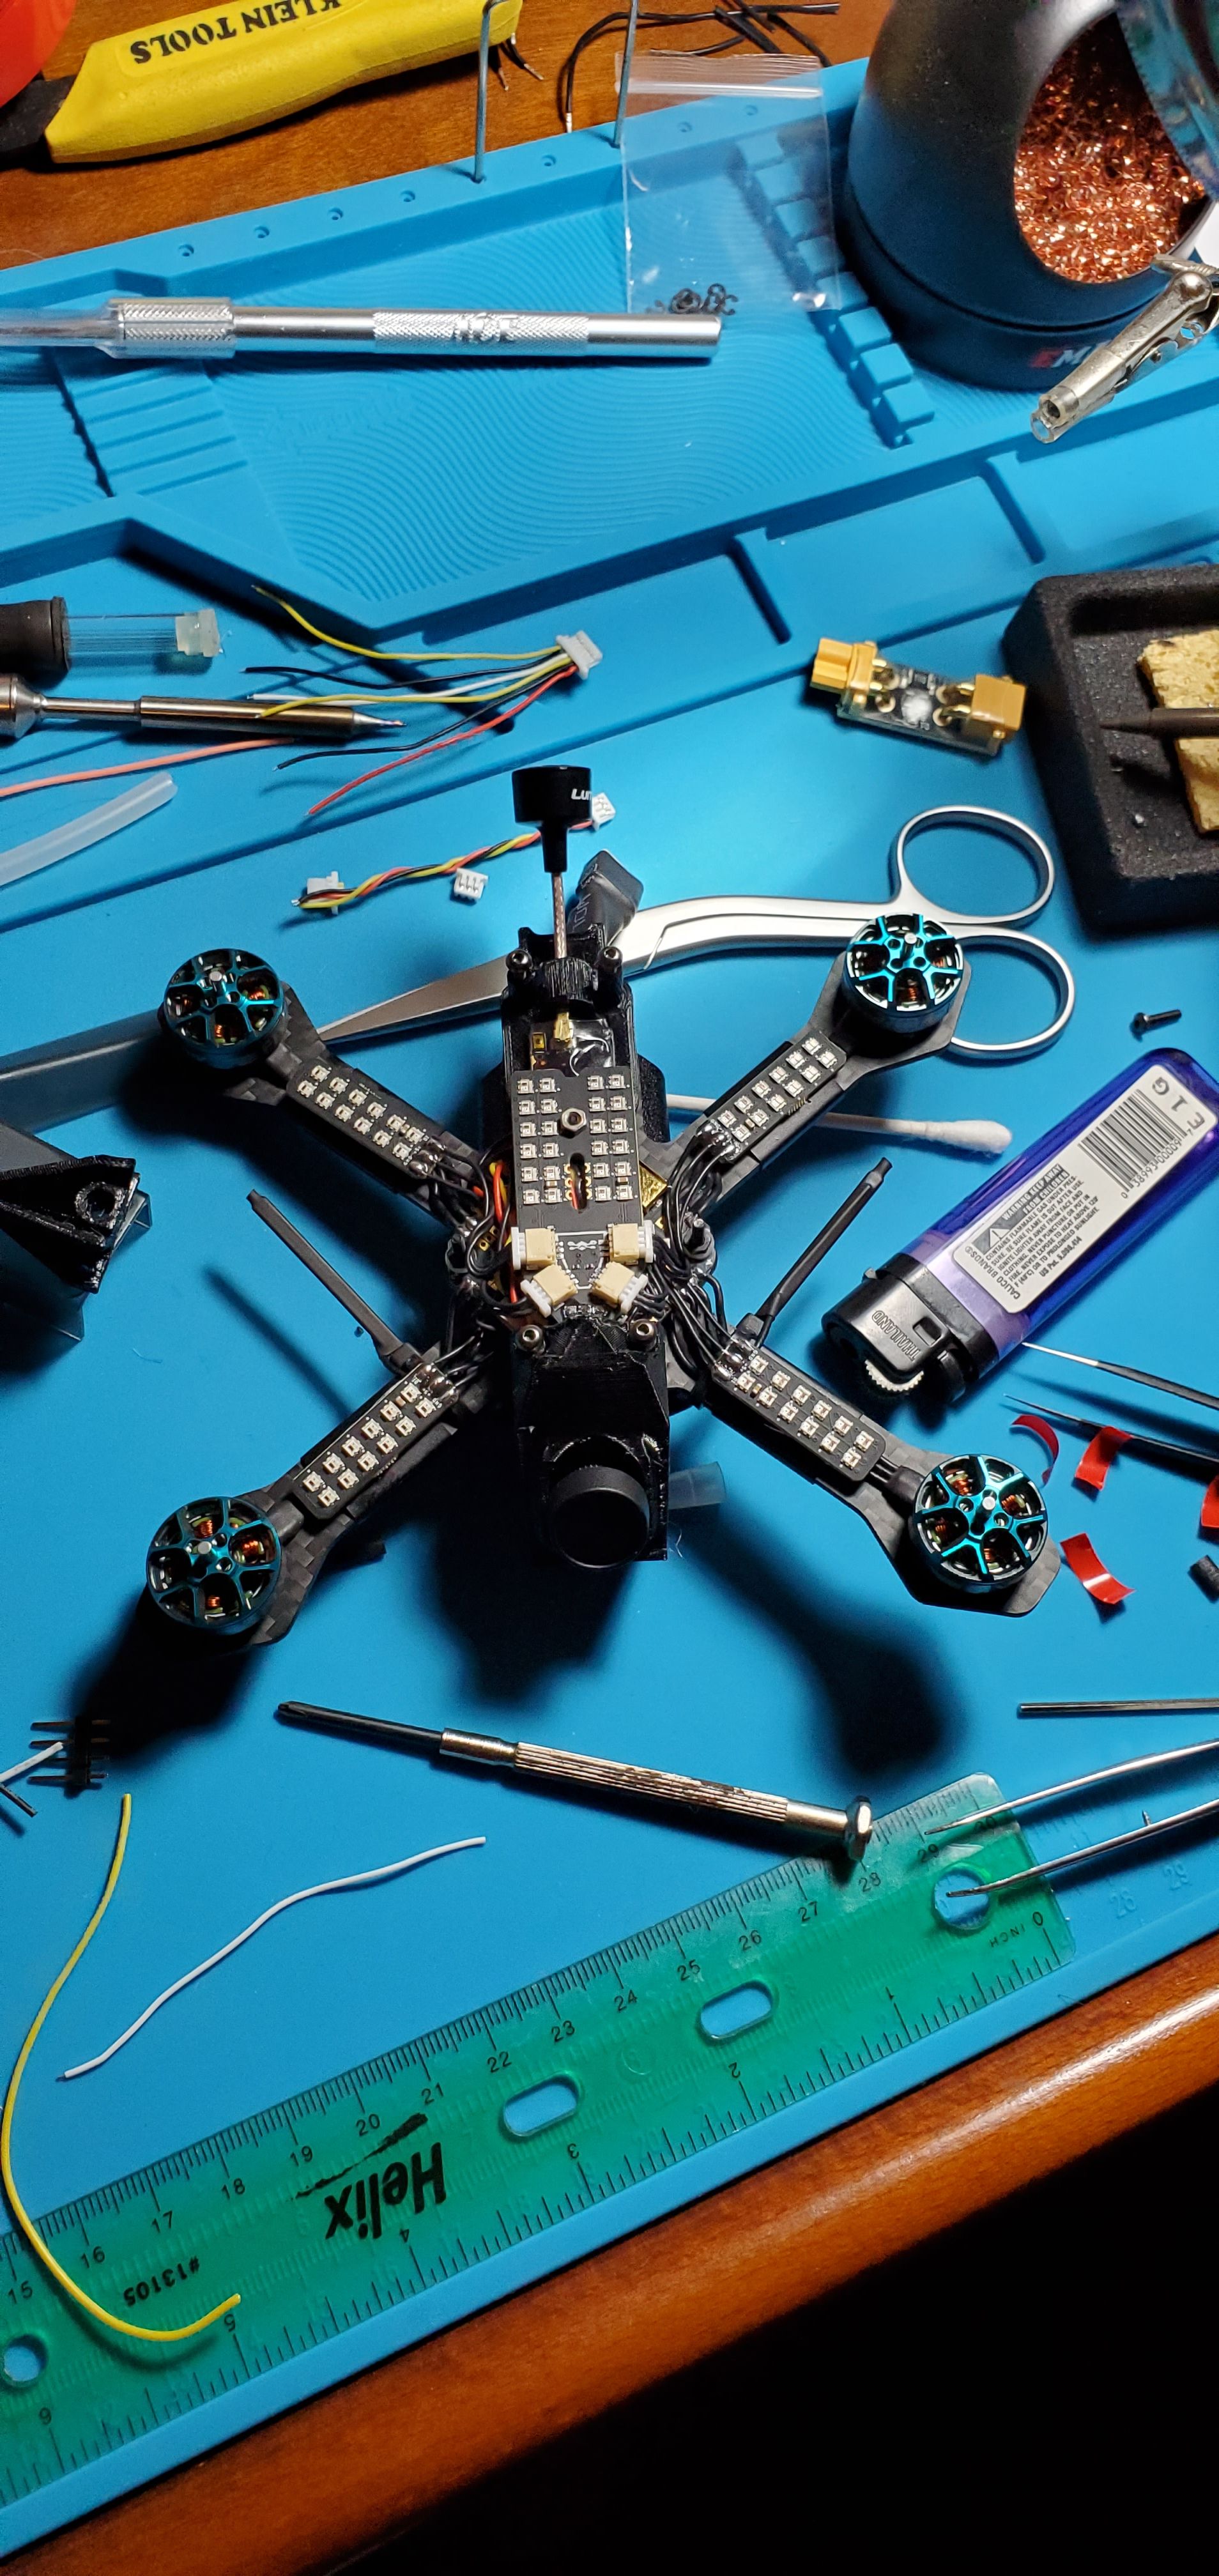
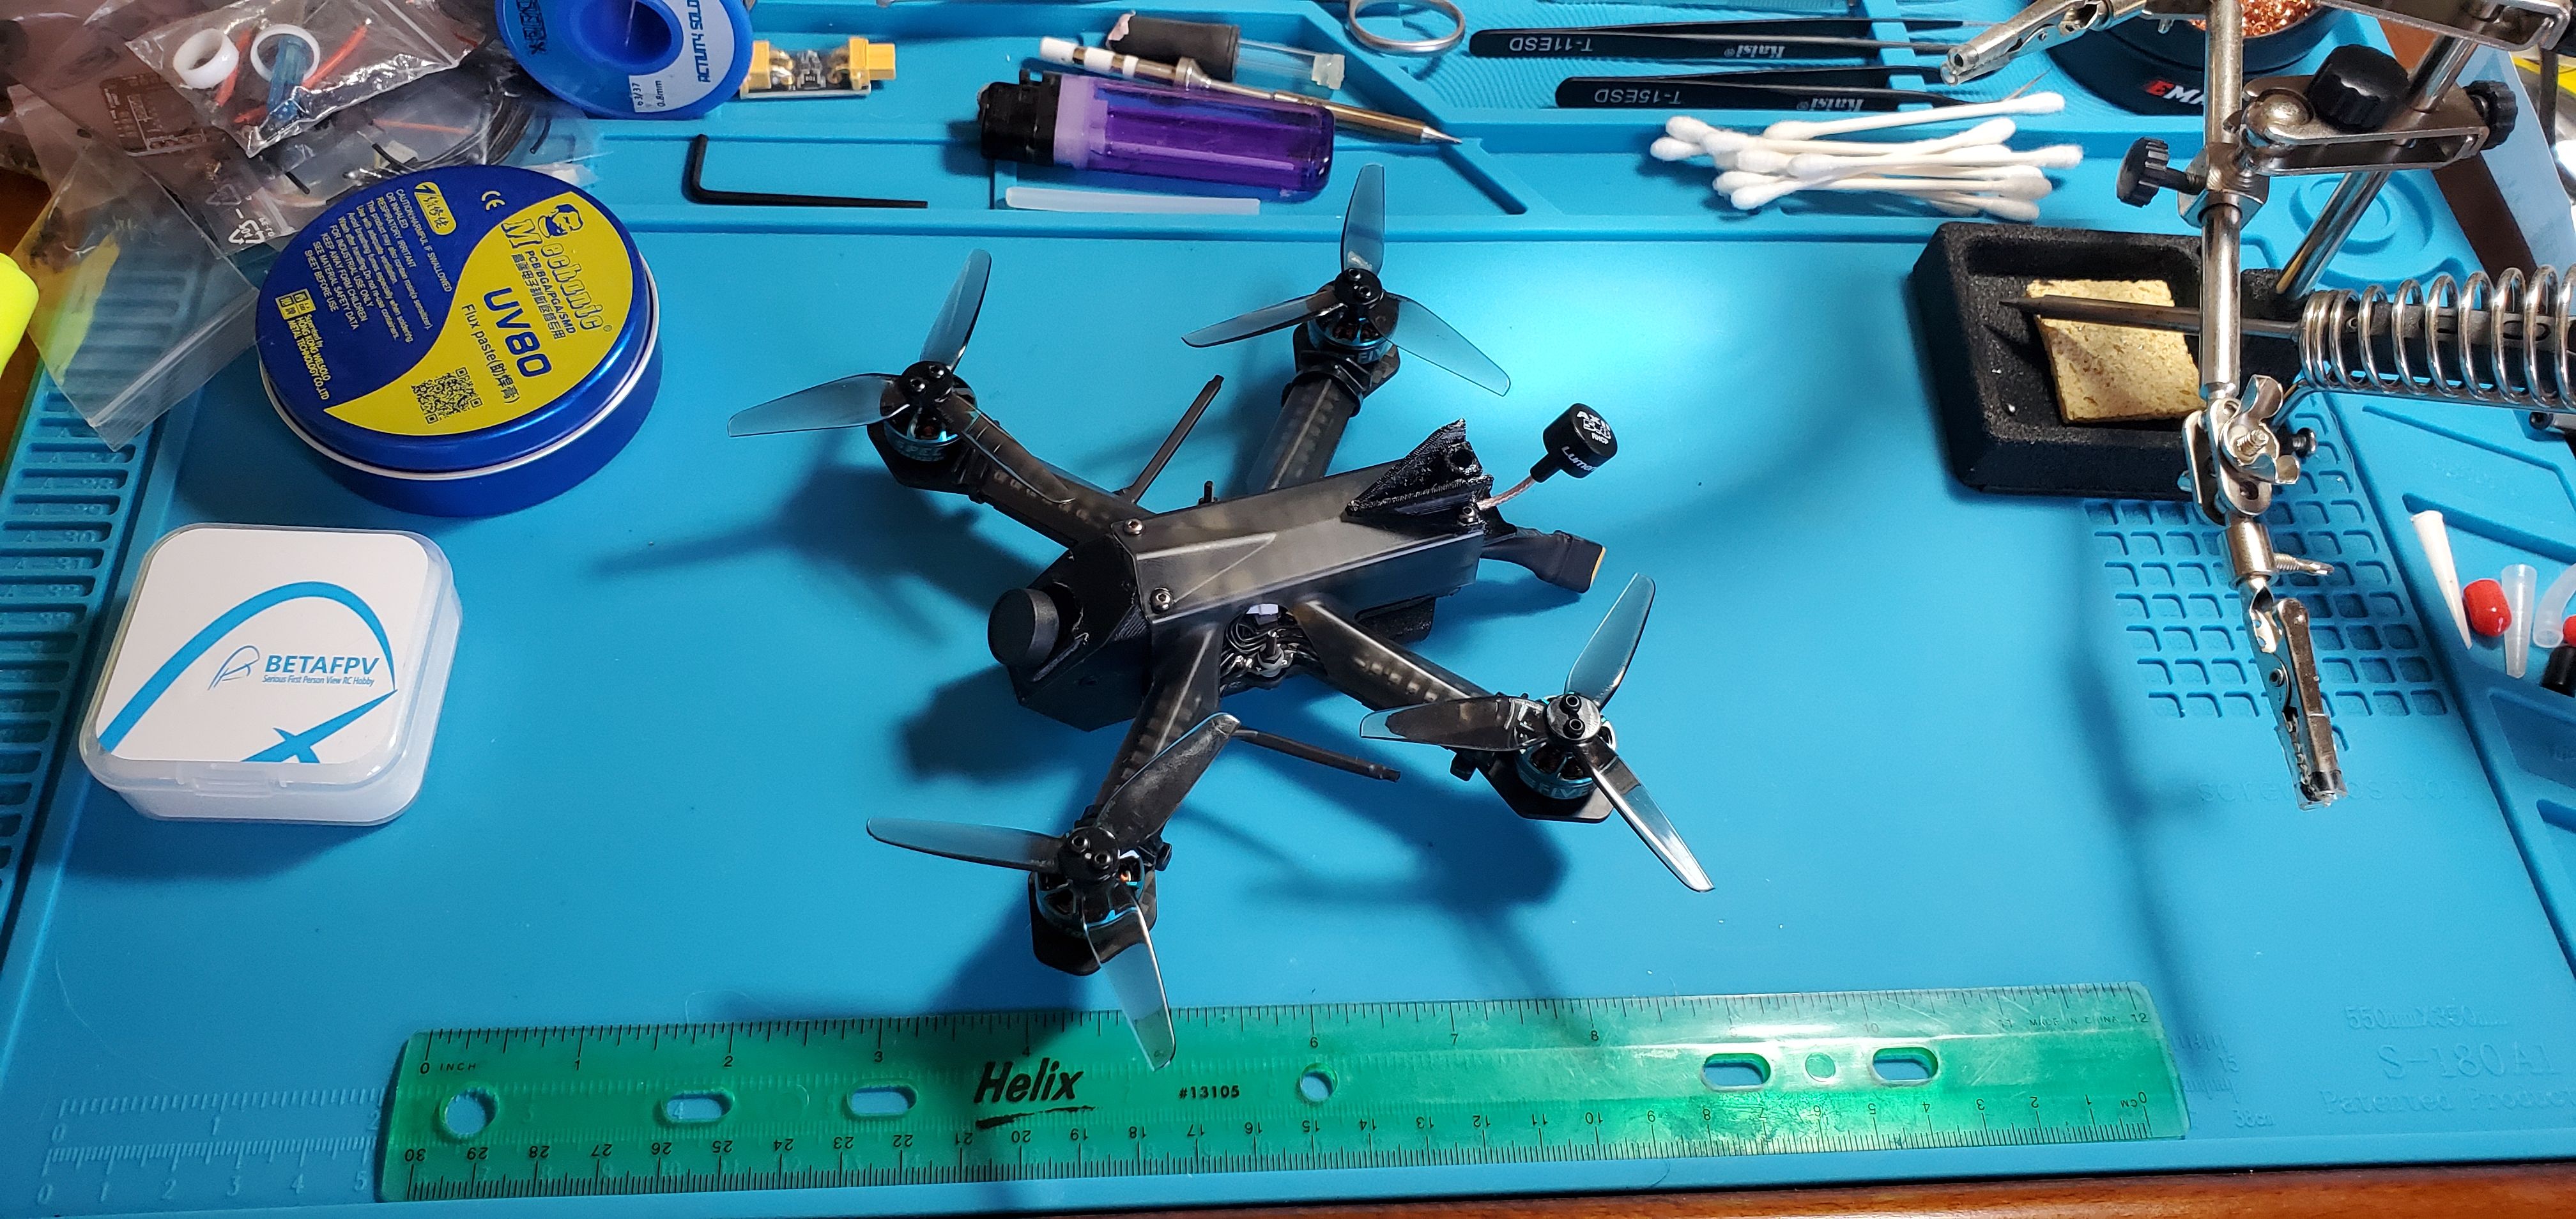
For this Five33 Tiny Trainer build, I followed all the available videos on YouTube, and more specifically the wiring diagram provided by FPV Crate. This was my first build as the rest of my quads are all RTF pre-built whoops. For those of you like me who opted for a FrSky XM+ receiver, you will notice it doesn't really fit in the area under the VTX so it has to be placed on top of the FC board. I think for optimal RX signal, at least one antenna should be pointed upward through the back of the quad. I went with the aerodynamic route using zip ties and heat shrink on the front arms. You lose a lot of space when adding on the LED kit, but it is so worth it. The FPV Crate kit came with a Caddx Kangaroo camera, which is so far my least favorite. If I do another build, I'll most likely get a RunCam Racer Nano 2.
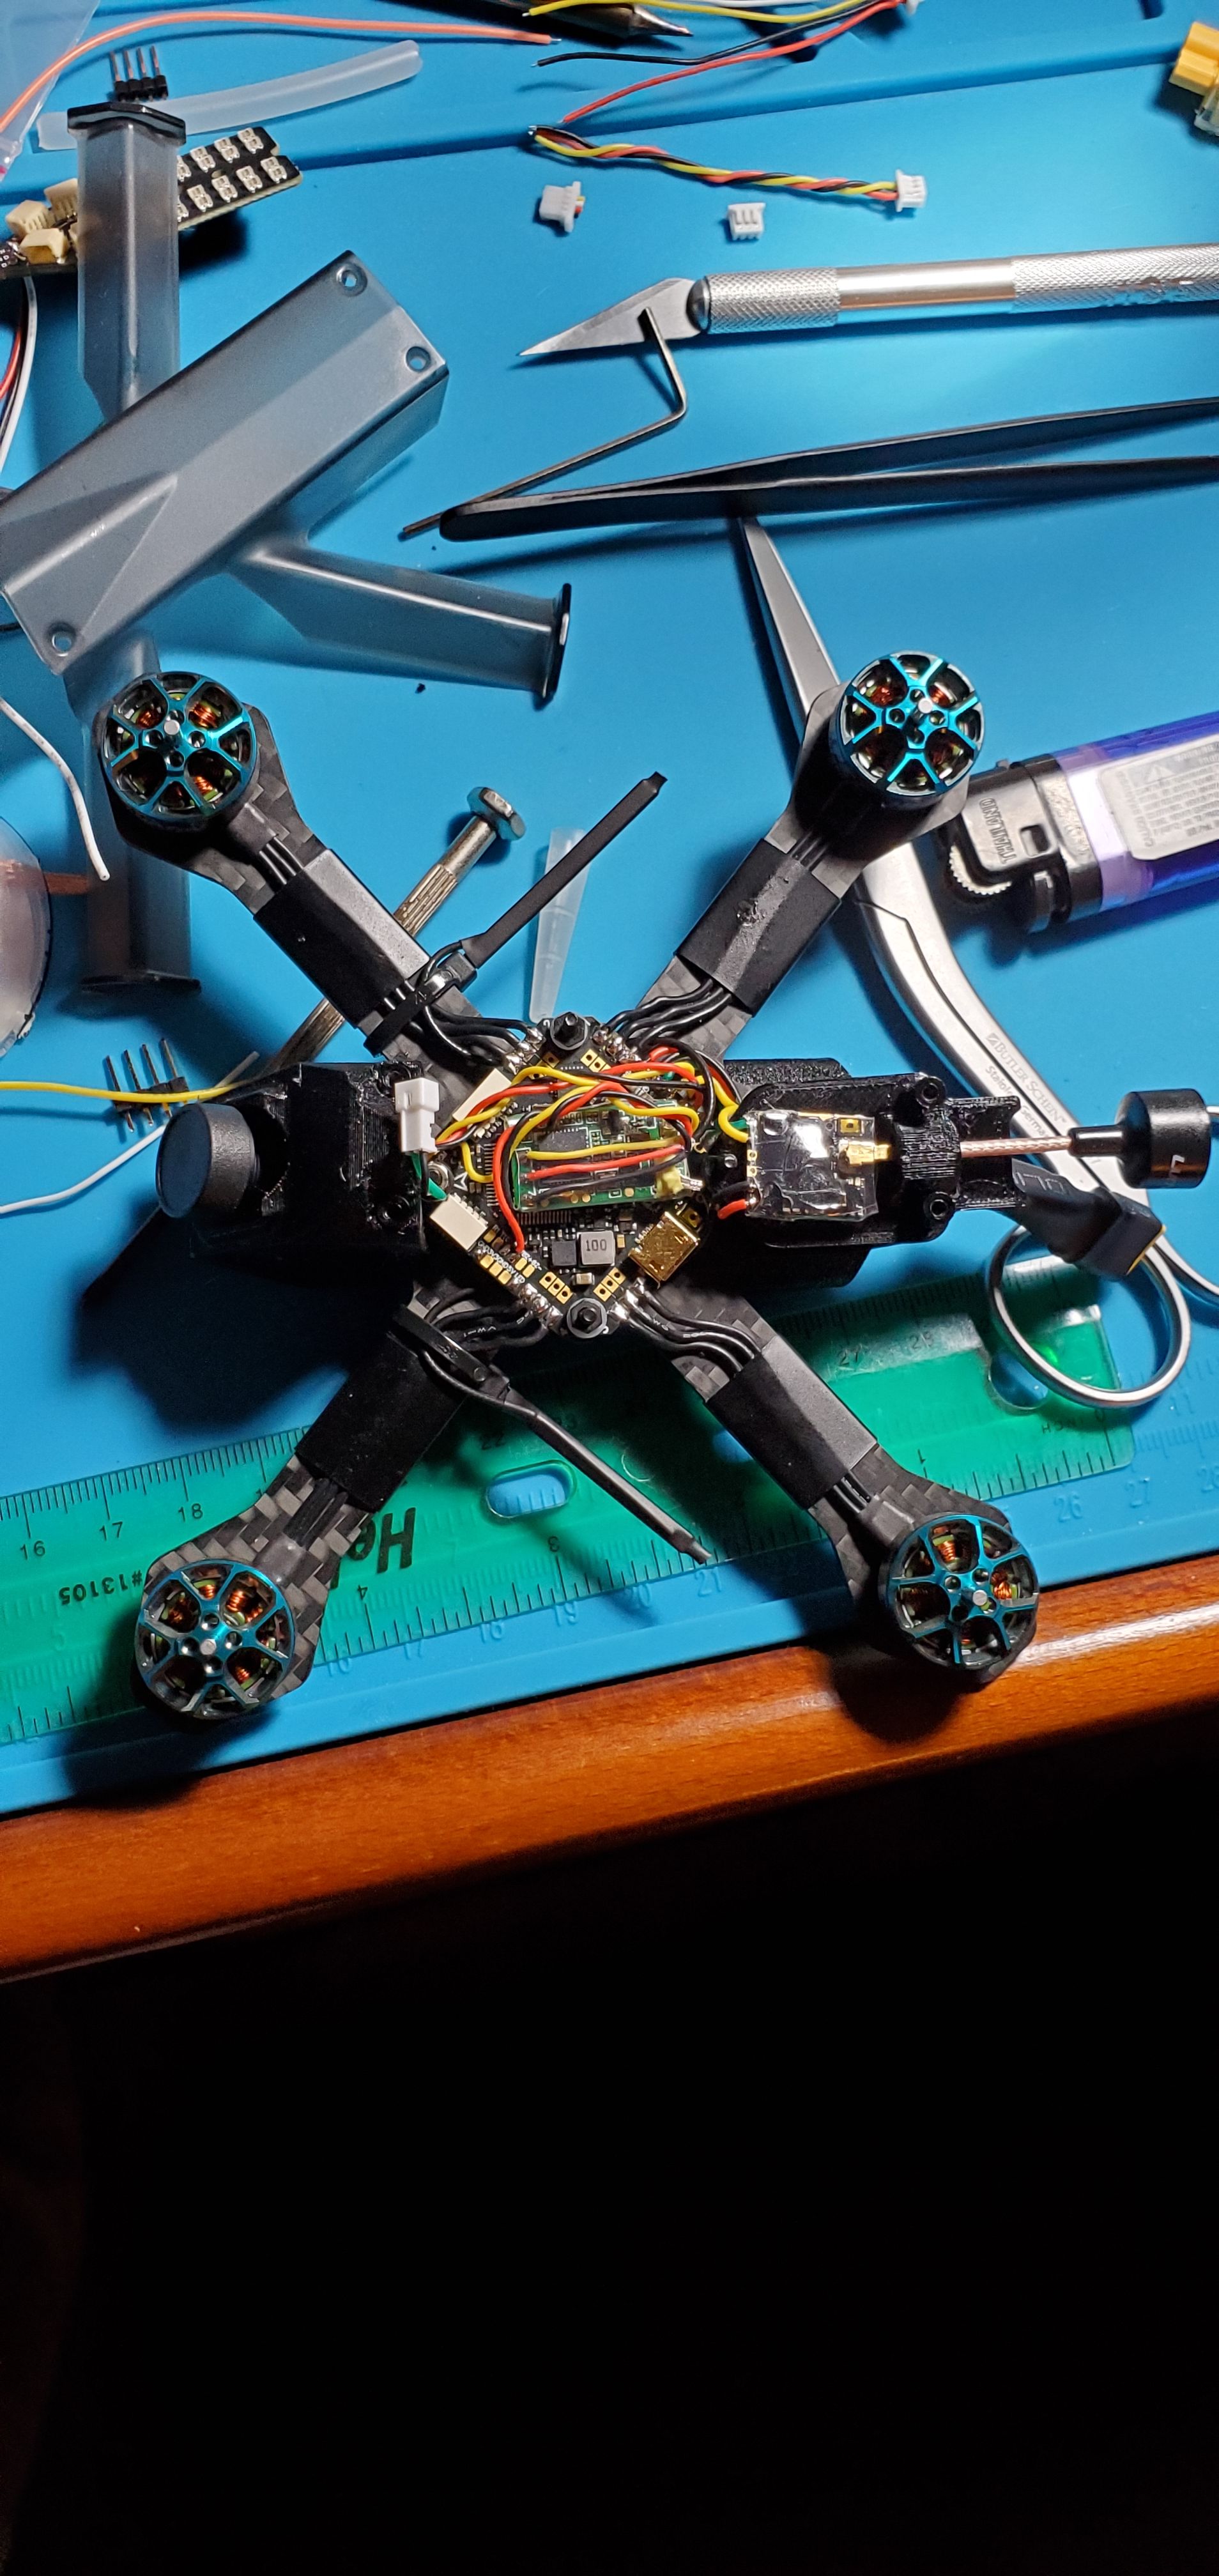
This little quad is very fast and incredibly agile. I'm running the PIDs provided by Five33, but running lower rates as I'm still pretty new. On a side note, buy spare 4" zip ties as the USB plug is inaccessible when the canopy is secured and if you have to mess with Betaflight settings or BLHeli Suite, you have to cut off the zip ties and remove the canopy first.
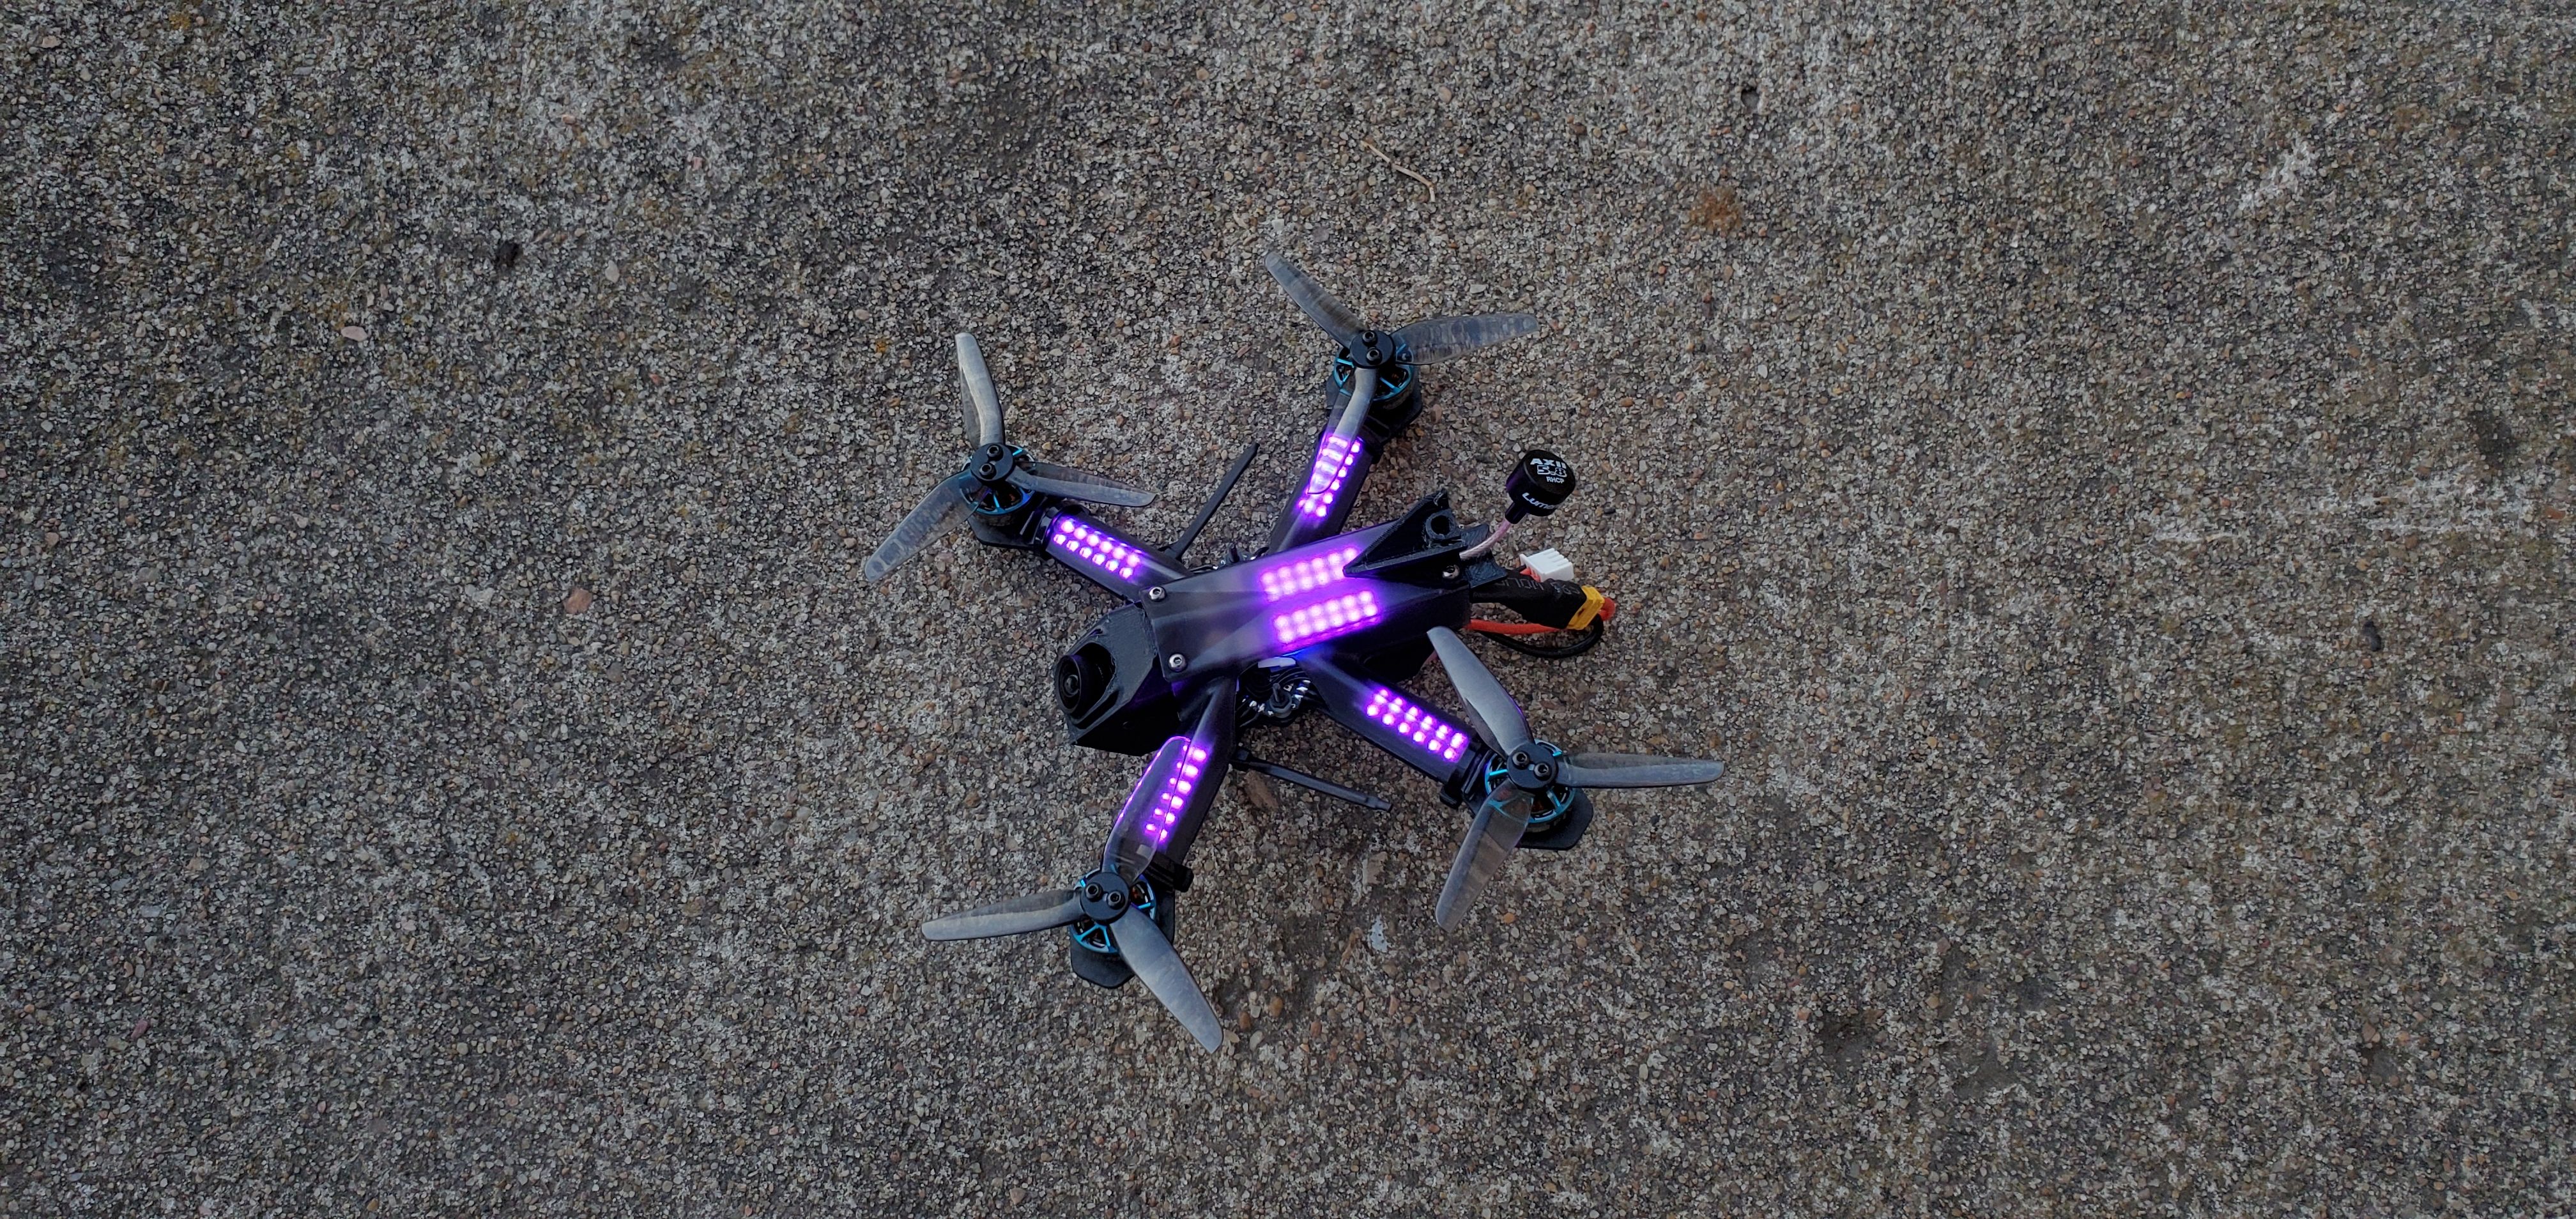
July 2021 update: I moved the XM+ antennas off the arms and onto to the back of the quad. This change has basically tripled the range I can get before any low RSSI warnings appear. I drilled a small hole in the plastic canopy direcly beneath the opening on the fin so one antenna points straight up and the other goes out the back along side the vtx antenna.
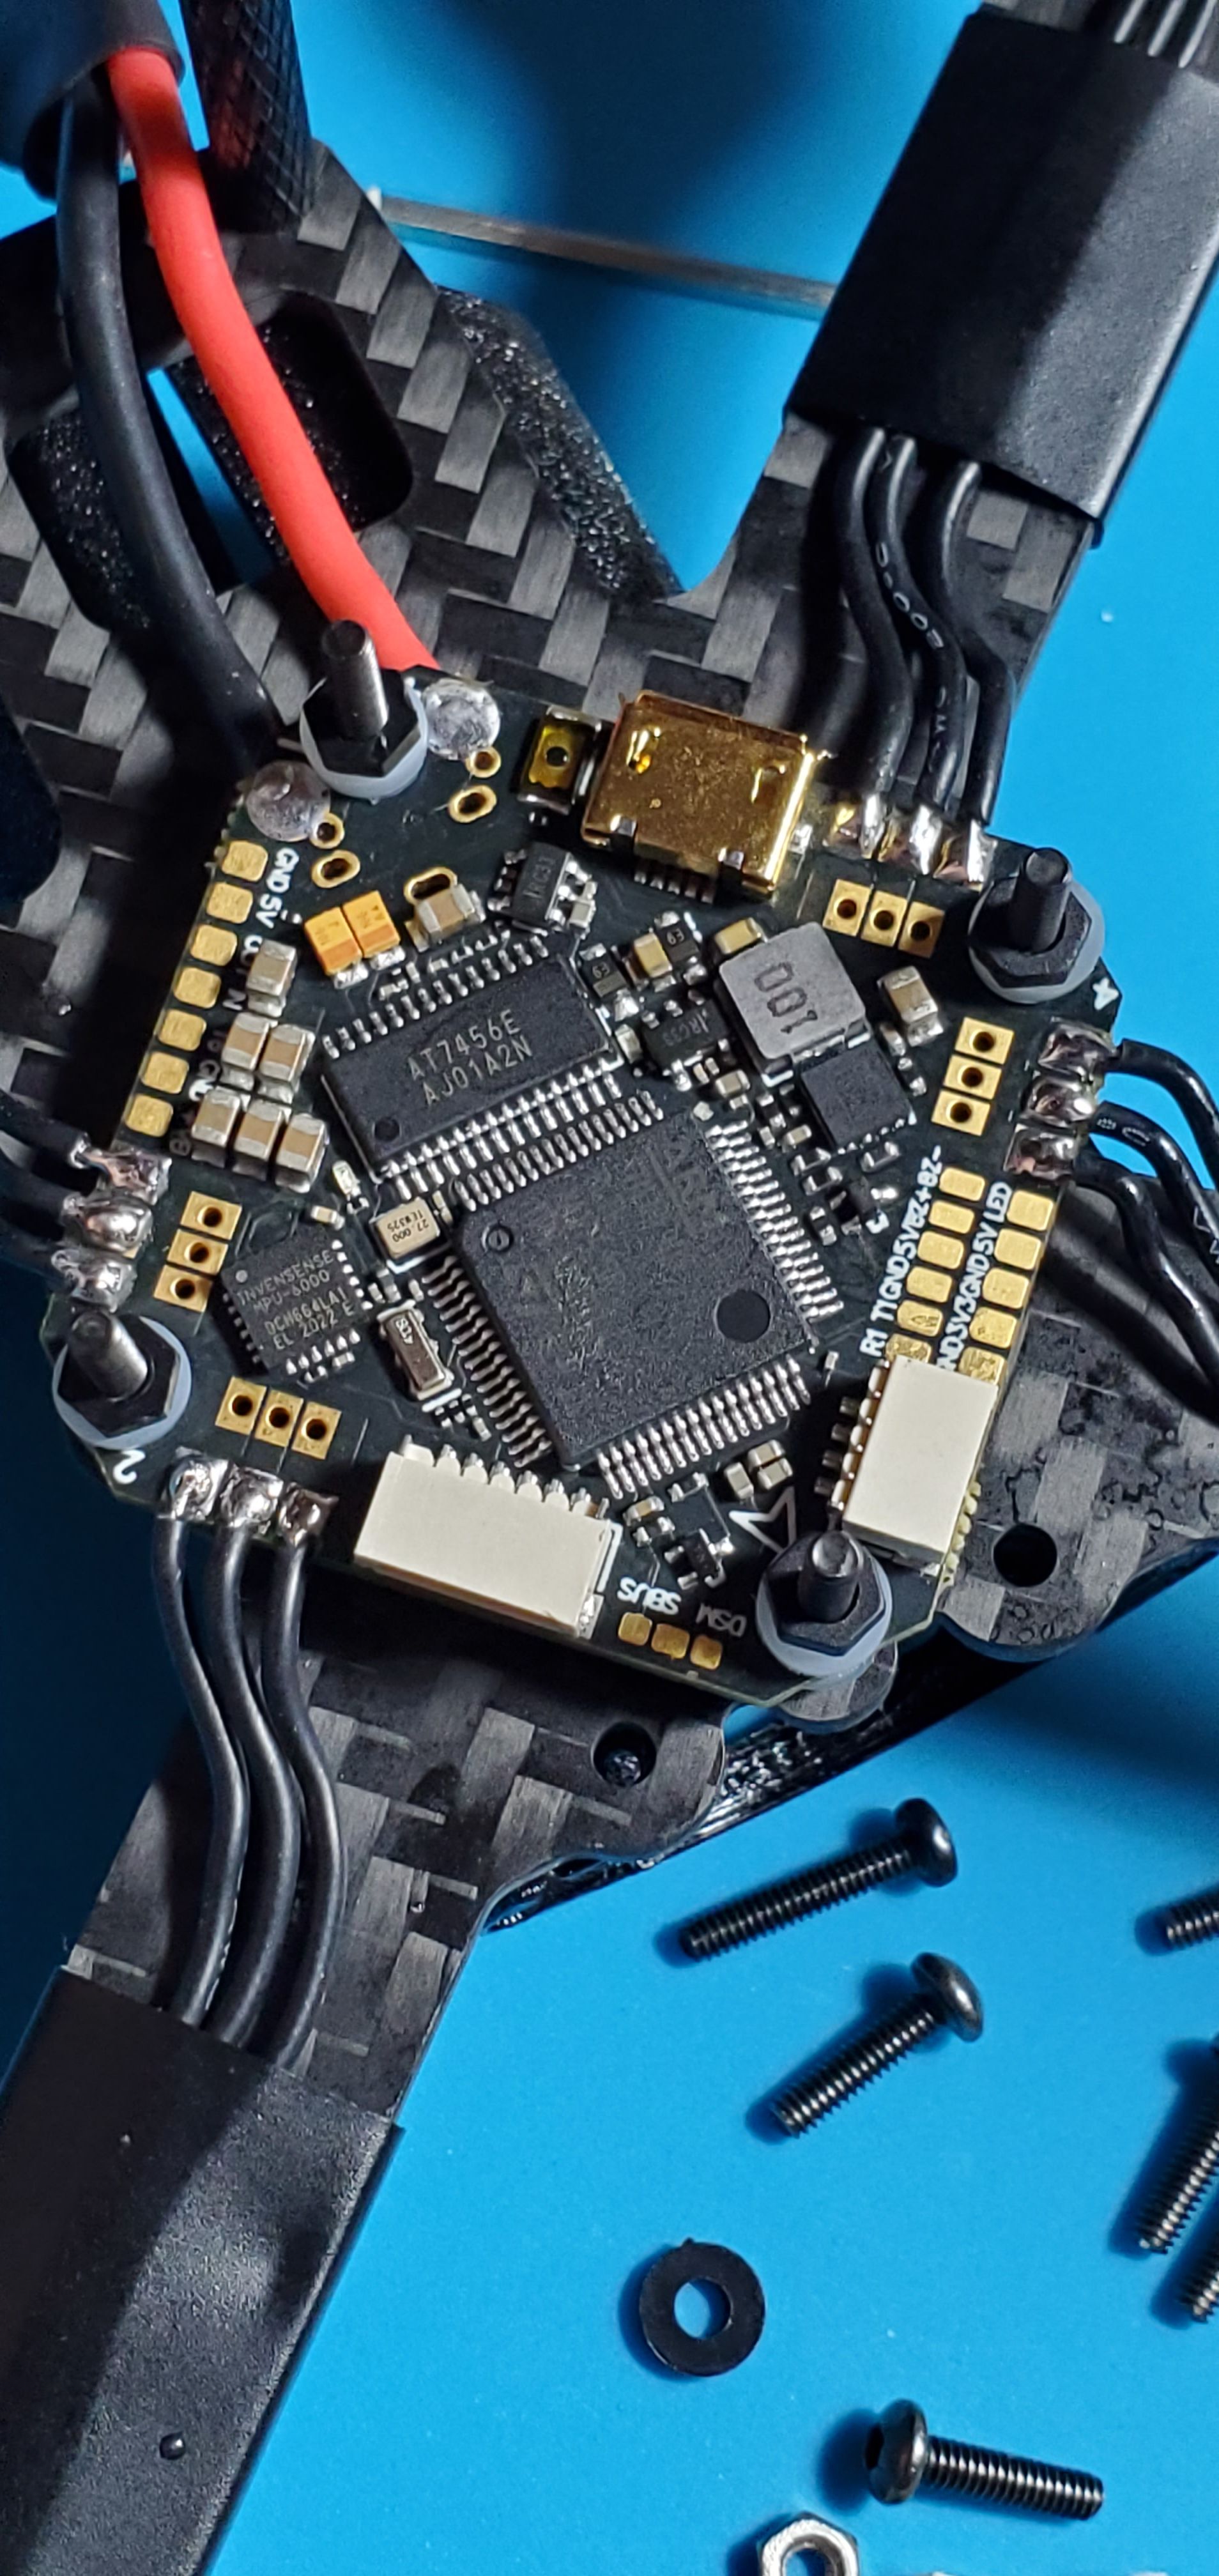
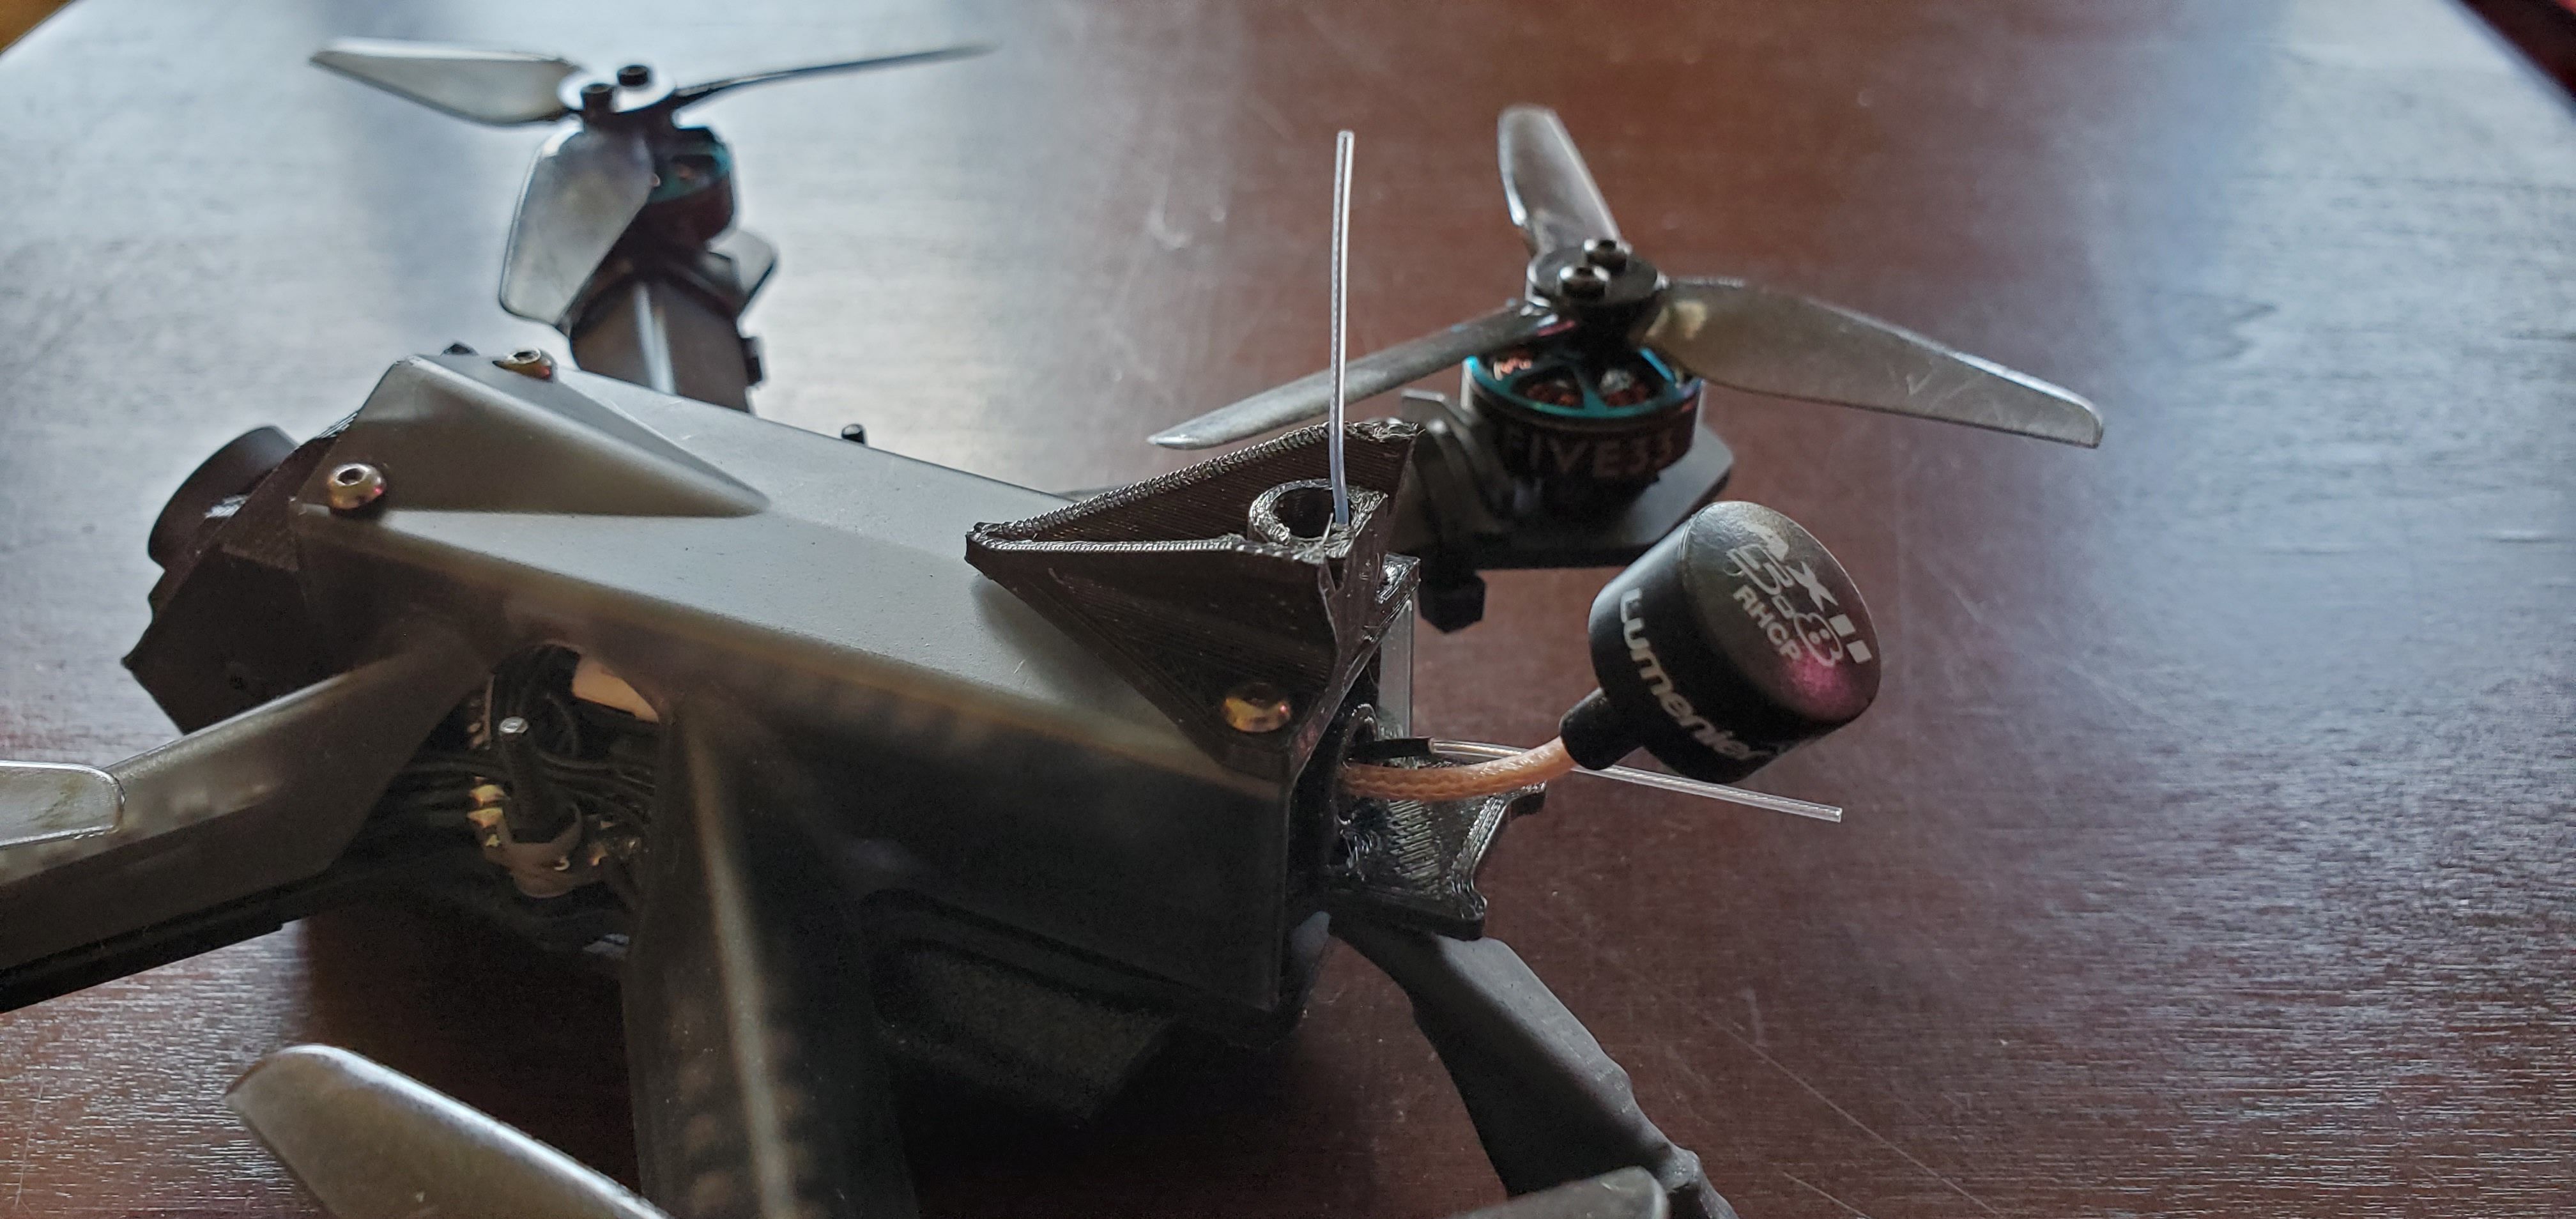
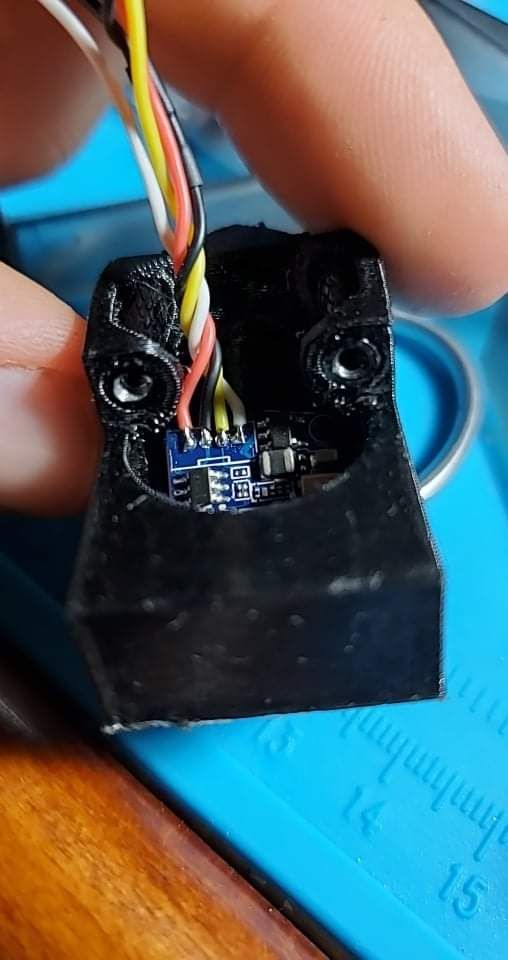
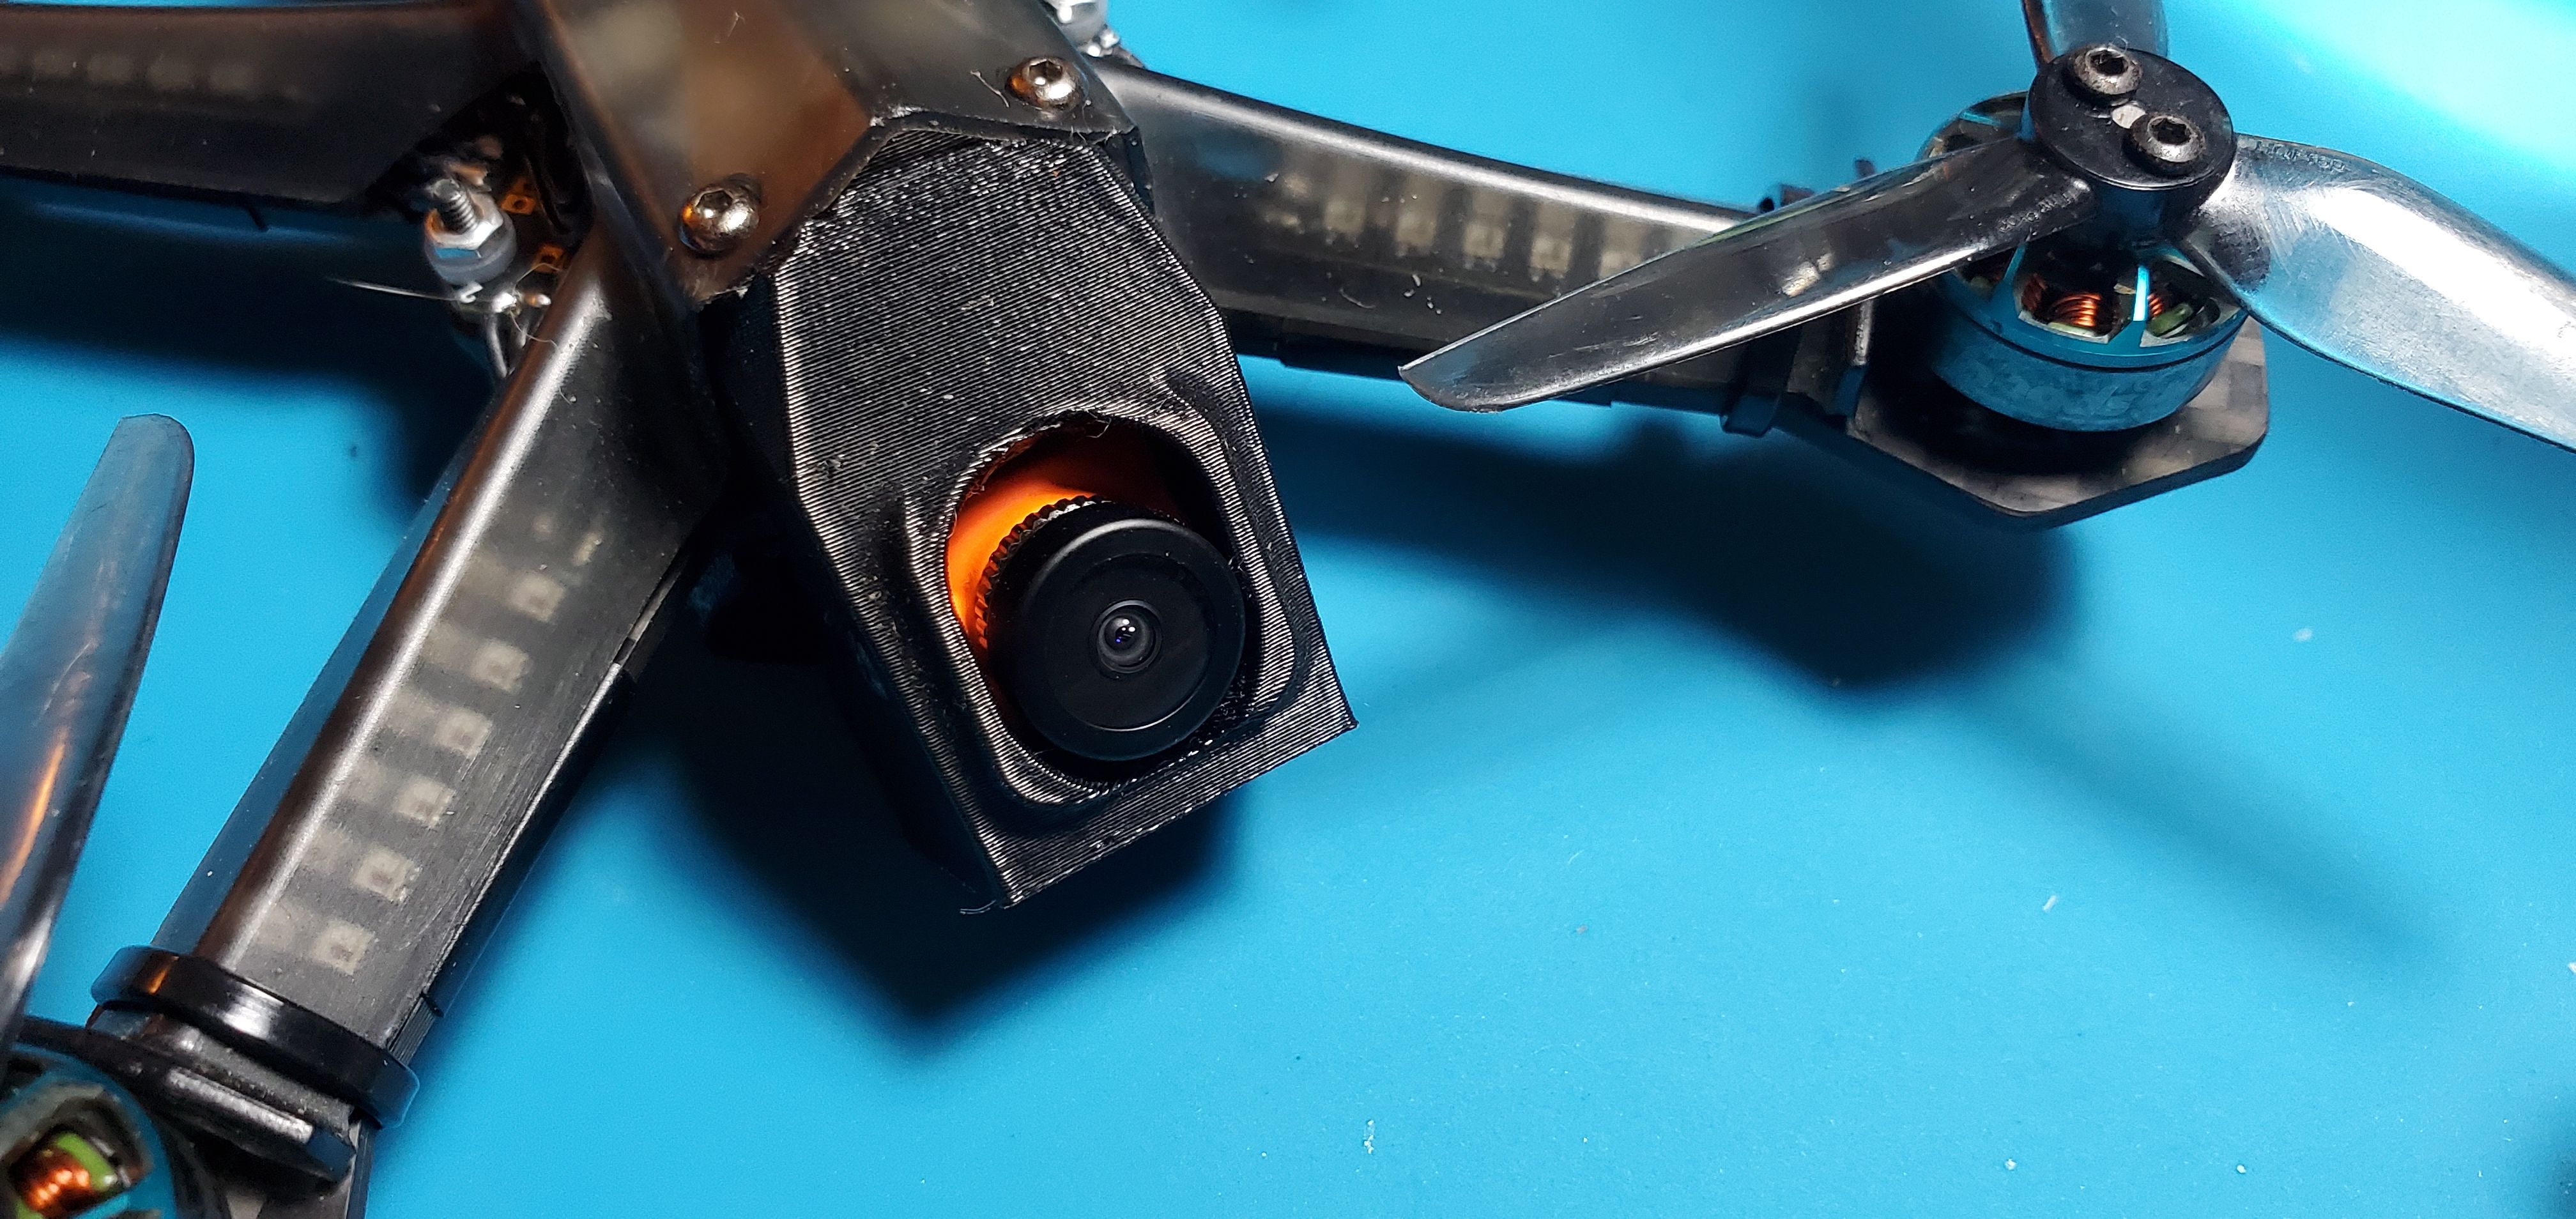
July 2021 update #2: I replaced the Caddx Kangaroo camera with a RunCam Racer Nano 2 (1.8mm) camera. I am truly amazed at how much of a difference this has made when flying in full sunlight, especially when you turn on Lightrax and turn off sharpview. I did have to pull off the JST plug for it to fit, and I was met with probably the smallest soldering pads ever, but I was able to get a clean solder no problem. I moved the VTX around 180 degrees to shorten the omni antenna sticking out the back. I also trimmed off about half of the XT30 cable so the battery leads don't flex awkwardly downward when plugged in. The two side bolts were replaced with 12mm M2 bolts, and the back bolt was changed to 20mm (LED kit was basically at the very edge of the stock bolt, so this allows for more room and is just short enough not to touch the plastic canopy).
January 2022 update: Removed XM+ and replaced it with Happymodel EP1 ExpressLRS. I also moved the battery lead capacitor onto the board to give the XT30 connector some more mobility. The capacitor is slightly tucked inside the back cut-out on the frame and the printed VTX holder rests on top.
Photos


Part List
Show stores (3)
Great job with soldering the camera pads! Mine was soo tight but I was able to get it. I'm going to do what you did for sure!
hey do you think you would go for an express lrs EP2 now ? it is amazingly small, i have been wondering if it would be good for this , i have had this kit sitting in my "quad area" for about a month now, procrastinating the build.. i know its going to be tedious.

I'm actually shopping for a different receiver right now and was looking at ExpressLRS. I'm not sure how the ceramic antenna would perform when tucked inside the components. I might try the EP1 as it has the 40mm omni antenna. You should try the EP2 if you have it and give us a review on the performance!

Nice build, thanks for posting this up, I'm about ready to build my Tiny Trainer. May I ask how you powered the Manaz LEDs? To a 5V output on the FC or to the Batt +? Thanks!
Guides & Reviews

AirbladeUAV has done it again and this time they've brought long range to the 5" class! Based on the popular Transformer Mini, the new Transformer 5" Ultralight adopts a lot of the same design philosophies with larger props and more payload capacity. It can fly upwards of 20 minutes on a 4 cell Li-Ion battery pack and in ideal conditions it's got a range of over 4 to 5 miles. In this guide I'll walk..
Read more
With the release of the DJI FPV Drone cinematic FPV has become a lot more accessible, but you certainly don't want to crash a $750 drone! The QAV-CINE Freybott is a compact, lightweight cinematic FPV drone that can take a hit and keep going. It's a lot safer to fly indoors and around people. With a naked GoPro or the SMO 4k you can capture some great stabilized footage. In this guide I'll show you..
Read more


Great work. Maybe you made some more modifications to the assembly??