TomoQuads Chopstick CS3 HD - 3" Cinewhoop - Nebula Pro - Naked GoPro - 1404 3850KV - 4s
 By wrong17 on May 22, 2021
After another unsuccessful attempt in building a 2.5” cinewhoop, it confirms my obvious assumption about its limitations. The 2.5” props will need to spin the props a lot faster to create more thrust, which makes more noise in comparison to a larger prop. But the key is finding the balance. You want something that has a small footprint so you can get into tight gaps, but you want to maximize the prop size for optimal efficiency and sound levels. No matter what 2.5” props I tried, the sound level is not acceptable especially when flying indoors.
There are many advantages the 2.5” props, however the negative out weights the benefits. Not everyone has the same ideals for a cinewhoop quad, so my specific need may be different. The noise level is the most important, and that is why all the 2.5” pusher builds always failed for me.
Why did I use the TomoQuads Chopstick CS3 frame? Because it was hanging on my wall for over a year and not being used, plus it is very light and supports 3” props. In my opinion, the magic starts with the 1404 motors when you use 3” props, because that is when you see the efficiency kick in. I also hope the larger props with provide more thrust at a lower RPM to reduce the amount of noise.
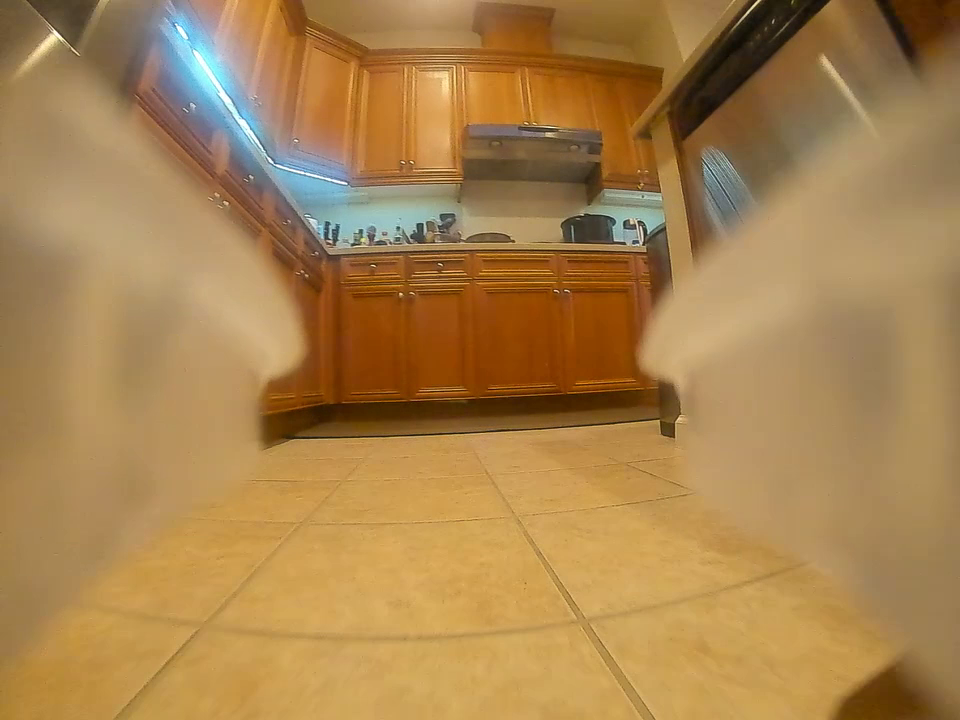
I missed judged the prop ducts in the front of the quad. As you can see in the picture, 2/3 of my FPV view is blocked by the prop guards.
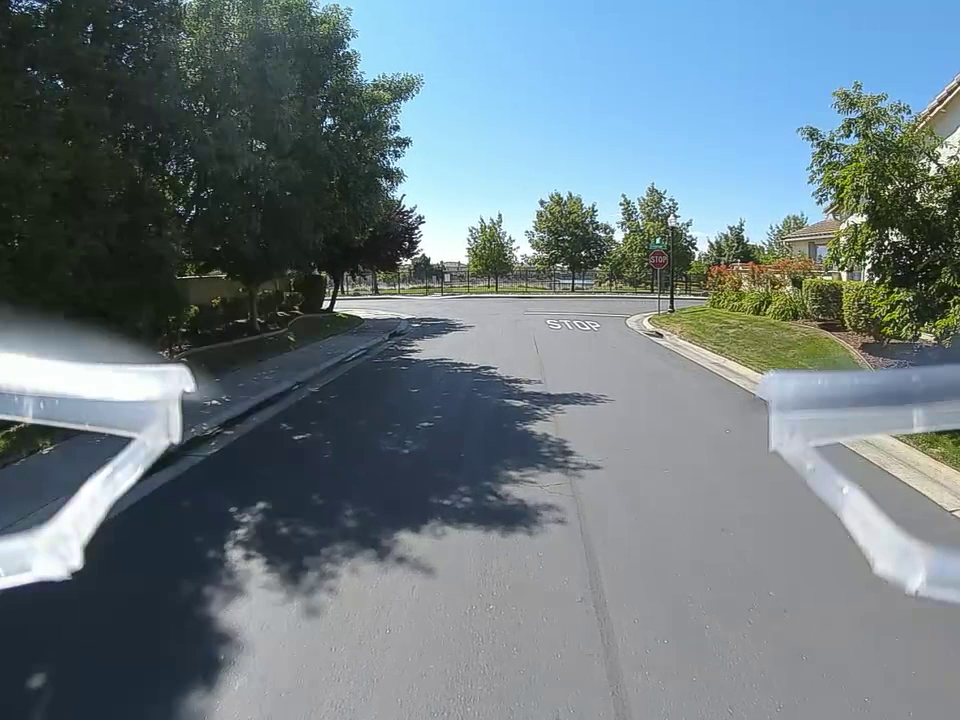
After trimming the GEPRC CineQueen prop guard, it made a huge improvement.
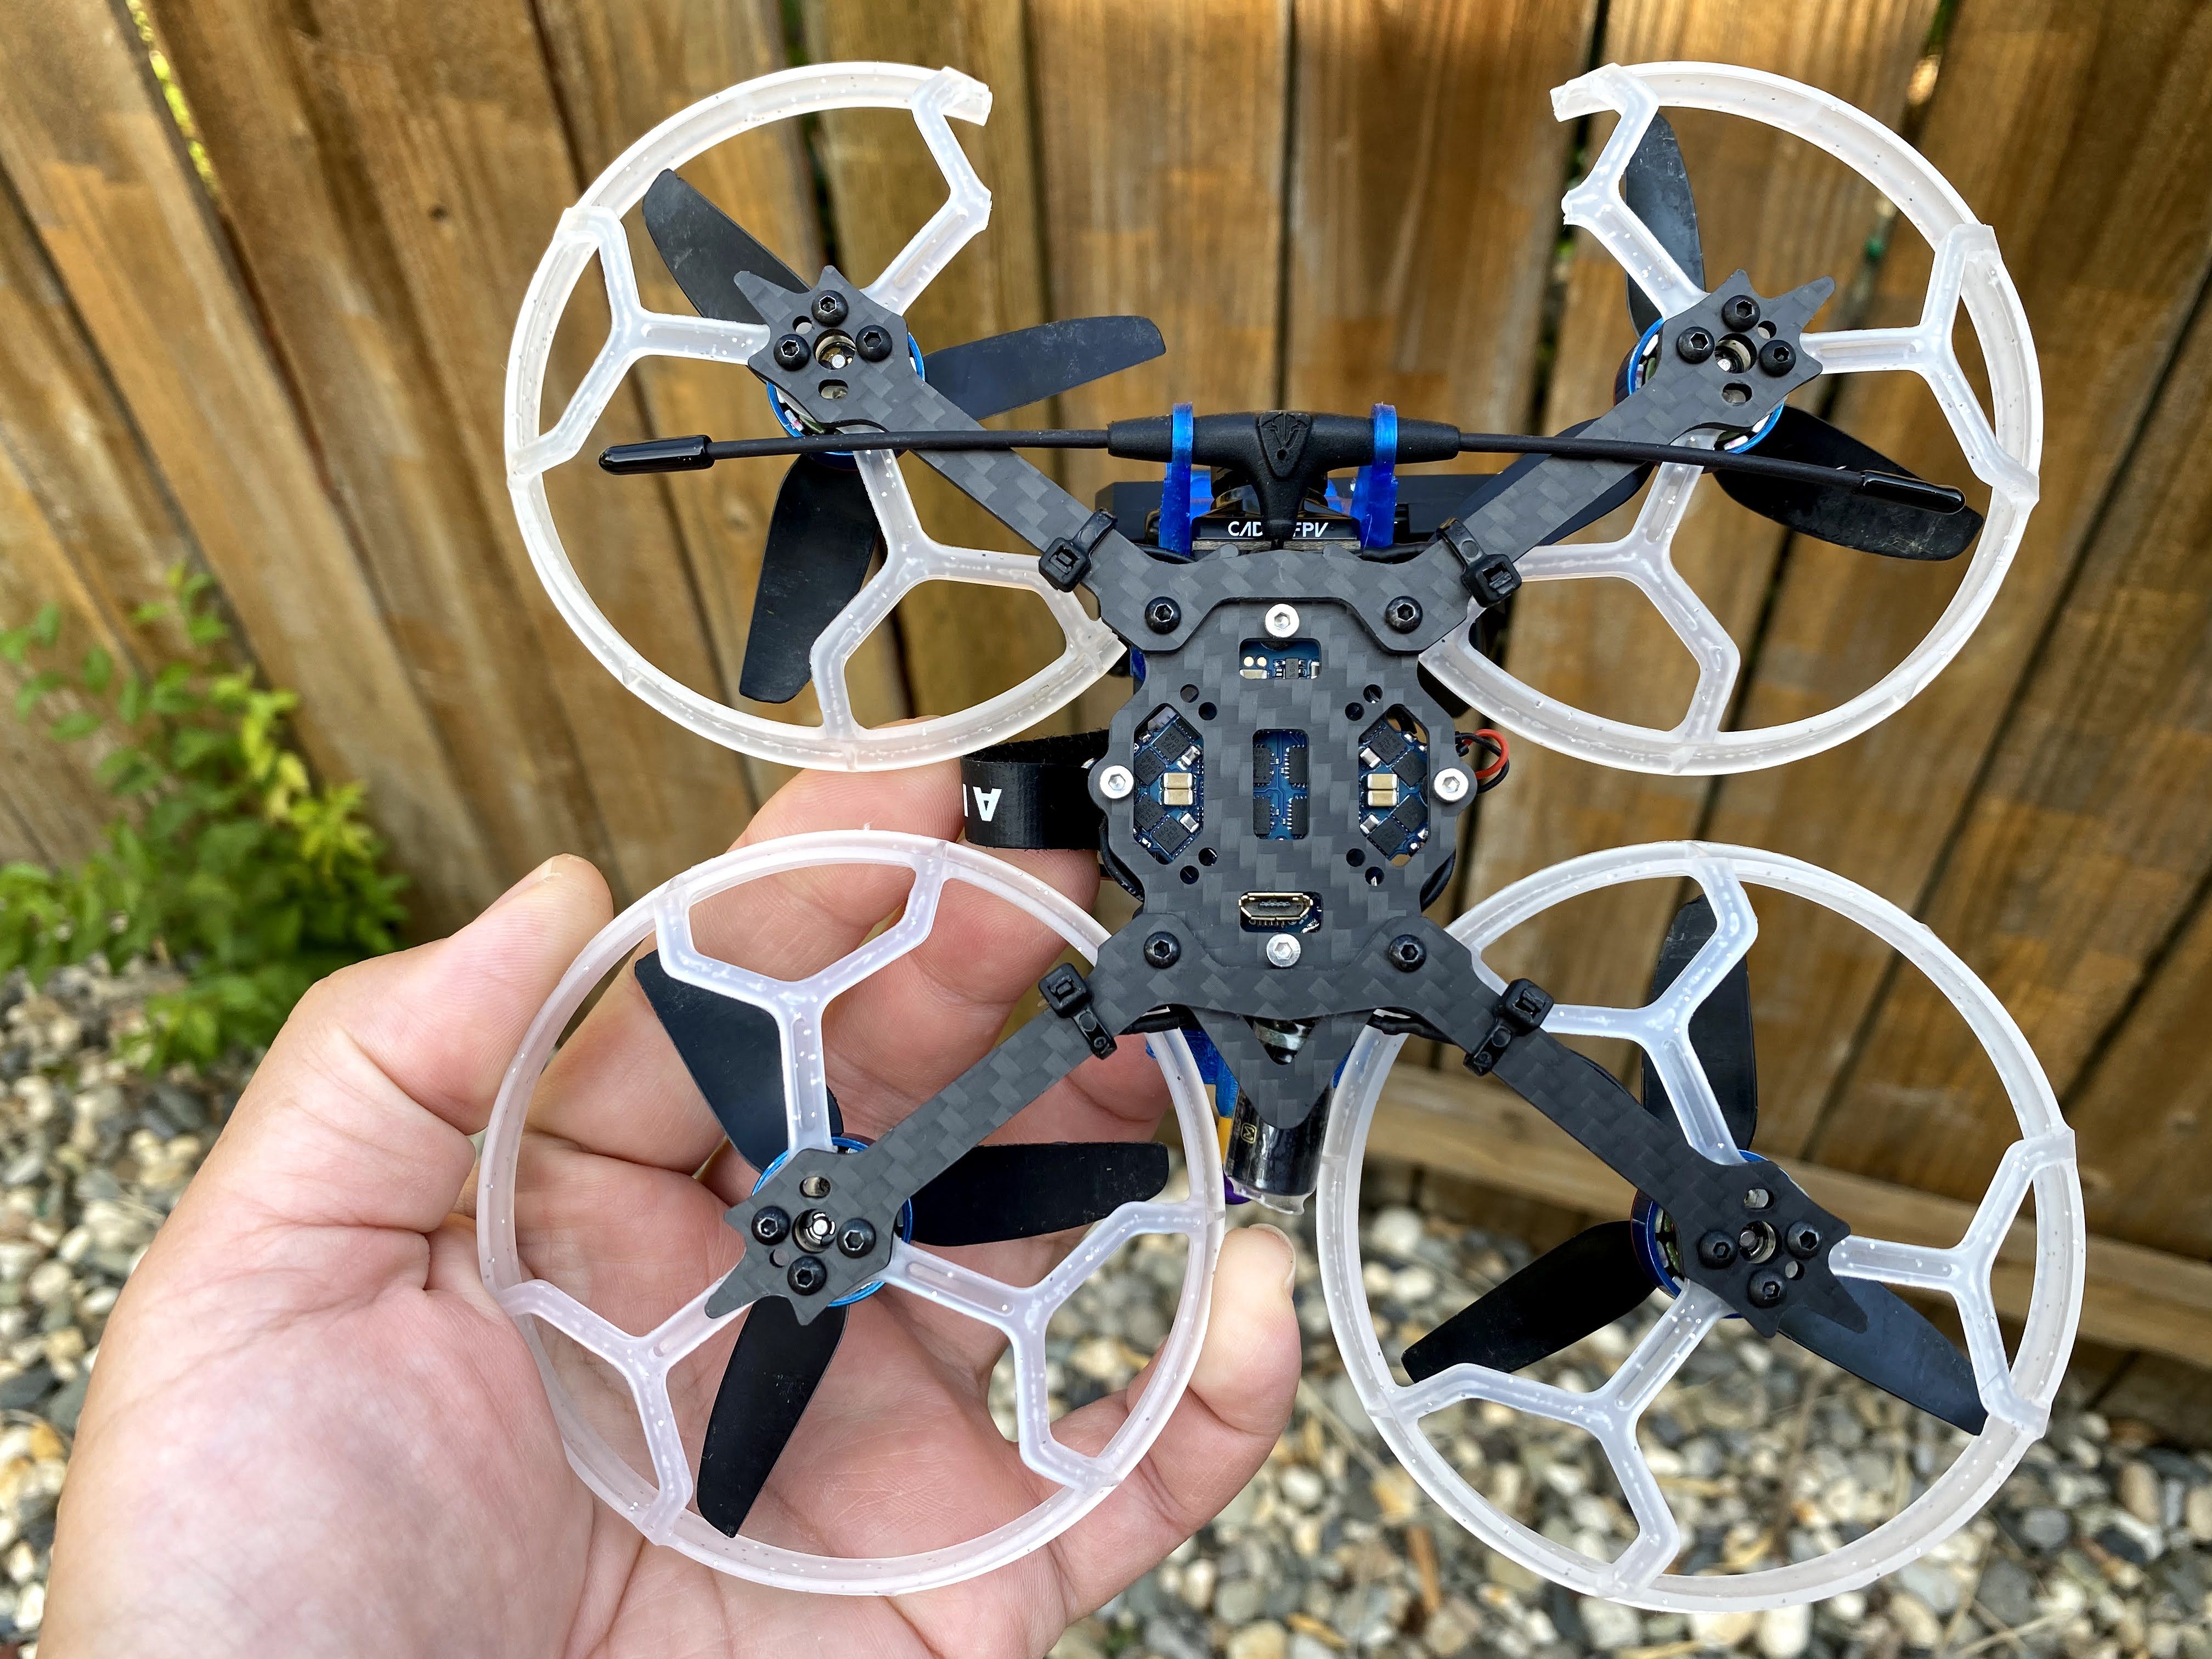
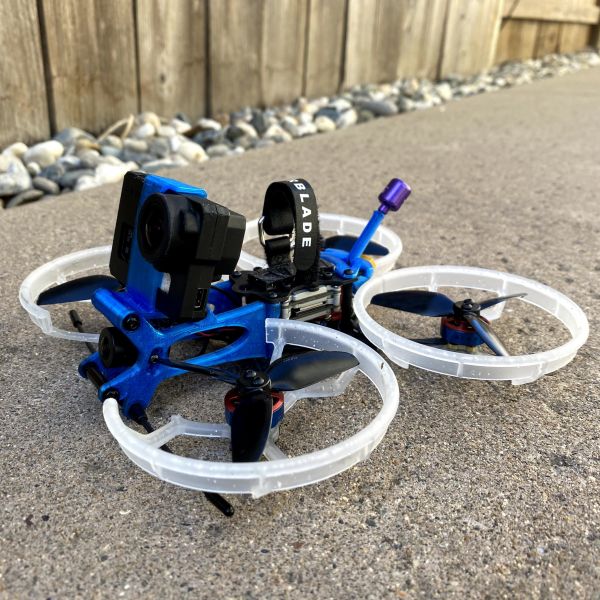
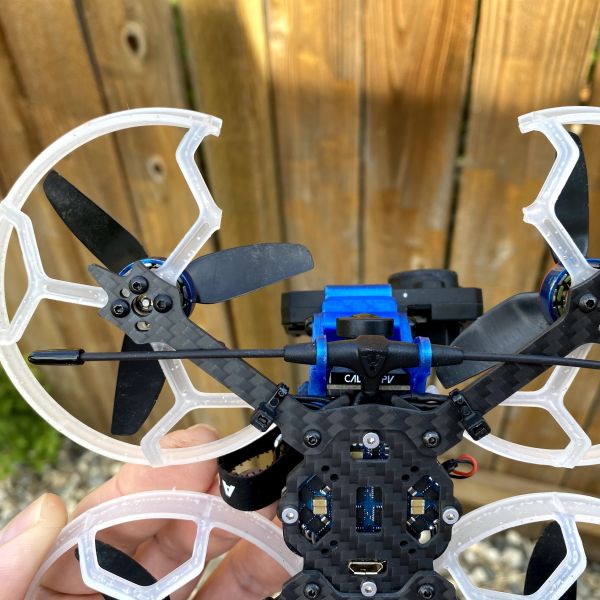
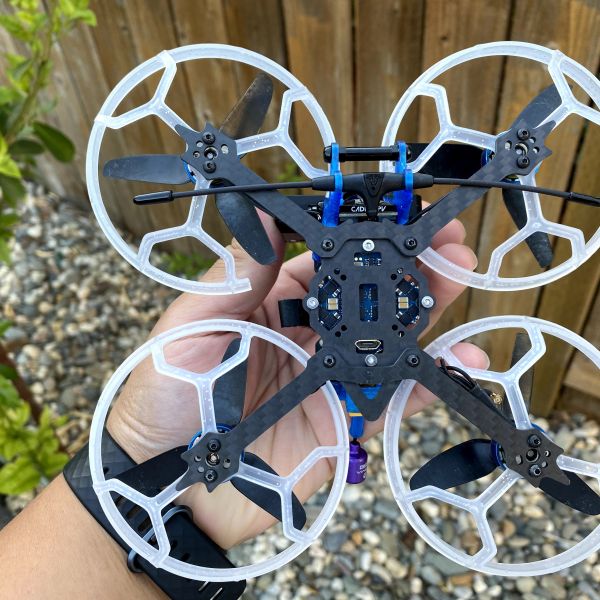
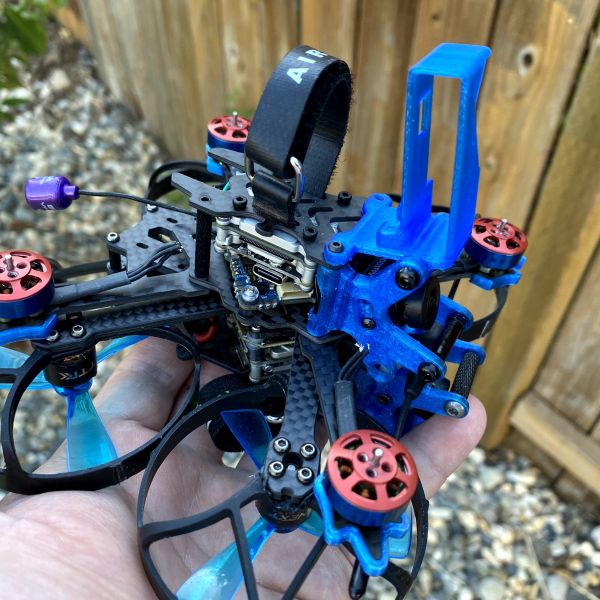
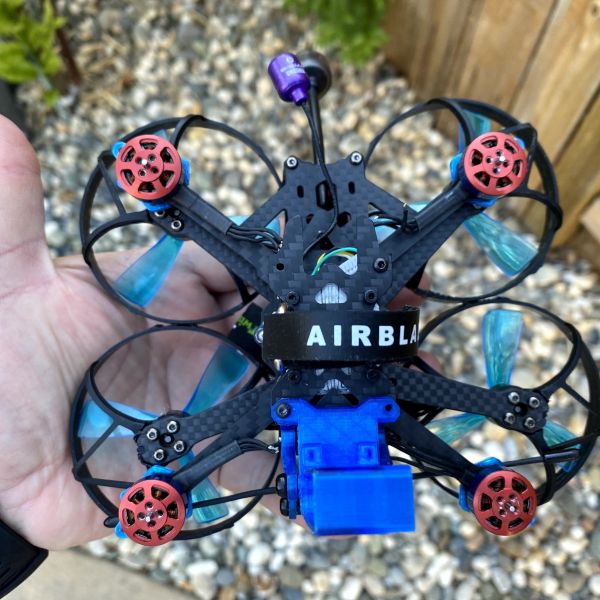
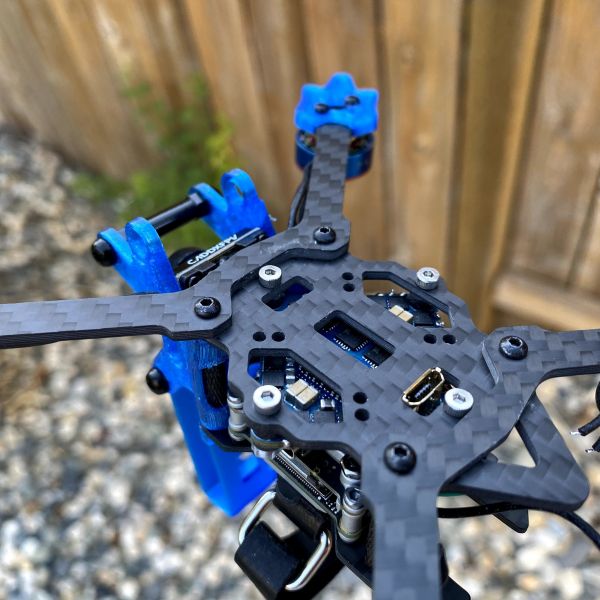
This is how it looks after trimming the prop guard. I am kind of worried about the lack of protection in the middle of the quad. Since I have the rotation of the props set to reverse, it is spinning outwards so it should not suck anything in but push it out. Having the FPV camera so far back keeps bothering me and I need to do something about it.
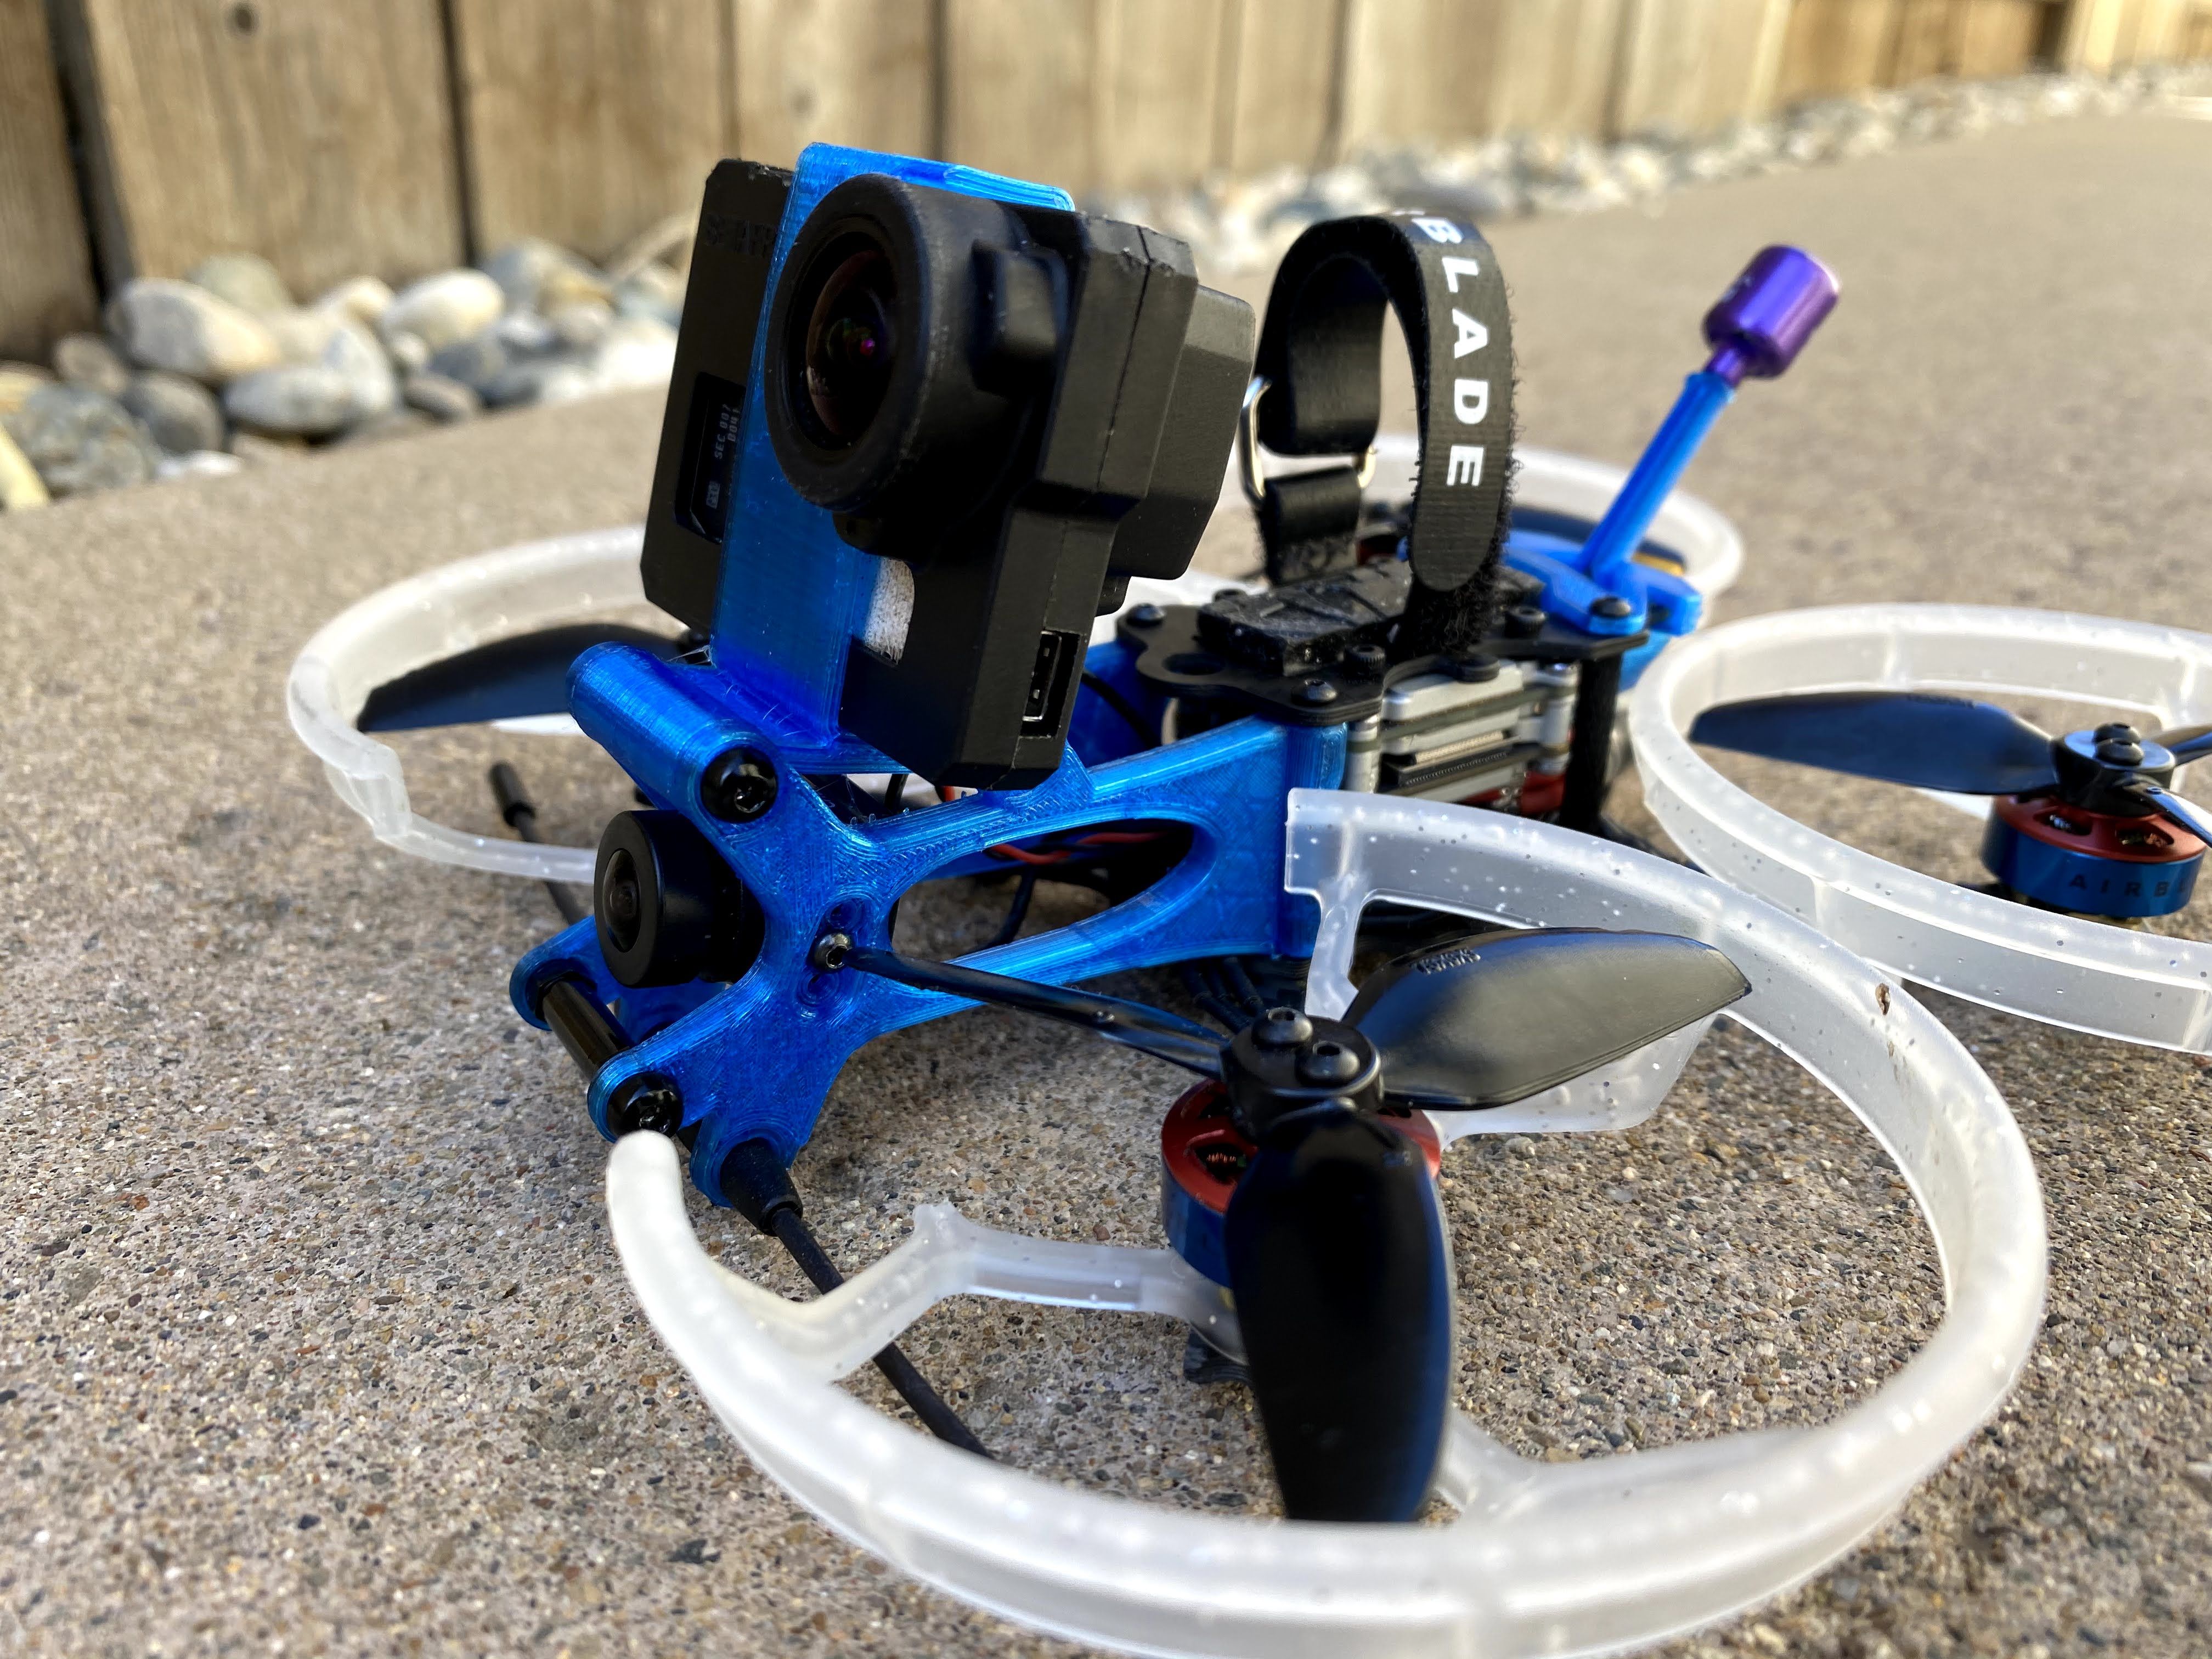
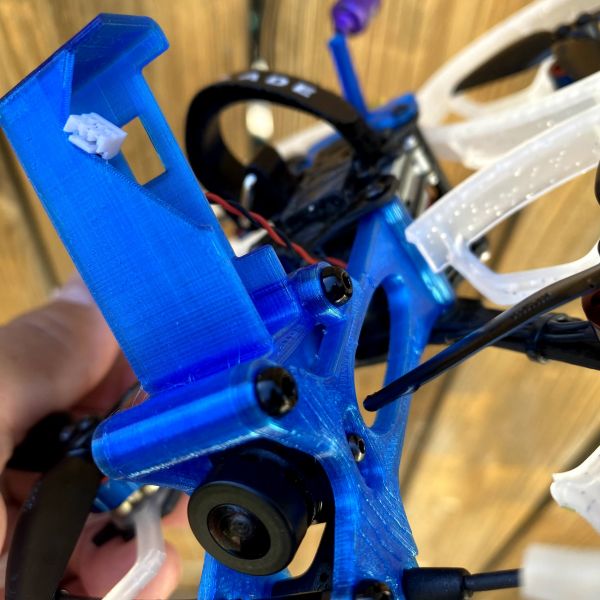
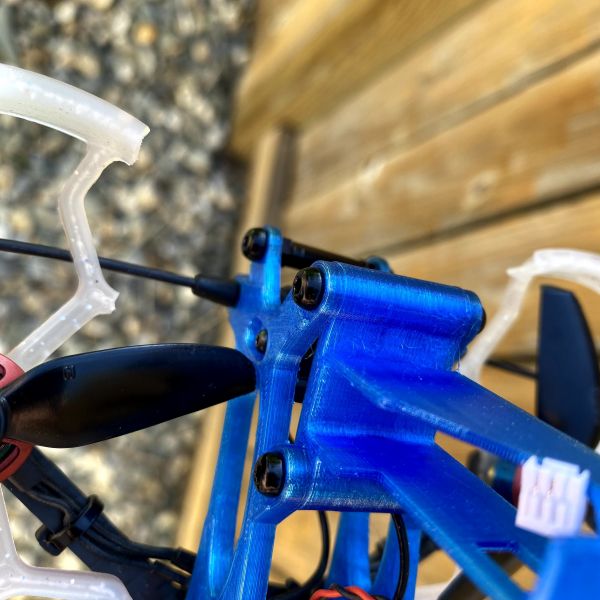
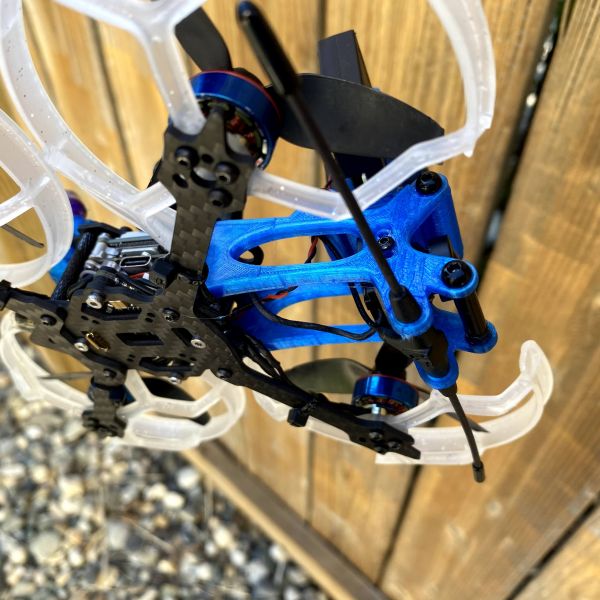
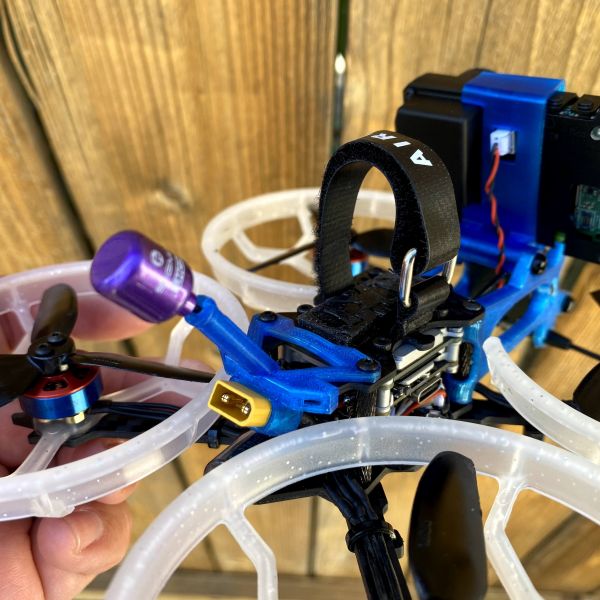
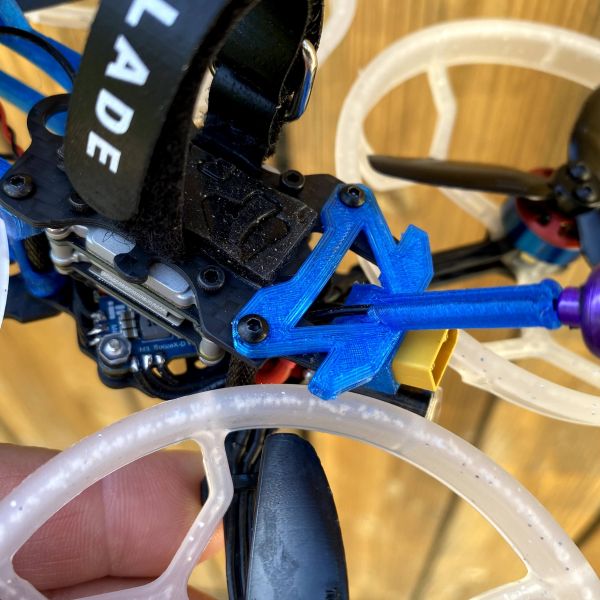
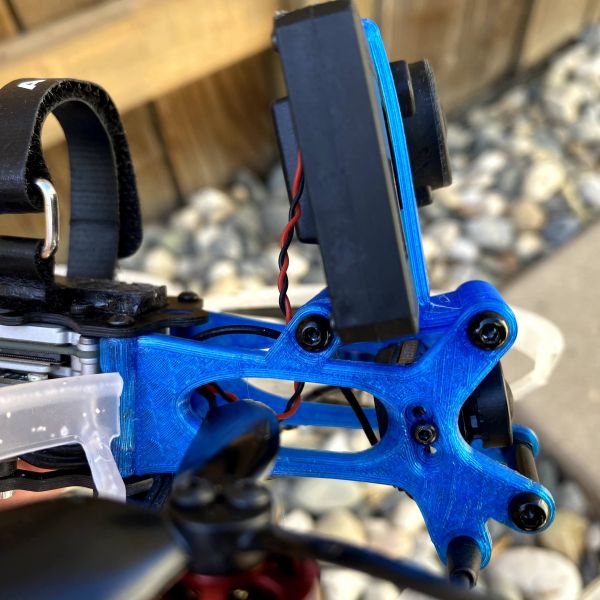
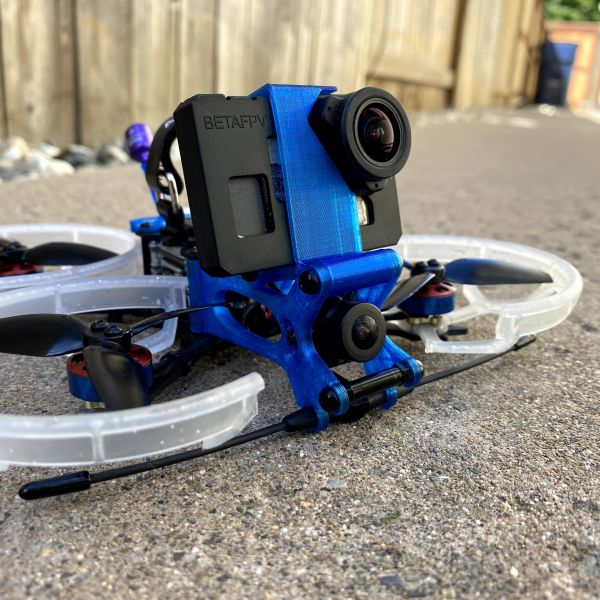
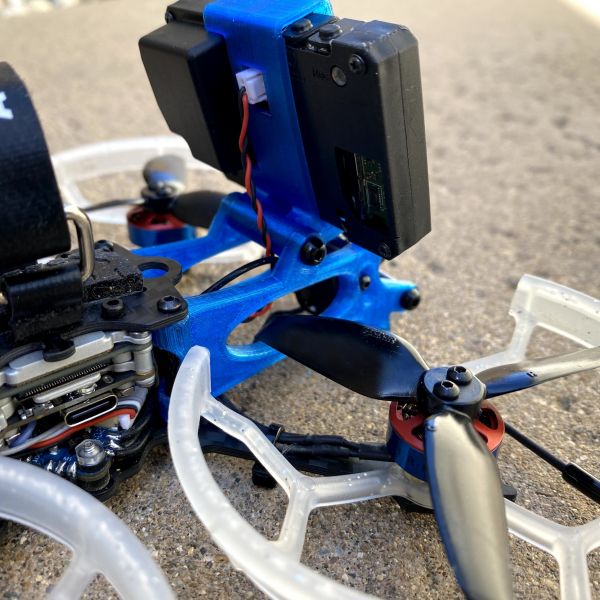
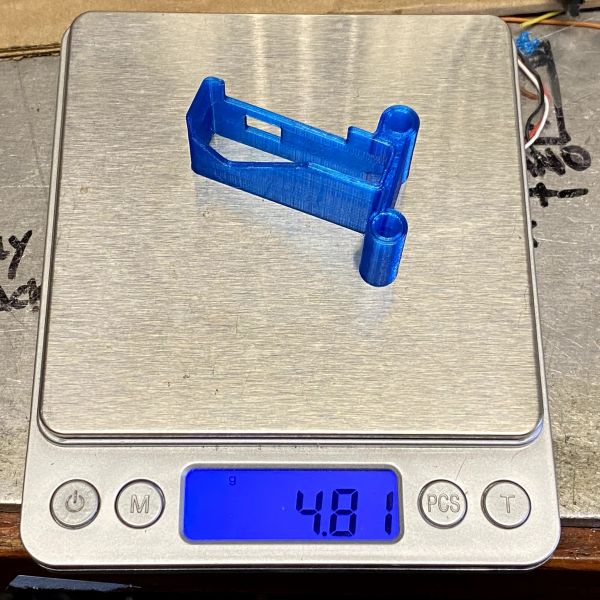
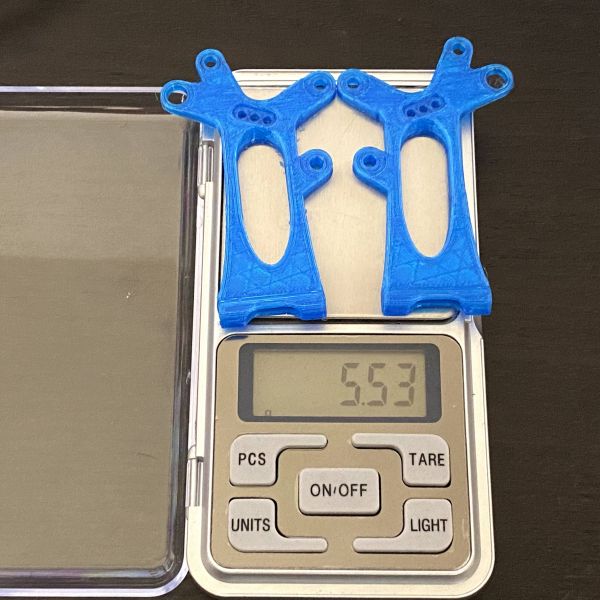
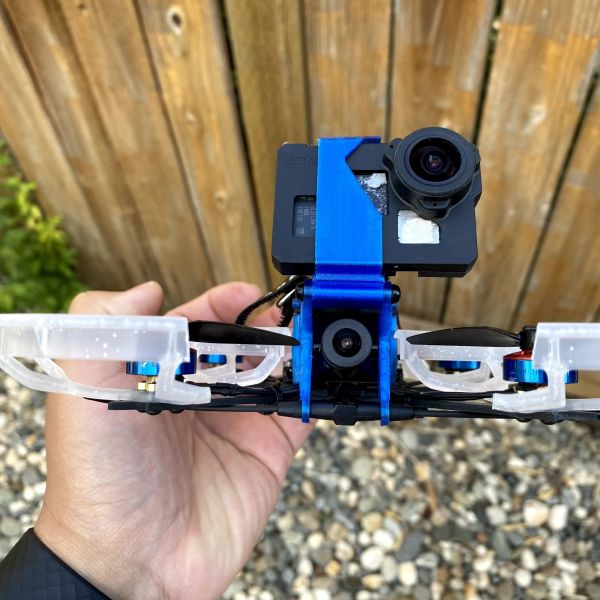
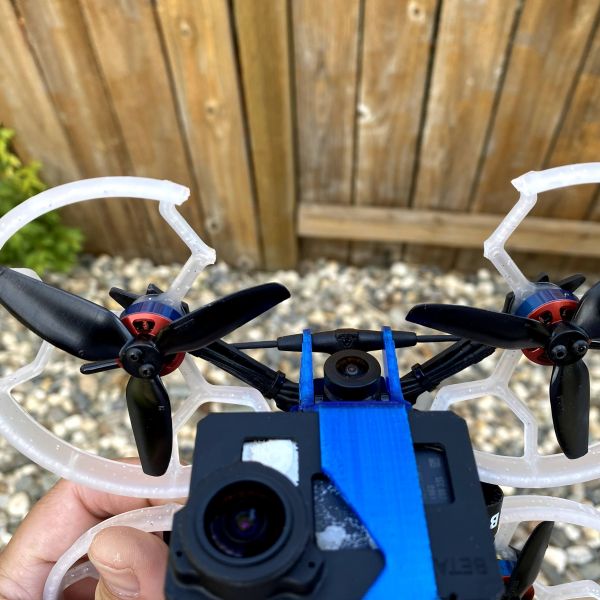
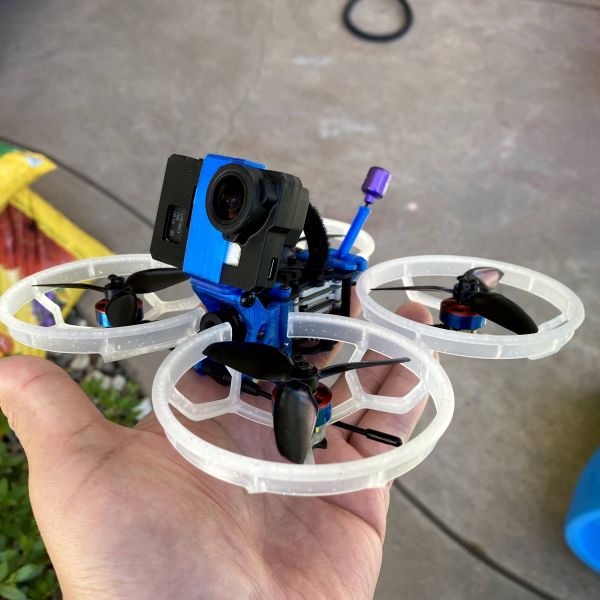
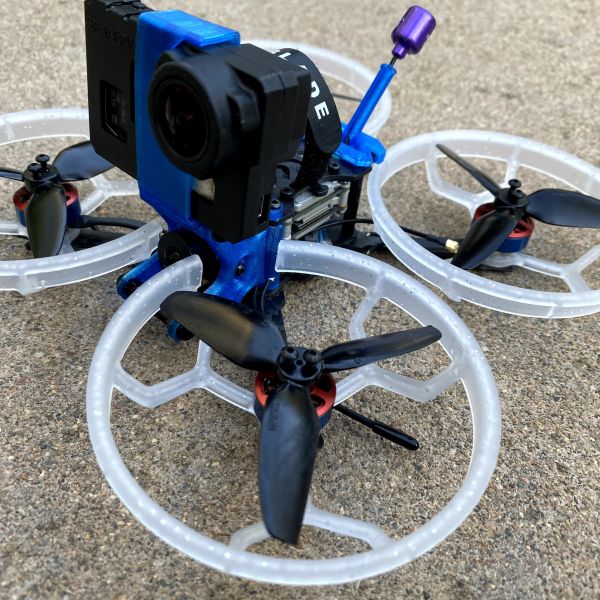
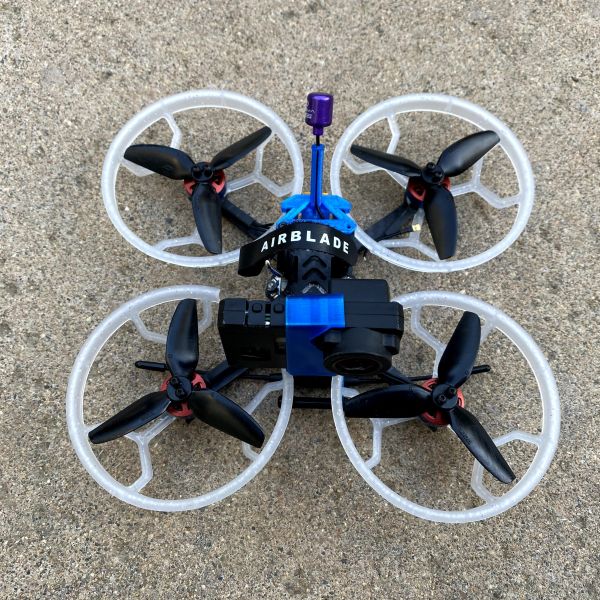
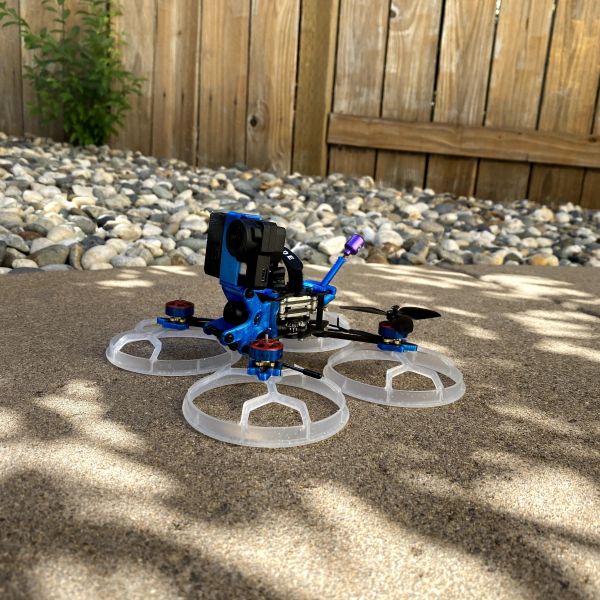
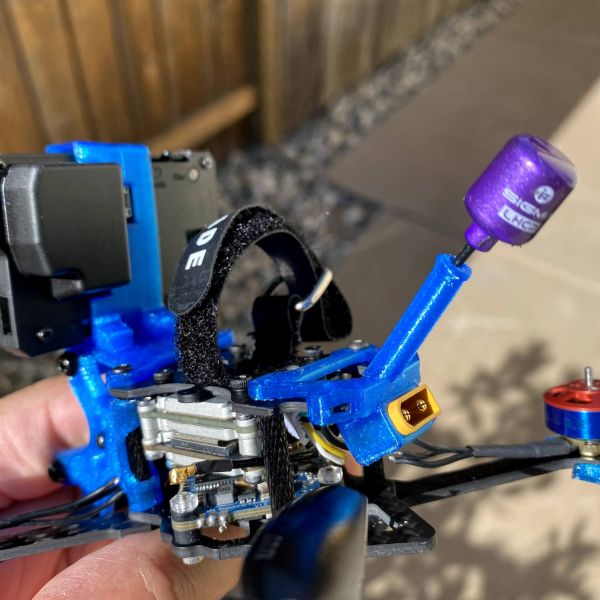
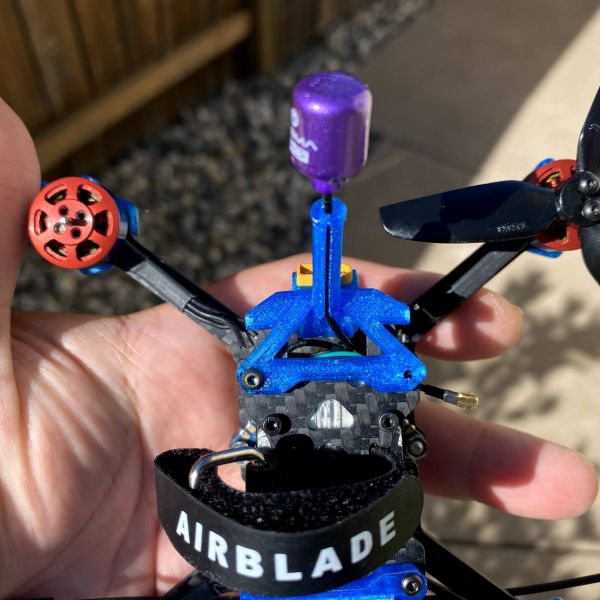
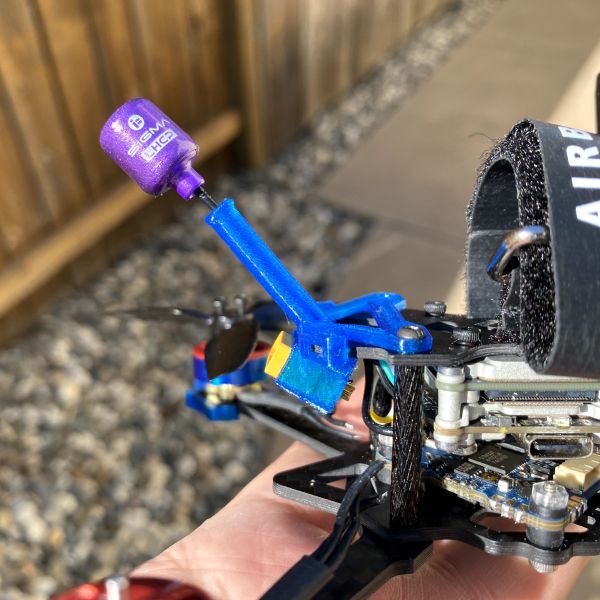
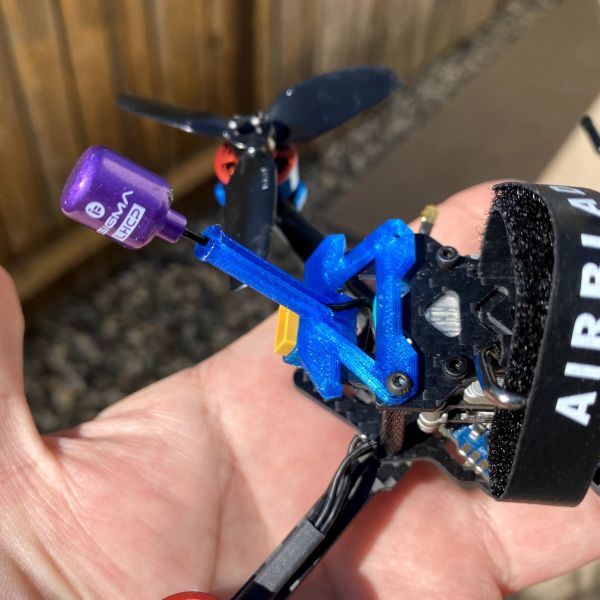
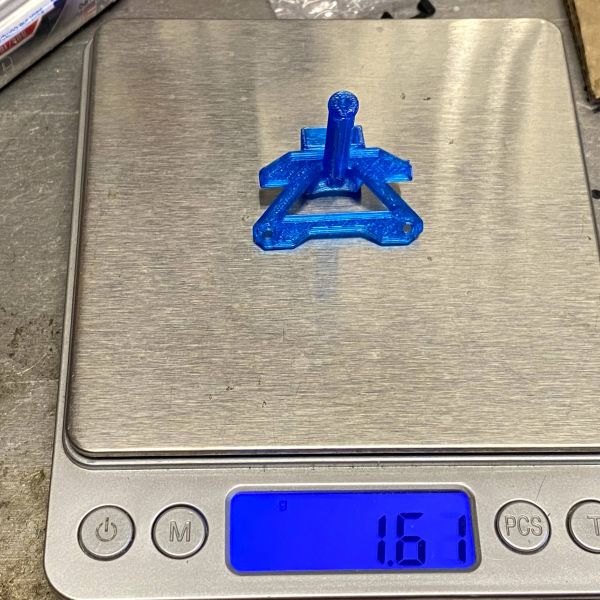
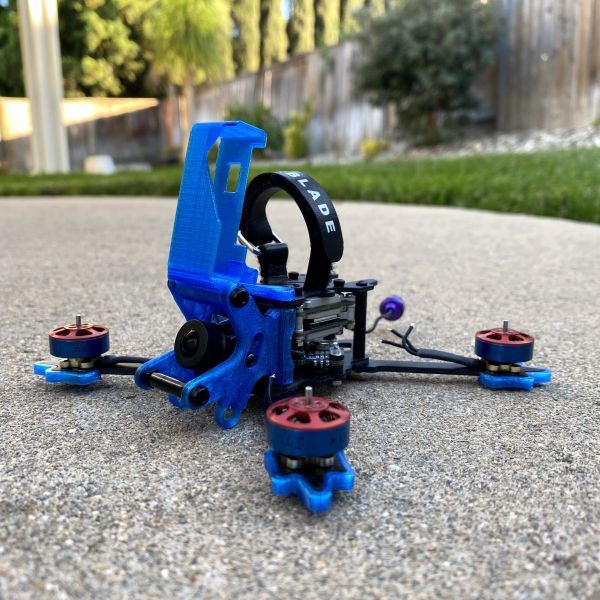
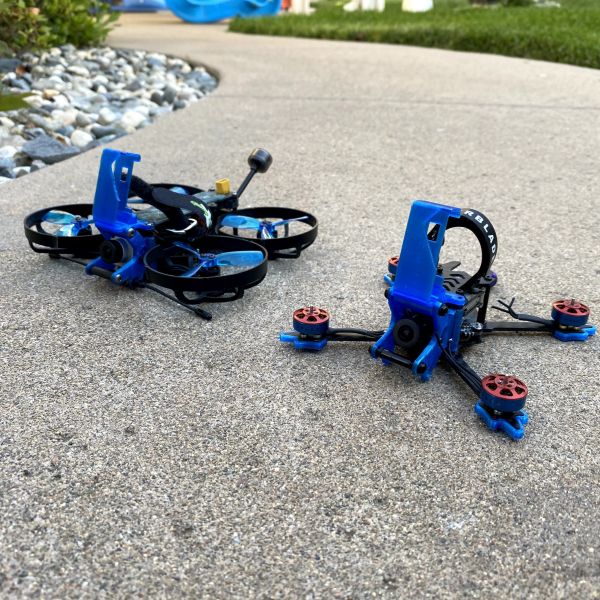
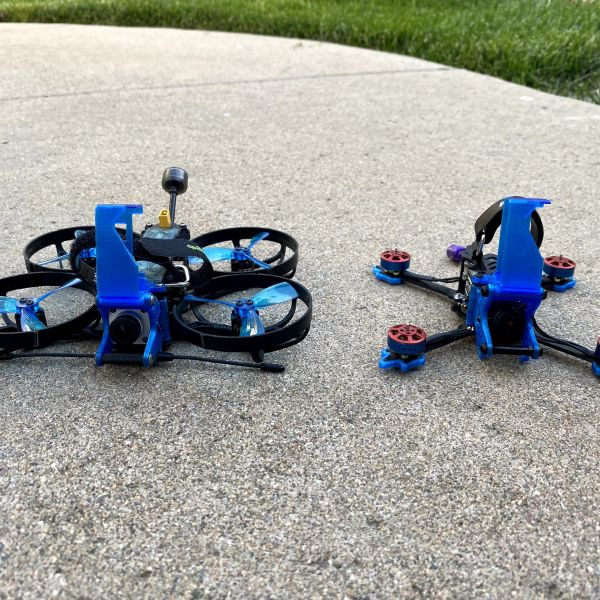
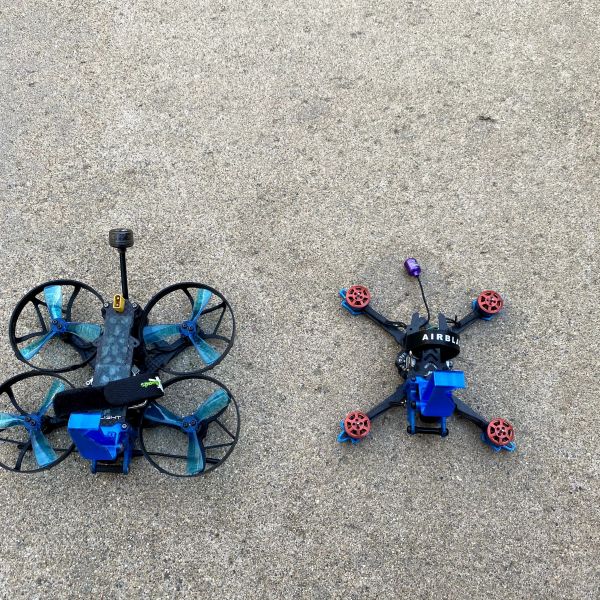
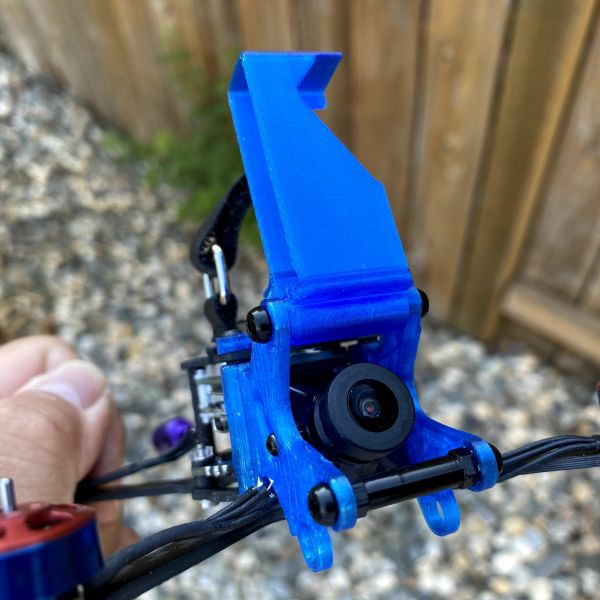
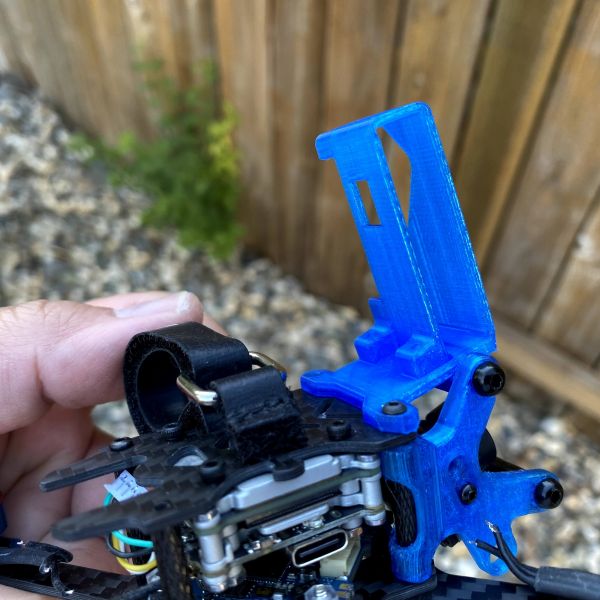
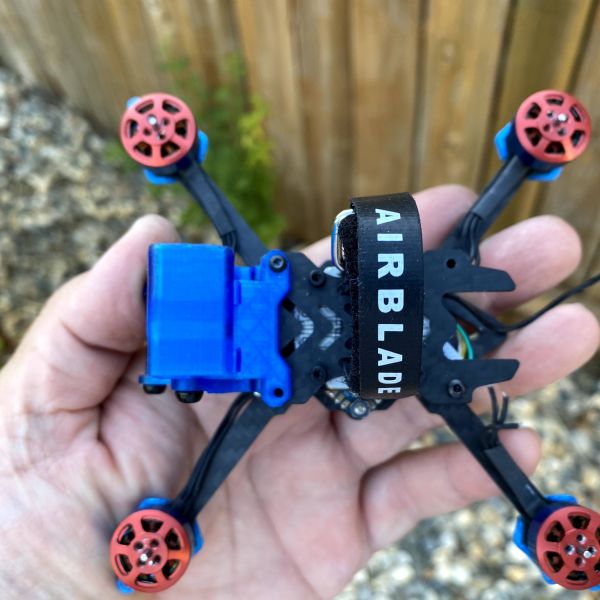
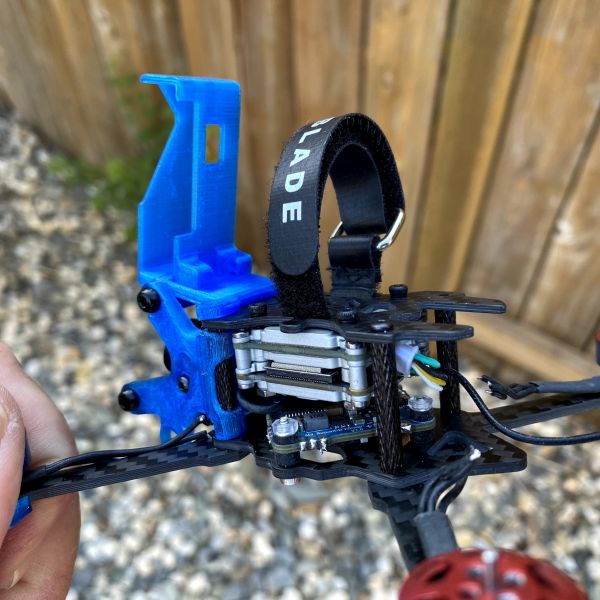
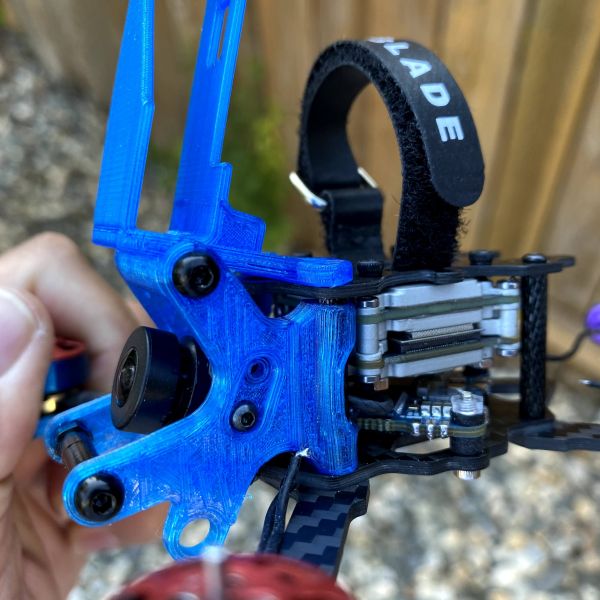
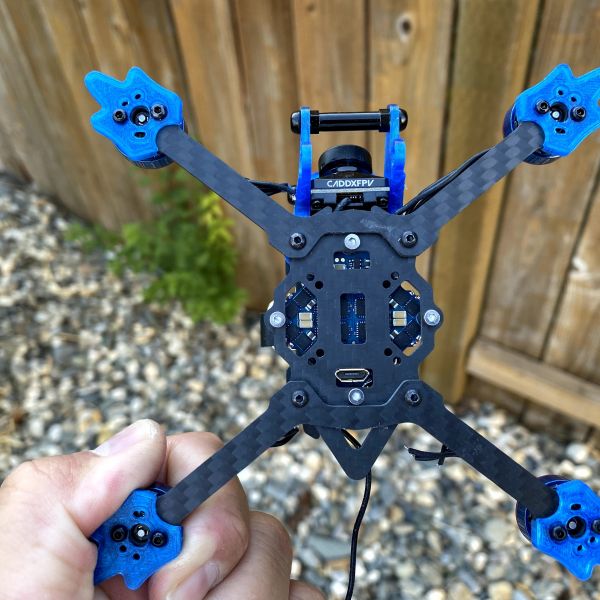
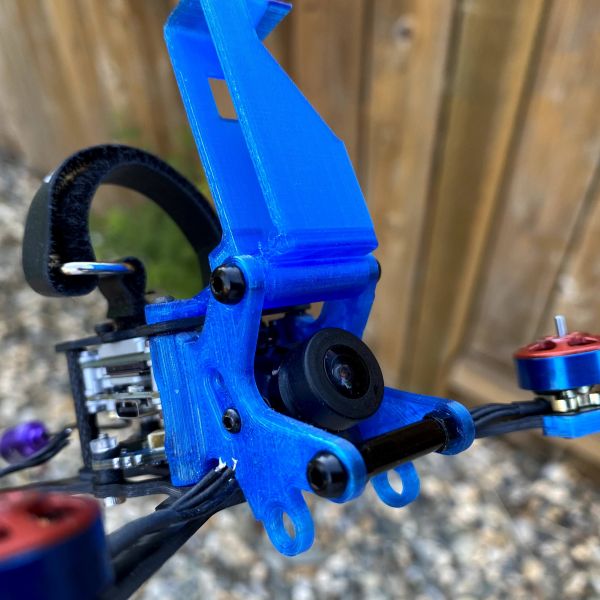
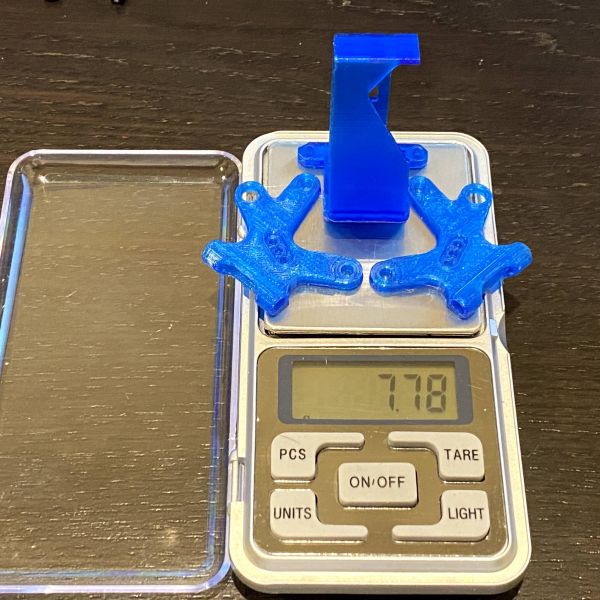
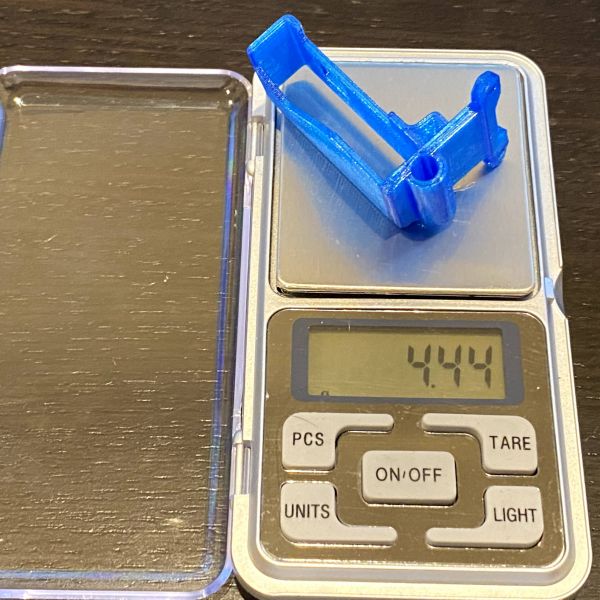
Here is a mock up of an extended camera cage. I am a bit surprised to see that TPU was stiff enough with it being extended 35mm. The cutout on the mount worked out very well because I was able to lose some excess weight and allow more space for the props to spin.
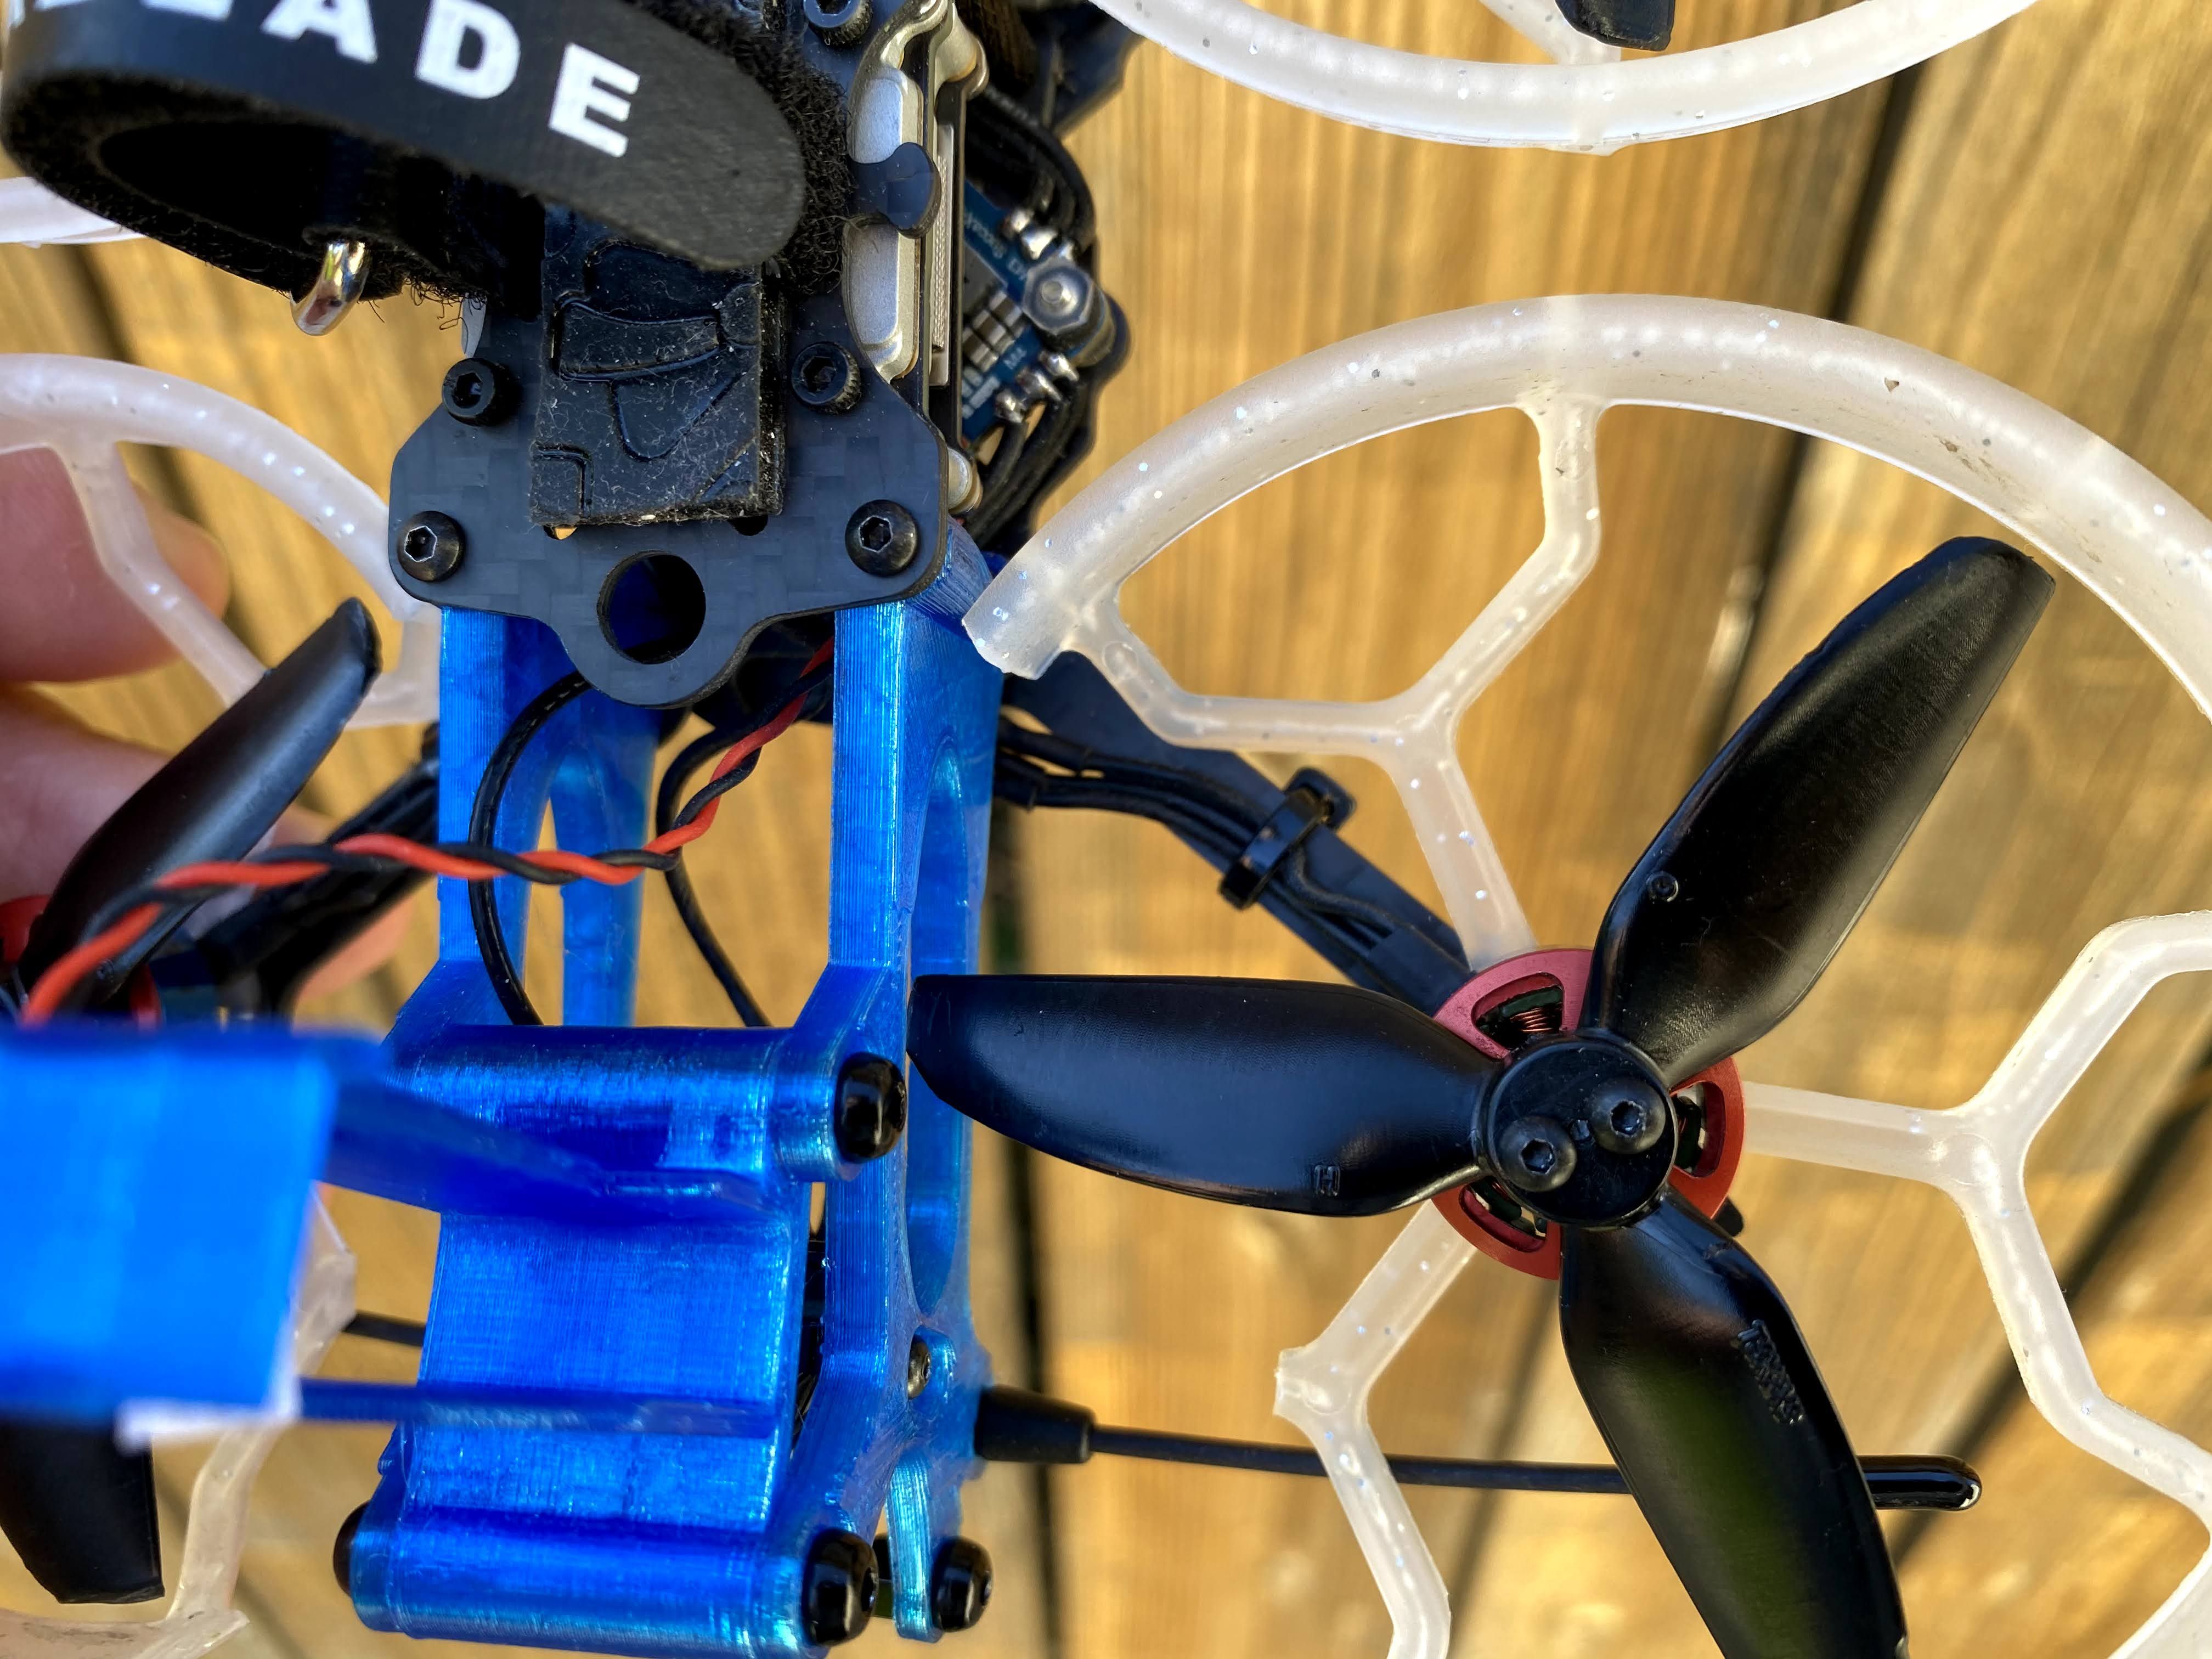
Here you can see how I need to have the cutouts on the camera mount. The 3" props extends past the cage so I have to have the hole of the props to spin. With the camera extended forward, there are NO props in the FPV camera's view.
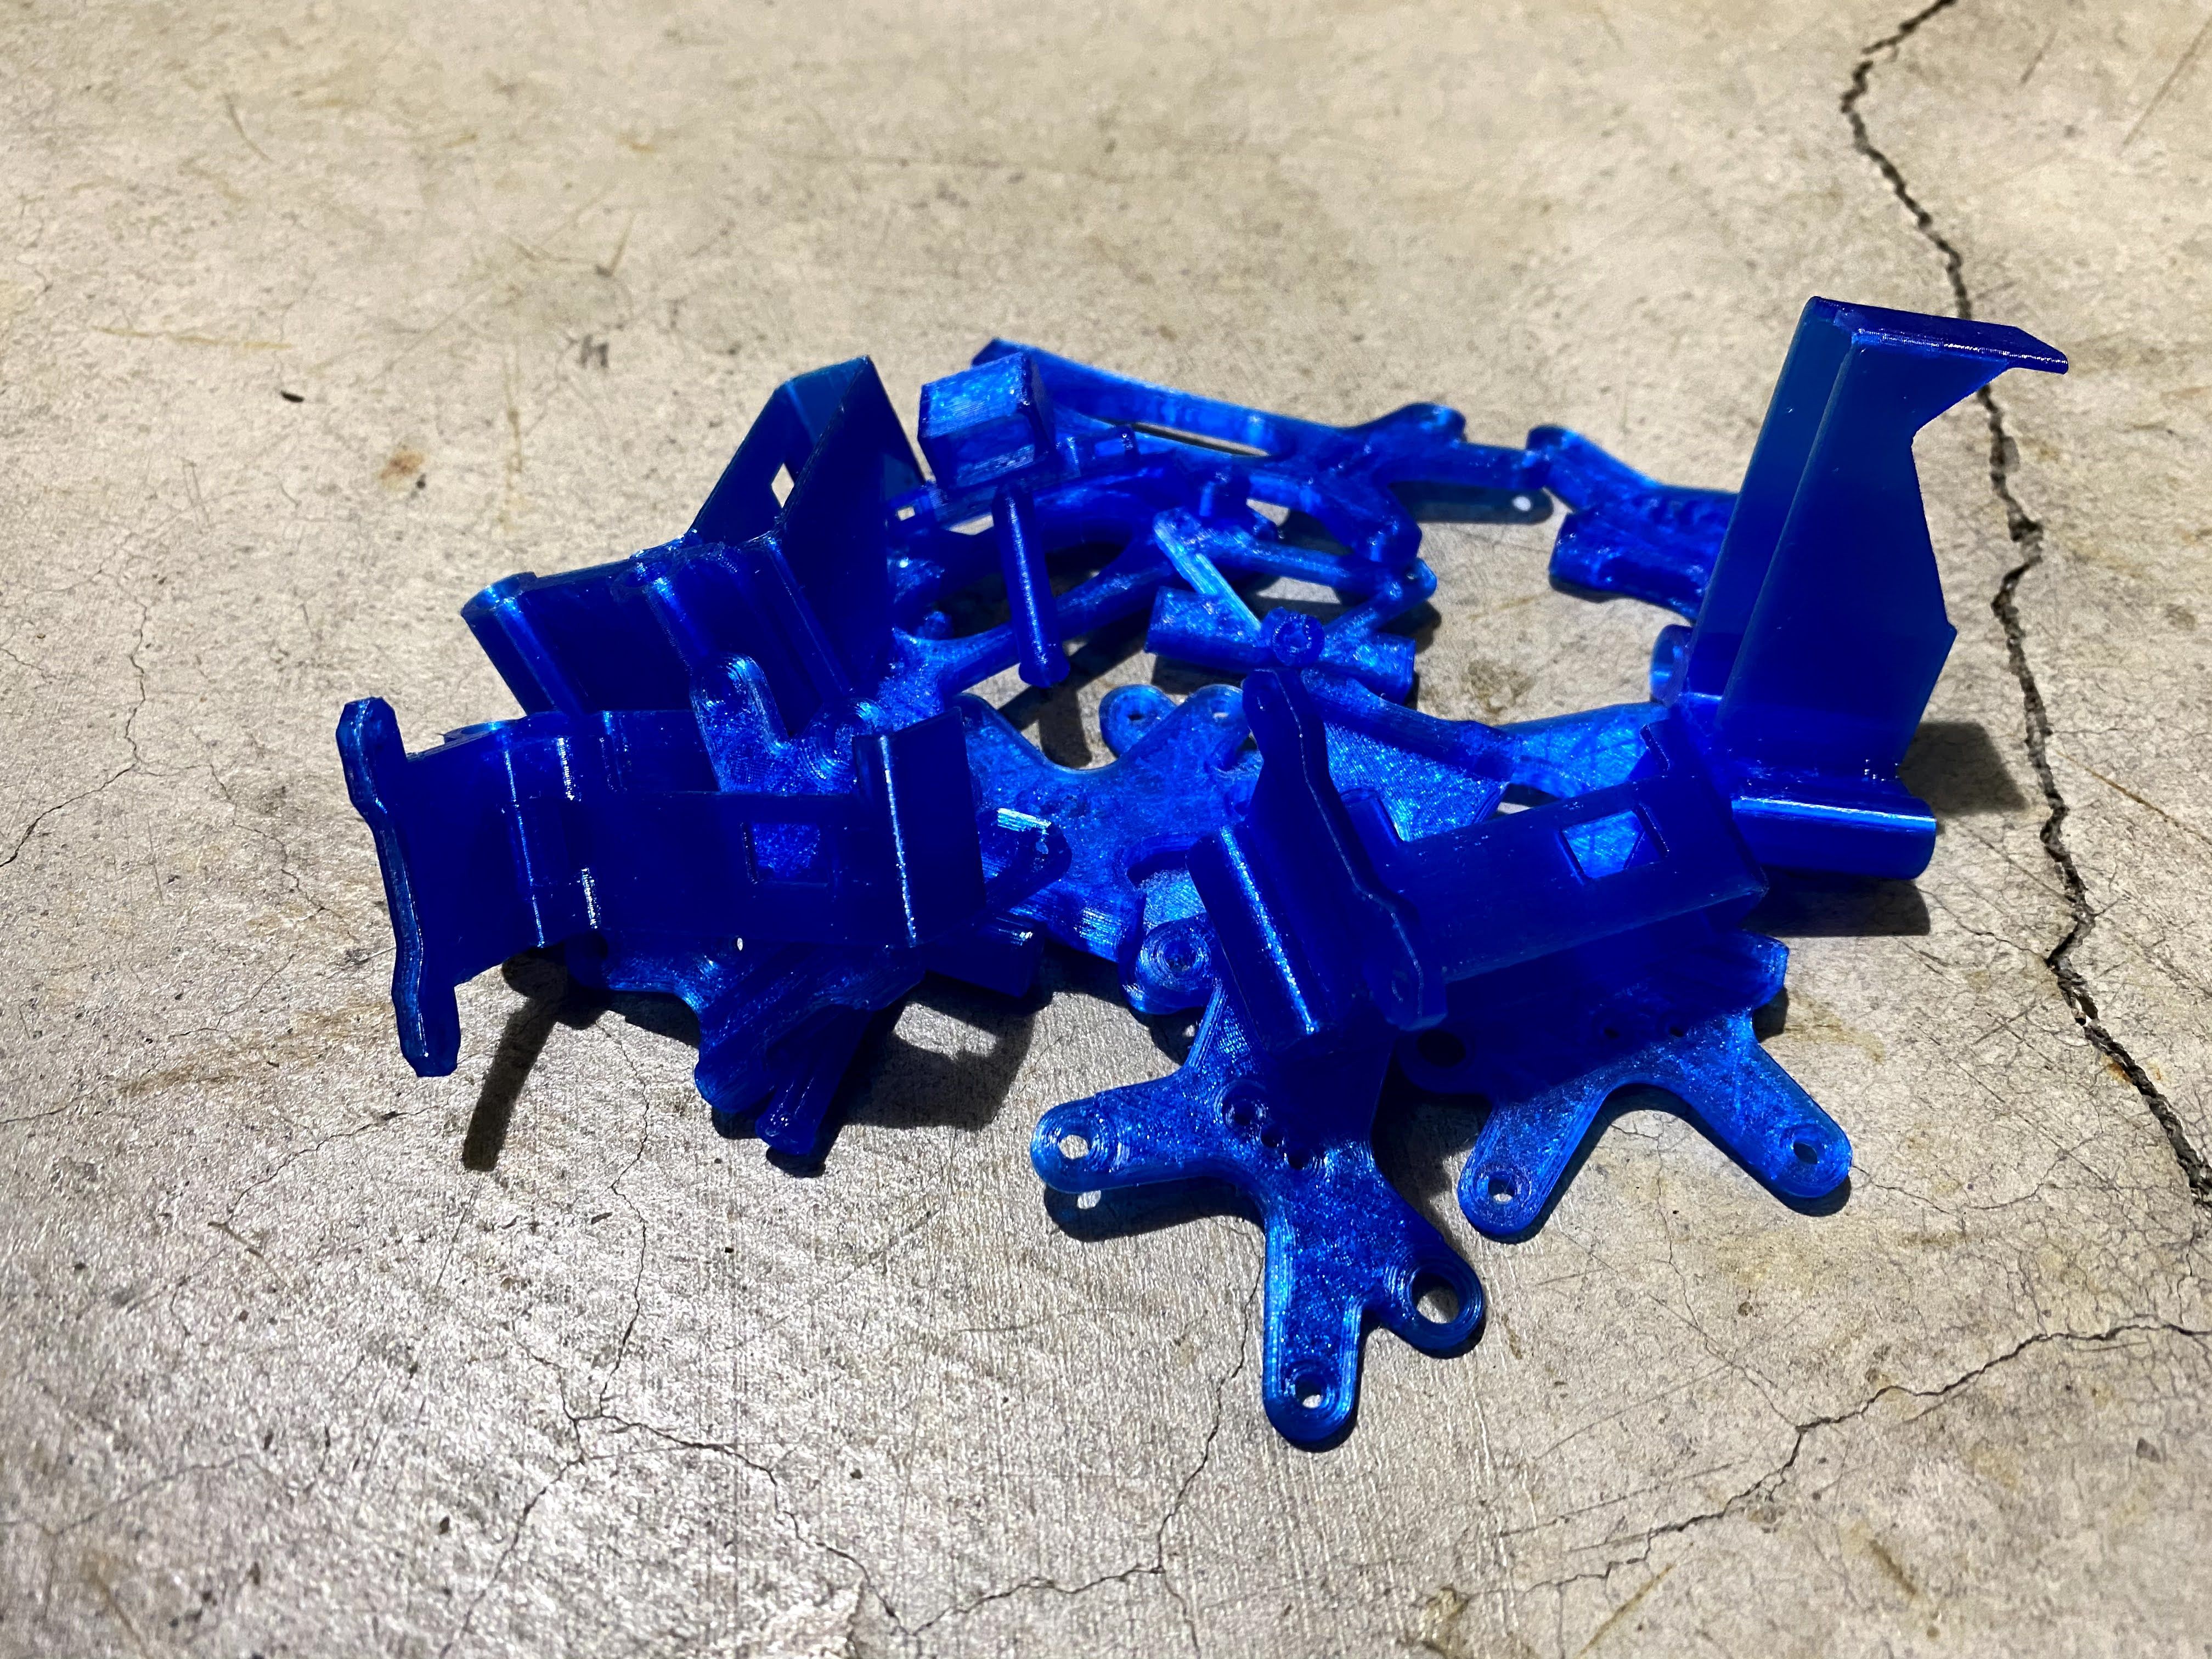
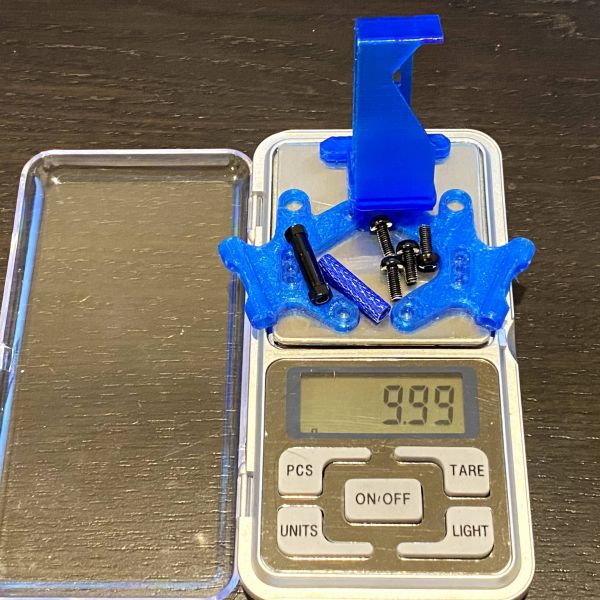
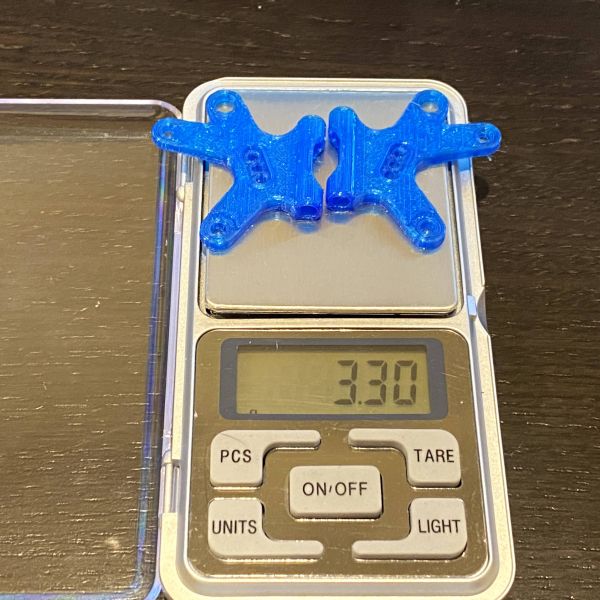
It took a few tries and revisions to get all the 3D printed parts to fit right.
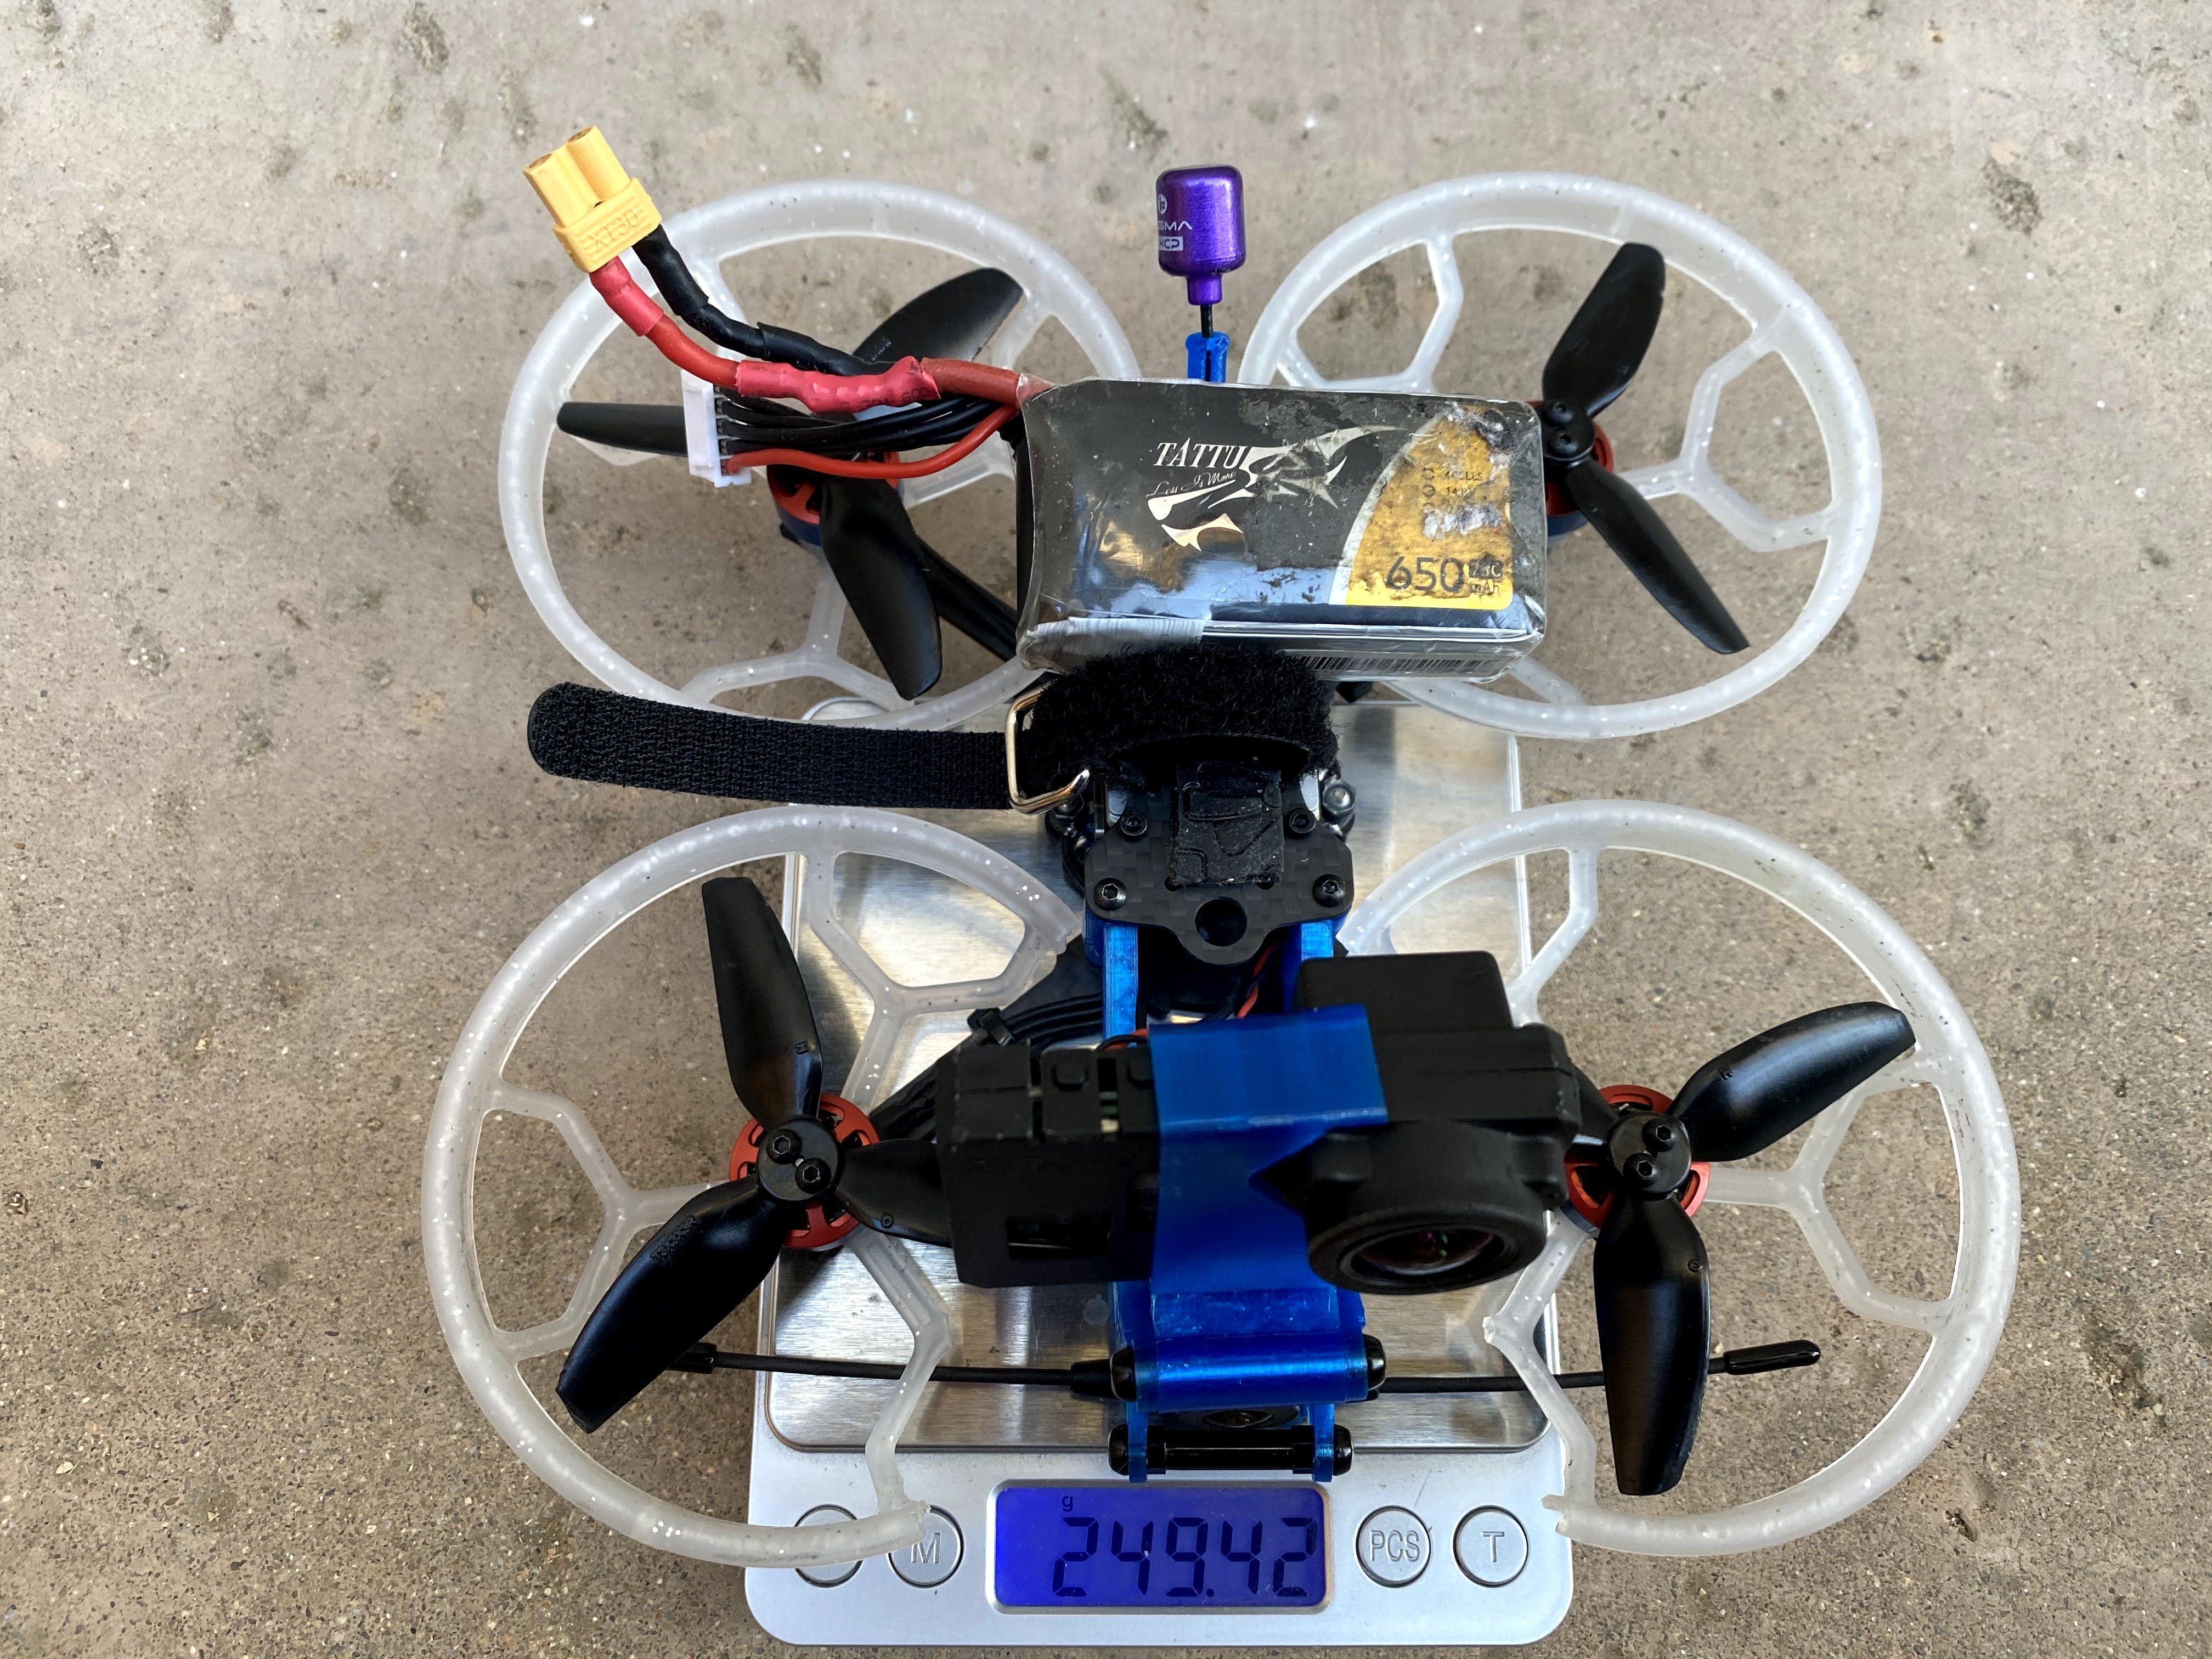
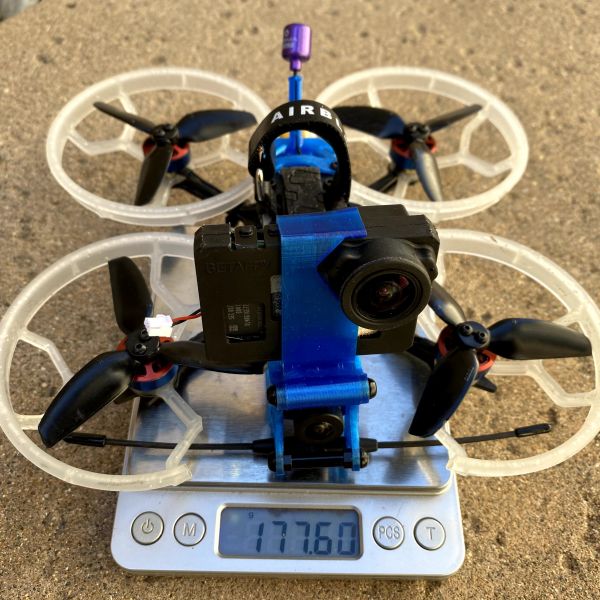
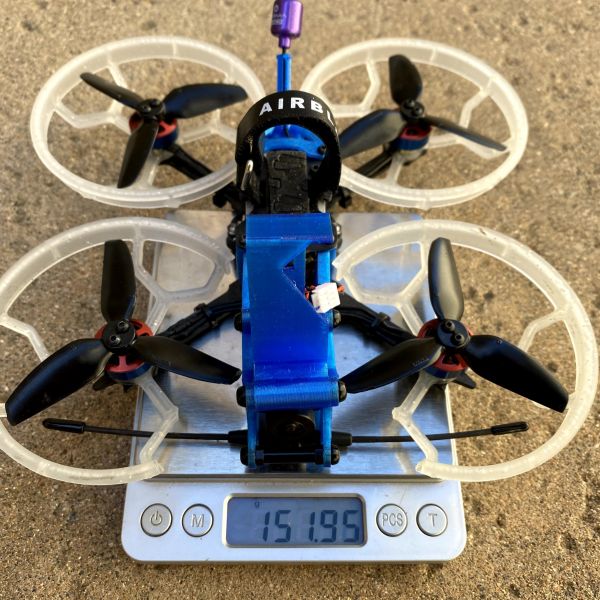
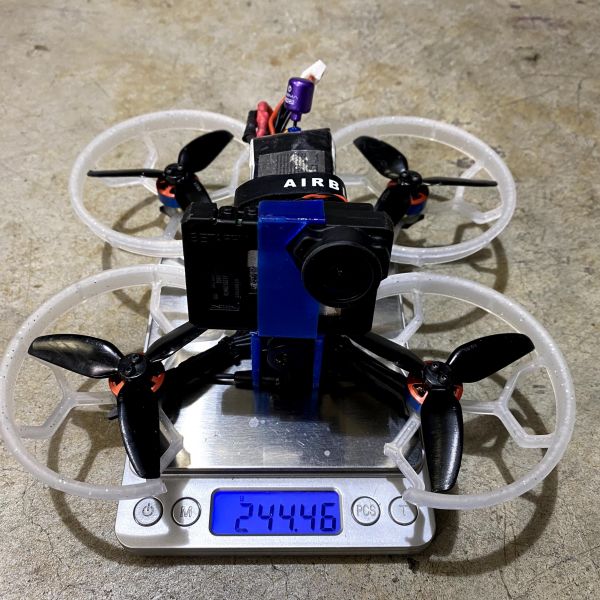
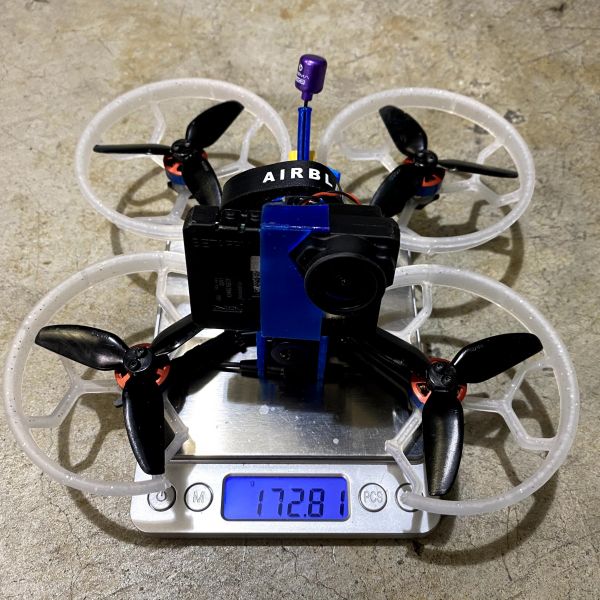
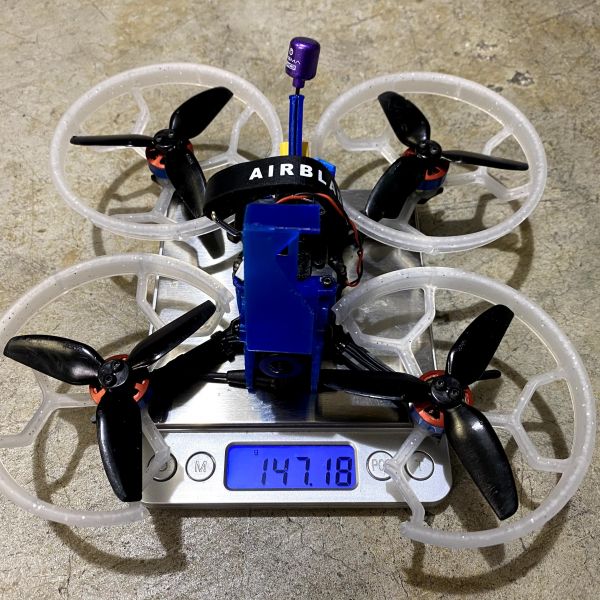
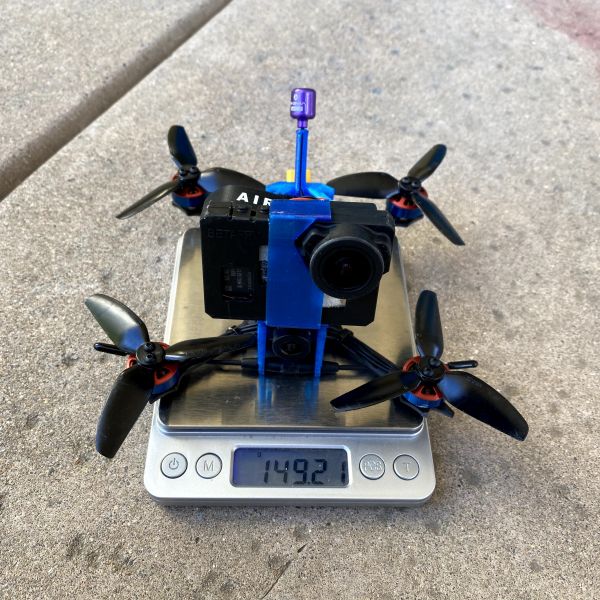
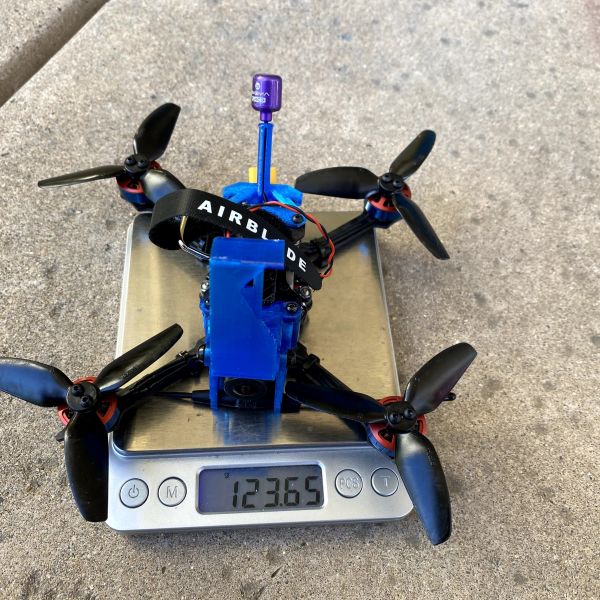
With a Tattu 650mah 4s Lipo, I just made the 250g cutoff.
More details coming soon...
VIDEOS:
DJI DVR recording - You can see how the prop guard is in the FPV view
Naked GoPro 7 - HD 4K Wide recording. Same video as above but with the GoPro.
Here is a video with the extended camera mount. Naked GoPro 7 - HD 2.7K Superview recording.
Photos
Part List
Show stores (7)Guides & Reviews
AirbladeUAV has done it again and this time they've brought long range to the 5" class! Based on the popular Transformer Mini, the new Transformer 5" Ultralight adopts a lot of the same design philosophies with larger props and more payload capacity. It can fly upwards of 20 minutes on a 4 cell Li-Ion battery pack and in ideal conditions it's got a range of over 4 to 5 miles. In this guide I'll walk..
Read moreWith the release of the DJI FPV Drone cinematic FPV has become a lot more accessible, but you certainly don't want to crash a $750 drone! The QAV-CINE Freybott is a compact, lightweight cinematic FPV drone that can take a hit and keep going. It's a lot safer to fly indoors and around people. With a naked GoPro or the SMO 4k you can capture some great stabilized footage. In this guide I'll show you..
Read more









New Message for wrong17