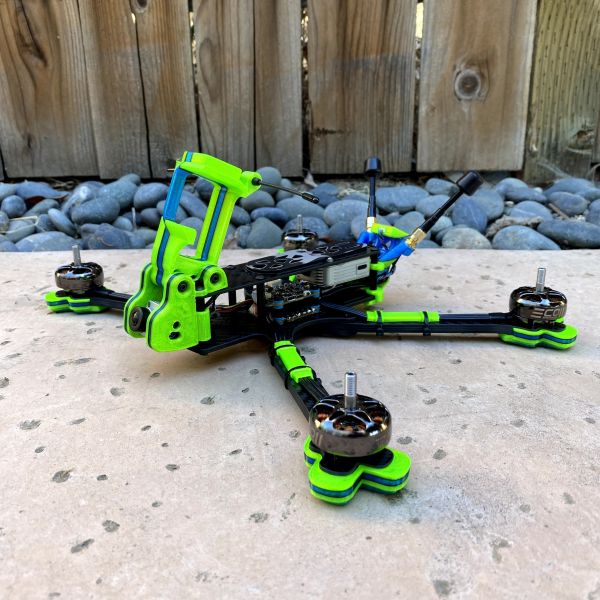
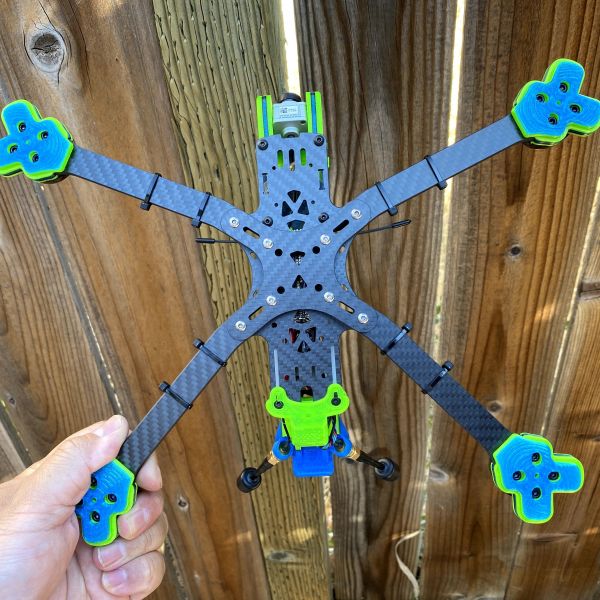
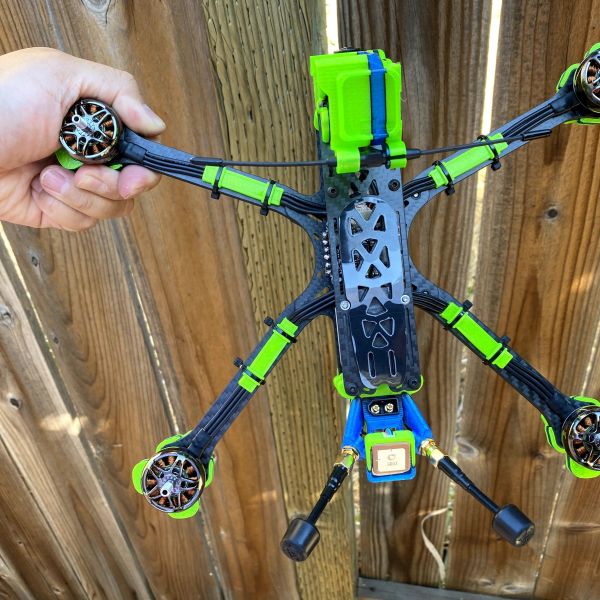
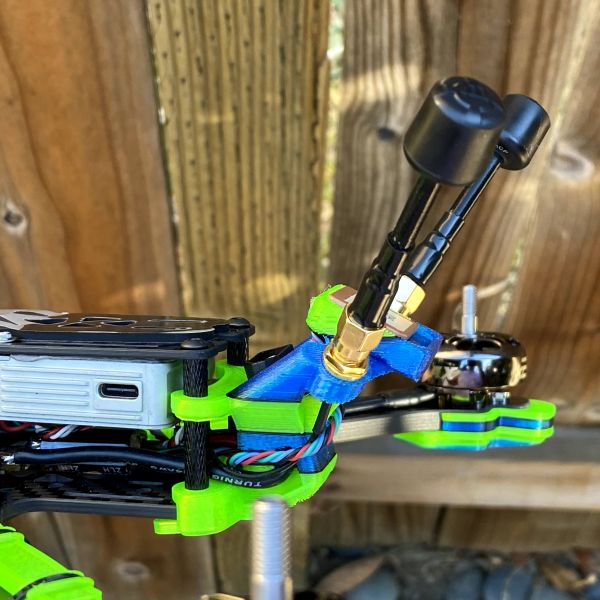
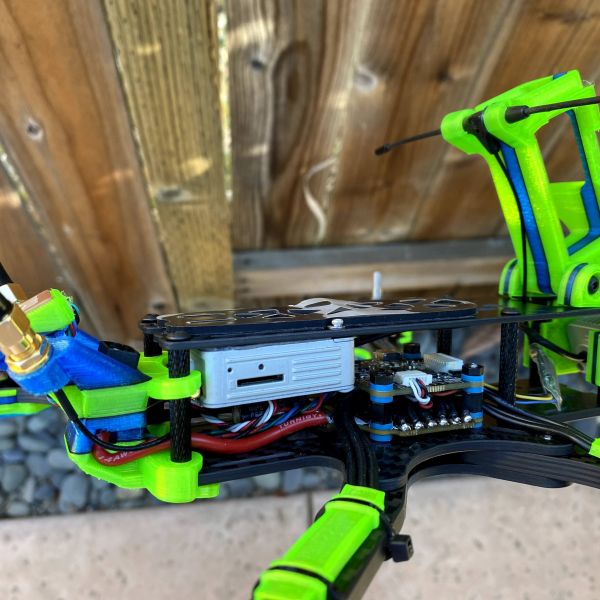
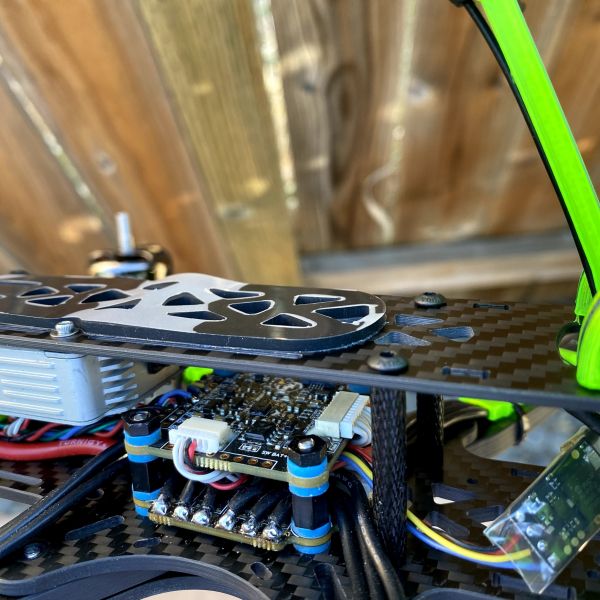
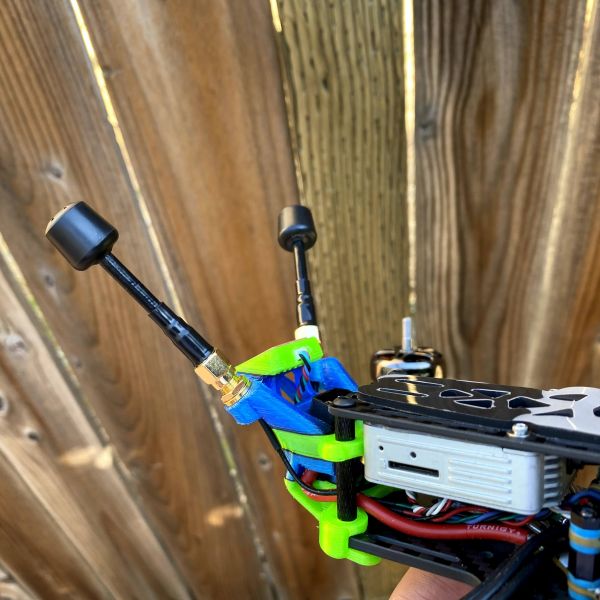
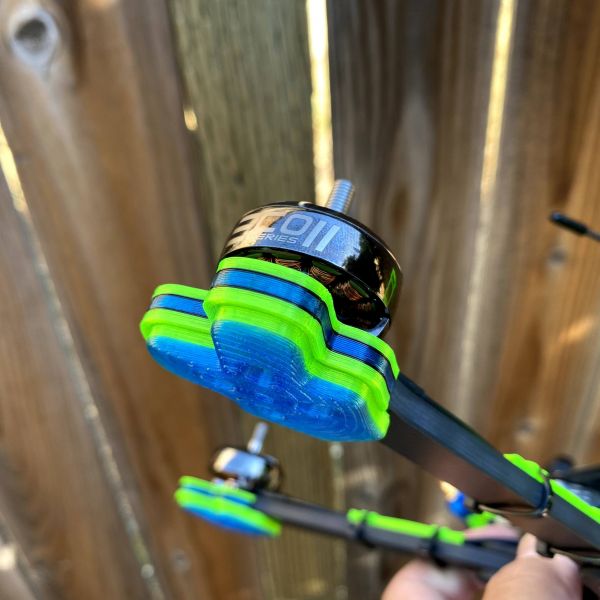
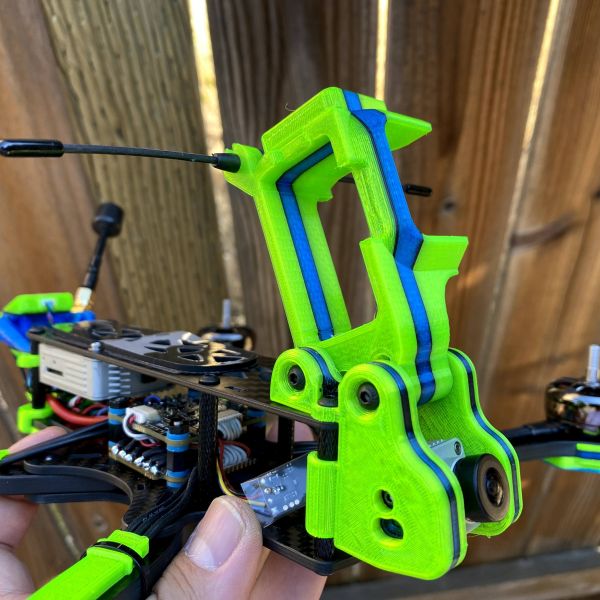
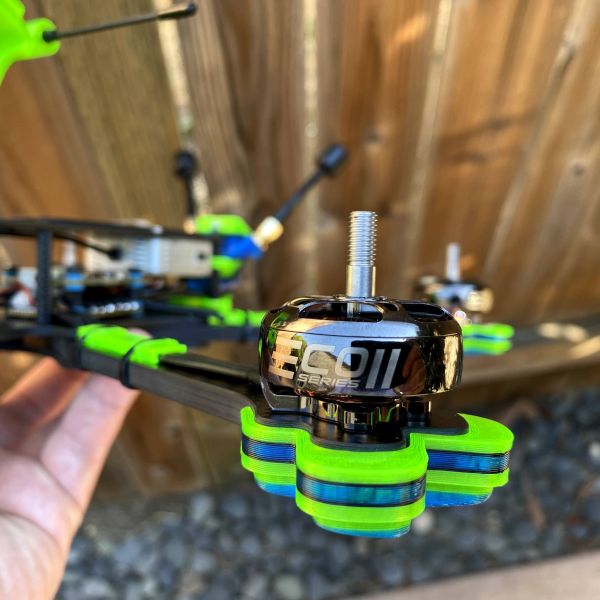
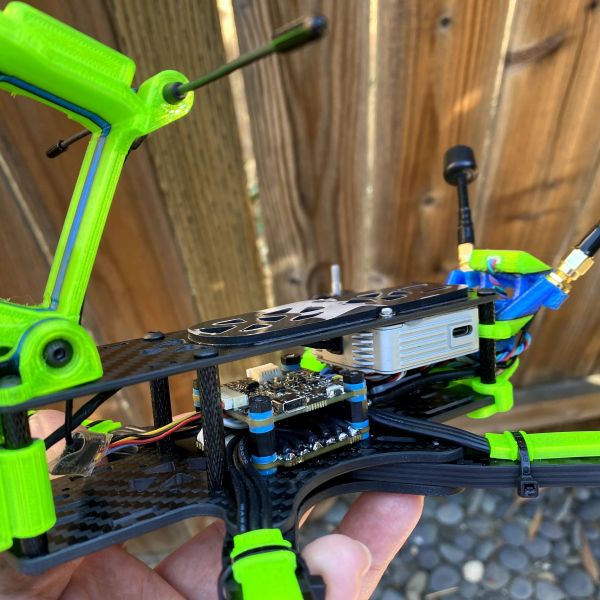
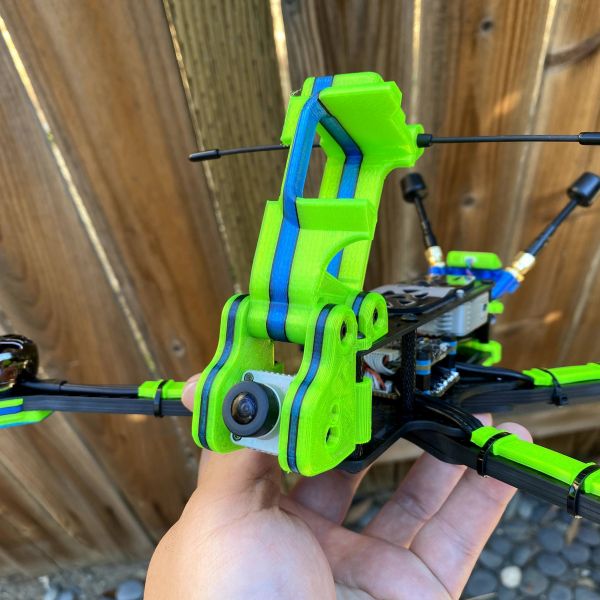
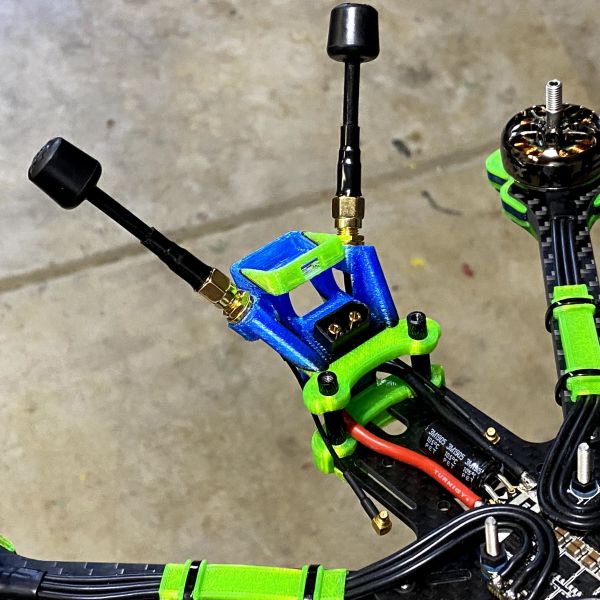
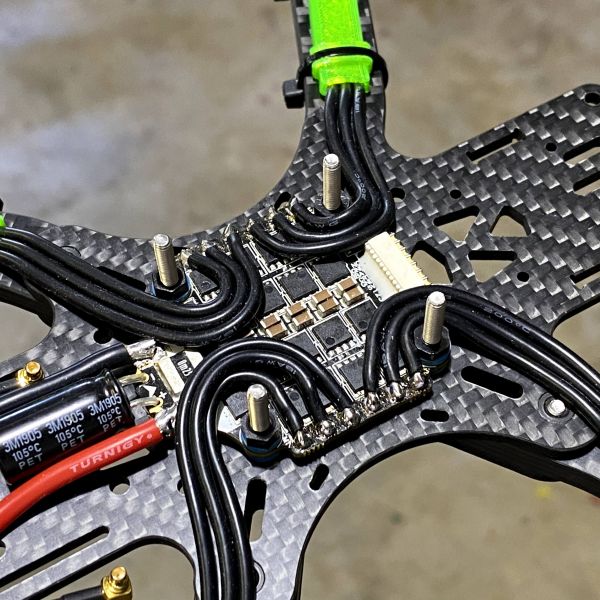
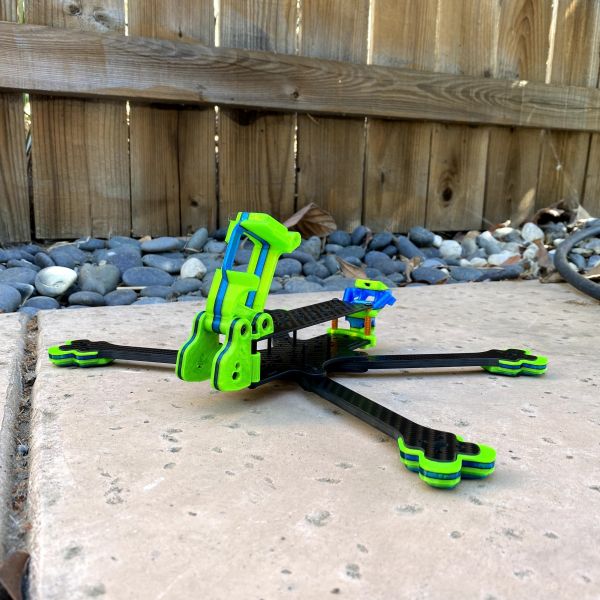
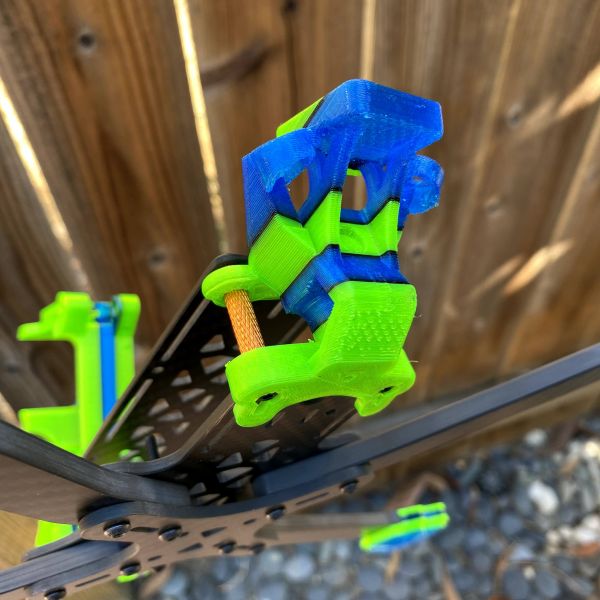
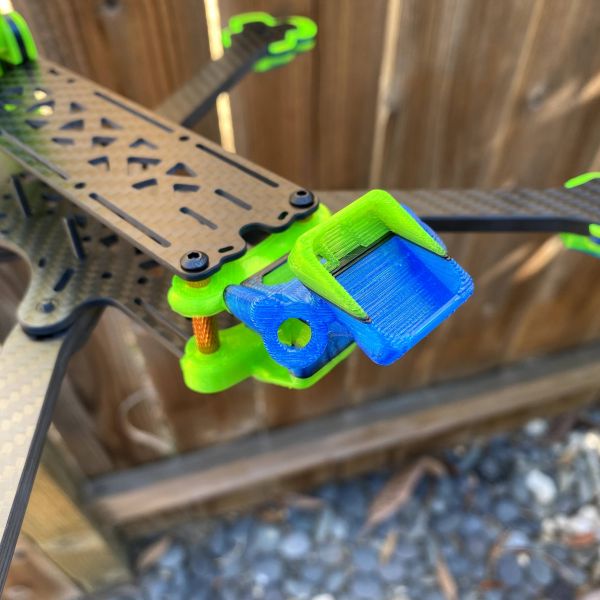
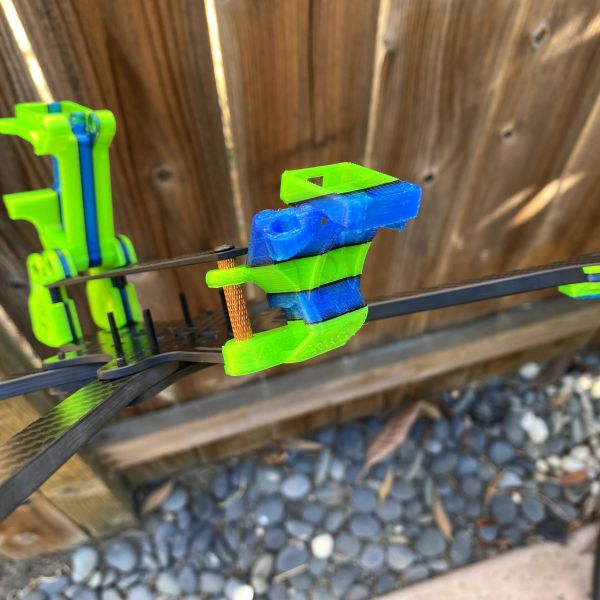
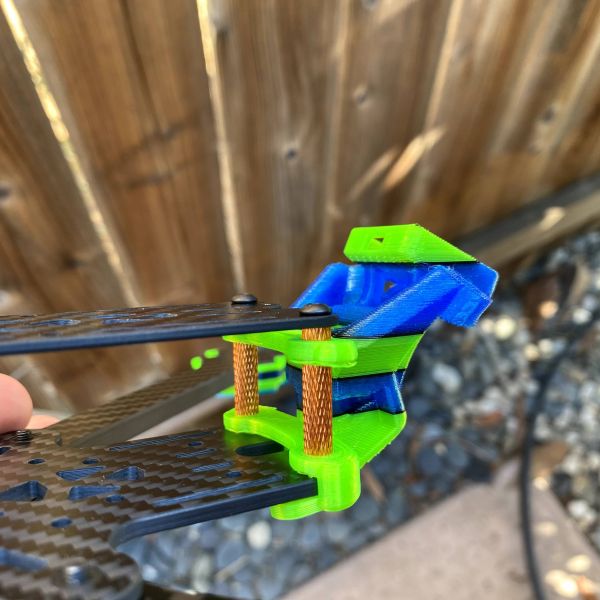
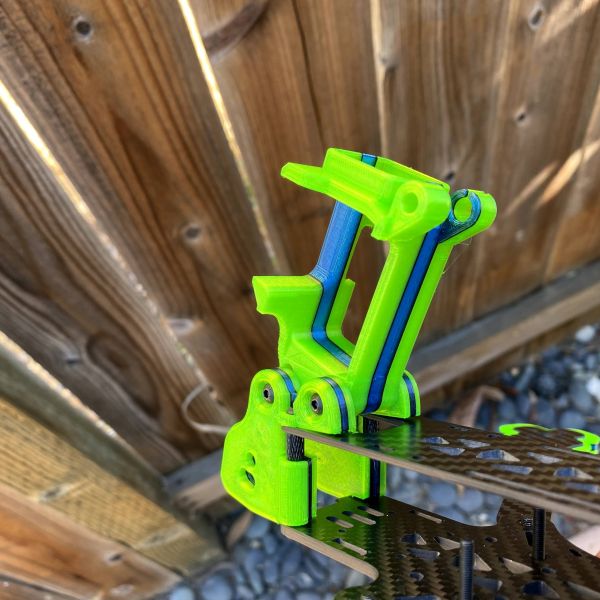
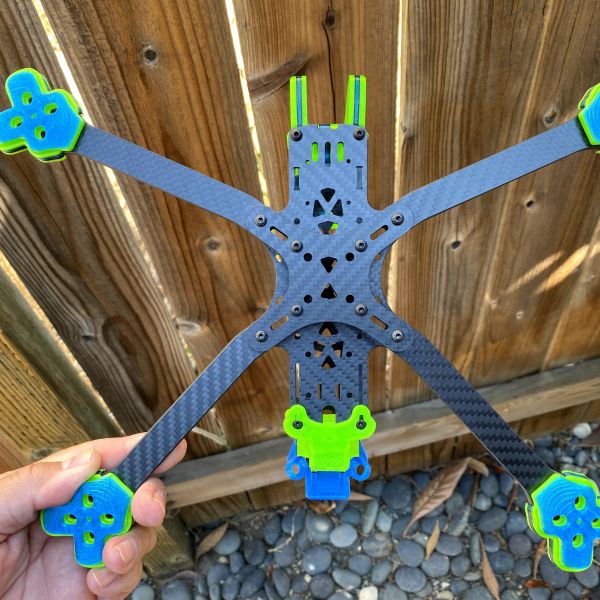
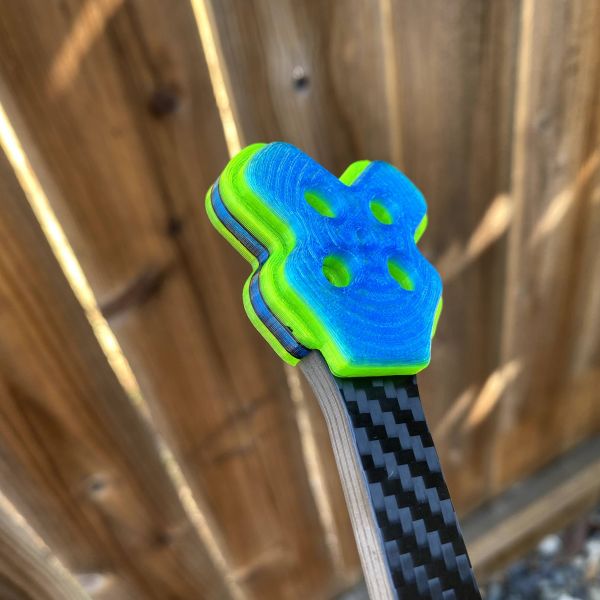
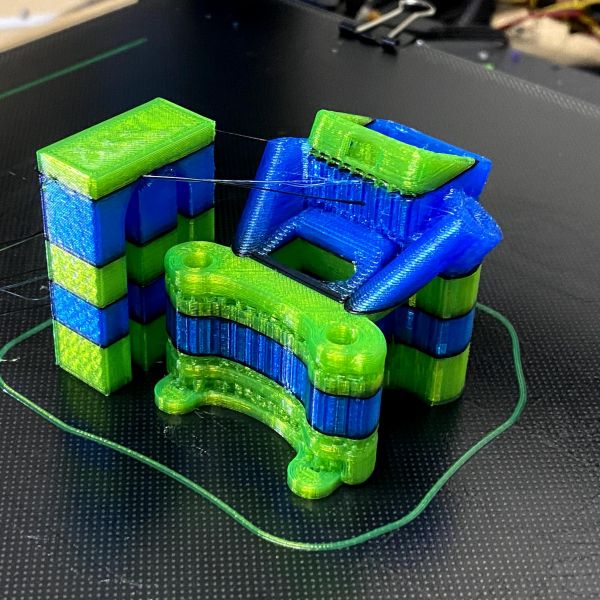
This build is inspired by the multi color TPU 3D printing that I started to do. I used my favorite platform, the TBS Source One v3 frame with 7" deadcat arms.
Maiden Flight
3D Printing the TPU Parts:
I used Cura v 4.9.1 to slice the STL files and for the filament change (Extensions > Post Processing > Modify G-Code > Filament Change).
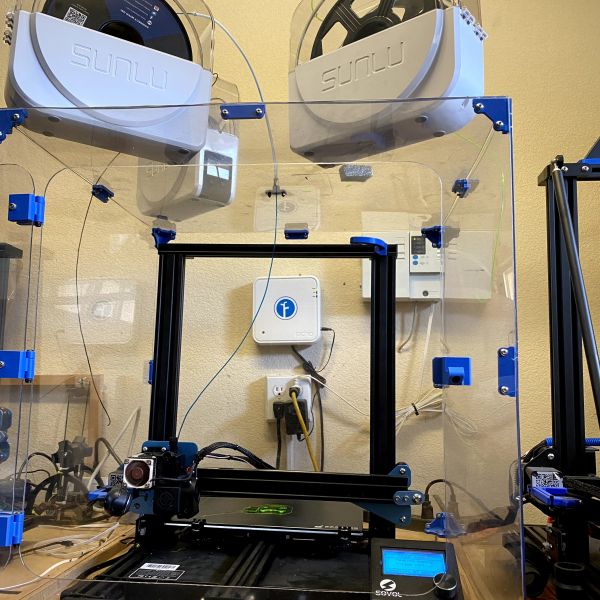
Since I only have a single printhead 3D printer, I have a manually switch filaments every time I change colors. So, it took a while to print some of these parts.
When printing with a .3 layer height, here are the specific layers where I changed the filament colors.
It is very important that you set the layer height to .3 or else the numbers I list below will not work for you.
TBS_Source_One_Arm_Protector_1_SLIM v11 Done.stl
Green
07 Black
09 Blue
16 Black
18 Green
30 Black
32 Blue
SQUIRT_DJI_CAM_MOUNT_with_gopro_v4.stl
Green
9 Black
11 Blue
16 Black
18 Green
XT60 v4 GPS.stl
35 black
37 blue
62 black
64 green
90 black
92 blue
132 black
134 green
Squirt GP 25deg Mount v17.stl
Green
22 Black
24 Blue
41 Black
43 Green
Quad Setup
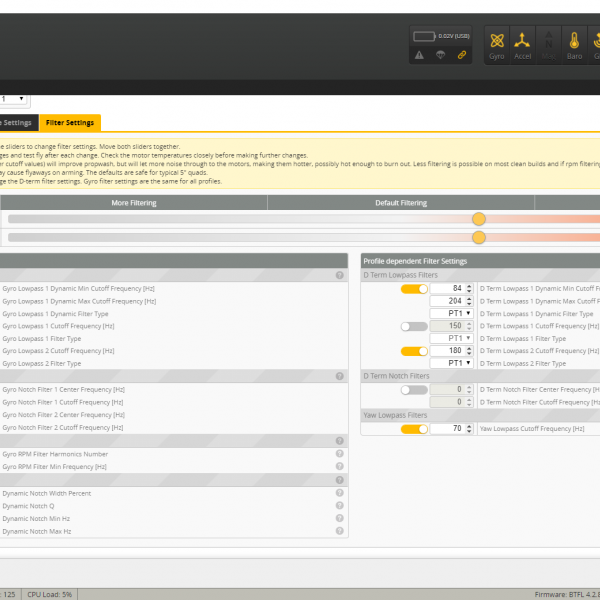
For the PIDs and Filter setting please take a look at the image gallery for the screen shots. In addition to those settings I also have Bidirectional DShot turned on and the following Betaflight presets applied:
HD (smoothed FF for HD cameras, strong low turn rate smoothness, low iterm relax to minimise bounce back)
set iterm_relax_cutoff = 10
set rc_smoothing_auto_smoothness = 20
set ff_interpolate_sp = AVERAGED_3
set ff_smooth_factor = 40
set ff_spike_limit = 55
set ff_boost = 0
set feedforward_transition = 40
set yaw_lowpass_hz = 70
set throttle_boost = 5
set throttle_boost_cutoff = 10
set dyn_lpf_dterm_curve_expo = 7
set gyro_rpm_notch_q = 800
Vbat Compensation
set vbat_sag_compensation = 100
set vbat_pid_gain = off
Photos
Part List
Show stores (9)Guides & Reviews
AirbladeUAV has done it again and this time they've brought long range to the 5" class! Based on the popular Transformer Mini, the new Transformer 5" Ultralight adopts a lot of the same design philosophies with larger props and more payload capacity. It can fly upwards of 20 minutes on a 4 cell Li-Ion battery pack and in ideal conditions it's got a range of over 4 to 5 miles. In this guide I'll walk..
Read moreWith the release of the DJI FPV Drone cinematic FPV has become a lot more accessible, but you certainly don't want to crash a $750 drone! The QAV-CINE Freybott is a compact, lightweight cinematic FPV drone that can take a hit and keep going. It's a lot safer to fly indoors and around people. With a naked GoPro or the SMO 4k you can capture some great stabilized footage. In this guide I'll show you..
Read more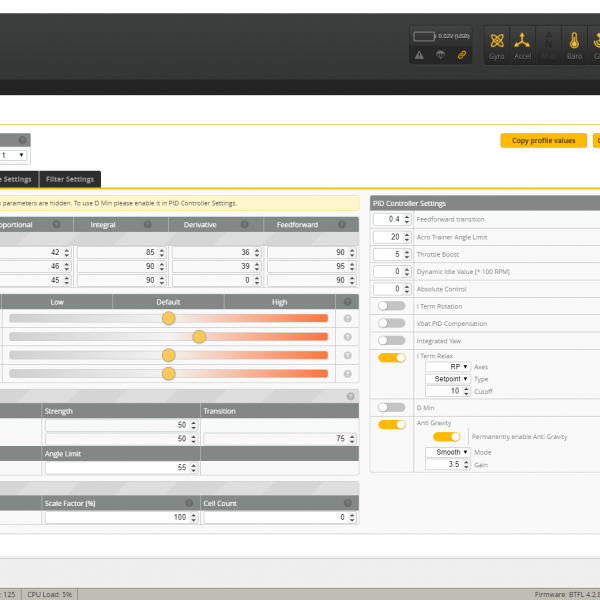

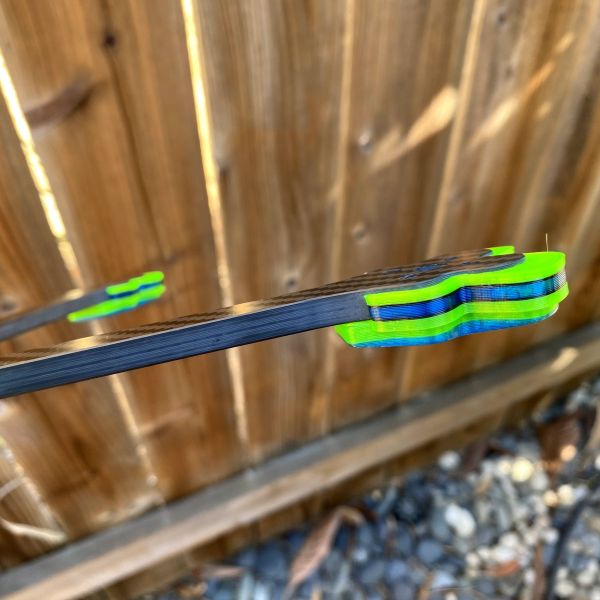
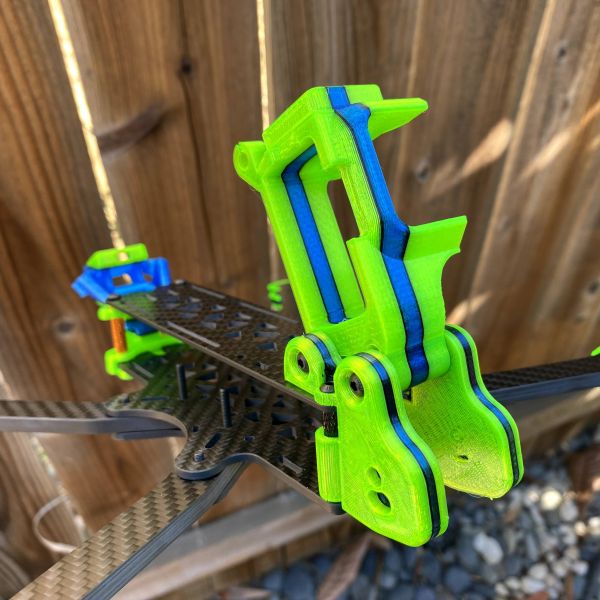
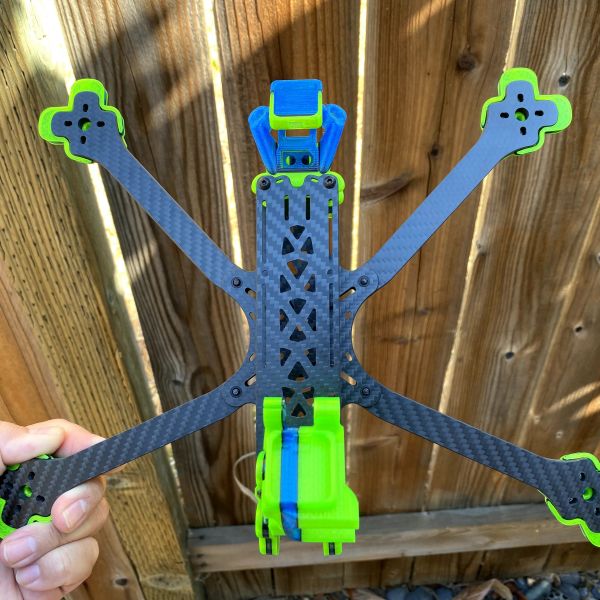
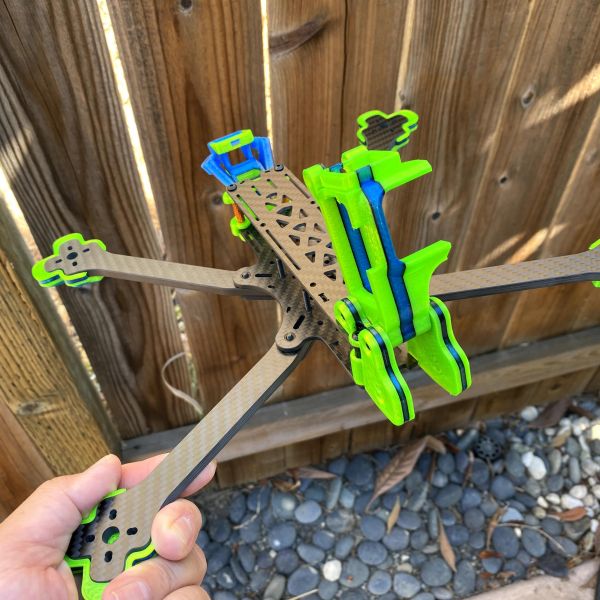


You've made beautiful build! So clean and steady!
How do you like 1700kv motors with 6s battery? How much current is there? Especially during power loops (cool rip on the video btw)?
It seems you use Betaflight? Could you please share your config?
Also could you please specify weight? Would be much appreciated.
Thanks. Take a look at this build I did that has a lot more info about weight. https://rotorbuilds.com/build/16878 The weight of this build (yellow blue & black stripes) is a bit more than my other 7" inch because of all the TPU, DJI air unit, and dual Antenna (I sold this quad so I can not get the exact weight for you). Some of my other builds ranges between 480g to 550g dry (not including the GoPro or battery).
As for 1700kv motors on a 6s 7" build, I think the KV is way too high. I tried using 2507 1850kv motors on a 7" Floss 3.0 frame and end up setting a throttle output limit to 70%. That would make the motors similar to 1300KV. You can check out that build here: https://rotorbuilds.com/build/25691
I am not really sure what the amp draw is during a power loop. In the past when I was using an analog system, i was able to record everything on the OSD. Since I am using DJI now, none of that info is saved. The only time I pay attention to amp draw is when I fly with a Lithium Ion battery, so I normally do not pay attention to it, sorry.
Sure, I can share my PIDs and Filters setting. Give me sometime to pull that off the quad.
I just added the PIDs and Filter setting screen shots and Betaflight presets to this build.