"Sprocket" 250mm Retro Abomination
 By FrozenLiquidity on Aug 18, 2021
This is my first build. Quads looked cool, and a few videos I had seen had me convinced me to take the plunge.
Most of these parts were purchased in 2015 - I have been dawdling in RC since this time, but was too intimated and time-constrained to tackle a full build...
After reading into the subject matter, I settled on the components below, beside the Camera (a Sony Super HAD 600 TVL) and the flight controller (Acro Naze32 rev5). Of course, when these all arrived I realized I was in over my head and didn’t know where to begin. I ended up moving right next to an airport, and then to a country in which quads were illegal, so this collected dust until COVID hit and I dove back in and really started the build in full.
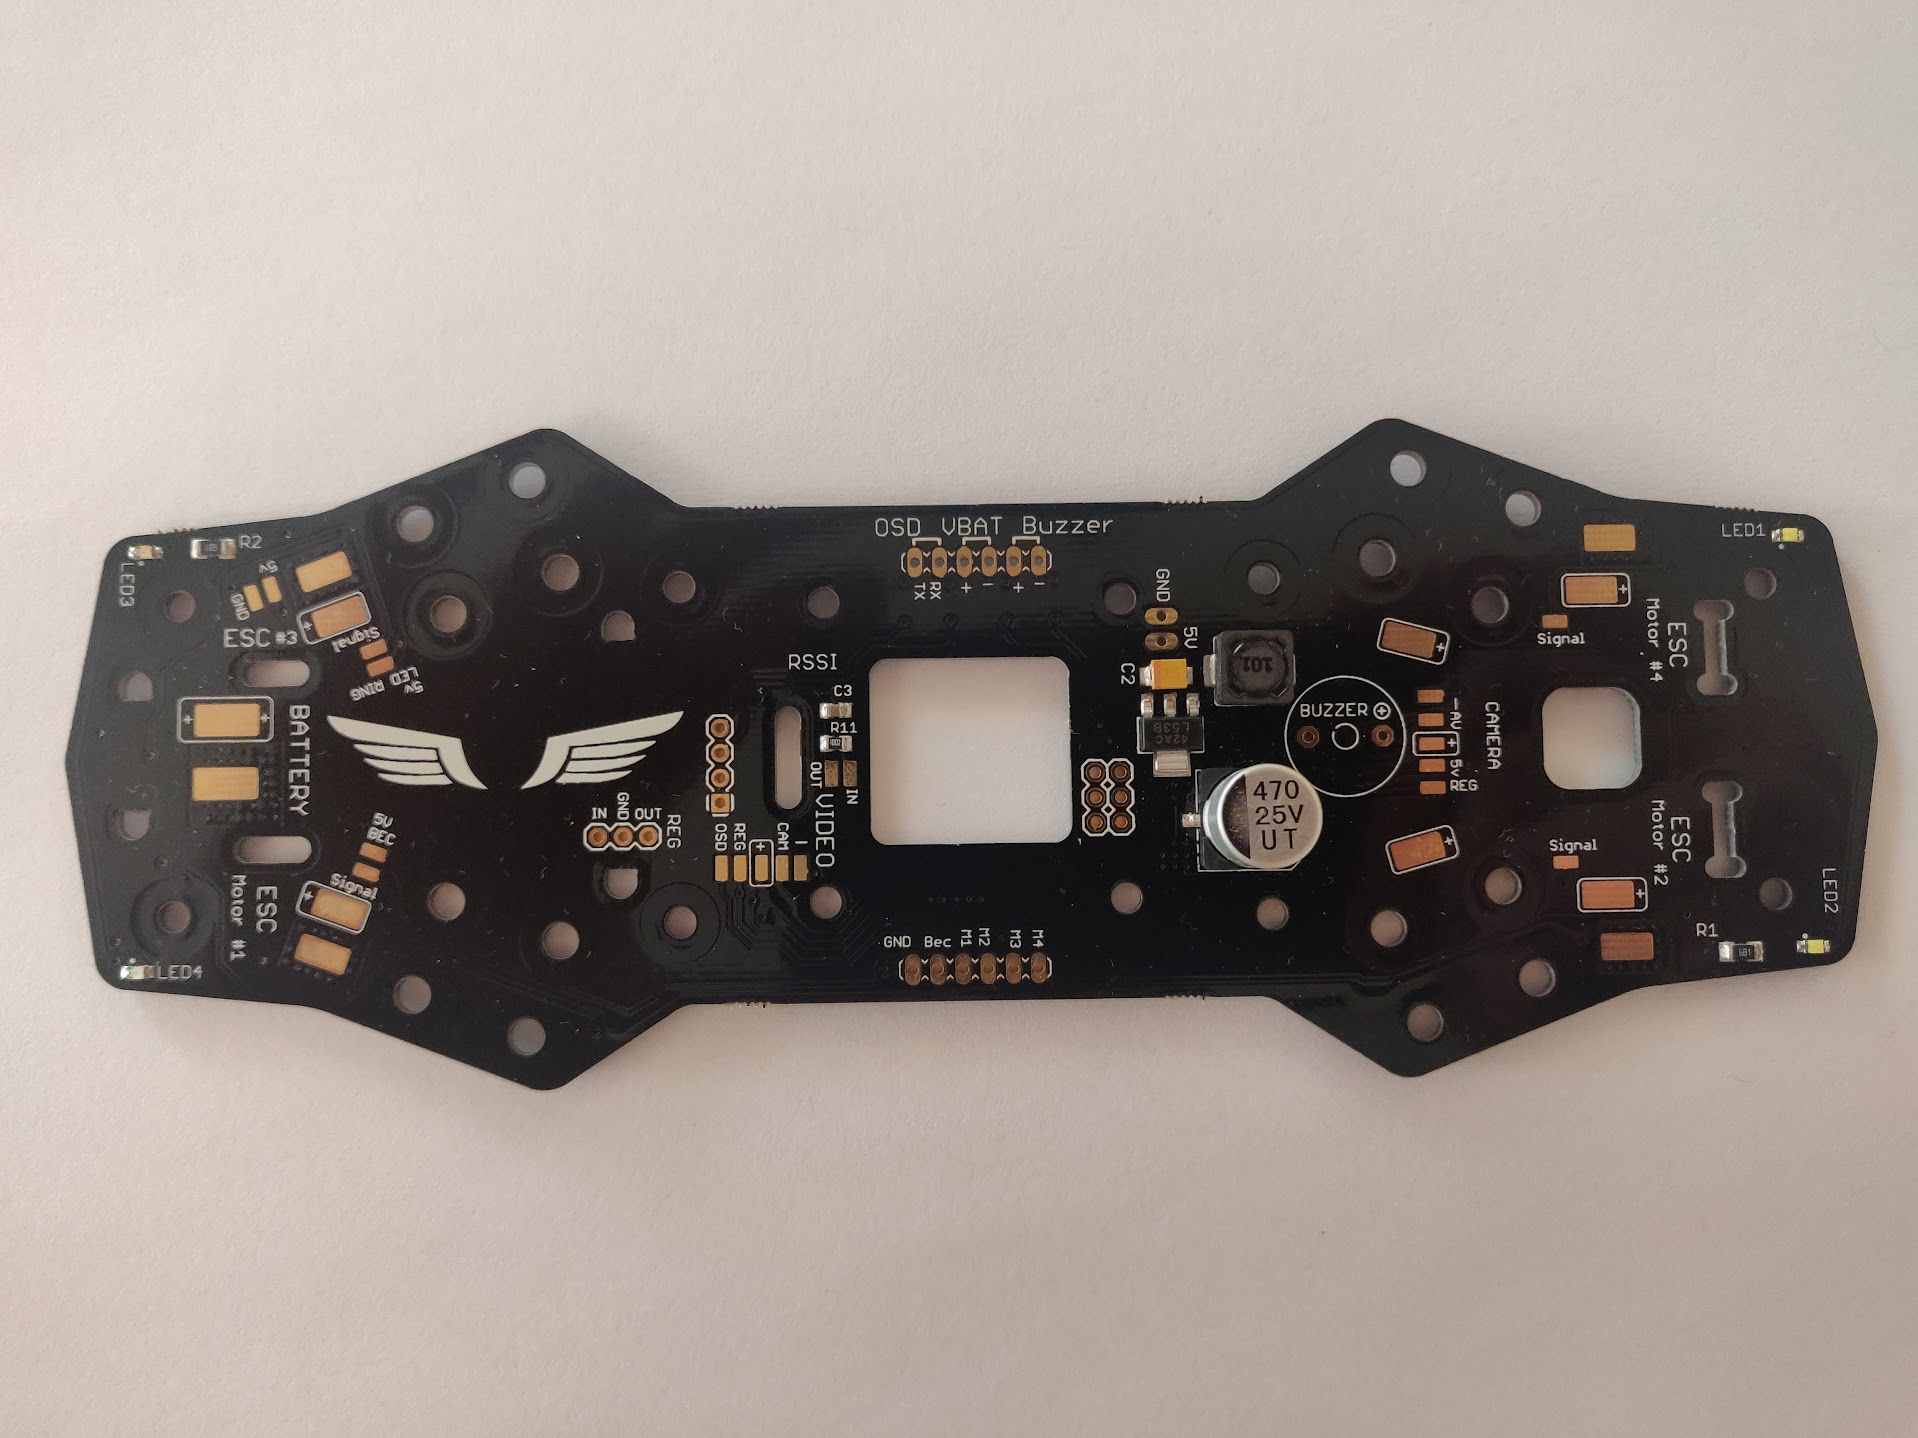
Oldschool Team Legit Overcraft PDB for ZMR 250 (replaces middle frame-plate)
Frame and PDB collecting dust pre-COVID
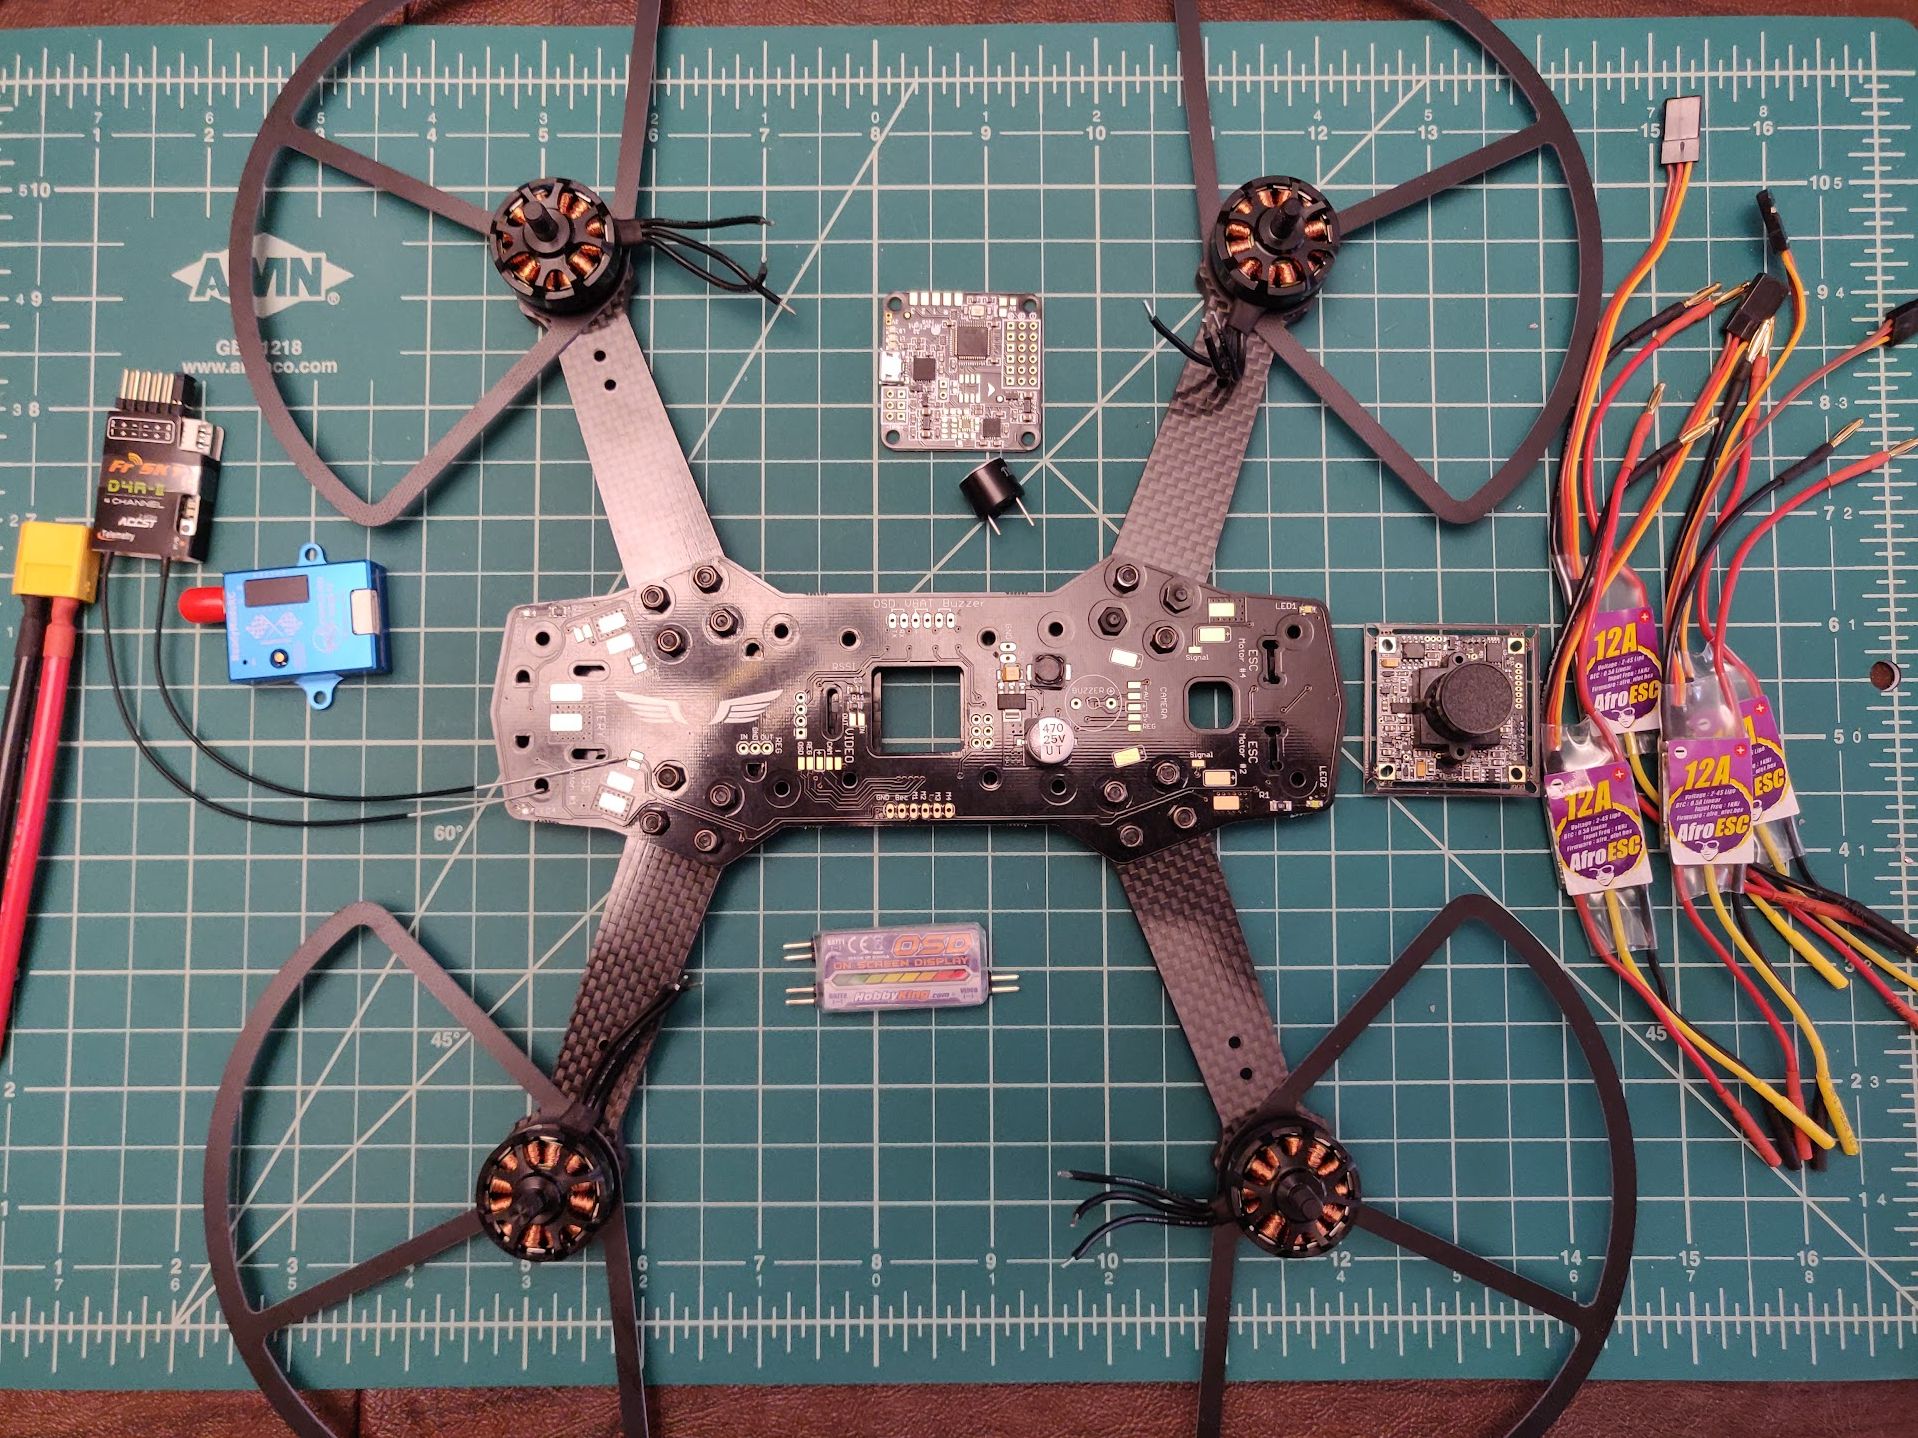
Components
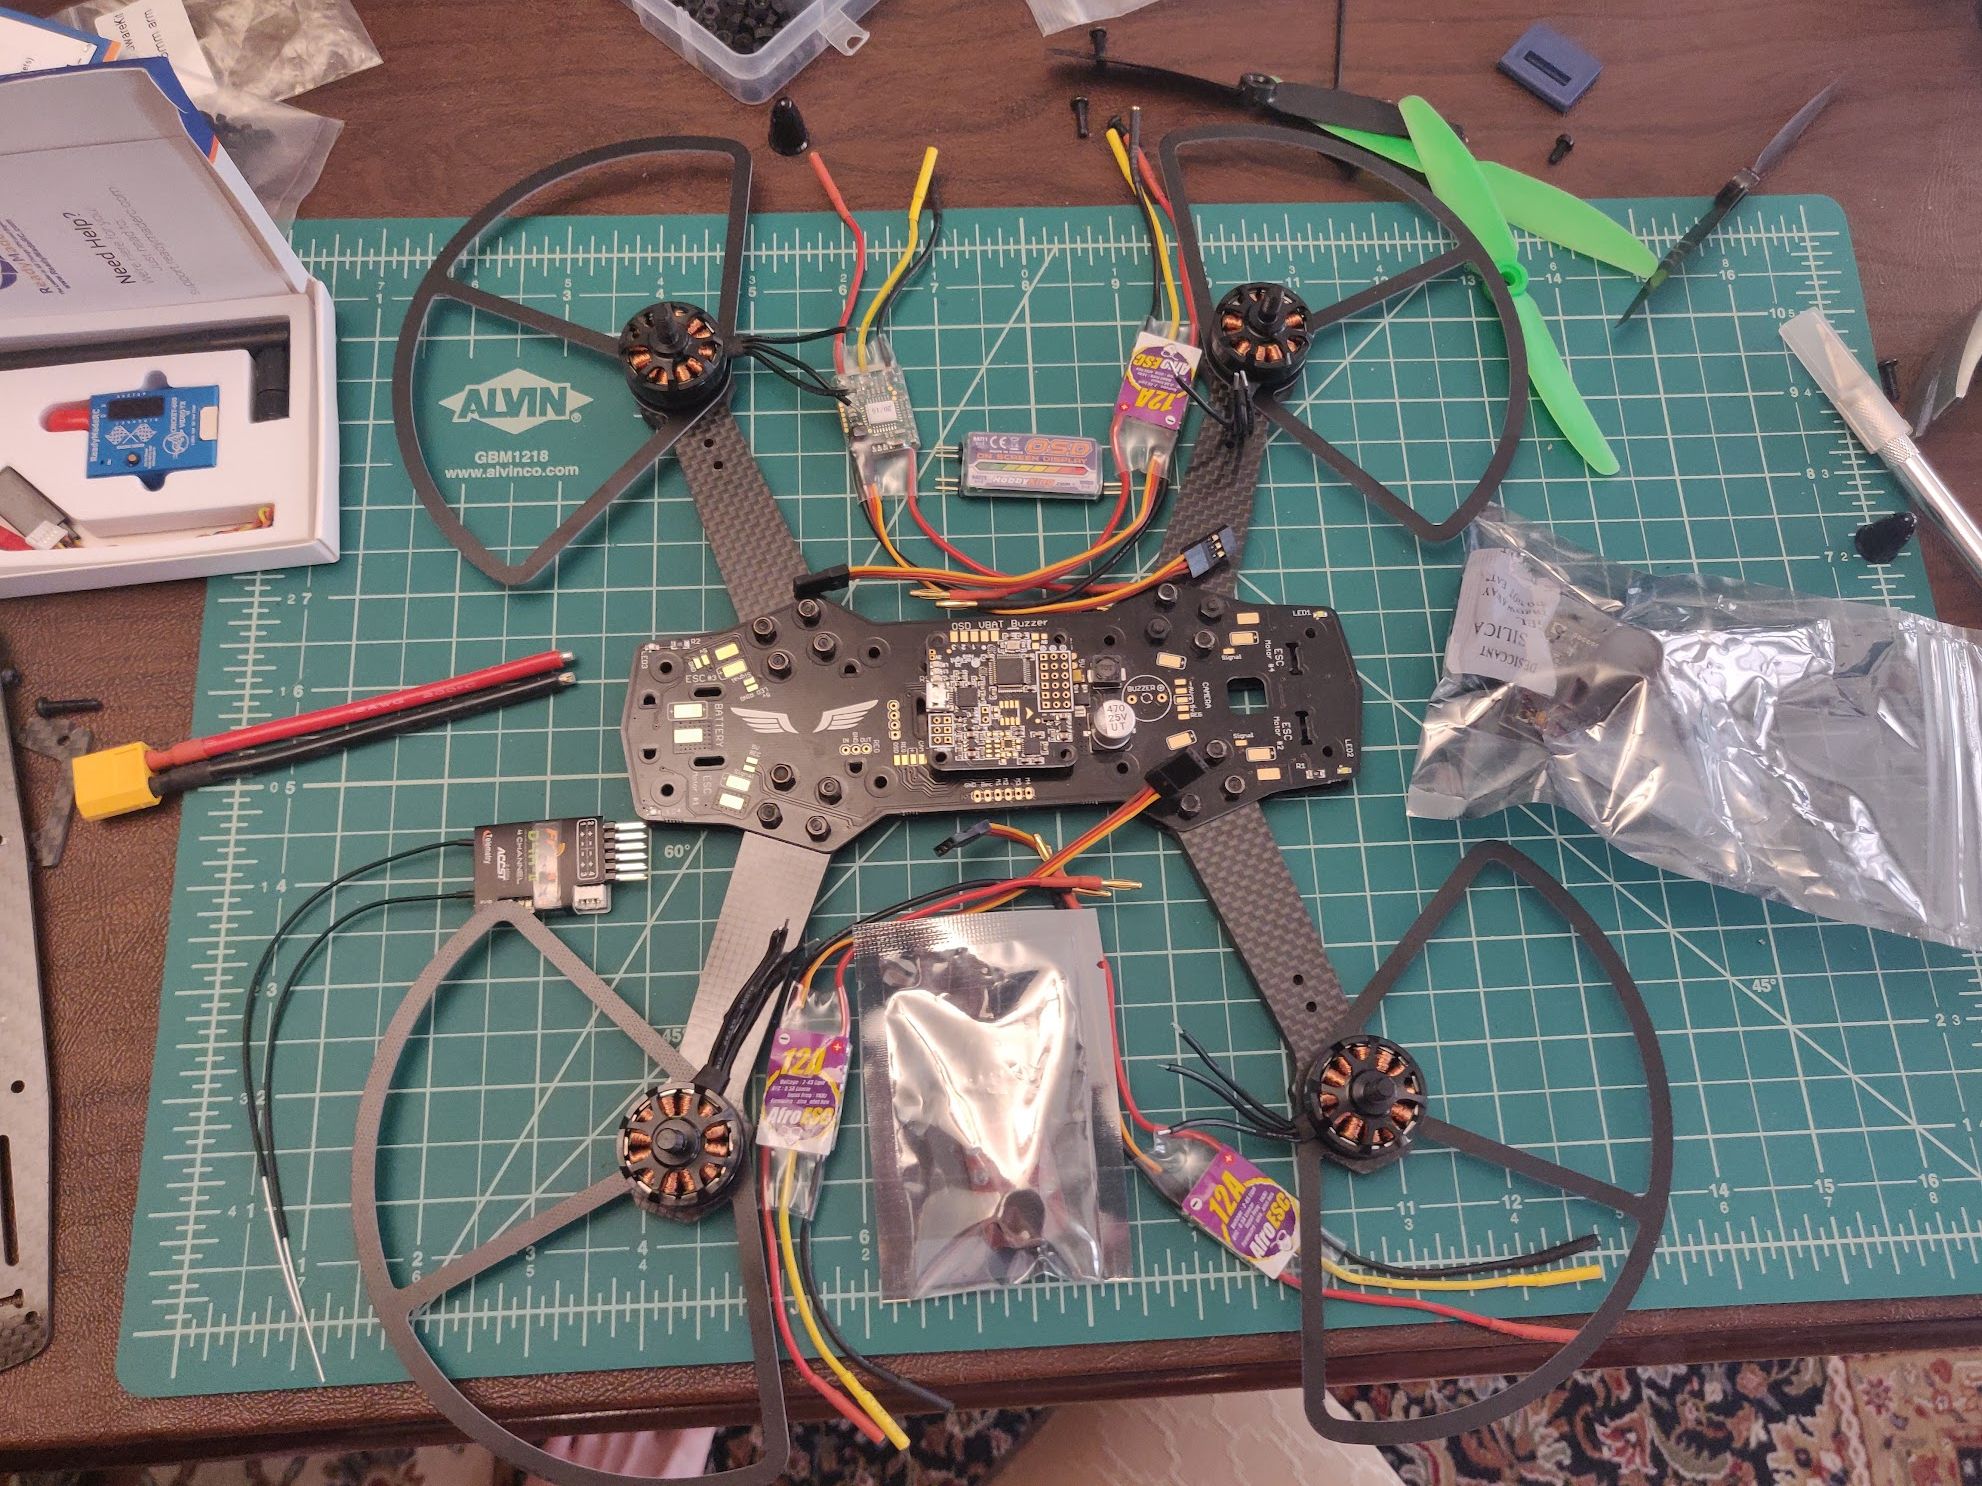
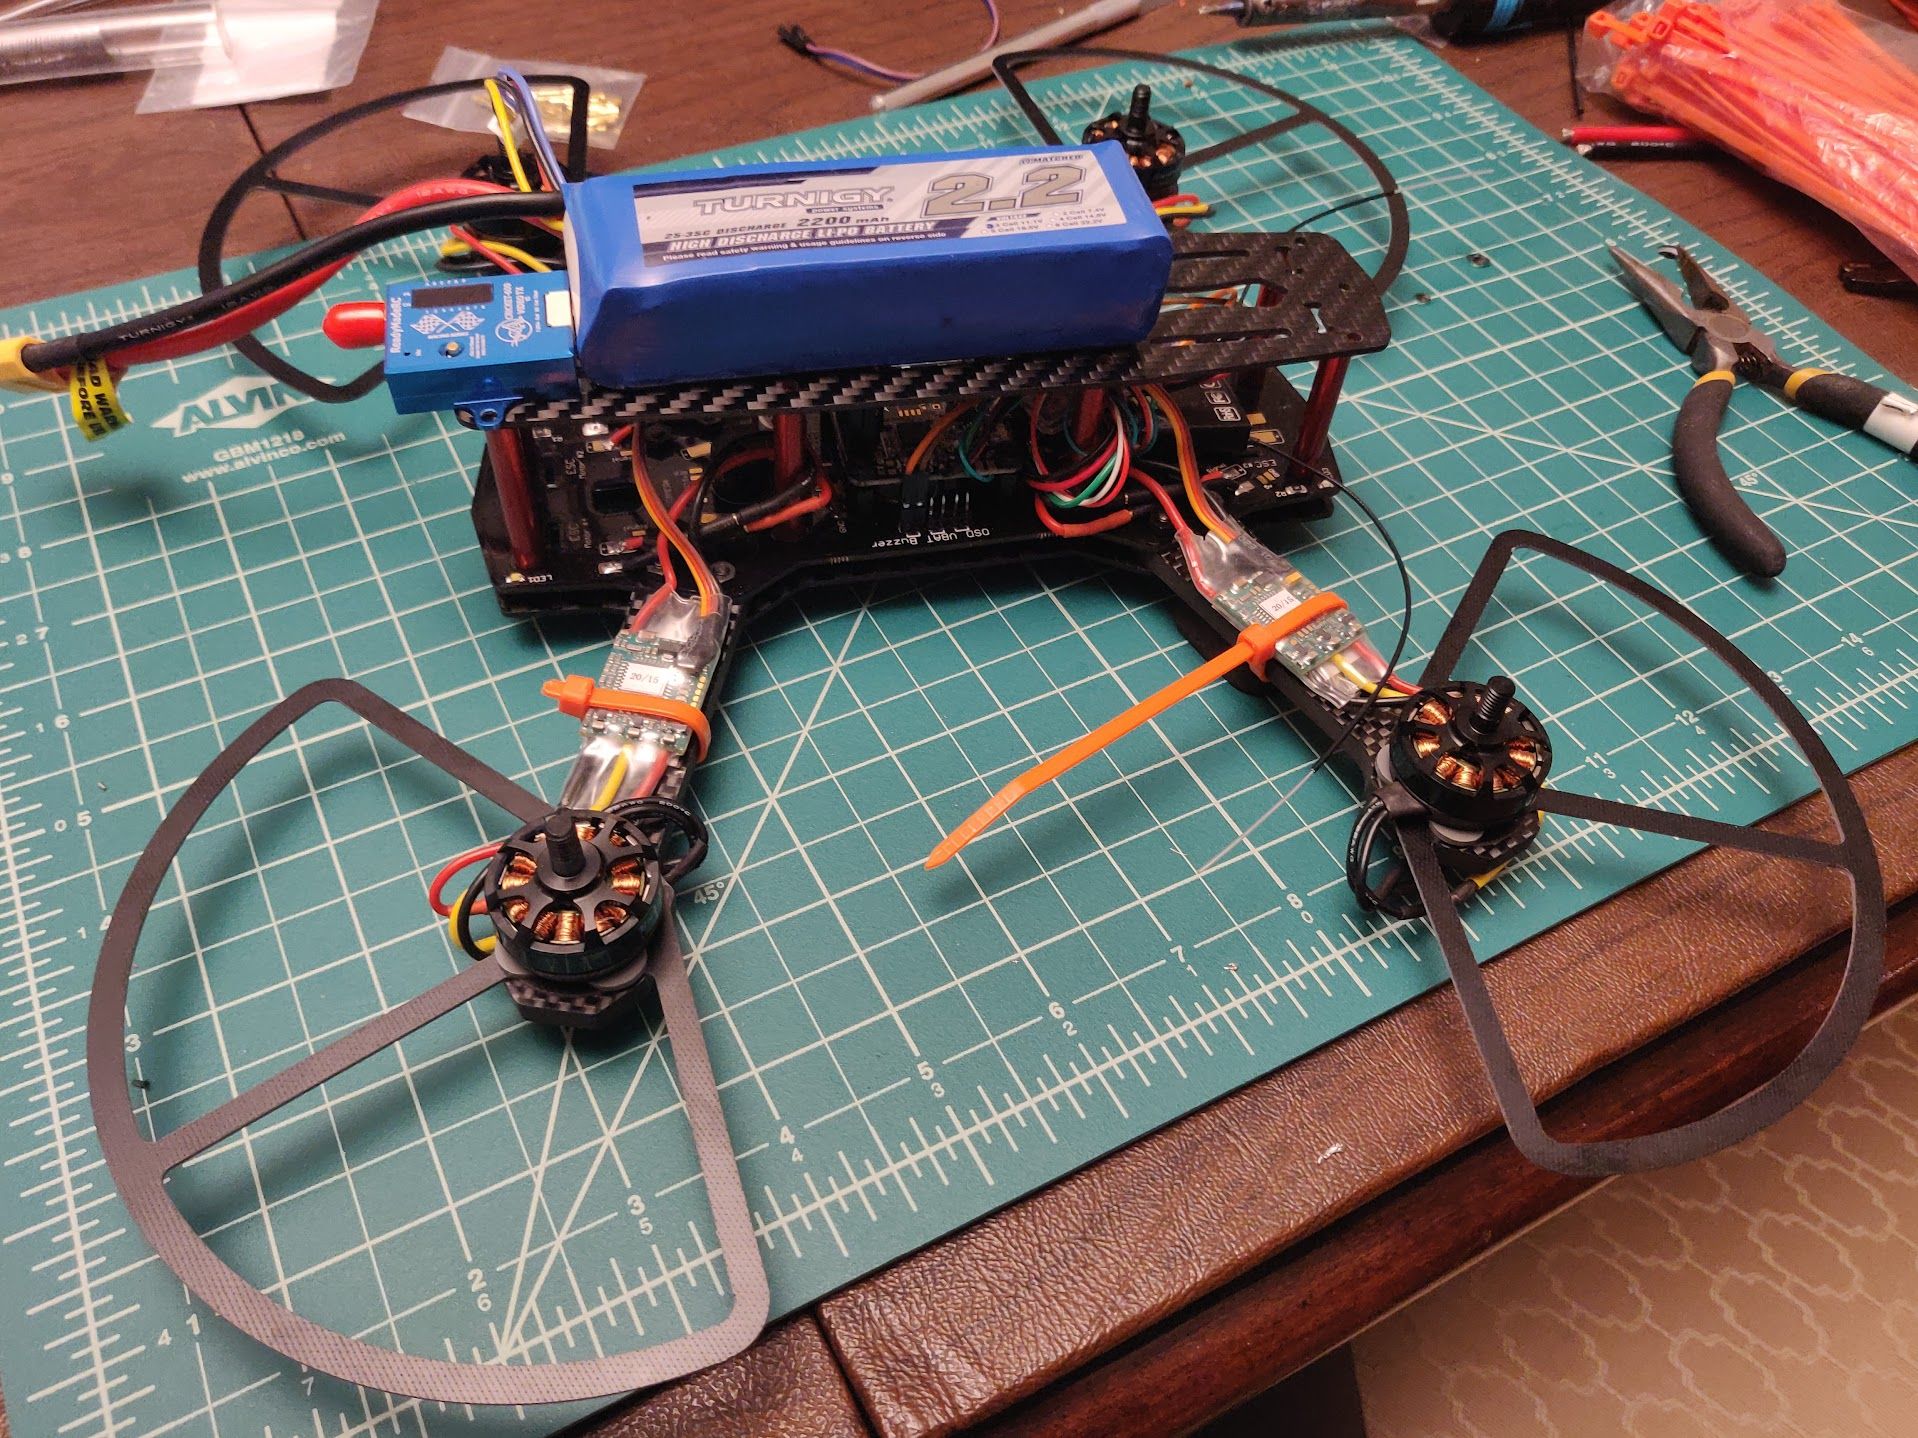
Basic layout of components, PDB, and FC
Motors were easy, they go on the ends of the arms, maybe with a vibration dampener or a propguard, depending on the length of the screws. I don’t think any of my screws made their way into the windings. ESC’s connect to the motors. Got it. A little confused about the order, but apparently it doesn’t matter unless it’s spinning the wrong way. Easy enough! ESC’s connect to the PDB – of course I’m using one of the early Team Legit “Overcraft” boards, which was a popular PDB for this model before they got through into the FC stack. I hoped it would make it nice and clean – but my soldering skills were nonexistent at this point, so “cleanliness” would have to be only surface-level.
It took some studying of the PDB and how it routed things to figure out where I wanted to plug things in, but before long I had soldered in the ISCs and jumper plugs to complete the signal circuits that needed to connect to the flight controller. ESC Power was wired directly into the appropriate pads on the PDB. So far, so good. Onto the video system.
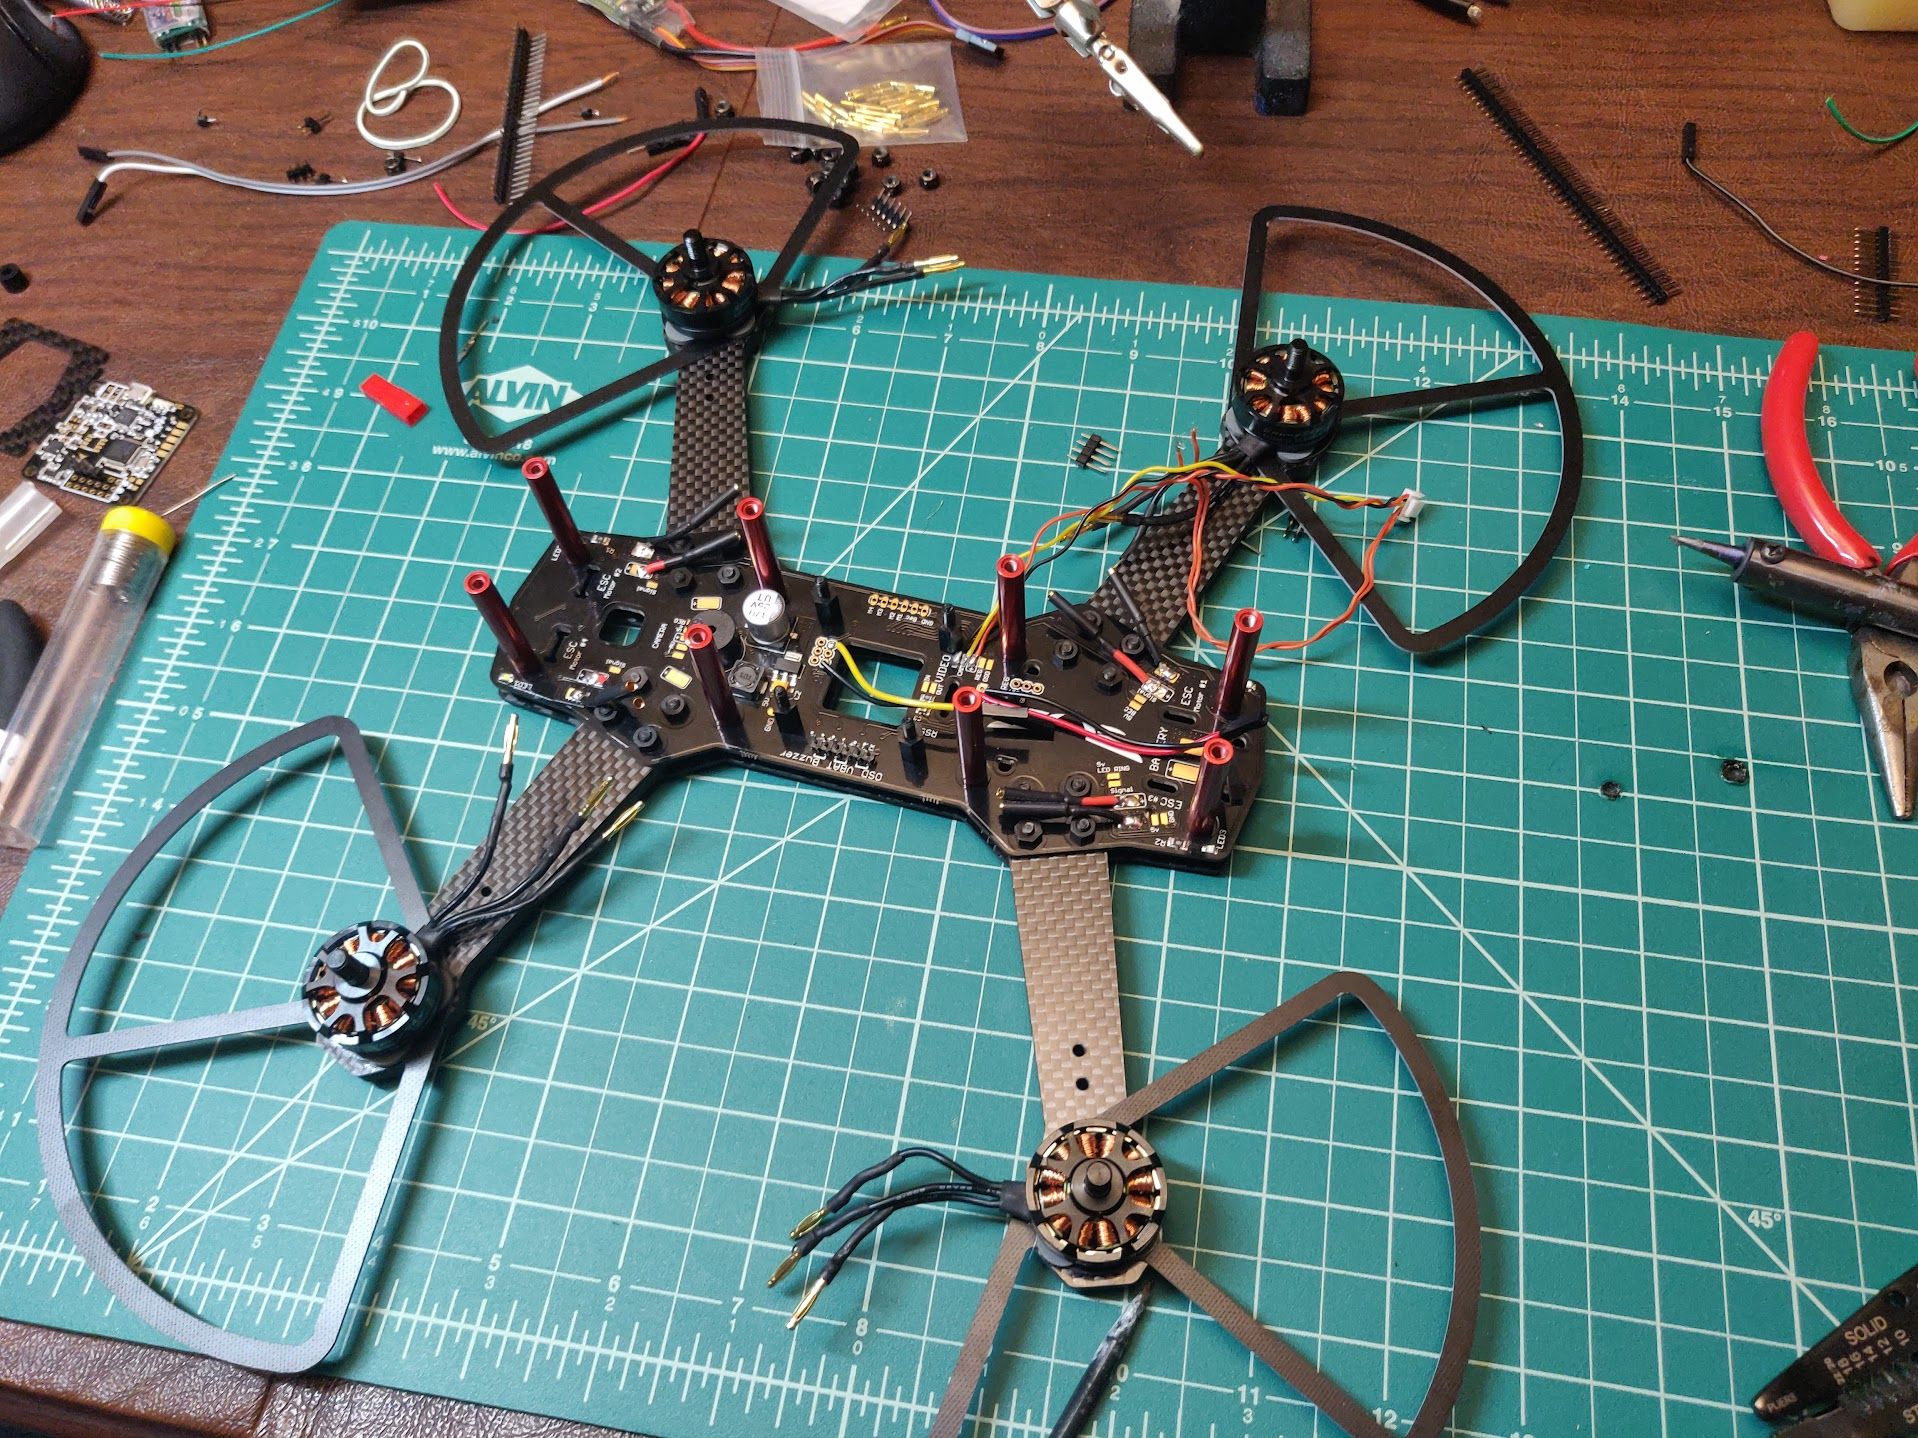
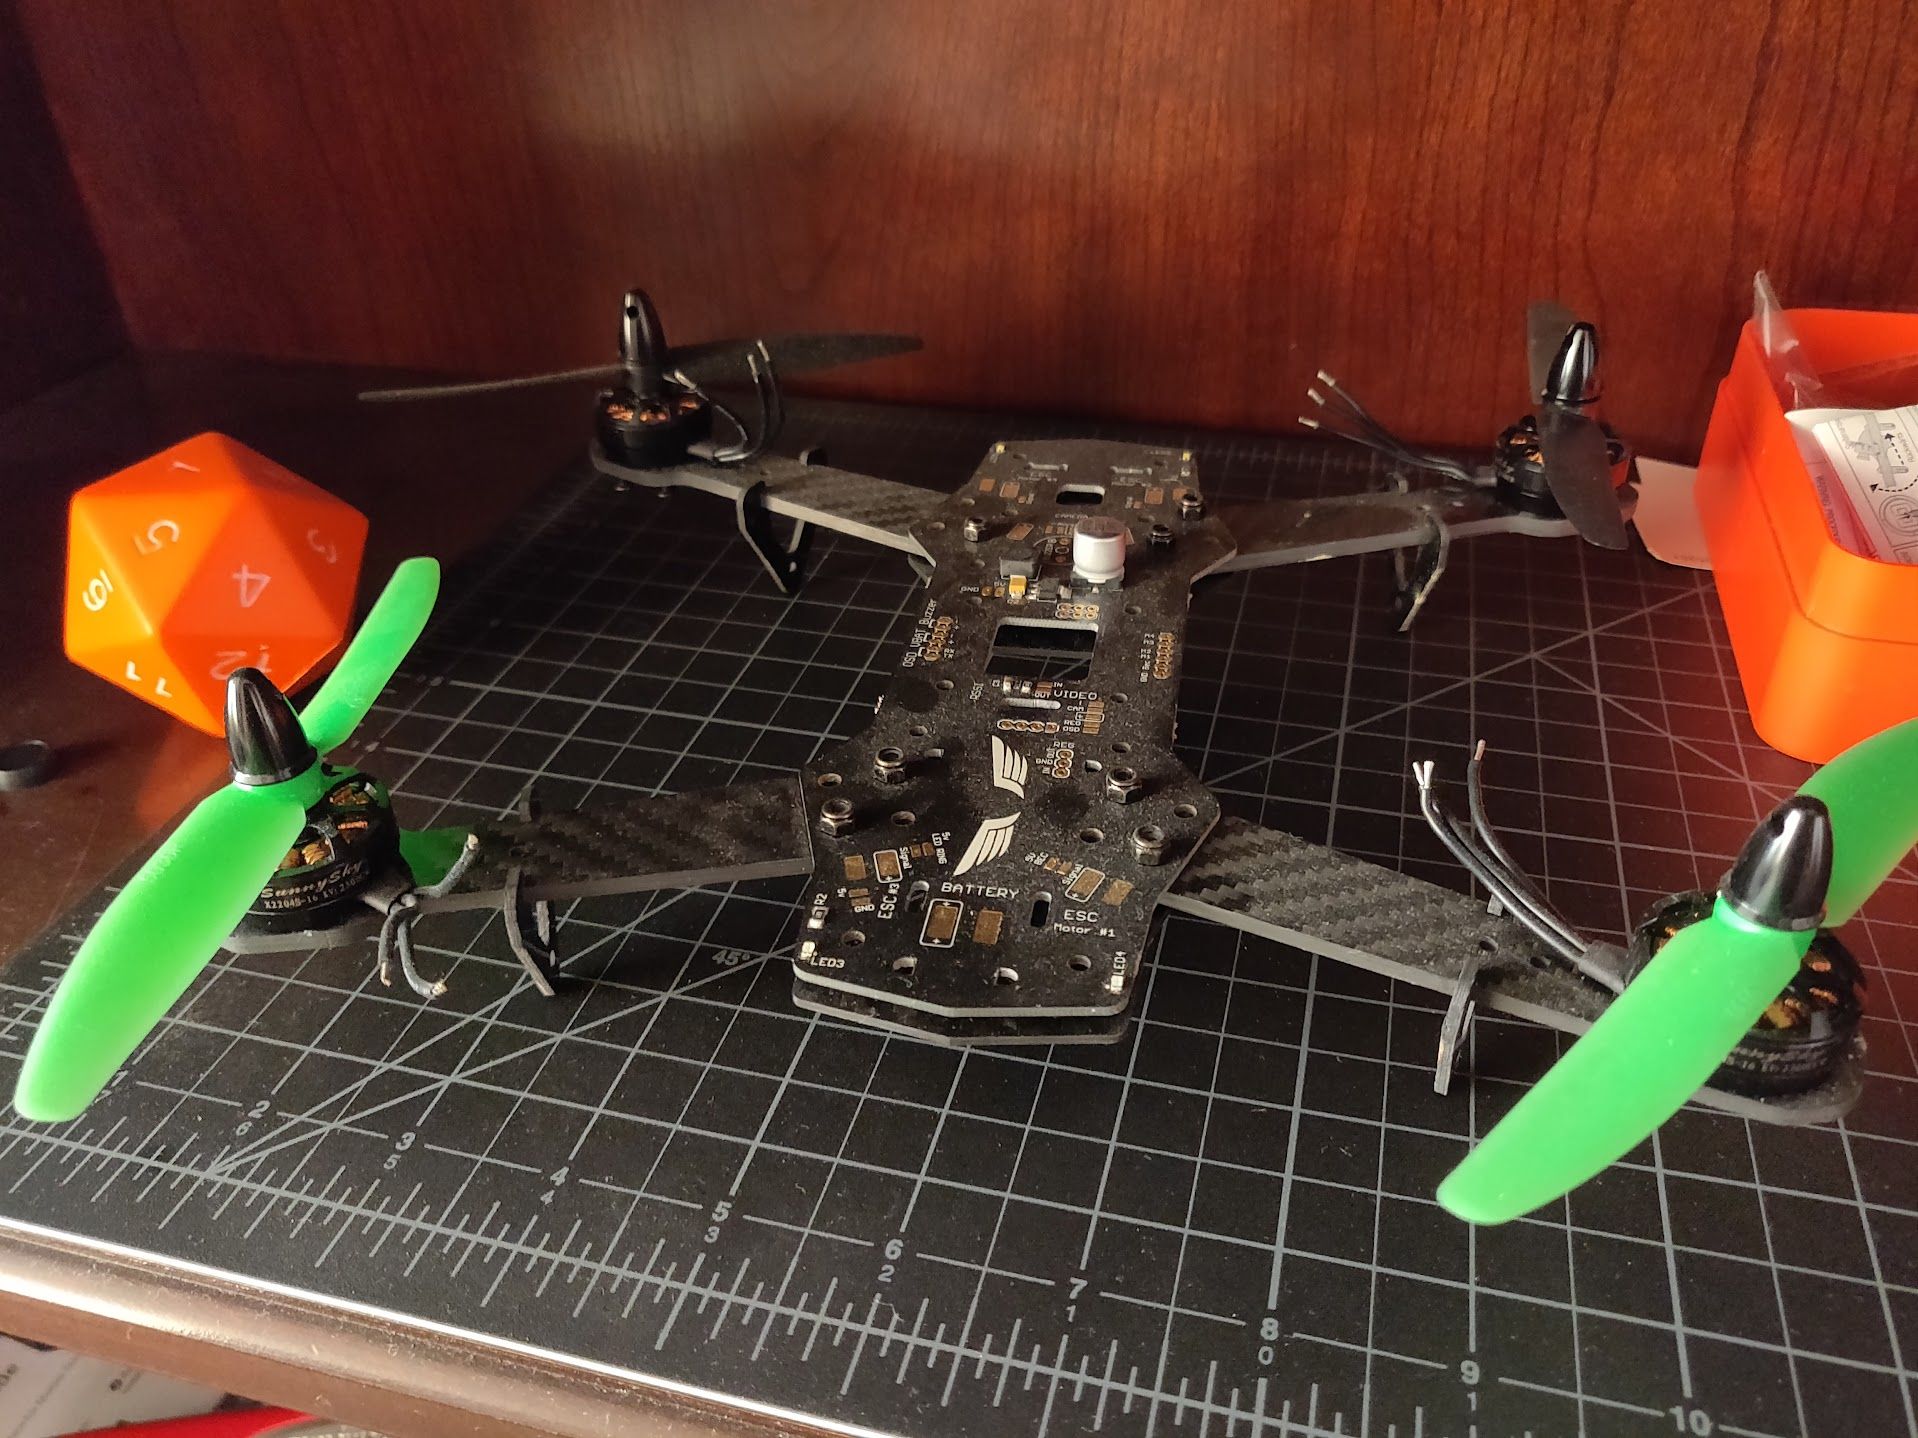
Motors and PDB connections installed

Adding rear ESCs, trying to figure out HobbyKing OSD
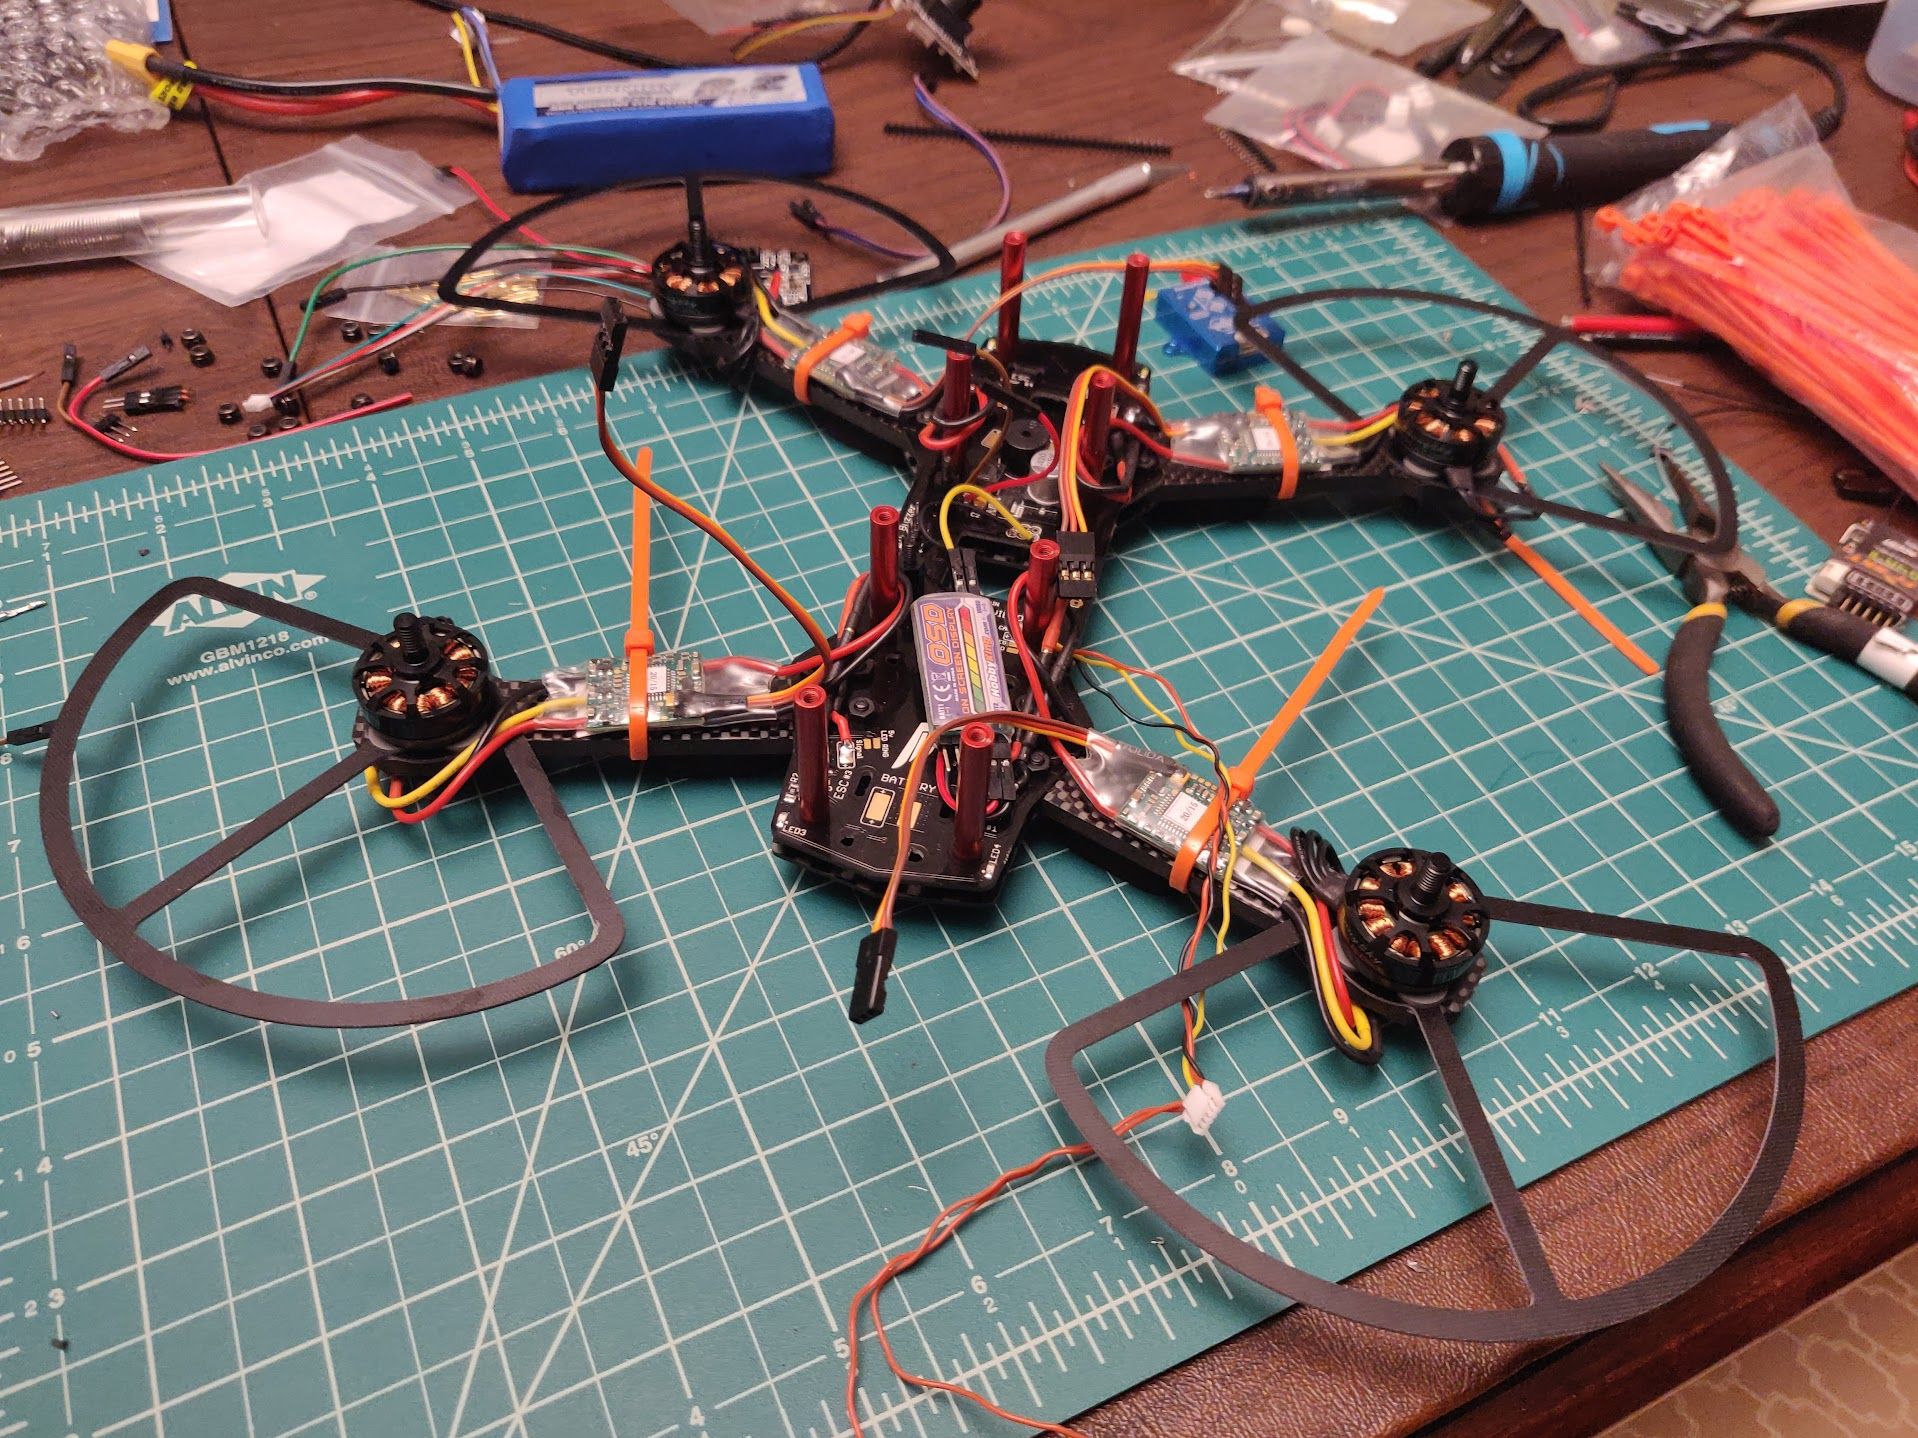
All ESCs in place
FC Connected - wires everywhere. So much for the clean build...
I started out with a Sony Super HAD, but by the time I got around to this there were much better options, so I picked up the CA20 camera listed below. O of course some sort of minimalistic OSD seemed like a pretty cool thing to have, so the HobbyKing OSD (that has a wiring/pinout configuration that still a mystery to me today) would supply a nice display of the battery voltage for my airborne adventures. I picked out a RMRC Cricket-600 VTX and tried to find the best way to wire all these up to the PCB. I eventually tossed the idea of using the HobbyKing OSD, since it seemed to rely on a janky signal injection and it was unclear how I could wire it in. So the Camera was wired straight through to the VTX mounted on the top aft of the craft. The addition of the RX completed the basic build, and sits at the aft inside the frame with two antenna running up the arms and then out along a zip tie.
During all of this I connected necessary components to the flight controller. At some point, I made a serious soldiering error and connected the vBat to the wrong pin on the FC (Lesson learned – measure twice, cut once!) and was met with a crisp snap and a puff of smoke on my next power on test (Lesson learned – Use a smoke stopper!). The obvious casualty was the old Acro Naze32 FC. After some kicking myself and looking into modern FC’s, I settled on a Foxeer F722 FC to replace the stricken Naze32, which would also provide a nice OSD to configure, so it was ultimately a win. When it arrived I made sure to wire it in far more carefully than I had before and rerouted the video signal through the FC. Power on test and additional component test confirmed that the damage had been limited to the flight controller.
Mock-up of top frame assembly and VTX
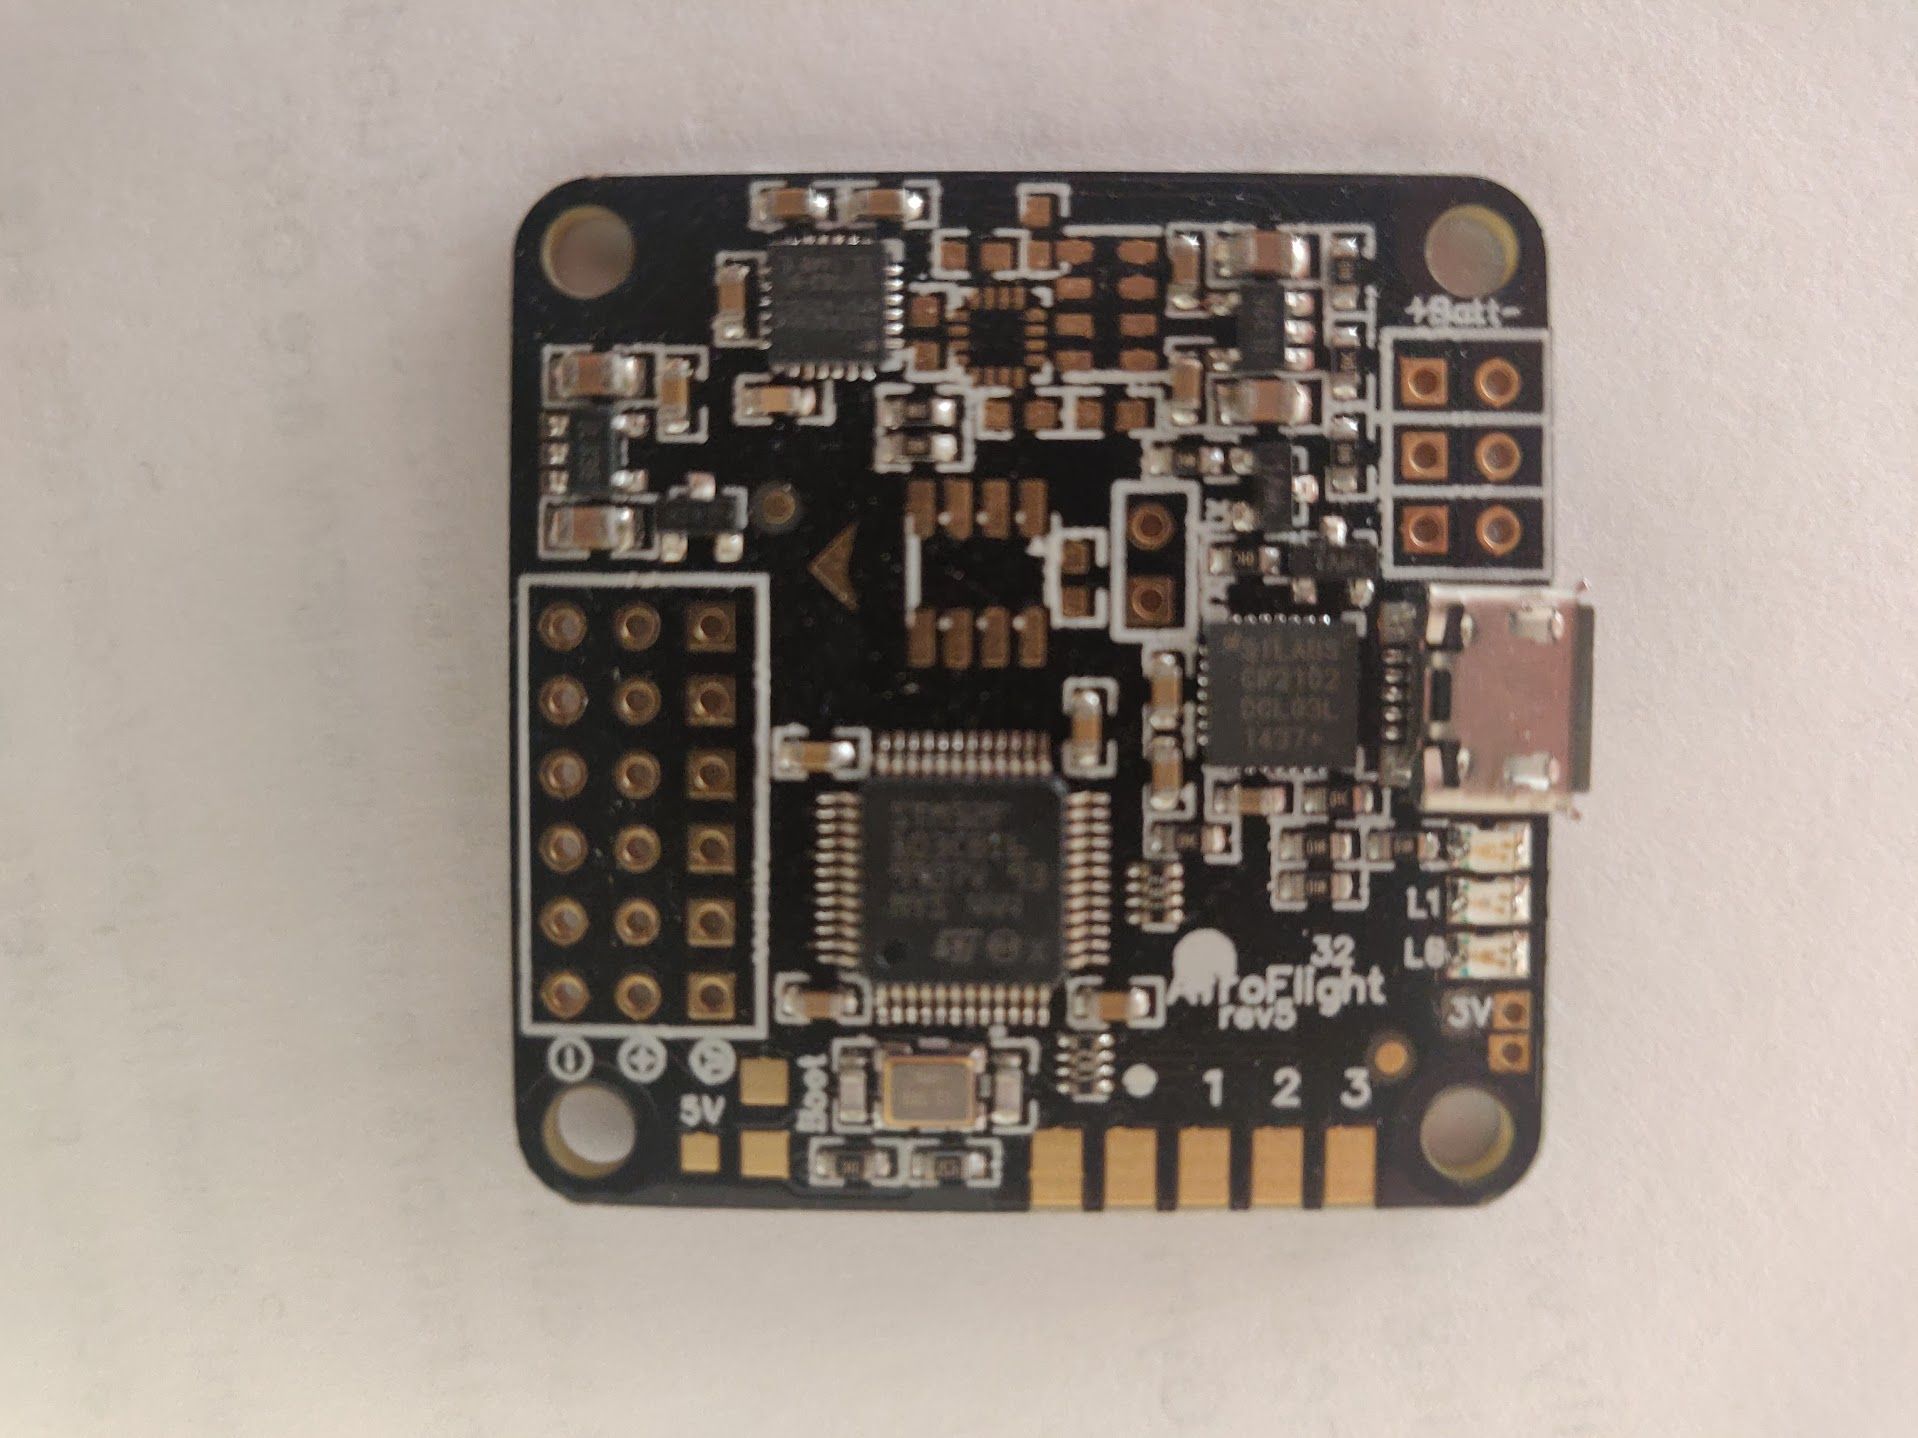
Ill-fated Naze32

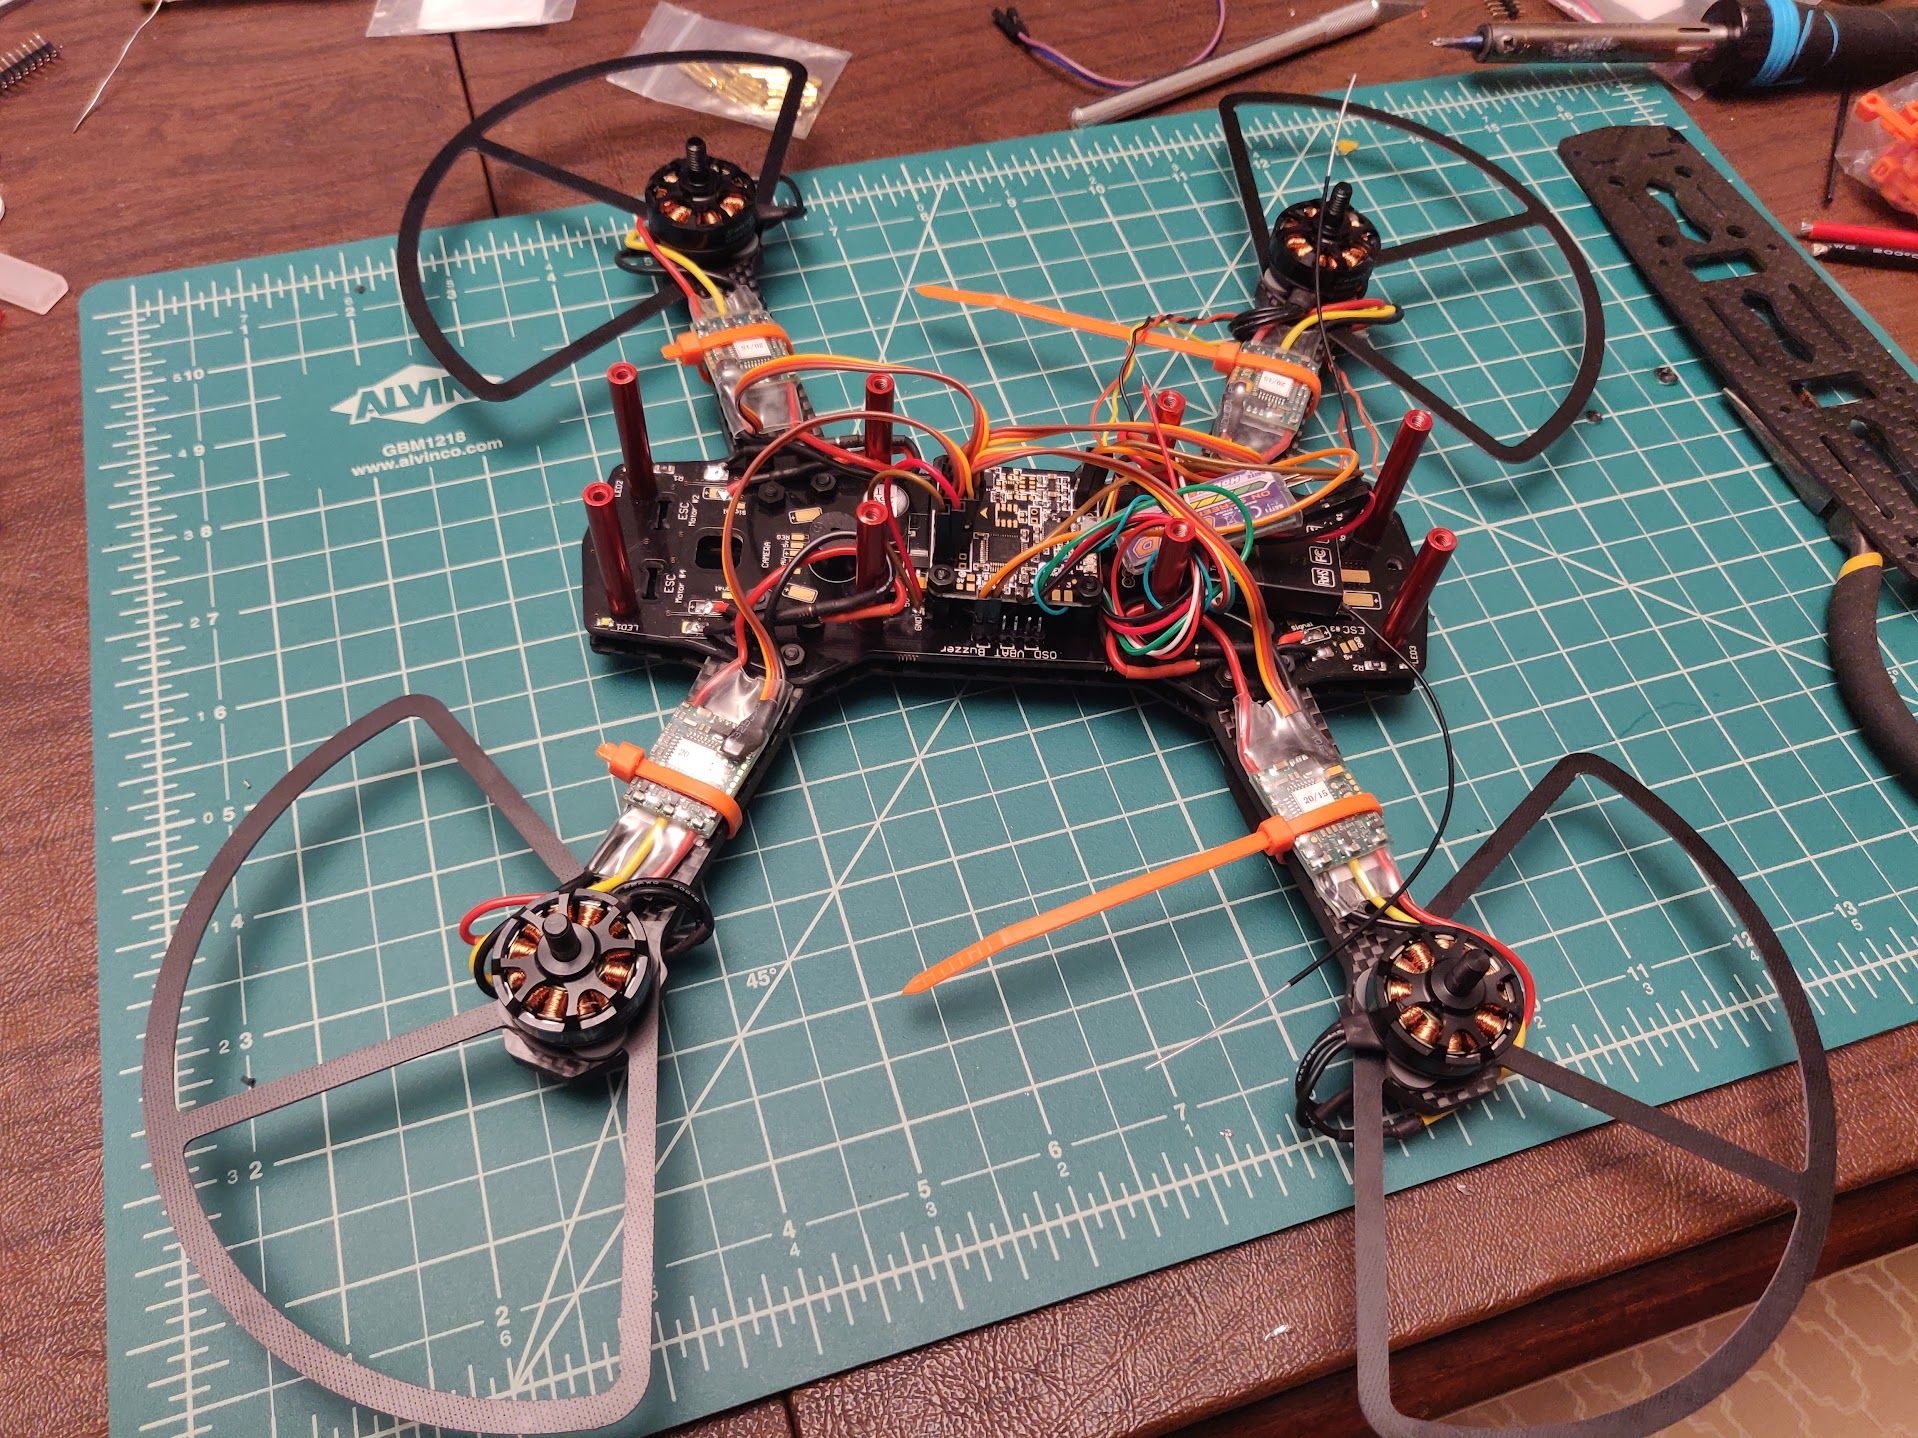
Replaced FC and new camera, all systems go!
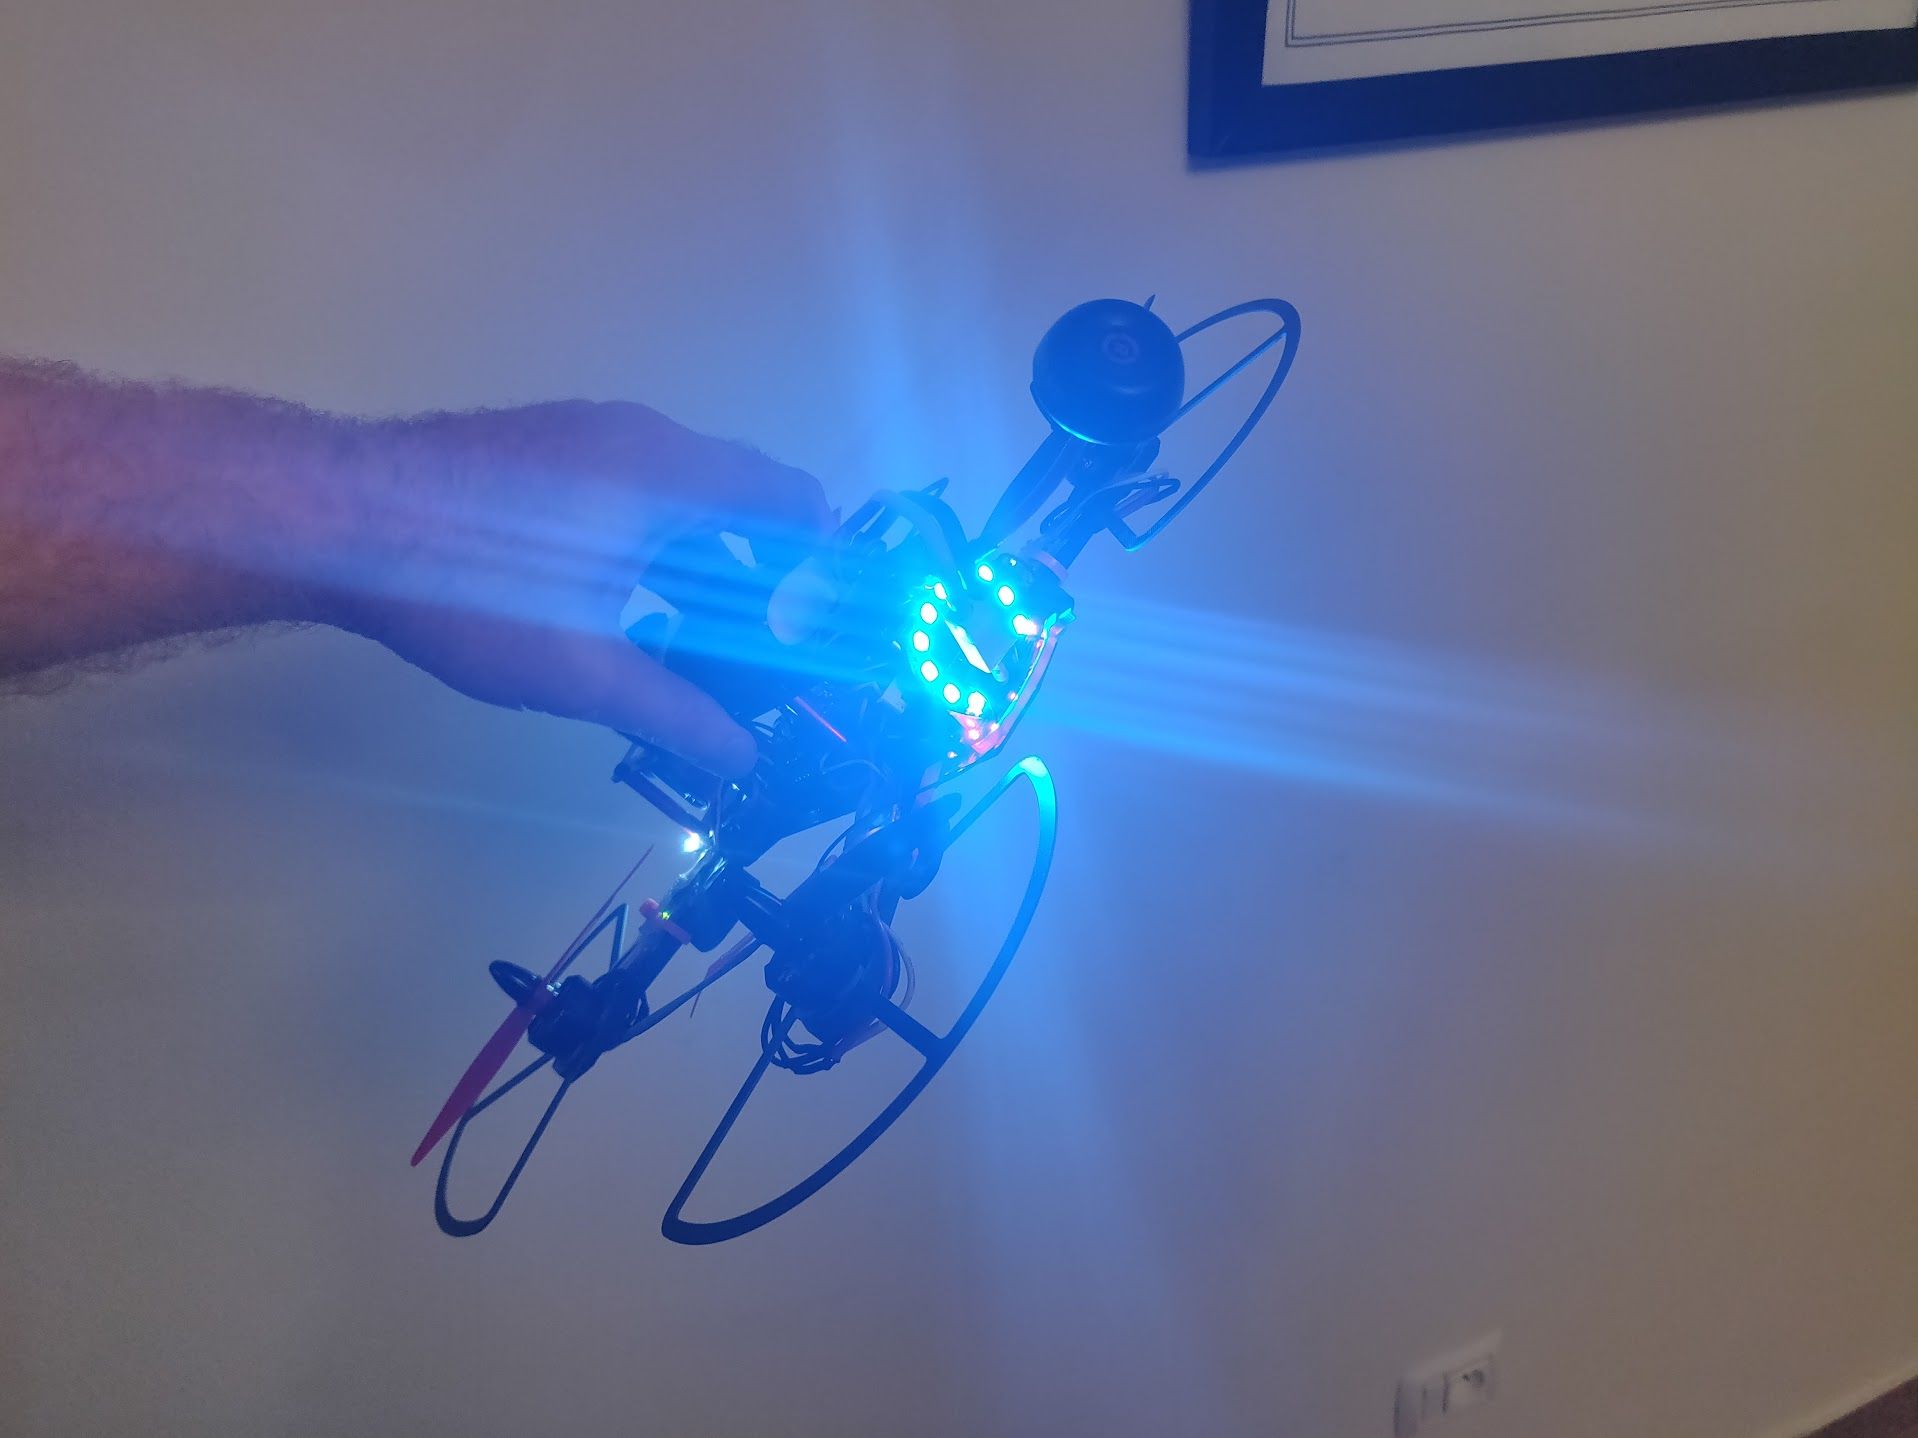
Rear lights
In the meantime, it was simple to add a buzzer to the appropriate place on the PDB, along with connecting in a light bar for some bling at the rear of the craft – give it a nice engine look. Connected all these to the FC through the PDB and finally felt like I was getting a grasp on the components and how they all interacted with each other. During this time I was really picking up how Betaflight or other configurators fit into all of this, testing receiver bindings, features, VTX signal, etc.
Upon configuration in betaflight, the build was essentially complete.
Flight-test status: Crash-test dummy
VTX online and operative, OSD functional, RX bound and working, motors spinning correctly. Passes bench test. Flight tests however have resulted in nearly immediate craft flips which I have been unable to find a solution for. I went through the common causes without finding any glaring issues; screw windings, prop direction, motor spin direction, input polarity, etc. Still scratching my head on this one. Given how old everything was by the time I put it together though, I considered it more of a test bed and a way to explore the build side of the hobby. It provided valuable understanding and insight into the hobby that I could apply to future builds. So, while it doesn’t fly, it was a great learning experience and also makes a pretty good lawnmower.
Current status: Shelved

Final Product
Photos
Part List
Show stores (9)Guides & Reviews

AirbladeUAV has done it again and this time they've brought long range to the 5" class! Based on the popular Transformer Mini, the new Transformer 5" Ultralight adopts a lot of the same design philosophies with larger props and more payload capacity. It can fly upwards of 20 minutes on a 4 cell Li-Ion battery pack and in ideal conditions it's got a range of over 4 to 5 miles. In this guide I'll walk..
Read more
With the release of the DJI FPV Drone cinematic FPV has become a lot more accessible, but you certainly don't want to crash a $750 drone! The QAV-CINE Freybott is a compact, lightweight cinematic FPV drone that can take a hit and keep going. It's a lot safer to fly indoors and around people. With a naked GoPro or the SMO 4k you can capture some great stabilized footage. In this guide I'll show you..
Read more


Brings back memories! What version of Betaflight are you using? Some versions have prop rotation reversed by default. Flight controller orientation is also worth double checking.
Actually, I was thinking about breaking it out again and re-approaching it now that I have more experience with it. Yep, FC orientation is definitely correct, but I may have had some switches in the configuration enabled that could have messed with me. Taking another at look back at this point with another build or two under my belt may get this one up and flying!